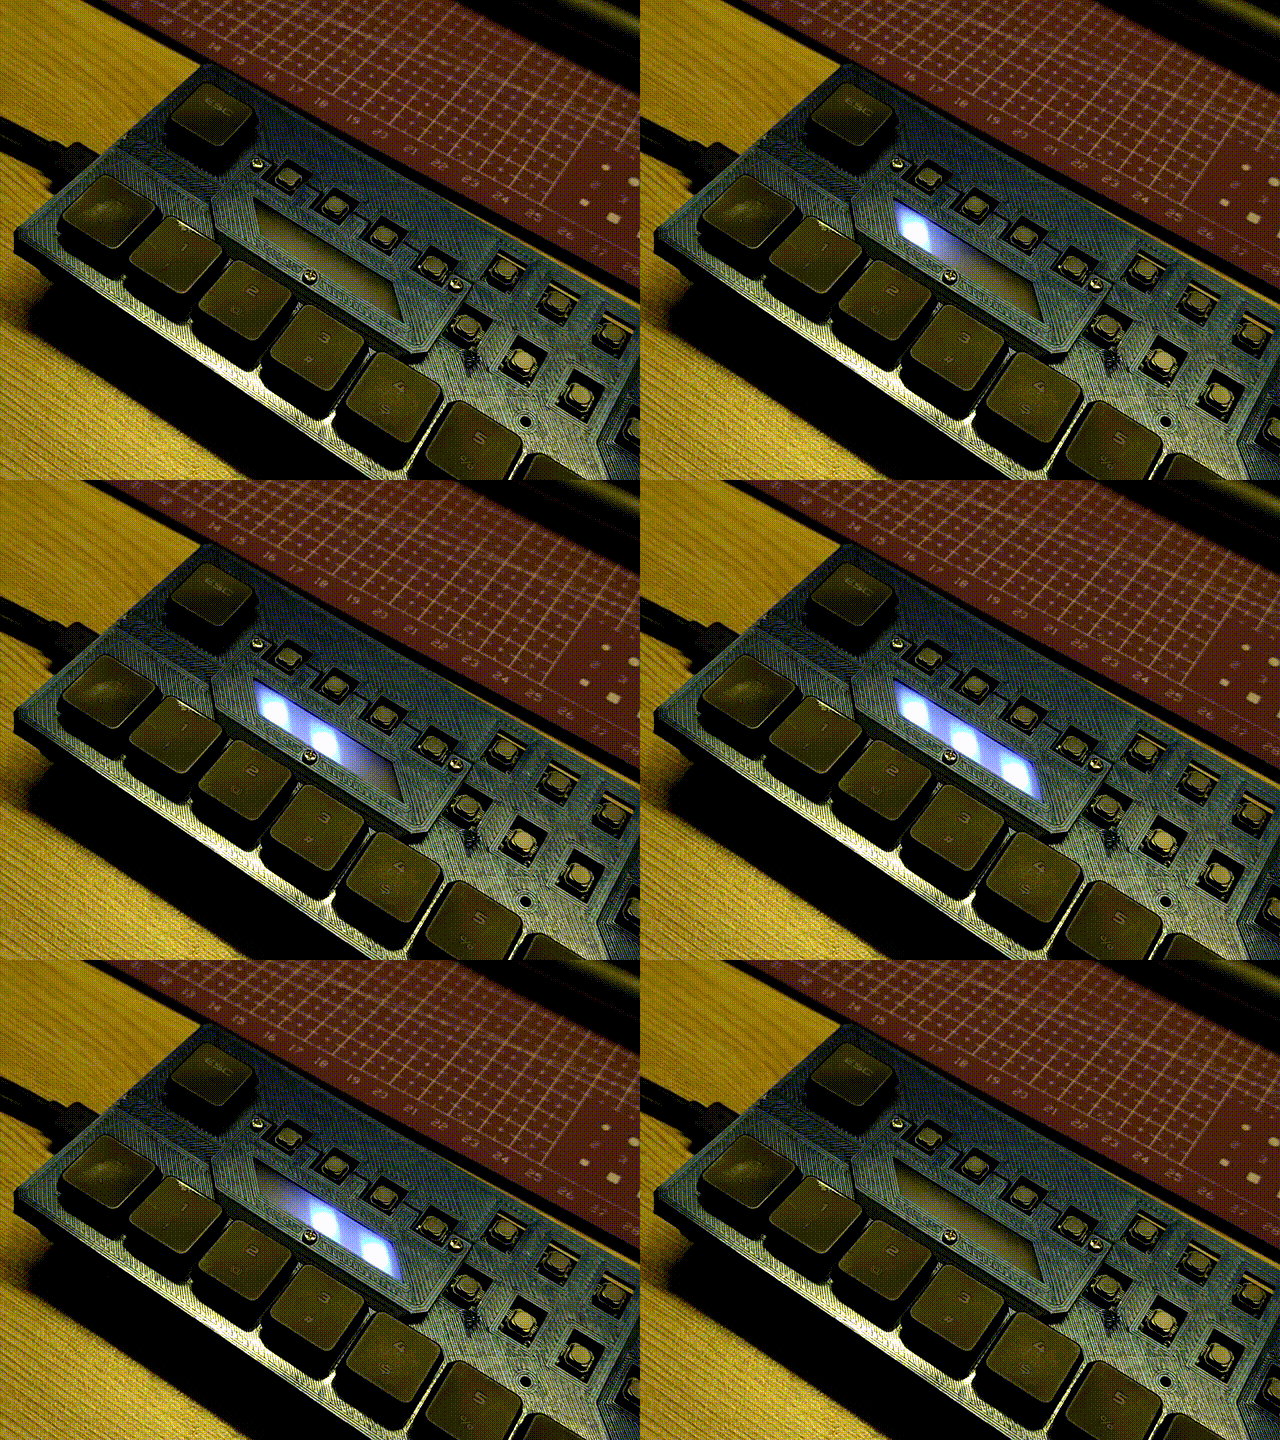
-
In place of postscript
01/12/2024 at 23:34 • 0 commentsTurns out, atleast one keyboard project named "Mriya" already exists and is clearly well thought out and made - i just was not paying attention and it turned out like that.
And no wonder on name collision, since it's just a Ukrainian word for "dream" and once you want to add a touch of national pride in whatever you're doing - language is among the low-hanging fruits.
So, to resolve this and to avoid further project confusion, my iteration will be renamed into "MOK" which still sorta stands for "Mriya-OK" as it natively says on the top case to the right.
"OK" is part word play, part native shorthand for "окрема клавіатура" that is translated as "separate keyboard" - which, i hope, will stand the test of time and i will be able to develop on that part later.
-
Finalization
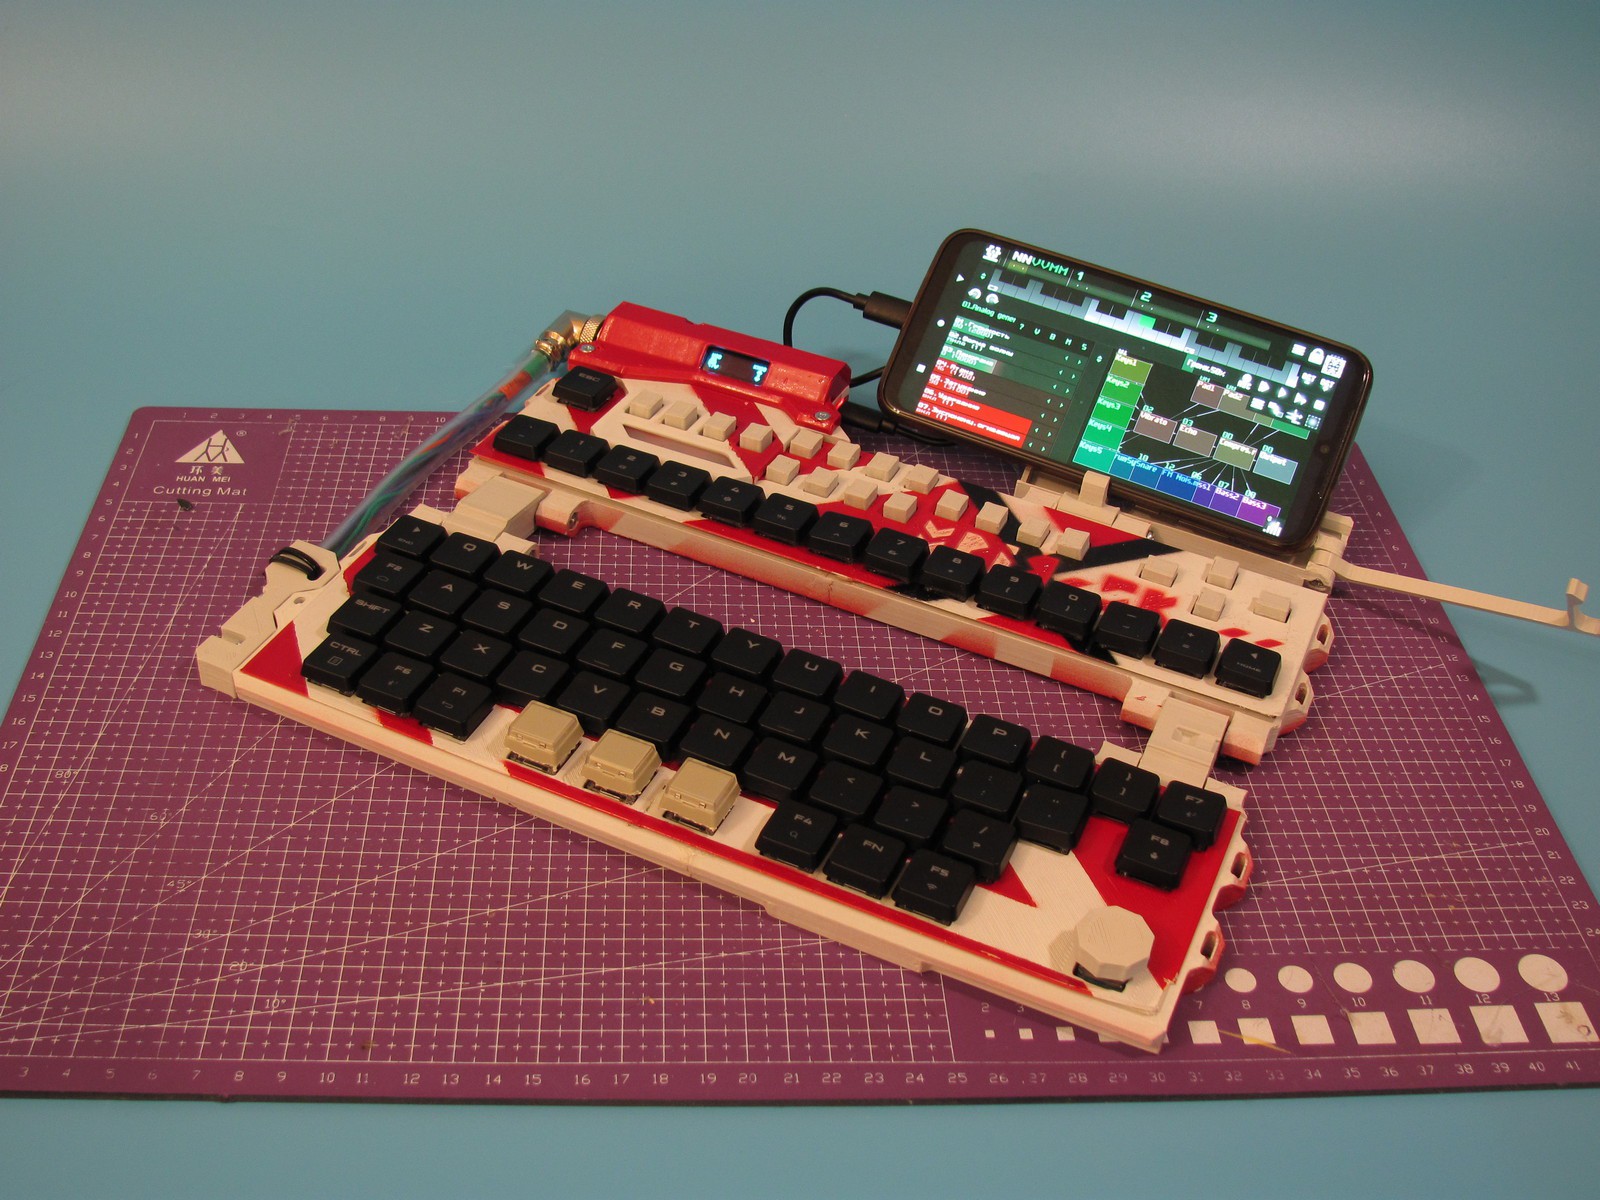
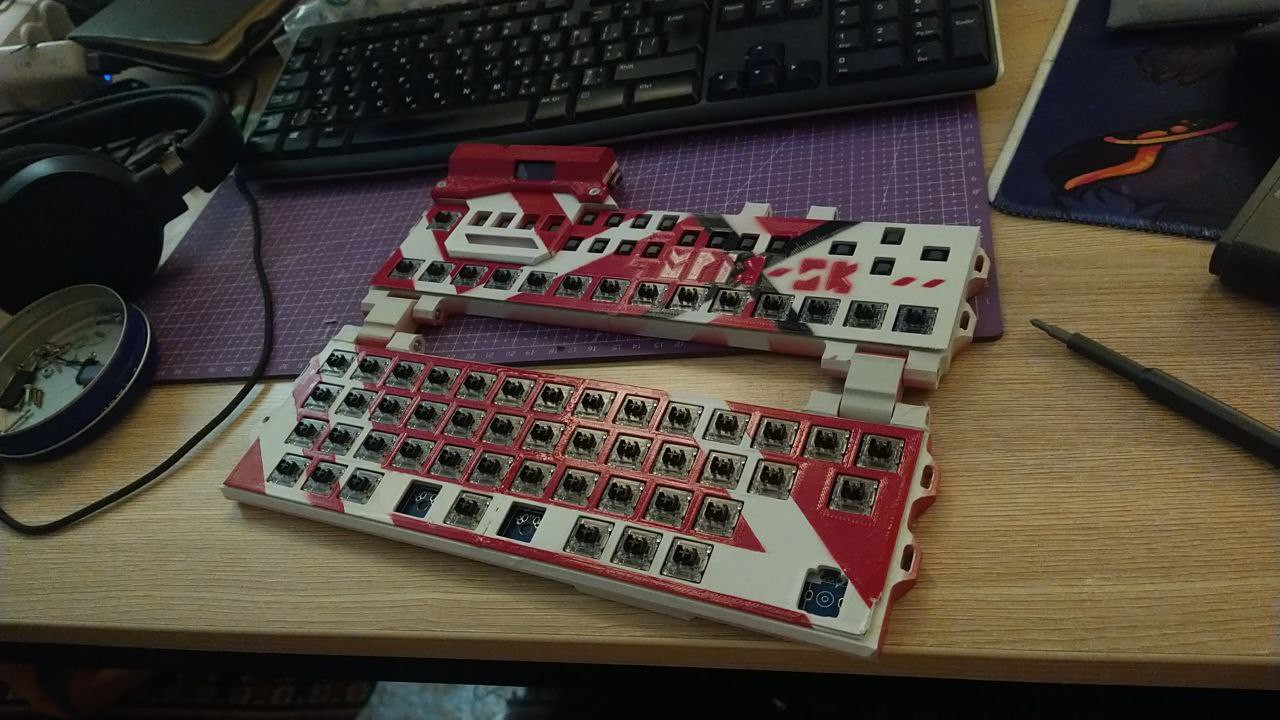
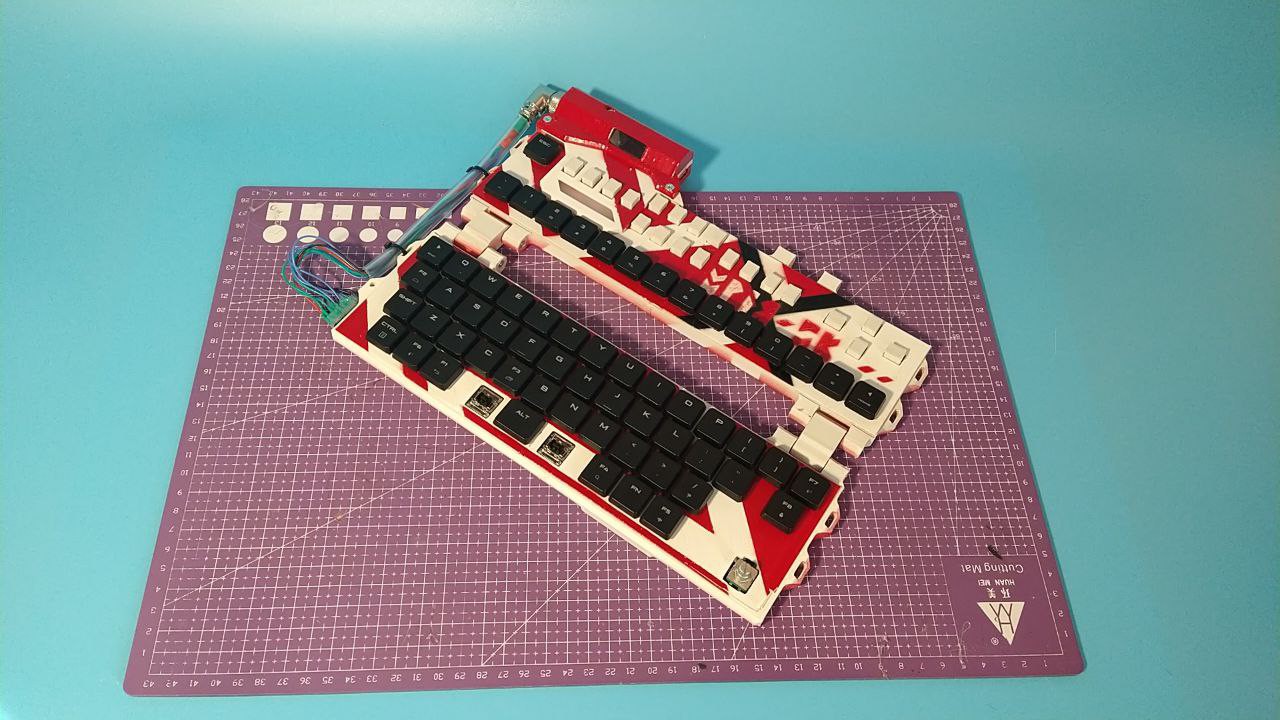
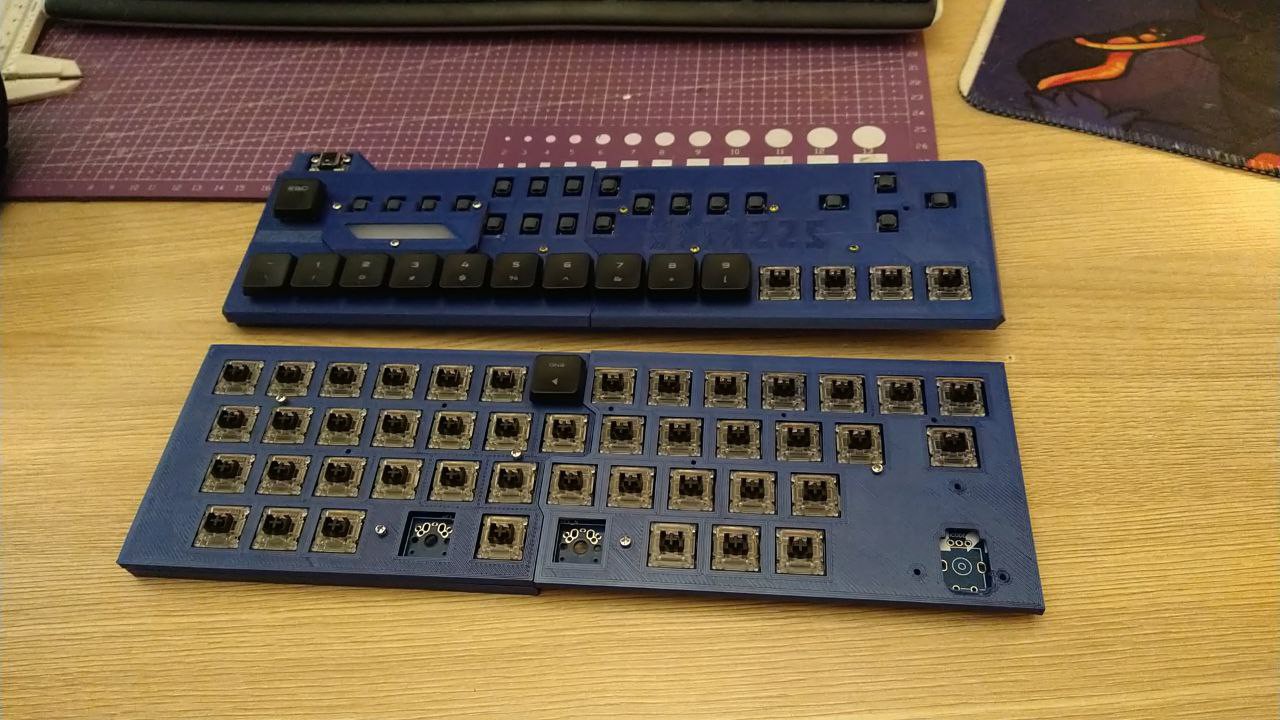
12/27/2023 at 21:46 • 0 commentsFinal assembly is here for this iteration. What has changed?
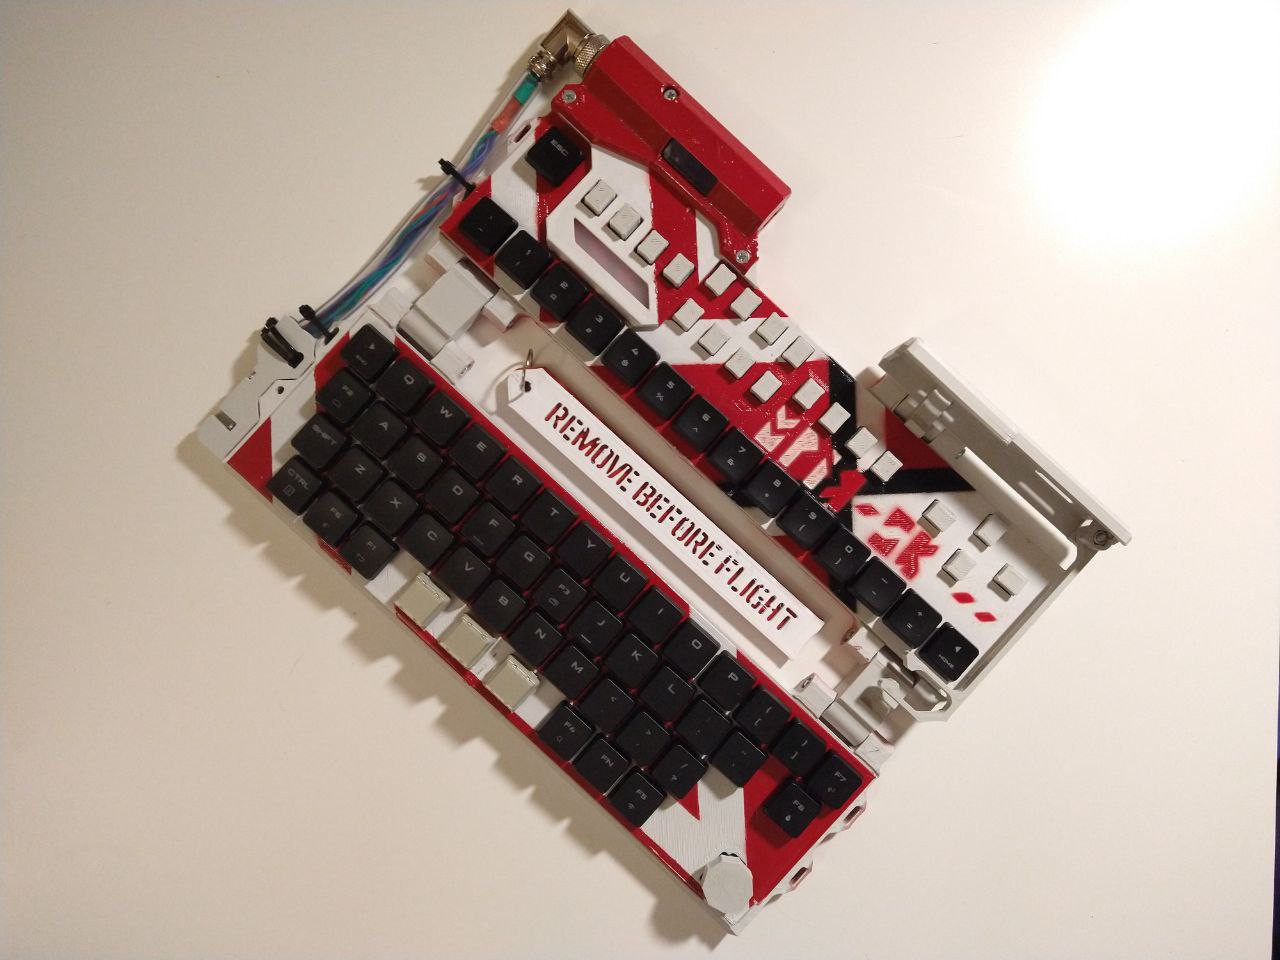
I've added an encoder knob, changed caps for a spacebar (there supposed to be one long bar, but i decided to cover three parallel switches separately with some POS terminal button caps) and added a lower part connector cover so wires don't mess themselves.
Also made this little "remove before flight" banner (ye, it's made from PLA and is 2mm thick, so not really a banner now, is it?) for a bit of flair.
Et voila.
![]()
Some functionality polishing later, and i've got:
- Skippable and improved splash screen
- Complete key function.
- Several knob functions (selectable via Fn + Knob press) like volume control/mute, mouse horizontal/vertical scroll, screen contrast control. Something to be desired, yes, but honestly i'm not fond of what pro keyboard makers put on their knobs, so i slapped whatever i would use on there and called it a day.
- Saveable settings (only for current knob mode, selected display contrast and scroll type).
- Fn layer functions (like it looks like on keyboard layout picture here). Yes, left mouse button and right mouse button are swapped - the idea being is that RMB is usually pressed much less frequent than LMB and thus, when you steer the cursor with arrows, it is easier to press LMB with the same hand, with which you steer the cursor.
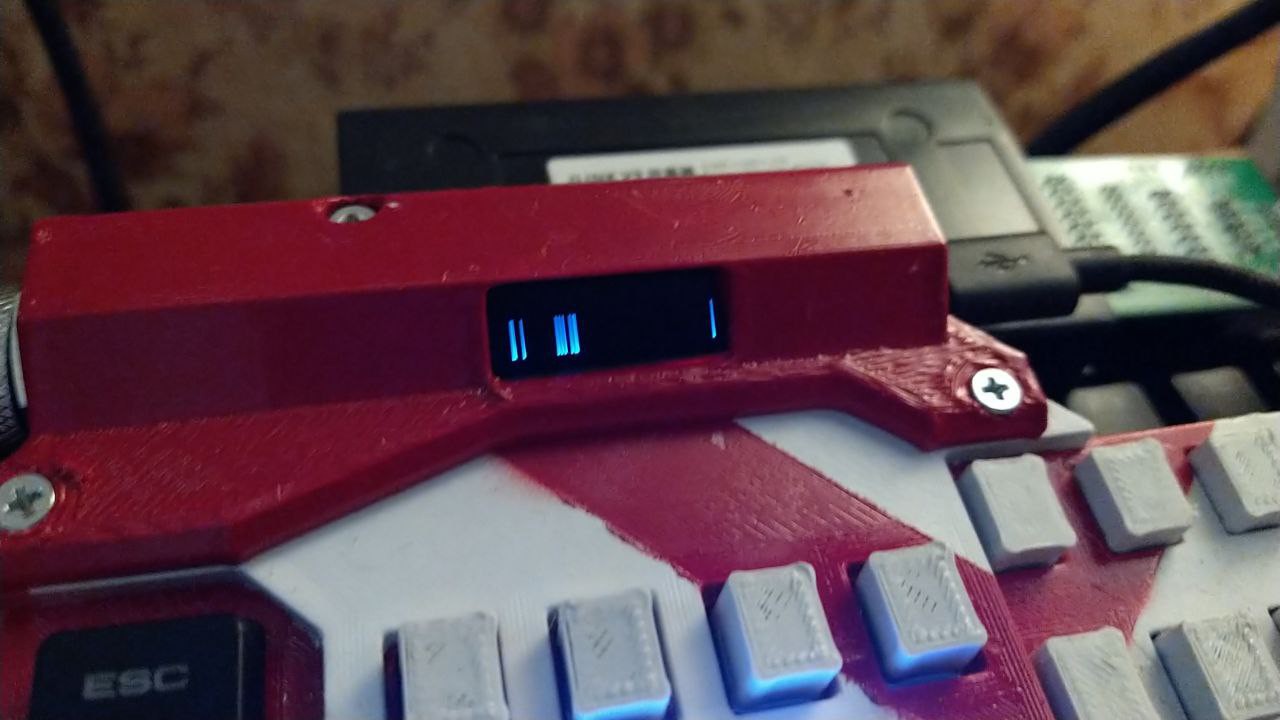
- LEDs under the diffuser show caps/num/scroll lock status. On a keyboard that only has capslock key, lmao.
You can use the cover-lock thingy as a phone stand too!
![]()
Here is a little demo of how the whole thing unfolds (no sound because my eyes tear up when i hear my own breathing behind the mic and also lots of cuts so not to bore anyone with unnecessary scenes):
So, what's next at this point?
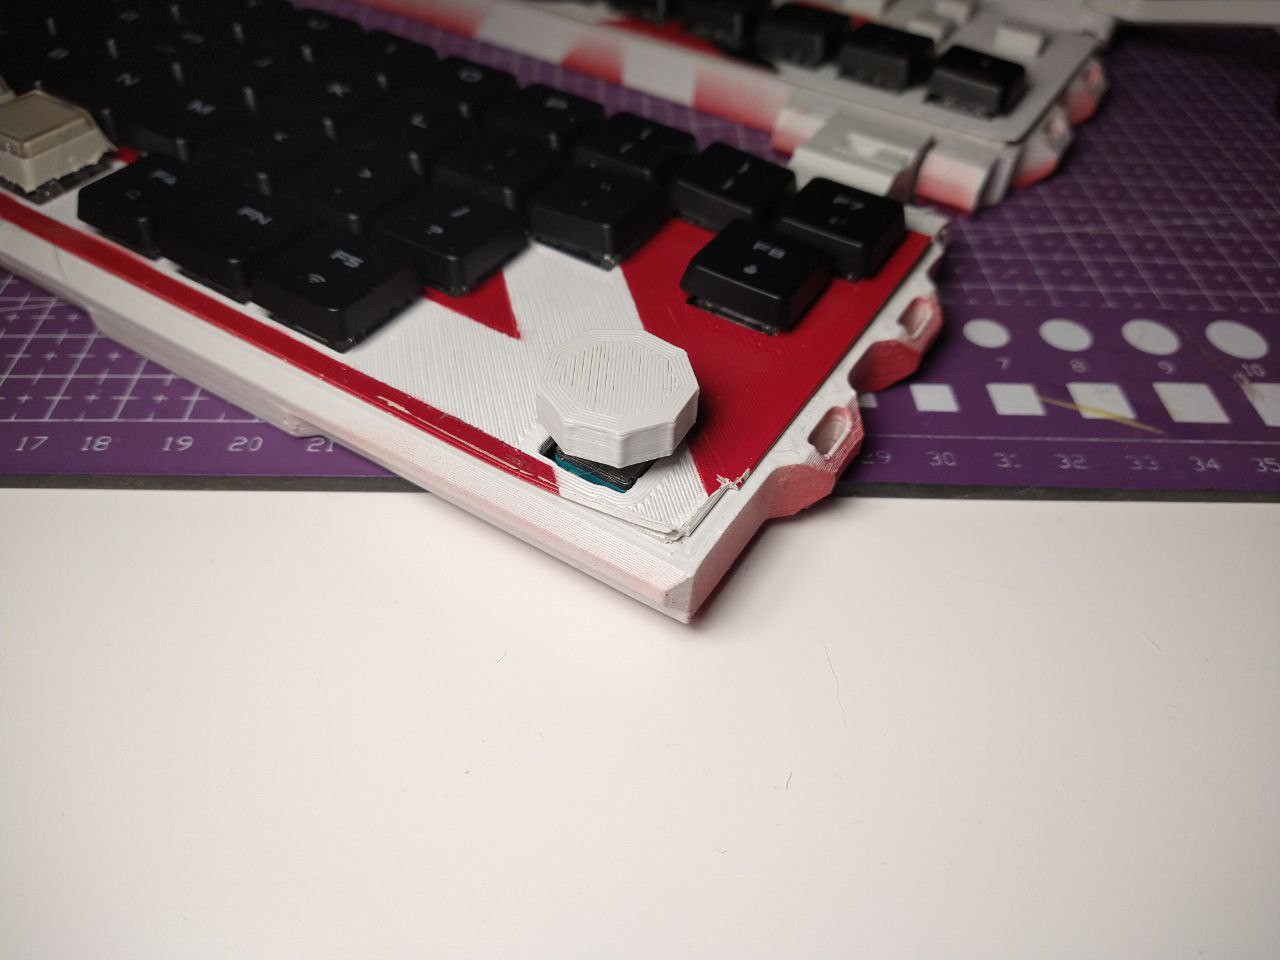
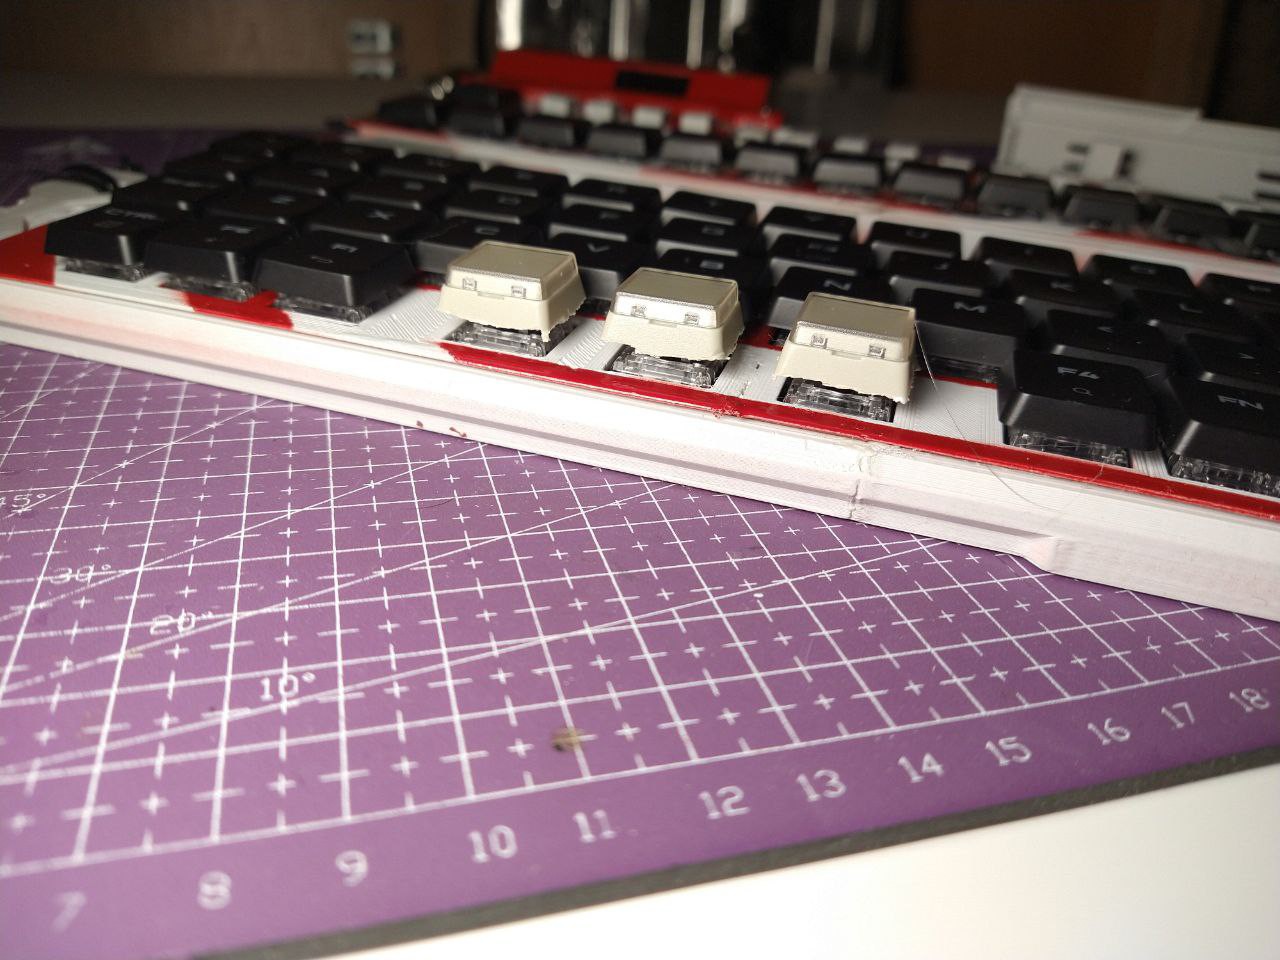
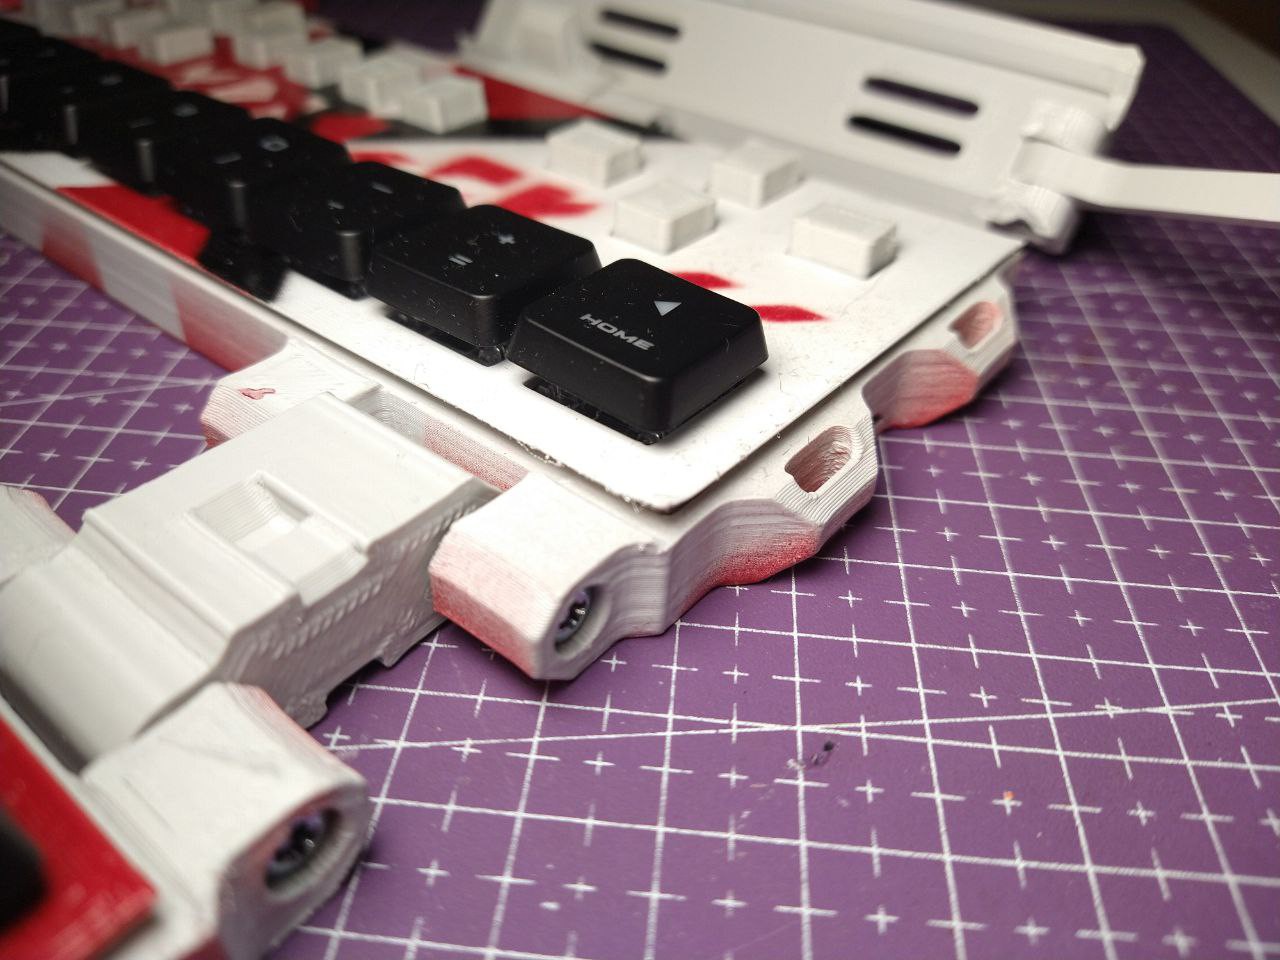
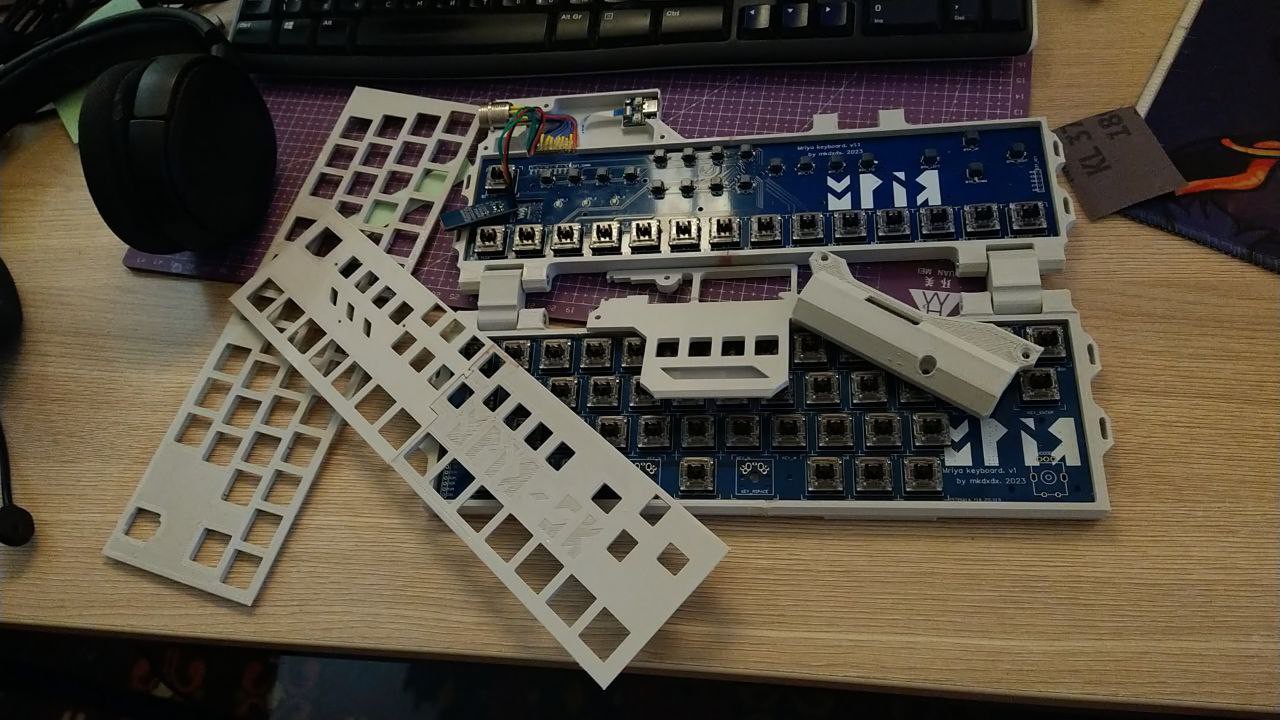
First and foremost - the build has a lot of constructional problems:
- My printer is not properly calibrated and at this point i'm not going to do it for this PoC, so there alot of imperfections all over the case.
- For some reason, my piece of reel that holds MCP23S17 features traces of corrosion on each and every chip pin, and add really short PCB pads for the chips - soldering is so bad, a little flex of the board makes the connection fly all over the place and keyscan goes nuts. Case imperfections just add insult to injury and tightening the screws bends the case slightly and it leads to, you guess, another set of key scan issues.
- Form-factor and ergonomics are, let's say, highly experimental. But i think that was the point of the whole project last time.
- Cover of each part does not allow full switch travel - haven't forseen that, but oh well.
- I made the bolt recess for the lock-cover on the wrong side so there is no way you can comfortably drive it in.
![]()
![]()
![]()
![]()
Also, today the screen has died! It does not show anything meaningful, just scans some lines which remotely react to what it supposed to show. I guess i learned about how human-model ESD works the hard way.
![]()
So i guess, this iteration is going to be shelved until it surfaces as a part of another project.
Instead of a reminder for future updates:
- Explore PIO to drive IO expanders (emulate addressed SPI transactions) which may not give much edge in scanning speed, but theoretically leaves cores unloaded for other tasks (like running Doom, lmao)
- Add key backlighting.
- Rethink the ergonomics and hinge design.
- Make it wireless?
- Develop different bottom parts for different purposes (a piano keyboard that turns the thing into MIDI synth/sequencer?)
- Can't remember what else.
Definitely had fun designing, printing and painting the whole doodad several times over because i'm impatient.
First discord project entry says it started in September 8th and was not actively developed until really late now.
-
Construction hurdles
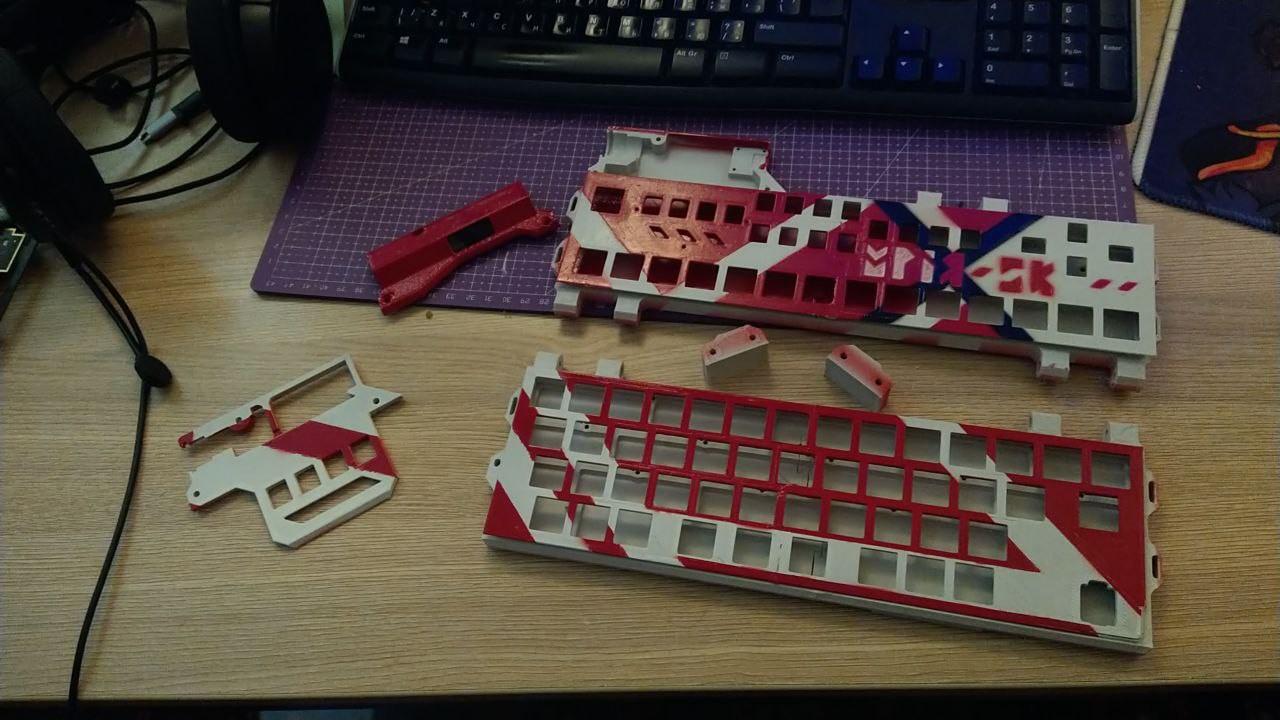
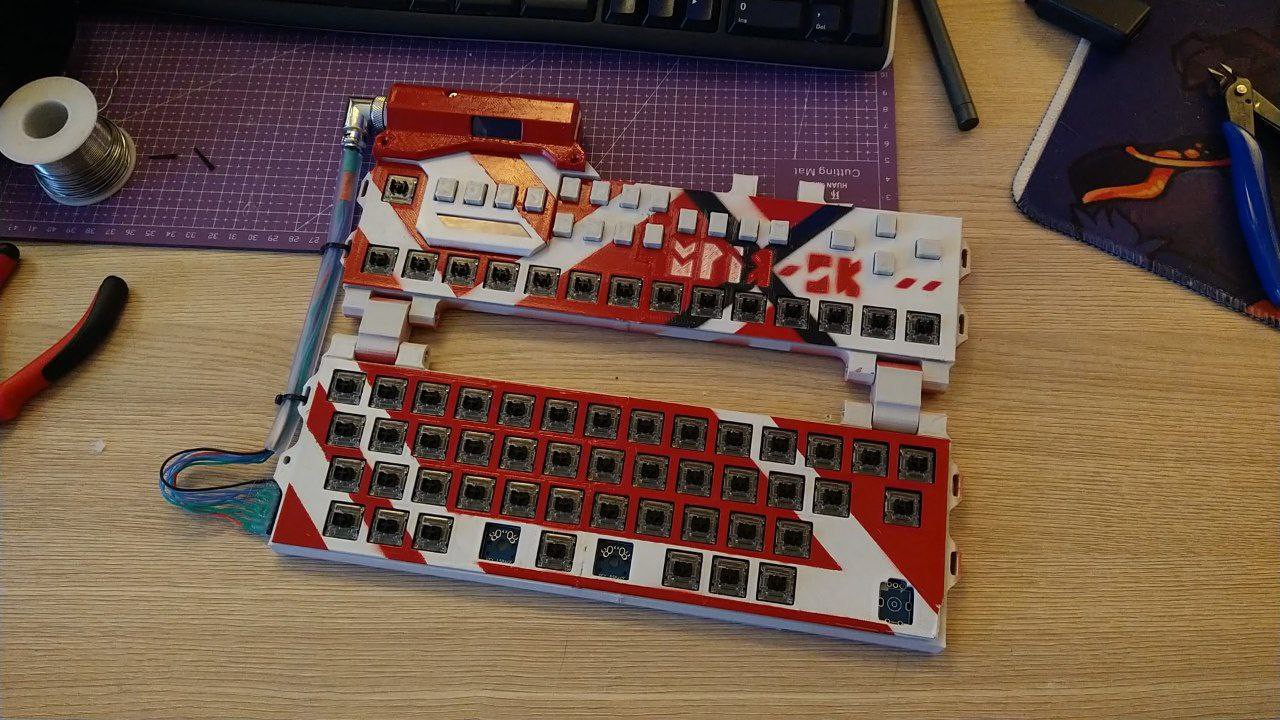
12/20/2023 at 17:03 • 0 commentsSo, once design was sorta stabilized, it was time to assemble everything and add some finish.
I've settled on a fairly easy to implement and jarring palette of red-white-black as i did with previous project here, so this is what i got:
![]()
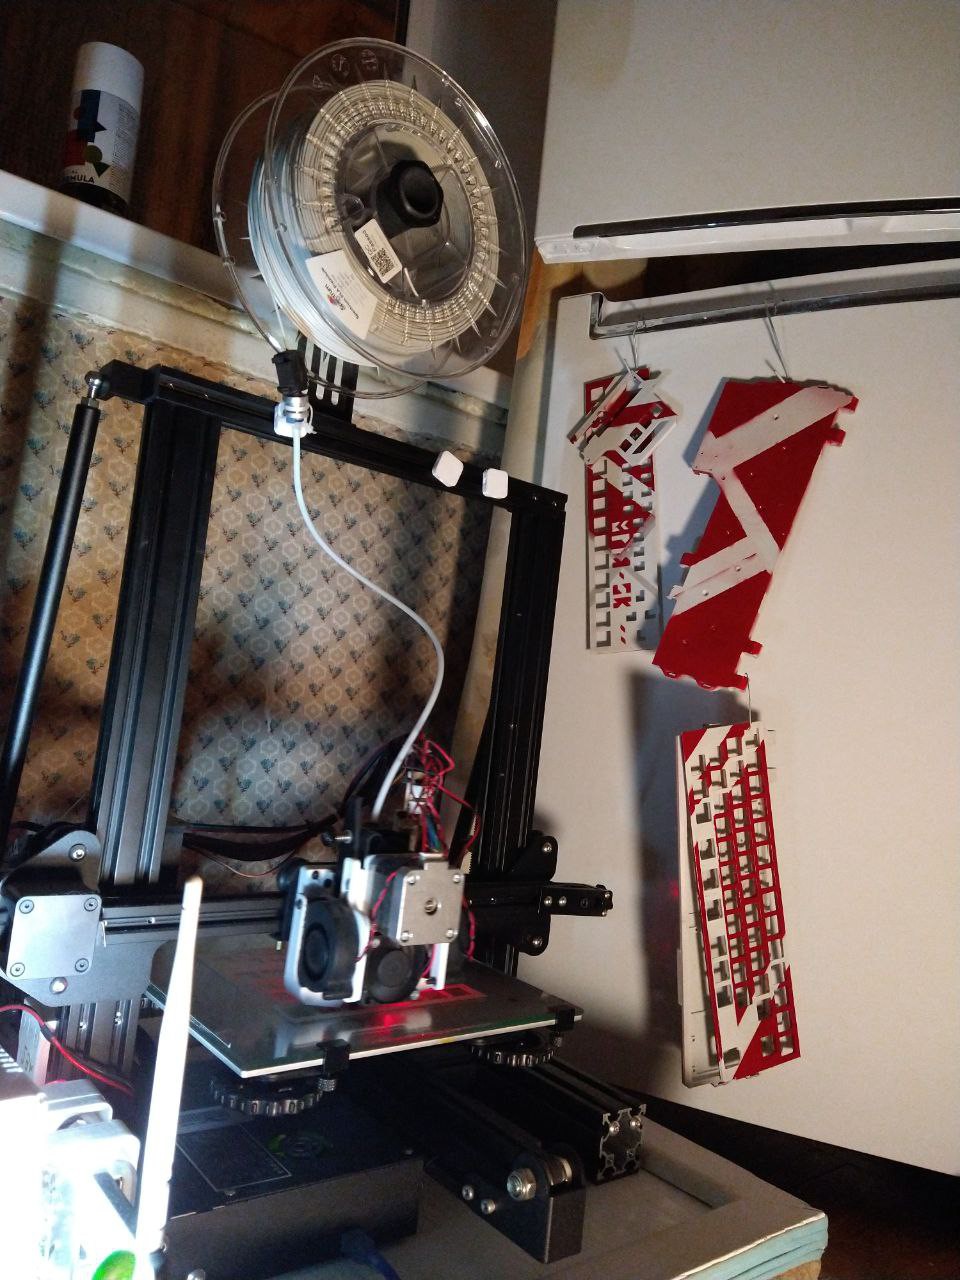
Here's a lifehack for those poor souls who decided to do spraypainting jobs in cold weather: heat sources and air movement accelerate drying process drastically. And a 3d printer is a heat source and air movement source at the same time:
![]()
Though it's still will be better if you allow paint to dry just a little bit outside since it stinks.
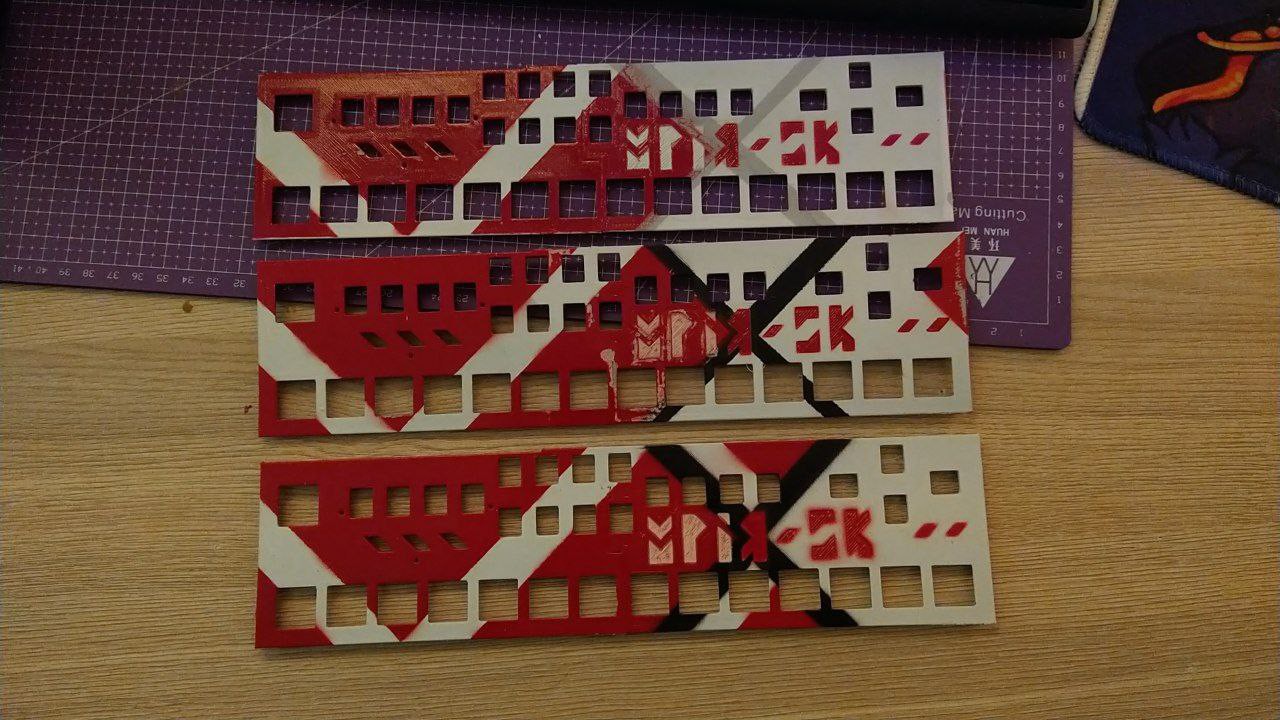
And in regard to paint drying procedures, what i've learned the hard way is that several coats of paint dry much longer (since the bottom one will be covered by something that you have painted over), and that patience is MANDATORY if you do not want to remake everything from scratch.
I'm not patient, but i was kinda ready to endure a few cycles of print-sand-glue-prime-paint procedure. What i was not ready is for the damage that it did to my sleep schedule.
![]()
But hey, past mistakes are the history we learn by, right?
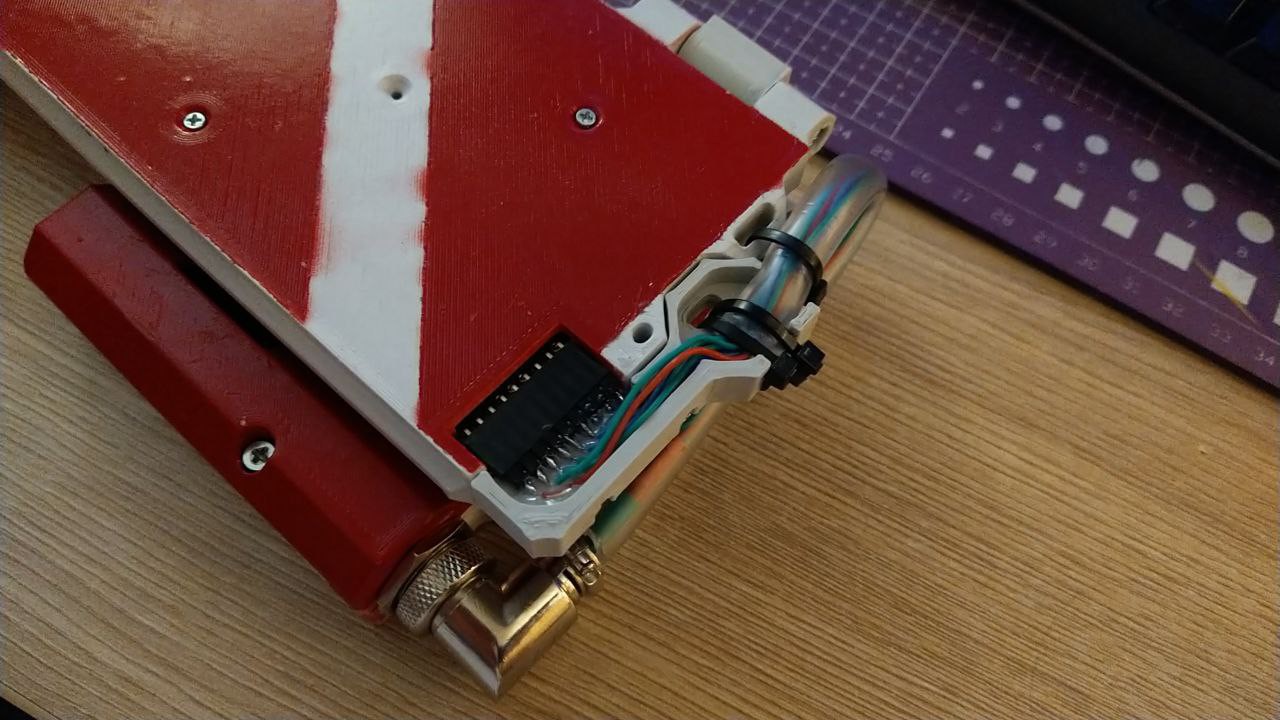
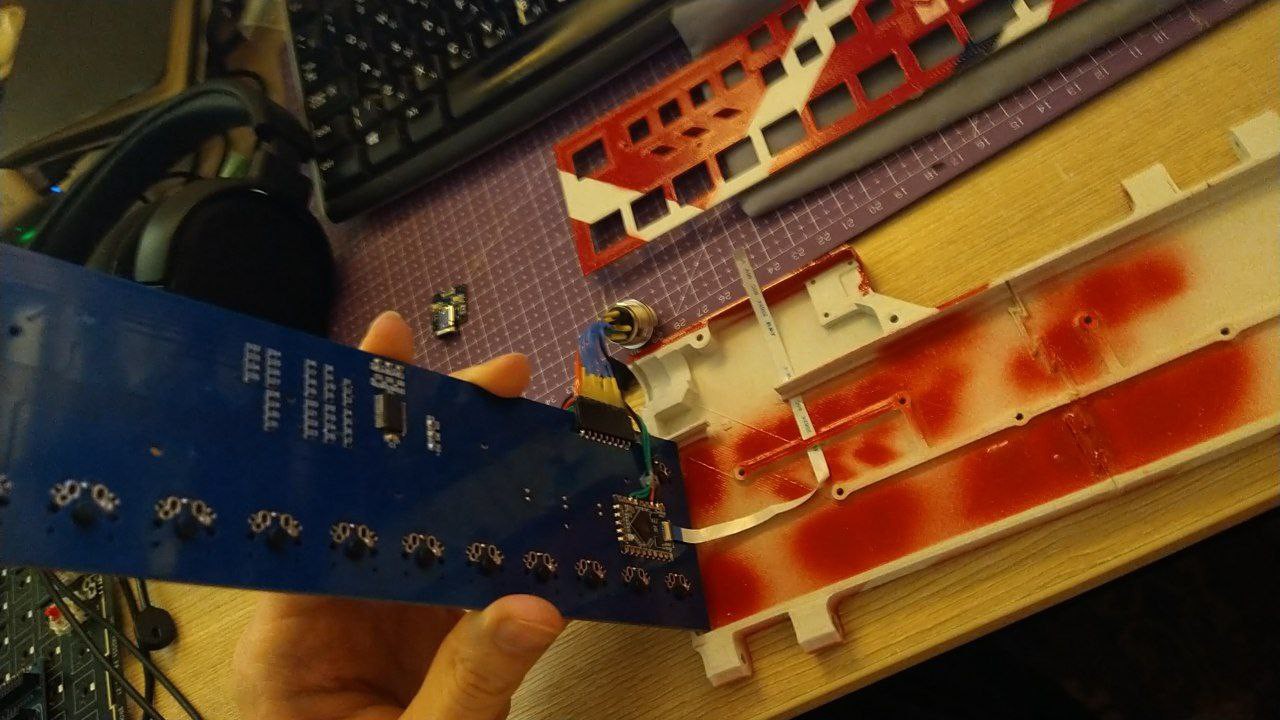
After everything has dried enough not to stick right away (it still sticks to things if you press hard and long enough tho), it was time for assembly. This RP2040 board i've chosen has USB broken out and connected via FFC - allows you to position primary connection wherever you wish. Everything else was straightforward also.
![]()
![]()
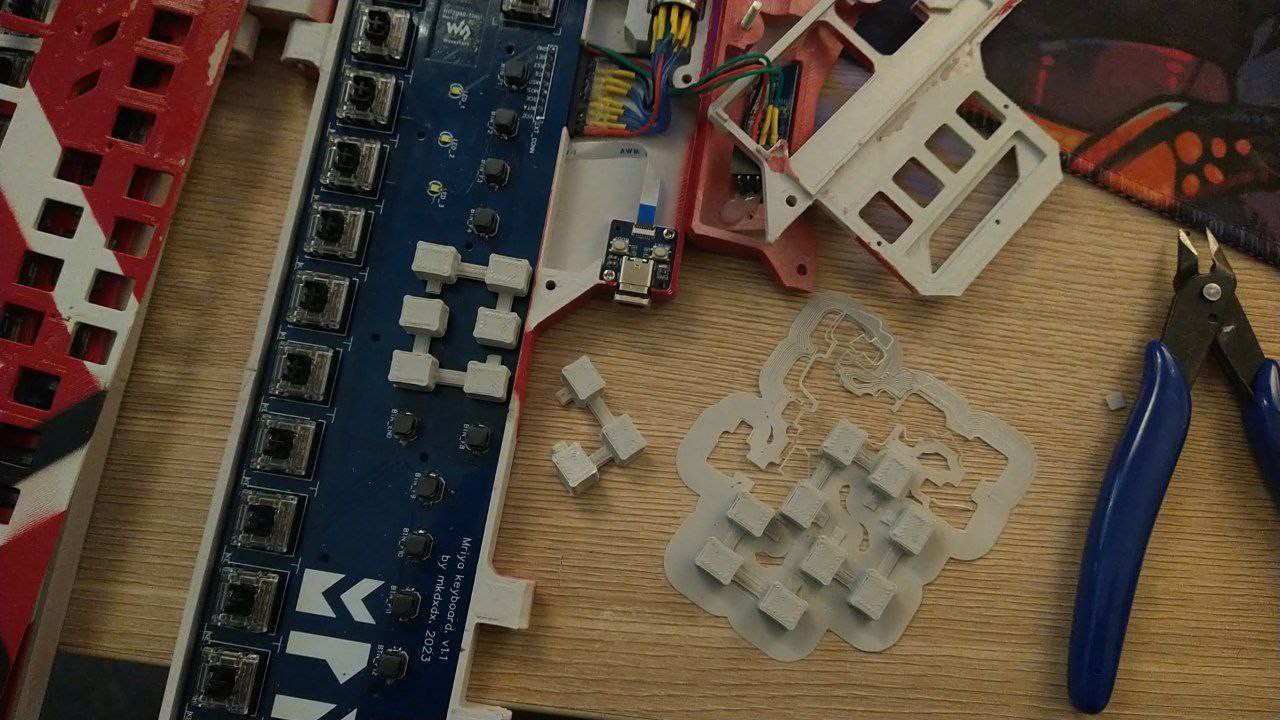
Buttons were tricky. See, i left so little space between the top cover and the PCB, it made coming up with the piston solution not trivial to approach. I've made these joined and flanged triplets so i could print them as is and then cut to fit the task of holding one under the cover, or hold a group of them - but not too many in one group. And it kind of worked. Needs more flanges though.
![]()
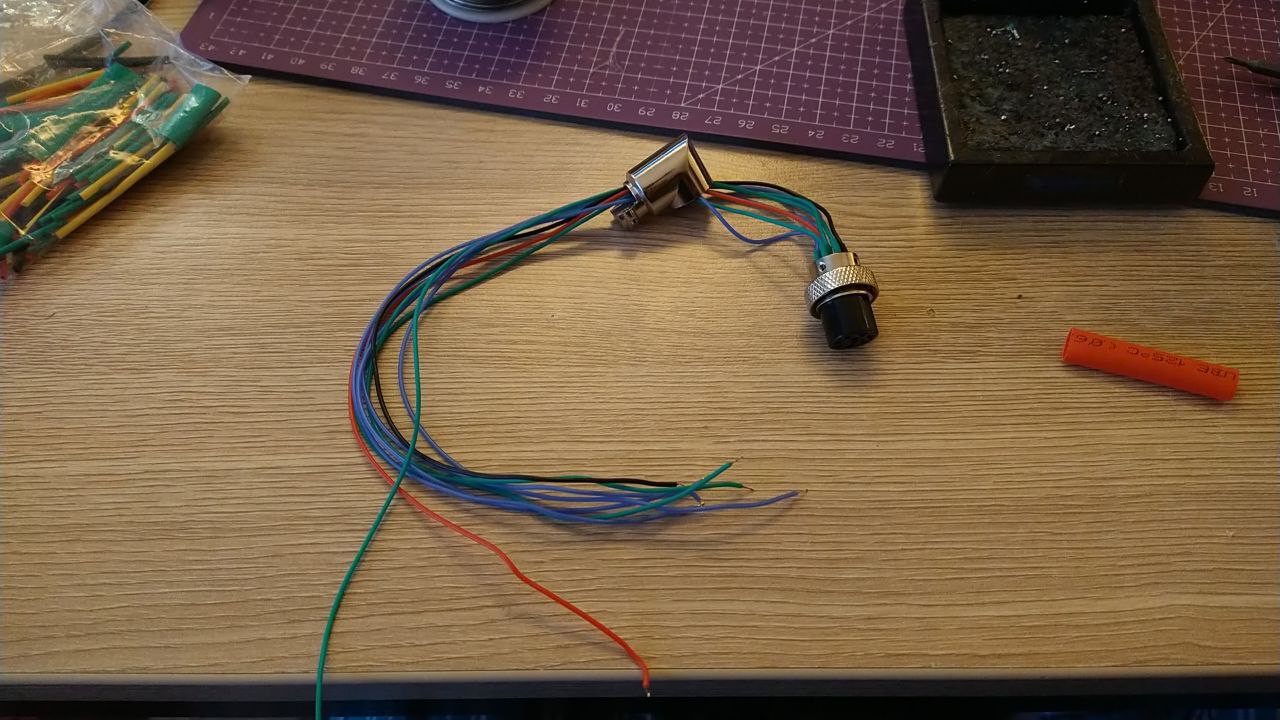
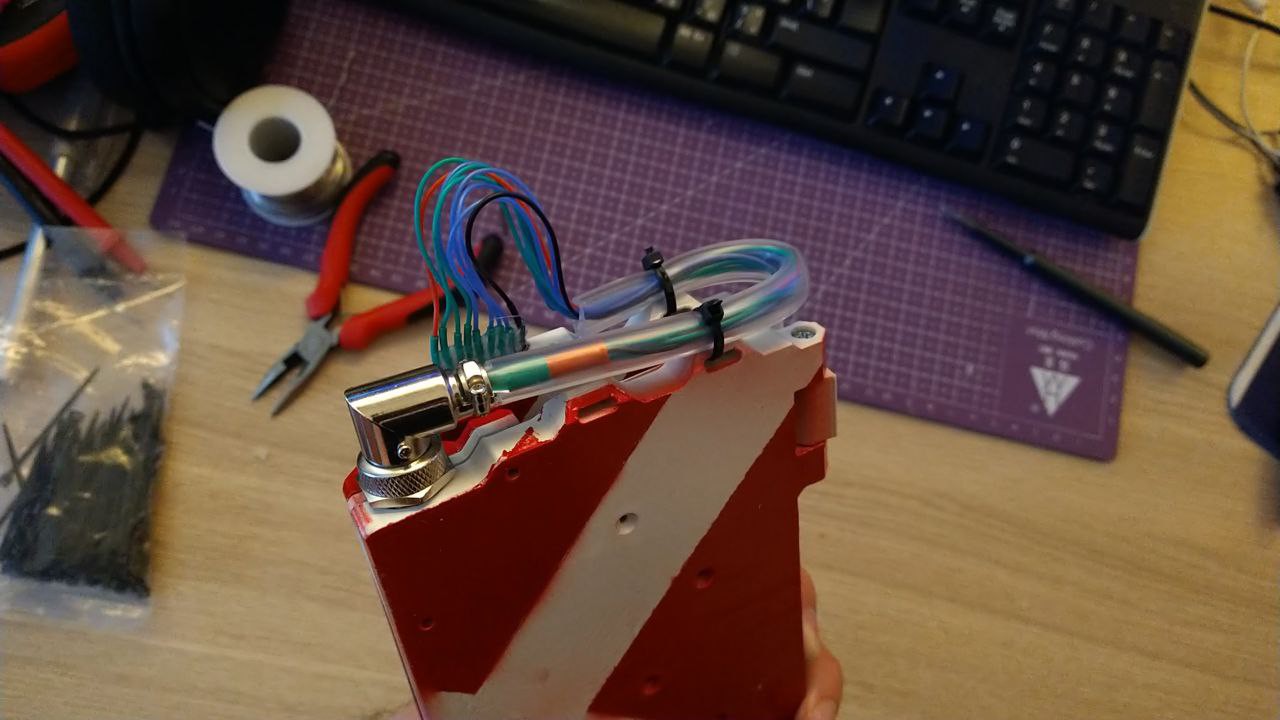
Primary connector assembly:
![]()
Add some silicon tubing to protect the leads:
![]()
Boom, the peak of impracticality: achieved.
![]()
Add some low profile key caps. Encoder knob pending:
![]()
A little logo screen animation + key test mode to close out for now:
-
Repo setup
12/19/2023 at 06:27 • 0 commentsGot a public repo here.
Please do not expect high quality work there, nor you should look for long term support or consistency there.
Code is there, it's available, it can get the board running in certain conditions, and it is a subject for many sudden changes.
"Provided as is", "no guarantee", "author bears no responsibility for property and/or health damage", you know the drill.
For now.
-
Intermediate assembly
12/12/2023 at 00:35 • 0 commentsI'm sort of done with modelling for now.
Parts have been printed, epoxied, primed, painted over and currently drying out in our slimy -1C winter. Fingers crossed for acrylic to stick to enamel - i've decided to use Zvychai's palette so not to invent anything new here, but "signal red" color was only available in acrylic, whereas white was enamel.
Or else i will have to decide if scaling pattern would be my inadvertent style evolution.
![]()
-
Outlining the shape
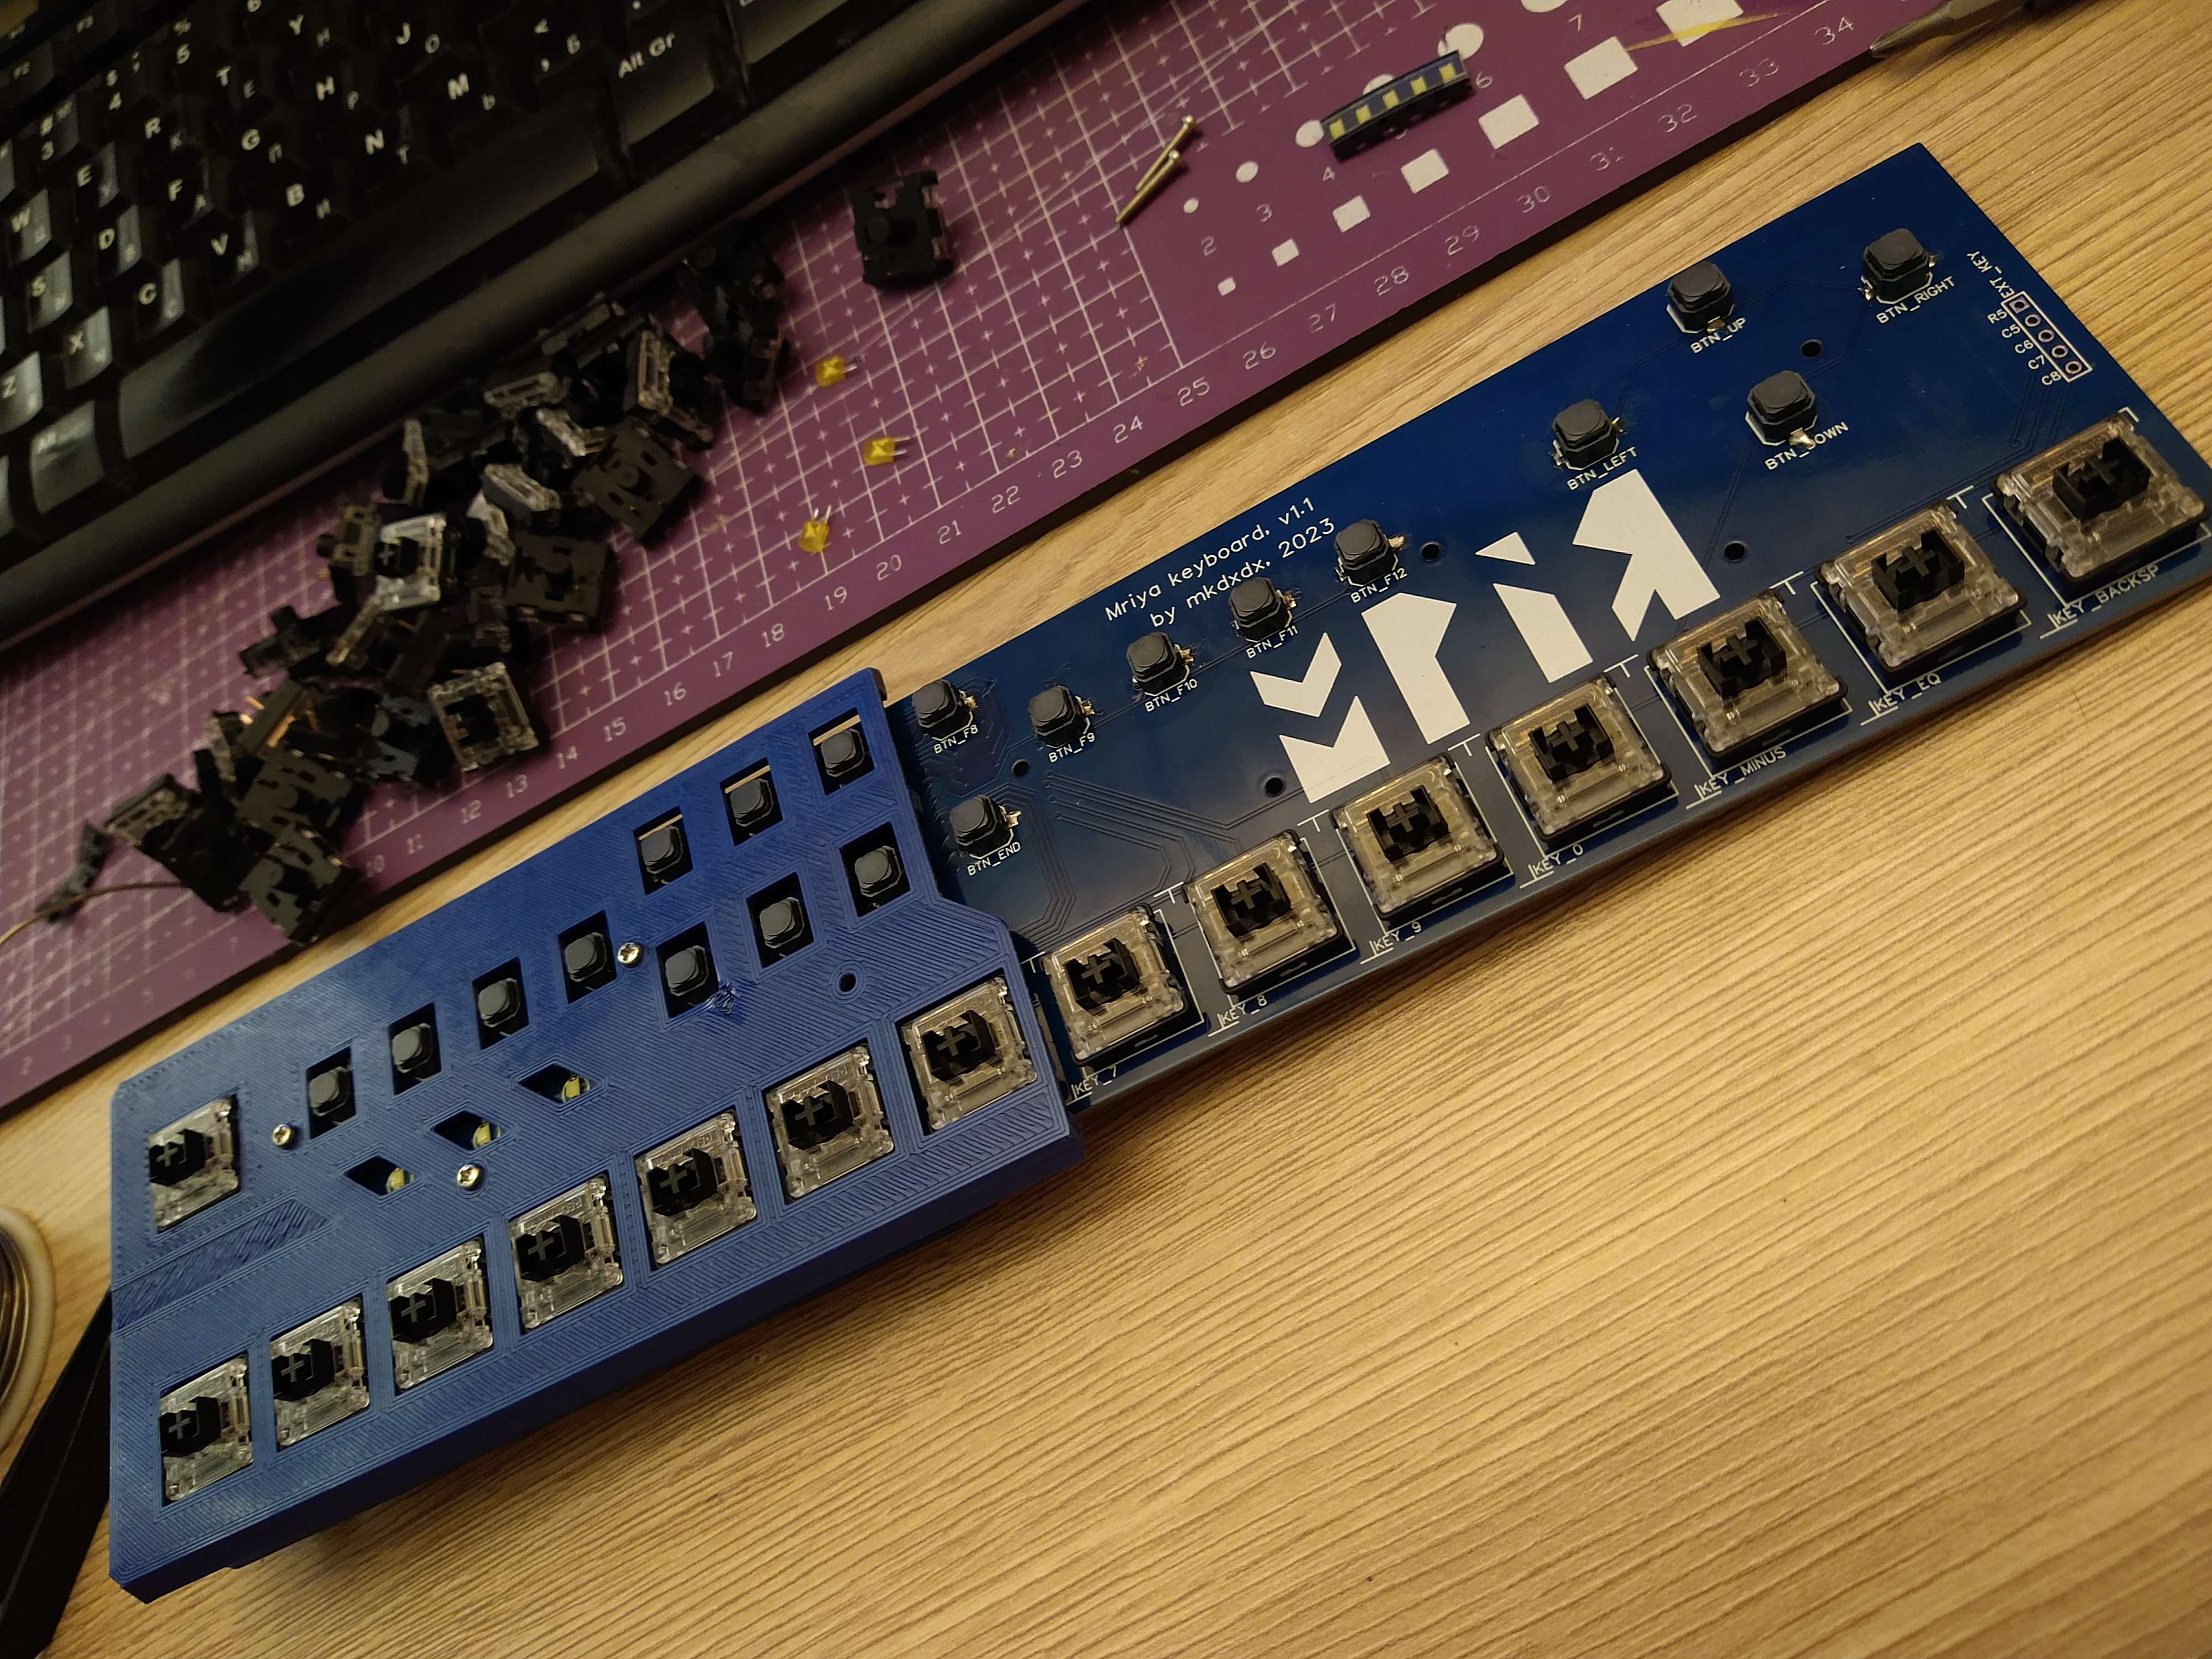
11/30/2023 at 01:52 • 0 commentsIt seems like schematic is sound and after some assembly, i got basic keyscan working on I/O expander but with no HID USB yet - TinyUSB and the whole RP2040 SDK feels kinda alien to me right now and i think i won't touch it while i'm still working on the case and the assembly.
It's just far more efficient to leave 3D printer working and then go do something that does require your attention - like writing the code.
Though i do have some basic sketches of what it supposed to look like, in all it's half-assembled glory:
![]()
![]()
![]()
What i could have done better was the switch alignment - their pins fit in a very cramped fashion and i'm left with a choice either fit it without pins being in stress but the switch will look rotated half a degree, or - fit it more or less straightened out, but with pins bent noticeably - probably with some implications in regard to longetivity of the assembled sample.
Oh and note to self and to whoever reads this - if at some point you question yourself whether or not your project needs a solder paste stencil to assemble everything comfortably - ORDER A DAMN STENCIL and you will express much gratitude to past-you.
Life is just too damn short lately to solder a hundred of these by hand:
![]()
But the project takes shape. Progressively.
![]()
Now enjoy this little animation while i finalize hinges and interlocks:
![]()
-
First commit
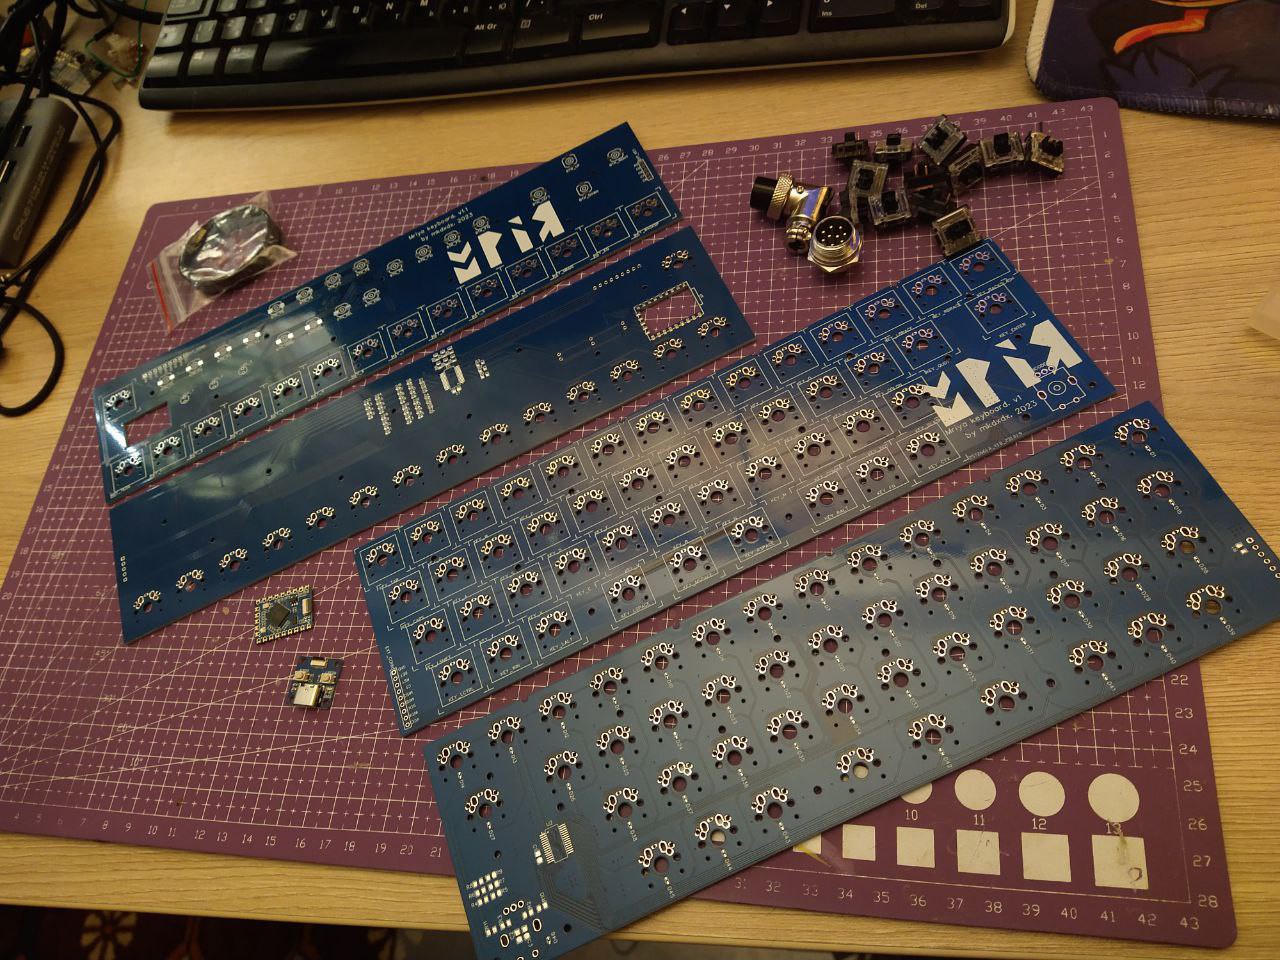
11/21/2023 at 20:58 • 0 commentsAfter two iterations, the boards are here.
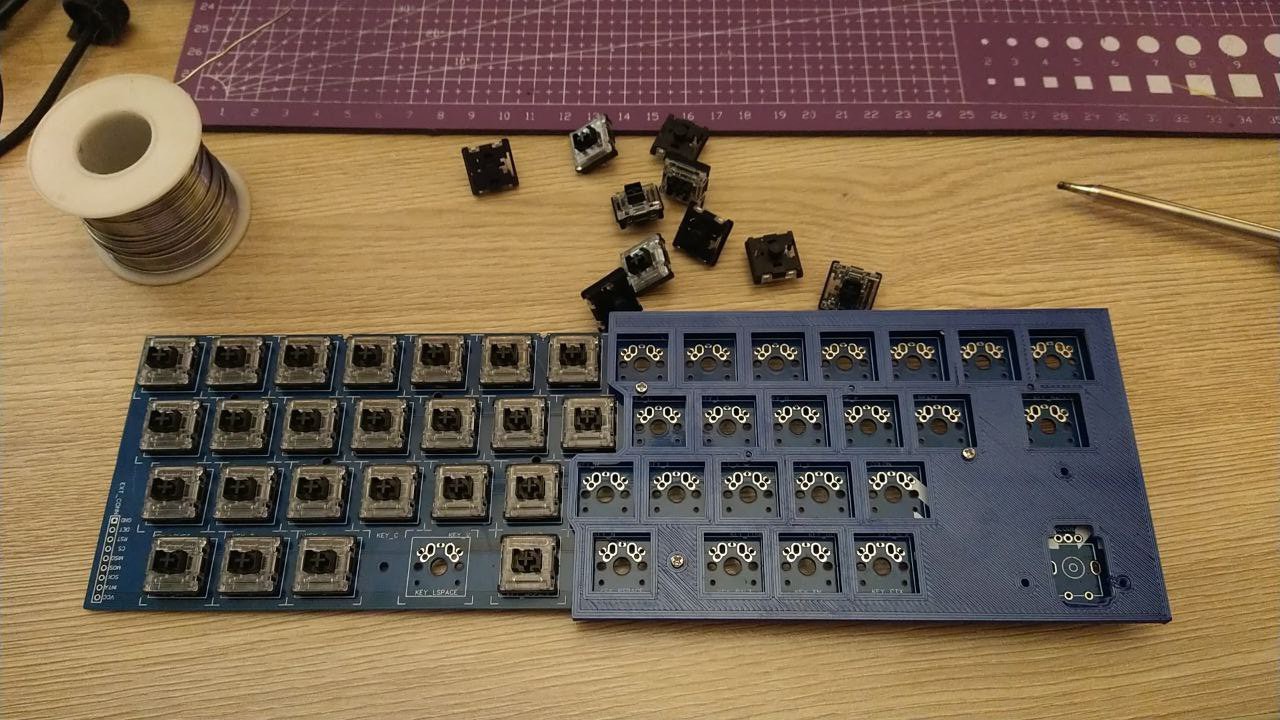
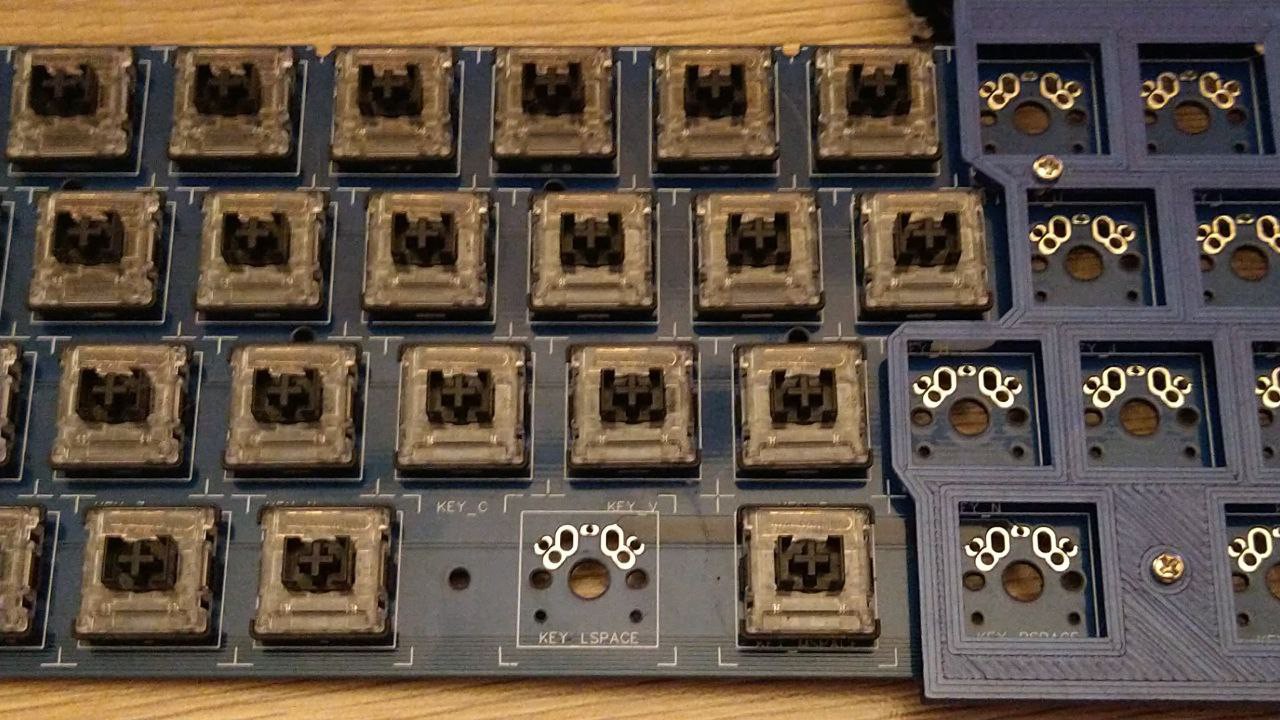
Turns out, mechanical switches from aliexpress aren't always "compliant" to other standards and so what I've got in the end was a headache of them not fitting properly into their places due to their "stump" being around 4.3mm thick instead of 4-ish mm.
Gateron hotswaps were fitting fine into my first version of the board, but not these "REDRAGON" clones.
Fortunately for first iteration I only ordered the top half and after the modification, ordered it again with the bottom half.
And here they are, ready to be assembled and tested. Along with some switches, 9pin "aviation" (this gag may surface later) connector, Waveshare RP2040 board and a little reel of SOD-523 diodes.
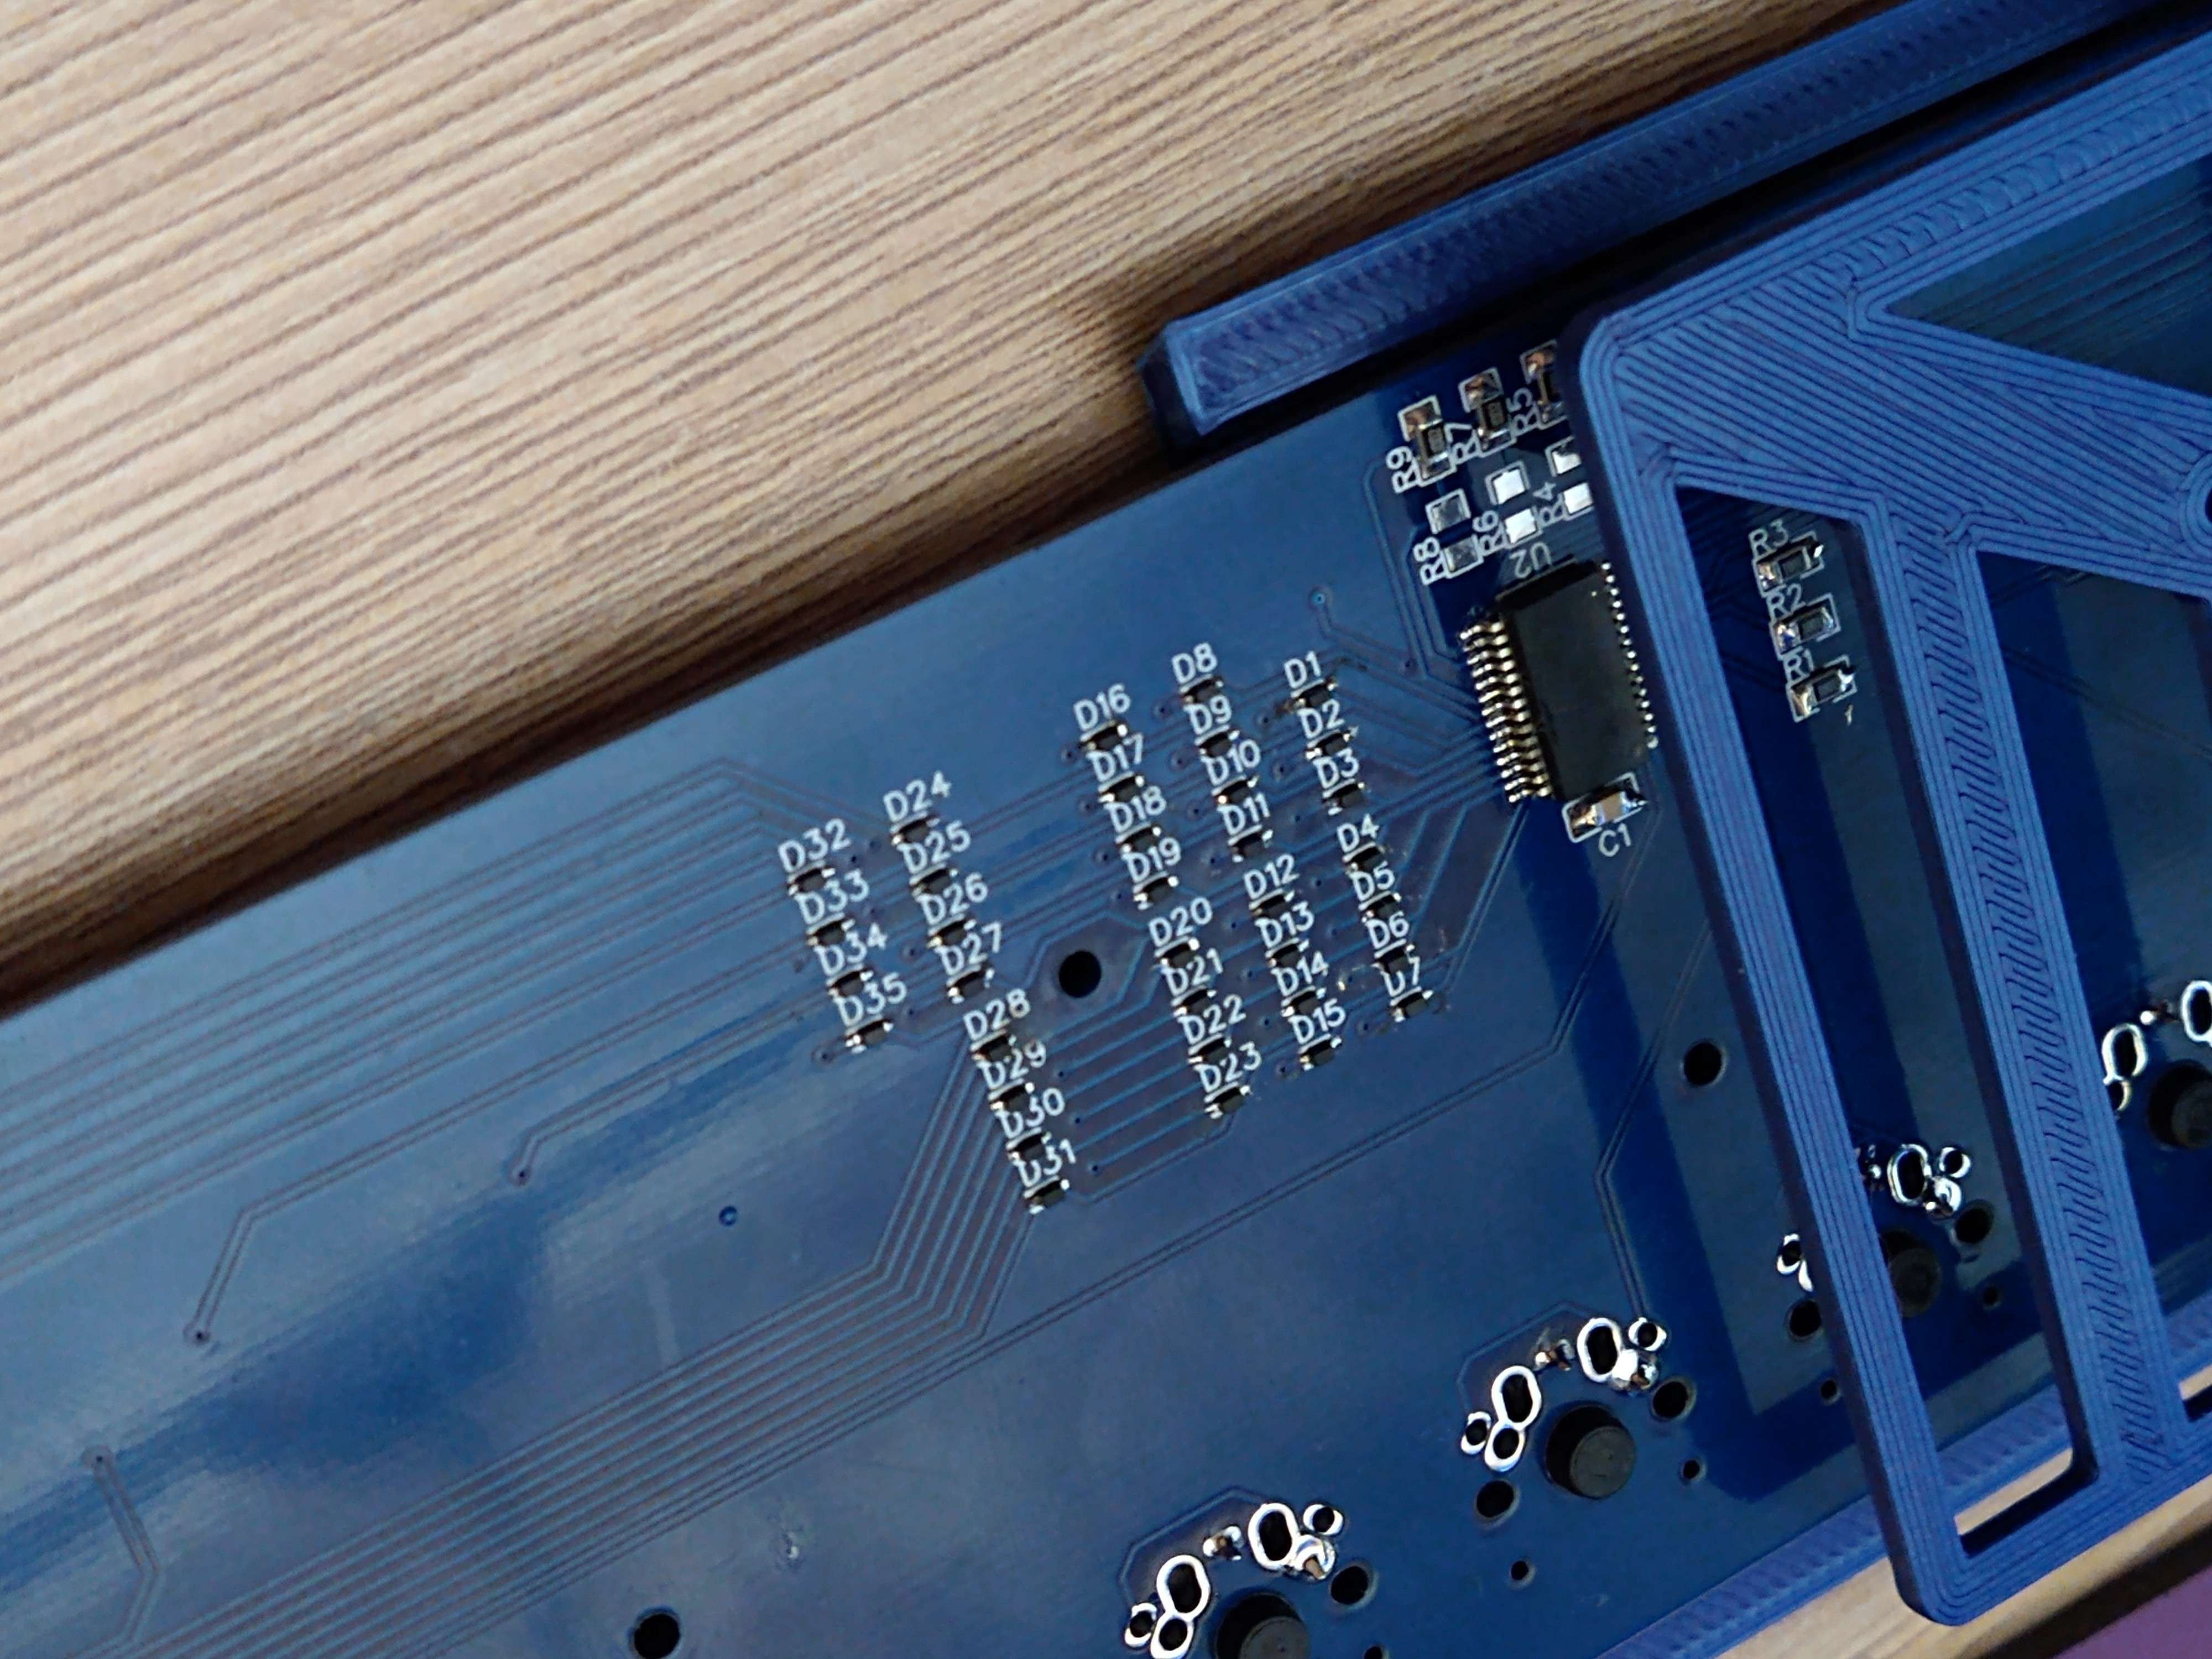
Yes, diode placement differs between the boards - that is because I want to see which i like more. Top part has matrix diodes placed in a little table-like section near IOX. Bottom part has diodes placed hear each switch - which also has it's own charm. LMK what you guys do when you spin your own keebs.
![]()
I haven't yet decided on keycaps though. I can borrow lowprofile keycaps from a friend, but he says their design might be under NDA, so for a first version I might go for something more crude.
We'll see.
MOK keyboard project
Two-part keyboard which supposed to be foldable but can be whatever
 mkdxdx