-
Late Night Battery Hacking (Part 2)
09/09/2024 at 09:40 • 0 commentsOnce inside, we began to identify the connectors:
![]()
![]()
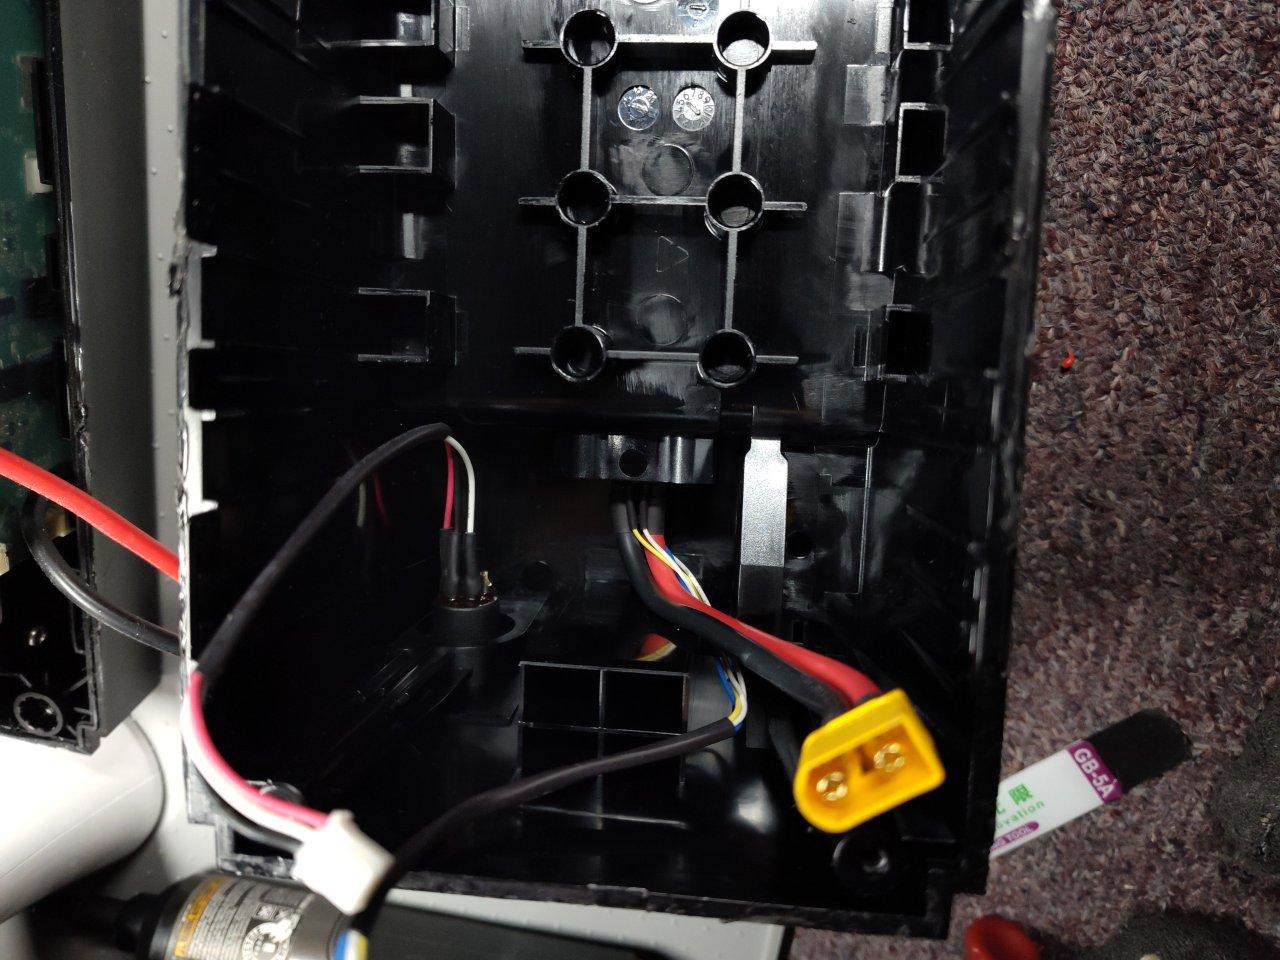
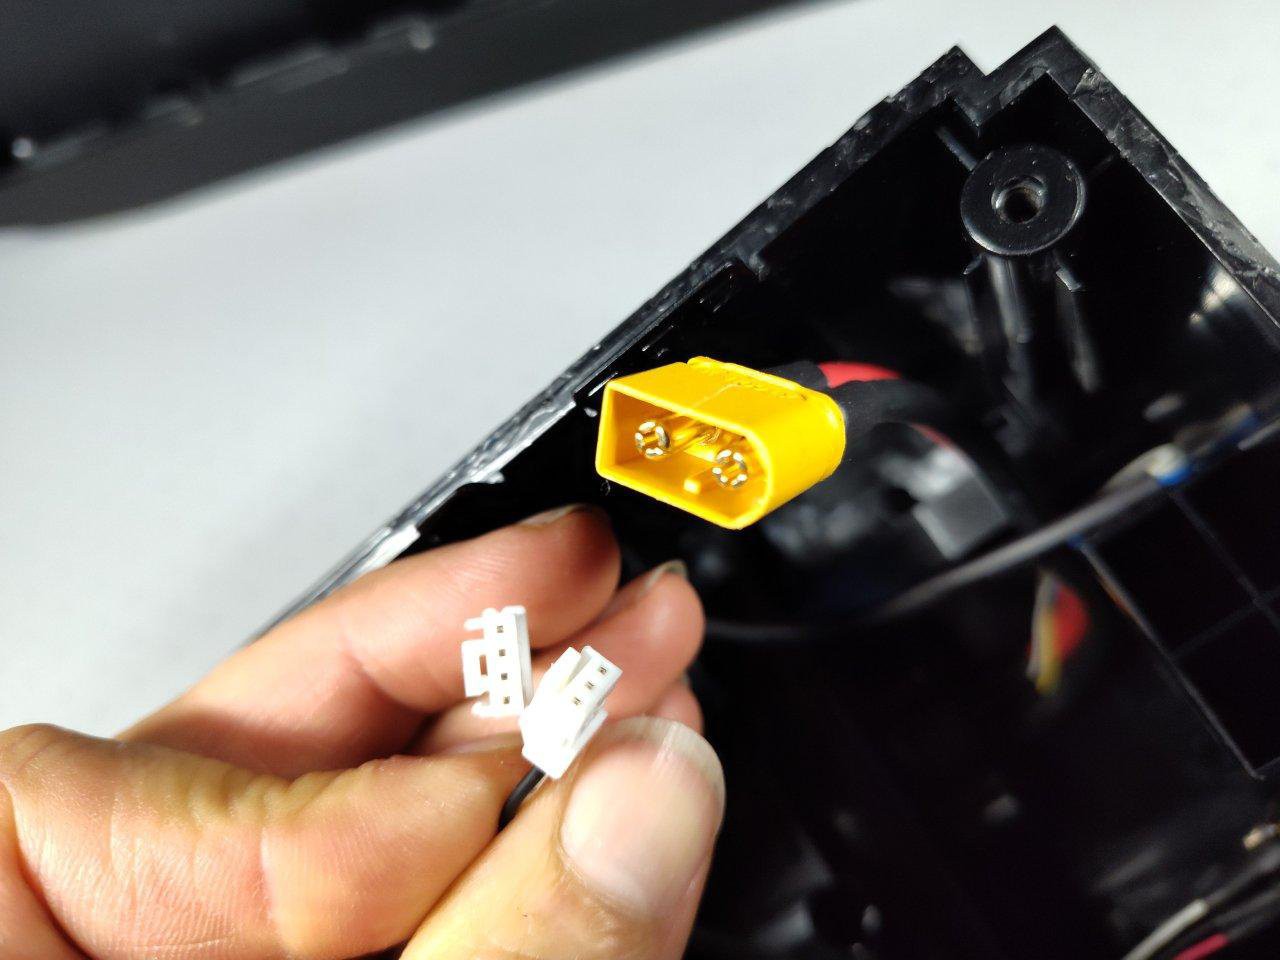
Nice chonky standard XT60 for the power port management. Great choice. Extremely large-gauge wire and legit heat shrinking, too.
Notice one of the pins on the XLR charging point is NC (no connection).
![]()
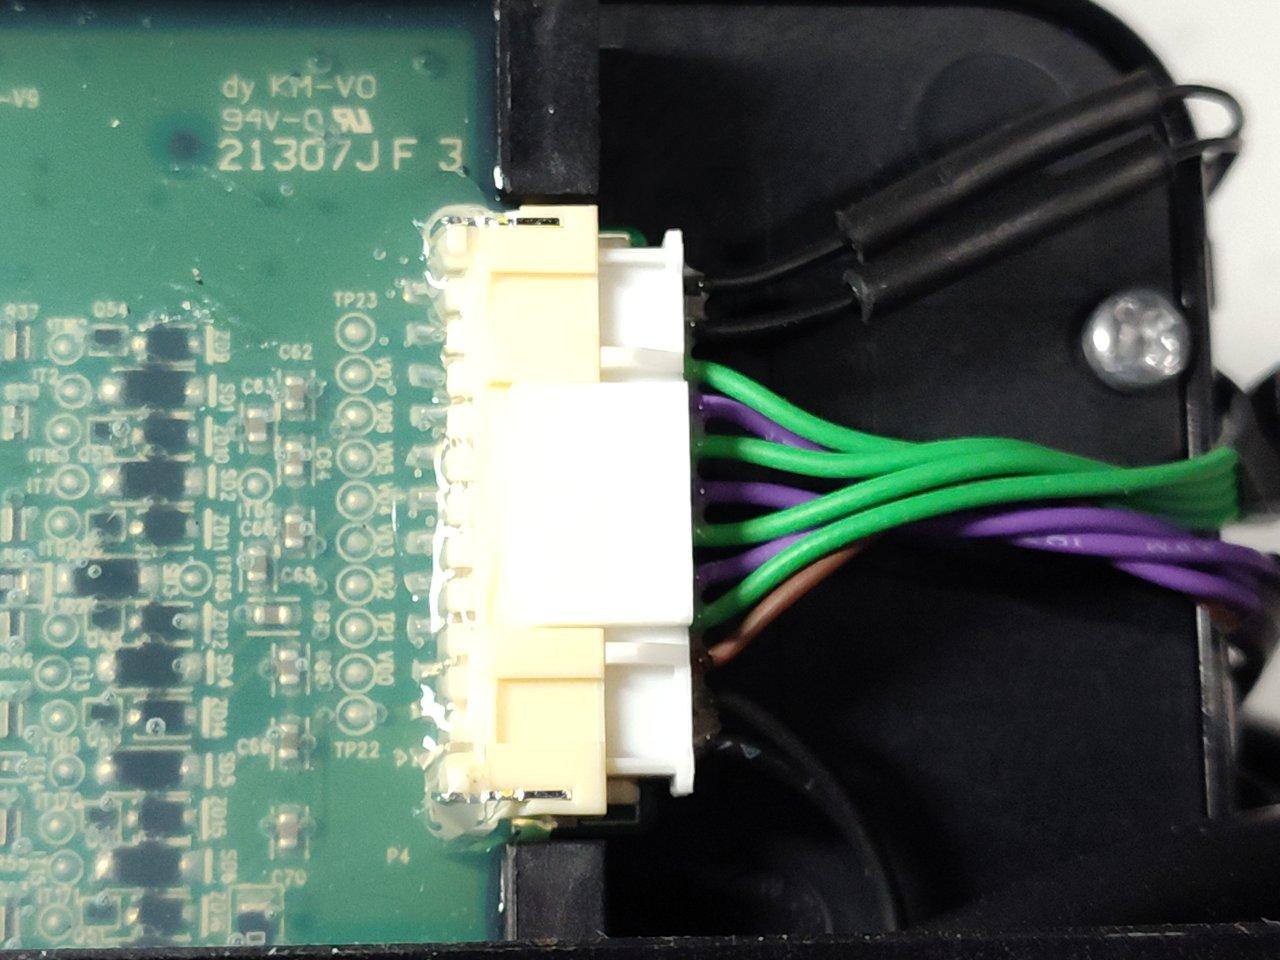
Next, we took a look at the other 2 plugs. The 3-pin white one is for the charger (goes to that 4-pin black XLR plug). The 4-pin white plug here is for the battery data, to communicate with the main CPU in the motor controller module.
The pin pitch appears to be 2.0mm. They look very much like JST-GH with the locking mech. Or something similar.
![]()
But what's this?? There's a *big* circuit board in here, and the entire thing is coved up in a squishy molded epoxy!
![]()
Here's our FETs...a few of them, actually. 2 small-ish ones, a large TO-263 FET, and a couple of LDOs - probably +5V and +3V3. The chip in the upper right is no doubt the MCU. Possibly an STM32.
![]()
On the right side there, is no doubt the Li-ion controller. I predicted it was one of the TI ones used so often in laptops.
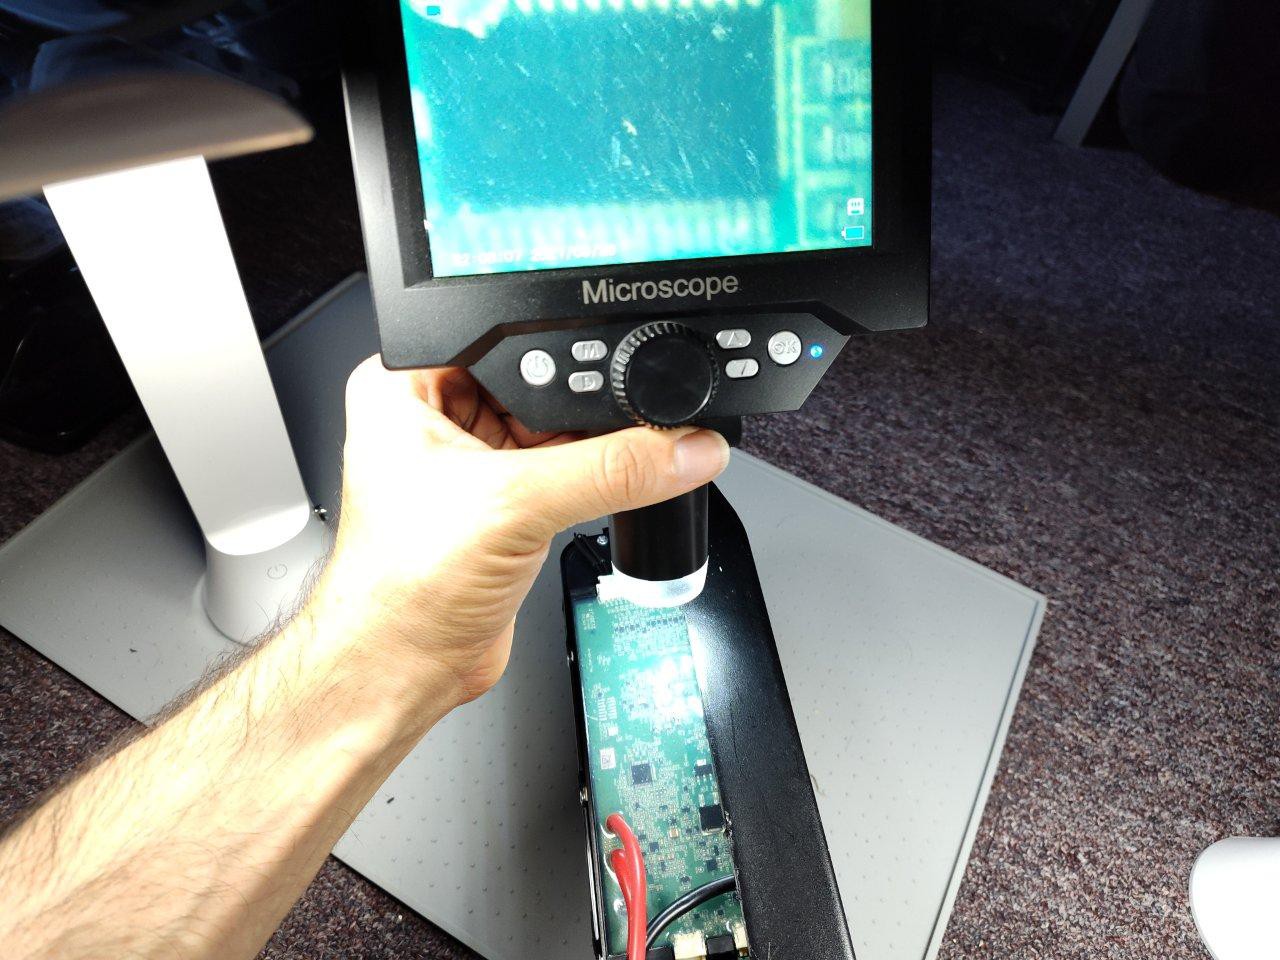
The special "guts" is the Li-ion controller. Agent H asked me if I could make out any part numbers above the epoxy. It wasn't easy, but I worked at it with my portable microscope changing the angle of the light..![]()
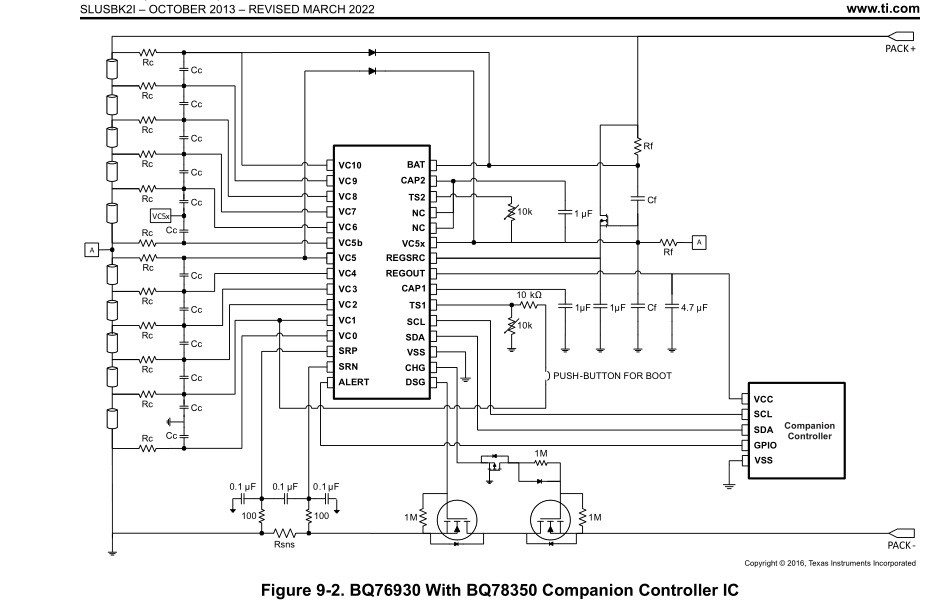
After a few tries...success! I read off the barely-legible text to my co-hacker to throw into a search engine. Sure enough, it's a TI chip, the BQ76930. (some more info here.)
![]()
Standard stuff for Li-ion, really. I2C controllbus and 2x FET control for charge and discharging.
The battery MCU I suspect is an STM32 communicating to this via I2C. But what about those 4 output wires? We suspect it's a CAN bus protocol, a reliable differential communication used in car systems mainly. Here's the ouput plugs for it and the charging port:
![]()
And then here is the battery cell plug. Don't disconnect this unless you want to have a really bad day! It is very likely that the entire system is live-monitored, and will permanently kill itself if it senses any kind of voltage problem (for safety, of couse- )![]()
Only a factory re-program could save it in such a case, but we don't have access to that of course. So I'm leaving this guy plugged in for sure!
[To be continued...] -
Late Night Battery Hacking (Part 1)
09/09/2024 at 09:26 • 0 commentsA friend of mine is always excited about hacking wheelchairs - they are a fellow power chair user and we each have Whill F's. We've been chatting about getting a hack session together to see what we can discover.
This is all coming together recently though, since I got some new parts thanks to Right to Repair. If you haven't seen my video presentation on that, I highly recommend it!
My friend has also been starting this non-profit for wheelchair tinkerers called "Grassroots Open Assistive Tech" - or, GOAT!
They put together a call-out and found none other than...a local battery design space to host us! Sweet!So we have parts and we have a hack day on the calendar. But what to prepare before hand?
I've been afraid to open a $660+ battery (after tax). I mean, that's a lot of bread! But my friend, let's call him "Agent H" gave me some late night encouragement over a video call:
![]()
Agent H is a totally brilliant engineer that can reverse engineer a great many things. He is also a kind and patient soul, good for calming my nerves. If I was gonna feel safe enough to take the plunge, this was probably it!
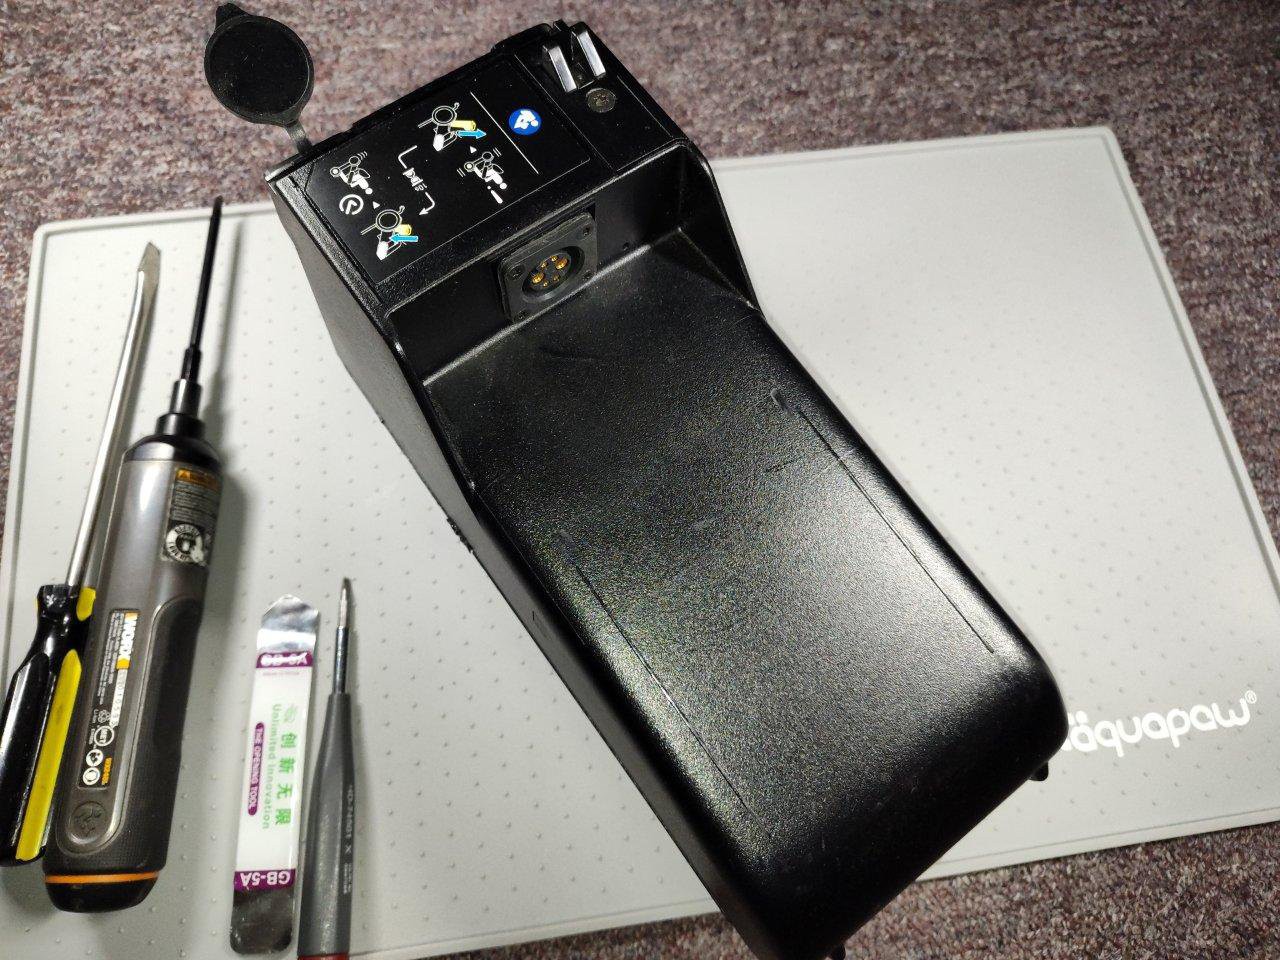
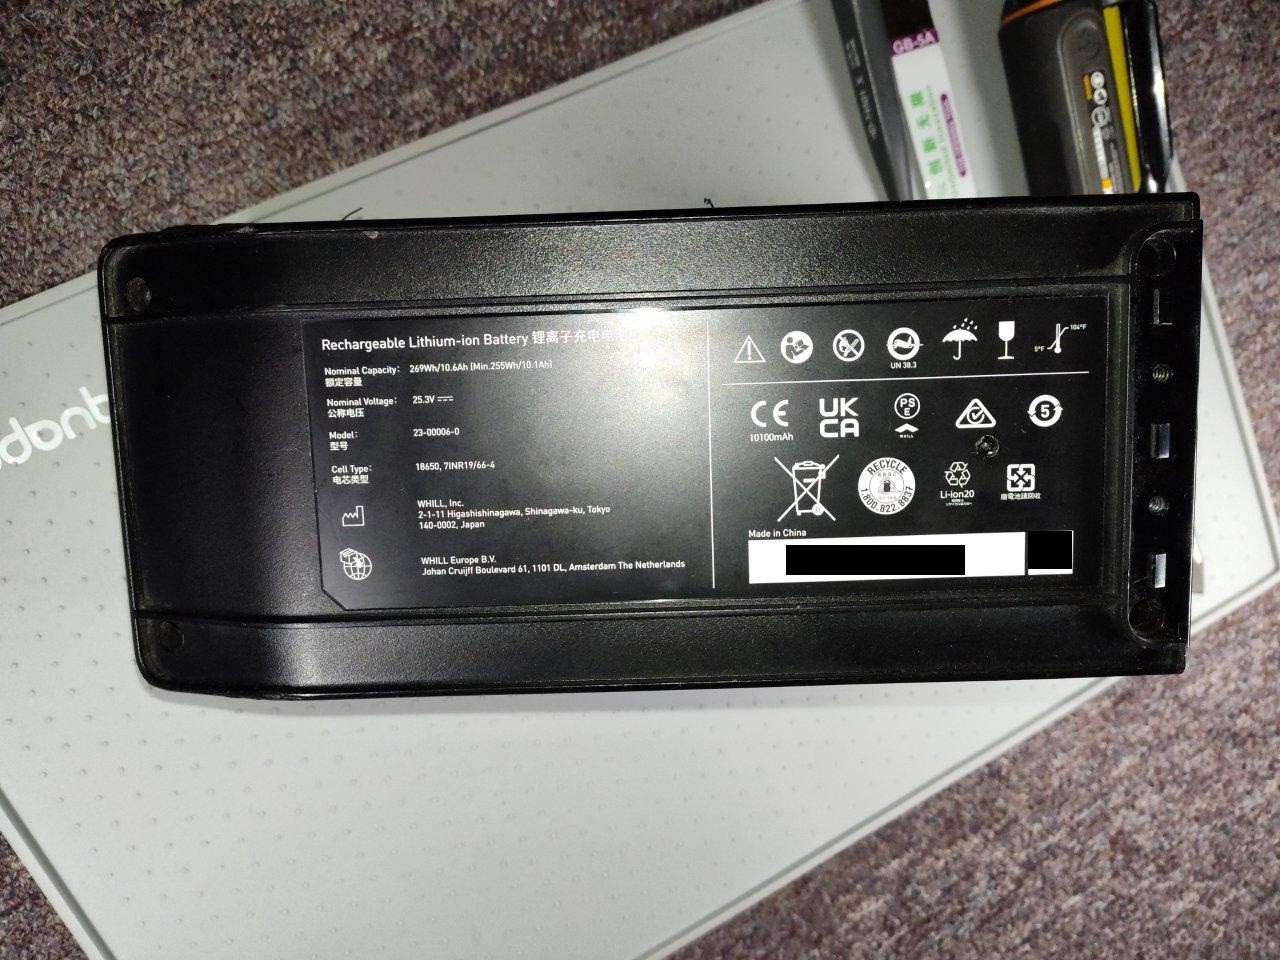
It's a nice-looking battery. Solid, smooth Japanese engineering behind this one:
![]()
![]()
![]()
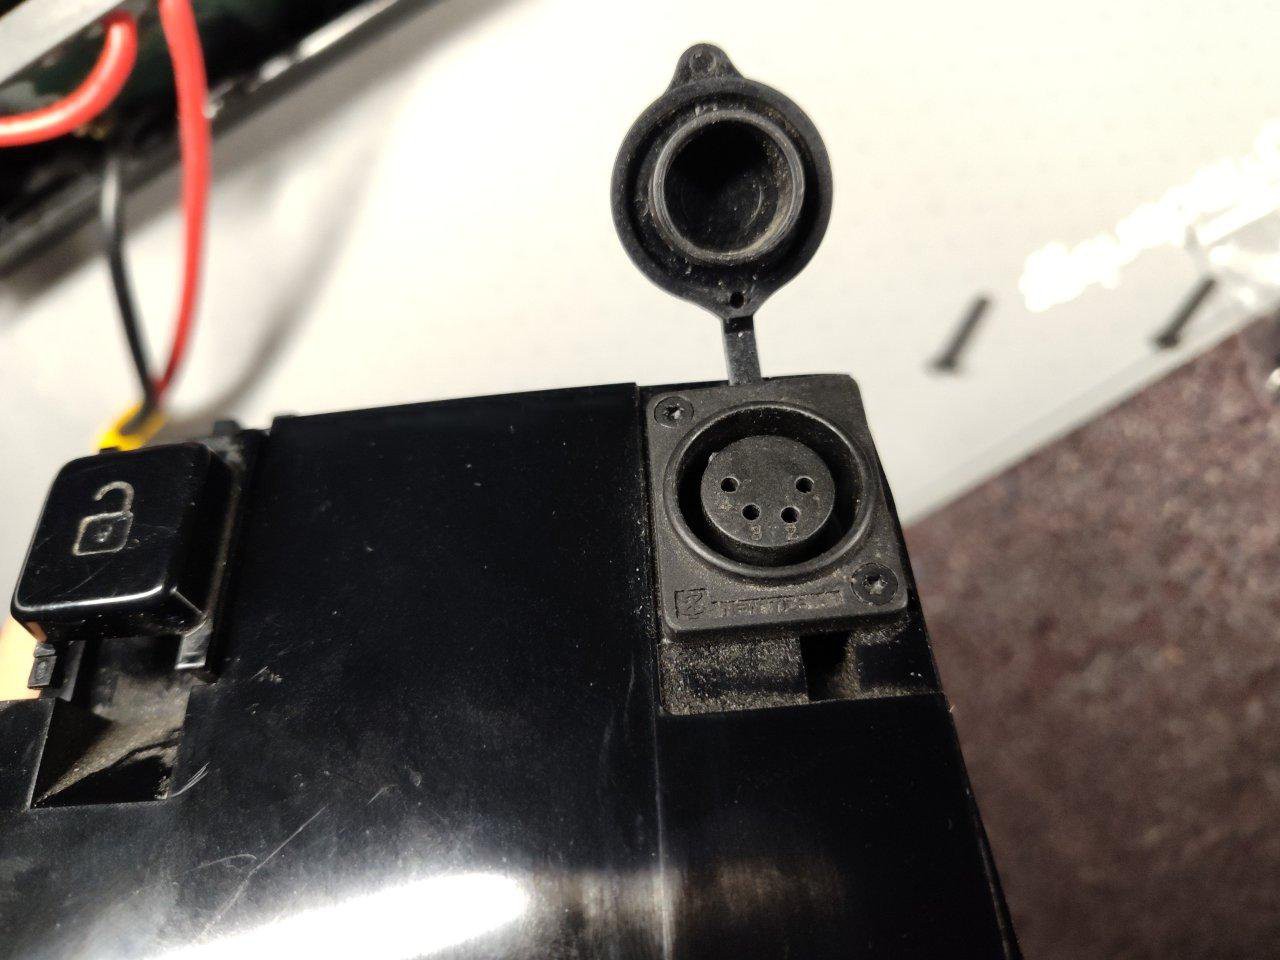
The charging port is a somewhat uncommon XLR-4 pin connector. It has a weathproof socket cover. On the left is a nice pushbutton release mech, which actually doesn't need to be removed at all for getting inside this battery.
Then we have this nasty guy....
![]()
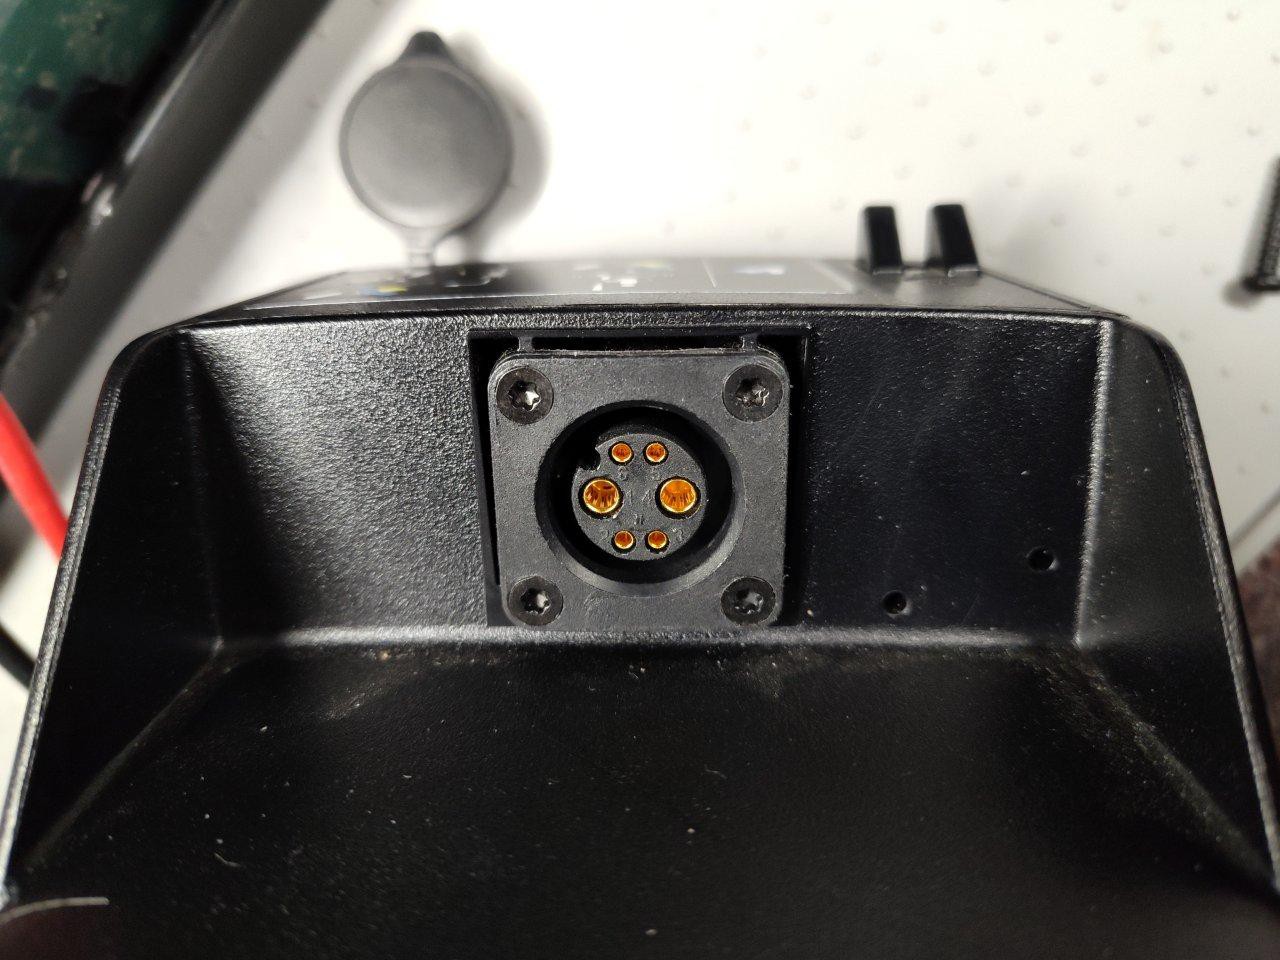
Mega proprietary plug! I couldn't find a source for this anywhere. It's got 2 center power pins and 4x data pins. Also notice the "key" notch around the socket.
With the necessary tools out, I took a look for where the obvious screw are. They are star (torx) bits in 4 places on the bottom side..
![]()
Those 4 screws removed easy. Then was this vanity plastic cover with the handle. That had 3 sorta-annoying plastic clips to undo...
![]()
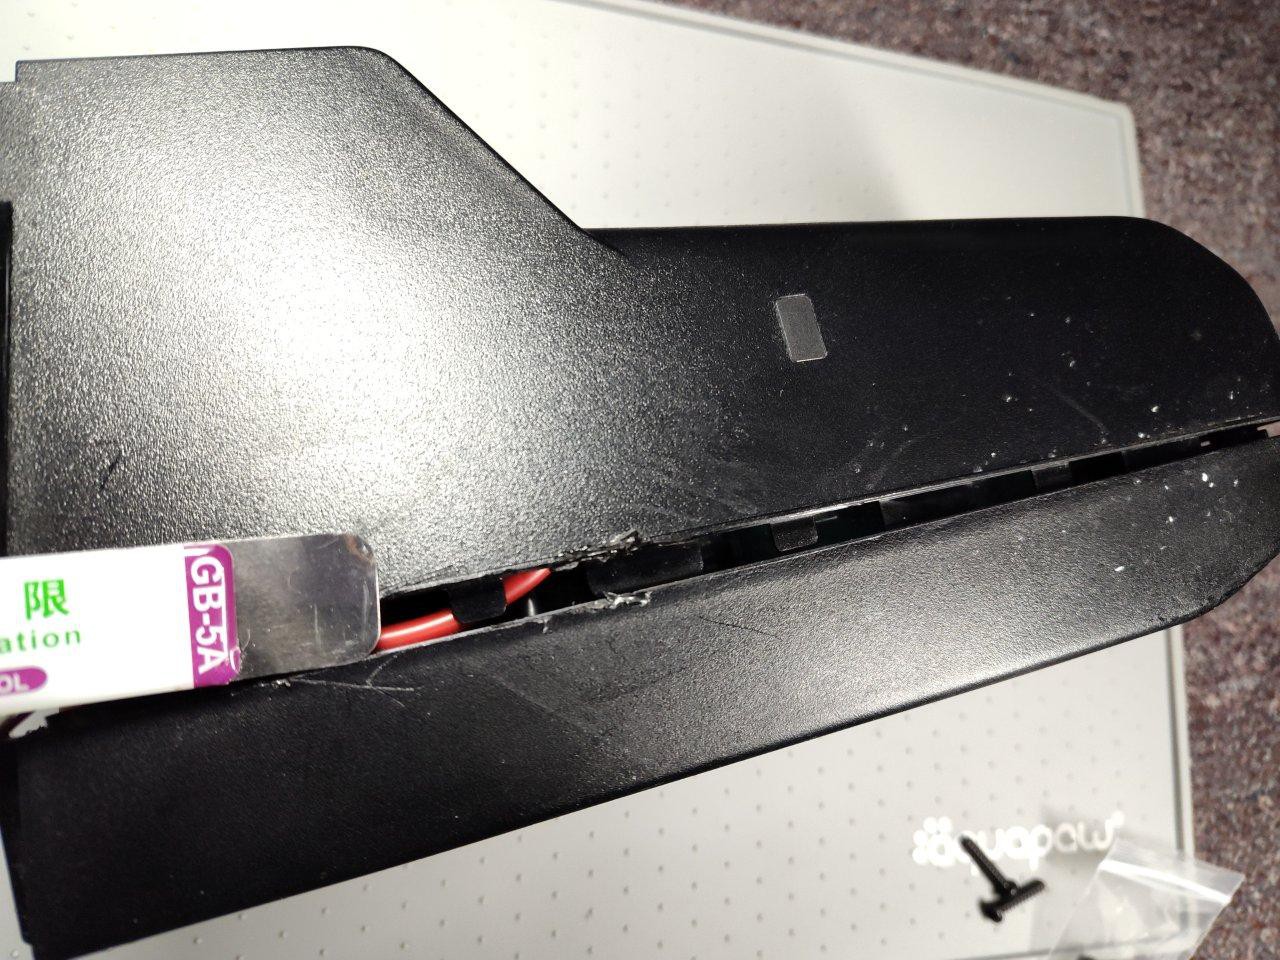
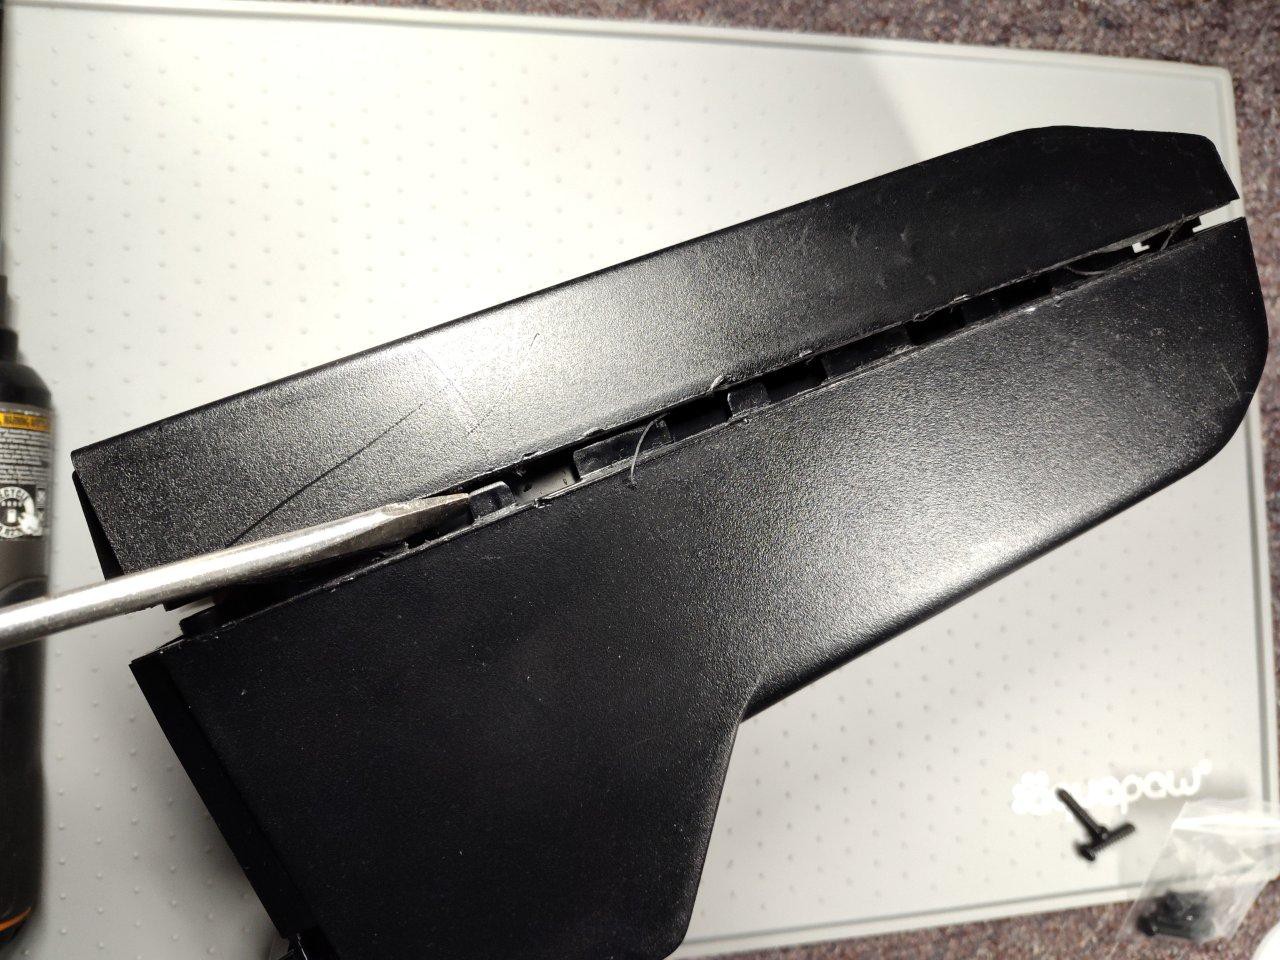
...but the real pain was working around the perimeter of the casing. Clips galore, and foam-like weather seal as well. This took me almost half an hour of wedging, prying, and cursing.
![]()
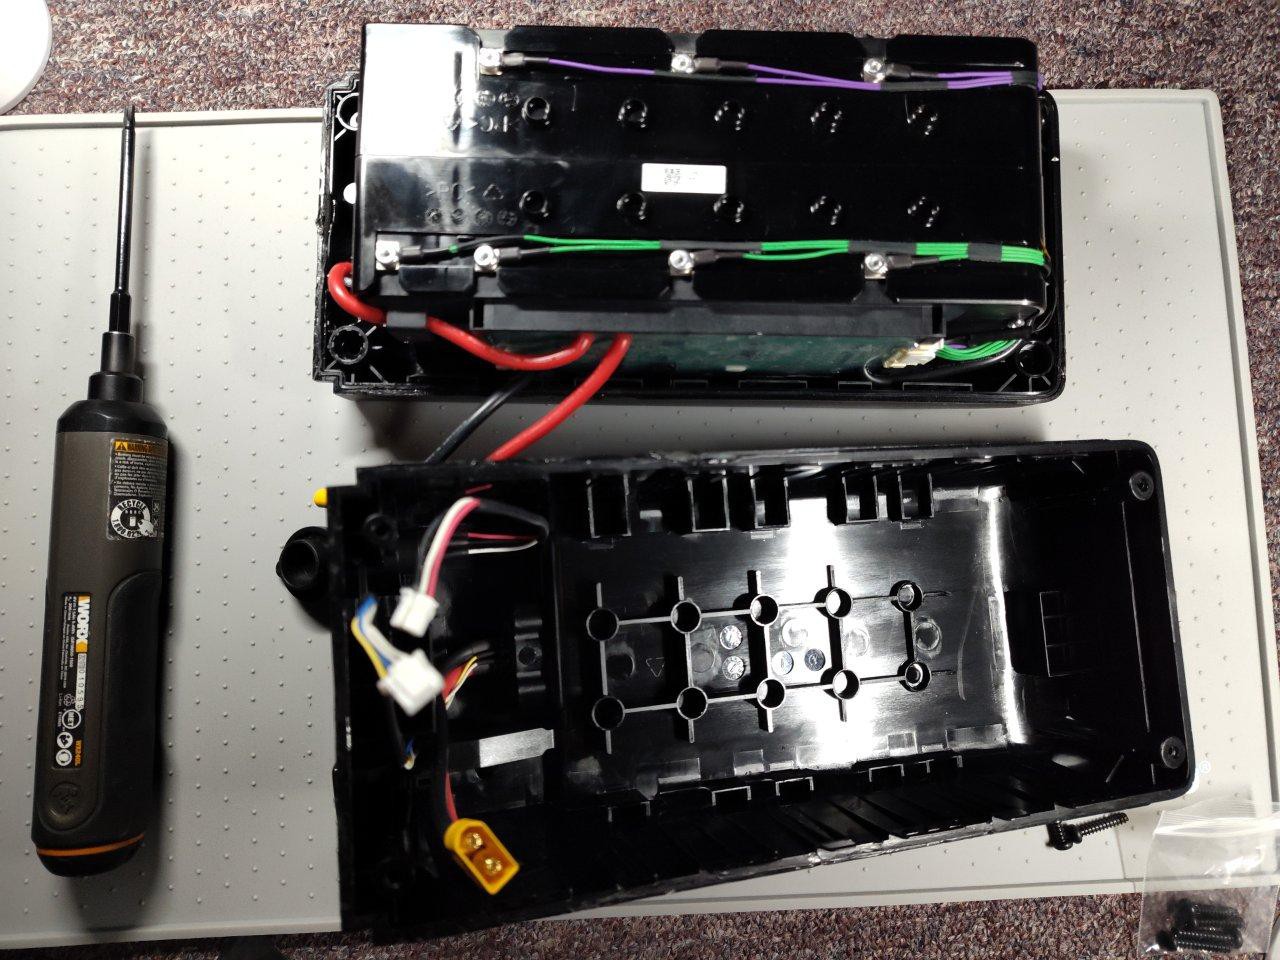
but finally I made it in!
![]()
[To be continued...]
 CriptasticHacker