Robert Wallhead
-
Version 2 is complete
08/04/2024 at 00:44 • 0 commentsI'll save most of the pics and videos for the Details section, but version 2 is complete. There's 100 tiny tweaks I'd like to make but I'm drawing the line on the concept now as it's very effective and workable. I have a mad idea for a version 3, but that will be a significant departure and I might start a new Hackaday project for that.
![]()
-
Final revision animation
07/13/2024 at 04:42 • 0 commentsWe're nearly done! Next week I'll be printing out the final version of the hardware, and I've put together this animation of how that should operate:
-
9 months
06/22/2024 at 21:45 • 0 commentsI just realised I've been working on this project for 9 months, and figured that was worth a short montage of the development!
-
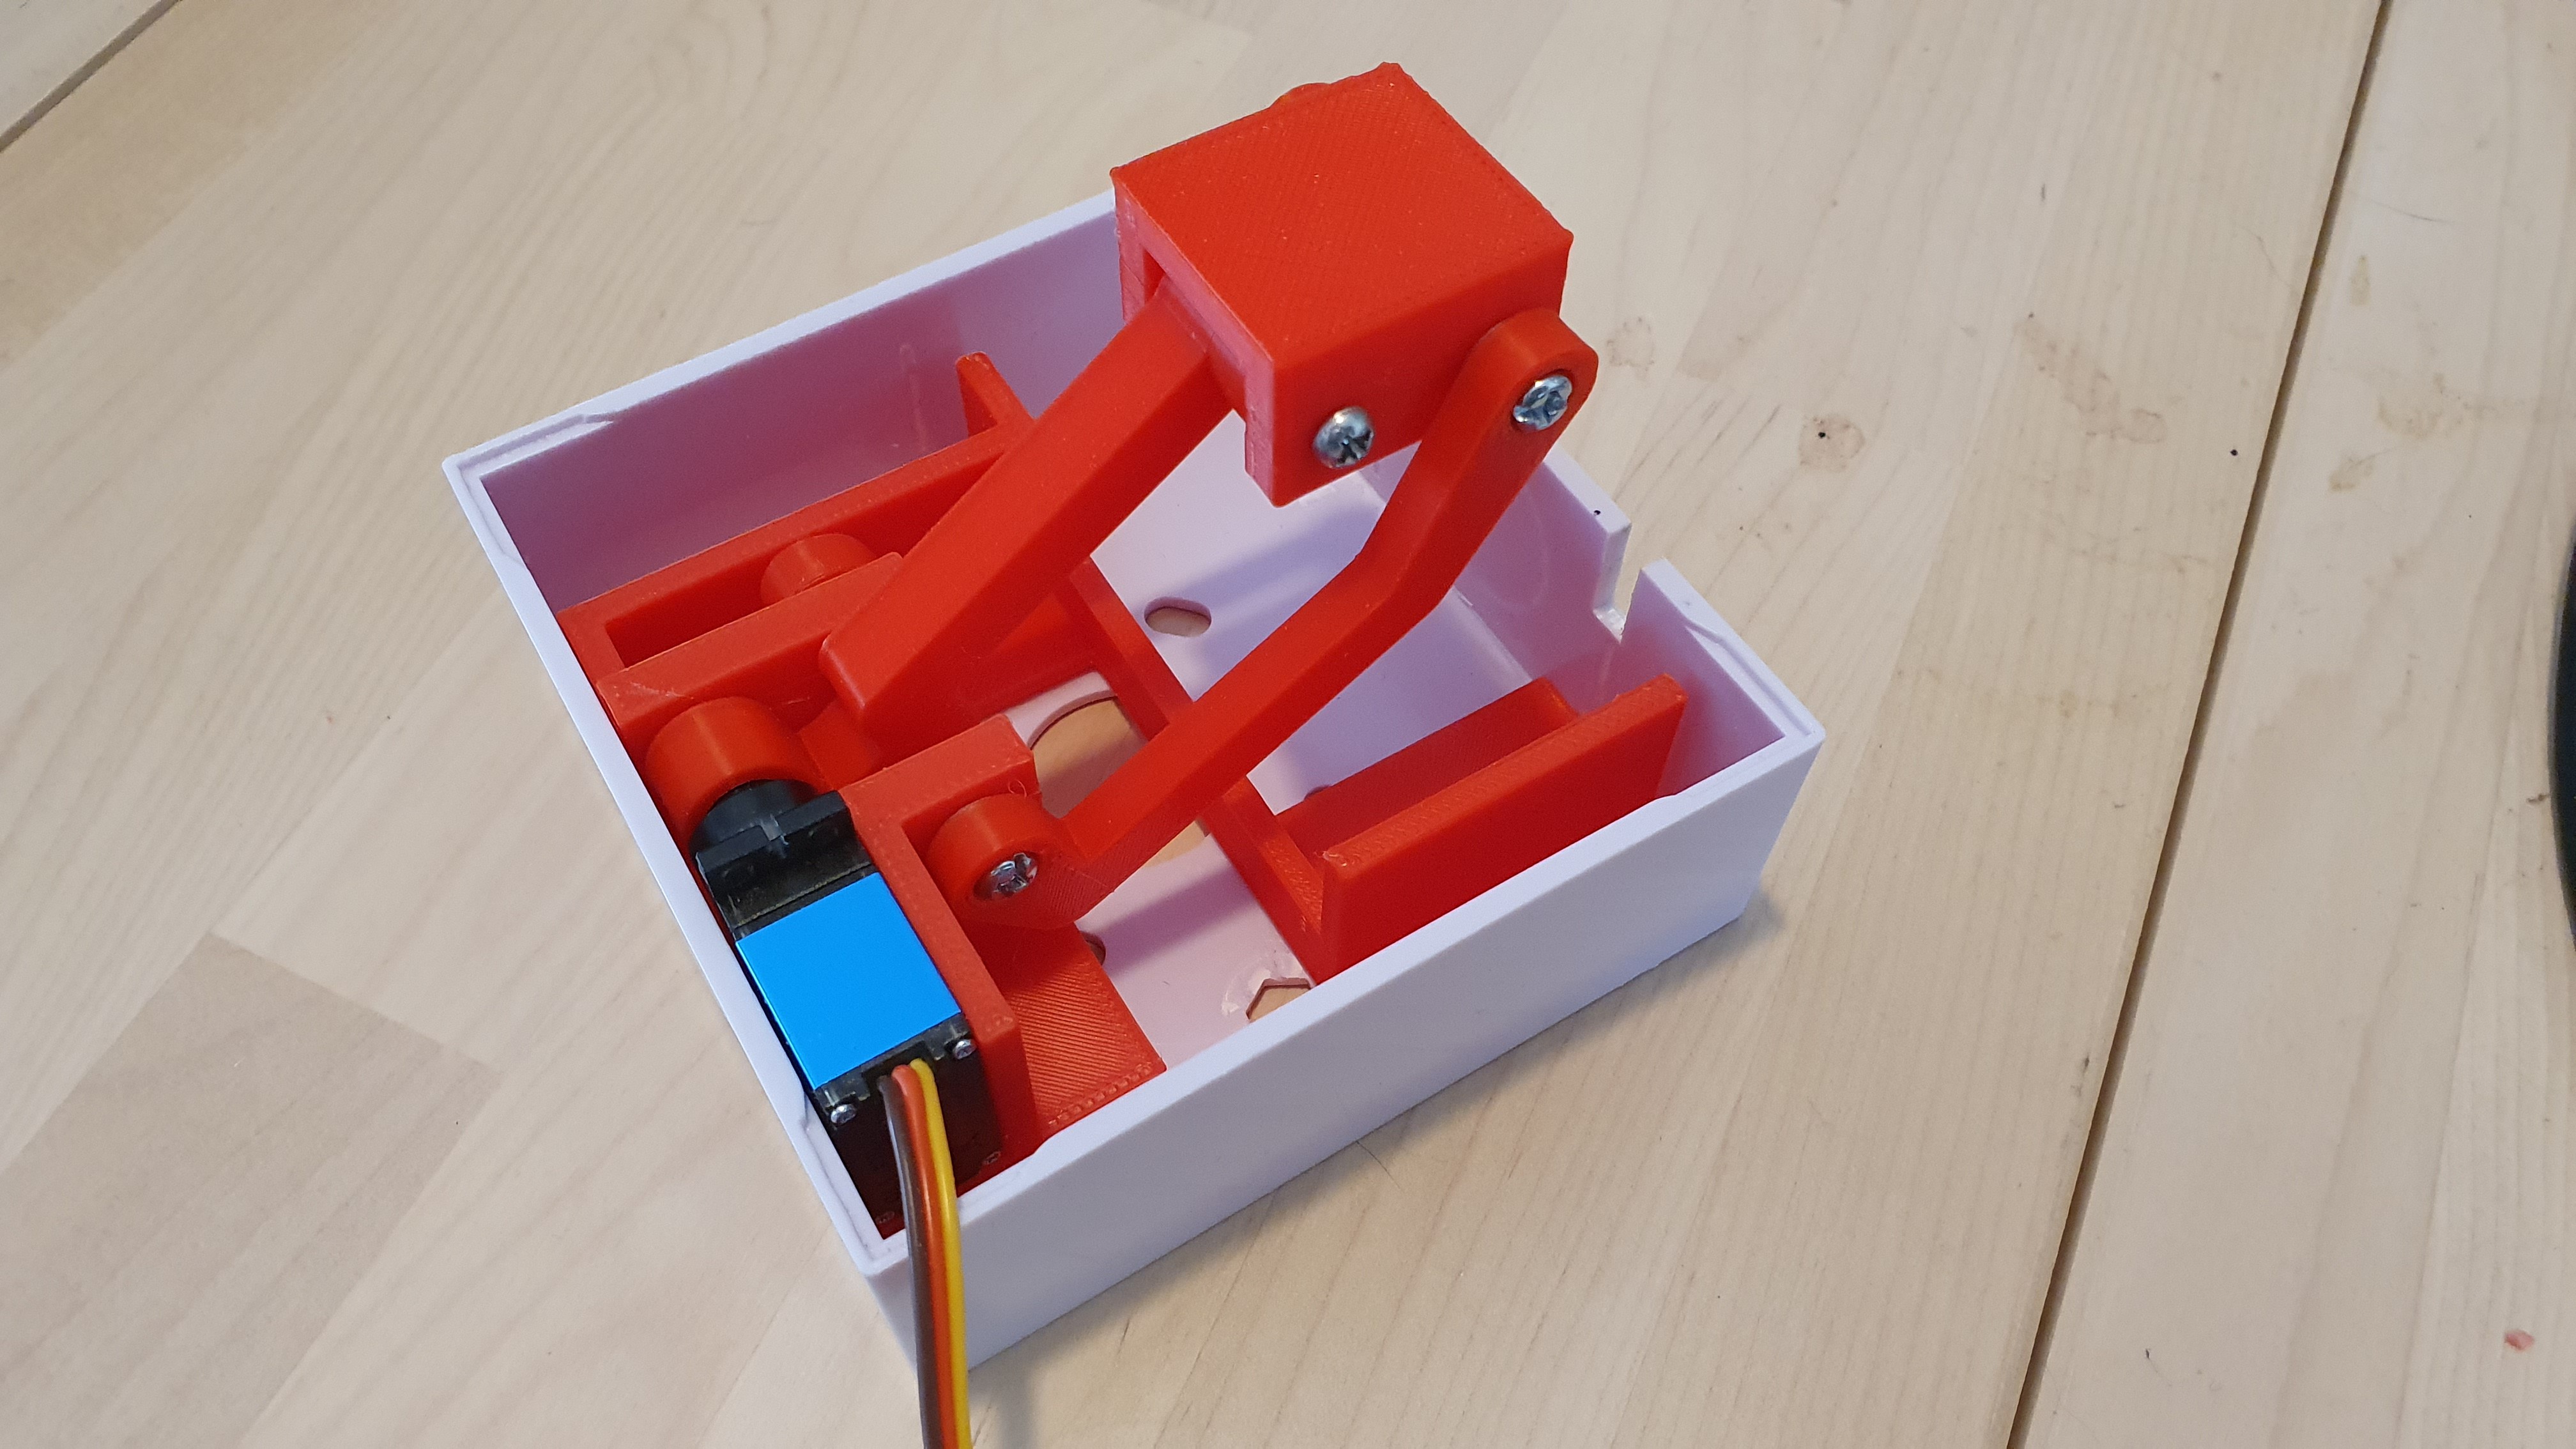
Another iteration
06/16/2024 at 00:40 • 0 commentsI've managed to print the base of the latest iteration and it seems to fit the everything quite well!
![]()
![]()
I've - of course - got some more tweaks to make, but I think we're really getting close to the final 1 or 2 iterations of "v2" of this project.
-
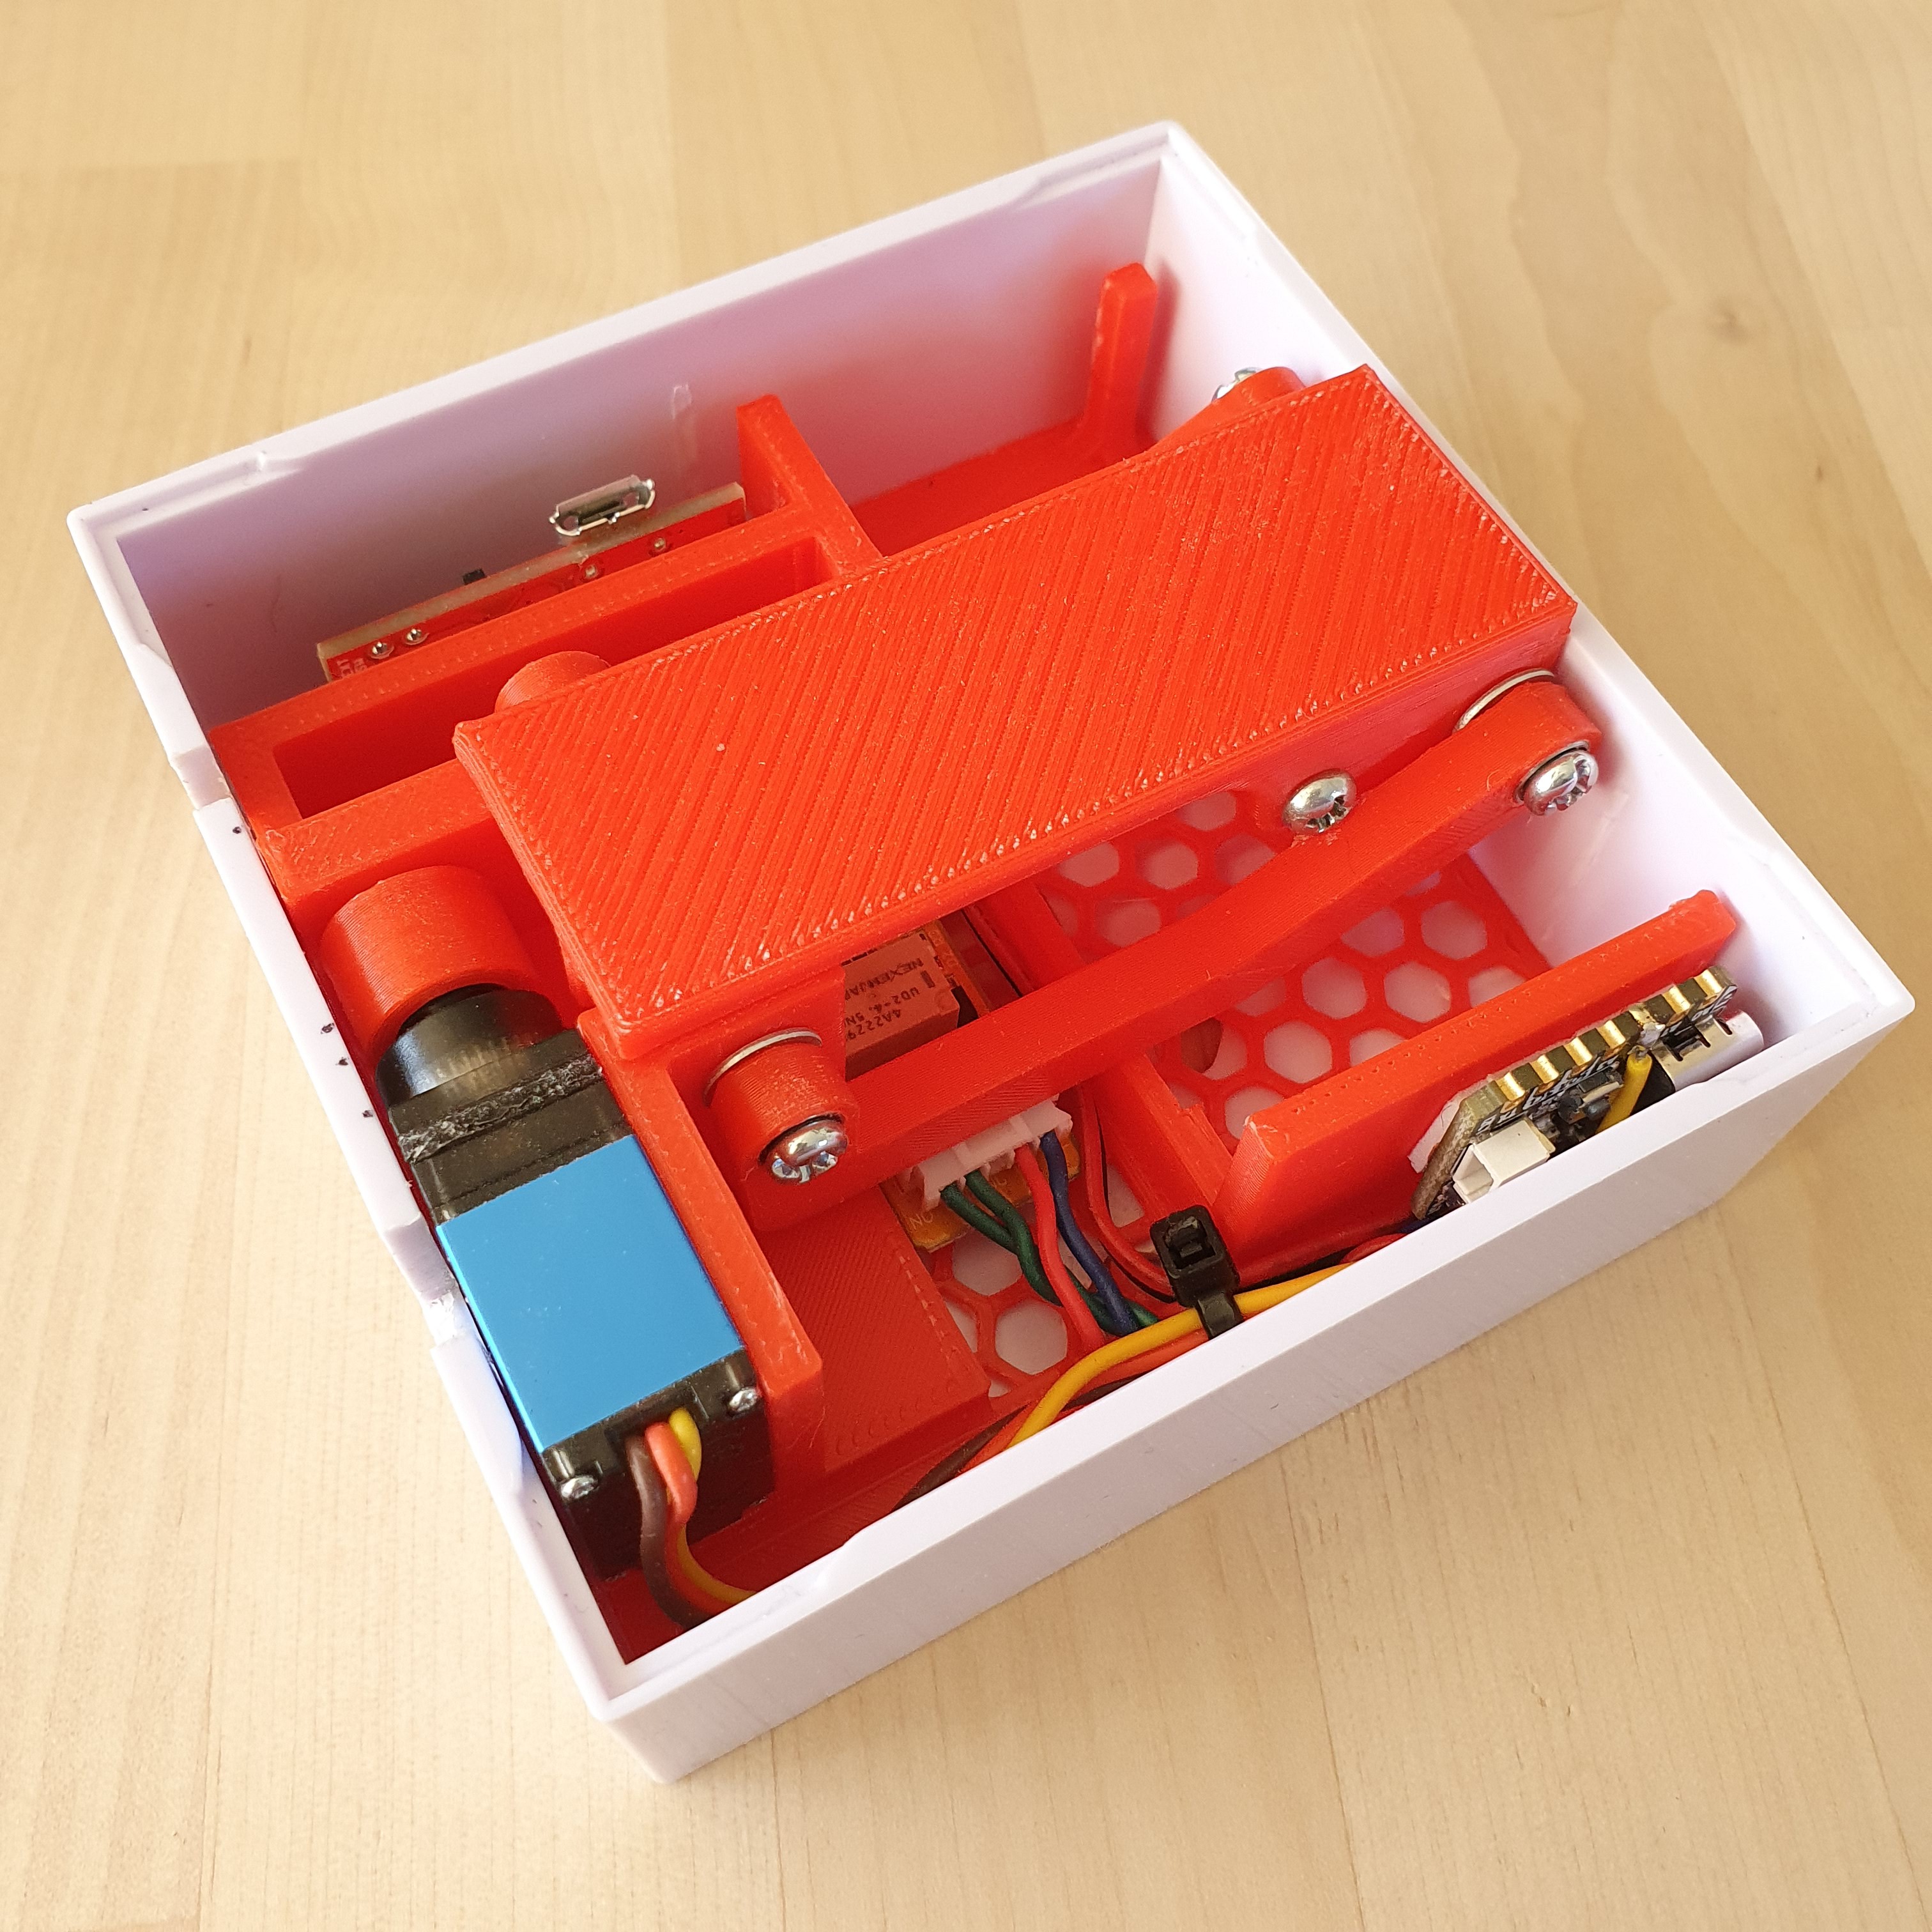
Integration hell :)
06/09/2024 at 06:17 • 0 commentsHere's some updated images of how the 3d-printed mechanism fitted in the box - after a lot of sanding, filing, trimming and pushing... This design is going to work but I've had to make a lot of small tweaks and I'm looking forward to a re-print soon.
![]()
The parts that I tried to integrate today:
![]()
What I'll be printing next time:
![]()
-
Base updates
05/25/2024 at 07:20 • 0 commentsHere's a couple of pictures of the updated mechanism base, with places for all the components, routing for the wiring and some protections for the battery:
![]()
![]()
-
Progress on v2, demo of v1
05/19/2024 at 03:41 • 0 commentsI've just put together the following demo of v1 in action:
And v2's mechanism works pretty well on the first print!
-
Finishing V1
04/27/2024 at 23:21 • 0 commentsVersion 1 is complete! Even though I identified a number of shortfalls with this first iteration, I wanted to complete the build of this one as a standalone unit. Everything fits, which is great, though I'd like version 2 to have places for each component and something to assist with wire routing. Here's the finished interior:
![]()
And here's a video of the motion:
-
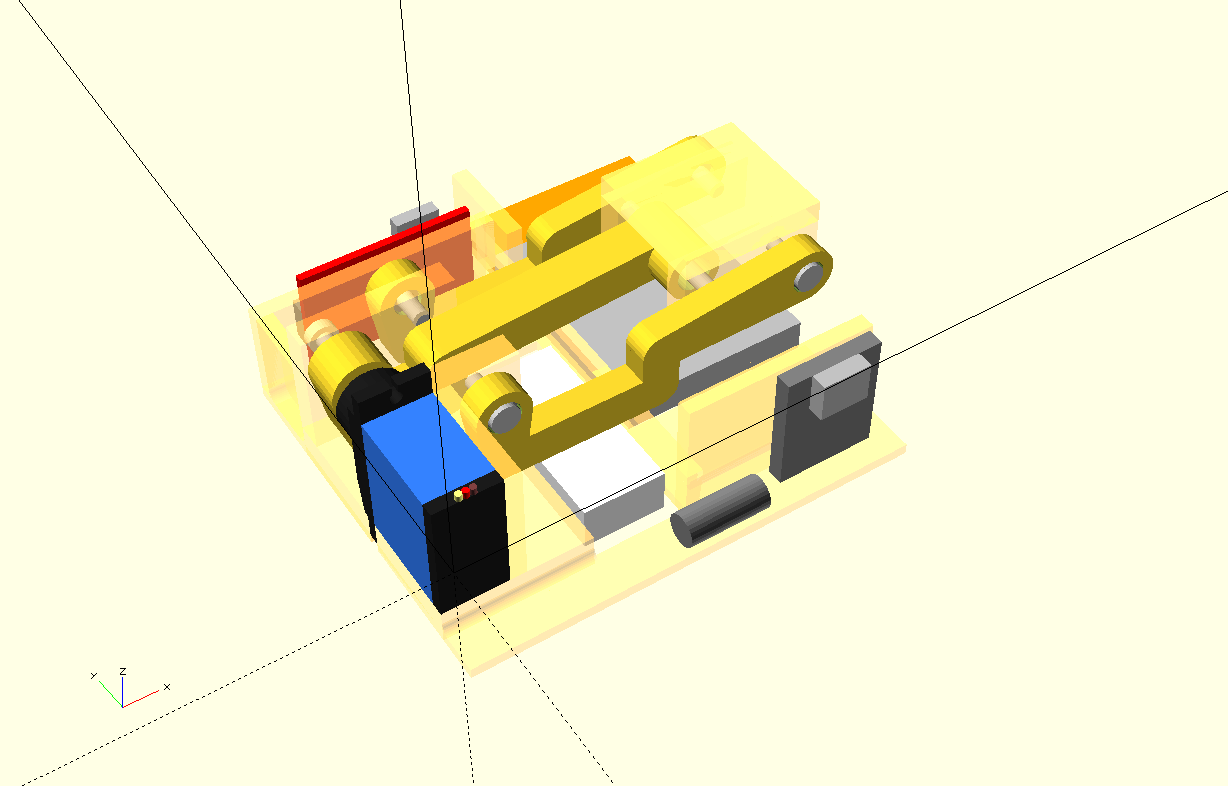
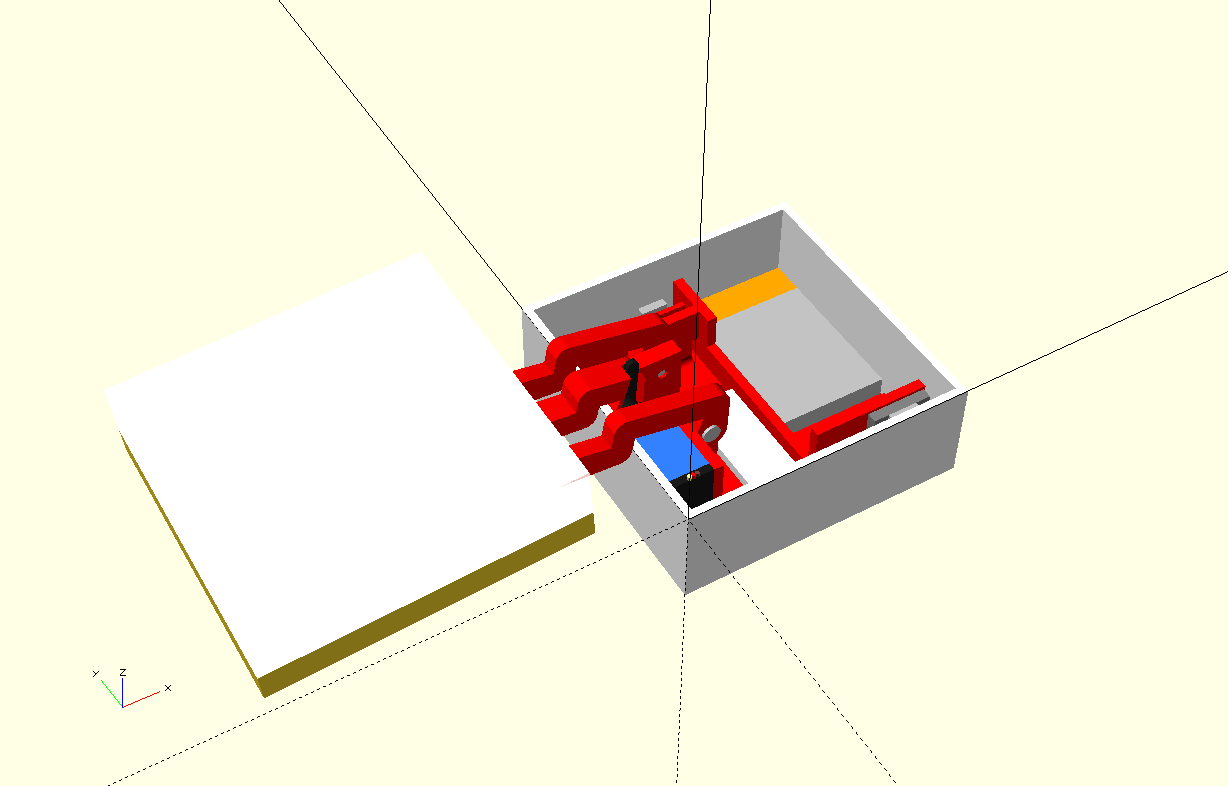
WIP on v2 3D-printable linkage
04/14/2024 at 05:48 • 0 commentsI've uploaded a pic to the gallery showing the WIP design for the v2 3D-printable linkage
https://hackaday.io/project/195612/gallery#0a8cbaf96fff1d865aca99bf6c741148
-
Work to date
04/14/2024 at 01:09 • 0 commentsAs this has progressed enough to at least be functional, I've decided to publish it. The videos and pictures here are of my "V1" of the project. I only need to install the battery and charging circuit to consider this version complete.
Testing has shown this can generate 150-170g of pressure at full reach, which is reasonable as the cheap 9g servo I'm using is supposed to generate 1.8kg/cm of torque, and the distance between the servo's pivot and where it was pressing on the scales is about 10cm. The problem is that REX buttons are specified as taking anywhere between 200g and 1.5kg (expressed as approximately 2-15N) of pressure to trigger, though the one's I've observed have all been at the lower end.
V2 then really has to target 300g/3N to be considered worthwhile, which will require a servo that's more than twice as powerful. I'm considering this one as a candidate: https://core-electronics.com.au/micro-servo-high-powered-high-torque-metal-gear.html with an estimated 3.2kg/cm at the 5V I'll be working at.
Additionally, V2 will be built using a 3D-printed 4-bar linkage so that this project is repeatable, and all the files and code will be published at that point.
Covert REX trigger
Request-to-exit trigger disguised as an emergency door release