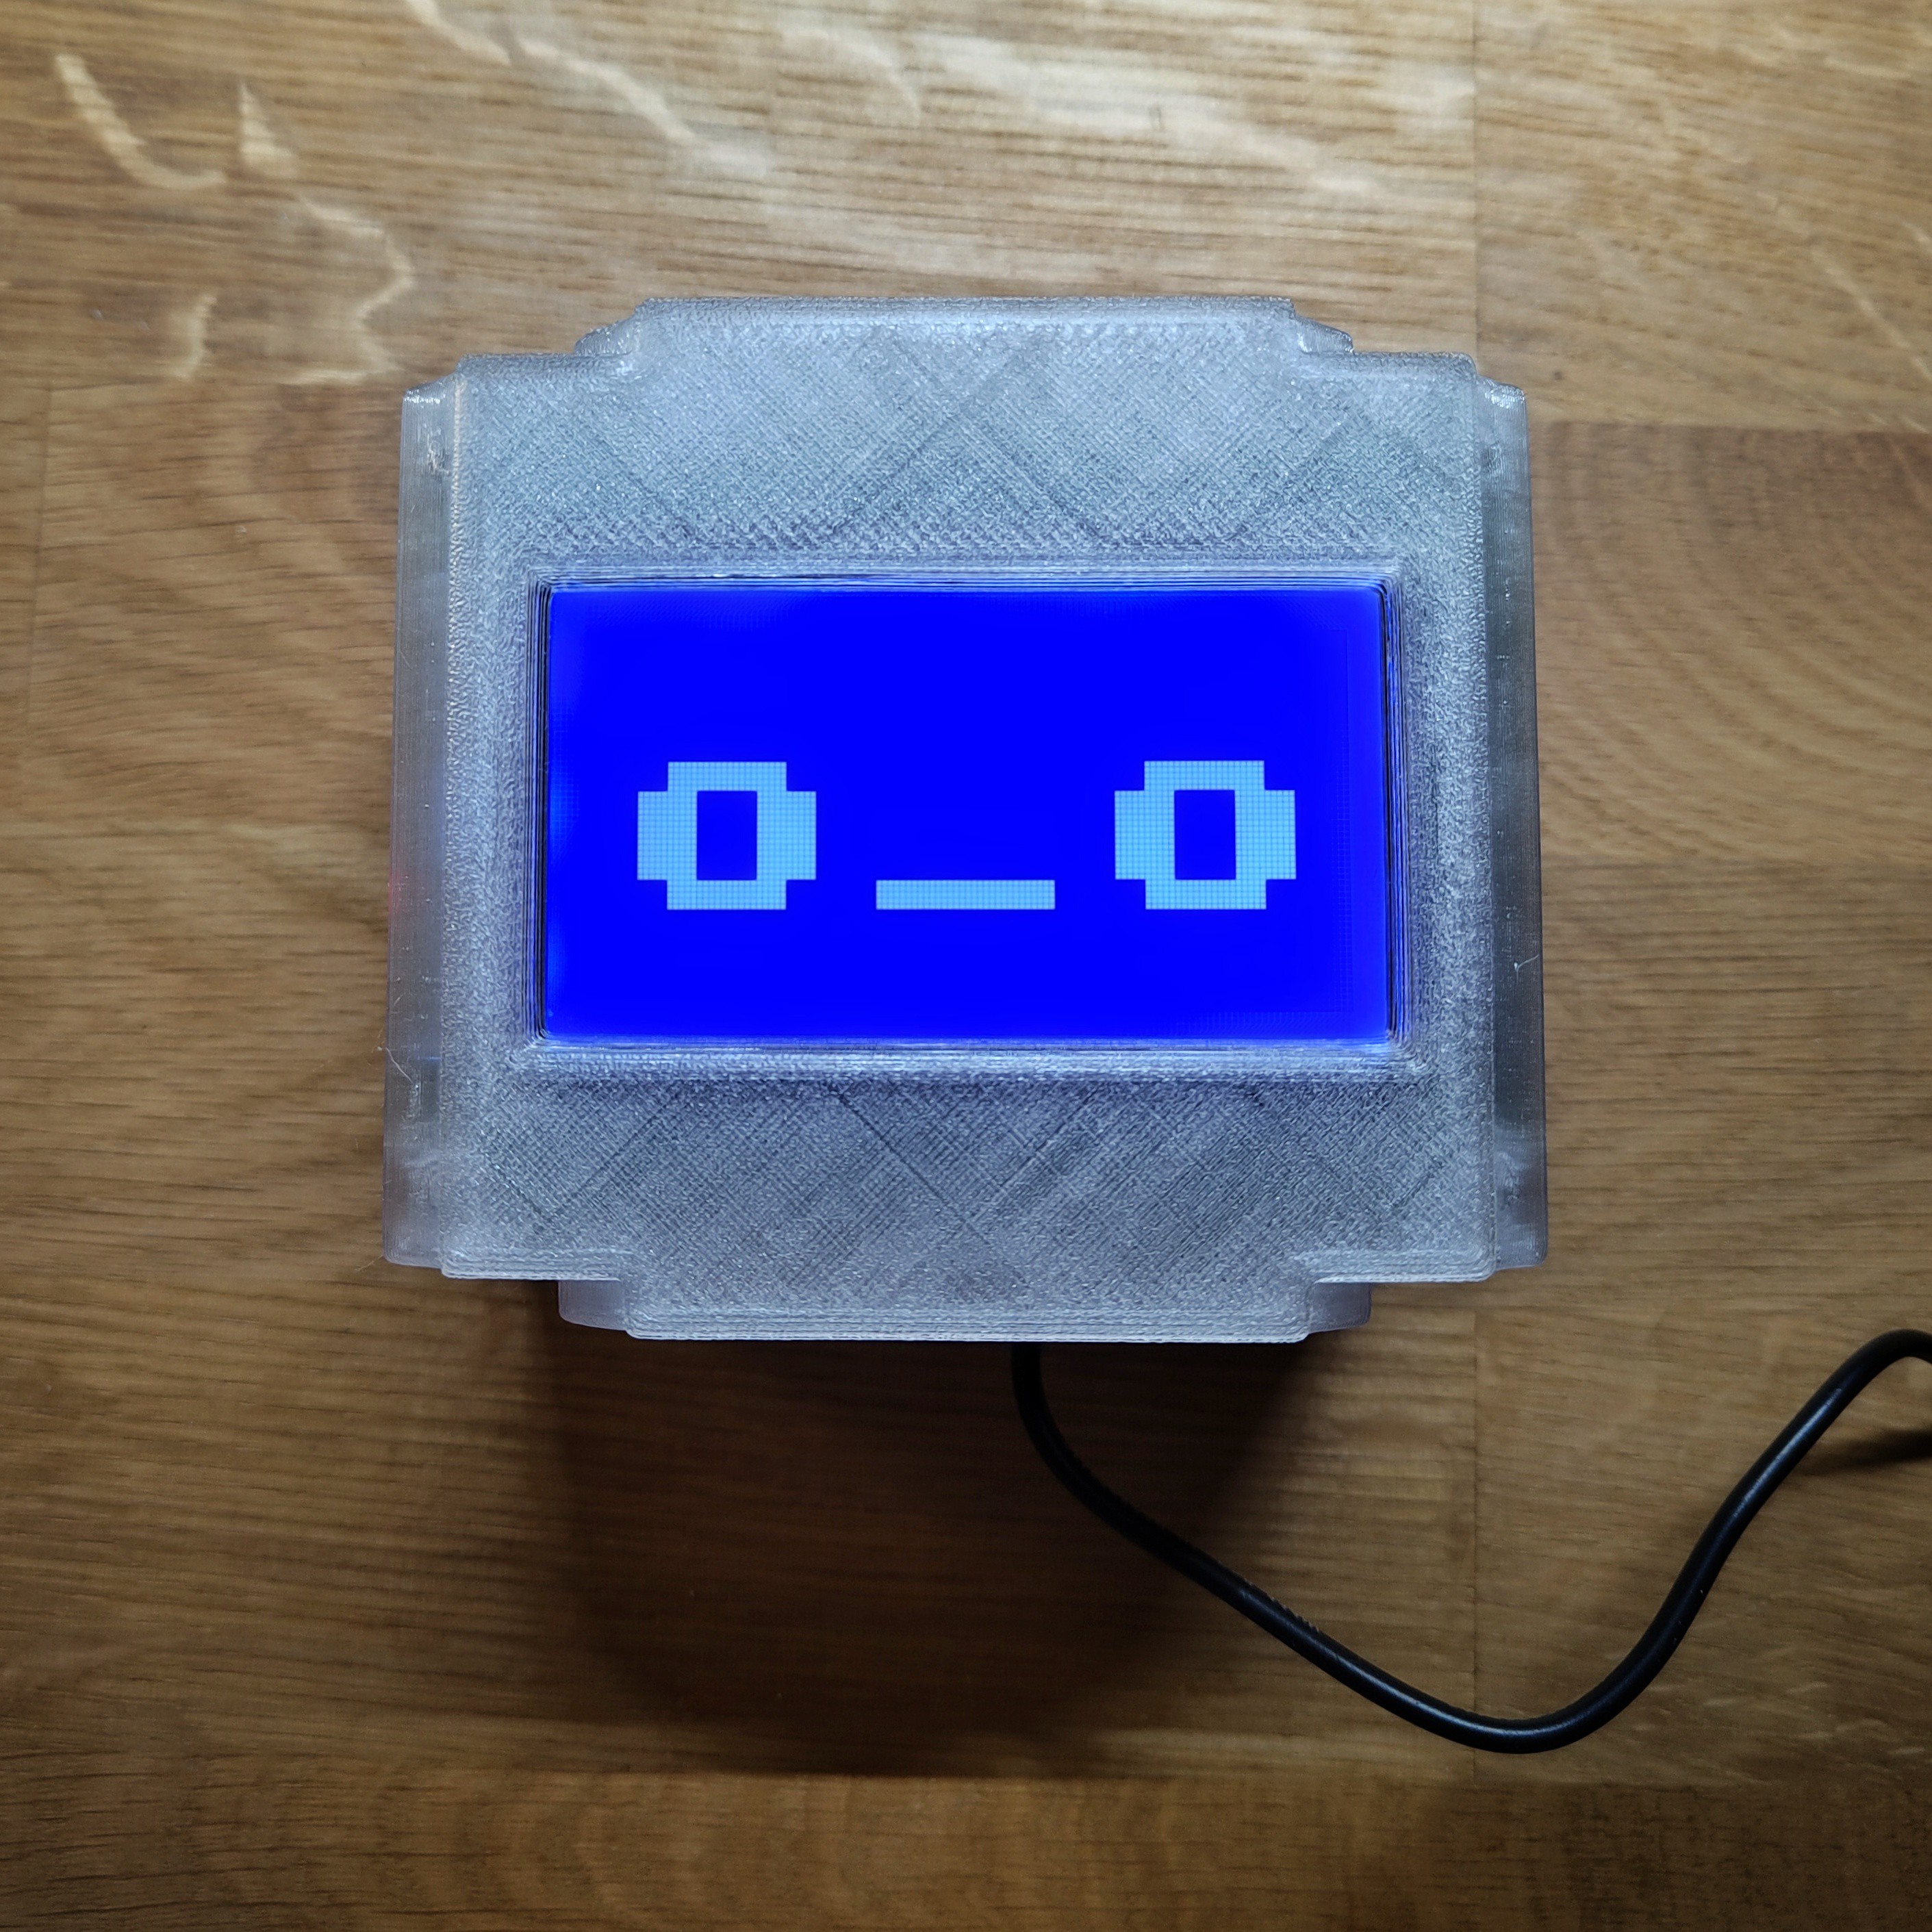
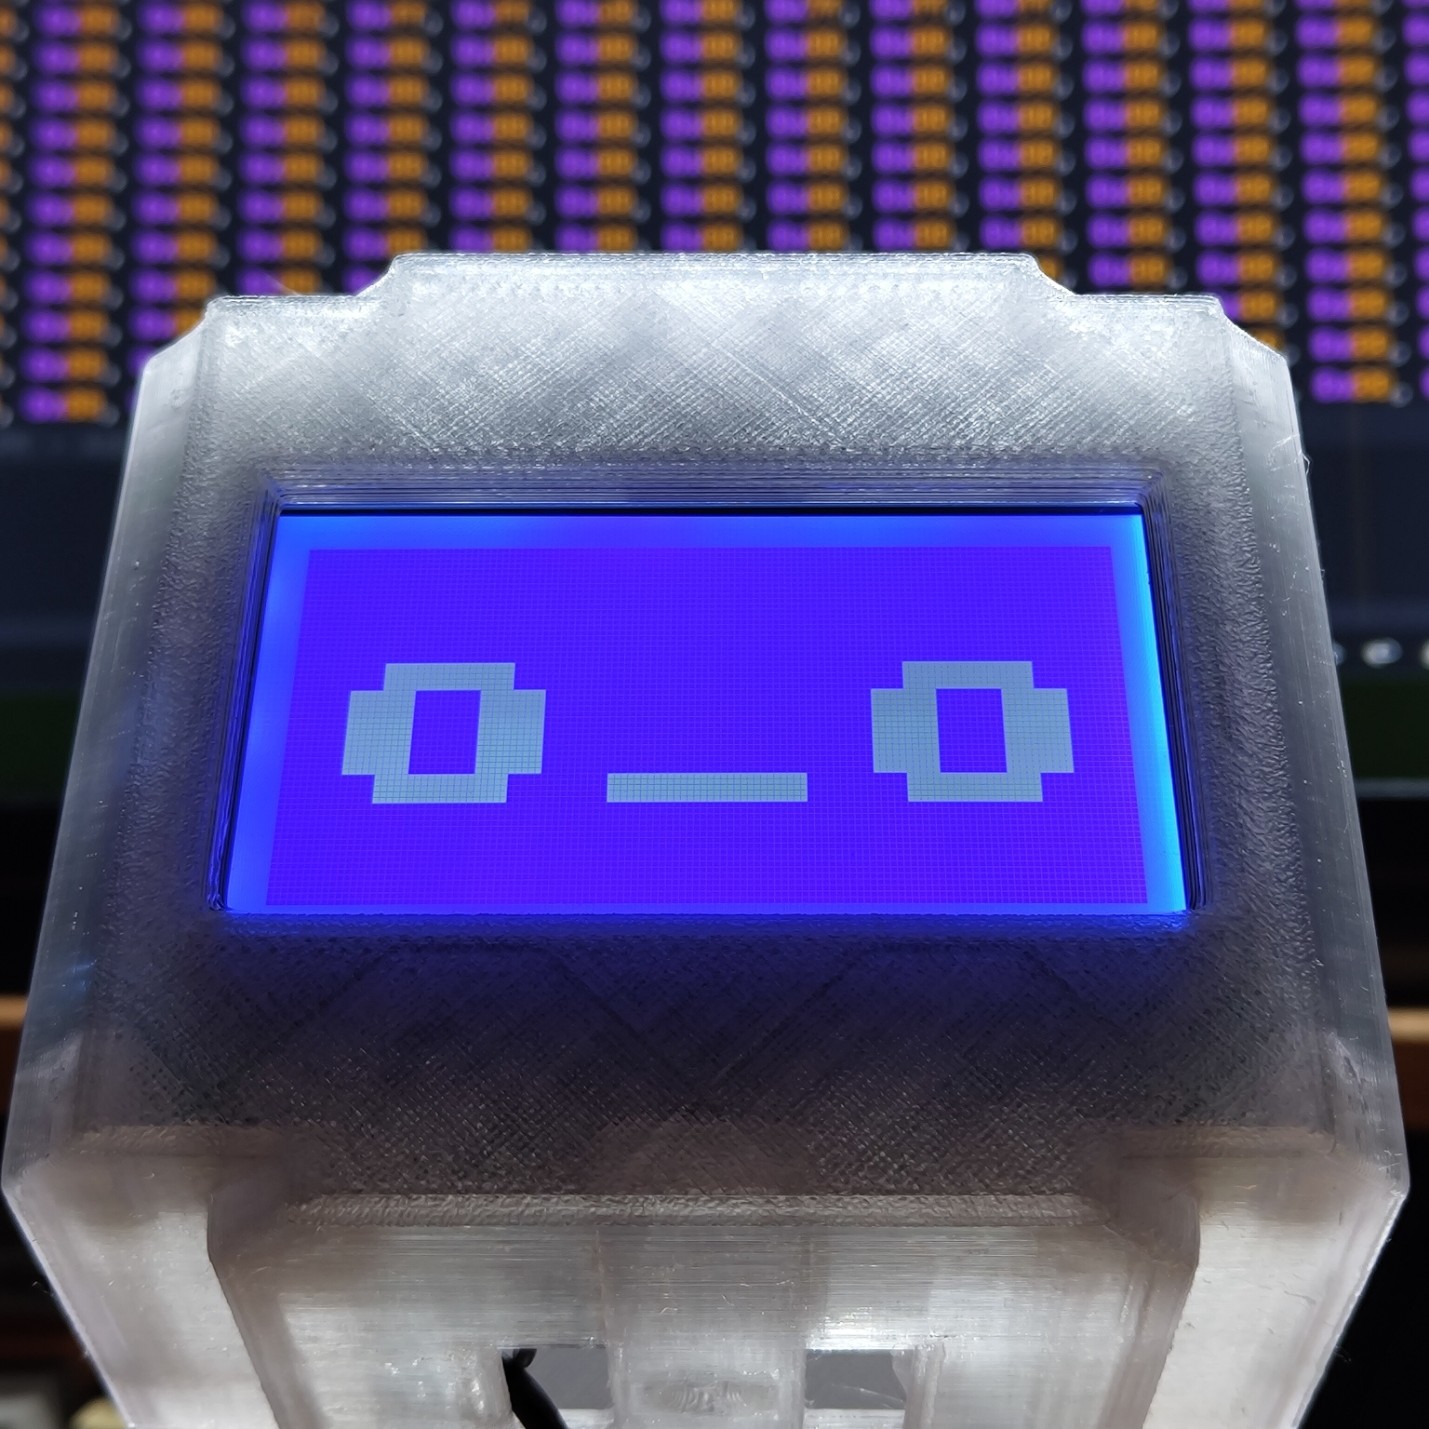
Good news! rEmotion 2 is now shipped with the Linux library that can be used to interact with the module from your Raspberry Pi or any other Linux device!
Look at the example application that constantly writes frames to the img.jpg file, moves the head, and changes facial expressions!
While working on this update I realized, that my initial web camera was not suitable for the project, so the updated assembly documentation is available here (no mechanical changes needed):
So, it is turned out, that C270 does not implement the MJPEG format properly. As a result, ANY library using libjpeg will tell you about it every time when it is trying to decode a frame.
The issue can be easily suppressed if you patch your libjpeg with a single line change, but in that case you have to patch exactly the same library that is used by your other libraries, or you might have a problem like this:
These complications are solvable every time, but the project is meant to be build easily (or at least as easy as possible), so I've dug into other simple solutions. The result is simple - replace C270 but with what? As I discovered. Logitech has several cameras with a similar PCB design which makes them mechanically interchangeable. They are C270, C310, C505 and probably Brio 100 plus Brio 105:
C270
C310
C505
Brio 100
Brio 105
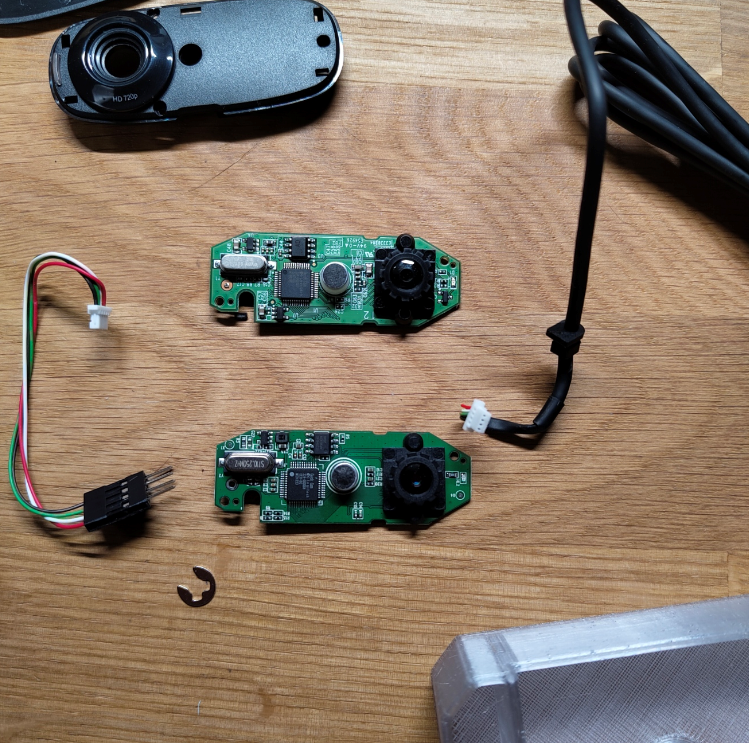
So I can suggest you to try any of them besides C270, but I've bought C310 and got a super simple update. In the future I might to replace it with something else with FullHD. Here are two PCB near each other:
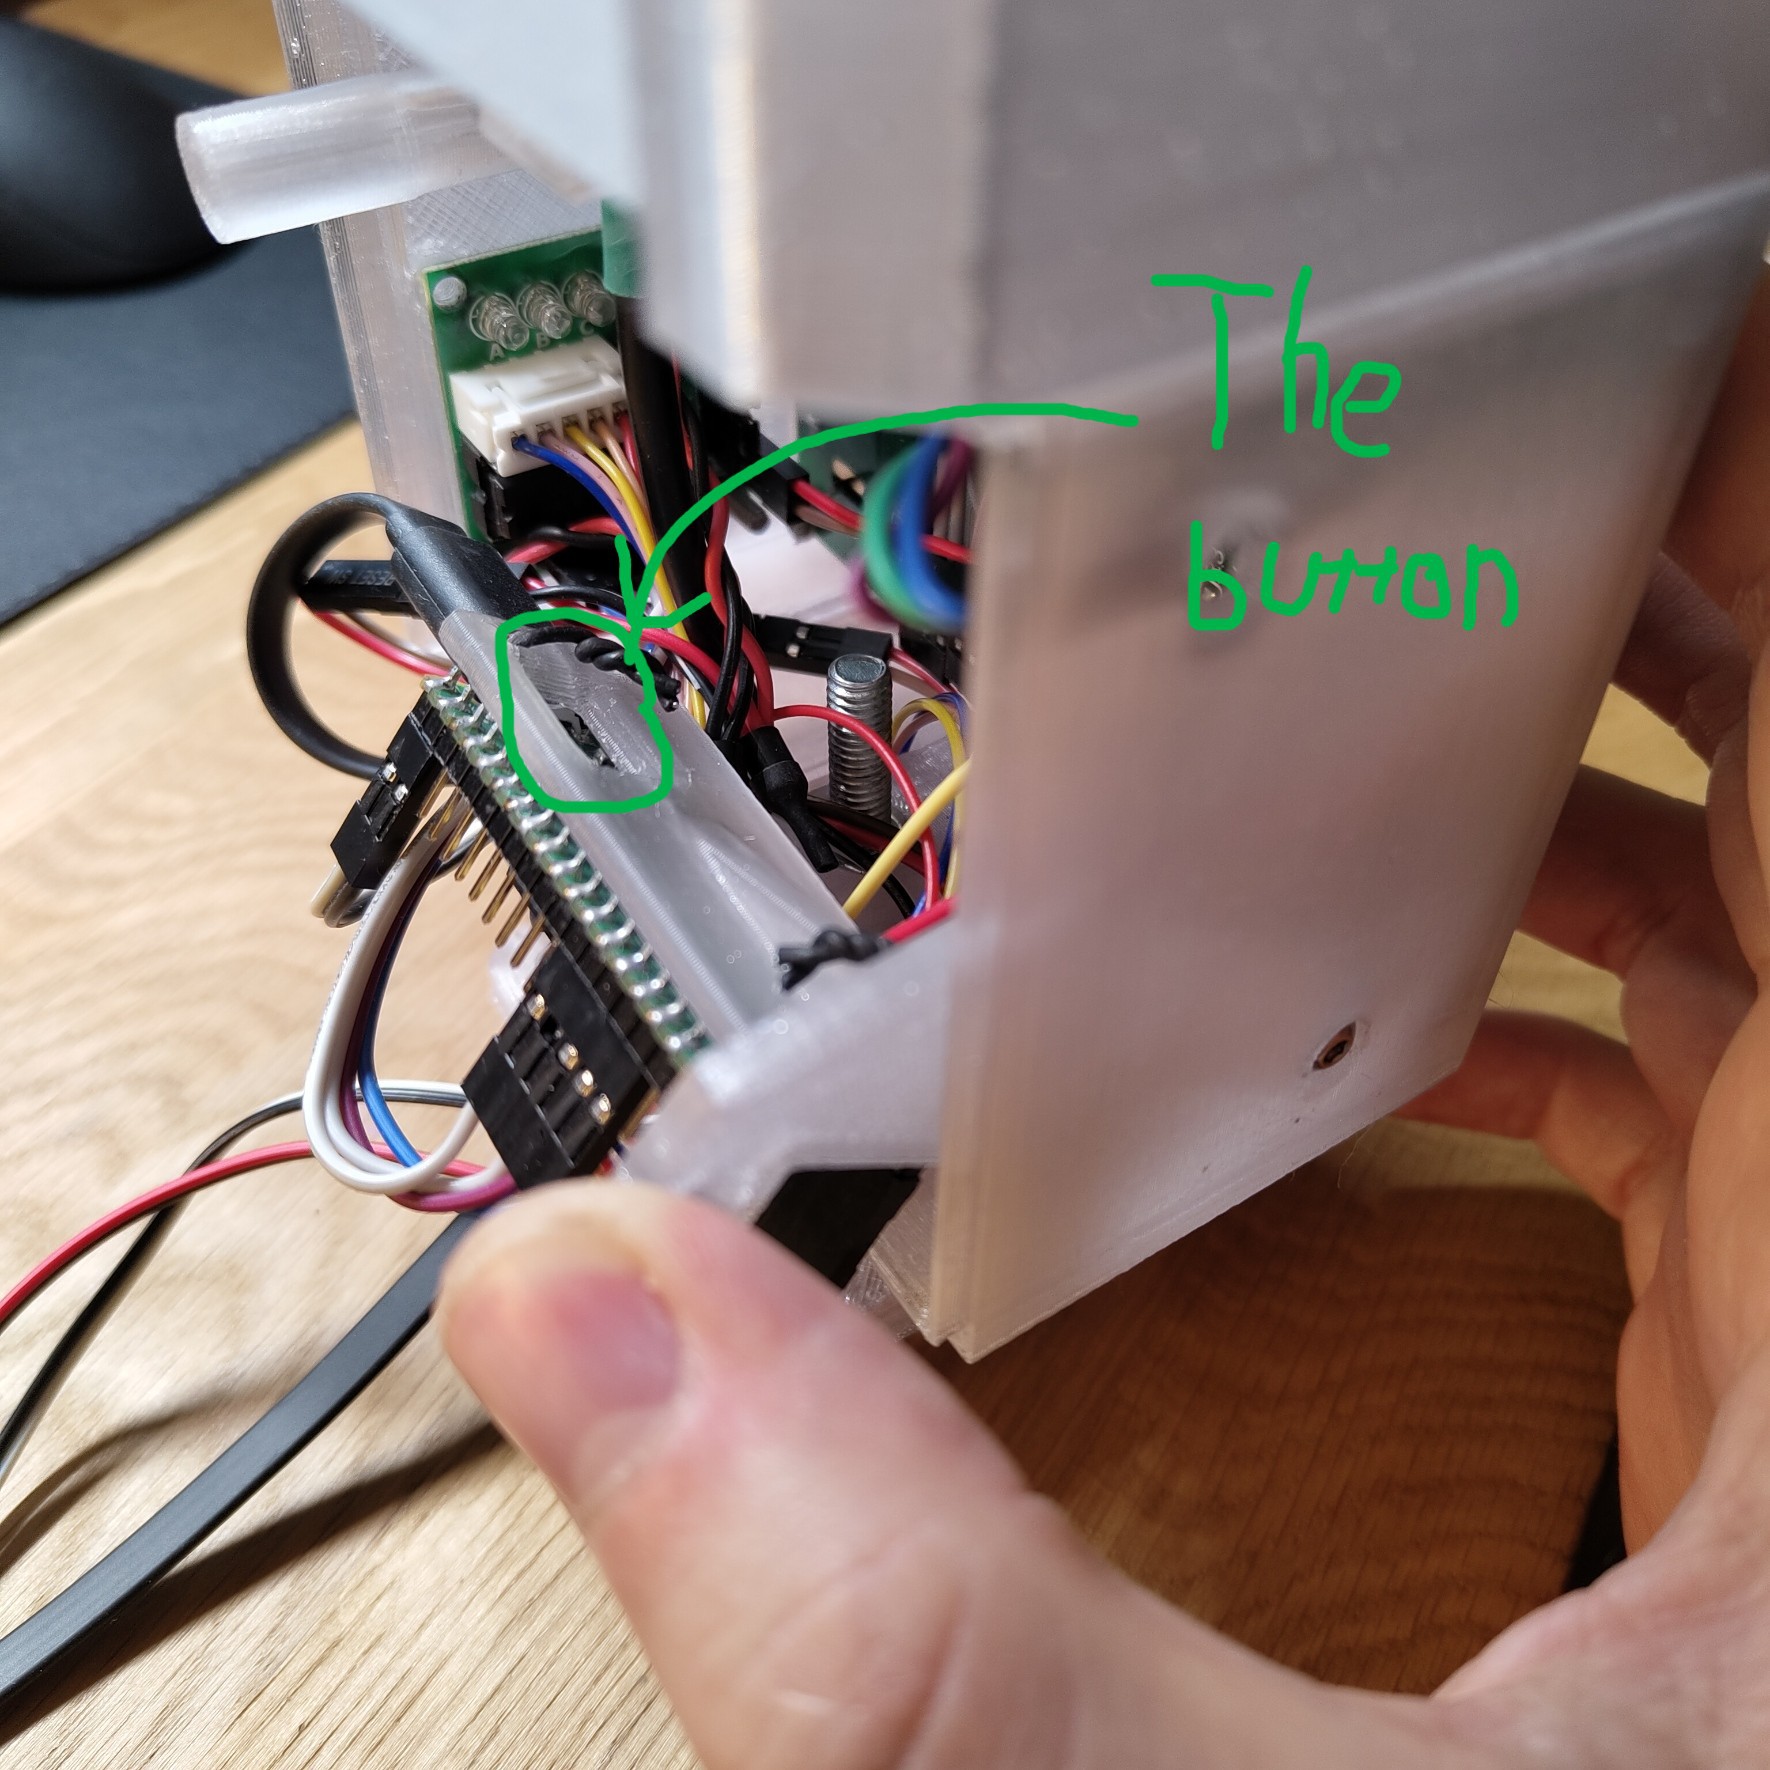
If you want to switch to Arduino or else, now you can unscrew a single bolt and have access to the Pico's board button, thanks to the new version of the Pico mount part.
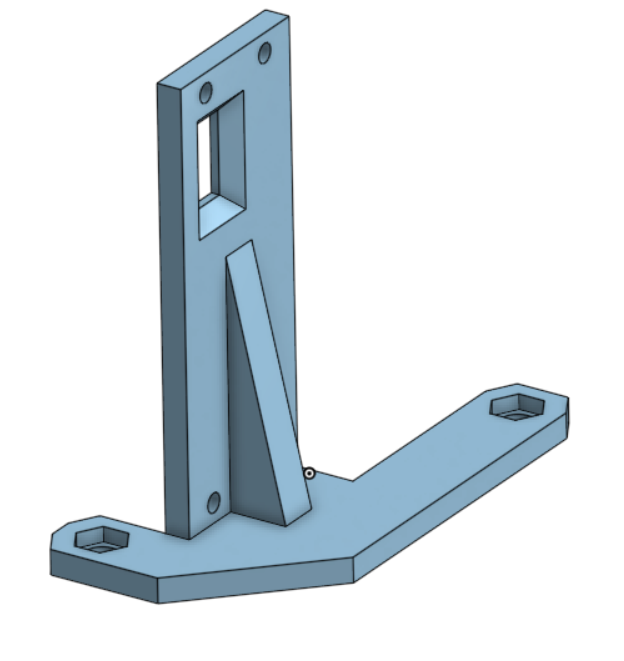
The new design looks like this and available at Printables:
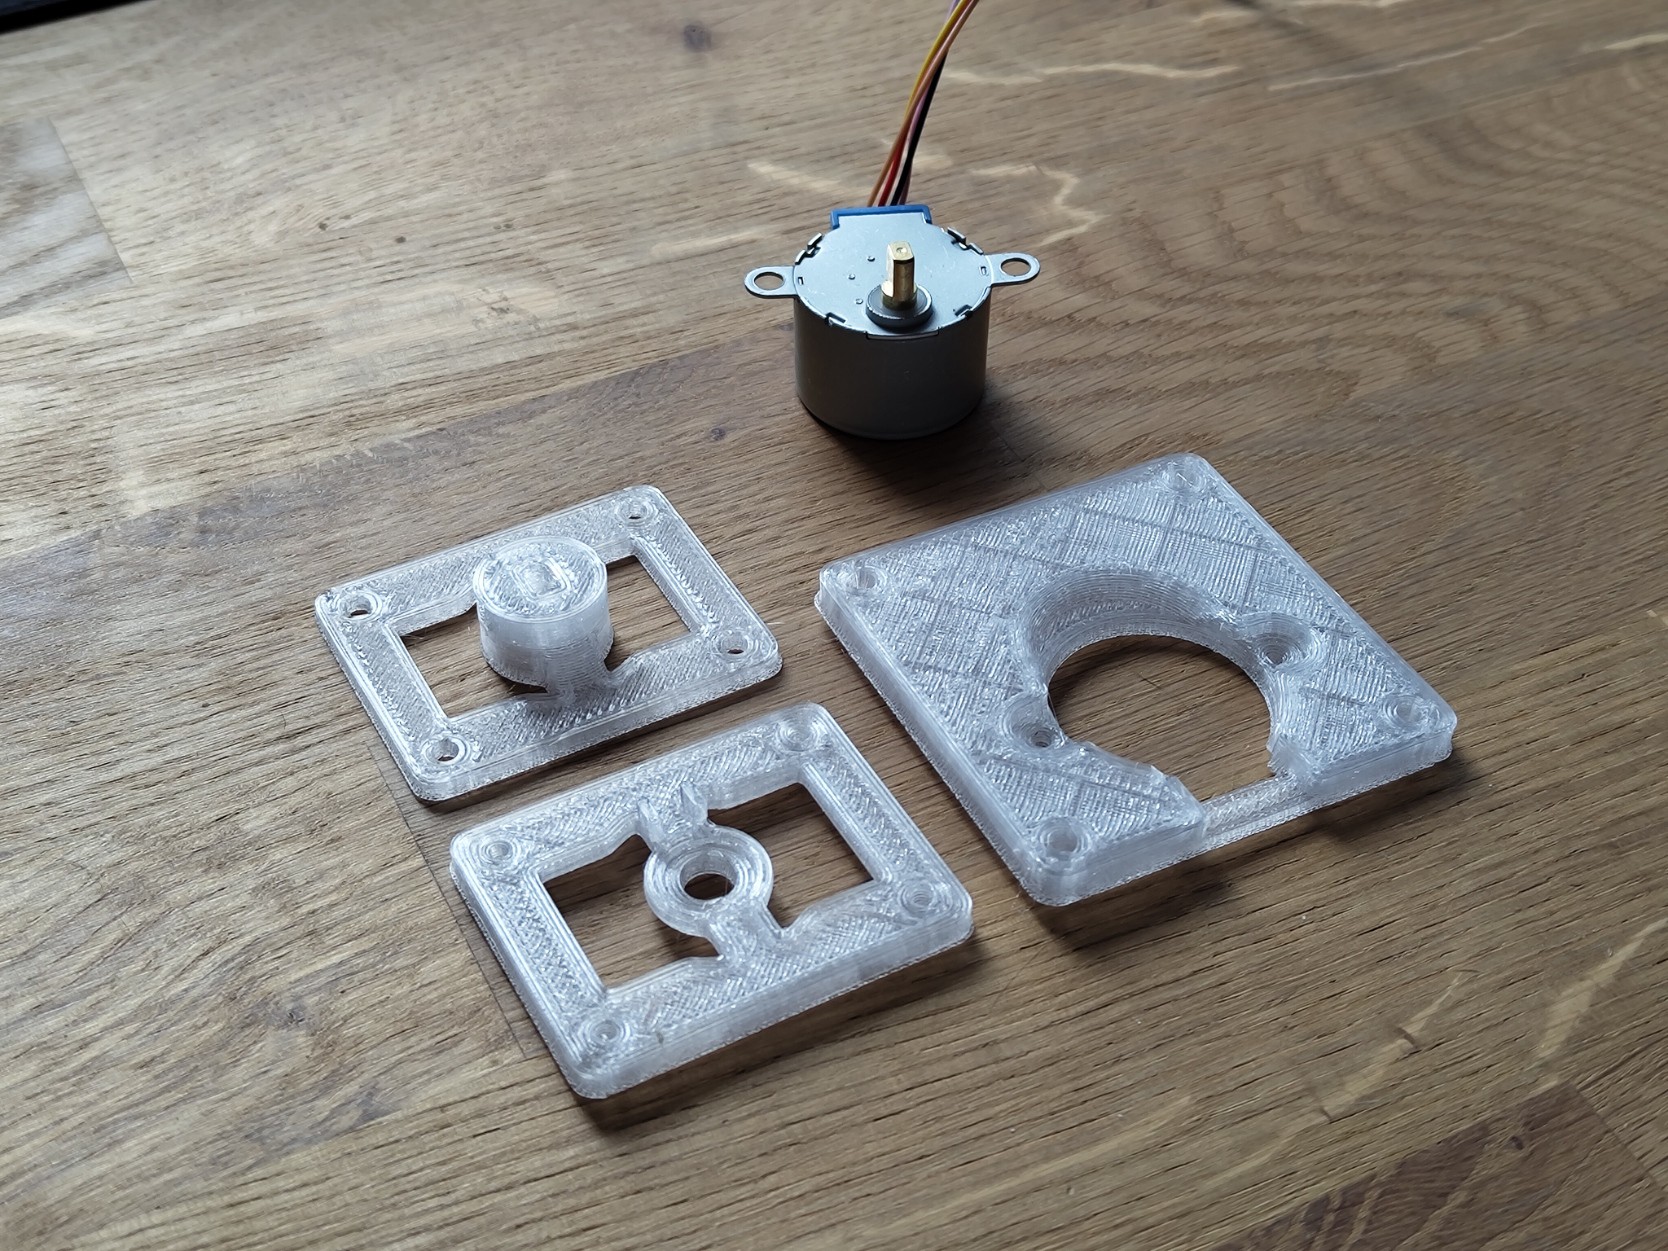
I finally tried Raspberry Pi Pico, and I was shocked. Writing hardware logic in Python is the simplest prototyping method, period. Now, details. To test the MicroPython I came up with a project I saw implemented on Arduino – a stepper motor controlled with a thumb stick.
I did a shallow googling and implemented everything using the code (plus a 3rd-party module stepper):
---------- more ----------
from machine import Pin, ADC
import stepper
import utime

xAxis = ADC(Pin(27))
yAxis = ADC(Pin(26))
button = Pin(16,Pin.IN, Pin.PULL_UP)

# Define the stepper motor pins
IN1 = 21

IN2 = 20
IN3 = 19
IN4 = 18

# Initialize the stepper motor
stepper_motor = stepper.HalfStepMotor.frompins(IN1, IN2, IN3, IN4)

# Set the current position as position 0
stepper_motor.reset()

while True:
    xValue = xAxis.read_u16()
    buttonValue = button.value()
    if xValue <= 600:
        print("Moving left")
        stepper_motor.step(-100)
    elif xValue >= 60000:
        print("Moving right")
        stepper_motor.step(100)
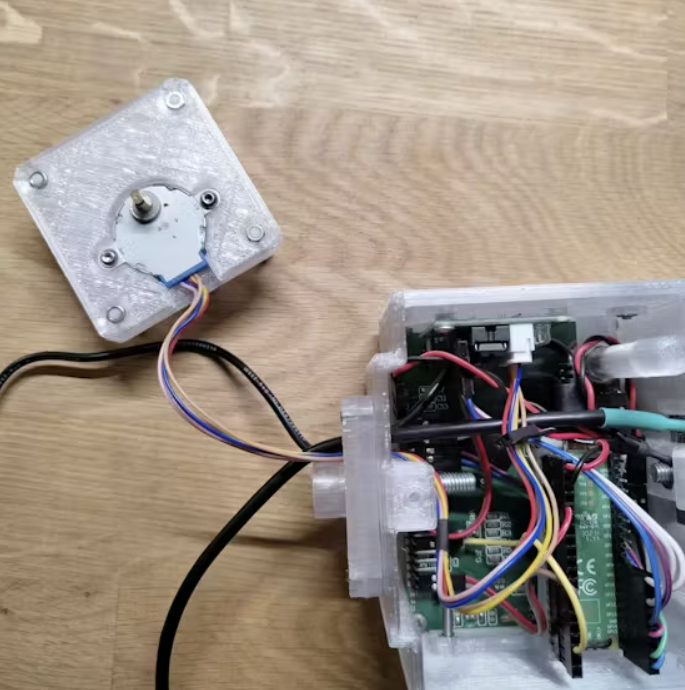
It is insane! Without thinking much, I’ve 3d-printed 3 parts and added the stepper to my rEmotion project.
I am impressed. The MCU now is part of my daily tools!
Using the module in an image recognition application
After several months of experiments, I’ve decided to shape a new project called rEmotion. rEmotion is a hardware module with a robotic application in mind. The module represents a head with a display and a camera, allowing a robot to see the environment and express facial emotions...
---------- more ----------
How it Works
The module is fully 3D printed and contains an Arduino-controlled display with a USB camera. It is supposed to be controlled from a Linux machine via a library shipped with the module.
Deployment diagram
While the code I planned is not ready yet, I developed a prototype application https://github.com/an-dr/VisioneR to recognize books and show different emotions in response.
Internals
I will make a detailed instruction on how to build it, but now I will show its the internals. I use an Arduino Nano and a ST7920 display. For video input, I took a cheap Full HD camera
Components without a CameraA cheap camera is getting a better lifeAssembled module
Plans
I would like to create a module I can reuse in many other my projects. Also, I would like to make it accessible to other developers and robotic enthusiasts, so I plan to develop a detailed instruction on how to build your own rEmotion at home as a part of the project documentation
 Andrei Gramakov