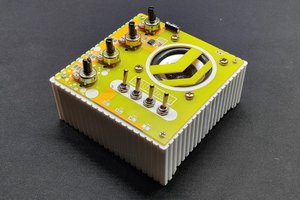
Atari Punk Consoles (APCs) are a type of DIY sound synthesizer that use the 555 timer IC (integrated circuit) to produce square wave sounds reminiscent of early video game music. The name "Atari Punk Console" was coined by Forrest Mims III, who originally published the design as a "Stepped Tone Generator." The sound produced is similar to the chiptunes from Atari games, hence the name.
Here, we have used two 555-timer ICs coupled in both astable and monostable multivibrator modes. This means that one timer IC is operating in free mode and generating a square wave signal. As a result, the tone is continuous. The first 555 timer IC generates an external signal that triggers the second 555 timer, which generates a single output pulse. We can change these rhythmic patterns with the potentiometers.
Design
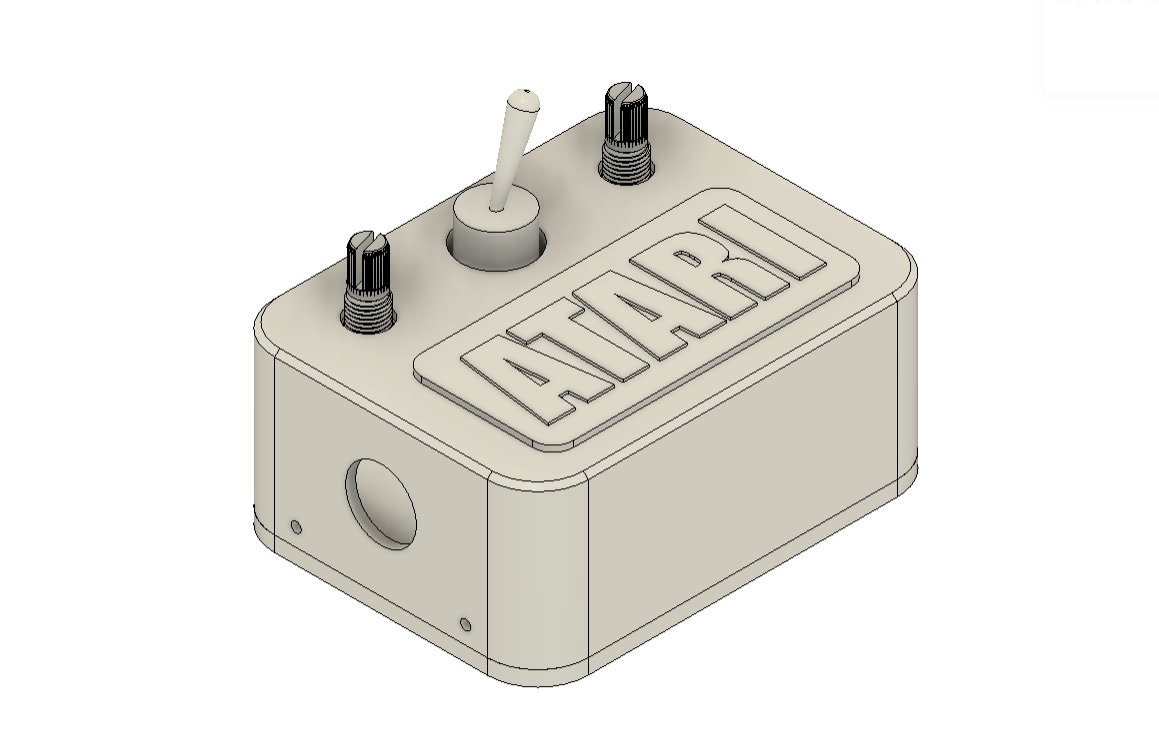
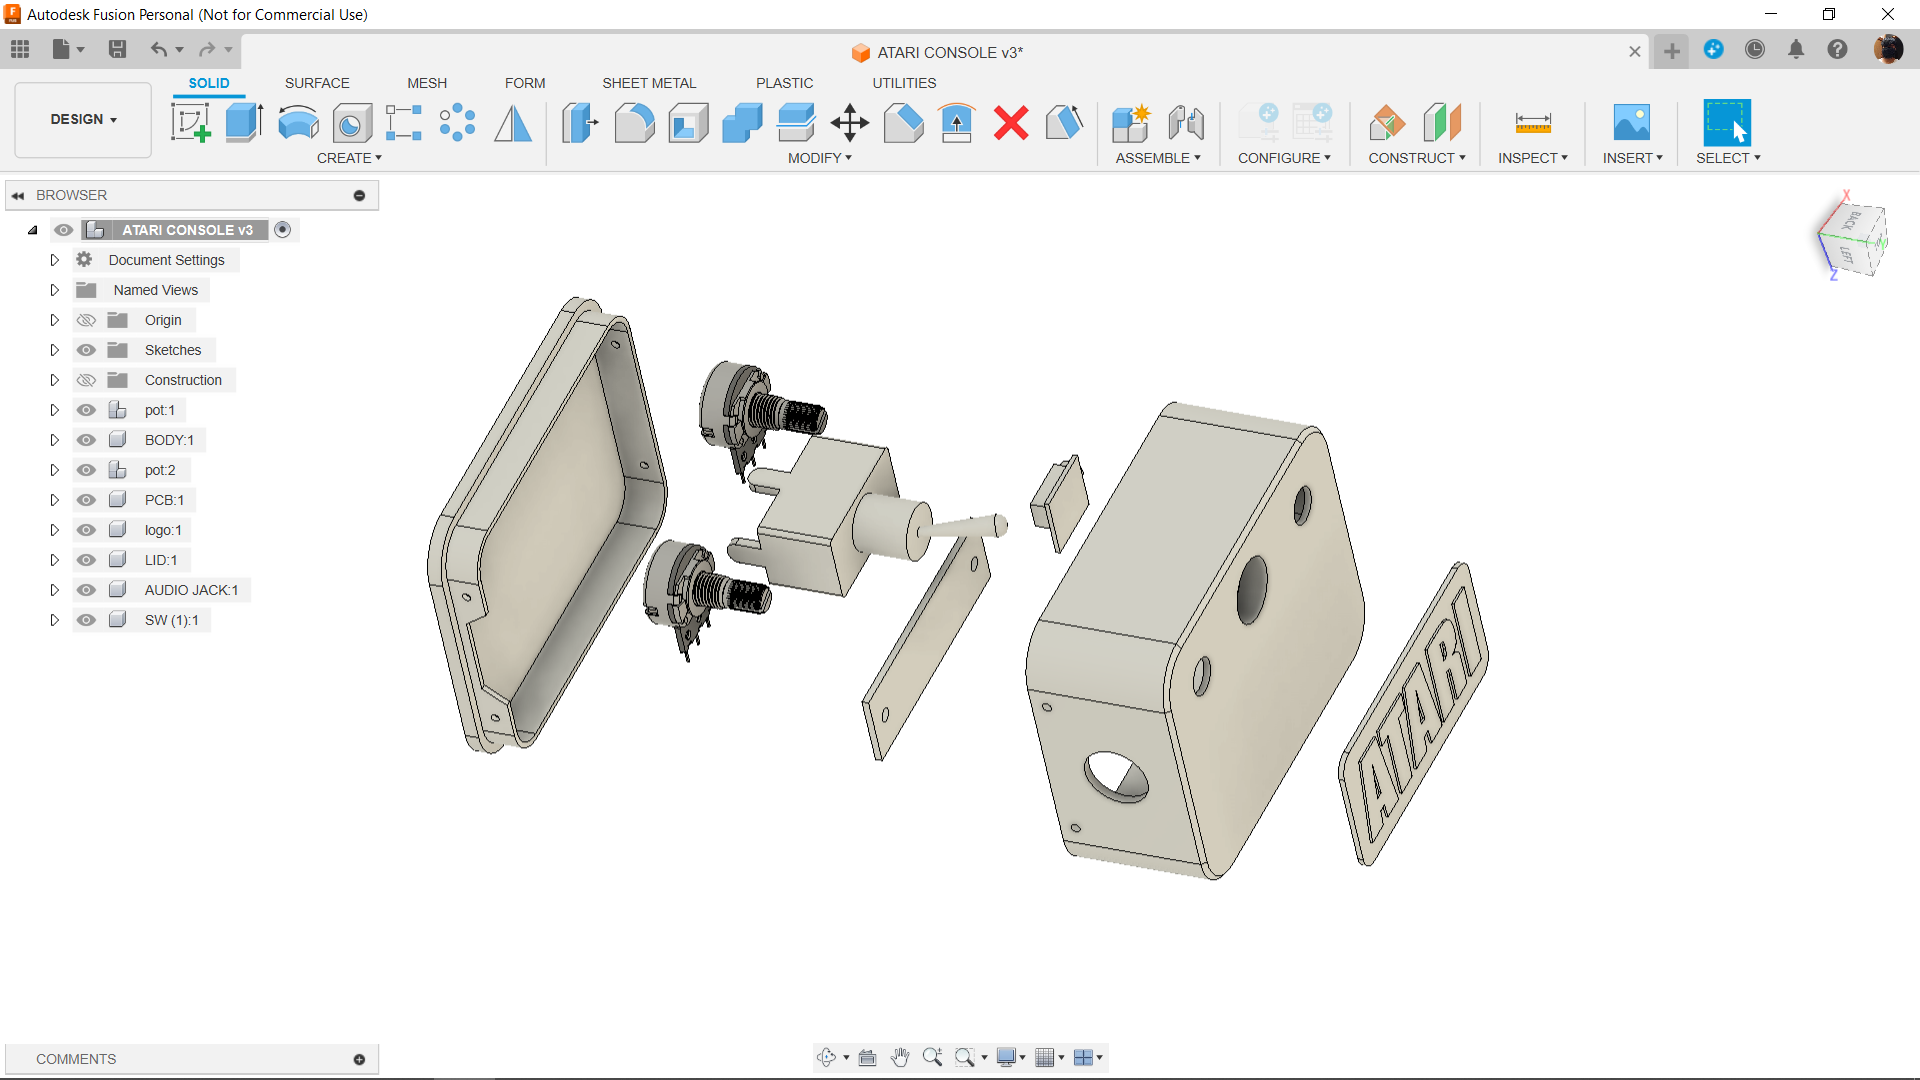
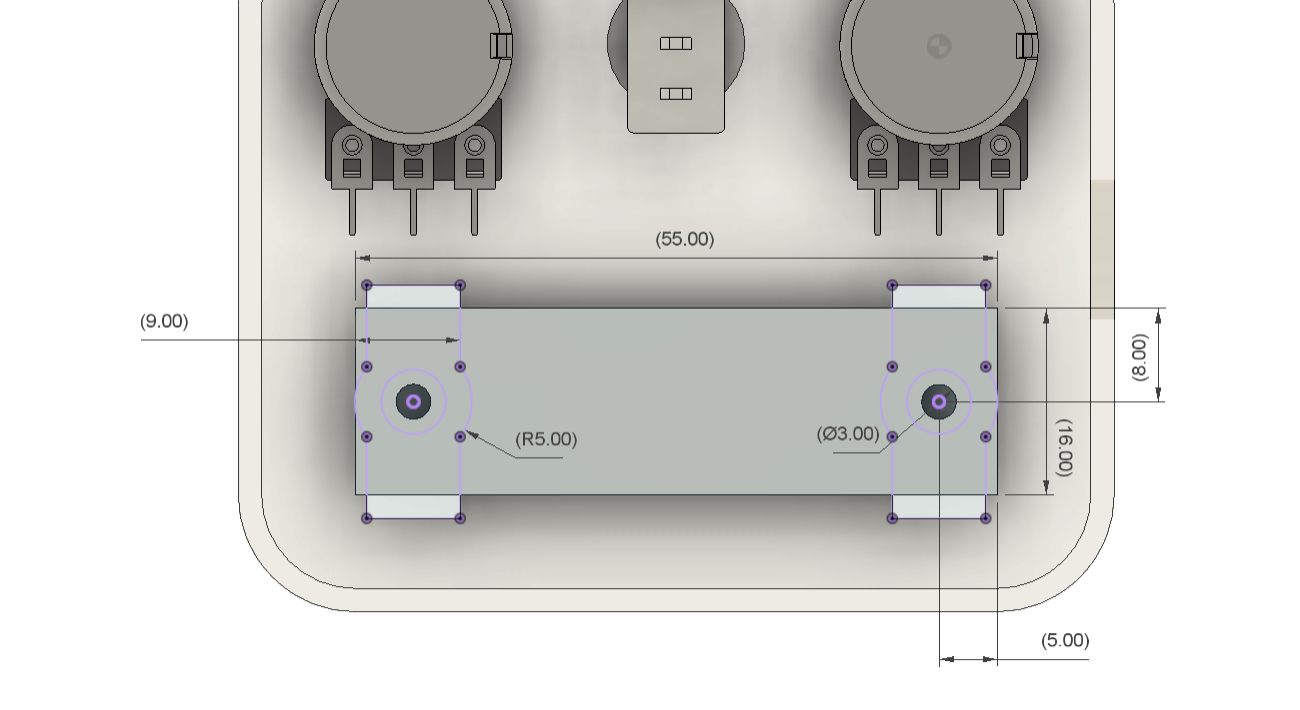
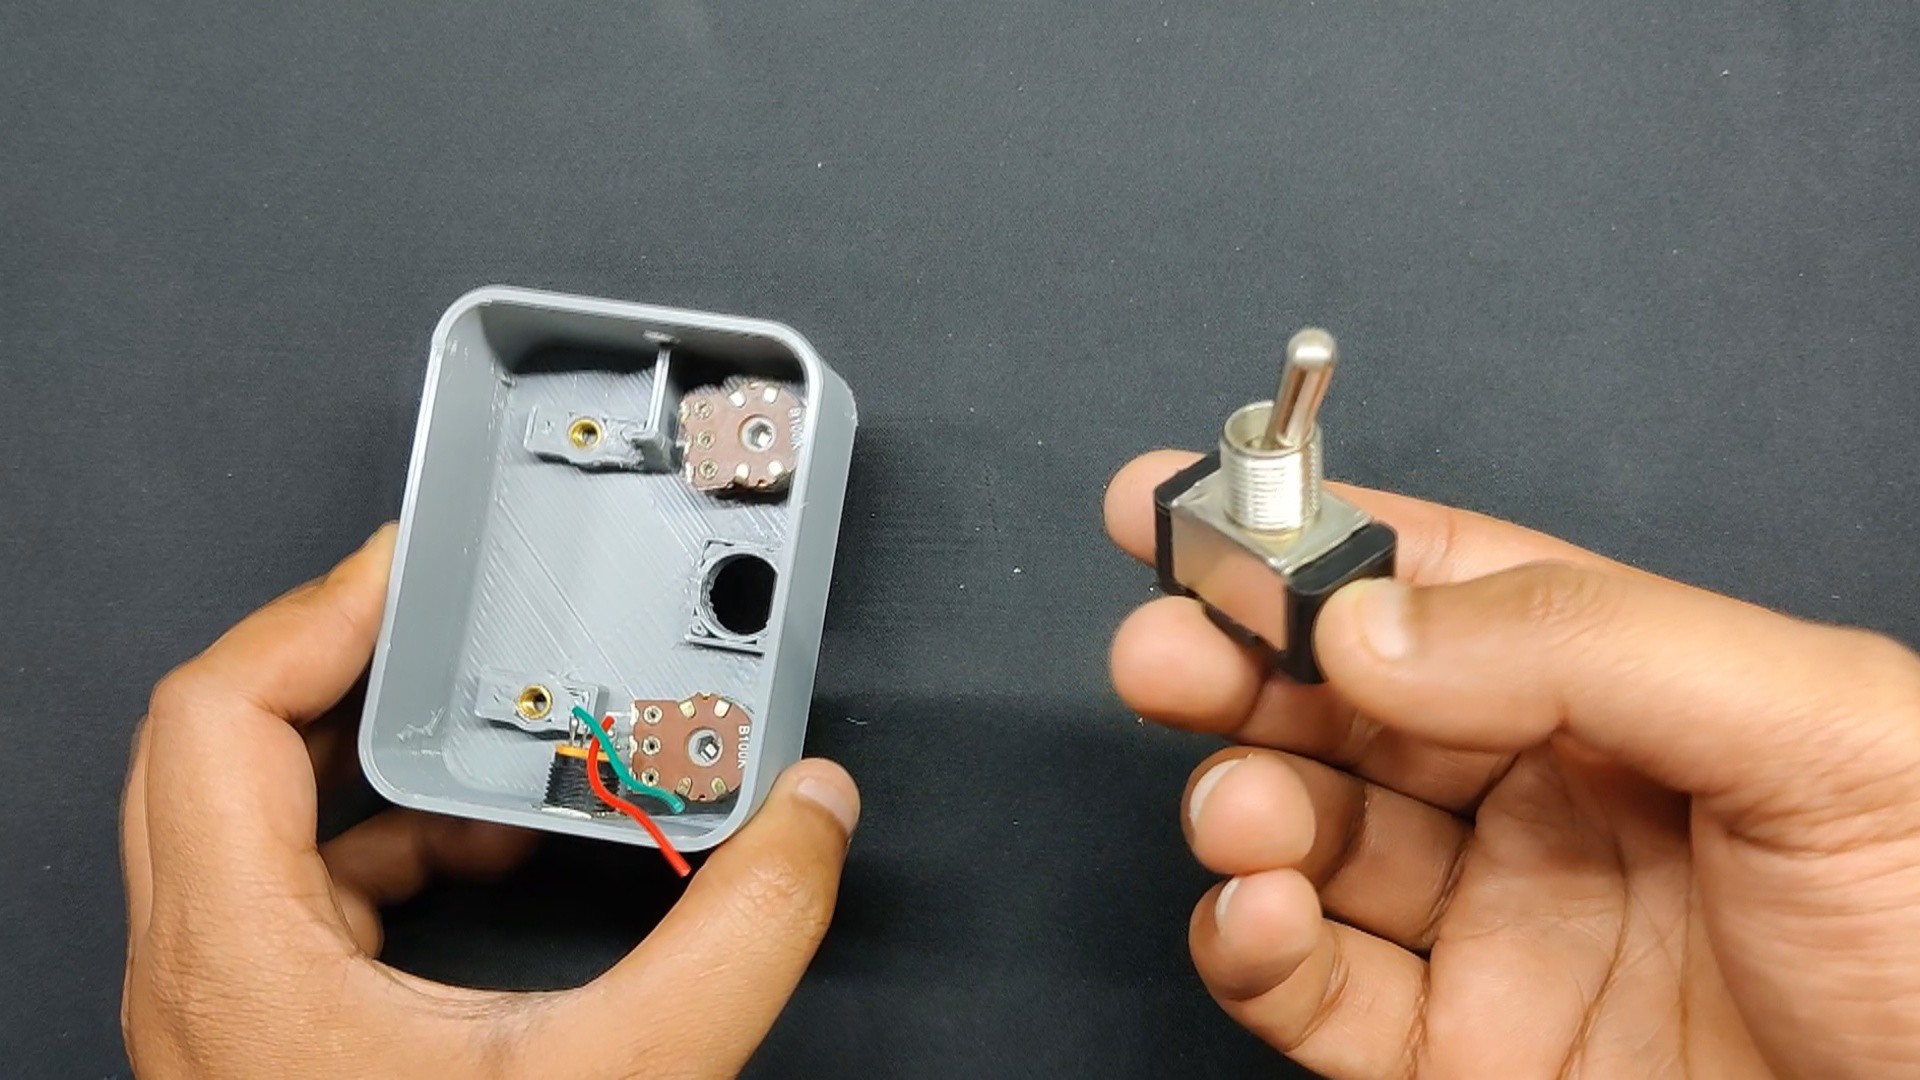
We first included a model of potentiometer and a knob switch in Fusion360, as these two components would be the center of our design.
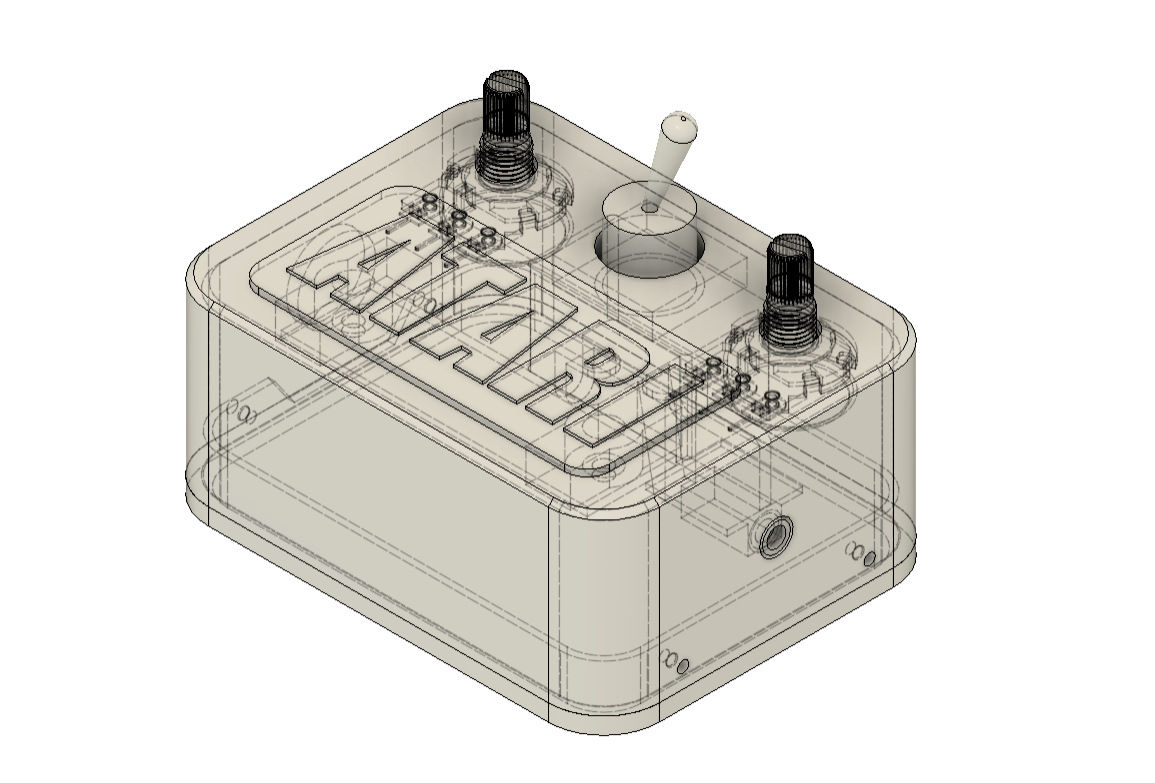
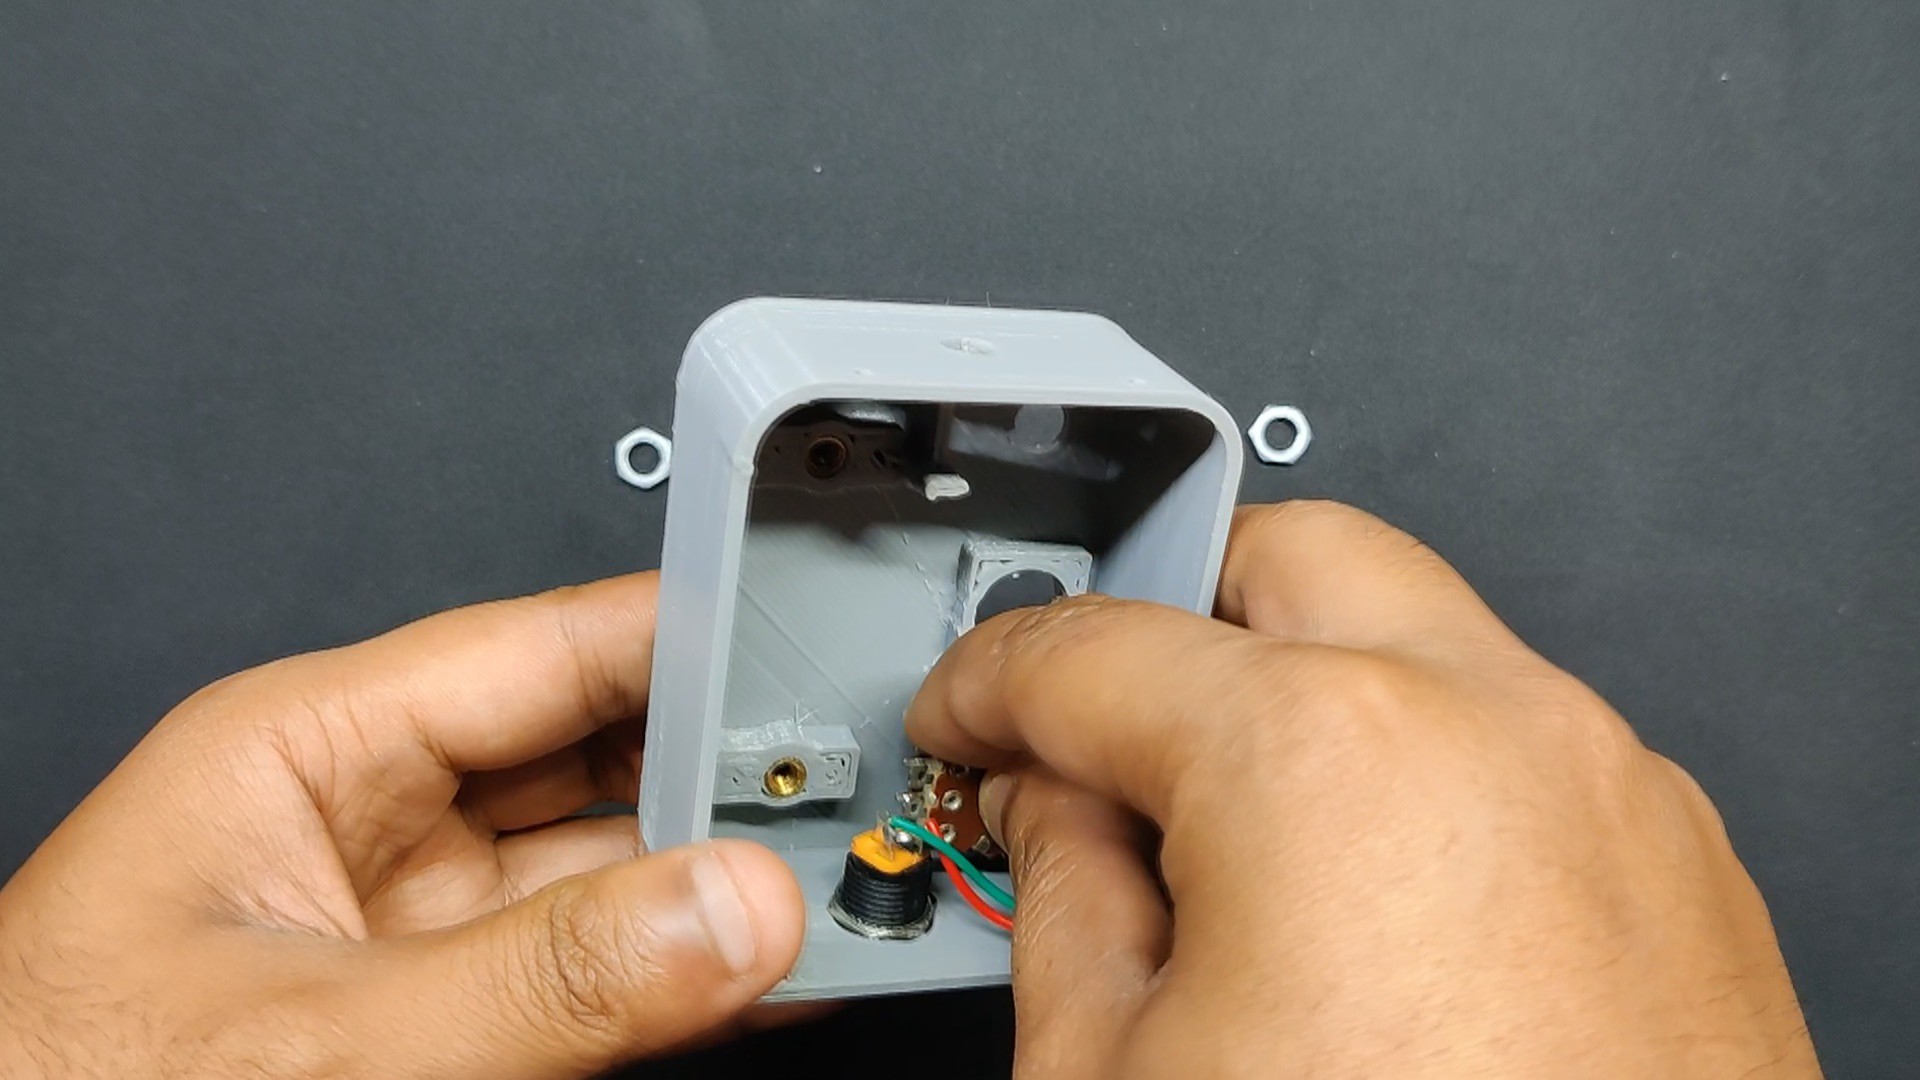
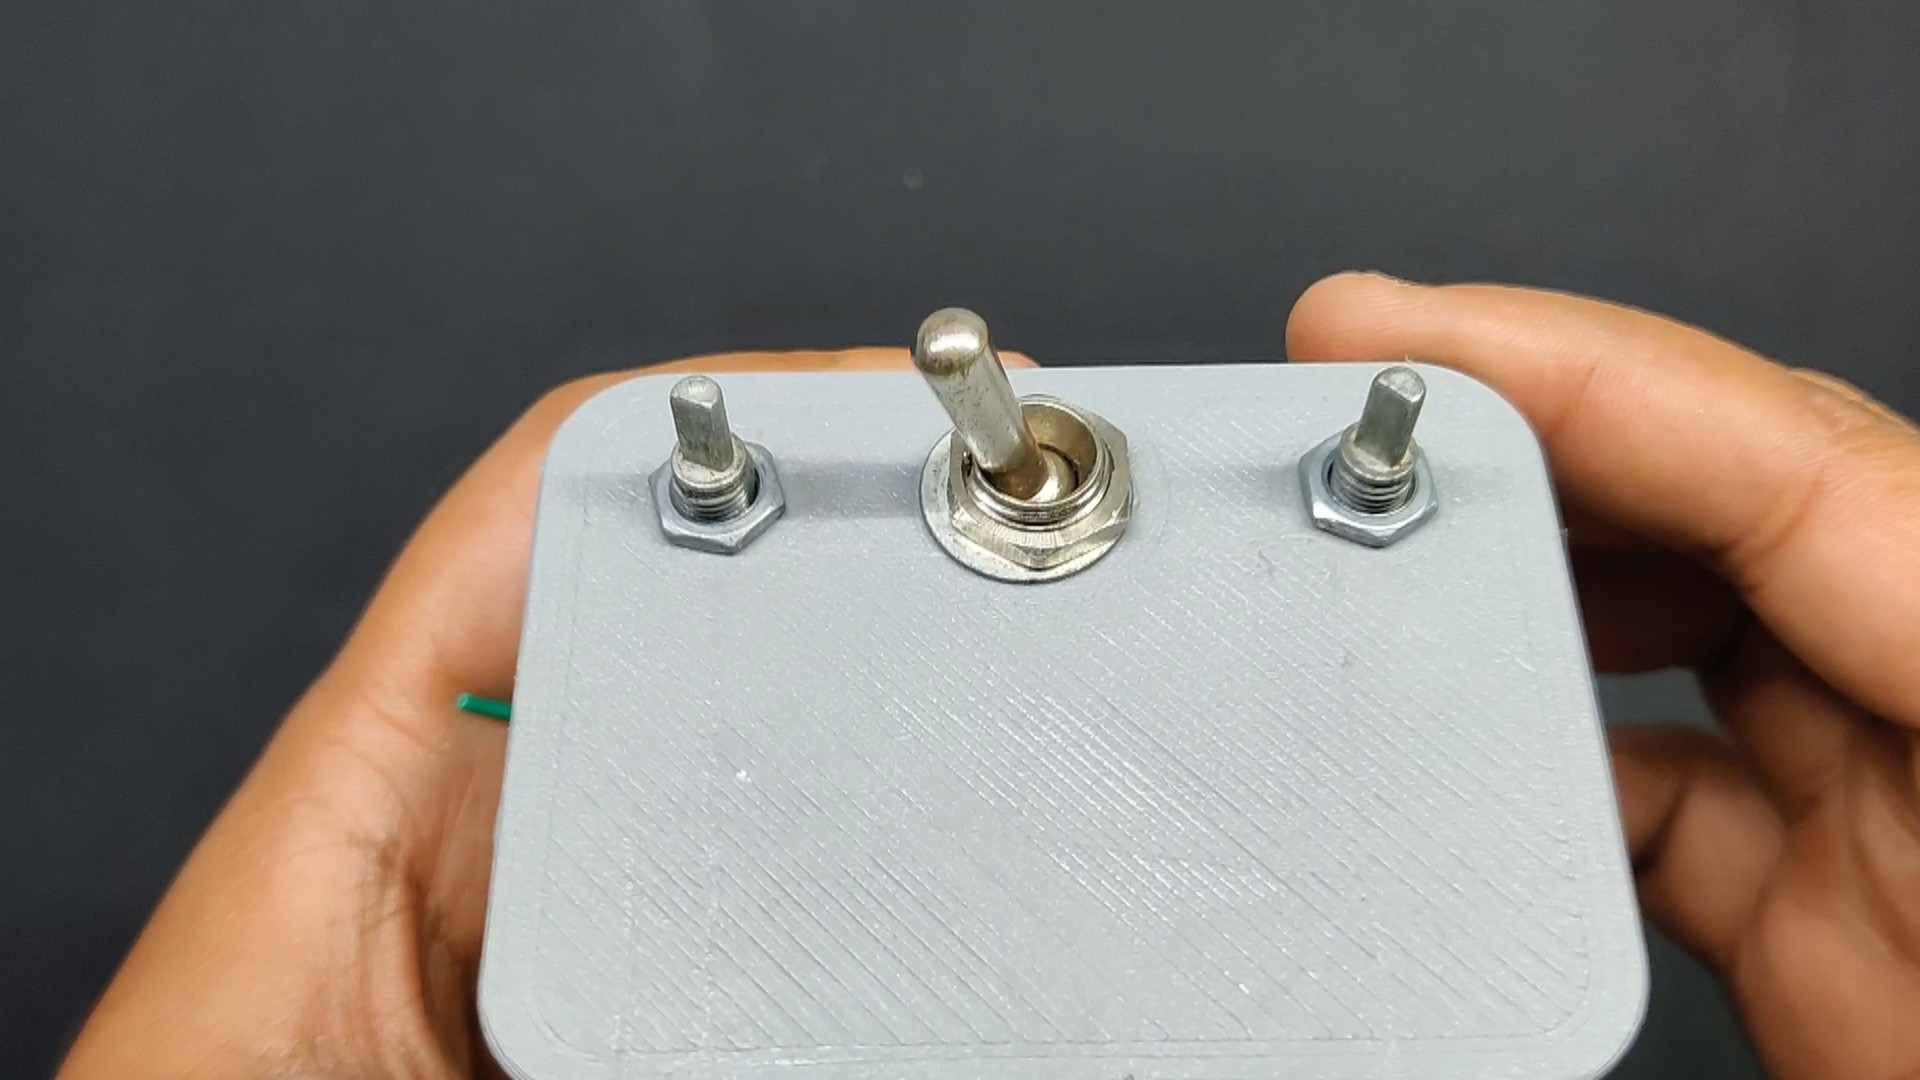
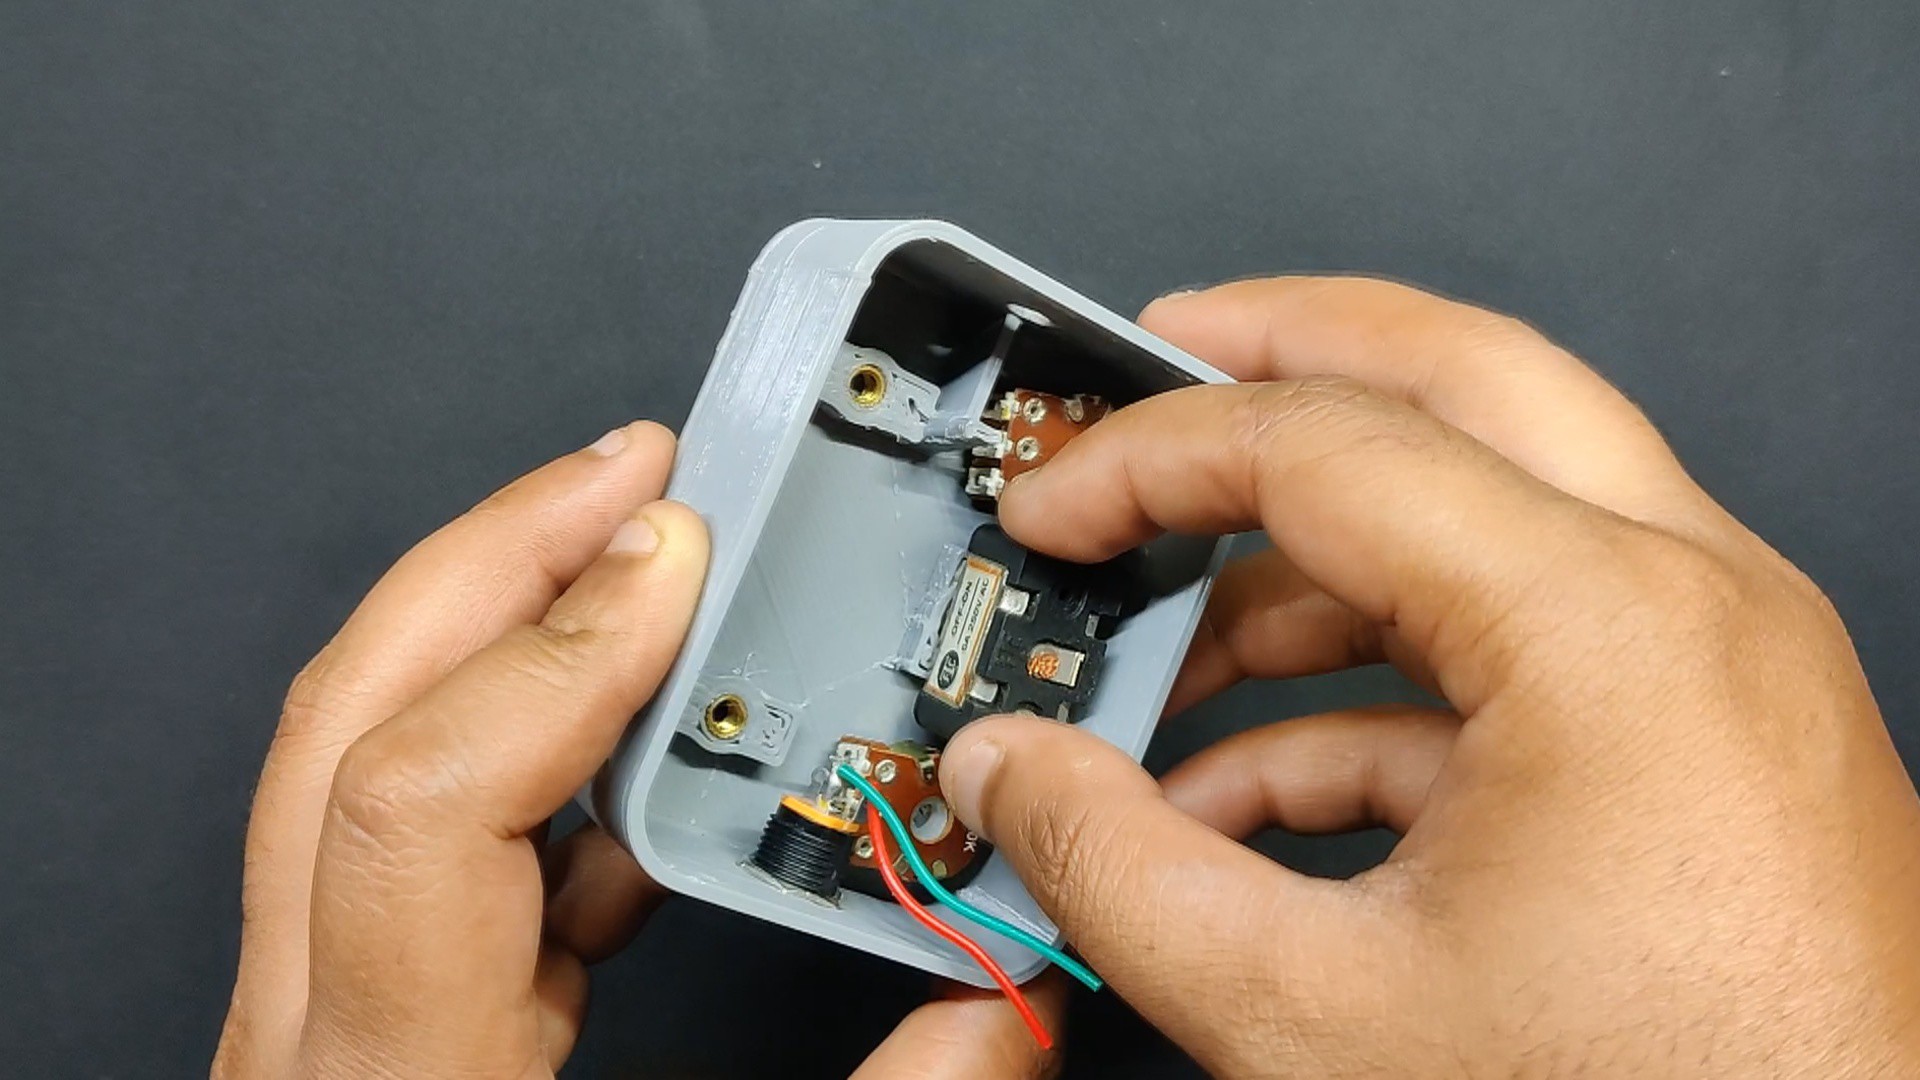
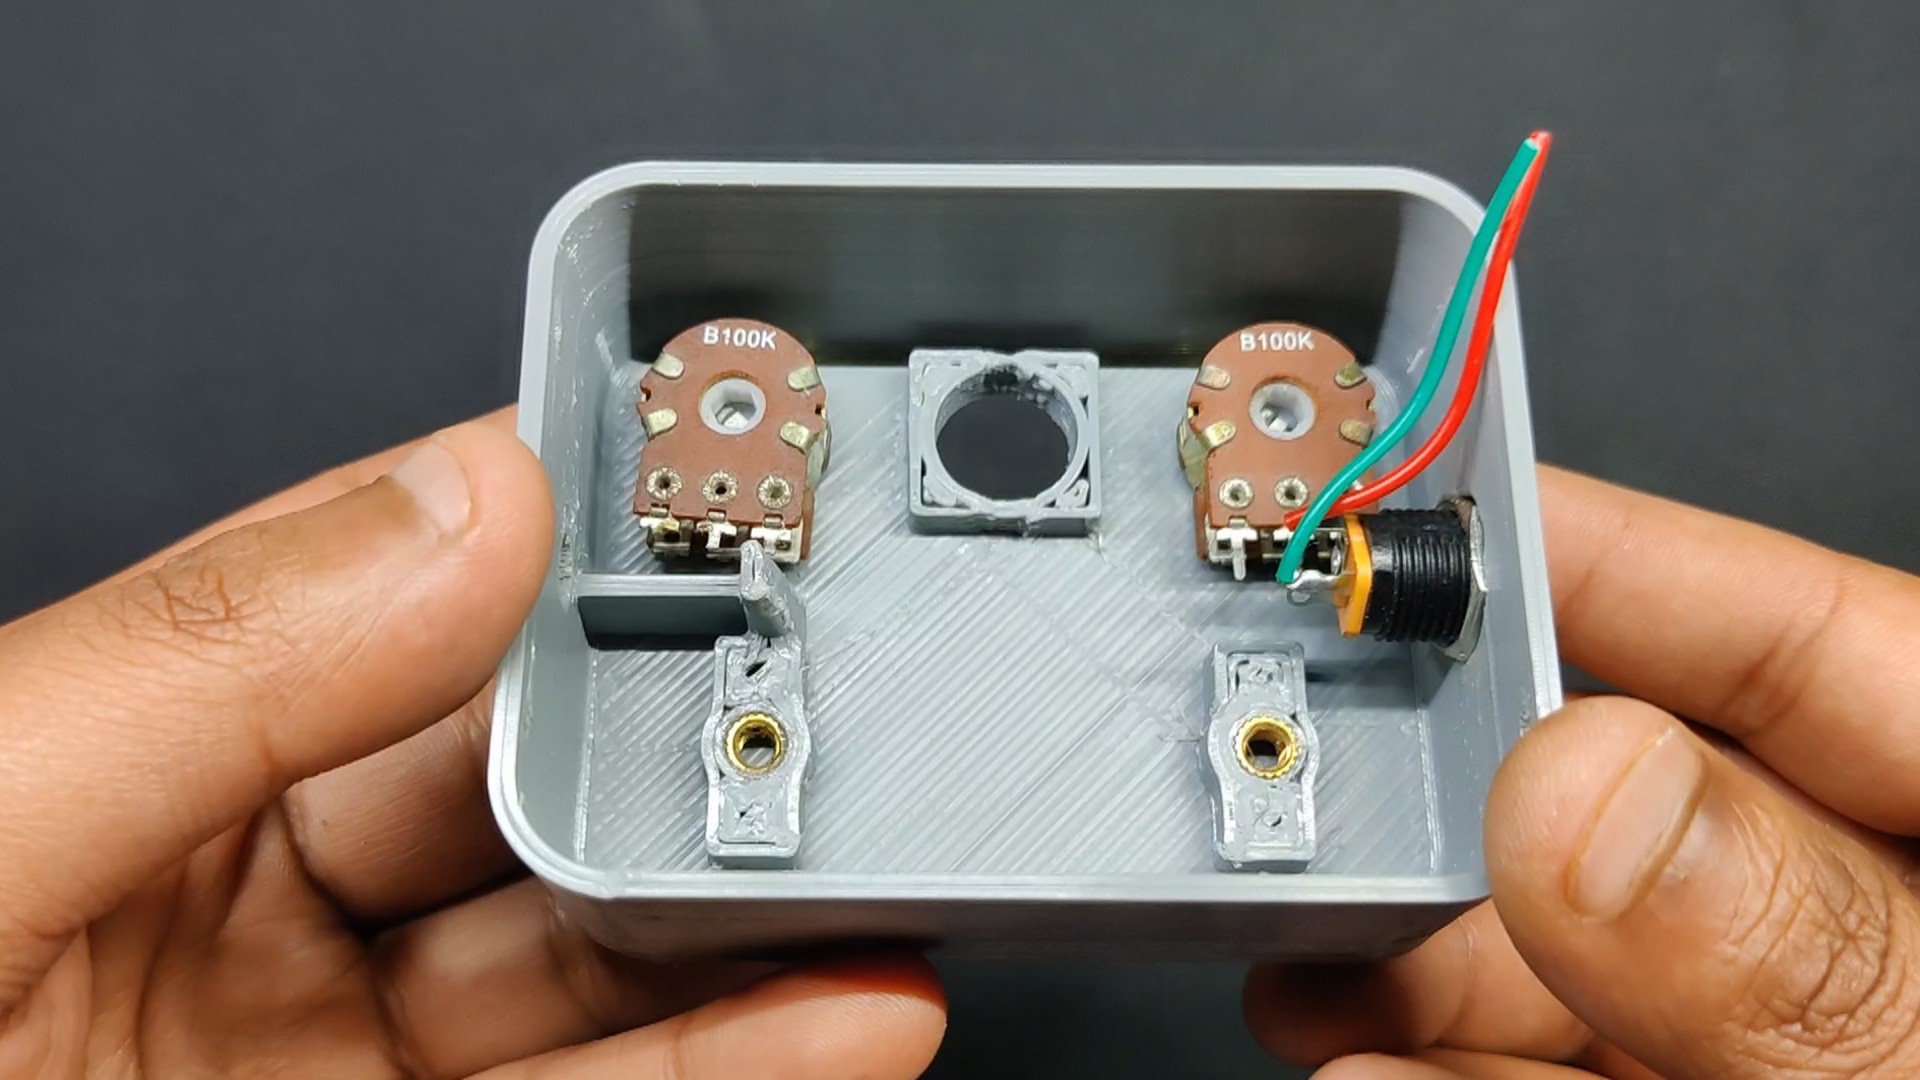
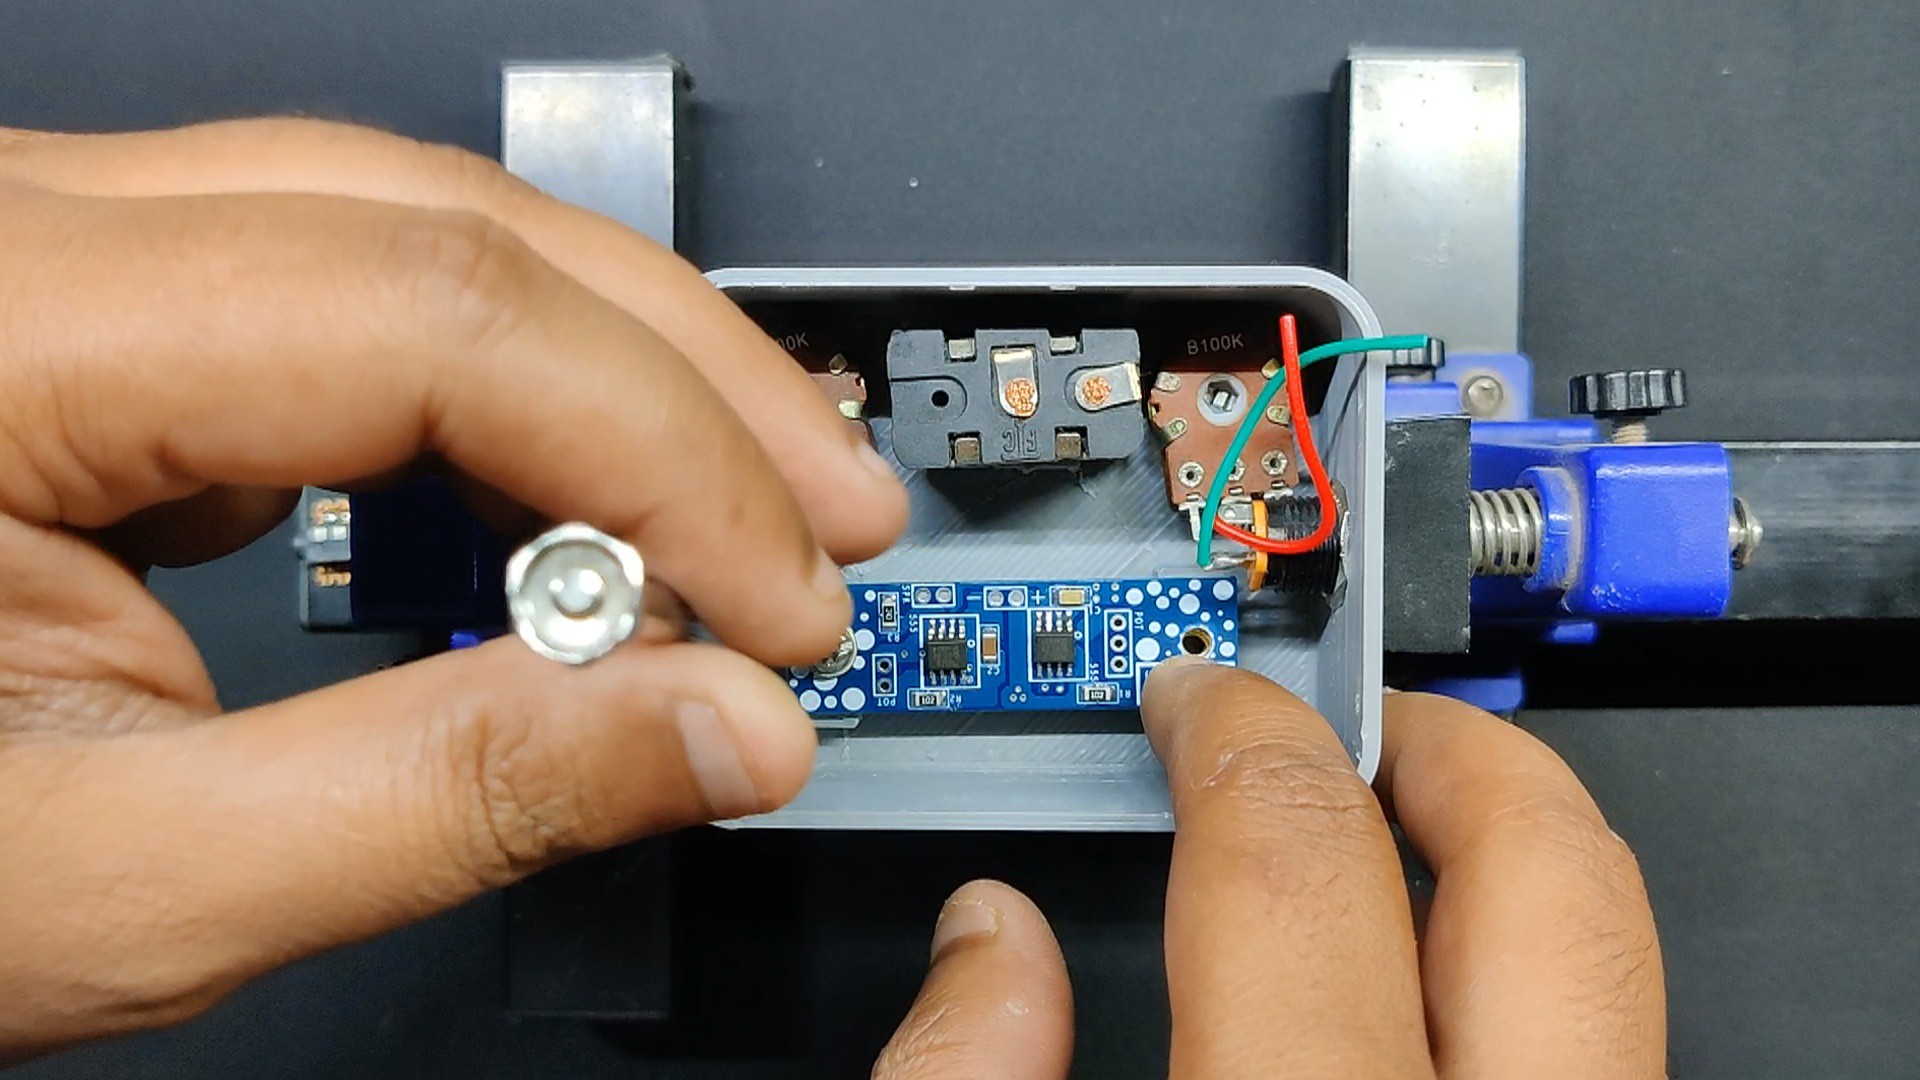
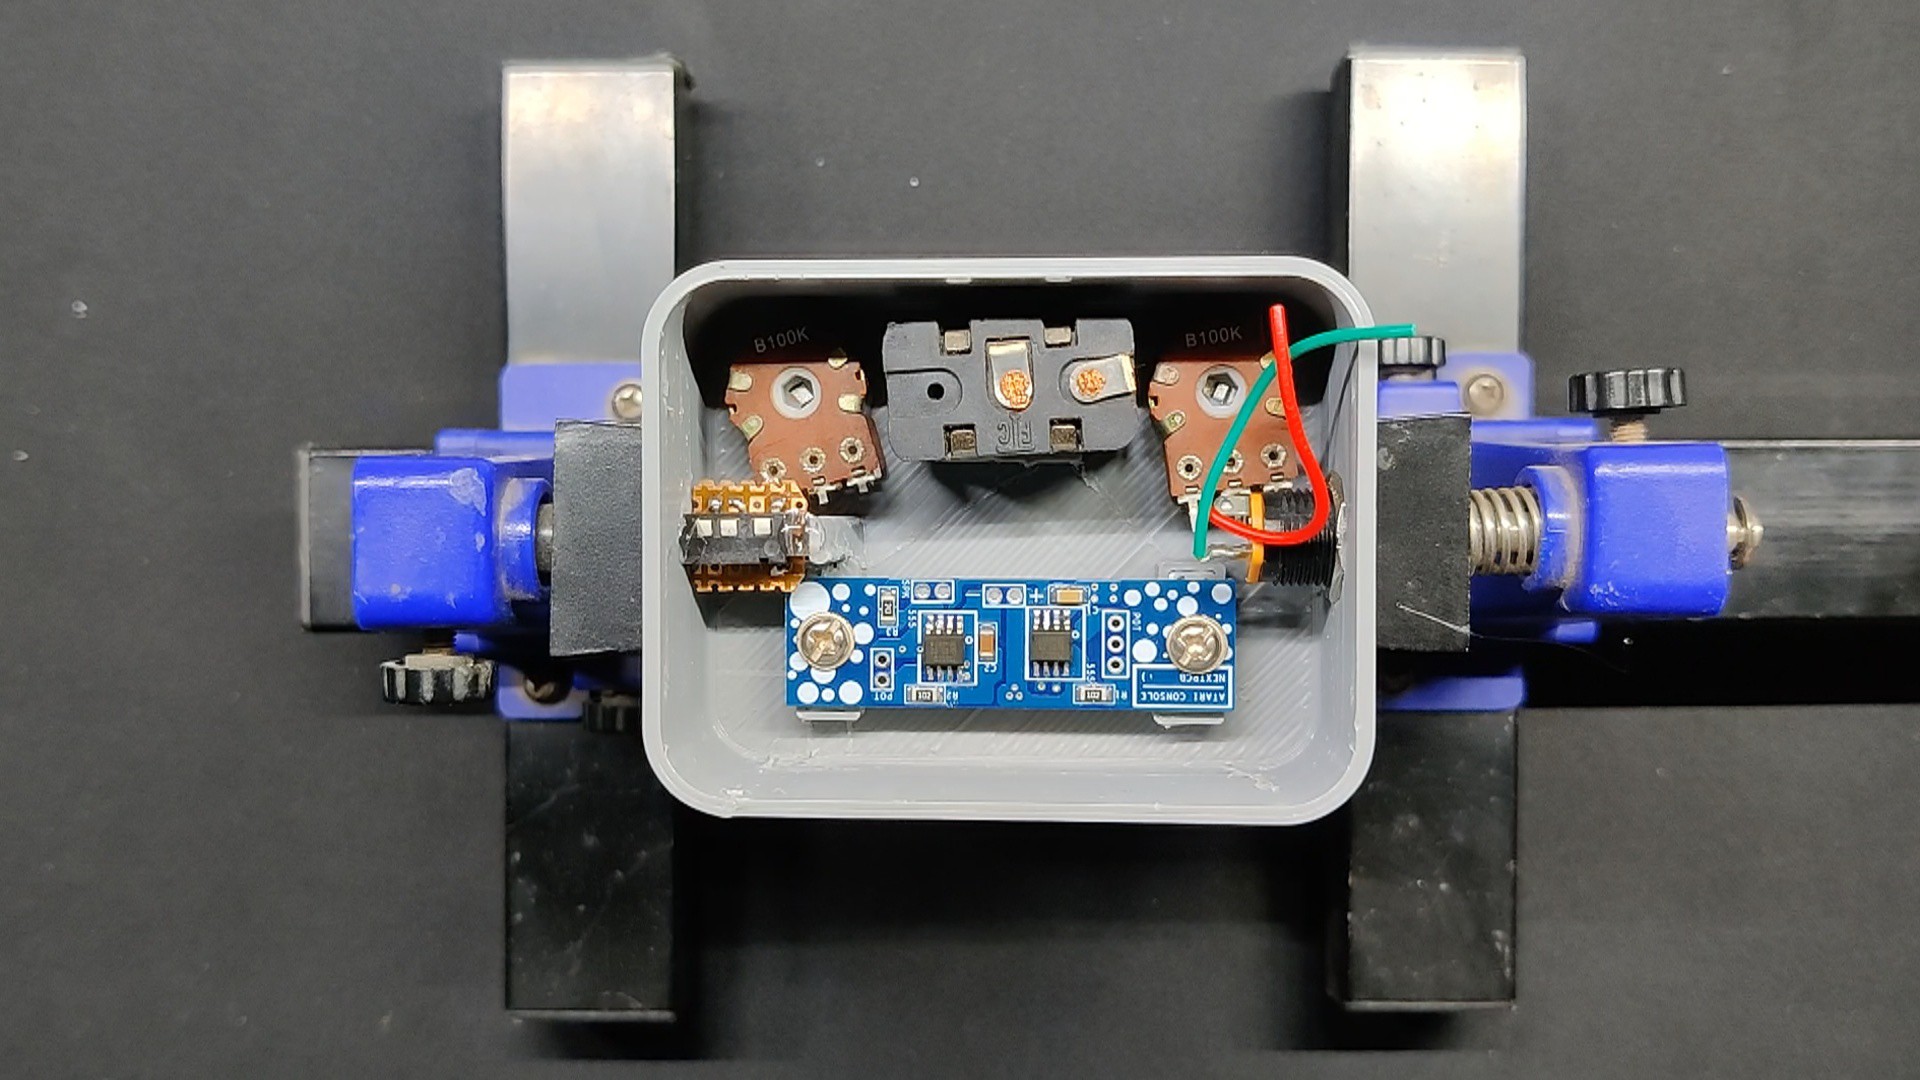
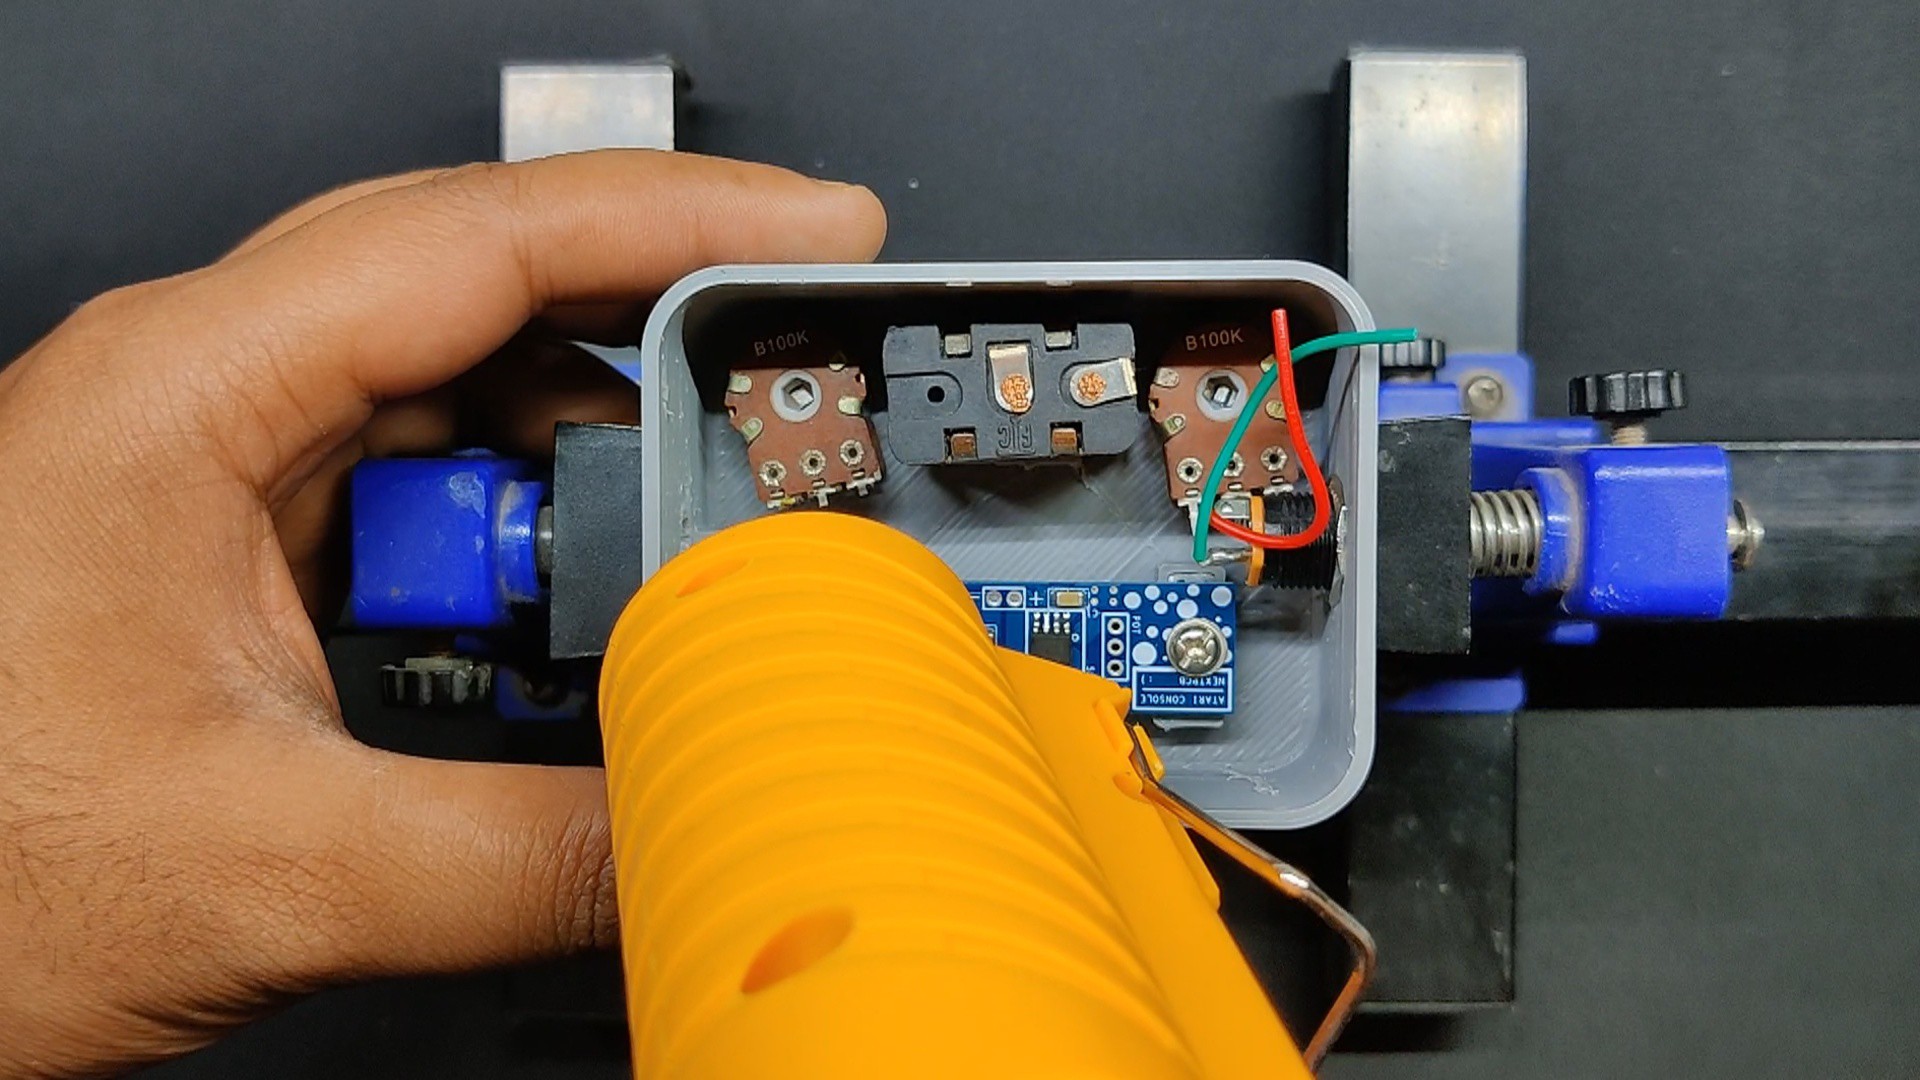
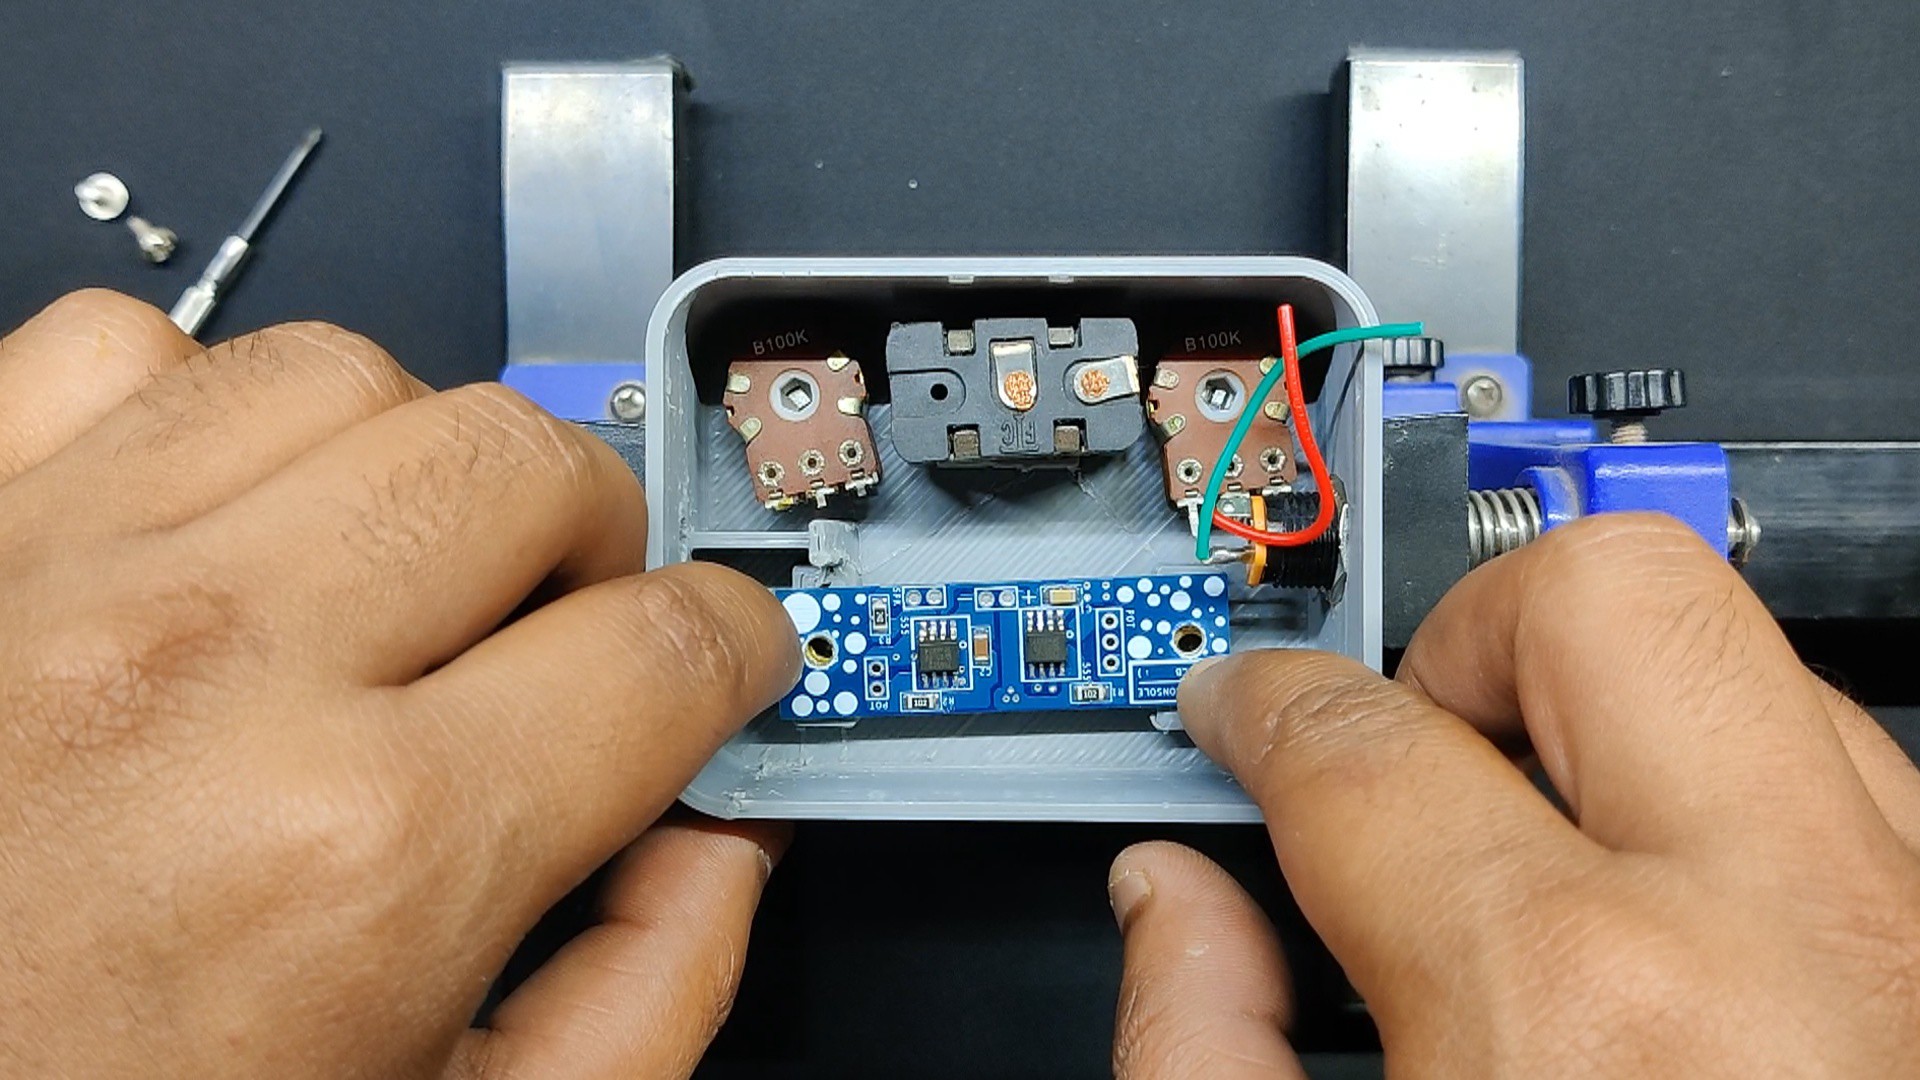
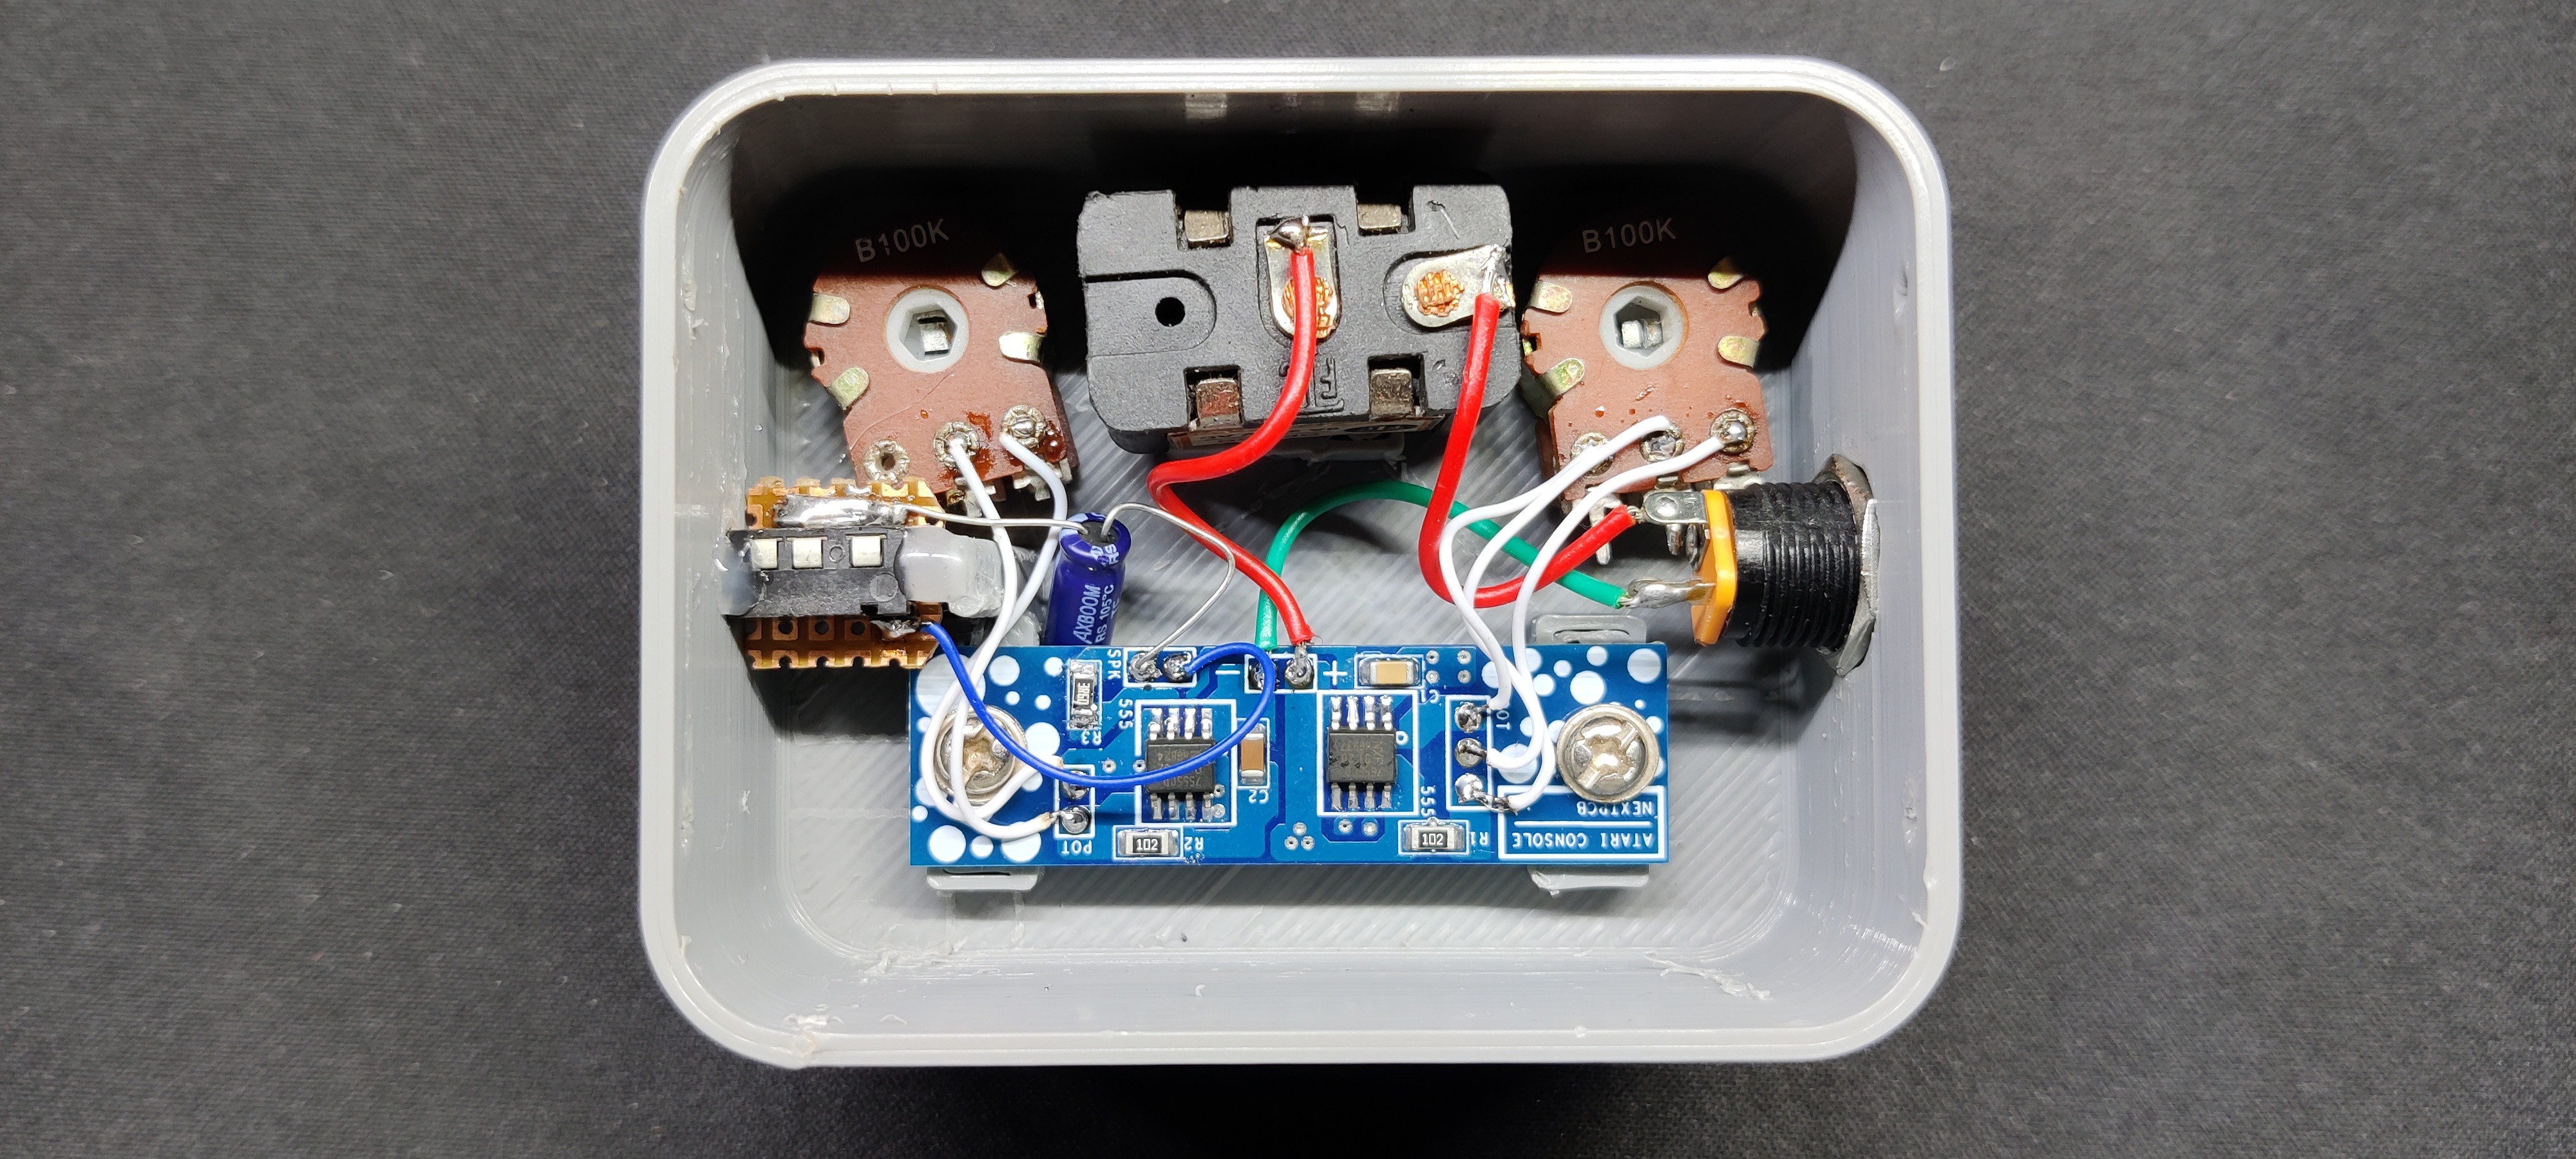
We used two potentiometers and positioned them side by side, with a toggle switch in between. These parts formed the basis of the enclosure design, and the circuit was installed inside the housing.
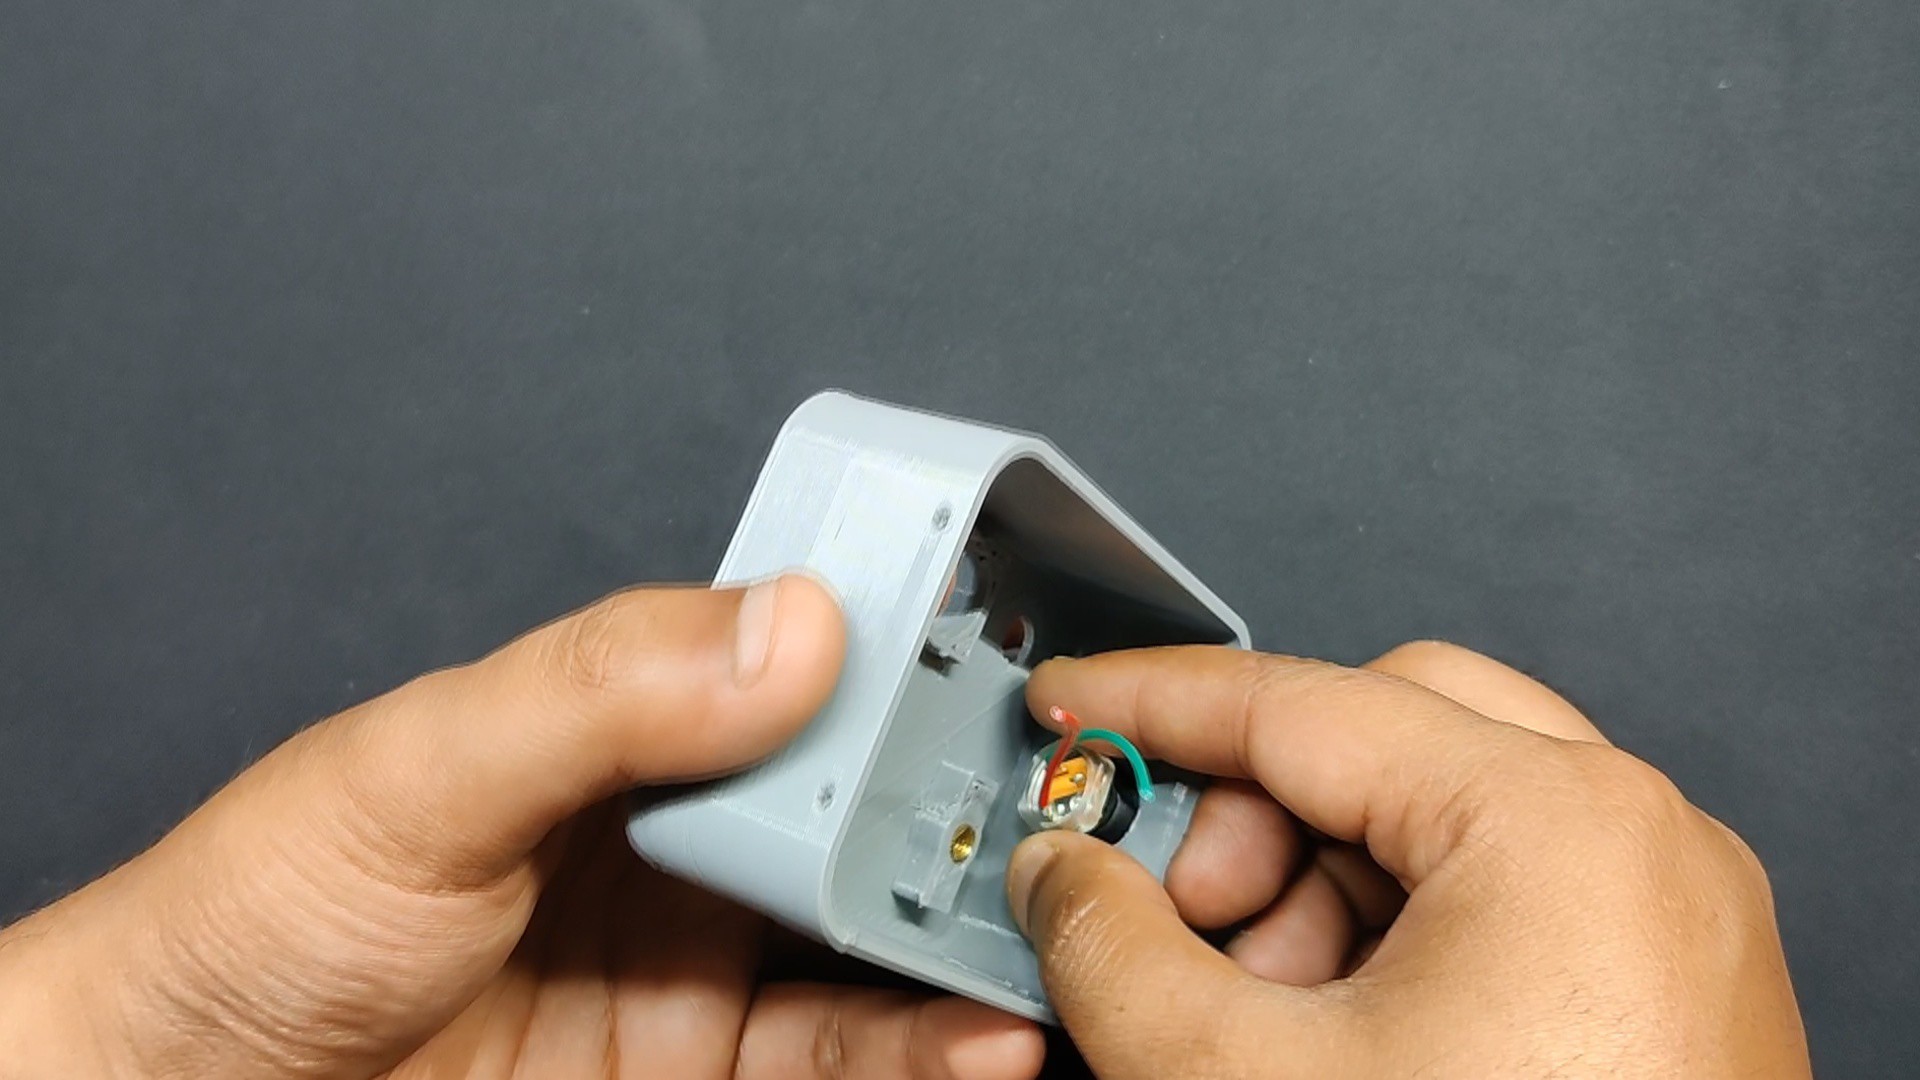
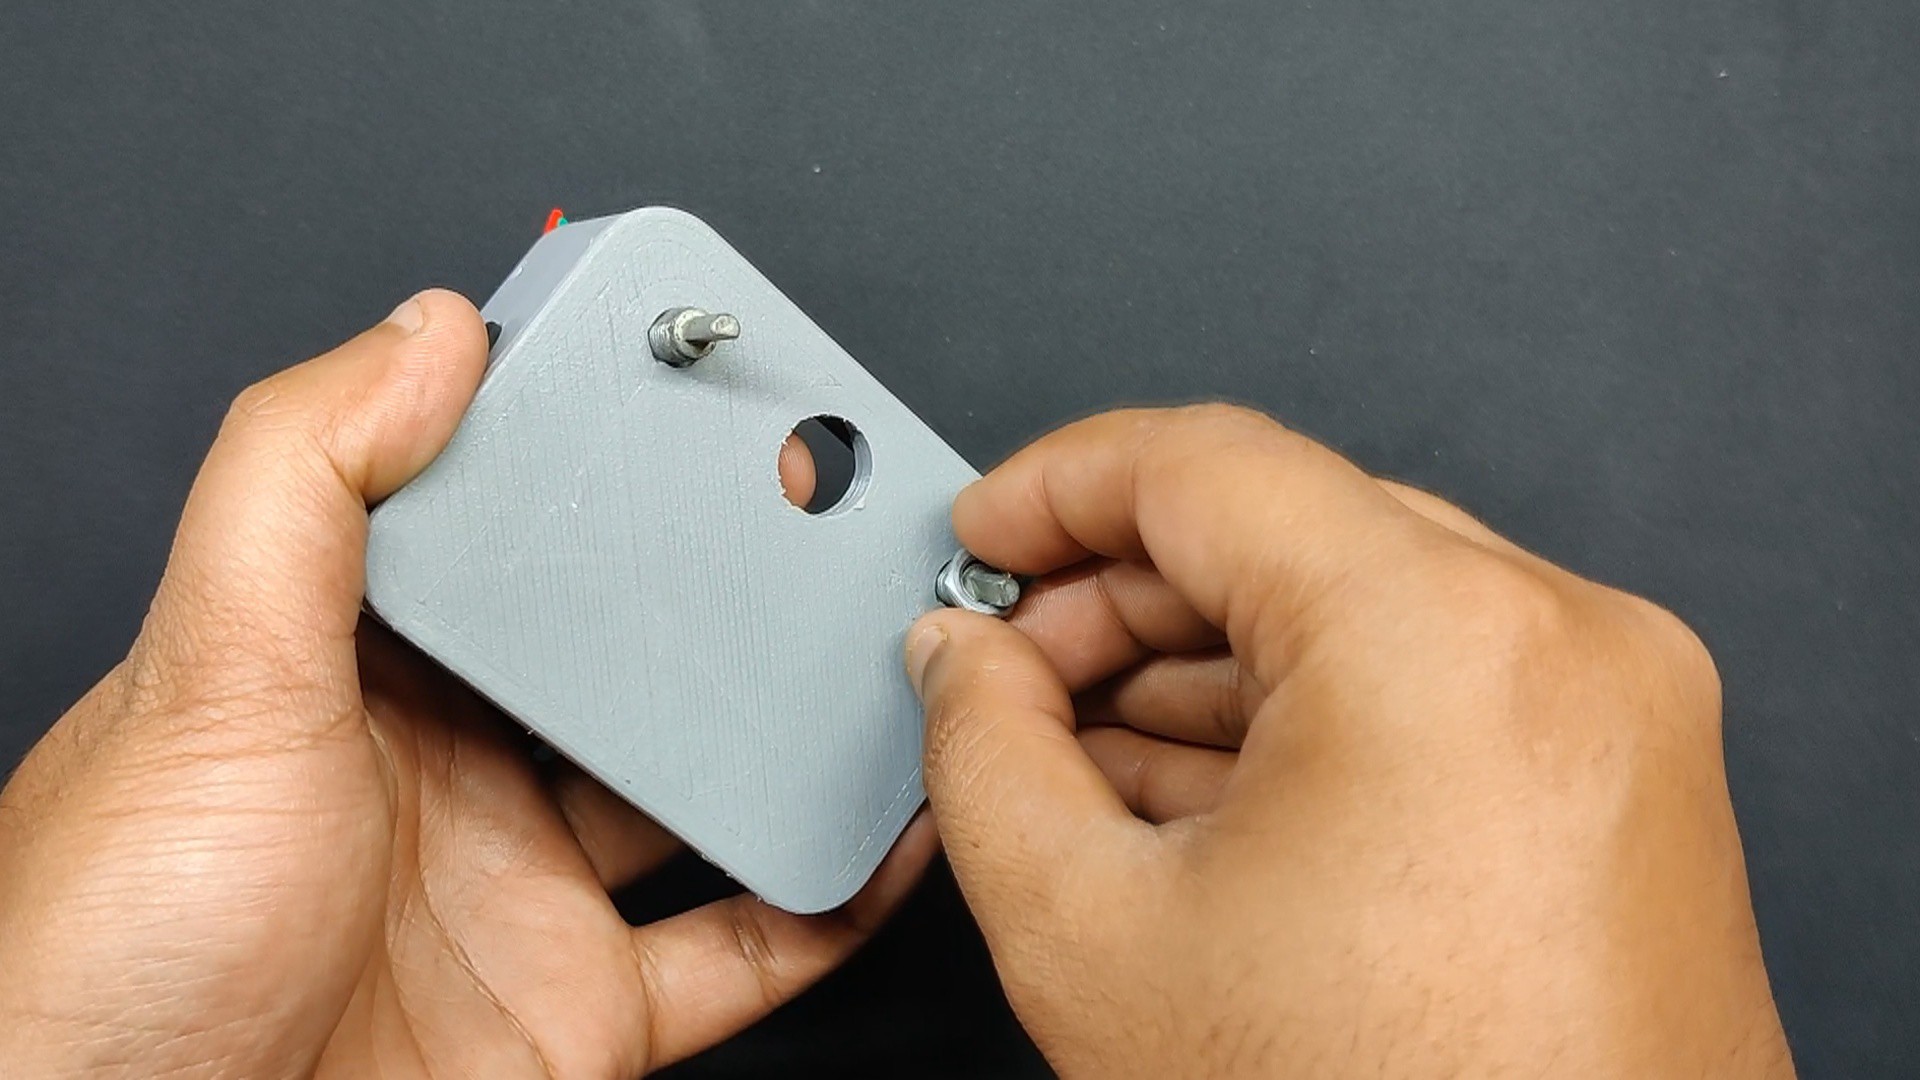
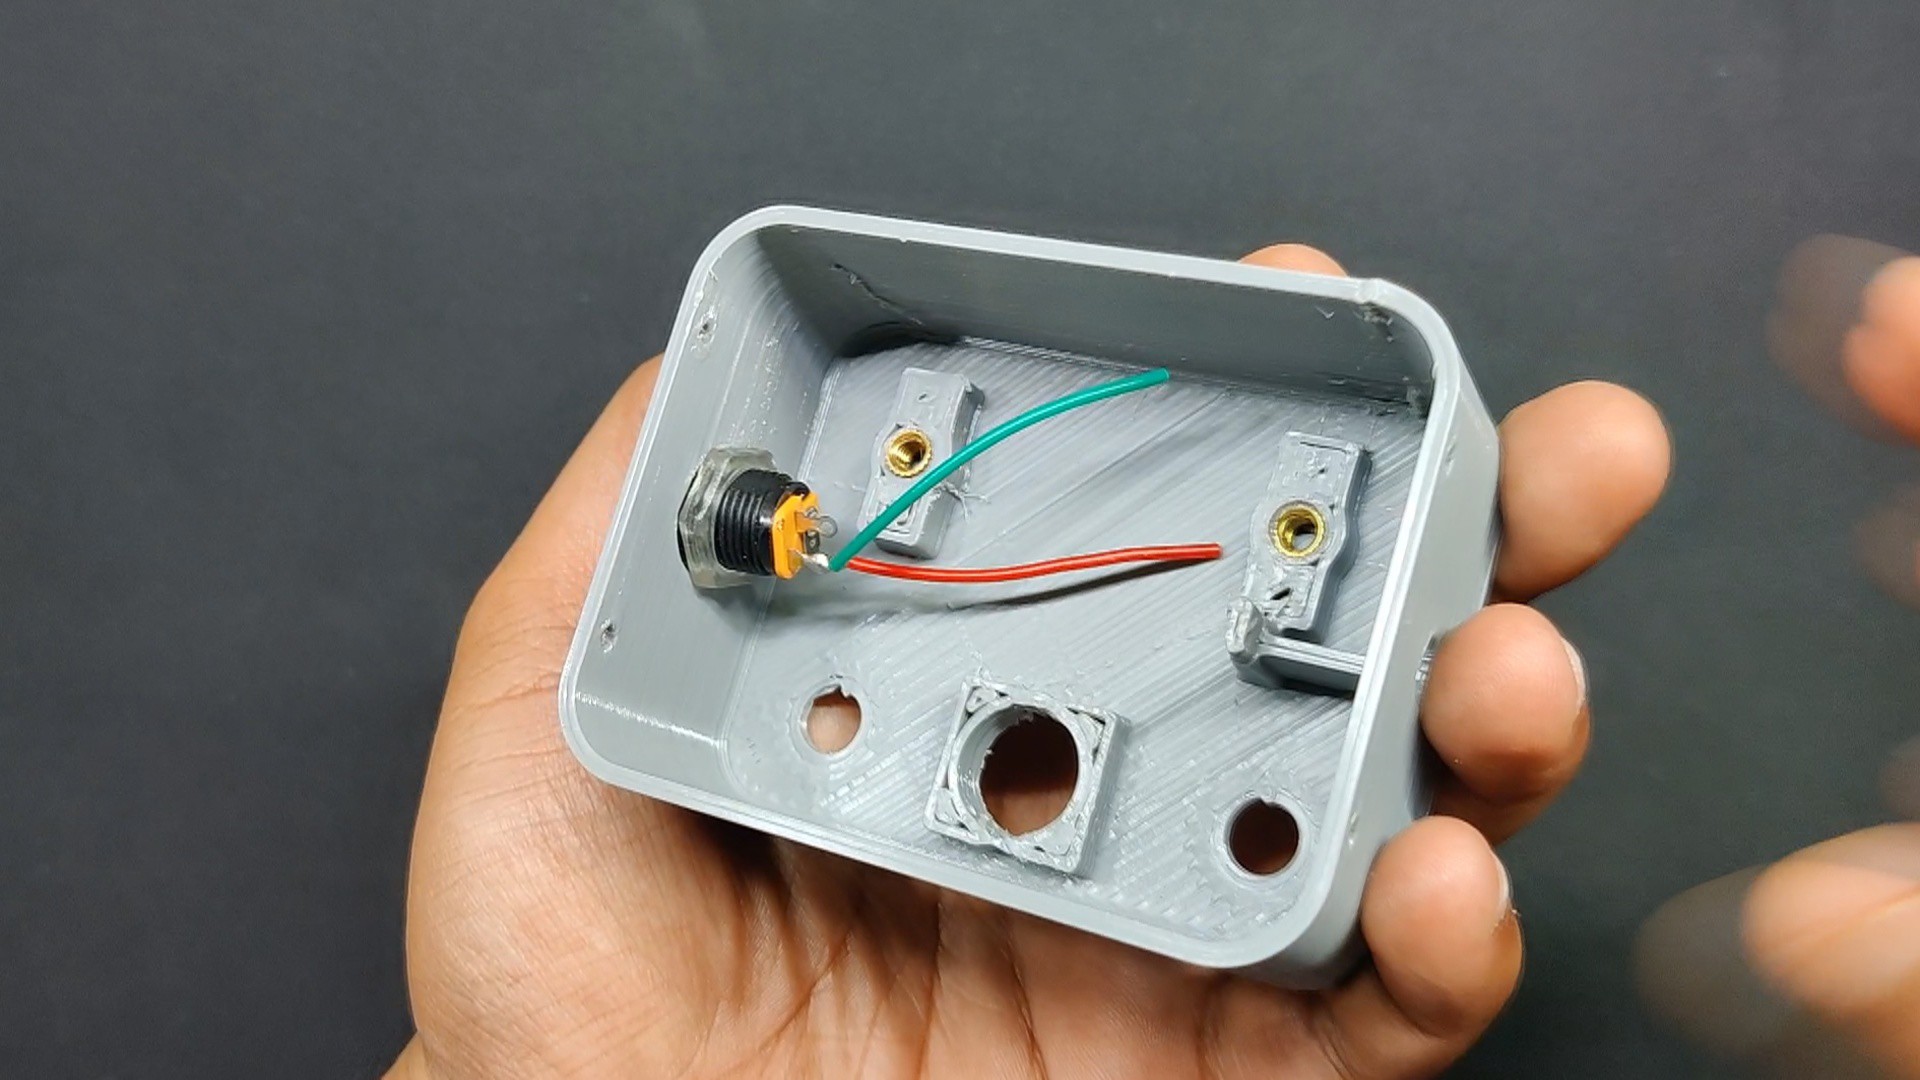
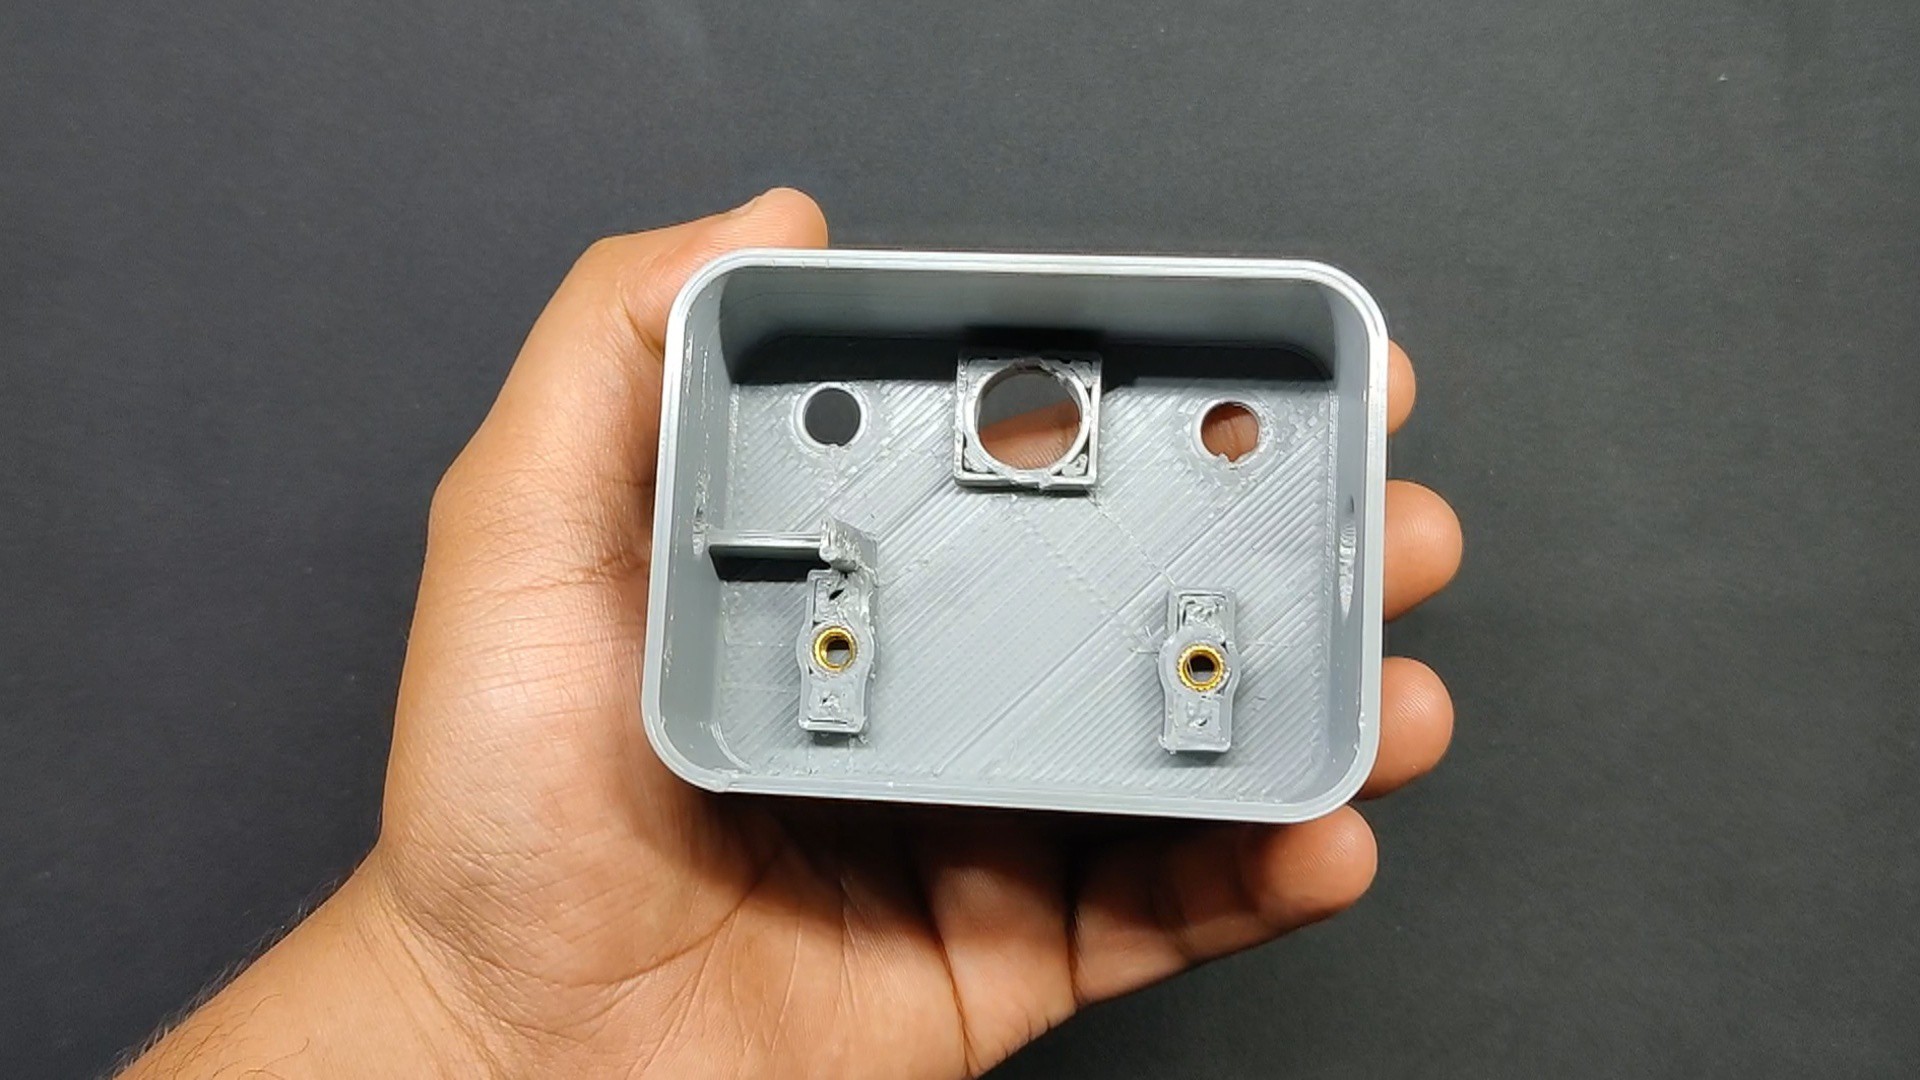
The enclosure was divided into two sections: the lid portion and the main body, which houses all of the electronics. We also included a third element, which was an Atari logo that was positioned on top of the main body of the enclosure.
To print the enclosure main body, we use Grey PLA at 0.2mm layer height and 20% infill through a 0.6mm Nozzle.
We used white PLA to print the lid portion with identical settings, and two colors of filament were used to create the logo.
Circuit
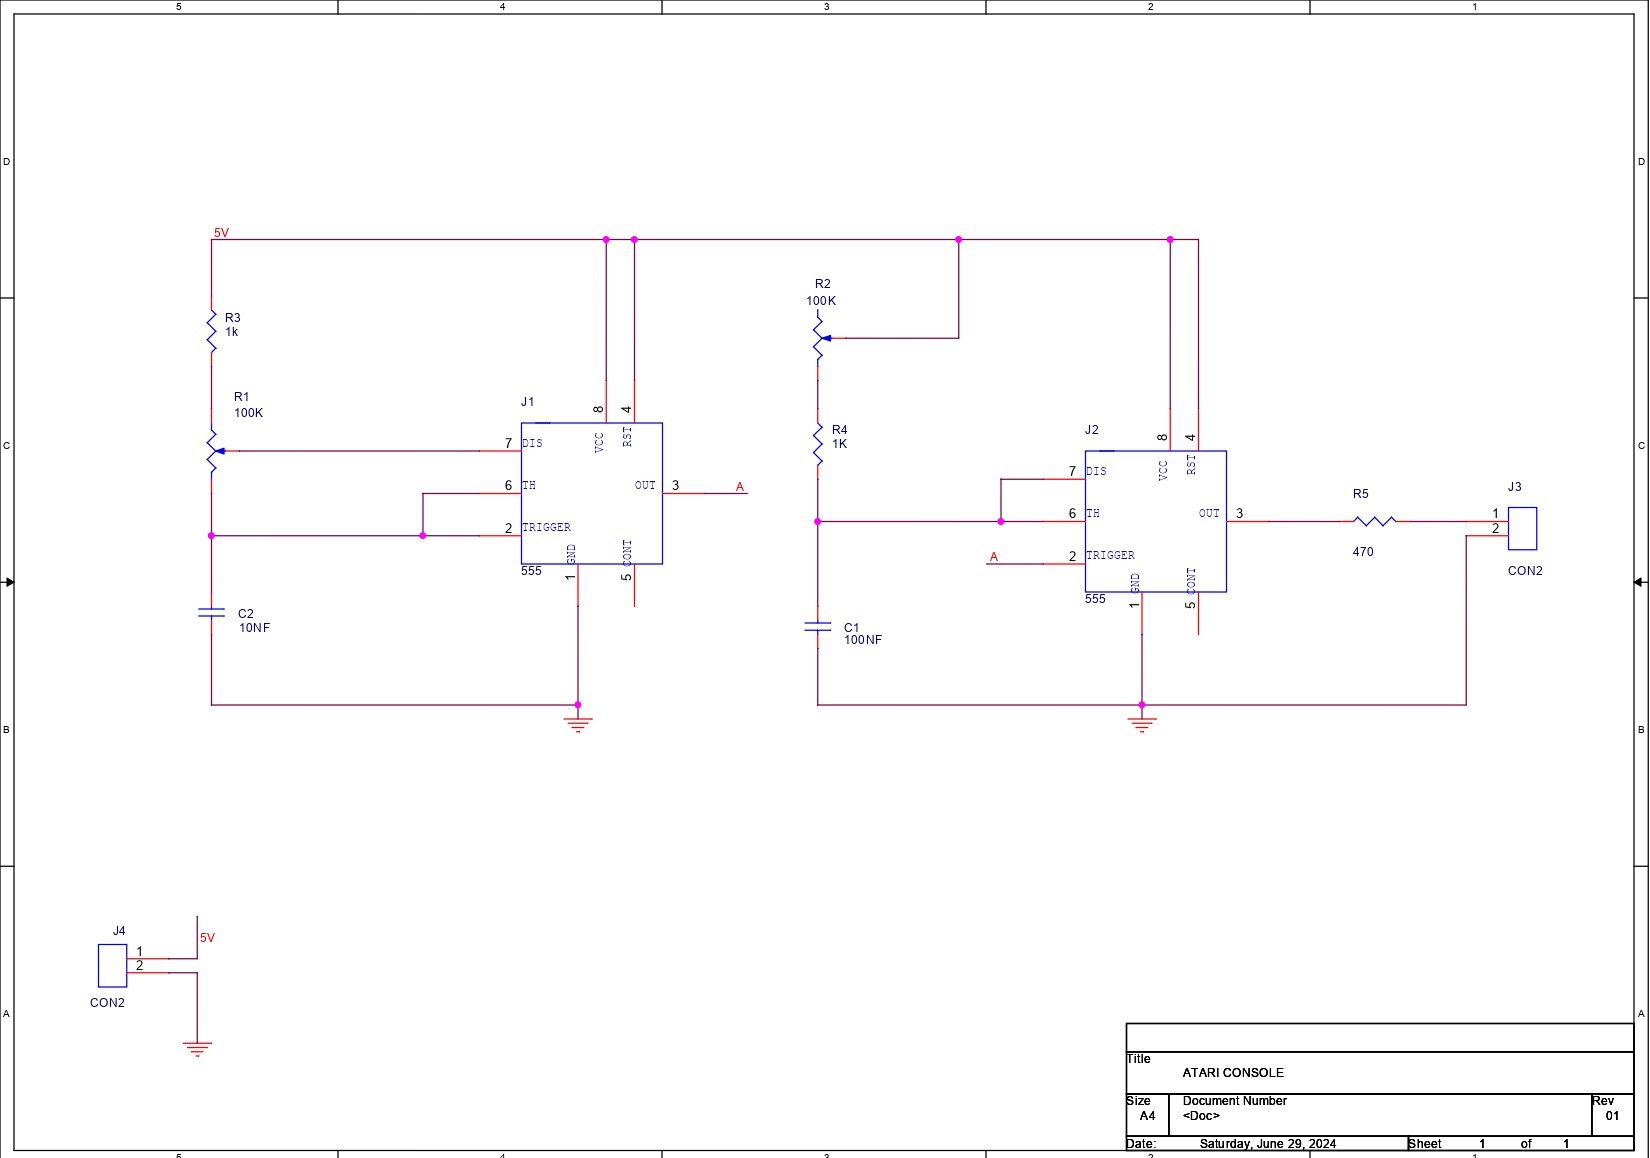
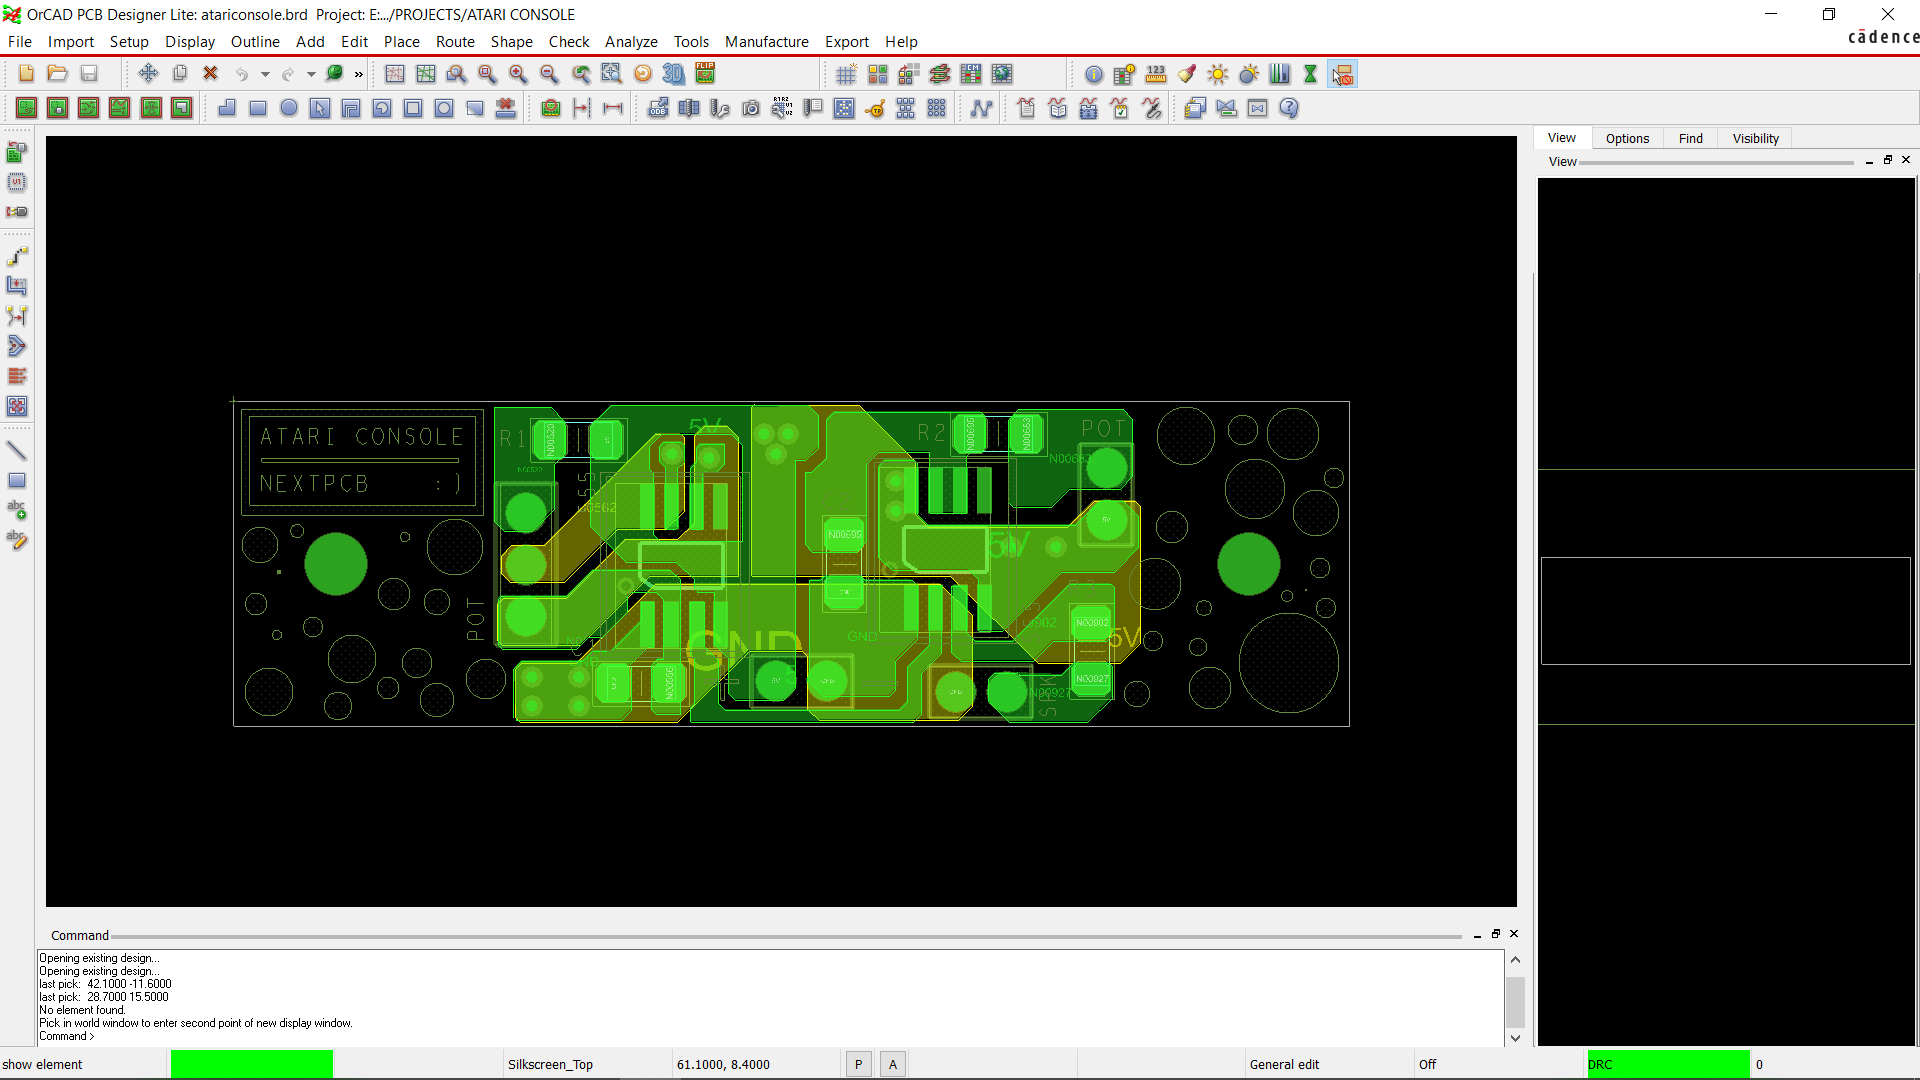
After completing the model, we started the PCB design process, which started with creating the schematic.
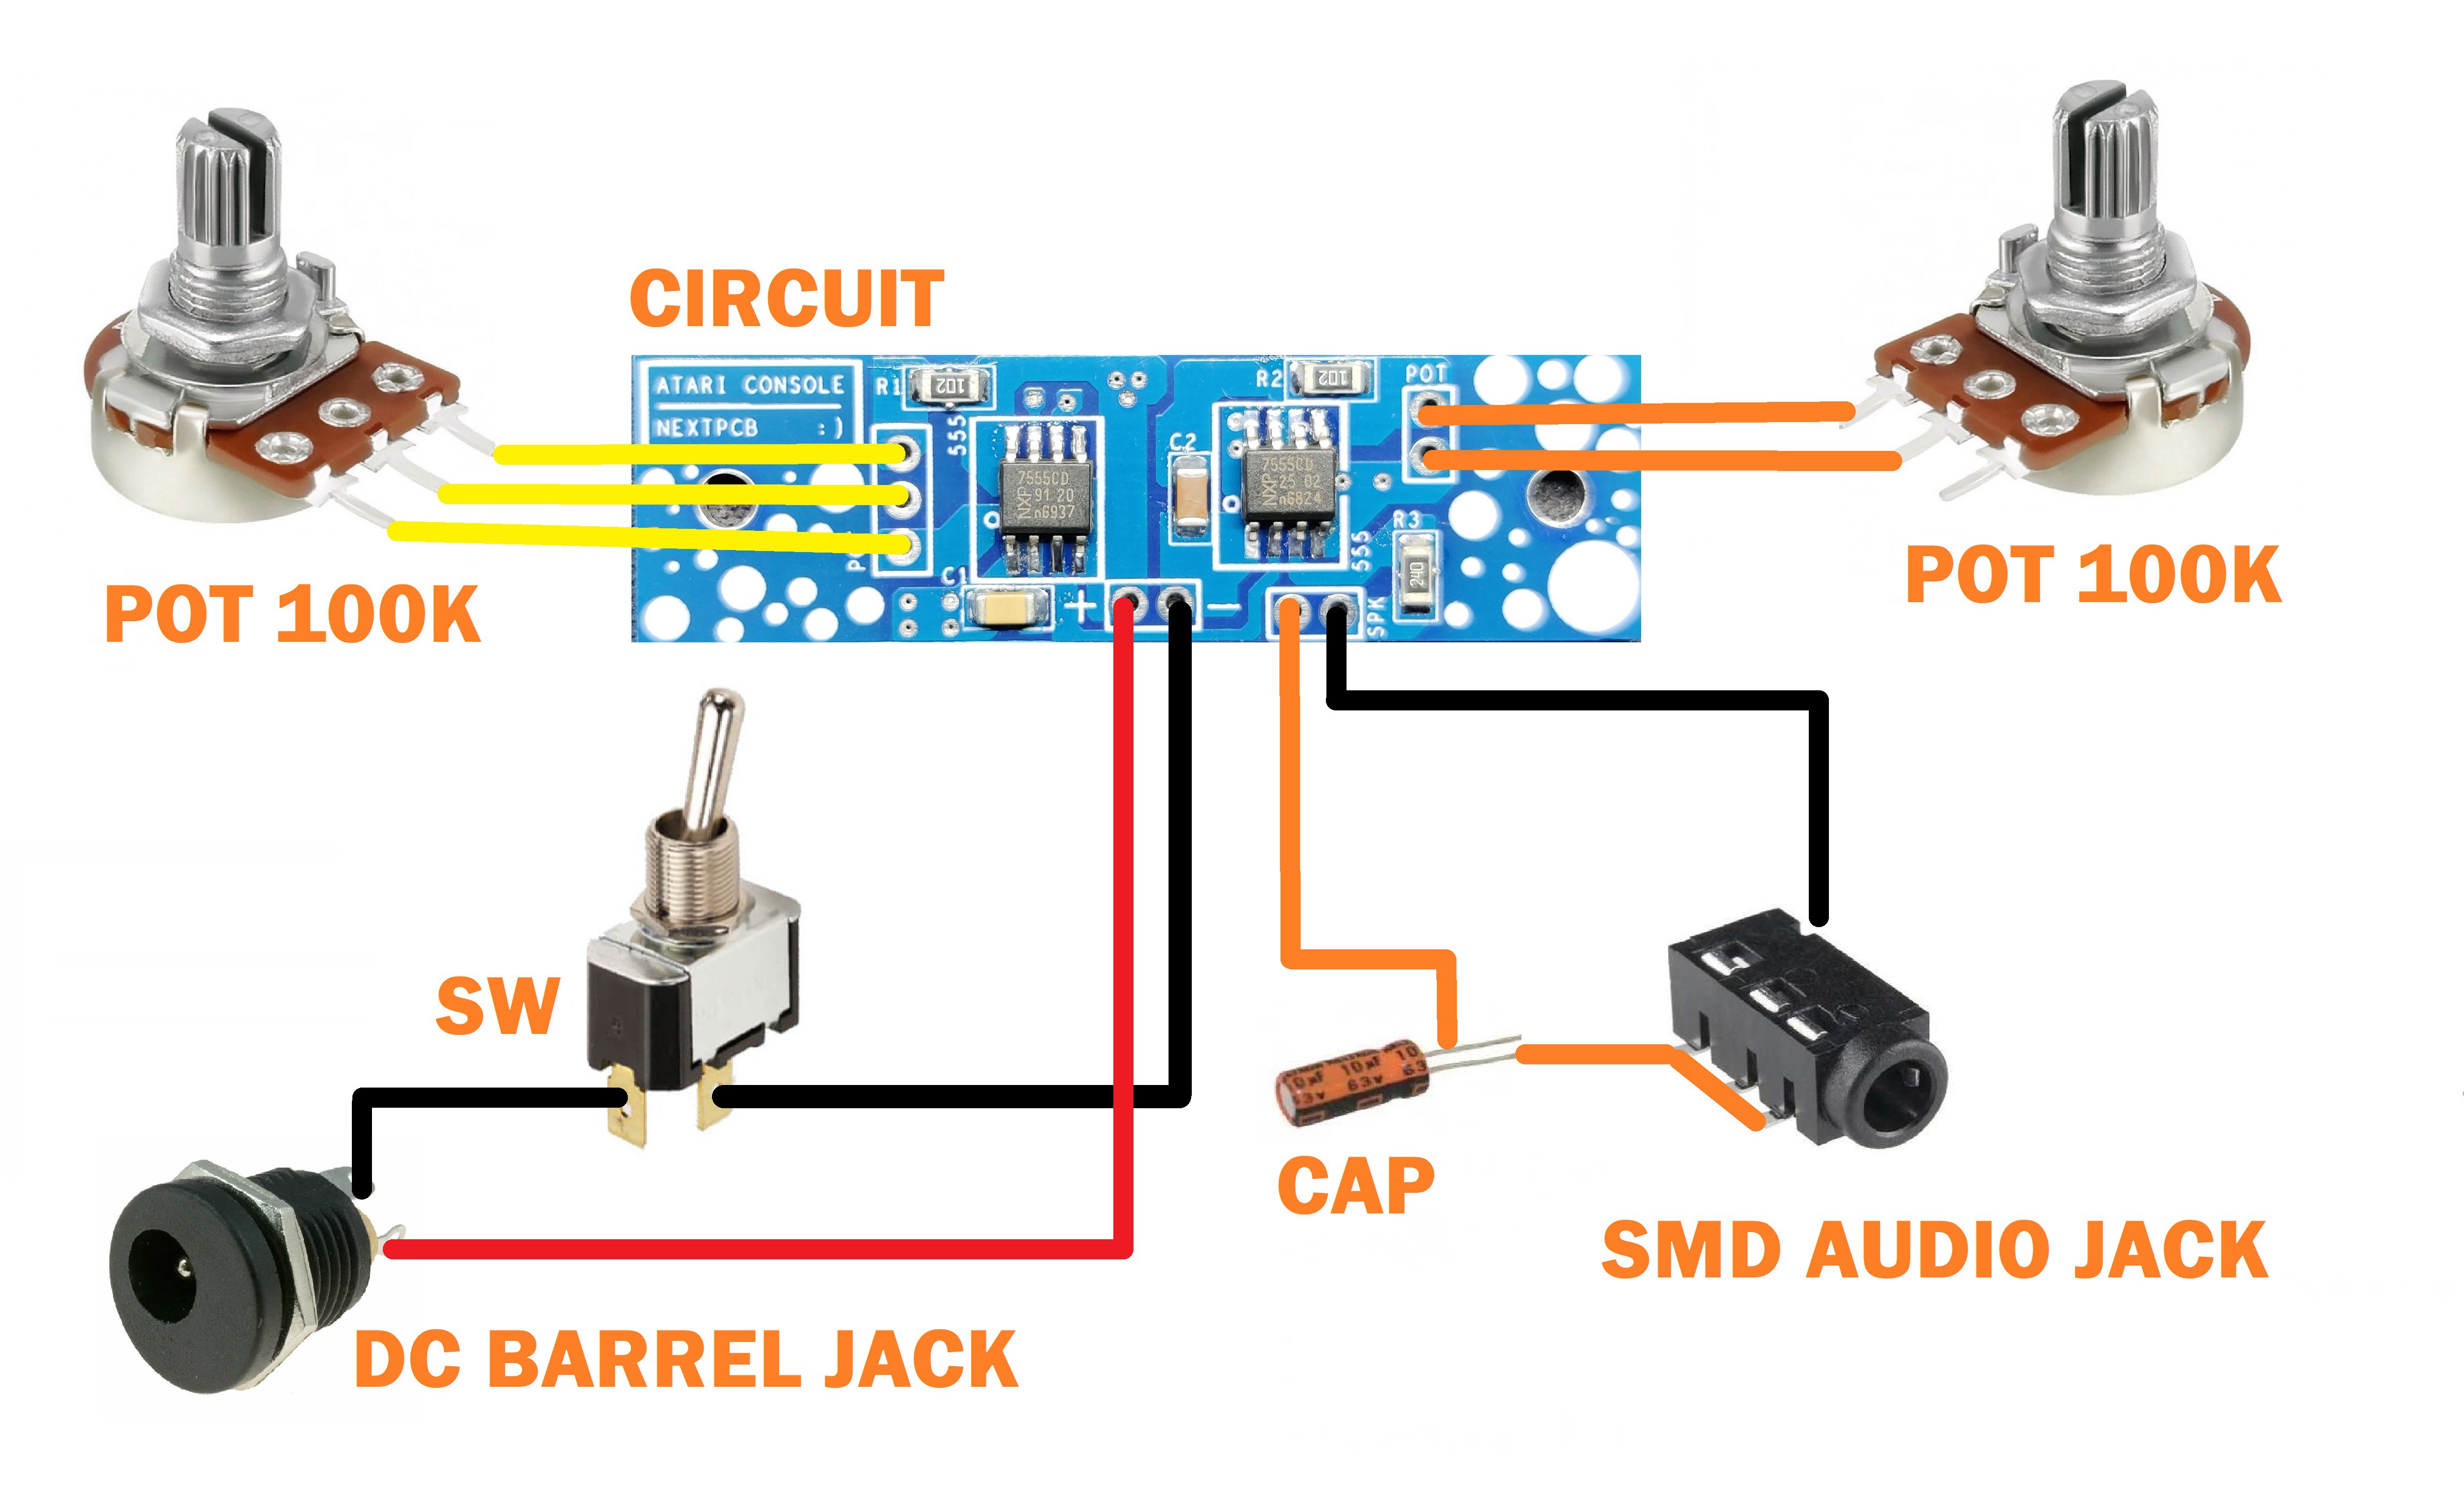
Two 555 timer ICs are used in this project; the first timer is set up in astable mode. The middle lead of a 100k potentiometer has been added to the 555's discharge pin. The potentiometer is then connected to VCC via a 1k resistor, and the third pin is linked to the trigger and threshold pins.
The trigger pin of the second timer IC, which is set up in monostable mode, receives the output from the first 555 timer IC.
Here, we have added a second potentiometer that is wired between the second timer IC's discharge-threshold pin and VCC.
In order to connect the speaker, we have added a CON2 header pin. This pin is connected to the second timer IC's output via a 470 ohm resistor. Here, we can alter the speaker's volume by reducing the 470 ohm value.
In addition, a 10 uF electrolytic capacitor has been added to the speaker output—not on the circuit—to serve as a filter.
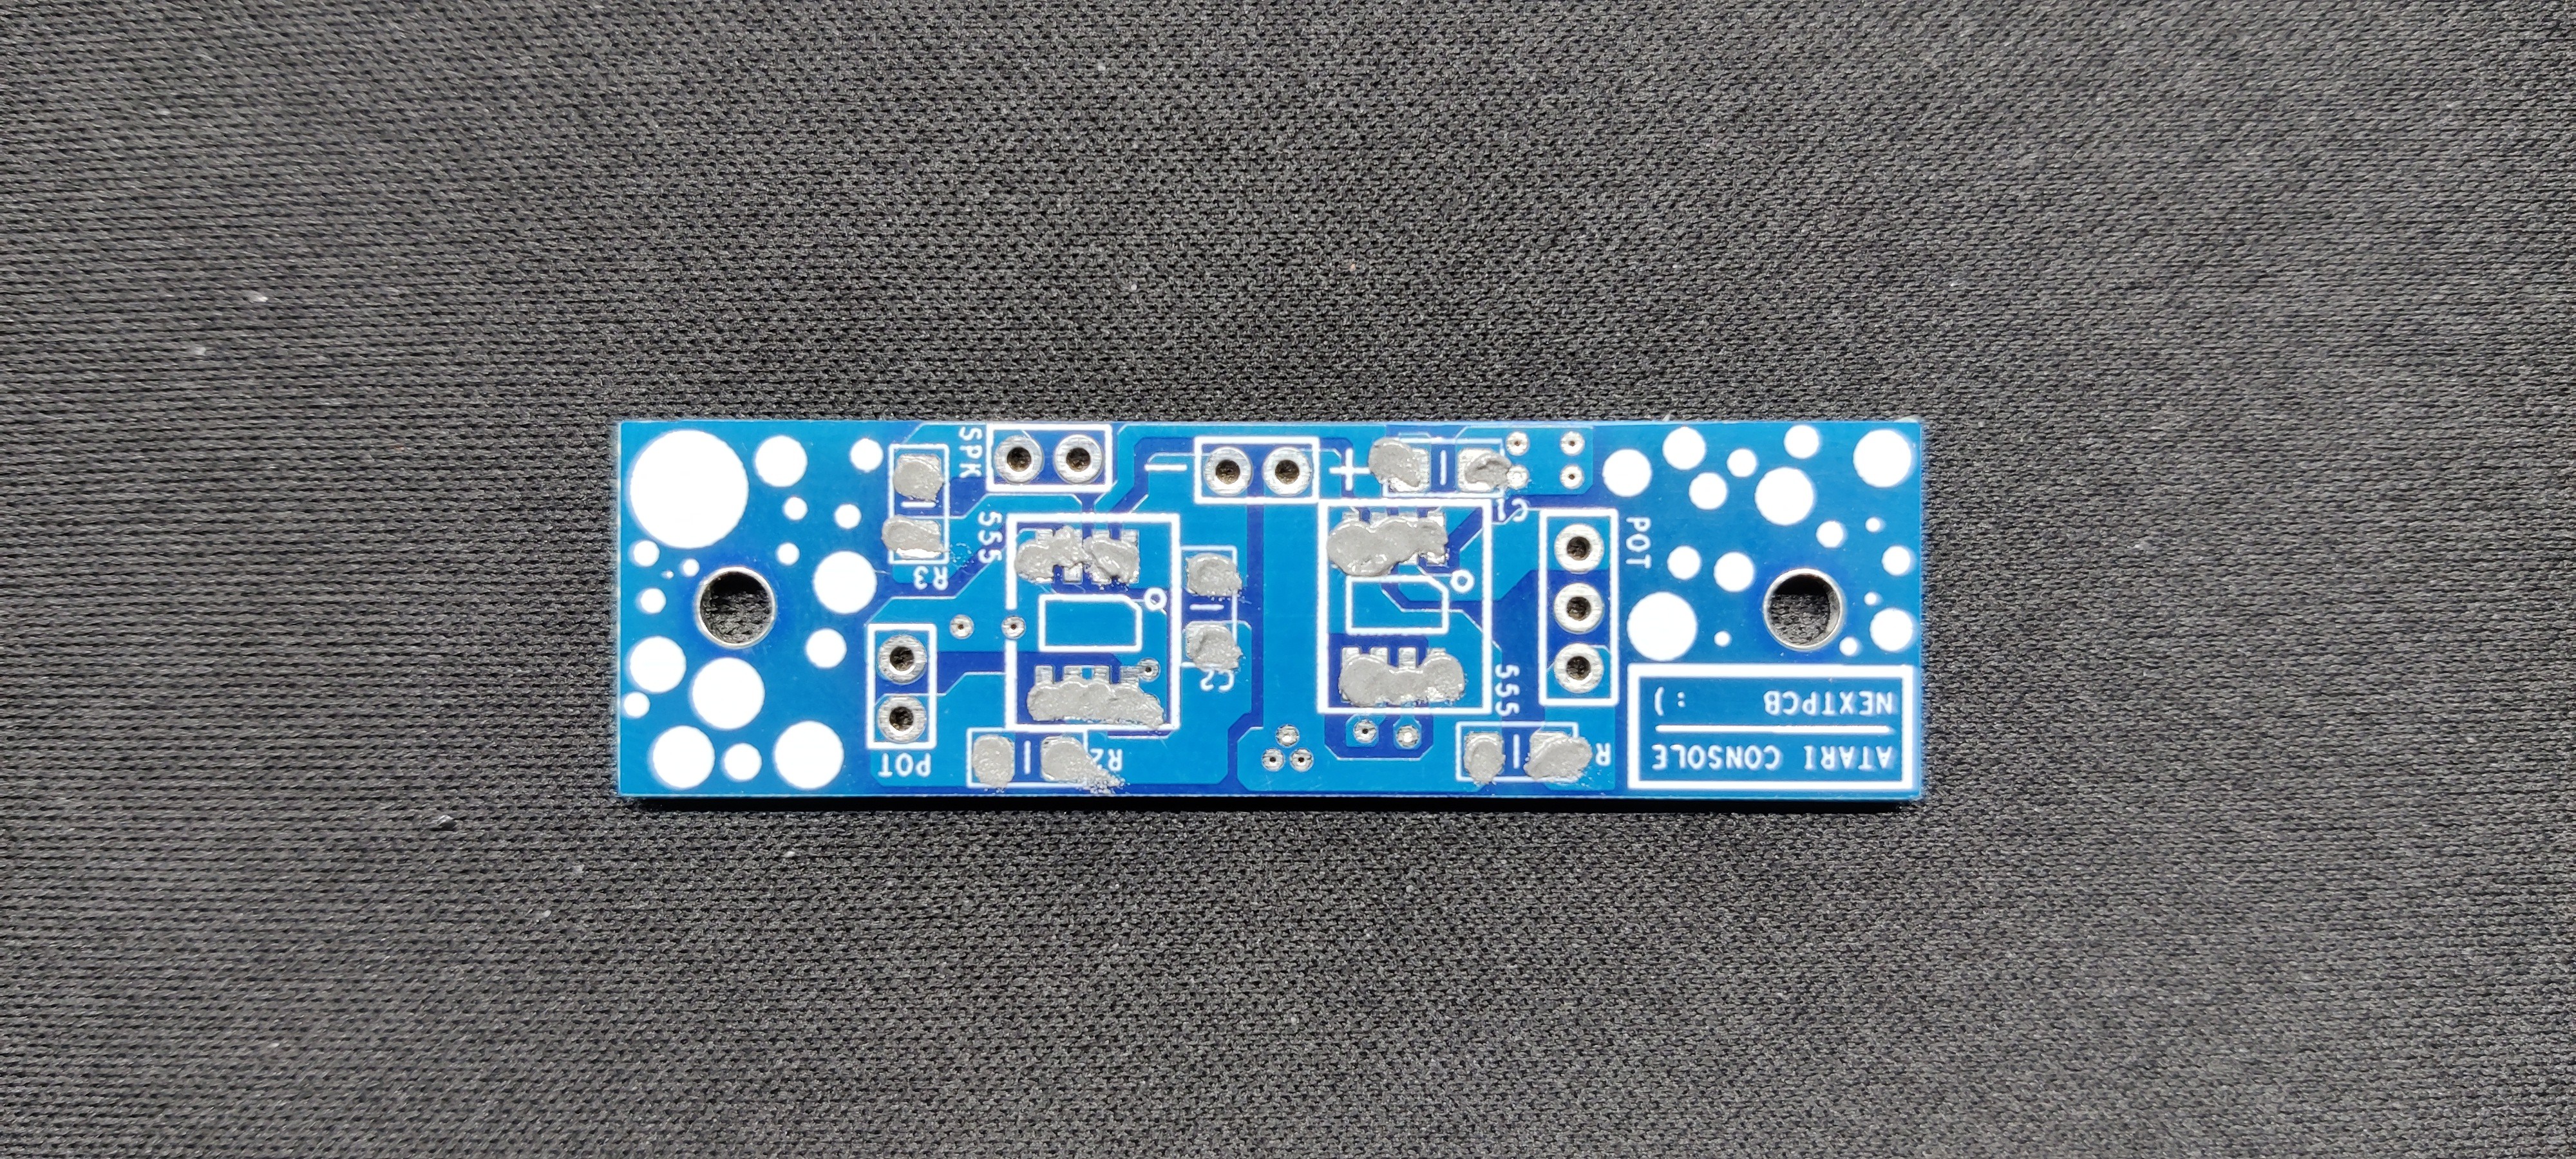
By creating the outline and mounting holes by referring to the Cad design from the model, we designed the PCB and then sent it to HQ NextPCB for samples.
HQ NextPCB Service
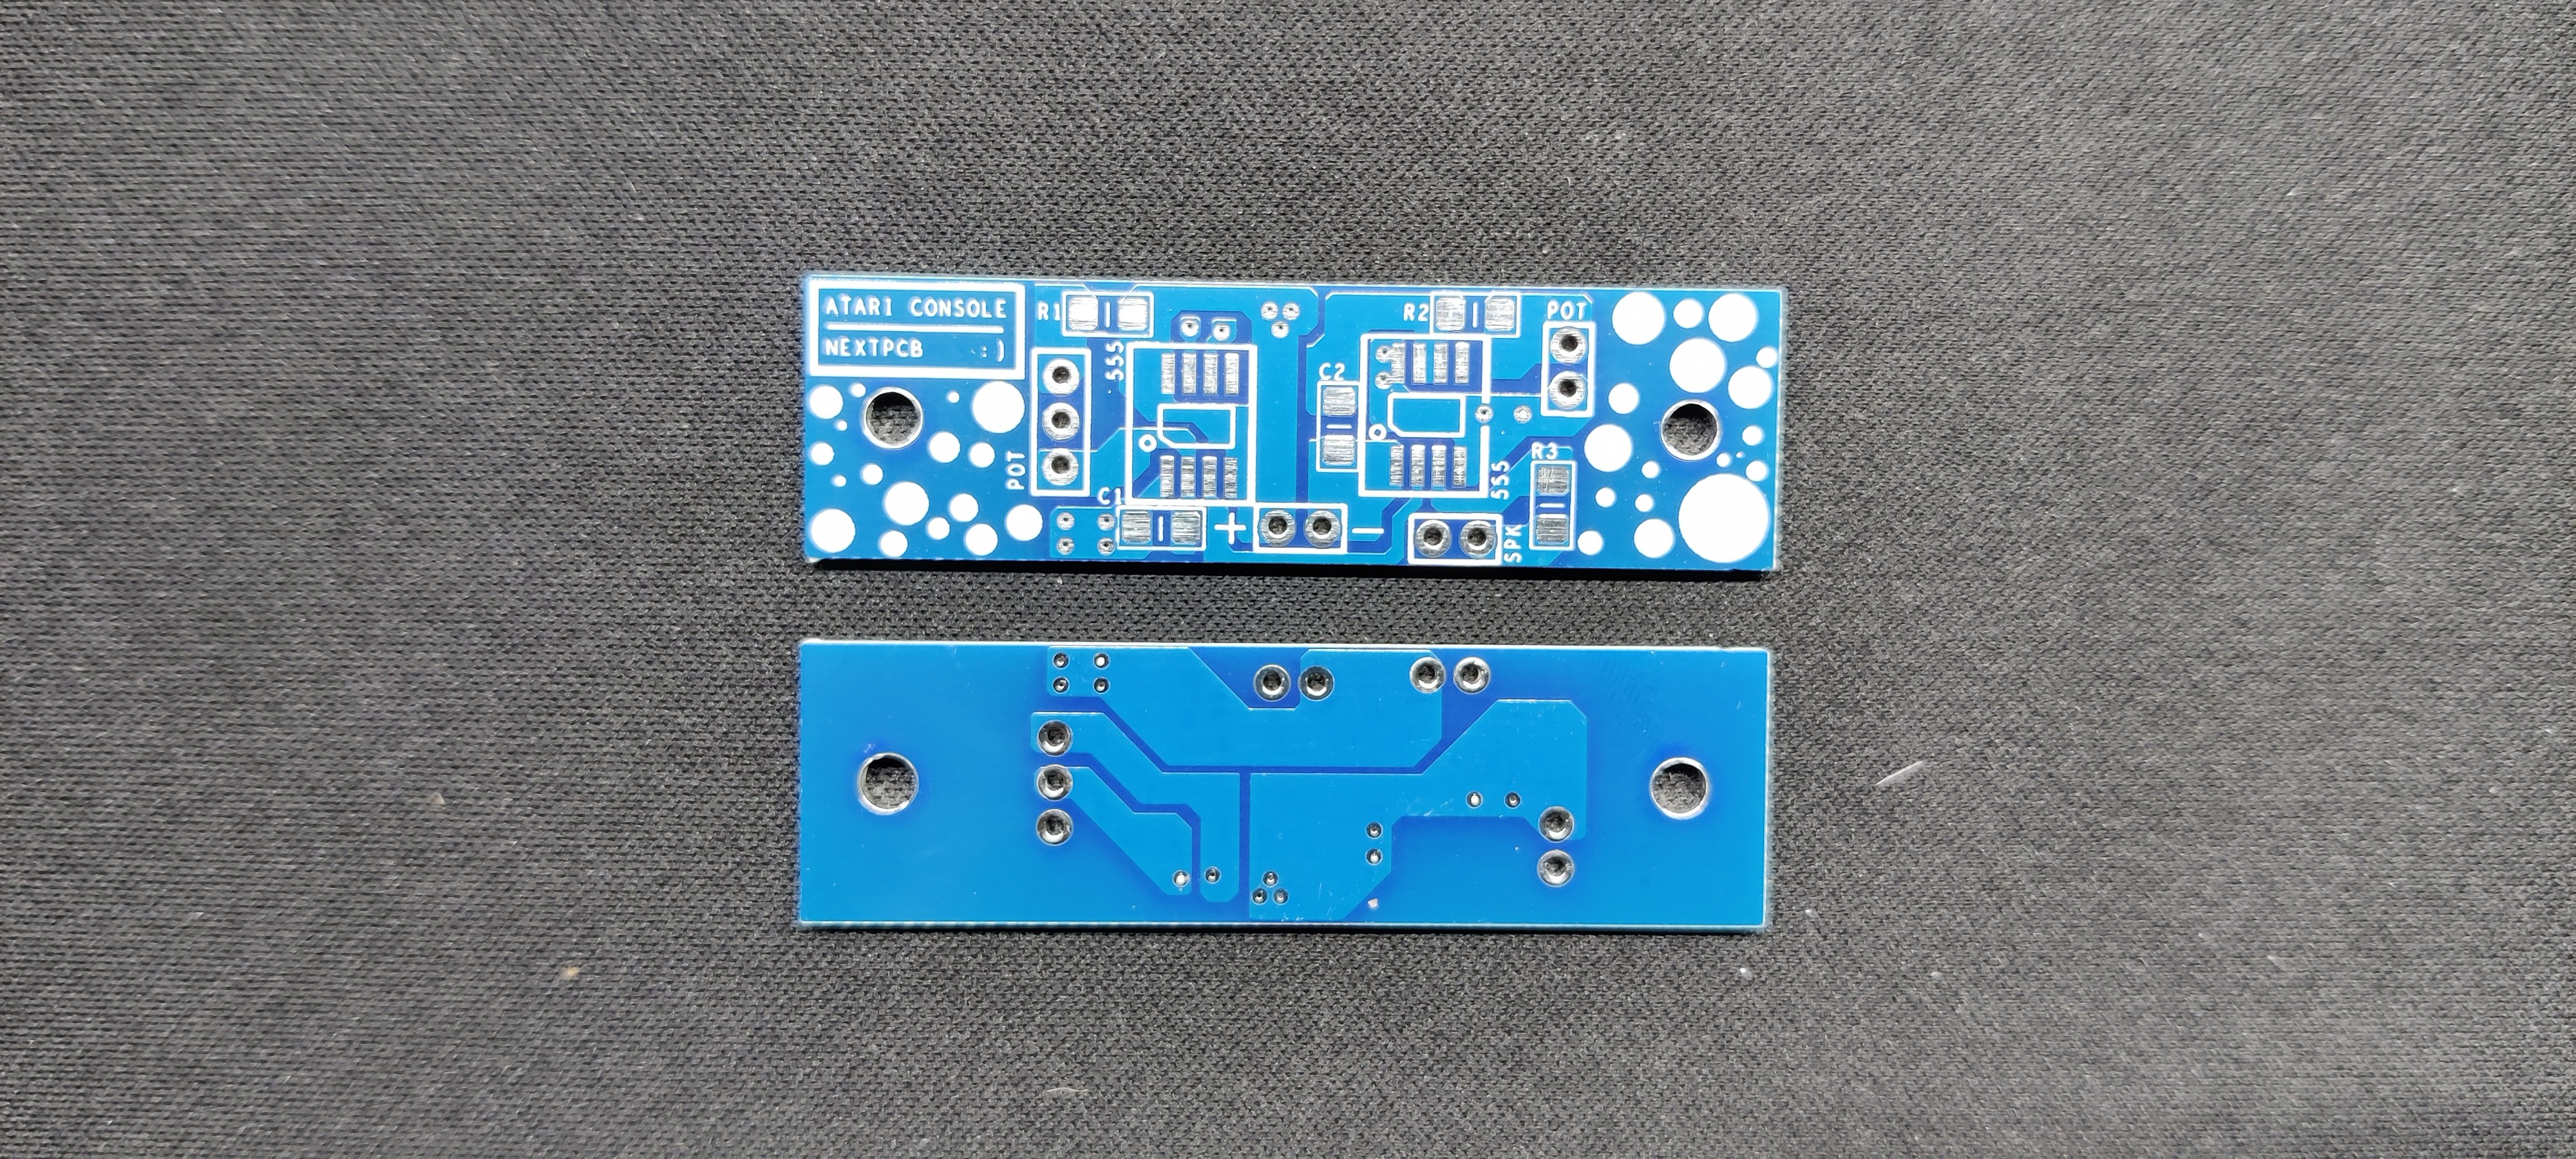
After completing the PCB design, we export the Gerber data and send it to HQ NextPCB for samples.
We placed an order for a Blue Soldermask LED board.
After placing the order, the PCBs were received within a week, and the PCB quality was pretty great.
HQ NextPCB and HQ Online are the overseas trading brands of Shenzhen Huaqiu Electronics Co., Ltd. Huaqiu has served national engineers for over 15 years, becoming a household name for providing full-feature multilayer PCBs engineers can trust.
NextPCB brings these capabilities speed, affordability, and more—to international customers, skipping the middleman and providing the same intelligent online quotation system from the industry’s experts.
Huaqiu Electronics believes innovation is key to maintaining excellence, which has motivated them to transform the electronics manufacturing industry. Huaqiu’s in-house engineers developed the free Design for Manufacturing software, HQDFM, revolutionizing how PCB designers visualize and verify their designs.
HQDFM: Free Online Gerber Viewer and DFM Analysis Tool
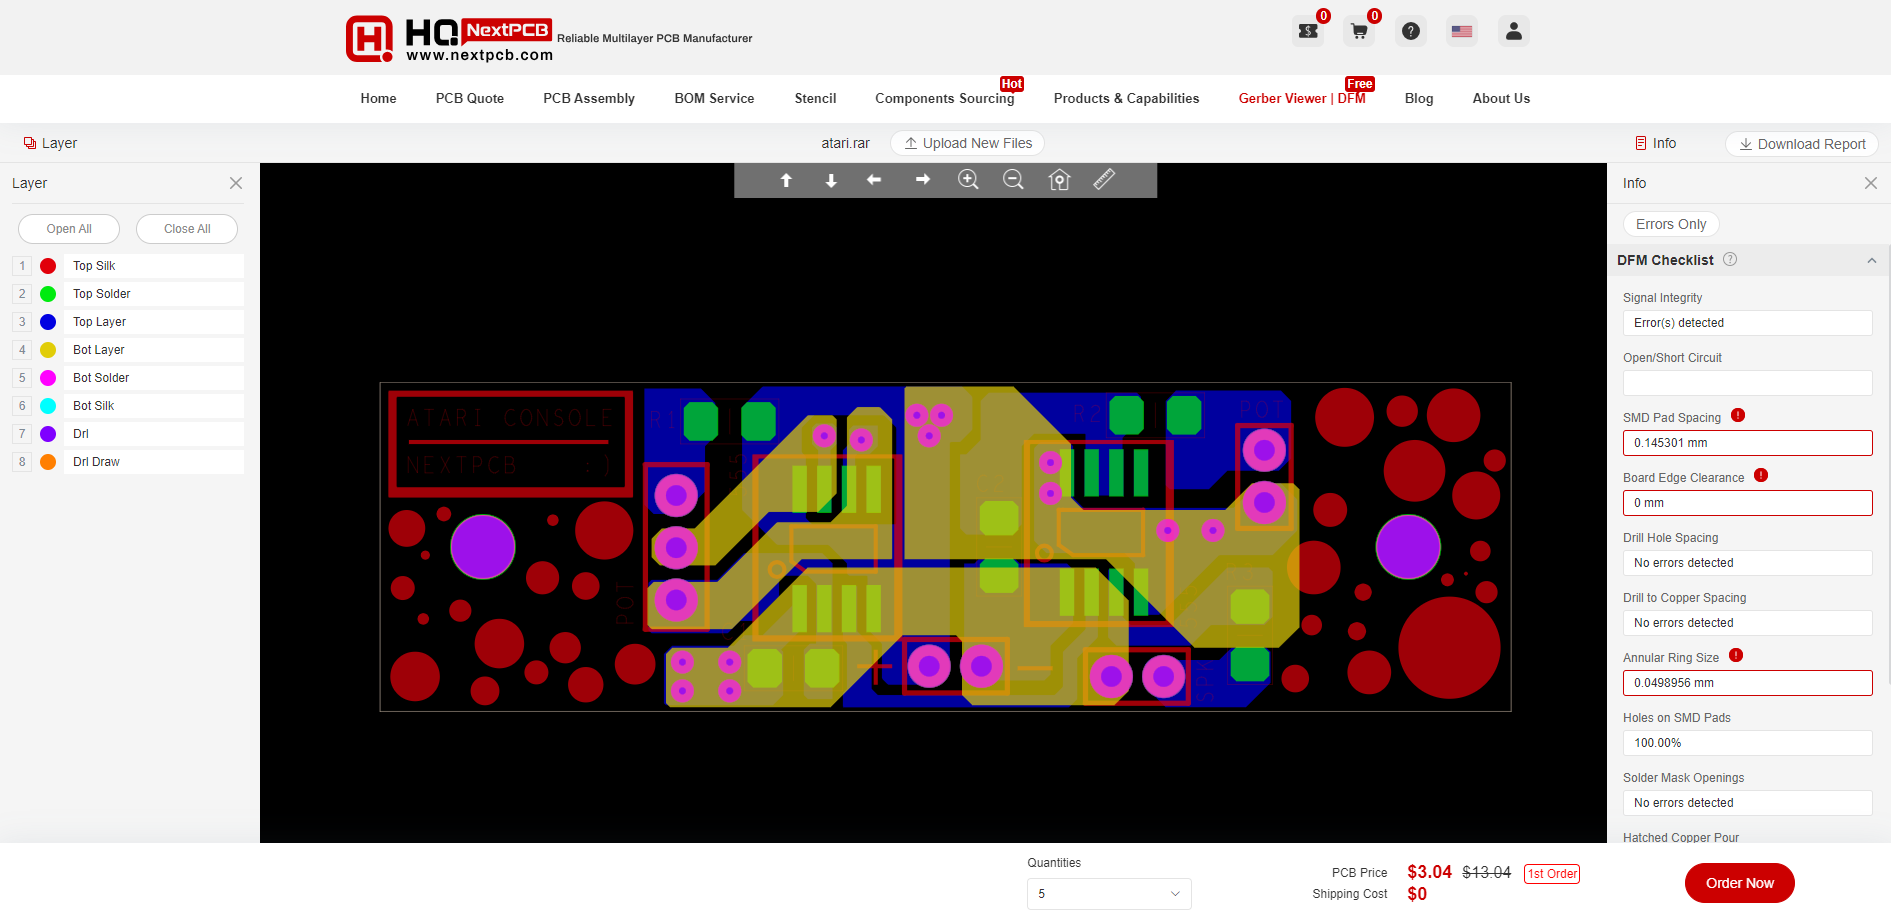
Also, NextPCB has its own Gerber Viewer and DFM analysis software....
Read more » Arnov Sharma
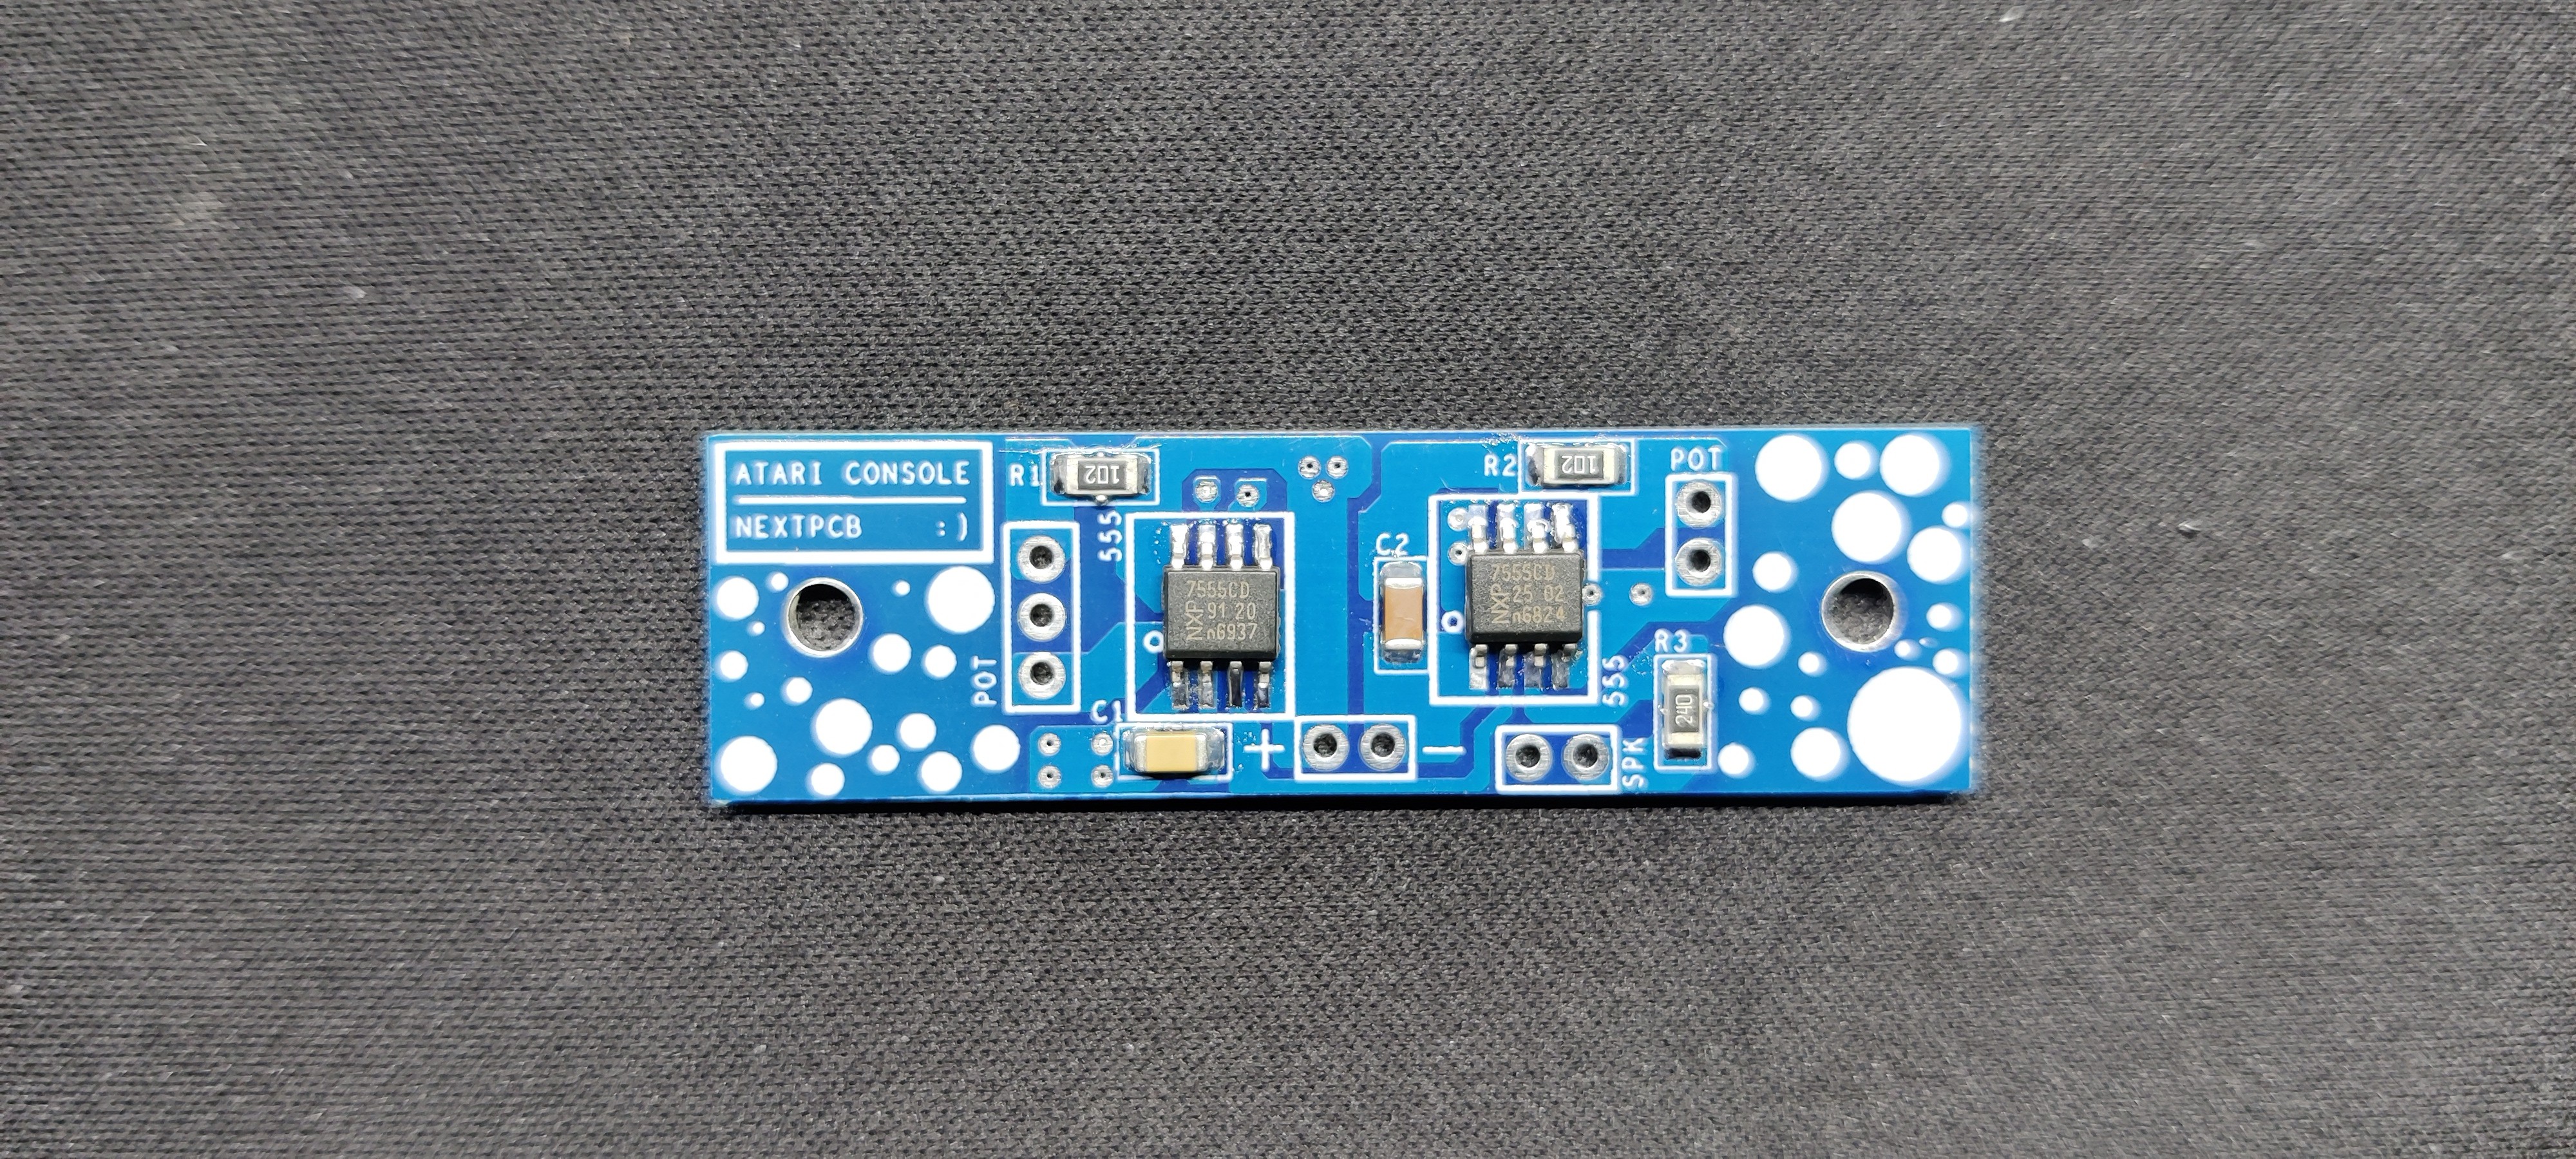
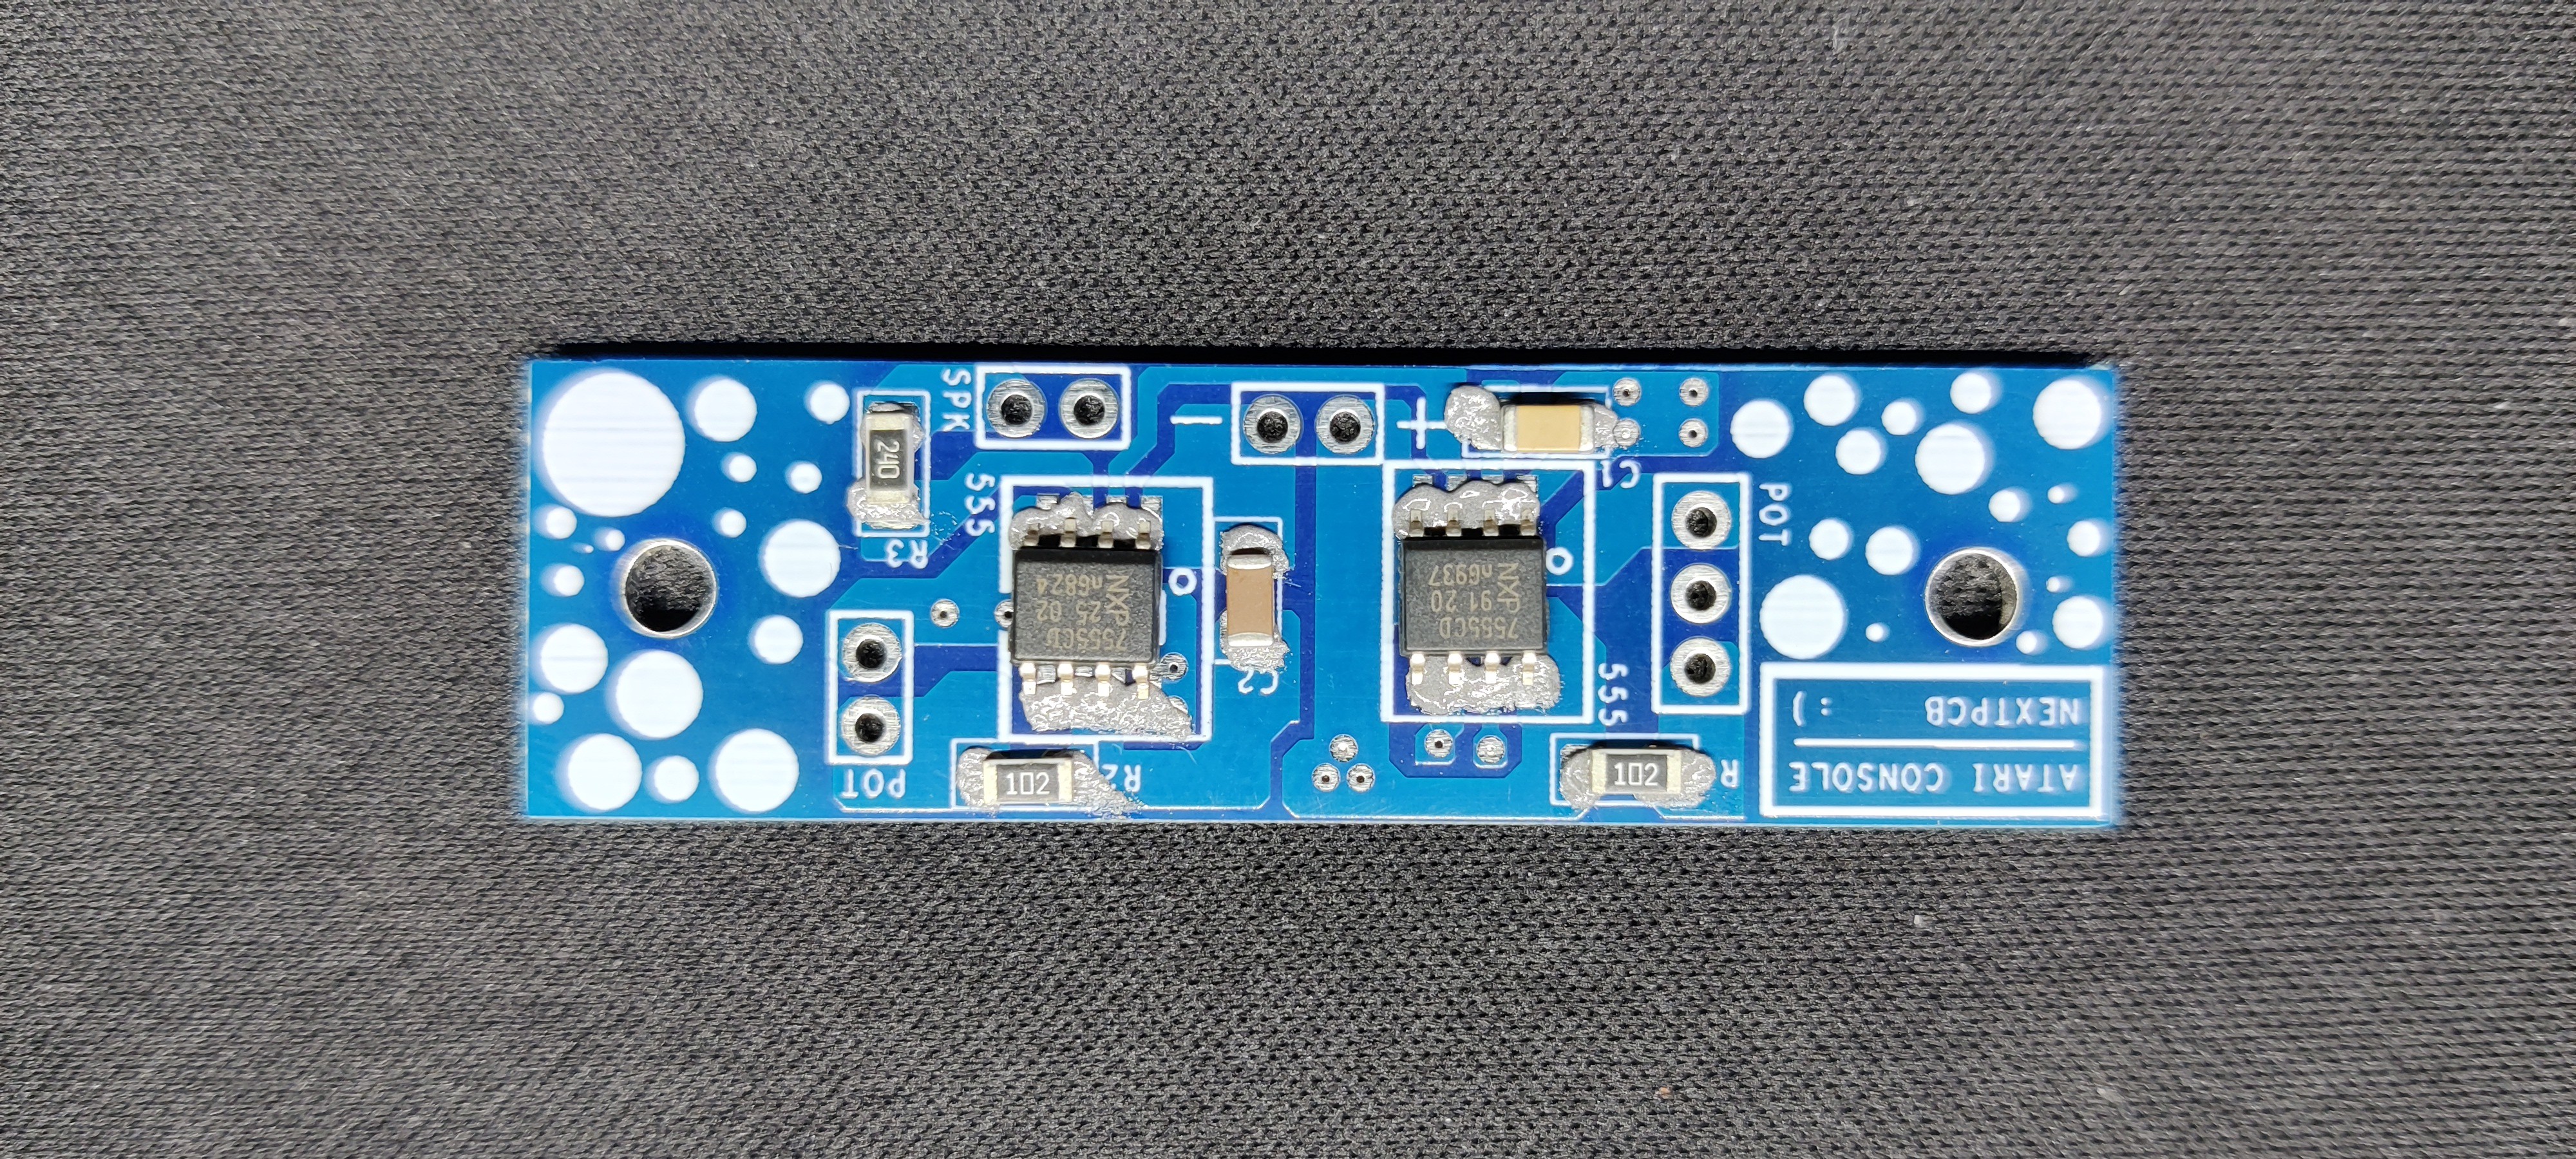
 DIY GUY Chris
 Anas Raza Khan