Ben Combee
-
Slide Deck
11/03/2024 at 18:12 • 0 commentsI wrote up some slides this morning for a lightning talk, but it looks like I"m in the overflow list, so probably won't present. The link for you to browse them is https://slides.com/unwiredben/tinyplayer
-
Specimen #2
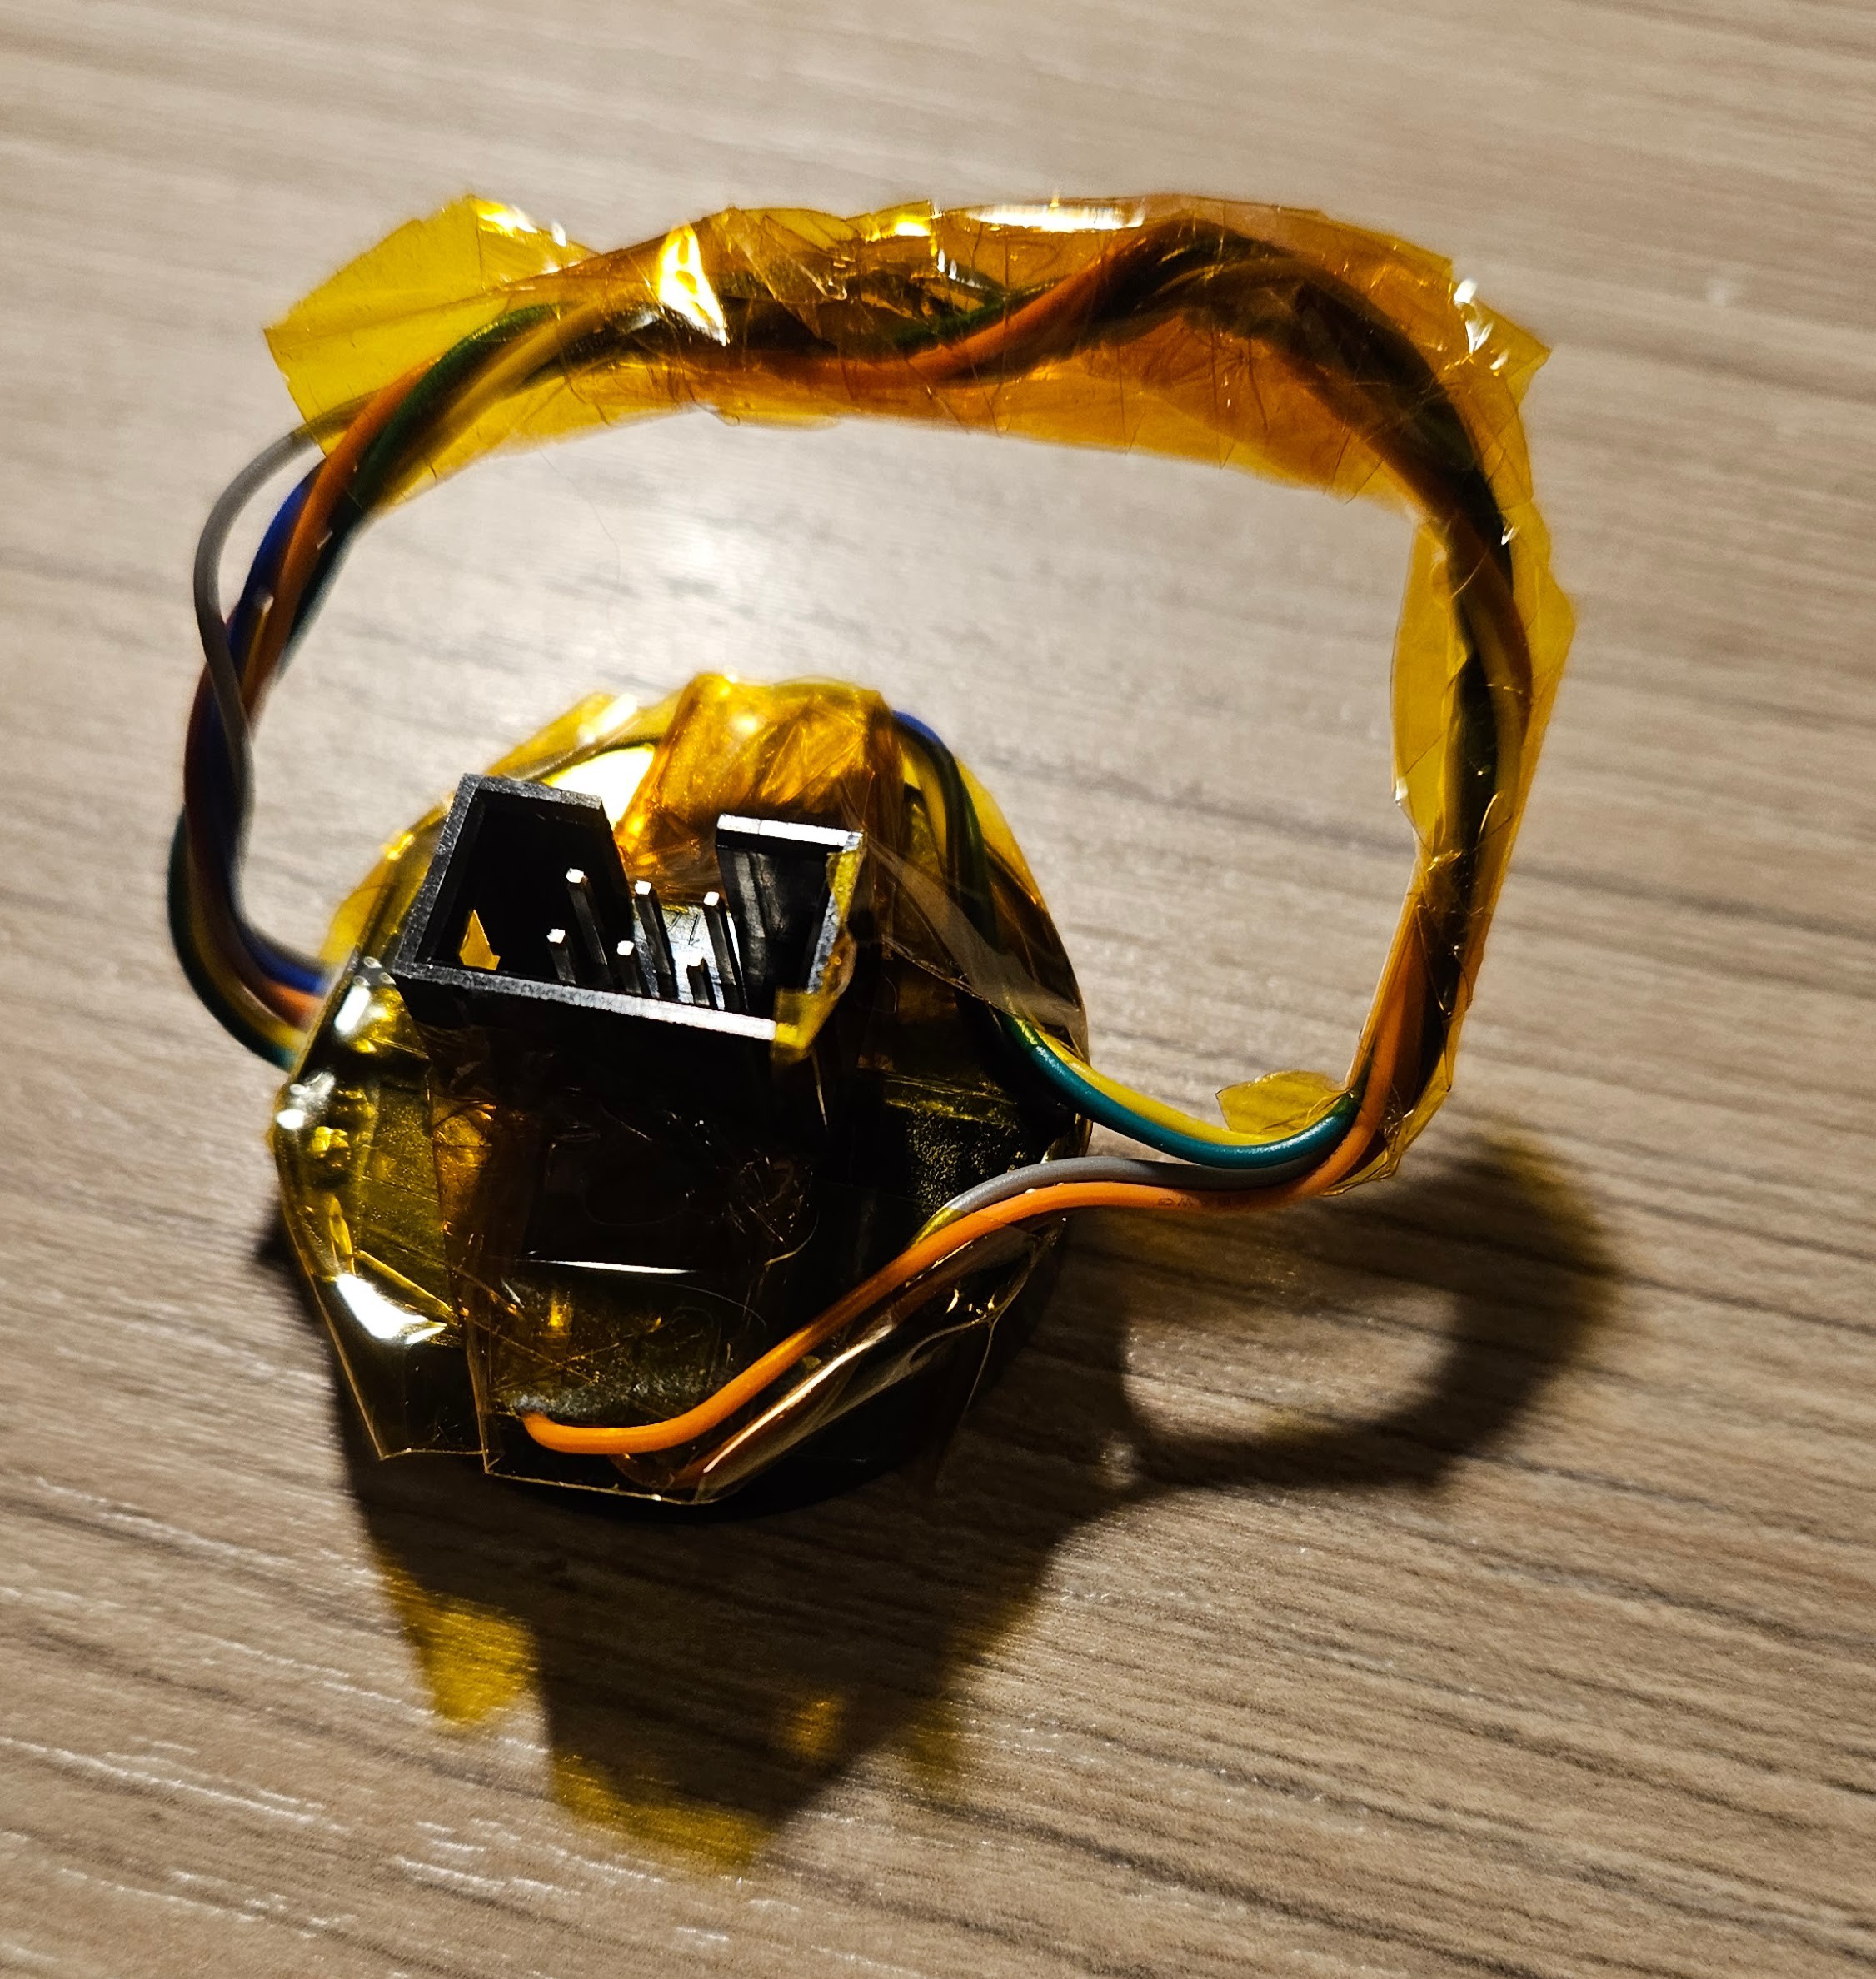
11/03/2024 at 03:26 • 0 commentsI decided my Supercon 8 badge was a bit unbalanced, so I made a second specimen of the Video Button tonight. This one is a little more temporary and was done entirely with kapton tape.
I first applied a layer of tape to the back of the Waveshare unit, then took the cable from the Waveshare box and fit the pin connectors onto the bottom pins of a surface mount 2x3 header. This is what you normally solder to the board, but they also were just the right size to fit over the breakout connectors.
This is when I discovered that the wiring of the cables isn't consistent from module to module. The order is the same, but the colors of wire used vary. After fitting all the wires to the connector, I used ample tape to wrap the set of three wires, then to connect those header assemblies to the display module. I also previously twisted the wires to make a more compact bundle between the display connector and the SAO connector, and used more tape to wrap that bundle.
This time, I programmed the display with a name tag animation of the Combee Pokemon zooming with my name and handle floating above. This was only a 20 second video, so it converted quickly and didn't take up much space.
I also learned that the small screwdriver included with the kit isn't just for removing the back screws. It's also the perfect size to insert to press the "boot" button on the side. No more breaking mechanical pencil leads for me.
Having done a couple of these, I think I'm ready to make a small PCB that can take the place of the back of the case. The trick will be finding internal points on the display PCB to connect to to get the signals. I suppose you could desolder the side connector, but I'd rather not be destructive.
![]()
-
Fixed the color space and speed issues
11/02/2024 at 05:44 • 0 commentsI just committed a few changes to the GitHub repo for this project. I made four significant changes tonight:
- I updated the video to a minute of the Roku City screensaver which seemed more appropriate for something that would mainly be playing over and over on my badge.
- I looked for a better MPEG-1 encoder than ffmpeg, and found old forum posts pointing to a Japanese tool called TMPEnc. This has grown up into a professional codec used by the broadcast and media authoring ecosystem, but the venerable videohelp website found a link to an old freeware version, https://www.videohelp.com/software/TMPGEnc, that worked on my Windows 10 laptop. After some tweaking, I had a working file at a lower bitrate which looked just as good as my ffmpeg encoded version.
- I figured out the color issue and it was a wrongly configured display driver. When I originally tried to find a match for the GC9107 display driver, I was led astray by a forum posting saying that it was the same as the ST7789. There's a lot of similarities, but the better match was the GC9A01, and once I changed that, I had the colors showing correctly.
- I made the display code faster by running it on the second core in the RP2040. This means I can overlay decoding and shifting out to the display. I'd never used the second core before, but it wasn't hard to figure out. The Arduino core for the RP2040 will automatically run code on the second core if you give it setup1 and loop1 functions. I had to come up with a simple synchronization method, and after a little debugging, it was working well.