 SrRubio
-
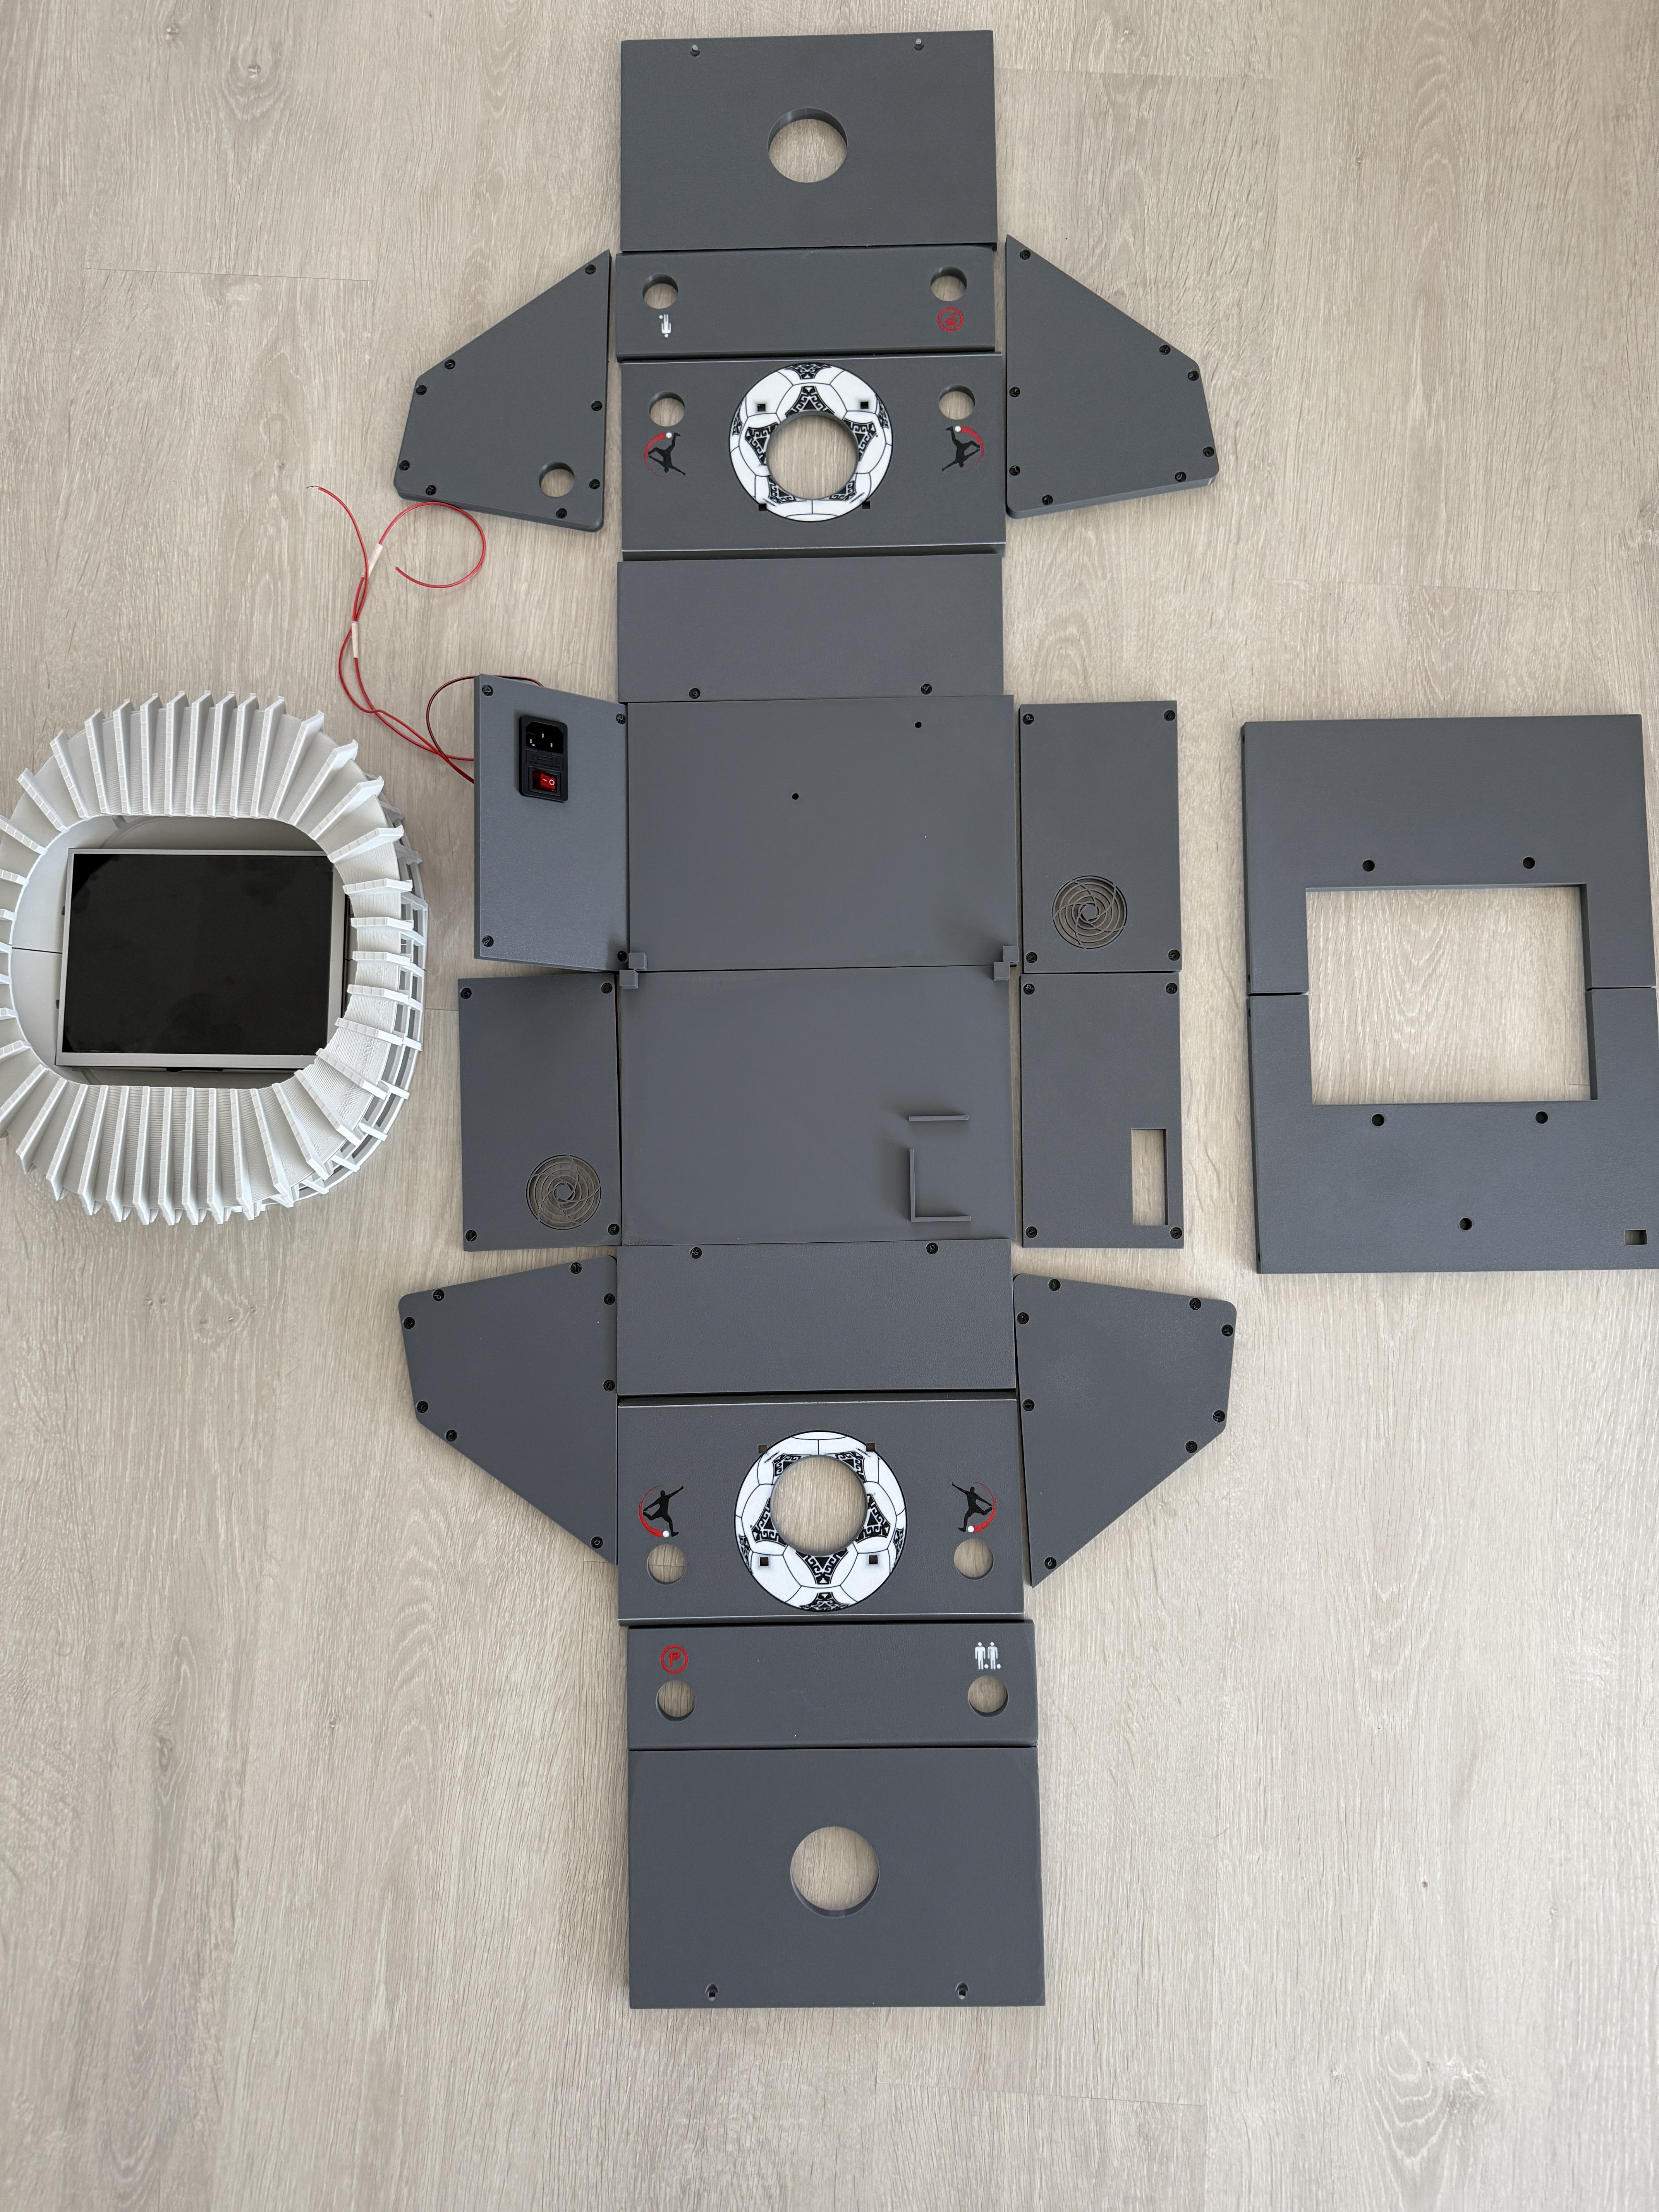
1Print all parts.
https://www.thingiverse.com/thing:6962734
All parts are printed face up. Trackball parts have to be colored in the laminator with the corresponding color. I used a bambulab A1 with AMS 4 colors. The layer height used is 0.2mm and the infill 30%. I only used supports for the stadium roof.
![]()
Label all parts on the side that is not visible.
-
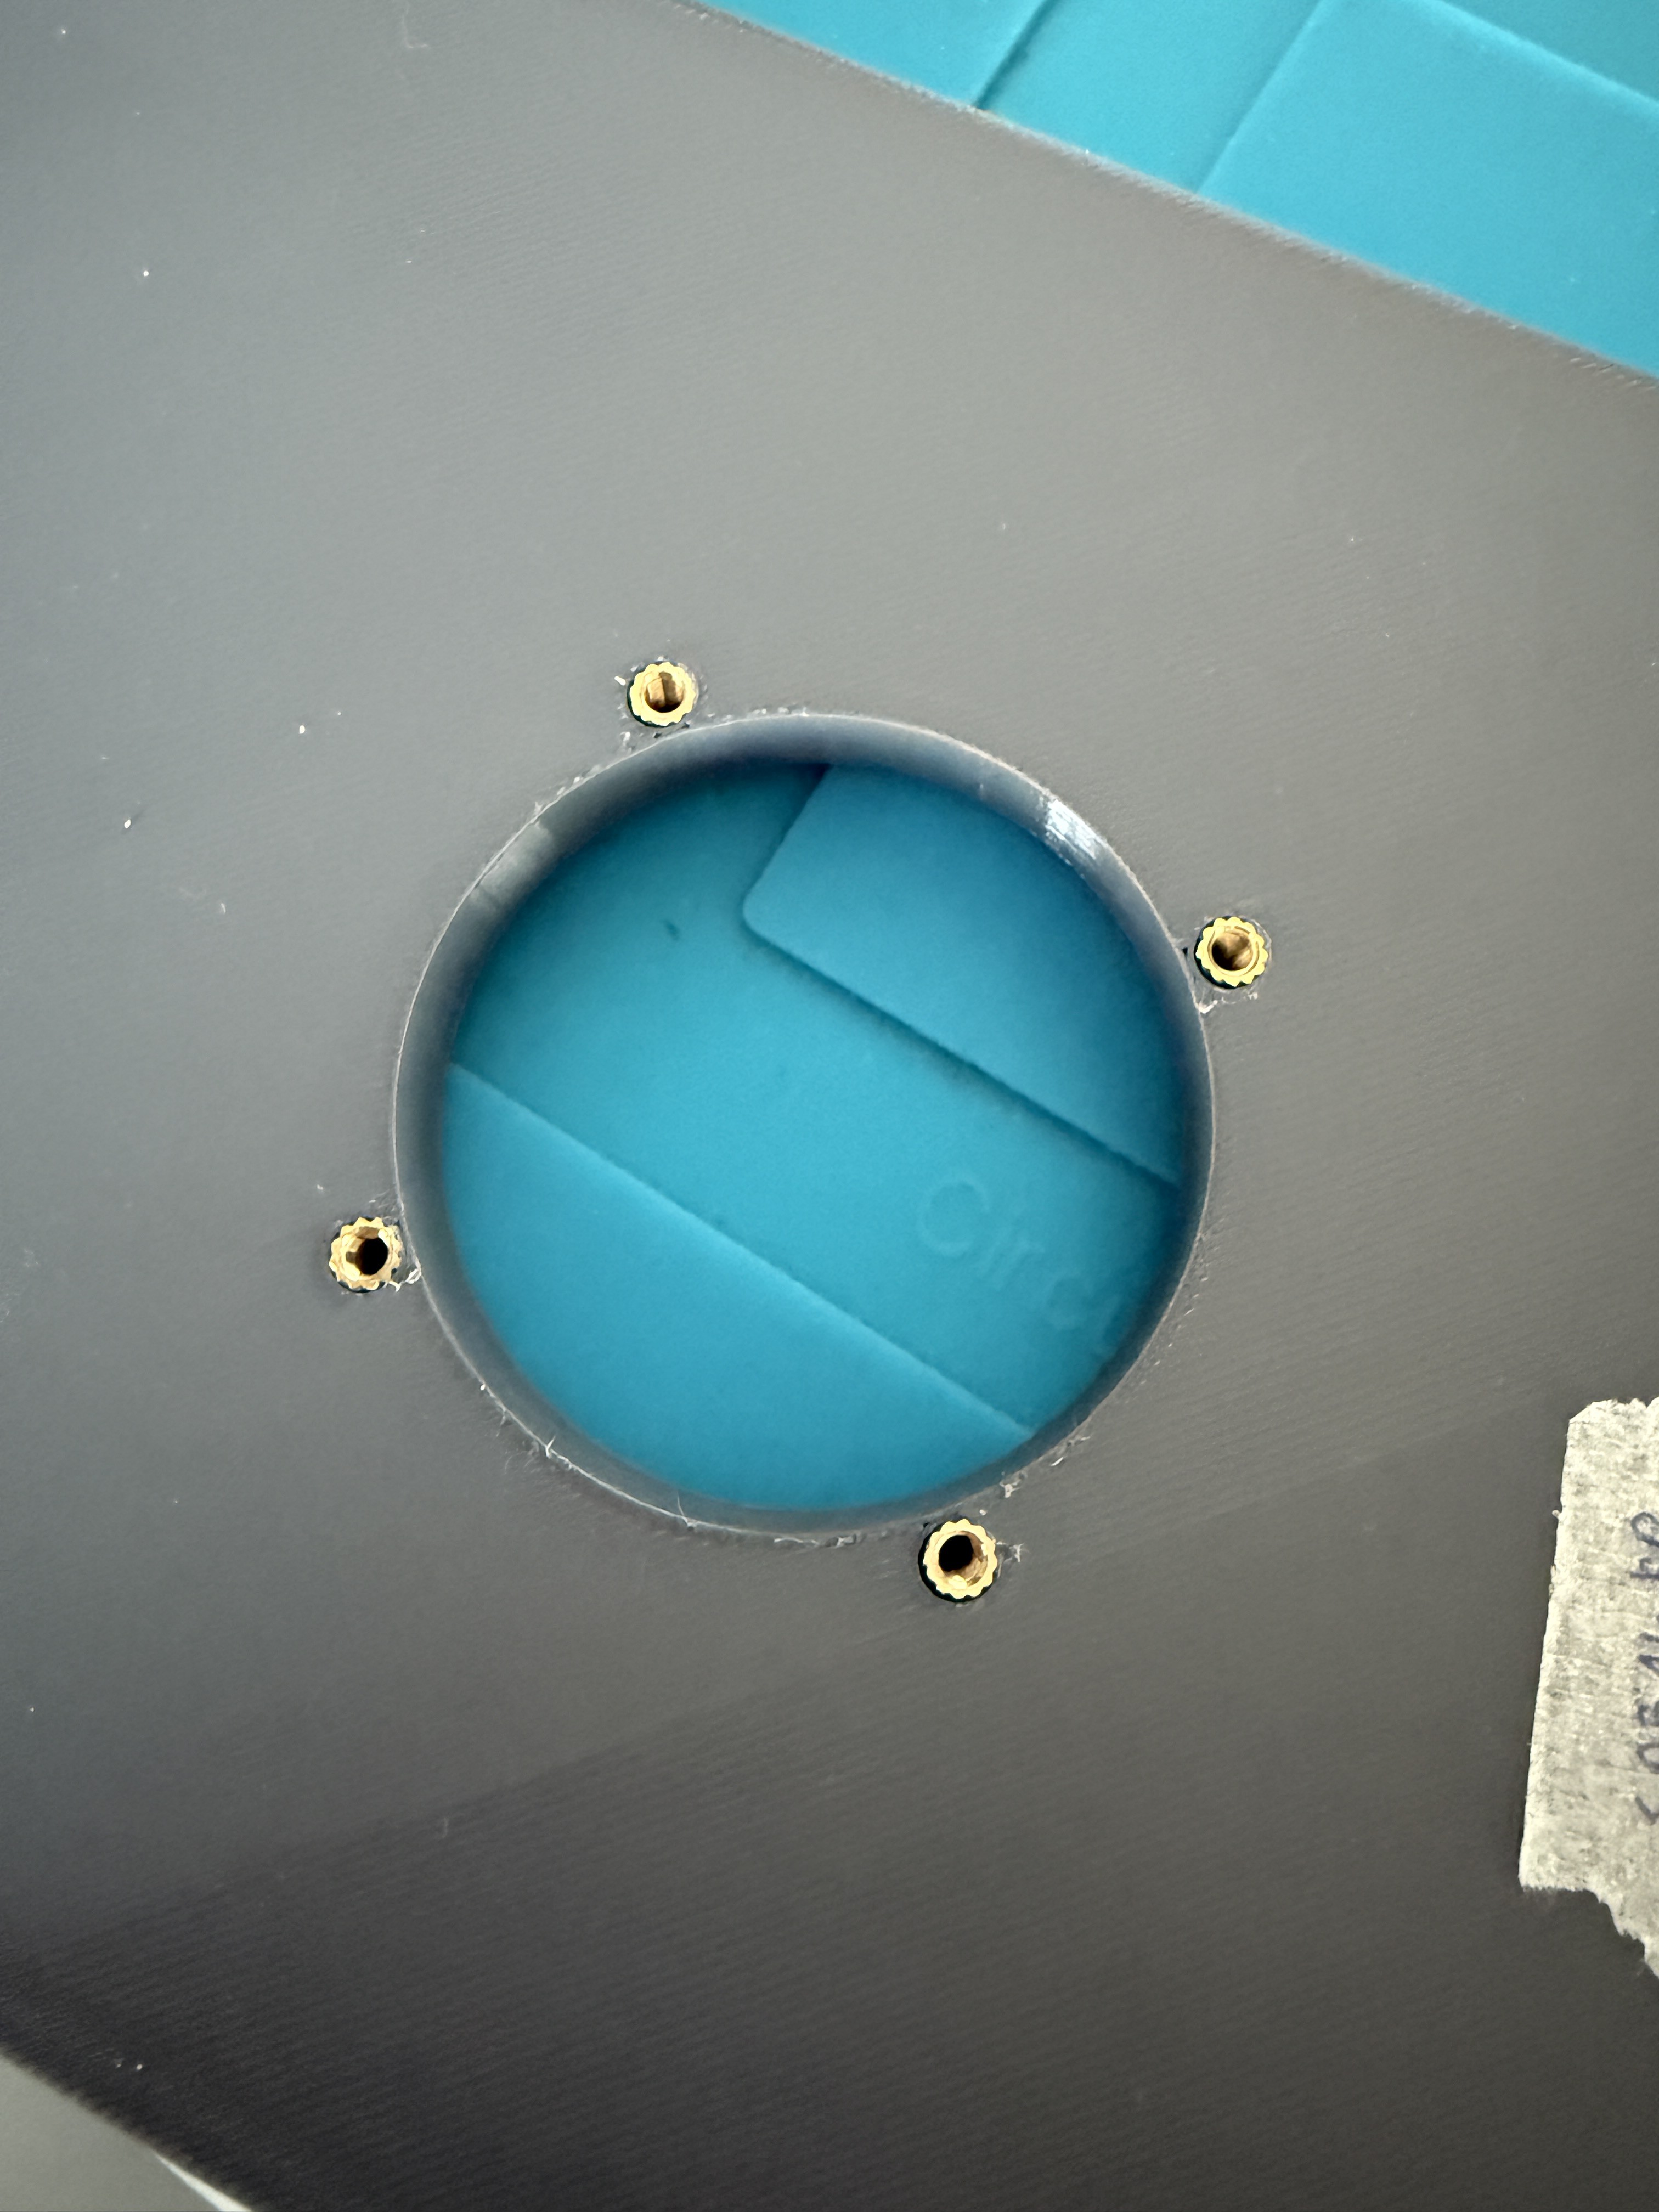
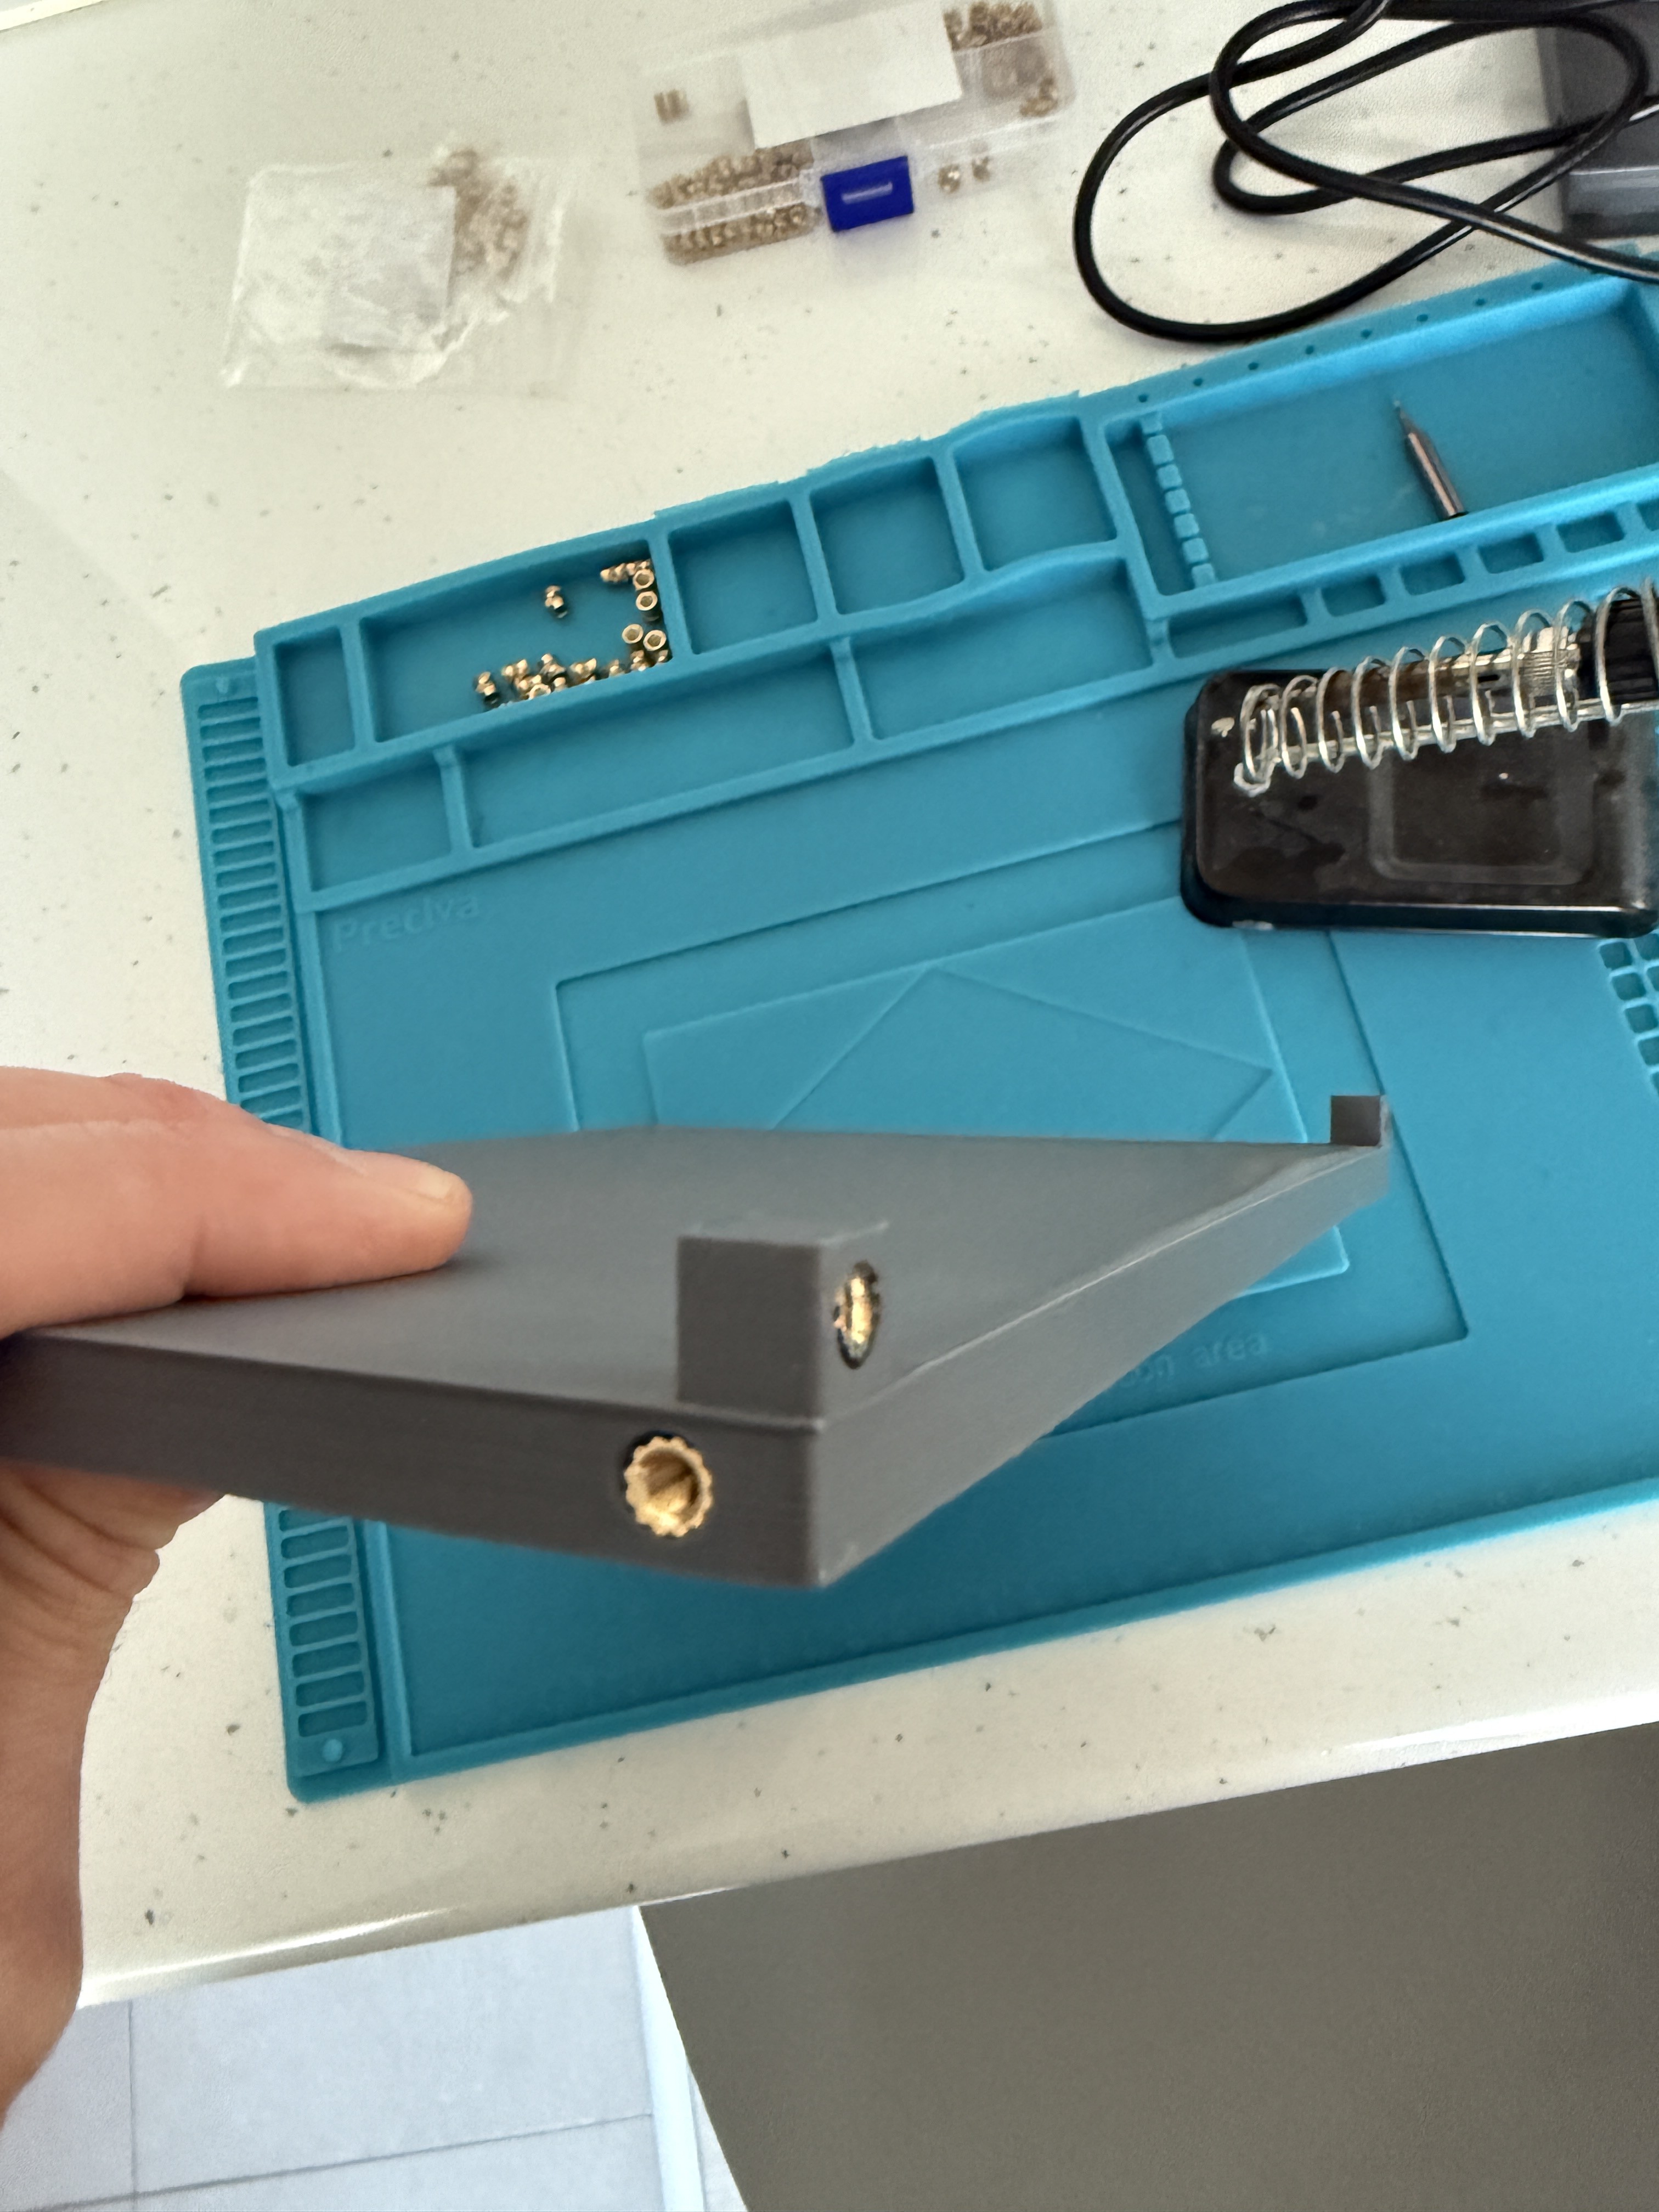
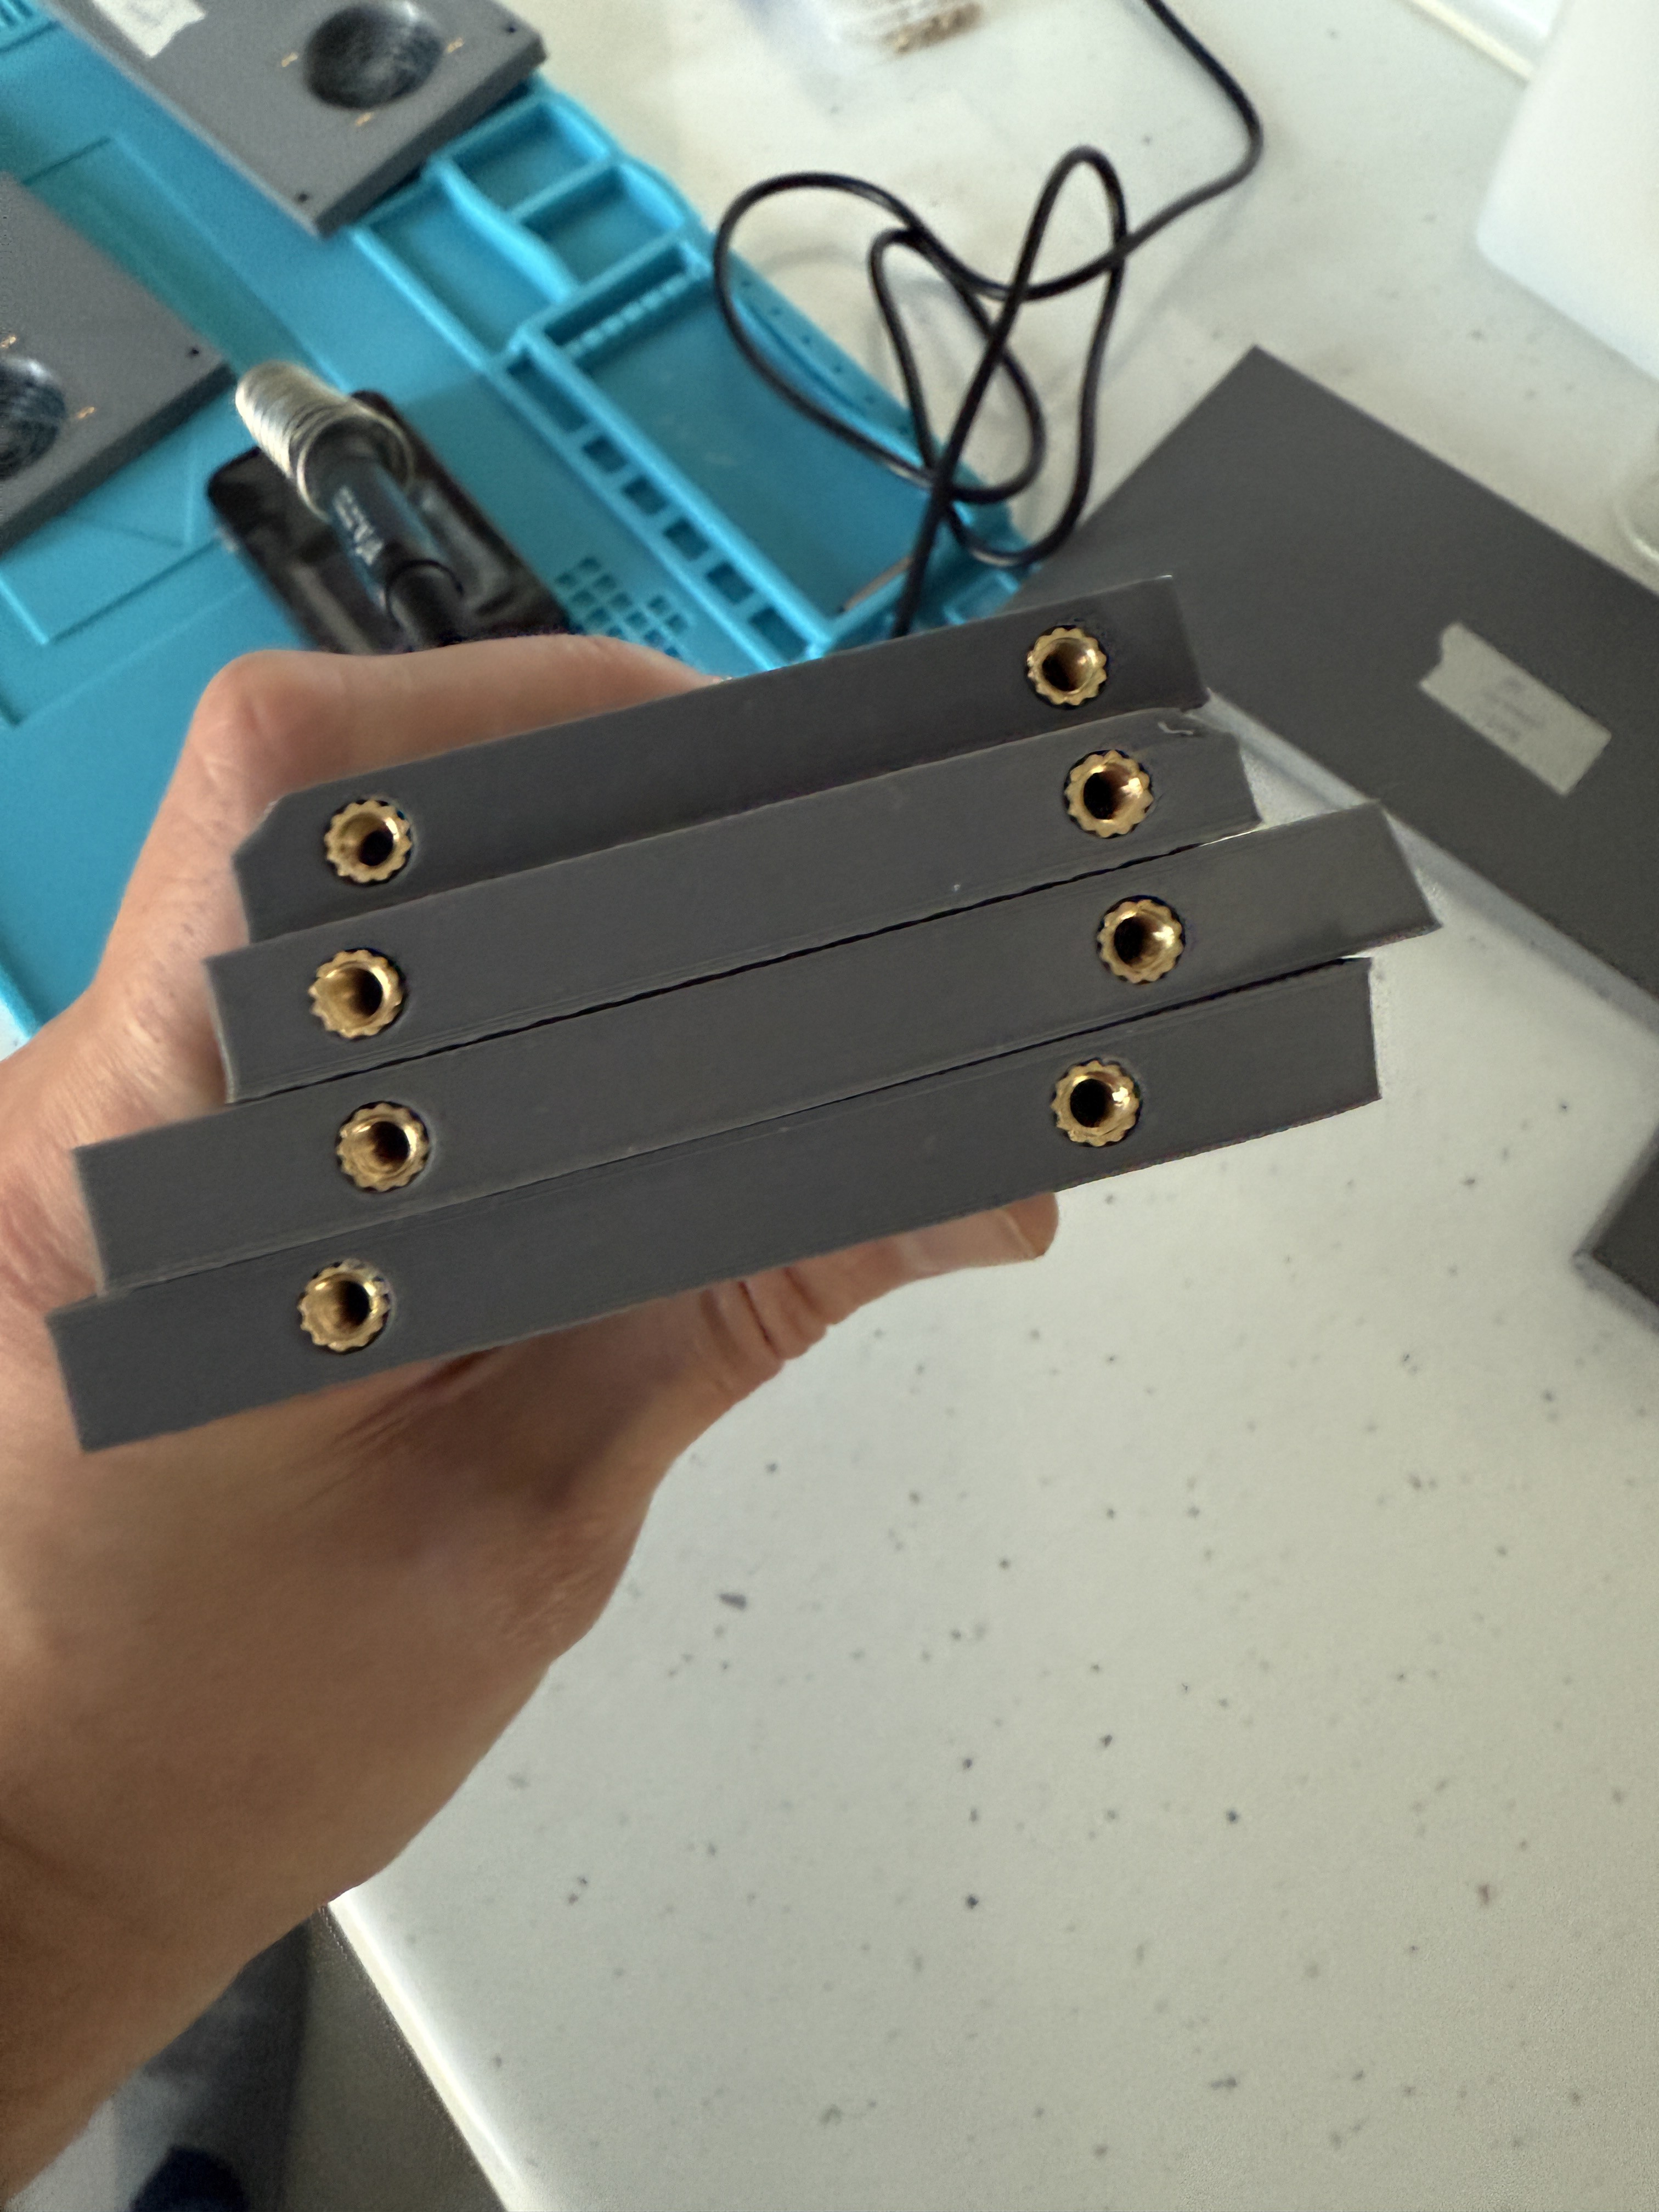
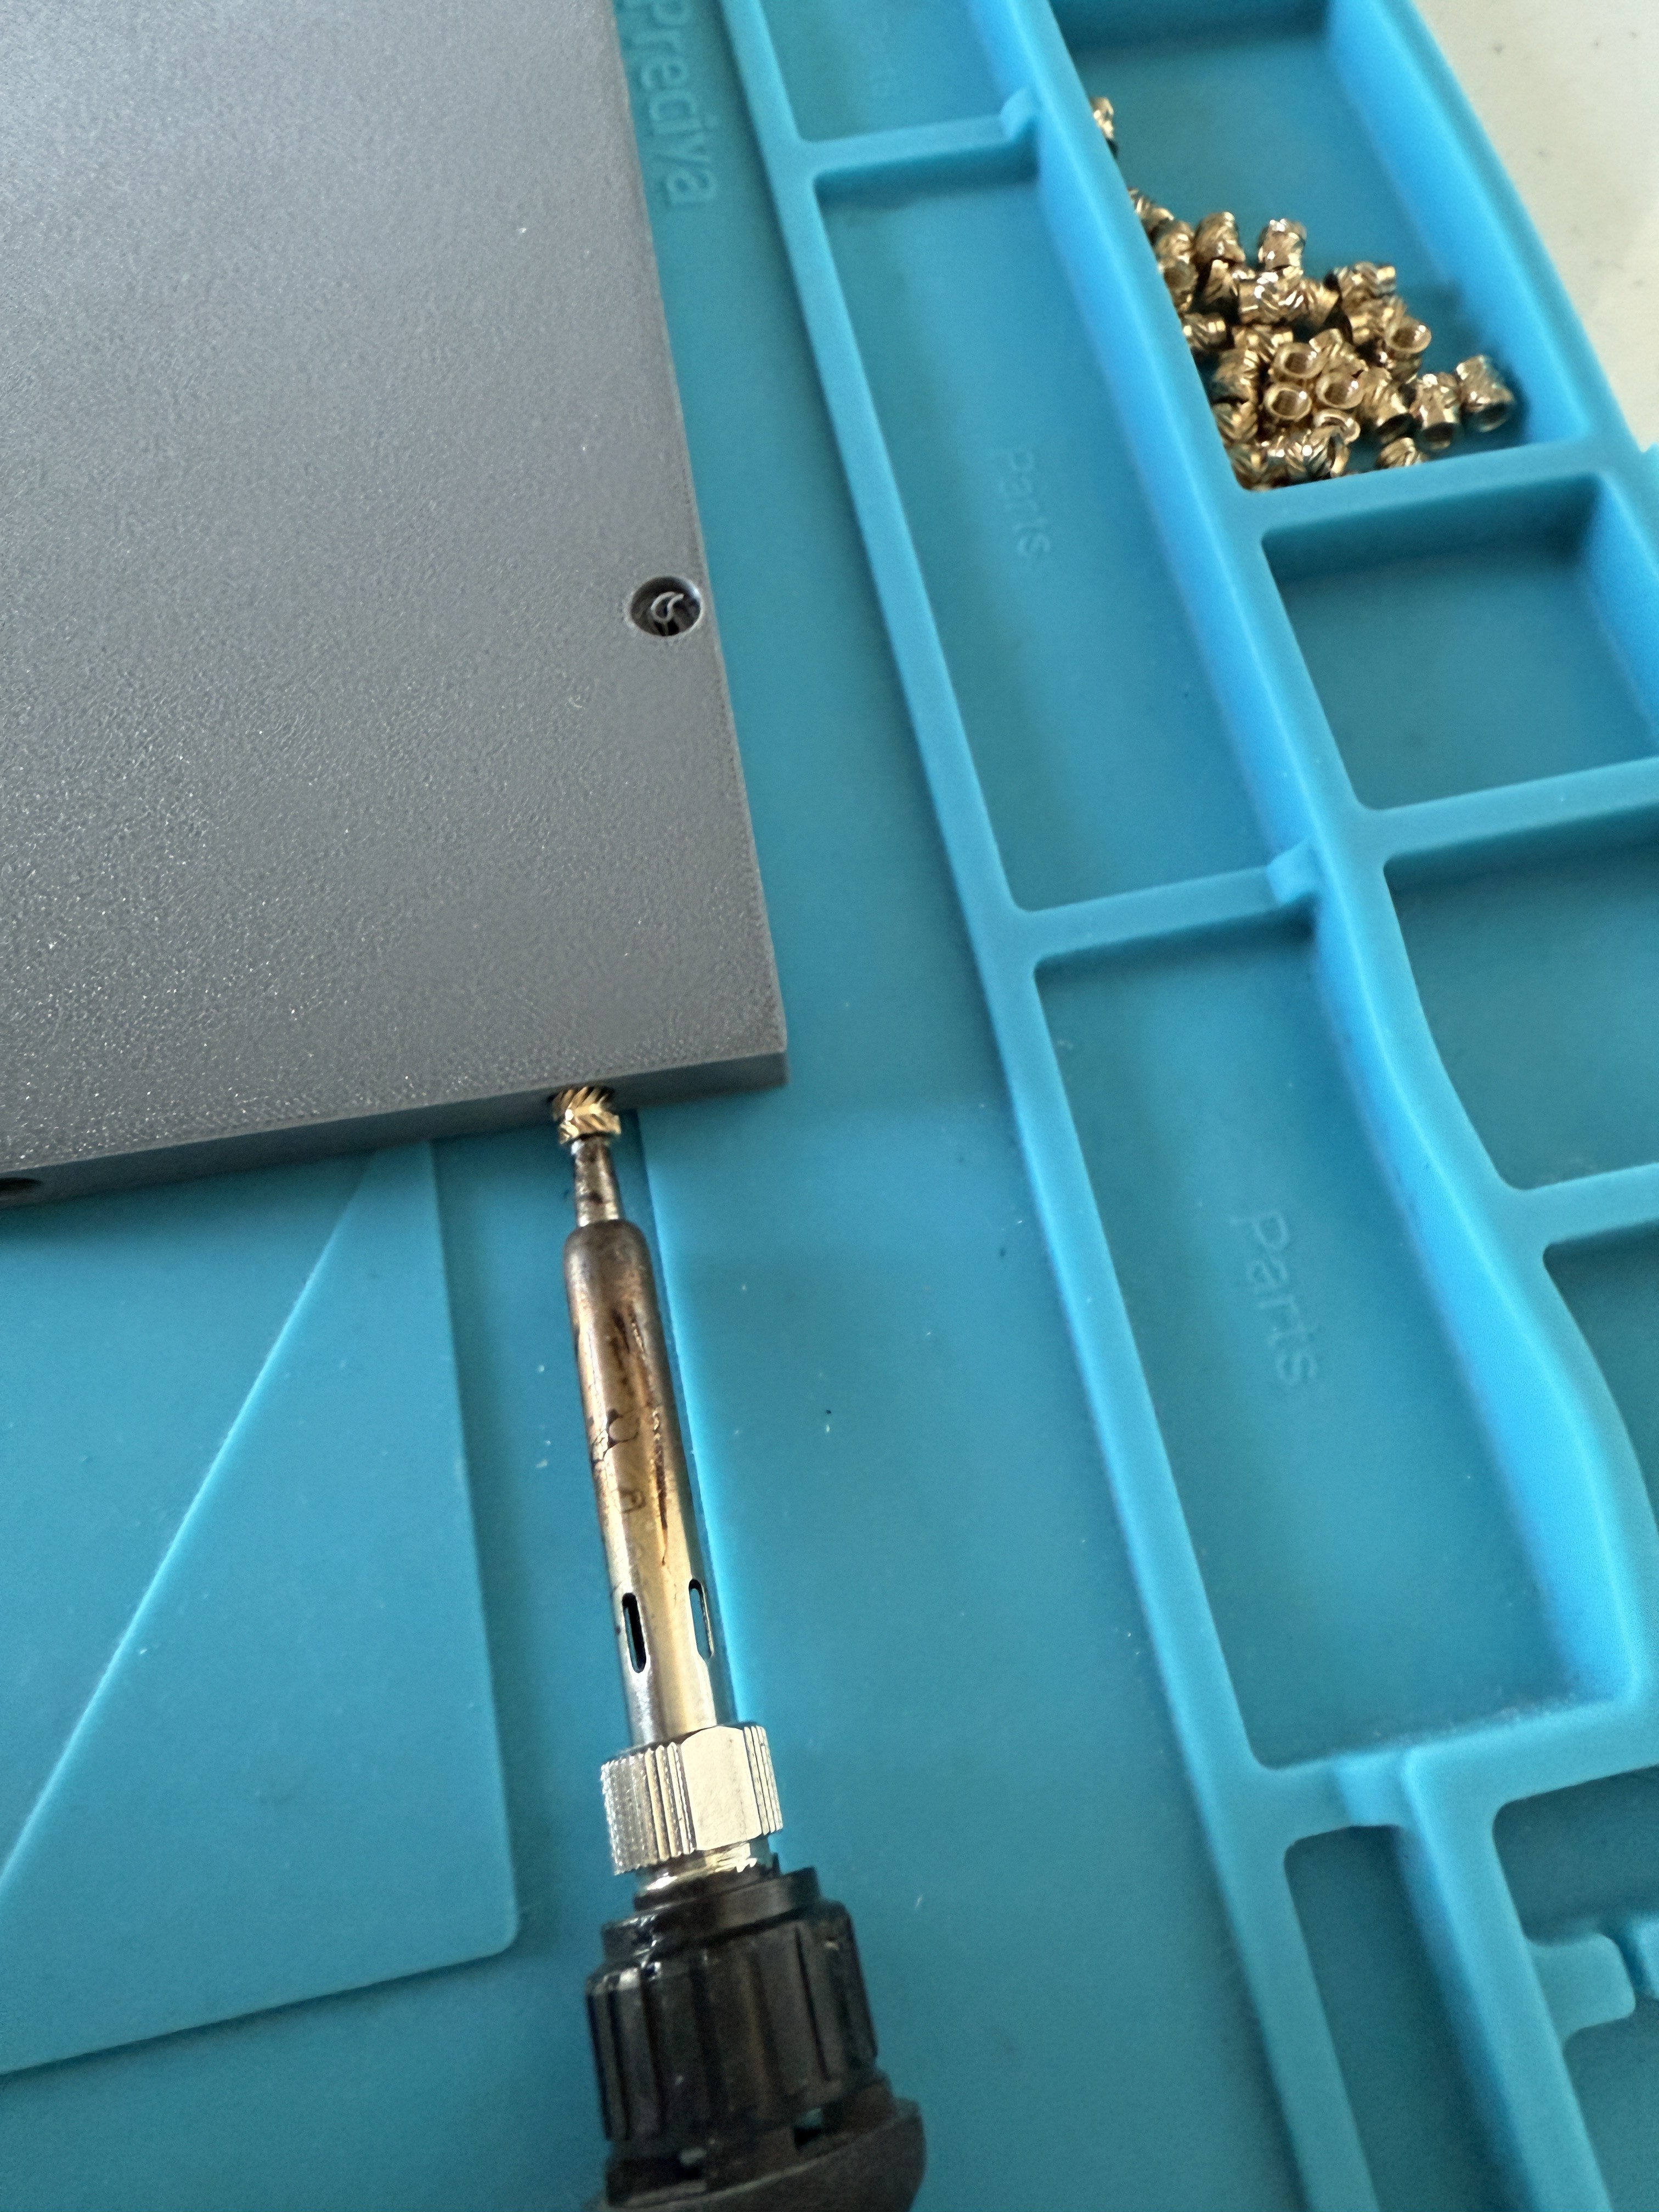
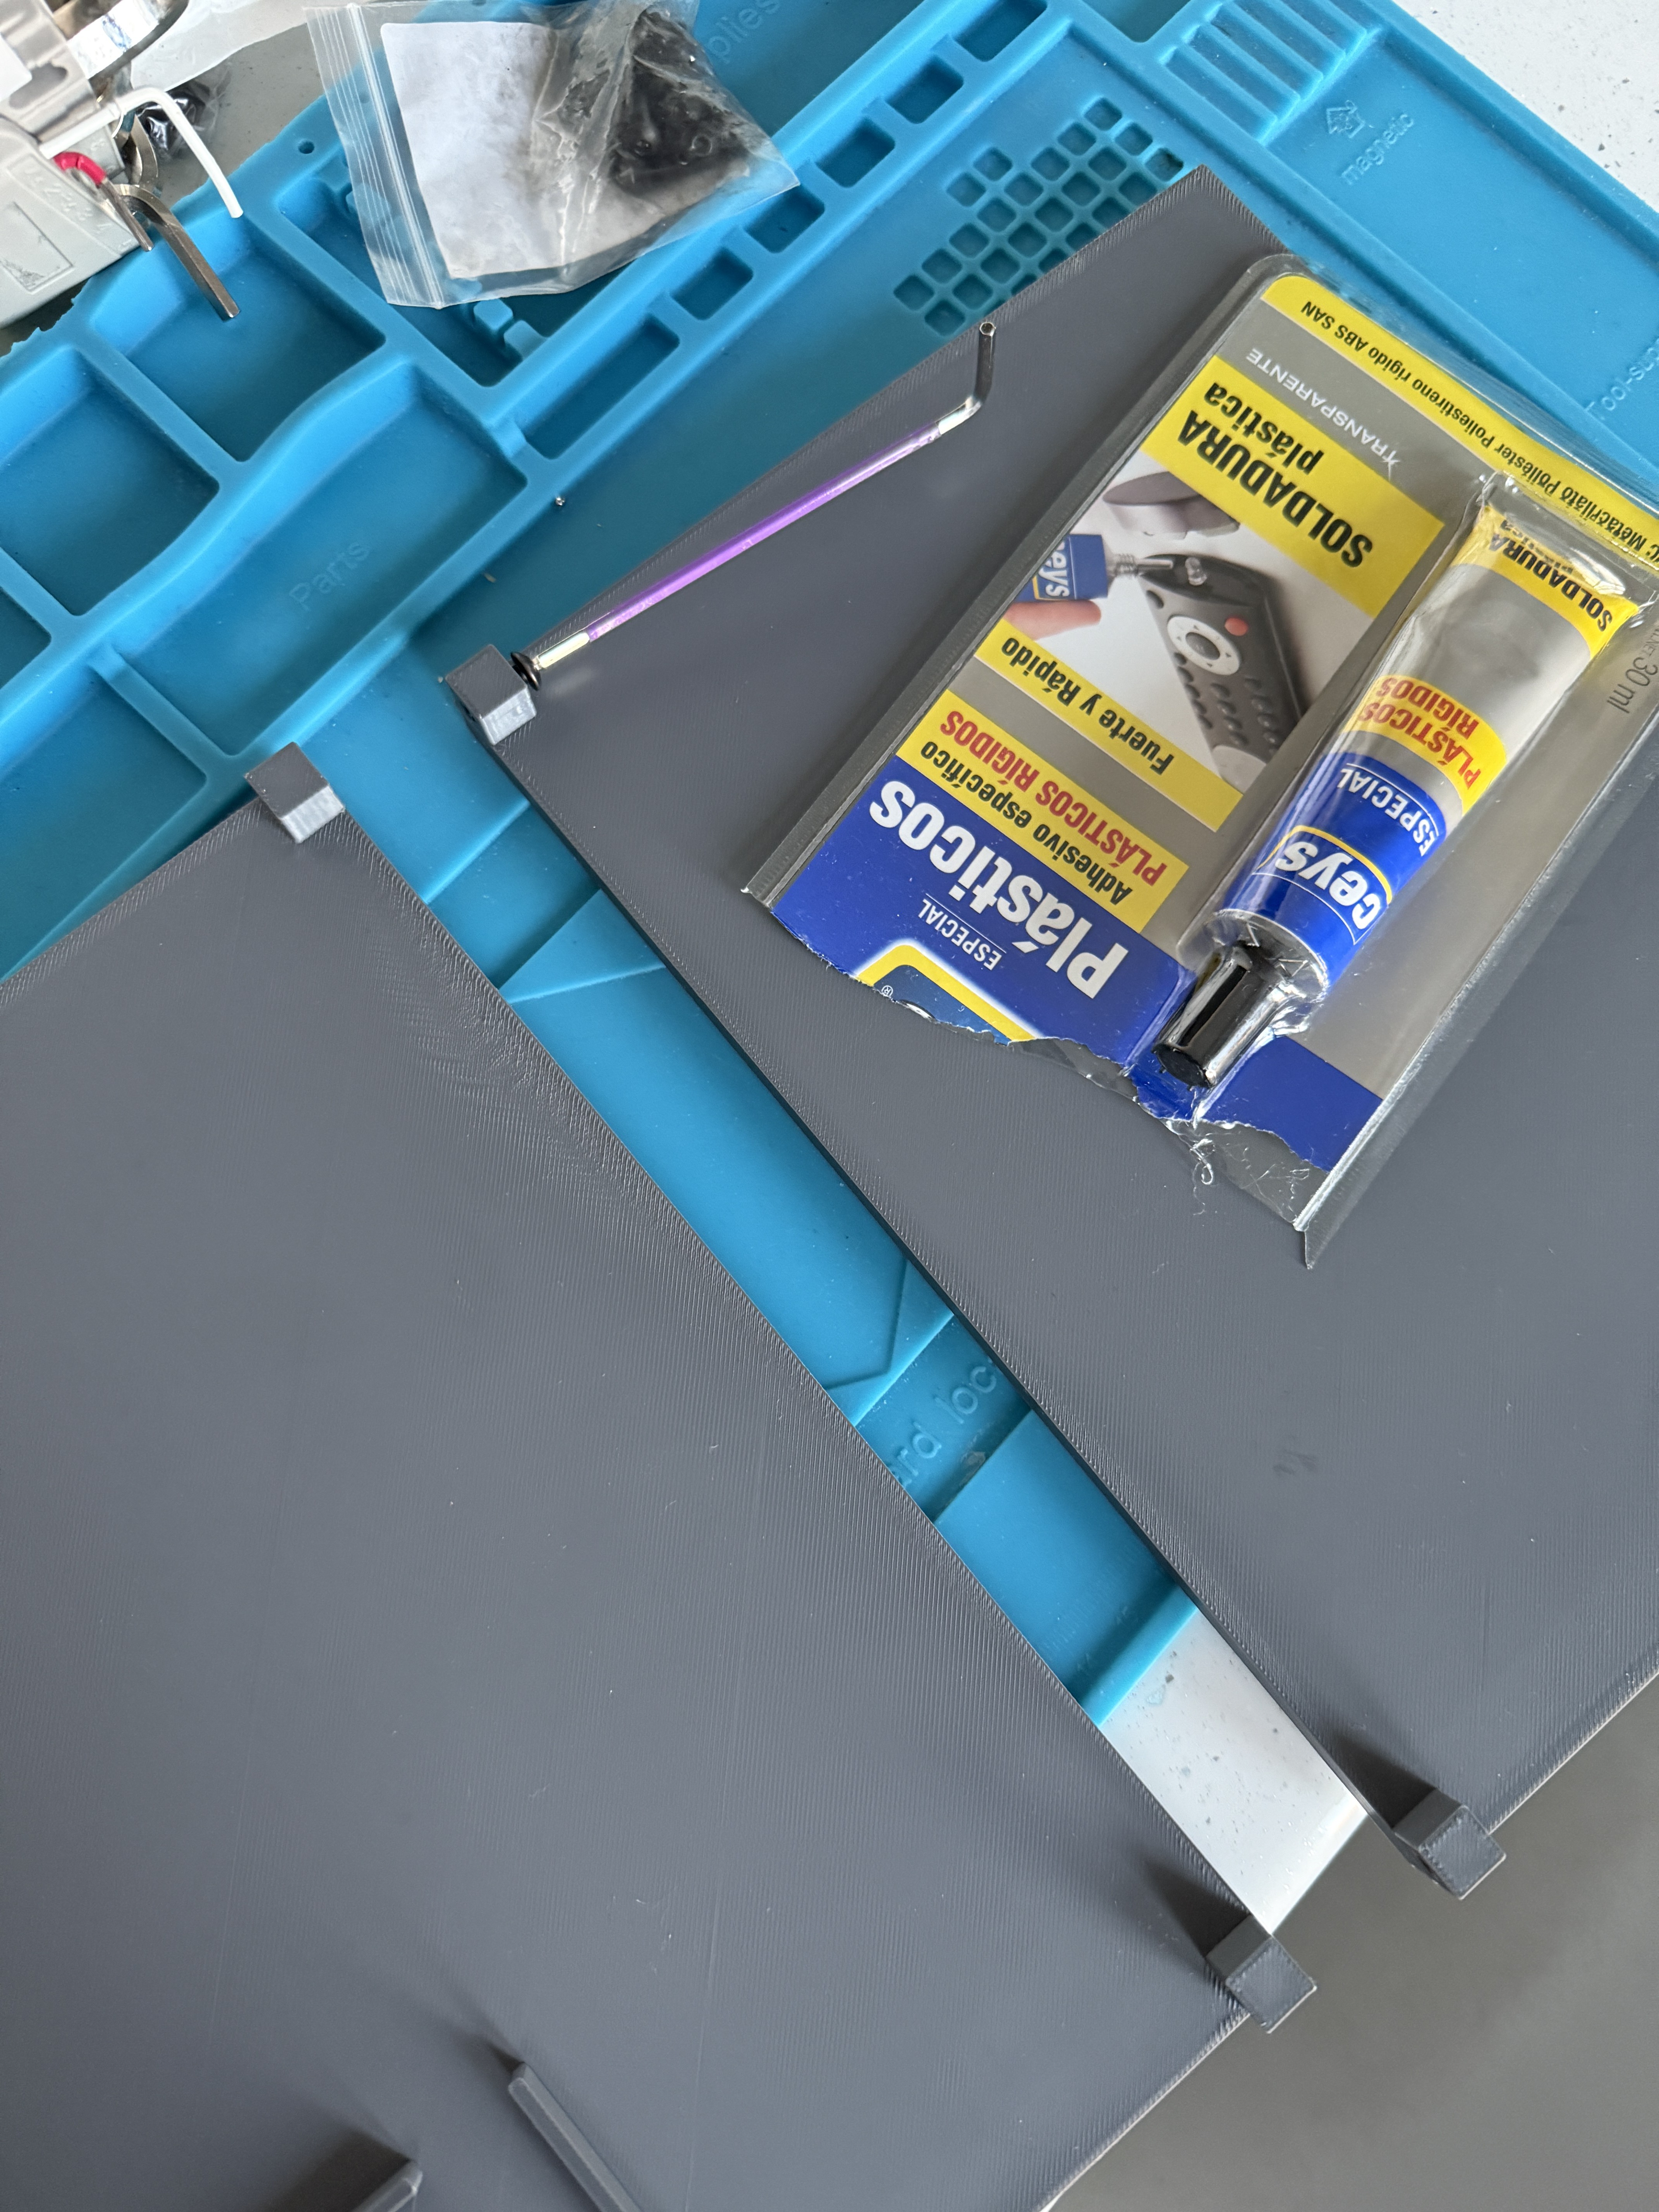
2Welding inserted nuts
With the help of a soldering iron and a tip large enough to be able to insert and remove the nuts easily. For the speakers, USB, fans and power supply, the M3 nuts are used, for the rest, the M4 nuts are used.
![]()
![]()
![]()
![]()
![]()
![]()
![]()
-
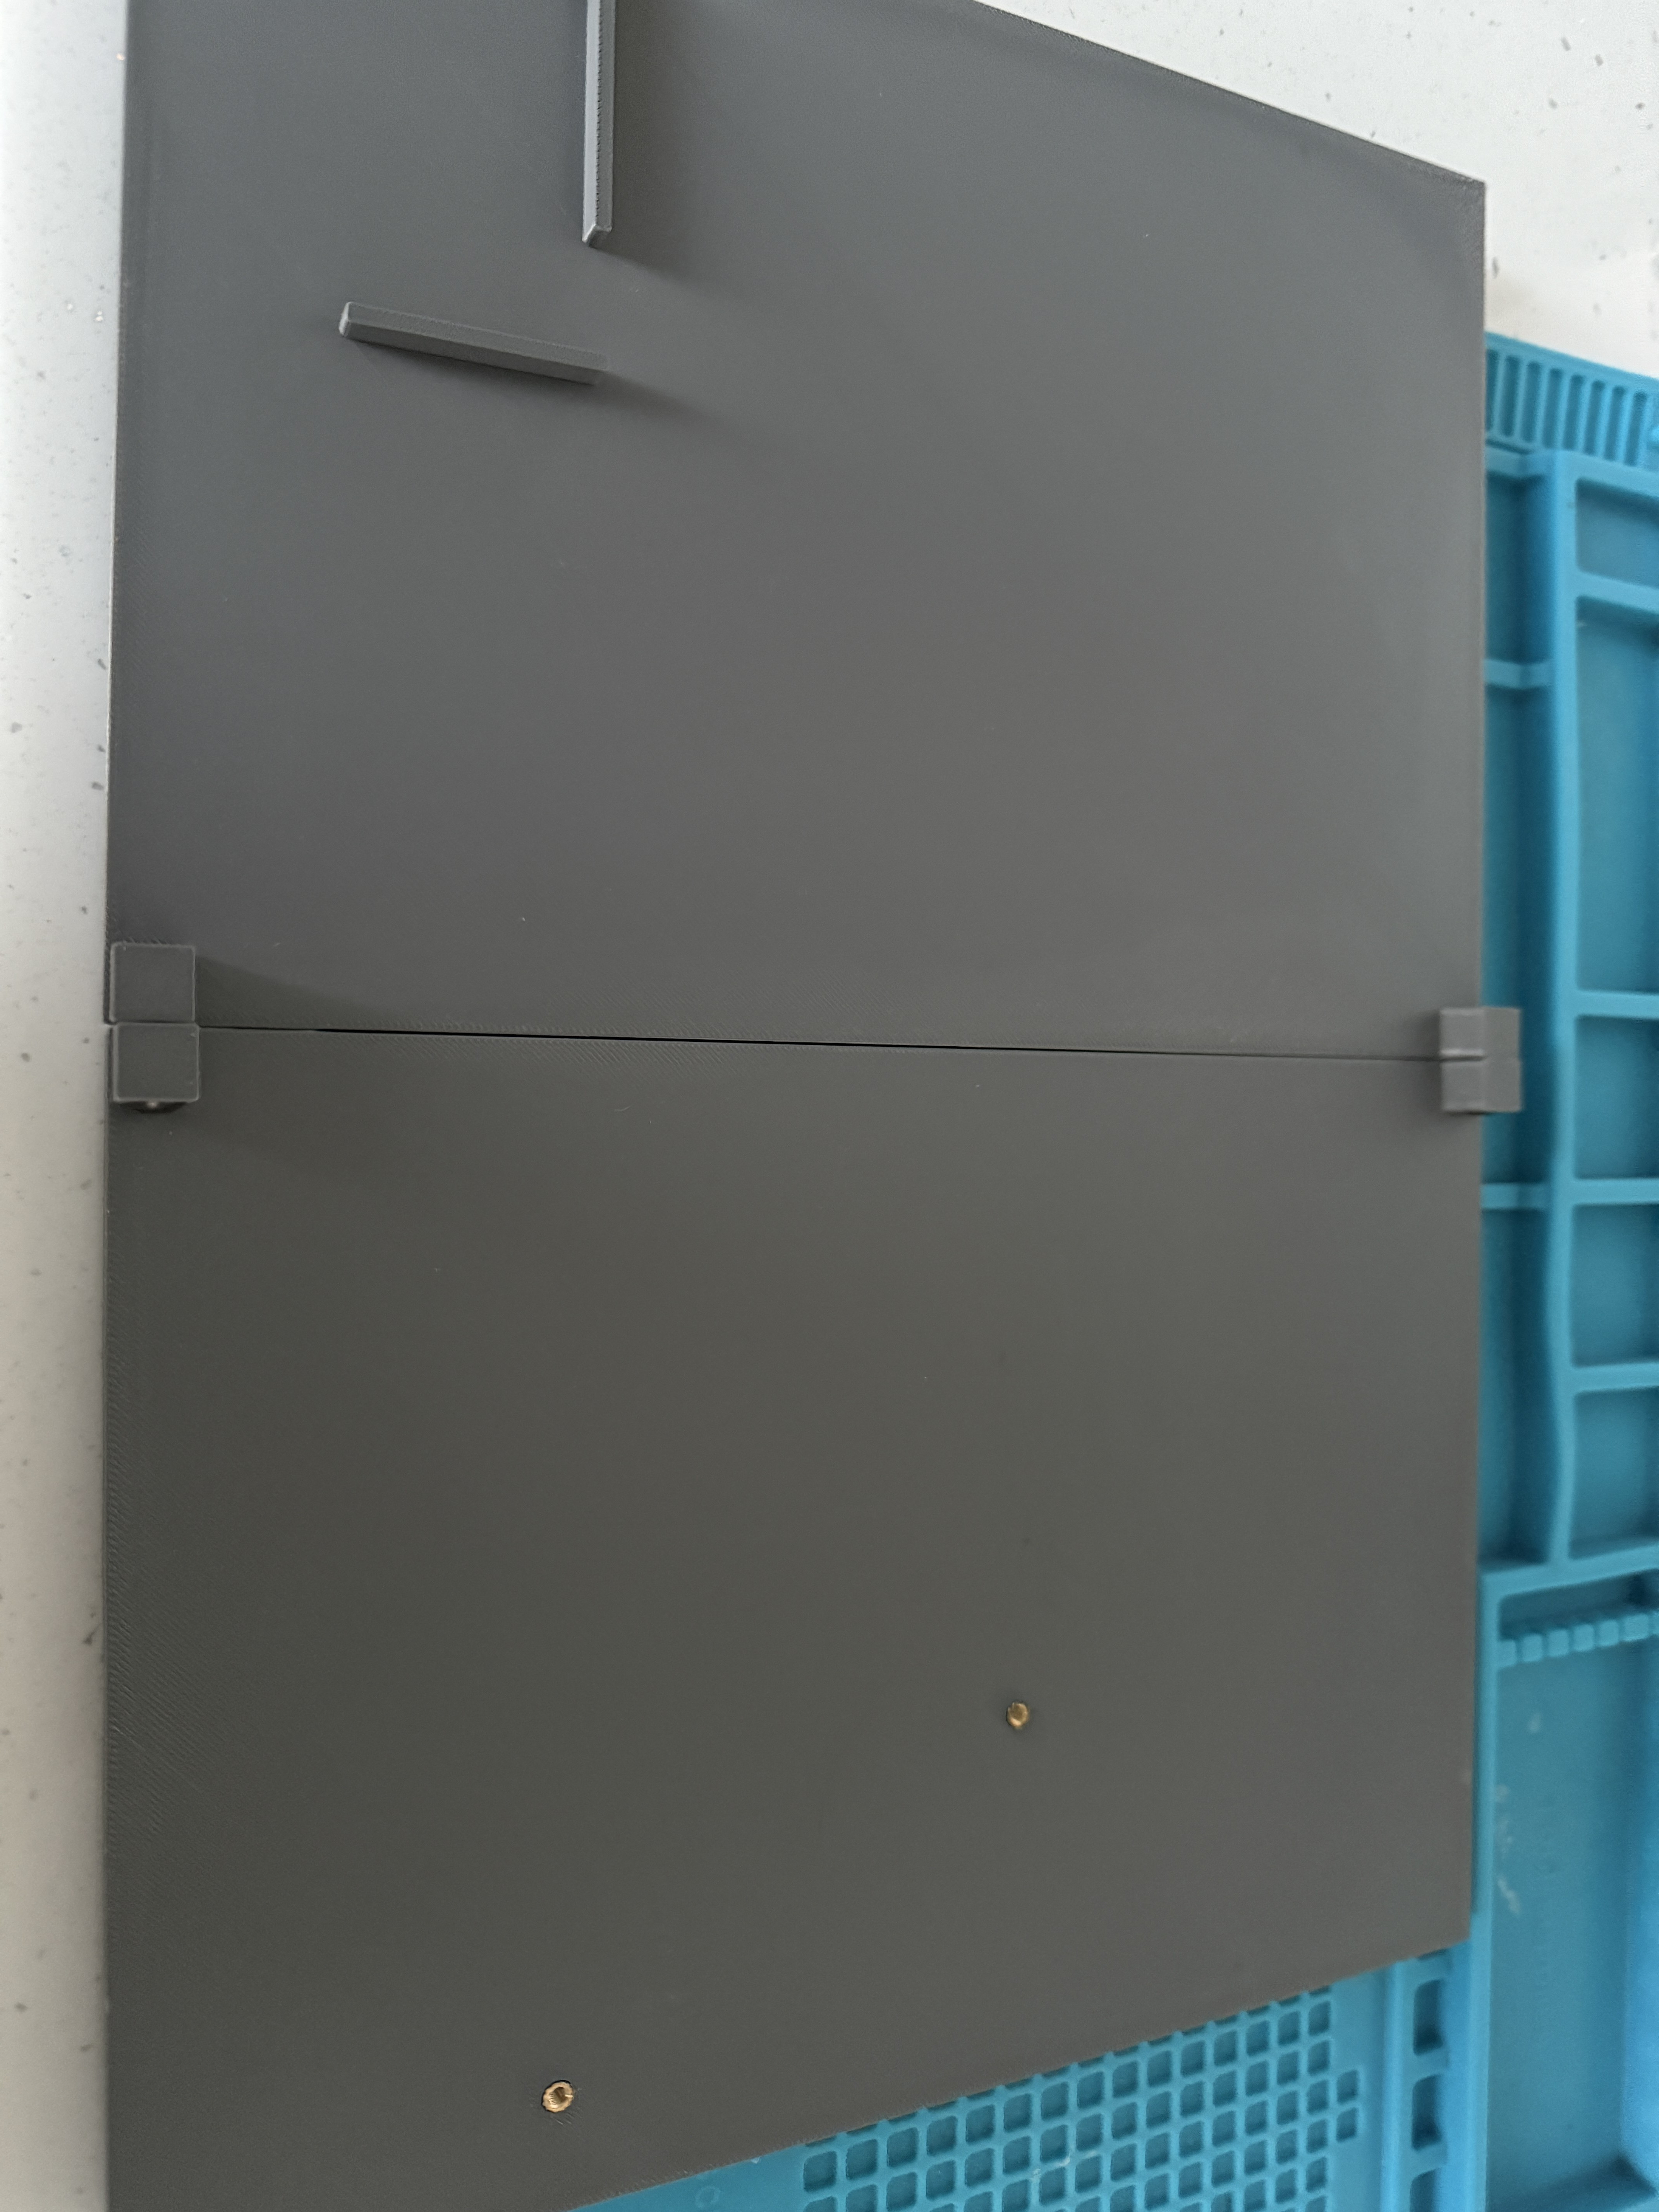
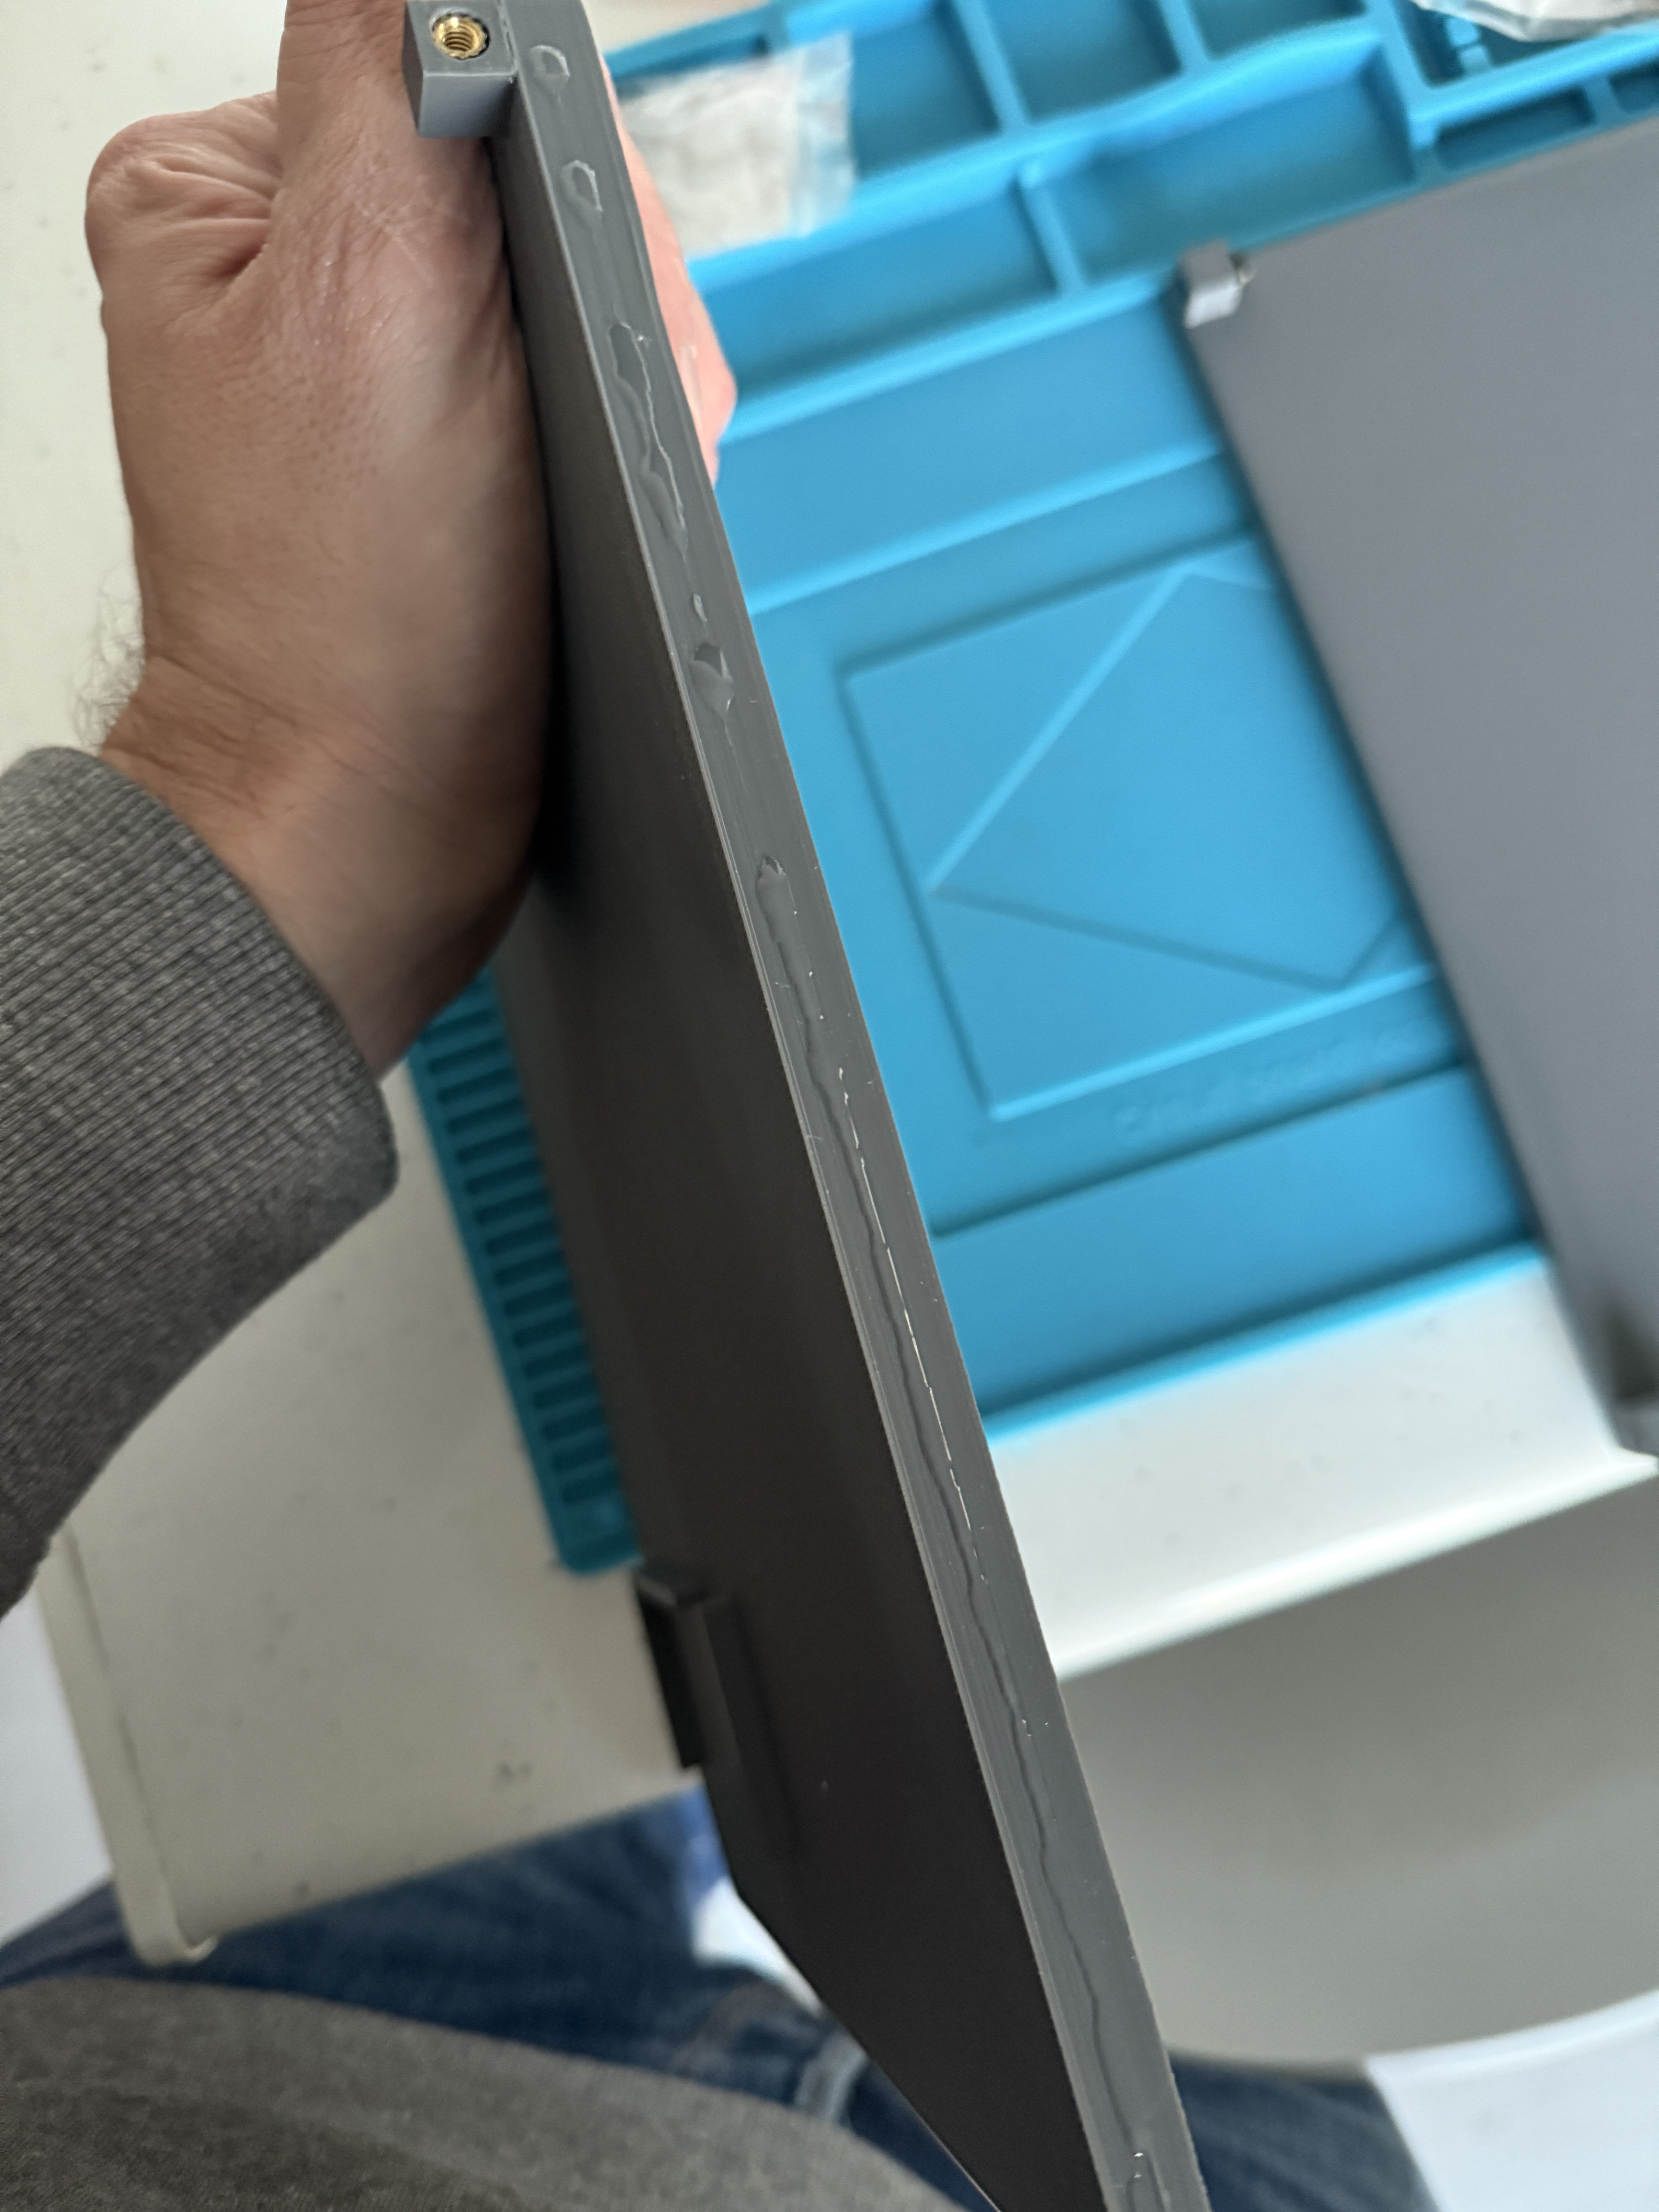
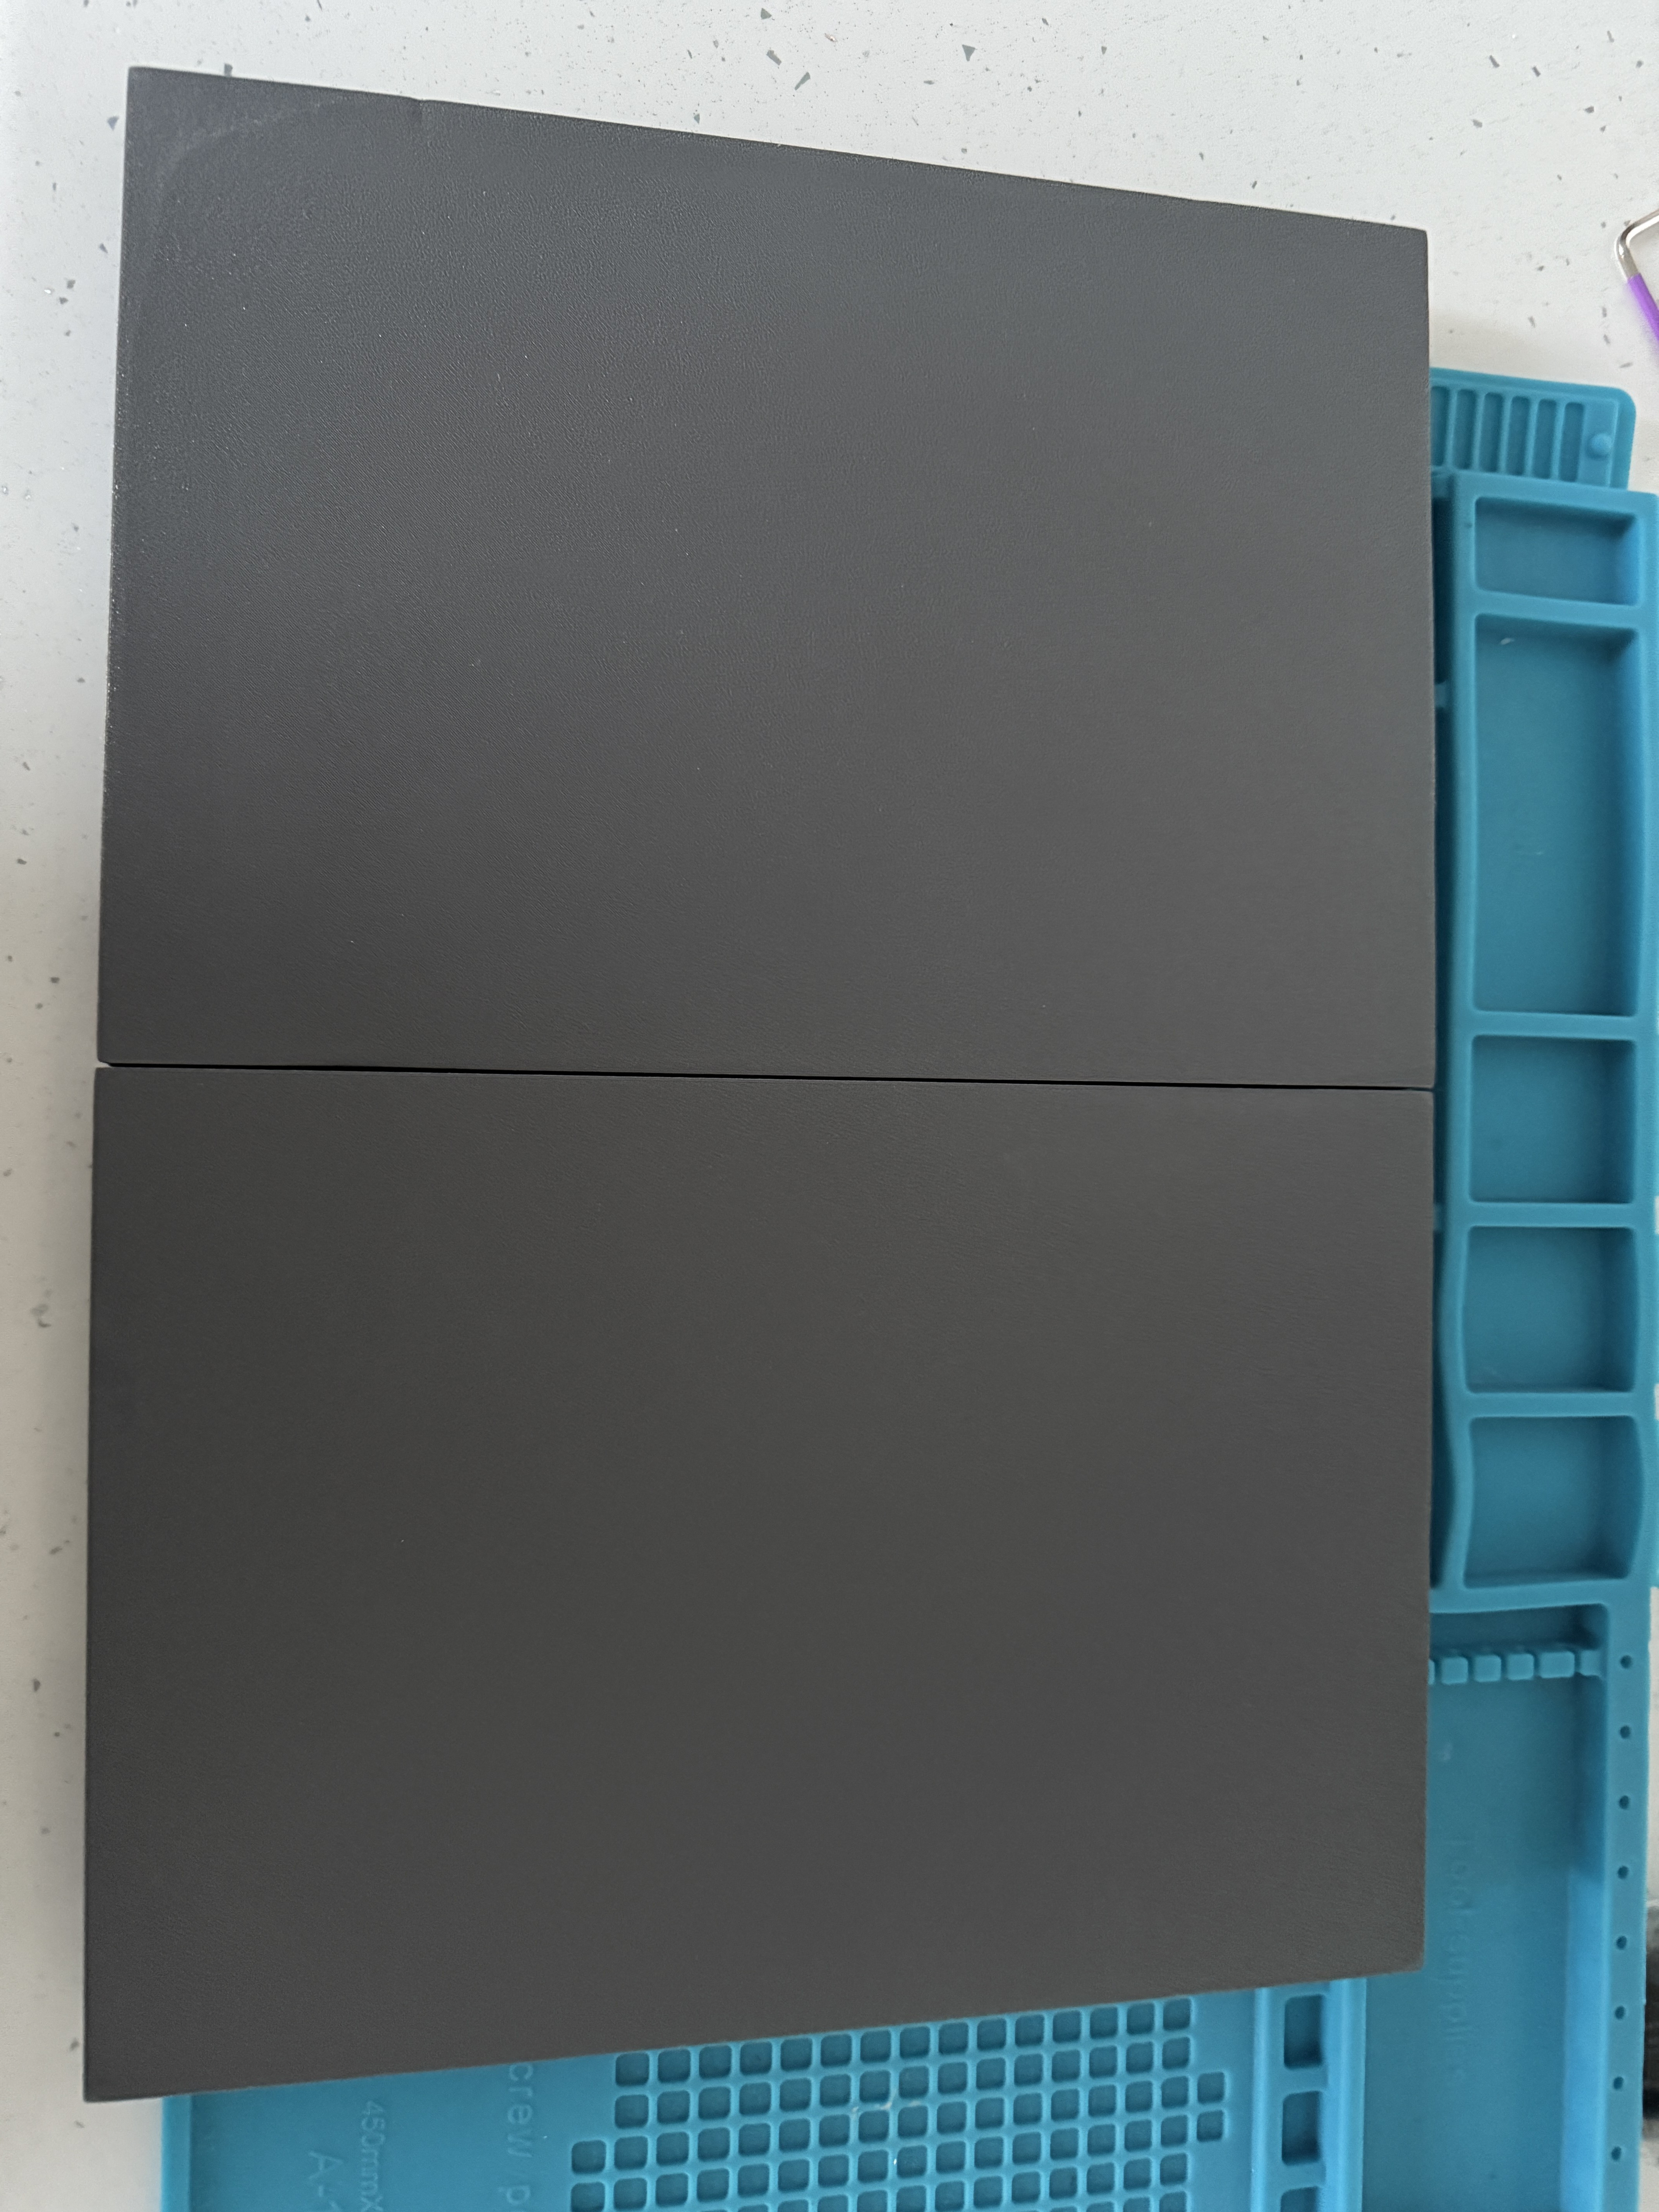
3Assembly the base
The base is made up of two pieces joined together by two M4 nuts. I also used glue to keep them well joined. It is important for the rest of the construction that it remains as a single piece. Unfortunately, the size of my printer is a handicap. You can also use a welding iron with a flat tip and join the two pieces by heating the matching face. I did not do this, but it is very common to join PLA pieces together.
![]()
![]()
![]()
![]()
![]()
-
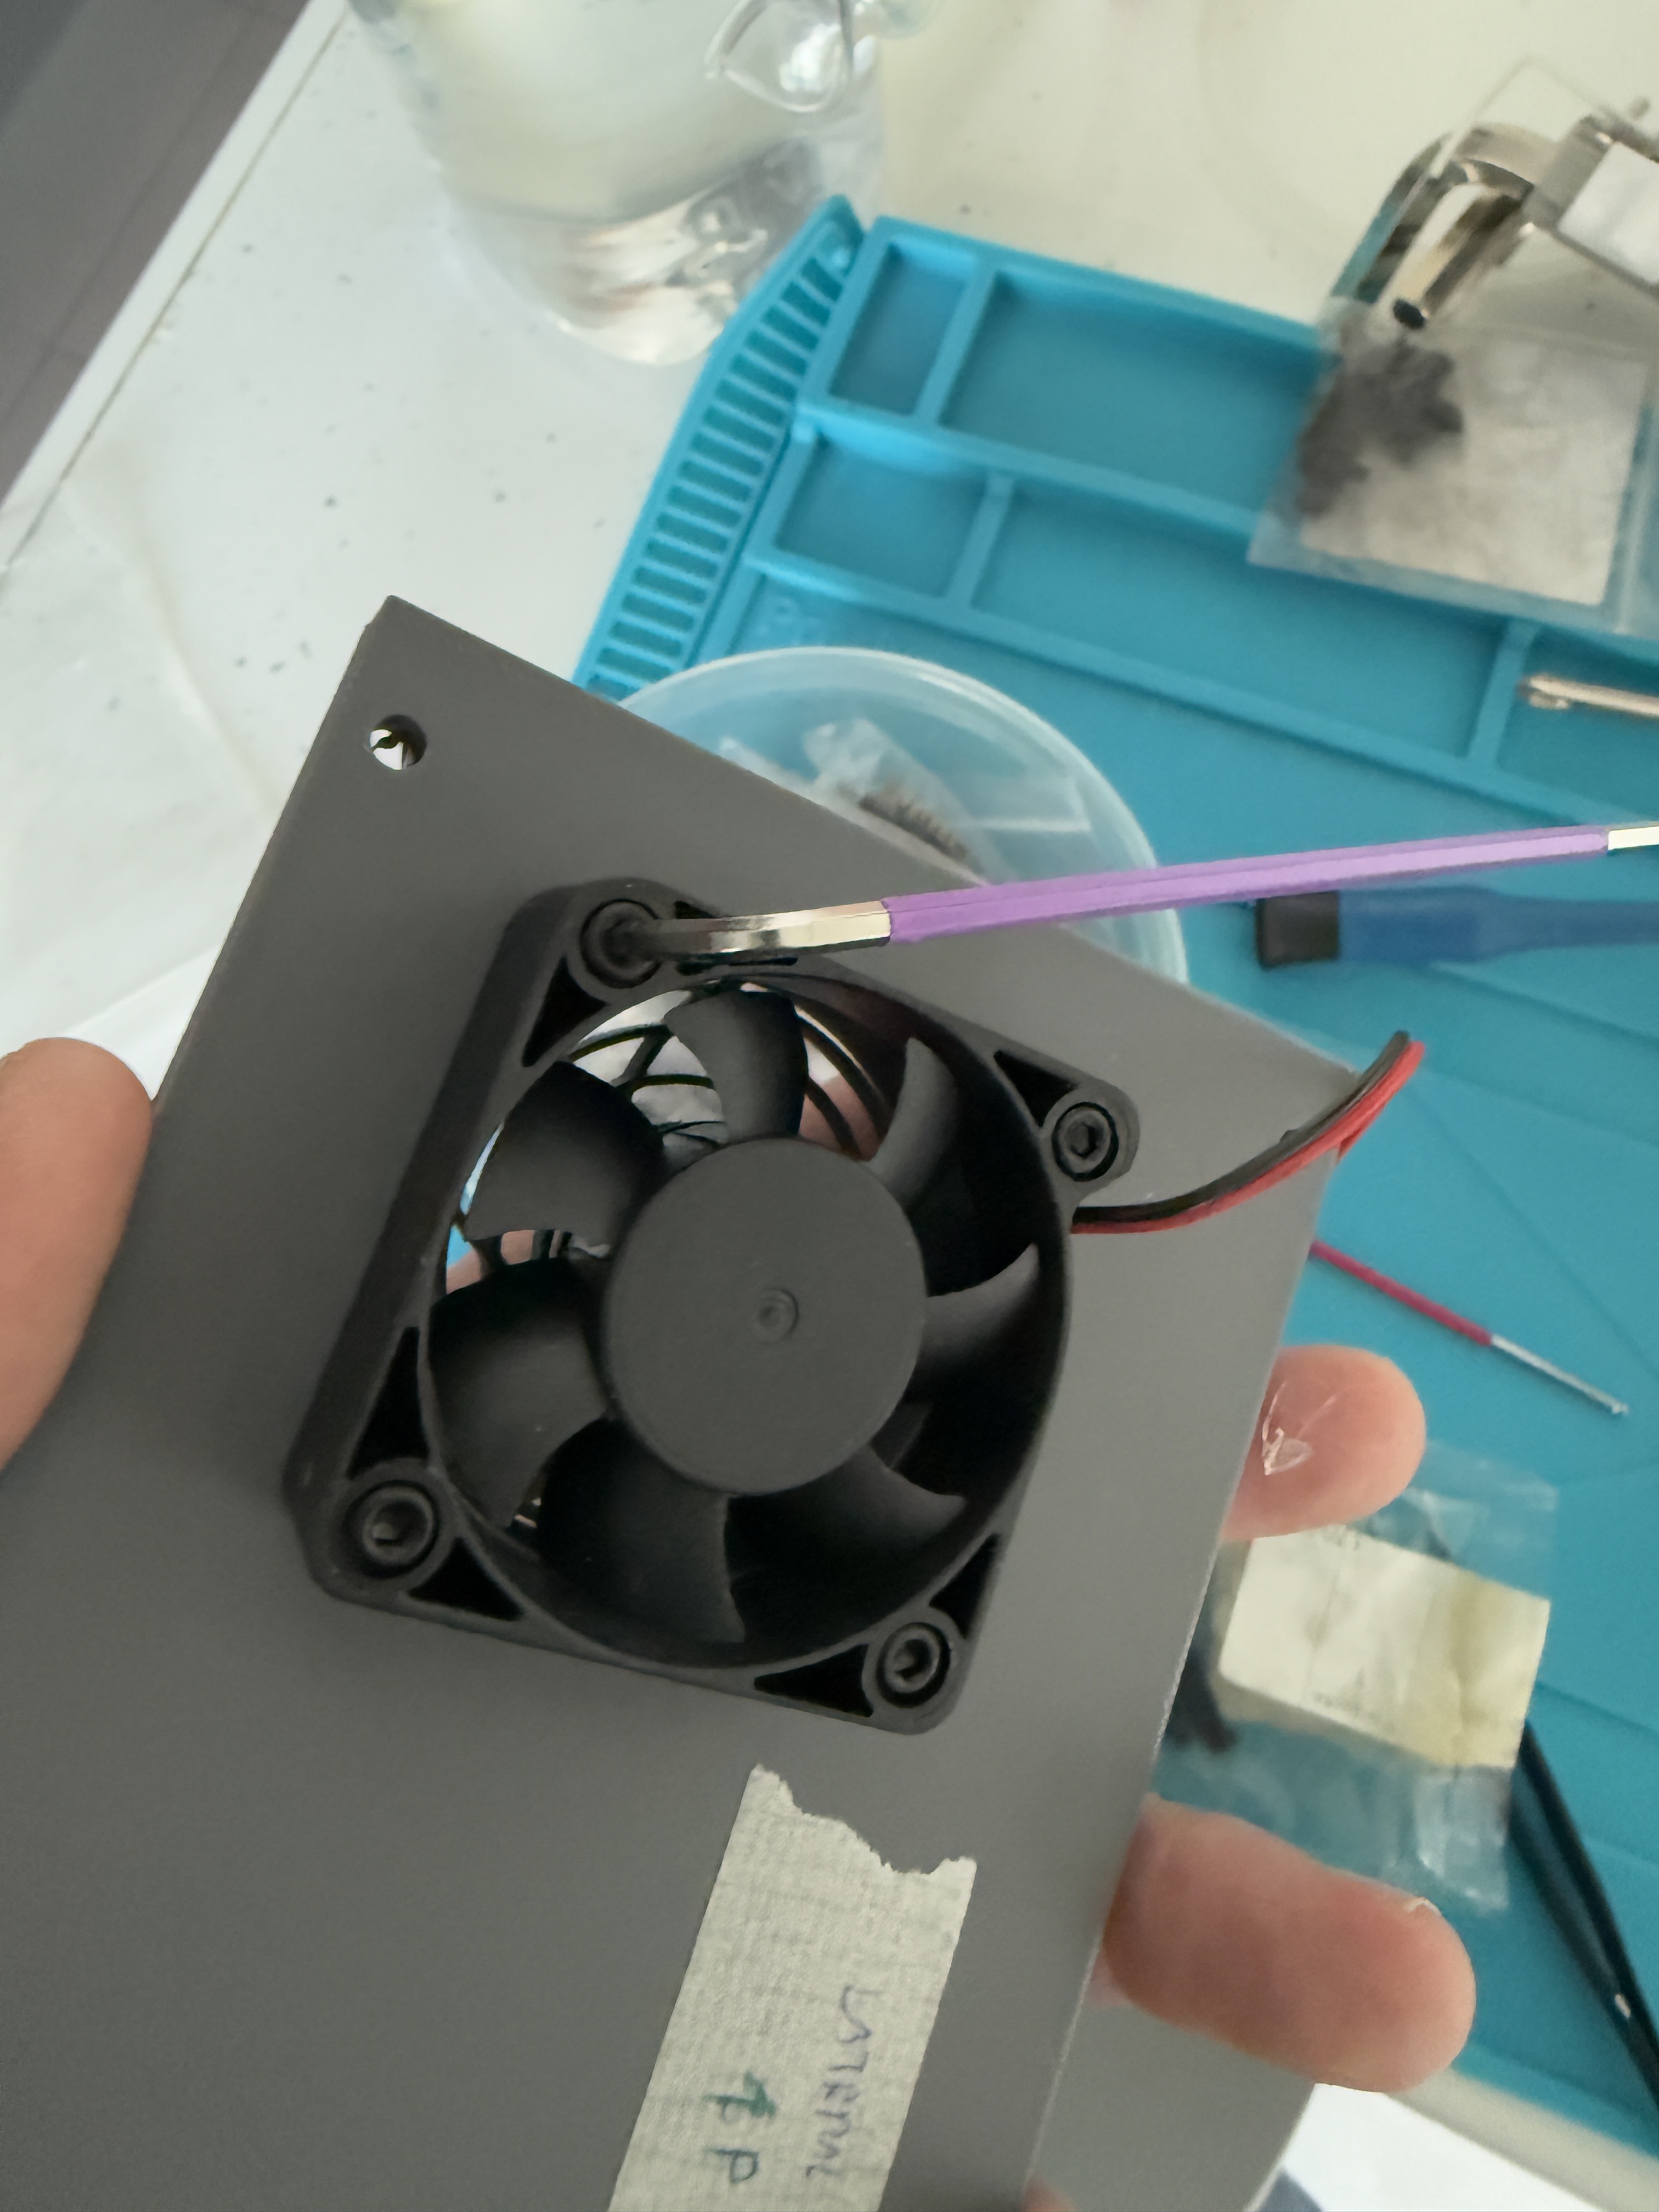
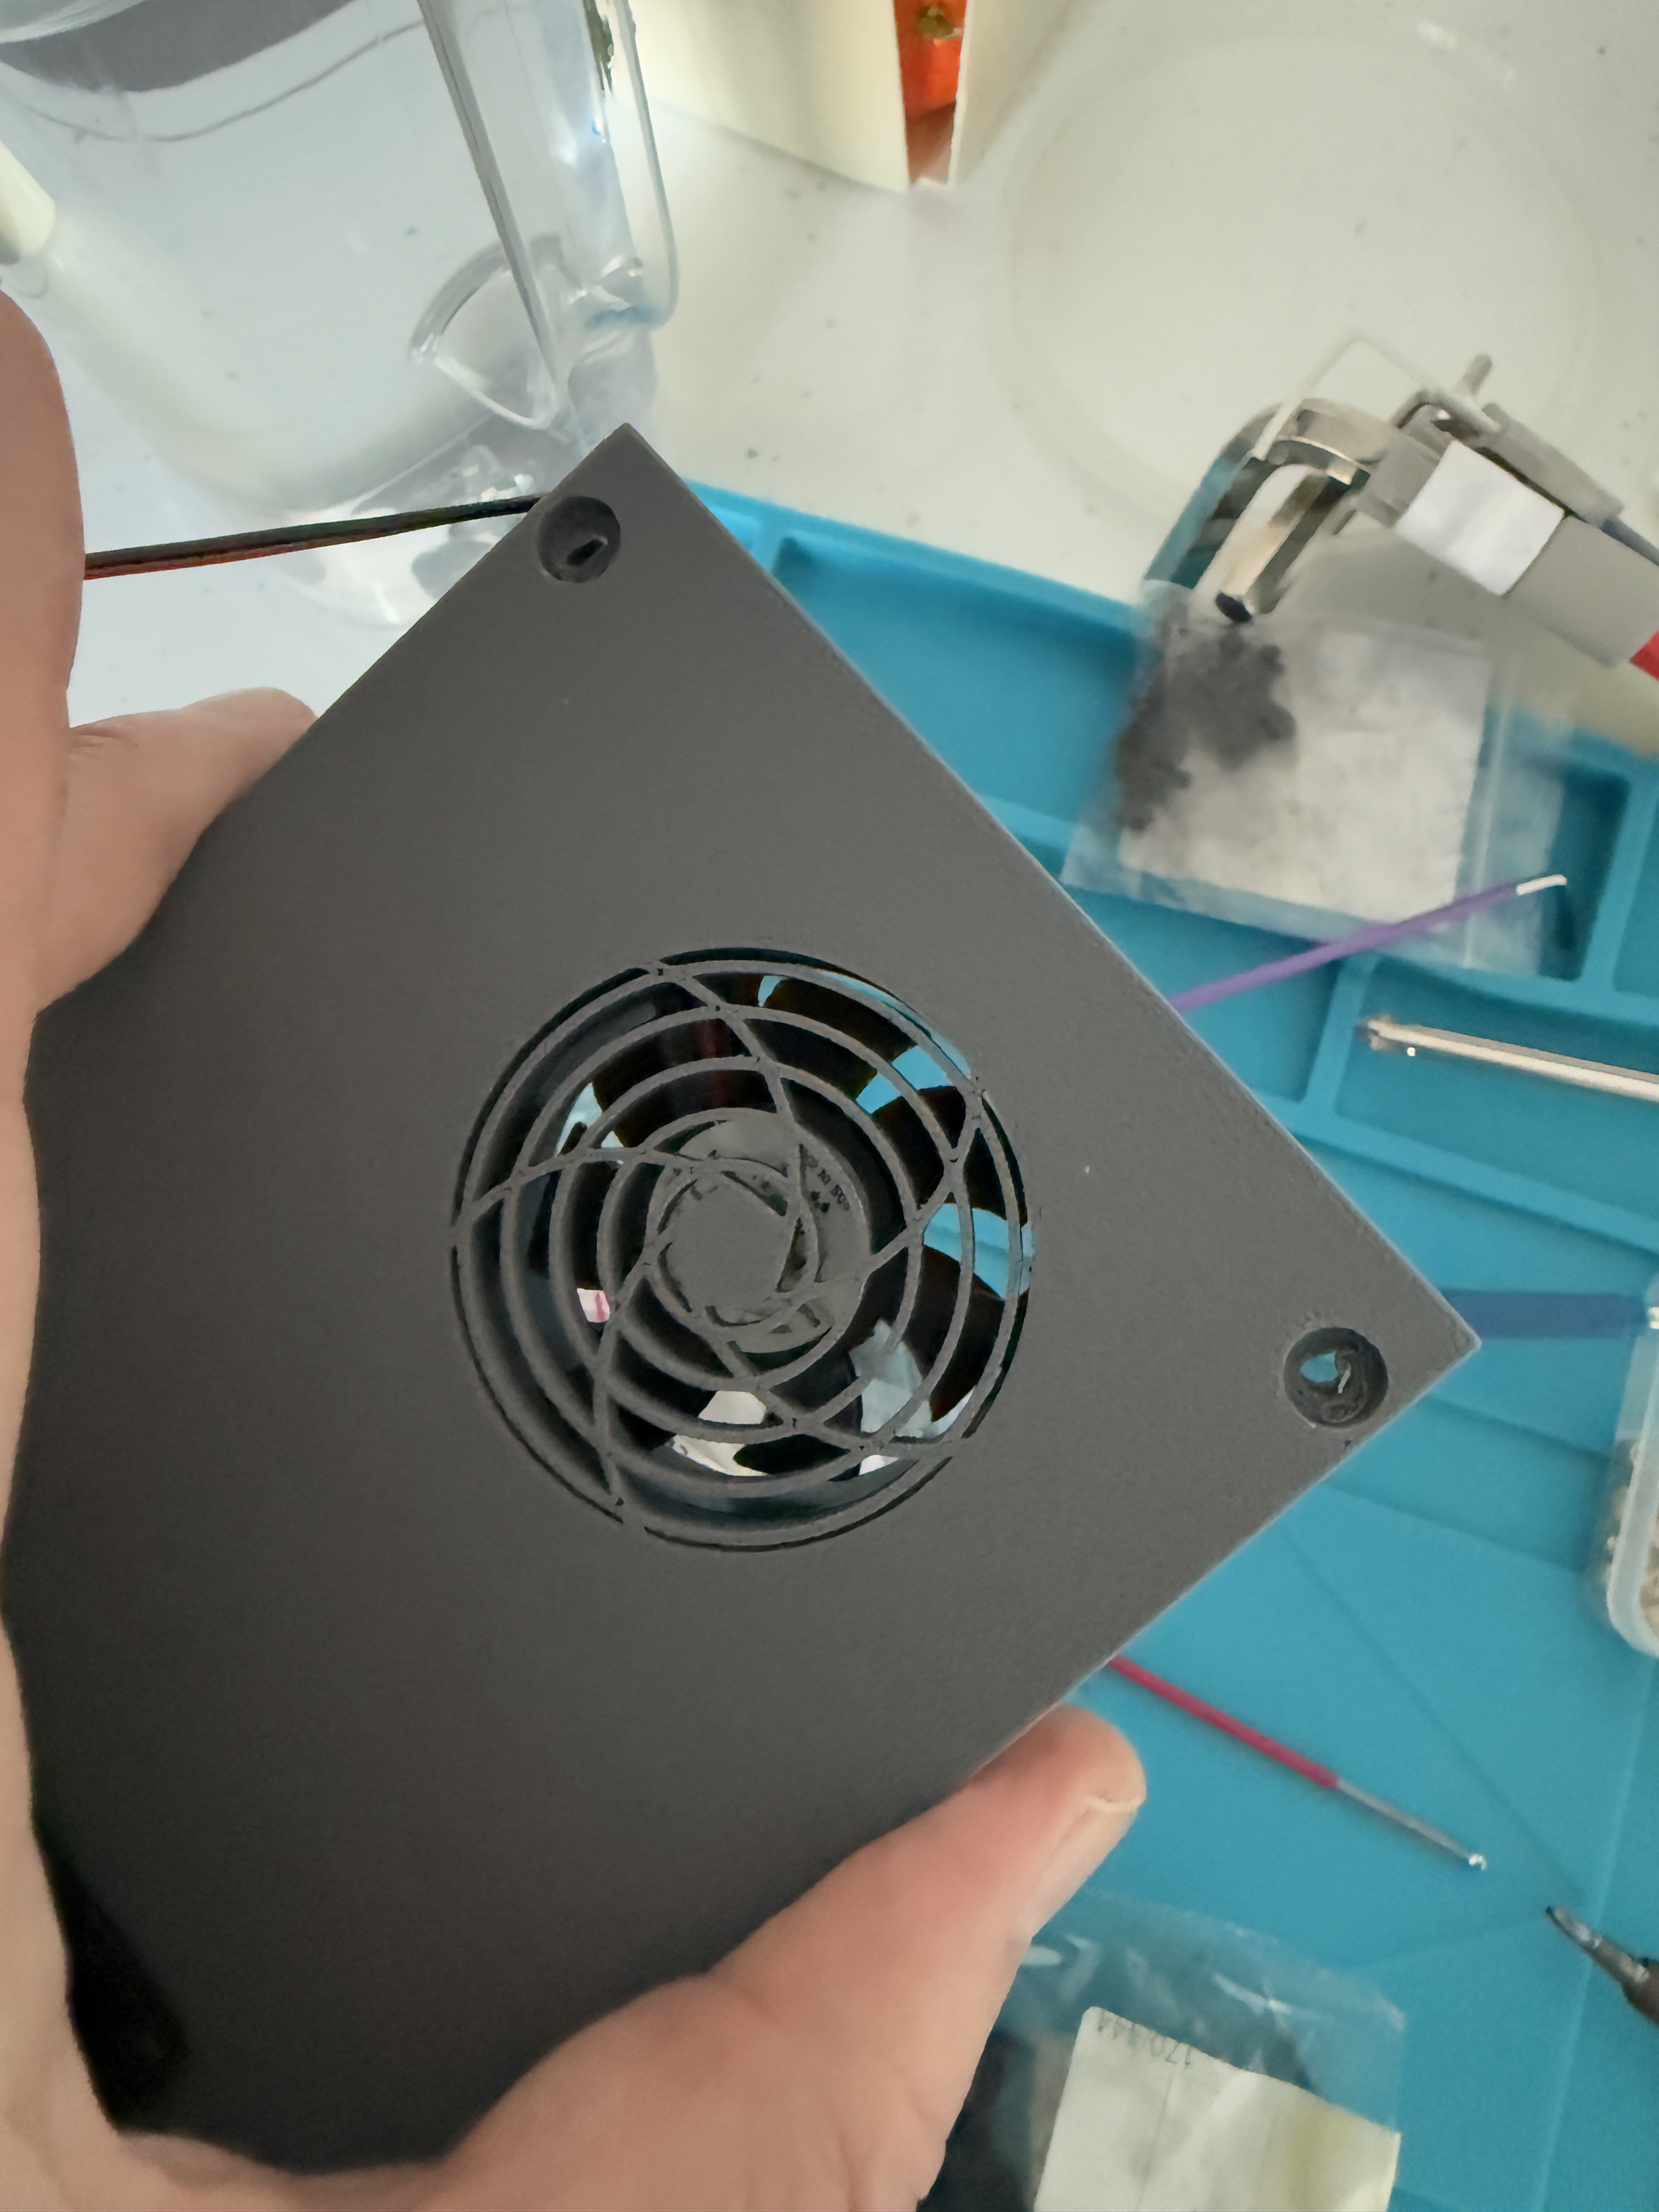
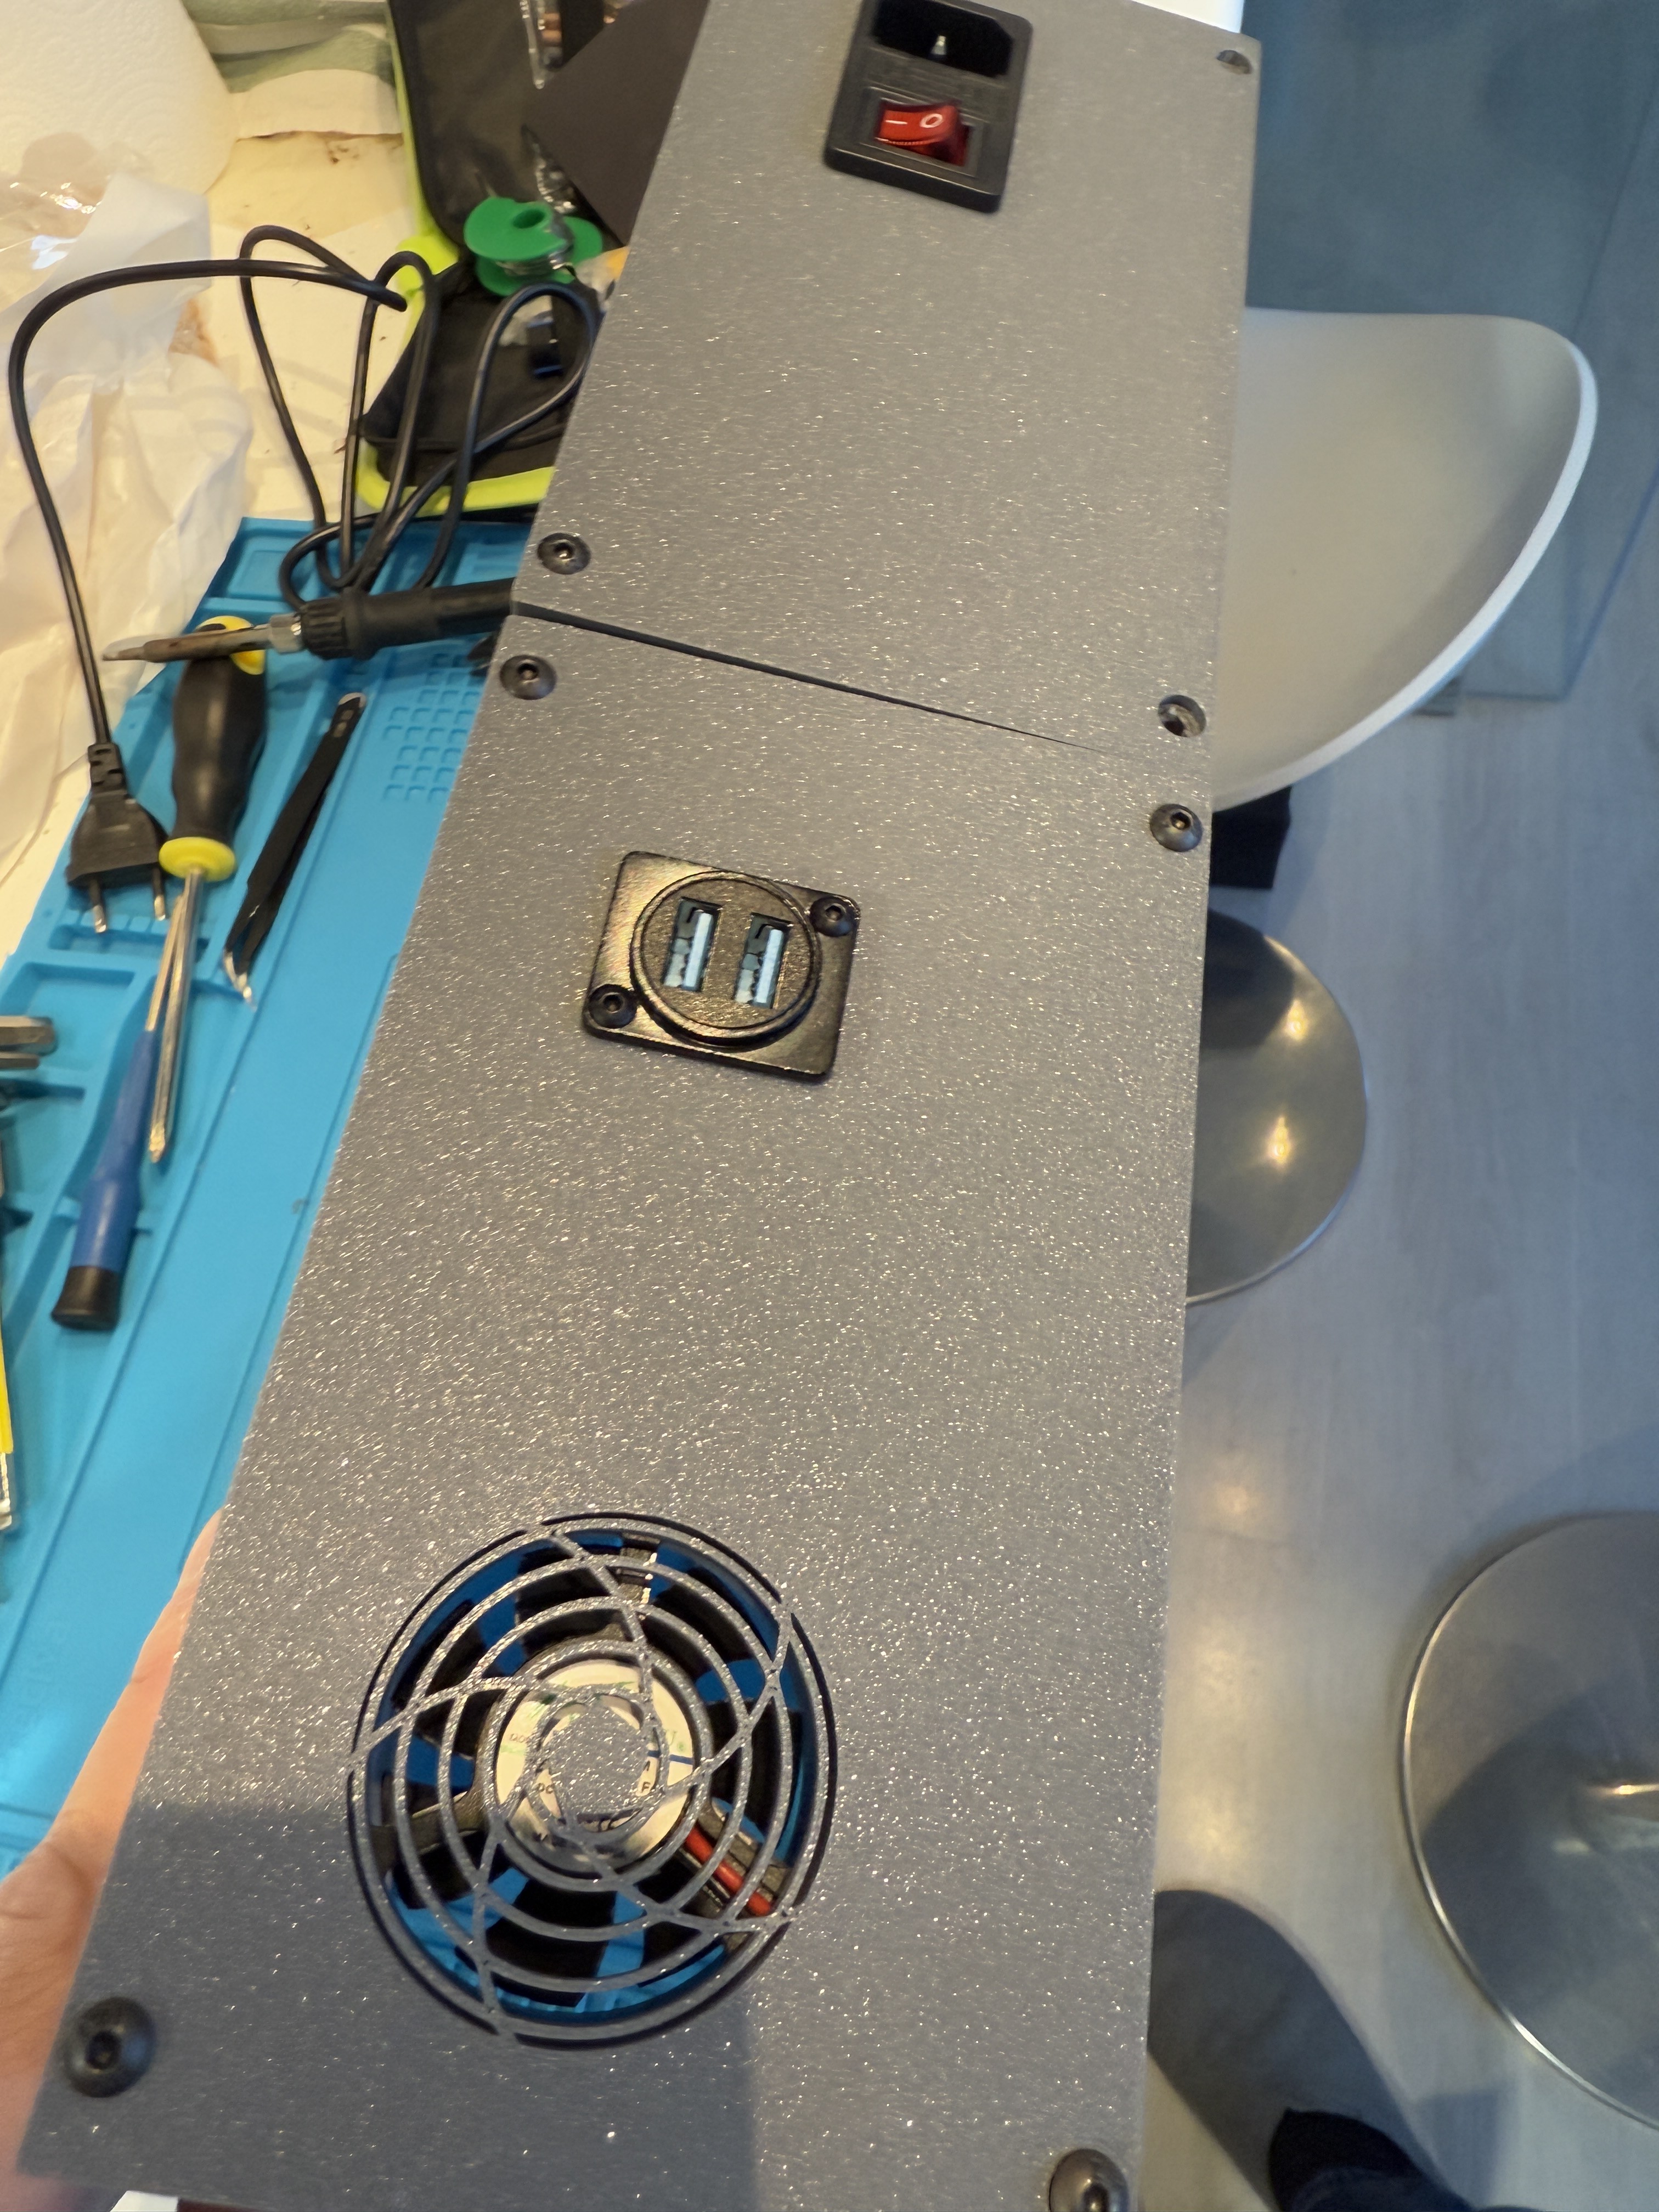
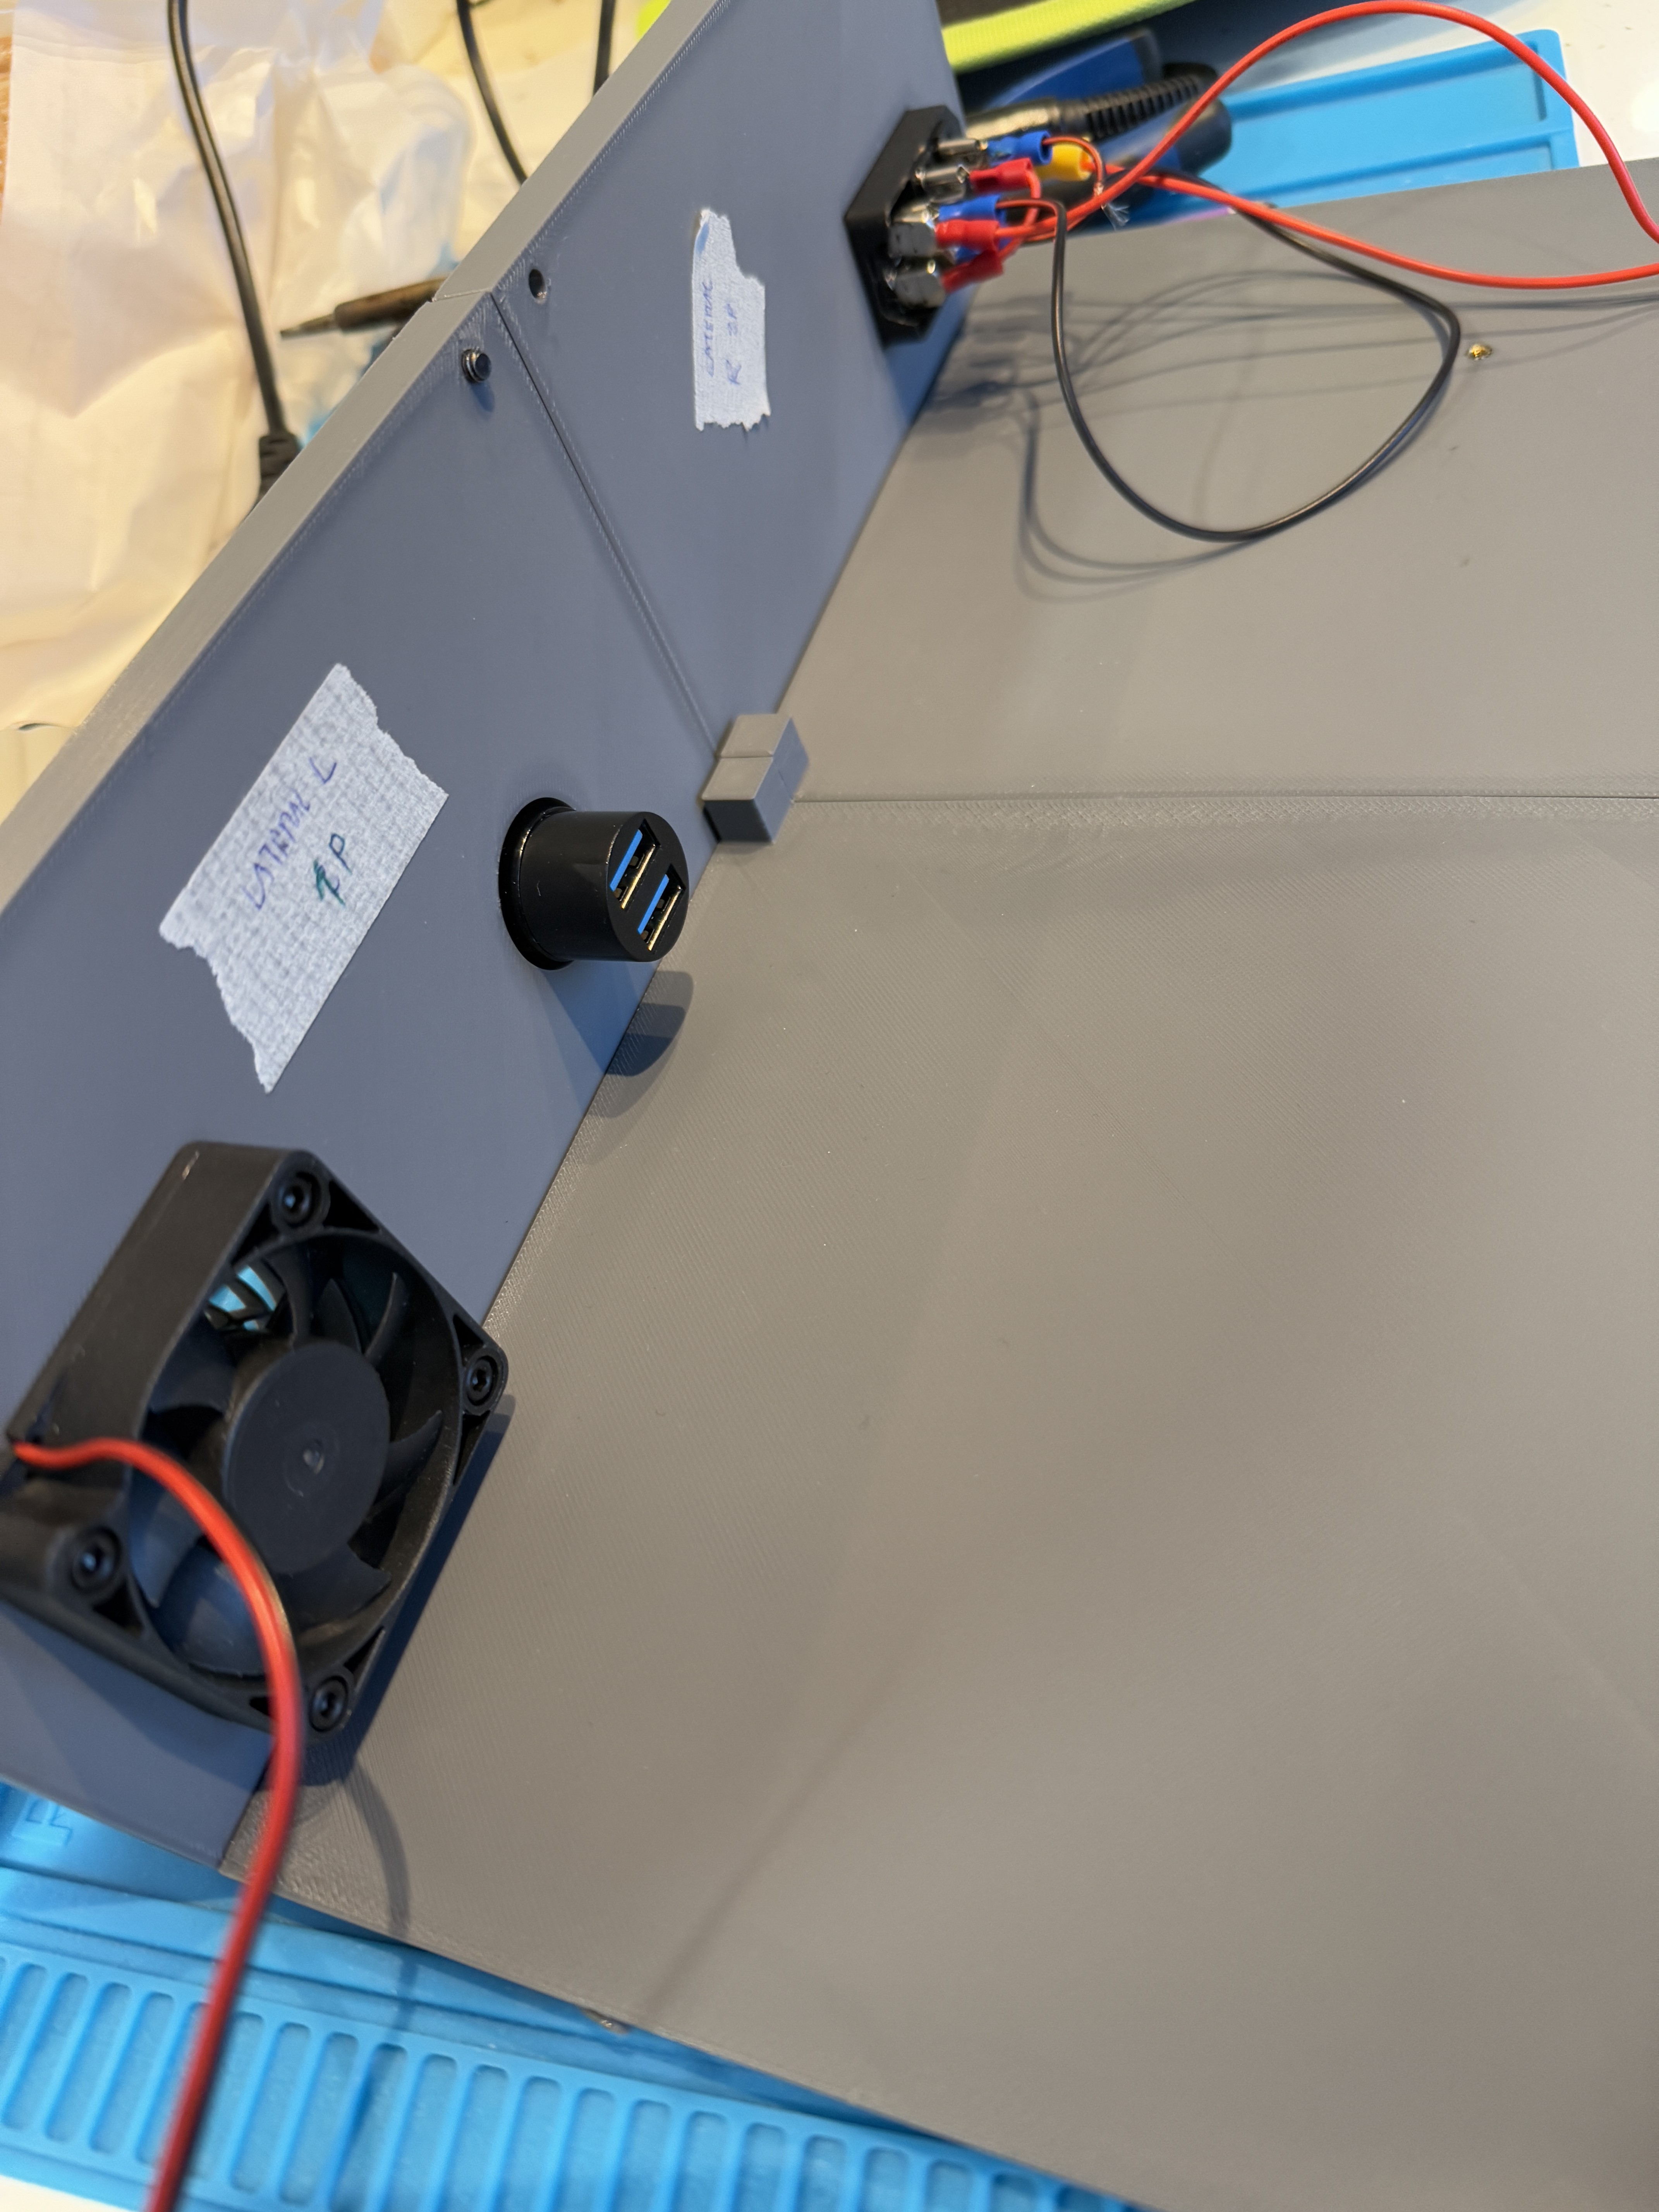
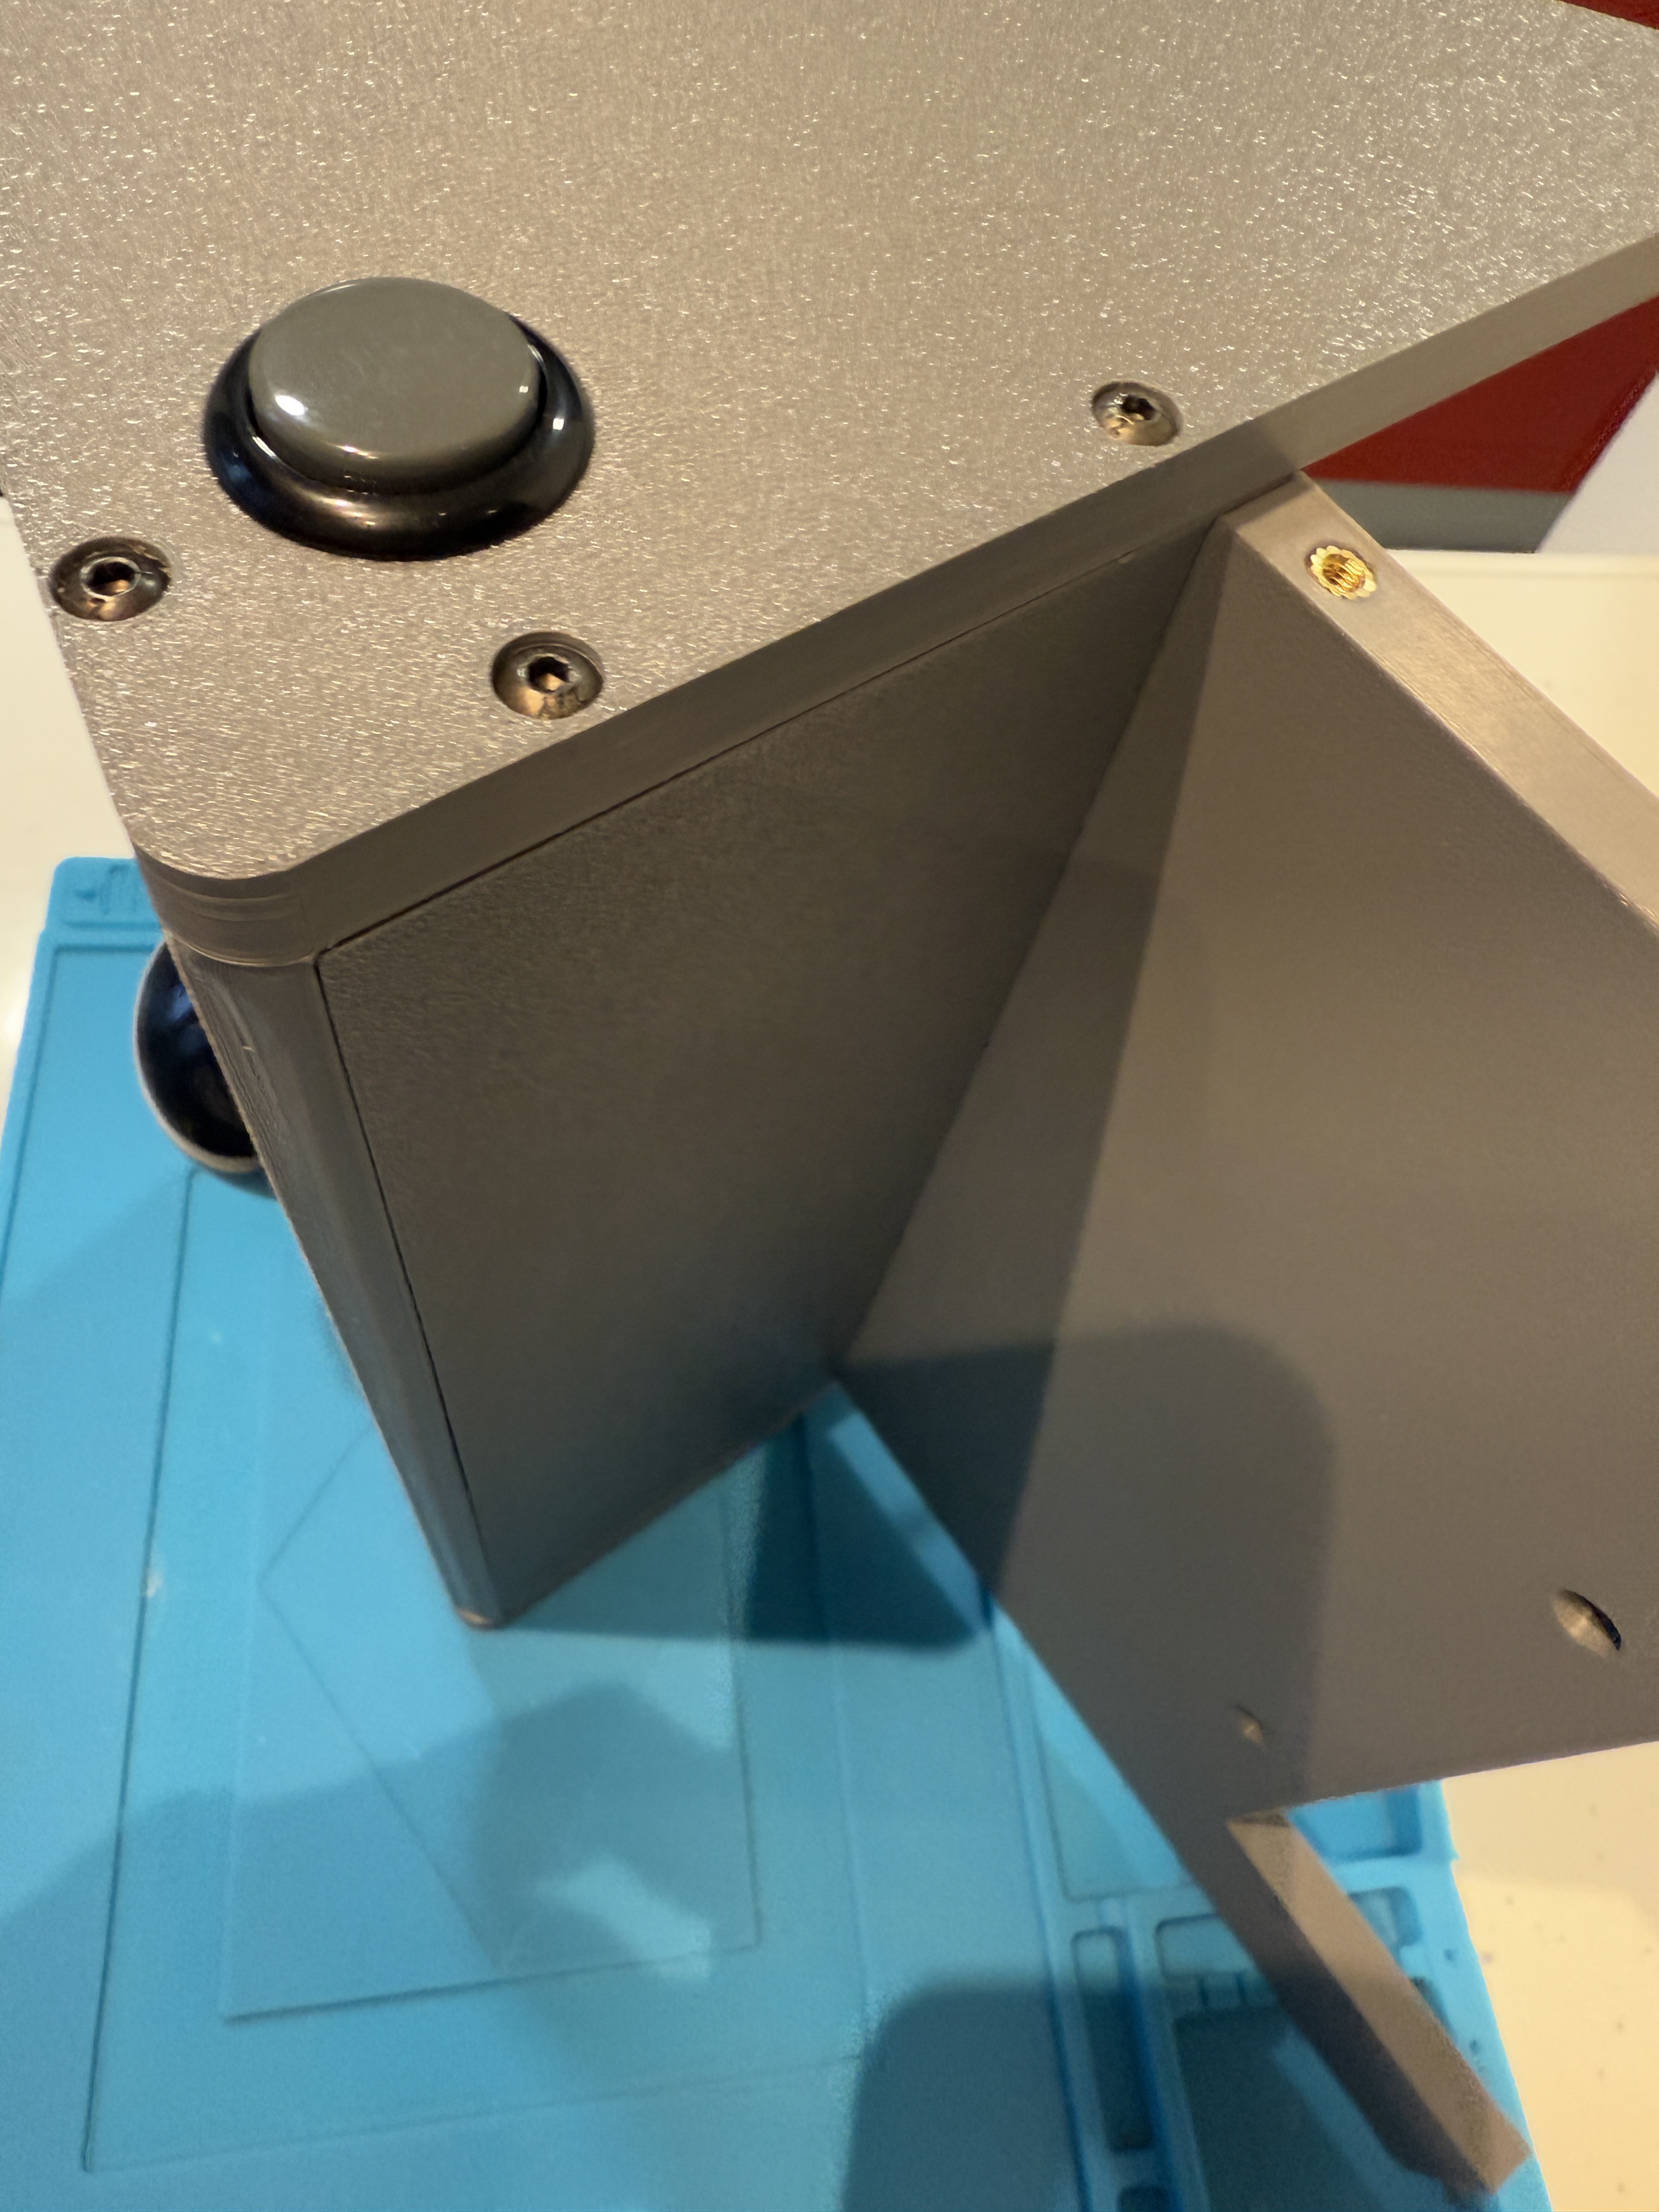
4Side Panel Assembly
For the assembly of the side panels onto the base, I recommend first installing the commercial components: fan, socket, USB...
I had difficulties screwing into the side panels, but I have redesigned them and added threading to make it easier. Tighten sufficiently to ensure both surfaces are properly overlapped.
![]()
![]()
![]()
![]()
![]()
-
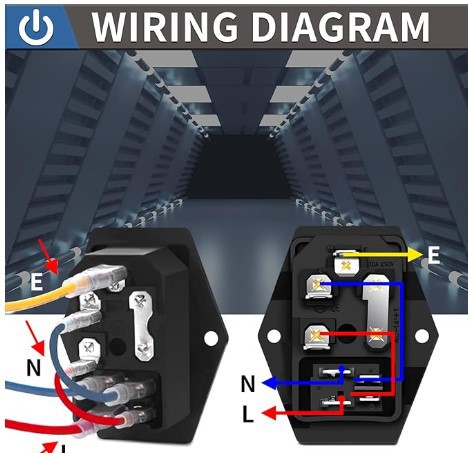
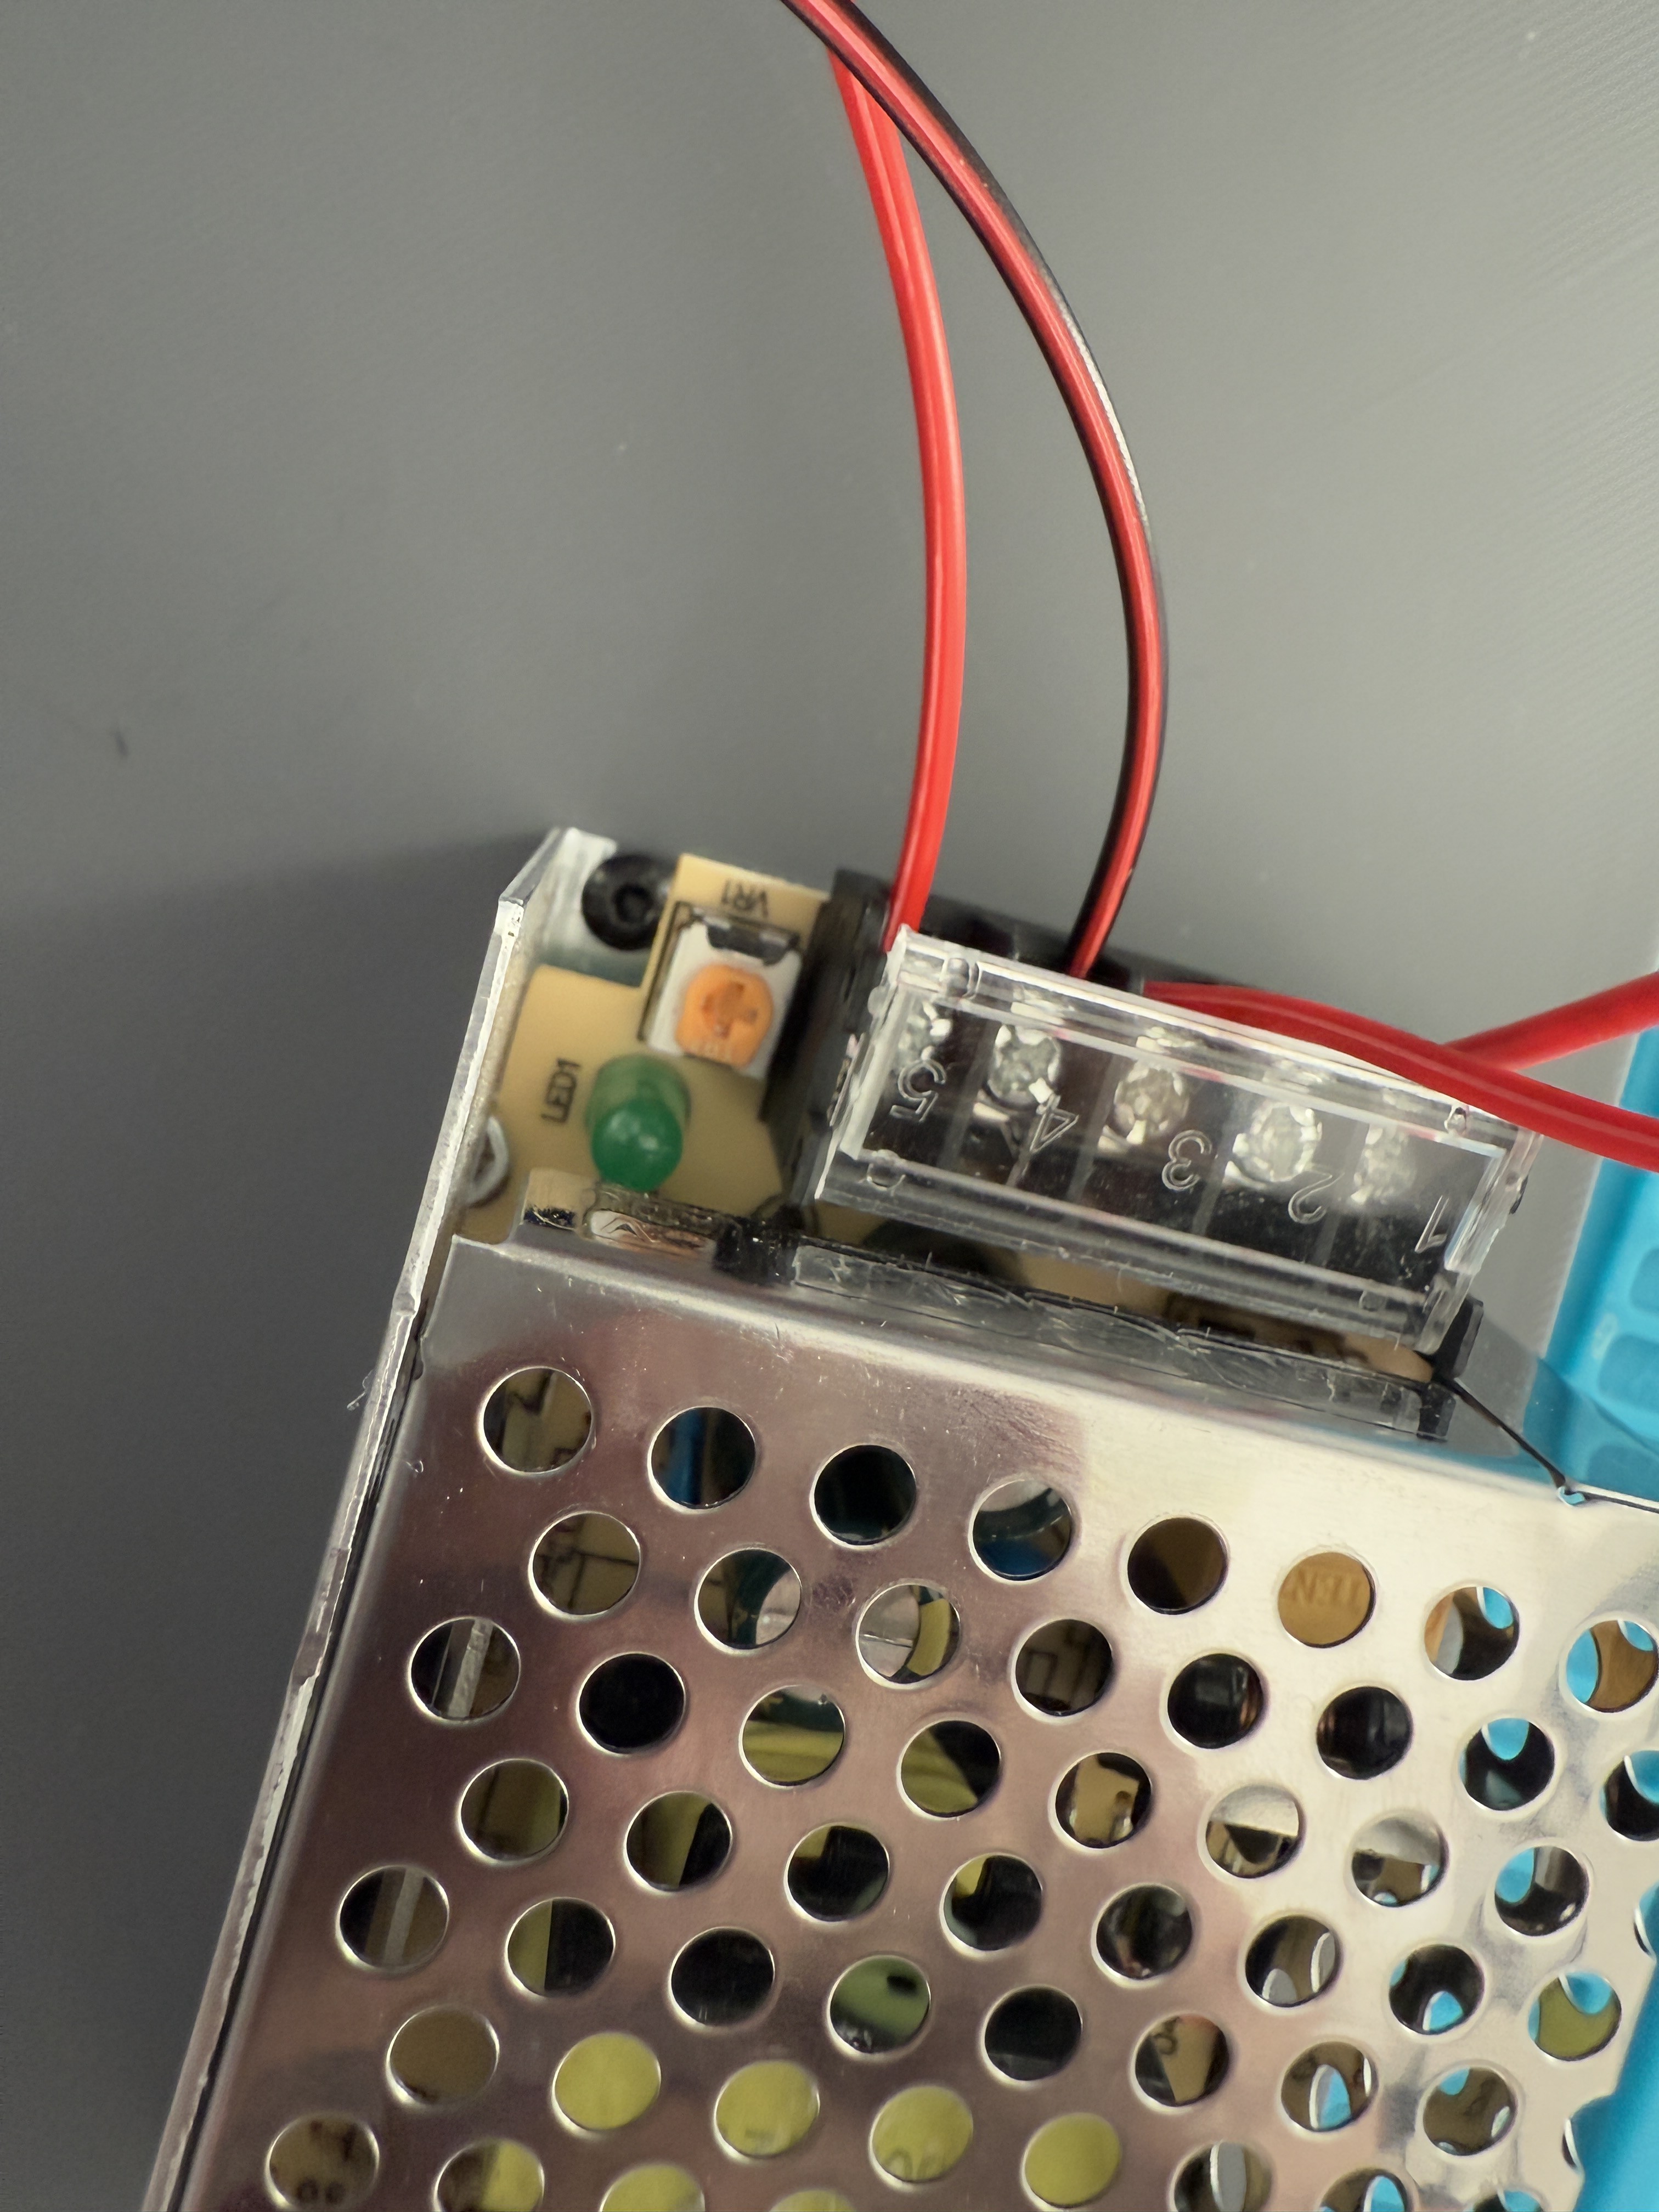
5Wiring of the Input Socket
The device has a fuse and specific wiring that must be followed to deliver AC power to the power supply.
![]()
![]()
-
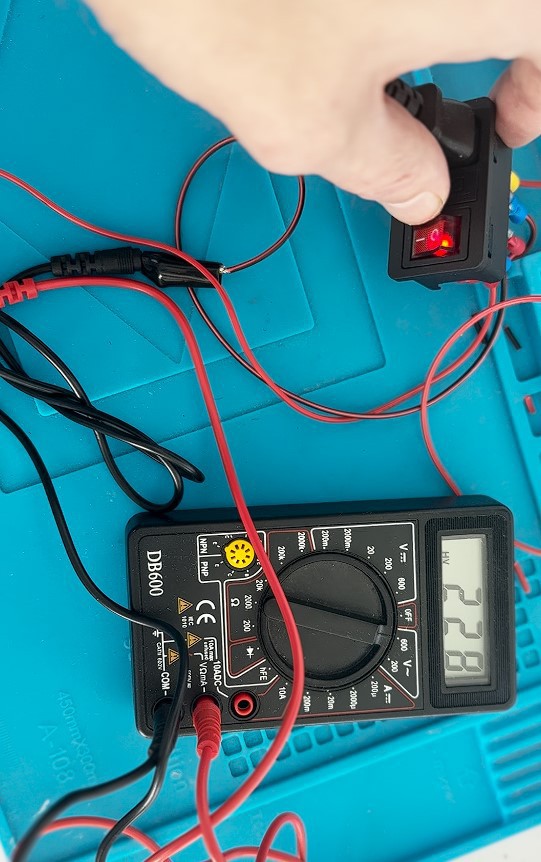
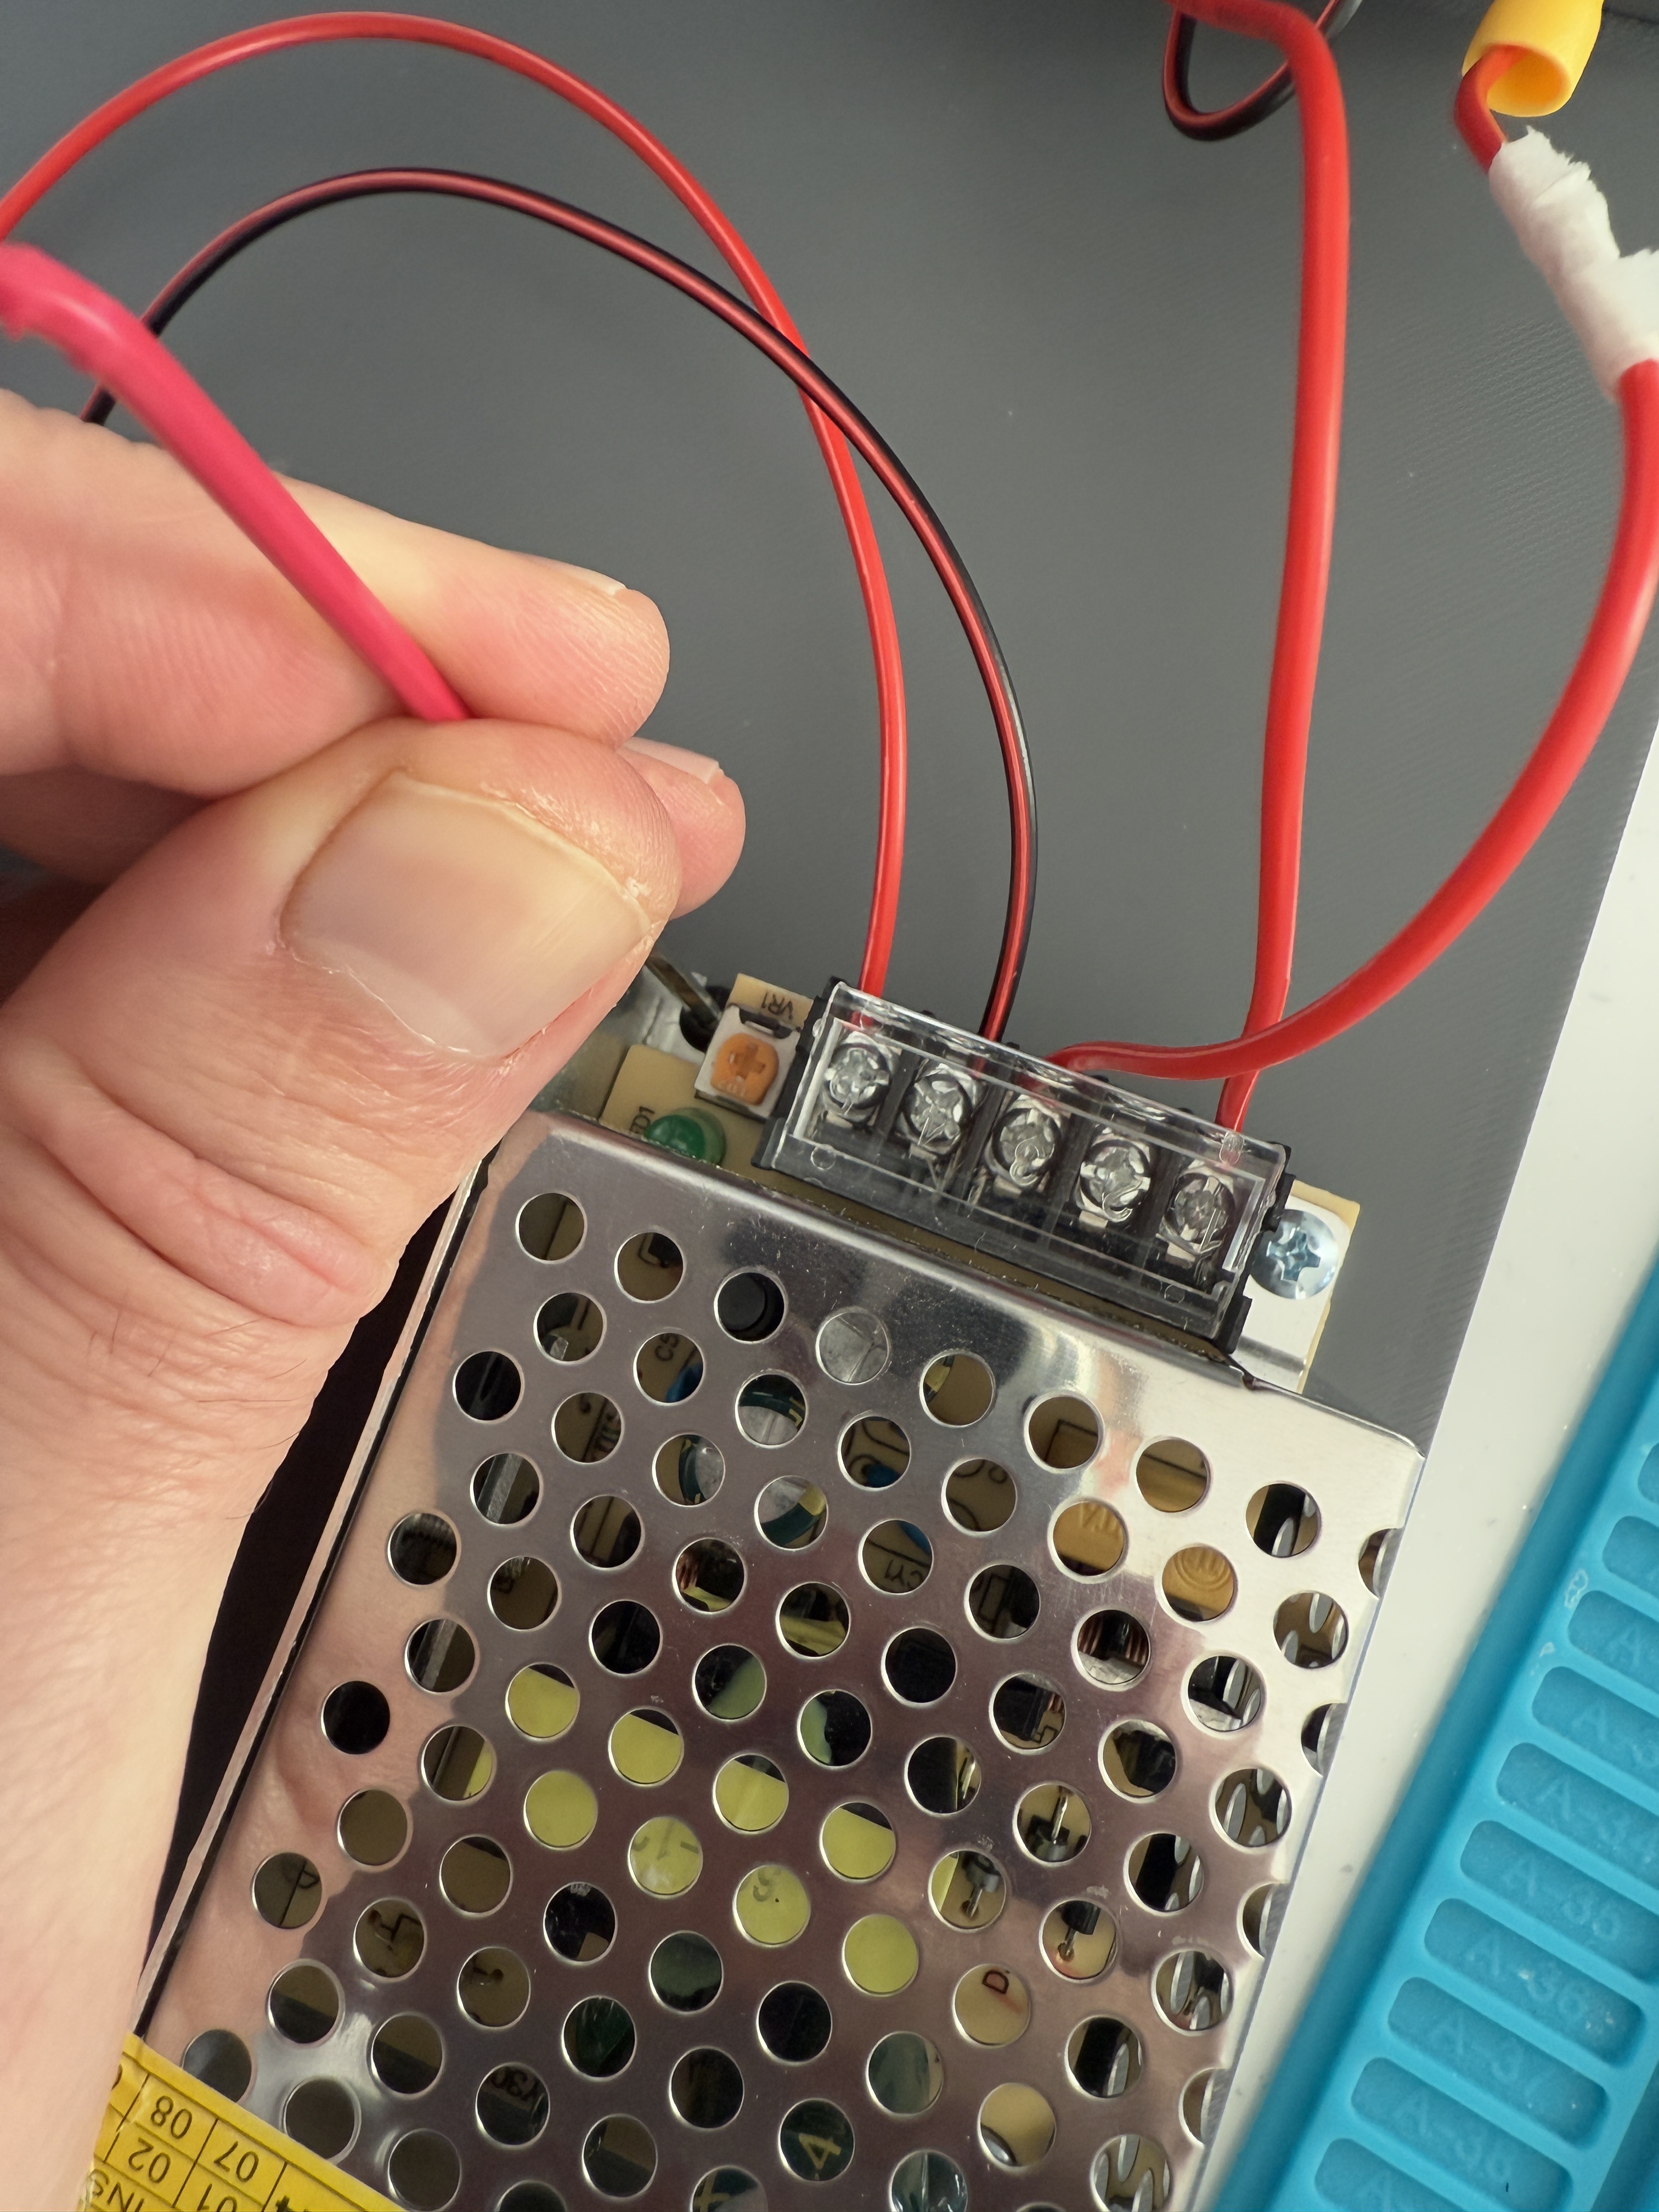
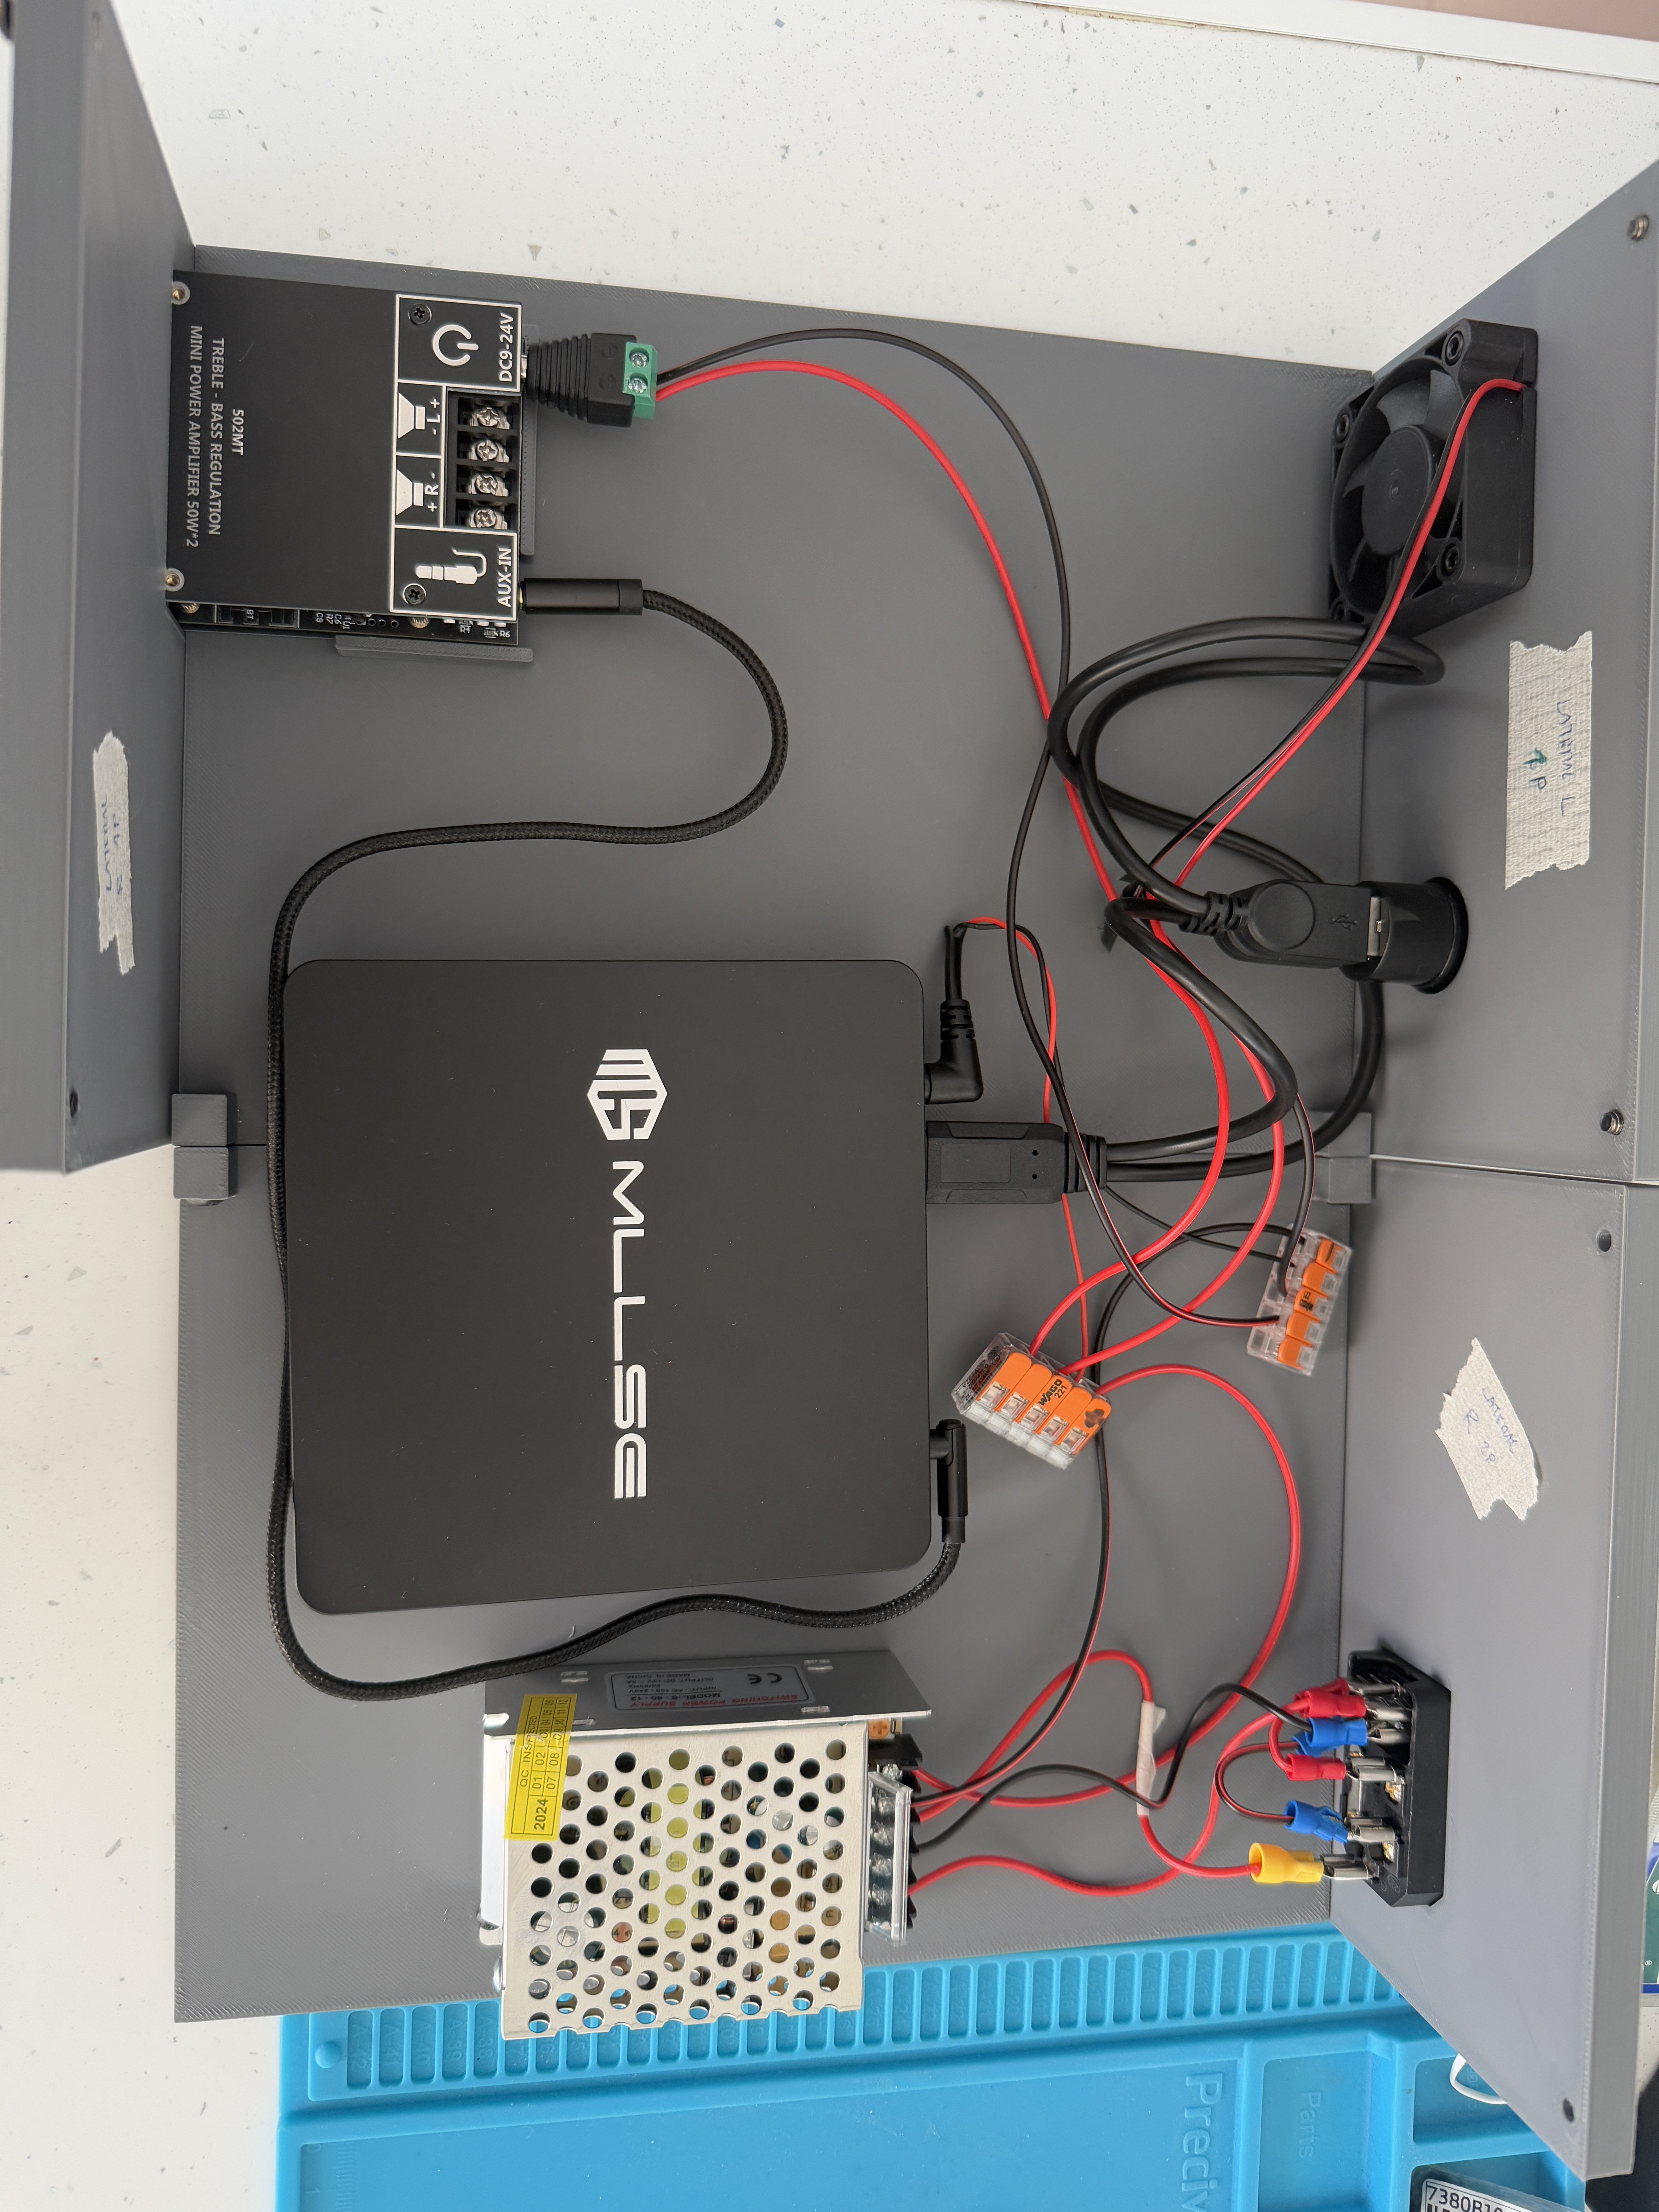
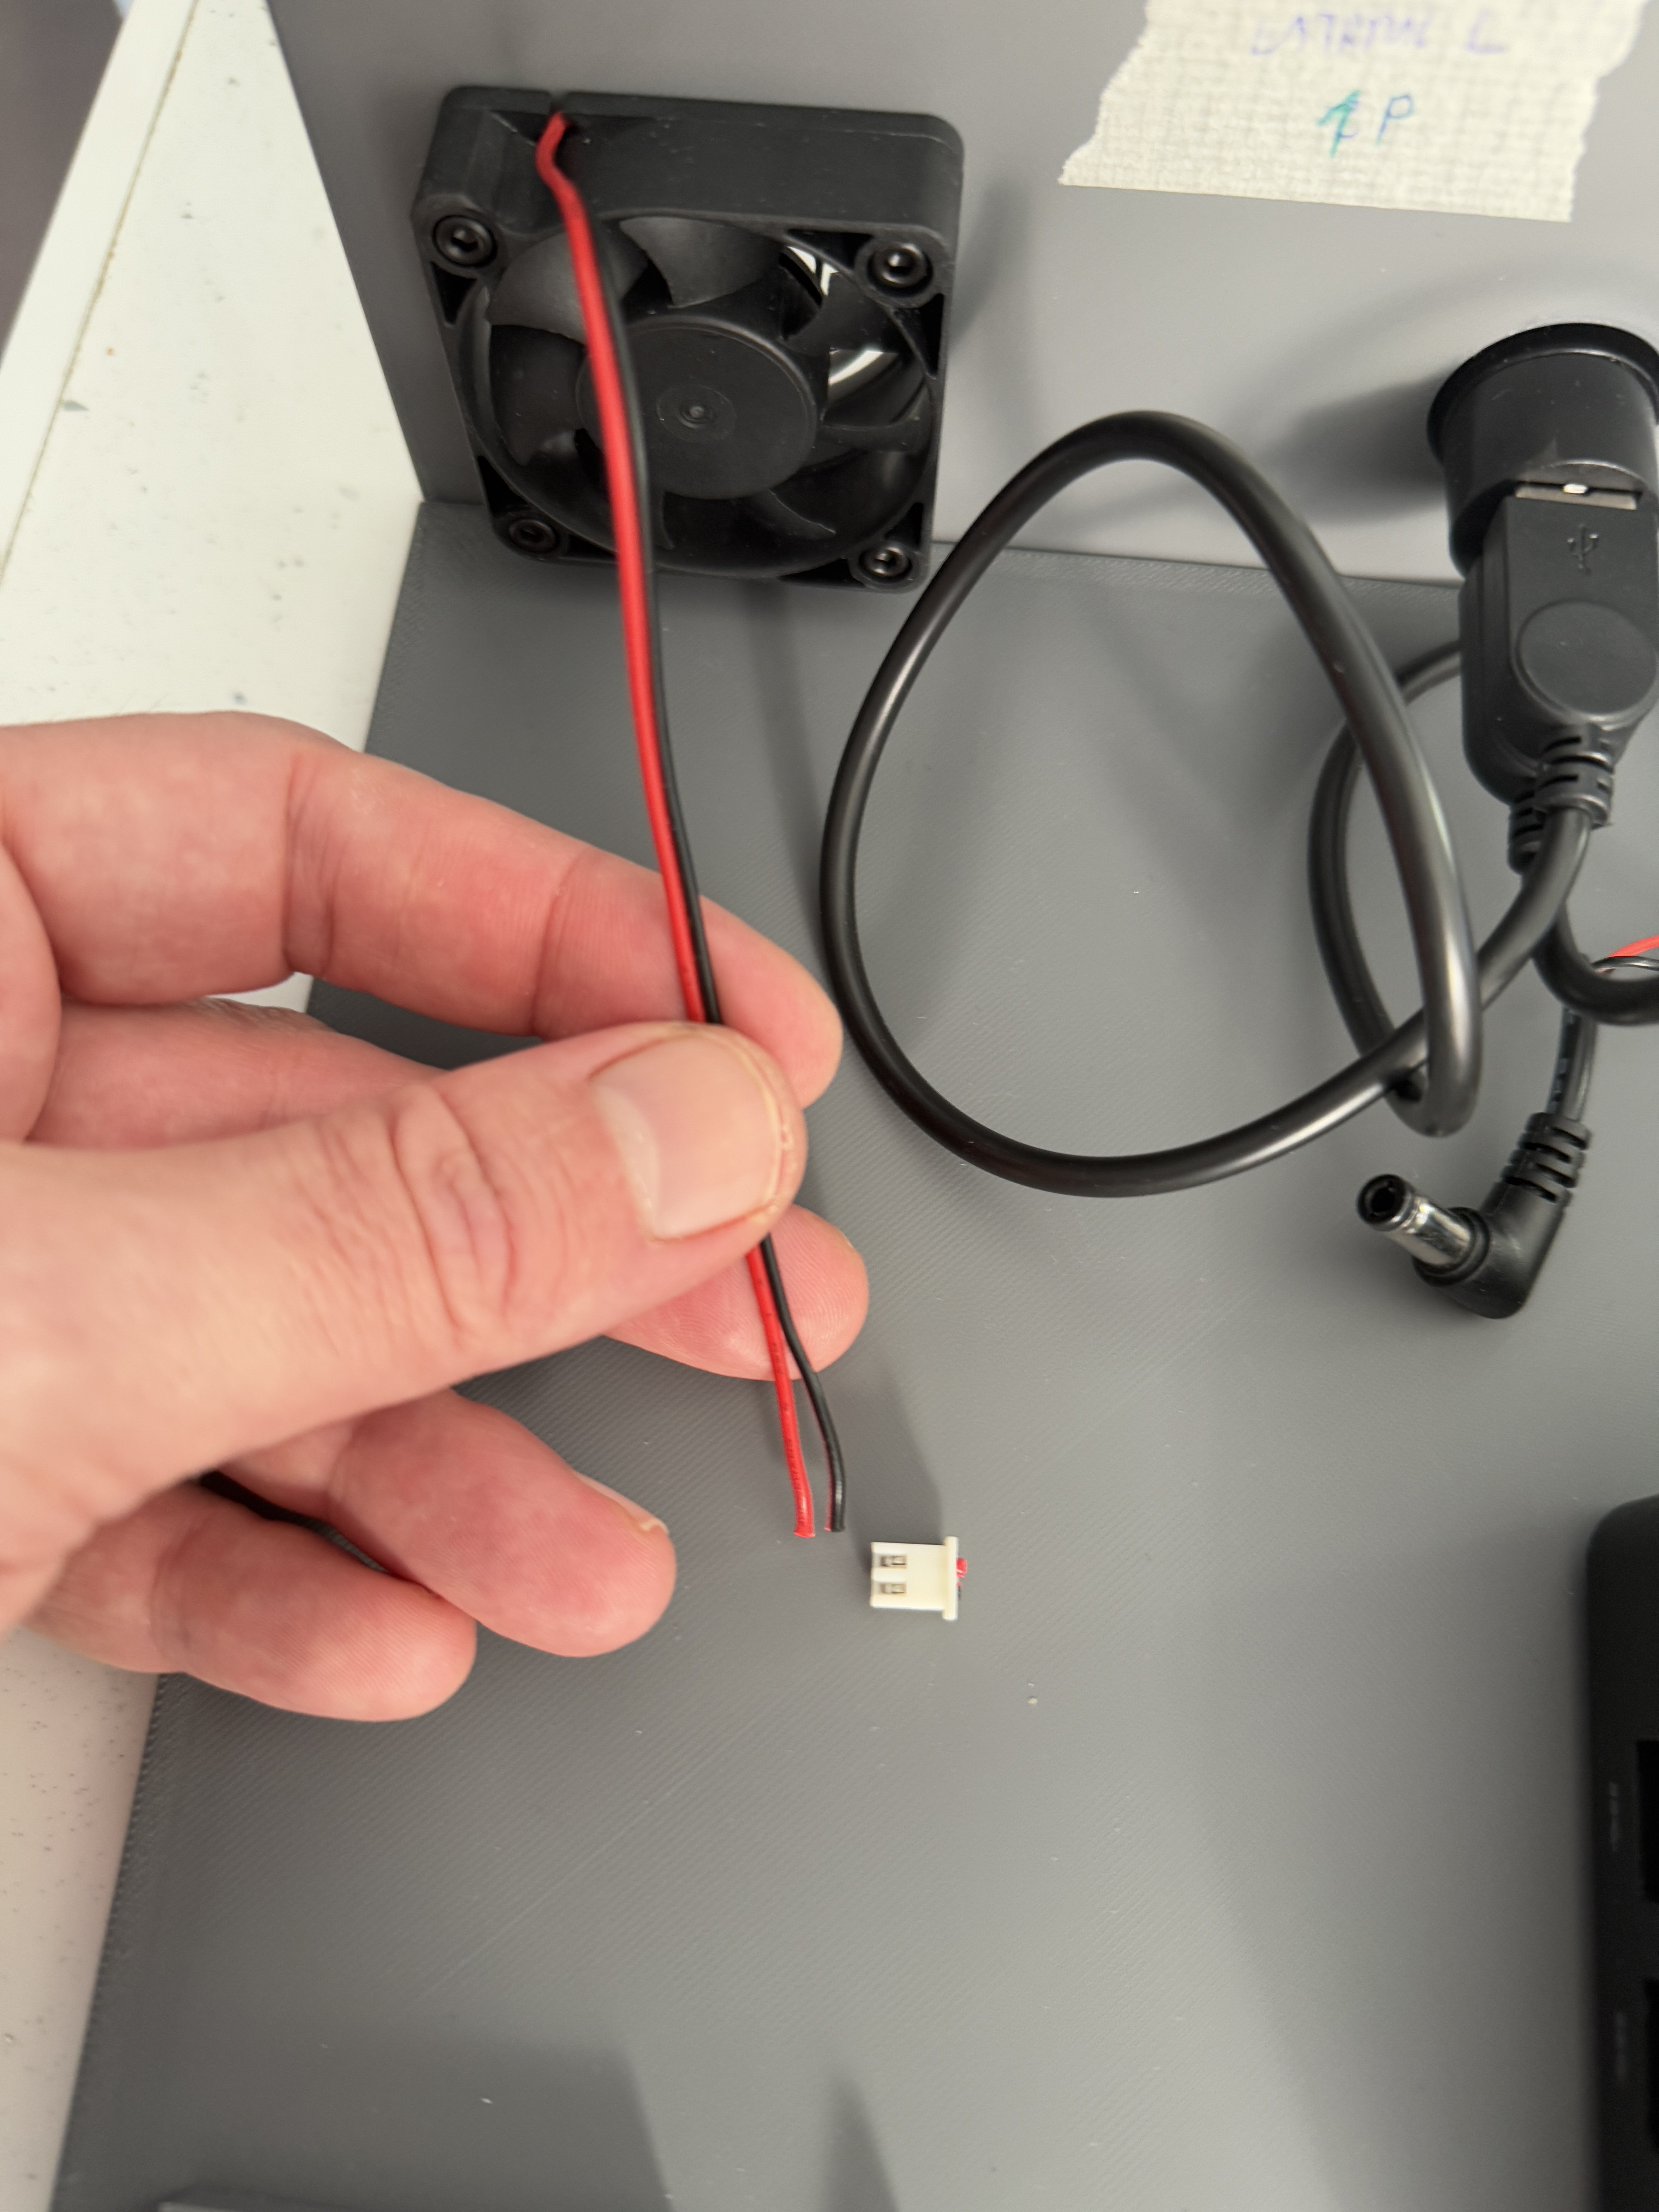
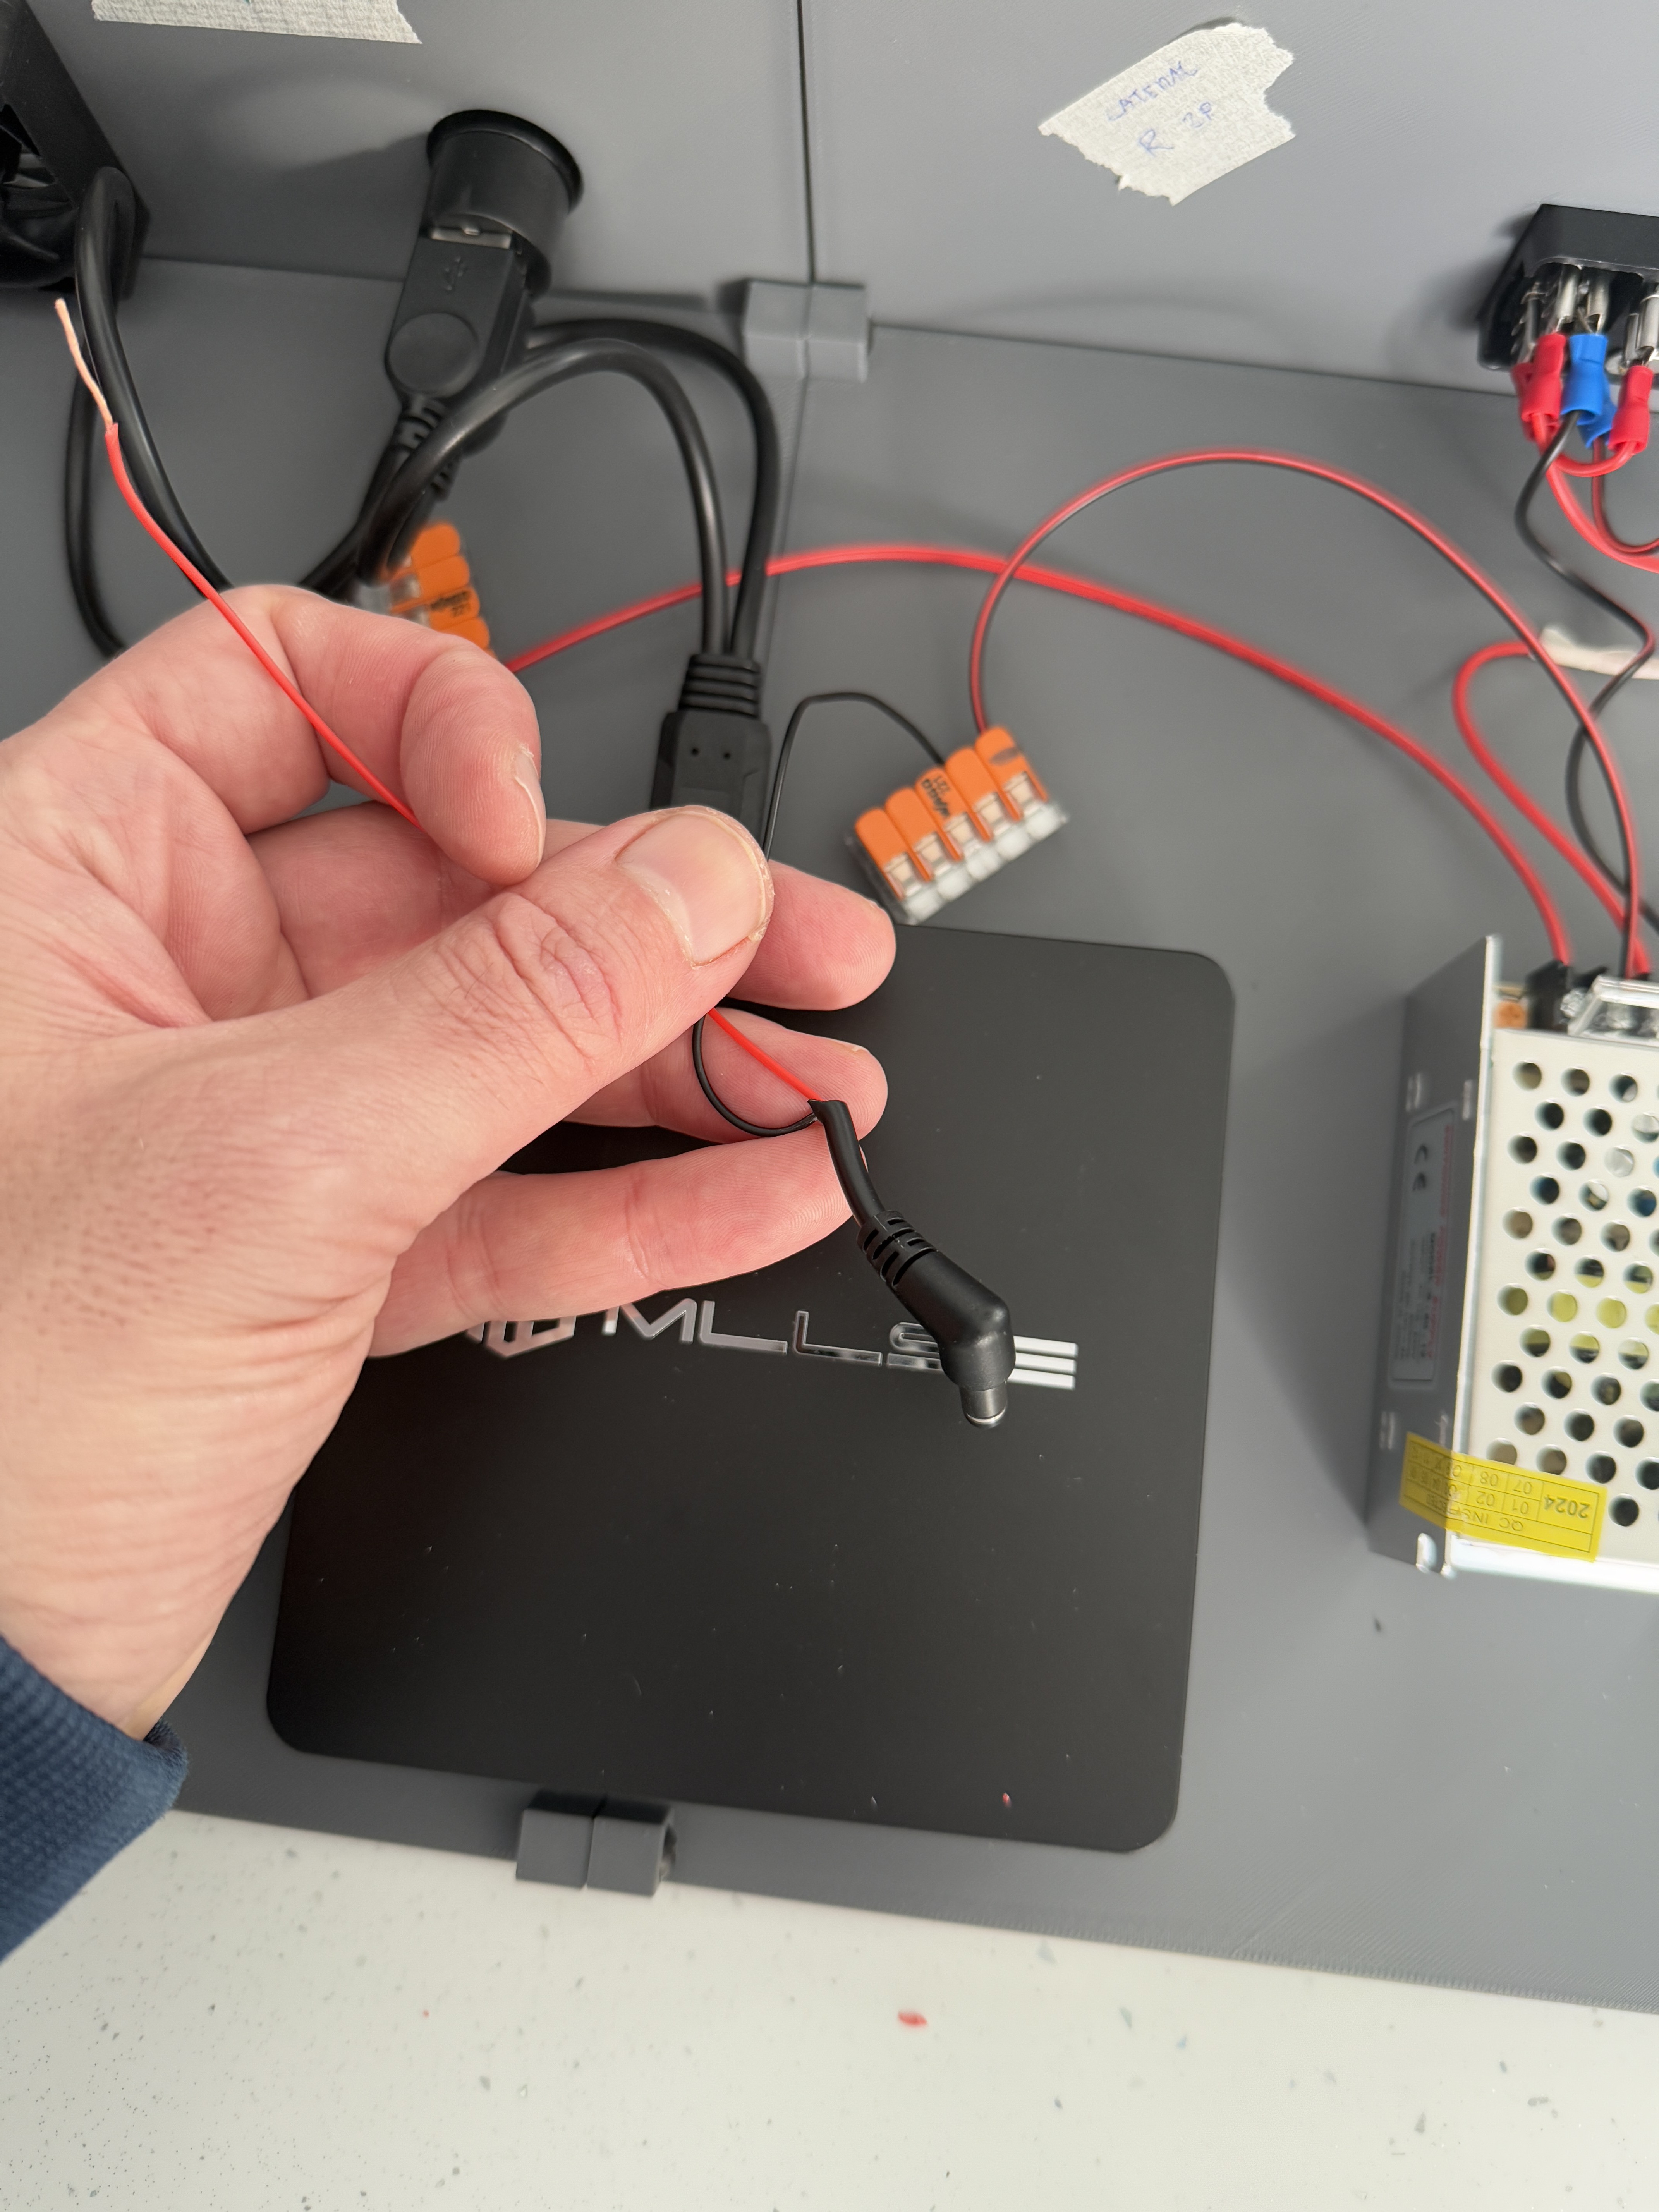
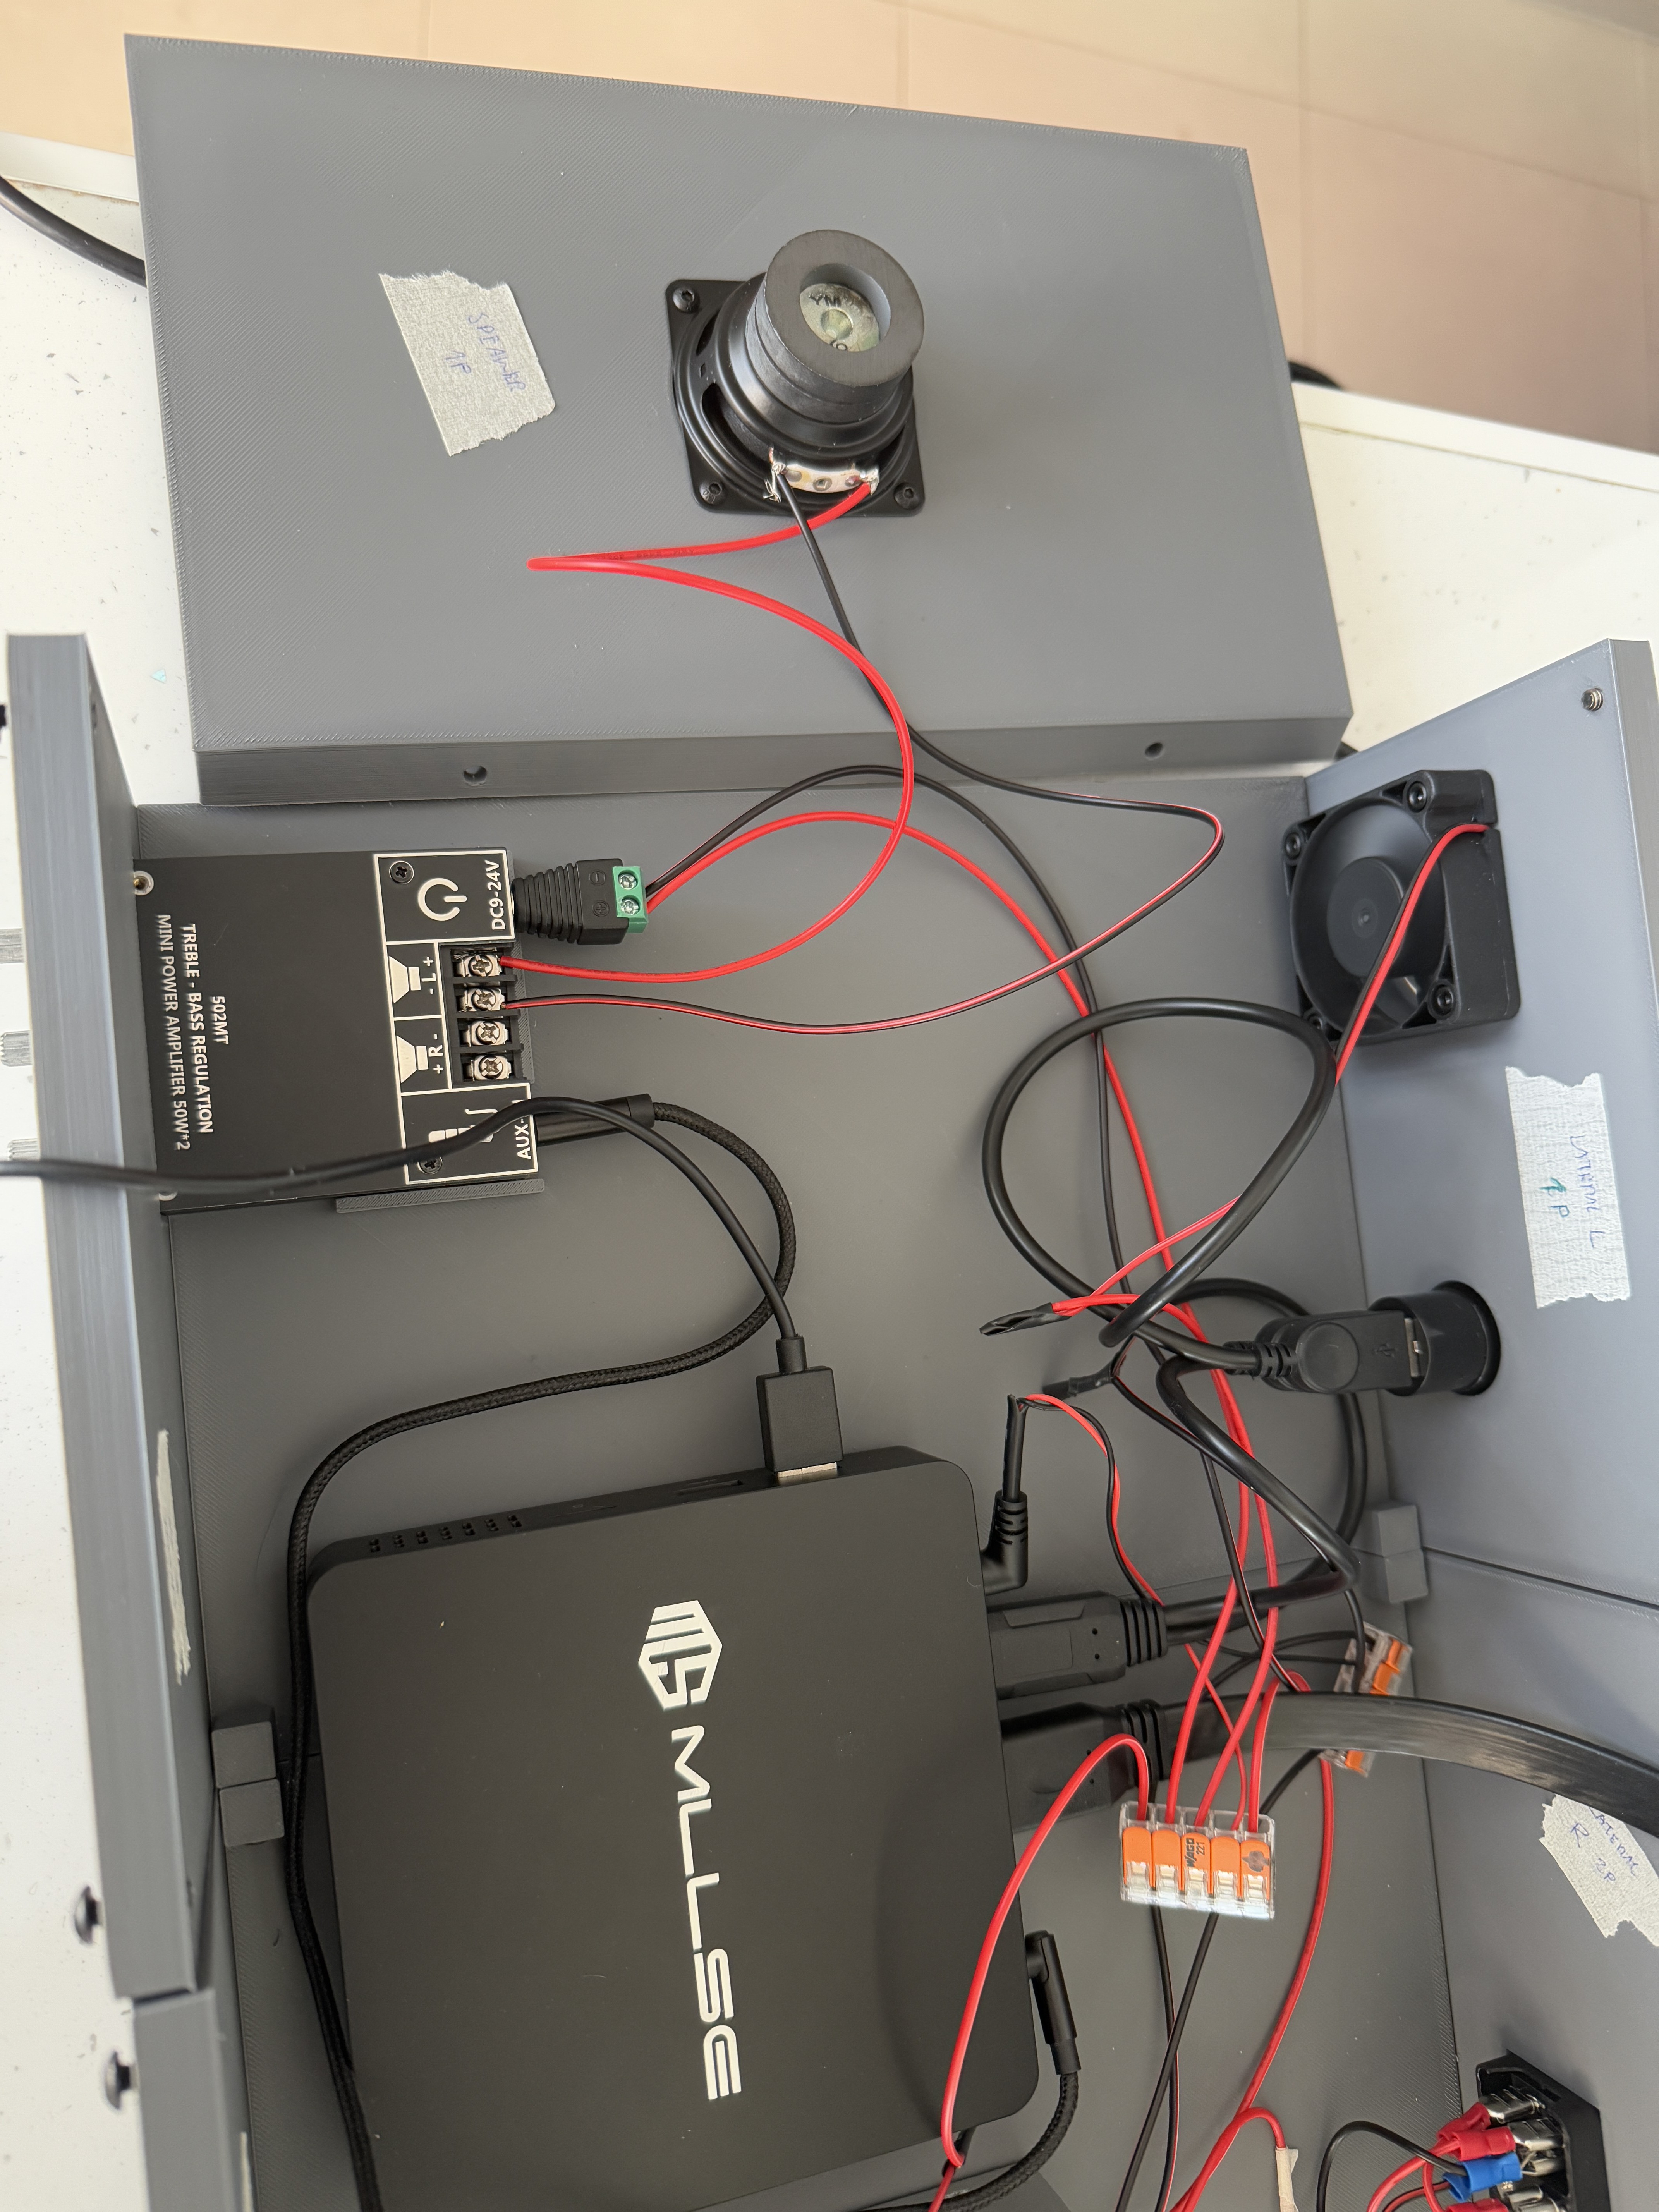
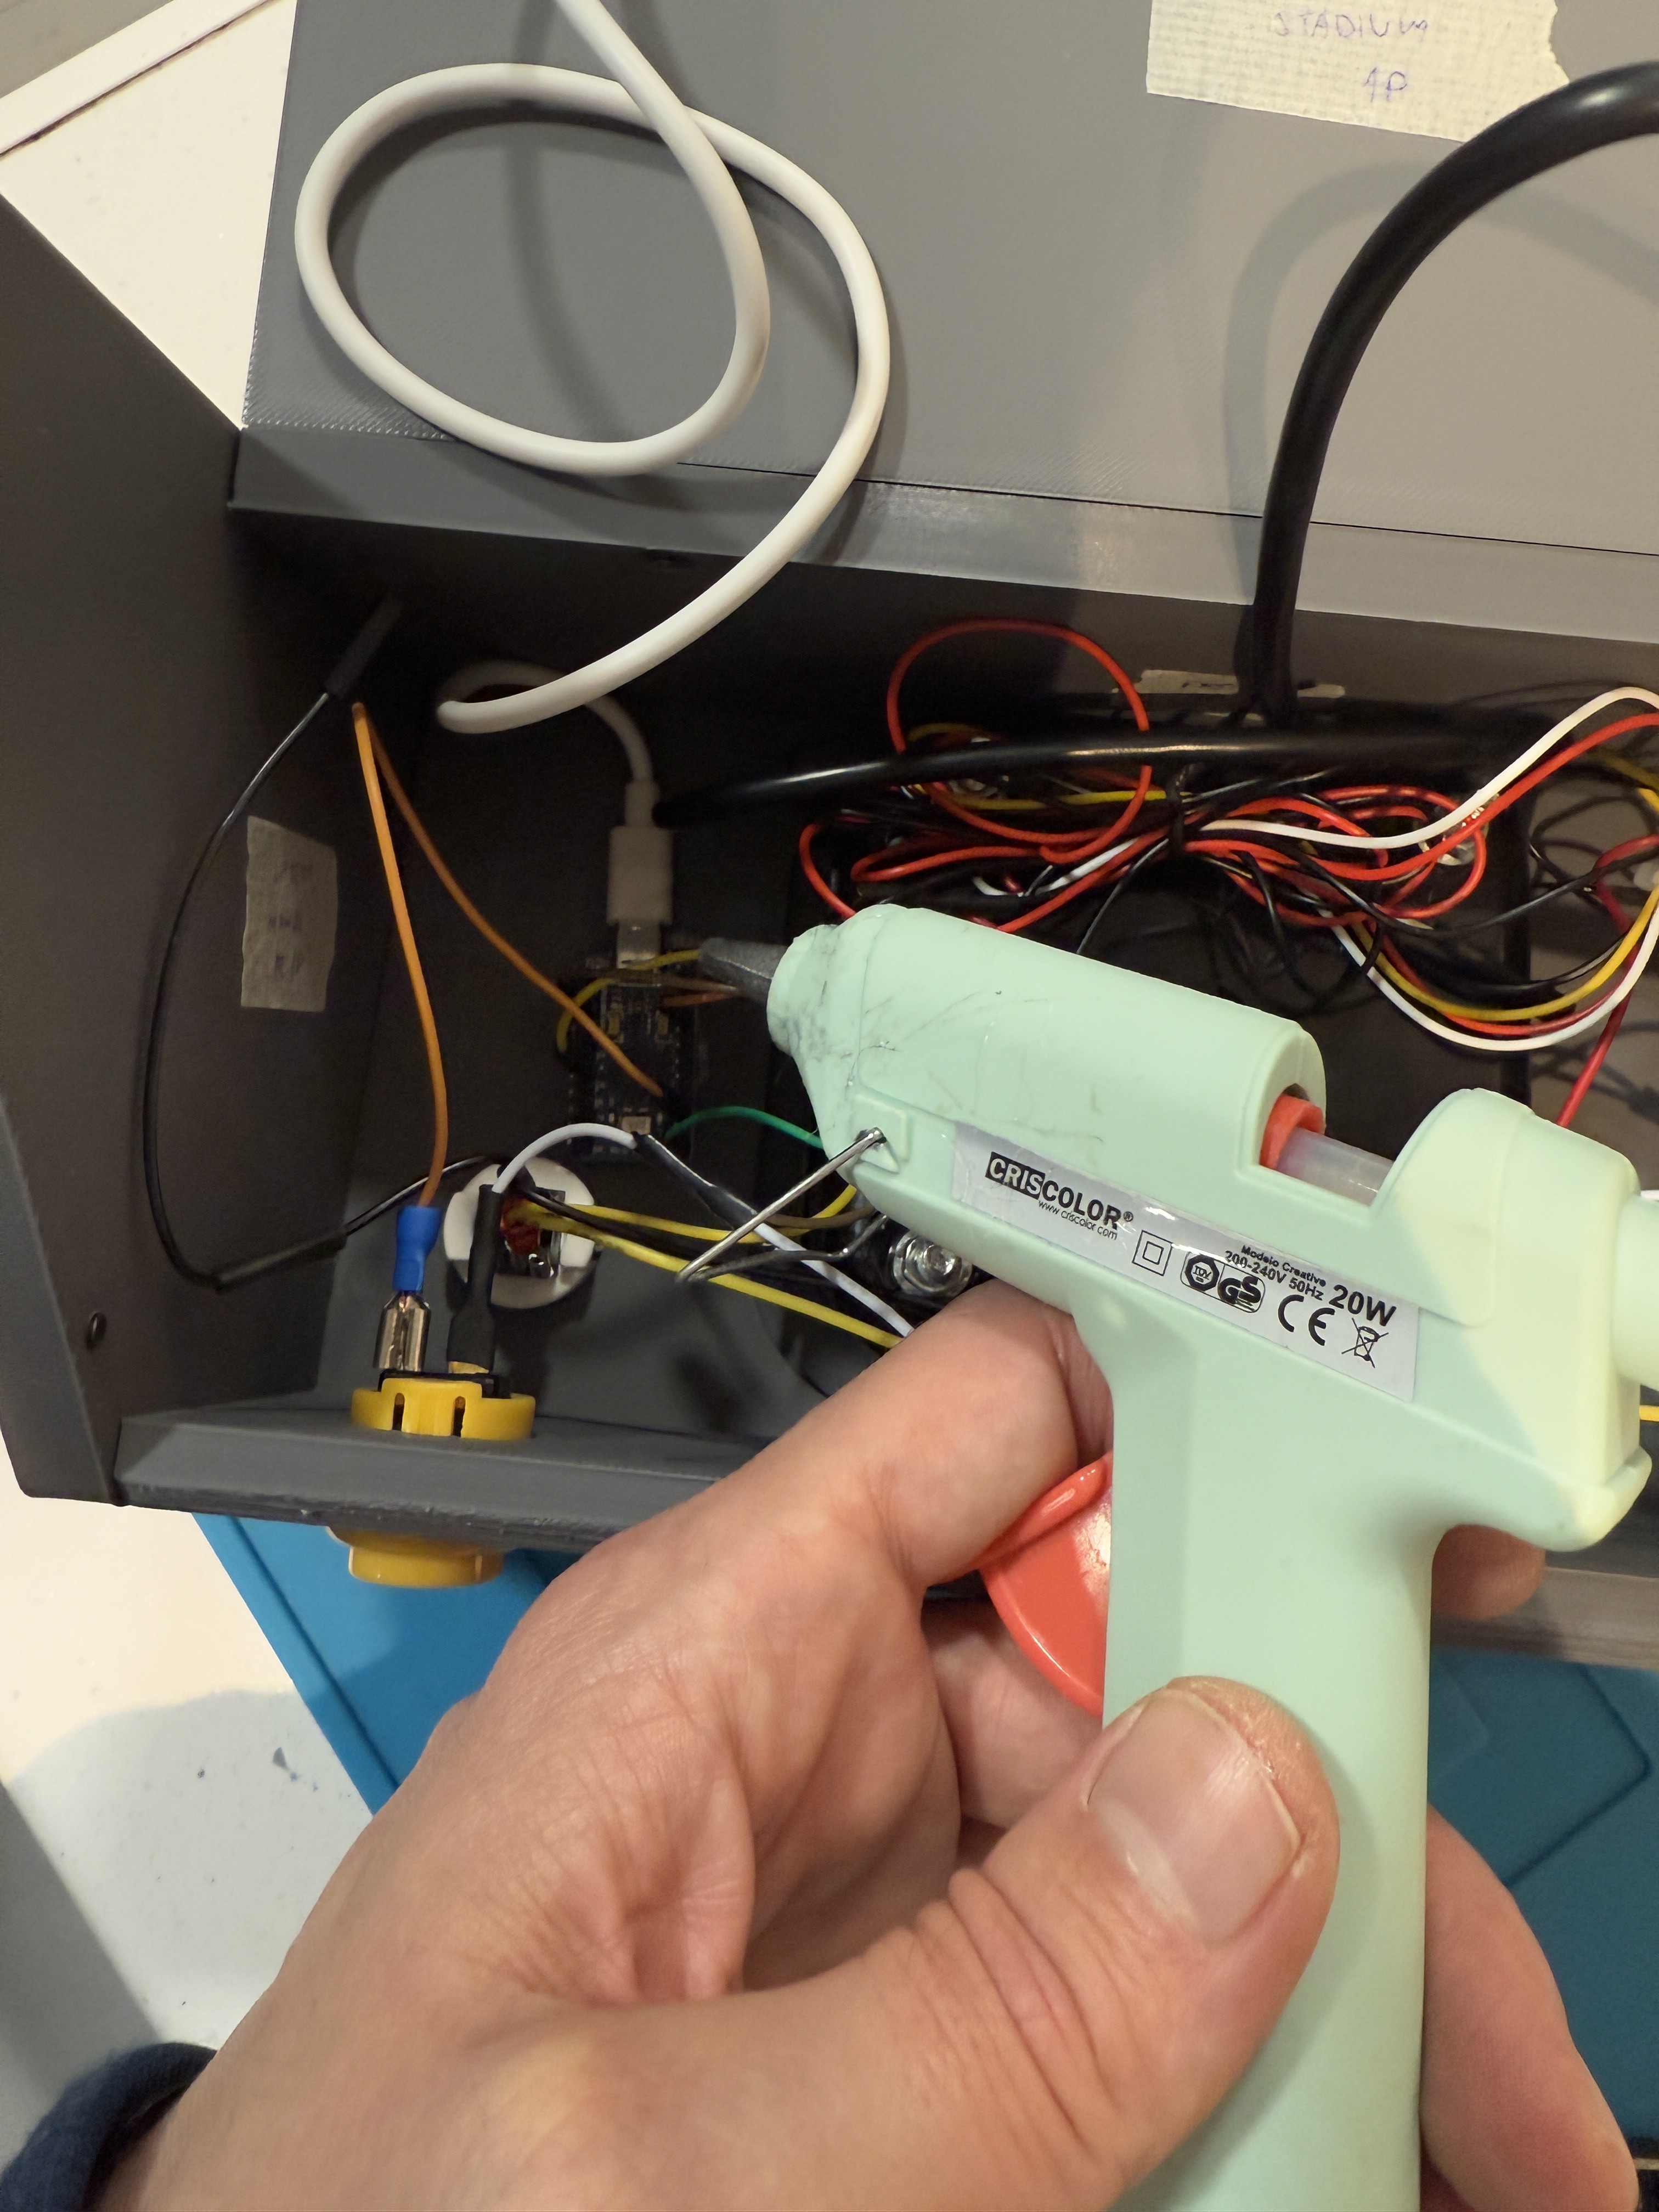
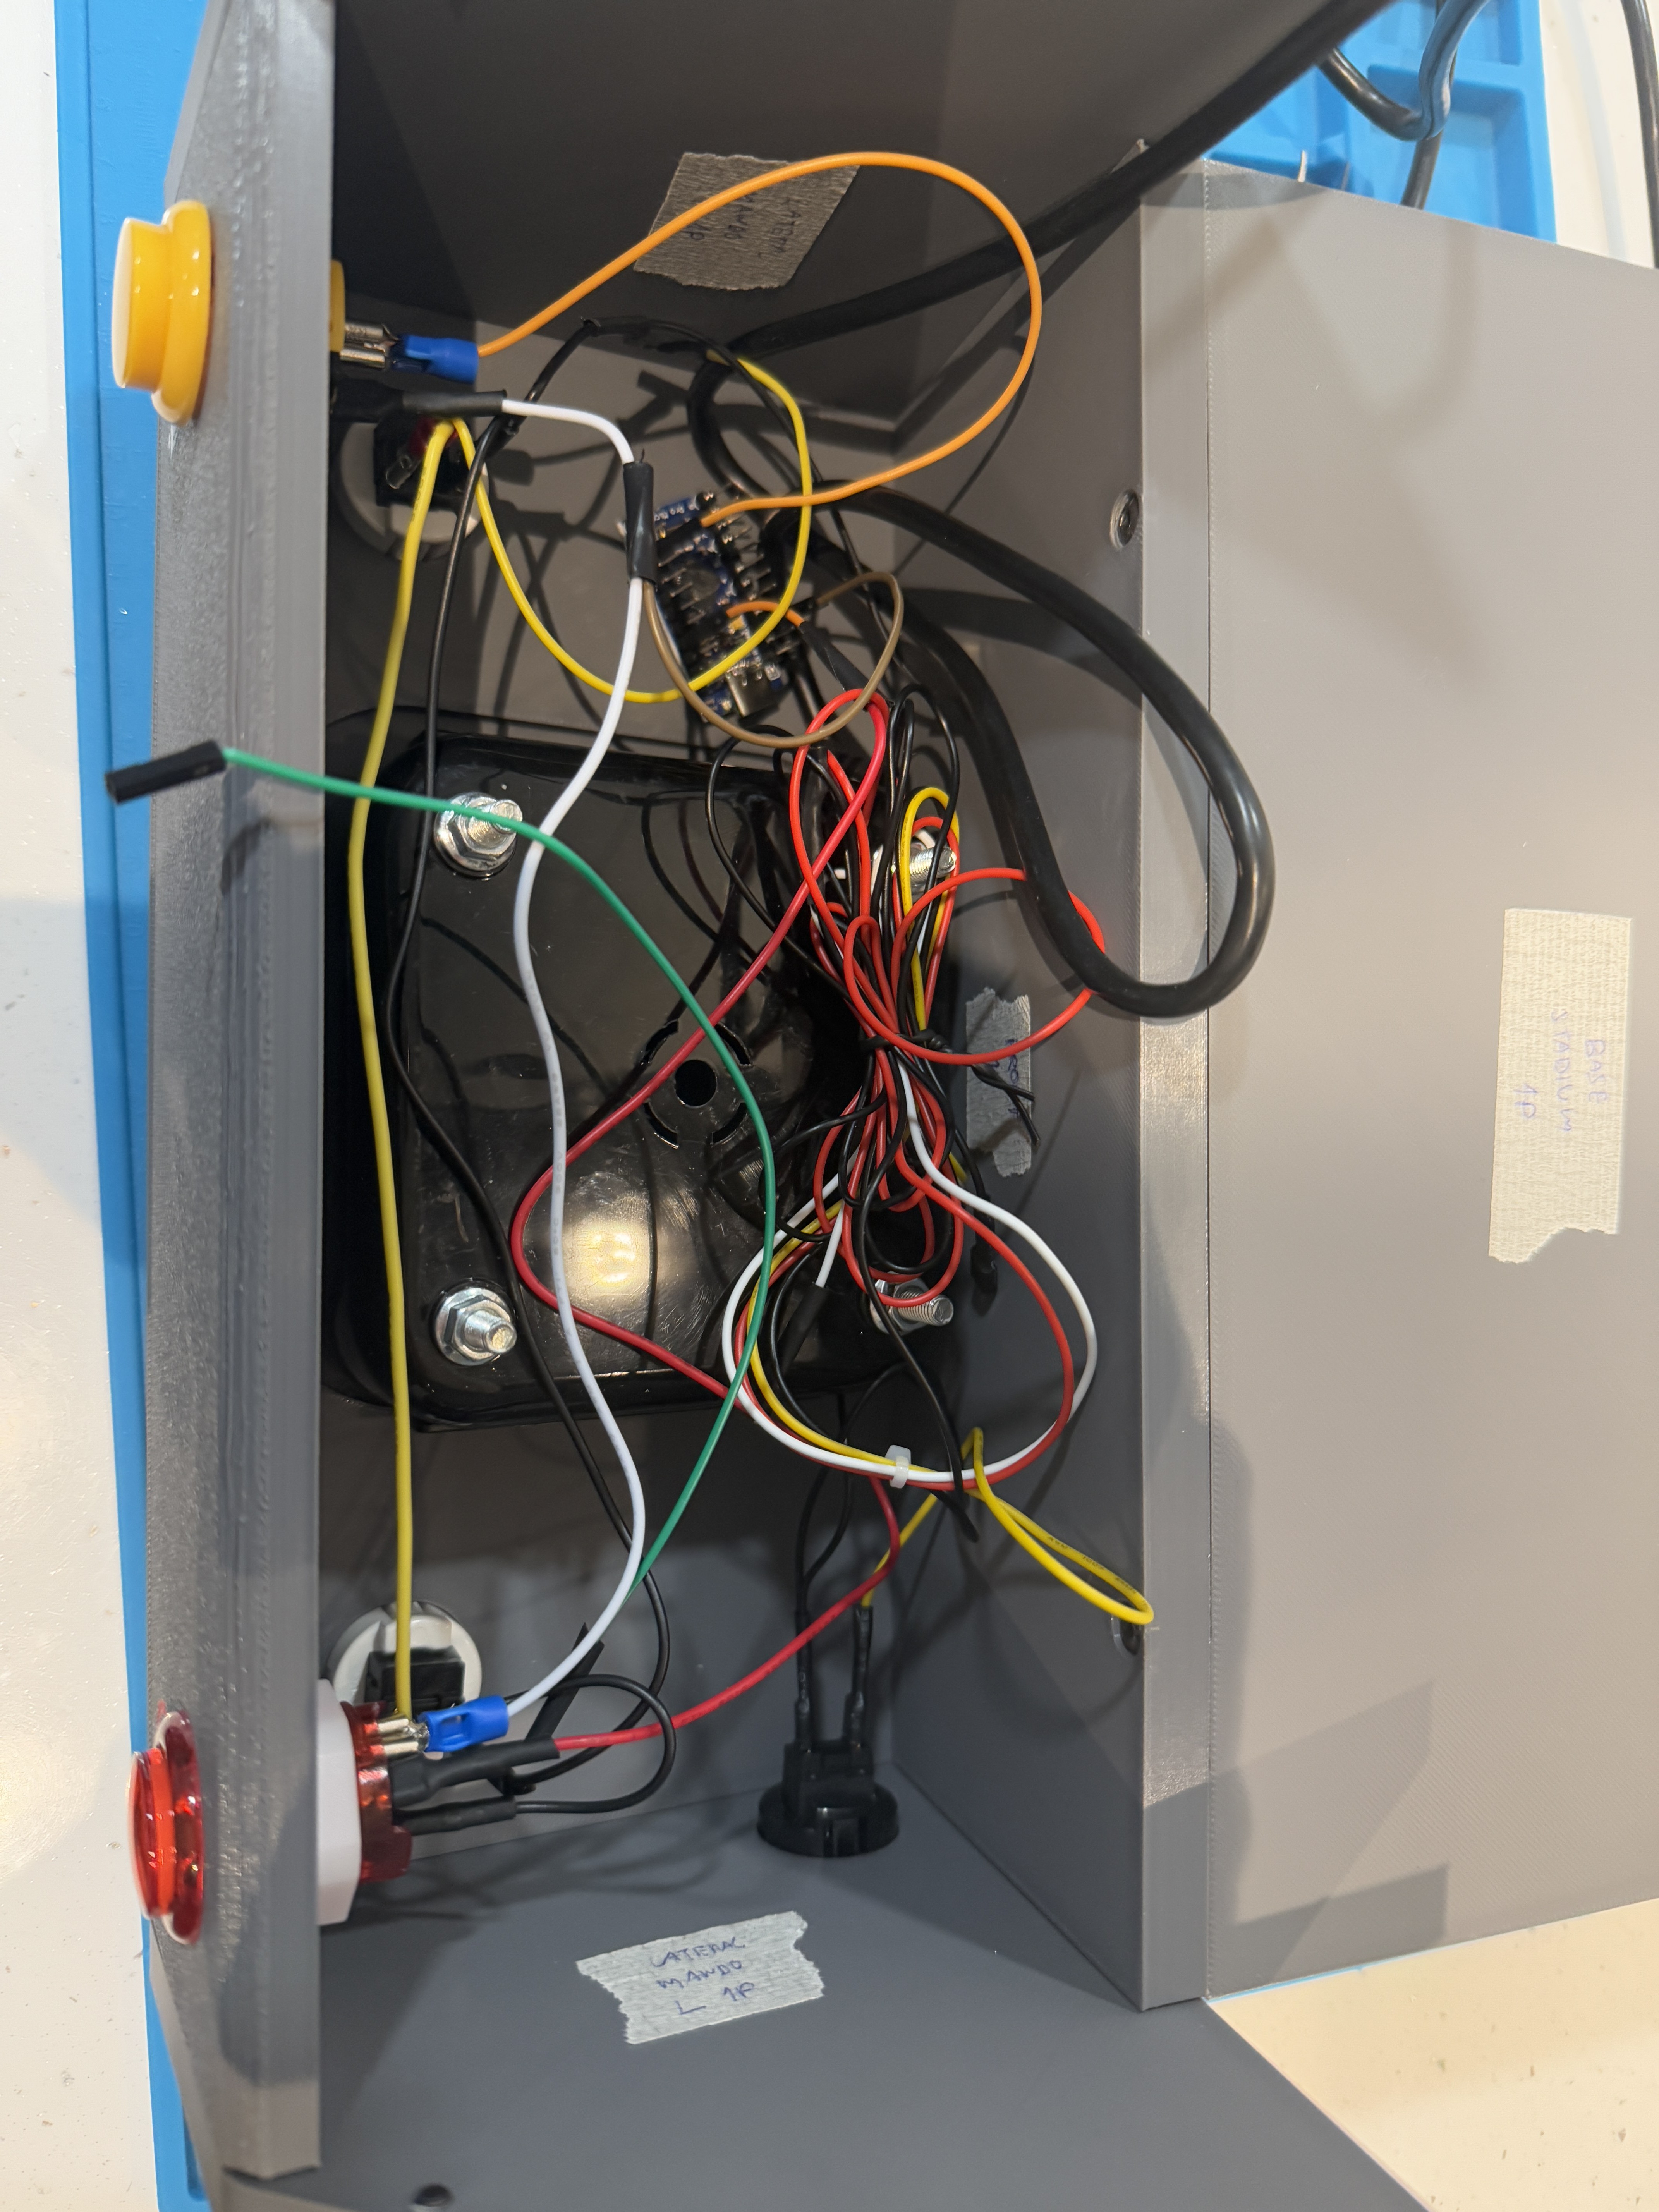
6Electrical Diagram
For the wiring of the entire project, I have created a simple sketch that streamlines this stage. It is very straightforward. For power, I am using a 12V, 5A power supply, which is sufficient to power the mini PC, sound amplifier, and fans. For the stadium lights and the screen, which require 5V, I am using the USB outputs of the mini PC directly to simplify the setup.
To make the connections between wires, I have used devices that clamp the wires together and establish an electrical connection.
![]()
![]()
![]()
![]()
![]()
![]()
![]()
![]()
![]()
![]()
![]()
-
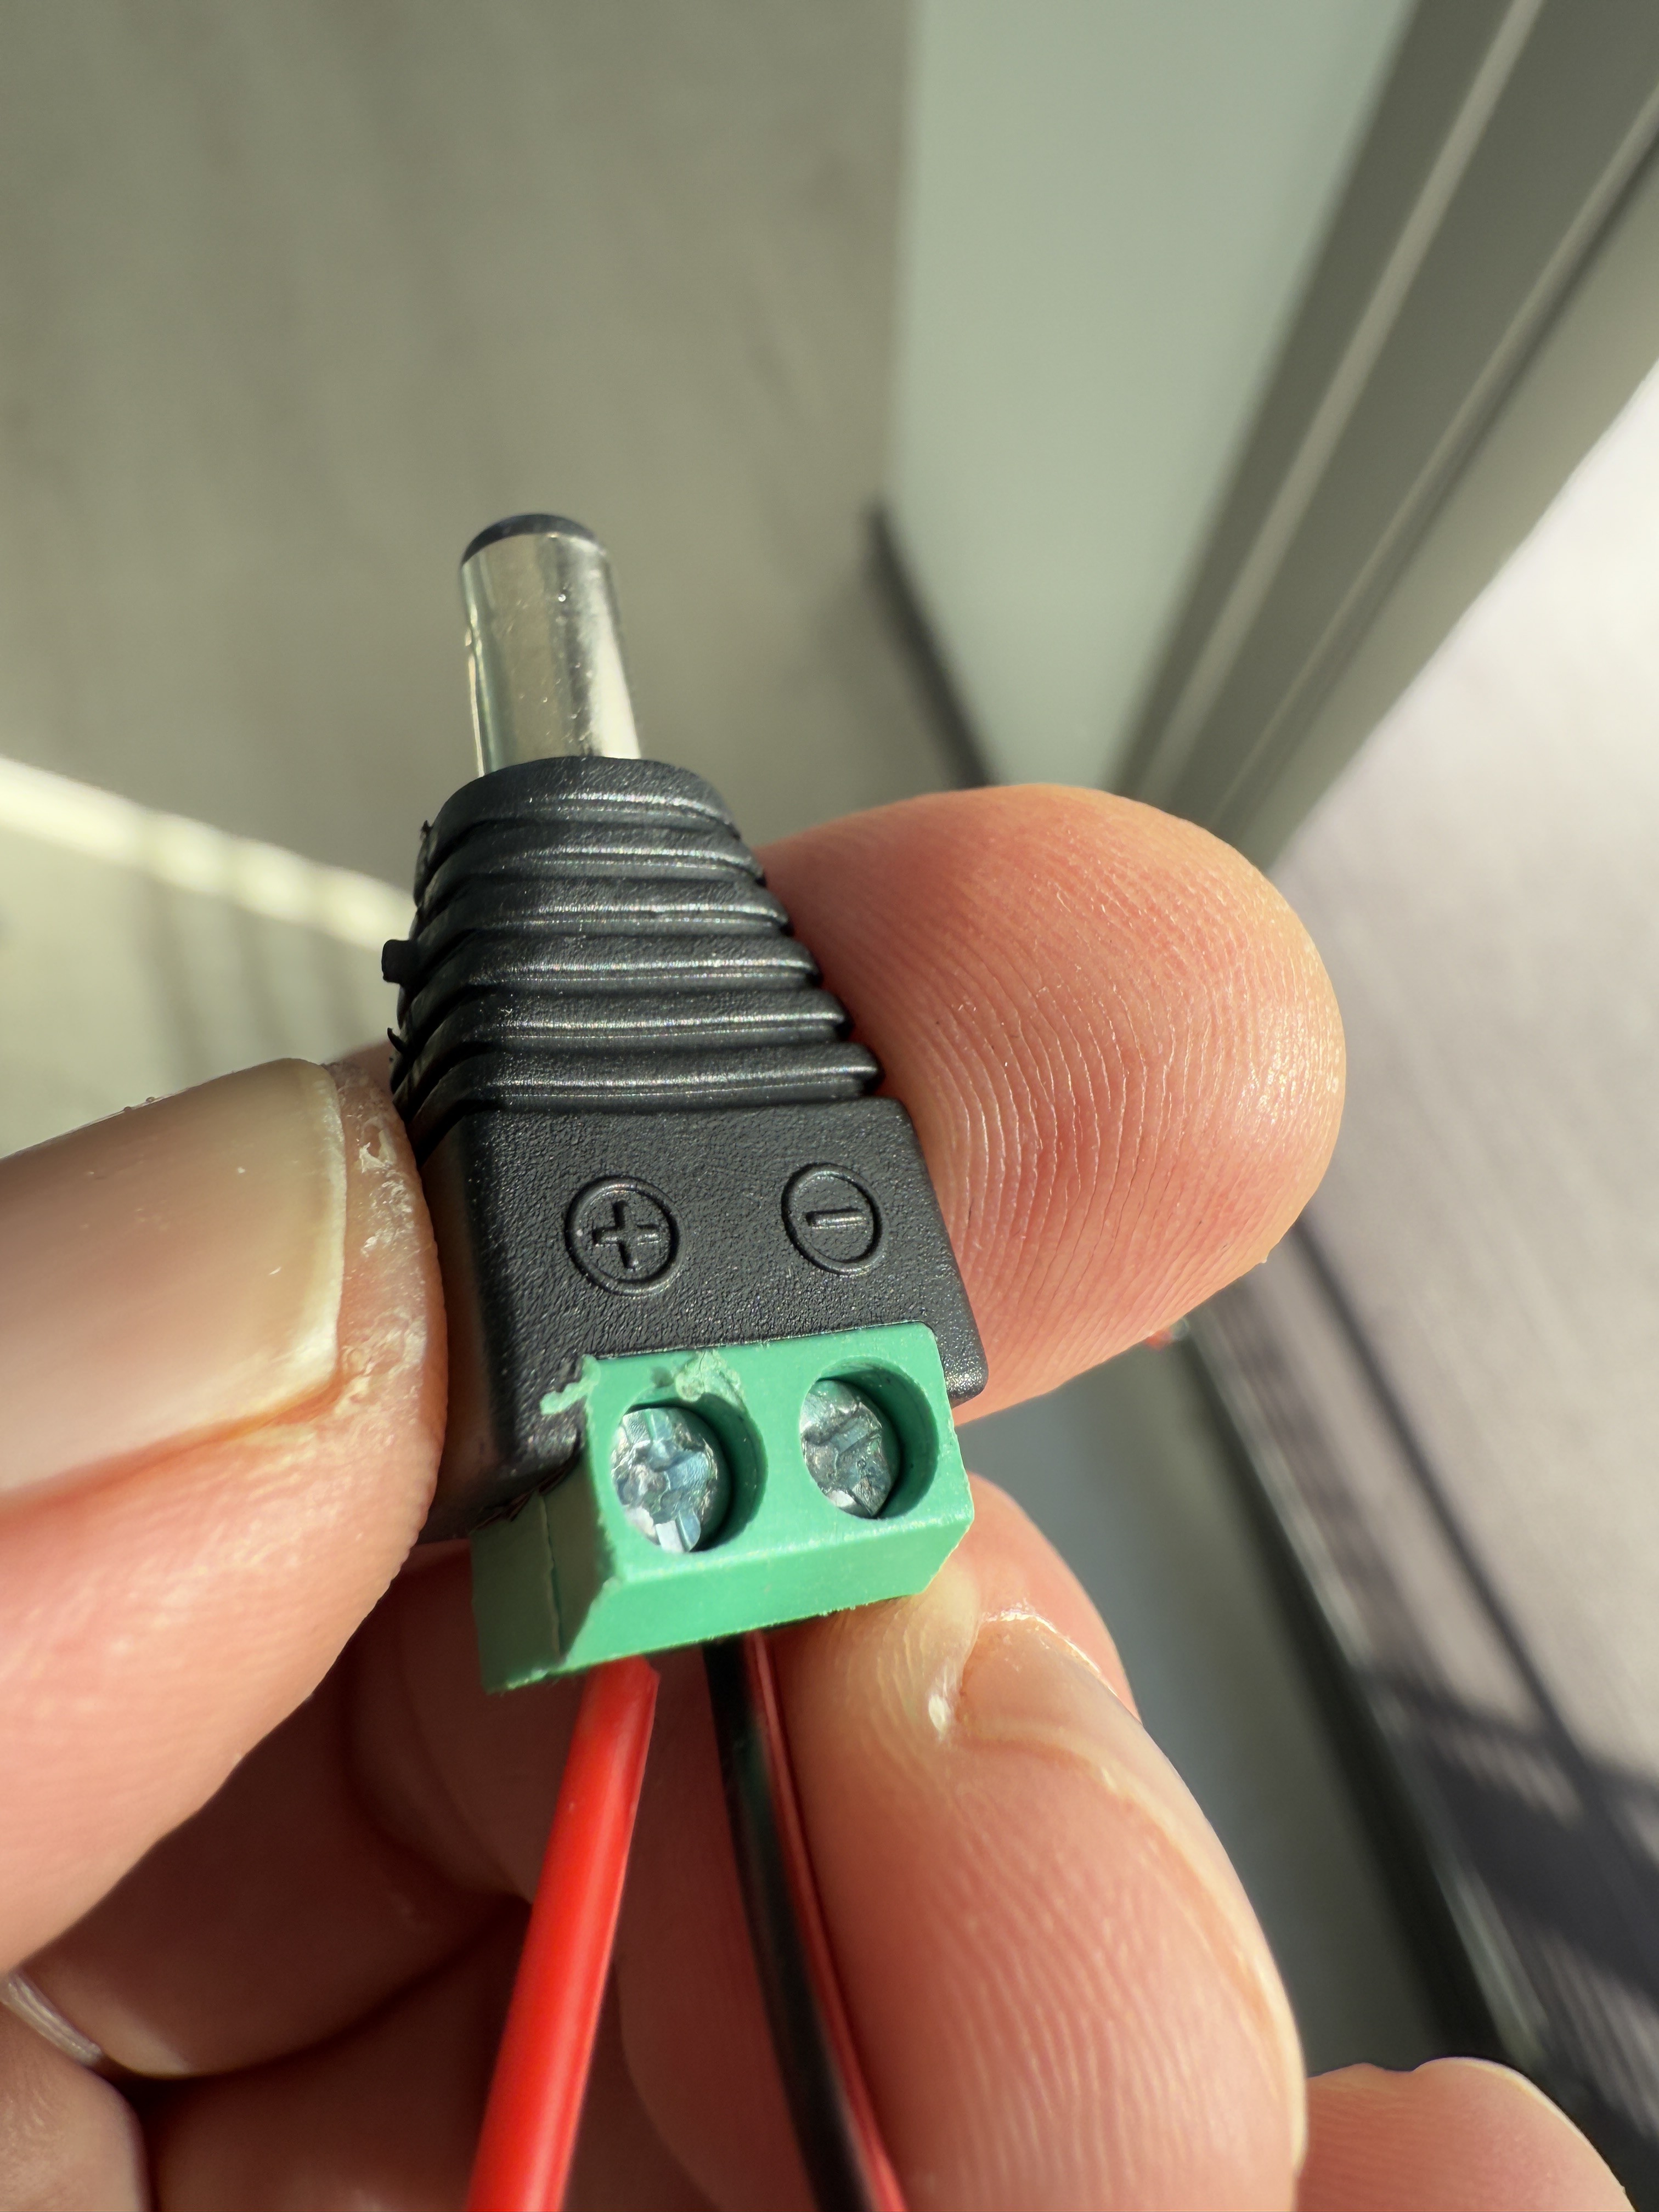
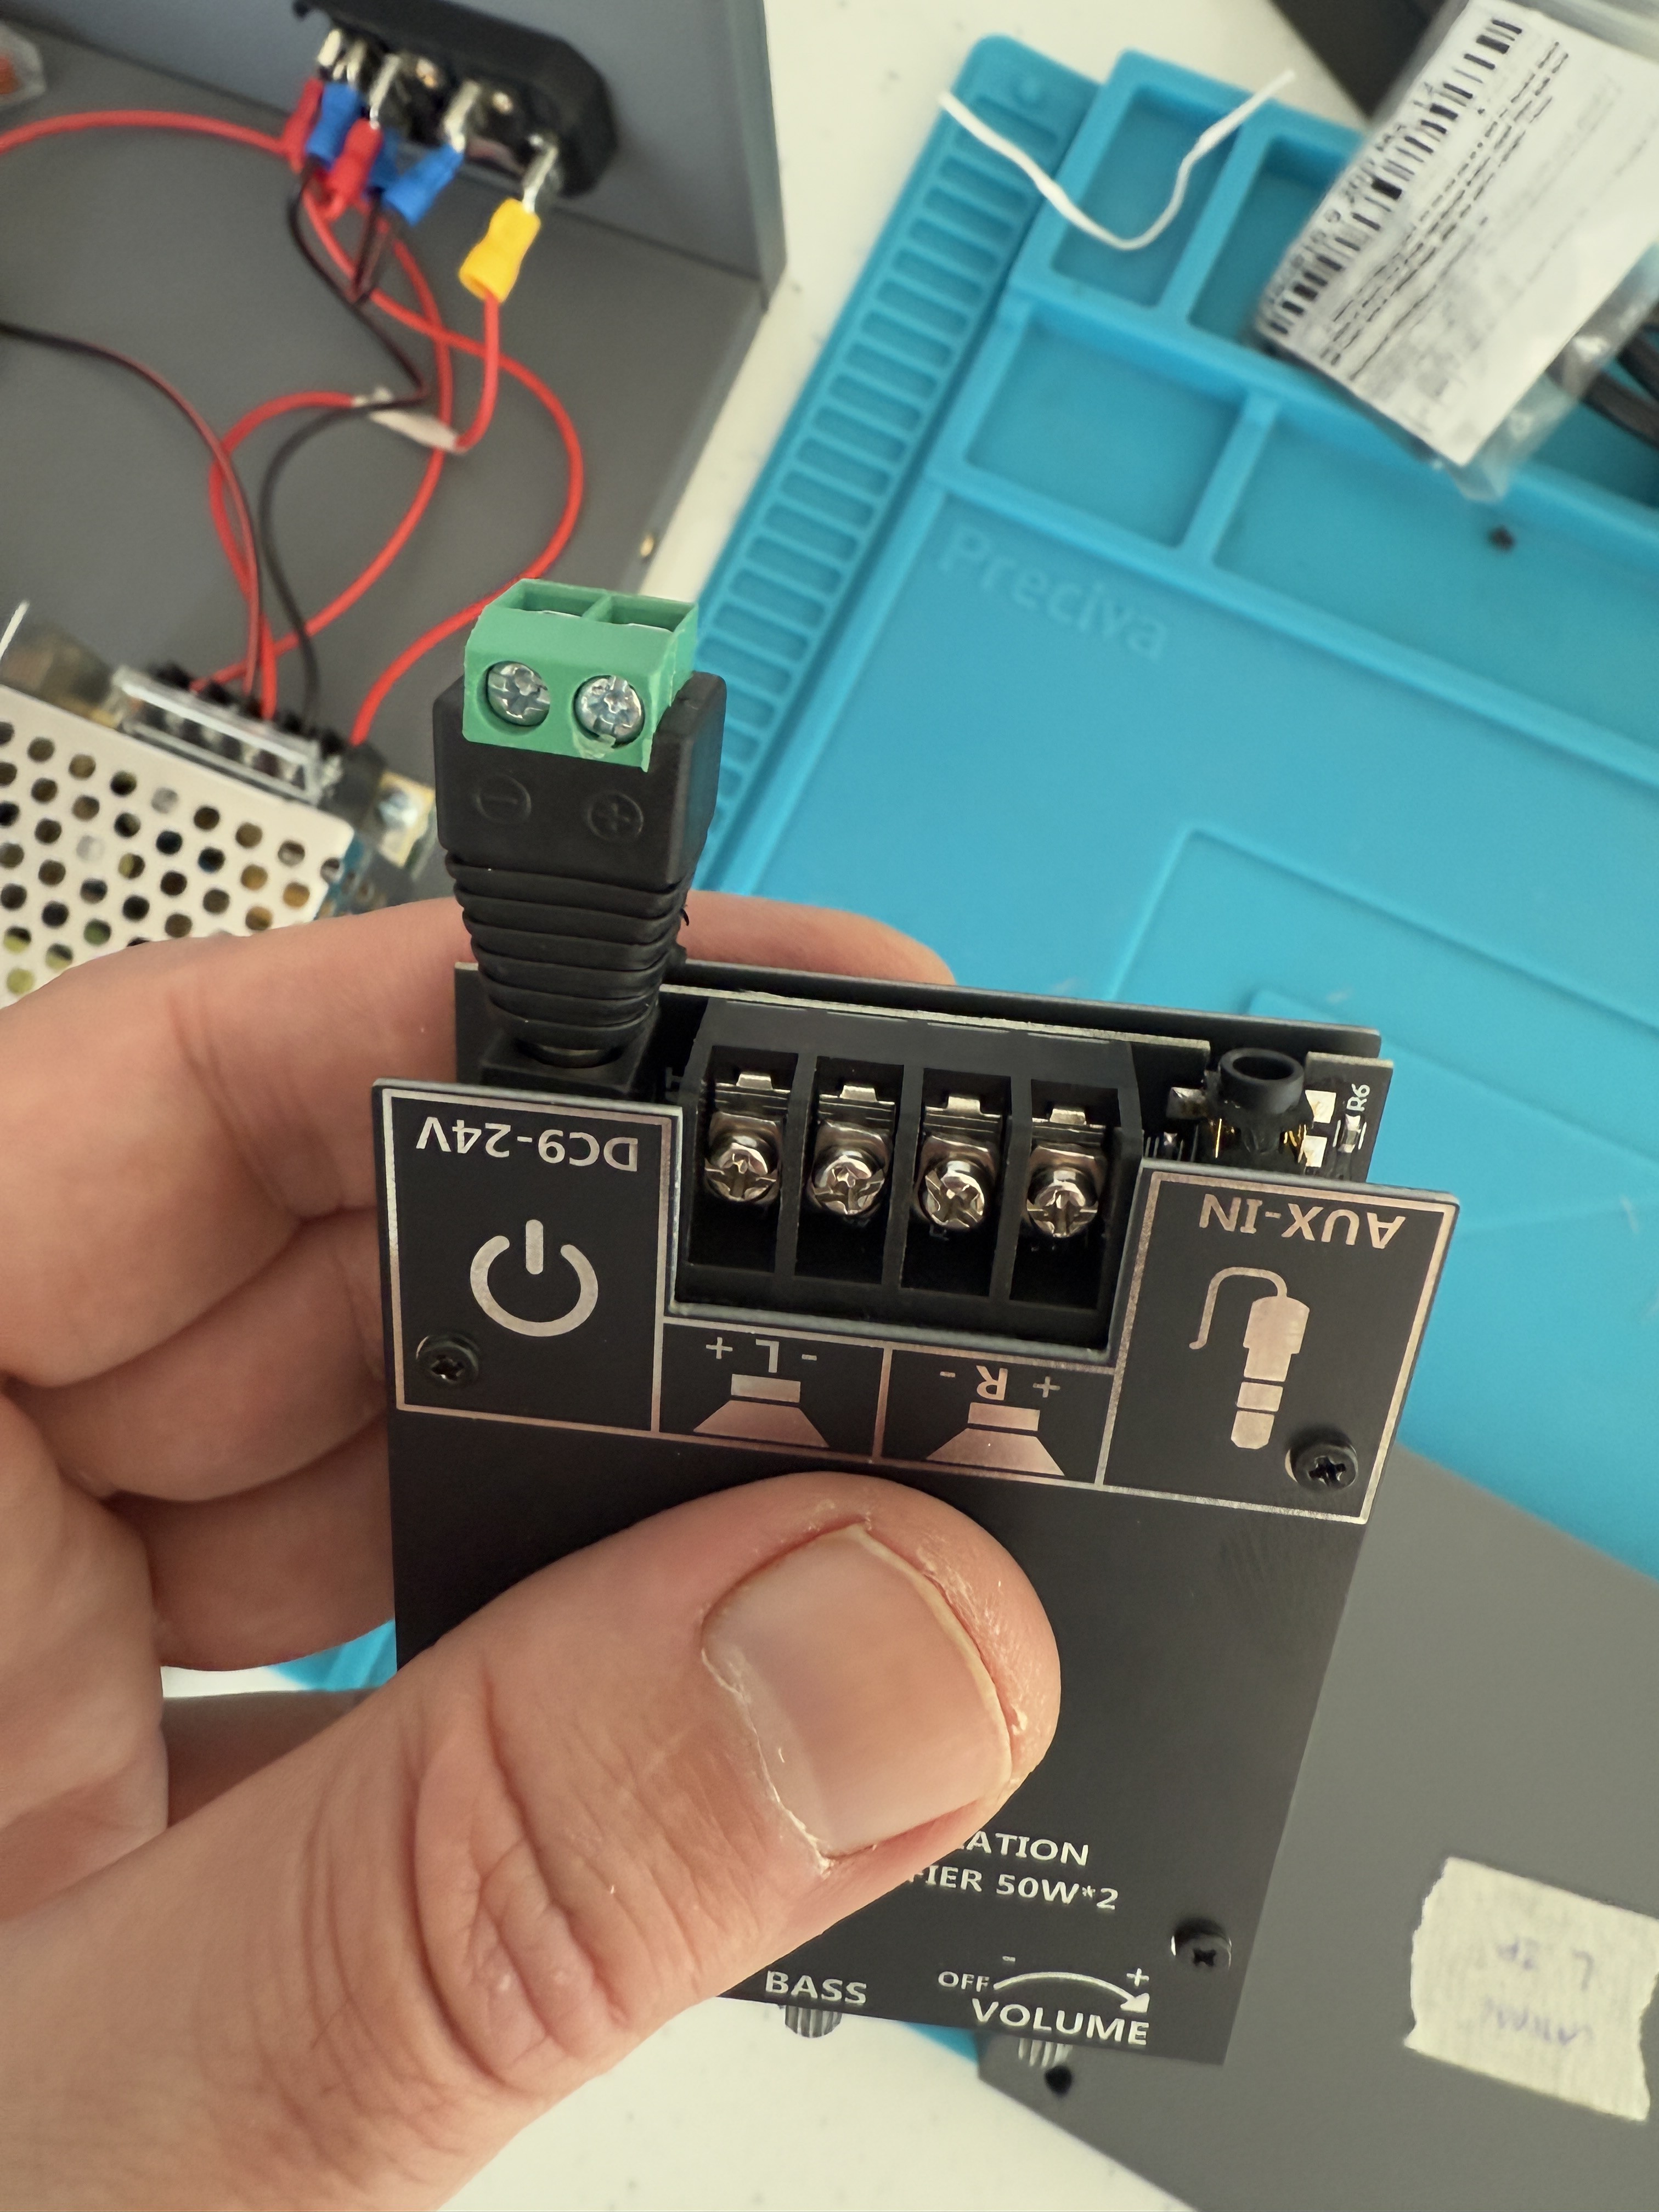
7Sound Amplifier Assembly
For the assembly of the sound amplifier, the two upper screws on the cover must be unscrewed so that it fits completely into the side slot. Once in place, I used strong plastic adhesive.
Regarding the electrical connection, the same connector included in the pack can be used. The only requirement for the speakers is to respect the polarity indicated on both the speakers and the amplifier.
![]()
![]()
![]()
![]()
![]()
![]()
![]()
-
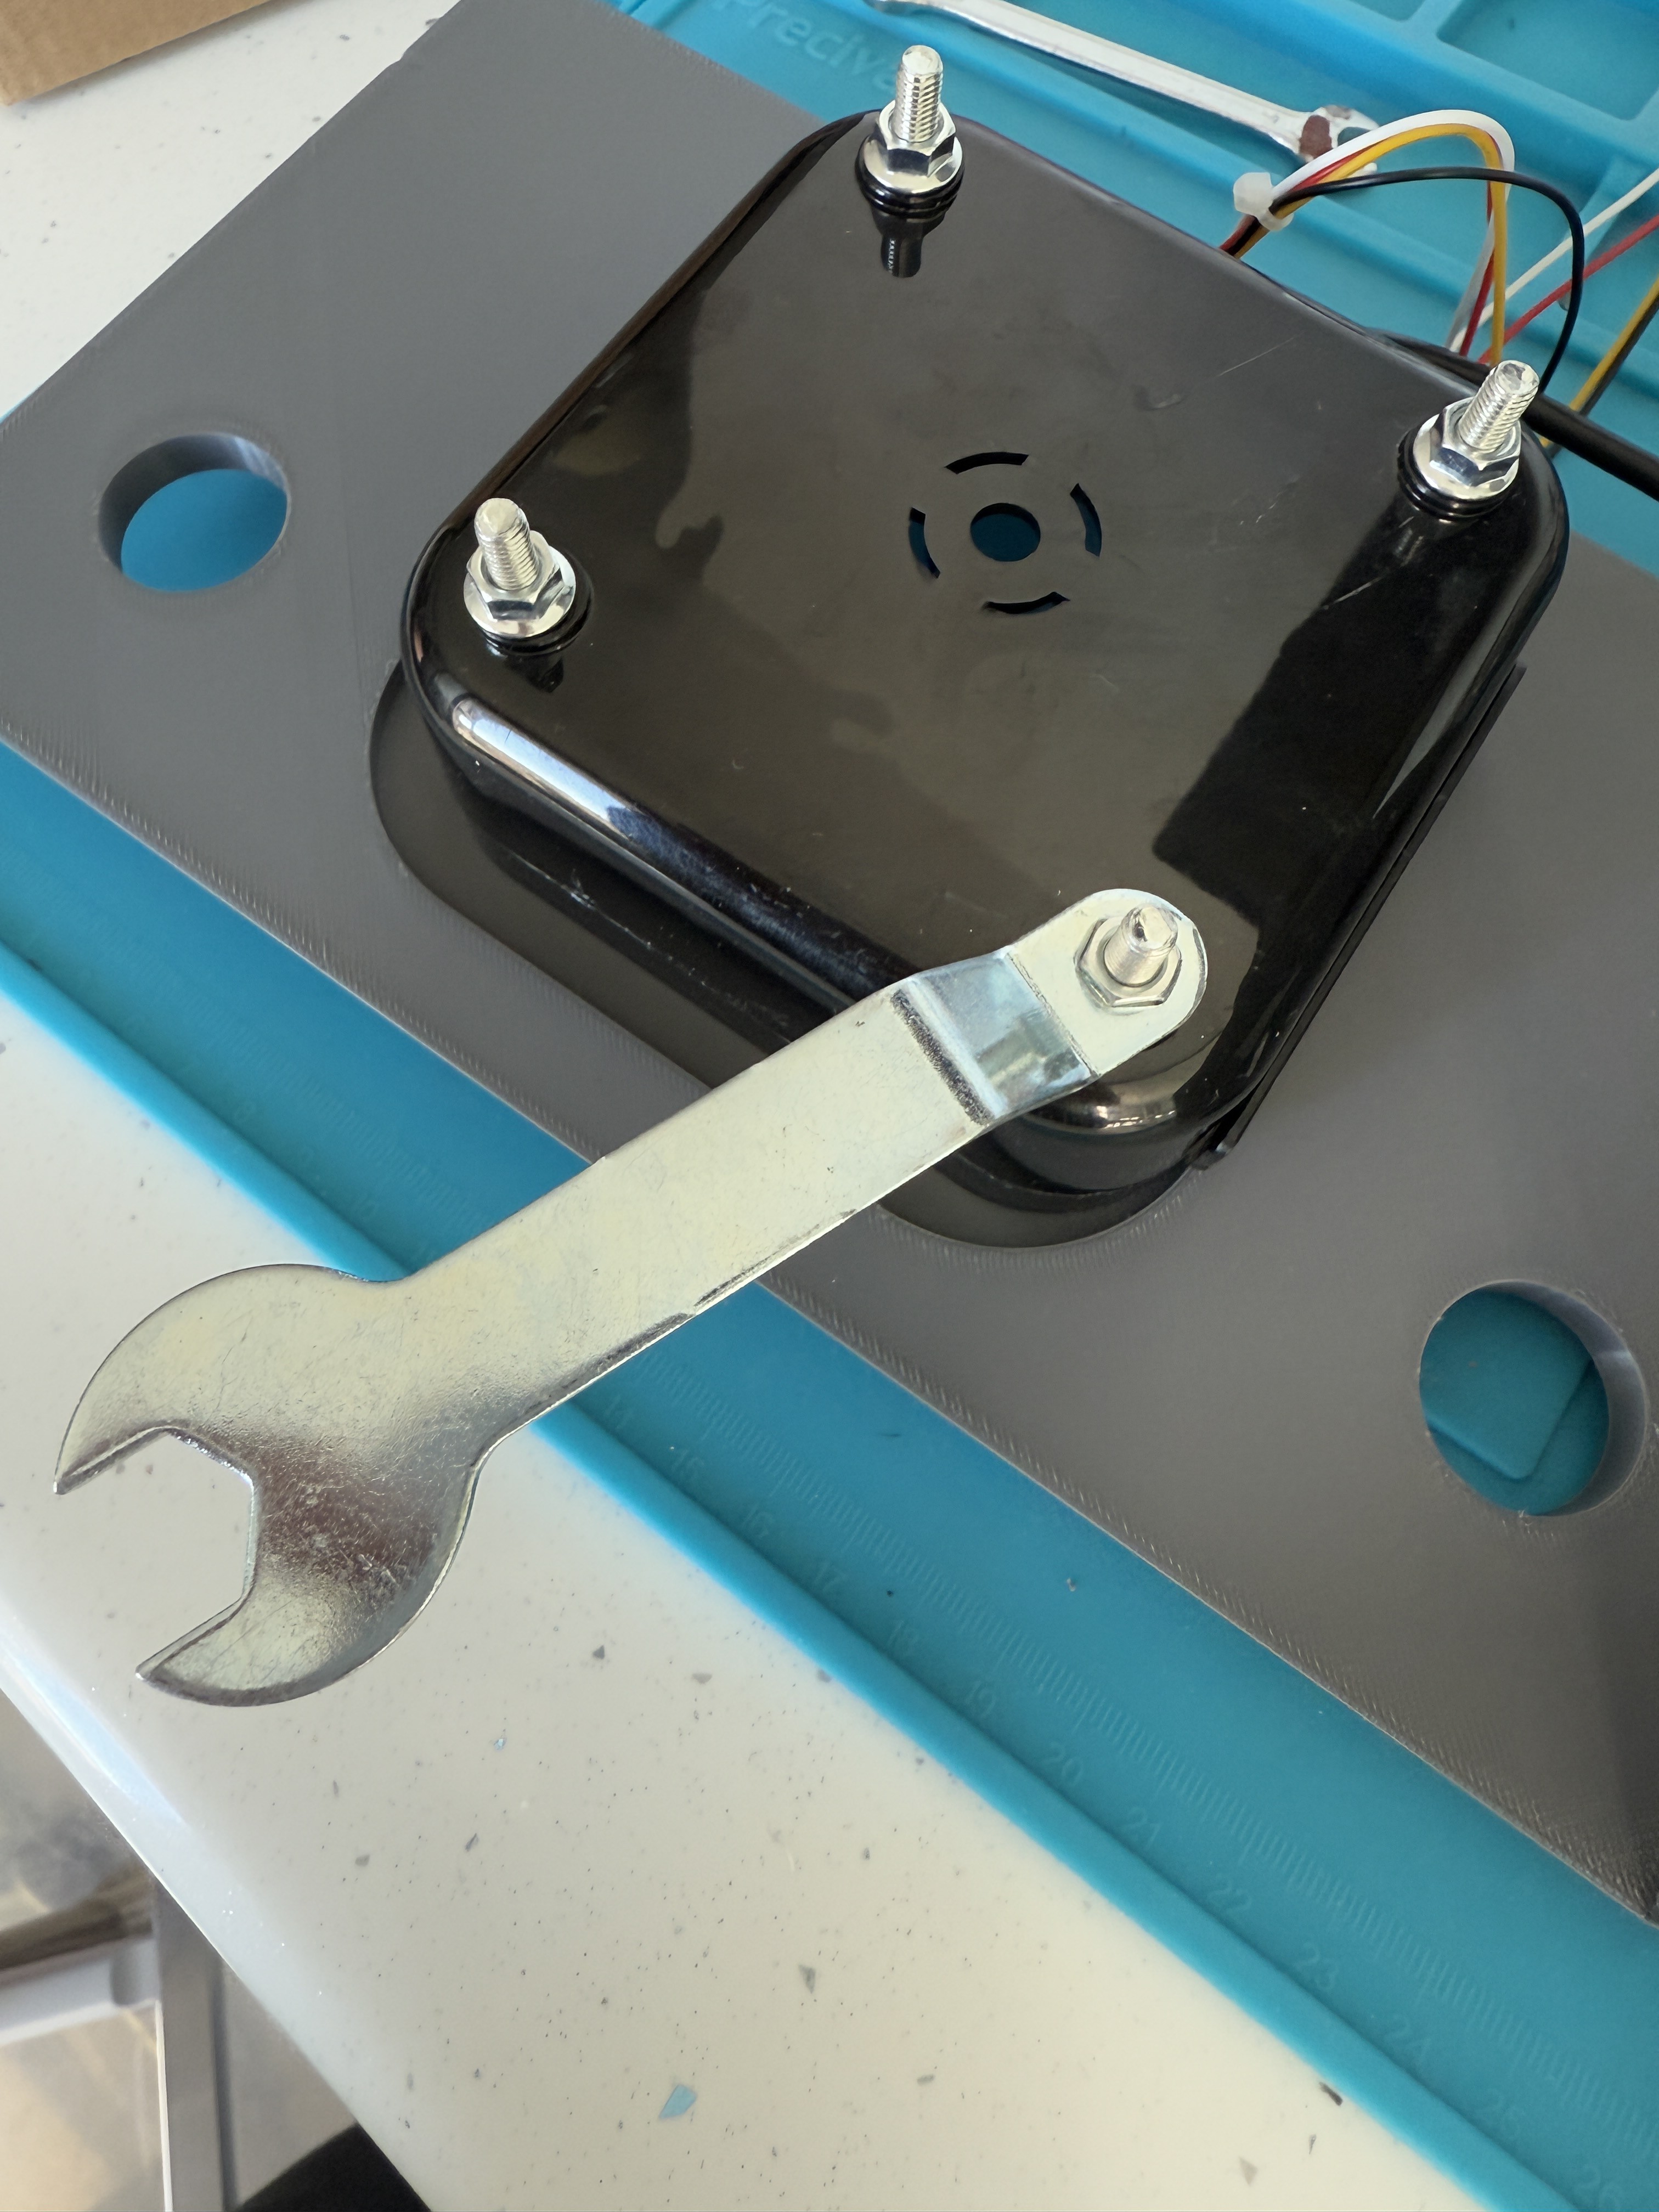
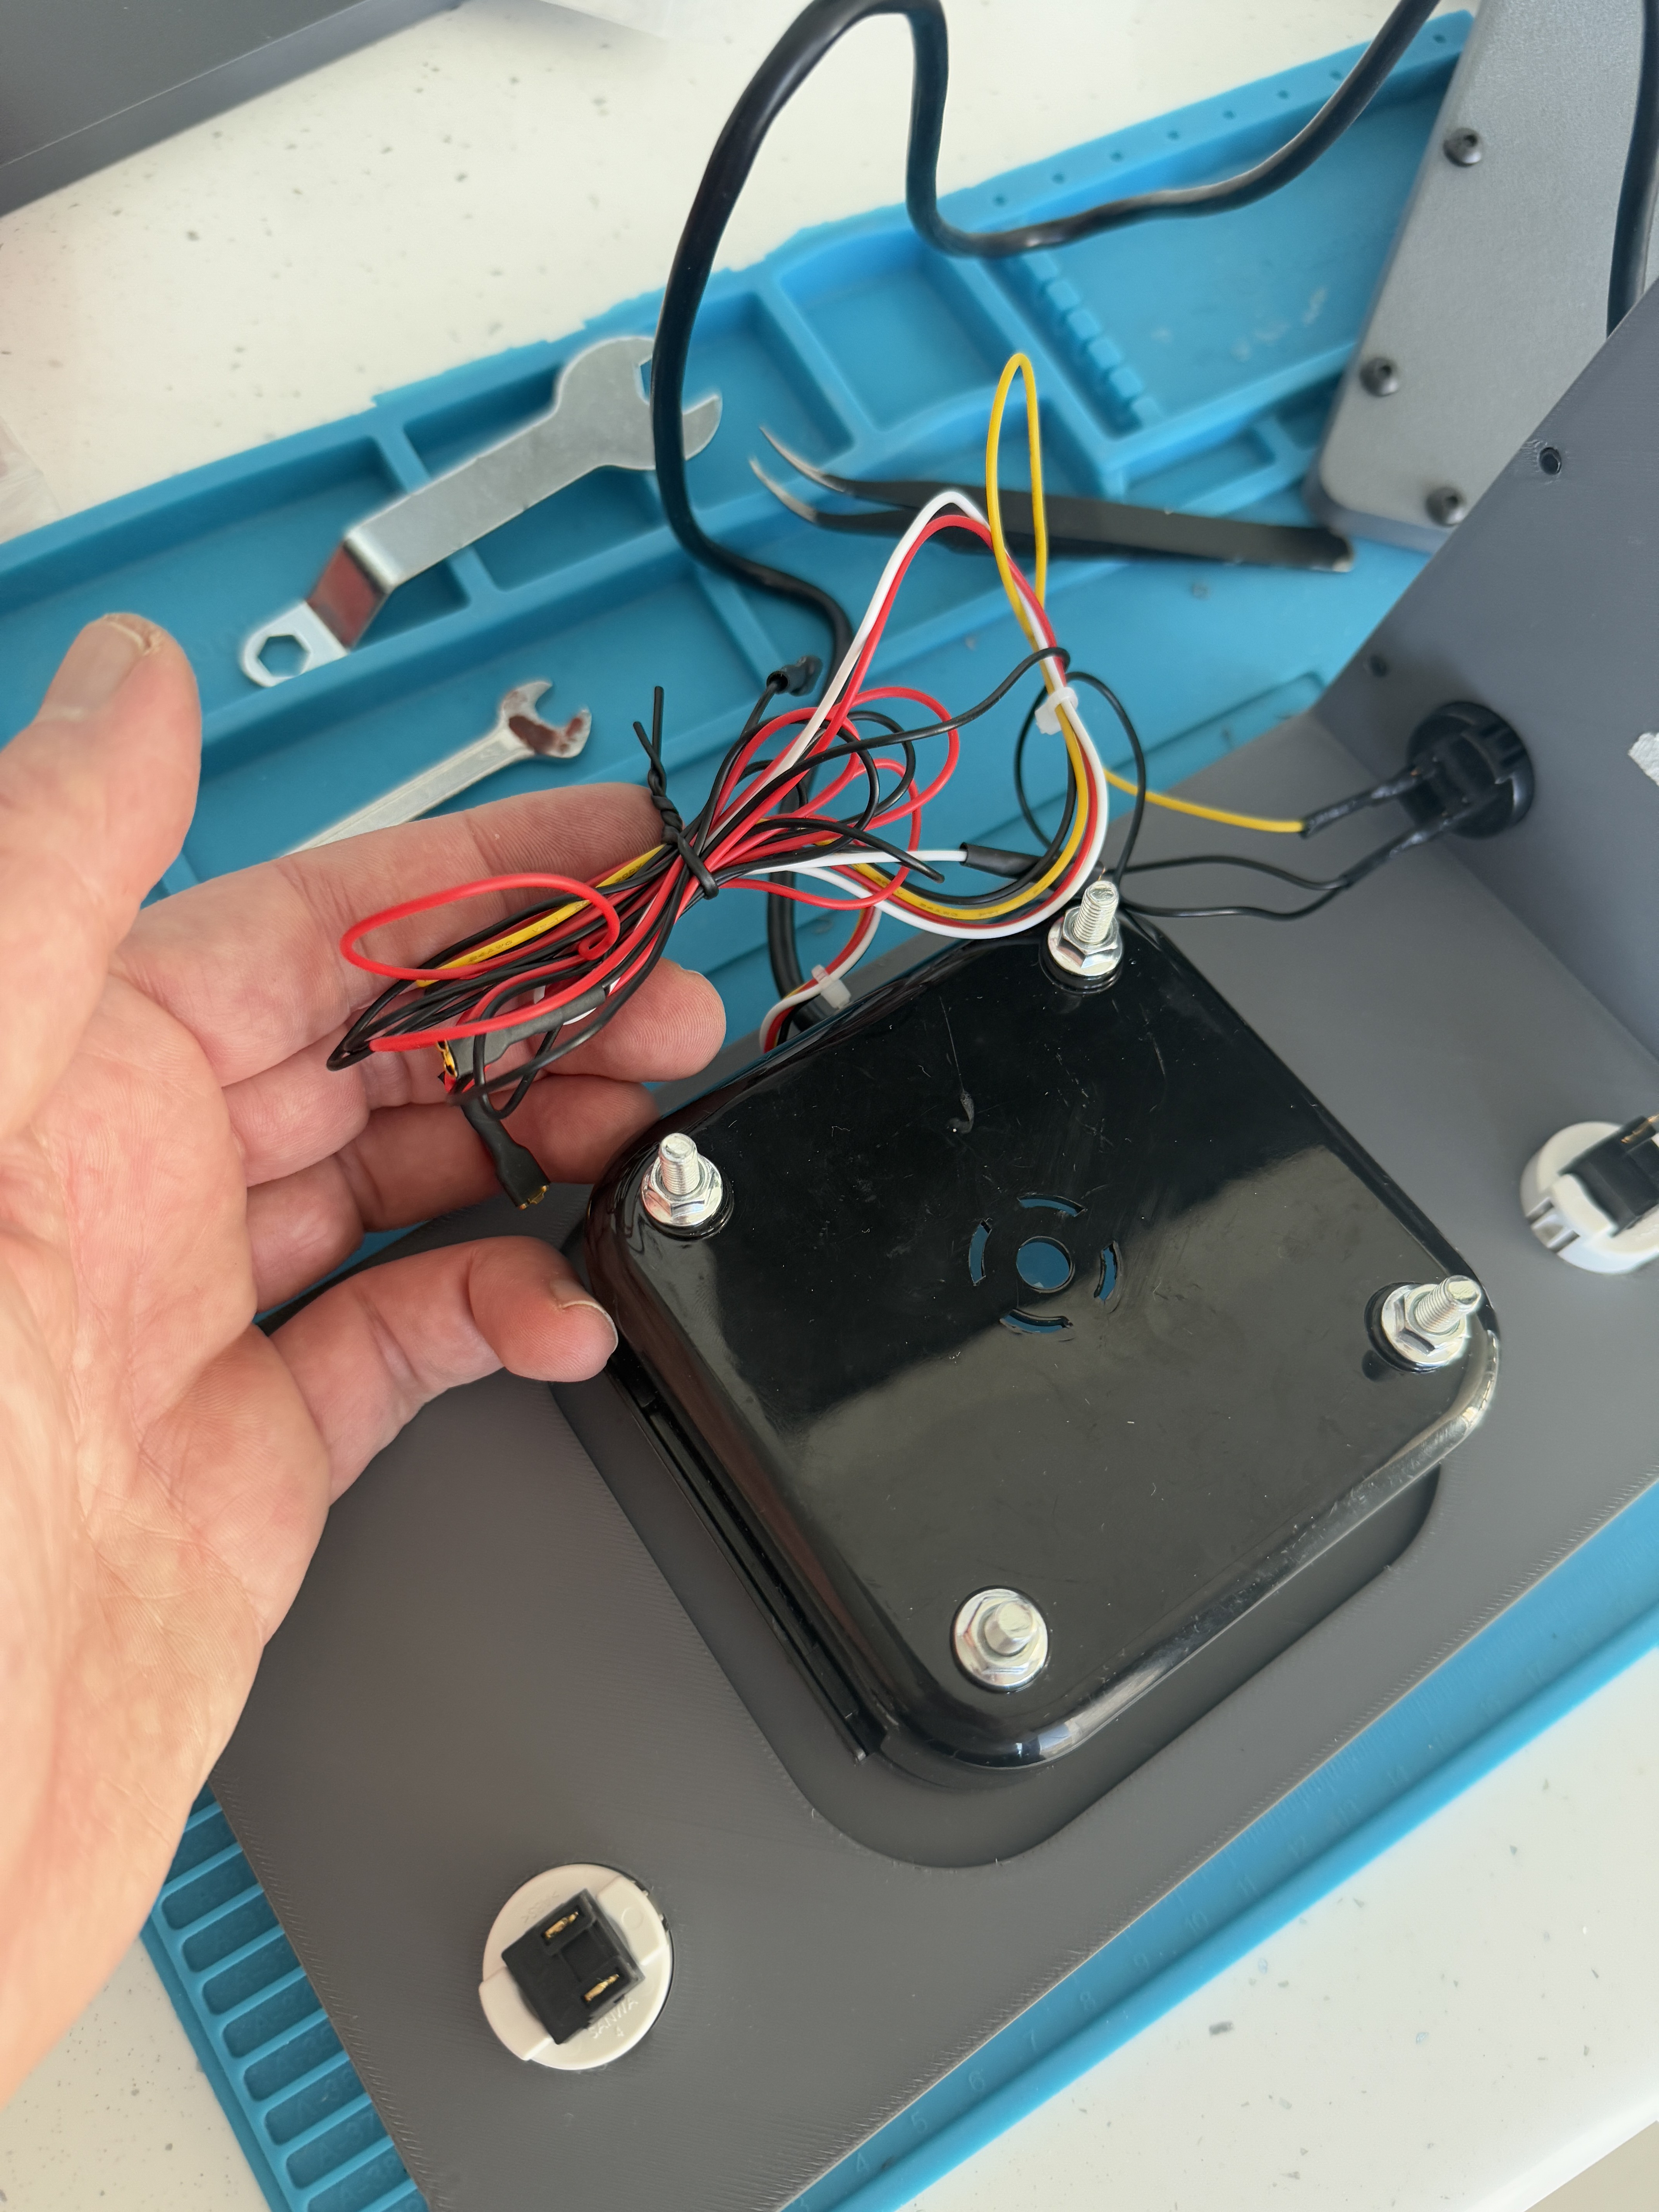
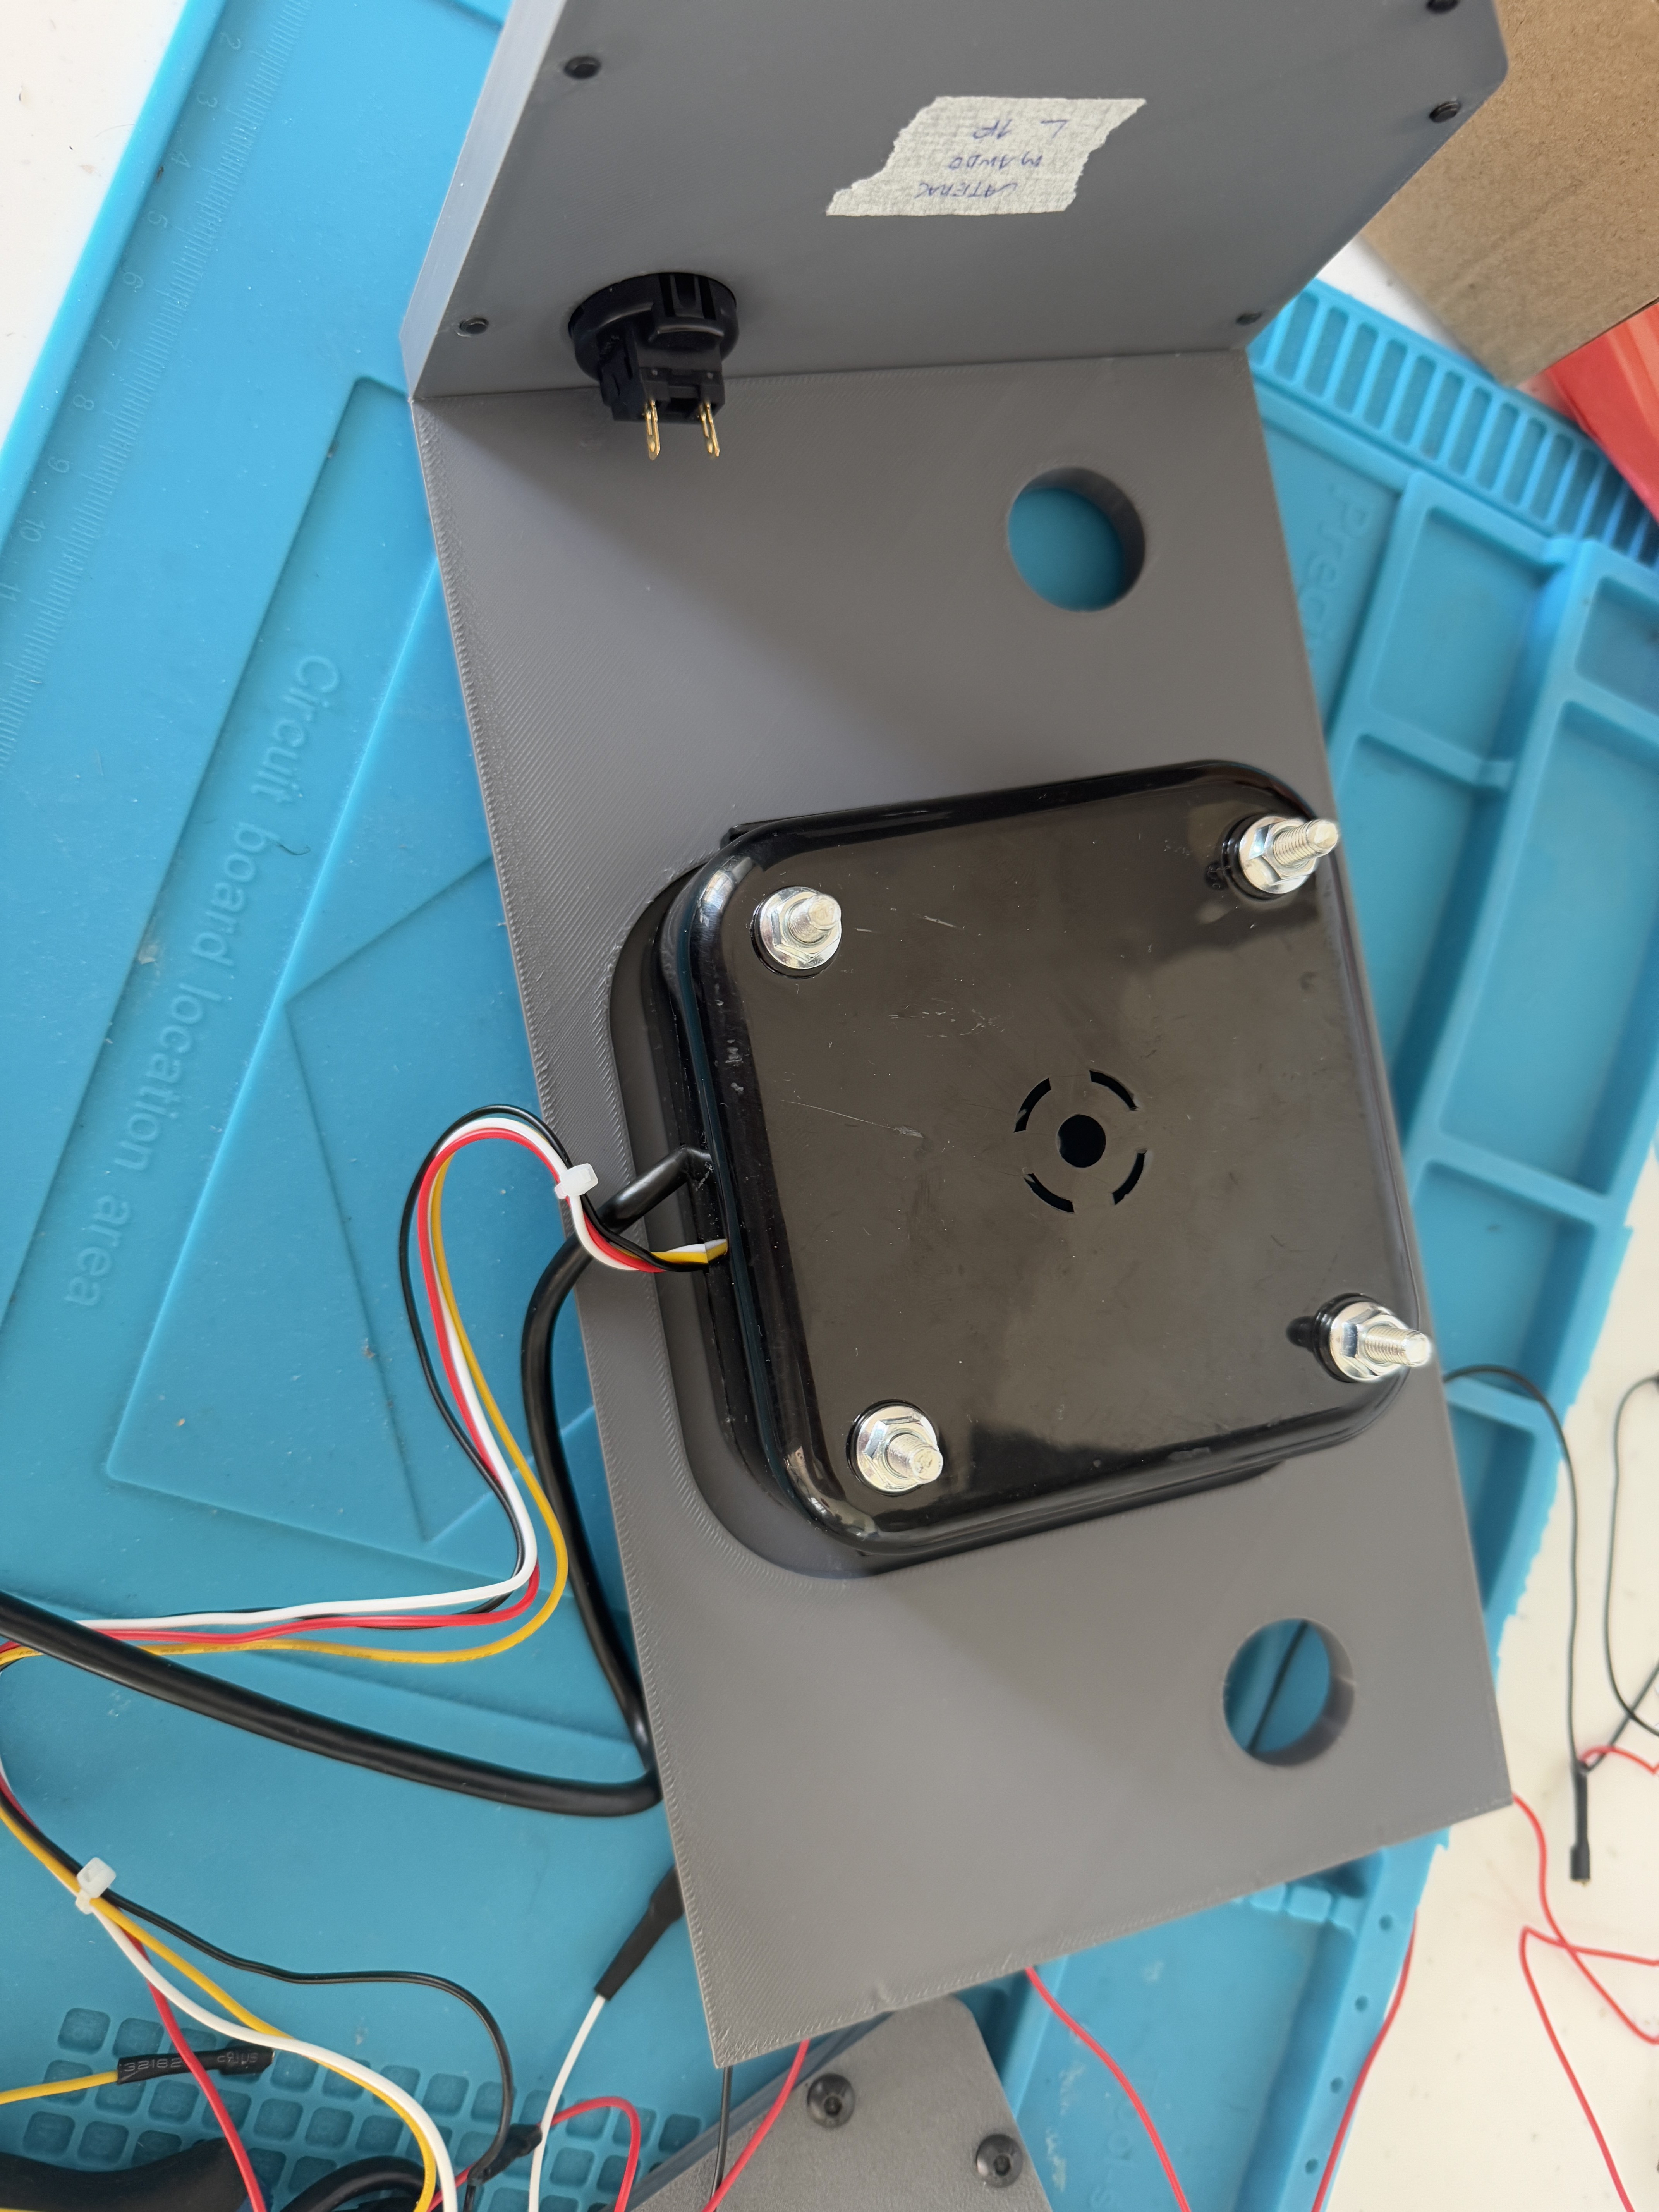
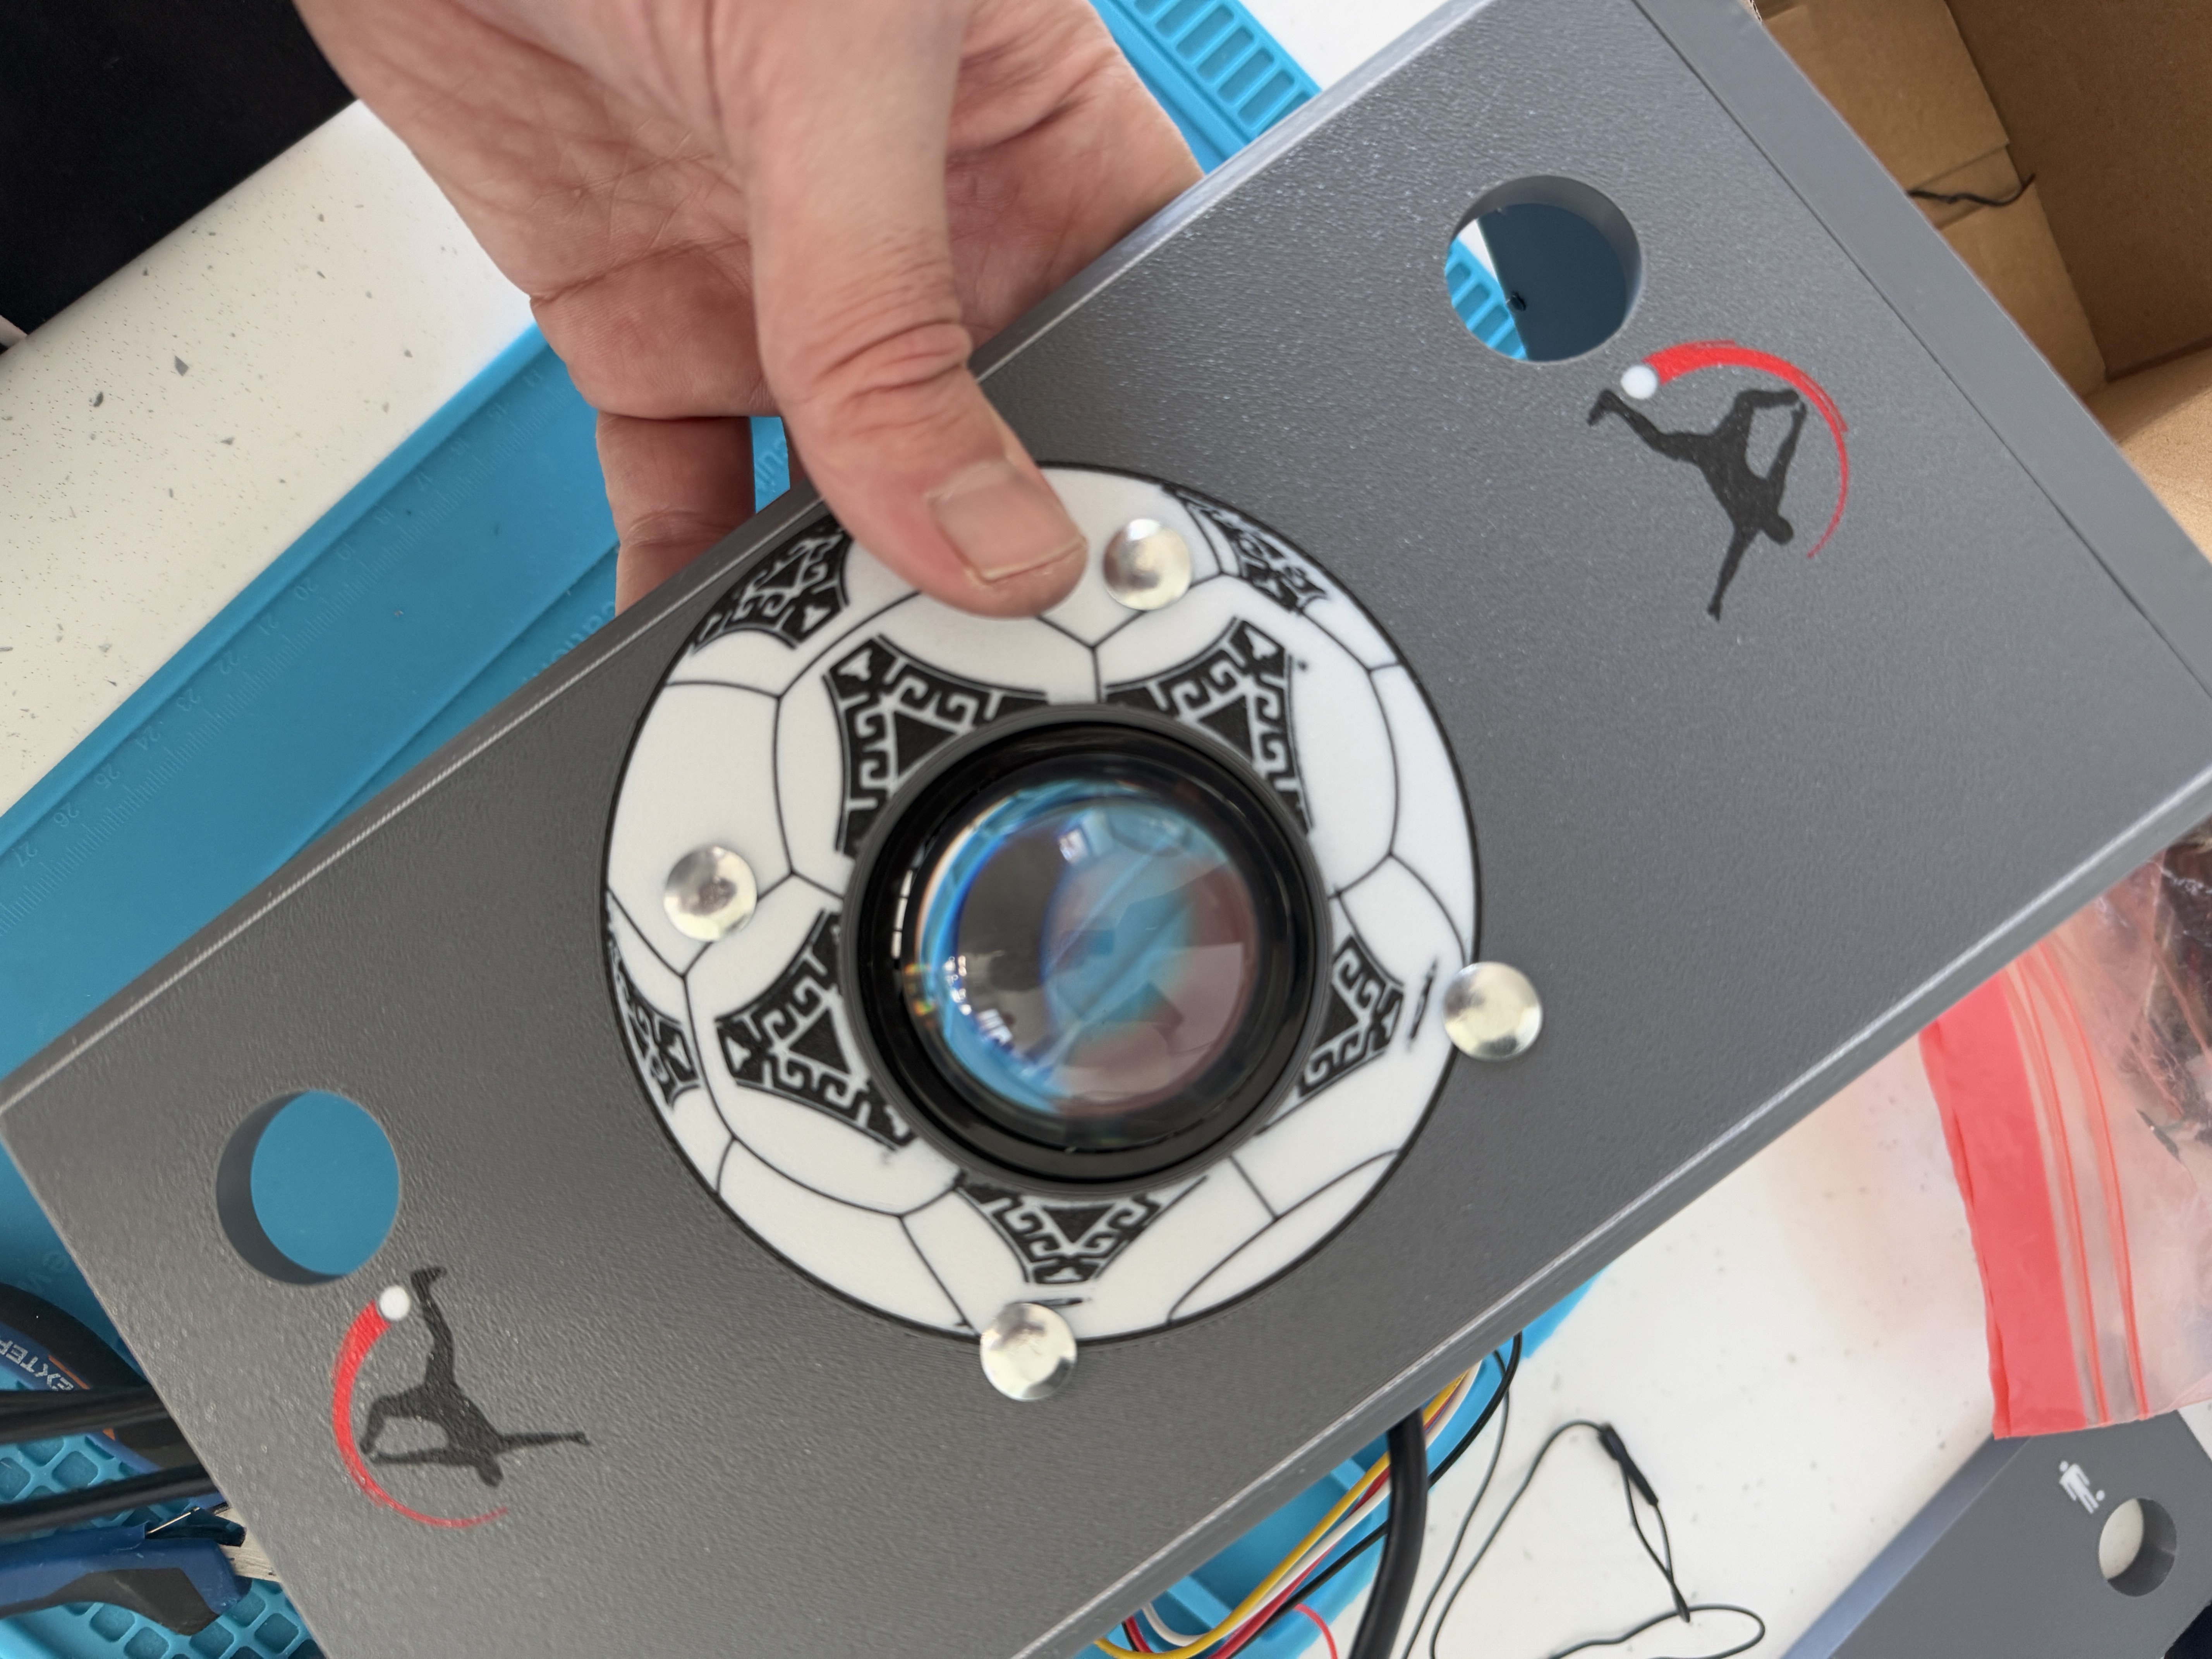
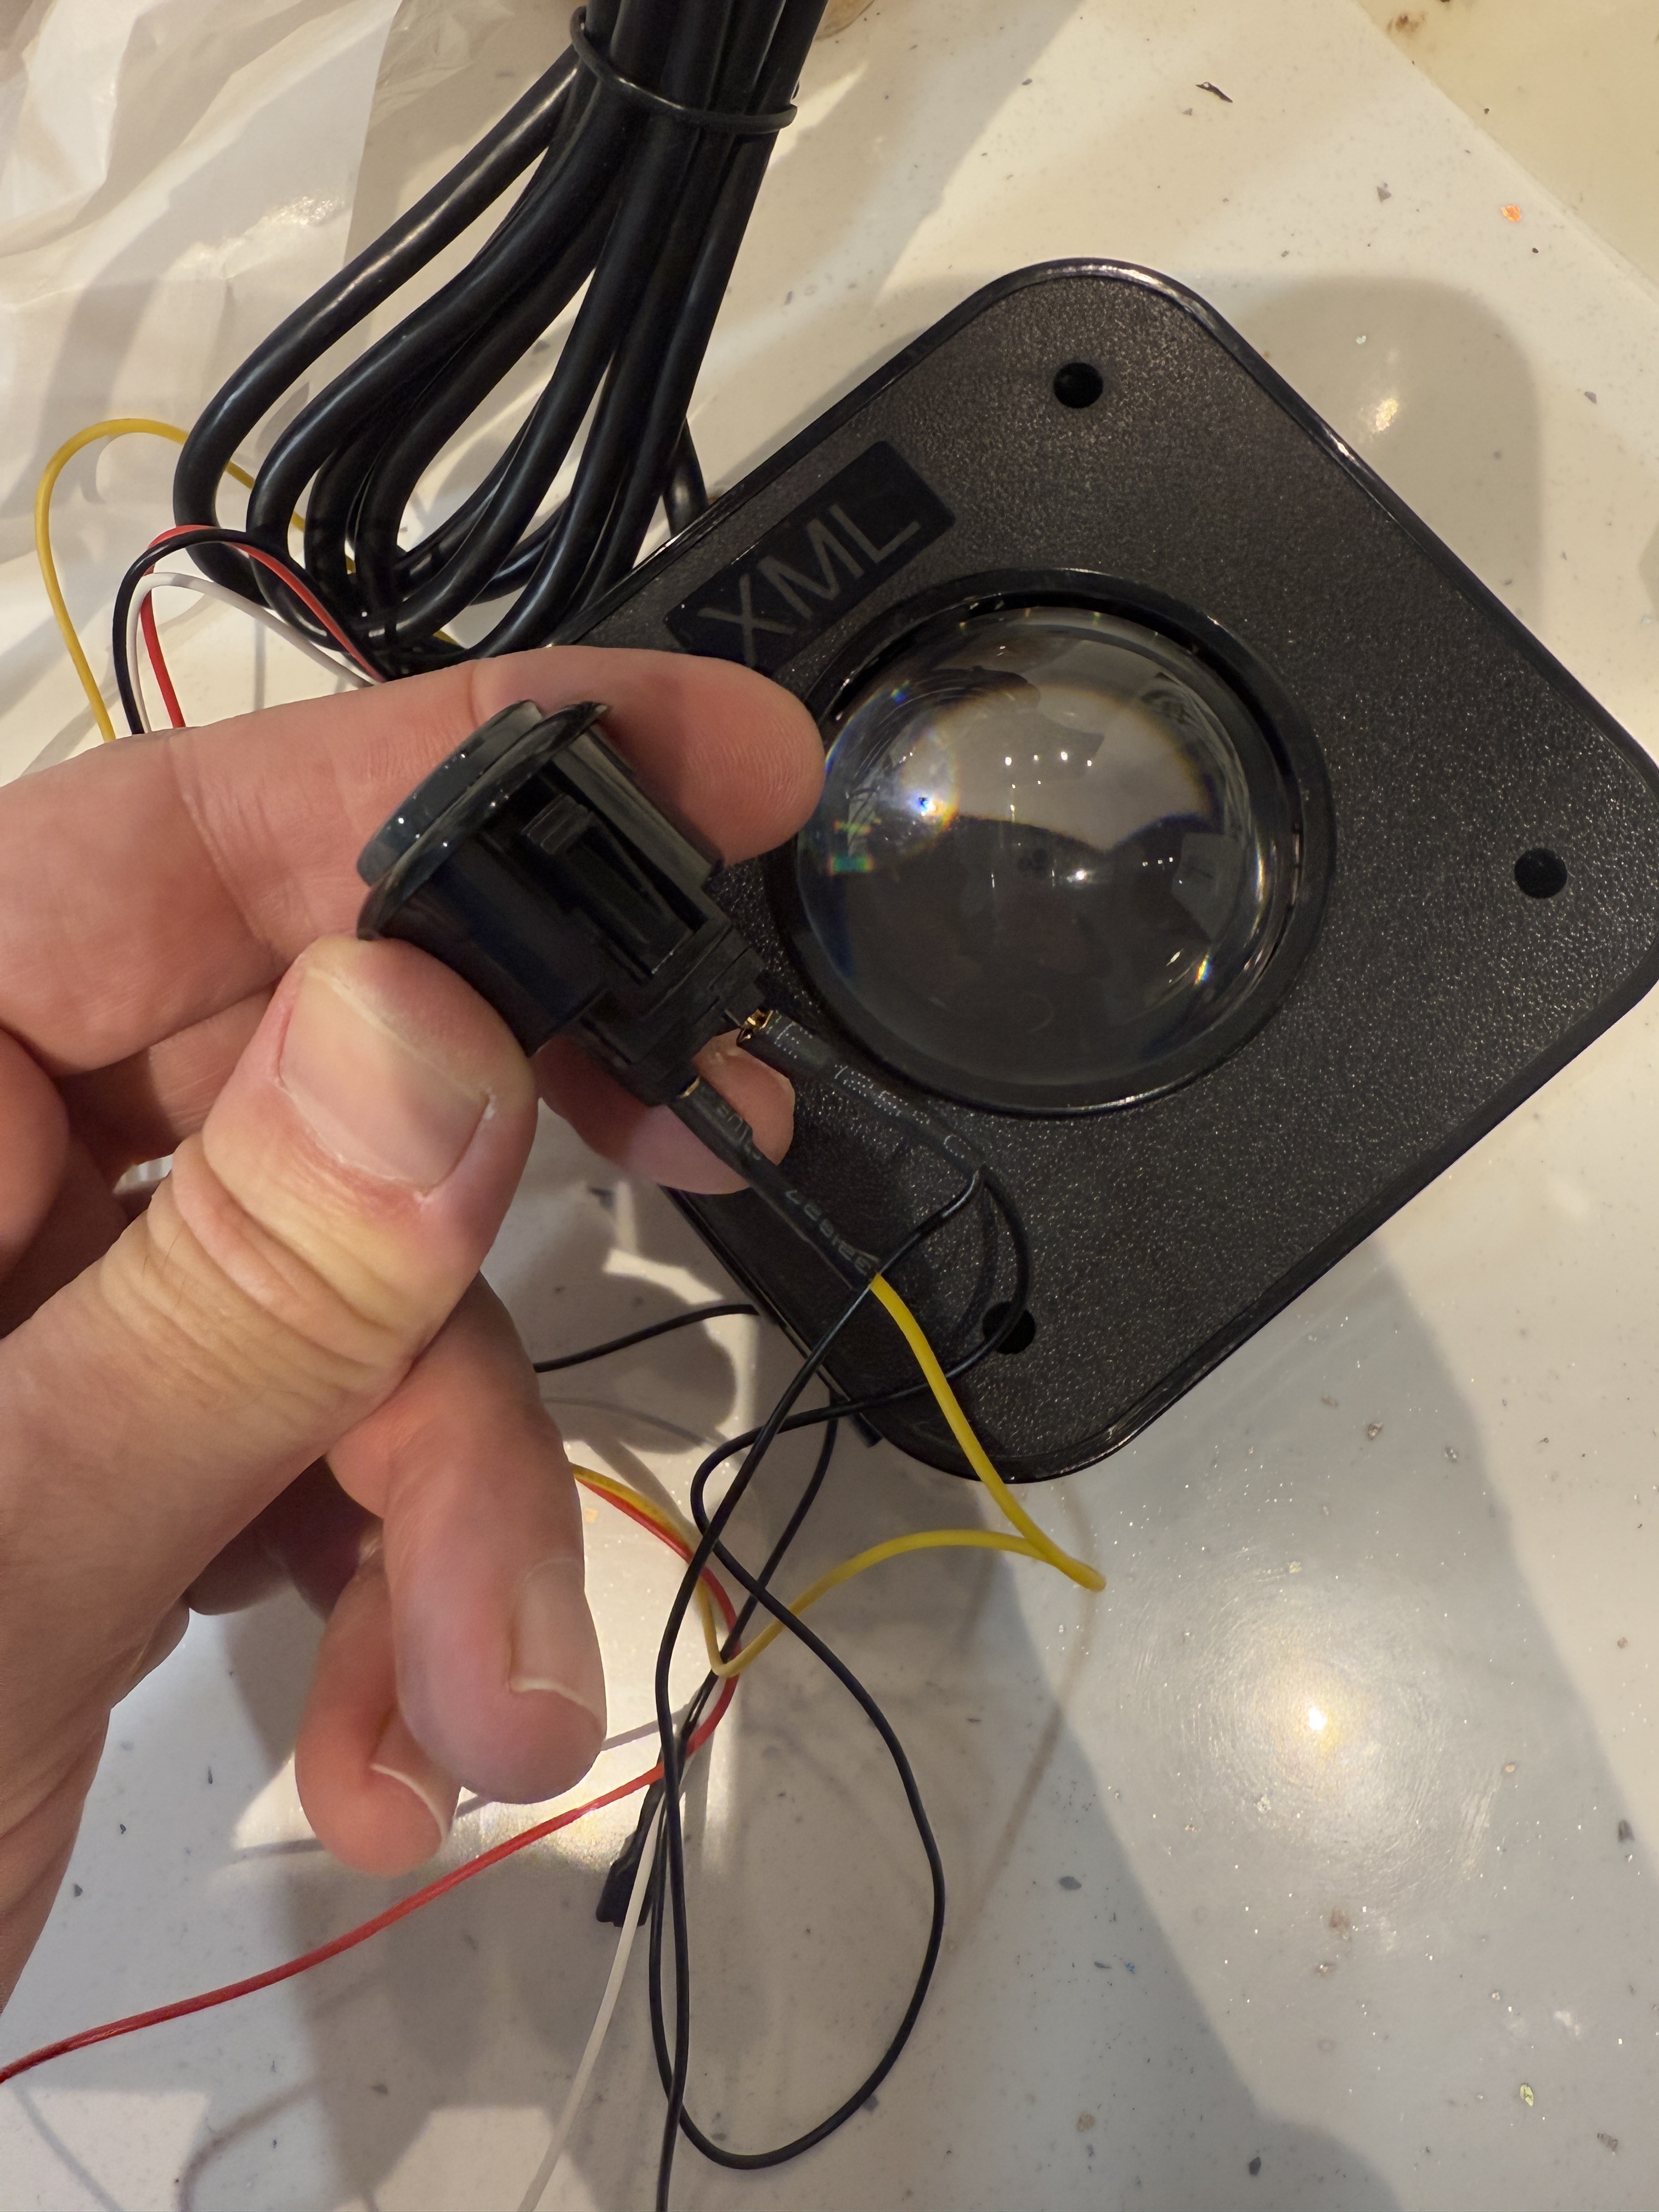
8Controller Assembly: Trackball
Place the trackball into the hole with the cables facing forward and secure it using the included screws. It fits into a square hole on the top side; then, tighten the nuts with an open-end wrench.
From the trackball's outputs, we will use the one corresponding to the left mouse button. This will allow us to navigate through the RetroBat menus.
For the assembly, follow the same procedure as with the base: ensure the screws are tightened until both surfaces of the parts are firmly joined.
![]()
![]()
![]()
![]()
![]()
![]()
![]()
![]()
The cable identification for the trackball is clearly shown in the following image.
![]()
![]()
-
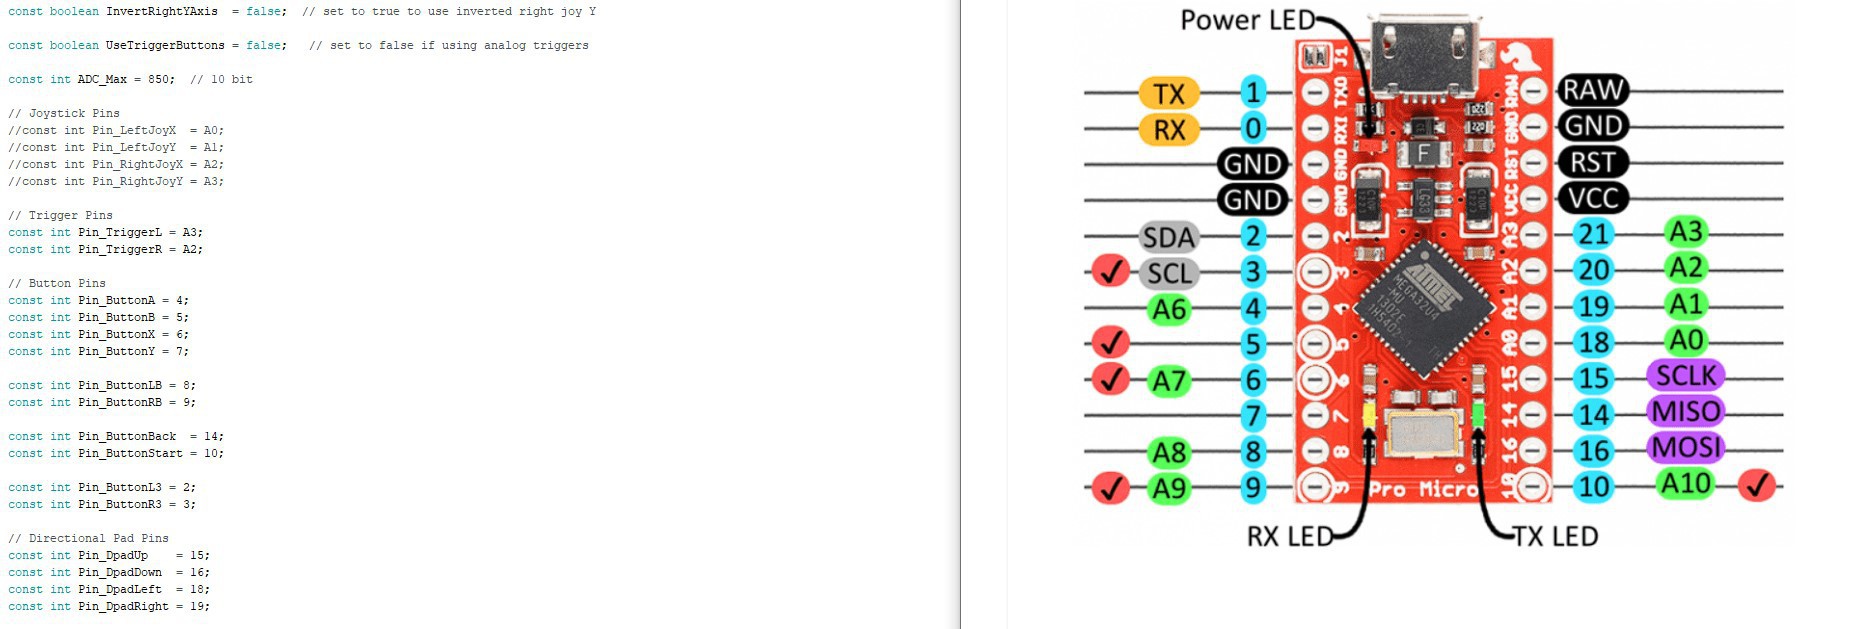
9Button Assembly
![]()
The buttons are connected to the pre-programmed inputs on the Arduino Micro. See the photo for the input numbers.
We will use the following connections:
- Button A → Input 4
- Select/Back → Input 14
- Start → Input 10
- Ground (GND) → x3
Additionally, we will use the 5V (VCC) output to power the illuminated credit button.
![]()
![]()
![]()
I will upload the .ino file in the files section. Gamepad_XINPUT
If you have never done it before, it is very simple. Download the software from https://www.arduino.cc/en/software.
Select the appropriate device and proceed with the download.
-
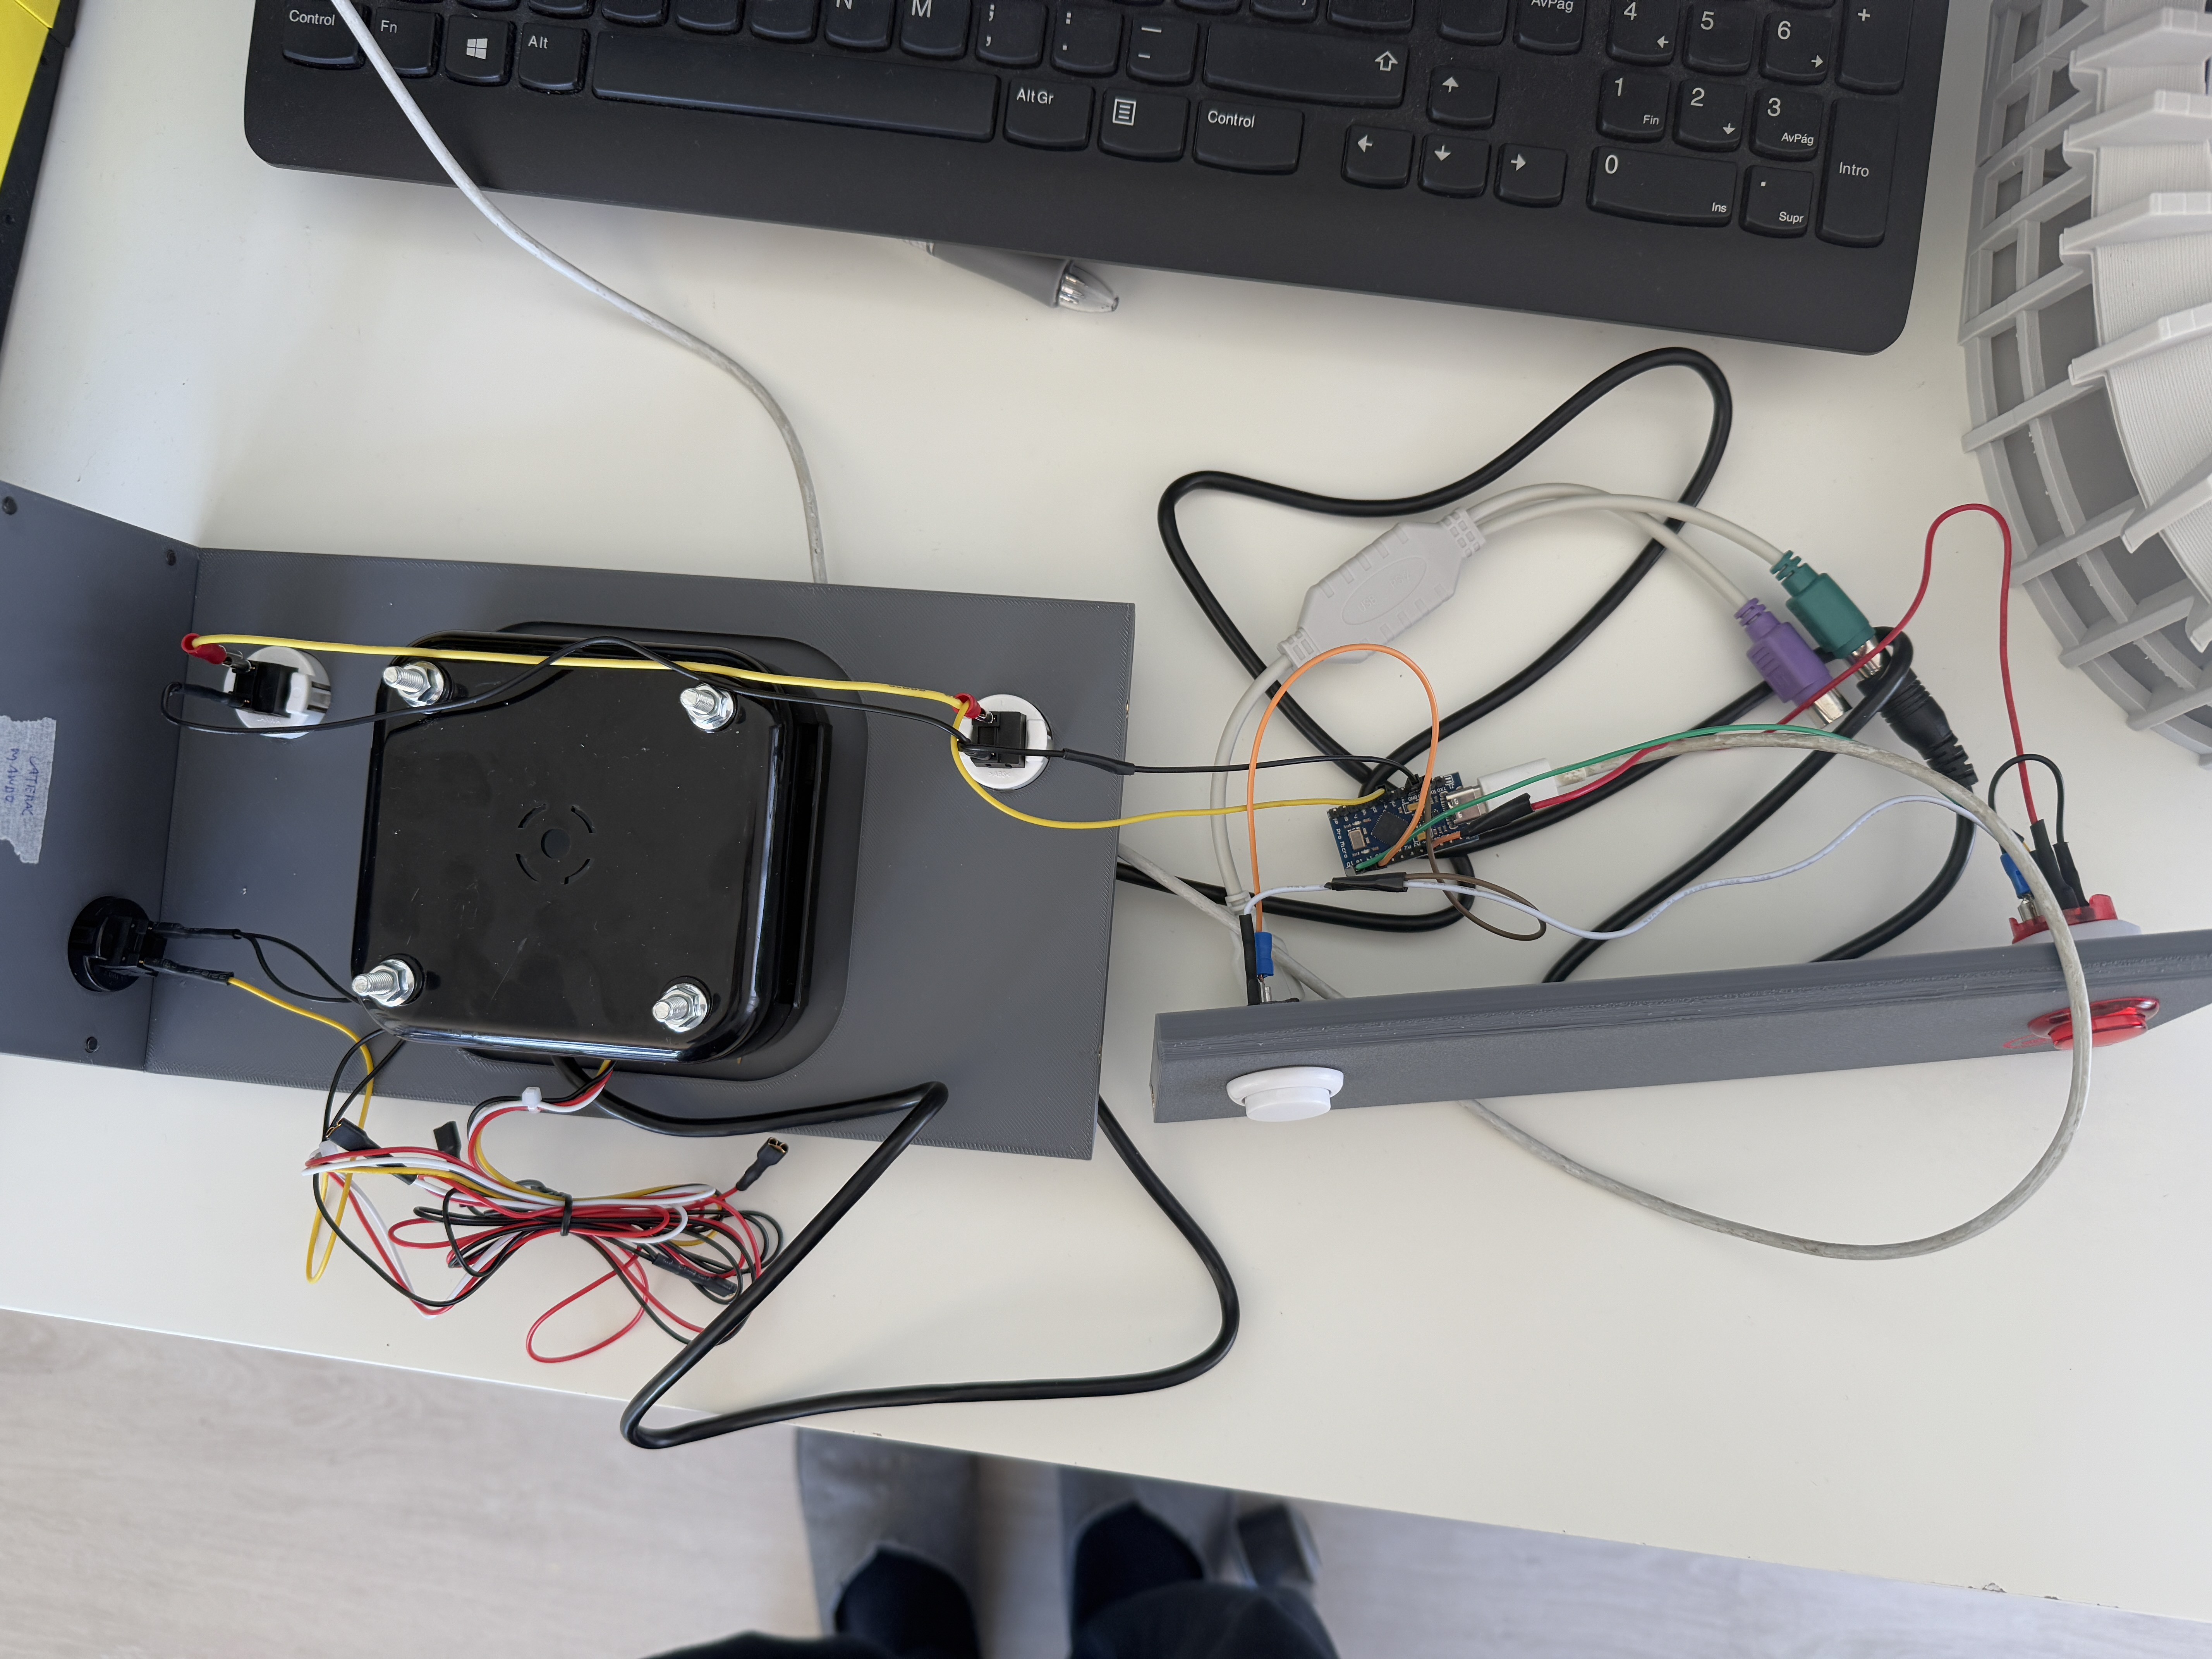
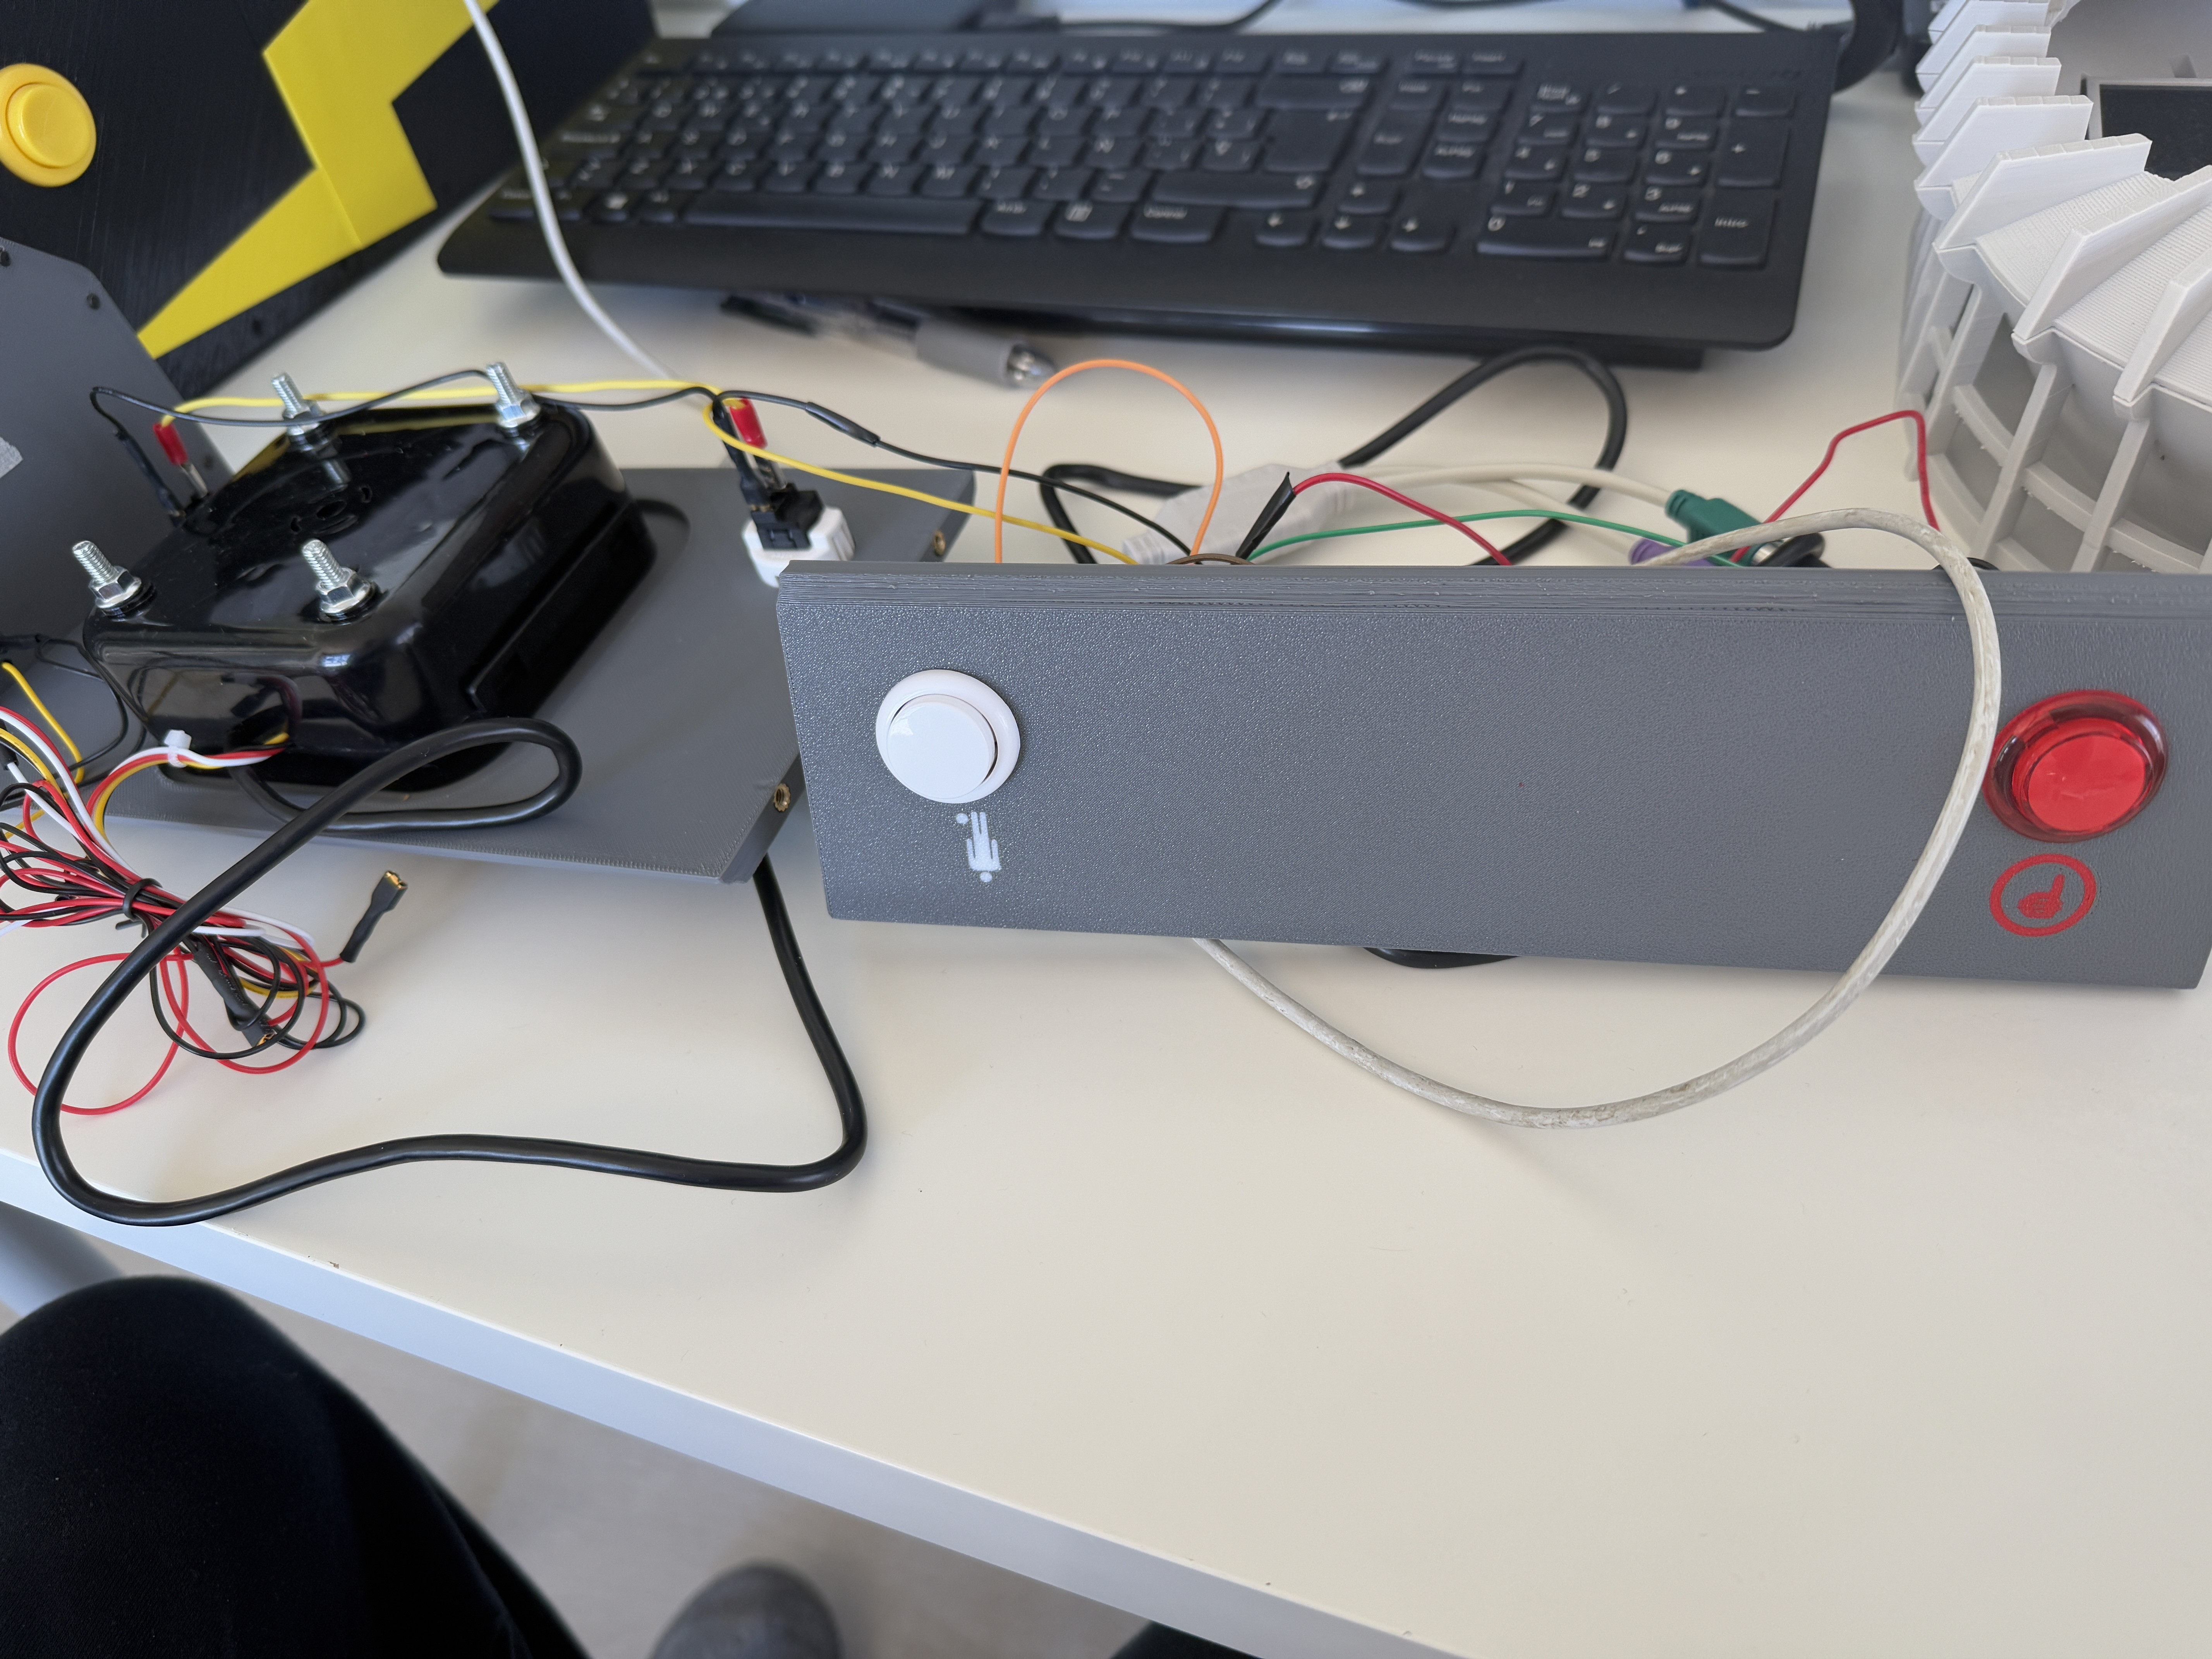
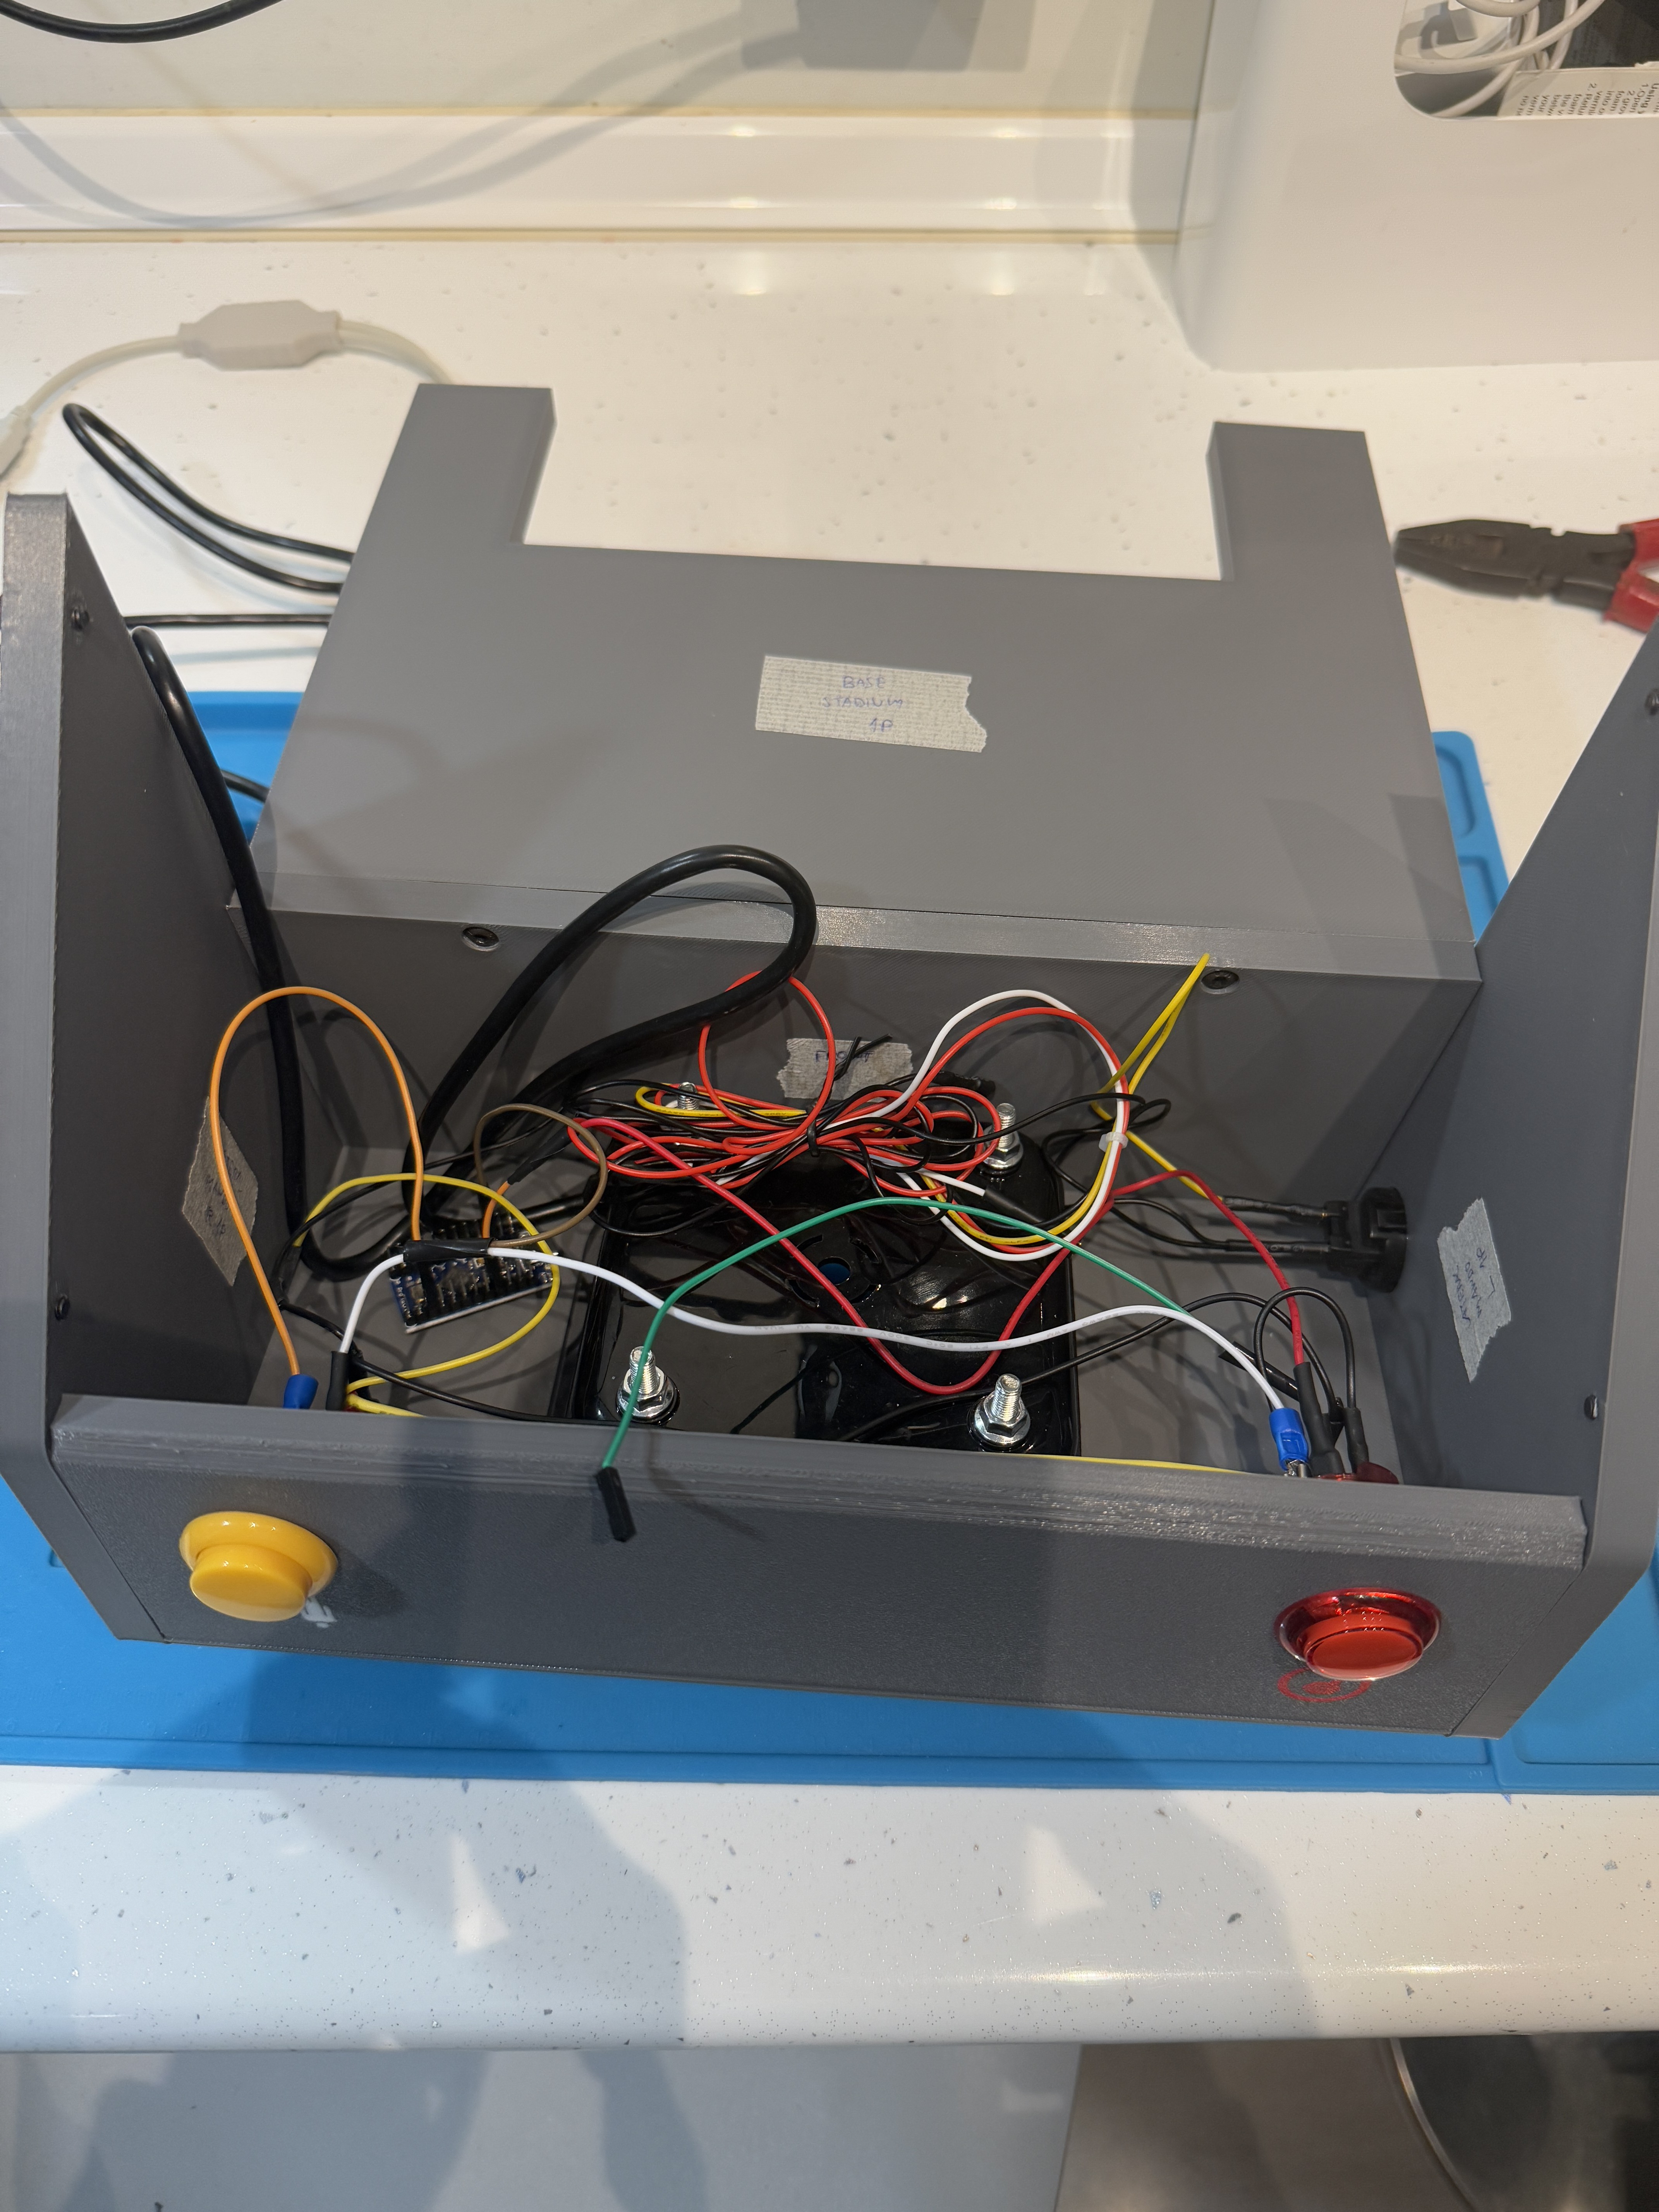
10Secure the components and complete the assembly of the control.
To connect the button terminals to the Arduino Pro Micro, I used terminals crimped onto female Dupont wires. I’ve seen kits available on AliExpress in case you’re not comfortable cutting, stripping, and soldering wires.
To secure the Arduino, I used a mini hot glue gun and double-sided tape.
Before closing the assembly, it is important to install the base where the stadium will be placed. It is screwed in from the inside, and if we don’t do it now, we won’t have access later. As always, tighten the screws until it fits completely.
![]()
![]()
![]()
![]()
![]()
![]()
![]()
MINI ARCADE TEHKAN WORLD CUP WITH TRACKBALLS 2P
Recreating a small and updated version of the legendary 2-player trackball arcade game TEHKAN WORD CUP


Discussions
Become a Hackaday.io Member
Create an account to leave a comment. Already have an account? Log In.