Close
0%
0%

SAO Speak and Spell

First PCB board design and SAO in one project motivated by Supercon 2024

Similar projects worth following
This is my first board design and my first SAO all in one project. With lots of coaching from my brother Andy Geppert (Core64 guy) I am struggling through the process. I love the Speak & Spell form factor and what it represents in early computing. I have a few other projects on the list related to Speak & Spell form factor so this made a lot of sense for an SAO.

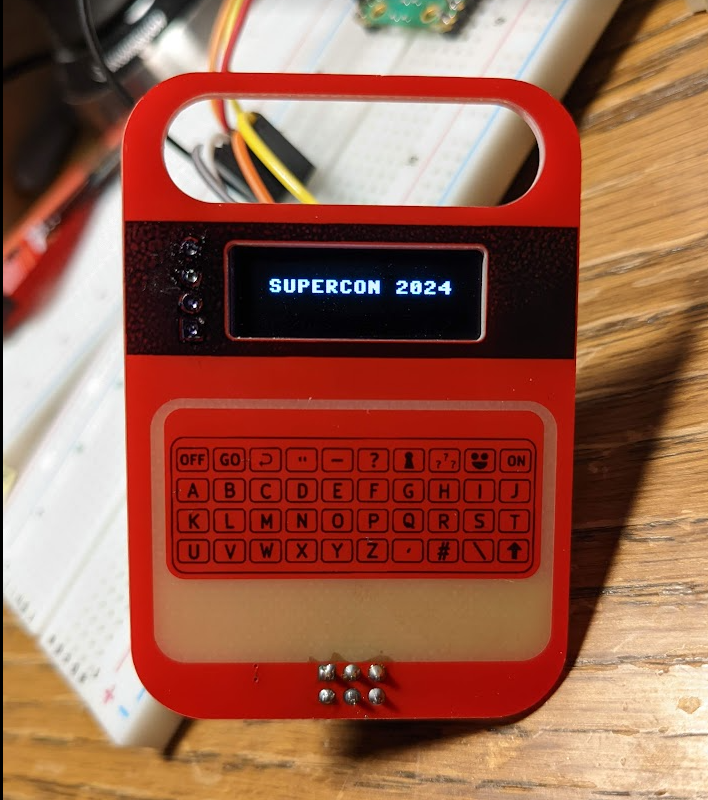
The design was scaled to fit a 128x32 OLED display. Surprisingly it scaled pretty well.
Ultimately and ideally it will have the display, speaker (with amp) and a single input button.
I am hoping to at least have it working with a display at a minimum by Supercon 2024 with a few to trade and slap on the badge.

StartupTone 1.mp3

demo audio file

MPEG Video - 13.94 kB - 11/14/2024 at 15:29

Download

StartupTone 4.mp3

demo audio file

MPEG Video - 14.39 kB - 11/14/2024 at 15:29

Download

StartupTone 3.mp3

demo audio file

MPEG Video - 12.15 kB - 11/14/2024 at 15:29

Download

StartupTone 2.mp3

demo audio file

MPEG Video - 12.81 kB - 11/14/2024 at 15:29

Download

WELCOME.mp3

demo audio file

MPEG Video - 18.17 kB - 11/14/2024 at 15:27

Download

View all 8 files

  • Kits in the bag

    jeremy.geppert10/31/2024 at 23:33 0 comments

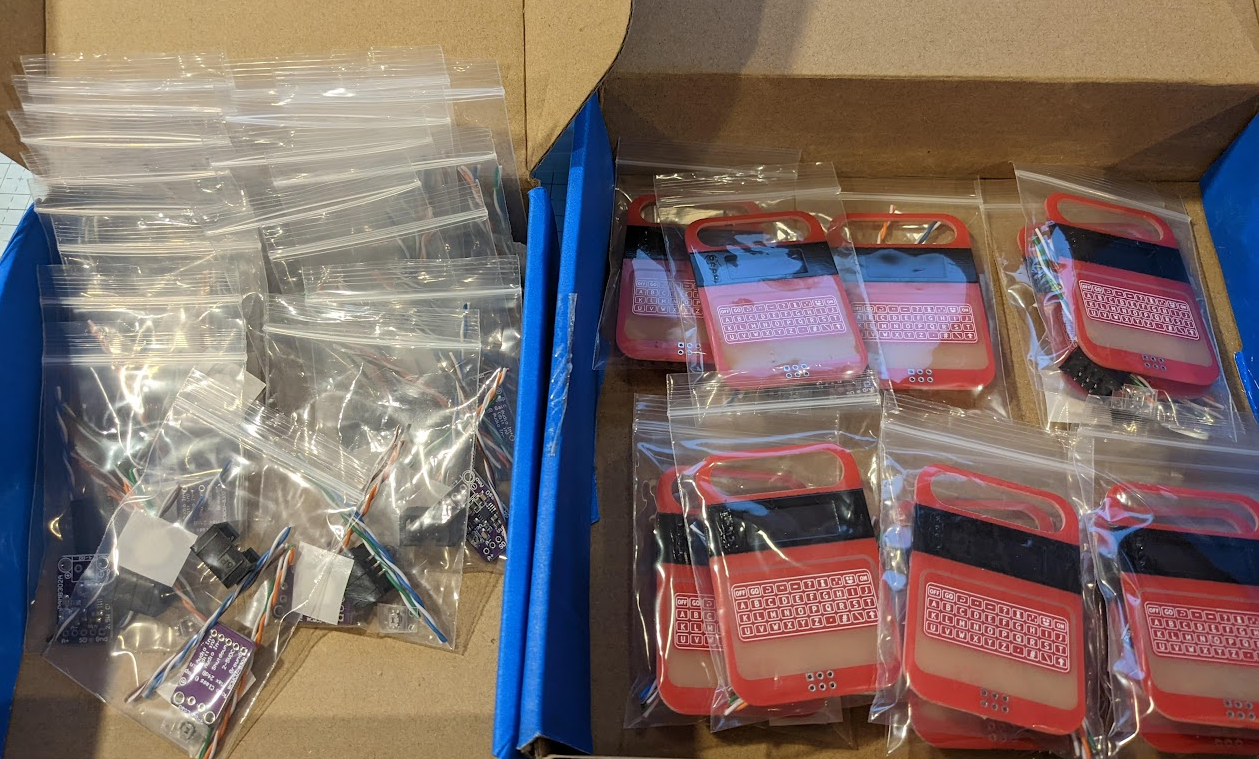
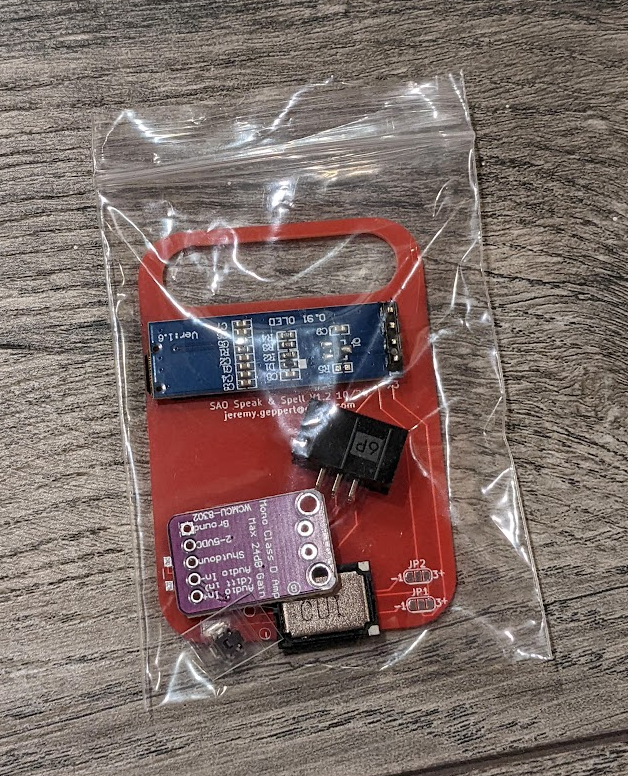
    The kits are done. Everything needed to complete it is in the bag. Including stranded wire from a CAT5 patch cable for the audio hookup part. That's the only wire I had around fine enough that made sense. Using larger wire is painful and unnecessary. 

    Now for a quick instructions update.

    I am sad to report I was not able to complete the demo code beyond the audio portion. I still don't have the display code working. I am hoping to get that figured out enroute or sometime this weekend. 

  • Sticky Situation

    jeremy.geppert10/30/2024 at 22:43 0 comments

    I came home today to find all the touch up painting completed. Thanks G! Time to glue the speakers on each unit. I used CA glue. Should be good? Seems solid and on the one I tested it sounded good. That is after letting the smoke out of an amp board. 5v some how found itself on the ground. Pffffft.

    The solder and pads don't show up unless in bright direct light.

  • Are you KITten me right meow?

    jeremy.geppert10/30/2024 at 03:44 0 comments

    Kit contingency in effect. Unfortunately the majority of these will be in kit form for Supercon. I was really hoping to have them complete. There just isn't going to be time. I did manage to get all the screens installed.

    My cool wife asked if she could help with anything. Help accepted!!!

    She will be painting over the solder/pads on the front of the boards that were masked off and then putting the parts in bags for me.

    I need to get the demo code figured out yet!!!!!! 

    I think I am doing this right? Running up against the last minute before Supercon? That seems to be what the cool kids do.

    The kit. Just add some small wires. The assembly instructions will need updating. The speakers need to get glued to the board so I might be able to get that done before kitting.

    All the OLED displays installed and ready for final painting touch.

  • Installing OLED Displays

    jeremy.geppert10/27/2024 at 00:32 2 comments

    I am cranking through the assembly now that the paint is dry. I'm installing screens first as they need touch up paint over the solder points on the front. If I don't get them all done in time at least that step is done for the kits. I might pull this off though. 

  • Production Mode

    jeremy.geppert10/26/2024 at 03:27 0 comments

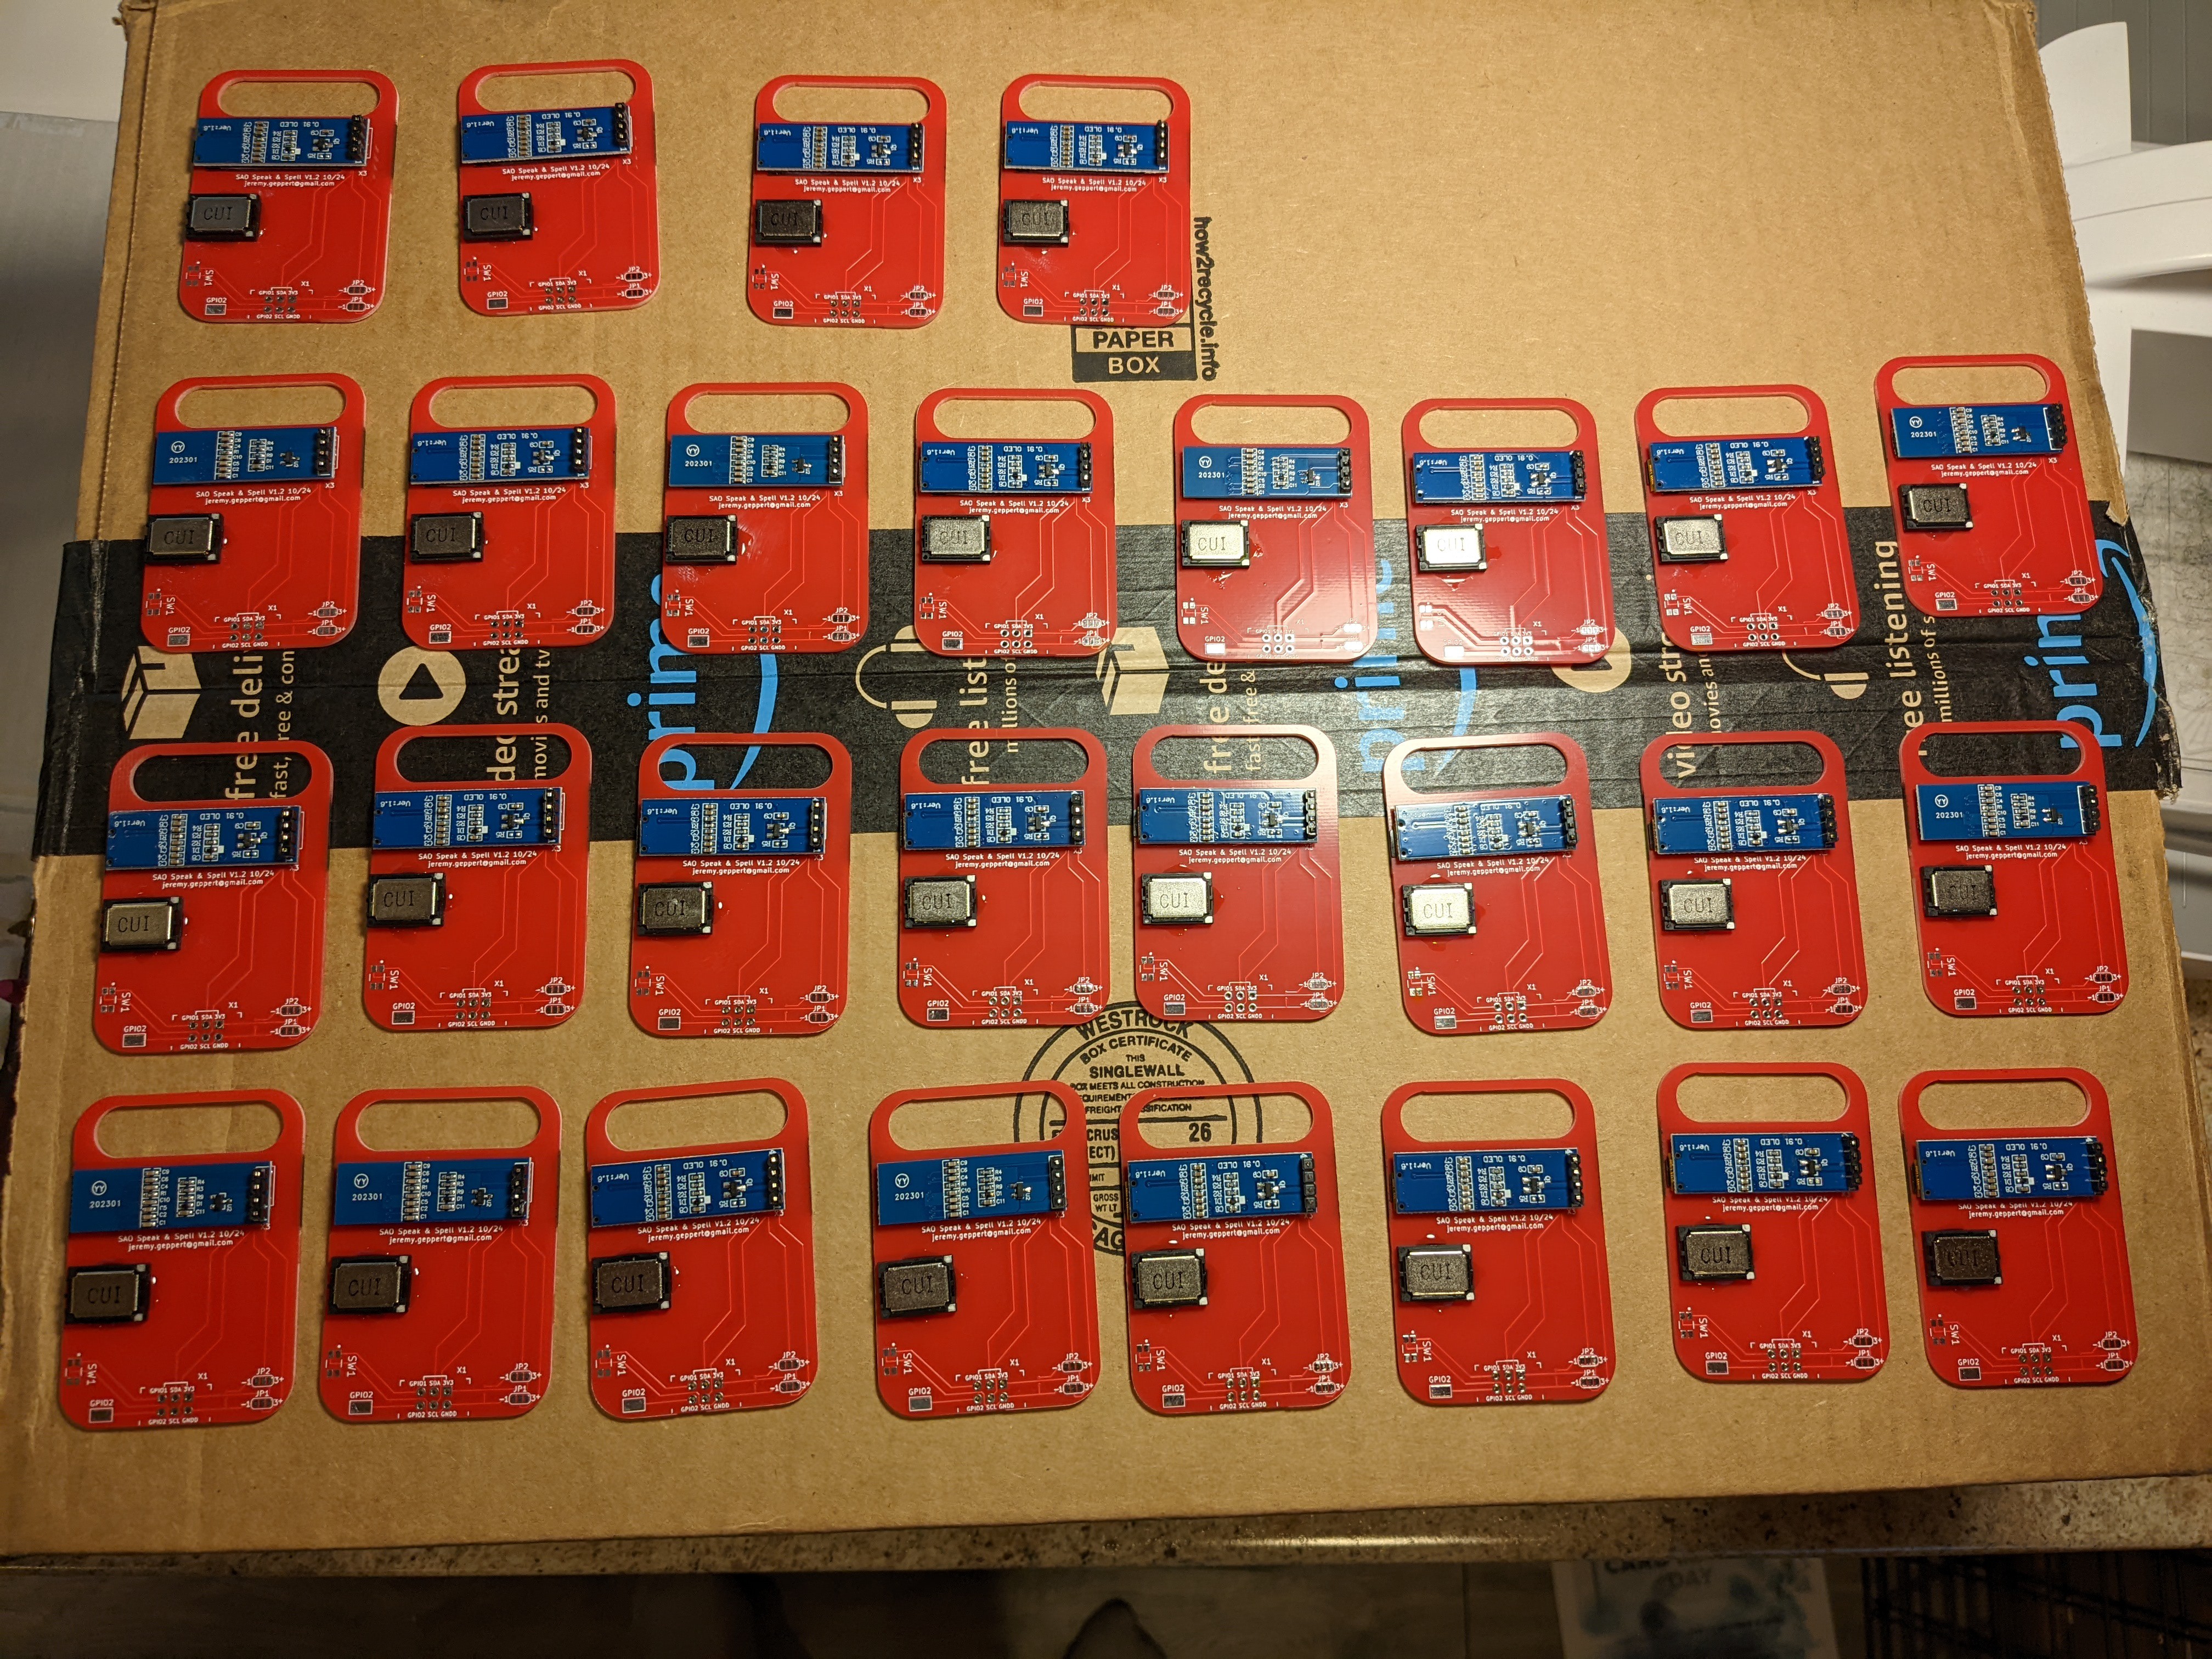
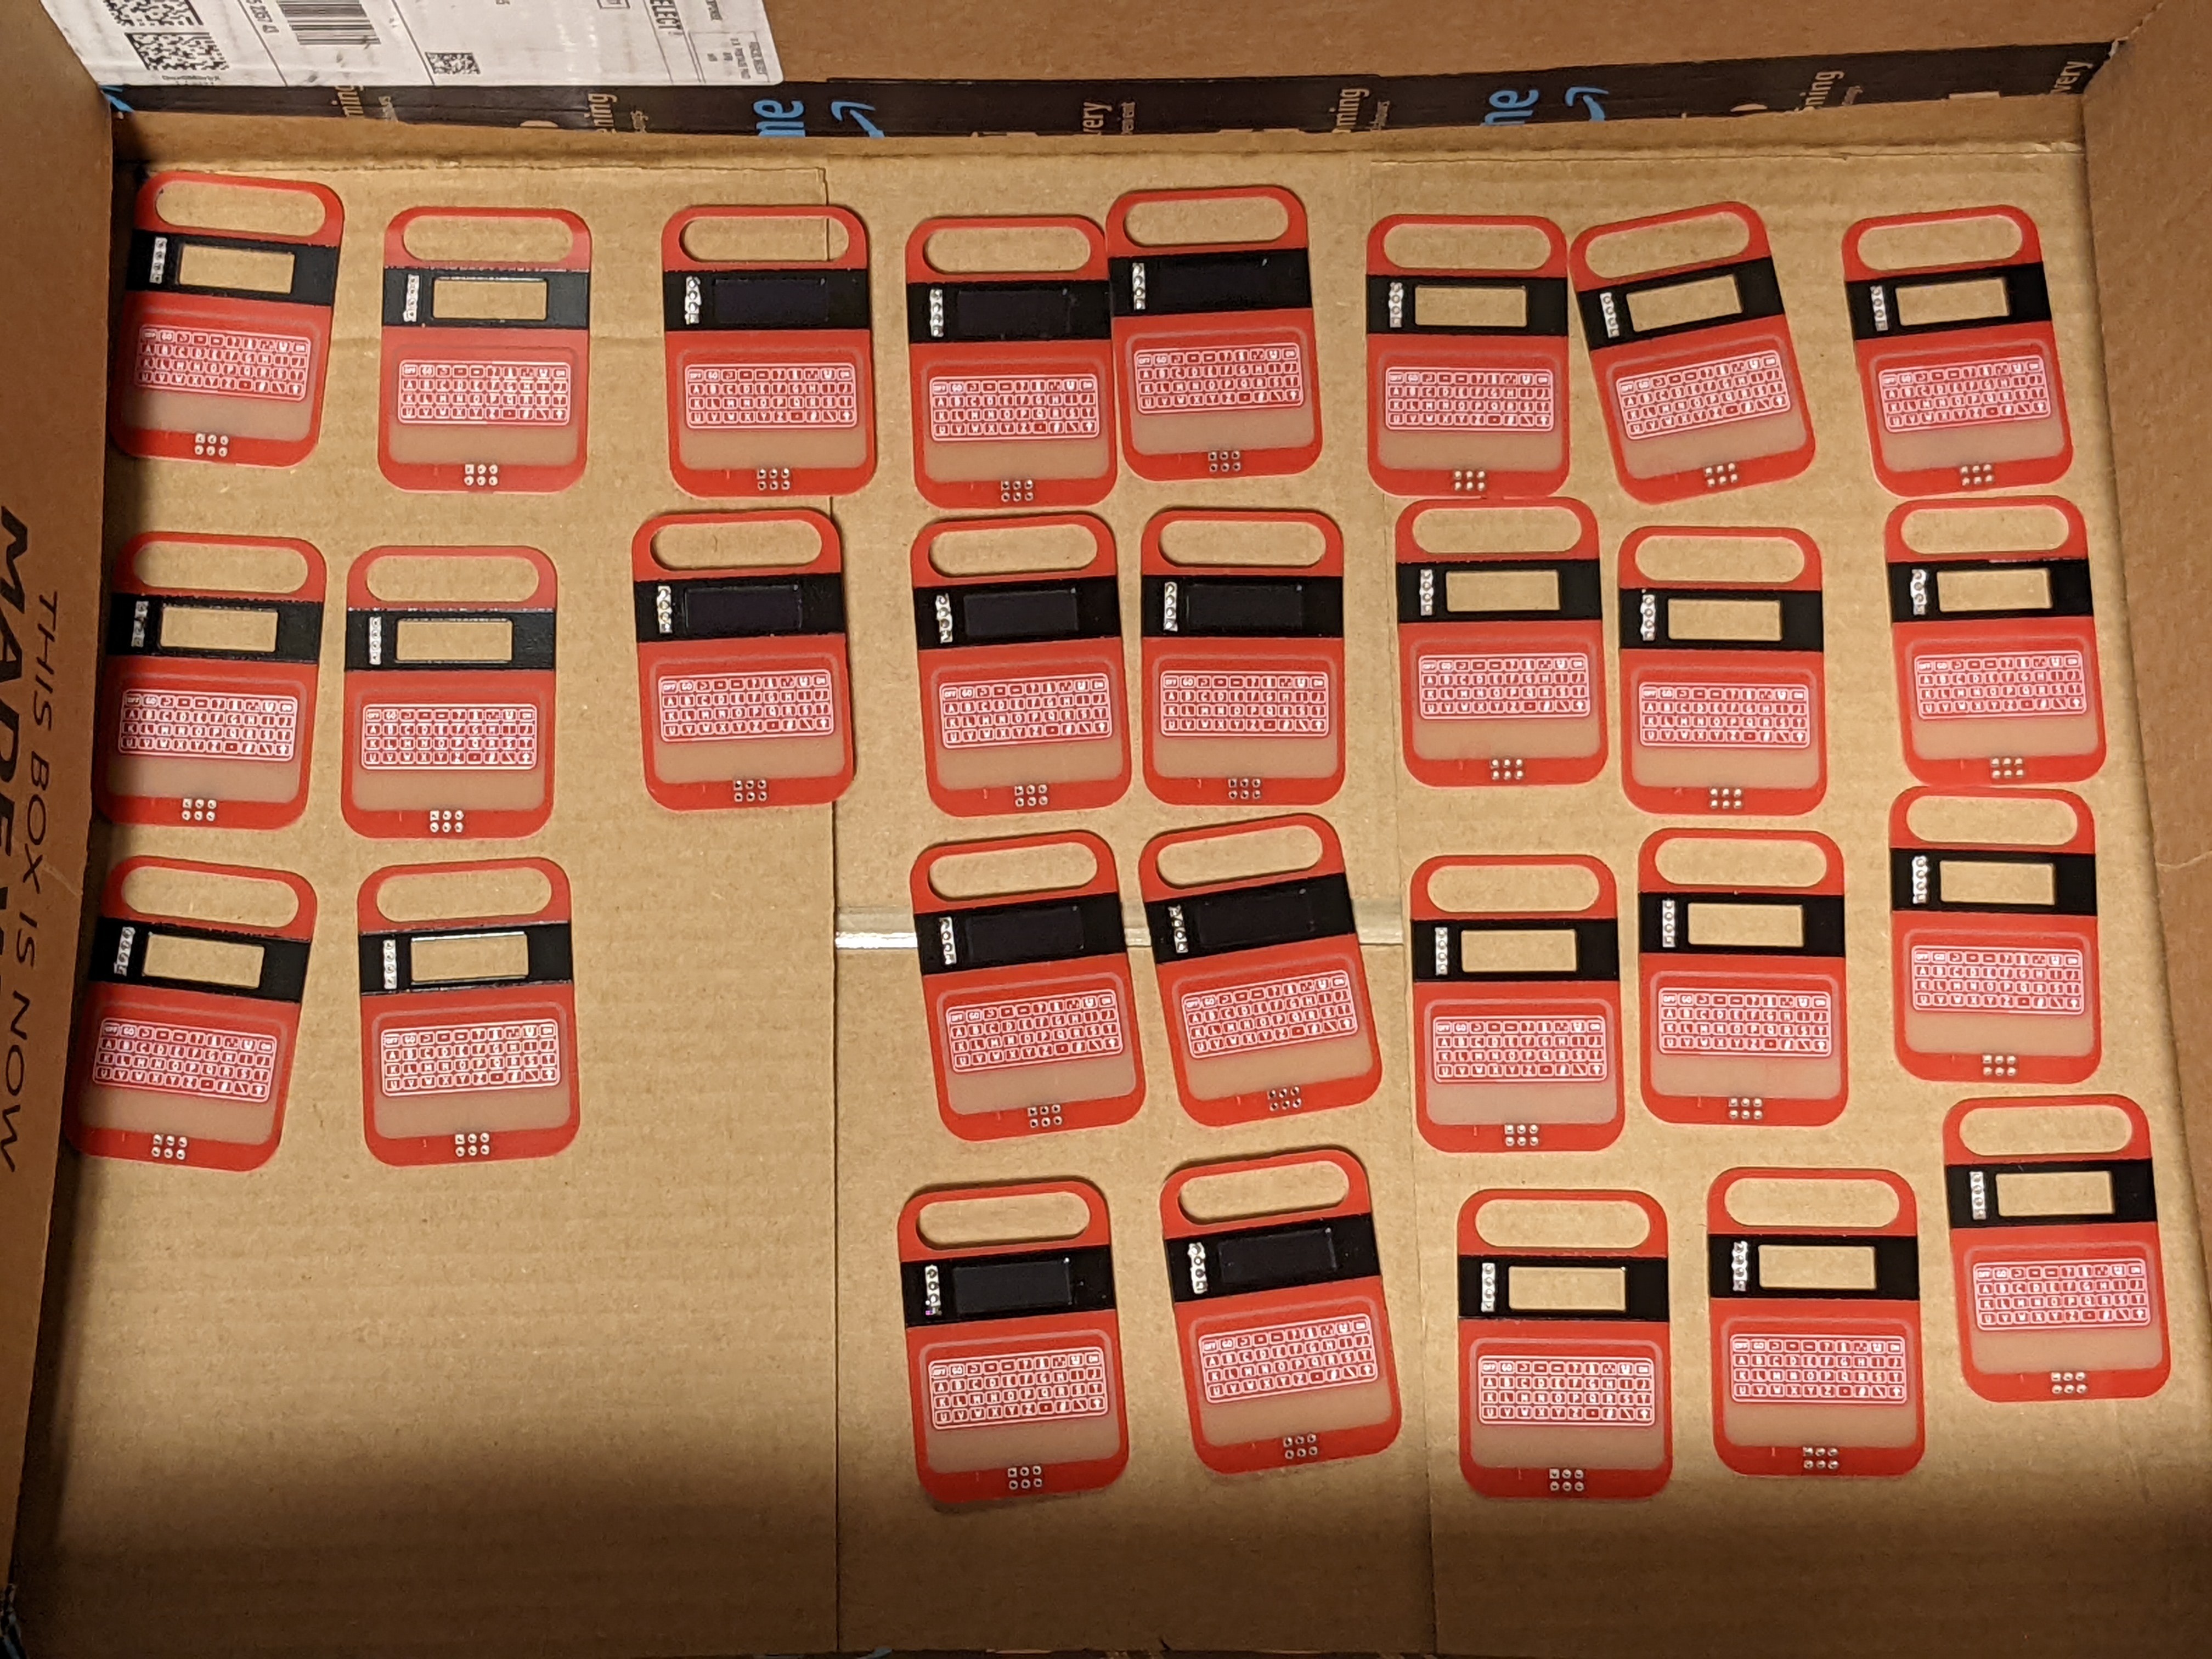
    After returning from some travel I came home to the V1.2 boards and all the other parts I need to complete 30 SAO Speak and Spells. 1 Week remaining so no time to waste. It took far more time than I expected to assemble one of these with the audio parts. There is a good chance I will be bringing most of these in kit form.

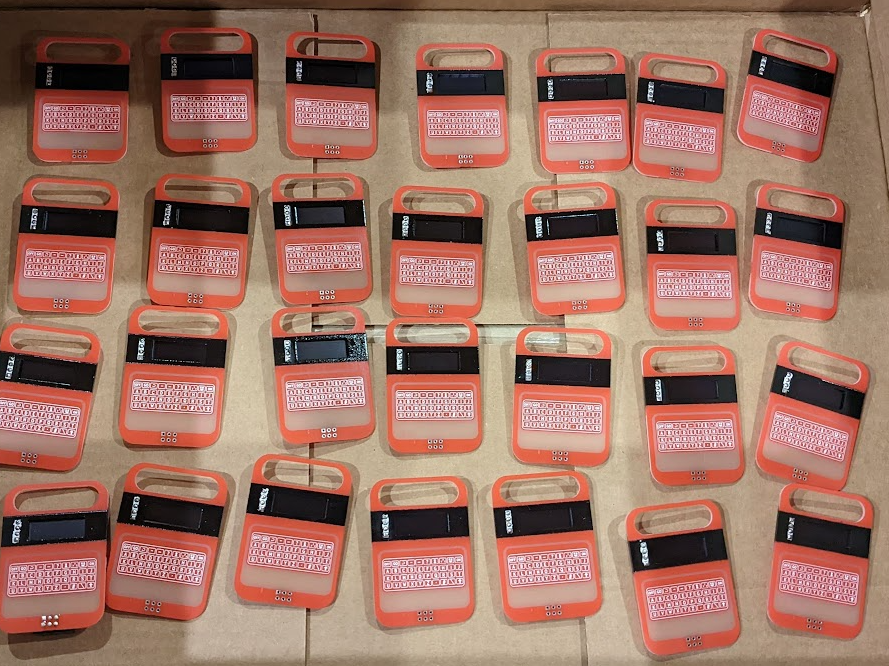
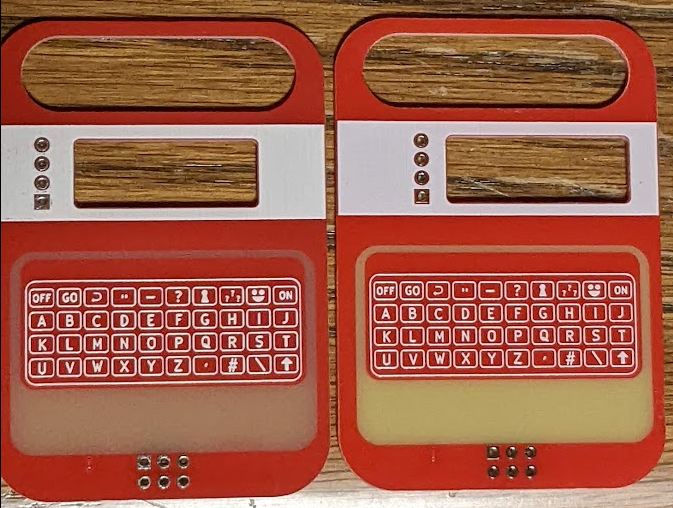
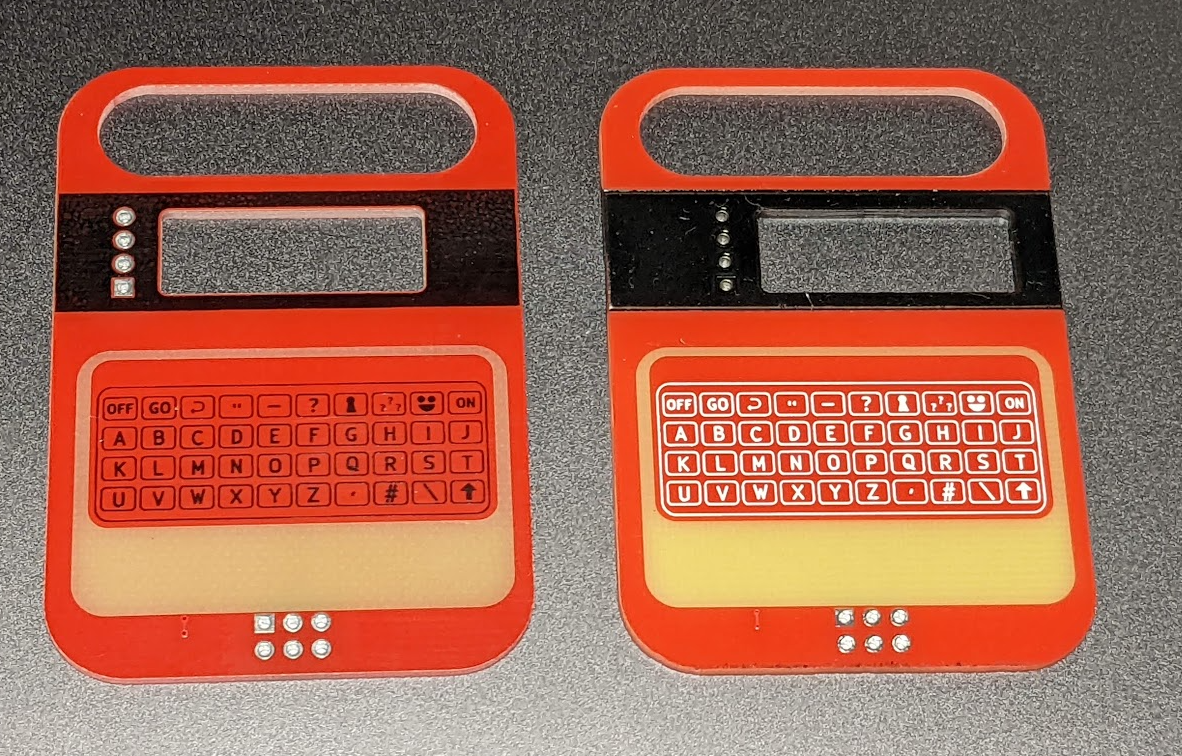
    The V1.2 board is on the left. I was surprised how not yellow and darker the red was in this batch. A bit disappointing compared to the first batch of boards. I'll make it work.

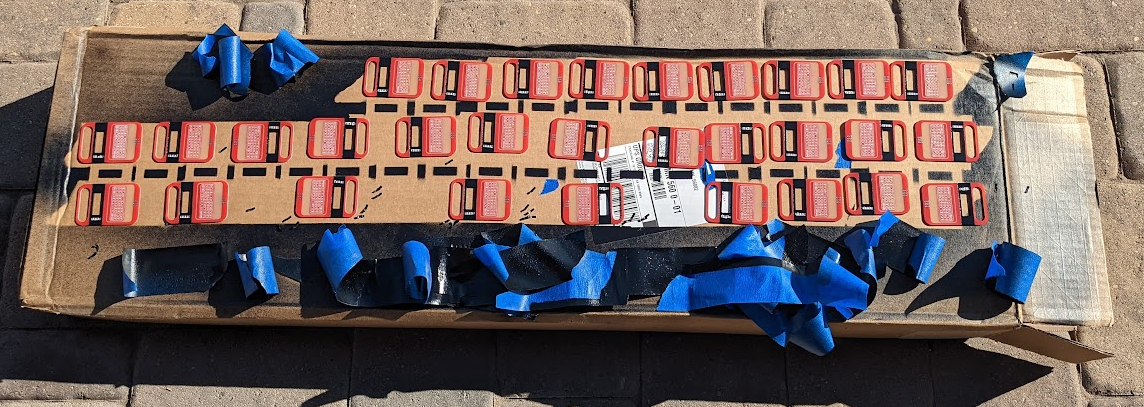
    Masked off for painting. By painting on the black strip I also get to black out the inside edges where the OLED sits. This looks MUCH better than exposed board.

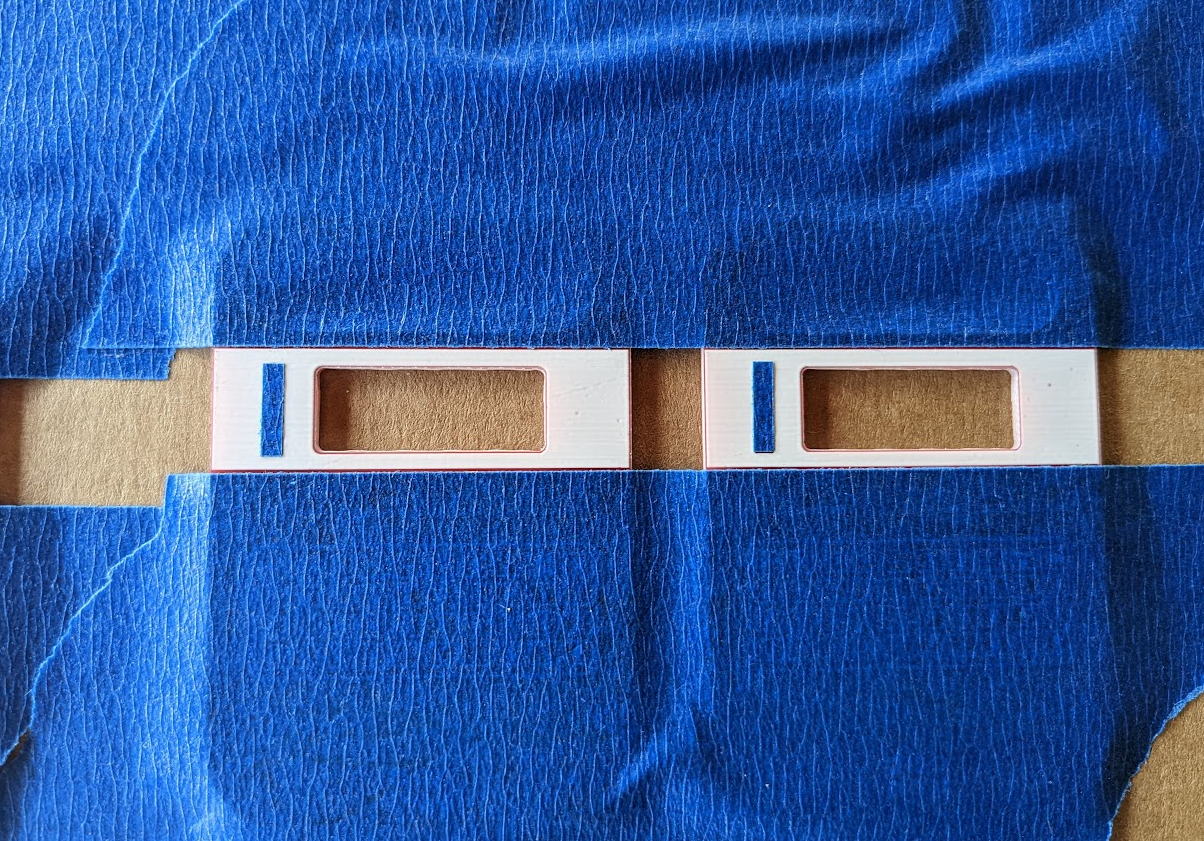
    But first to the laser to cut some 2.5mm X 10mm strips to mask over the holes/pads for the OLED. I don't want paint in there. I'll touch it up with more paint after soldering.

    All painted, masking removed and drying in the sun.

    Populated. All amped up.

    Now to get the code on one of Andy's SAO Demo Controllers to bring it to life.

  • It's the final countdown...

    jeremy.geppert10/21/2024 at 01:57 0 comments

    V1.2 Boards should arrive tomorrow.

    I ordered more speakers and audio amp boards so I can make sure all the the units I bring to SuperCon 8 will have both the speaking and spelling capabilities.

    My brother Andy gave me one of his SAO Demo Controller kits (https://hackaday.io/project/198034-sao-demo-controller) so I can have the SAO Speak And Spell doing cool stuff on it's own to test the functionality.

    My goal is to have the SAO Speak and Spell upon startup (with appropriate sound) start blurting out all the words from the original word list while also displaying them on the OLED display.

  • Pump up the volume...

    jeremy.geppert10/15/2024 at 03:27 0 comments

    The 2.5W Mono Amplifier showed up today. I am running it off 3.3V for testing. Plenty of room on the back for the speaker and the amp.

    Test video below:

    The plan is to stick everything on the back and jumper wire it up for a few boards.

  • V1.2 Boards Ordered

    jeremy.geppert10/13/2024 at 01:04 2 comments

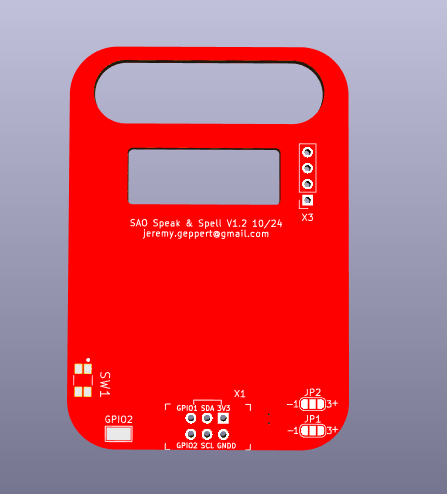
    After some more modifications V1.2 has been released to production!

    V1.2 Changes:

    1. The window for the OLED has been narrowed a bit to allow for variation in the OLED displays by batch/manufacturer. One the second batch of OLEDs I ended up having a space on the left that didn't look right.

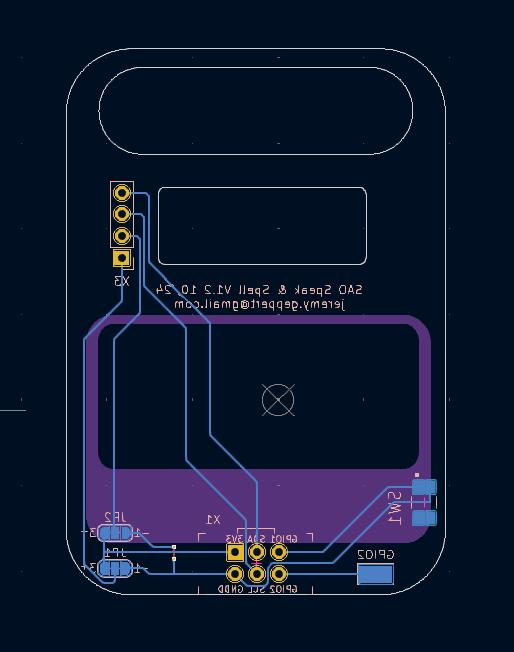
    2. The addition of a test point pad that traces to GPIO2. This will be for blue wiring to the audio amp stand along circuit board I am going to stick on the back of the board to add sound. I am running out of time and this made the most sense for my skill level. More on those details further down the update.

    3. I moved the polarity jumpers down to the bottom to allow plenty of room for the speaker and amp circuit.

    The Speak and Spell SAO is going to be capable of speaking and spelling!  :)

    After some great input and ideas on the colors, I decided to go with white silkscreen on red mask. I will spray paint the black bar. This will allow me to paint the inside exposed board edge of the OLED window.

    I'll also plan on painting over the OLED pins after soldering in place.

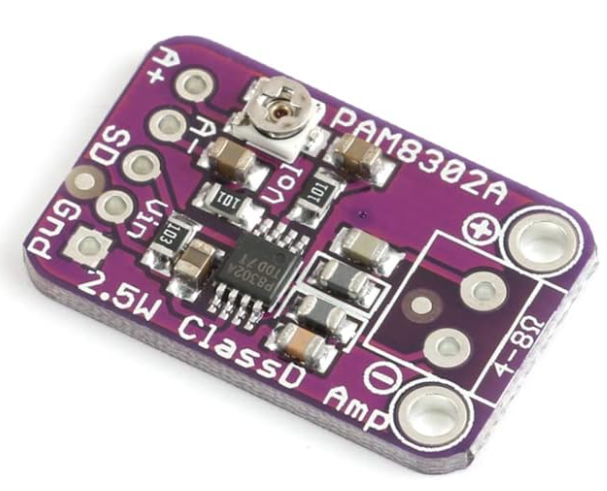
    This is the little mono amp circuit I plan to integrate onto a few of the boards to play with.

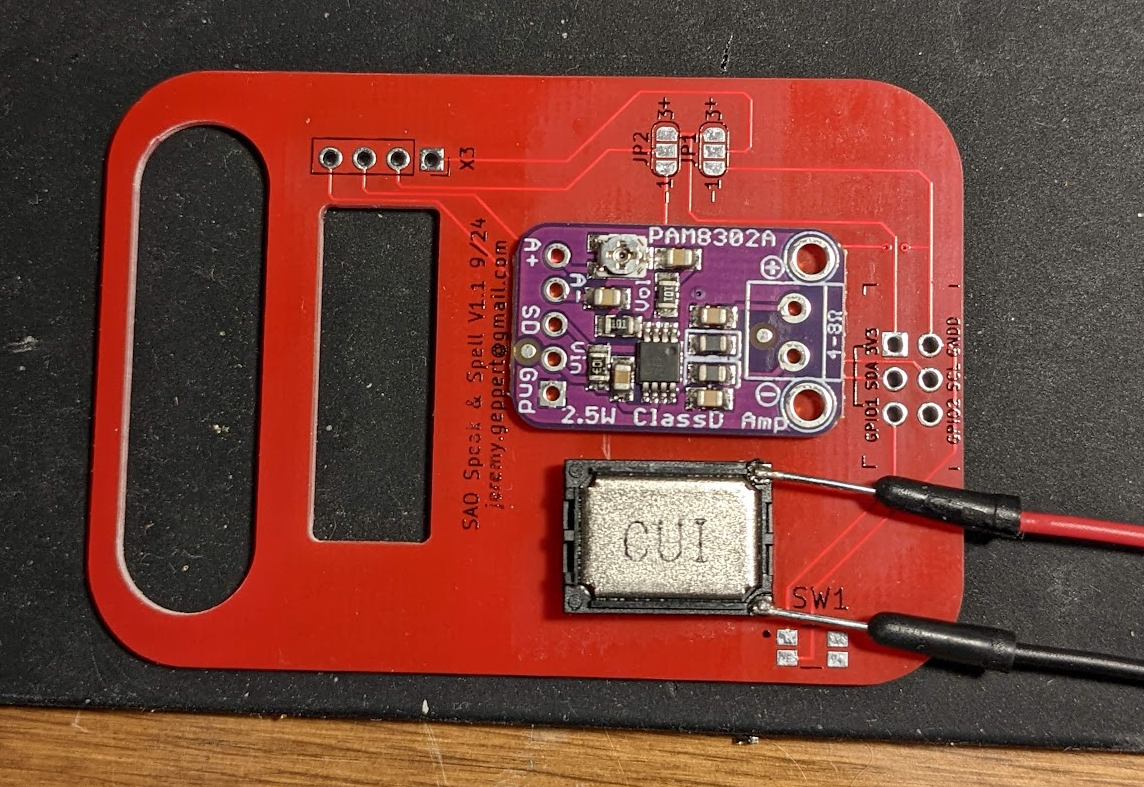
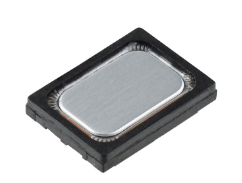
    And this is the speaker I am using. Part number and link to digikey will be in the components list on this project. My initial testing of placing the speaker on the backside of the board increased the perceived volume. I'll probably just hot glue it in place so it stays tight to the board and sounds the best.

  • V1.1 Boards Arrived

    jeremy.geppert10/11/2024 at 00:31 0 comments

    The revised board design arrived that addressed the screen position mistake. This small batch was also an opportunity to try the Black on Red color scheme that PCBX.com allows. The quality of these boards seems lower than those from JLCPCB. I am undecided about which color scheme I go with. The black on red is more costly. I'll be working on adding the speaker/amp to the design and then have to decide what it's going to be for the final batch to bring to Supercon.

  • V1.2 Features - Sound

    jeremy.geppert10/09/2024 at 10:47 0 comments

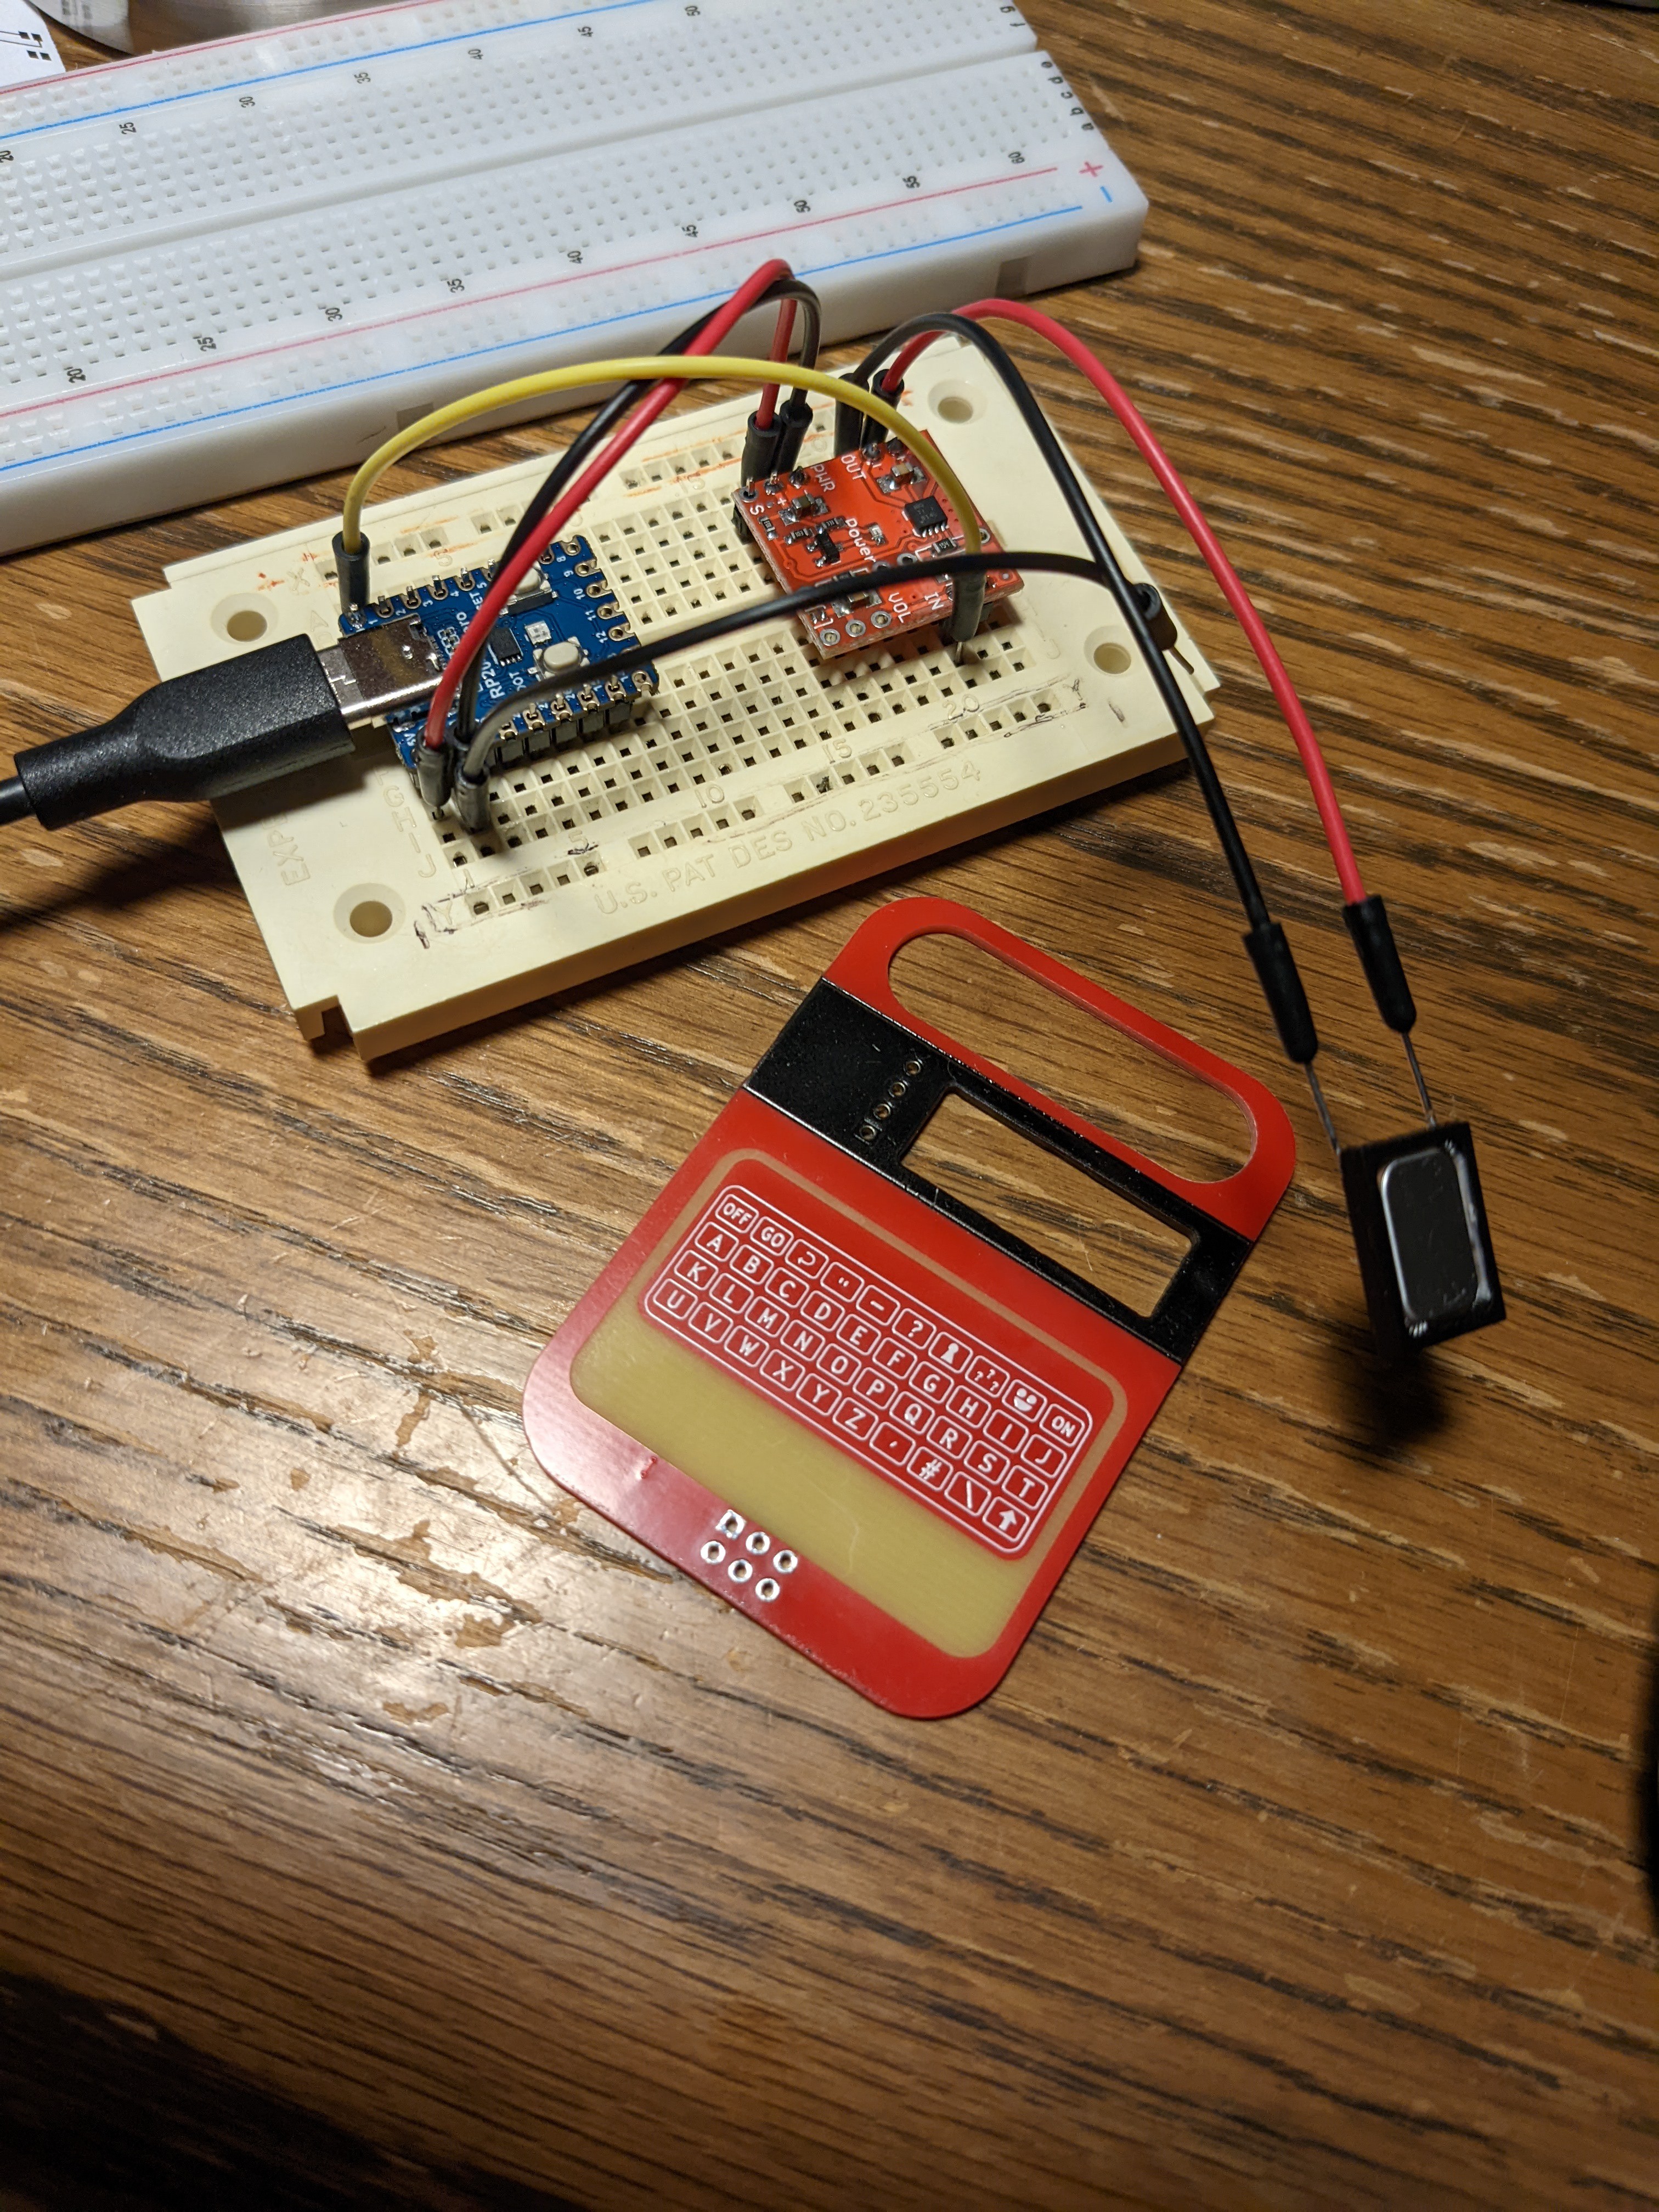
    Using CircuitPython running on a RP2040 Zero, an audio amplifier breakout board, and a small speaker I was able to play mp3 files. Certainly good enough for speak and spell quality audio that I'm trying to replicate on this small scale.

    I'll need to figure out how to pump up the volume but this is promising. The board has plenty of room on the back for a speaker and amp circuit yet. The speaker fits perfectly in the handle cutout as is so that is an option too.

View all 24 project logs

  • 1
    Wire it up!

    The board comes with the OLED and speaker already attached. 

    1. The purple audio/amp board needs to be stuck to the back of the board with the included foam double stick dot. Not the orientation to the speaker.

    2. The switch gets installed on the pads labeled SW1. Bias the switch so the button sticks out further so you can reach it. It's small and hard to press if recessed too far.

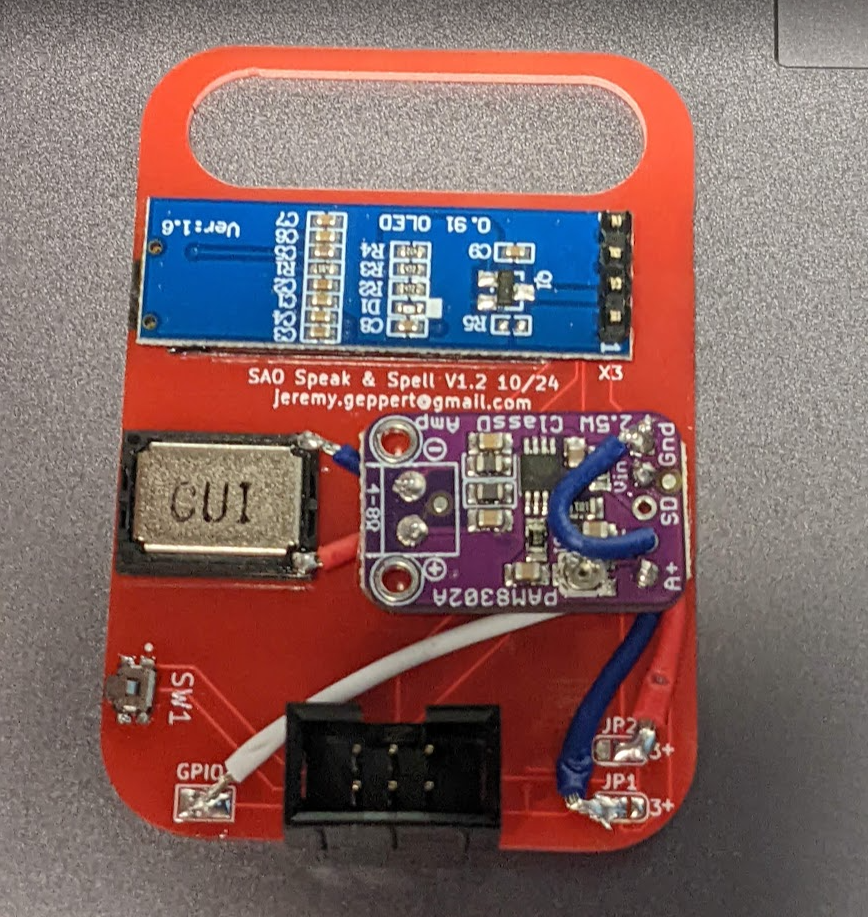
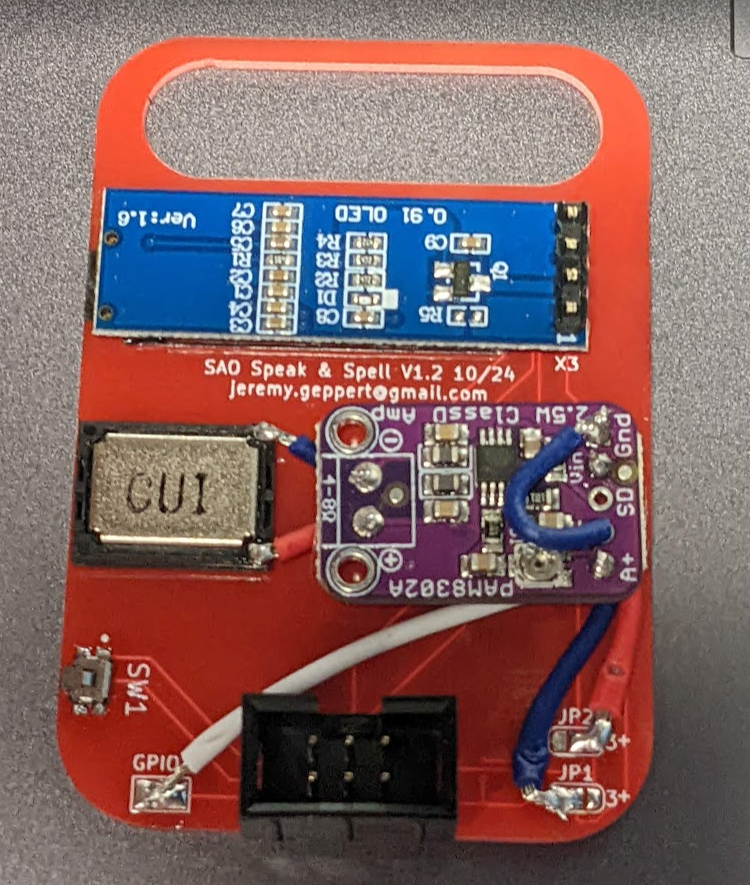
    3. Connect the wires as shown in the photo. The photo shows much larger wire than you will find in the kit. You can run the wires from the backside of the audio amp board if you want it cleaner. It's easier to just stick the amp board on and then add wires.

    -Power wires feed off the solder jumper pads for the OLED display on the lower right side of the board. This gives you the option for OLED Displays that come with different polarities. It's a convenient place to pick up power.

    -Short wires from the board to the speaker. Don't worry about polarity.

    -The ground needs to also jumper to the A- on the input side (right side) of input.

    -The GPIO2 pad on the lower left of the board needs to connect to the A+ on the audio amp input (right side).

    4. 6 Pin SAO connector. Solder this from the front. Consider mounting this with the pins flush with the surface on the front of the board. This will give more clearance for all the shenanigans on the back of the board and whatever badge you put it on.

View all instructions

Enjoy this project?

Share

Discussions

John Thurmond wrote 19 hours ago point

Great work, and it was nice meeting you at Supercon!
I got one of these from Andy, and just put it together last night.

You got some of it working while badge hacking at supercon - any software available yet?

  Are you sure? yes | no

jeremy.geppert wrote 18 hours ago point

Likewise John! I have made no more progress but I'll post to the files section of the project here what I do have. It is using circuit python at the moment. My plan is to make a version 2.0 that has an MCU onboard with some fun functionality in addition to a working keyboard based on some inspiration from everyone at Supercon this year.

  Are you sure? yes | no

davedarko wrote 10/13/2024 at 16:19 point

I just realised something while looking at ebay - you don't have the "speak and spell" logo on it - are you not not planning to add this? 

  Are you sure? yes | no

jeremy.geppert wrote 10/13/2024 at 16:35 point

I'm concerned about copyright. Same with the TI logo. I sure did think about it though. I even found the font they used for the logo. "ITC American Typewriter Pro Bold Condensed". Maybe I'm being over cautious?

  Are you sure? yes | no

davedarko wrote 10/13/2024 at 17:12 point

you could write something like "Hack'A'Day" or Supercon as well, with pasadena instruments or something :D

  Are you sure? yes | no

jeremy.geppert wrote 10/13/2024 at 20:52 point

Now I can't look at it and see something is missing. :/ "Hack & Spell" in unmasked traces would be cool.

  Are you sure? yes | no

davedarko wrote 10/13/2024 at 21:23 point

I am so sorry!

  Are you sure? yes | no

jeremy.geppert wrote 10/13/2024 at 21:27 point

It's all good. If I do any more revisions, I'll put something on there. Or maybe V2... Or maybe a sticker...

  Are you sure? yes | no

Tom Nardi wrote 09/23/2024 at 04:48 point

What a cool idea, great use for the display. I had similar concerns when doing the screen opening for the cyberdeck SAO -- the paper template definitely a clever trick to help zero in on the proper position/clearances.

  Are you sure? yes | no

jeremy.geppert wrote 09/24/2024 at 01:32 point

Thanks! Upon Andy's recommendation I am using the same side button that you used in your cyberdeck SAO.

  Are you sure? yes | no

davedarko wrote 09/20/2024 at 09:00 point

awesome, good luck! :)

  Are you sure? yes | no

jeremy.geppert wrote 09/23/2024 at 02:39 point

Thank you!

  Are you sure? yes | no

Similar Projects

Does this project spark your interest?

Become a member to follow this project and never miss any updates