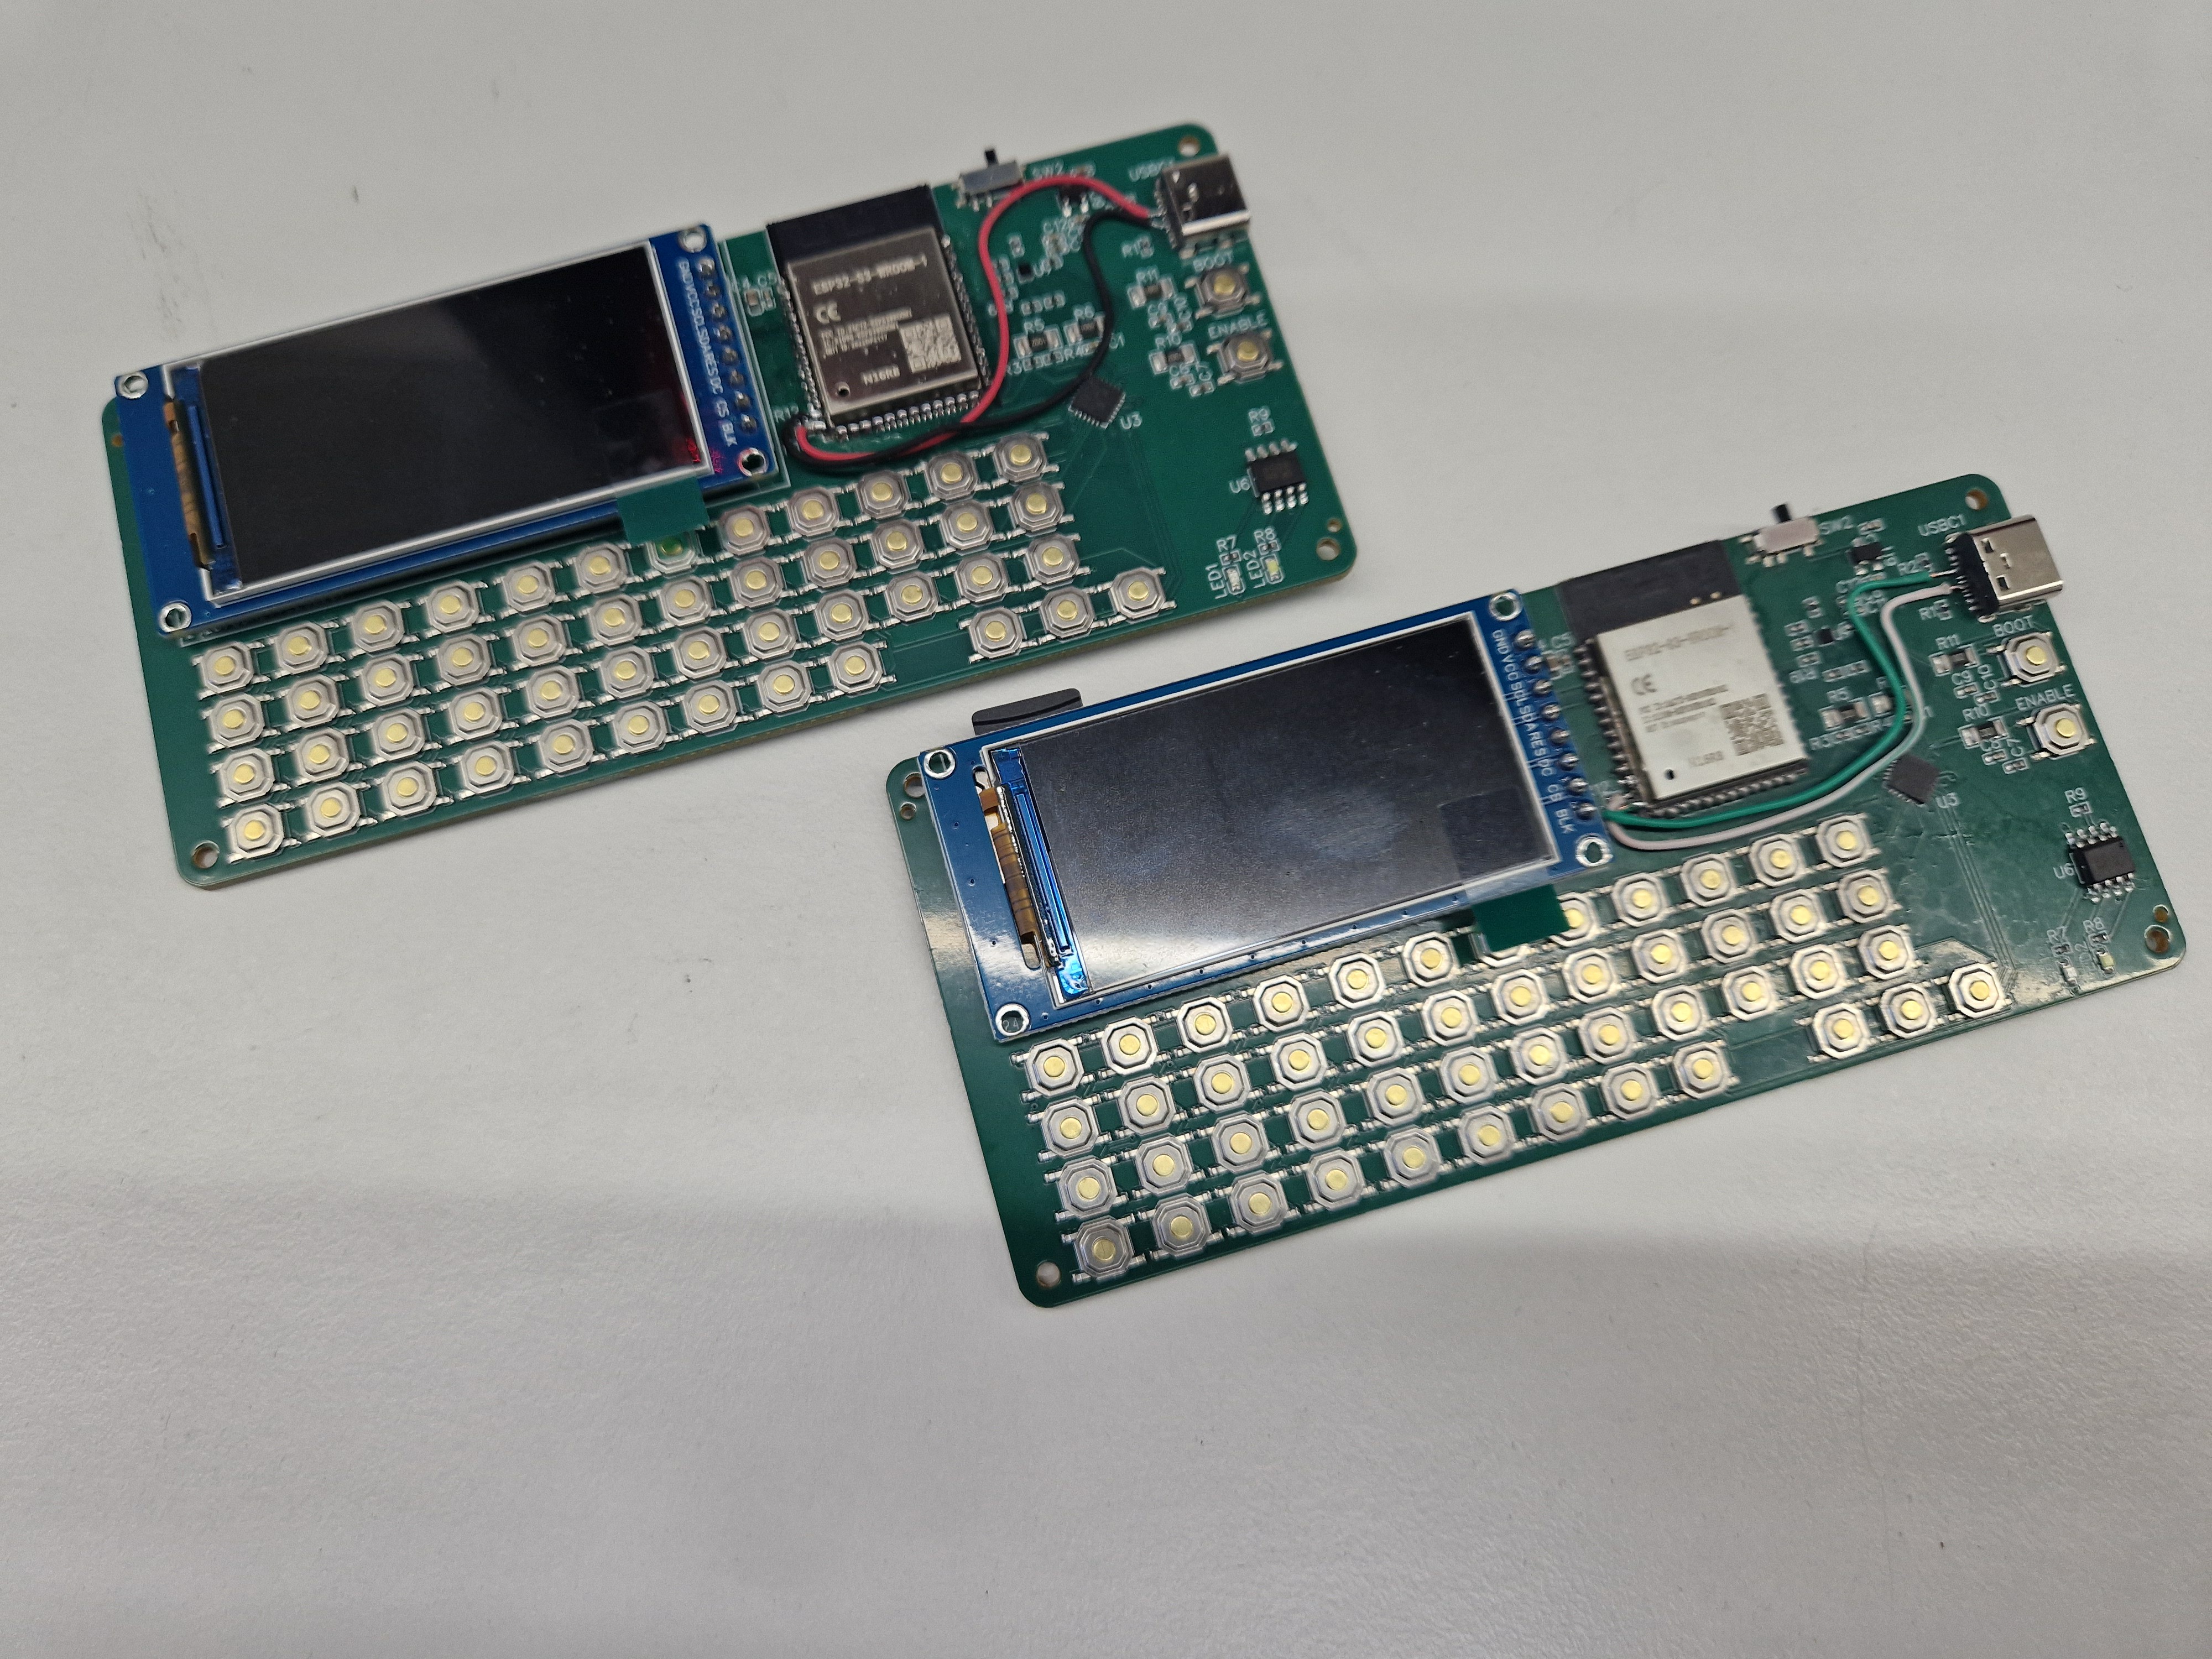
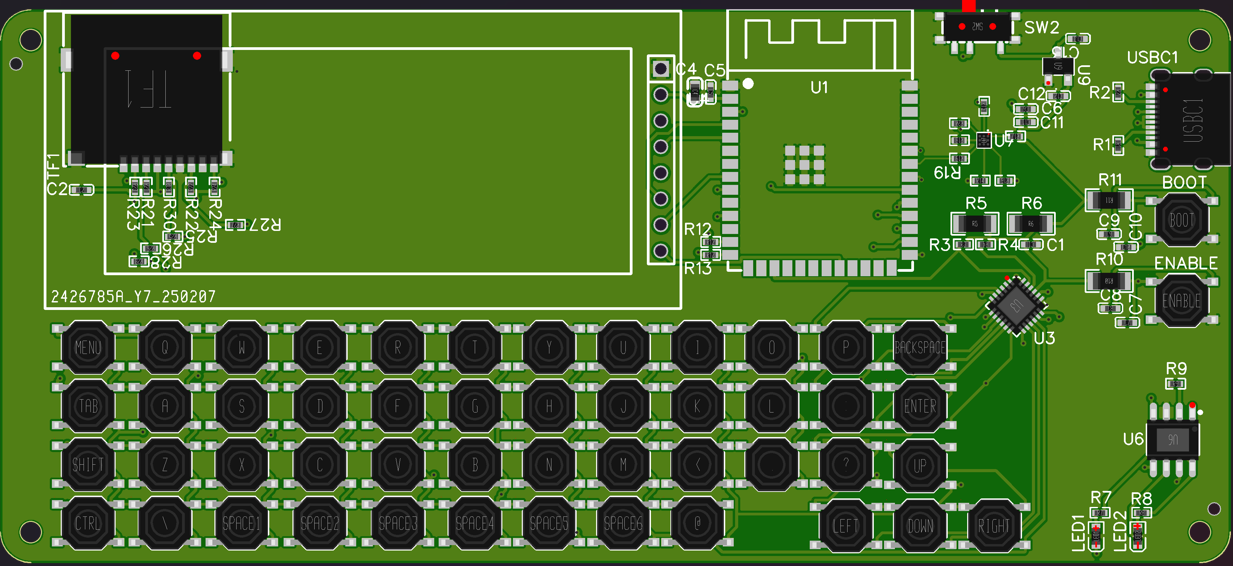
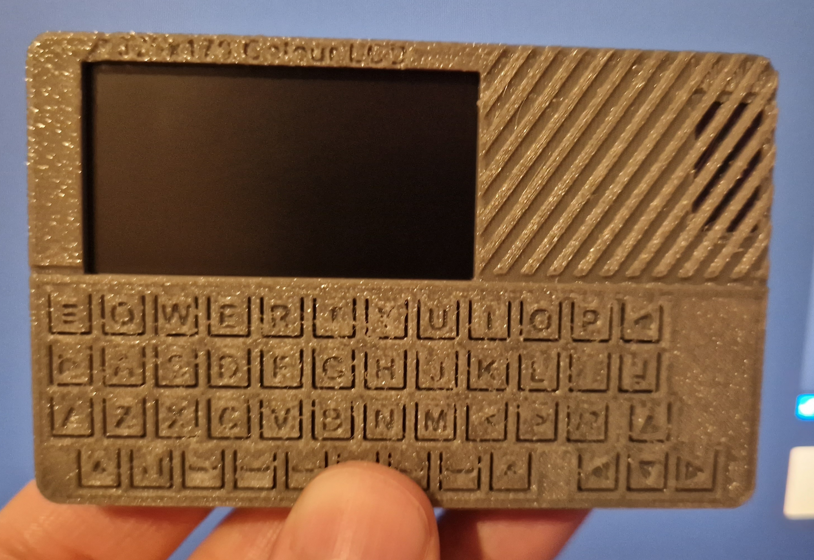
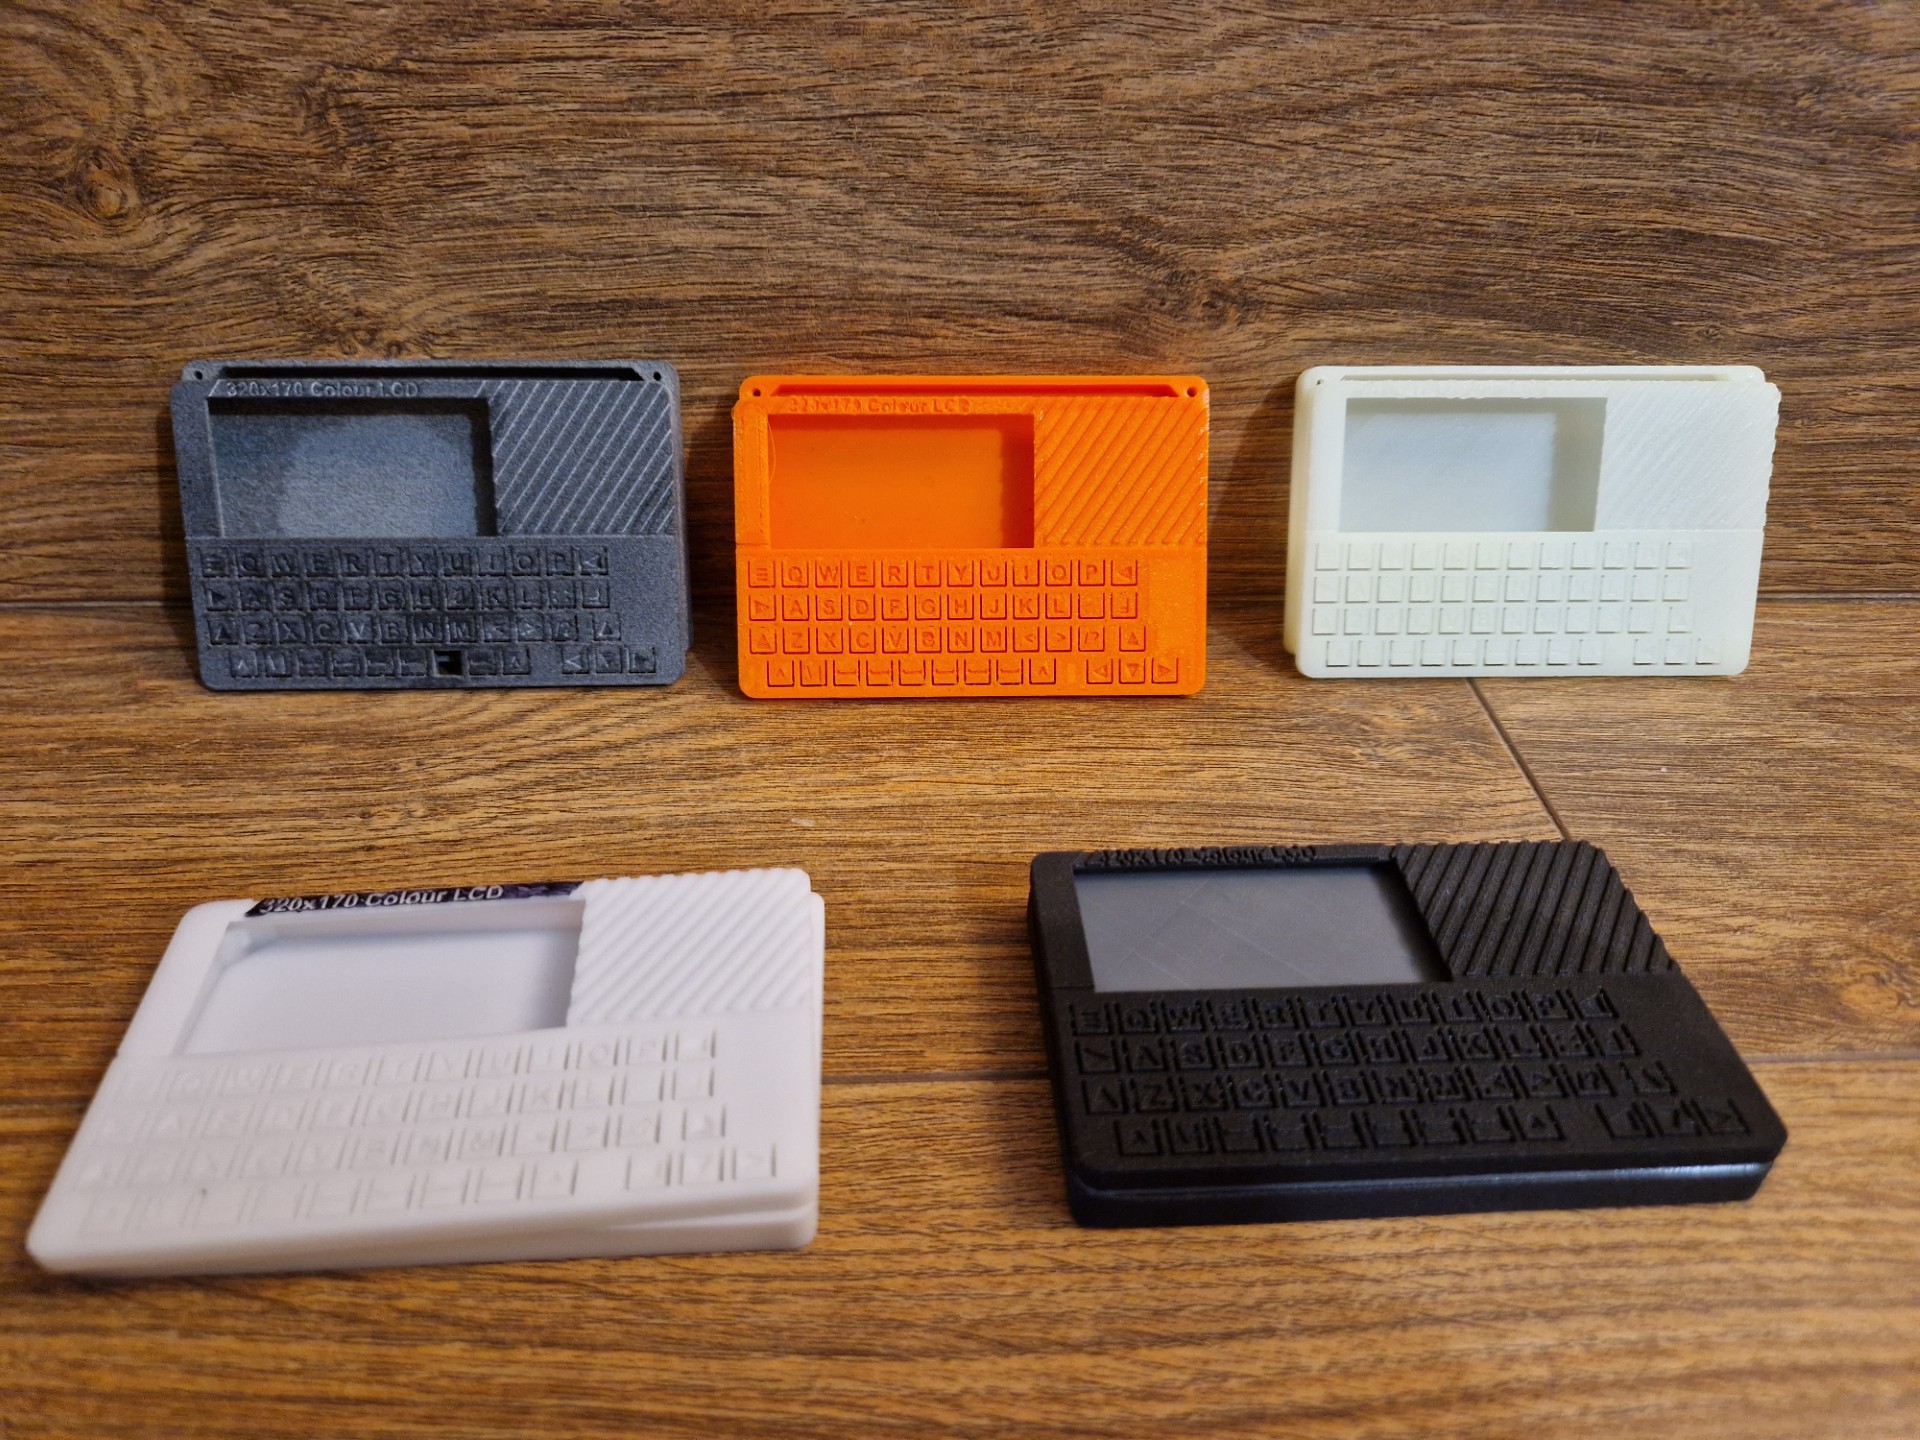
I'm working on a credit card sized little computer which will hopefully combine a bunch of things I currently carry into one (relatively) small package that will fit into a card wallet.
Features I currently hope to include:
Thermal imaging sensor
Time of flight distance measurer to act as a tape measure.
SD Card slot for playback of quality crunched videos files.
Internal Speaker
3.5mm Audio Out.
Retro themed menu/OS built in micro python.
Mac address scanner for local network devices.
Podcast rss grabber
MP3 playback
Tetris style brick falling game.
Text Editor (v. exciting).
I want this to feel like an old 80's or earlier style device, so the main menus and applications will be monochrome amber in style, the shell has notes of old casio keyboards.
I'm gonna be ordering some PCB's soon as I couldn't be bothered to breadboard the keyboard.
On here to look for feedback and ideas for applications an ESP32-S3 c
Hey all!
Been beavering away with Fusion360 trying to make all the components fit nicely - see some cheeky pics.
The neat-ish side:
The dirty side:
I'm not 100% sold on the speaker hole. It uses a smartphone speaker and seems compact enough to give me a little free space on the board, but I might swap it out for a slightly larger model if we don't need that extra space next to the screen for anything.
Here's the speaker currently in use:
Seems pretty decent for the size!
And here's the latest version with the screen and speaker in place (excuse the quality of the 3D print, I'm on the dregs of the roll now).
That's it for now! I have some sample PCBs on order to test some power rail designs for efficiency and such. If all goes well, we should have some initial versions of the board early January.
Managed to find time this weekend to have a play with the thermal camera and have popped together a sample application to check everything works as expected.
After much tinkering, I've managed to get a screengrab off the board to share with you all!
Just received the prints from JLCPCB, and honestly, it's a mixed bag. I know I was probably expecting too much given the price of the service, but if my cheap Bambu A1 Mini can do better… well, that's a yikes from me.
I had high hopes for the SLS 3201PA-F Nylon (black) and MJF PA12-HP Nylon (grey) prints, but these were definitely the most disappointing.
First impressions were promising: the parts feel tough and flexible, with a nice surface finish and a robust overall feel.
On the downside, both sets of nylon parts came out at different sizes. The front and back halves are undersized by varying amounts, so none of the screw holes line up. Comparing them to my home printer's FDM parts, they’re around 1mm smaller in both the X and Y dimensions.
The SLA resin parts (bottom-left white part in 9600 Resin and back-right off-white mystery resin), however, were mostly a win. I’m amazed you can get prints of this quality for as little as $0.66. The resin parts are tough, just flexible enough to allow the keyboard to actuate nicely, and have a good surface finish with fine text details coming through well.
That said, the walls on the resin prints aren’t perfectly square, which makes aligning the two case halves a challenge. It’s probably worth ordering another round of all the different resins to compare dimensional stability and find the right level of flexibility for the keycaps.
Since then, I’ve made some progress on the 3D model to better fit the screen and speakers. The next update will feature a more finalized version of the casing.
Excuse the poor quality images, I'm terrible at documenting stuff!
I had no idea SLS 3D printing had become so cheap!
To me this is crazy good value, got a bunch of different material/ 3D printing methods arriving in the next few days, this will mean the small batch I intend to produce wont have to be printed on my poor lil bambu a1 mini.
As the keycaps are a built into the shell via some pretty thin plastic ordering these parts meant agreeing that the prints would likely fail, I guess I'll find out soon.
Recommendation: If you can breadboard your circuits, always do so; unless of course you are 100% sure that your design will work. I have failed to do this before and it didn't end well. Of course just a suggestion.
Yeah no worries mate, I'm breadboarding stuff as I go. I'll need to move to a pcb soon as I finish up on the keyboard design, just because it uses an io expander for the keyboard matrix and I can't find a small breakout board for it.
I'm actually using a cheap slime vr tracker design I'm working on in parallel to help with this board, can just copy and paste the 3.3v supply.
I'll write an update as soon as I have something concrete to show off!
Recommendation: If you can breadboard your circuits, always do so; unless of course you are 100% sure that your design will work. I have failed to do this before and it didn't end well. Of course just a suggestion.