-
Sensibility
12/13/2024 at 14:05 • 0 comments10/12/2024
After stabilizing the skateboard, we encountered a new issue: the accelerometer lacked sensitivity. To move right, for example, it required a very large movement, which disrupted gameplay.
To address this, we modified the code and tested the game using our controller to fine-tune the sensitivity. This allowed us to find the optimal balance, ensuring the player wouldn't be destabilized during gameplay.
We also identified another challenge: relying solely on the accelerometer for all four motions made the gameplay difficult for the player. Small tilts were often misinterpreted by the program, causing unintended movements (e.g., jumping when trying to move right or left). To improve stability, we decided to replace the "down" motion with a button.
The button was positioned on the underside of the skateboard, designed to be pressed when the board was bent downward and the button made contact with the floor. To enhance functionality, we added a piece of foam to the button, reducing the amount of tilt needed to activate it. This adjustment made the controls more responsive and intuitive.
During this session, we also did welding to make the cable of the button longer so it doesn't disrupt the gameplay.
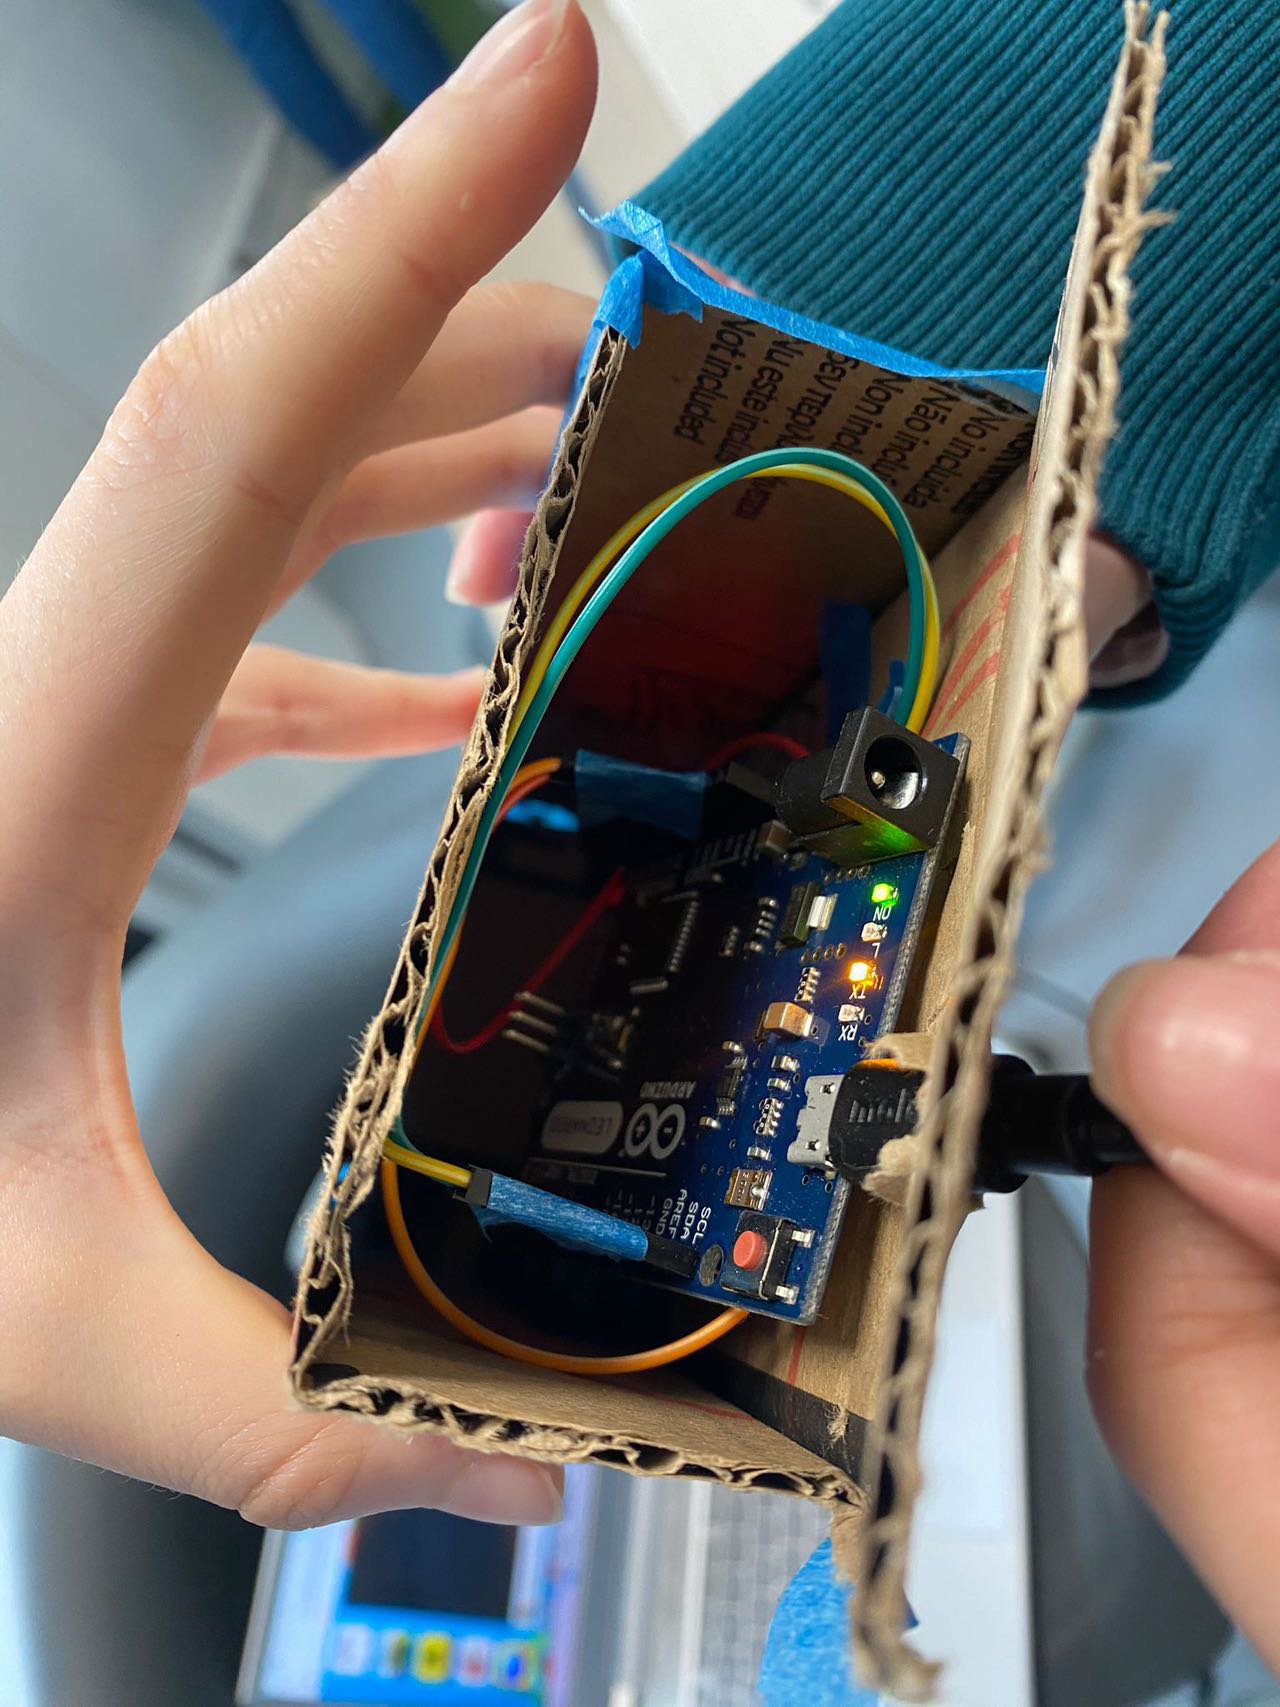
The final step involved assembling all the components into a cohesive design. We fixed the box containing the accelerometer to the skateboard and refined the overall appearance to create an immersive controller that clearly reflected its purpose: to enhance the Subway Surfer gaming experience.
-
Foam under the skateboard
12/11/2024 at 10:30 • 0 comments03/12/2024
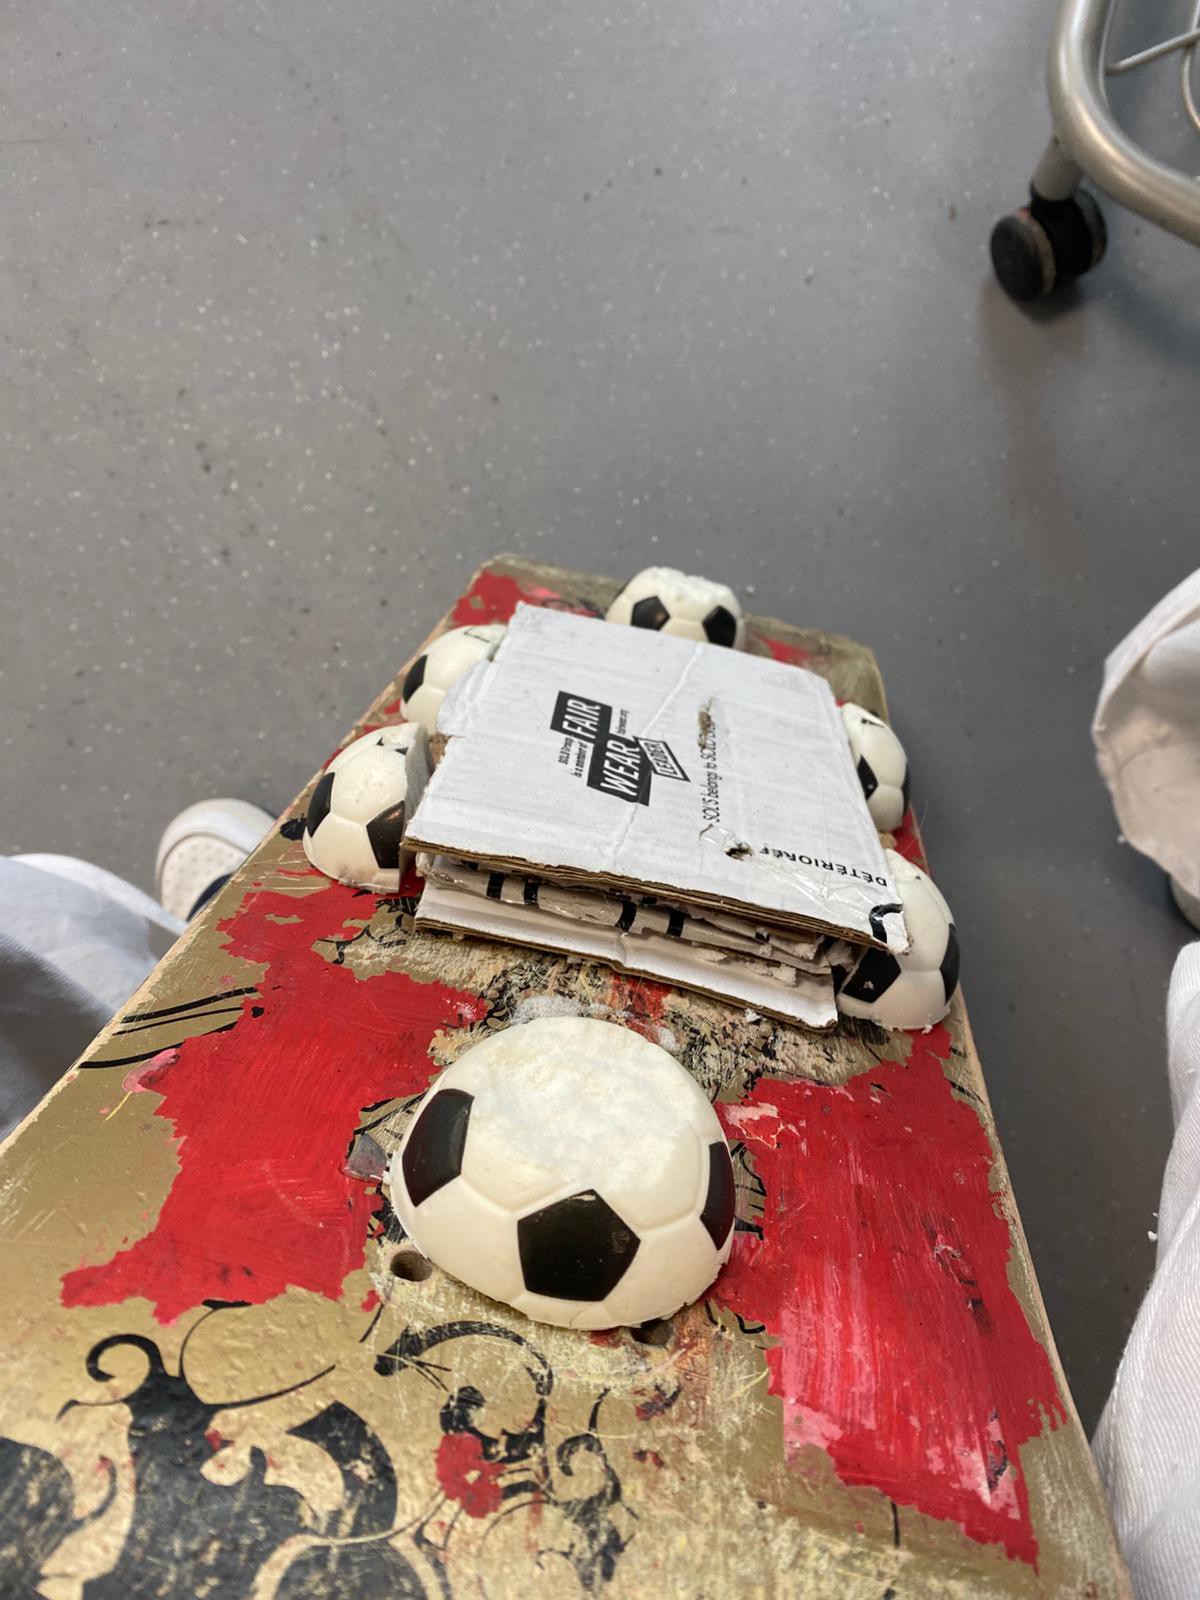
From last session, we obtained our code that was working very well without integrating it onto the board. We also found that the skateboard with only carboard is not stable enough when we tilt it.
So during this session we encircled the cardboard under the skateboard with foam. We cut it to make it have a smoother move, so that the foam follow the natural line of the skateboard.
![]()
However, as the foam was in the shape of a ball it didn't really followed the shape of the skate, so it was making the skateboard kind of static because the balls were higher than the cardboard.
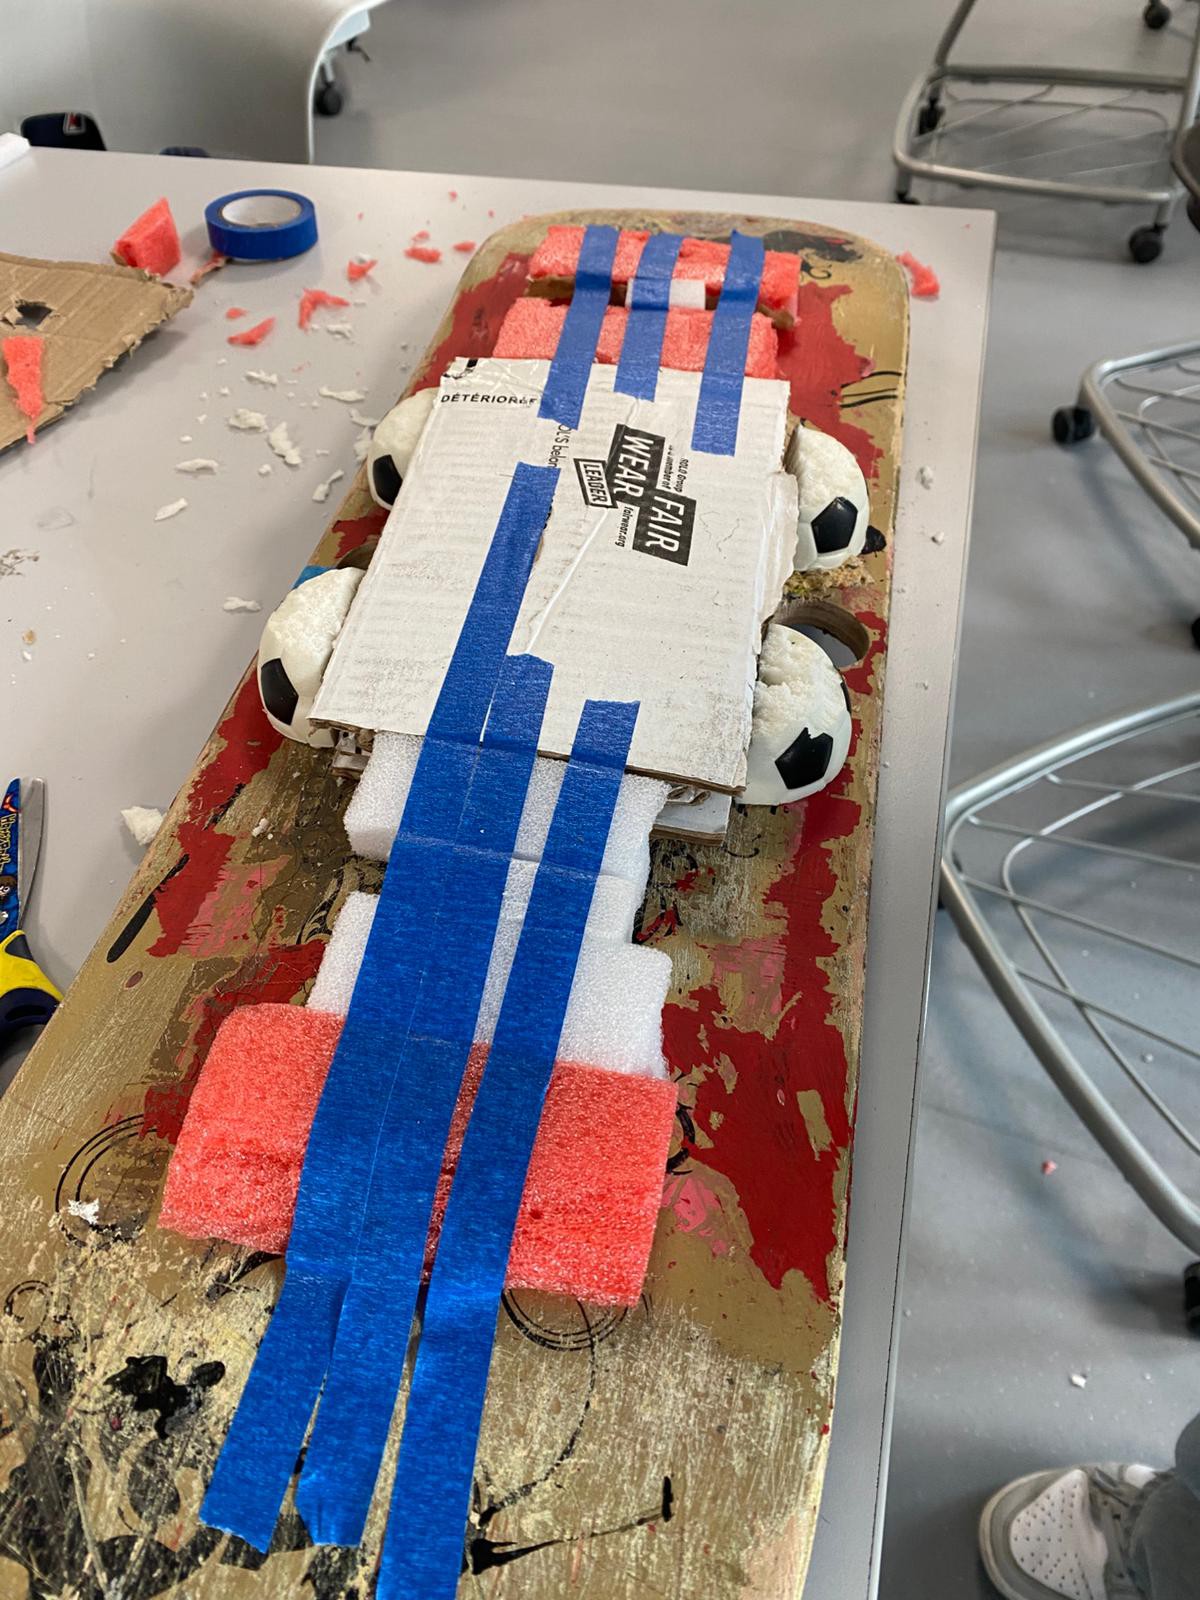
From this, we knew that we needed a square reshape the foam and cut in diagonal to make an inclination to make the tilt movement more easily.
![]() Last step from today session was to place the accelerometer on the skateboard. At first, we thought about placing it at the end of the skateboard. However, we soon found out that only three movement were possible because as it is at the end, the movement was smaller on the side where it was placed.
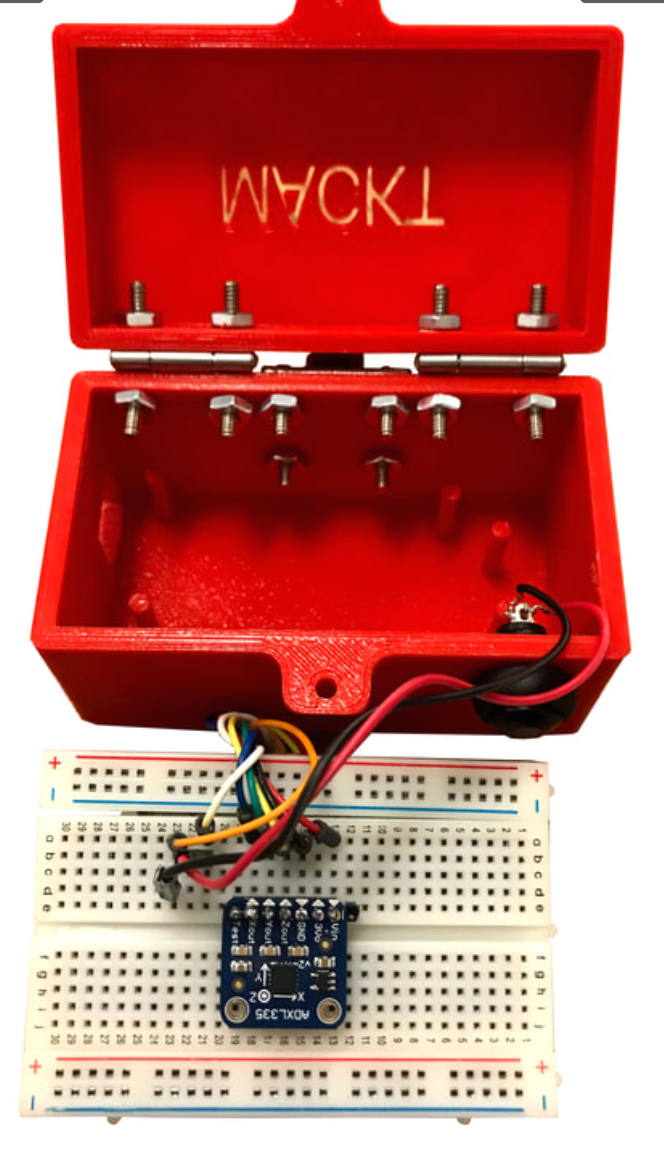
Last step from today session was to place the accelerometer on the skateboard. At first, we thought about placing it at the end of the skateboard. However, we soon found out that only three movement were possible because as it is at the end, the movement was smaller on the side where it was placed. Finally we tried to put it into the middle of the board and it worked !! ( we put the accelerometer with the Arduino leonardo into a box to protect it from exterior shock or damage).
![]()
![]()
-
Link to keyboard and skateboard stabilisation
12/10/2024 at 10:35 • 0 comments26/11/2024
As the keyboard code wasn't working because we couldn't connect the board to the computer. we found out that we could use python code to connect it.
import serial
import pyautogui

# Connect to the Arduino Serial port
arduino = serial.Serial('COM13', 9600)

# Key mappings
 key_mappings = {
    "RIGHT": "right",  # Right arrow key
    "LEFT": "left",    # Left arrow key
    "UP": "up",        # Up arrow key
    "DOWN": "down"     # Down arrow key
}


print("Listening for commands...")

while True:
    if arduino.in_waiting > 0:
        command = arduino.readline().decode('utf-8').strip()
    if command in key_mappings:
        pyautogui.press(key_mappings[command])  # Simulate key press
We have tried to make this code work by installing the serial library.
We couldn't make the code work because we couldn't find a way to install the library pyautogui. We were using Anaconda for python, however Anaconda didn't have this library on its base of information.
We searched it on Internet. However most of the website where only proposing solutions to connect a USB keyboard to Arduino, NOT the keyboard of the computer.
However, we found out that the precedent keyboard code wasn't working because of the type of the Arduino board (it was a uno). So we change the Arduino uno by a Arduino leonardo that contained the correct keyboard library.
Along the way, we found another problem. It seems that our computer wasn't detecting the Arduino leonardo. We did many research and found out that we needed to install the library. After that, the code was working.
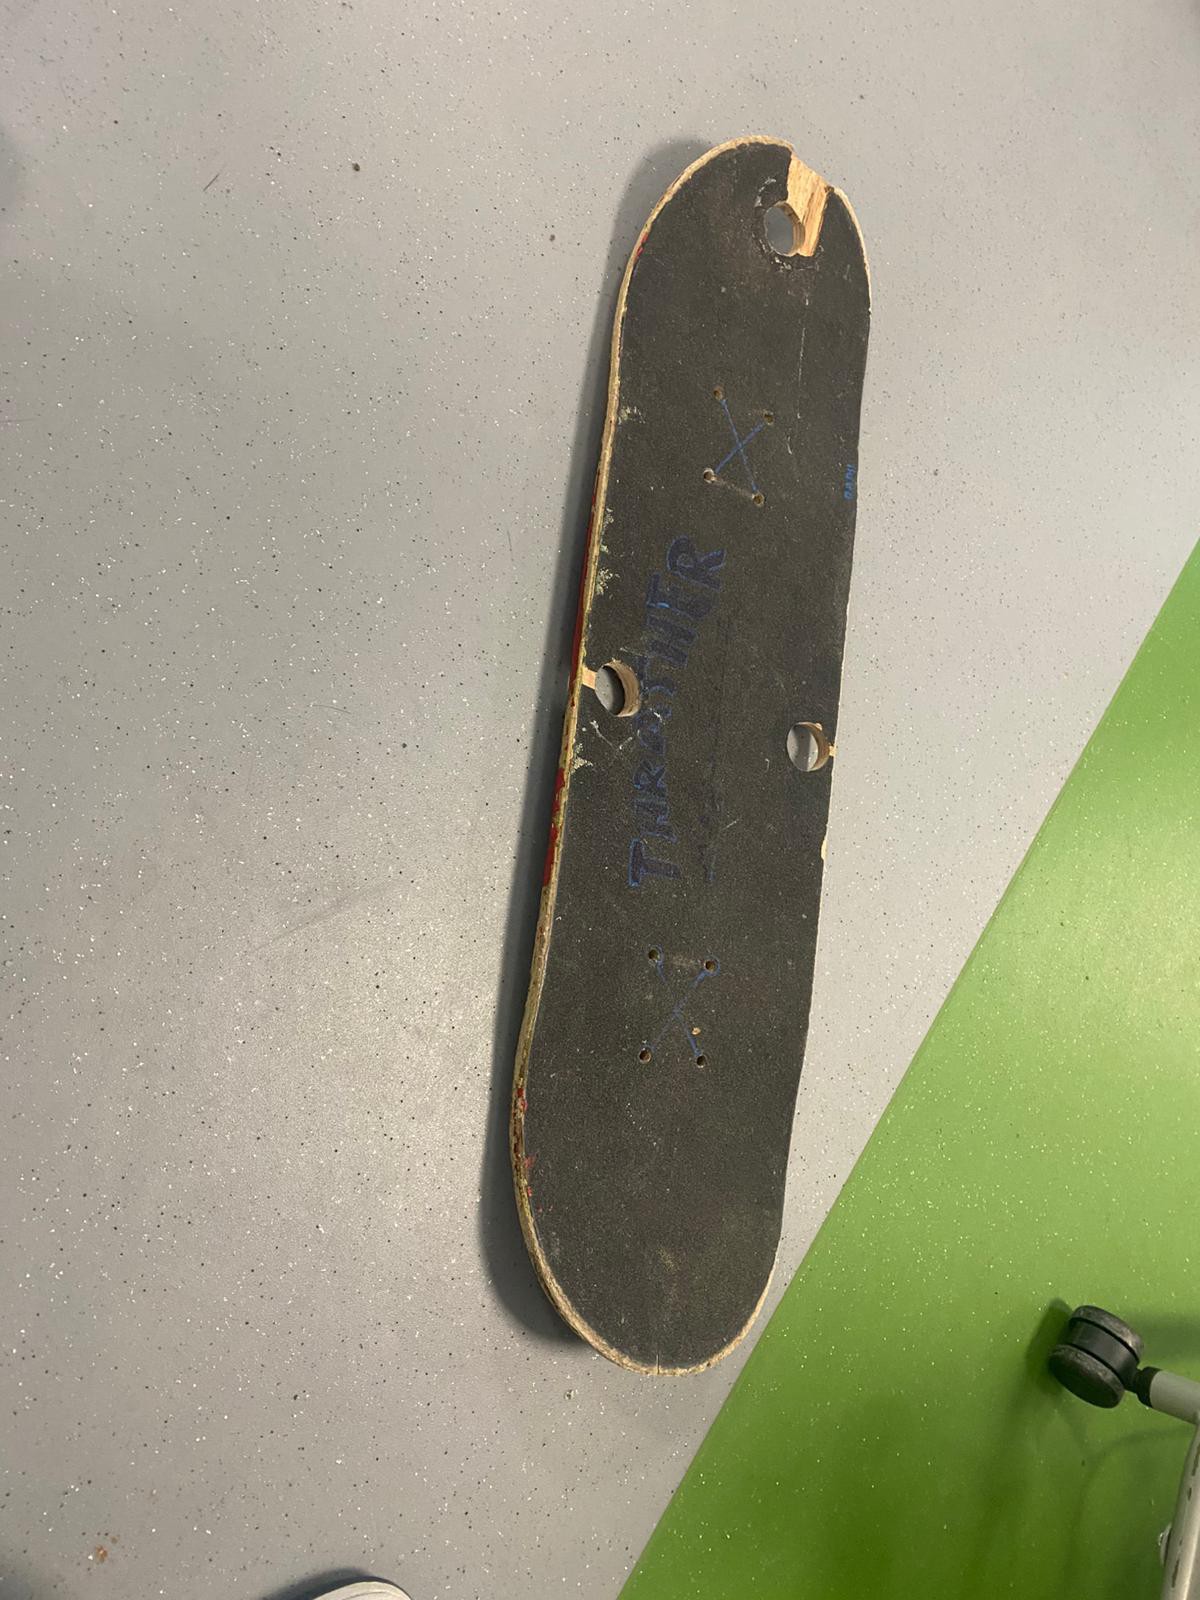
The stabilisation of the skateboard
![]()
So the skateboard needed to be stable enough to support the weight of a human, and be able to stand on it without moving (so it doesn't press down the keyboard when it is not needed)
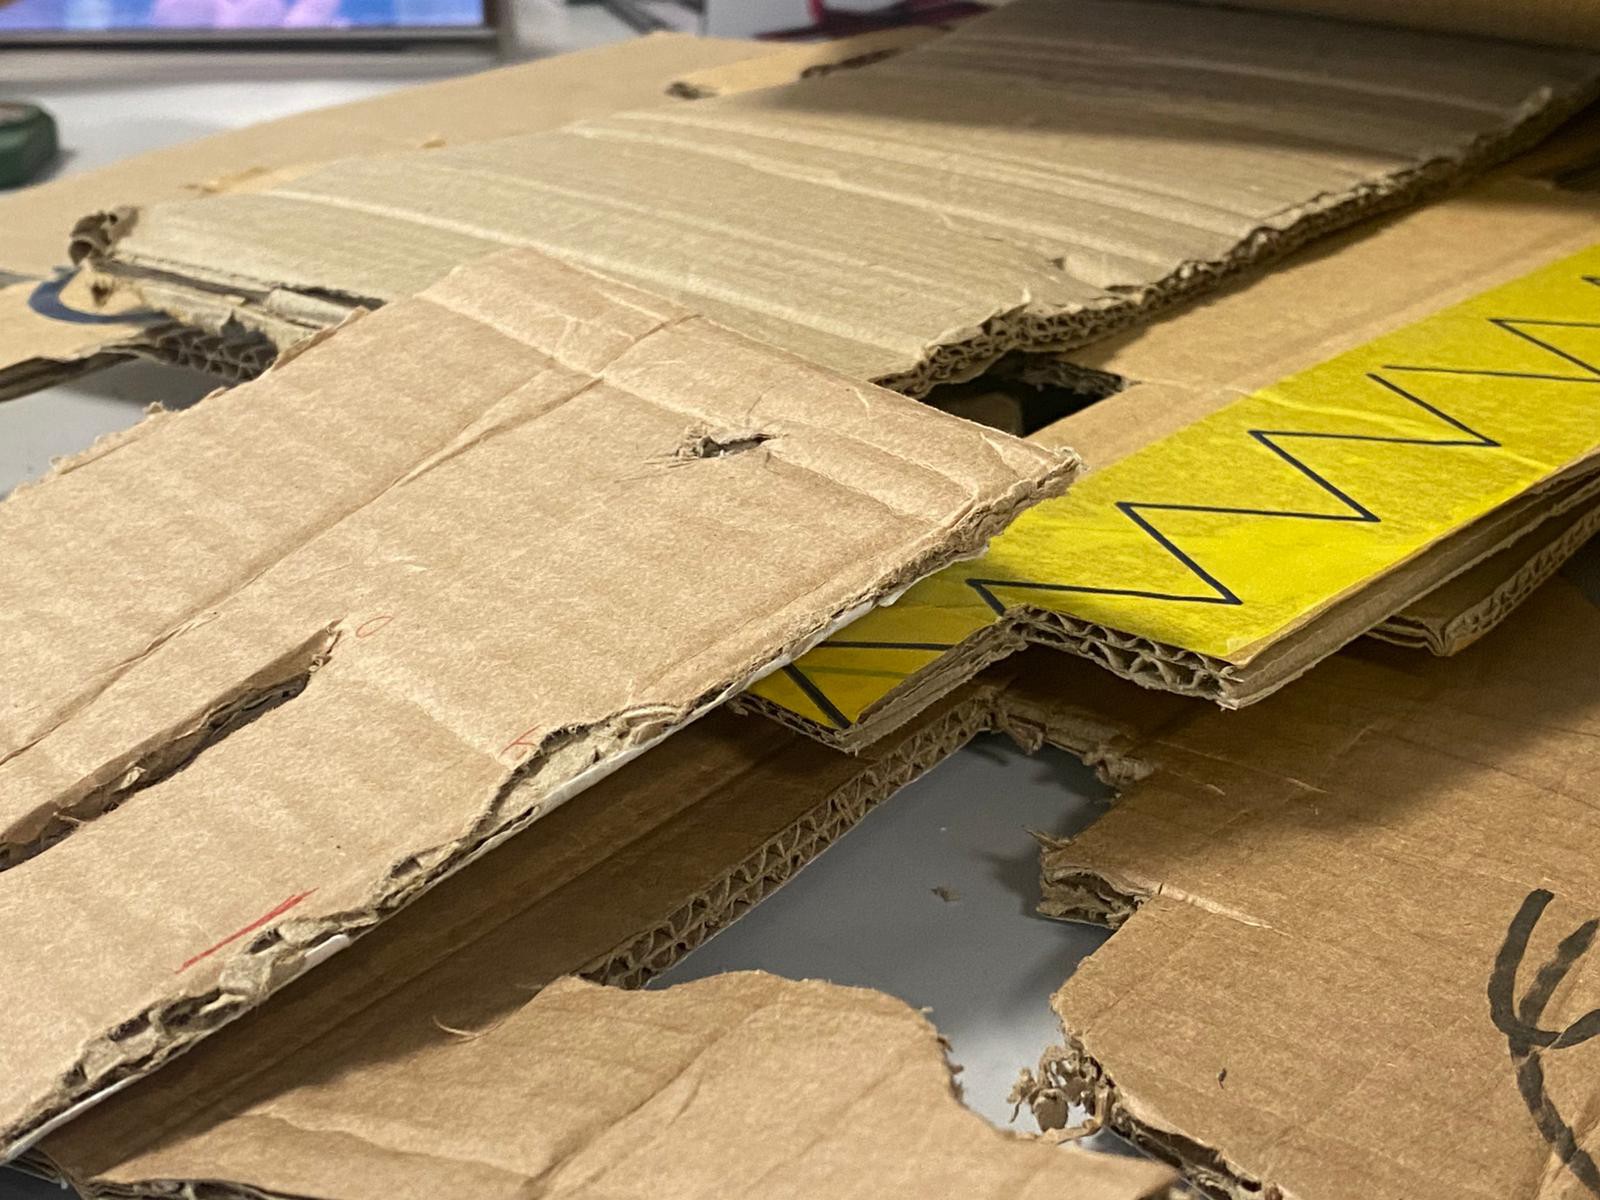
We tried by just putting and pile up cardboard under the board. However even though it was stable to stand, it was difficult to tilt it.
![]()
-
Coding of accelerometer
12/10/2024 at 10:13 • 0 comments19/11/2024
Second code using Arduino uno:
We needed to detect the tilting of the accelerometer and see if our code was working by printing 'right', 'left', 'up' and 'down', when the accelerometer reaches a certain value in the X-axis and Y-axis. The X-axis will be dedicated to 'right' and 'left'. The Y-axis will be dedicated to 'up' and 'down'.
#include <wire.h>
#include <MPU6050.h>


void setup() {
  Wire.begin();
  mpu.initialize();

  Serial.begin(9600);
  while (!Serial) {
    // Wait for the serial connection to establish
  }

  // Check if the MPU6050 is connected properly
  if (mpu.testConnection()) {
    Serial.println("MPU6050 connected successfully!");
  } else {
    Serial.println("MPU6050 connection failed!");
    while (1); // Halt the program
  }
}

void loop() {
  int16_t ax, ay, az;

  // Read acceleration values
  mpu.getAcceleration(&ax, &ay, &az);

  // Normalize accelerometer values to detect motion direction
  float normAx = ax / 16384.0; // Normalize to g (assuming ±2g sensitivity)
  float normAy = ay / 16384.0;

  // Determine direction
  if (normAx > 0.5) {
    Serial.println("Motion detected: RIGHT");
  } else if (normAx < -0.5) {
    Serial.println("Motion detected: LEFT");
  }

  if (normAy > 0.5) {
    Serial.println("Motion detected: DOWN");
  } else if (normAy < -0.5) {
    Serial.println("Motion detected: UP");
  }

  // Debug: Print raw acceleration values
  Serial.print("Ax: "); Serial.print(normAx);
  Serial.print(" | Ay: "); Serial.print(normAy);
  Serial.print(" | Az: "); Serial.println(az / 16384.0);

  delay(100); // Adjust for your desired update frequency
}
Adding the code to link the Arduino to a keyboard:
We did the same but we linked it to a keyboard. When the accelerometer reaches a certain value on the X, Y axis, the keyboard should press down the corresponding arrow on the keyboard.
The problem is that we needed it to release after pressing down, so we added keyboard.release ( ) if no motion was detected.
if (normAx > 0.5) {

    // if motion X is positive, press right arrow

    Keyboard.press(KEY_RIGHT_ARROW);

  } else if (normAx < -0.5) {

    // if motion X is negative, press left arrow

    Keyboard.press(KEY_LEFT_ARROW);

  } else {

    // if no motion is detected, release arrows

    Keyboard.release(KEY_LEFT_ARROW);

    Keyboard.release(KEY_RIGHT_ARROW);

  }

  if (normAy > 0.5) {

    // if motion Y is positive, press down arrow

    Keyboard.press(KEY_DOWN_ARROW);

  } else if (normAy < -0.5) {

    //if motion Y is positive, press up arrow

    Keyboard.press(KEY_UP_ARROW);

  } else {

    //if no motion is detected, release arrows

    Keyboard.release(KEY_UP_ARROW);

    Keyboard.release(KEY_DOWN_ARROW);

  }
We have tried many time but it seems that the code wasn't working at all.
-
The accelerometer
12/10/2024 at 10:05 • 0 comments19/11/2024
While researching similar projects, we discovered a student project where an accelerometer was used to control a game. In their setup, the component was housed inside a box. Inspired by this approach, we came up with the idea of integrating an accelerometer directly onto a real skateboard to enhance functionality and realism.
![]()
We found the wiring on the official website of Arduino
![]()
First searching of code:
We searched and tried many accelerometer code to understand their functioning.
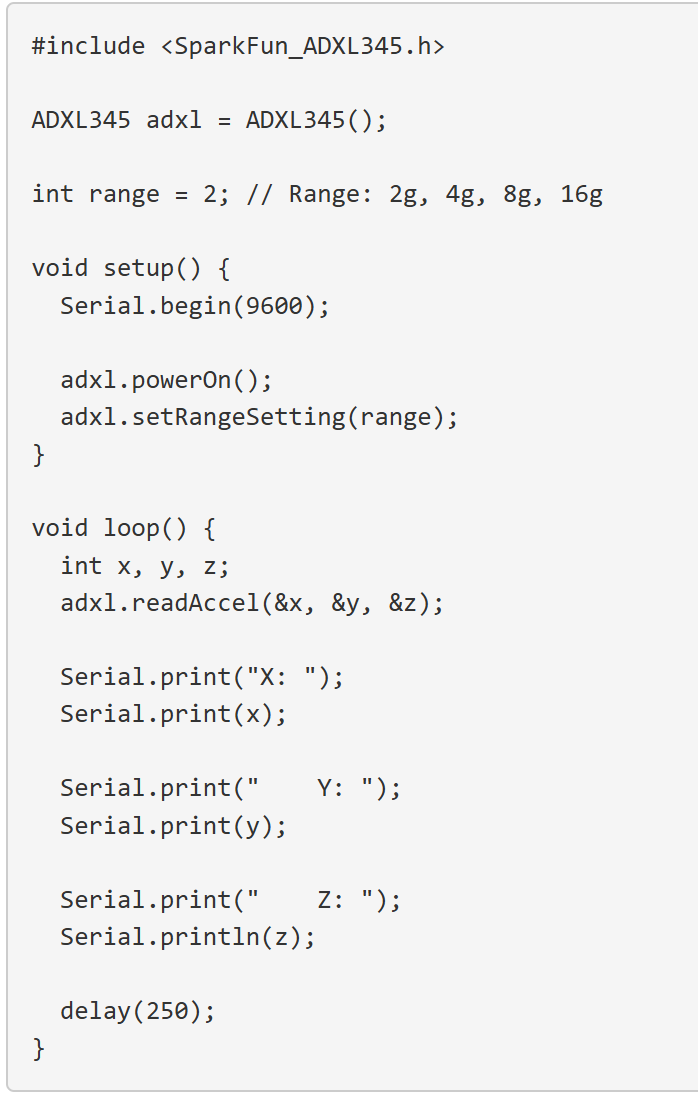
1) We download the sparkfun library. However, we found out that it wasn't working because the model of the accelerometer wasn't the same. (here for ADXL345)
![]()
Note: We considered an alternative idea of placing the accelerometer on a glove instead of the skateboard. The glove would be used exclusively for jumping ("up") and dodging ("down") actions, while the skateboard would have two buttons positioned at the bottom to handle the right and left movements.

-
skateboard controller using buttons
12/10/2024 at 09:37 • 0 comments05/11/2024
To make the hoverboard functional, we explored a new mechanism, as shown in the accompanying picture. The design was intended to enhance the gameplay experience by incorporating intuitive controls.
Specifically, we decided that tilting the skateboard to the right or left would correspond to moving in the same direction within the game.
For additional actions such as jumping and dodging, we proposed the inclusion of two levers, one on each side of the board. These levers were designed to improve stability during gameplay, as well as allow players to execute jumping or dodging maneuvers by pulling the respective lever.
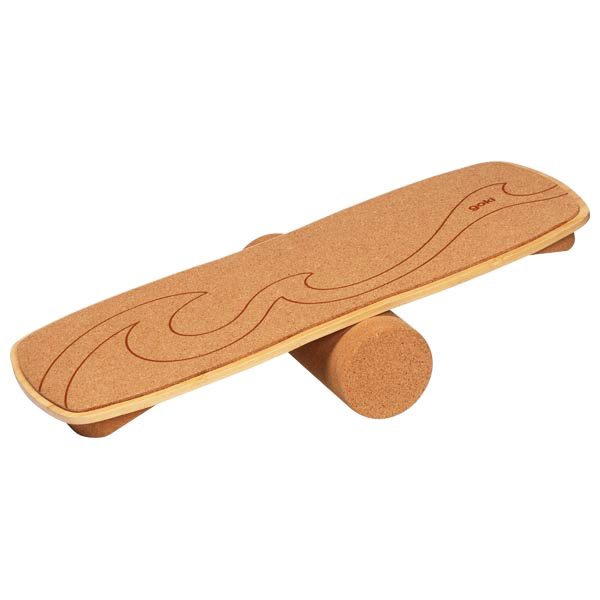
![BALANCE BOARD KORK - Höller Spiel]() We use 2 joystick and make it longer to turn it into two lever, where we designated only one movement: pulling the lever back.
We use 2 joystick and make it longer to turn it into two lever, where we designated only one movement: pulling the lever back. ![Boitier de Commande : 2 fonctions]()
PROBLEM: However, after constructing and testing the prototype, we identified a critical issue that hindered its performance. The hoverboard was unable to maintain a stable, neutral position on the platform. Instead, it would tilt to one side—either the right or the left—and remain in that position, making it difficult to control. This unexpected behavior compromised the functionality of the mechanism and significantly impacted the gameplay experience.
-
Testing of prototype
12/04/2024 at 20:38 • 0 comments22/10/2024
From our previous session's findings with the Surfer League, we plan to test the concept by creating a small-scale version using cardboard to evaluate whether the mechanism functions as intended.
To simplify the design, we decided to incorporate a small wingtip at the bottom of the skateboard. When the board is twisted to the right or left, the wingtip will press against a wall, triggering a button attached to each side of the wing. This simplified mechanism will help us test the concept more effectively while maintaining the core functionality.
![Rookie II 225 avec aileron]() To make the board twist, we would add a ball bearing at the middle of the board, that will link the skateboard to a square base fixed on the floor. The base is made with cardboard.
To make the board twist, we would add a ball bearing at the middle of the board, that will link the skateboard to a square base fixed on the floor. The base is made with cardboard. ![Ball bearing - Wikipedia]()
Problems Encountered
- Weight Issues: The hoverboard turned out to be too heavy for the base, which compromised its stability and made it difficult to maneuver effectively.
- Difficulty in Twisting: The twisting motion of the board was not smooth enough, making it hard to perform the intended actions. This lack of fluidity negatively affected the user experience.
- Mismatch with Gameplay: The twisting movement of the hoverboard did not align well with the gameplay mechanics of Subway Surfer, leading to a disconnect between the controls and the game’s intended dynamics.
- Seated Position: The player was required to remain seated while using the hoverboard, which further reduced the immersive experience and limited the range of motion necessary for an engaging gameplay interaction.
-
Research of similar project
12/04/2024 at 13:05 • 0 comments15/10/2024
We began by researching games similar to Subway Surfer, focusing on themes like surfing, skiing, or related mechanics. Here are two of the most interesting ideas we explored:
1) Arcade Surfing Game: Surf League Concept: The controller is a surfboard. Players stand on it and twist their body to steer the character in the game, moving left or right.
Pros:
- Simple and intuitive controller.
- Interesting mechanism that could be replicated using buttons.
Cons:
- The twisting movement doesn't feel immersive, as it doesn't mimic the motions of a skateboard.

2) Small Hoverboard Controller (Finger-operated) Concept: A miniature skateboard controller operated with your finger. Tilting the board makes the in-game character move.
Pros:
- Integrates various Arduino components like potentiometers and tactile switches.
- Offers an opportunity to experiment with 3D printing.
Cons:
- Designed for use with a phone, making the coding process complex.
- Lacks immersive gameplay, as tilting with a finger doesn’t replicate a real hoverboard experience.

Subway Surfer game controller
Immersive Subway Surfer controller: Stand on a real hoverboard to control the game with realistic motion!
 Last step from today session was to place the accelerometer on the skateboard. At first, we thought about placing it at the end of the skateboard. However, we soon found out that only three movement were possible because as it is at the end, the movement was smaller on the side where it was placed.
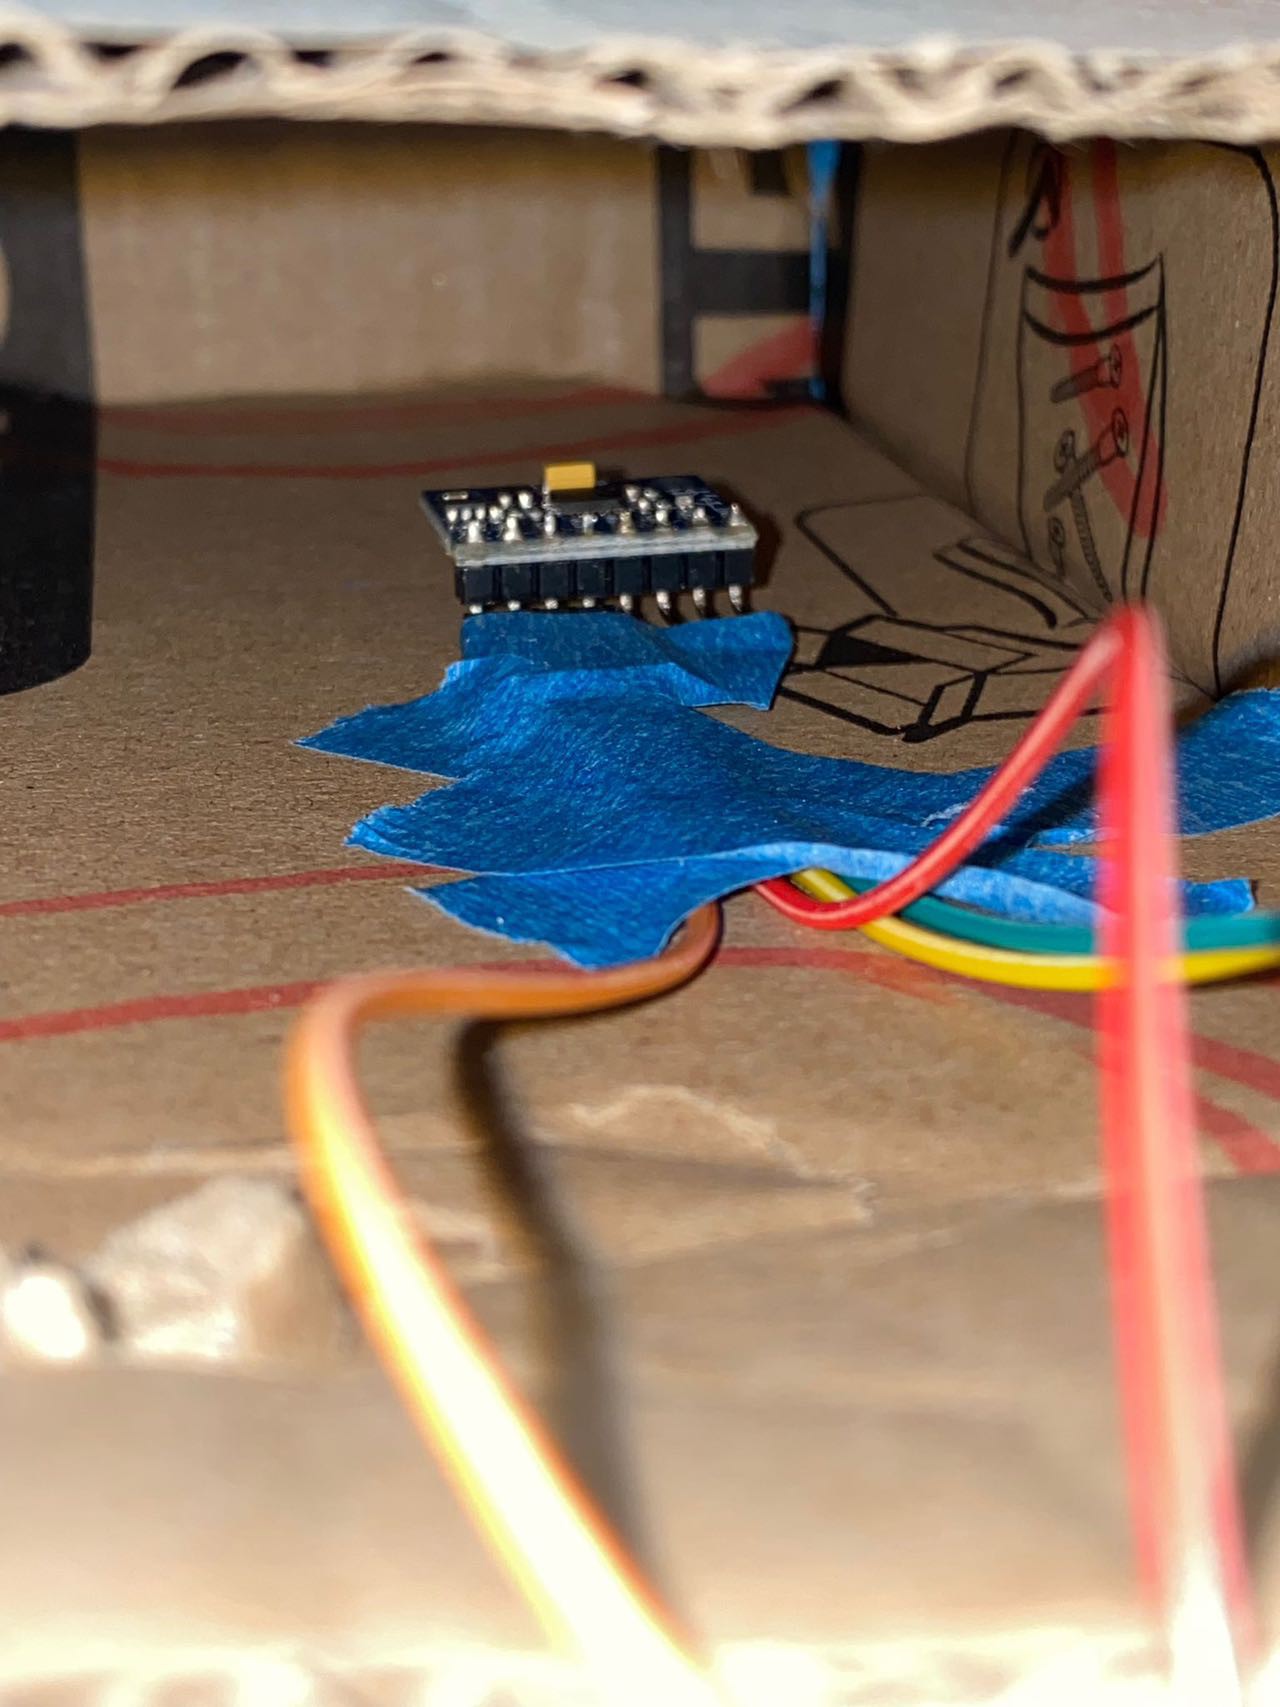


 We use 2 joystick and make it longer to turn it into two lever, where we designated only one movement: pulling the lever back.
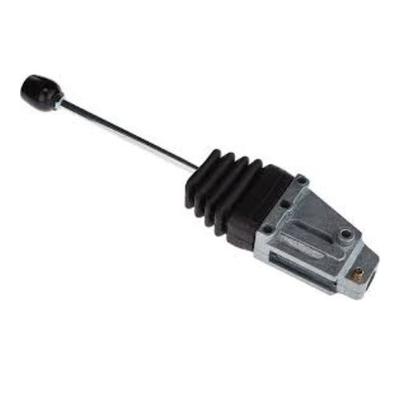
 To make the board twist, we would add a ball bearing at the middle of the board, that will link the skateboard to a square base fixed on the floor. The base is made with cardboard.

