Close
0%
0%

Analog Pixel Art: DIY Cyanotype Printer

X/Y Plotter for high wattage UV LEDs to expose Cyanotype and other printing methods.

Similar projects worth following
I did my grad art piece at art school (Emily Carr in Vancouver) on making large UV printed Van Dyke prints of 3D generated art. These were done by using the output from a Lightjet film printer, where I printed a positive image. Then I enlarged this onto 24x30 inch ortho film. I could then contact print those on large sheets of VanDyke treated watercolor paper.

After school I worked for the company that made the LIghtjet (Cymbolic Sciences, now part of Canon). Most of the printers used lasers that were focused onto the film via a spinning mirror, and one of those was a high power IR laser to print onto printing plates. I kept thinking back to my VanDyke prints, how I could make "big" prints direct to paper. I would ask the engineers about UV lasers, or UV LEDs, but those were very rare and expensive at the time.

Anyhow, the rise of cheap DIY CNCs and the availability of cheap UVs got me thinking that I should try to build it, and this is the result.

Basic Setup:

Arduino Mega w ESP 8266 

CNC Shield

Arduino Nano on Print head

4 x LDO6AJSA LED Driver boards link

4 x 3W 380nm UV LED link  replaced with

4 x 3W 380nm UV LED with 30 degree view Surface Mount LED

1 x Heatsink link

I. System Architecture Diagram

The system operates across three distinct tiers, separating the user interface, the motion control, and the real-time hardware execution.

======================================================================
                  TIER 1: THE NETWORK HUB (ESP32)
======================================================================
  [ Web Browser ]  --> HTTP POST (JSON) -->  [ ESP32 Web Server ]
  - User draws UI                            - Broadcasts standalone AP
  - Sends gridData                           - Hosts index.html & app.js
                                             - Converts JSON to Hex
                                                      |
                                                      | Serial2 (115200 Baud)
                                                      | TX/RX Protocol
                                                      v
======================================================================
               TIER 2: THE MAIN BRAIN (Mega 2560 + CNC Shield)
======================================================================
  [ Arduino Mega 2560 ] <----> [ Hardware Peripherals ]
  - Parses Hex image data      - X, Y, Z Stepper Motors
  - Calculates Mesh Bed        - SSD1306 OLED Screen
    Leveling (MBL)             - SD Card (Config & Mesh Storage)
  - Orchestrates X/Y motion    - User Input Buttons
                                                      |
                                                      | Serial1 (115200 Baud)
                                                      | TX/RX Protocol
                                                      v
======================================================================
               TIER 3: THE PRINTHEAD MCU (Nano Custom PCB)
======================================================================
  [ Arduino Nano ] <---------> [ Printhead Hardware ]
  - Real-time peripheral device - D10, D11, D12, D13: 4x UV LEDs
  - Never blocks UART          - D3, D7: CR Touch (Servo & Signal)
  - Microsecond timers         - A0-A5: TMP36 Temp Sensors
                               - D8: NeoPixel Status Indicator
======================================================================

I. System Architecture

The system operates across three distinct tiers, separating the user interface, the motion control, and the real-time hardware execution.

TIER 1: THE NETWORK HUB (ESP32)

  • Input: Receives HTTP POST (JSON) from the User's Web Browser.
  • Core Functions: * Broadcasts a standalone Wi-Fi Access Point.
    • Hosts the index.html and app.js frontend files.
    • Converts the JSON pixel arrays into Hexadecimal strings.
  • Output: Sends data down to Tier 2 via Hardware Serial2 (115200 Baud).

TIER 2: THE MAIN BRAIN (Arduino Mega 2560)

  • Hardware Attached: CNC Shield V3 (X, Y, Z Steppers), SSD1306 OLED Screen, SPI SD Card Module, and physical UI buttons.
  • Core Functions: * Parses the Hex image data from the ESP32.
    • Calculates the Mesh Bed Leveling (MBL) interpolation.
    • Orchestrates the X/Y physical motion path.
  • Output: Sends real-time hardware triggers down to Tier 3 via Hardware Serial1 (115200 Baud).

TIER 3: THE PRINTHEAD MCU (Arduino Nano Custom PCB)

  • Hardware Attached: 4x UV LEDs (D10-D13), CR Touch (D3 Servo, D7 Signal), 6x TMP36 Temp Sensors (A0-A5), and a NeoPixel Status LED (D8).
  • Core Functions: * Operates as a real-time peripheral device (never blocks the UART line).
    • Executes microsecond-precise UV exposure timers.
    • Manages the CR Touch deployment and background thermal polling.

II. Protocol: Website to ESP32 (The Payload)

The frontend uses a simple, modern REST approach to send the user's design to the ESP32.

1. The HTTP POST Request When the user clicks "Print," the JavaScript fetch API fires a JSON payload to the "/print" ESP32's endpoint.

  • Format: JSON
  • Structure:
    • width (int): The width of the image in pixels.
    • height (int): The height of the image in pixels.
    • pixels (array of ints): A flat, 1D array representing the pixel intensities. Each pixel is an integer from 0 (off) to 15 (max intensity).

2. ESP32 to Mega Translation The ESP32 intercepts this JSON, strips out the network overhead, and compresses the pixel array into a single, continuous hexadecimal string to save RAM on the Mega. It sends this over hardware UART.

  • Format: P:[width],[height]:[HexData]\n
  • Example: P:8,8:000F0000FF00FF00...
  • Mechanics: 0...
Read more »

  • Analog Pixel Art

    john08/18/2026 at 17:37 0 comments

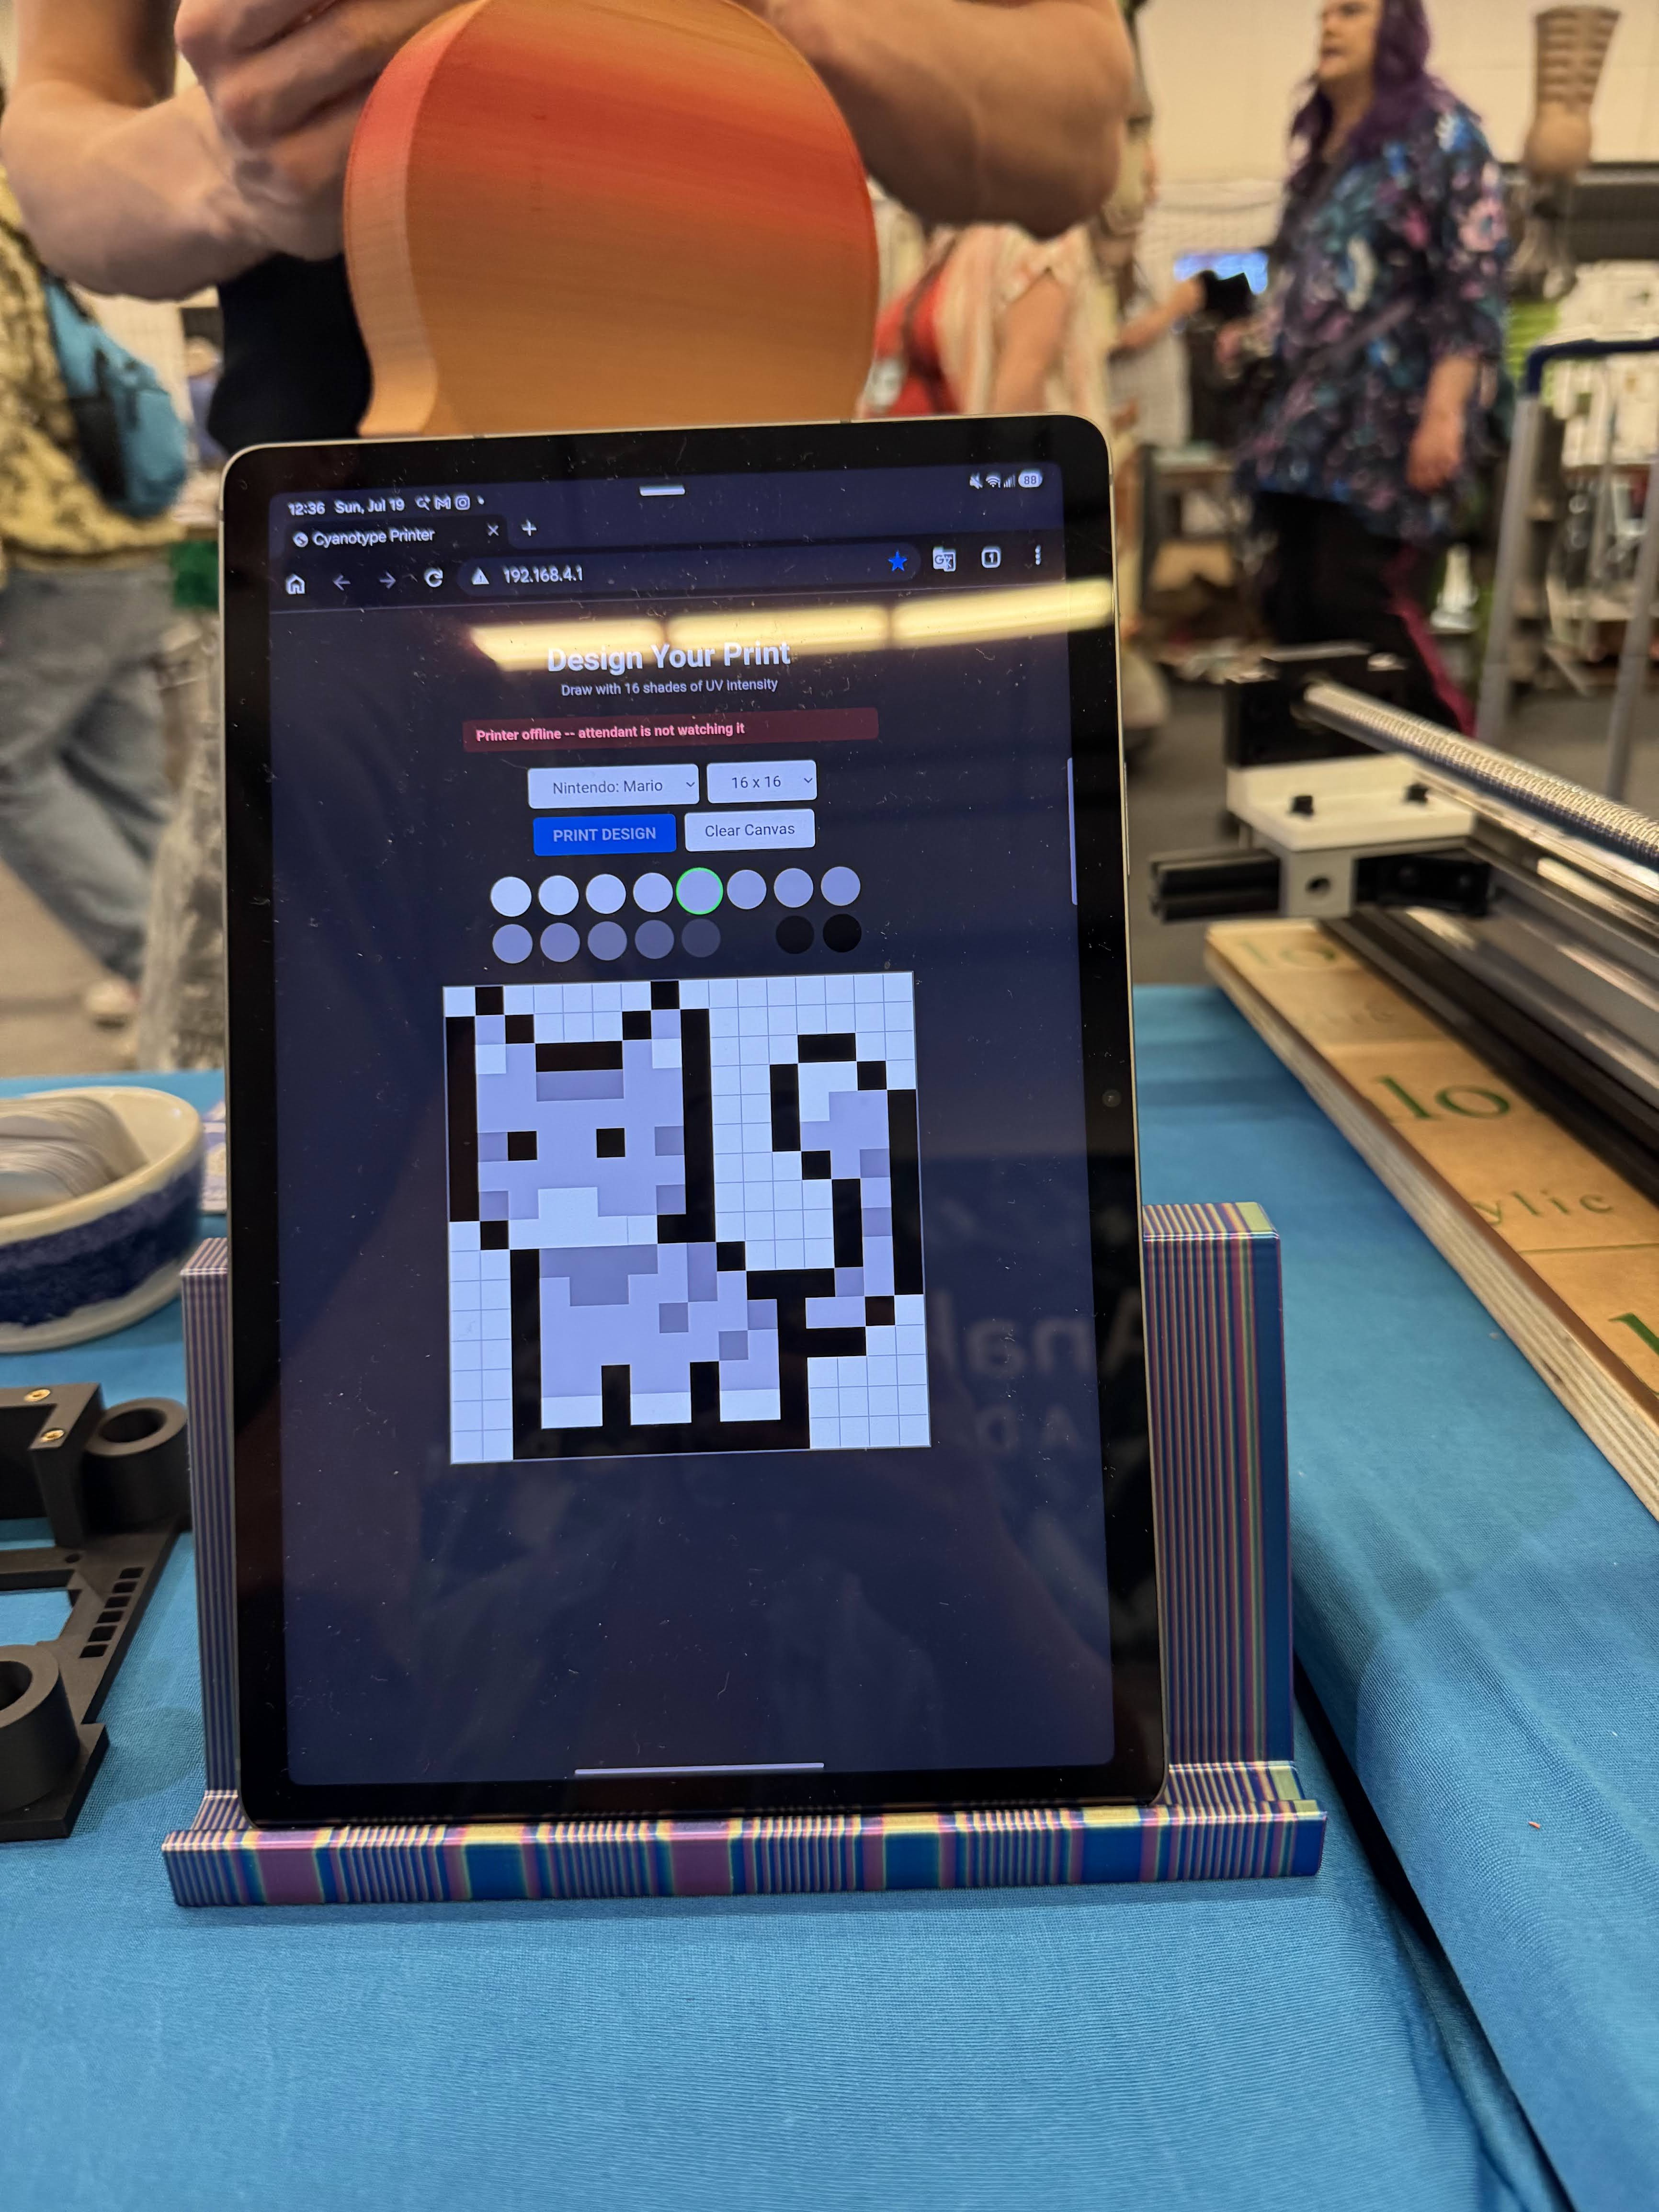
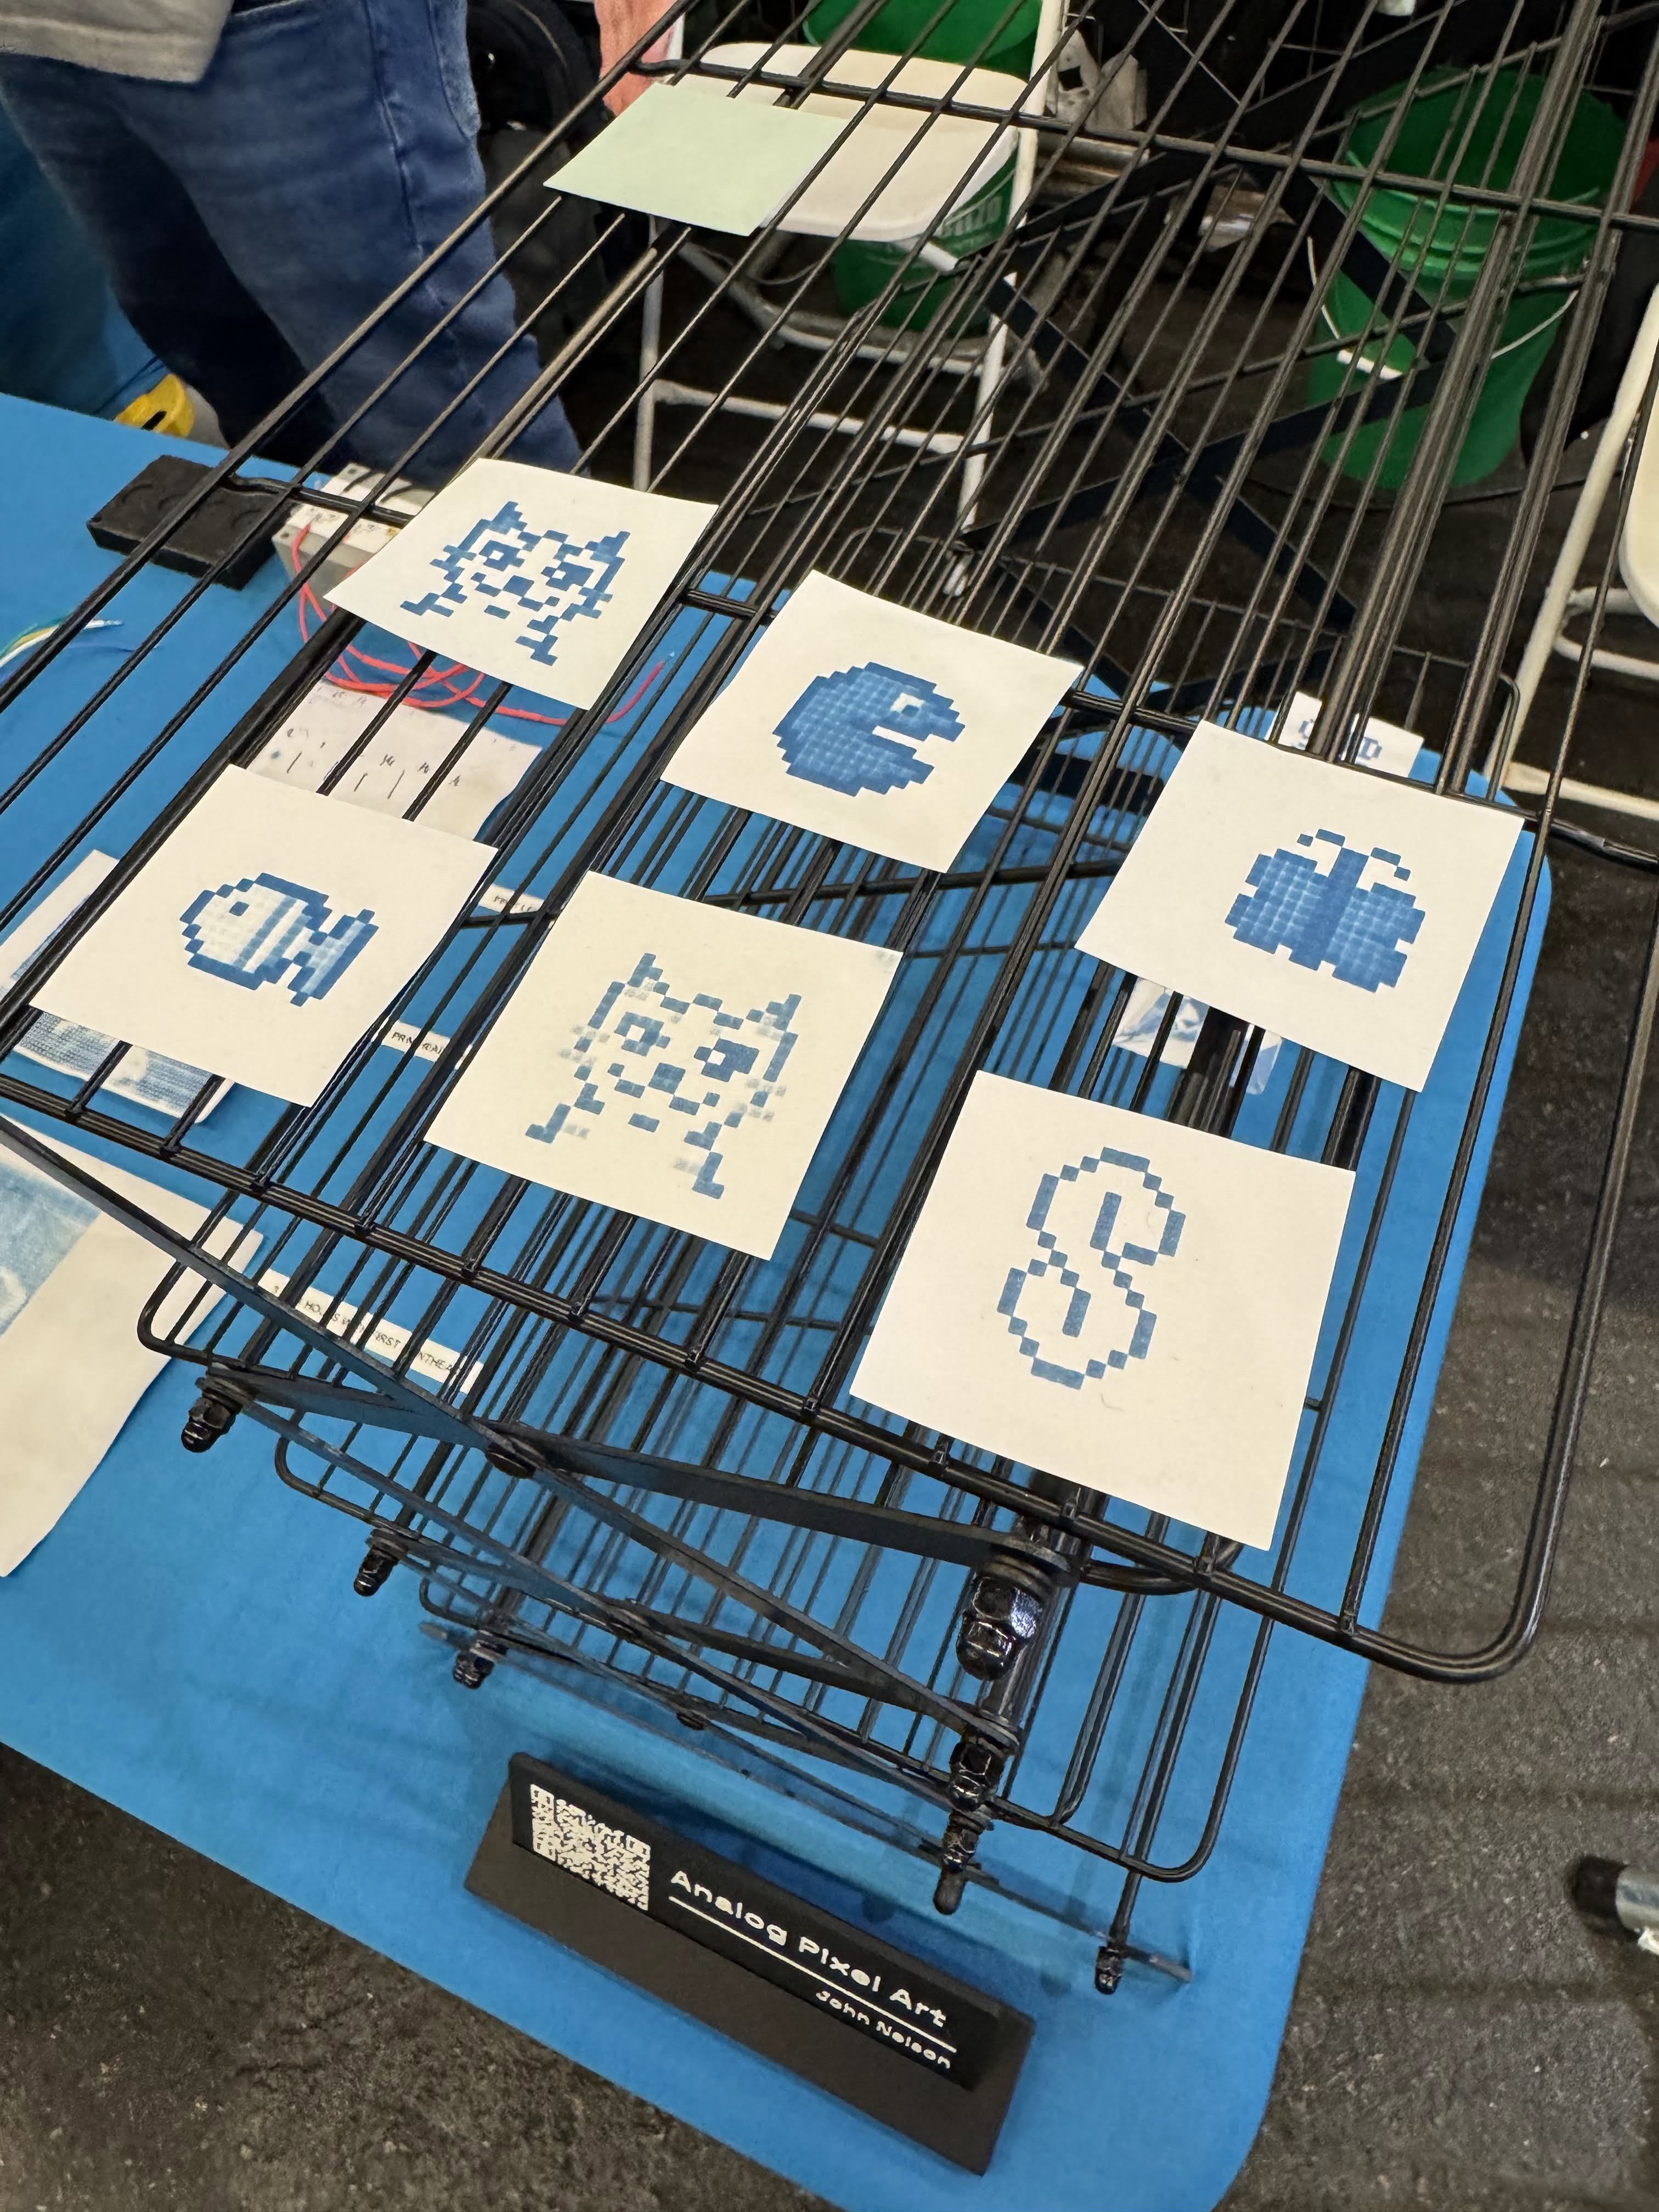
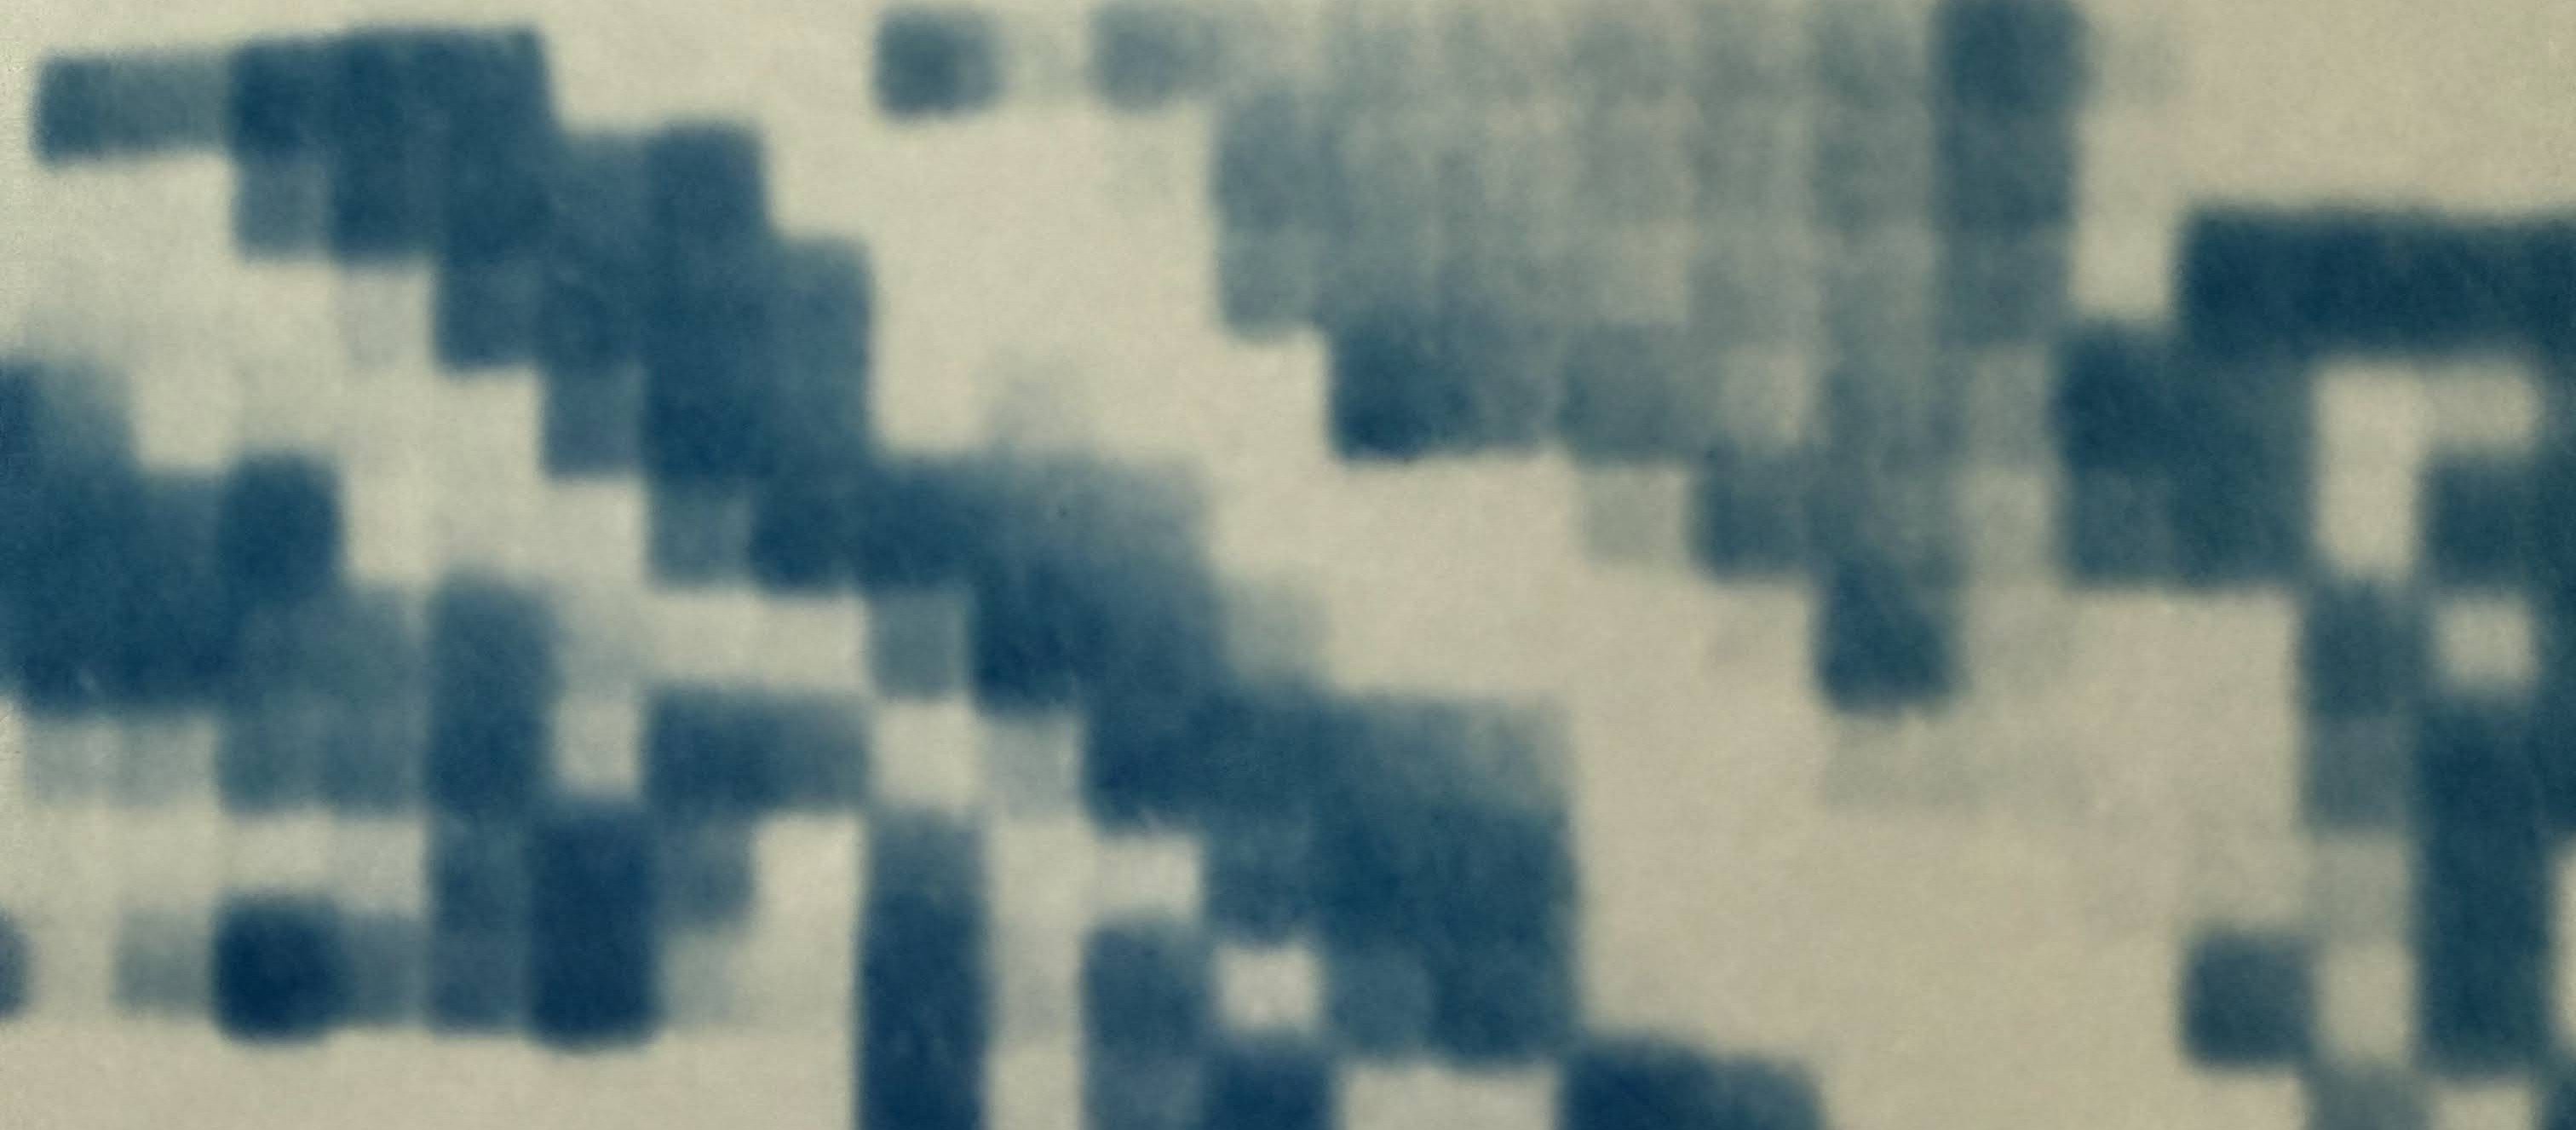
    I am working on a few entries for the various issues I found, but I wanted to go through the workflow I built for Open Sauce. I built my printer with the end-goal of large prints ( > 30"), but with my old setup and the 5 second max exposure, that would take hours per print. I wanted something a bit more interactive, and the 2mm square pixels look great for small pixel art graphics. So I created a simple way visitors could design their own pixel art on 8x8 or 16x16 and print them out on small squares of Cyanotype paper. 

    This required software support and some new hardware. 

    Overall, the solution would be, 

    • Drawing software will be a web app
      • I wanted a library of sample pixel art so people could get a copy of their favorite character, but this turned out to be not needed.
    • The webapp will POST data to the ESP
    • ESP will send data through serial to Mega for printing. 
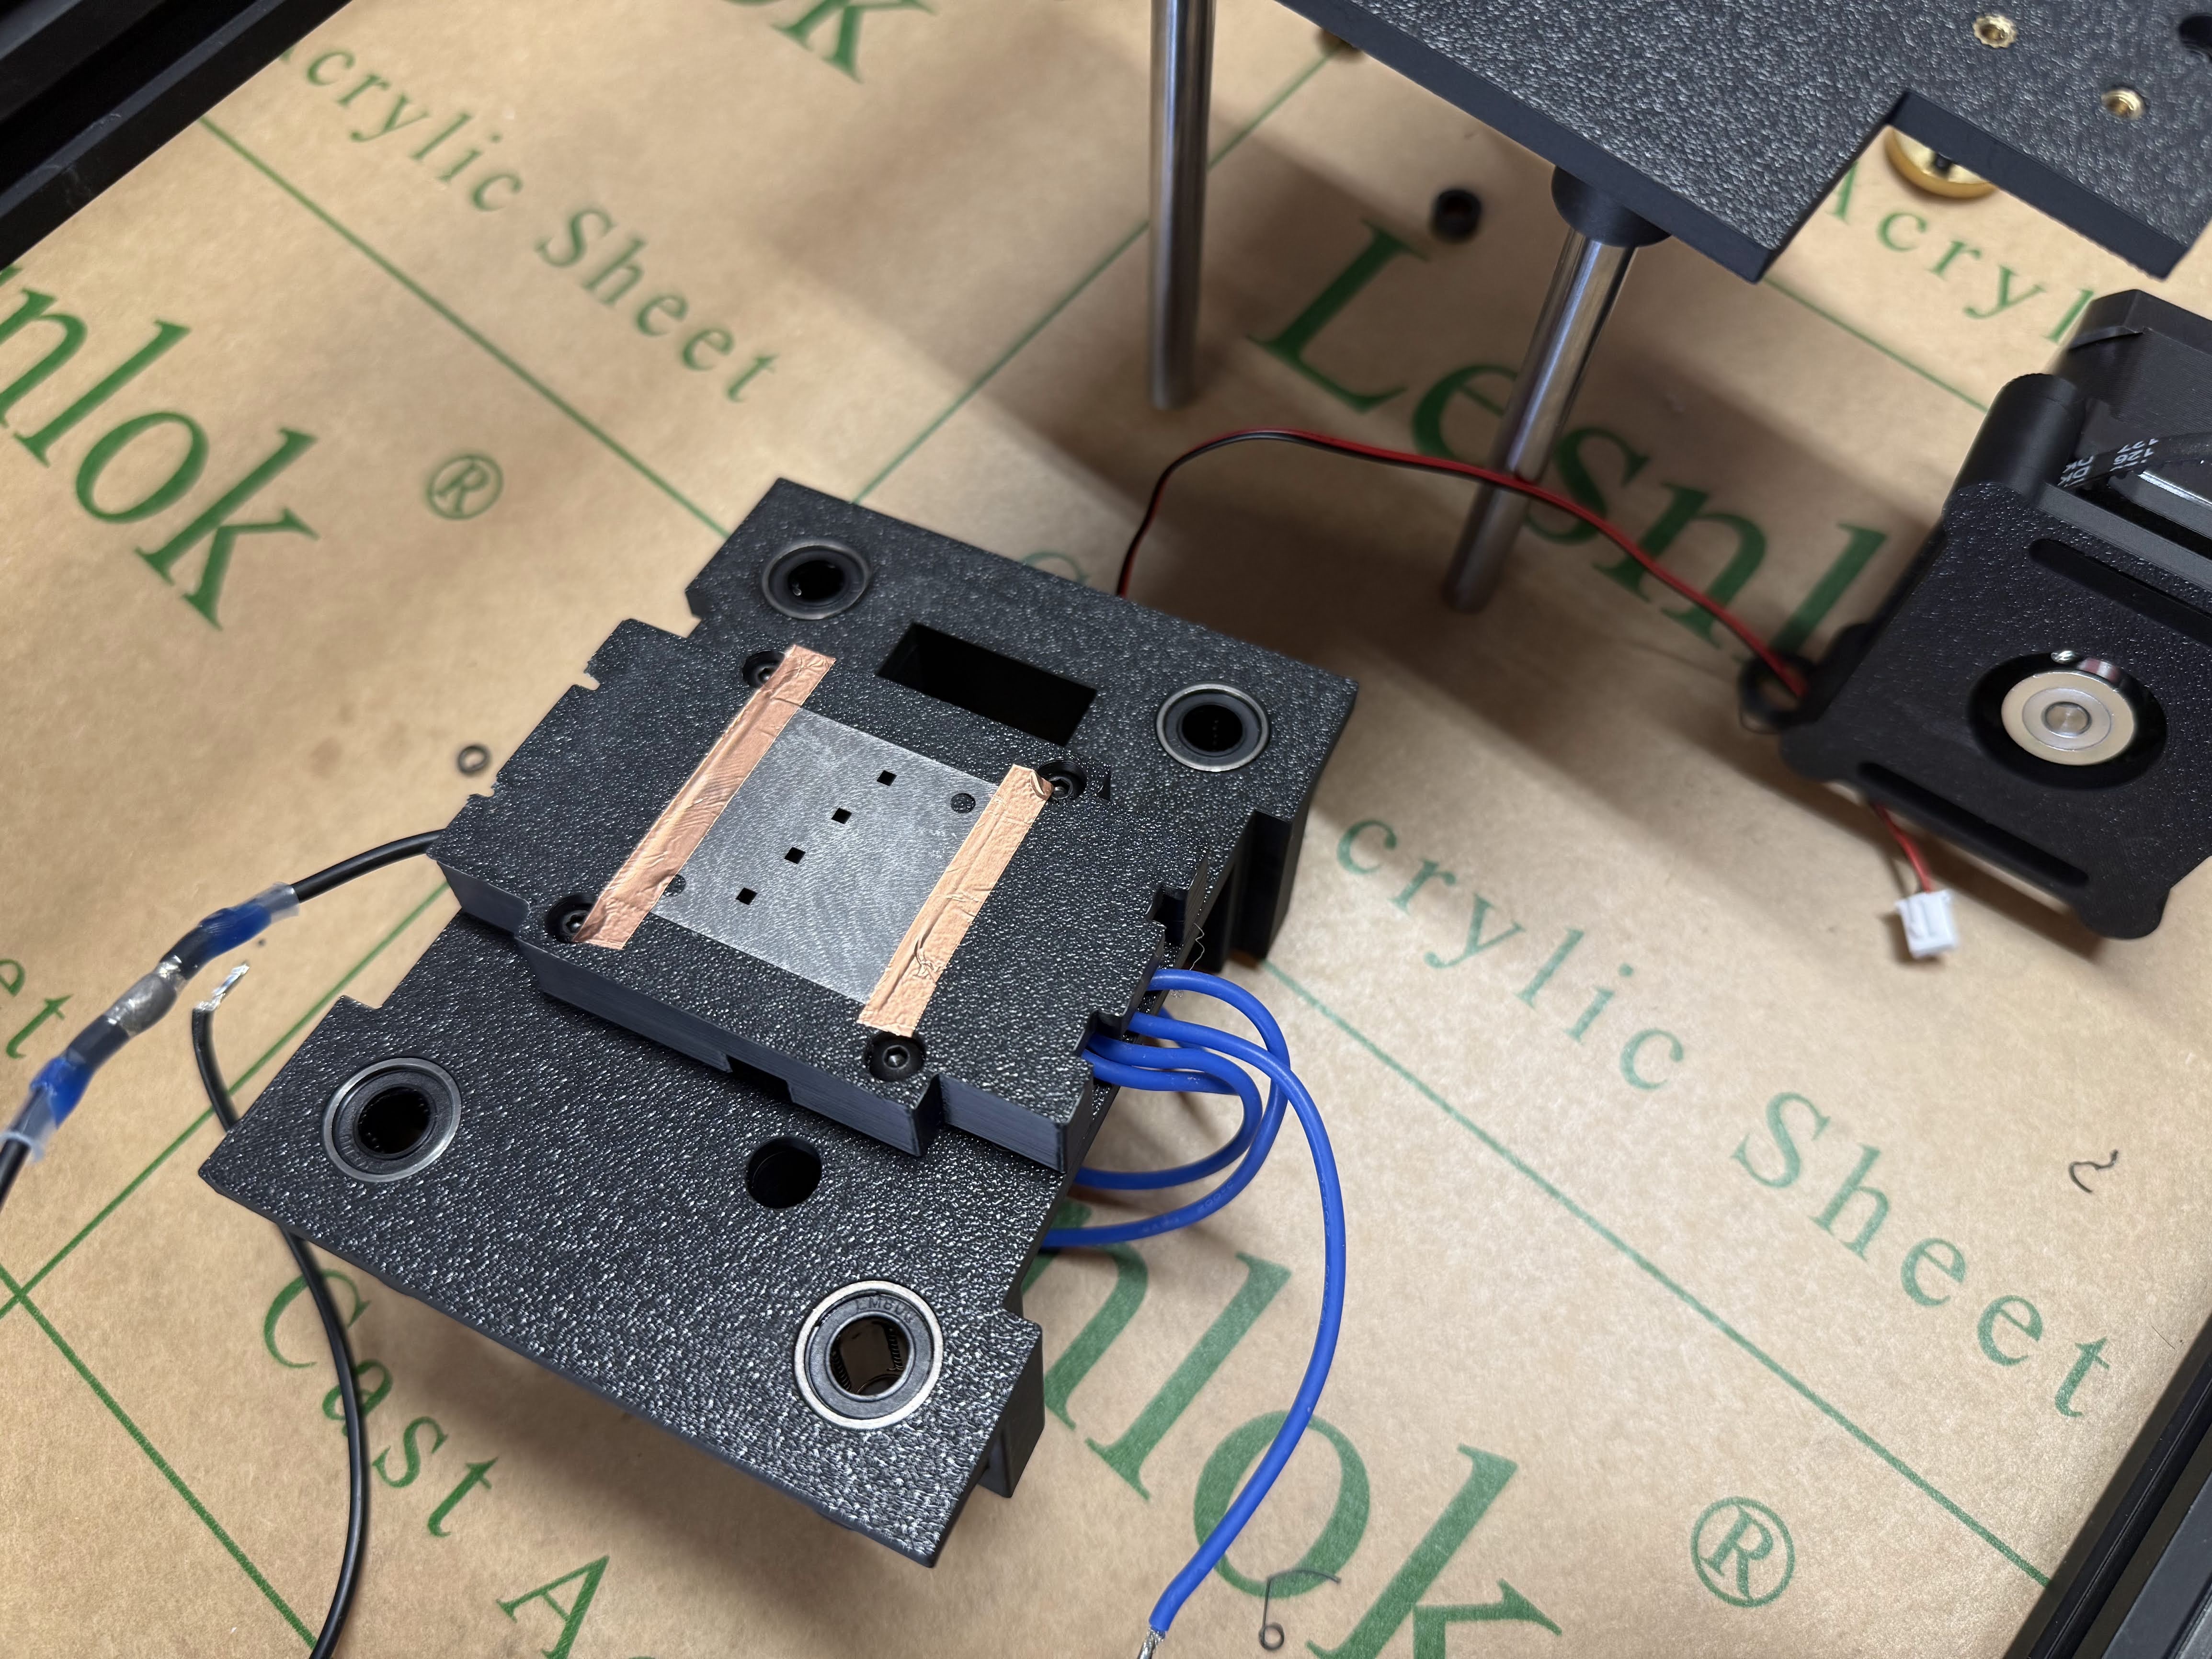
    • A small 50mm2 vacuum table controlled by relay from Mega.

    This was "mostly" vibe coded, and was workable in the first shot, however there were issues. 

    Arduino Woes

    The first attempted 8x8 pixel print worked pretty well. It wasn't centered on the paper, but I was going to solve that later. Then I tried a 16x16, and things broke, only half the image came through. Sending this through AI, AI pointed out that a 16x16 was around 256 bytes, and the Mega wasn't able to receive that in one package.

    Solution: BBS days. I remembered way back that a lot of computers had this or similar issues receiving files through modem. One of the earliest solutions was XModem, a protocol to receive binary data that chunked up the file into 128 byte packets, and sent them with CRC. If the receiver got a corrupted package, it could request it again. This was easily implementable by AI. 
    I also displayed the incoming file in the OLED display so we could verify what was coming. 


    Update Status on Webpage

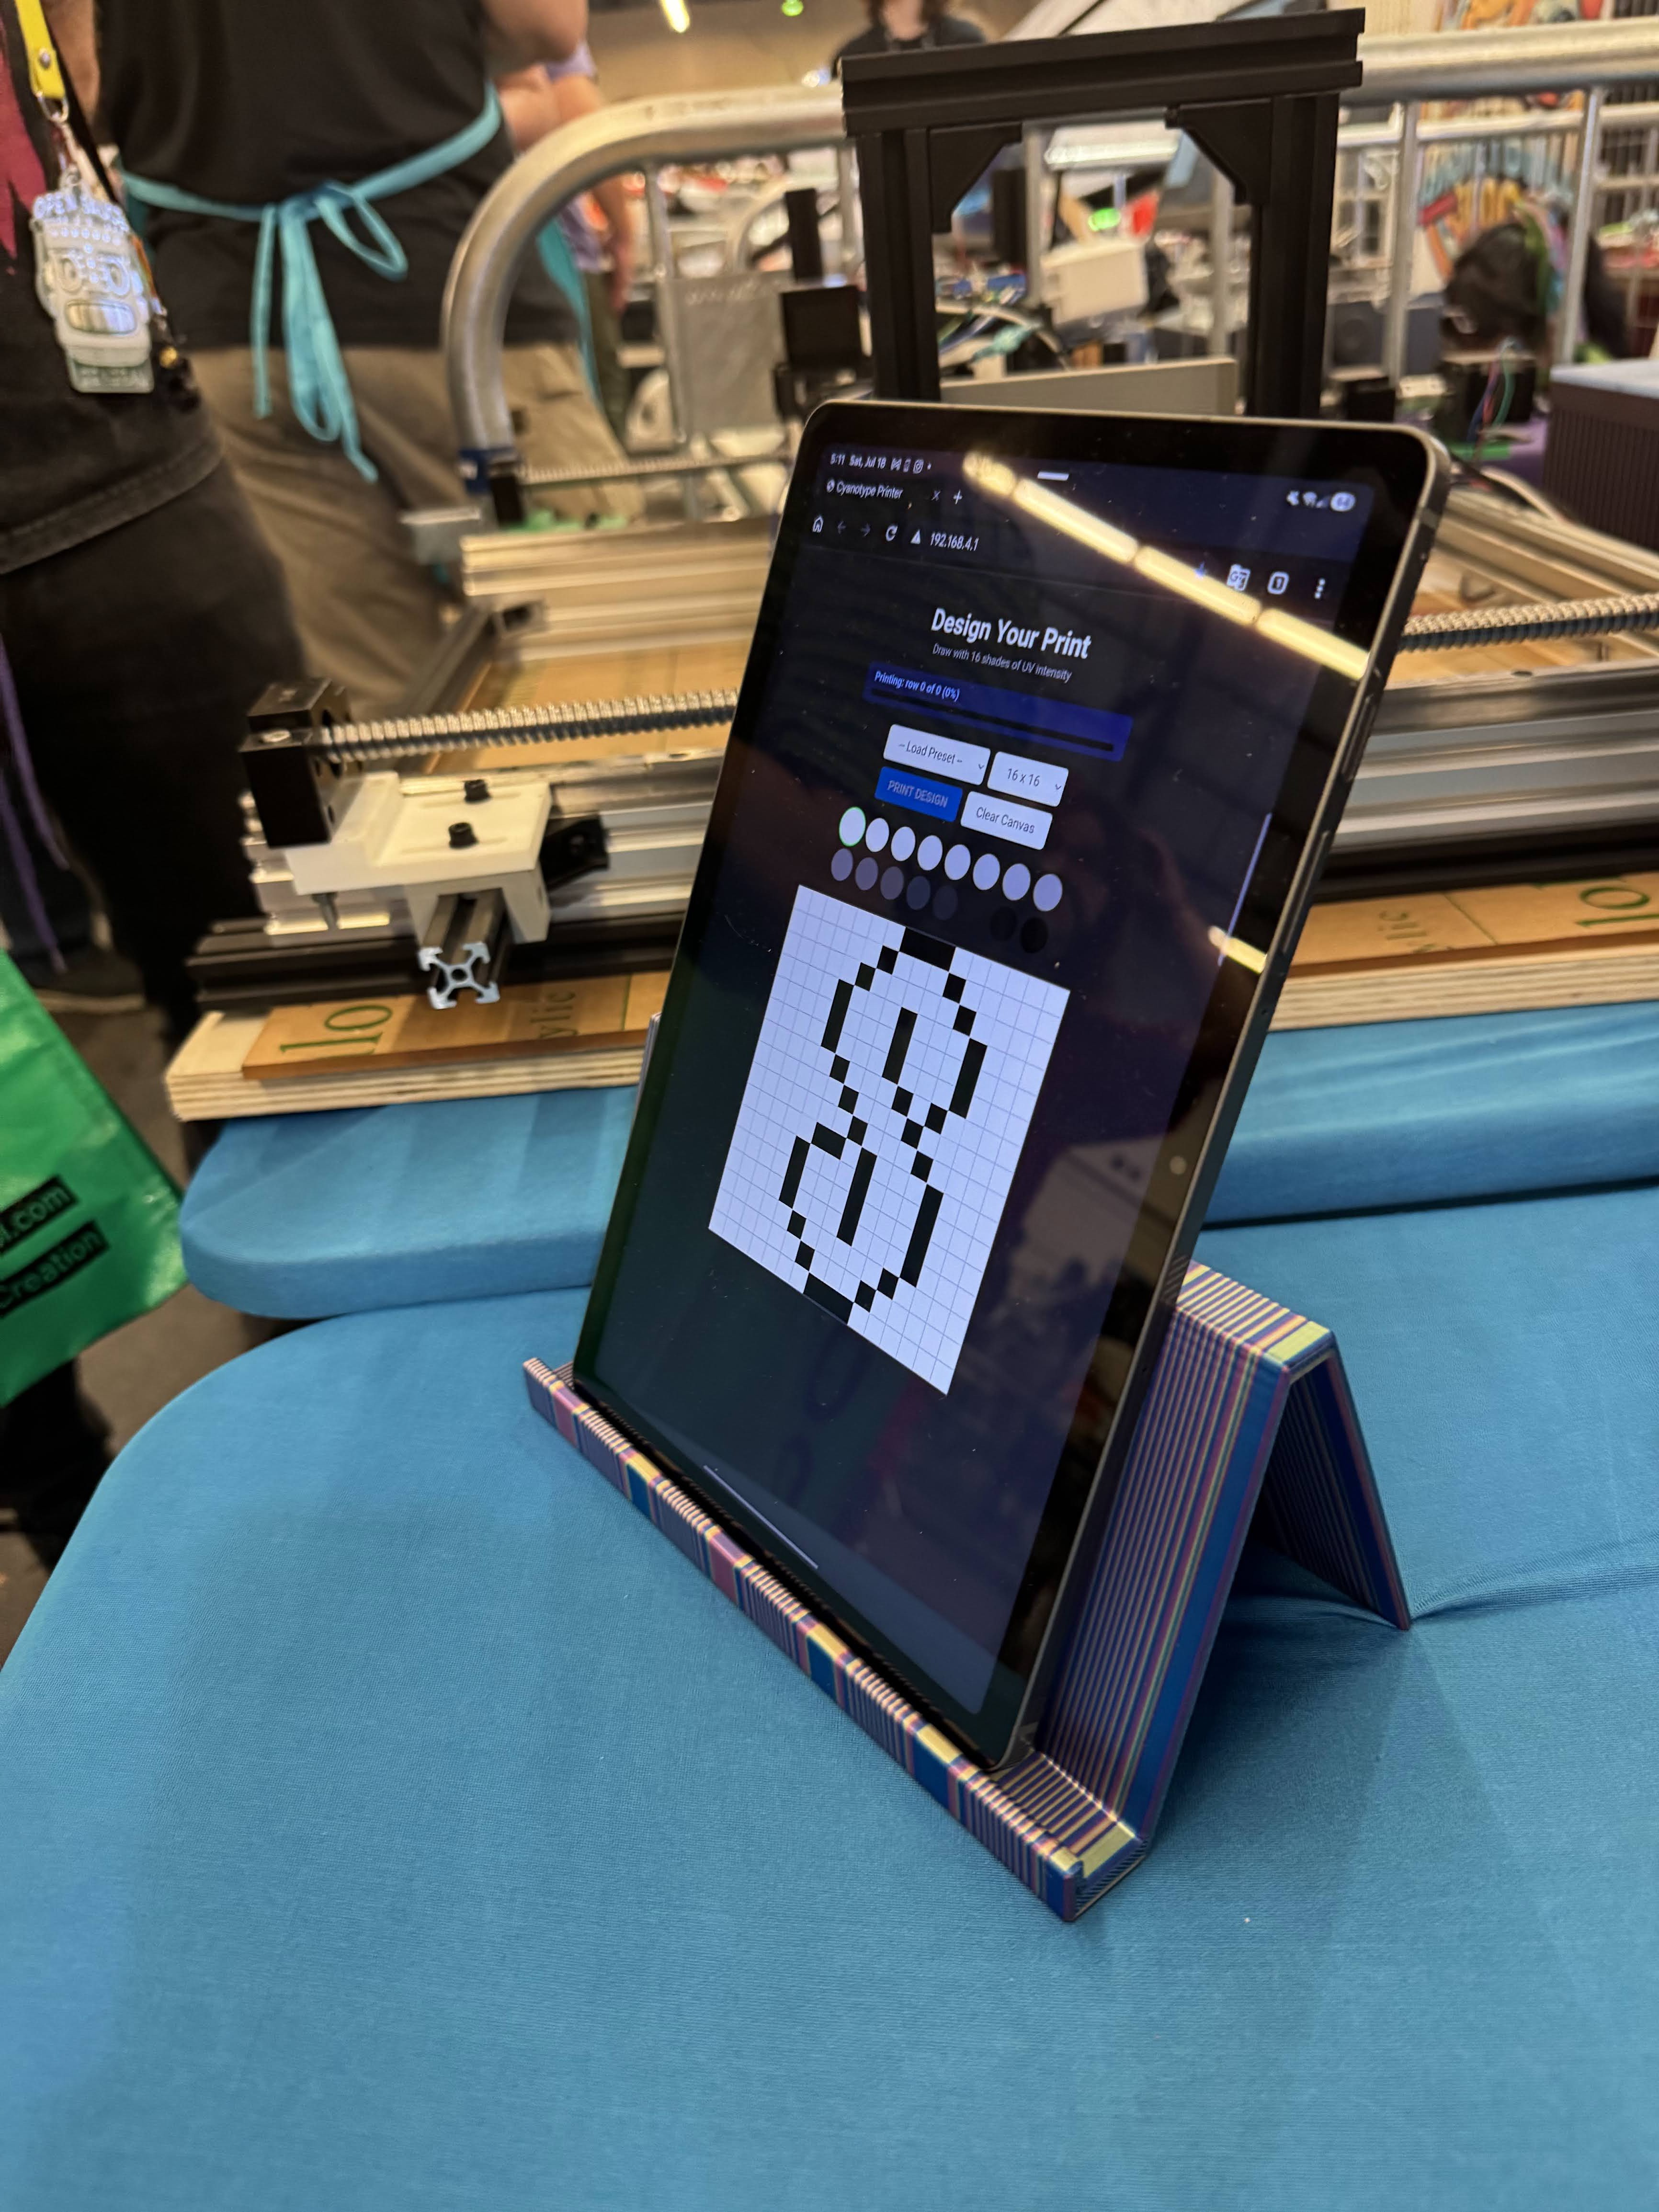
    Since the webpage will be on a Tablet, I wanted the webpage to have the current status of printing, so people wouldn't queue up prints or have their designs fail. Another win for AI, it was able to add this fairly smoothly to the page, the ESP would listen for serial updates and store the result. The webpage would poll the ESP for status, and the ESP would return whatever the last return from the Mega was.

    All in all, this worked at home, on the weekend before OpenSauce too!

  • Open Source and minor Open Sauce update

    john08/05/2026 at 15:34 0 comments

    I've been working on an update for lessons from OpenSauce, but first wanted to post that I am able to open source the code that powered the printer. Soon I'll include the .stls and after a bit of cleanup the F360 files. Its one of those facts of life in the tech industry that your agree to give your company ownership over any work you do that is related to what you work on, but after a smooth application, I got ownership over this code. Follow the Github project if you want updates on the code/stls. 

    https://github.com/johnboy55/CyanotypePrinter

    I'm also working on some updates from OpenSauce, I might split it to overview and individual lessons to make it shorter, stay tuned. 

  • OpenSauce 2026

    john07/22/2026 at 21:29 0 comments

    Had a great first ever OpenSauce as a exhibitor and got a lot of interesting ideas about where to take the printer and support for the idea. The printer is an absurd idea, and there are plenty of ways to draw on Cyanotype paper with UV light, but I think something will be interesting when I'm able to print large images. For the show, I created a simple web-app where visitors can create 8x8 to 16x16 pixel graphics, and get them printed out onto cyanotype paper. These prints will take 1-5 minutes to print. 

    Some notes from the event, then I'll create a couple of detailed notes on the pixel art software, and two software issues that caused a lot of stress.

    One un-spoken benefit of an upcoming deadline on a project with so many P0s and P1s, is you spend all night planning instead of sleeping.

     Plan: Setup early on Thursday, run prints on Friday, see other exhibits.

    Thursday

    Got up early, got truck loaded and off I went to San Mateo. The printer isn't that heavy, but it was awkward to get onto the dolly. Note to self, next time will bring someone. 

    Everything was pretty straightforward setting up and I got the machine printing and was able to demo it to a few fellow exhibitors. Since I was still a little out of it with no sleep, I called it a day, and left for home.

    Friday

    The goal of Friday was to just run through the main flow a bunch of times and get really efficient. One of the things I hadn't quite nailed down was the vacuum table's position. Luckily my friend Delaney came out to help me and we walked through how it'd work. All we needed to do was align the vacuum table to the printhead, then figure out how far the printhead needed to go to be centered, easy, so we asked Claude to create a x/y offset to start printing. That was 1pm, at 8pm the printer was able to print again. I'll have a post about why, and how we fixed it. 

    Saturday

    My wife and our god daughter came out to help. I was worried with all the Wifi going my tablet wouldn't be able to connect to the printer, which was giving problems as well on Friday. So one last change before the day started, I switched the ESP's wifi to use channel 5 instead of its default channel 1. That was the last time the printer had any issues, it worked 97% flawlessly on the first try on every print on the weekend. I should have kept track of how many we printed out, but some people created some really awesome graphics. 

    Sunday

    I setup my pixel to do a timelapse, here it is.


  • The P1s

    john07/15/2026 at 16:27 0 comments

    With setup for OpenSauce tomorrow, I thought I'd give a list of the P1s I'm not gonna get to. 

    • Limit Switches
      • Certainly needed eventually, and just off the P0 list was limit switches to get back "home". I was hoping to get those up and running last night, but Claude decided to mess my code up setting me back a few hours. 
    • CR-Touch Z axis calibration
      • Not really needed for the OpenSauce, but when I start using this for large prints, I'll need to make sure I maintain an accurate Z distance down to .1mm. On large prints, any change in this over the course of a print would be noticable and waste hours per print.
    • All the Temp Sensors
      • I thought I'd have temp sensors on every Heatsink and have a really nice dashboard. I'll have one on the LED head

    Successful Upgrades

    Before I thought of exhibiting at Opensauce, the printer was working, but the output wasn't that great. I had a huge list of upgrades I wanted to do, rather then get down at what I didn't do, I probably should reflect on what I did accomplish.

    • LEDs mounted on custom Aluminium PCB
      • Successfully ditched the star heatsinks, designed my own Aluminum PCB and got it working. This shrunk the print head from 100m to 32mm.
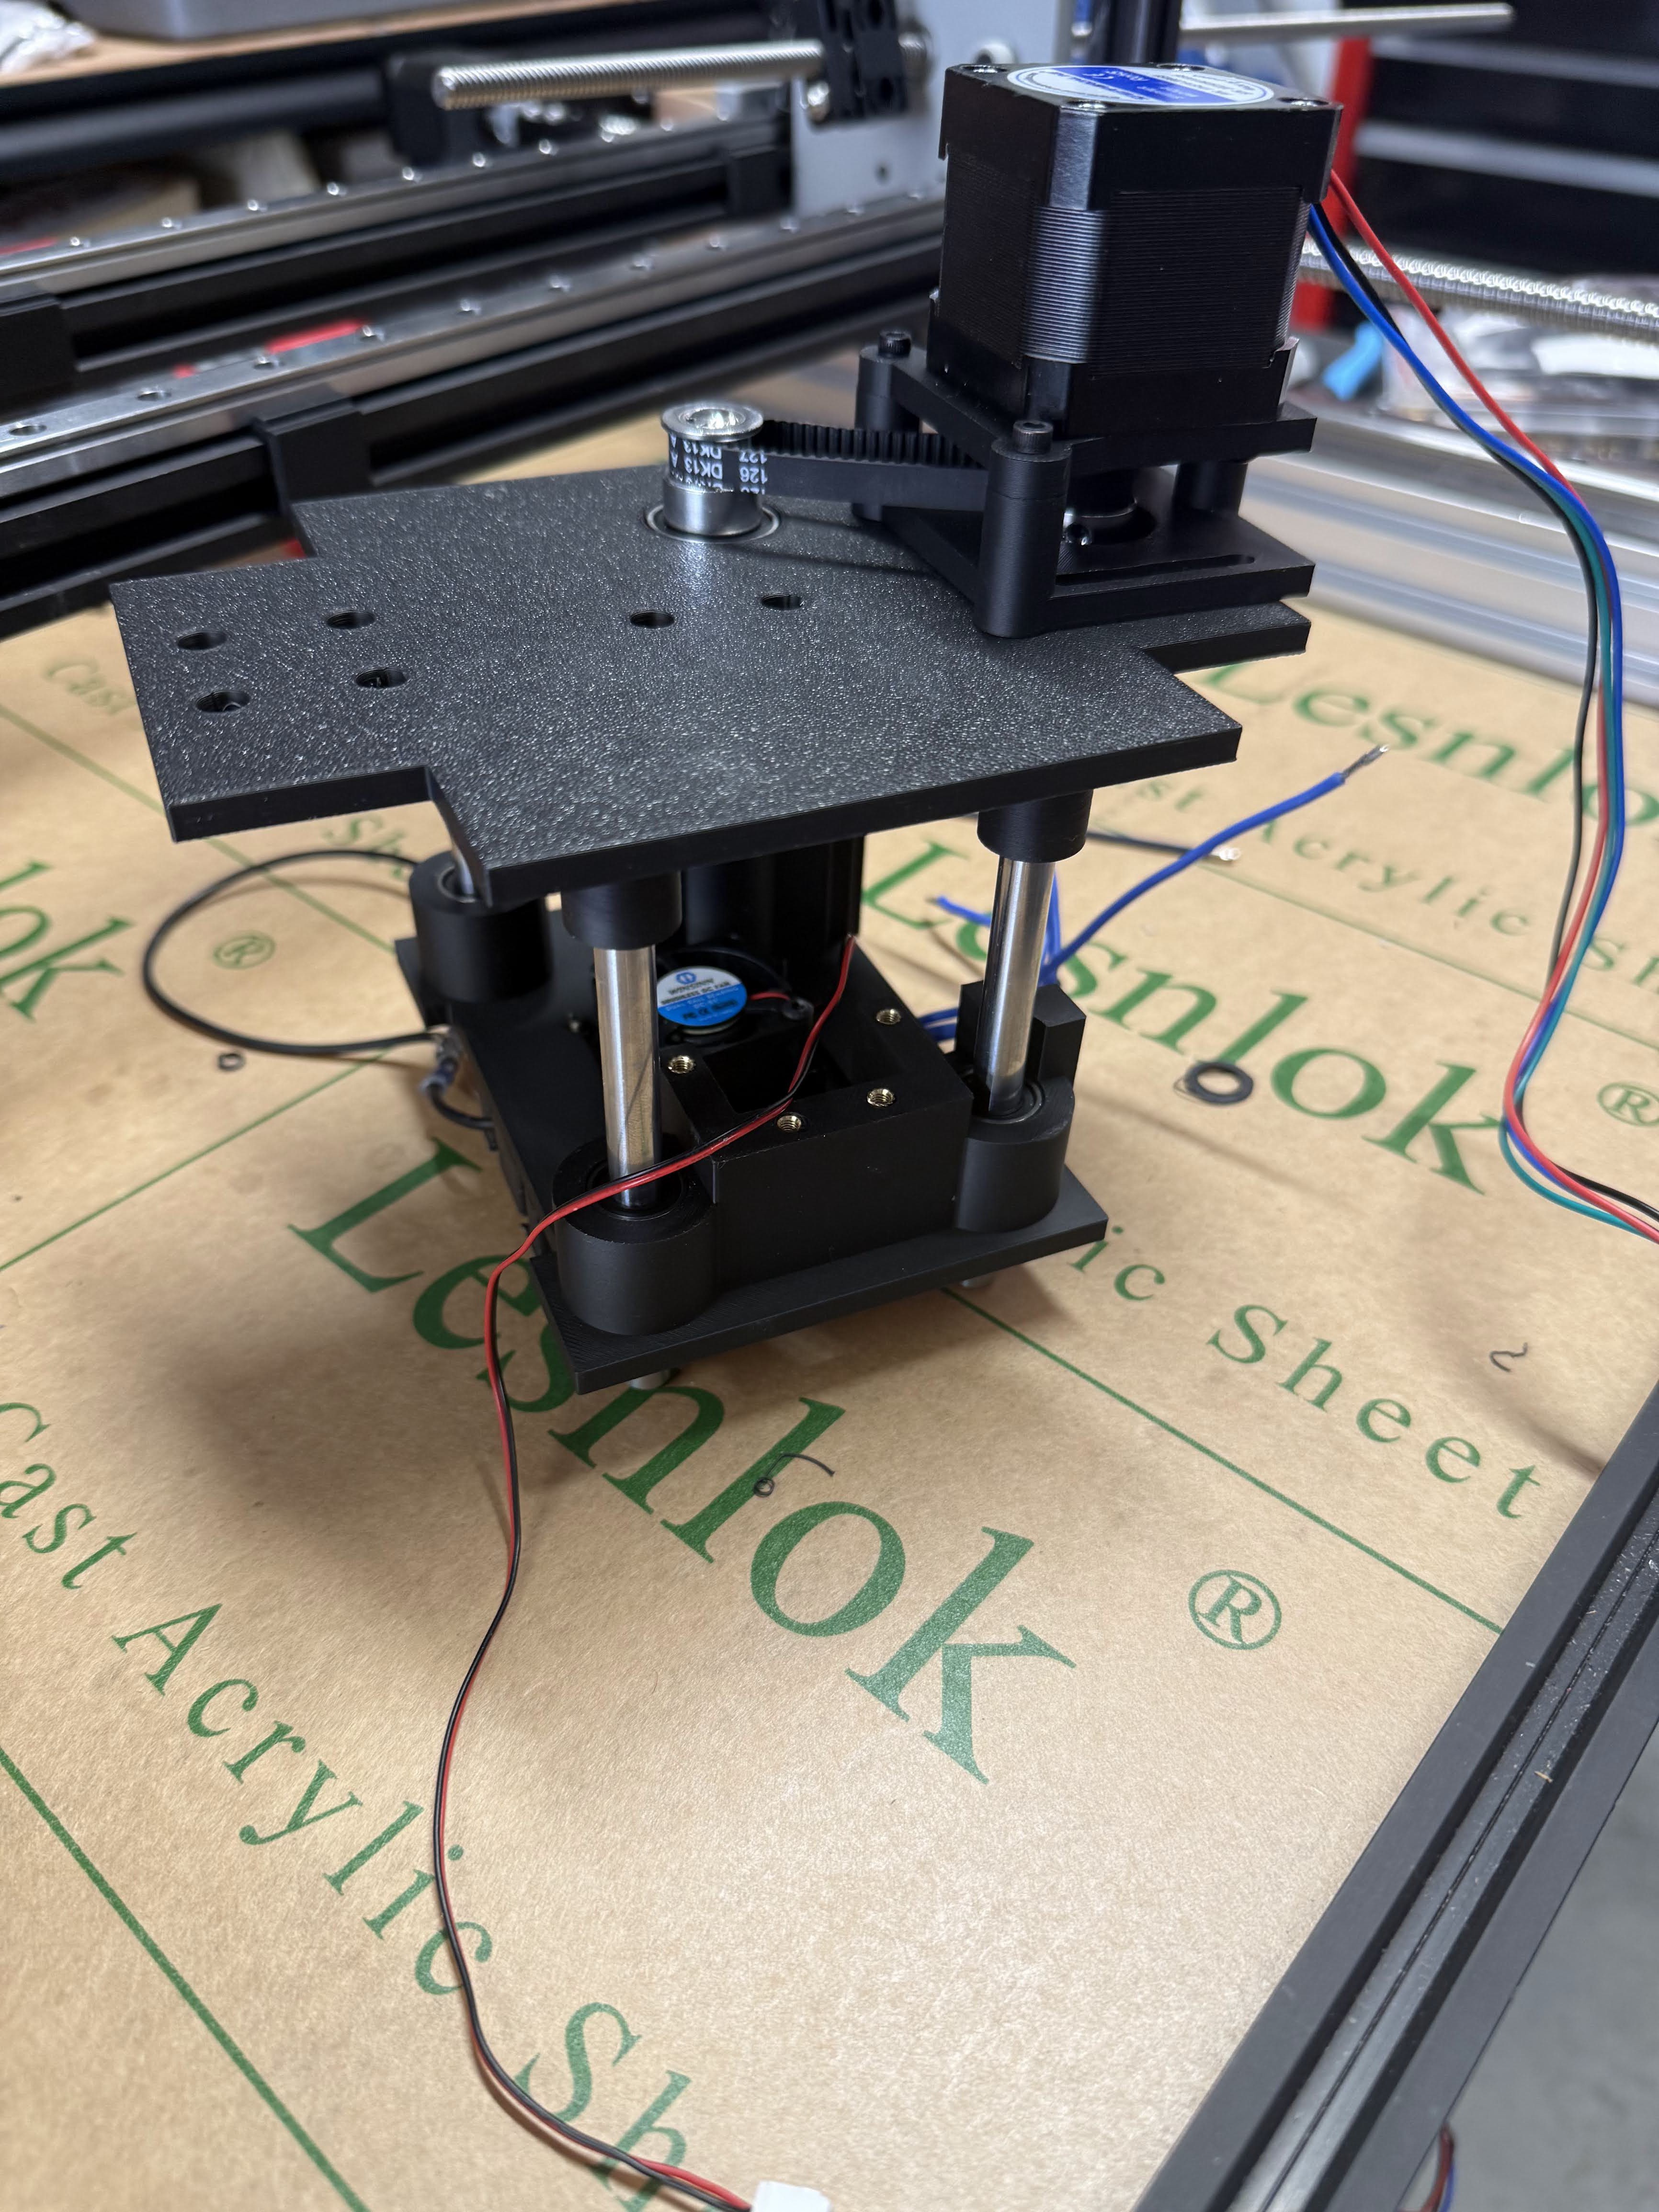
    • Motorized Z Axis
      • Managed to create a working Z axis controllable from the Arduino
    • ESP8266 Web Control
      • Used the ESP8266 onboard my weird Mega 2560 board to create a web interface to the printer. 
    • Preview on display
      • The Arduino shows a preview of what the user wants to print

    New Tasks

    I also learned a lot of what I should do

    • Ditch the Mega as the top controller.
      • Currently the Mega is in charge of motors, coordinating LEDs, receiving prints from the ESP
      • The last few days has been mainly fighting the limits of this tech. Ram issues (8K) , heap issues etc. Really like having a 80s 8bit in charge of everything. 
      • In the future, use the Mega (or just an arduino) solely for the CNC shield. Have it take X and Y, report back limit switches hits.  
      • Use an ESP32 or RaspPi as the main controller. So much more RAM, would be really nice not to worry about that. Also give room to upgrade the display. Showing what the main controller is thinking its doing has helped a lot with troubleshooting. But that has used nearly all the RAM in the Mega
    • Upgrade the Display
      • Switch to LCD TFT. 
    • Upgrade the web interface.
      • Switch from sending 8x8, to sending prints, showing status of prints, showing status of thermals over the web

  • Vacuum holder working last main P0

    john07/11/2026 at 06:09 0 comments

    Got the MVP running. Still plan on improvements, but if I had to, I could show this at OpenSauce. Right on time to practice. 

  • New PCBs ... new toy to solder them with

    john07/08/2026 at 16:31 0 comments

    Just a quick update on the new, "Surface Mount Only" aluminum LED boards. Got it soldered together the other day. Quick note, while the board is hot, put the ground wires on. I've been tempted to go for some SMT terminals, and maybe that would be something for the next rev. OpenSauce is only a week away... new post about that soon. 

  • Alignment

    john07/05/2026 at 06:19 0 comments

    After hacking around some design flaws (new set of LEDs PCBs on order) I overcame the hardware flaw with the power of software. 

    So I got all 4 LEDs aligned, still perhaps a bit more needs to be done, but for now, this would be useable for the show. 

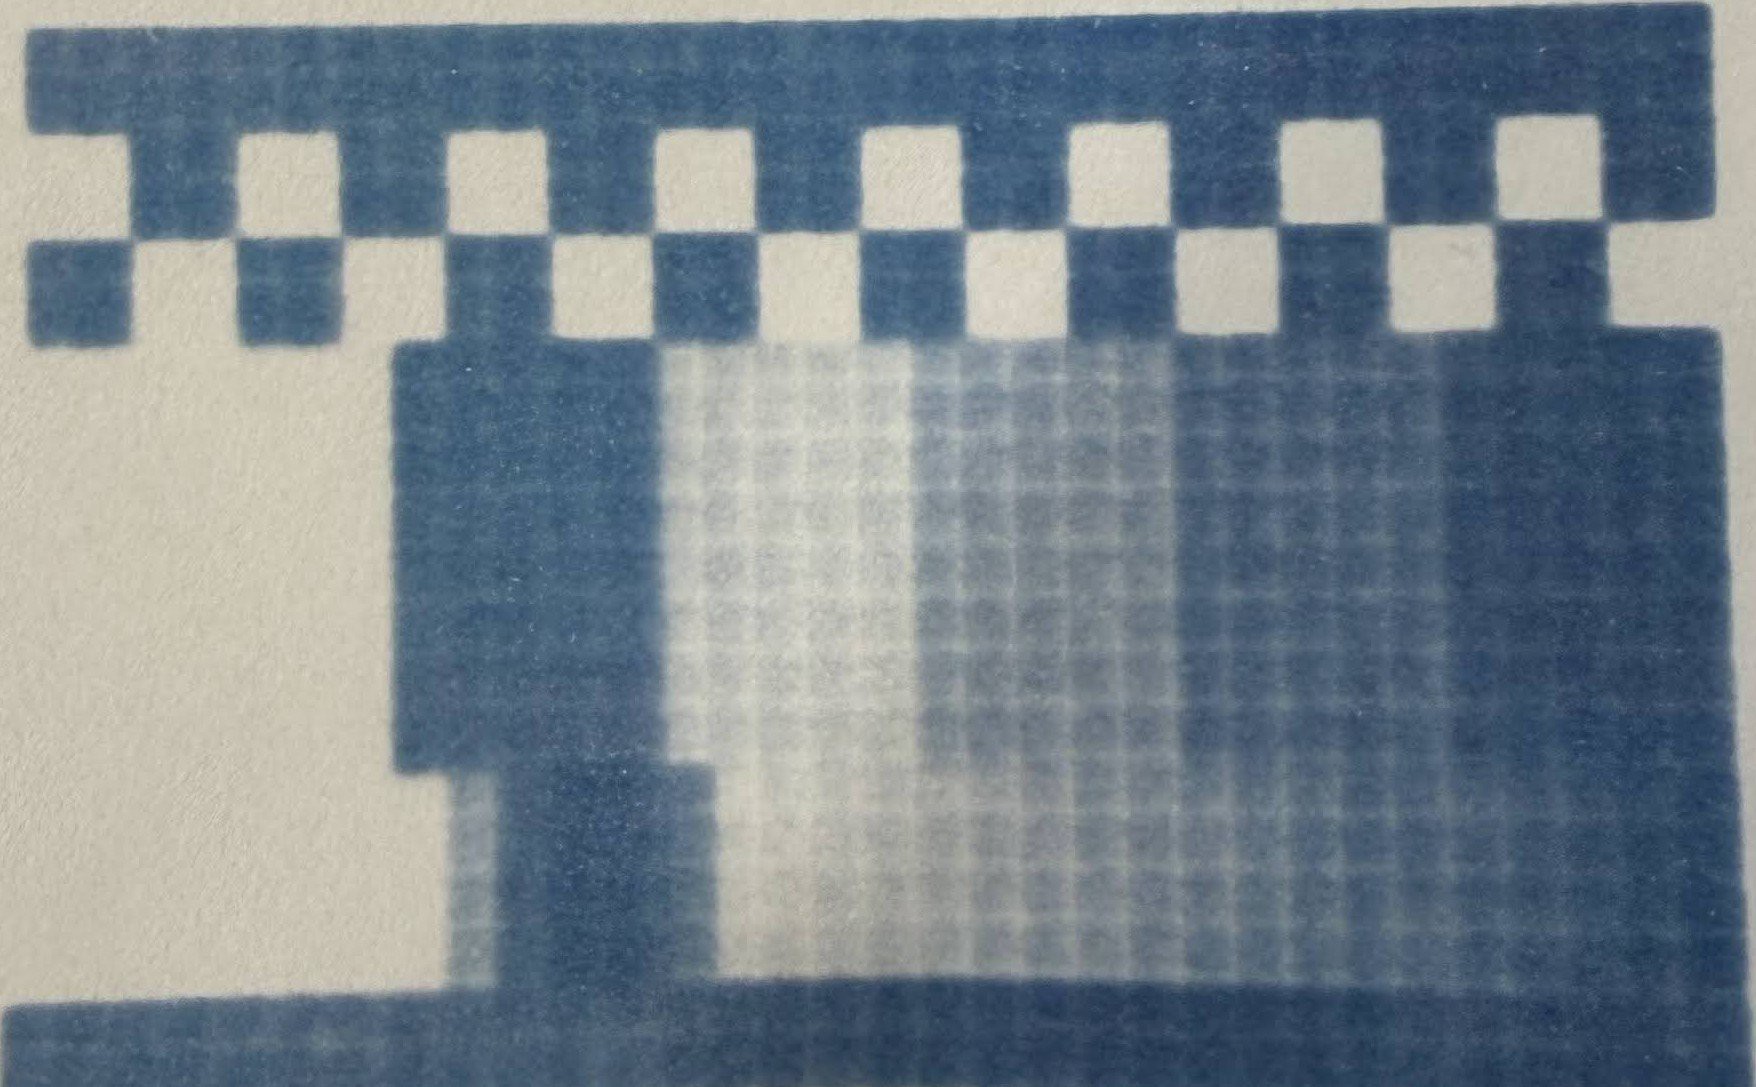
    Now that I can move the Z axis in .1 mm, these two prints are .3mm in distance. 

  • First Print

    john06/29/2026 at 16:14 0 comments

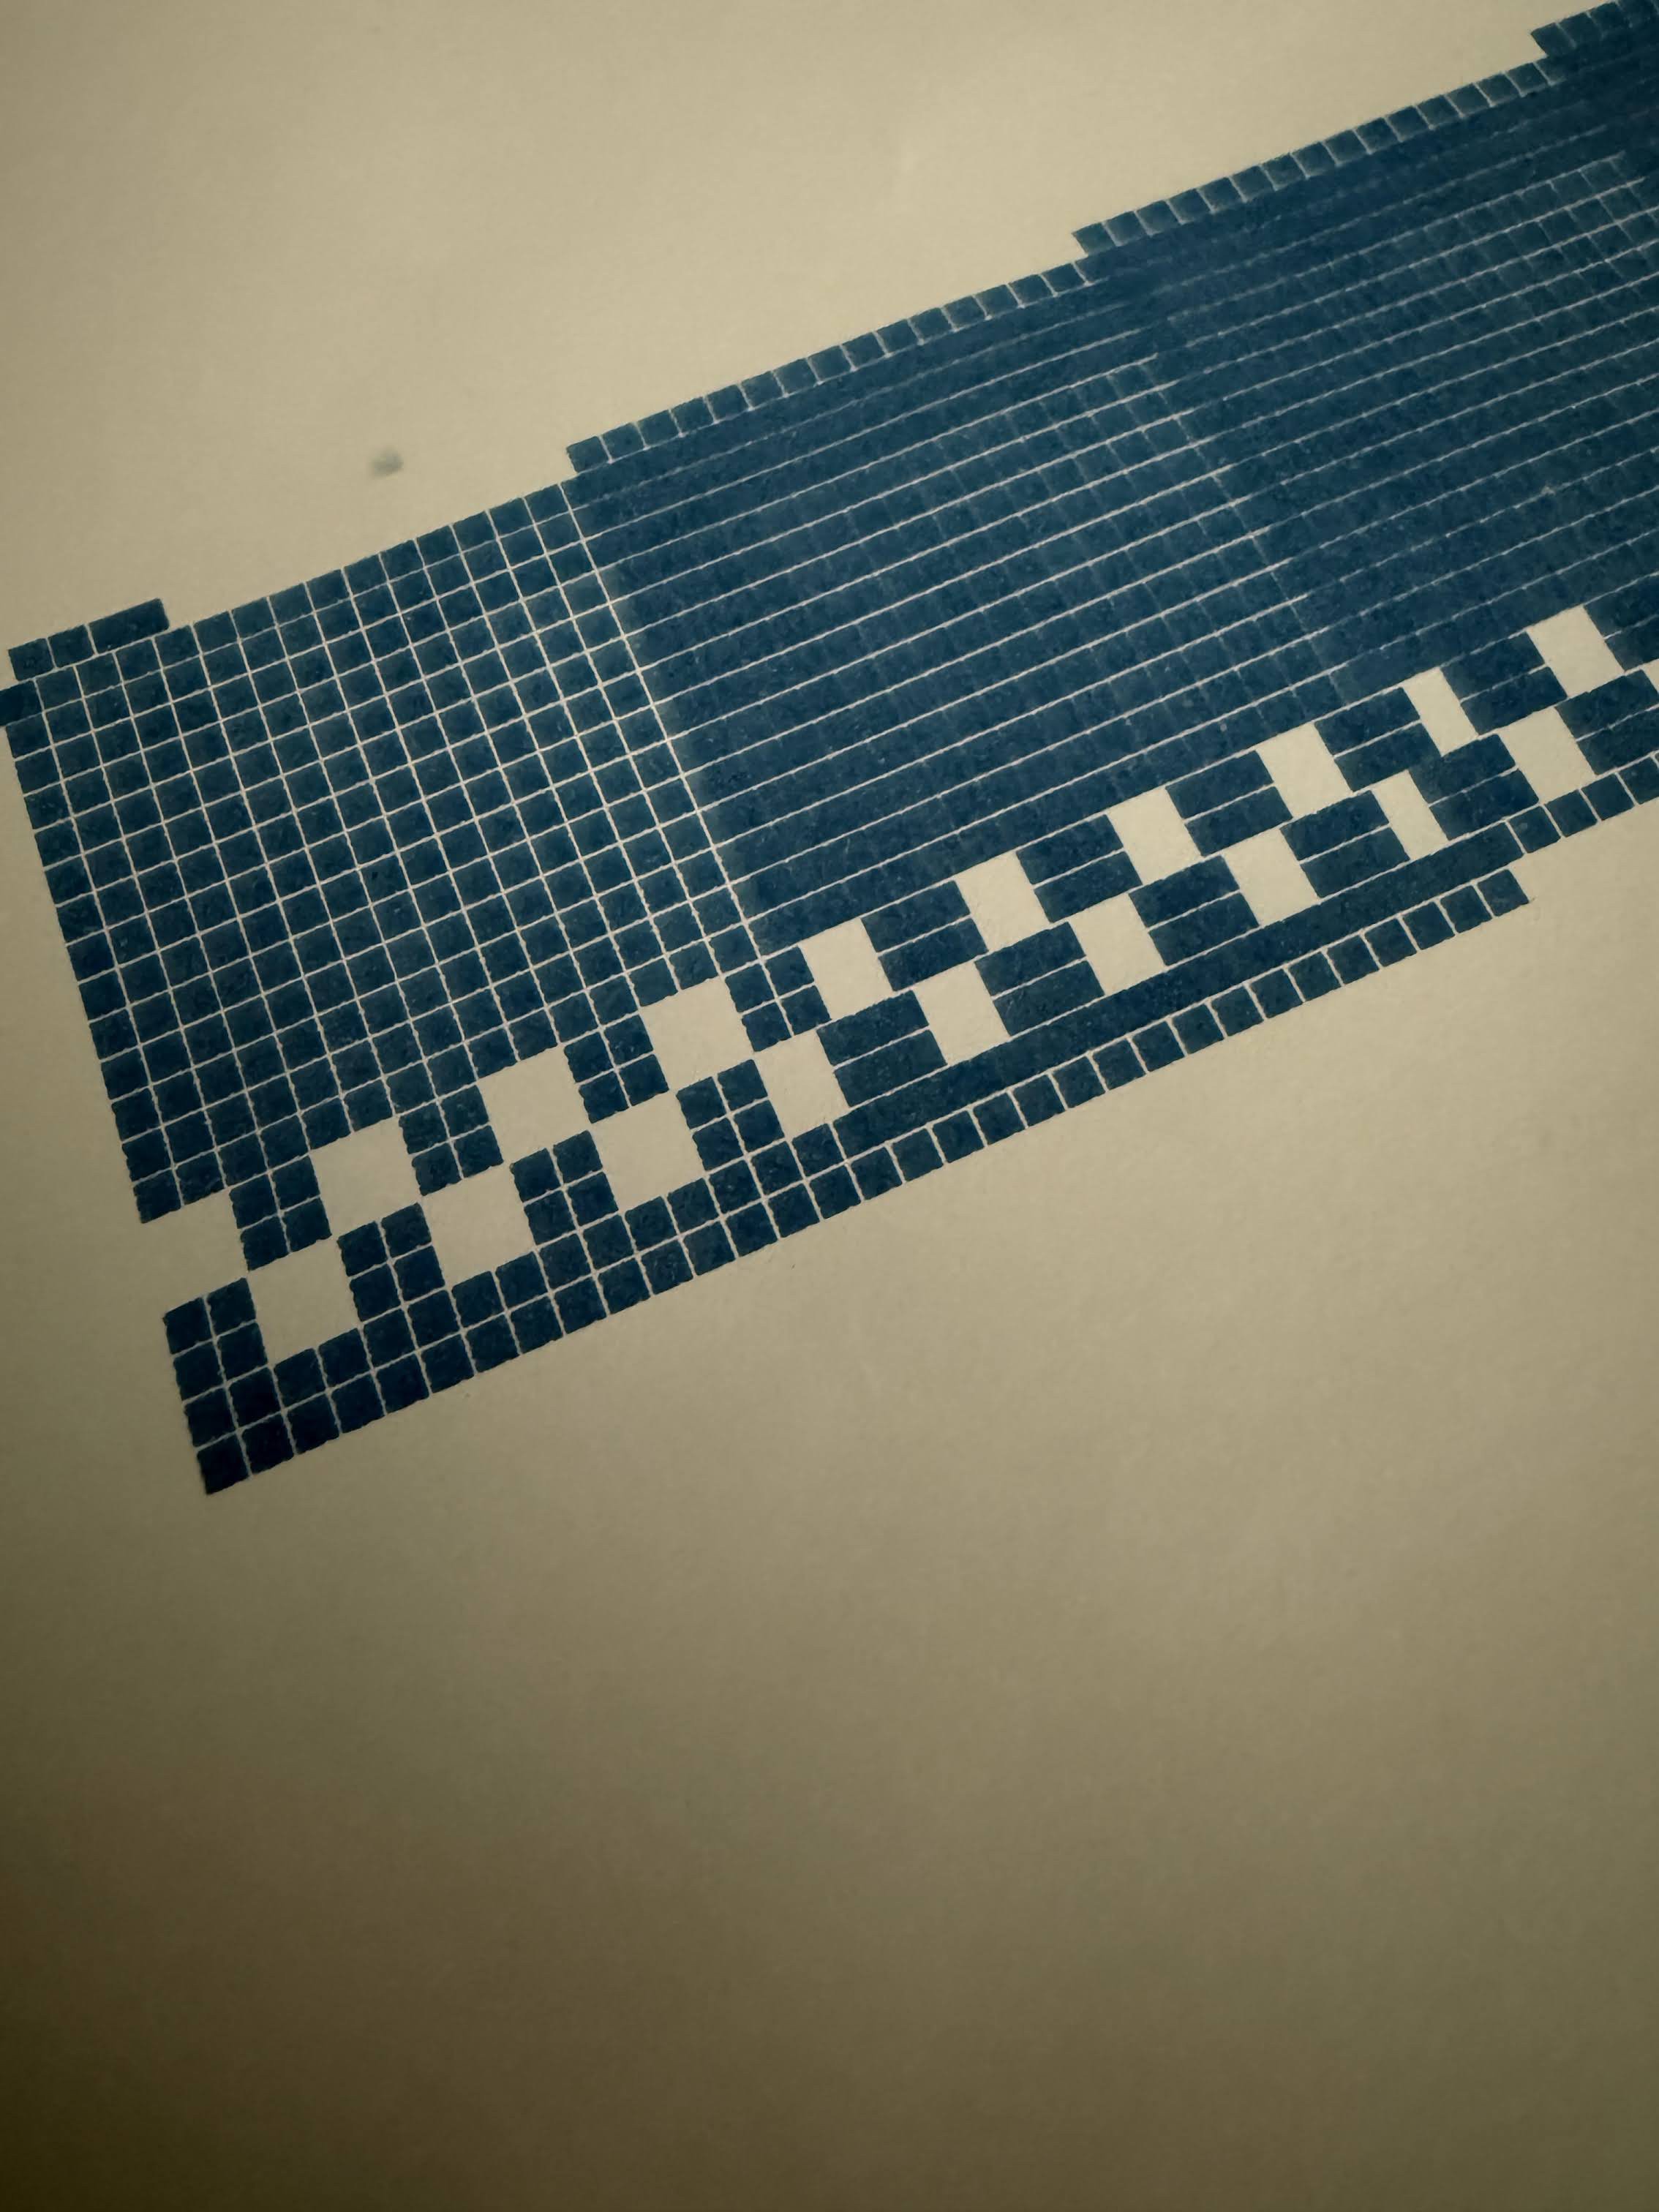
    First successful UV print from the printhead. Still some issues.

    Software is all mangled up, AI just decided it didn't need to work anymore. Gonna have to sort this out by hand. All 4 passes are apart. The print shows this.

    The Z drive isn't working, for some reason, again, when I'm working on the code, I'll figure it out. 

    The Good?

    Accuracy, the boxes on the print look really sharp. Hopefully I can minimize them by moving the print head away and I have the hardware to keep it at a set distance. The squares are slightly less than 2mm squares, calculated to allow some expansion. I might have another rev of the boards coming, so I'll throw in a slightly bigger stencil too. 

    Every square was DMax, so I need to drastically shorten the exposure, which means ... faster printing. 

  • First Assembled Printhead 2.0

    john06/26/2026 at 23:34 0 comments

    I could have gone into OpenSauce with my old ... very hacky... printhead pictured in the main gallery. There were many issues with it that I've mentioned before. Well, I have my first completed 2.0 version ready for testing this weekend. You can see the "focus" mechanism, which is really just going to place the printhead consistently .5mm away from the paper. That and the new metal mask, should produce clean squares. Well... we'll find out tomorrow.

  • New PCBs on the way

    john06/24/2026 at 20:53 0 comments

    New PCBs ordered

    Well issues with the aluminum PCBs finally got me to realize these could not be used at OpenSauce. The problem is that the through hole mistake means the solder really doesn't have much to adhere to, I ordered some Lead Free solder and paste to see if I could make it harder, but as I picked up the boards to examine them if they fit onto a 3D printed tray, all the leads popped off. This might work with some epoxy, but only for testing. So, ordered new ones from JLPCB last night and did a quick rev of the Nano board as well. 

    Cost for the PCBs:

    5 of the Aluminum LED  :  $5

    5 of the Nano : $2

    Shipping: $45

    If i had anything I could do to the Mega one I'd through in some fixes, but I honestly don't have much there to do. I was noodling with putting a bigger display on it, maybe touchscreen, but that probably would work fine with the existing board, and I'd have to cable it to a case anyhow. 

View all 13 project logs

Enjoy this project?

Share

Discussions

Similar Projects

Does this project spark your interest?

Become a member to follow this project and never miss any updates