 Arnov Sharma
-
1RASPBERRY PI & DISPLAY SETUP
![]()
![]()
![]()
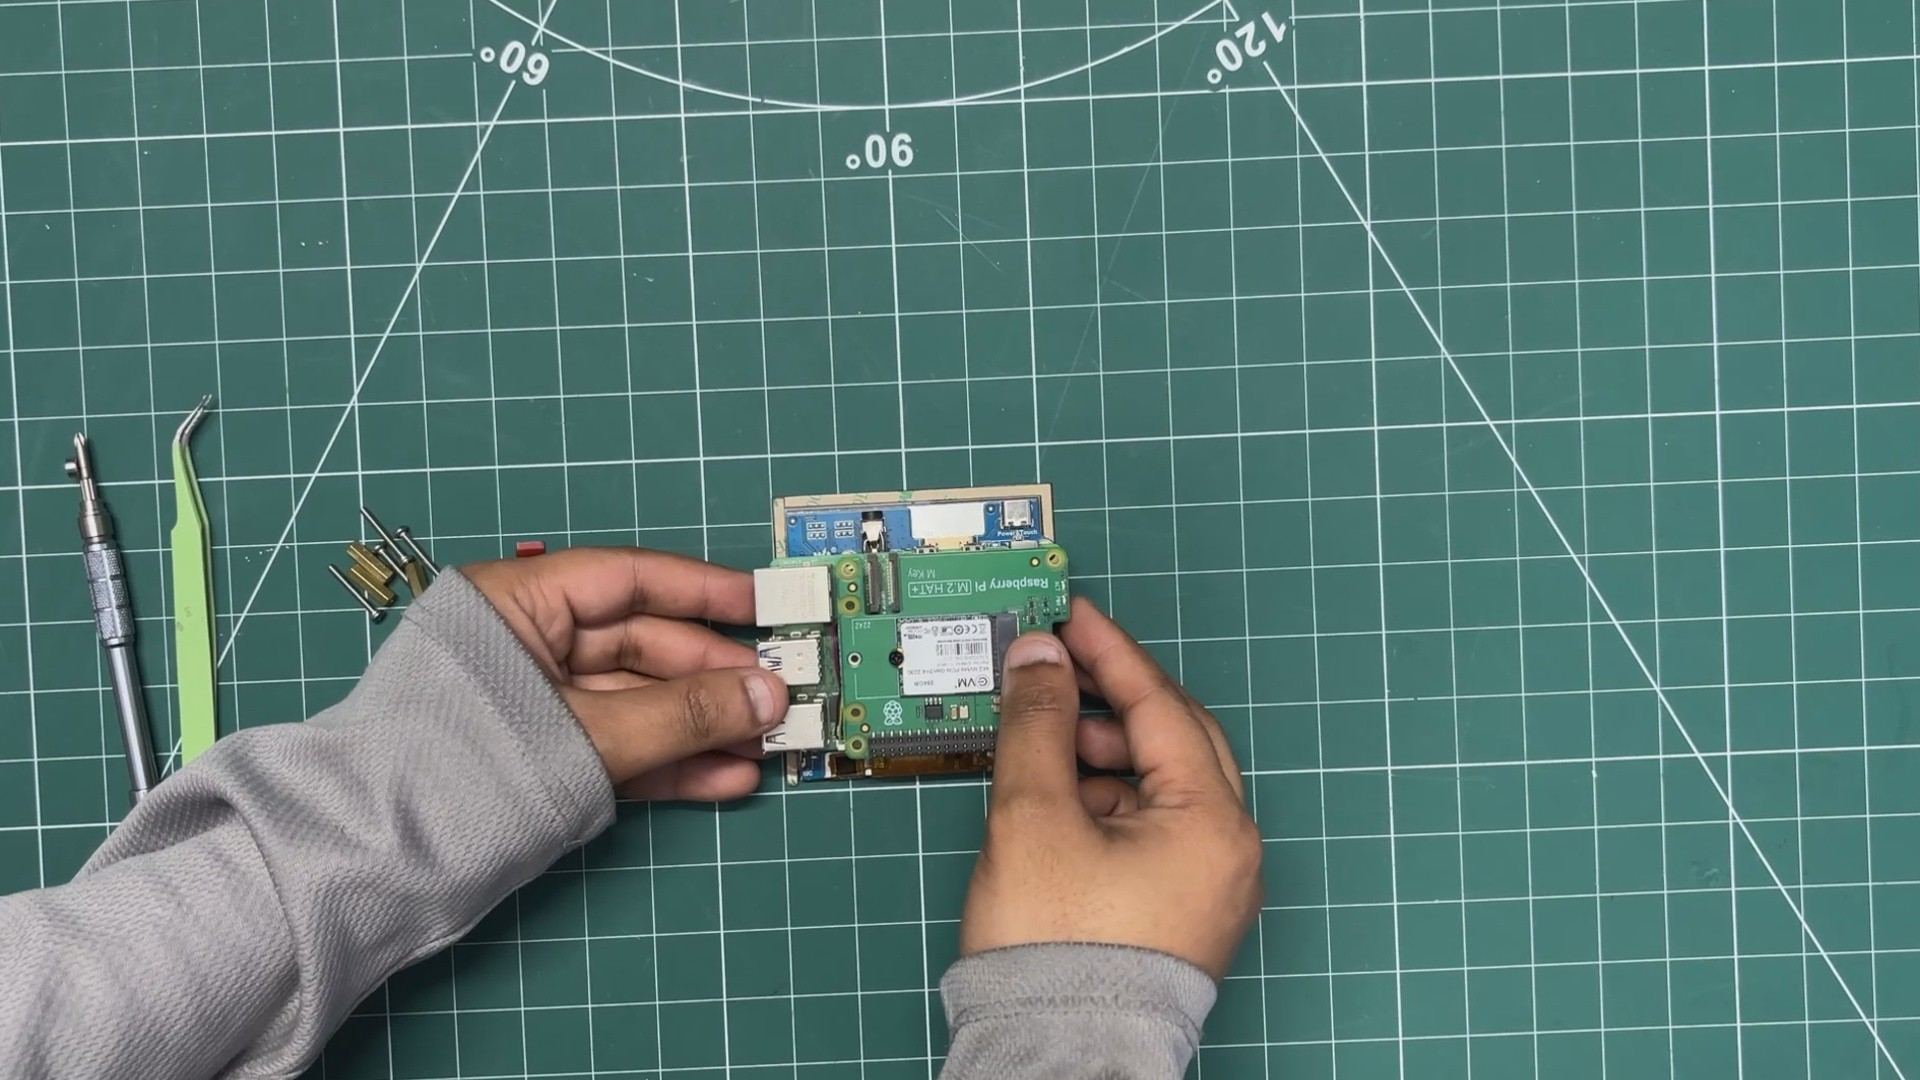
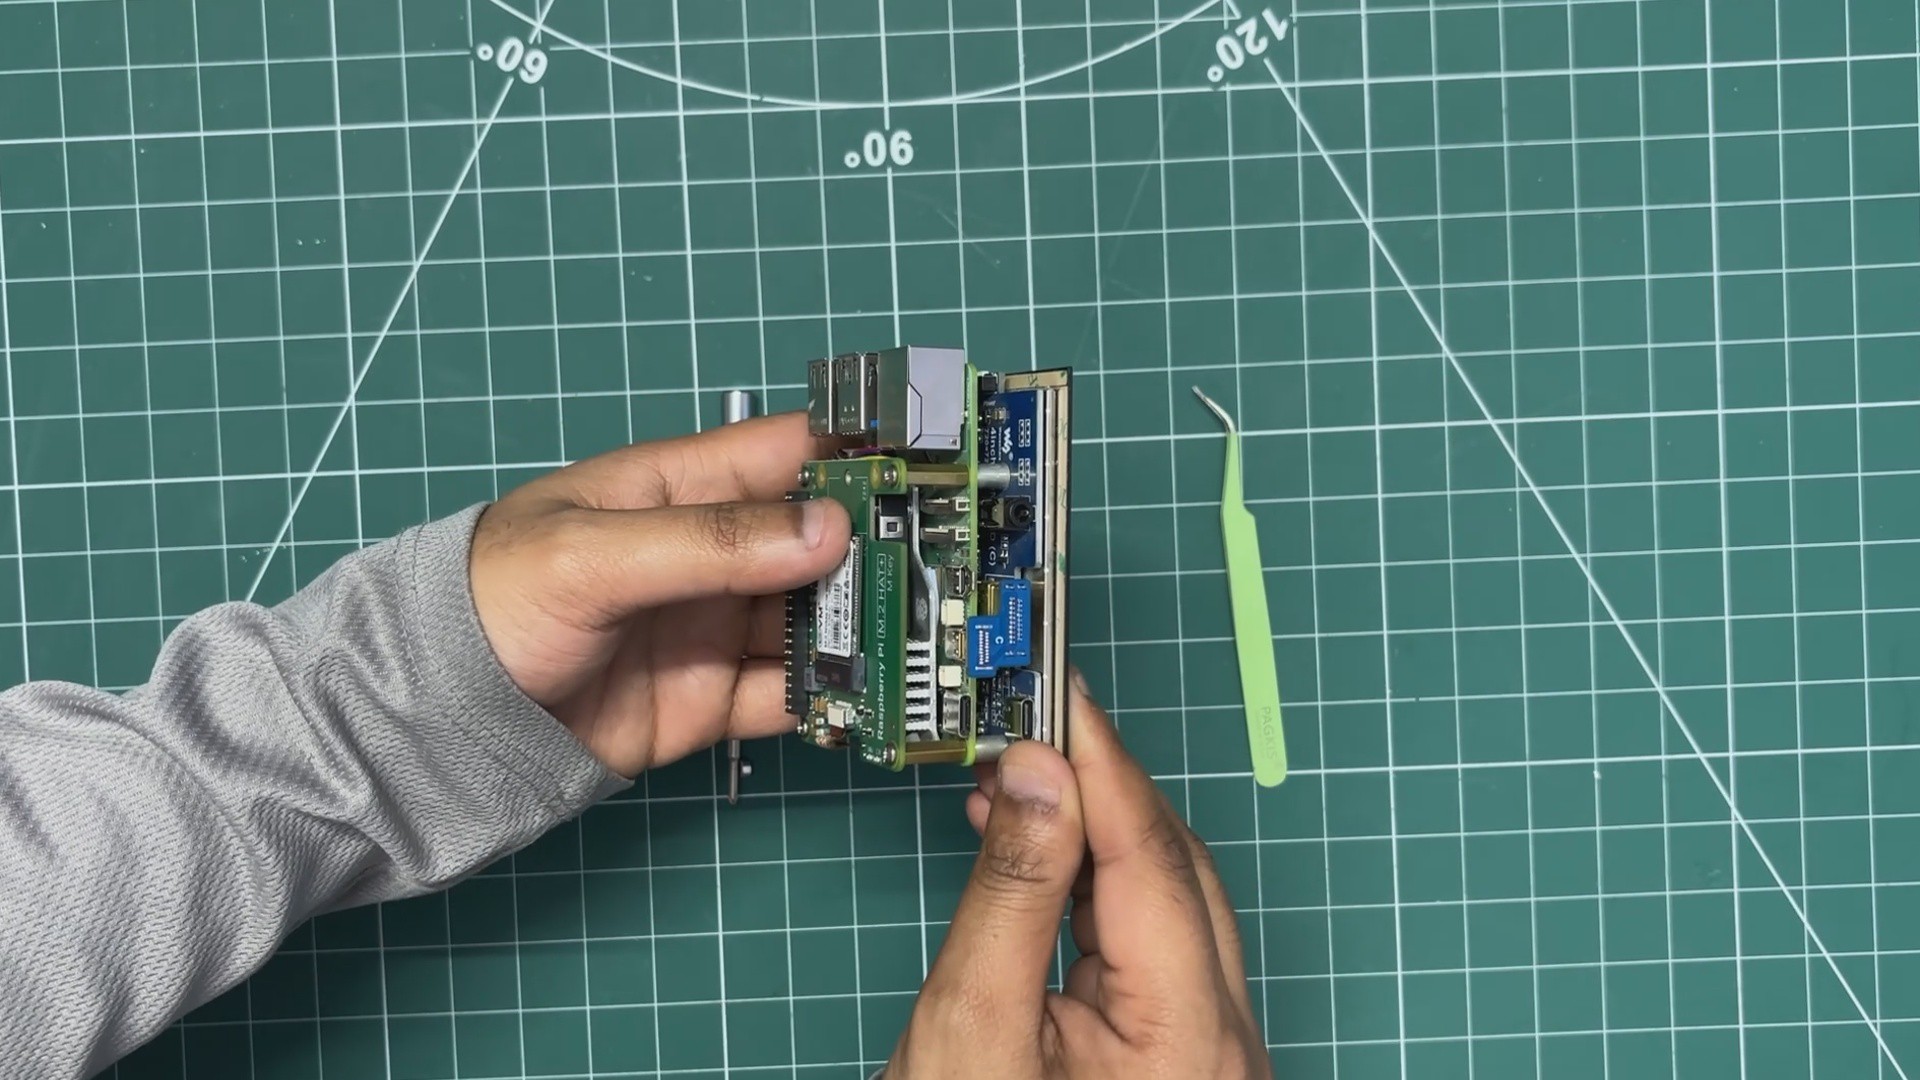
The Waveshare 4-inch display contains four mounting standoffs on which we can mount the Raspberry Pi 5. I positioned the Pi’s mounting holes over the standoffs and then used M2 PCB standoffs to mount the Pi in place.
Next, I positioned the M.2 HAT over the PCB standoffs and secured the M.2 HAT to the Raspberry Pi 5 using four M2 bolts.
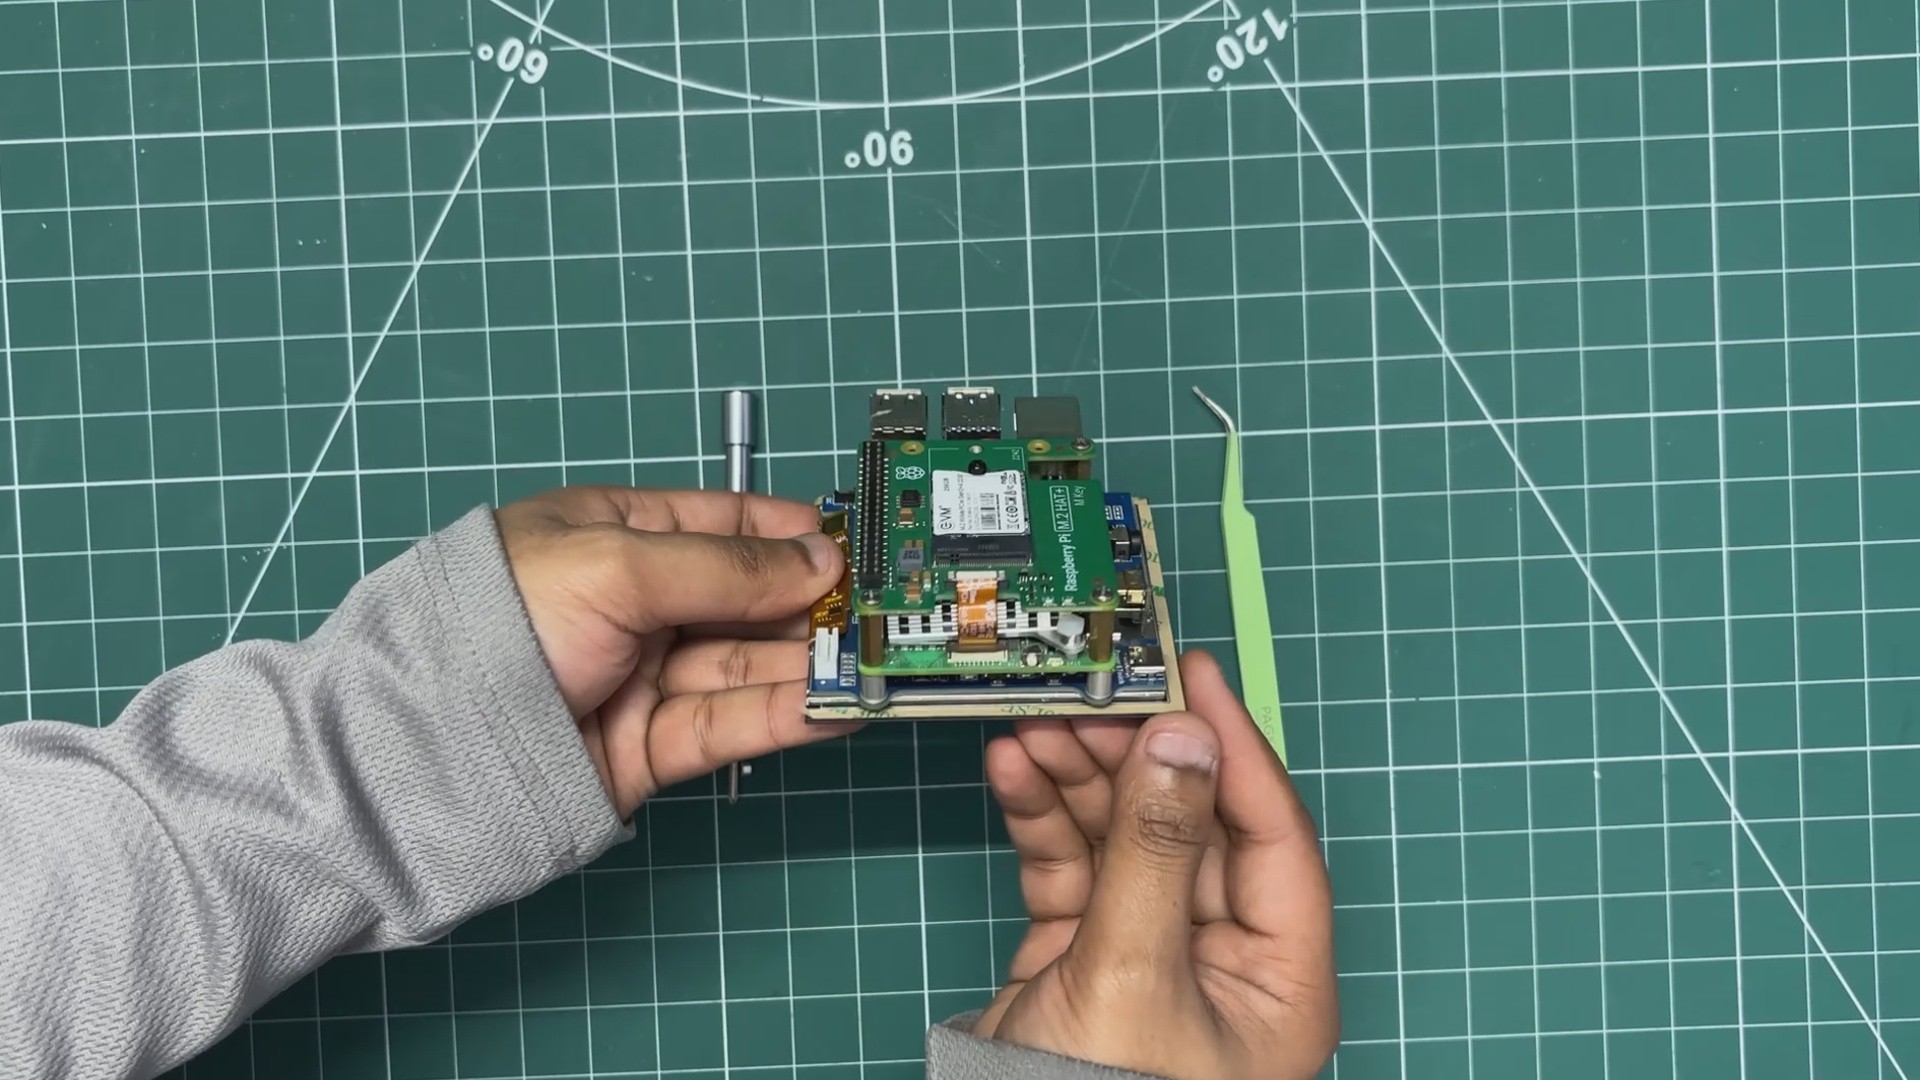
The FPC cable that came with the M.2 HAT was then connected, with one end plugged into the PCIe connector on the Raspberry Pi 5 and the other end into the PCIe connector on the M.2 HAT.
Finally, I connected the HDMI bridge connector that came with the Waveshare display, pairing the HDMI port of the Raspberry Pi 5 with the HDMI port of the display.
One of the features of the Waveshare display is its power-sharing capability: we only need to provide power through its USB port, which powers both the Raspberry Pi 5 and the display.
-
2MAIN BODY- FILLER PROCESS
![]()
![]()
![]()
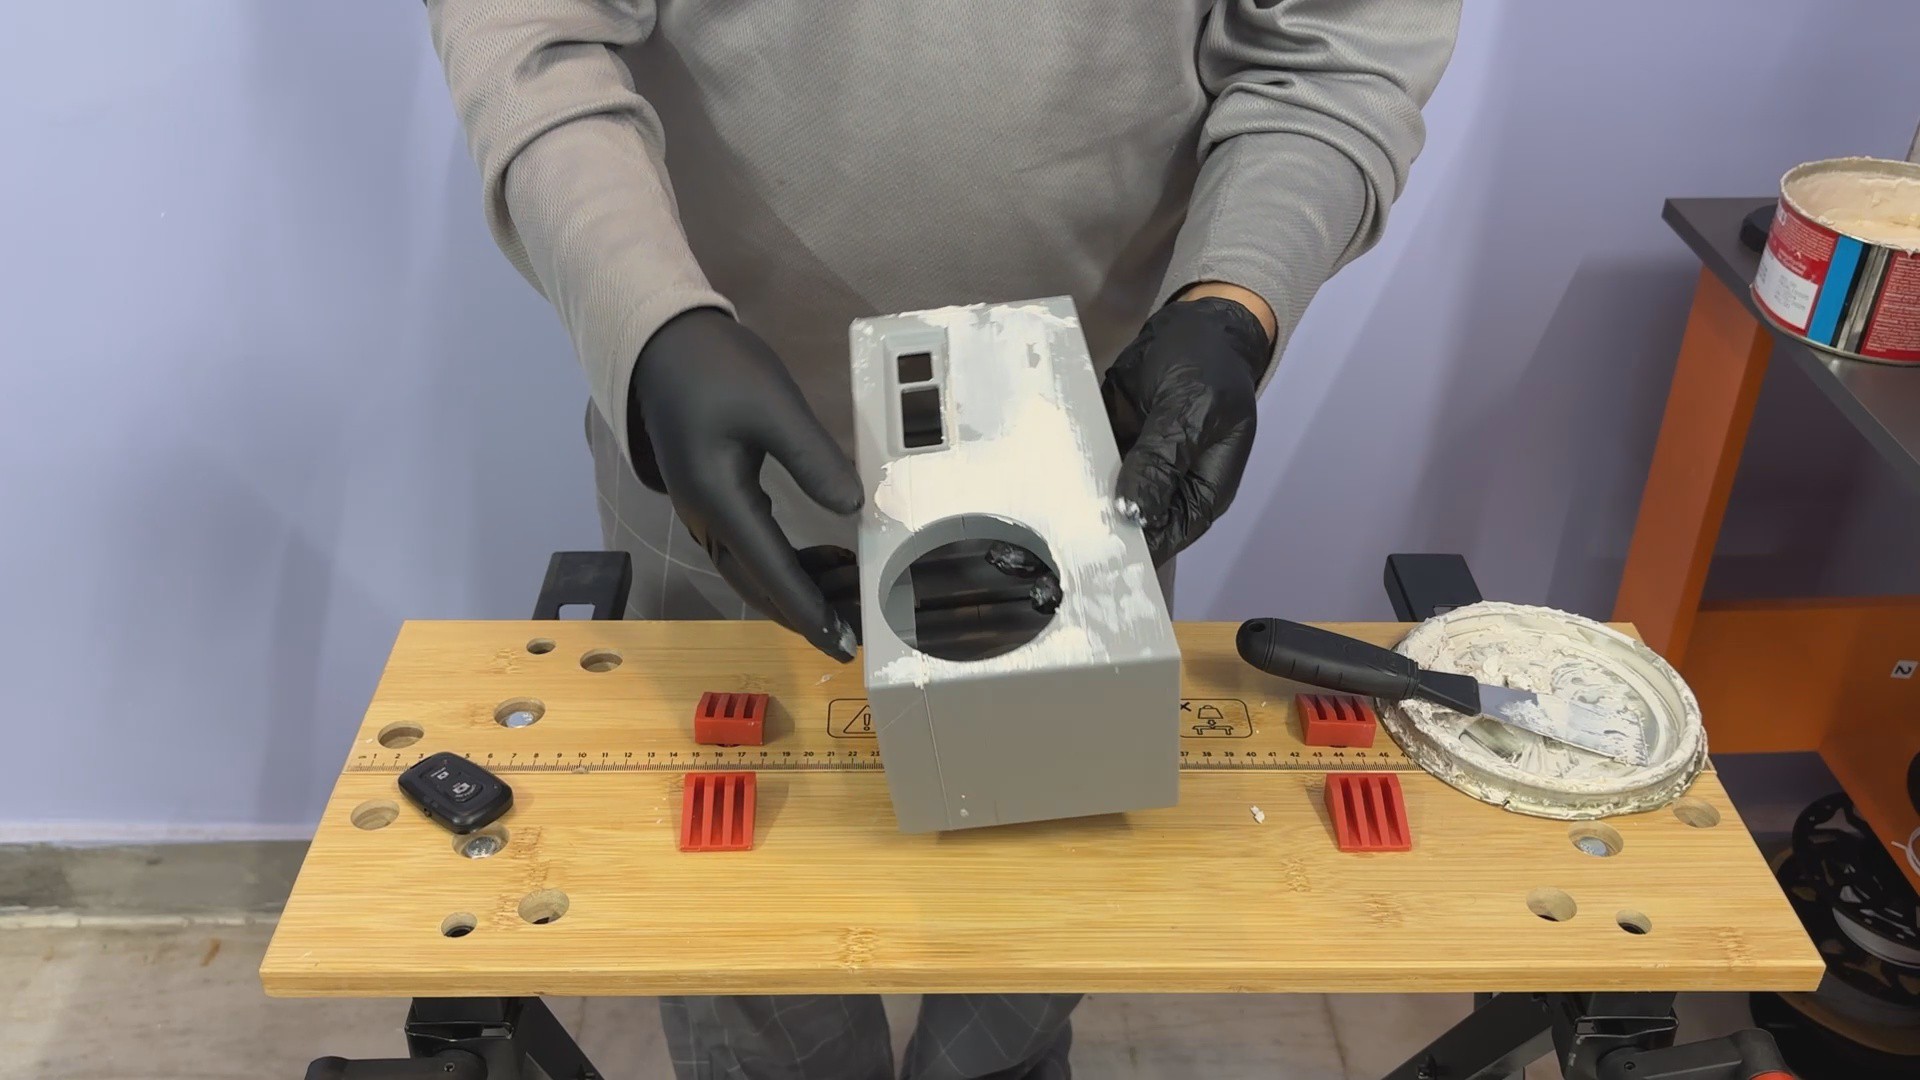
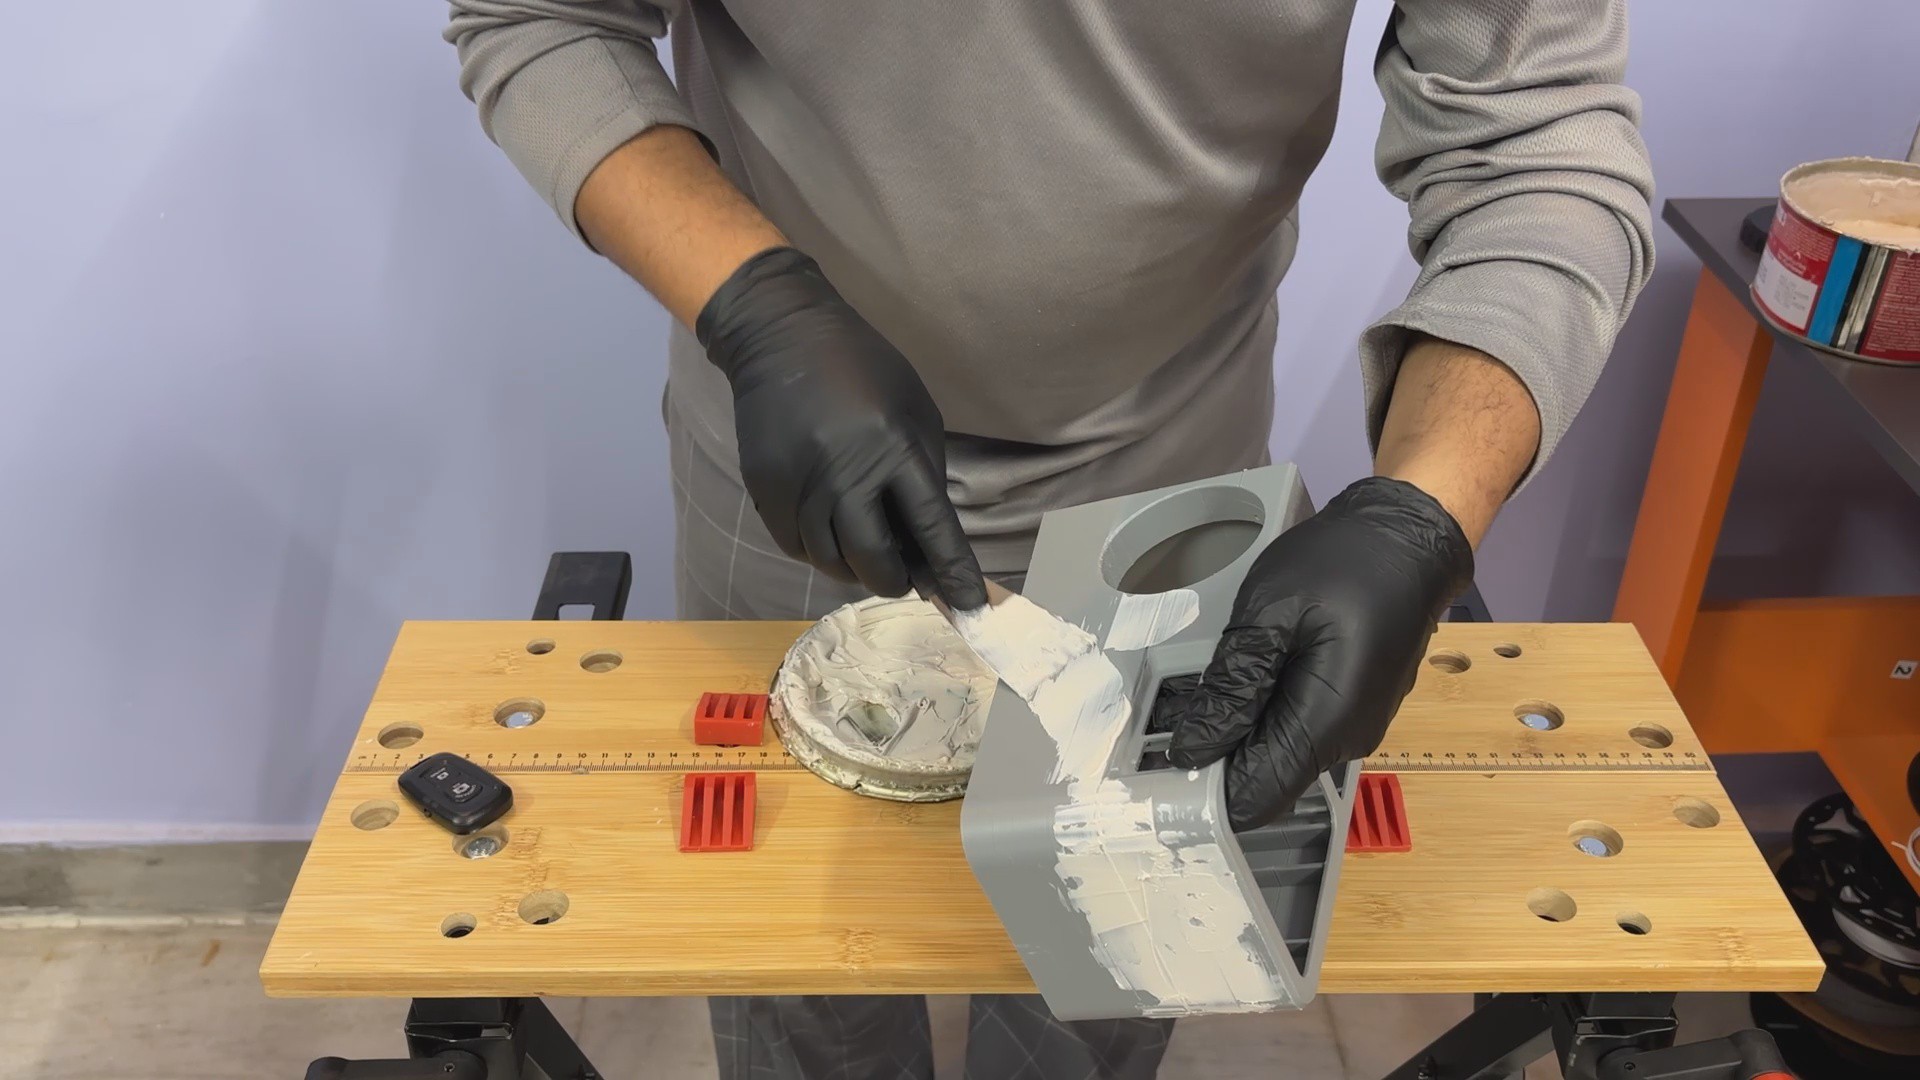
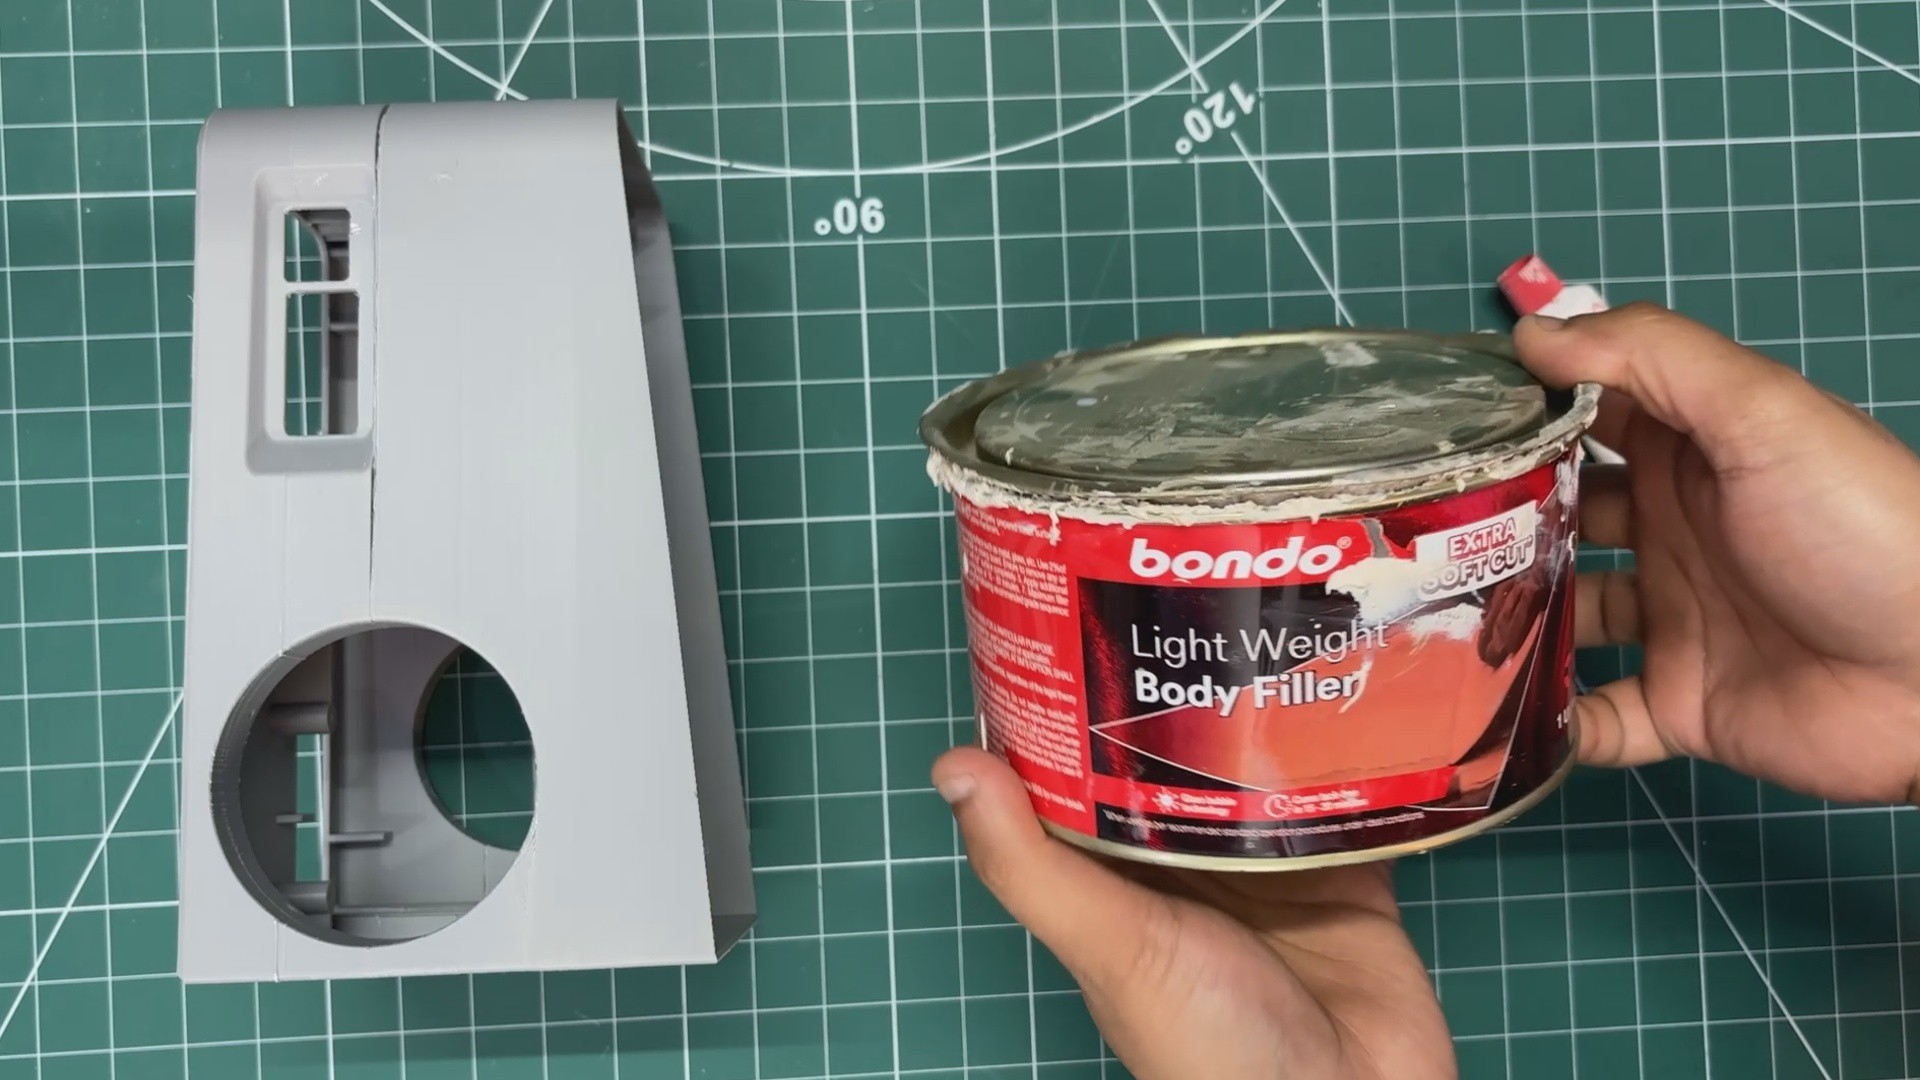
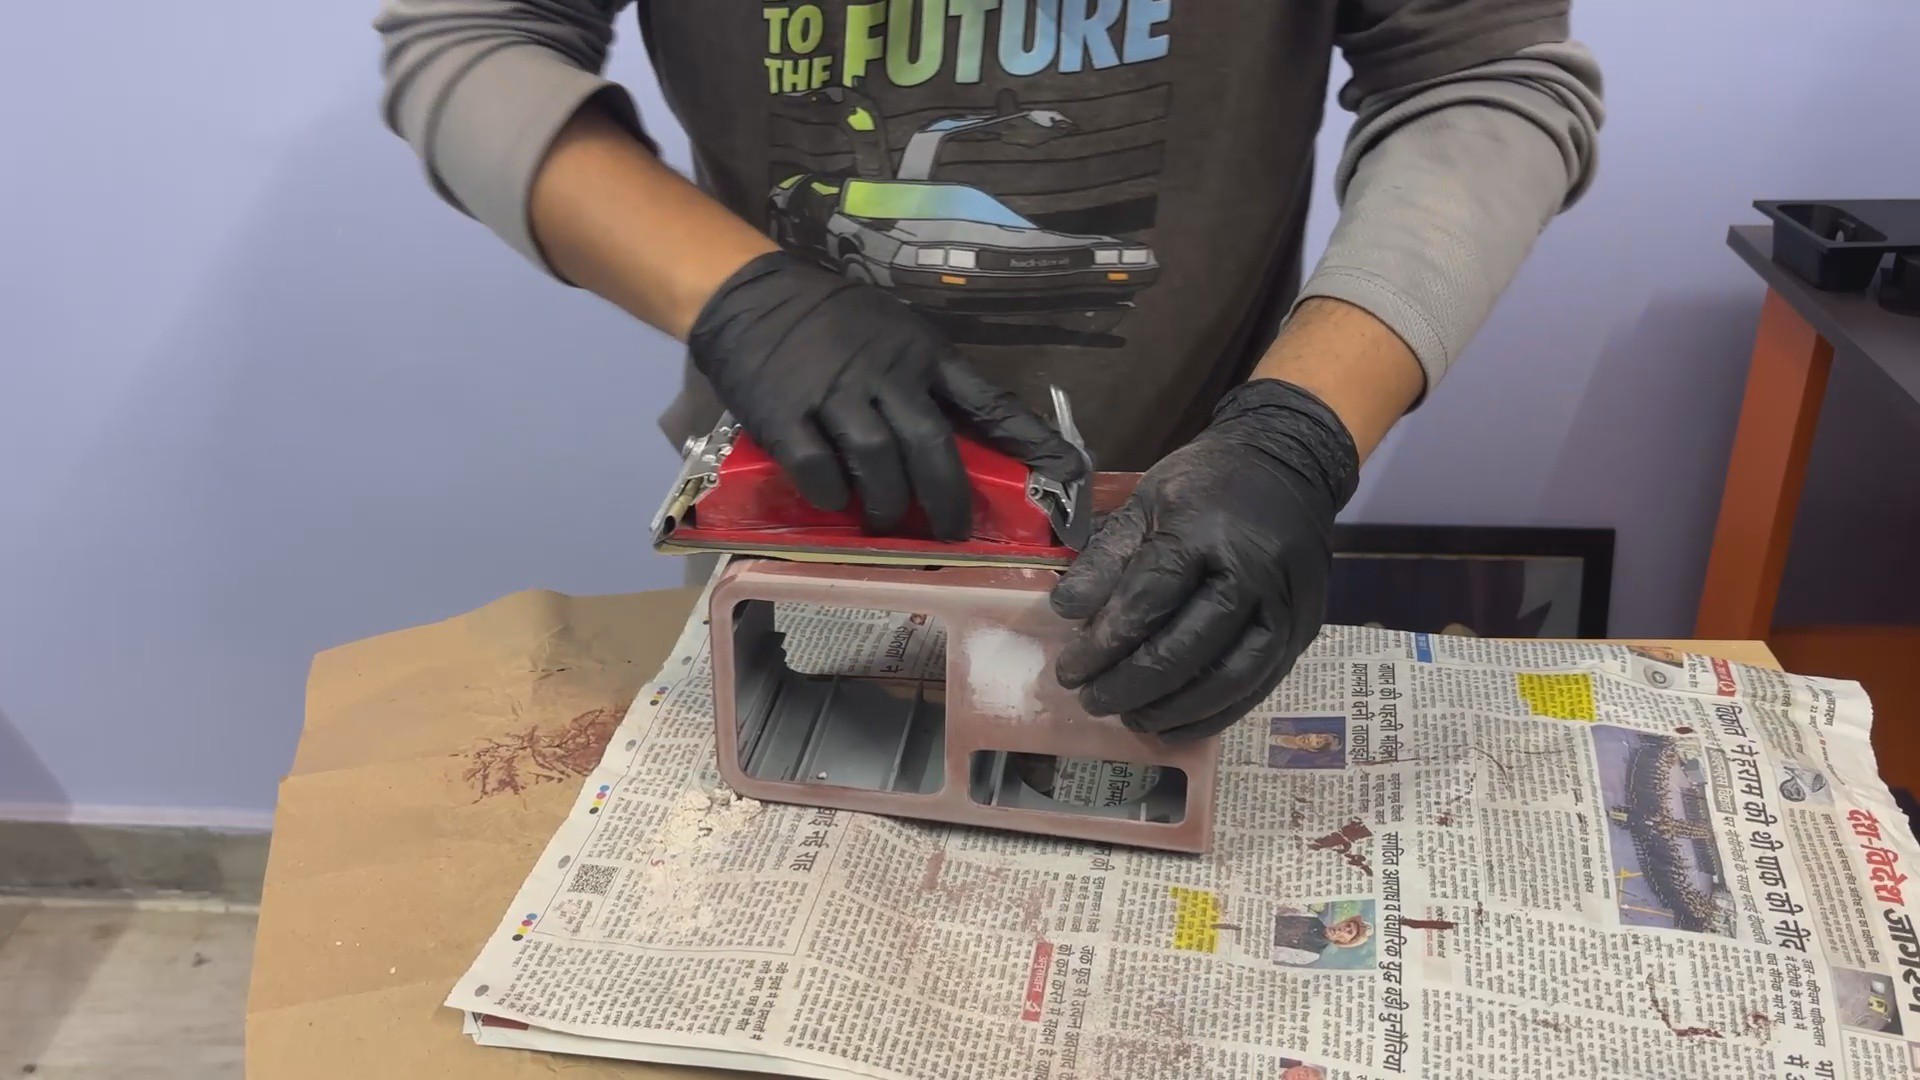
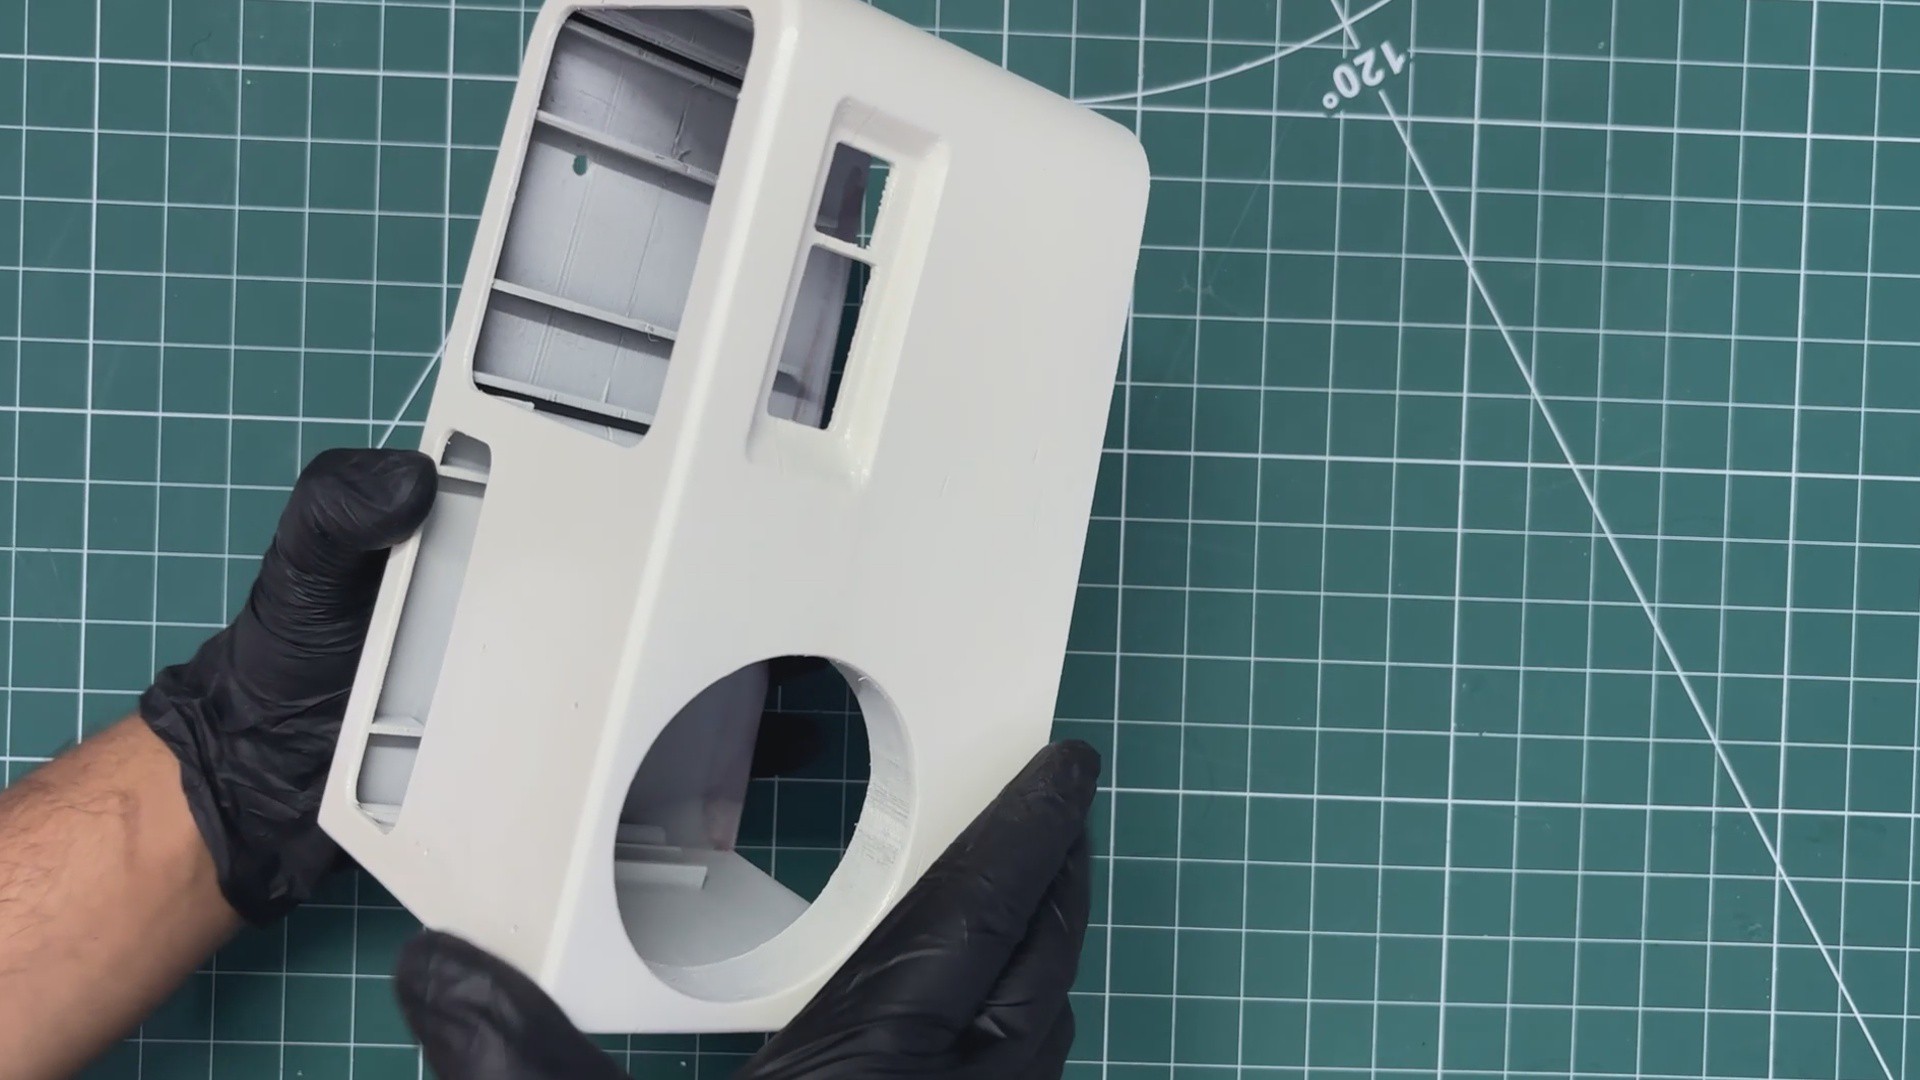
Now comes the Filler process in which I used an automotive two-part filler, mixed it according to the recommended ratio, and applied it over the entire body.
The idea was to fill small gaps between parts and smooth out any uneven areas.
I spread the filler generously across the main body to achieve a clean, uniform surface ready for paint.
-
3MAIN BODY - SANDING
![]()
![]()
![]()
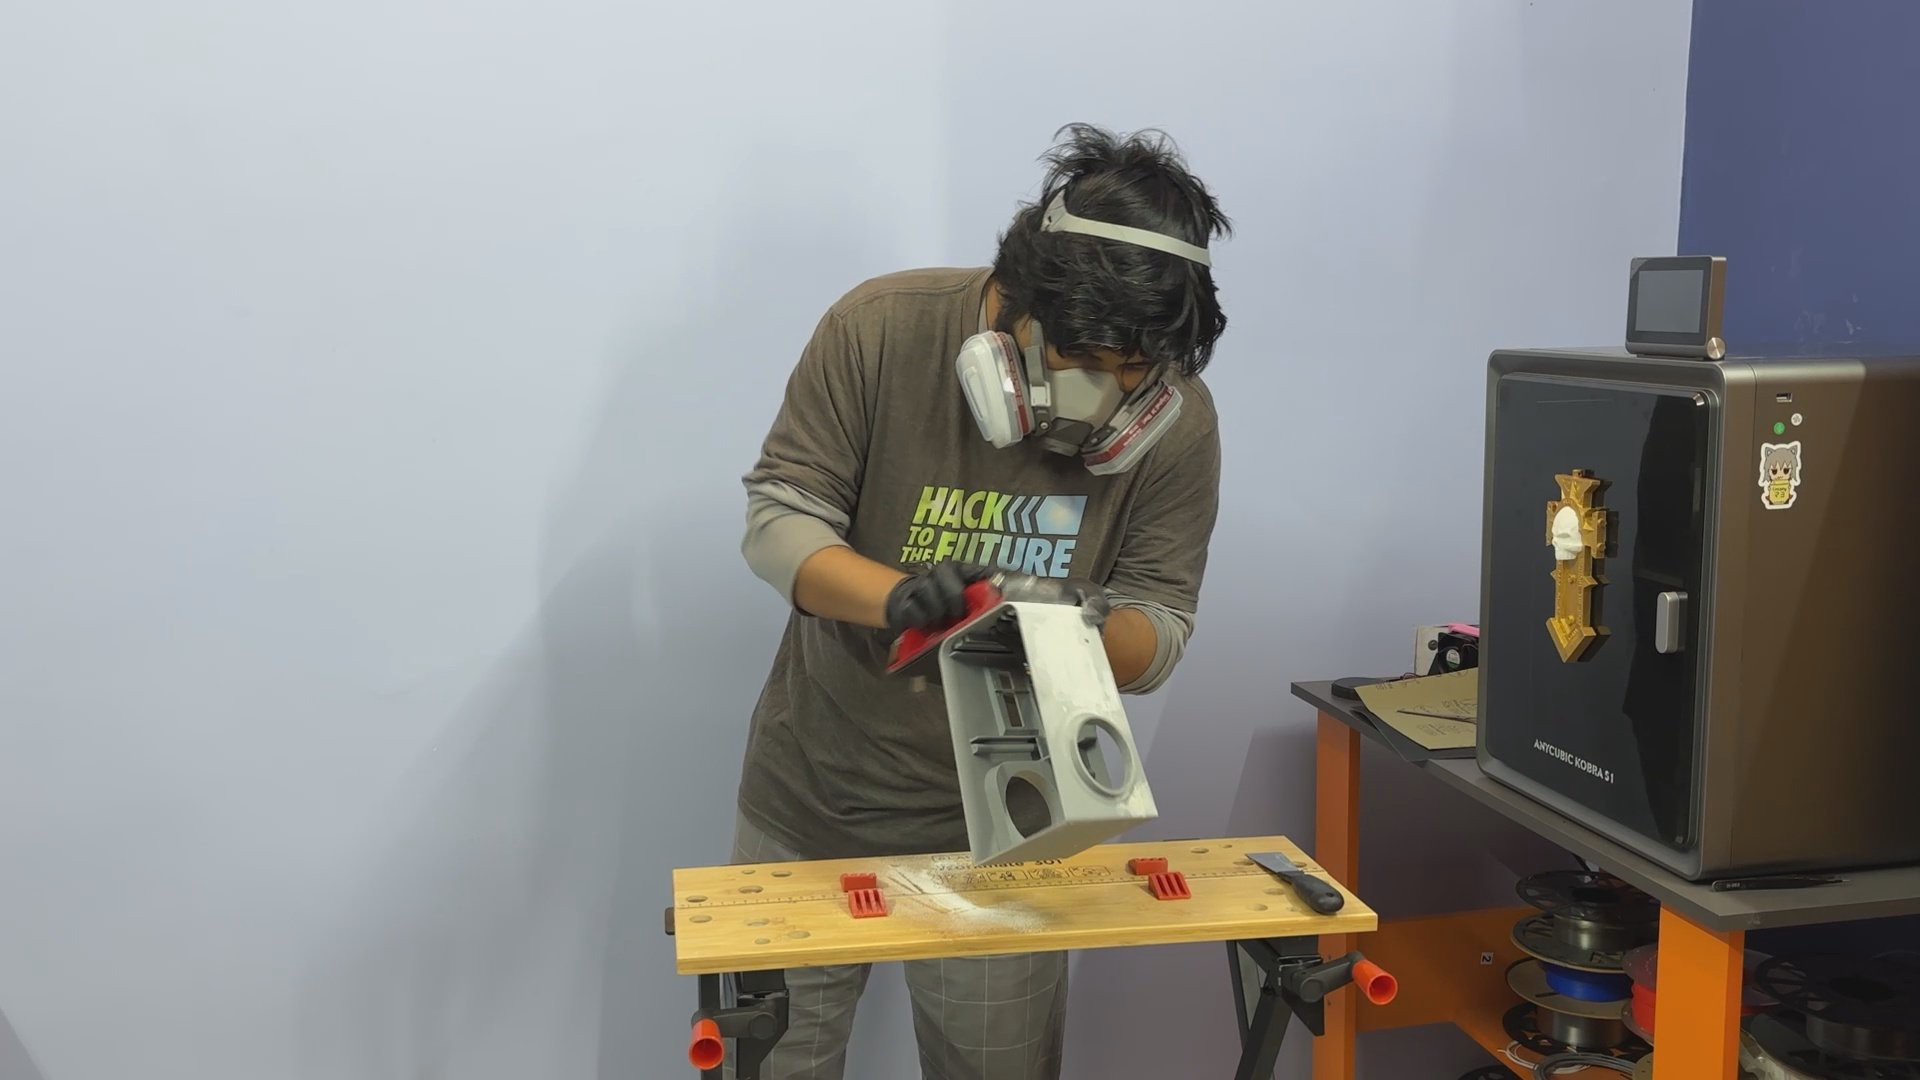
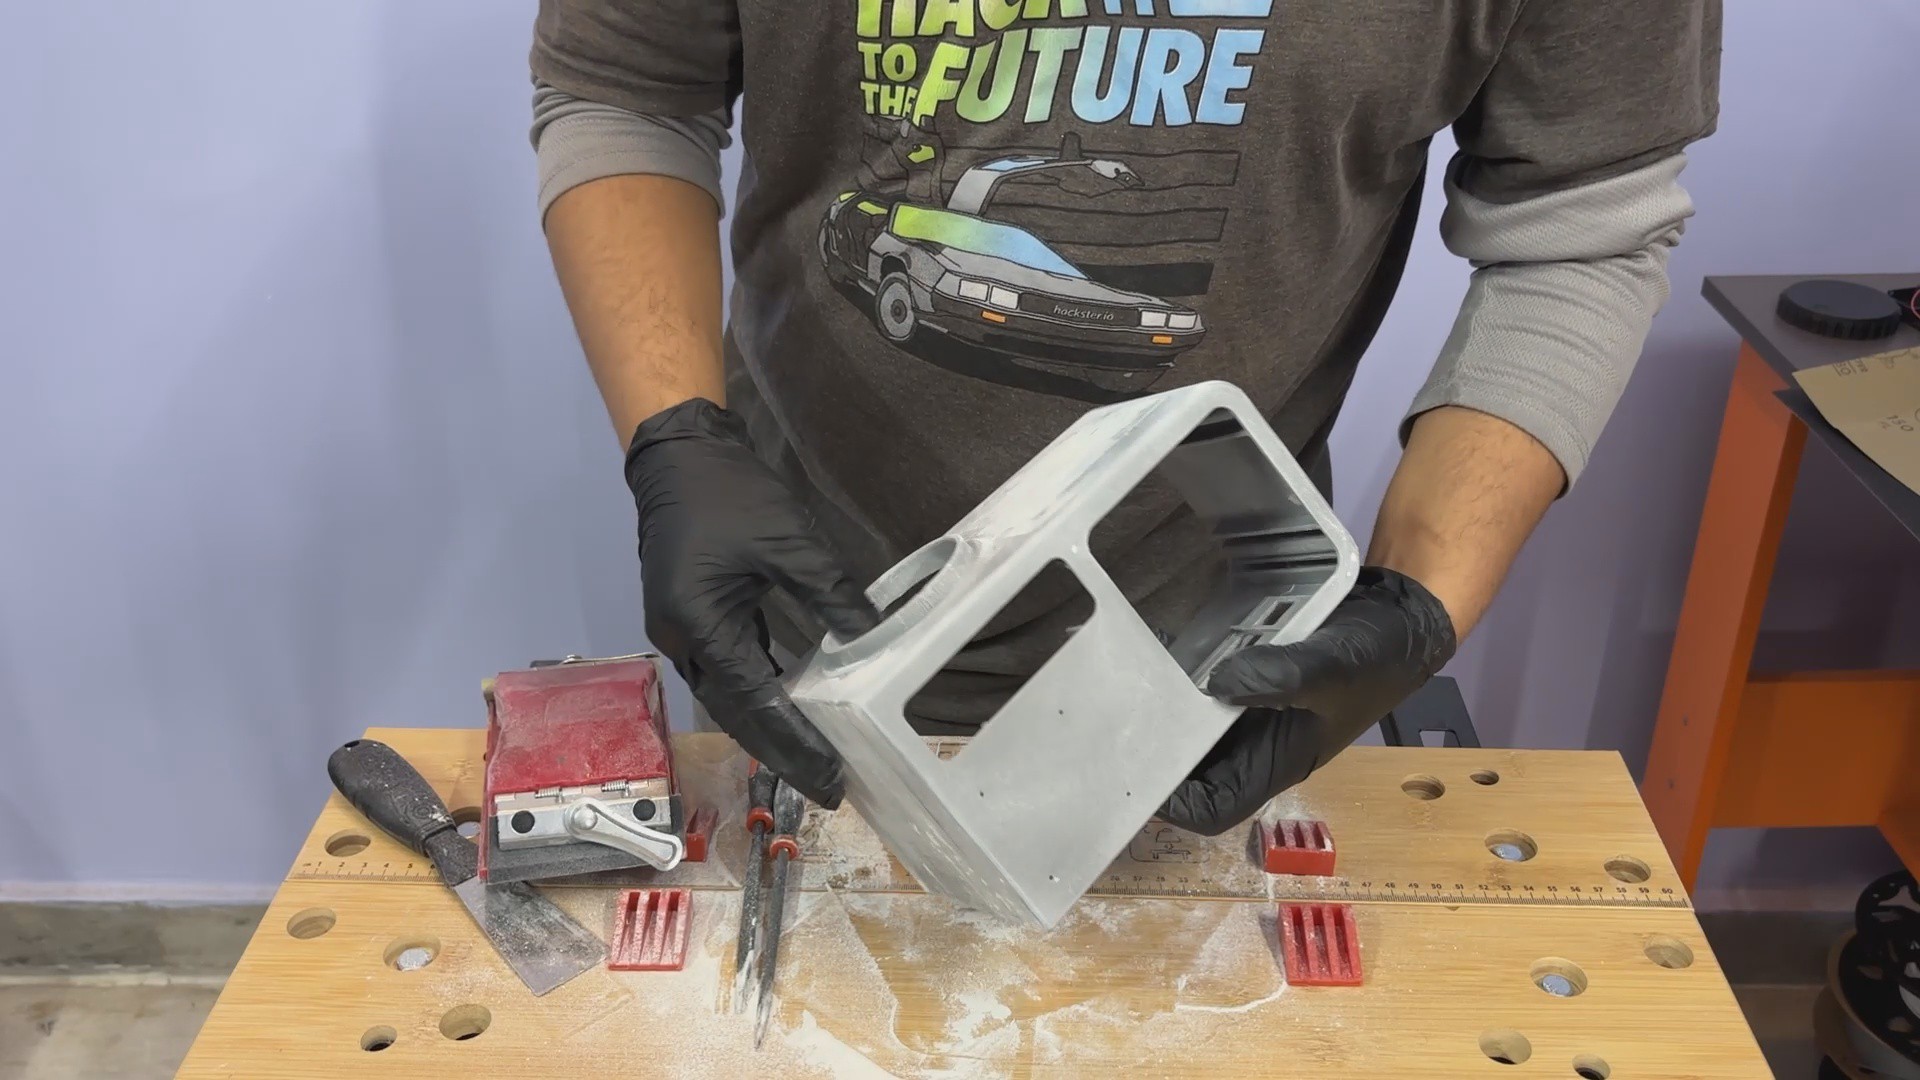
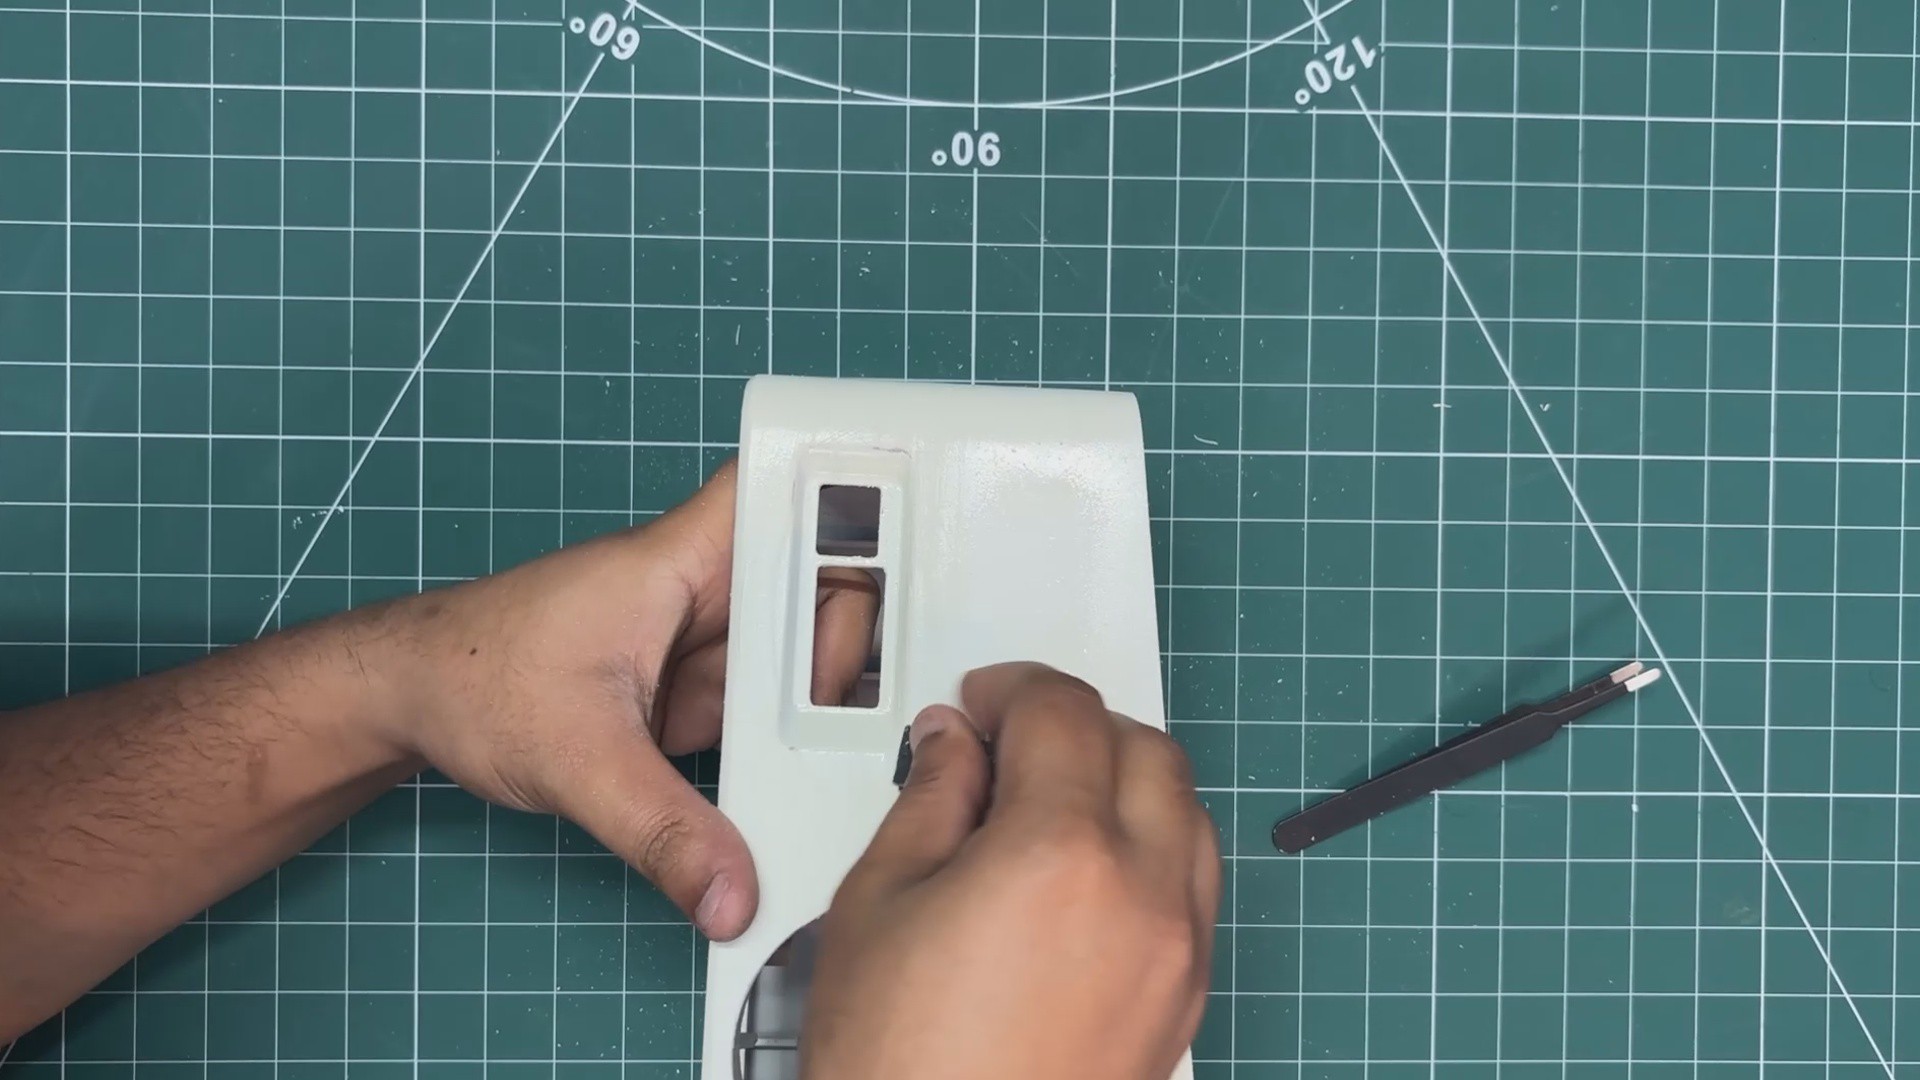
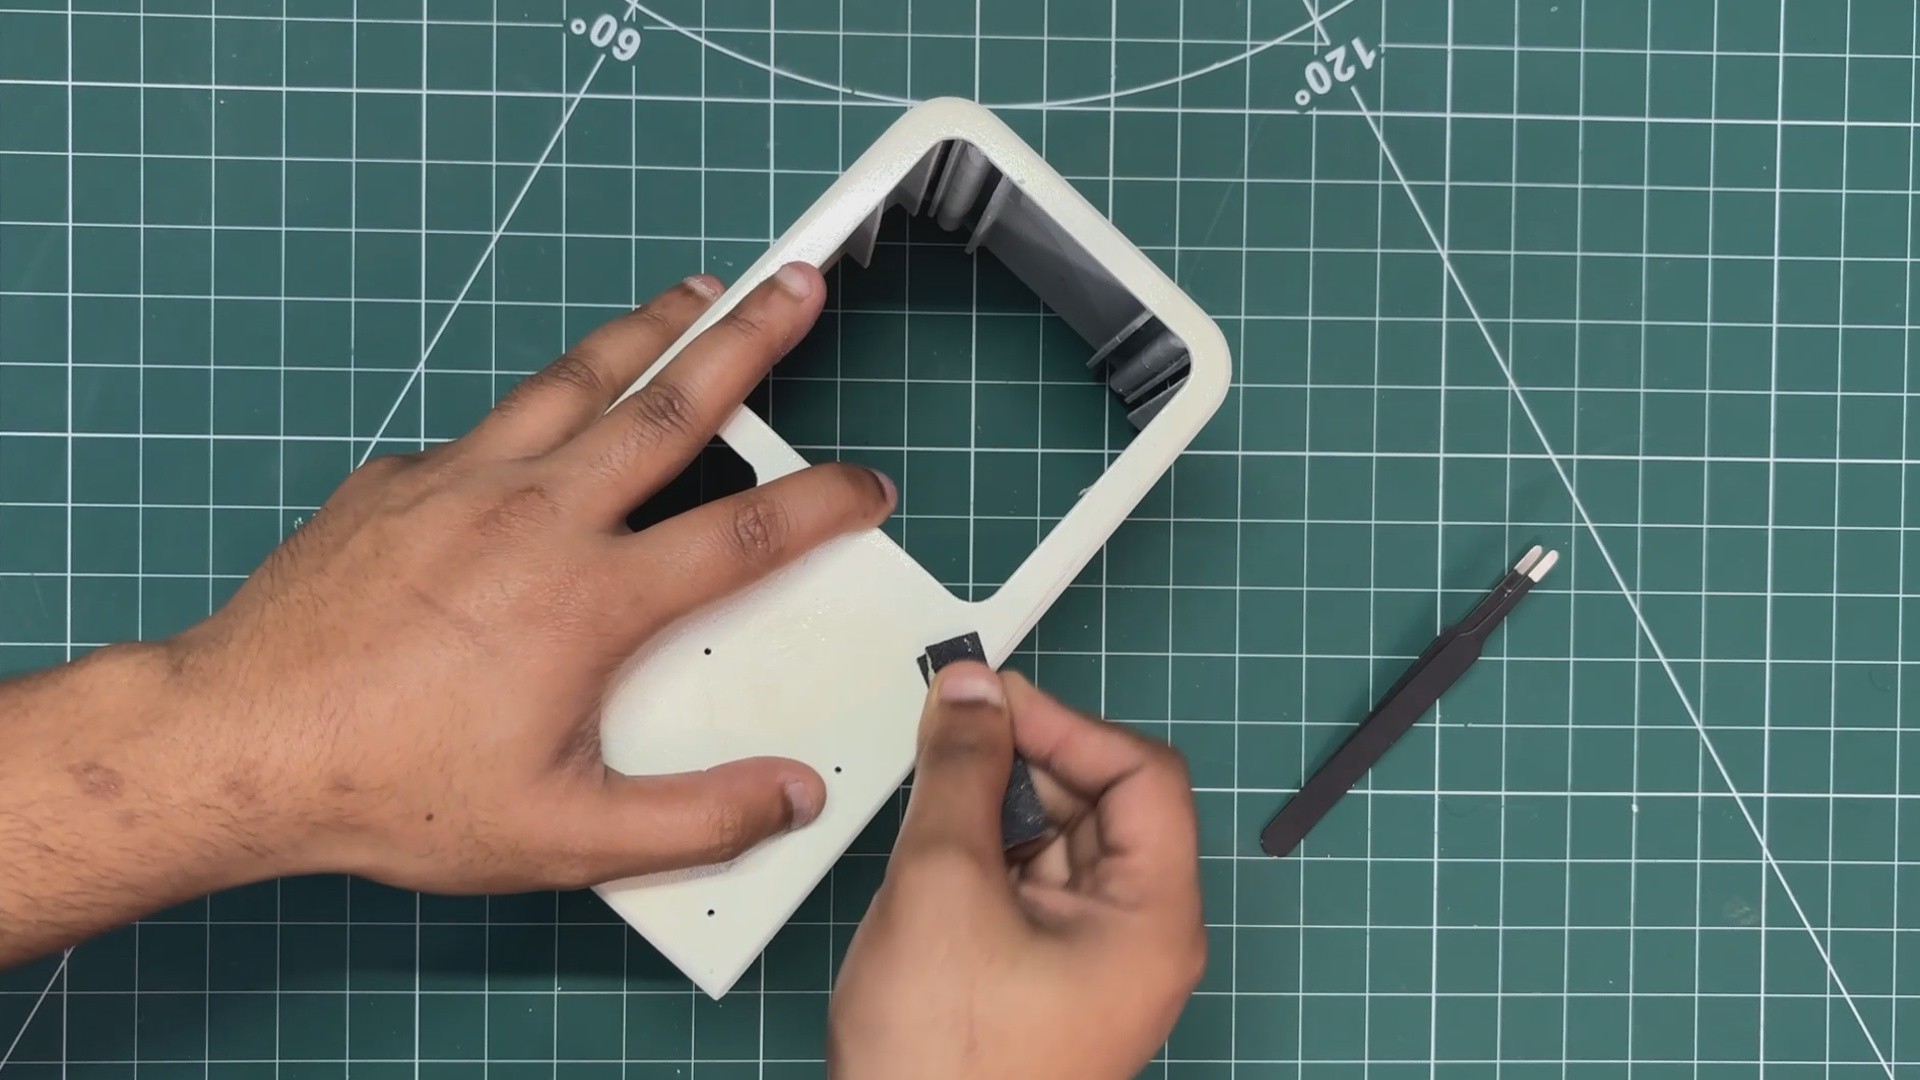
For the sanding process, I used a few sheets of sandpaper, along with a sandpaper holder and a dust mask, which is a must-have for this step.
I began by sanding each face of the main body one by one. The goal here was to even out the surface by sanding down the filler. This removes excess filler and leaves a clean, smooth surface ready for the next stage.
-
4MAIN BODY - PRIMER & SANDING
![]()
![]()
![]()
![]()
![]()
![]()
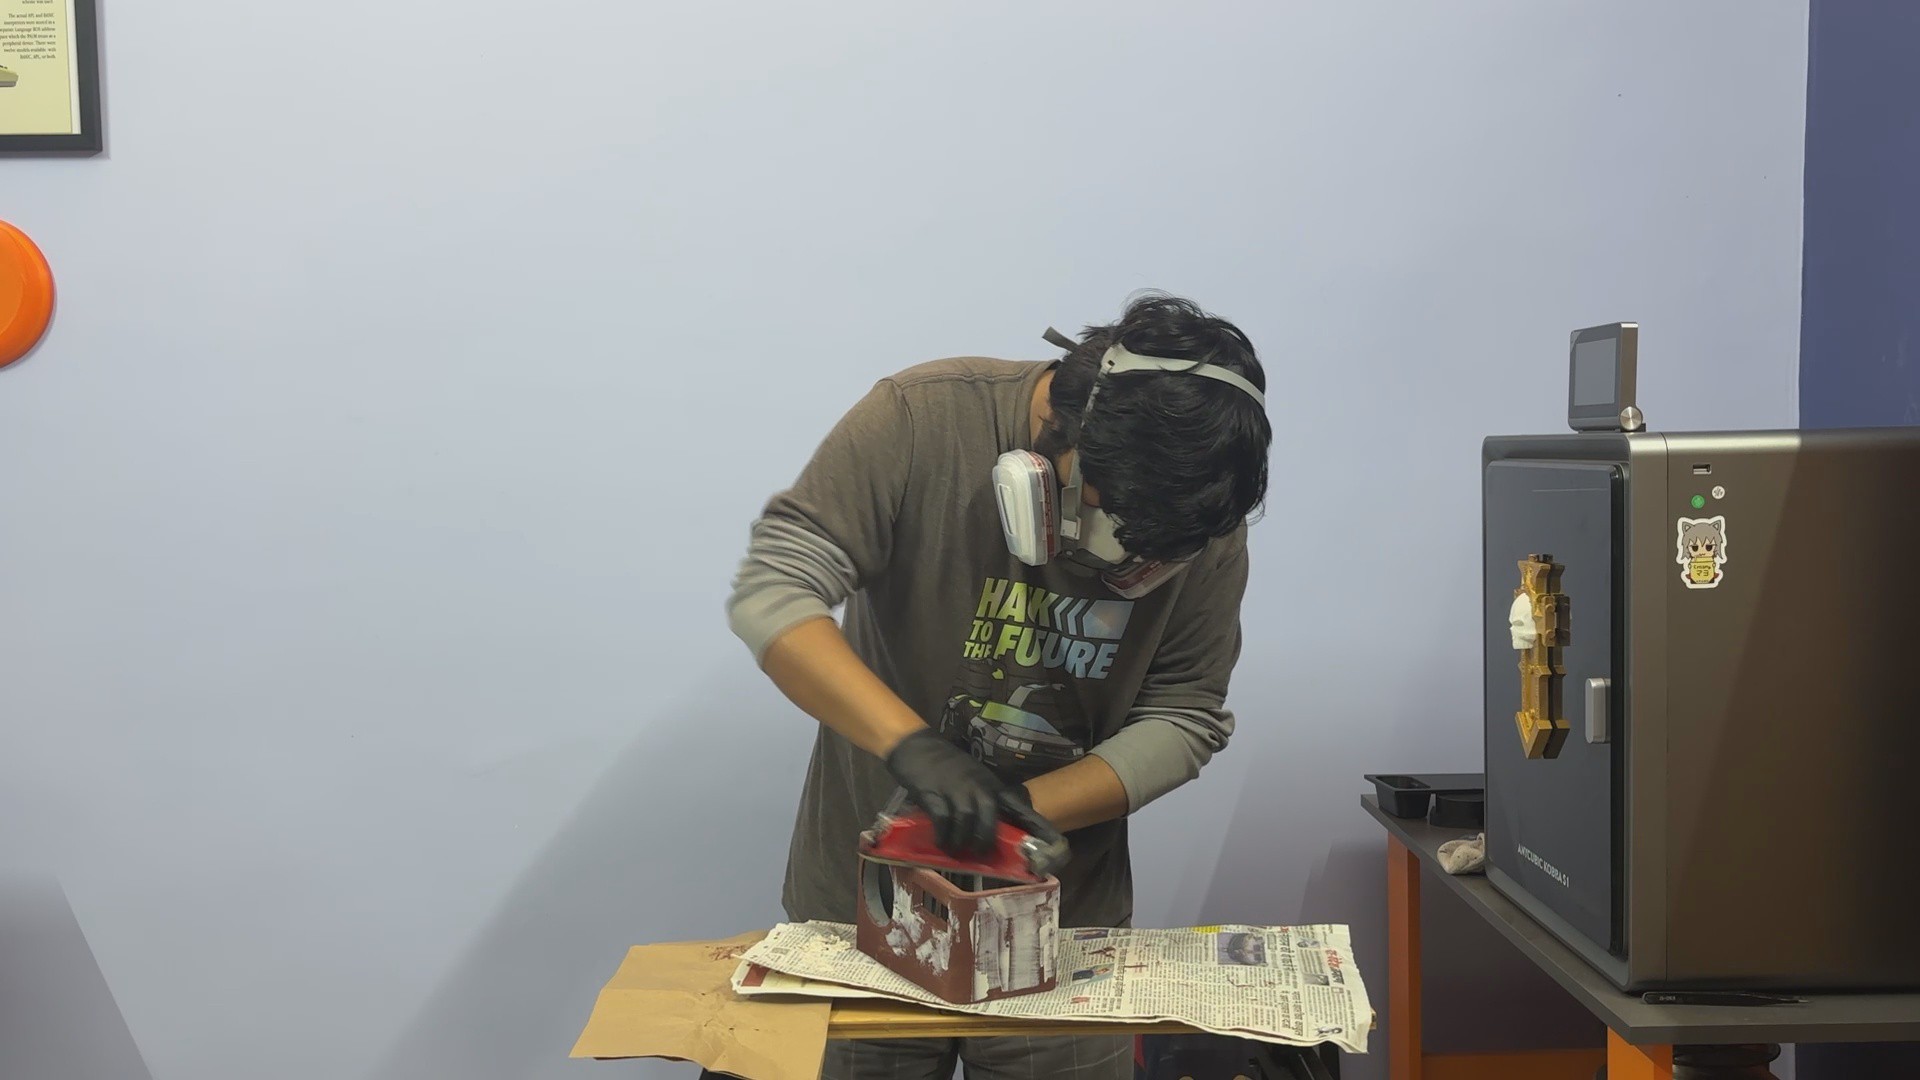
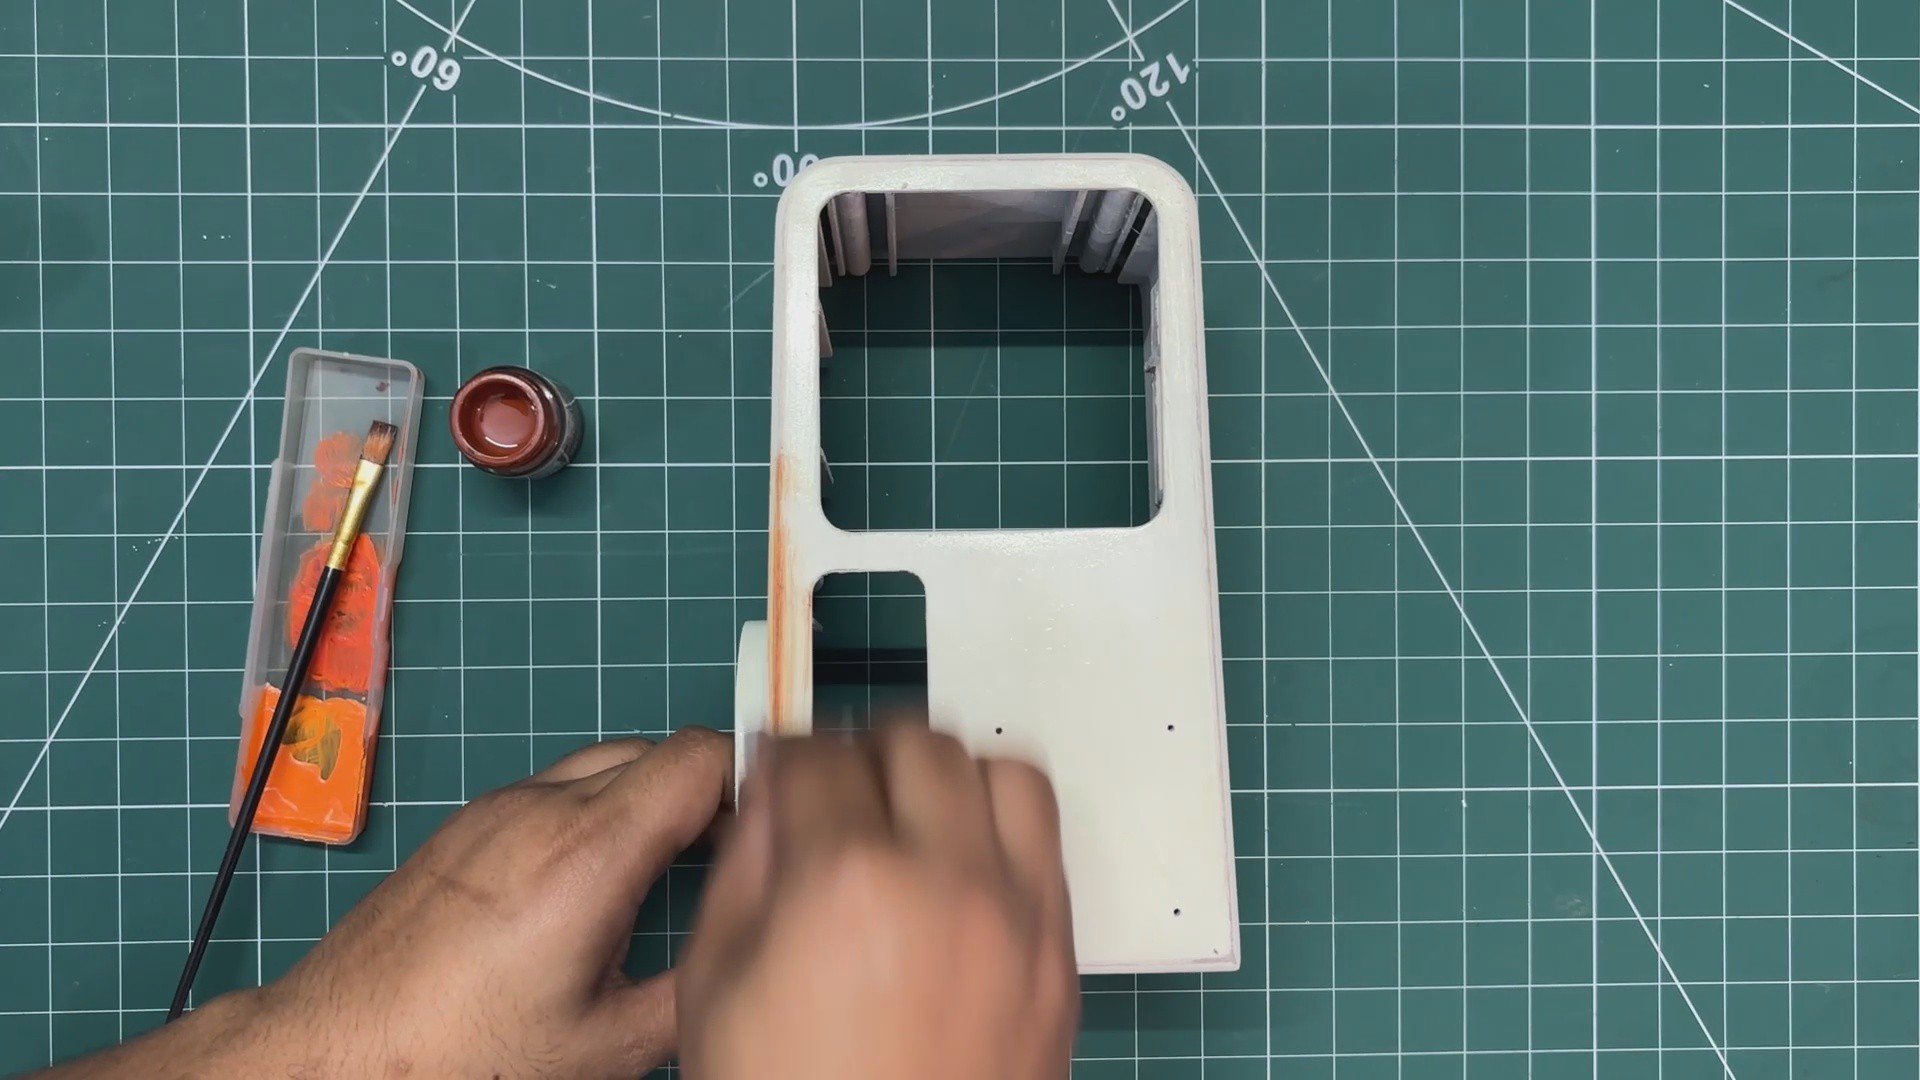
After sanding, the next step for me was getting the body ready for paint.
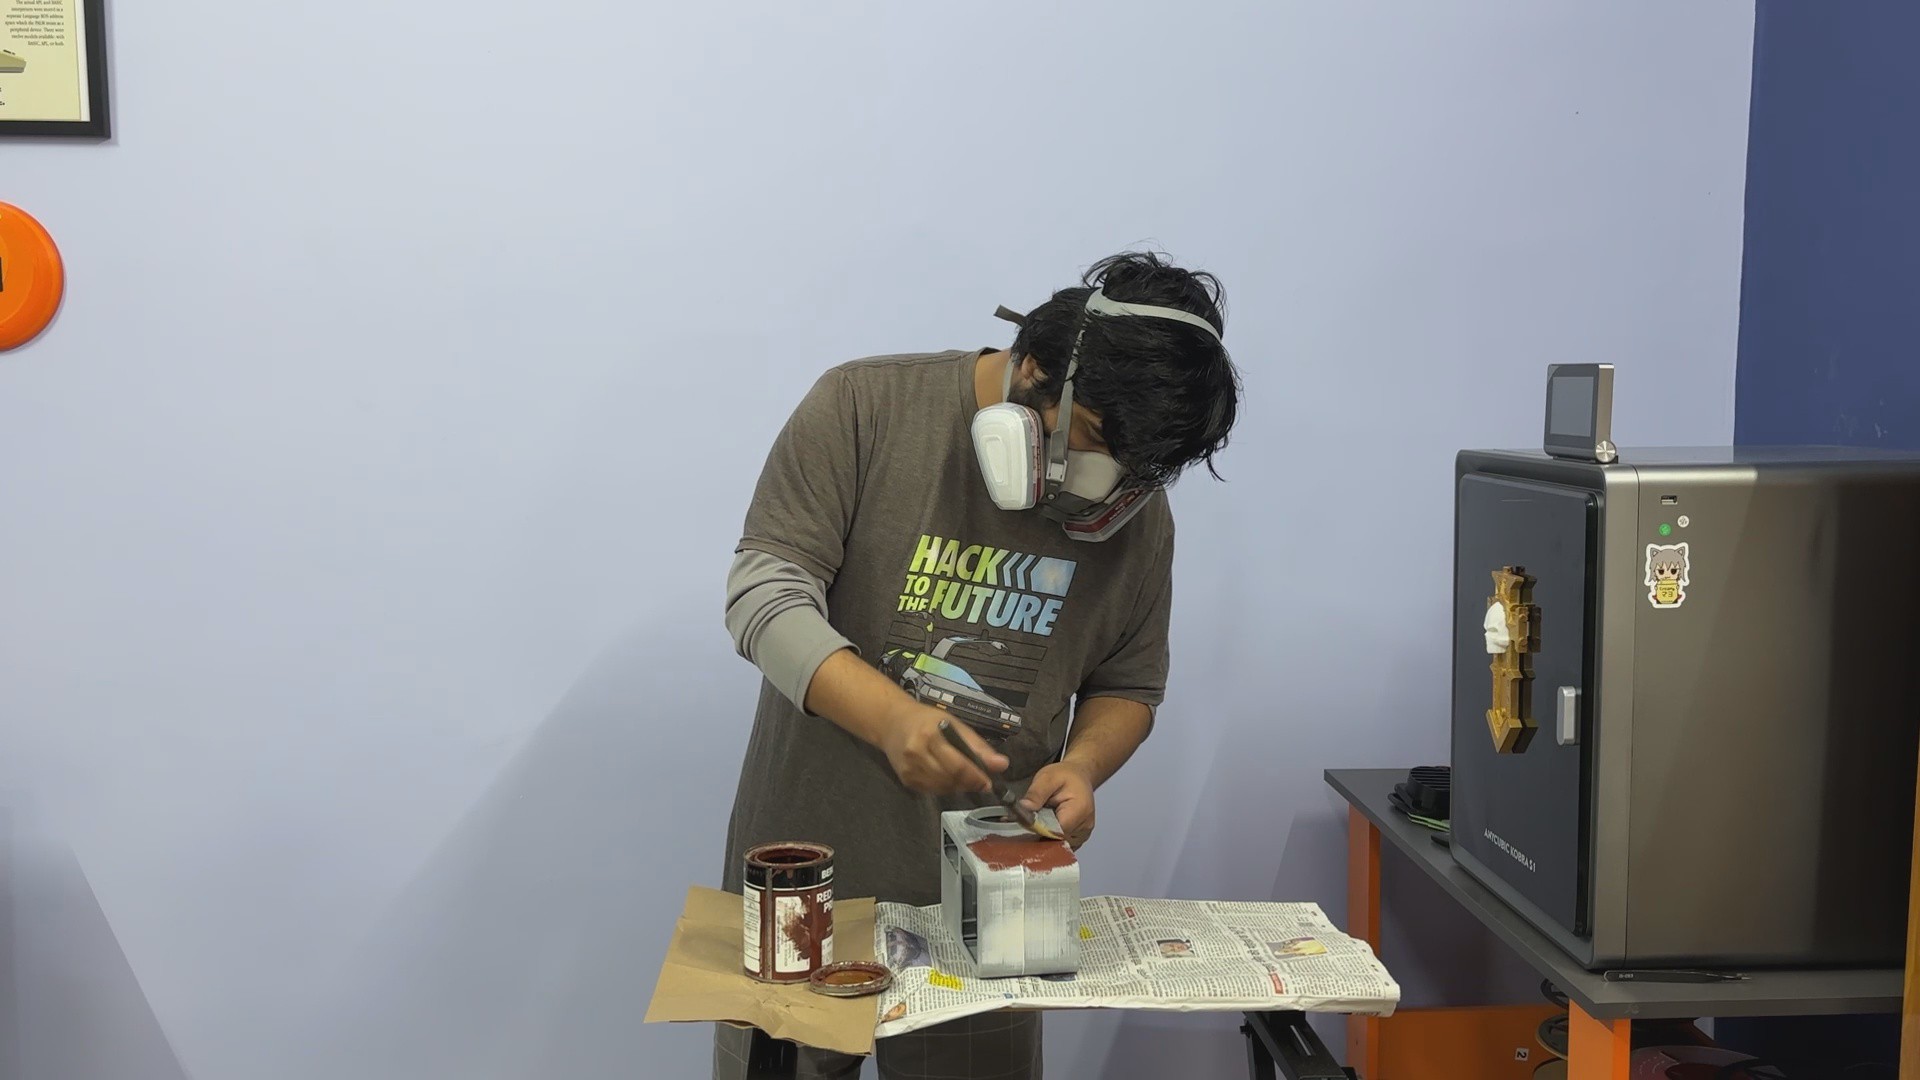
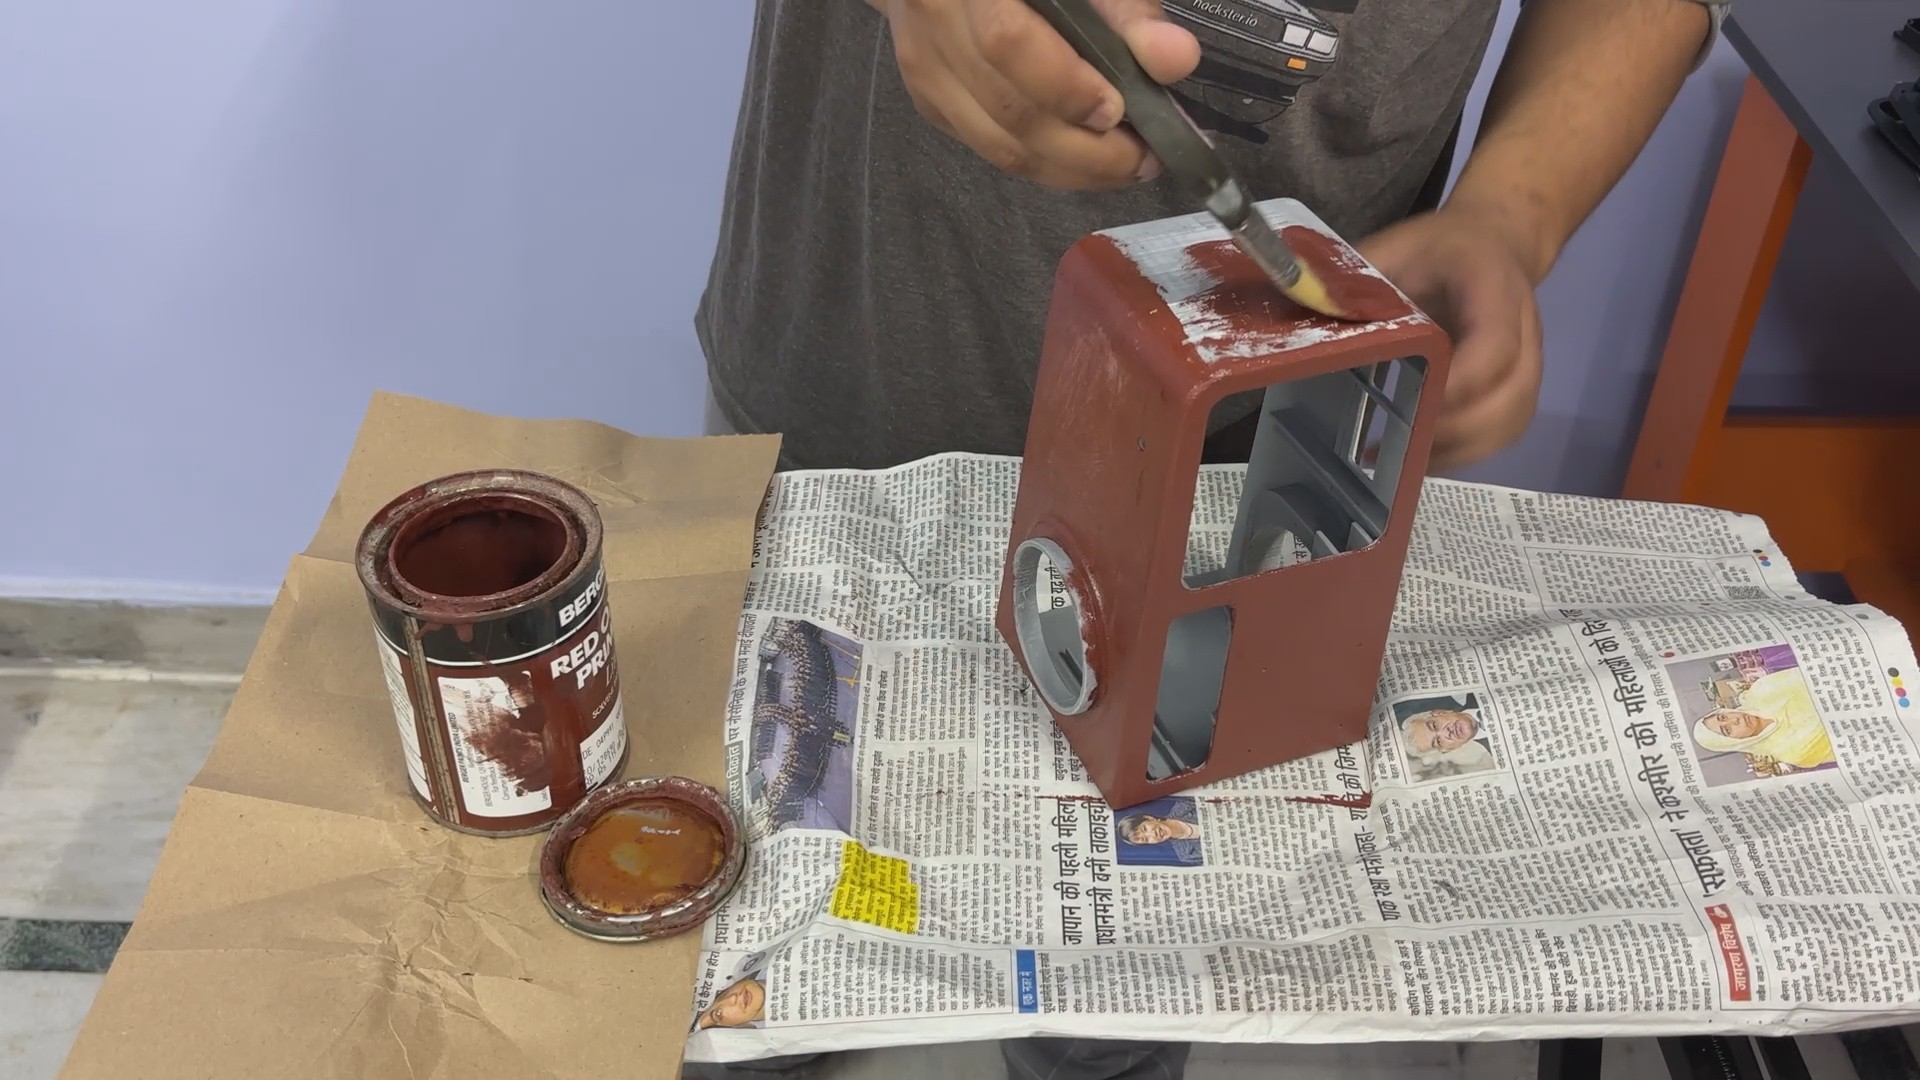
- Since no paint job is complete without a proper primer coat, I used a 30 mm wide brush and coated the entire exterior, starting with the top, then moving to the left and right sides, followed by the front, and finally the bottom.
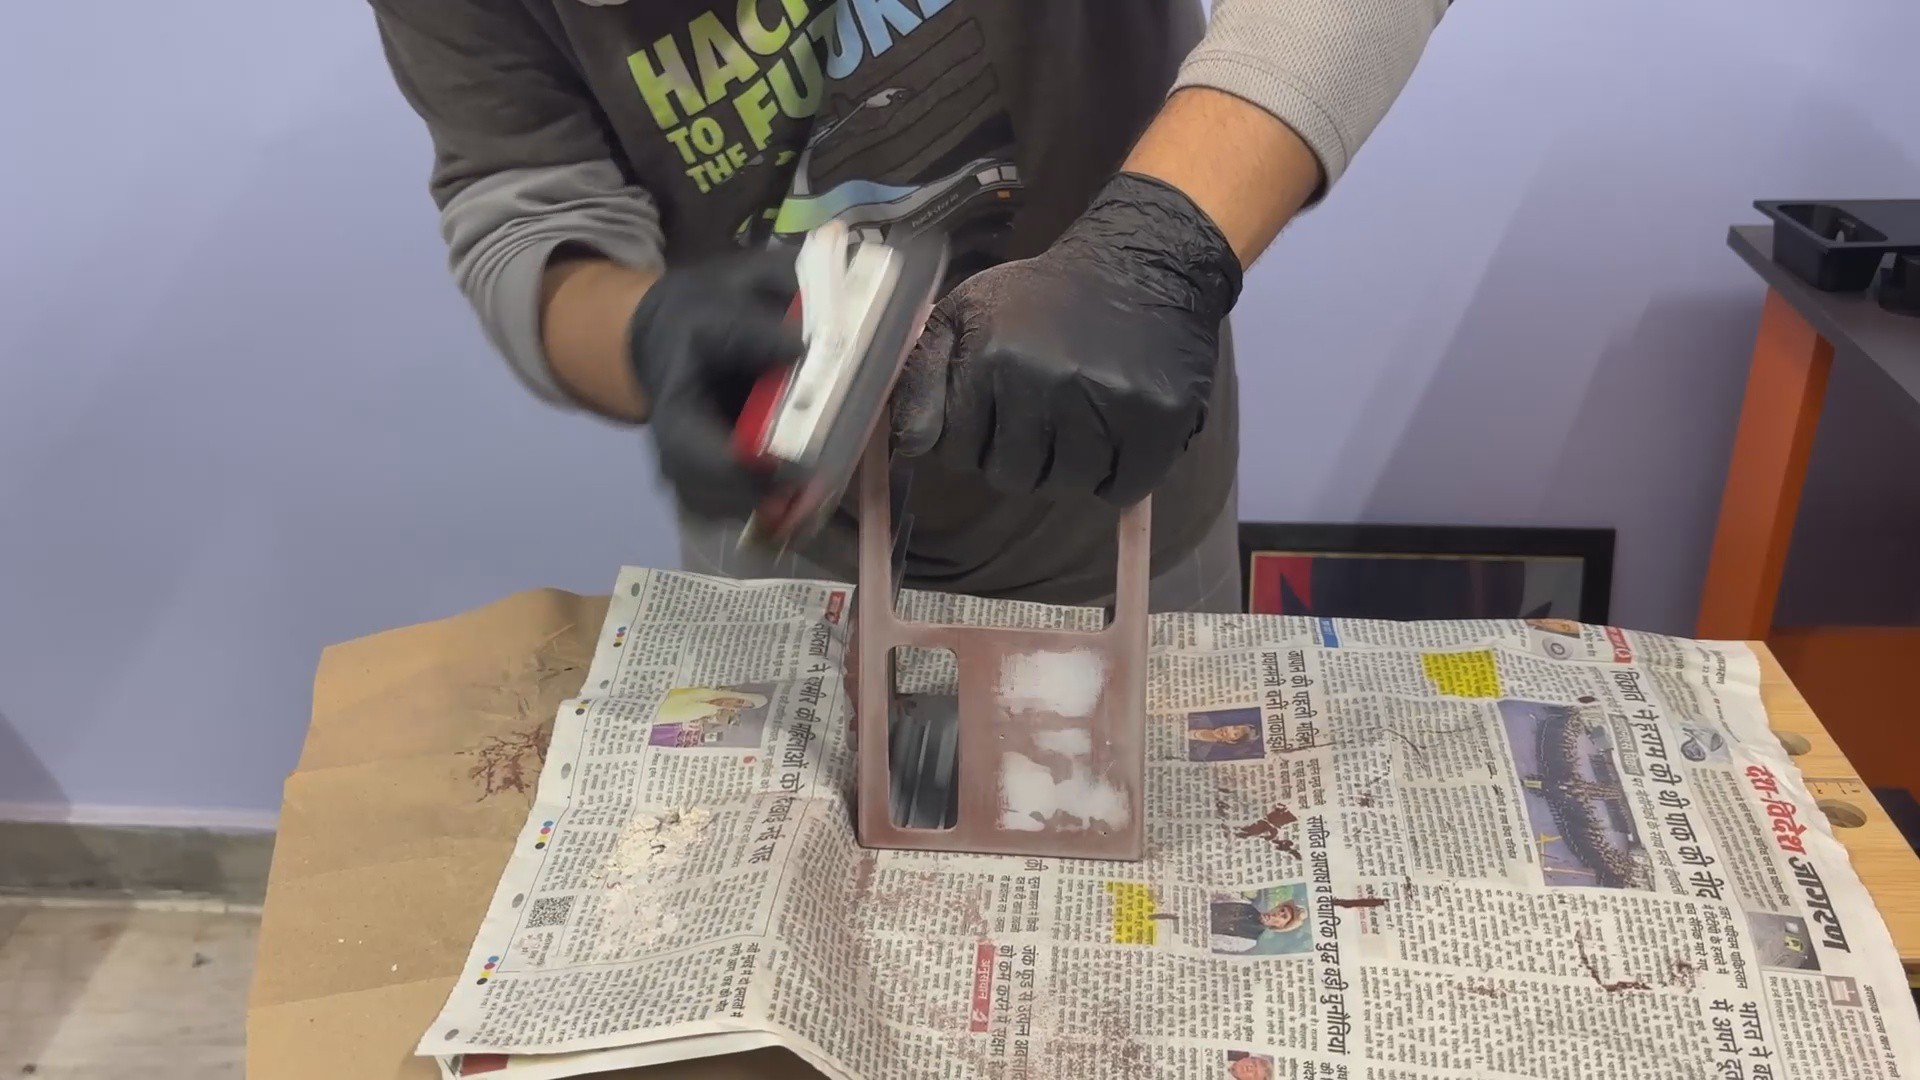
- I let the primer dry for 4–5 hours, then came back with 120-grit sandpaper. Using my sanding setup, I sanded the whole body, wiped away the dust with a damp cloth, let it dry, and sanded again.
- After that, I inspected the surface for any gaps or uneven areas, applied more primer where needed, let it dry for another 4–5 hours, and repeated the sanding process.
- By repeating this cycle three times, I was able to get a smooth, uniform surface that was finally ready for the paint stage.
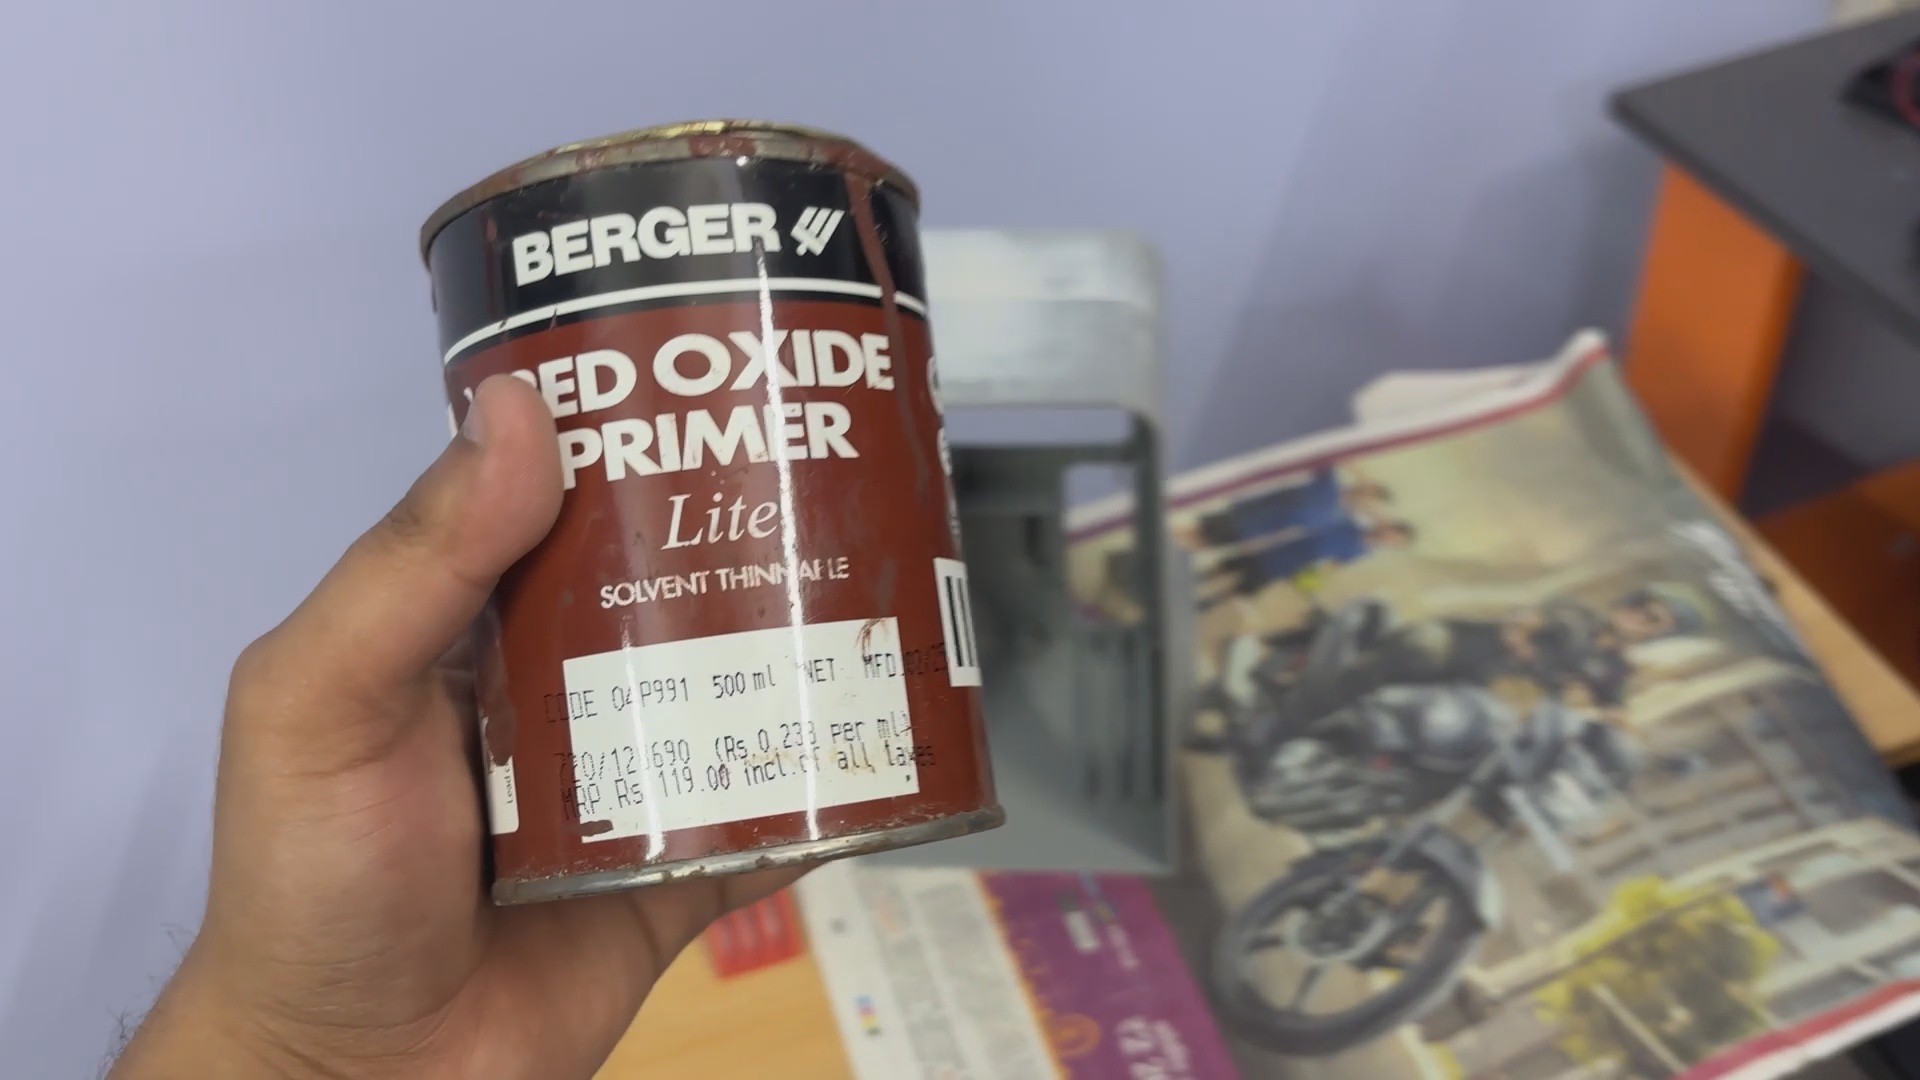
PS: I made the job harder by using primer from a paint can. I’d recommend using a spray primer instead, as it makes the process much quicker and easier, with a more even finish.
-
5PAINT PROCESS- BASE COAT
![]()
![]()
![]()
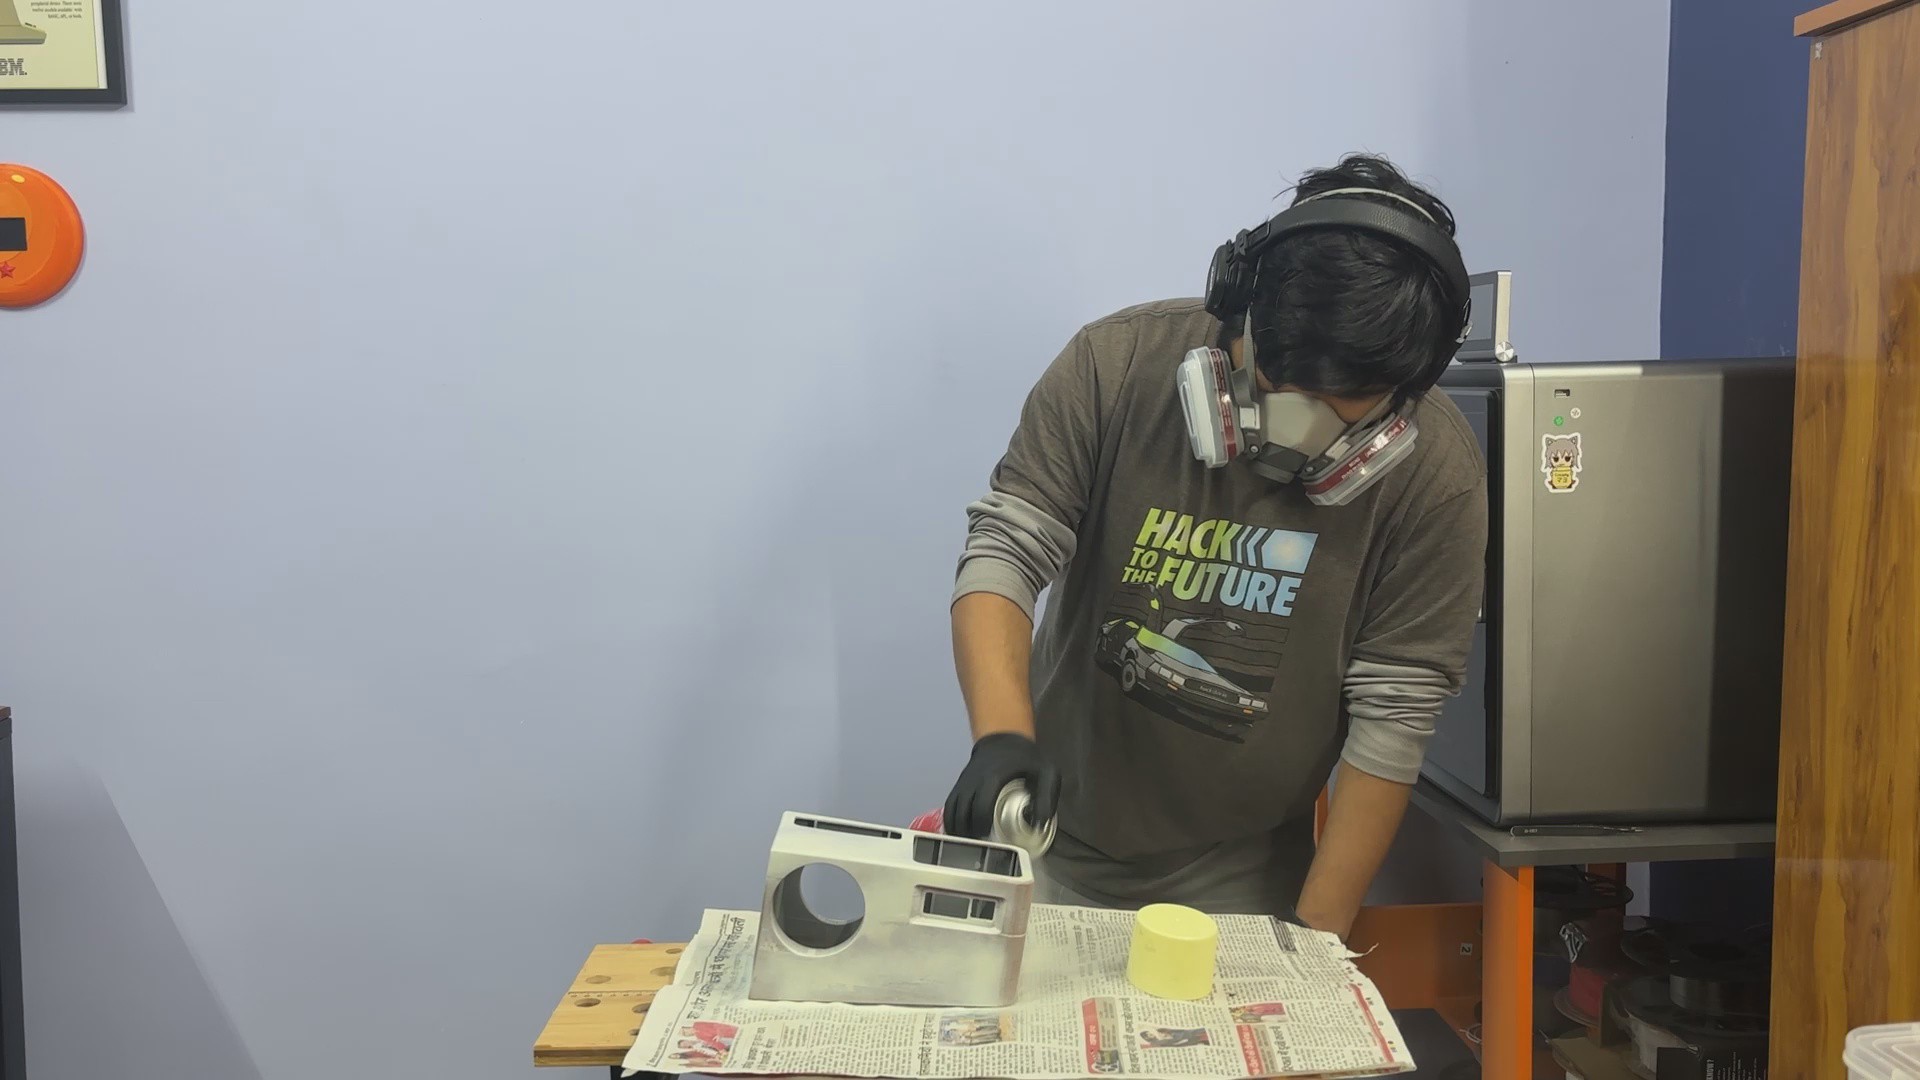
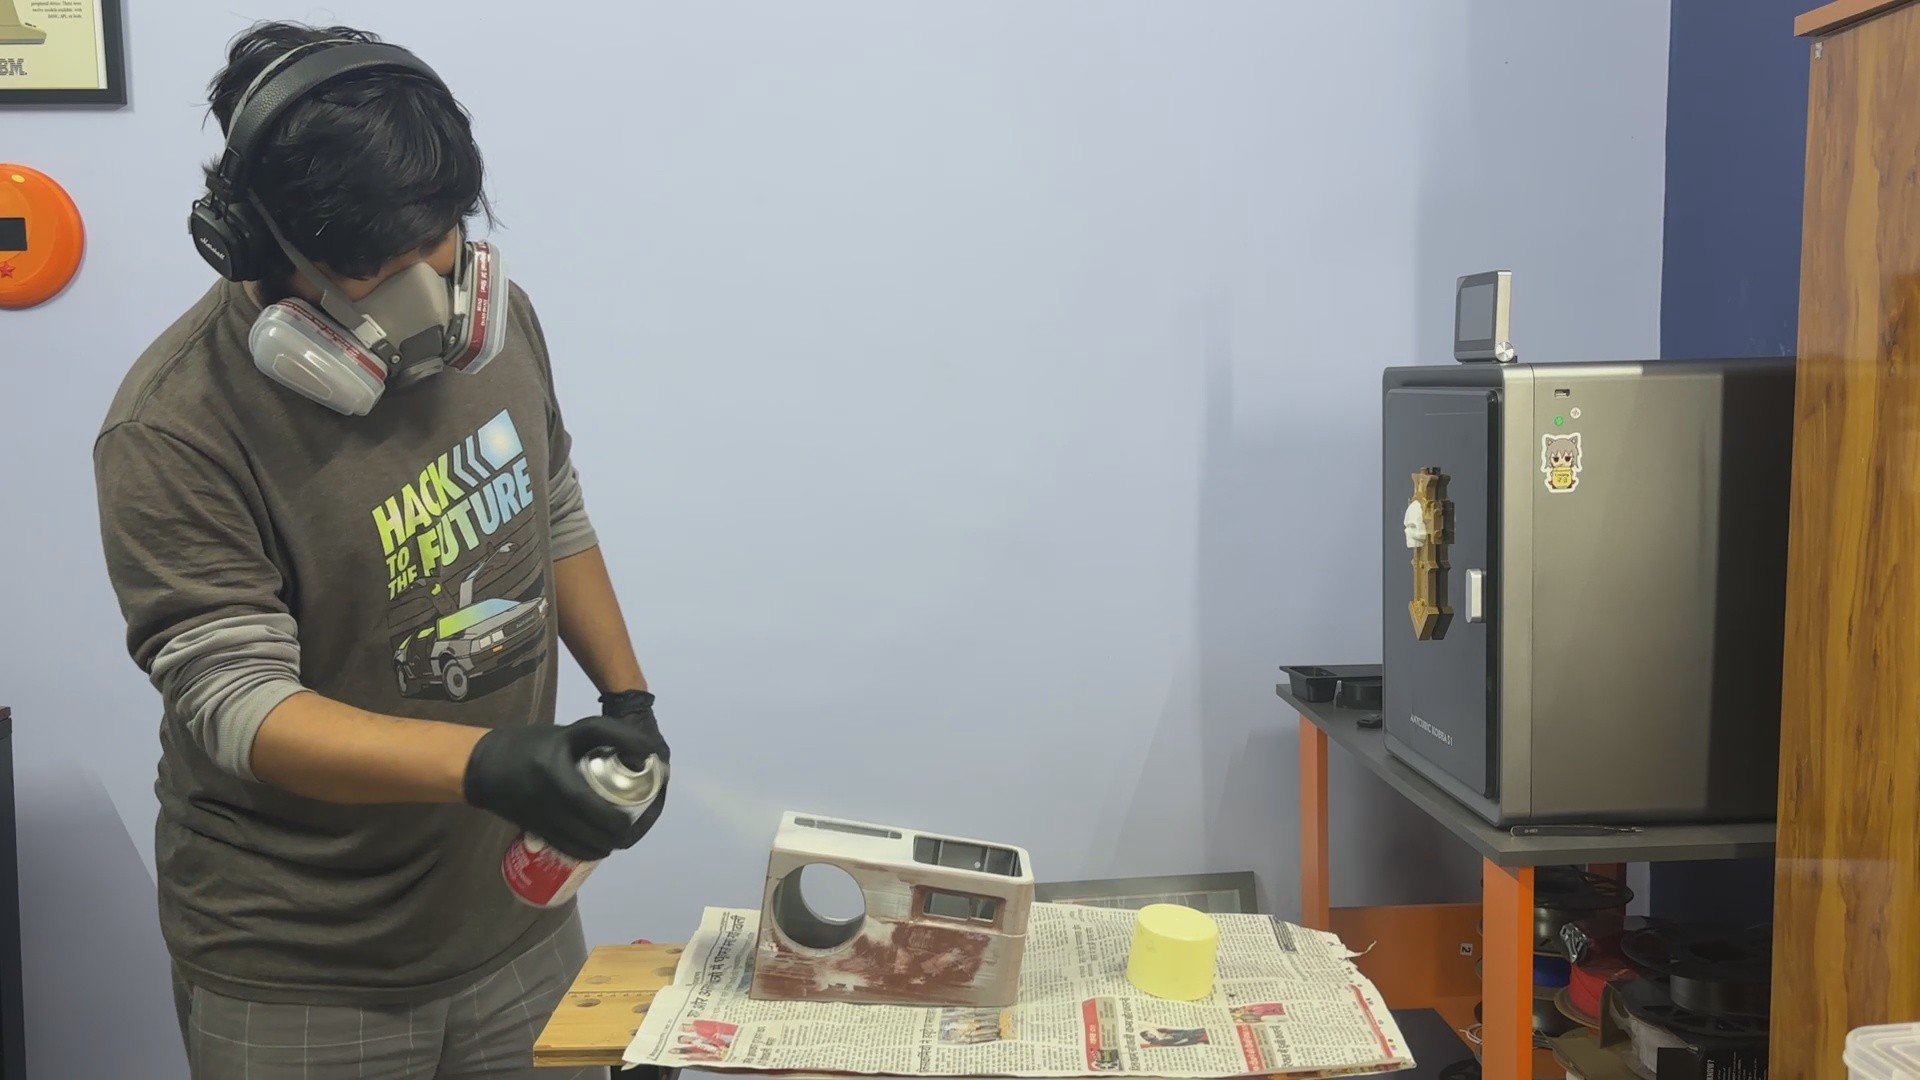
- Using a beige aerosol spray, I began the painting process by spraying evenly on each face of the main body.
- I intentionally applied light coats, as applying too much paint at once can cause drips, which would ruin the finish. After the first coat, I let the body dry for about 3 hours before applying a second coat.
- In total, two coats were applied, resulting in a clean, smooth beige finish that gives the terminal a classic, retro look.
-
6WEATHERING PROCESS
![]()
![]()
![]()
- Now comes the crucial part that transforms the terminal from a clean, modern-looking computer into a retro, war-torn terminal: the weathering process.
- To make the device look aged and battle-worn, I began by using a piece of sandpaper to wear down the edges and borders of the main body, along with randomly sanding a few areas on the left and right sides as well.
-
7PATINA WORK
![]()
![]()
![]()
![]()
![]()
![]()
![]()
![]()
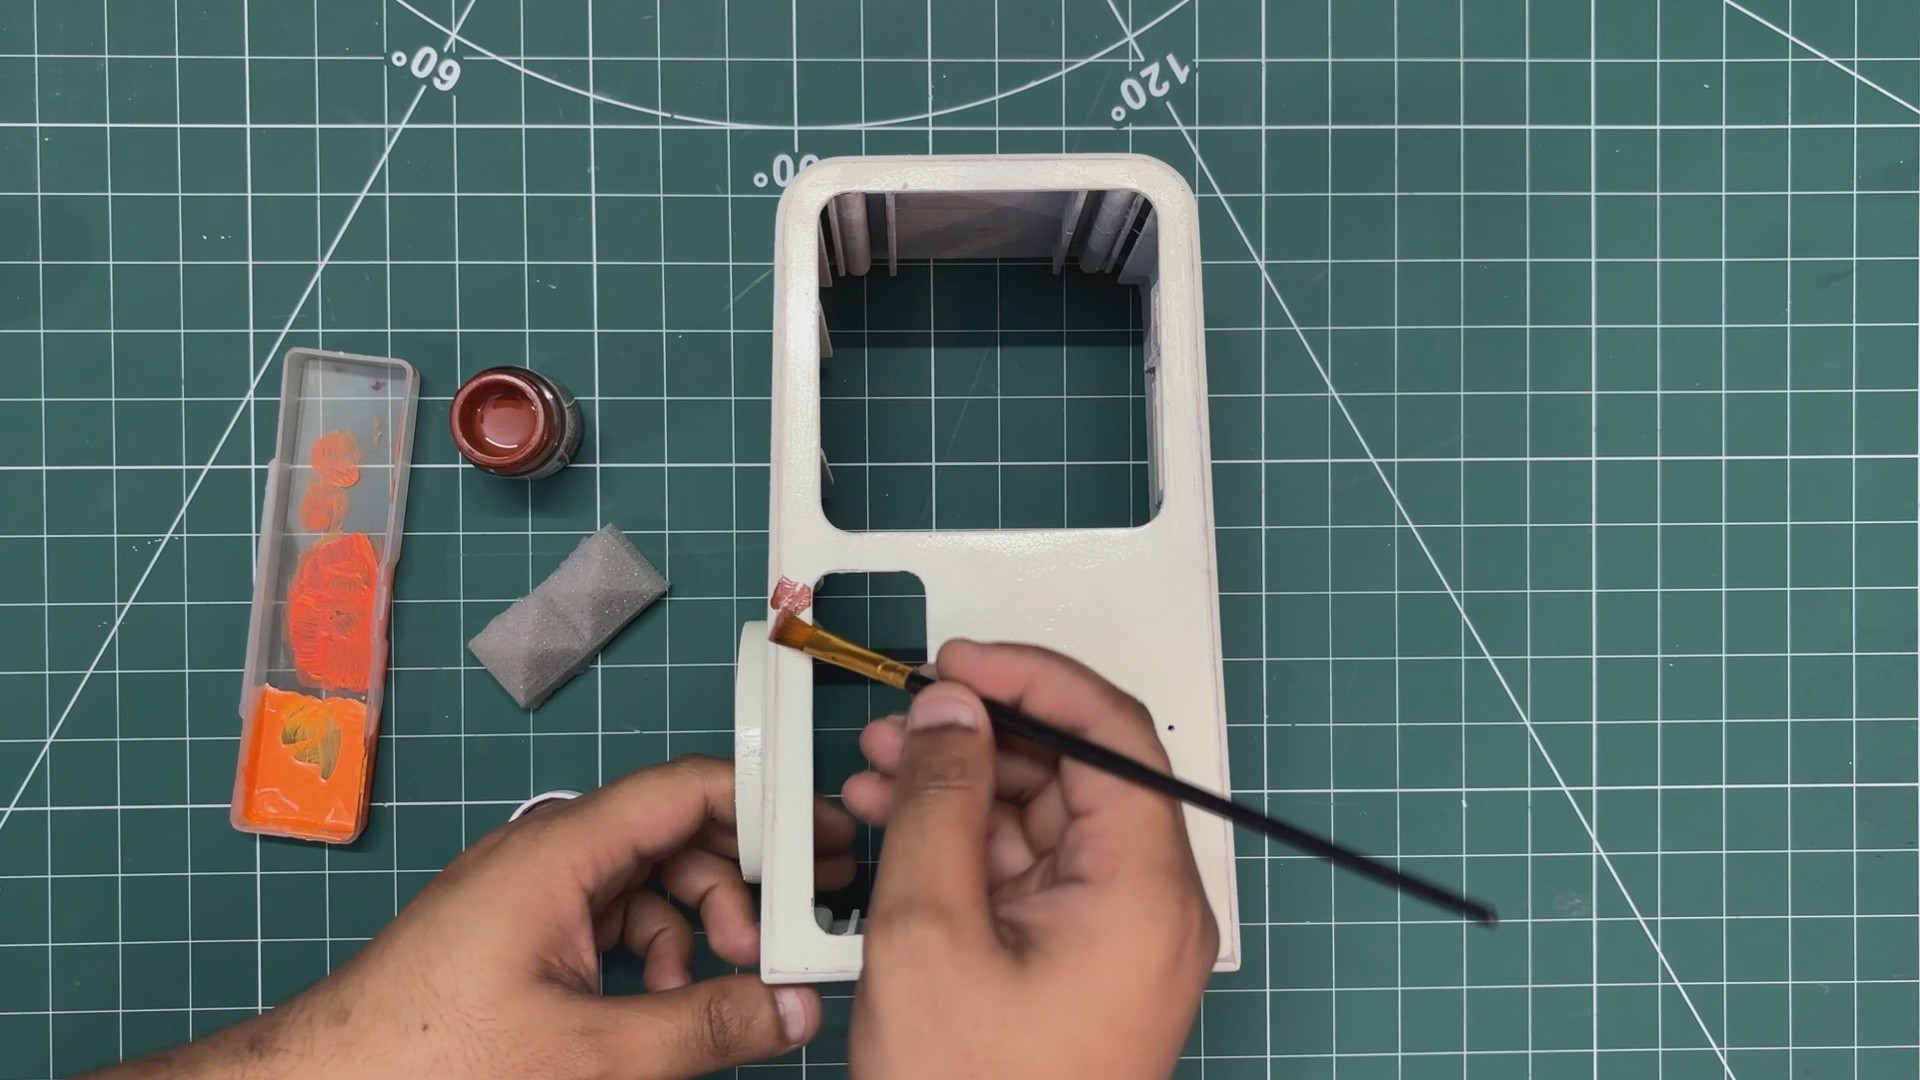
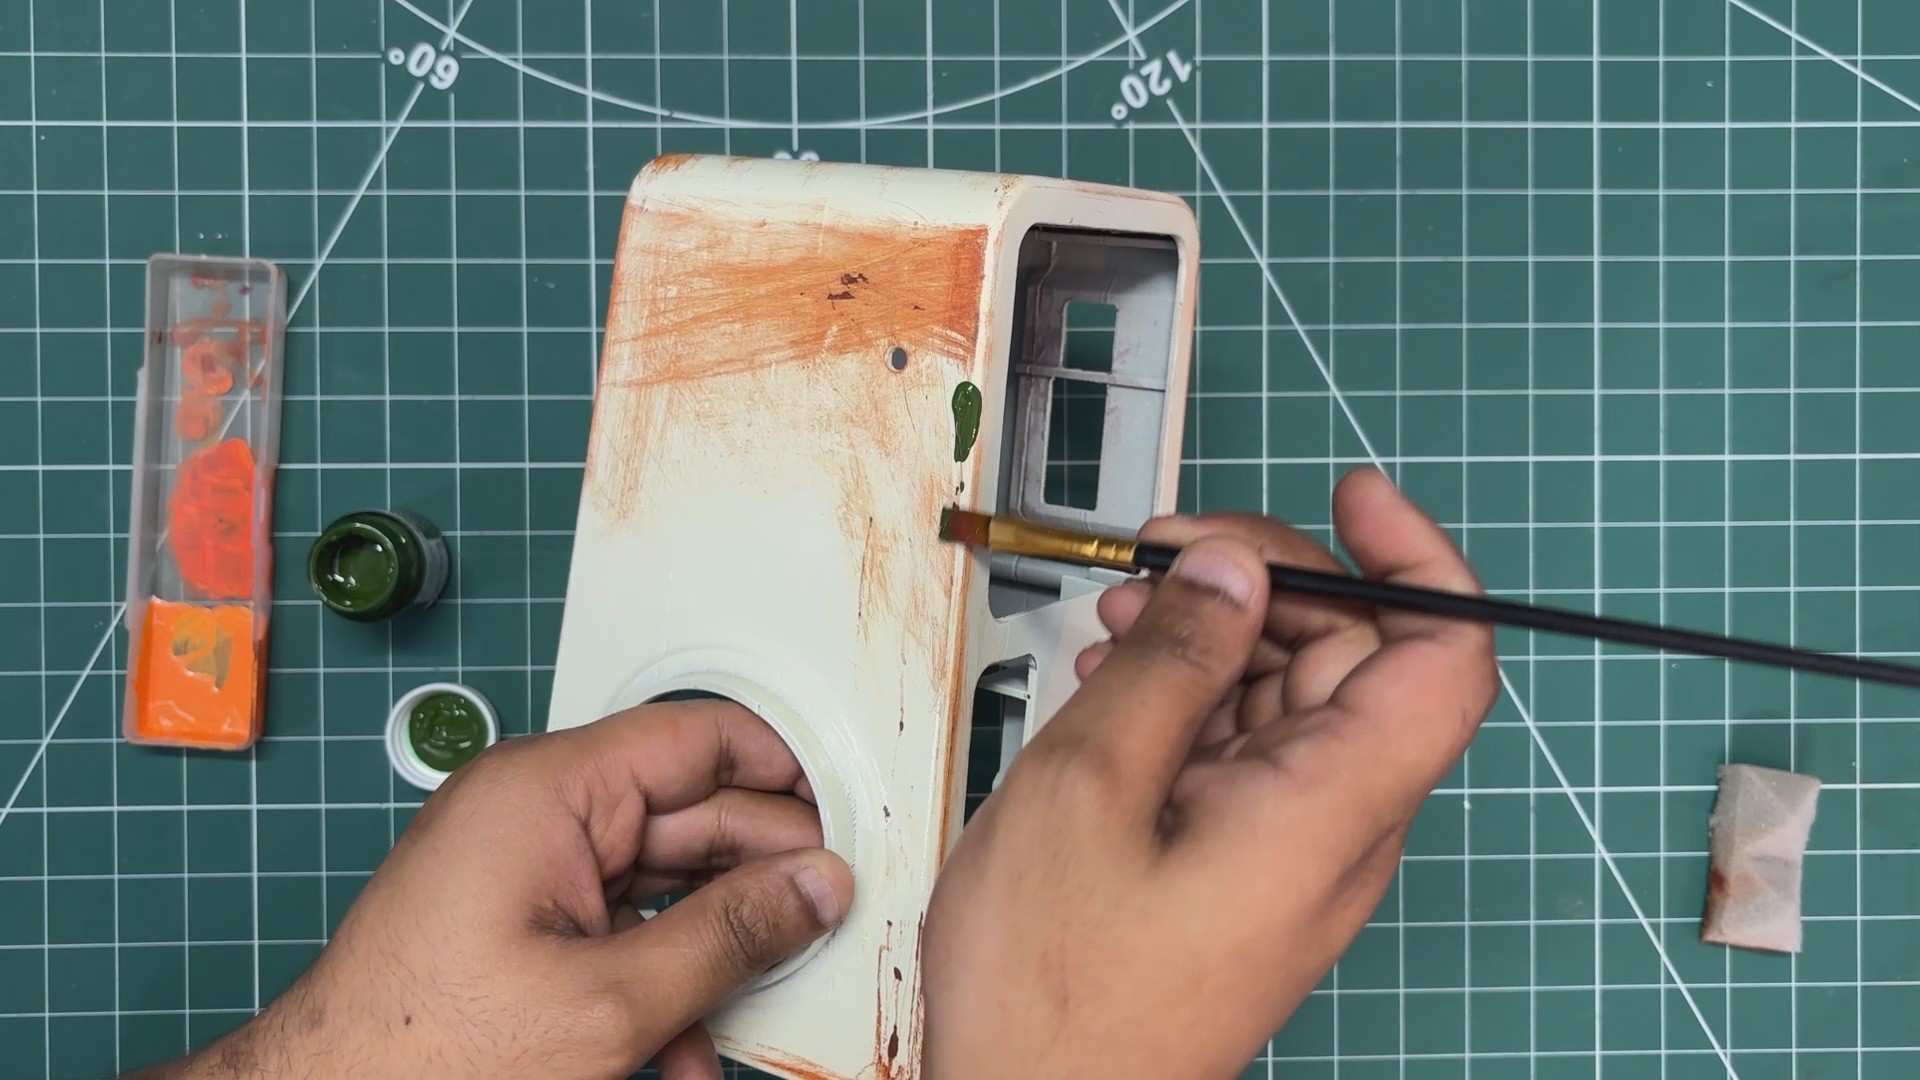
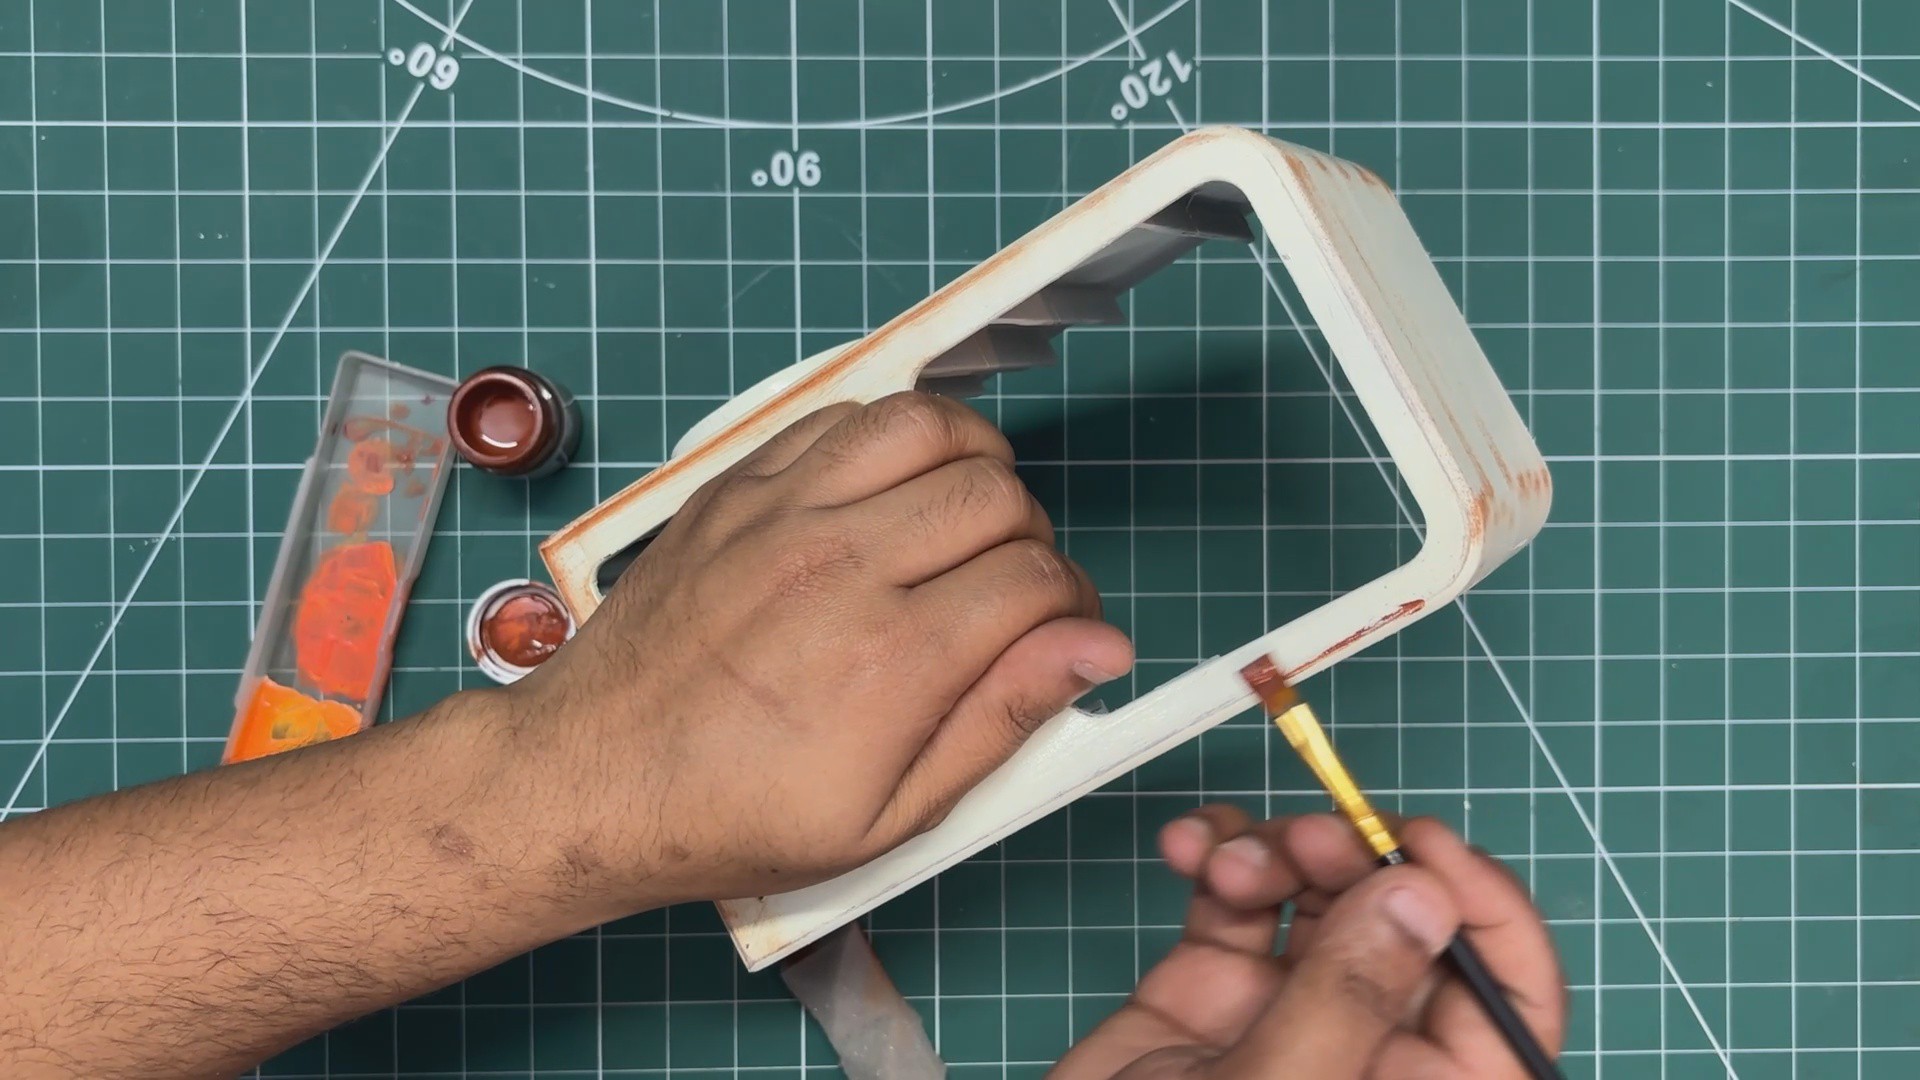
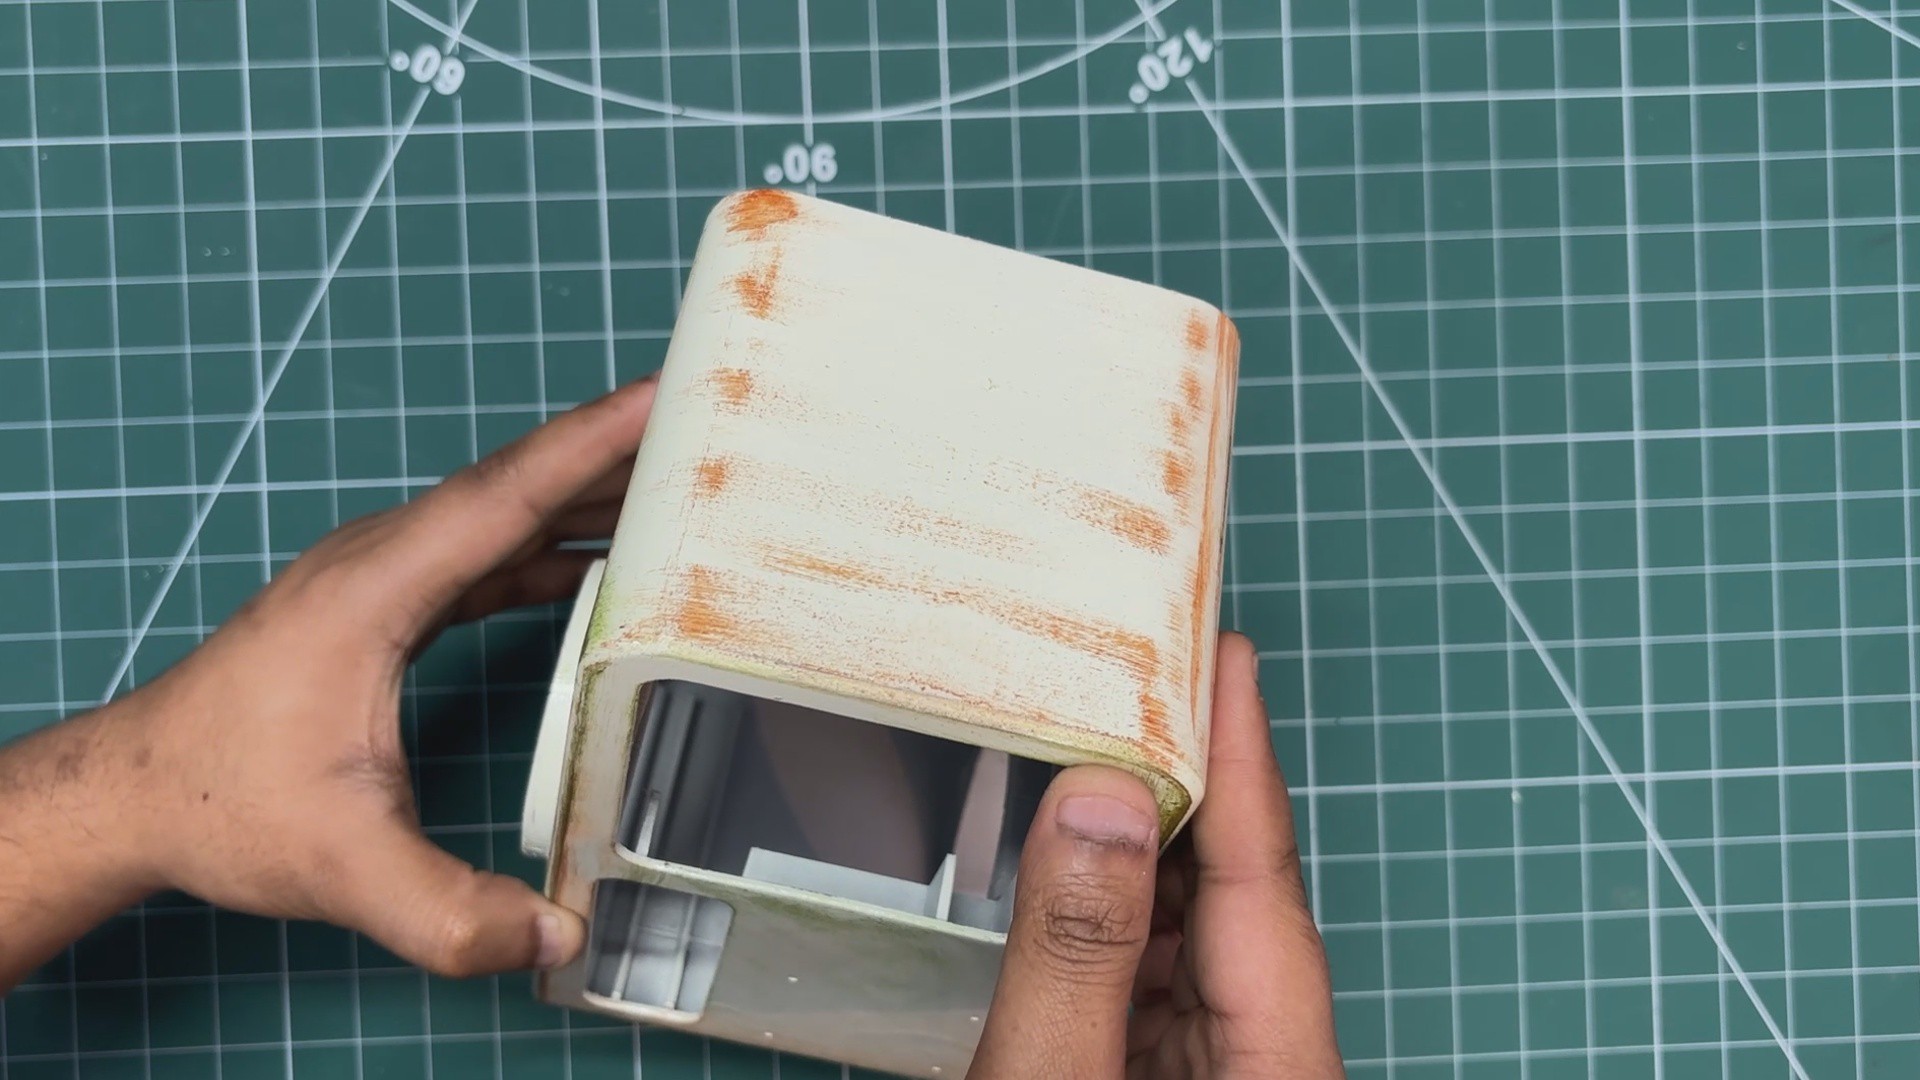
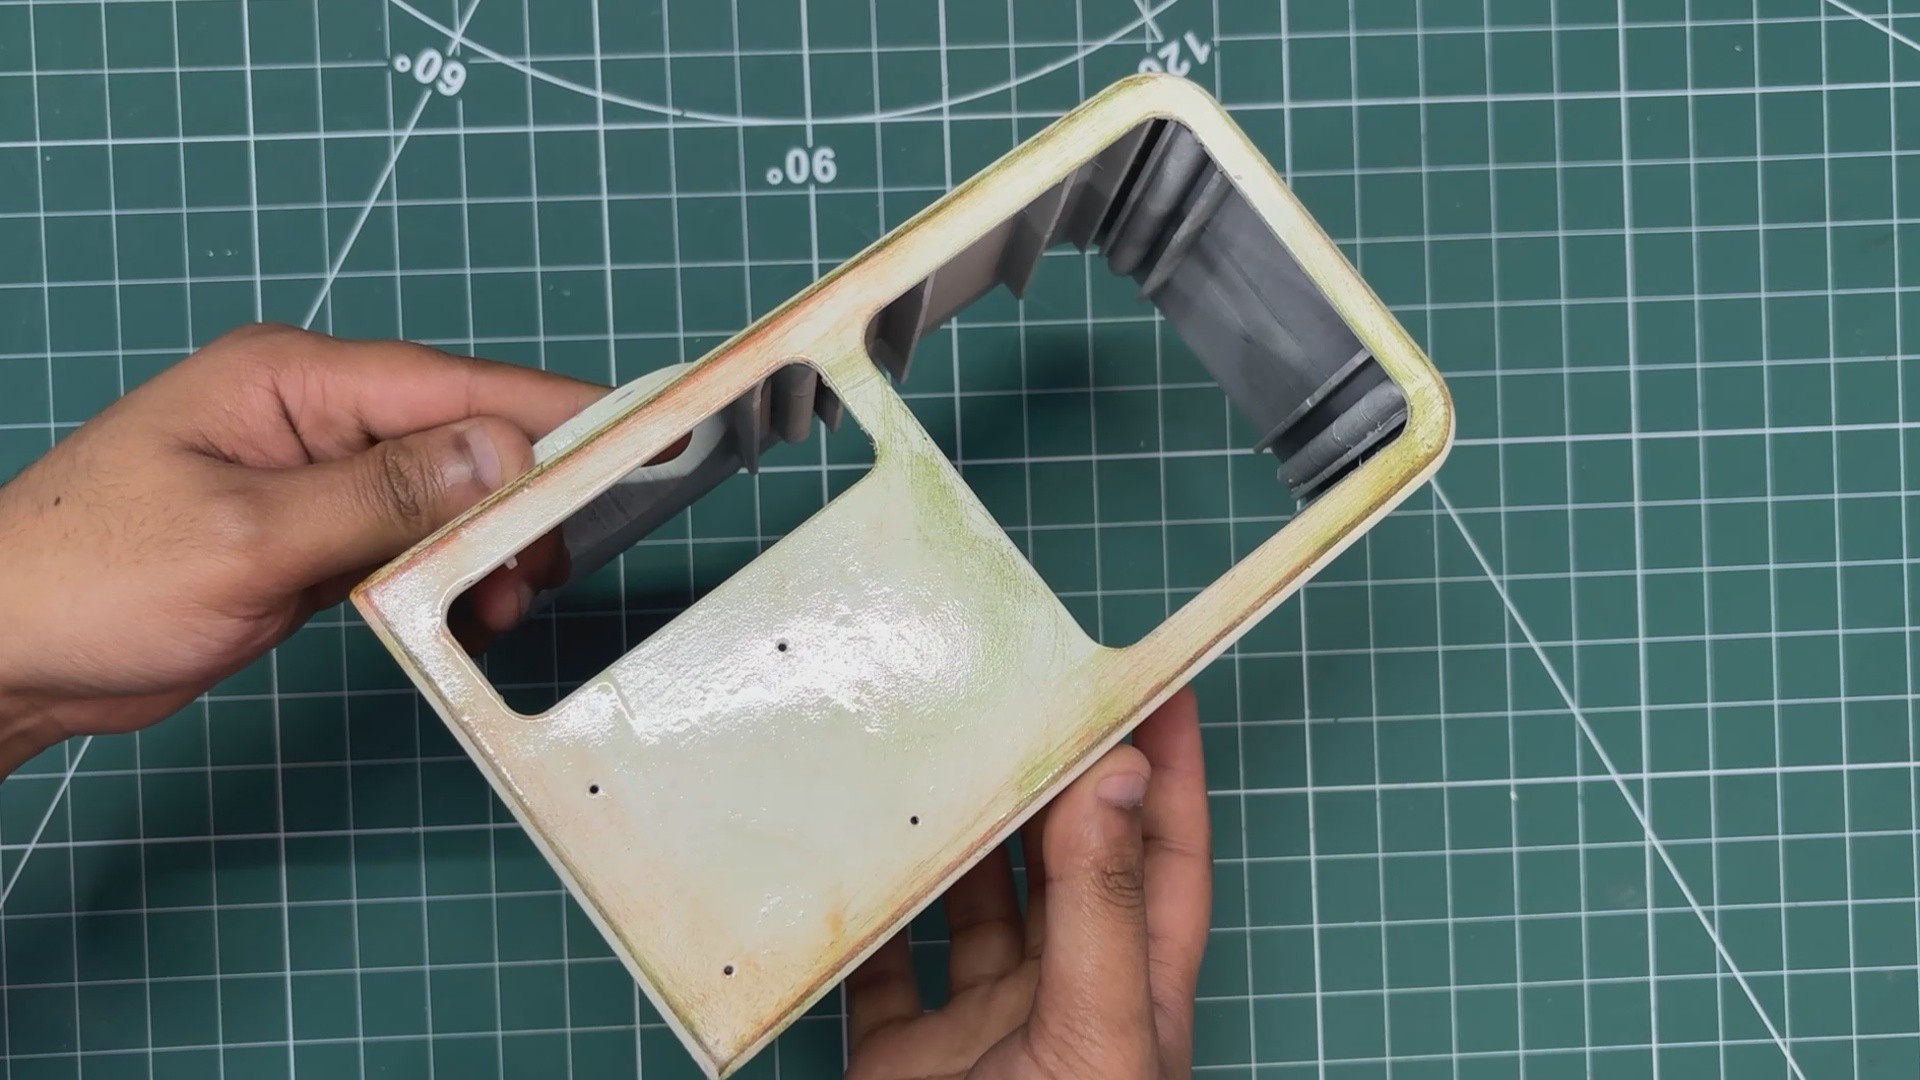
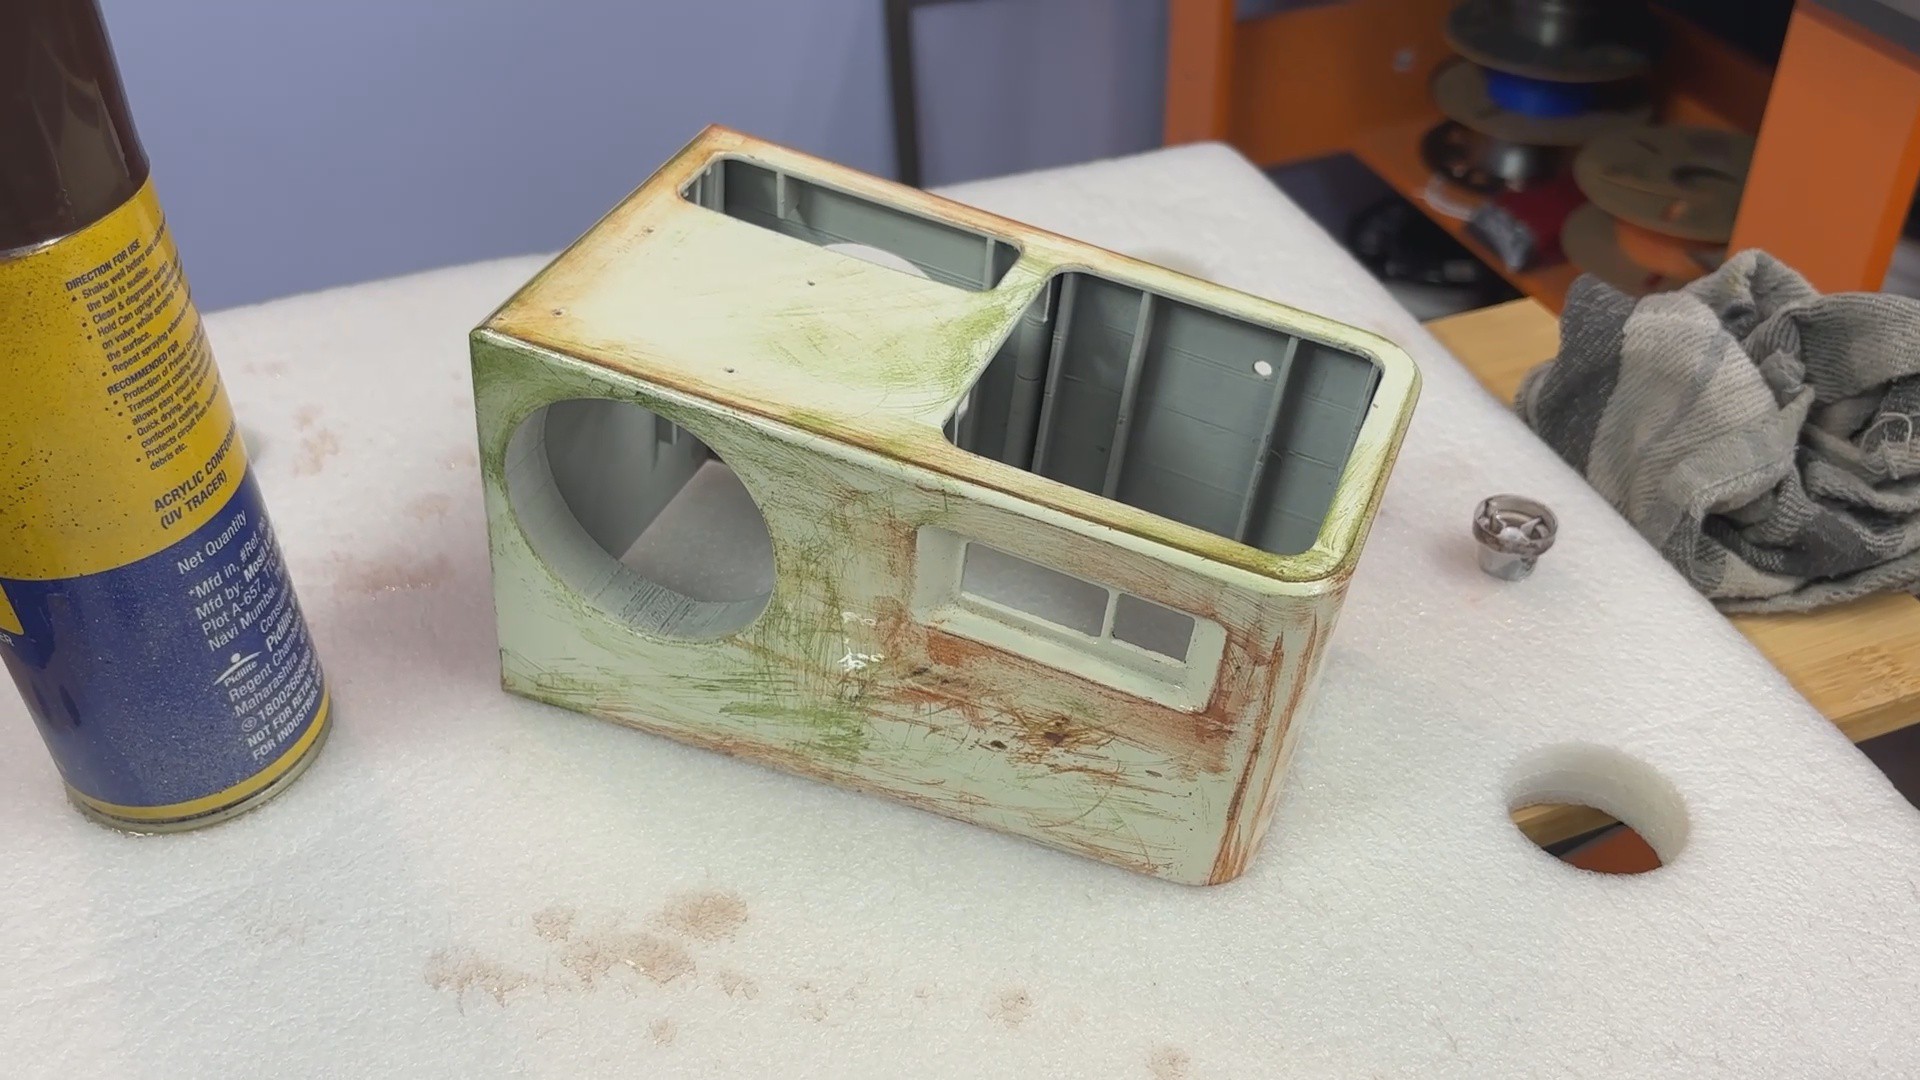
- For the patina, I primarily used two acrylic paint colors: brown to imitate rust and green to imitate mold.
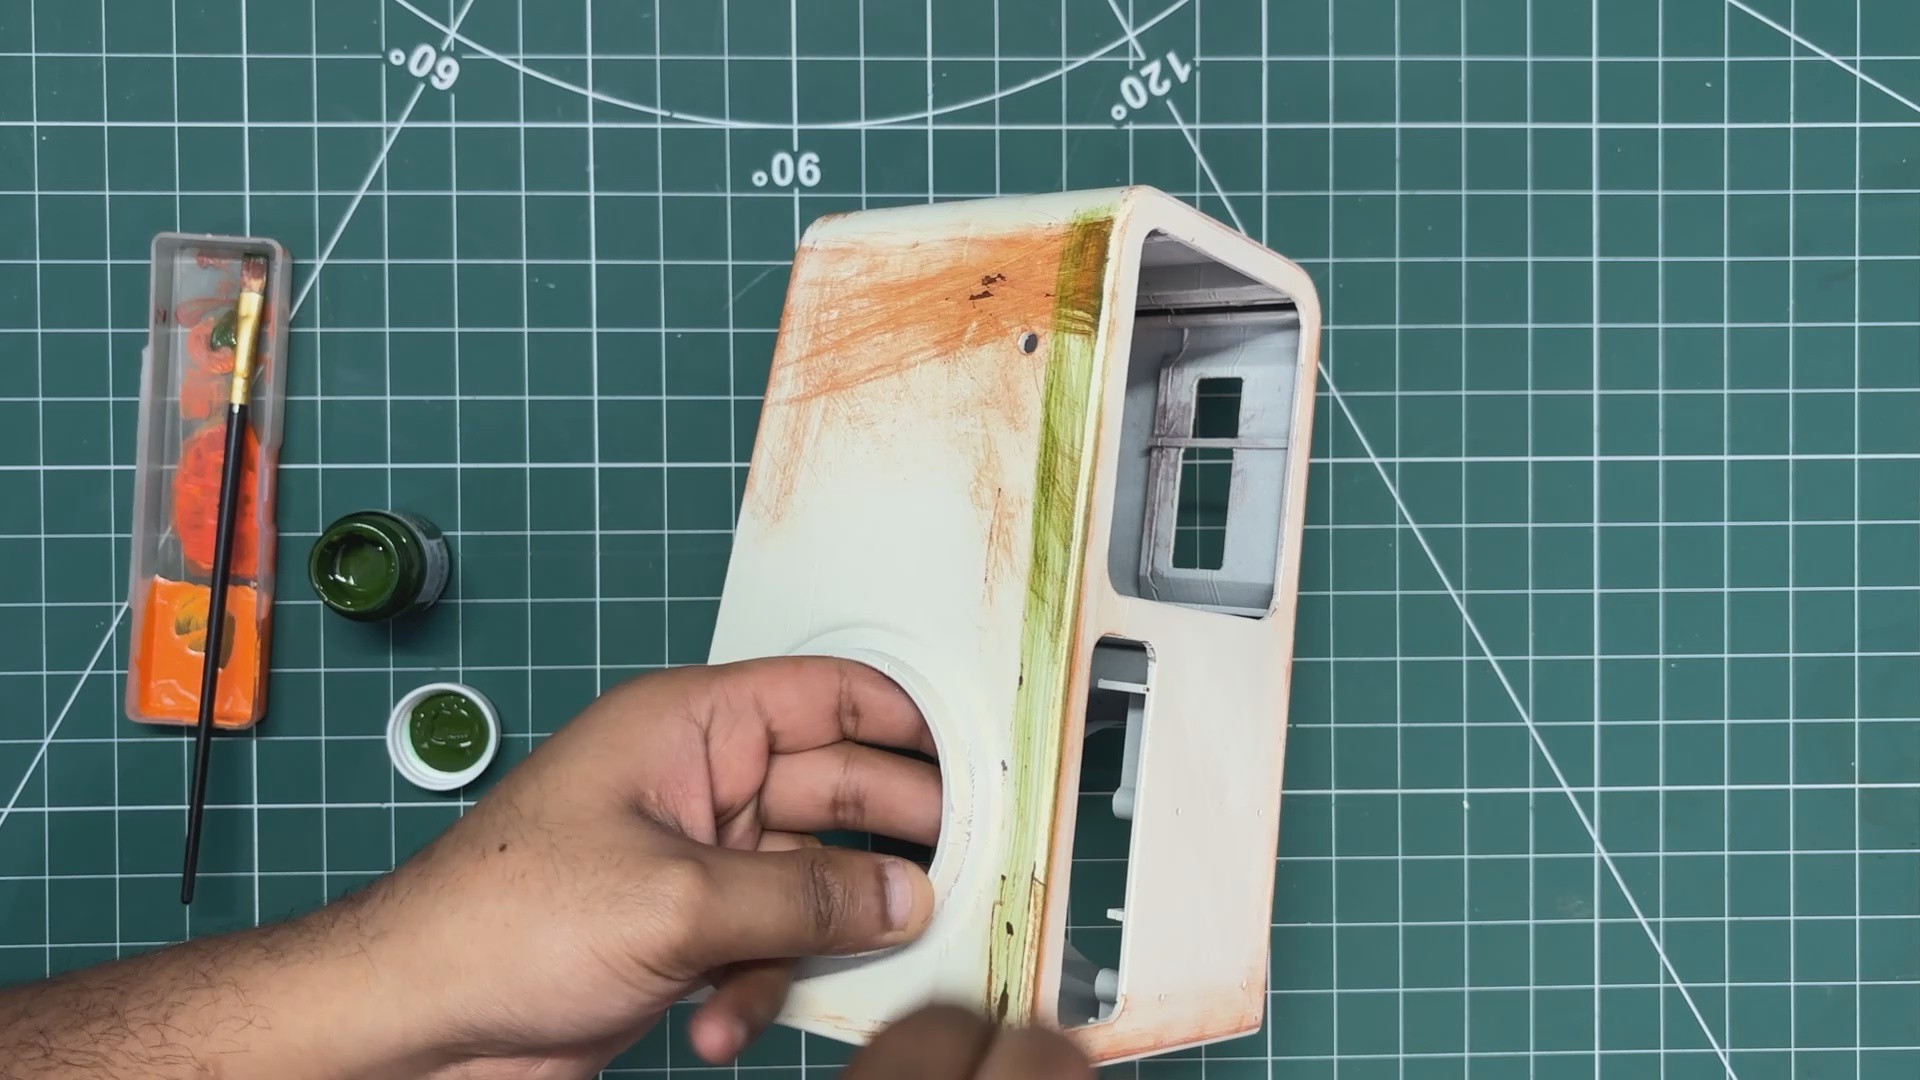
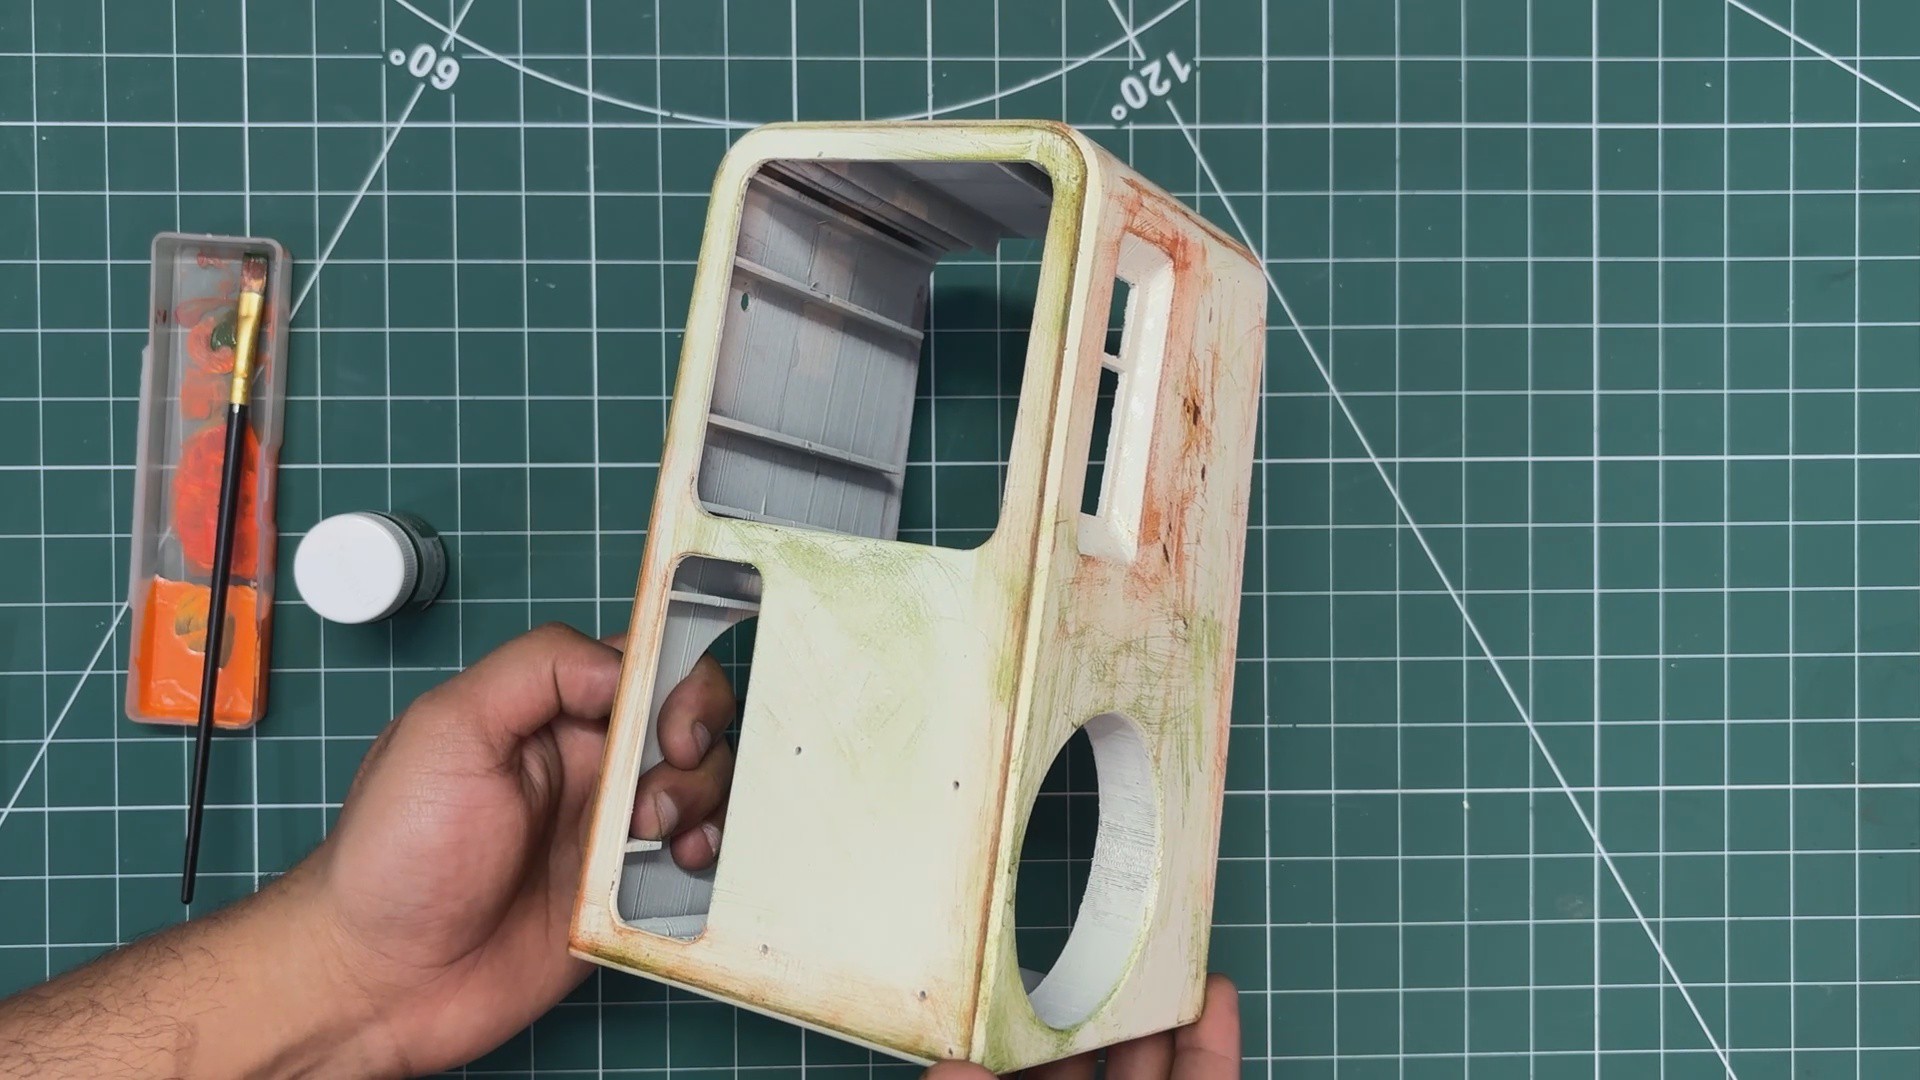
- I applied brown paint to the edges and areas that were sanded earlier, then used a sponge to spread it out. The paint settles into the scratches made by the sandpaper, creating a natural rusty effect.
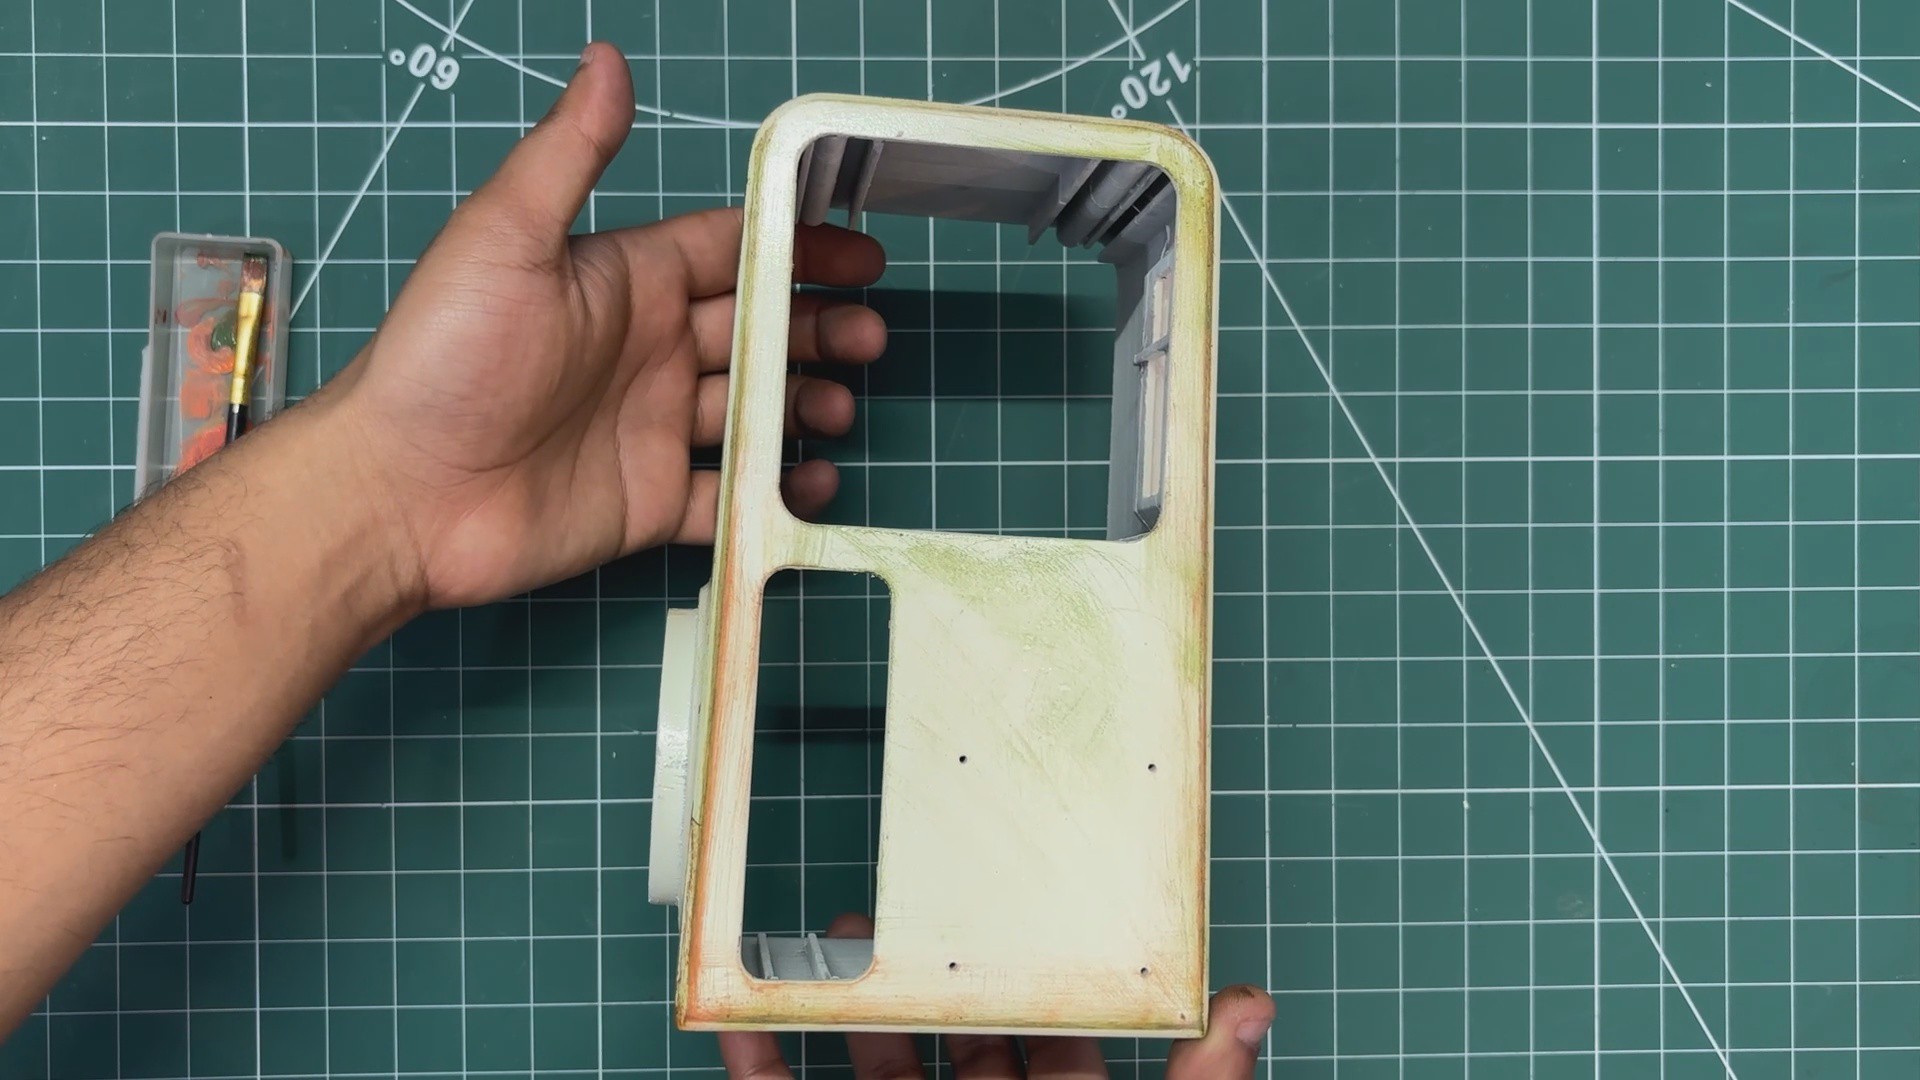
- I repeated the same process with green paint, applying it randomly across the surface and spreading it with a sponge. As the paint seeps into the scratches, the green color effectively imitates mold growth.
After this step, the body takes on an old, beaten-down appearance with a convincingly rusty and moldy look.
-
8FINAL PROTECTIVE TOPCOAT
![]()
![]()
![]()
![]()
![]()
![]()
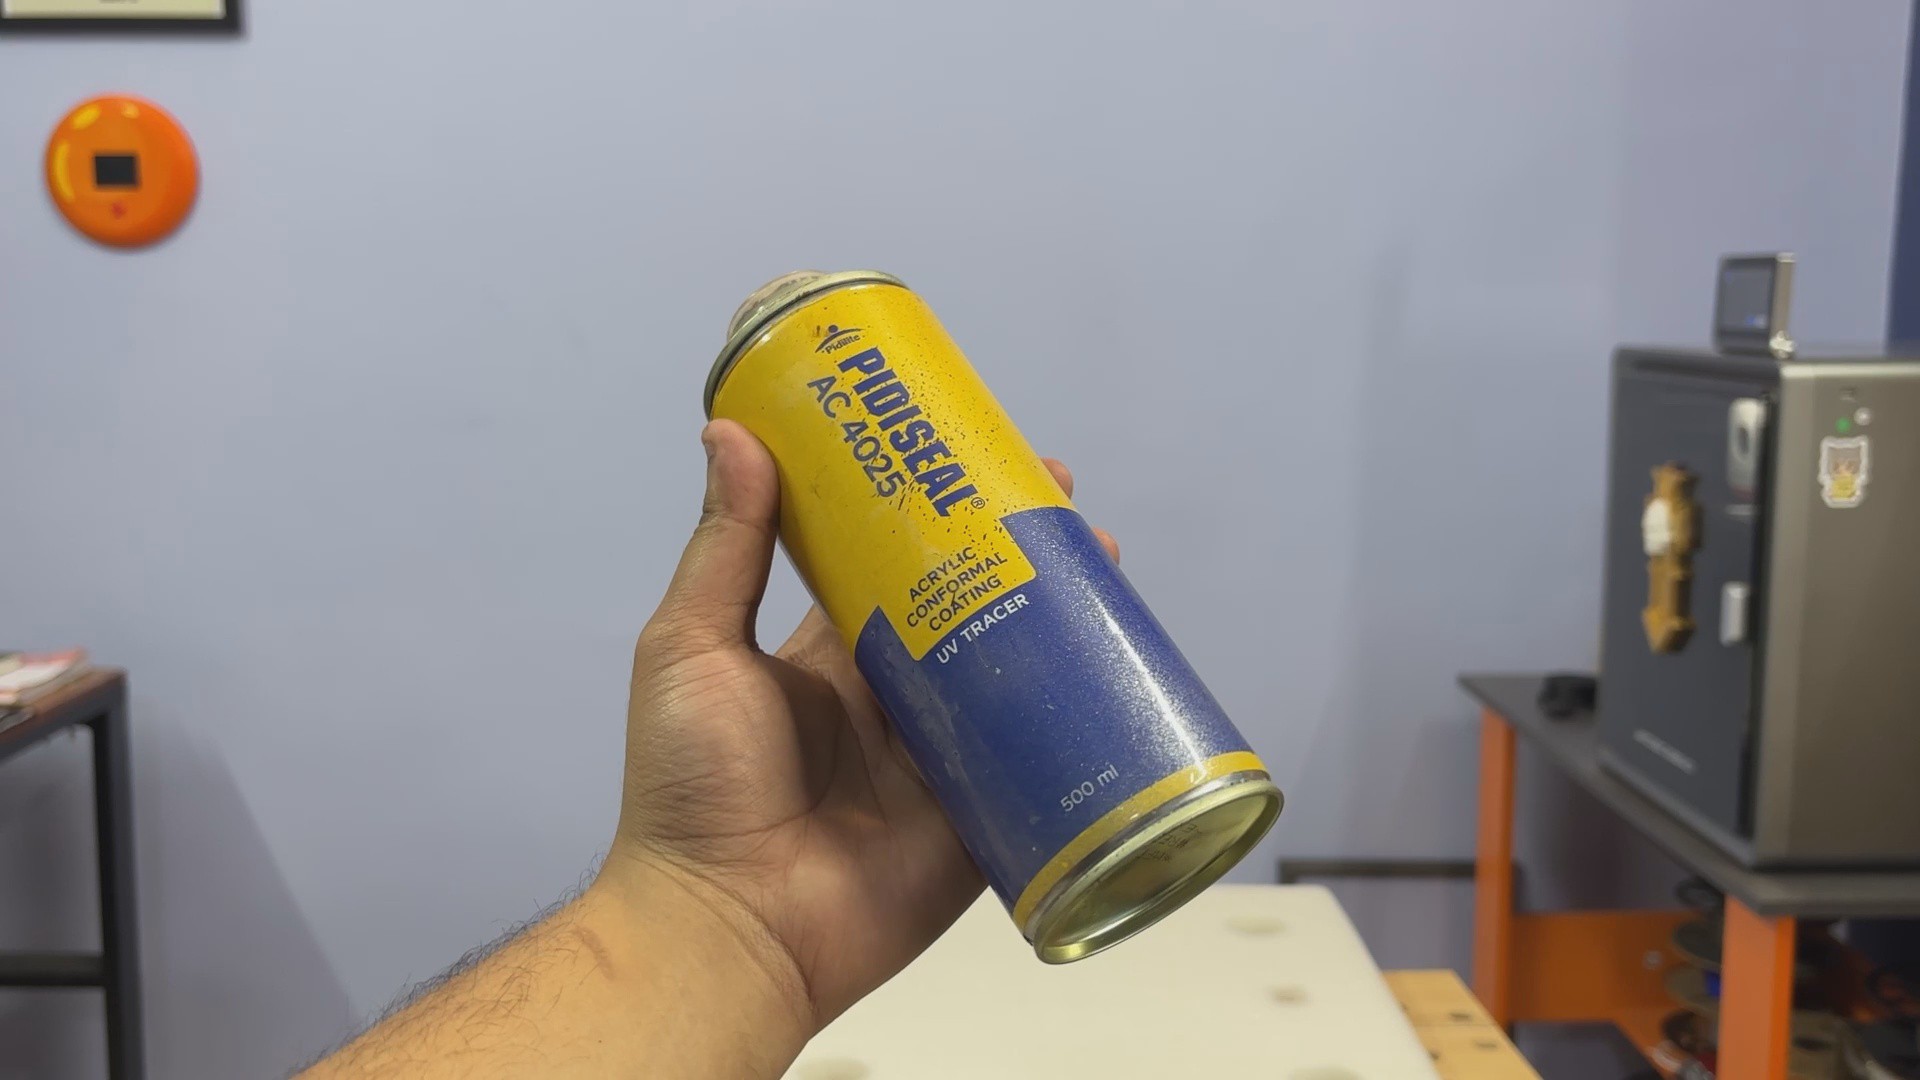
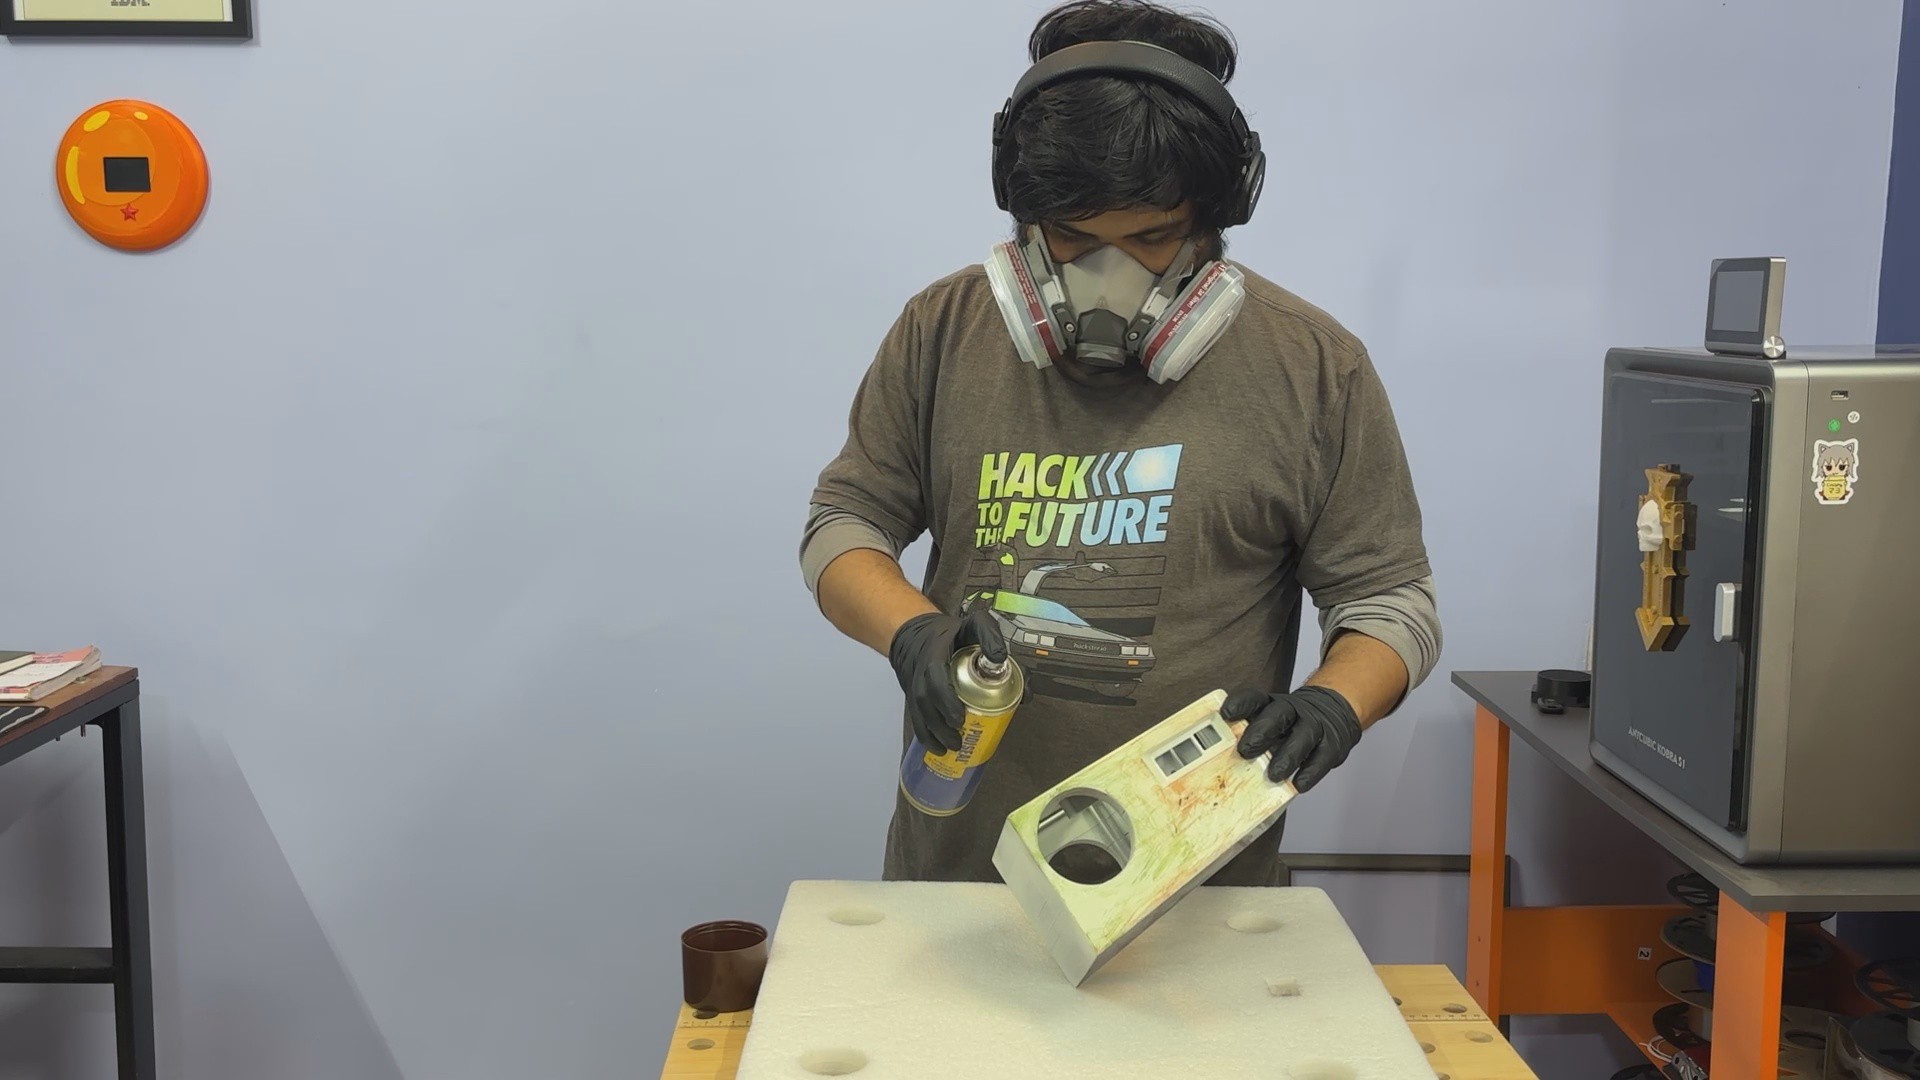
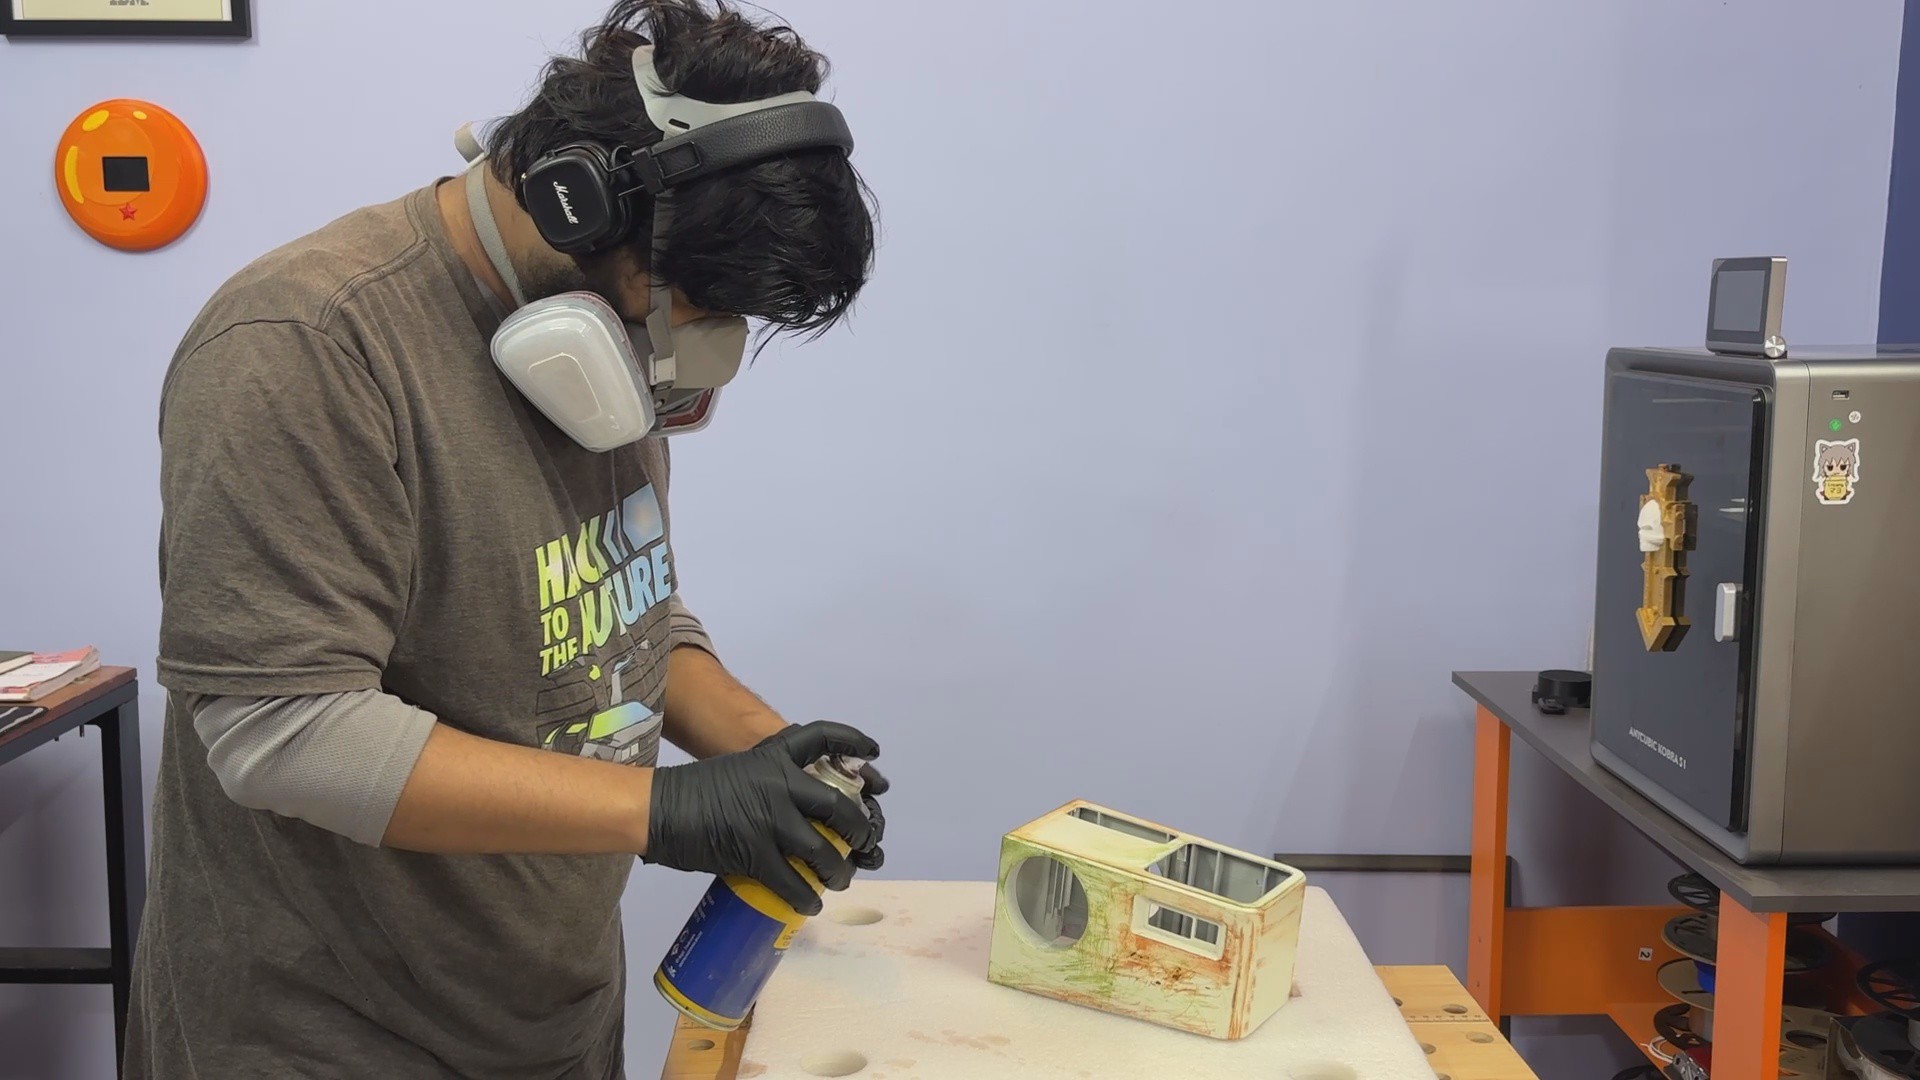
- To keep the patina look permanent, I used an acrylic clear coat spray and applied it evenly over the entire main body. I then let it dry for 3–4 hours.
- Here as well, light coats are important, since applying too much clear coat at once can cause drips and ruin the finish.
The end result is a heavily weathered, rusty-looking body that is fully sealed with a clear coat, making the finish durable and long-lasting.
-
9SCREEN FRAME ASSEMBLY
![]()
![]()
![]()
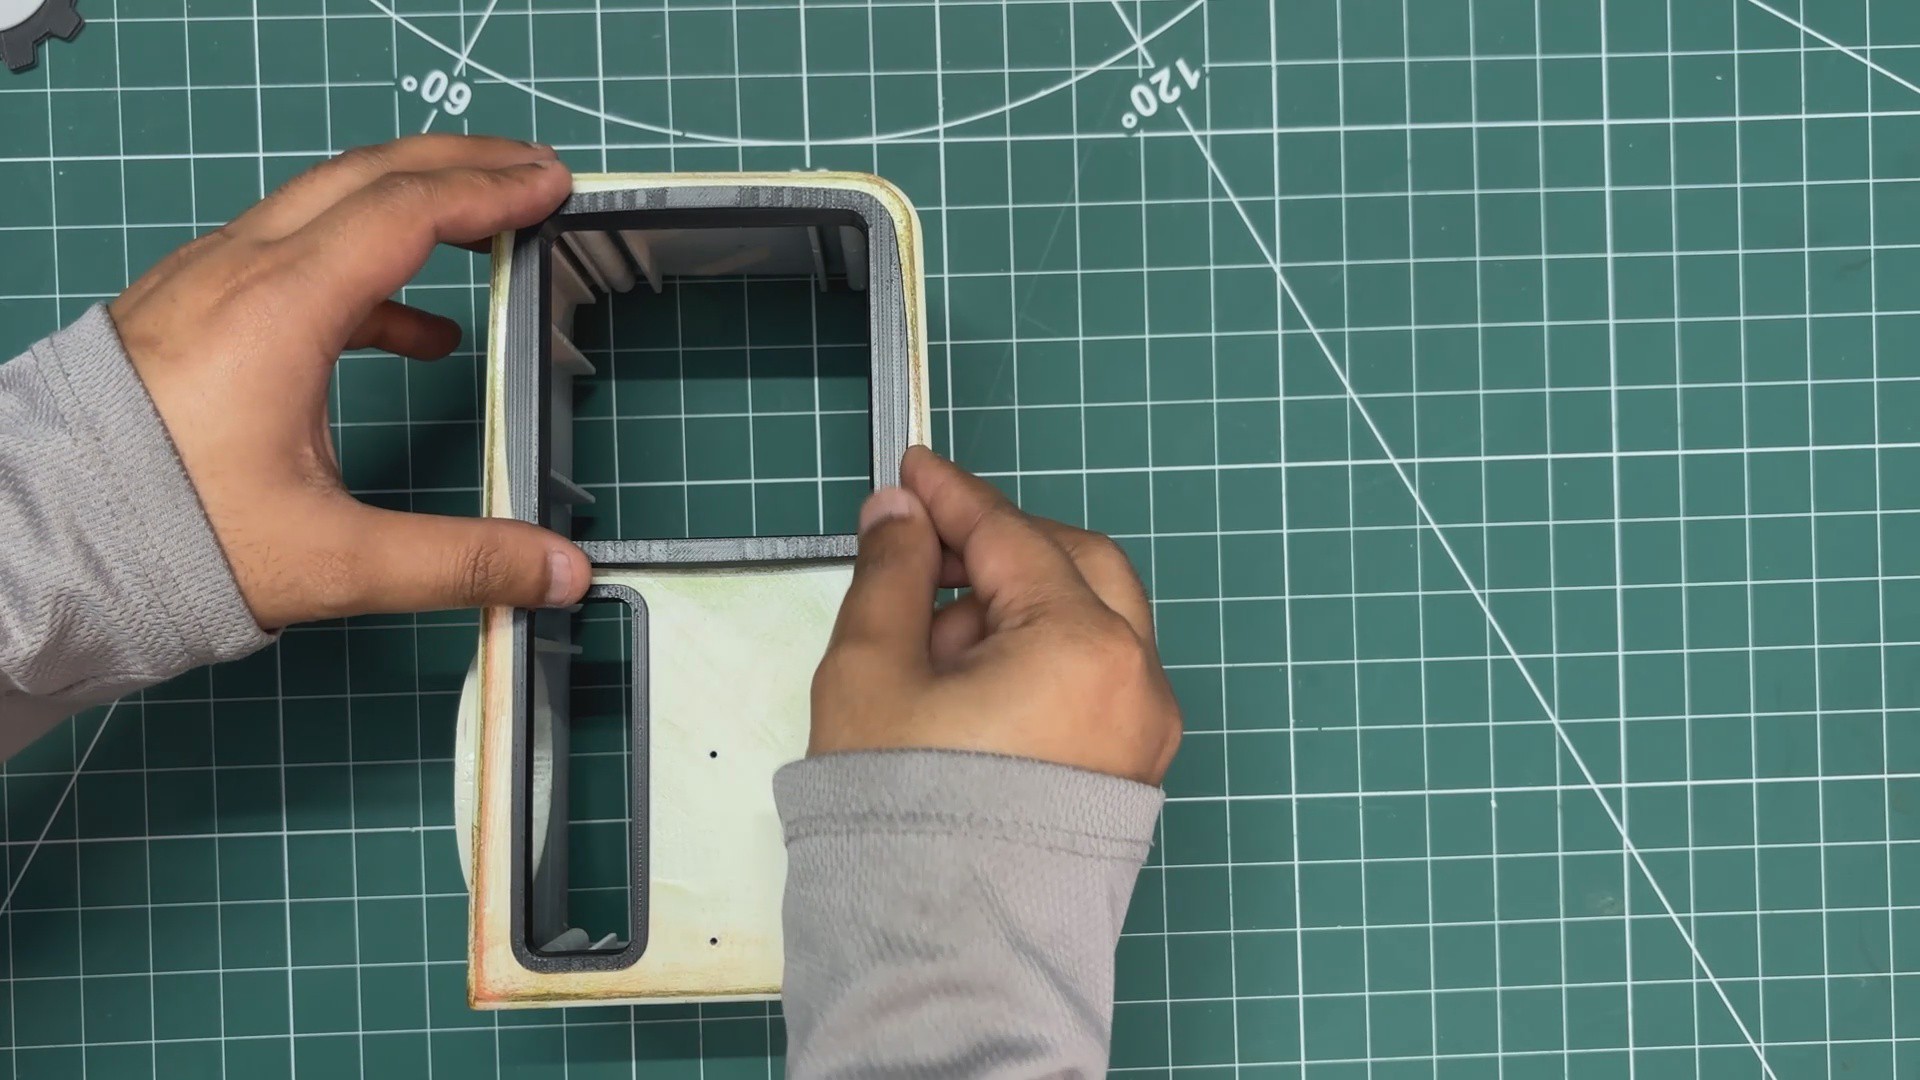
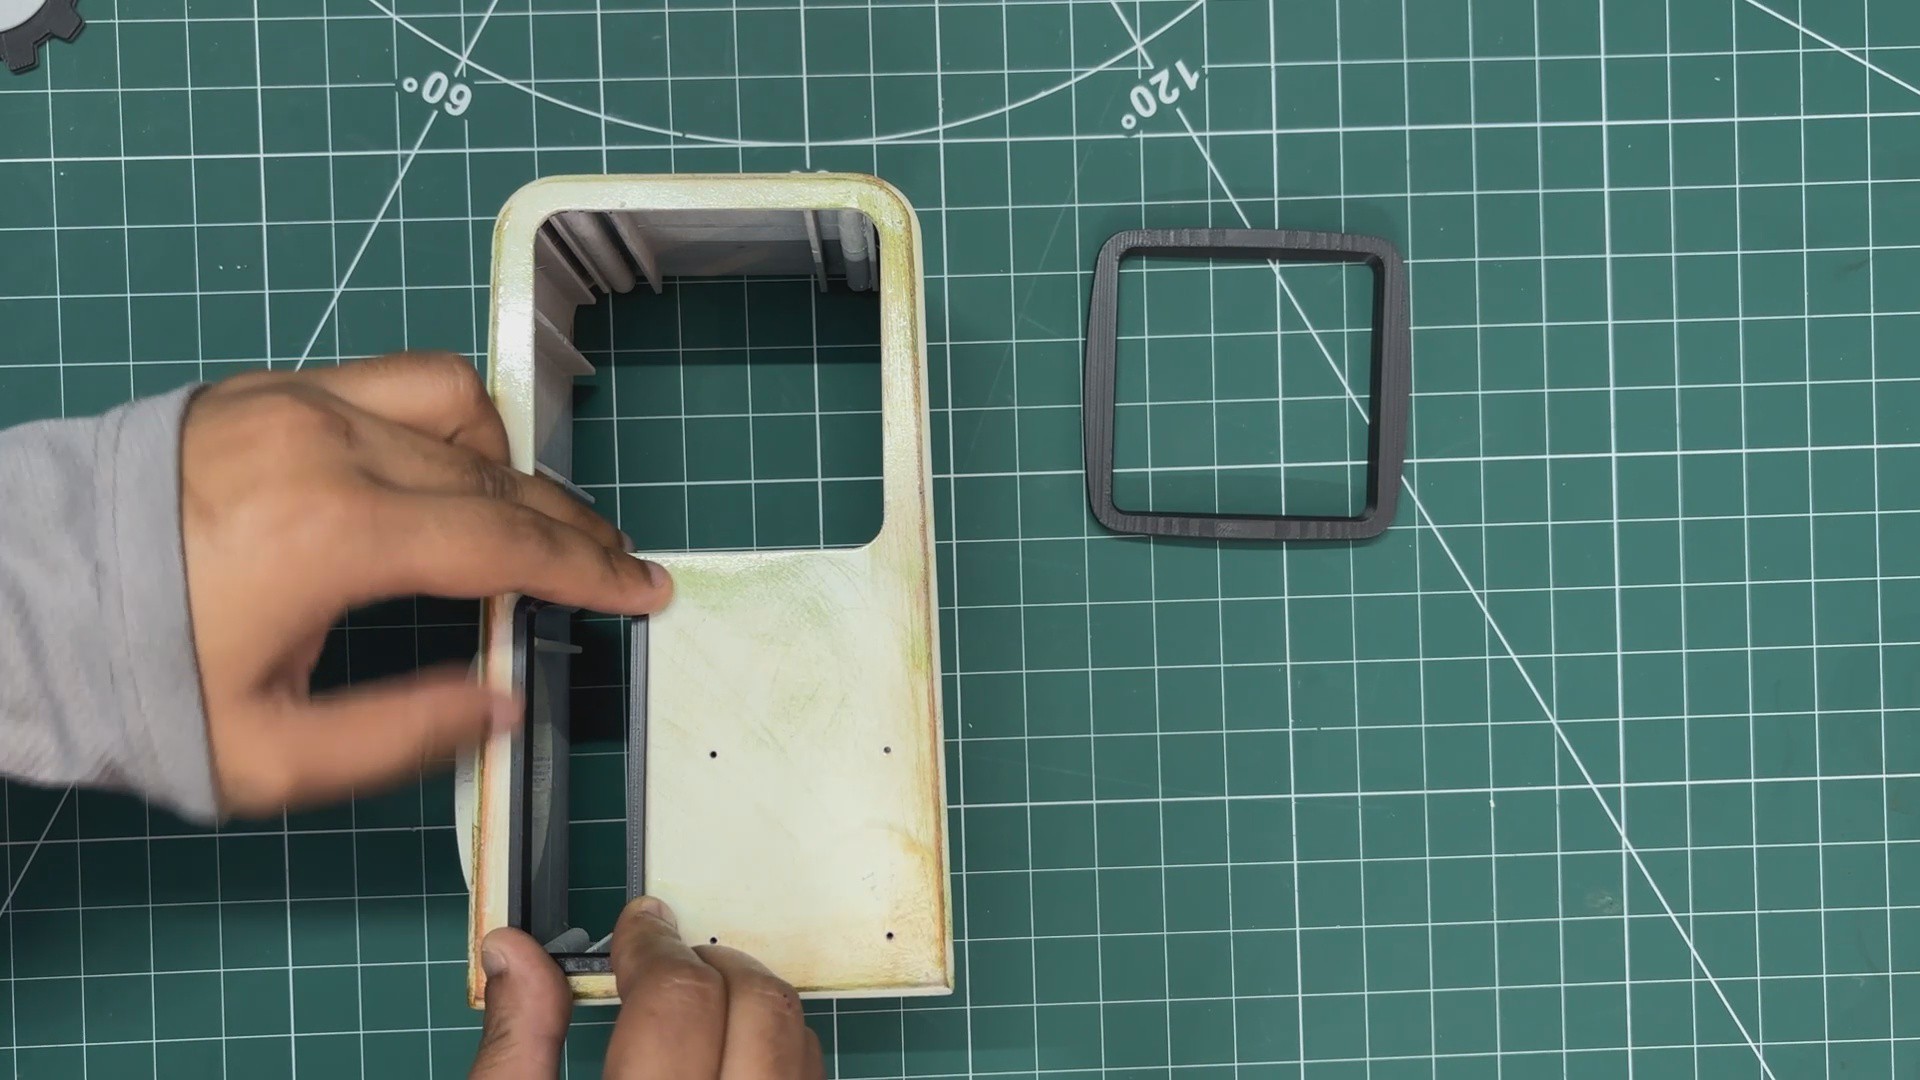
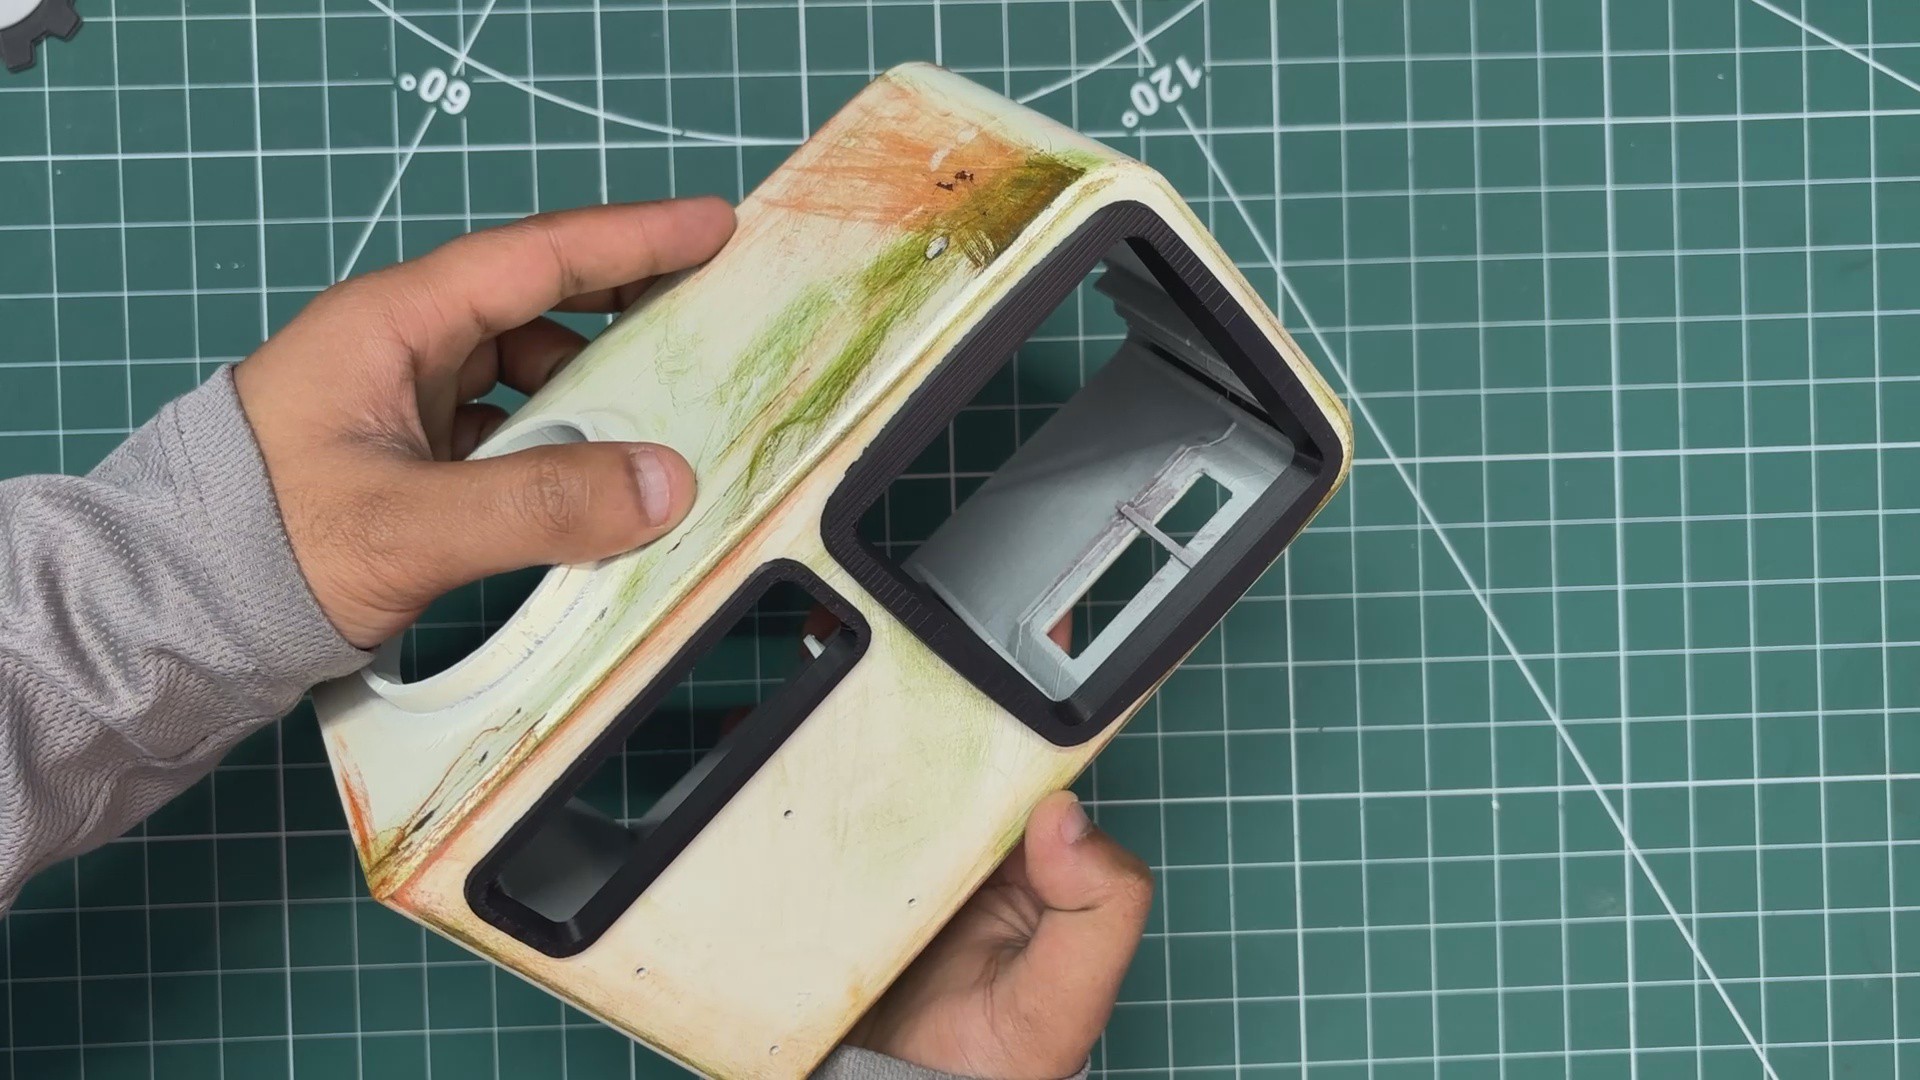
Next is the screen frame assembly process.
- I first placed the frame for the TTGO T-Display board into position from the front of the main body.
- After that, I installed the main square display frame. Both frame parts are pressure-fitted into place.
-
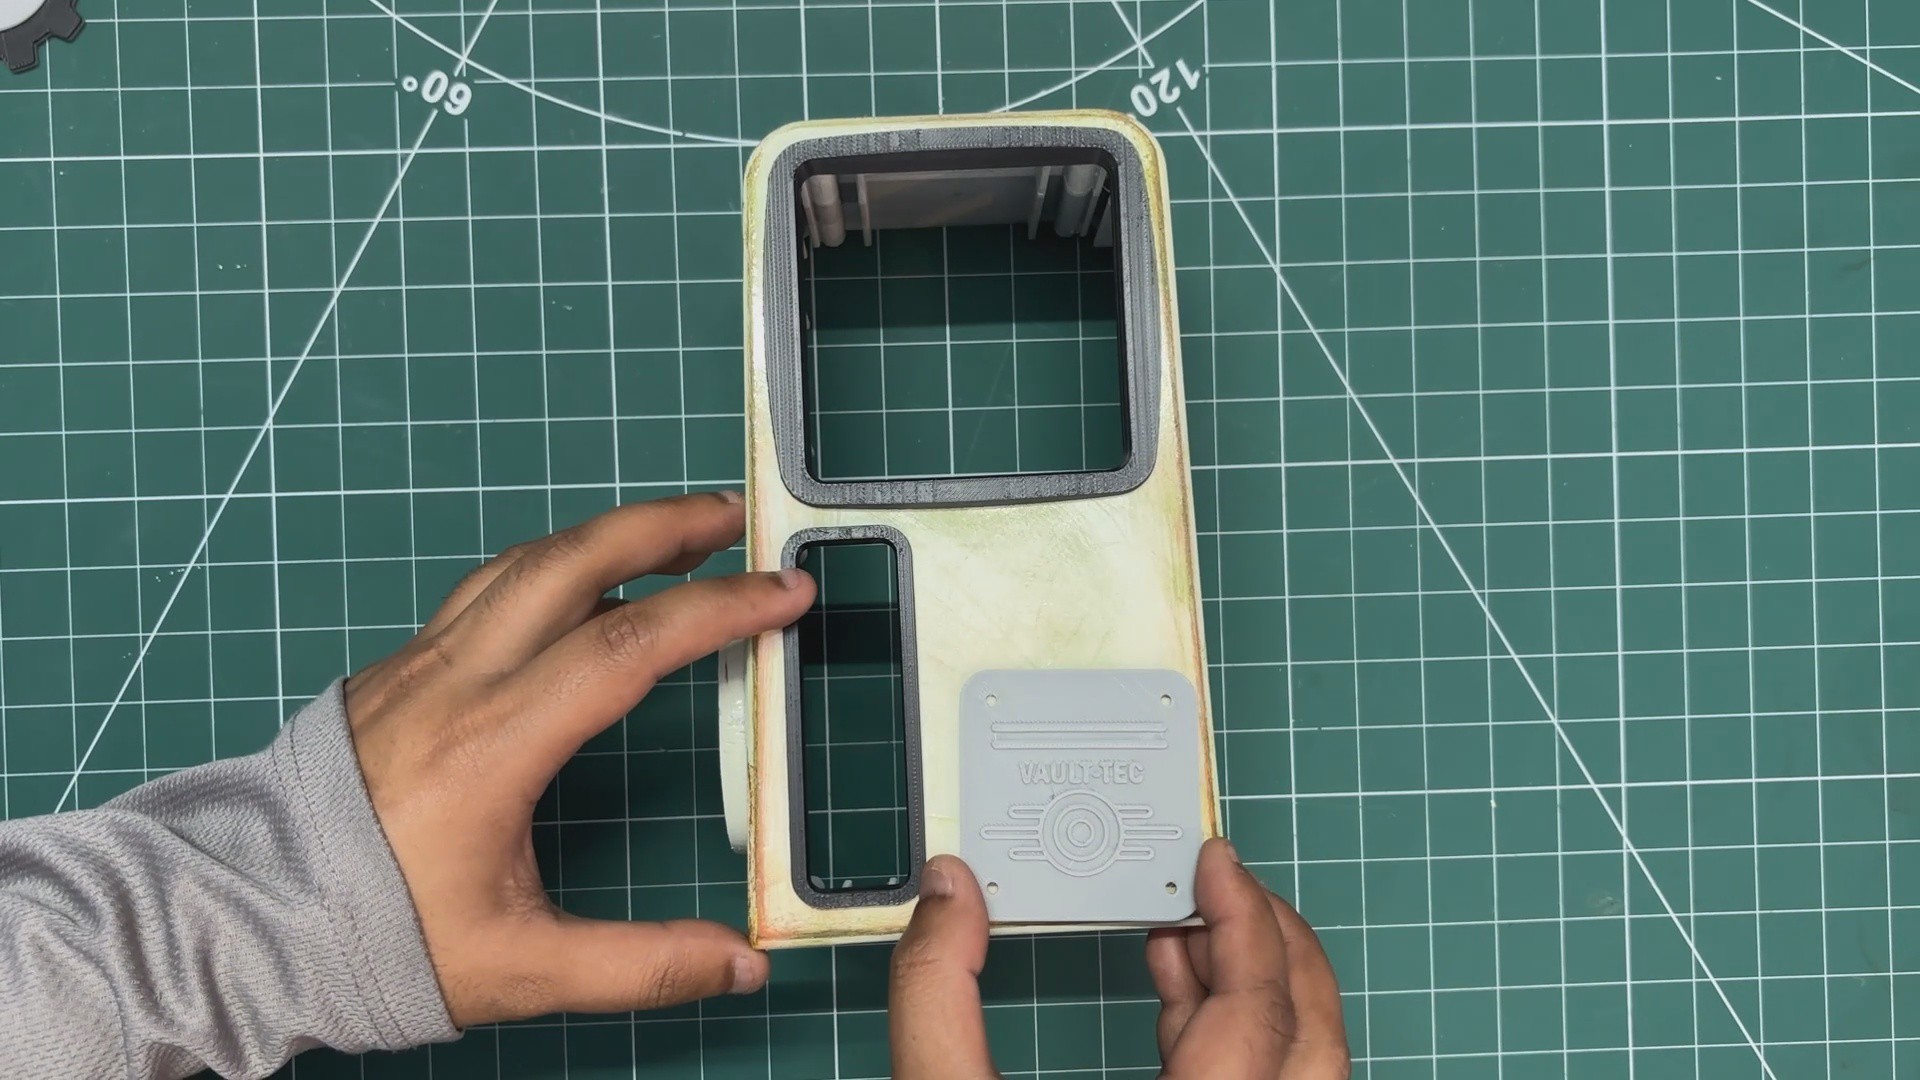
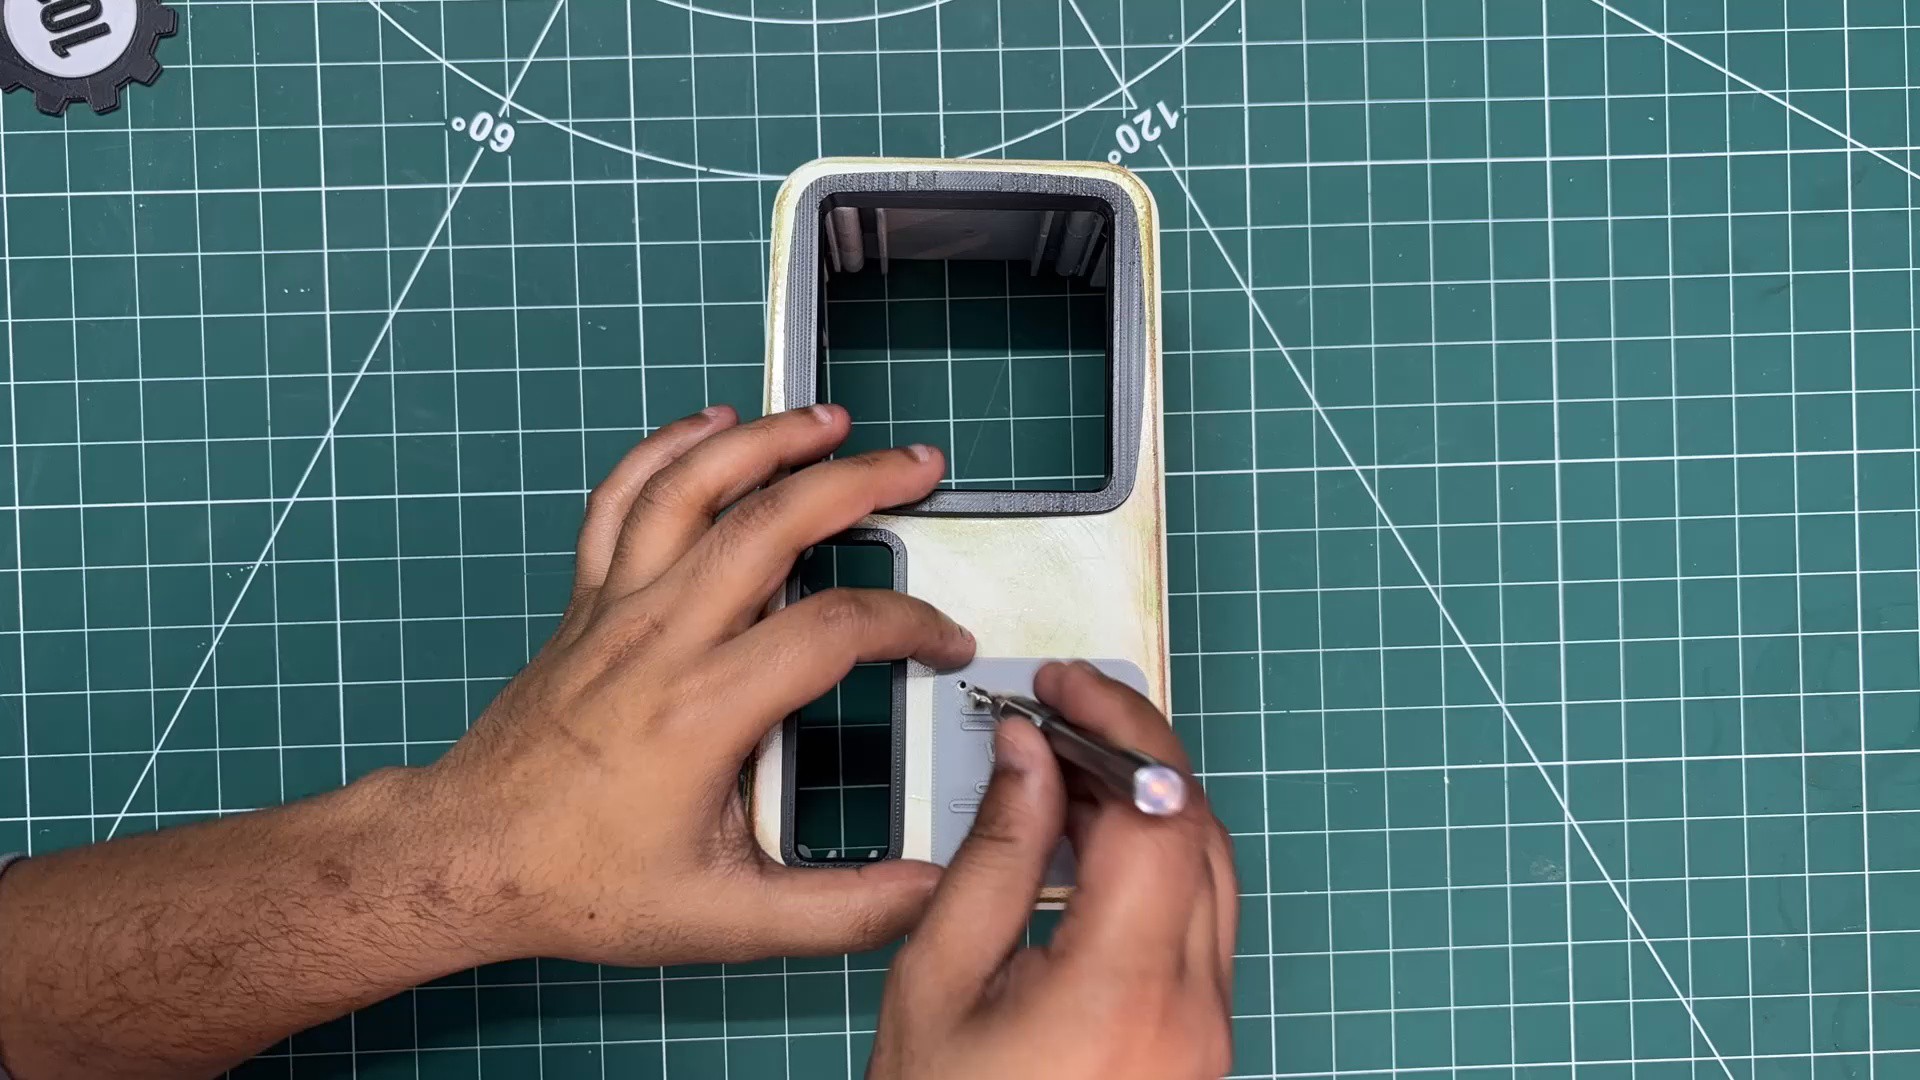
10VAULT-TEC LOGO
![]()
![]()
![]()
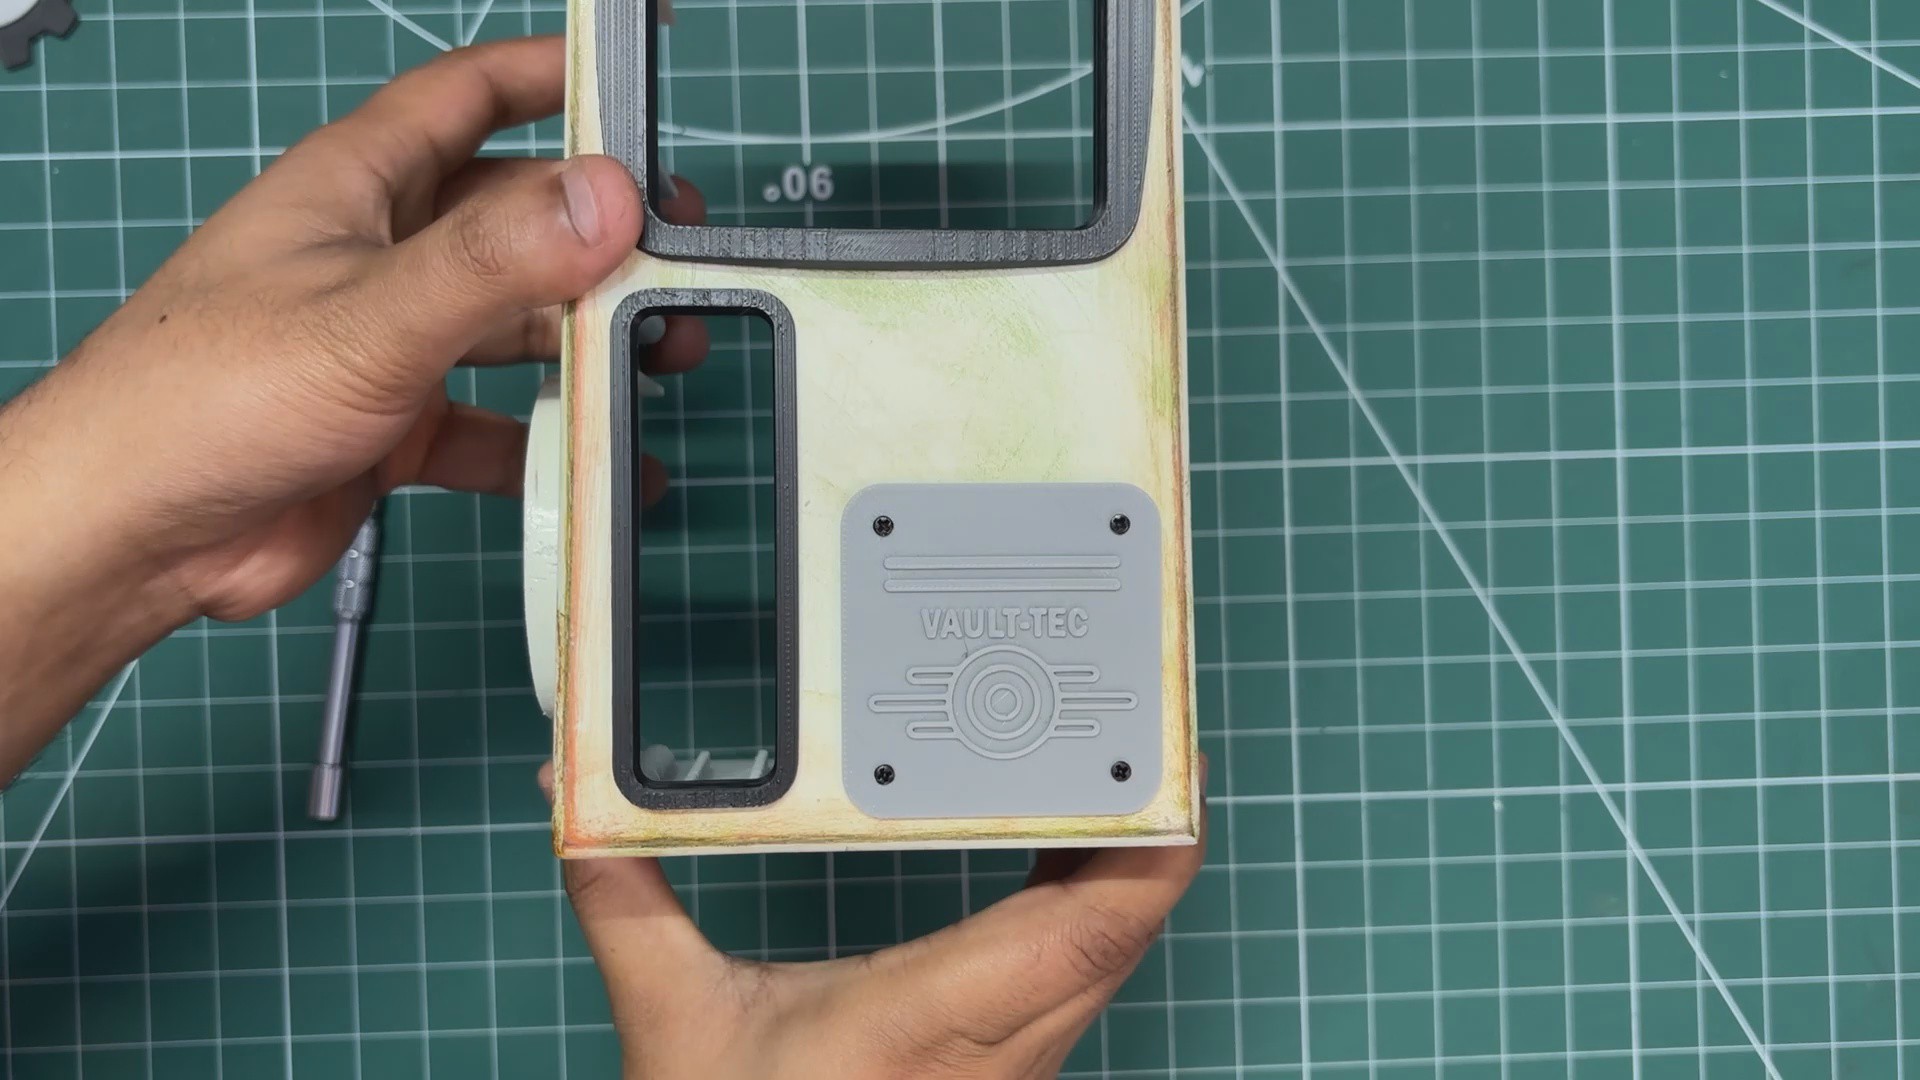
Next, the Vault-Tec logo is positioned above its mounting location on the front side of the main body and secured in place using four M2 screws
VAULT-TEC Air Terminal
Made a Terminal PC from fallout, powered by Raspberry Pi 5


Discussions
Become a Hackaday.io Member
Create an account to leave a comment. Already have an account? Log In.