 cburns42
Overview
This project implements an Amateur radio operator-oriented clock with features intended to help in the Ham shack or portable operations. The goal was to make a stand-alone device that could operate even if the internet is not available. There are some excellent browser-based solutions available that do a fine job but require the internet to operate.
The core function is to provide time/date for three time-zones: UTC and two user selectable time zones. It has a battery backed up RTC (Real Time Clock) using the DS3231 and an environmental sensor using the BME280. Many settings are configured from user settings that do not require Wi-Fi. Additional capabilities include local weather and solar conditions if Wi-Fi is enabled and configured. If the user enabled Wi-Fi a Wireless access point will be activated to complete those settings.
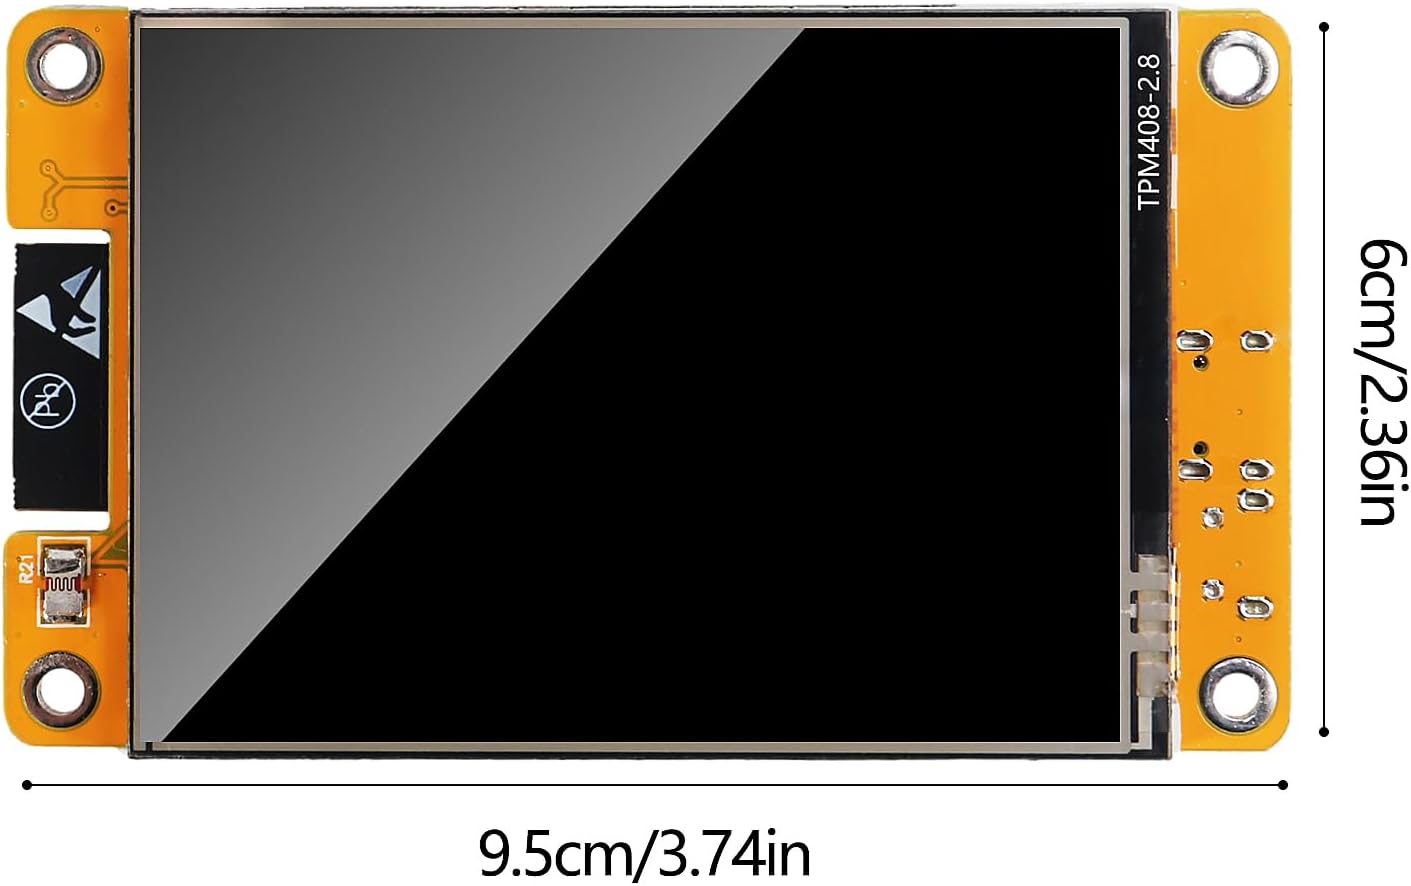
The Clock uses inexpensive components including the ESP32 based CYD (Cheap Yellow Display) with features a 320x240 backlit LCD display with a resistive touch screen.
The Ham clock uses the Arduino development environment, and the excellent lvgl graphics library. This library is very rich in features and capabilities. To help with this library, the EEZ Studio product.
Making the Ham clock:
The hardware for this project is not complicated. The CYD contains most of the functions. The RTC and BME260 use a Serial bus called I2C.
Step 1: If the RTC does not already have a pin headers (there are two) attached, do so now.
Step 2: If the BME260 does not already have a pin header attached, do so now.
Step 3: The CYD has I/O ports include “Extended IO port”. The CYD should have come with a four-pin connector for this port. Use this connector to connect to the RTC and using the second header on the RTC connect to the BME260. Reference the Github Wiki to see connections.
Step 4: Fetch the source code from Github (https://github.com/cburns42/HamClockCYD)
Step 5: On a PC, install the Arduino IDE (if not already in place).
Step 6: Open the download source files in the Arduino IDE, Open the primary file “HamClockCYD.ino” which notes the dependencies, ensure that all of these dependencies are installed with the desired versions.
Step 7: You may need to do additional IDE setup for the CYD. The recommendation is to research the CYD, run examples, etc. to be familiar with the environment. It can be complicated to get right.
Step 8: Connect the CYD to the PC. Start the Arduino IDE, select the correct board (search for CYD), select the port corresponding to the CYD. Change the Partition Scheme to Huge App.
Step 9: Compile the project, and download.
Step 10: Select the Tools tab and configure as you desire. Reference the Github Wiki for how to navigate the UI.
Ham Clock is intended for use in a Ham shack. It is implemented using inexpensive components:
- CYD (Cheap Yellow Display). This component includes a 320x240 color LCD display, and a resistive touch screen.
- ESP32 processor supporting Wi-Fi.
![]()
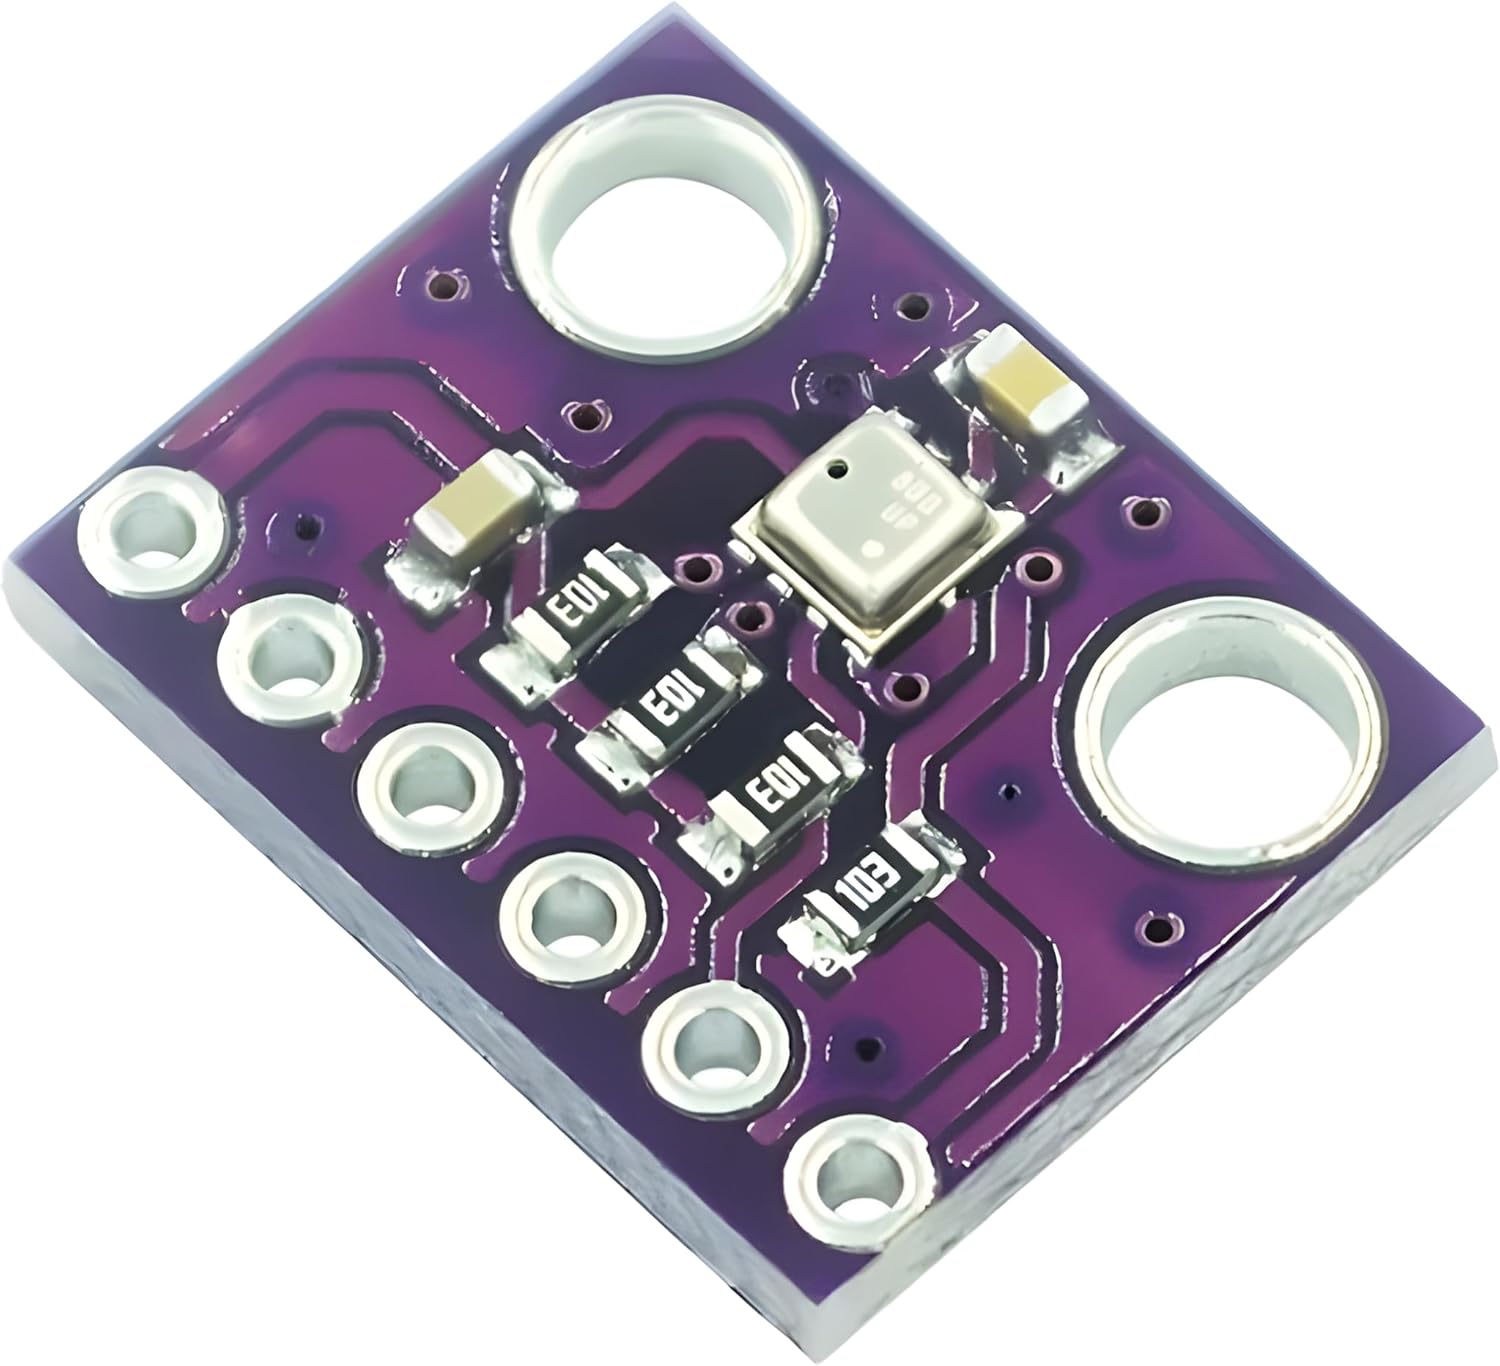
- An I2C BME280 Temperature/Humidity Sensor
![]()
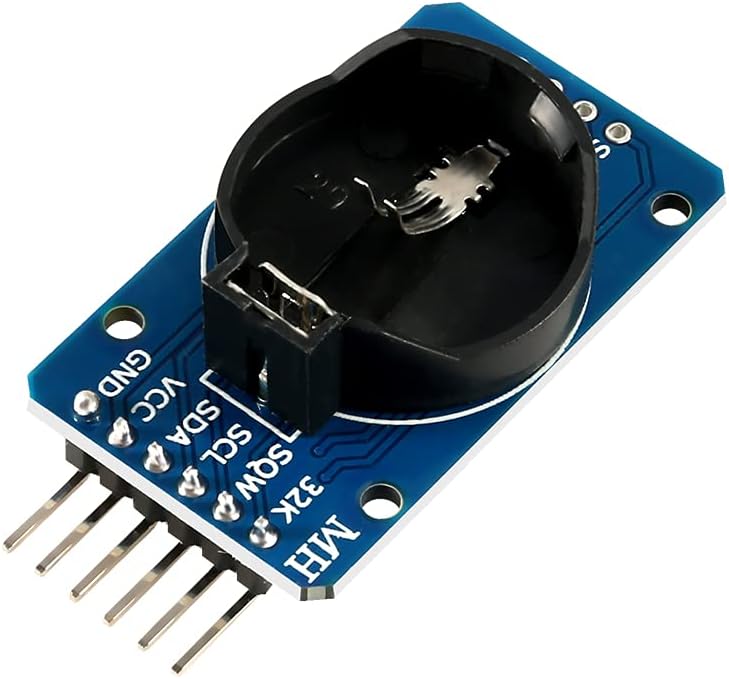
- An I2C DS3231 Realtime clock
![]()
The software is Arduino, using lvgl graphics library to implement the UI. The UI implementation was aided by using the excellent “EEZ Studio” software. The UI design is tab based including tabs for:
Clock – This tab is the default display and includes:
- UTC Time and date
- Zone 1 (Home zone) Time and date
- Zone 2 Time and date
- Seconds display
- Temperature, Humidity, Barometric pressure and Altimeter from the BME280 sensor.
- Sunrise/Sunset times for Zone 1
- Call sign
- Indicators for WiFi, Updating time/Date from Internet (optional), Weather from open weather (Optional), Solar Conditions (Optional)
- Clock – This tab is the default display and includes:UTC Time and dateZone 1 (Home zone) Time and dateZone 2 Time and dateSeconds displayTemperature, Humidity, Barometric pressure and Altimeter from the BME280 sensor.Sunrise/Sunset times for Zone 1Call signIndicators...
 danjovic
 victor-chew
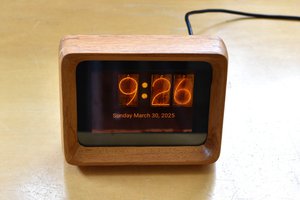
 Dan Julio
 Timofei Korostelev