 Doruk Kumkumoğlu
-
21Install The Magnets
![]()
Slide 12x3x1mm magnets into the enclosure (3 on each side) and into the battery cover part (1 on each side).
Pay attention to the polarity of the magnets so that the battery cover closes correctly.
-
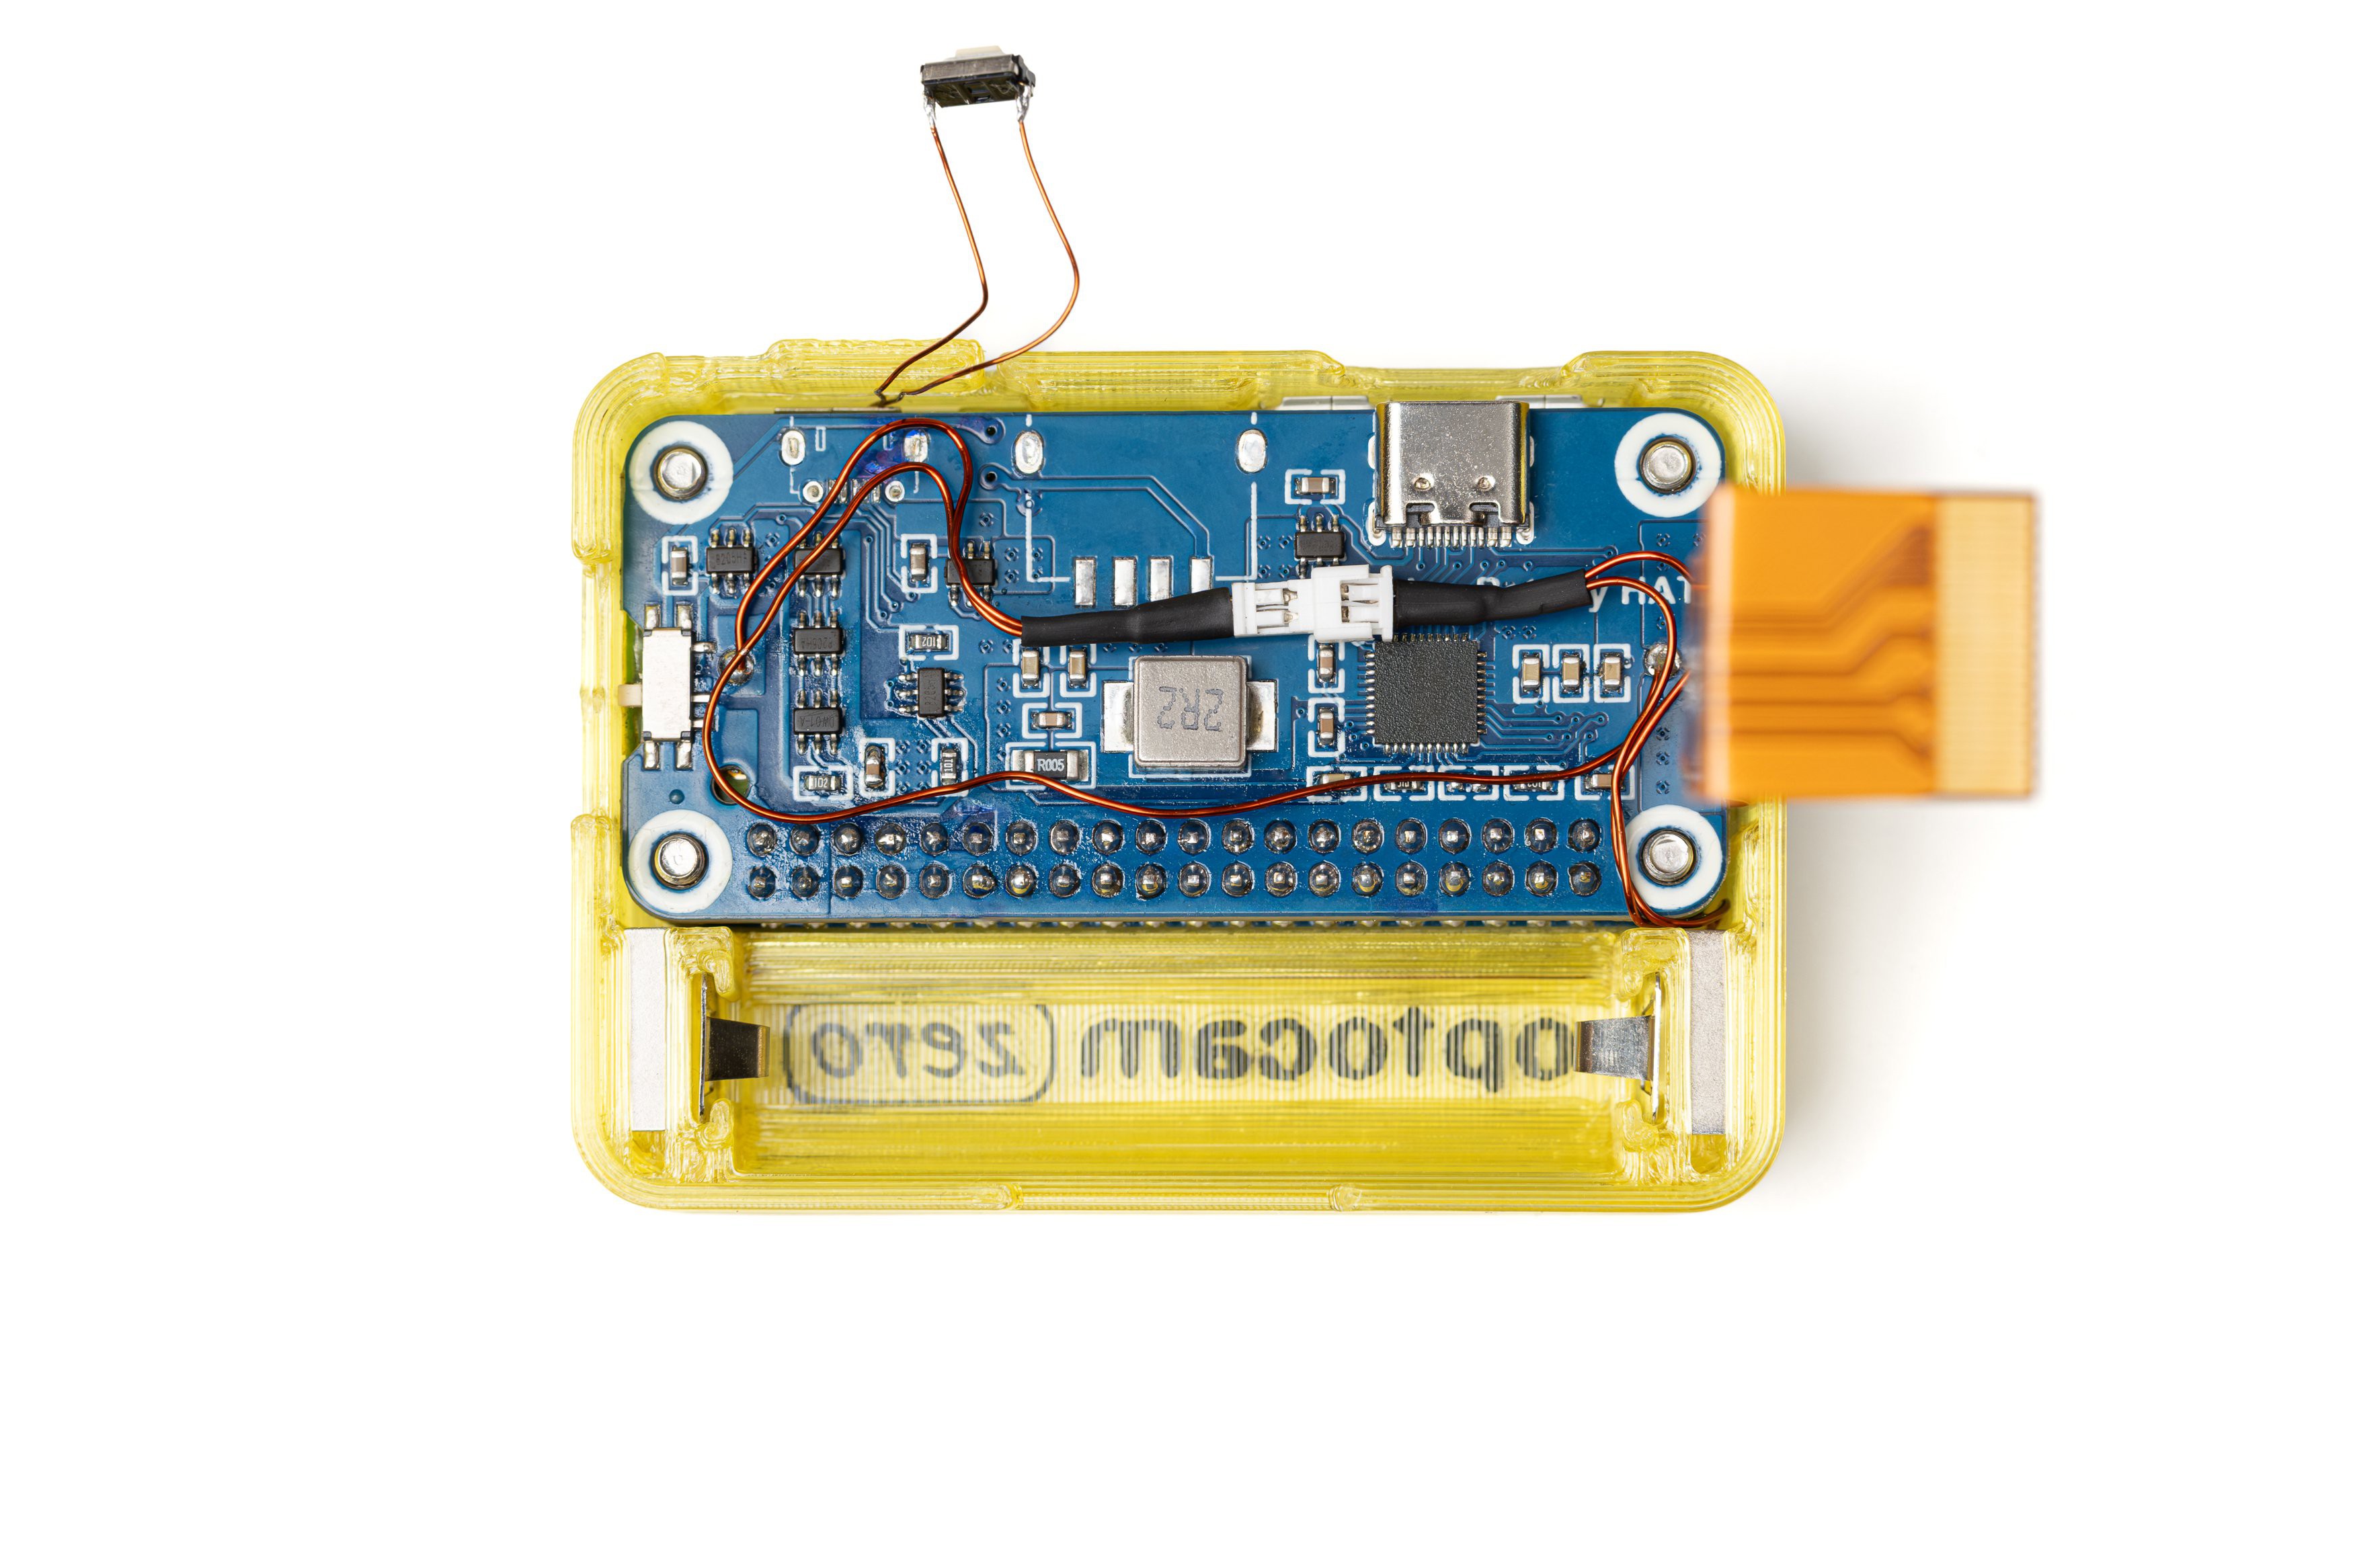
22Install The Board Stack
![]()
Place the 1mm and 4mm washers between the board stack. Place the 3D printed front spacer on the LCD HAT.
Place the board stack with the washers and the front spacer into the enclosure as shown in the photo.
From the front side, push the 4 M3 screws in.
Connect the male and female power connectors and position them as shown in the photo. Make sure the shutter button and the camera ribbon cable are out.
-
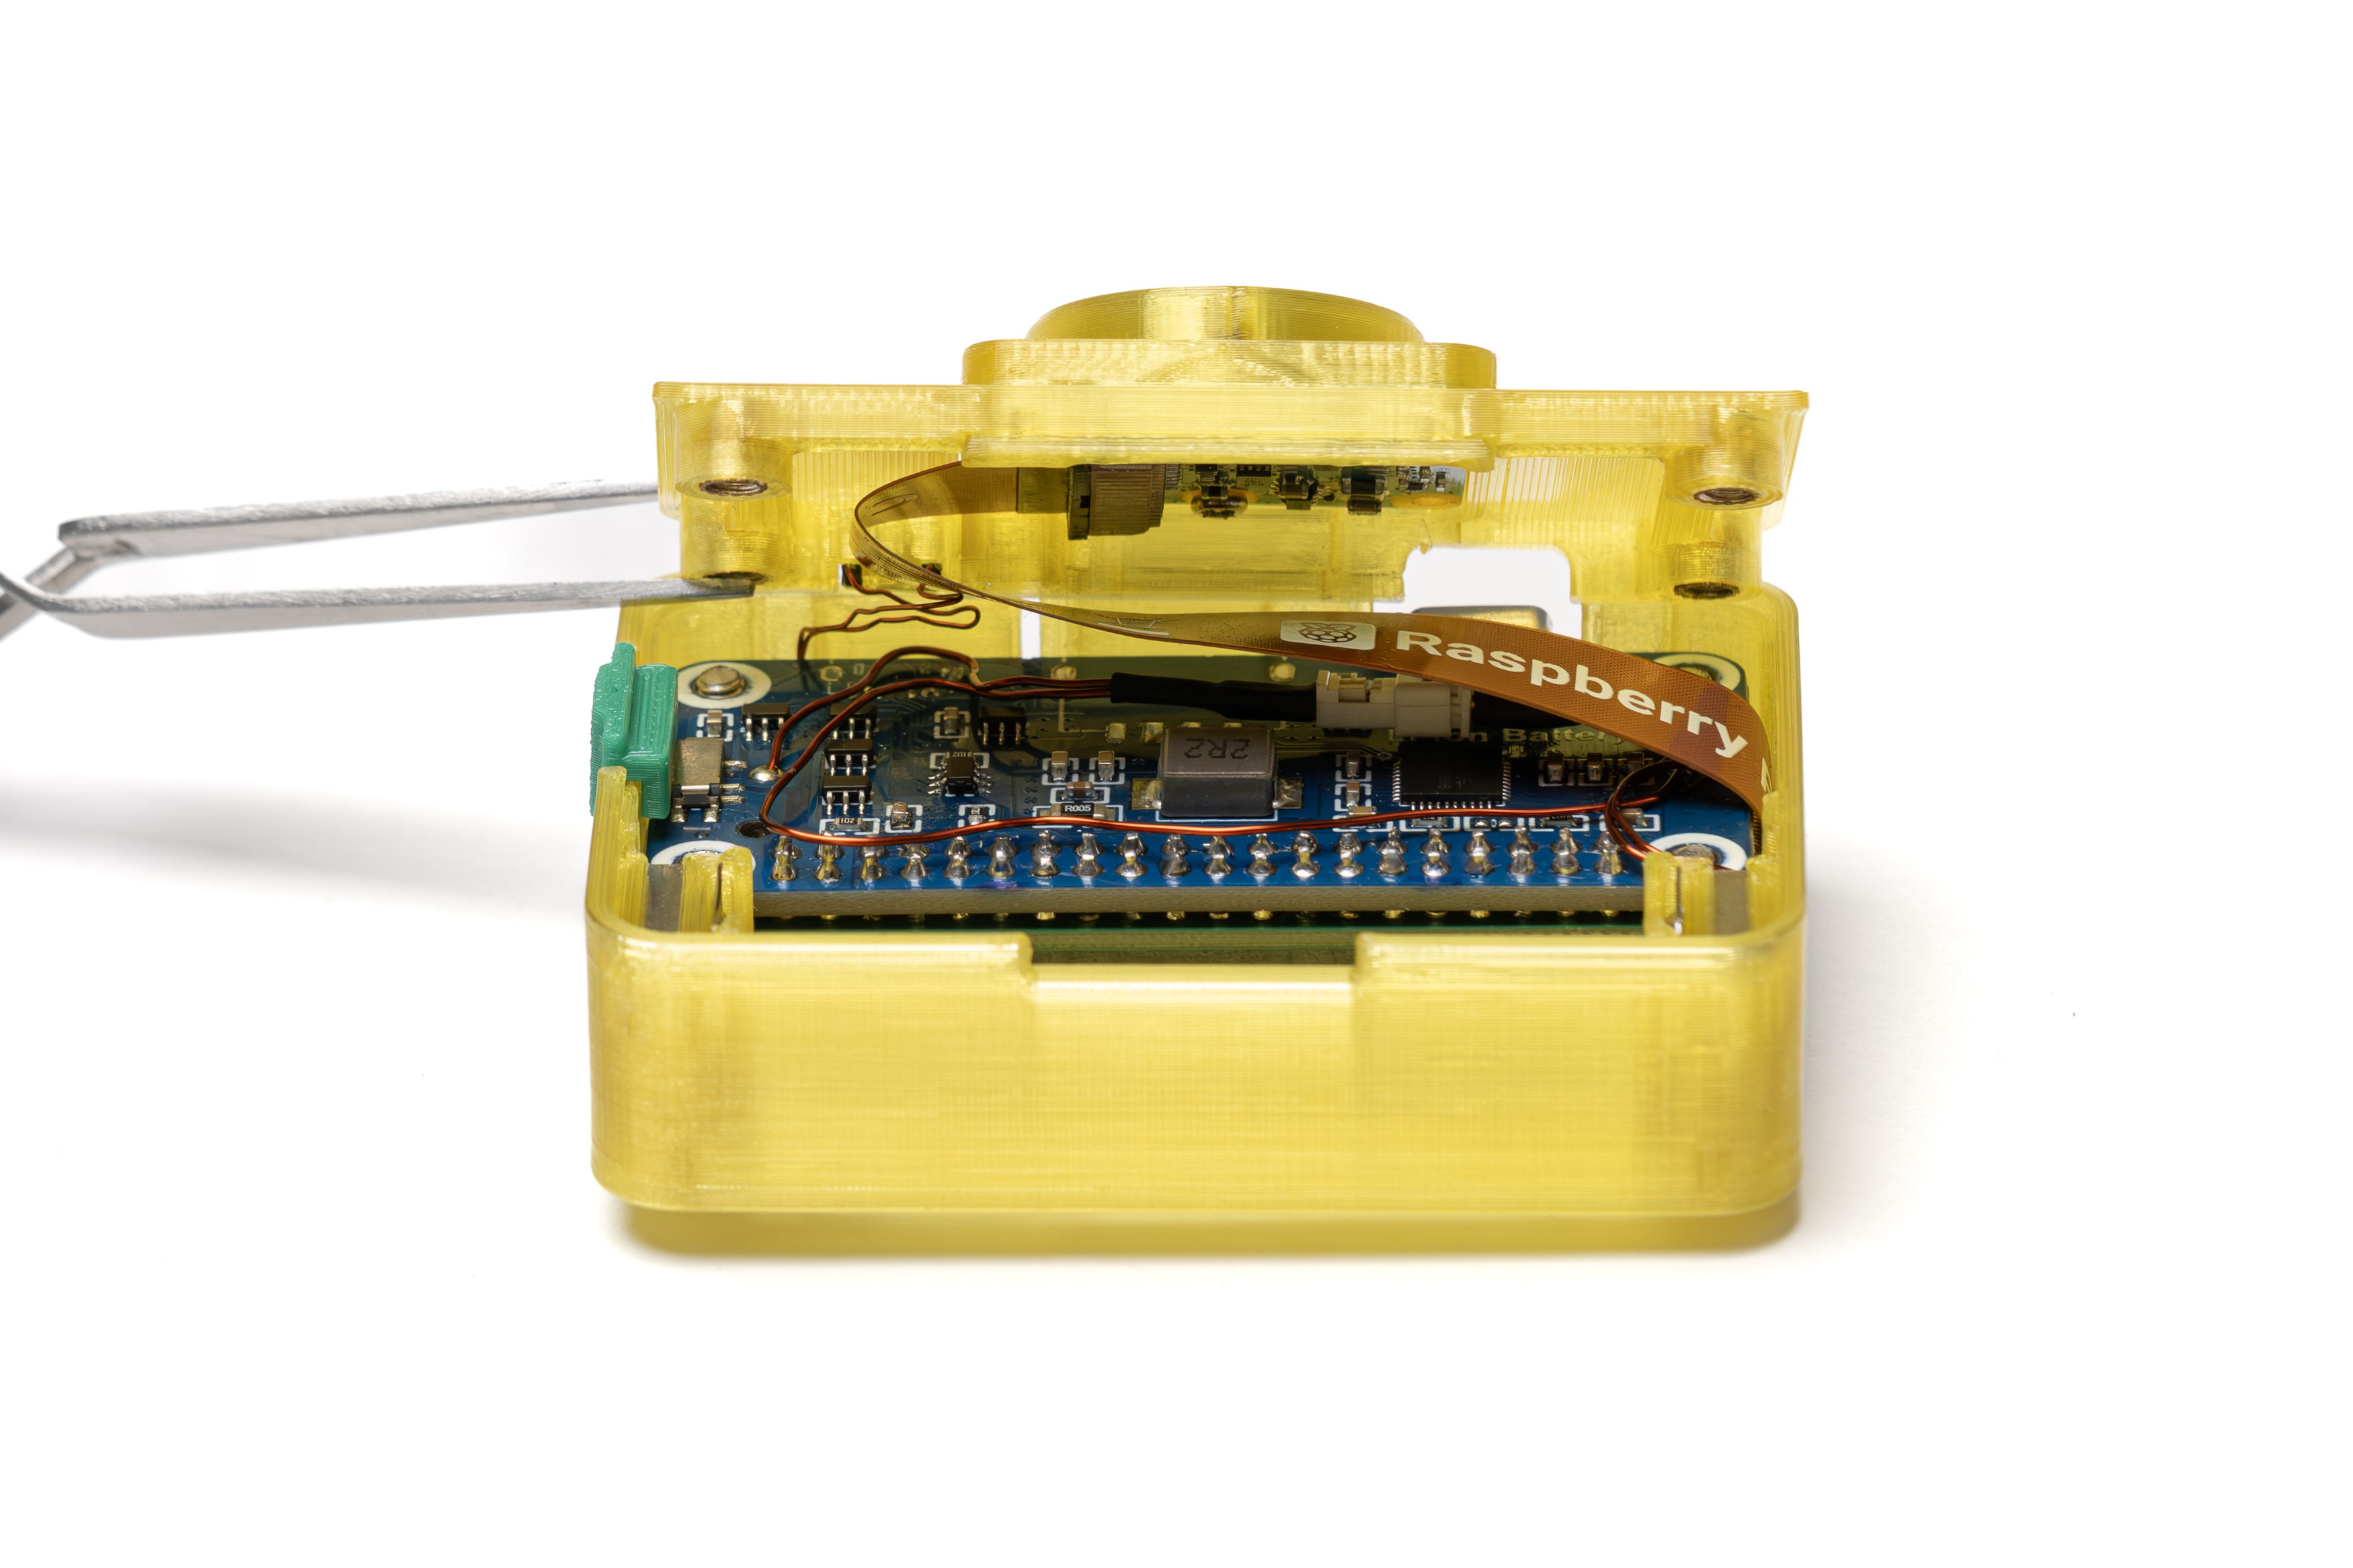
23Connect The Camera Module
![]()
Connect the camera module now attached to the back cover to the camera ribbon cable.
Use tweezers if necessary to unlock and lock the camera port clip.
Place the 3D printed on/off button. It should snap on the switch on the battery HAT.
-
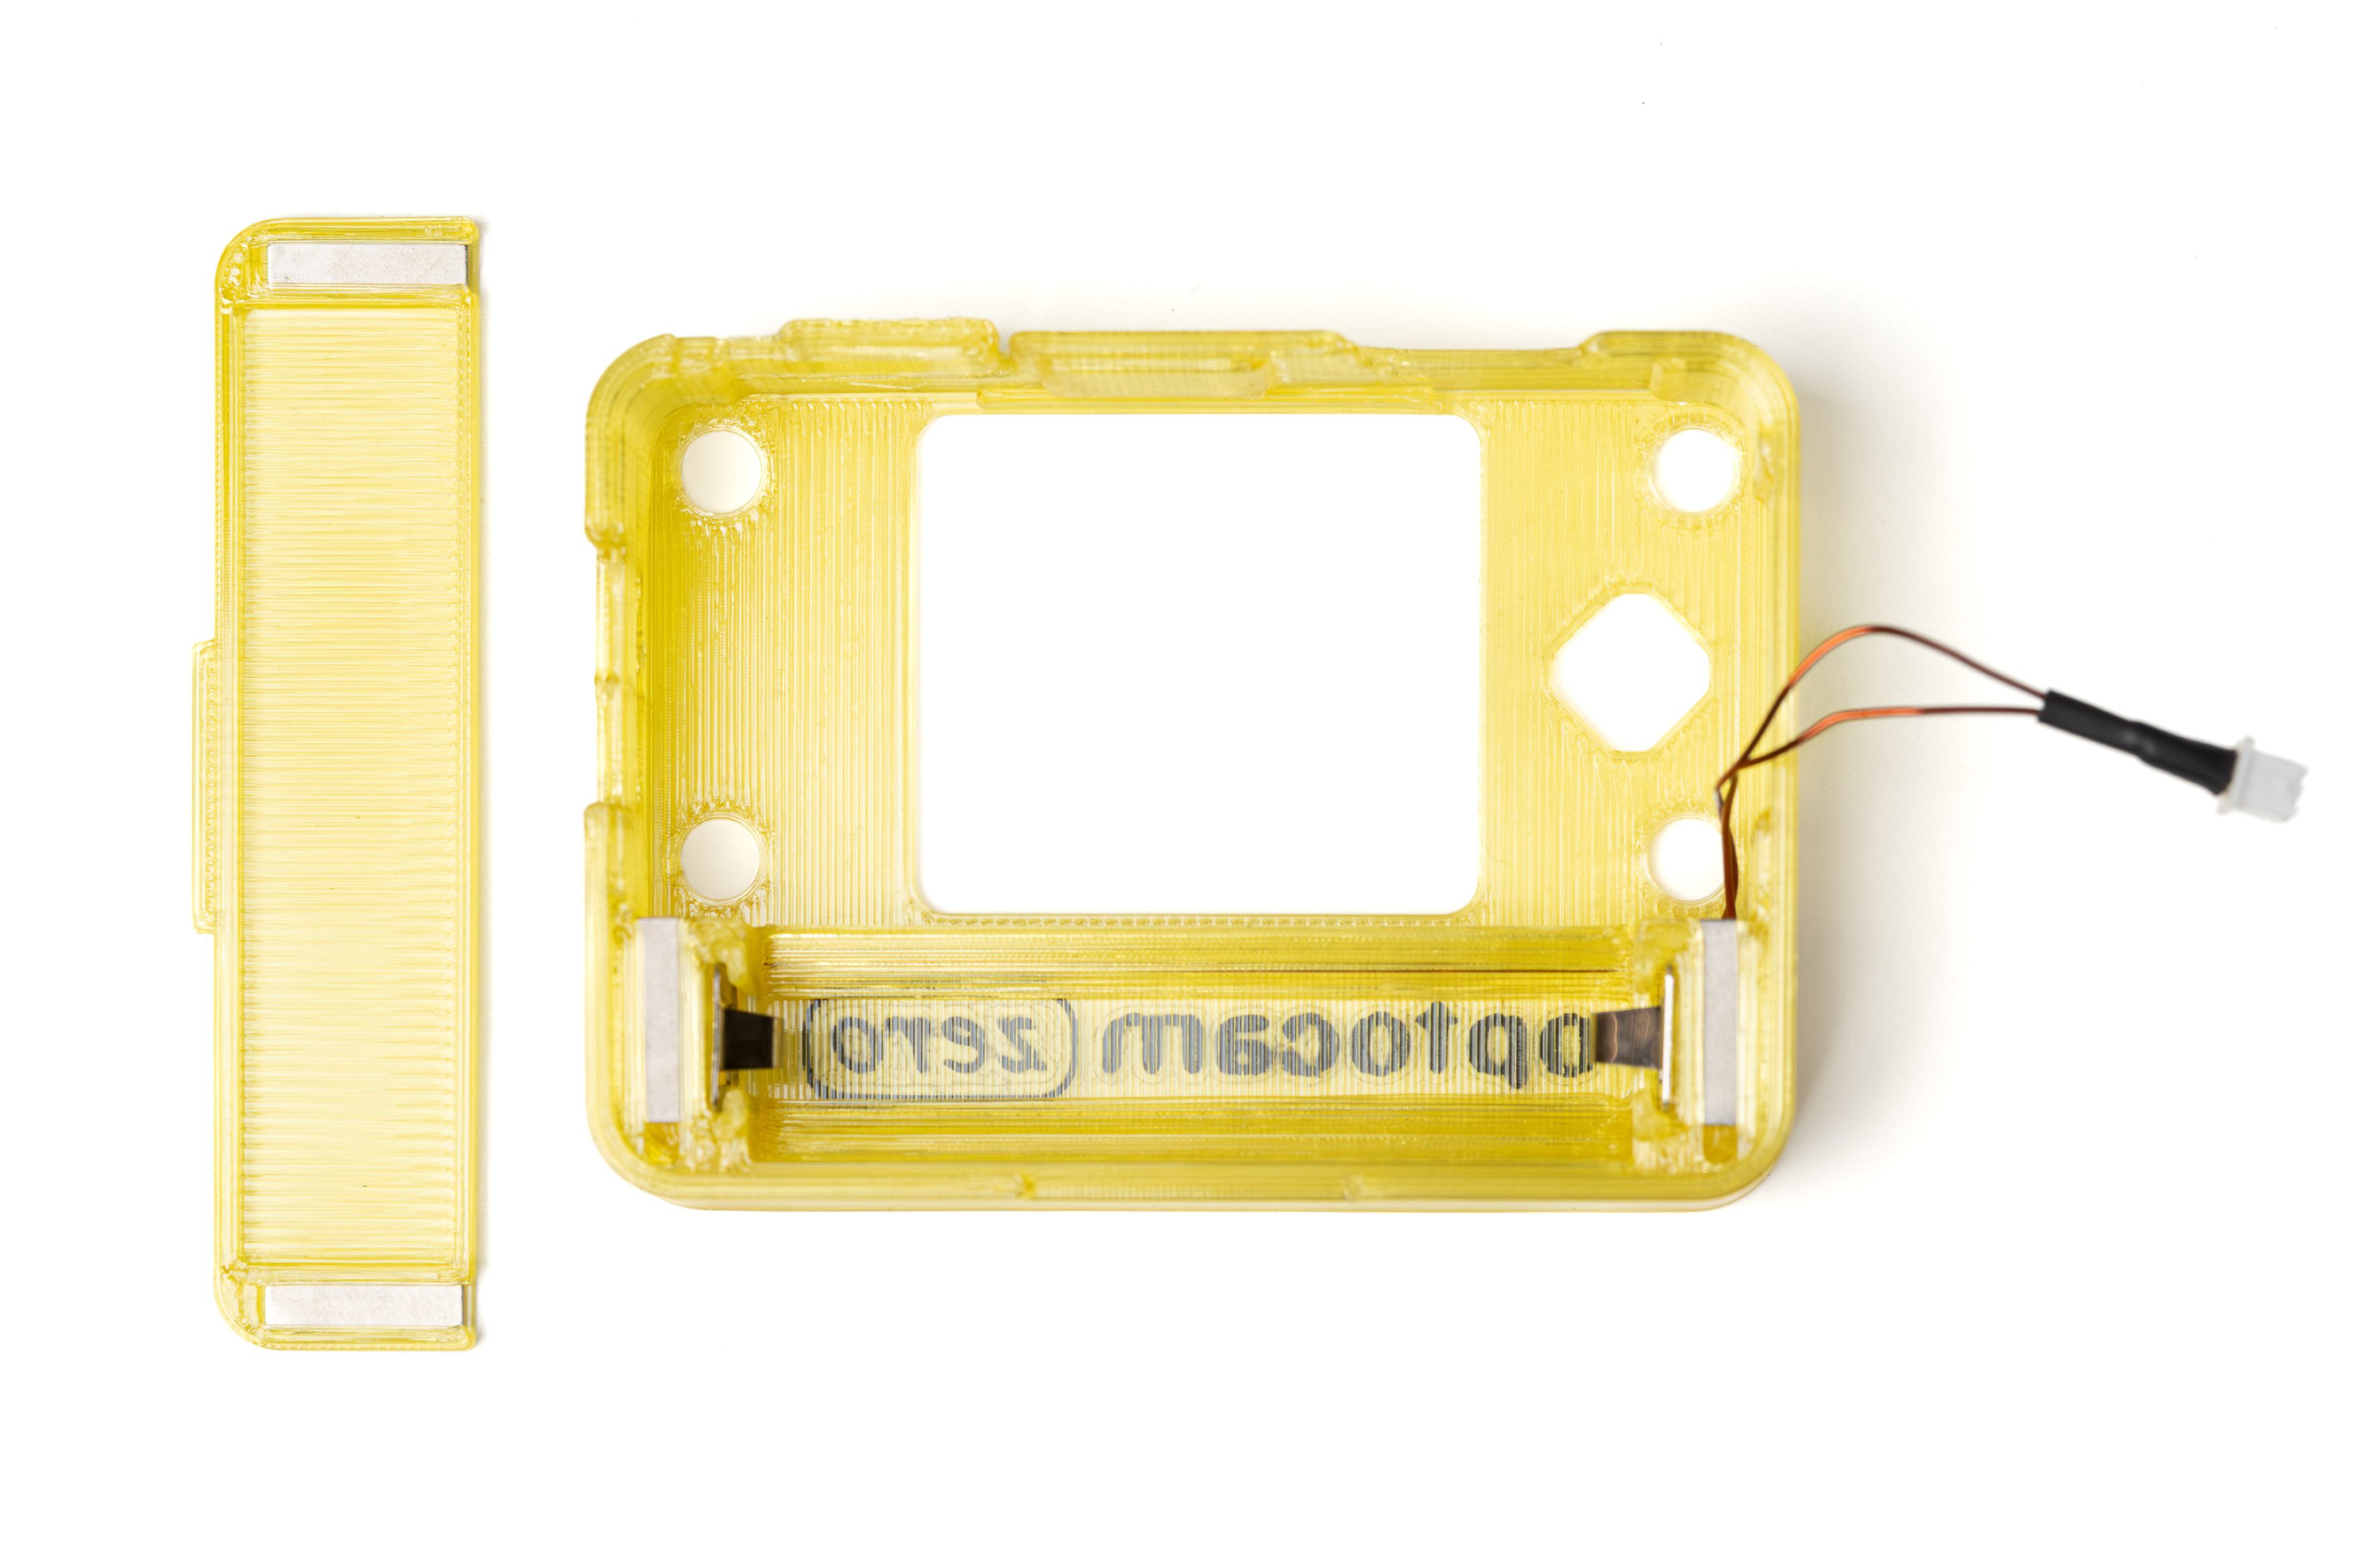
24Install The Shutter Button
![]()
Slide the shutter button in its location on the back cover.
-
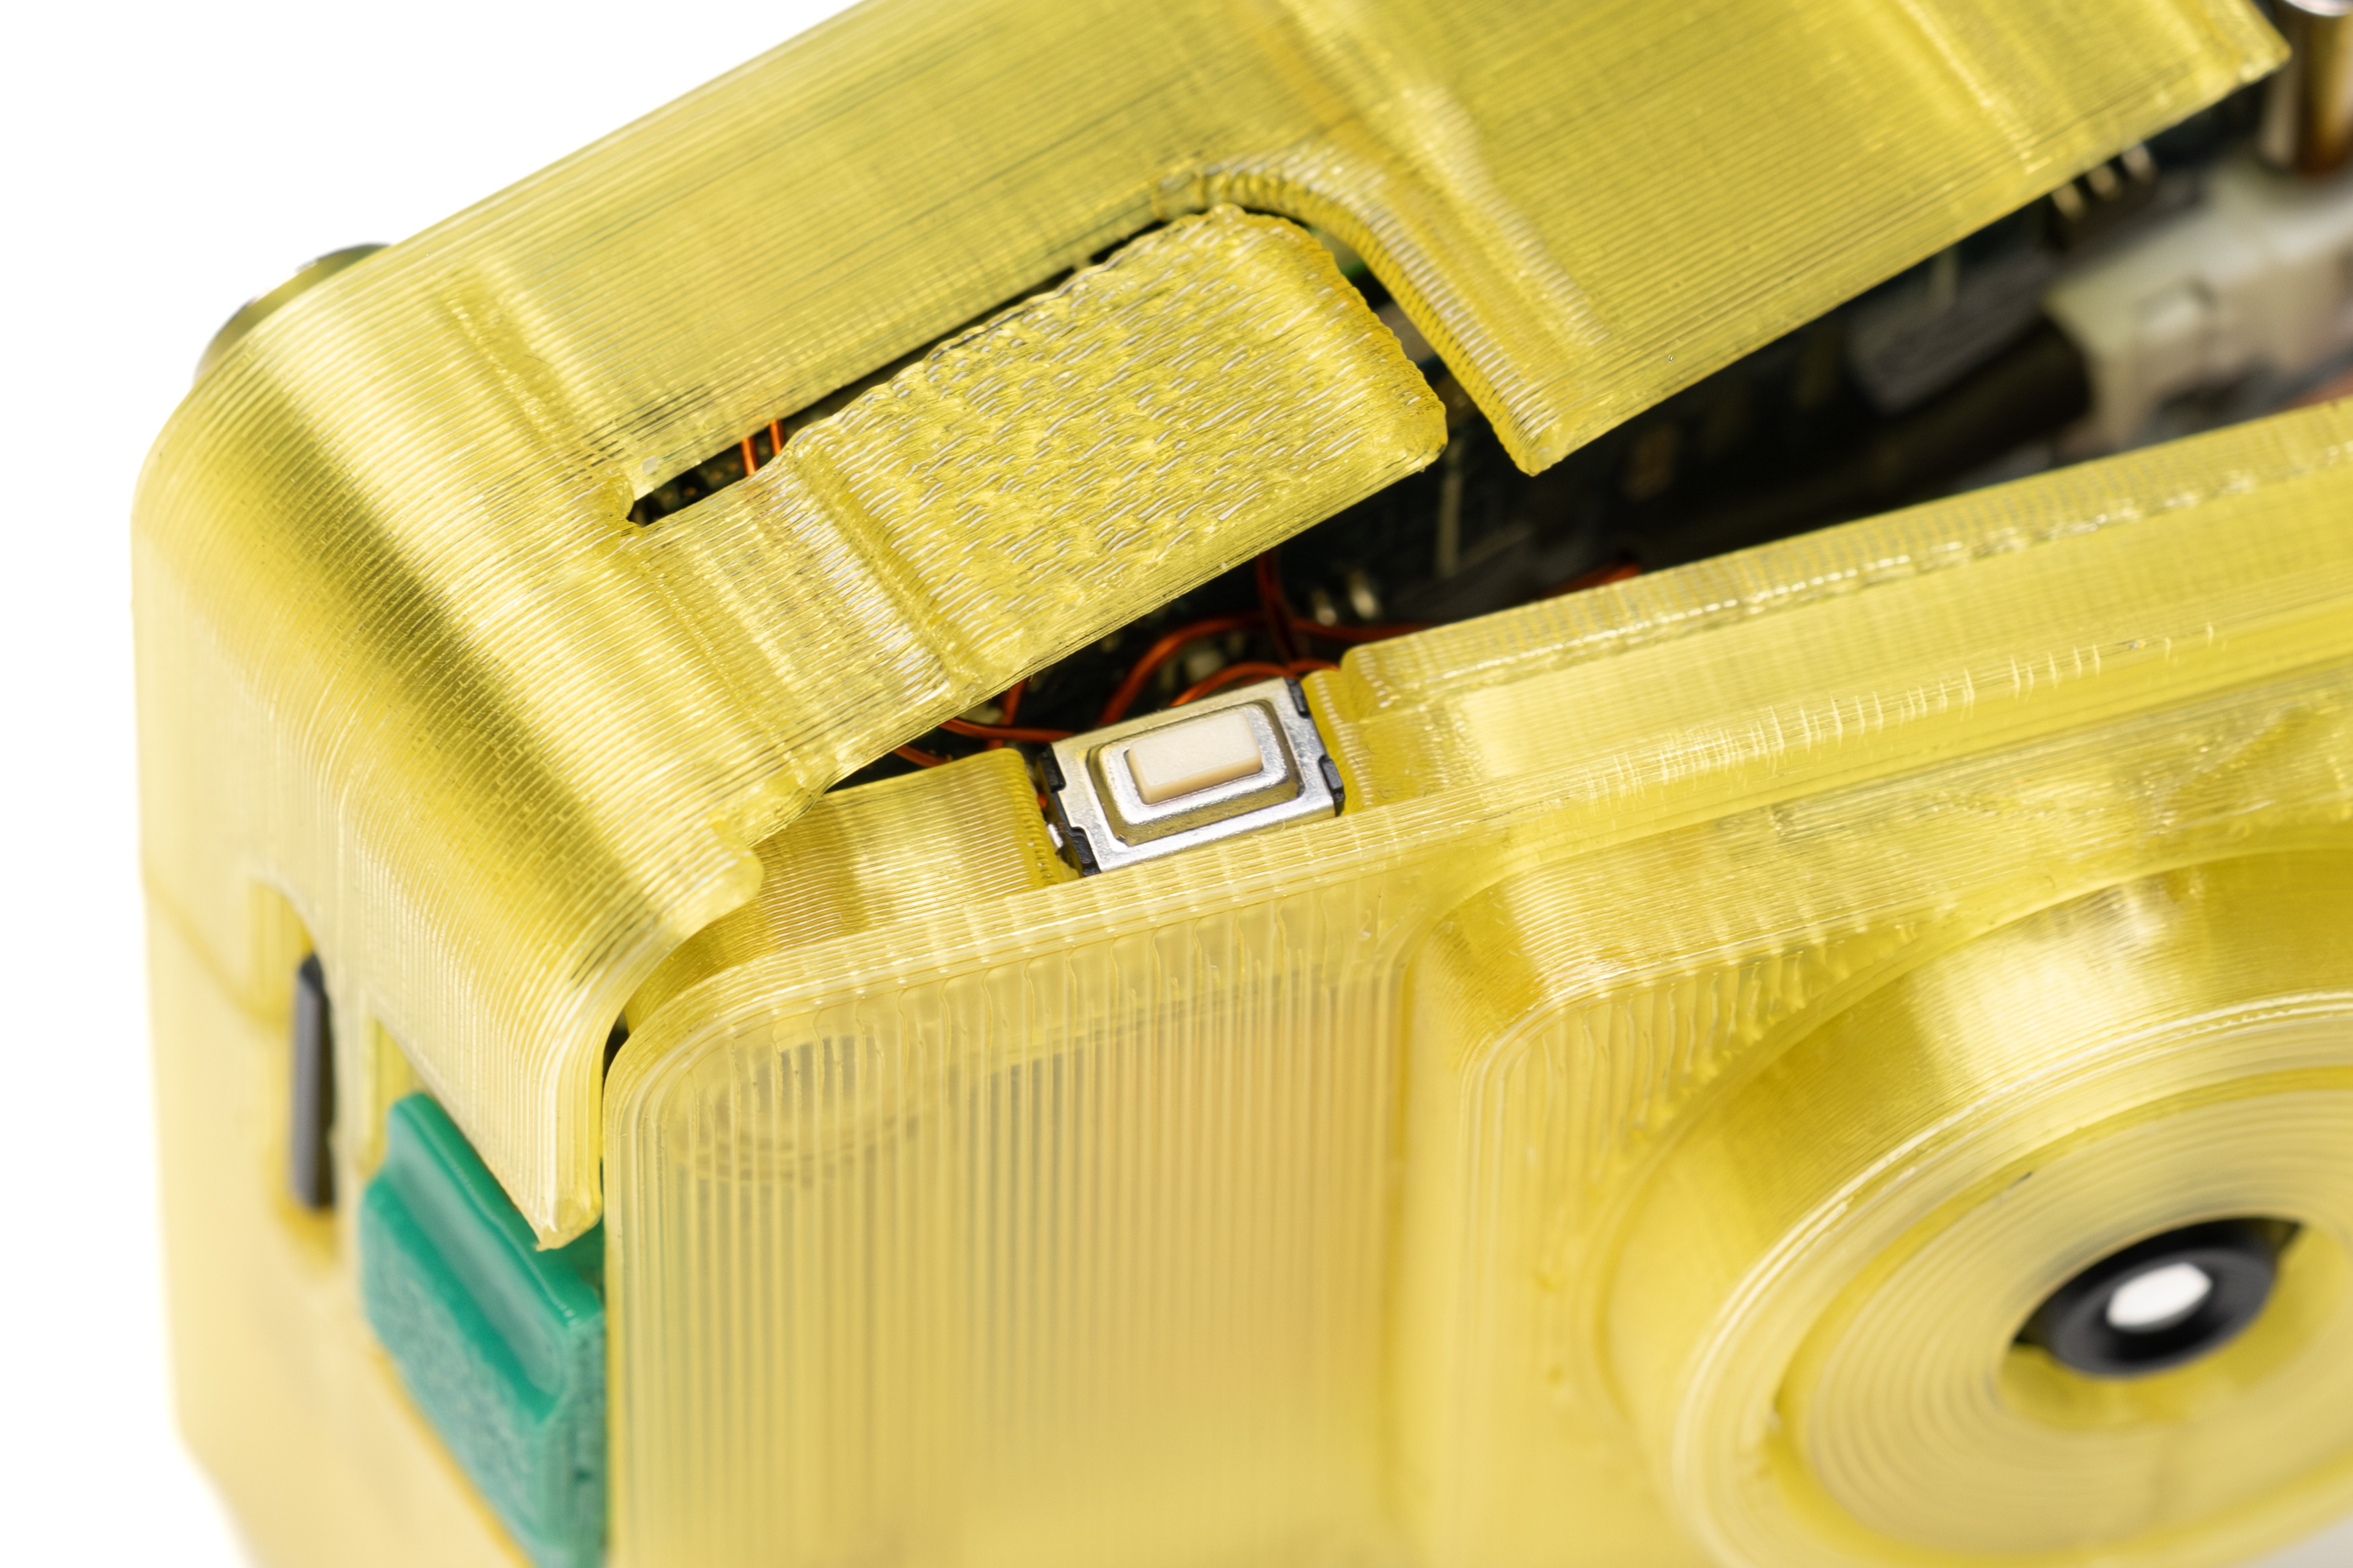
25Attach the Back Cover
![]()
Holding down the back cover tightly, screw in all the screws fully.
Check if the shutter button and the on/off button are working properly.
Install the SD card, battery and the battery door.
Now install the software and your Optocam Zero should be ready to use.
-
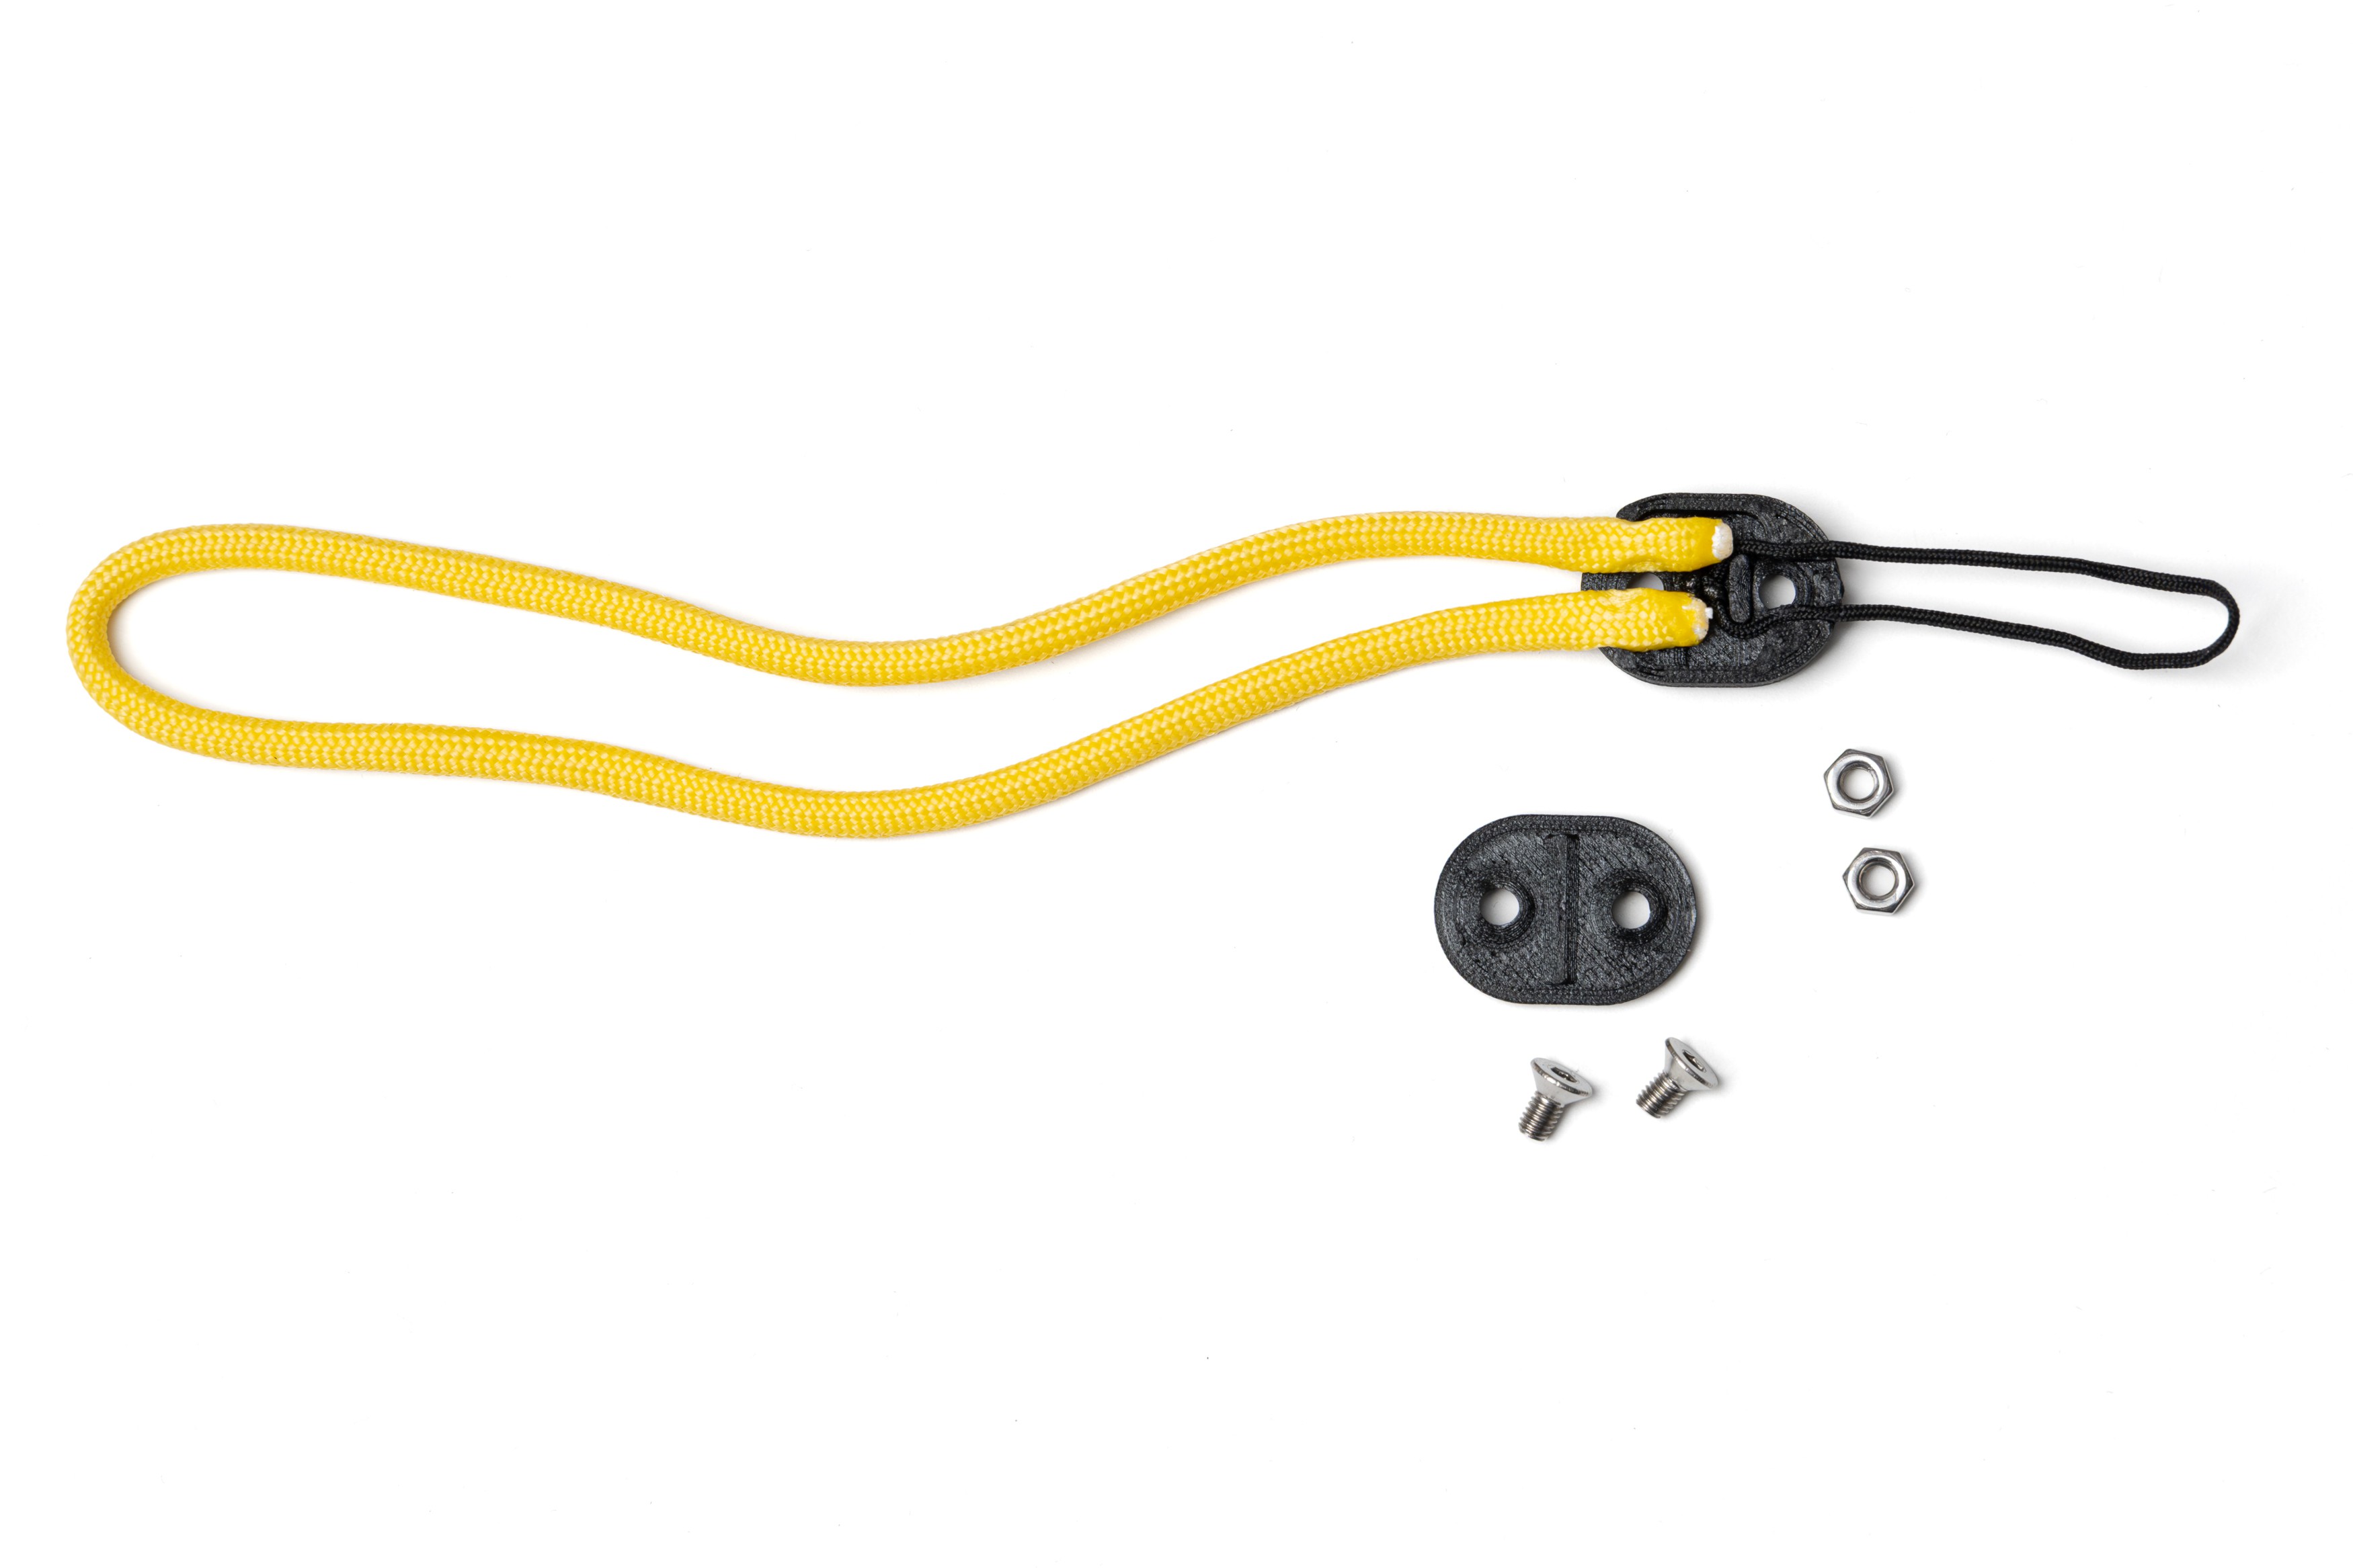
26Make The Lanyard (Optional)
![]()
Cut 30 cm of 4mm paracord. Carefully heat both ends with a lighter to seal.
Cut 15 cm of 1mm paracord. Tie the ends together, the loop should be 5 cm when folded. Cut the extra and carefully heat the end with a lighter to seal.
Push 2 M3 nuts into the 3D printed lanyard lock part. Place the paracords on it as shown in the photo. Place the second lock part and screw in 2 M3x6mm screws. Tighten well.
-
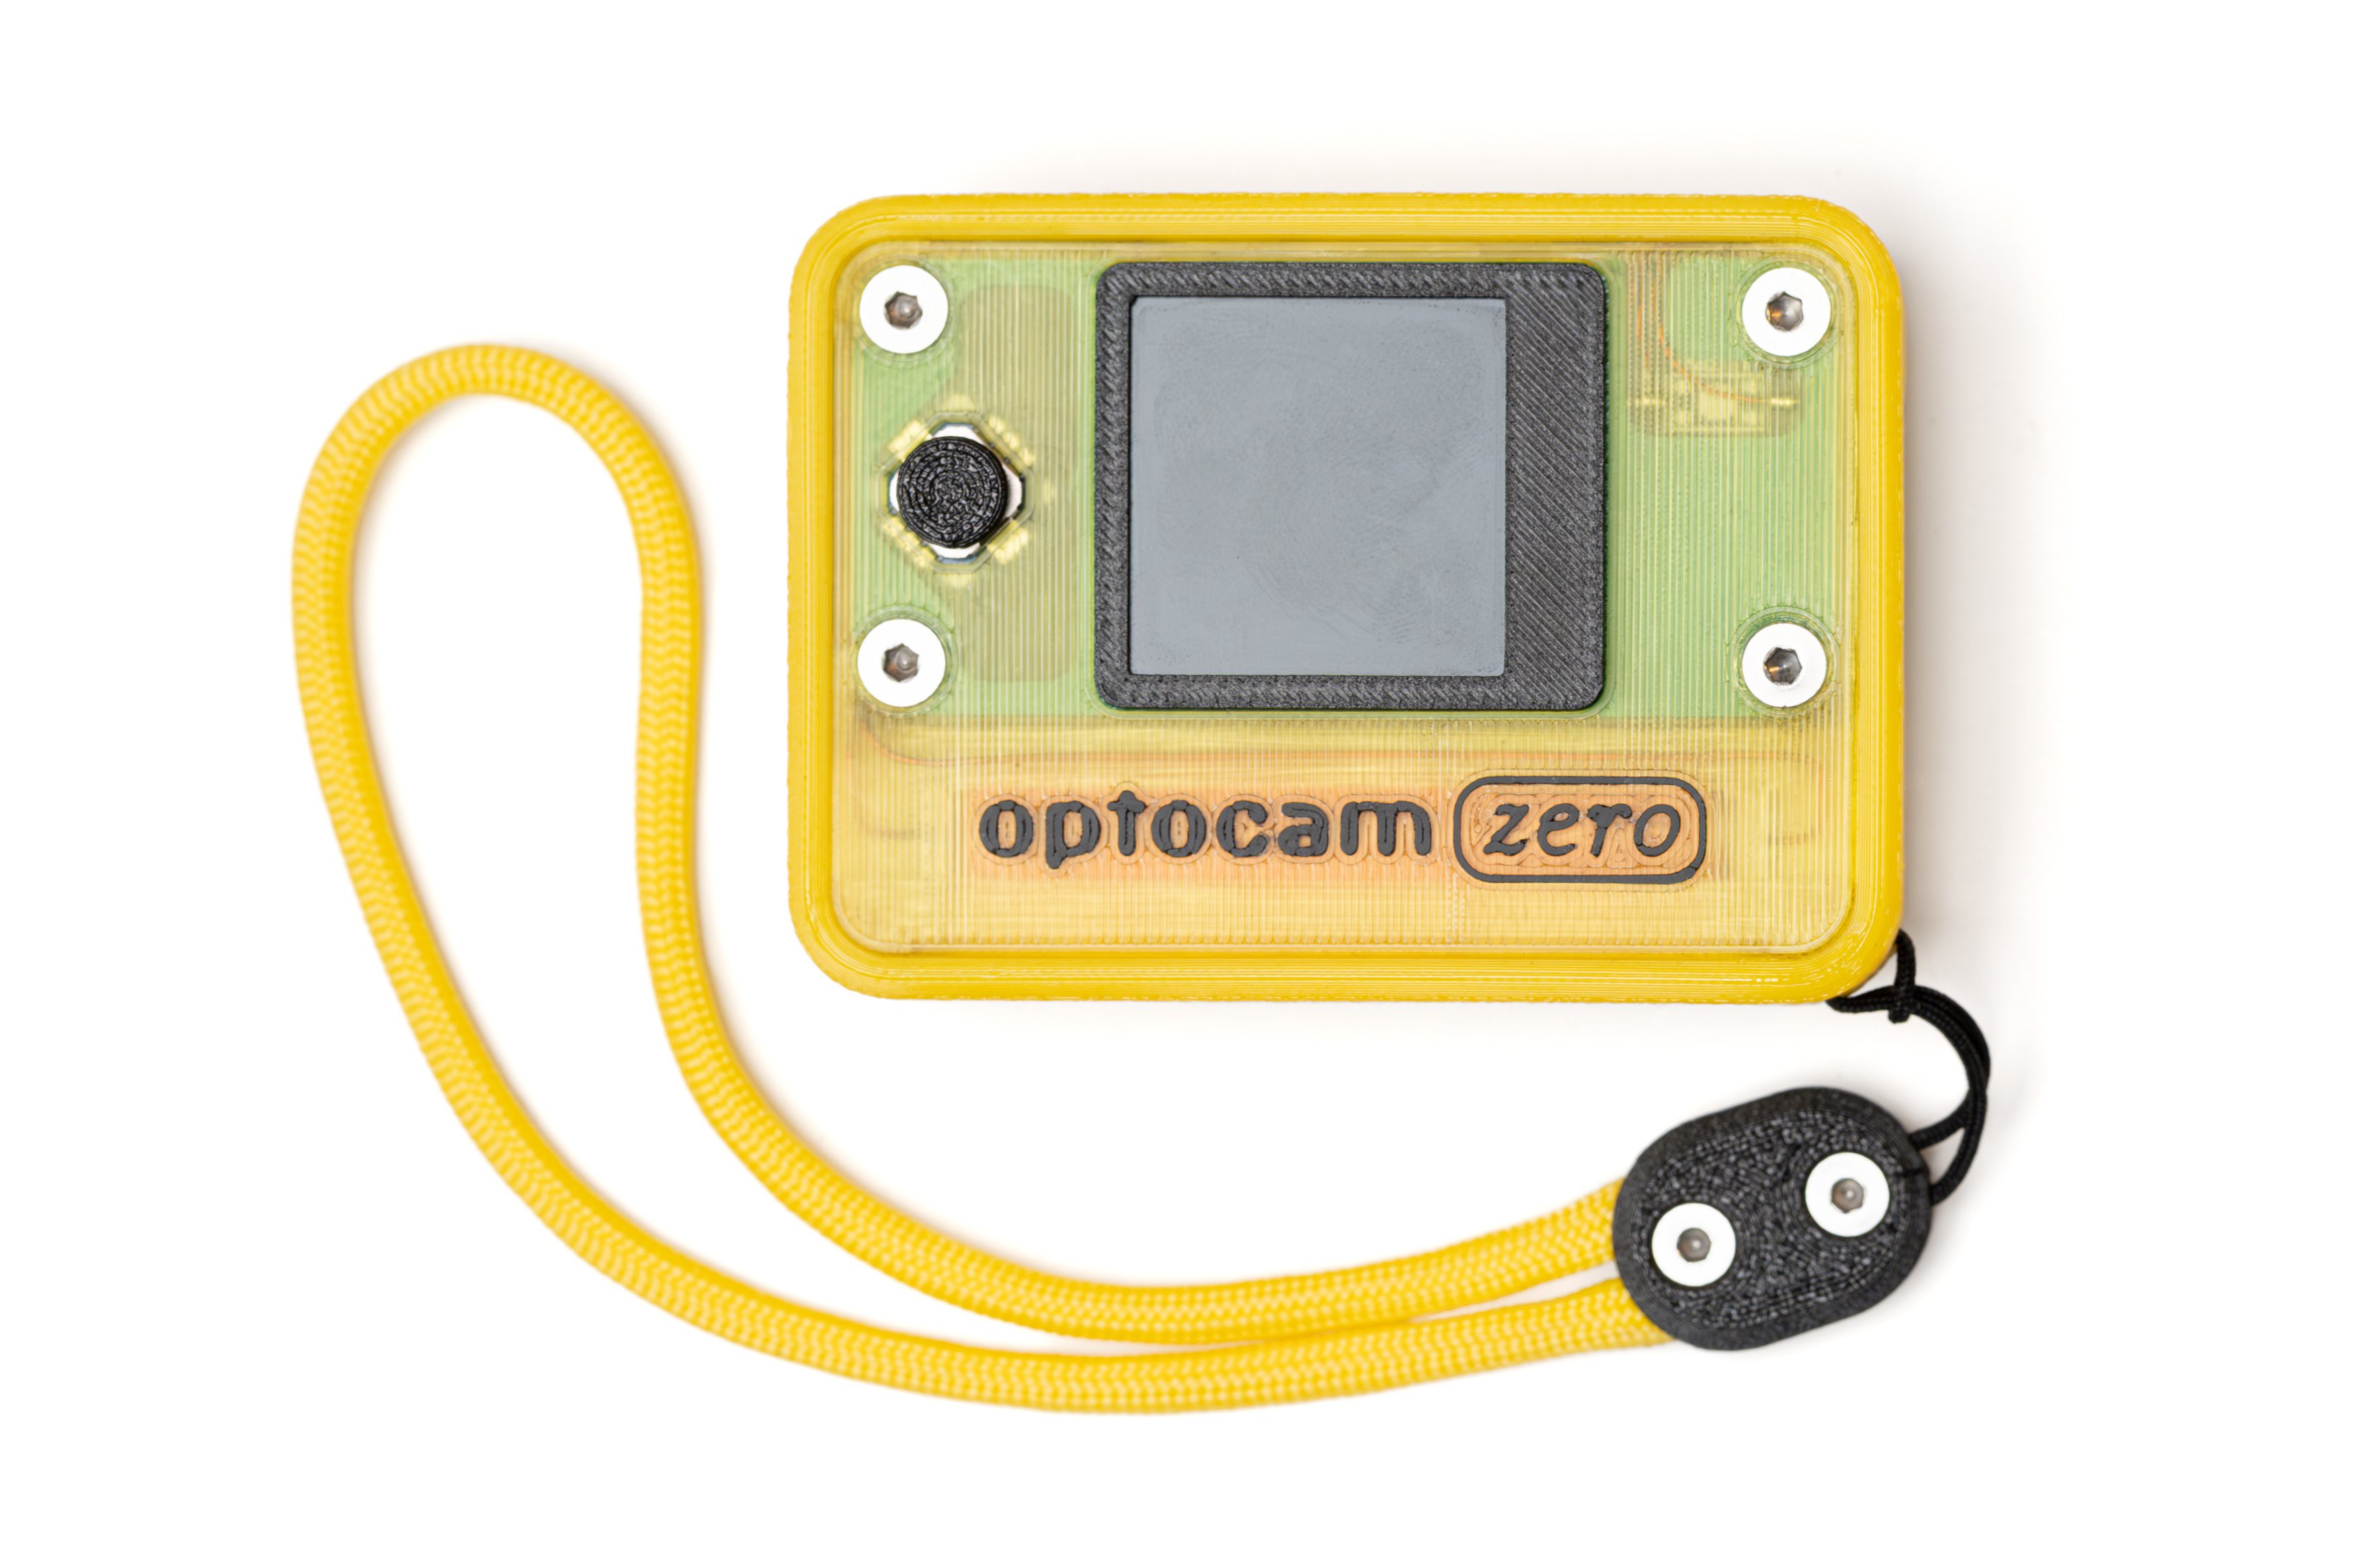
27Attach The Case (Optional)
![]()
Attach the lanyard made in the previous step to the TPU printed protective camera case.
Push the camera into the protective case, make sure the port openings are aligning correctly. Click in the USB C port cover.
All done!
Optocam Zero
Optocam Zero is a Raspberry Pi Zero based compact digital camera made using off the shelf components.

Discussions
Become a Hackaday.io Member
Create an account to leave a comment. Already have an account? Log In.