 Chaos Theory
-
11Step 11: Decorate / Paint (Optional)
![]()
Here's how I did mine, but you can decorate however you wish.
Getting an injection-moulded look from a 3D print is a labour of love.
With the electronics removed, I applied a base coat of filler spray primer. I wet-sanded the primer with 400-grit sandpaper, and repeated until the surface felt smooth.
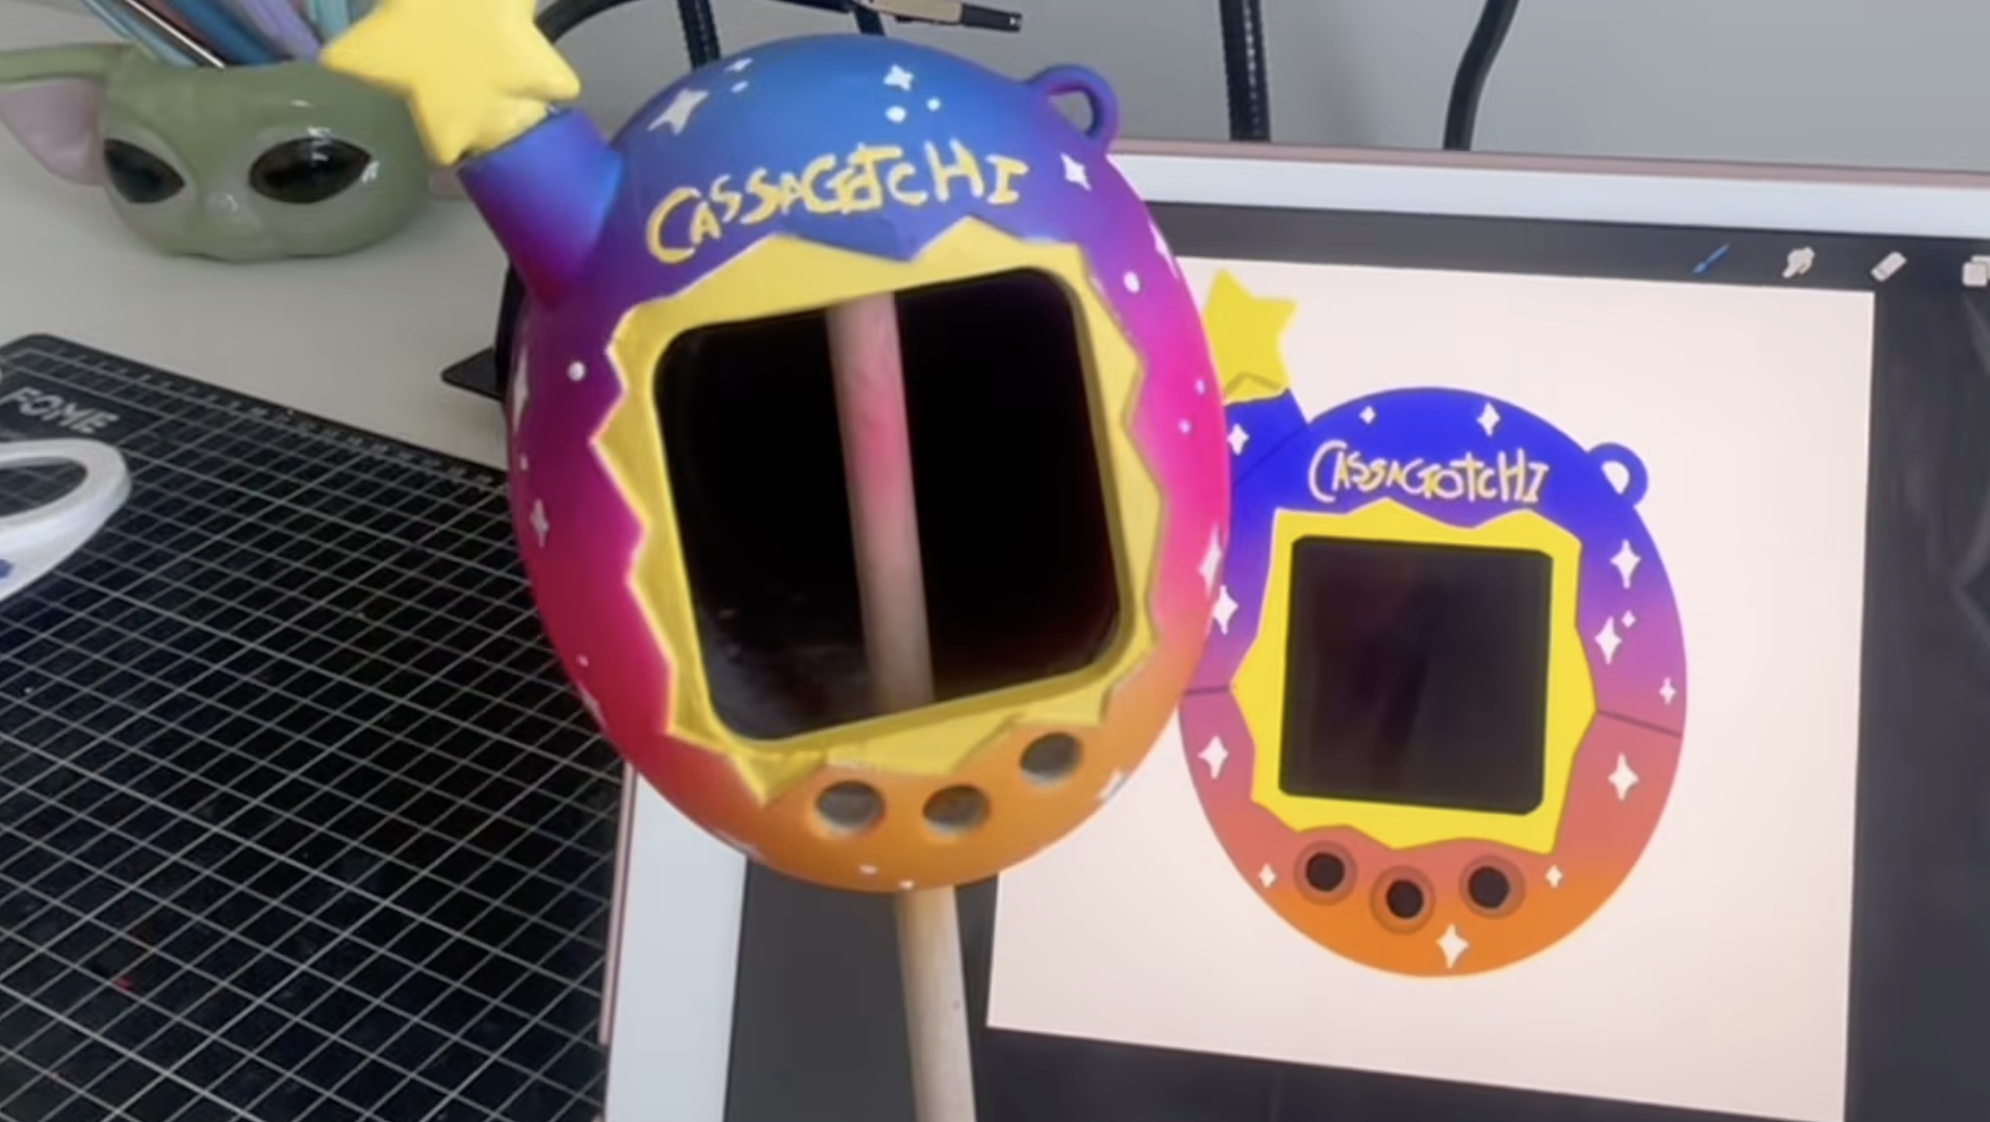
I wanted a vibrant, 90s-retro aesthetic, so I chose a bold gradient with highlights:
- Vallejo Fluorescent Magenta
- Vallejo Light Yellow
- Vallejo Light Orange
- Vallejo Cold White
- Vallejo Royal Blue
I used an airbrush to create a smooth transition between the orange, magenta, and blue.
I then went in with a small paintbrush to add the yellow details and white stars. I also cleaned up some areas where my masking didn't hold up.
Pro tip: If you're painting a yellow logo like me, paint it white first and then layer the yellow on top.
I also added some charms: My friend got me this charm specifically for the Tamagotchi for my birthday!
Once it was all dry I sprayed it with some enamel clear coat.
-
12Step 13: Firmware Credit
This build is based on ArduinoGotchi by Gary Kwok, licensed under the GNU GPL v2 or later.
Here's the base emulator library (TamaLib)
Modifications include:
- Nano adaptation
- INPUT_PULLUP button wiring
- Sound/buzzer removal
- EEPROM autosave adjustments
Original project:
https://github.com/GaryZ88/ArduinoGotchi
License:
GNU GPL v2 or later
Arduino Nano Tamagotchi
DIY Tamagotchi emulator with a 3D printed shell!
Discussions
Become a Hackaday.io Member
Create an account to leave a comment. Already have an account? Log In.