Close
0%
0%

IBrick

An IPOD NANO 3rd Gen-inspired giant iPod powered by Raspberry Pi CM5 and a custom 3D-printed shell.

Similar projects worth following
0 followers
Greetings everyone, and welcome back.

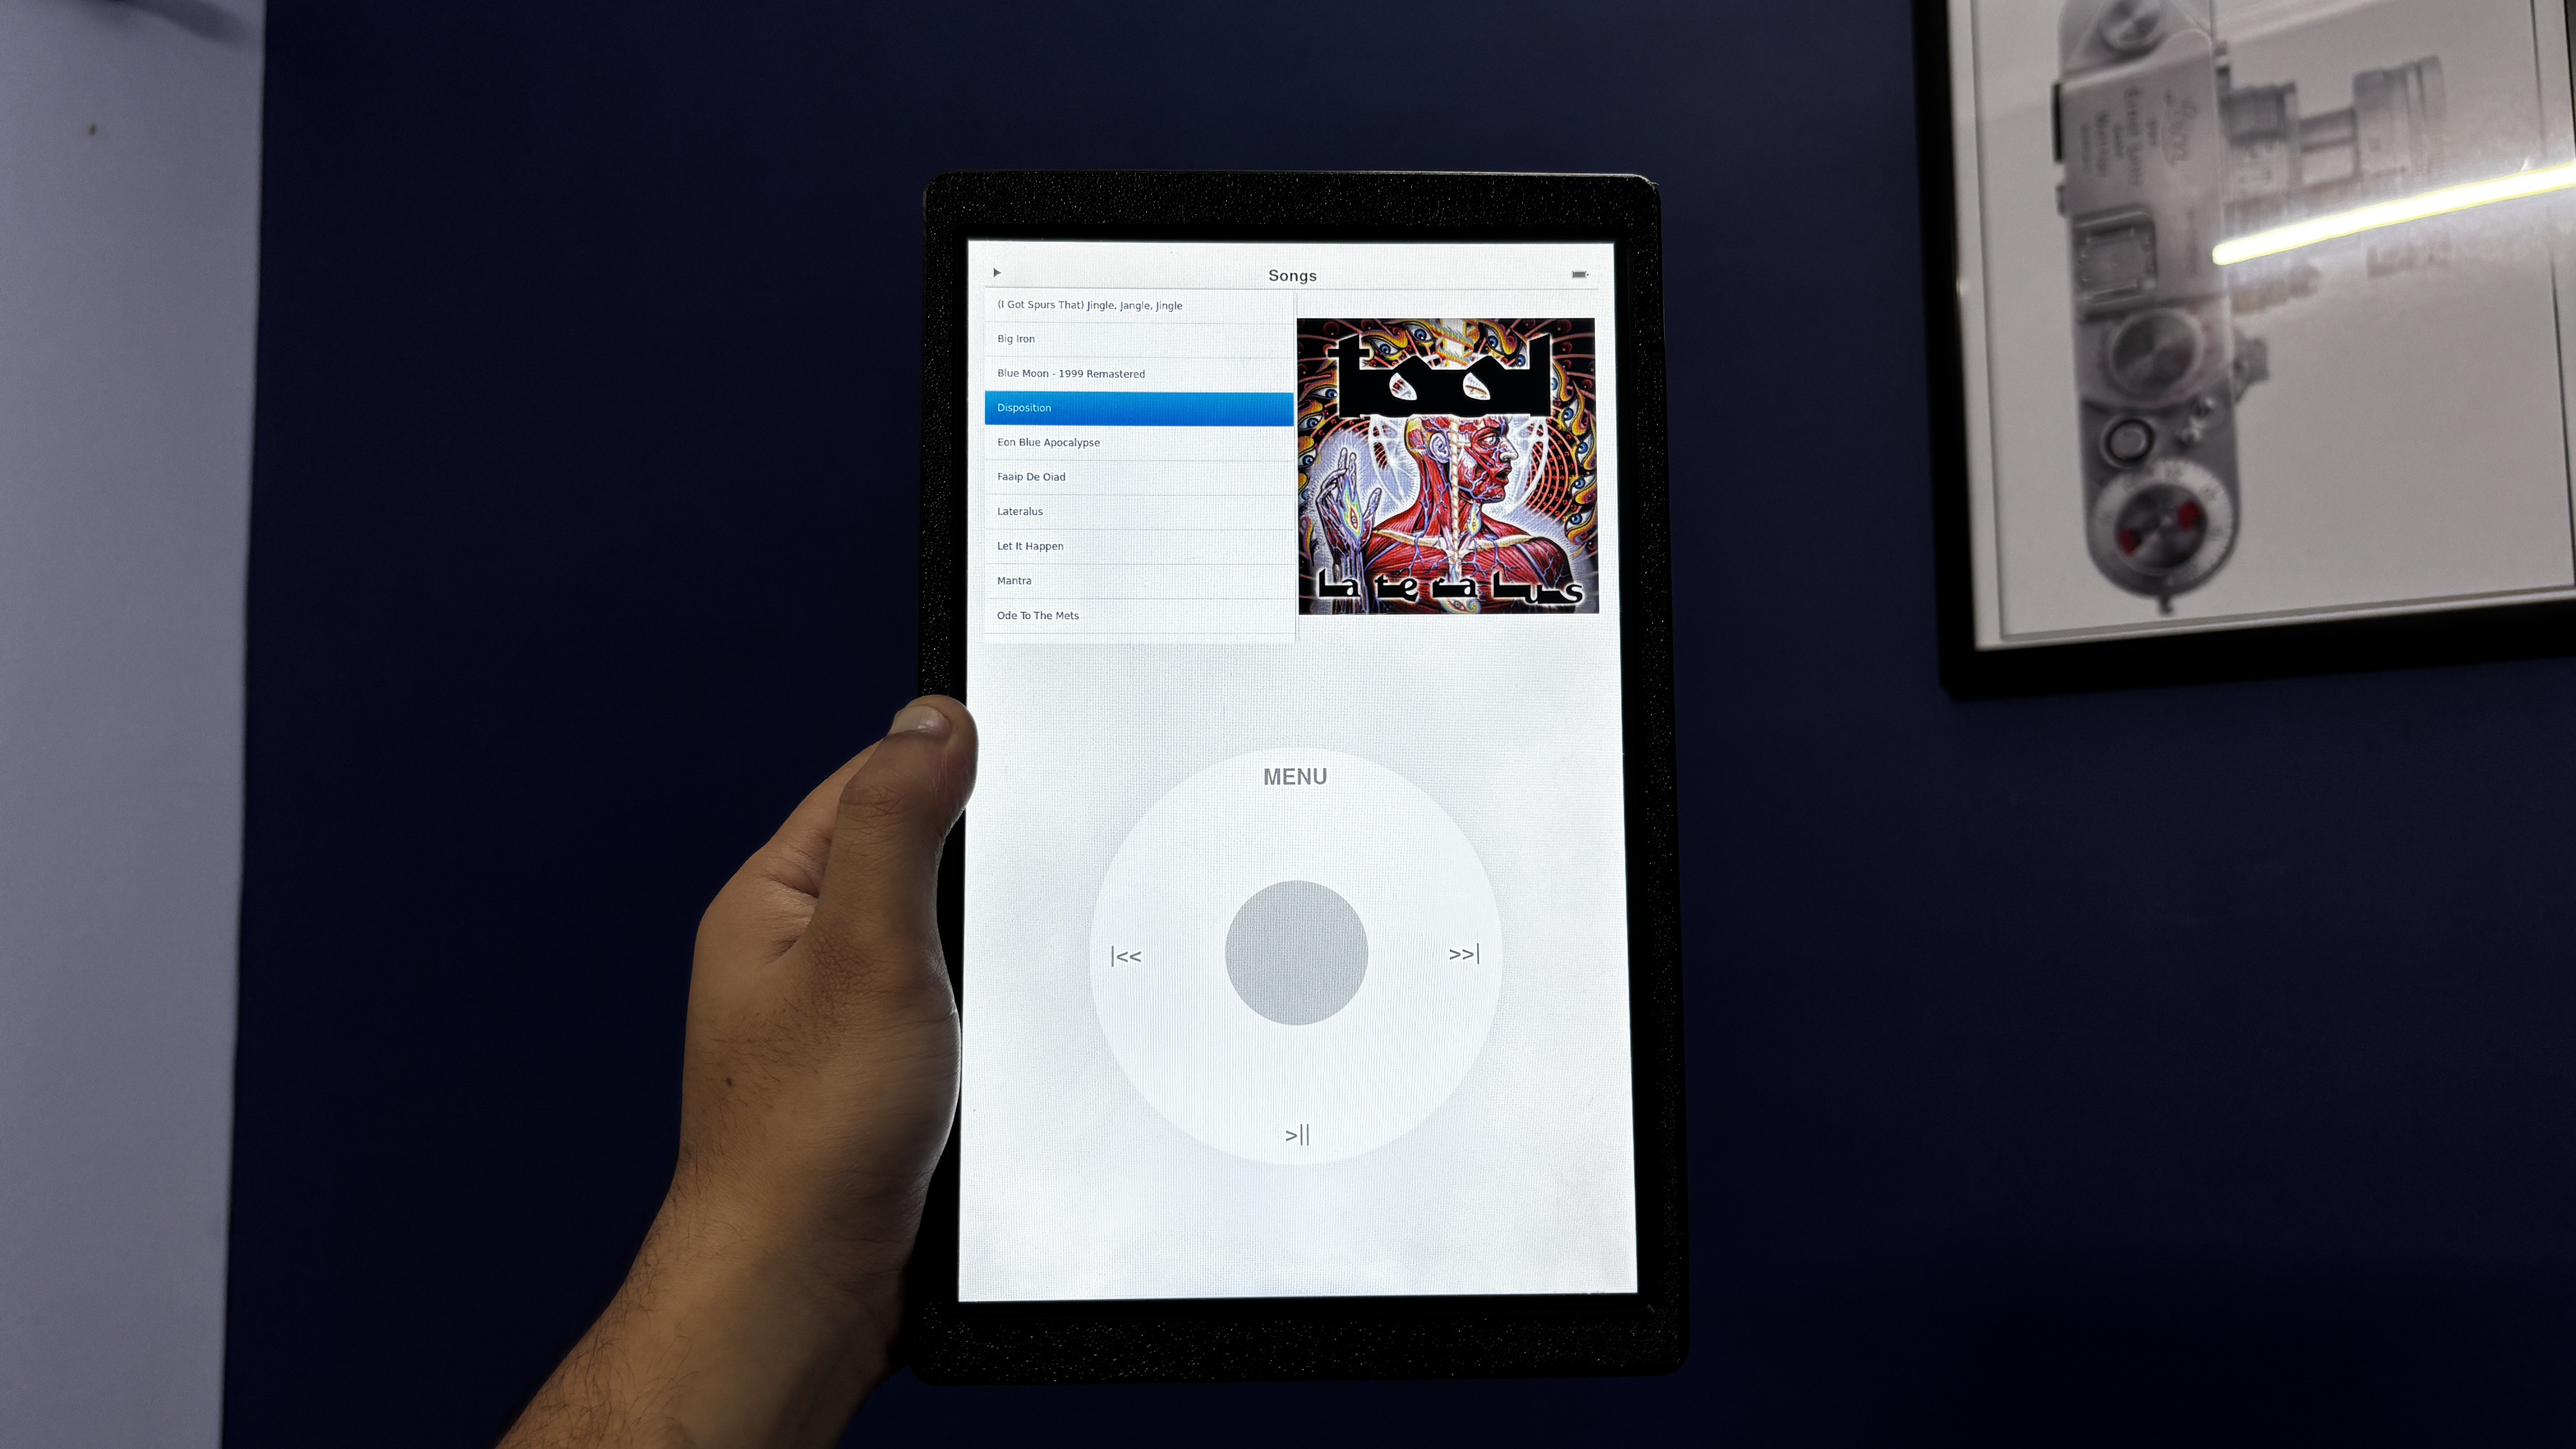
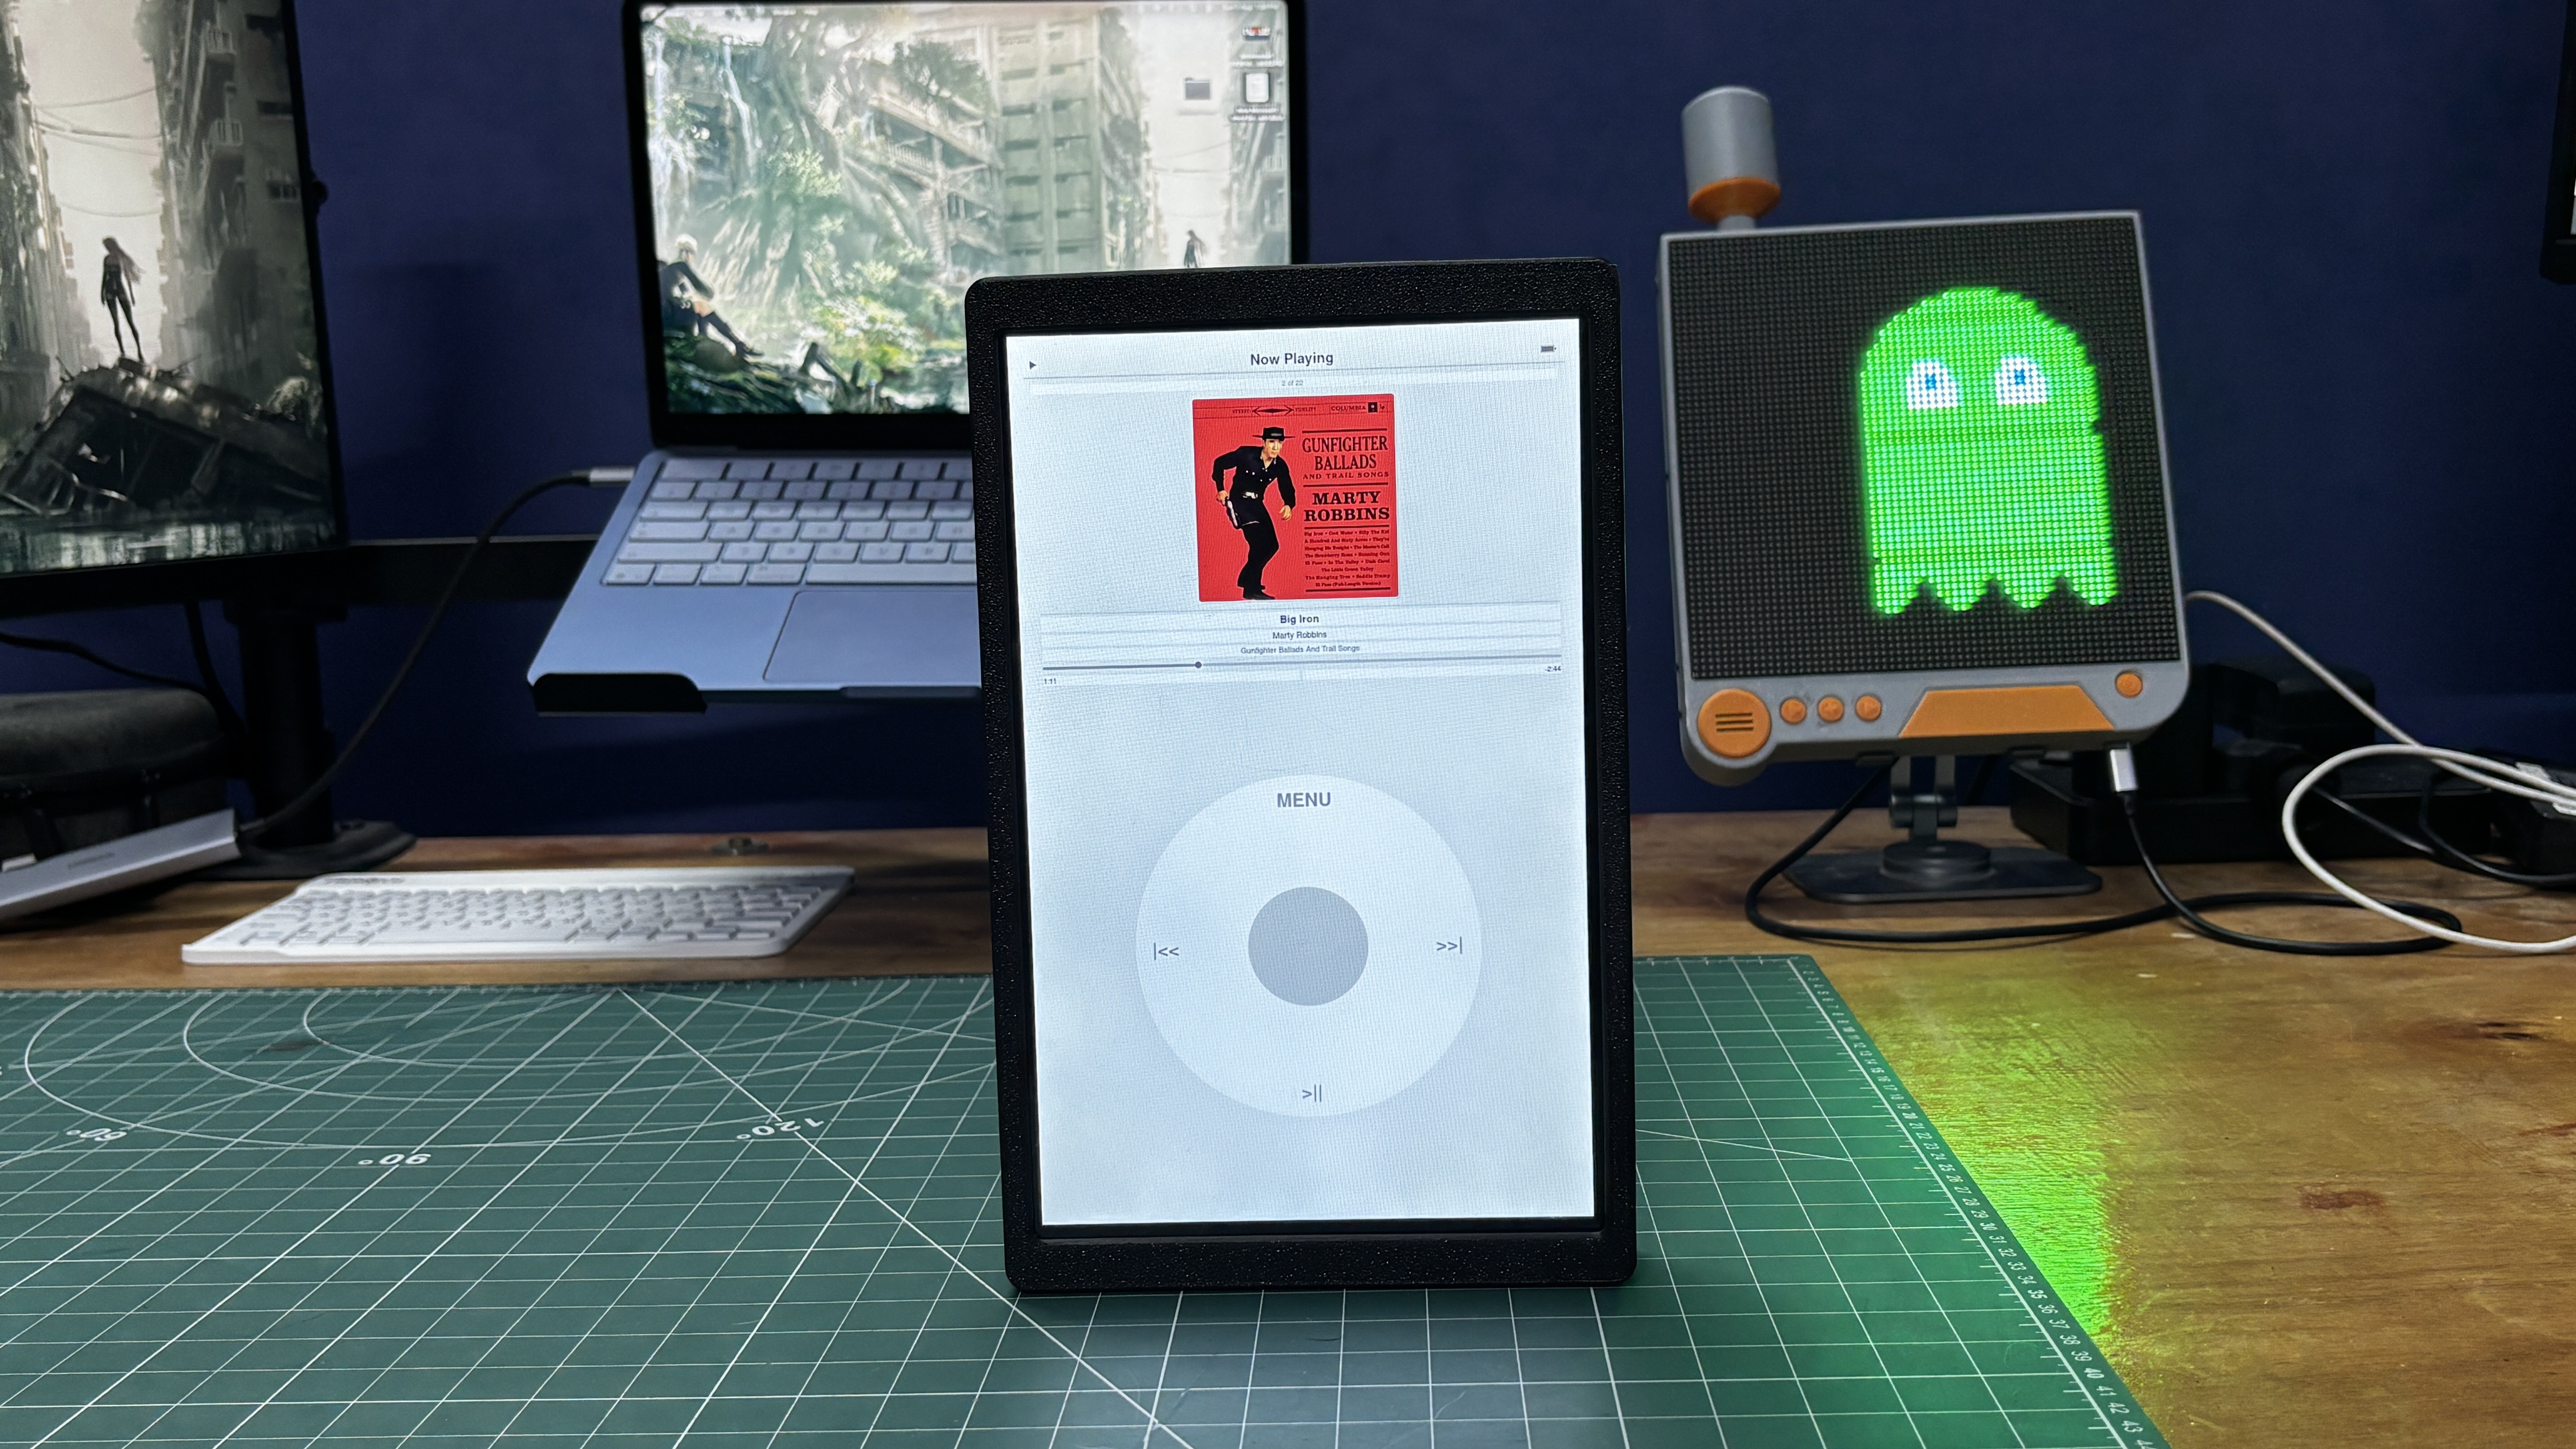
Here's something BIG. Meet iBrick, a giant, 3rd-generation iPod Nano-inspired music player, powered by a Raspberry Pi Compute Module 5.

The 3rd-generation iPod Nano was one of those gadgets I always admired growing up. Its compact form factor, vibrant user interface, and the iconic click wheel made it one of the most recognizable portable music players of its time. Although I never got the chance to own one, the design always stuck with me.

Today, original iPod Nanos are becoming increasingly difficult to find in good condition. Many available units have worn-out batteries, cosmetic damage, or are simply too expensive to justify buying for a project.

Rather than restoring an old device, I decided to recreate the experience but with a giant twist.

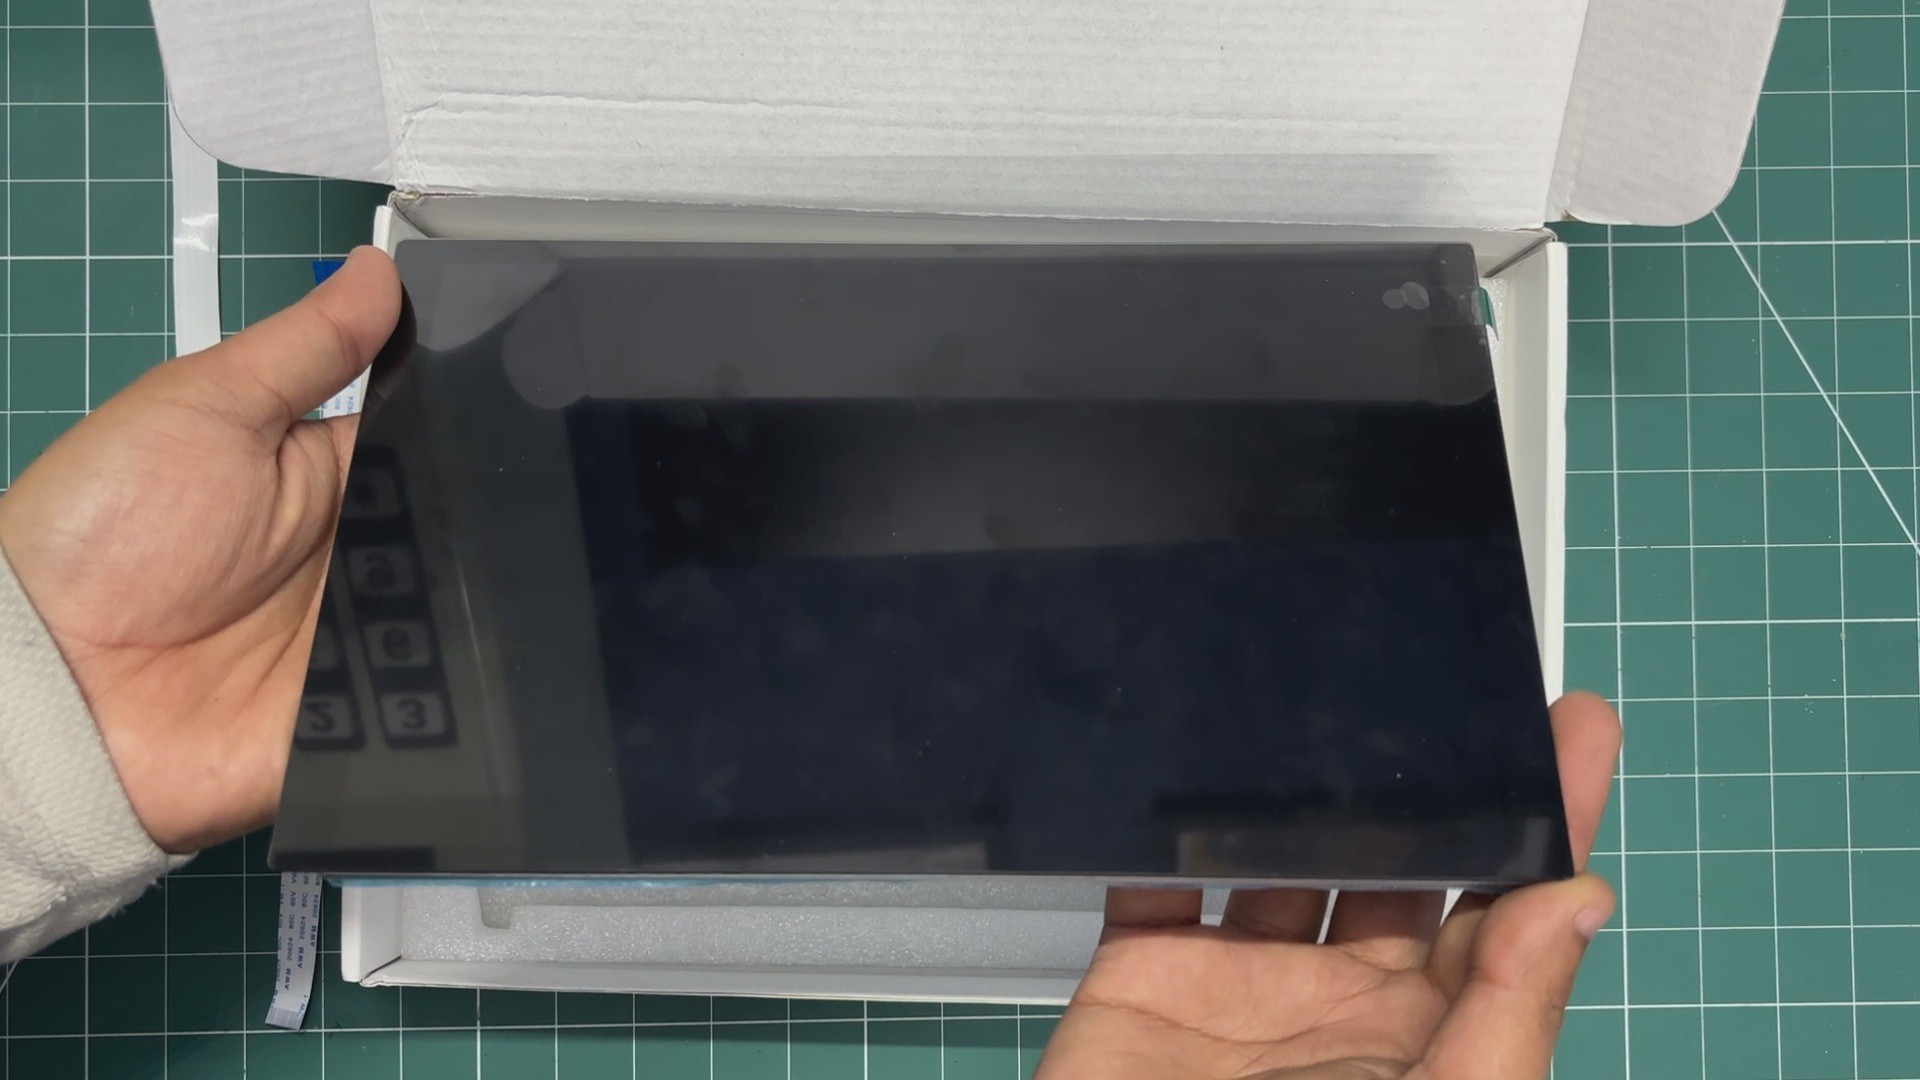
At the heart of this build is a Raspberry Pi Compute Module 5 paired with a 10-inch Waveshare touchscreen. Instead of starting from scratch, I repurposed the hardware from my previous Absolute Linux Tablet project, giving it a completely new identity through a redesigned enclosure and custom software.

This article walks through the entire process of transforming that Linux tablet into a fully functional giant iPod Nano.

MATERIAL REQUIRED

These were the materials used in this project-

  • Raspberry Pi CM5 4GB RAM with Evaluation Board
  • NVME SSD (for OS)
  • Waveshare 10.1 Inch DSI display for Raspberry Pi
  • Power Management Circuit (Salvaged from Powerbank)
  • LiPo cell 3.7V 10000mAh (Salvaged from power bank)
  • 3D Printed Parts
  • SPEAKER 4Ohms
  • MAX98357A I2S Audio Amplifier
  • M2 screws

IPOD 3rd GENERATION

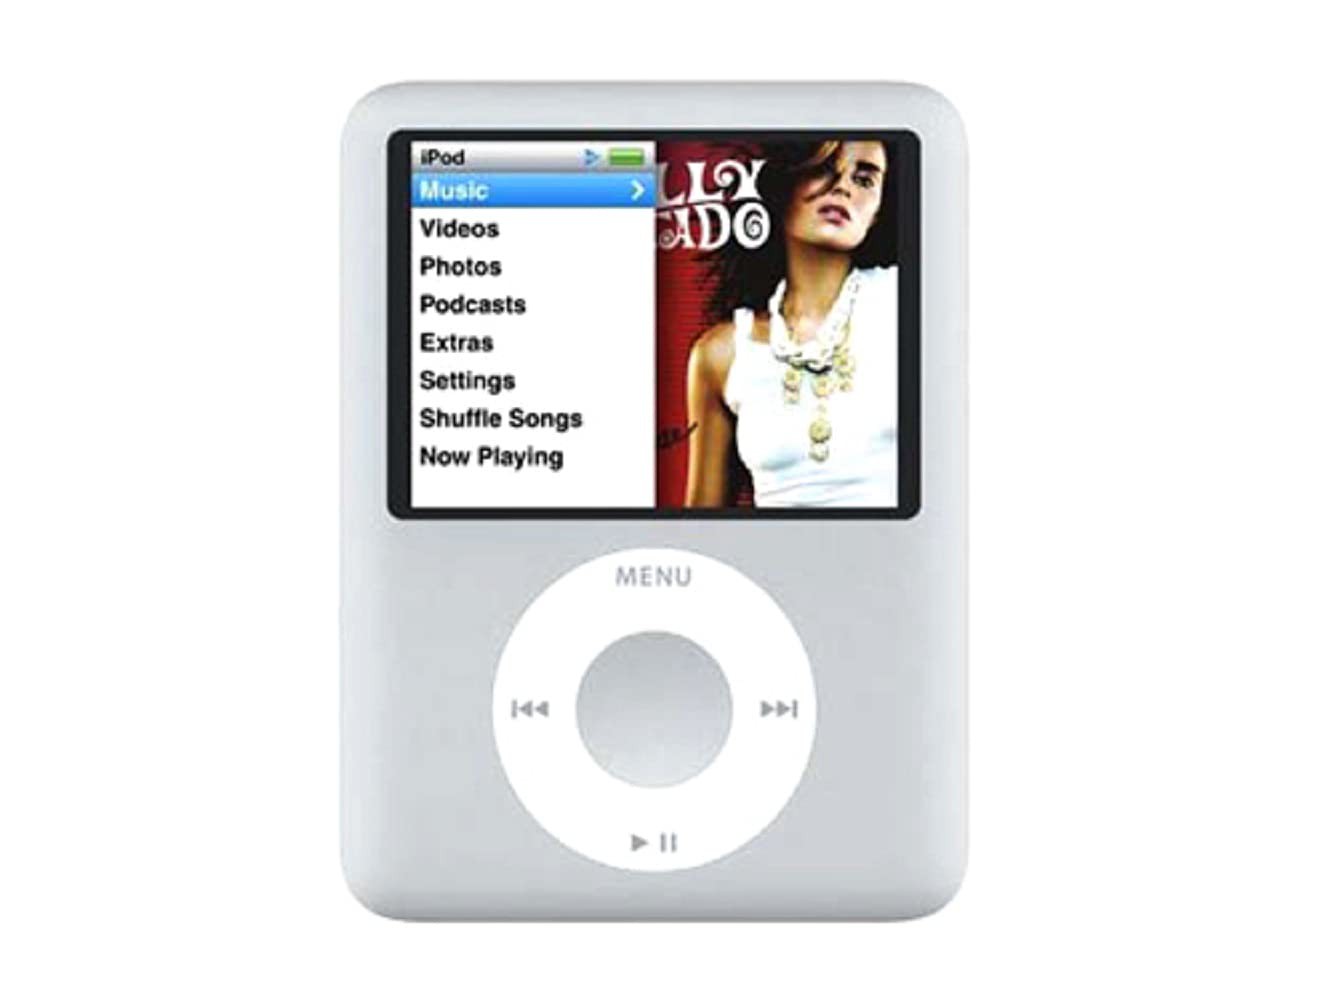
Released in 2007, the 3rd-generation iPod Nano marked a significant departure from its predecessors. Nicknamed the "fat Nano" due to its shorter and wider design, it featured a 2-inch QVGA color display with a resolution of 320 × 240 pixels, making it ideal for both music and video playback.

The device retained Apple's iconic Click Wheel, a touch-sensitive circular controller that combined rotational scrolling with five physical buttons, allowing users to navigate menus quickly with one hand. Available in 4 GB and 8 GB flash storage variants, the iPod Nano could store thousands of songs and supported popular audio formats such as MP3, AAC, WAV, AIFF, and Apple Lossless, along with H.264 and MPEG-4 video playback.

Powered by a rechargeable lithium-ion battery, Apple rated it for up to 24 hours of music playback and around 5 hours of video playback on a single charge. Its compact aluminum enclosure, bright display, and intuitive user interface made it one of the most recognizable portable media players of its era.

HARDWARE - RASPBERRY PI CM5
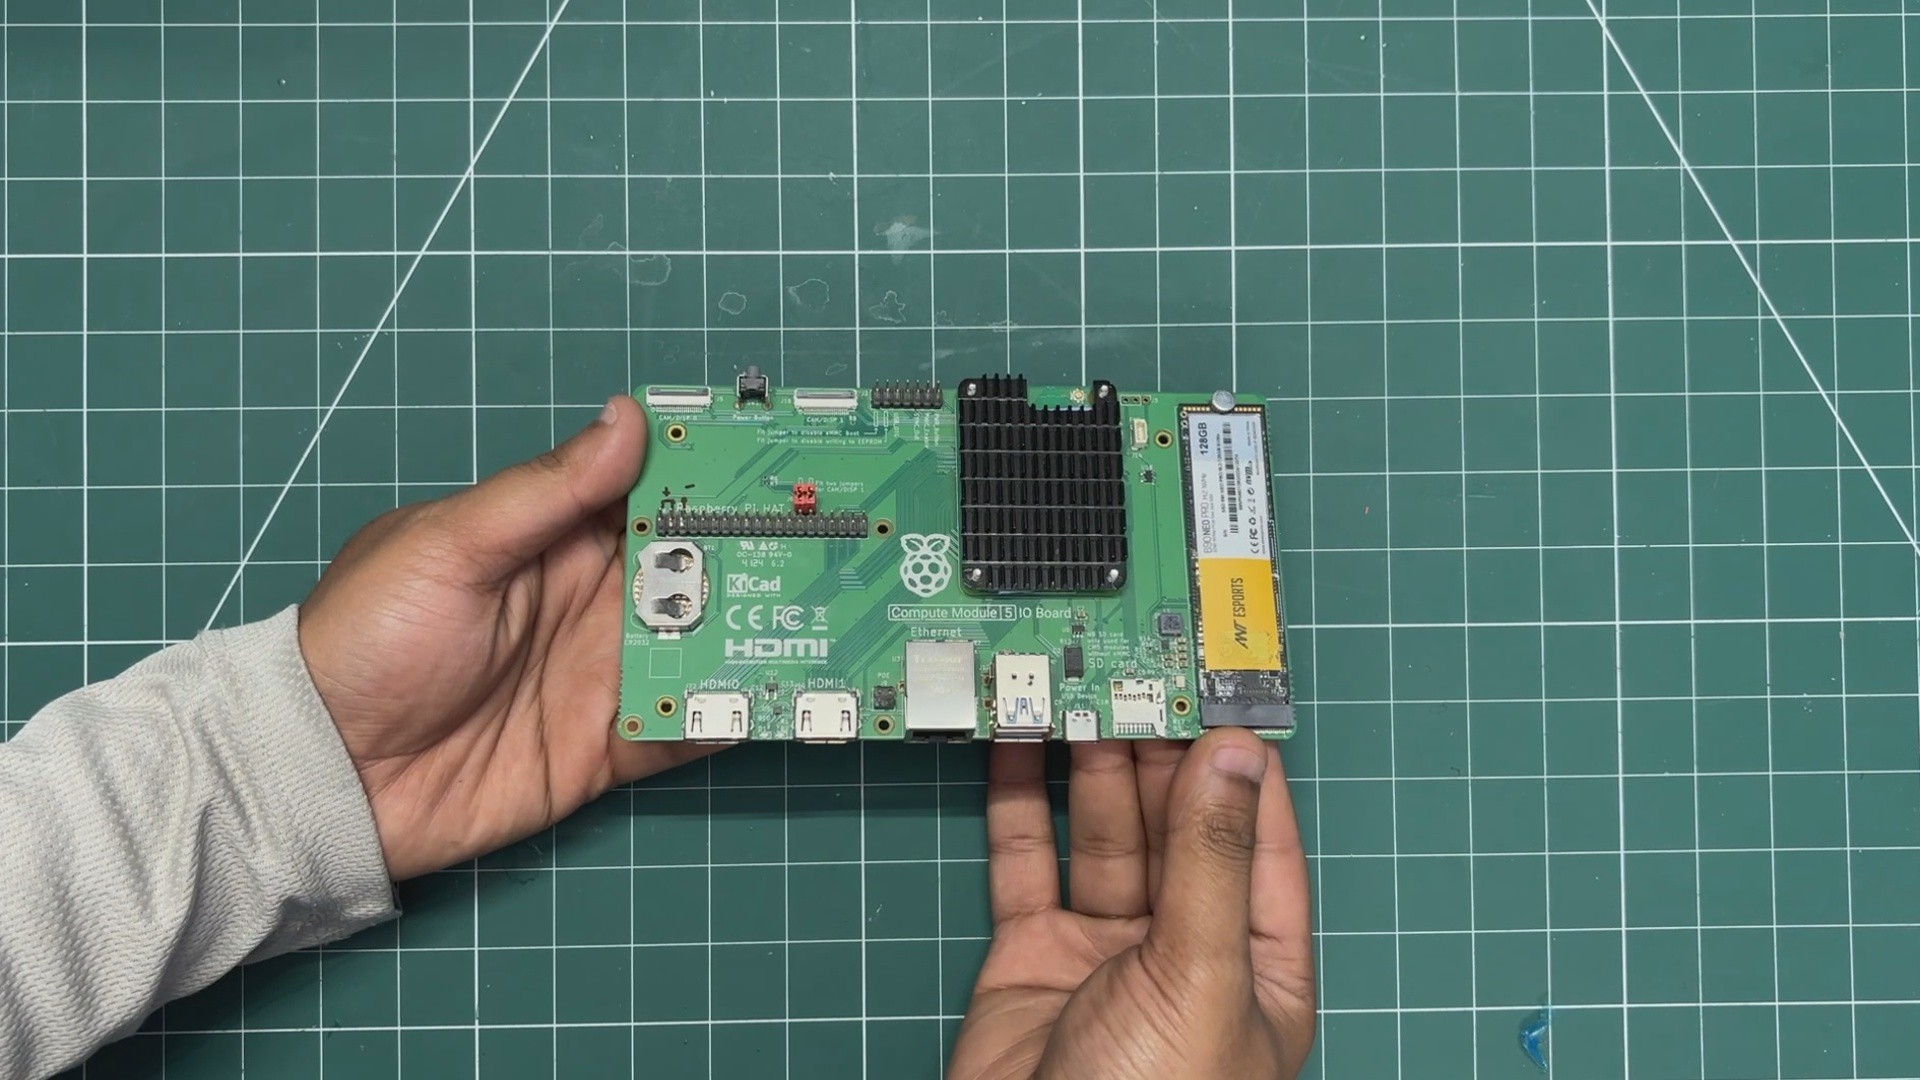
The brain of our project is the Raspberry Pi CM5, which is a more industrial-oriented version of the usual Raspberry Pi 5 in a module form factor. It uses the same Broadcom BCM2712 quad-core 64-bit Arm Cortex-A76 (Armv8) SoC running at 2.4 GHz, but in a much more compact package.

The CM5 sits on an evaluation board that breaks out USB ports, Ethernet, dual HDMI ports, GPIO headers, an SD card slot, and even an M.2 port for adding an NVMe SSD.

Here, we are using the 4GB variant, which comes with onboard 32GB eMMC storage.

For the operating system, I used the new Raspberry Pi OS based on Debian Trixie. The OS is installed on an NVMe SSD, which makes the system super fast. OS installation was done using Raspberry Pi Imager. We connected the SSD using an M.2-to-USB adapter and flashed the operating system directly onto the NVMe drive. Once the NVMe SSD was plugged into the CM5 board, the system booted directly from the SSD.

HARDWARE- WAVSHARE 10.1 INCH DSI SCREEN
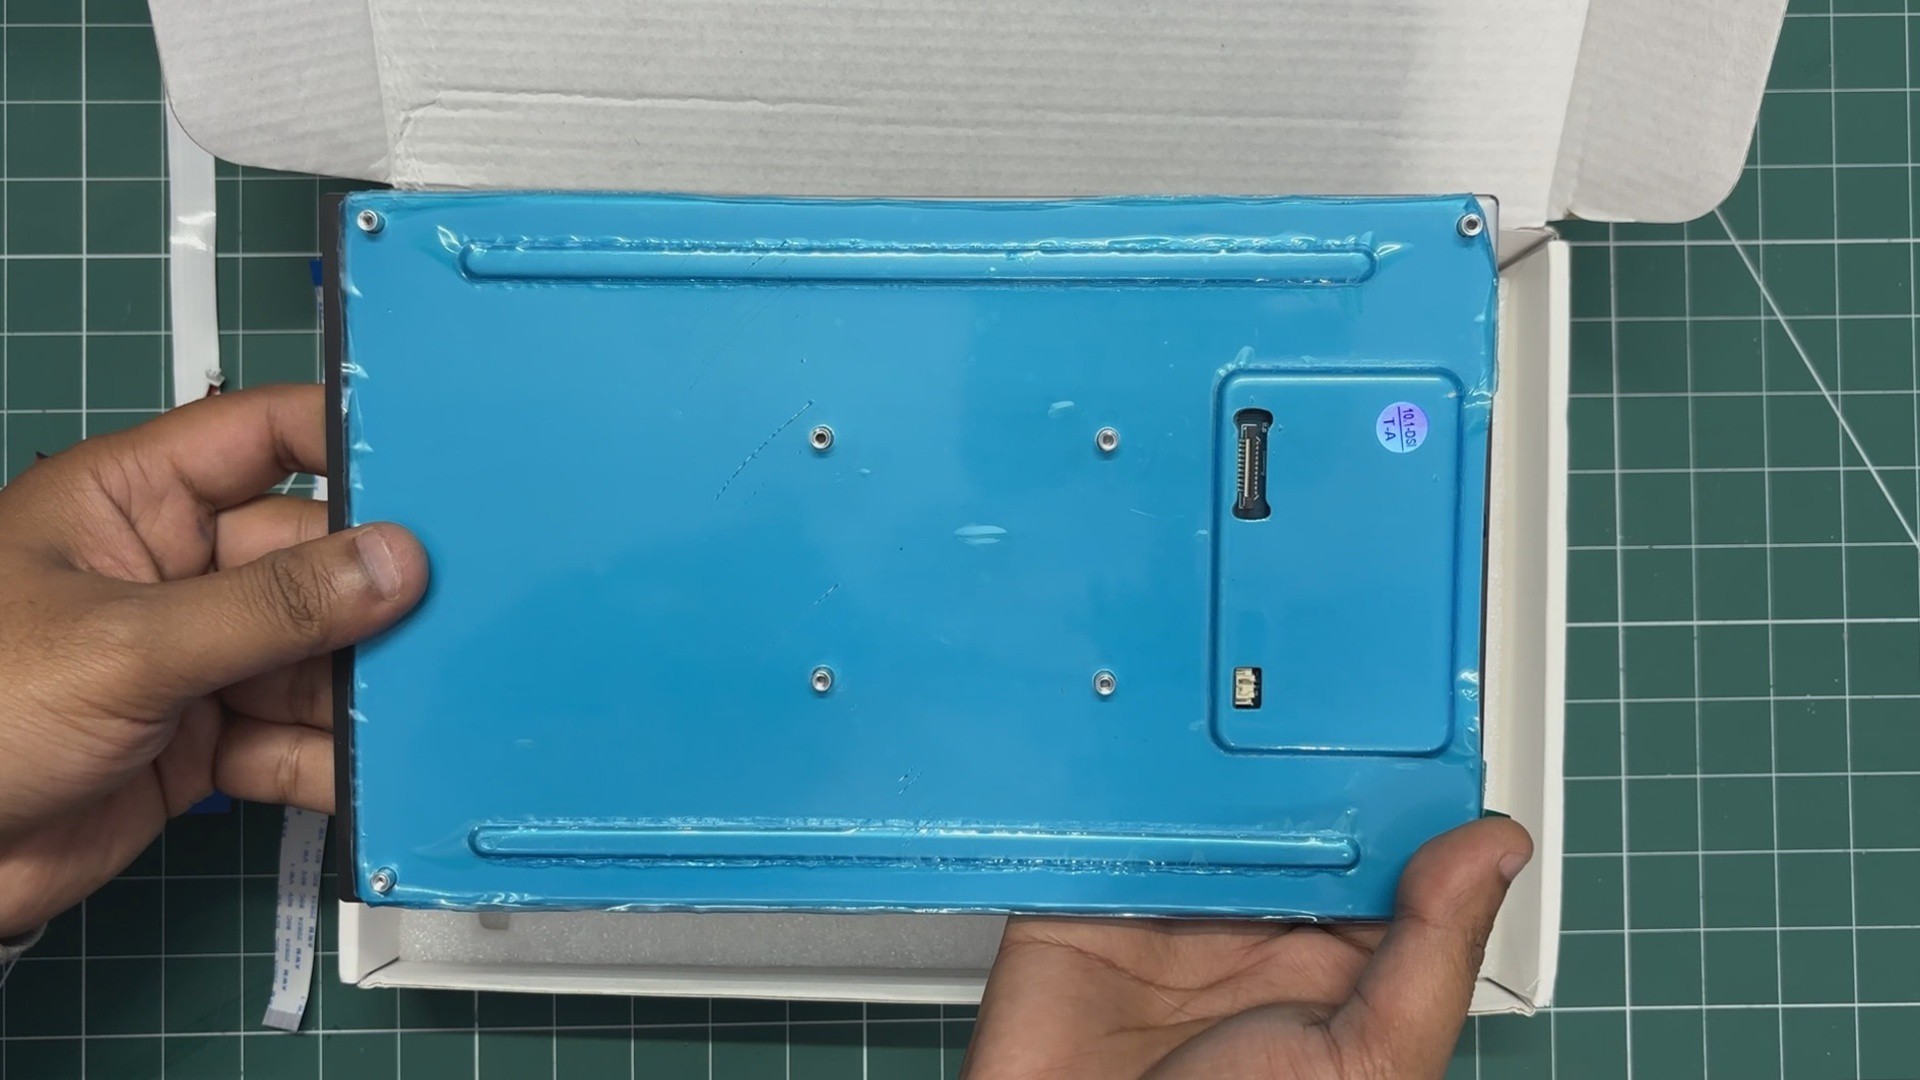
For the main display, I wanted something huge, not the average 7-inch size, but something larger.

Connectivity was also an important factor, as I wanted a DSI interface instead of HDMI.

So, I selected Waveshare's 10.1-DSI-TOUCH-A display for this project. It is a portrait touchscreen LCD display with ten-point capacitive touch control. The display uses an IPS panel with a hardware resolution of 800×1280, which is perfect for our tablet application.

The LCD pairs with the Raspberry Pi through the DSI interface and supports a refresh rate...

Read more »
BACK BODY.stl

Standard Tesselated Geometry - 417.86 kB - 08/11/2026 at 22:05

Download

FRAME.stl

Standard Tesselated Geometry - 105.94 kB - 08/11/2026 at 22:05

Download

  • 1
    POWER SOURCE- SMARTPHONE PD CHARGER

    For the power source of the tablet, one of the best options is to harvest the power circuit and lithium cell from a power bank. Here, I used a PD power bank that I normally use for charging my iPhone and other devices. It can provide both power input and power output through its USB Type-C port, along with a stable 5V 3A output from its USB port.

    • Using a prying tool, we started opening the power bank. I didn't have a proper pry tool available, so I used the back side of a pair of tweezers.
    • By inserting it along the seam of the enclosure and applying a bit of pressure, the two halves of the body started separating.
    • The enclosure was held together using snap locks, so once we created an opening on one side, we inserted our pry tool into the gap and moved it along the edge to completely remove the lid.
    • Doing that completely separated both parts. The circuit was secured in place with M1.8 screws, which we removed.
    • The battery was also secured with adhesive tape, so by applying a little pressure, it came off as well.
    • This was a MagSafe charger, so it also included a charging coil, which we removed from the circuit.

    As a result of this harvesting process, we ended up with a 10,000 mAh battery and a power circuit capable of powering our display and Raspberry Pi setup.

  • 2
    POWER SOURCE ASSEMBLY
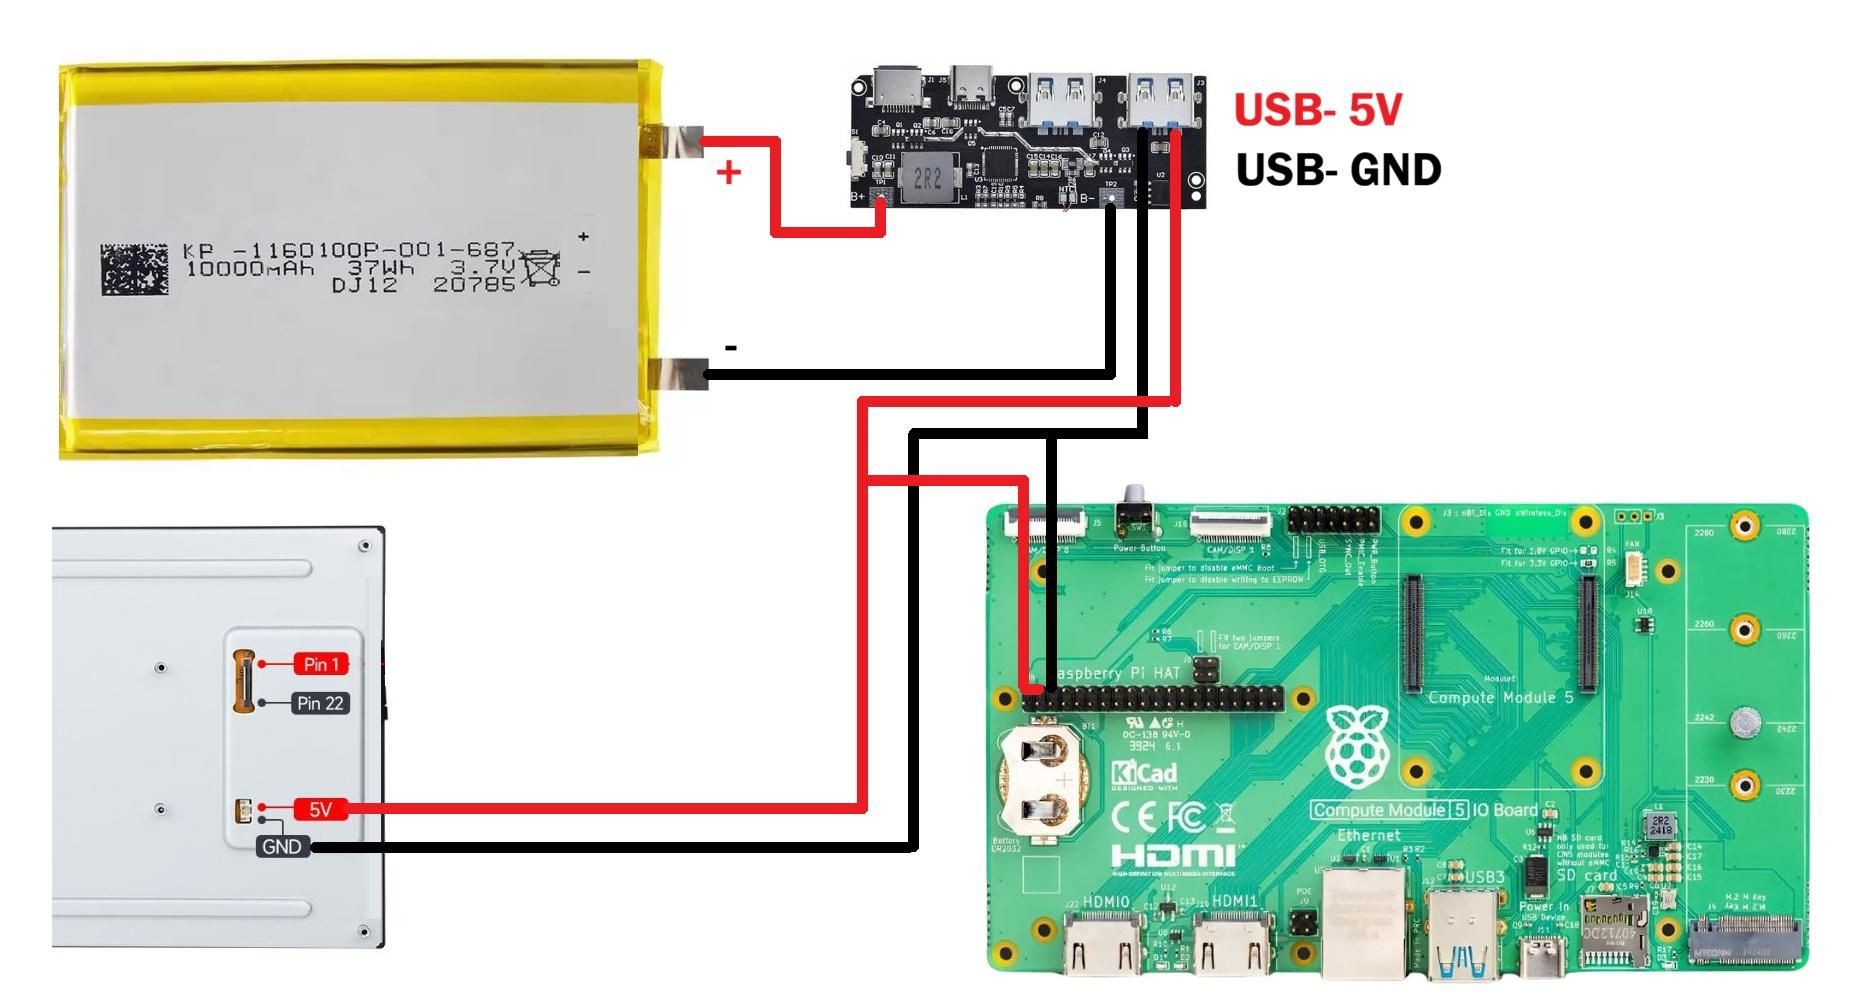
    • After harvesting the lithium-polymer cell and charger circuit from the power bank, we extended the battery wires by desoldering the original wires and replacing them with longer ones.
    • We connected the battery positive terminal to the B+ pad on the circuit and the battery negative terminal to the B- pad.
    • Next, we soldered two output wires to the USB port's 5V and GND terminals. For connecting these output wires to the Raspberry Pi header pins, we added a CON3 female header connector to the 5V and GND wires.
    • With this header connector, we can simply plug it onto the Raspberry Pi's GPIO header 5V and GND pins, which power the entire setup.
  • 3
    IPOD UI

    The software and UI for this project were developed with the help of my friend Aahan Sharma, who handled the application development. You can find his GitHub repository linked below.

    https://github.com/AahanDoesGit/iPod-classic-Cm5

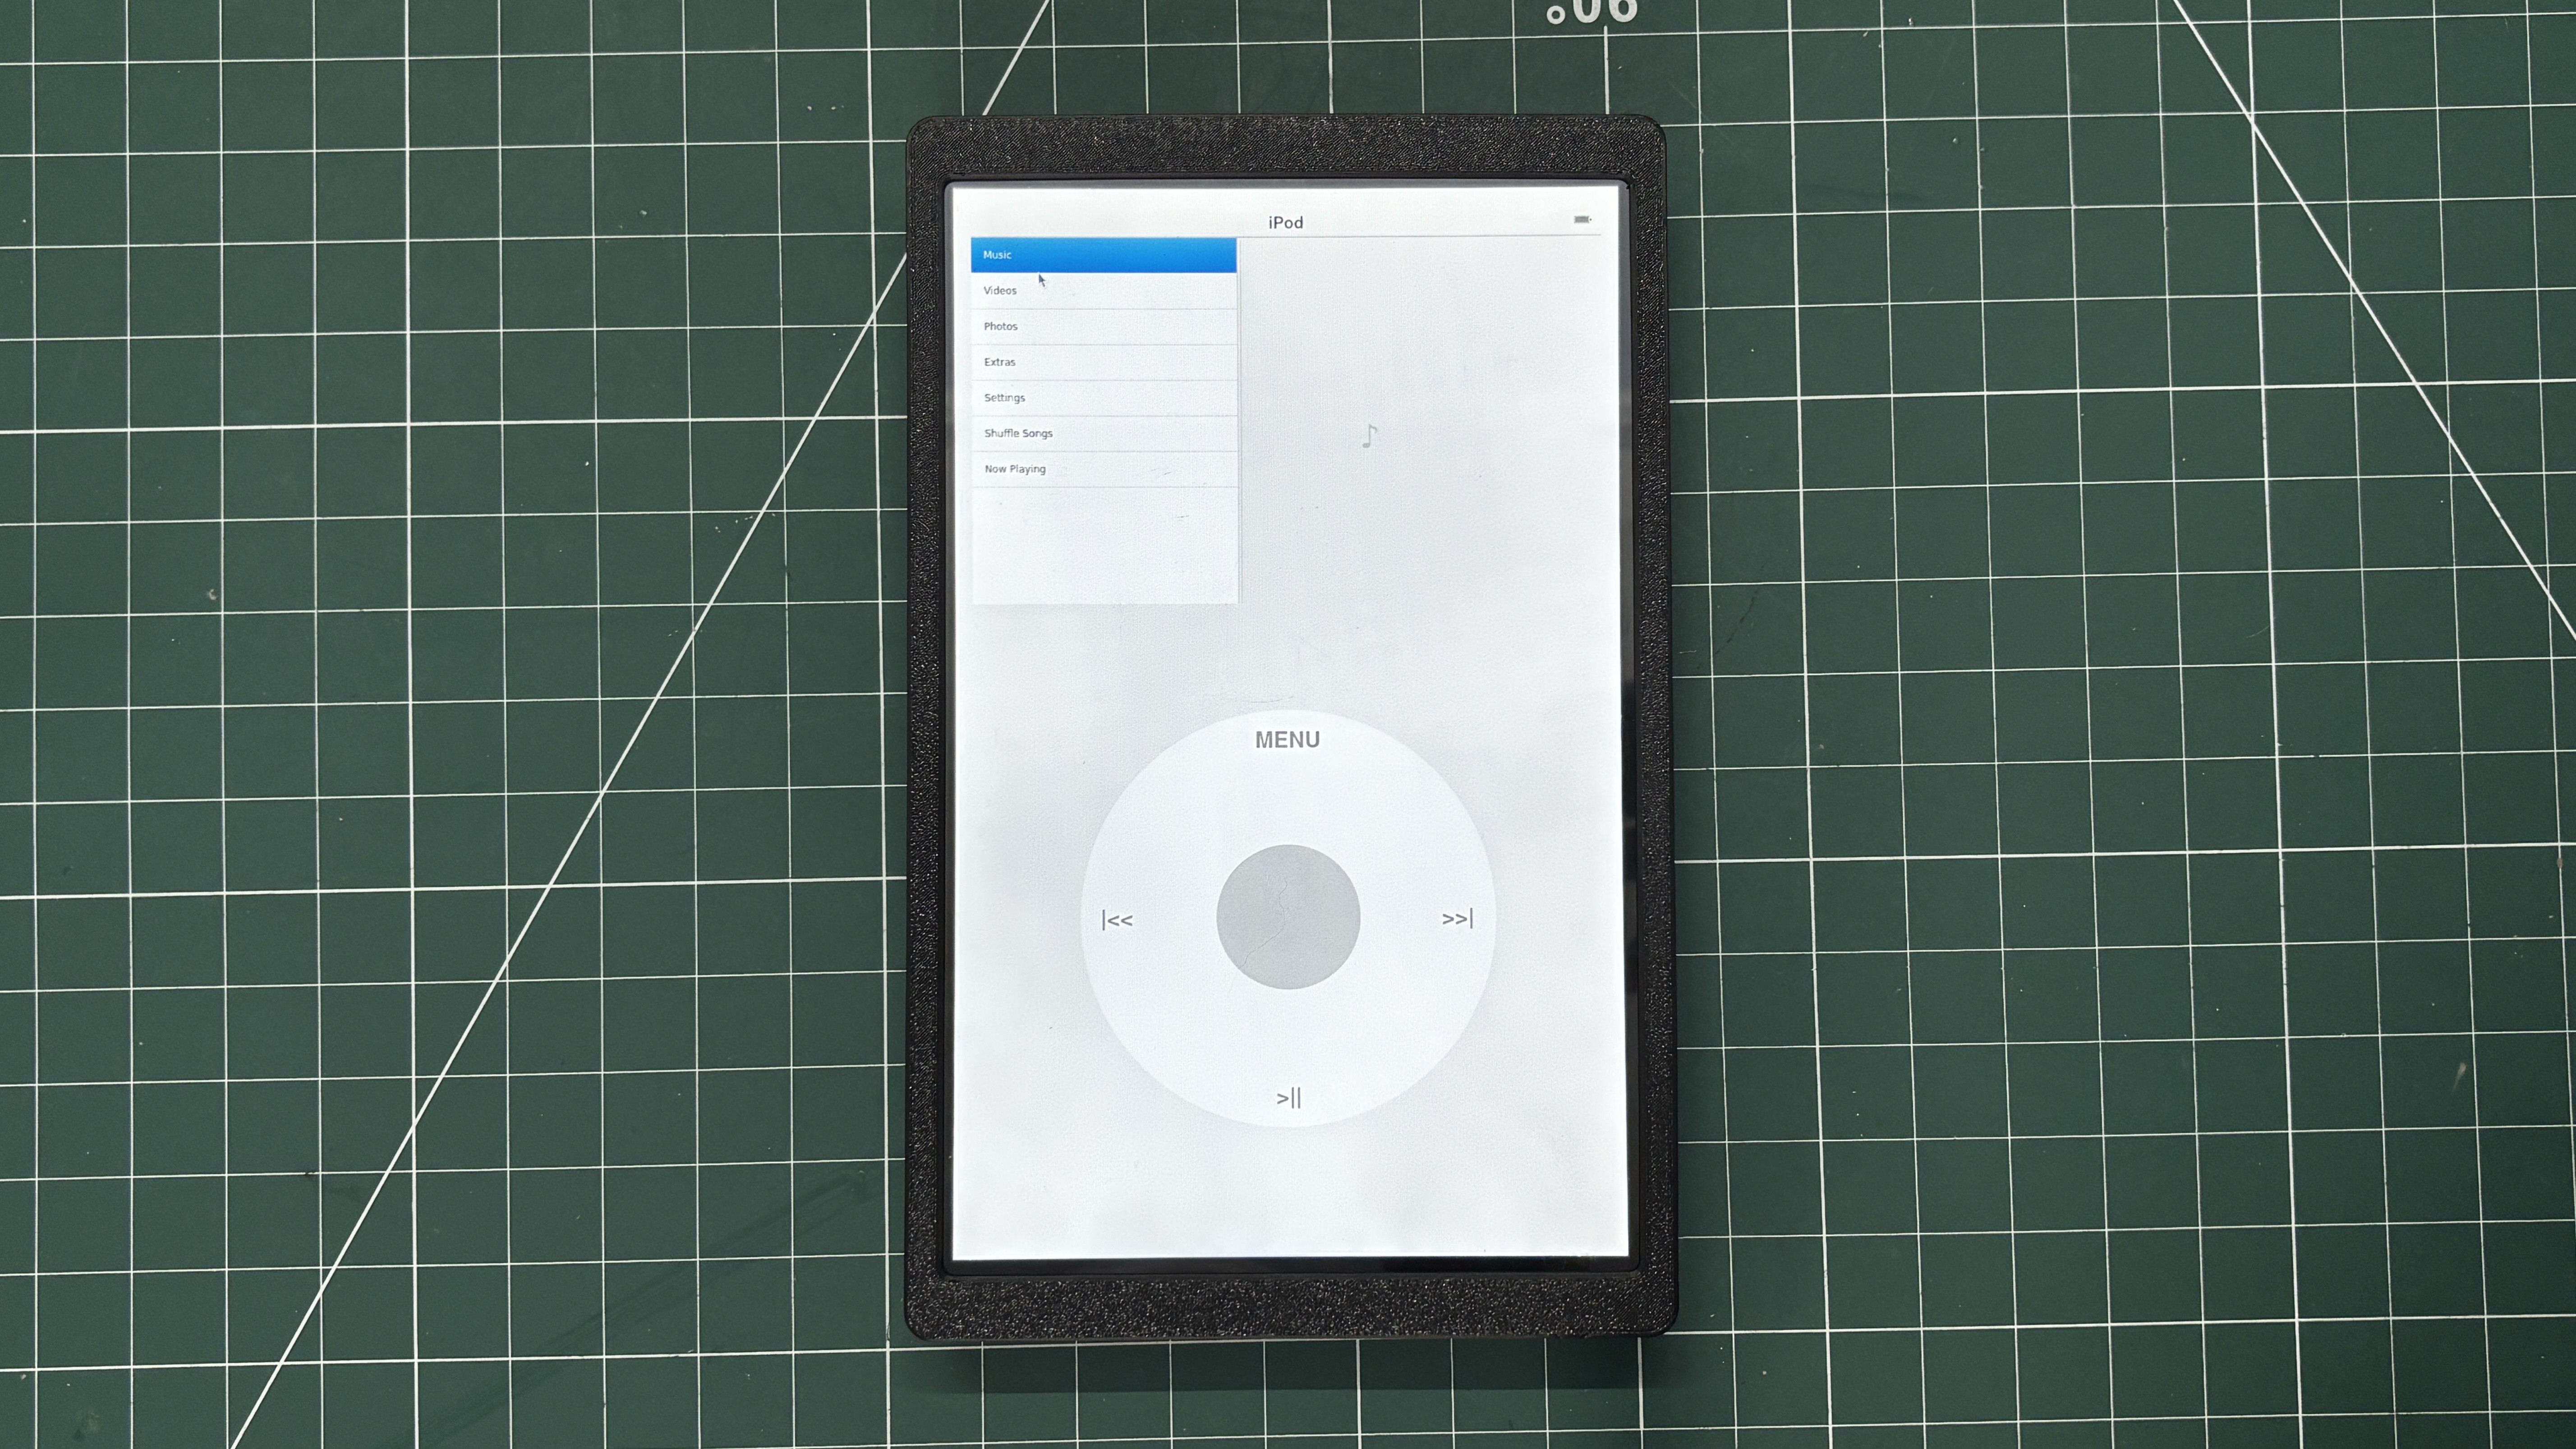
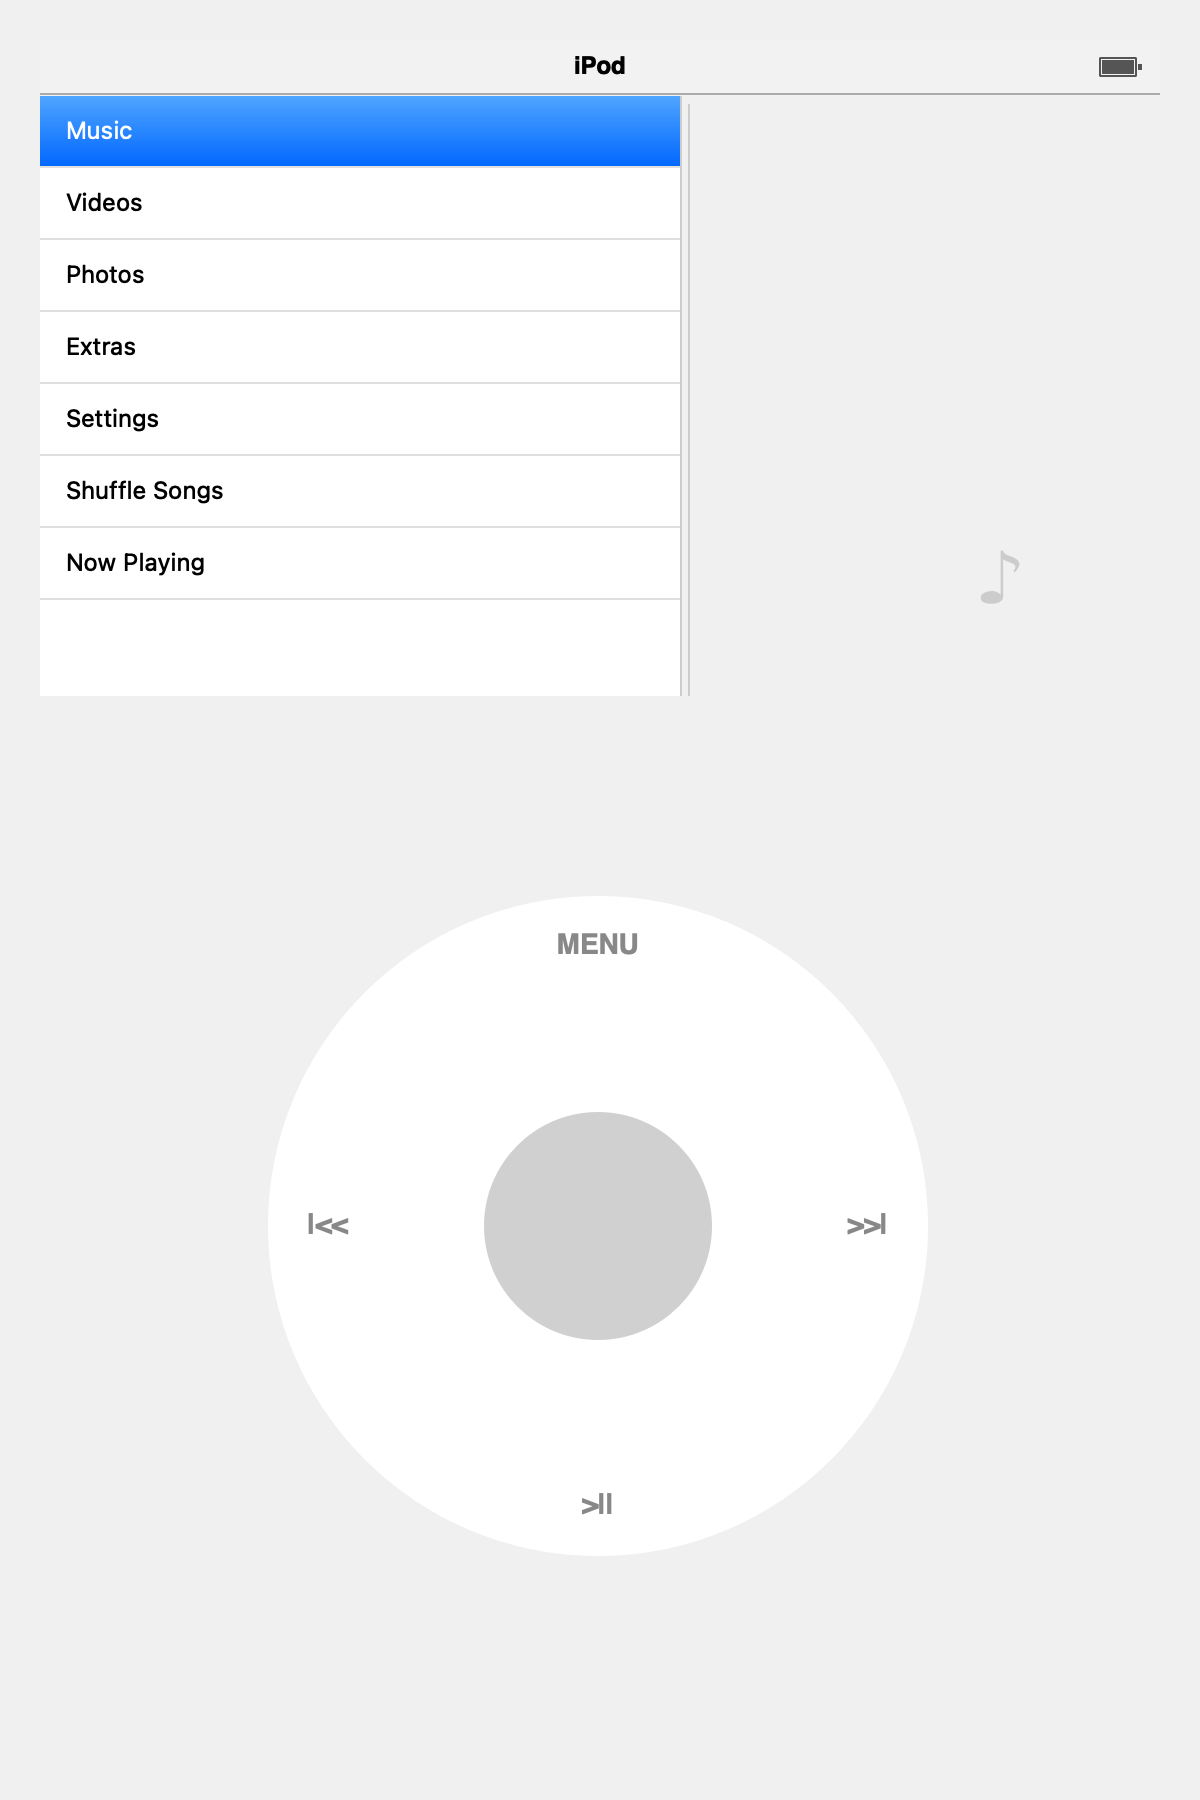
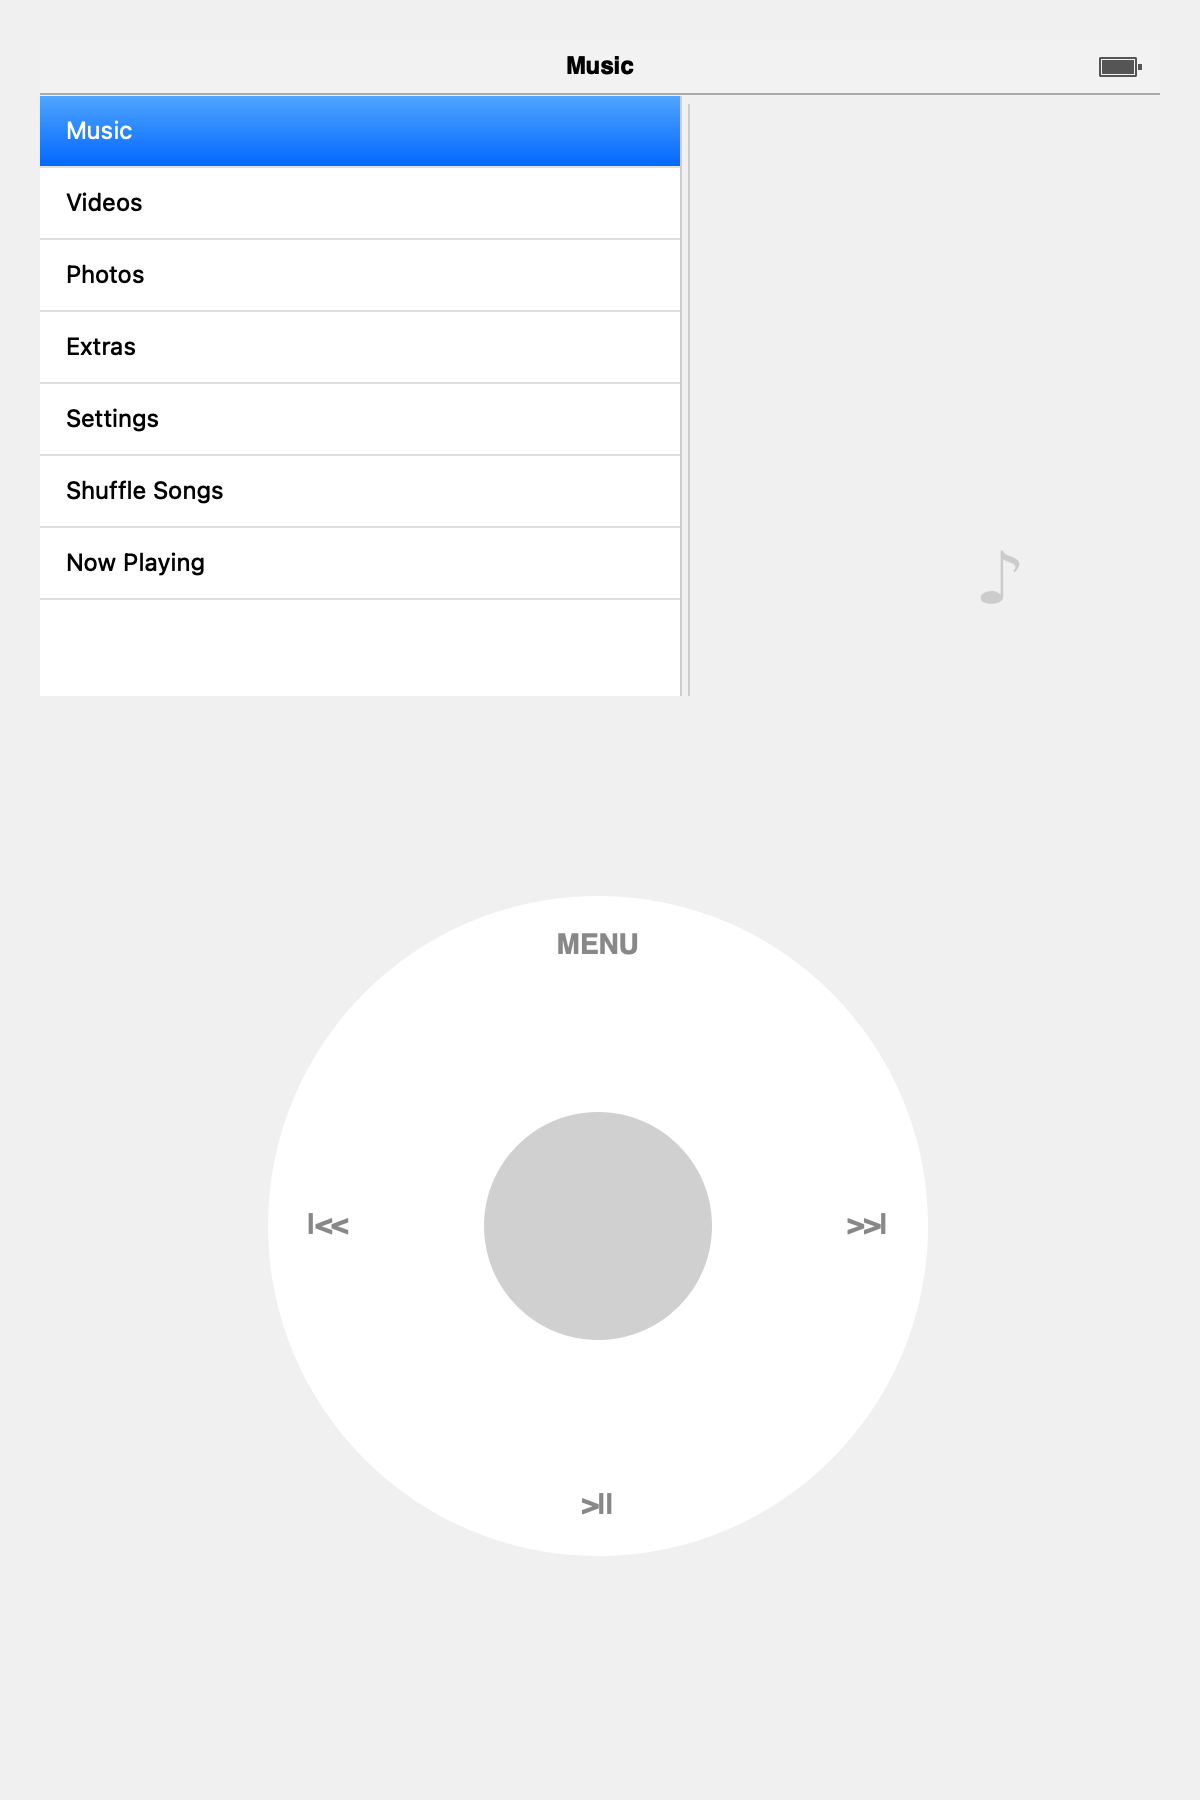
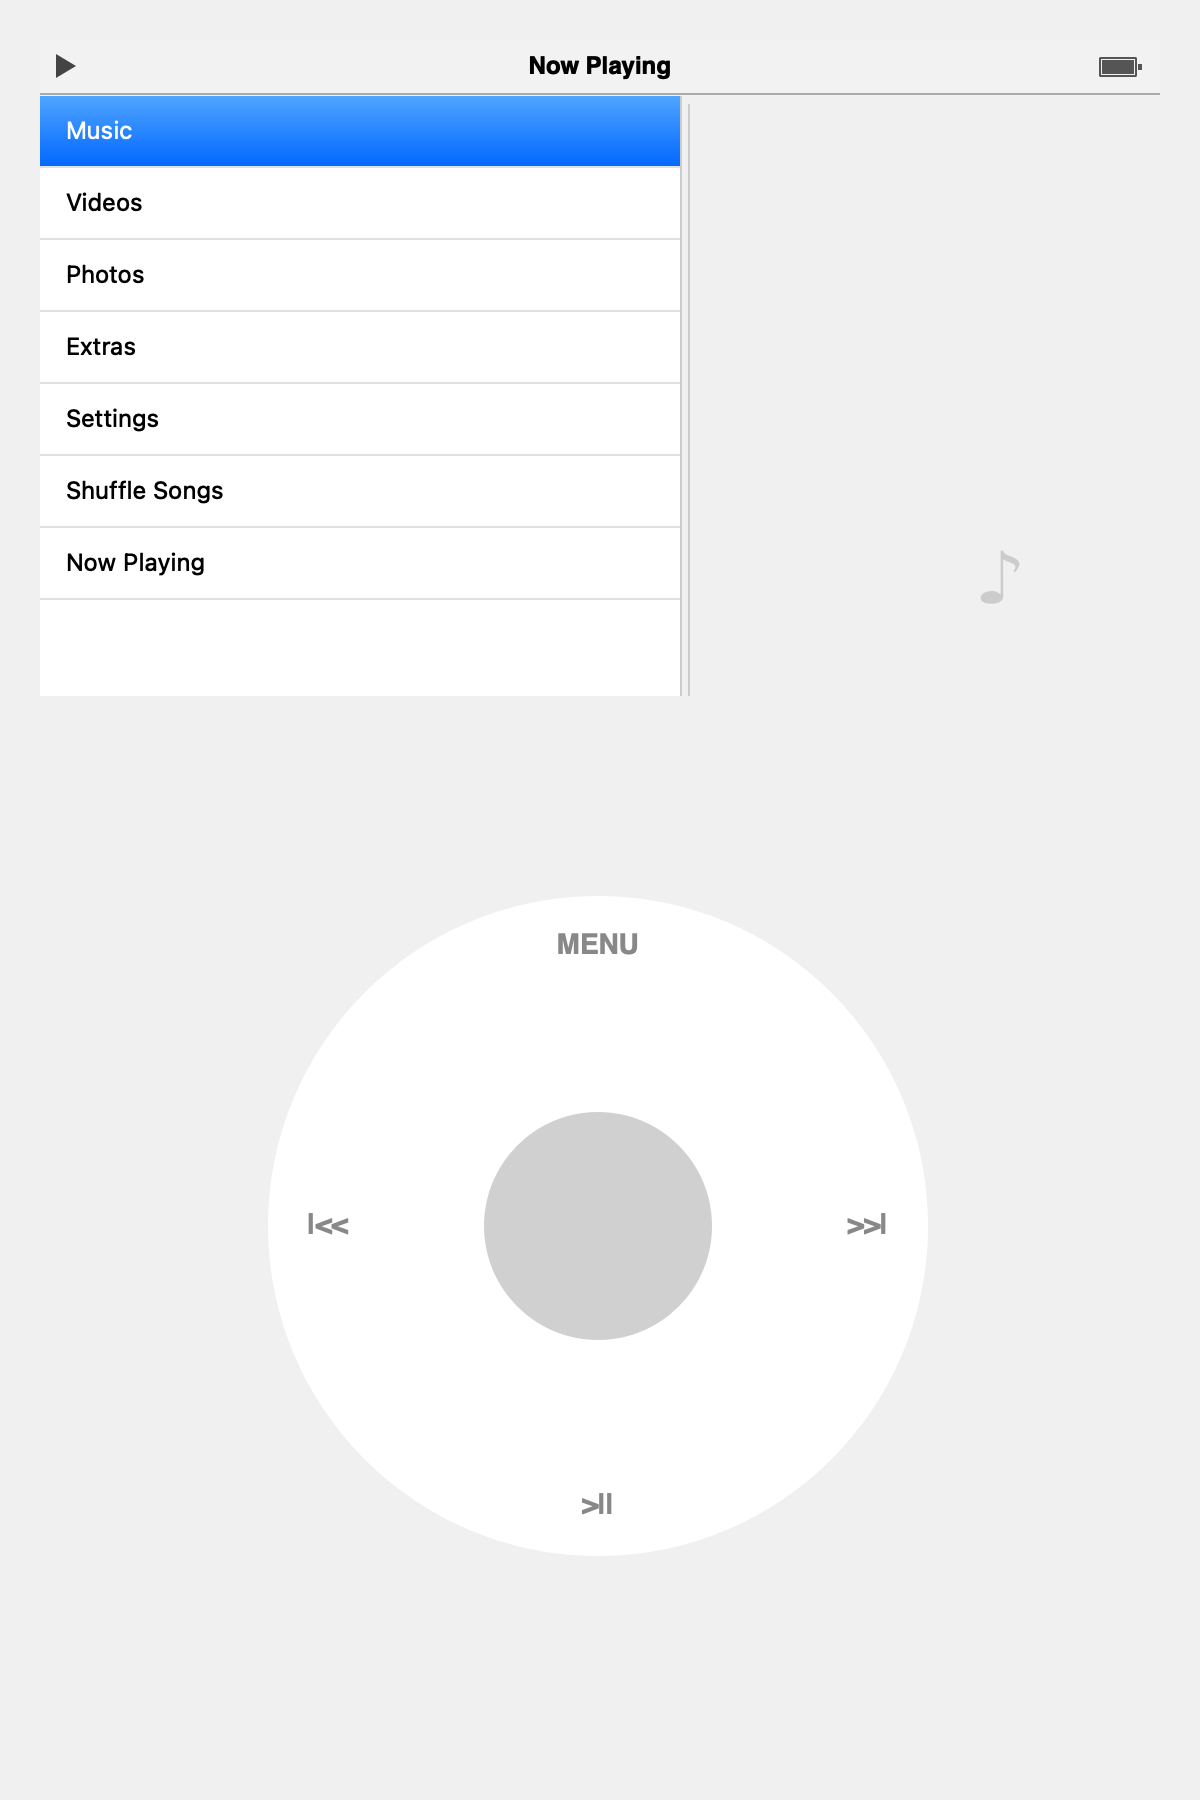
    The goal was to recreate the feel of the original iPod experience as closely as possible. The interface features authentic sliding stack navigation, where nested menus animate left and right just like the original firmware, along with a fully emulated click wheel supporting rotational scrolling and the classic five-button controls. The media library is scanned in the background using Mutagen, automatically detecting newly added MP3 files, while python-vlc provides hardware-accelerated audio and video playback for smooth, low-latency performance.

    The codebase is organized into three main sections: the core logic (library.py and player.py), the UI components (iPod_screen.py, now_playing.py, sliding_stack.py, and click_wheel.py), and the main application entry point (main.py), making the project modular and easy to extend.

    Main Application and Background Thread

    In 'main.py ', we initialise the Qt application and set up our primary UI elements: the top screen and the bottom click wheel. 'QThread' runs continuously in the background to scan the 'music/' folder for changes without freezing the UI

    # snippet from main.pyclass IPodApp(QMainWindow):def __init__(self):super().__init__()self.setWindowTitle("iPod Classic - Pi CM5")self.setFixedSize(600, 900)# 1. Top Screenself.screen = IPodScreen(self.library, self.player)layout.addWidget(self.screen, stretch=2)# 2. Bottom Click Wheelself.wheel = ClickWheel()layout.addWidget(self.wheel, stretch=3)# Connect signalsself.wheel.scrolled.connect(self.screen.handle_scroll)self.wheel.clicked.connect(self.screen.handle_click)

    Sliding Nav Menu

    The core of the iPod experience is the sliding menus. We built a custom 'SlidingStackWidget' 'ui/sliding_stack.py' that uses Qt 'QPropertyAnimation' to smoothly slide 'QWidget' pages in from the left or right when navigating

    Screen States and Nav

    The 'IPodScreen' 'ui/ipod_screen.py' acts as the state machine for the UI; it pushes and pops different menu lists using a 'menu_history' stack to remember where the user came from.

    # snippet from ui/ipod_screen.pydef _push(self, spec):self.menu_history.append((self.current_spec, self._current_row()))self.current_spec = specself.status_bar.set_title(self._screen_title(spec))next_screen = self._create_screen(spec)self.sliding_stack.setWidget(next_screen, direction=1)self.current_screen_widget = next_screen

    Audio Playback

    We use 'python-vlc' for robust media decoding; found in 'core/player.py' it also handles a fallback for Mac testing via 'afplay '. The player integrates with the 'NowPlayingScreen' to sync progress bars and elapsed times.

    Running the App

    • Install the dependencies via 'pip'
    pip install PyQt6 python-vlc mutagen numpy
    • Put some '.mp3' files in the 'music/' directory.
    • Run the main script.
    python main.py

View all 14 instructions

Enjoy this project?

Share

Discussions

Similar Projects

Does this project spark your interest?

Become a member to follow this project and never miss any updates