Close
0%
0%

Small Scale Experimental Machine (SSEM)

Emulating the Small Scale Experimental Machine (SSEM) aka the Manchester Baby, the first computer capable of executing a stored program.

Similar projects worth following
This ongoing project investigates the simulation of the Small Scale Experimental Machine (SSEM) also known as the Manchester Baby.

The aim is to better understand the workings of the SSEM by providing a number of simulations using modern programming languages.

You can "meet Baby" at the Manchester Museum of Science and Industry (Manchester, UK).

This project started as an exercise to understand the architecture of the Small Scale Experimental Machine.  A secondary objective was to learn Python.

As with all projects there was a fair amount of scope creep.

The project evolved over time and now has the following additional objectives:

  • C / C++ implementation
  • Run on a microcontroller
  • Investigate hardware implementation

At the time of writing, the majority of the objectives have been met with only the hardware implemention still in flight.
  • TTL Chip - VHDL Implementation

    Nevyn • 10/26/2026 at 18:30 • 0 comments

    The Manchester Baby TTL VHDL repository contains the current state of the simulation of the TTL gates and some of the components.  This is still work in progress. The TTL primitives and the individual components are complete and have their own testbenches. The top level machine is partially assembled and cannot execute instructions yet.

    As of October 2026 the following have been completed:

    LayerModulesState
    TTL primitivesttl02, ttl04, ttl08, ttl86,ttl191, ttl245, ttl283, ttl373, sramComplete and tested
    Componentsalu, clock, pc, register, storelinesComplete and tested
    Top LevelssemRegisters A and B, the ALU and the program counter are connected to the 32 bit bus

    This still leaves a fair amount of work to complete most notably the control logic required to control and synchronise the various modules / components.

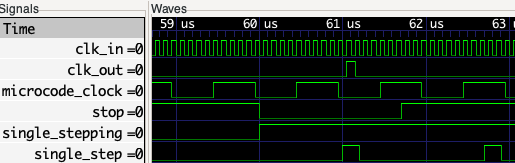
    There are test benches for each of the completed components and these are all passing.

  • Hardware Simulation

    Nevyn • 10/18/2026 at 10:35 • 0 comments

    In a previous log the possibility of a hardware implementation along the lines of Ben Eaters 8-bit computer.One of the downsides of moving from 8-bits to 32-bits is the sheer number of additional chips required.  It is not just the number of chips that increases it is the number of breadboards and the size physical size required to prototype / implement the system.

    Simulation may help prove the feasibility of the plan.

    There are a number of options:

    Both CircuitVerse and CircuitJS were dismissed early on due to concerns about the number of logic ICs provided.

    Digital looked attractive as it appears to have implemented the highest number of TTL chips.  It also allows the addition of chips using VHDL.

    Speaking of VHDL, if we are looking at the possibility of adding missing TTL chips using VHDL then it may be beneficial to simulate the system using VHDL.

    This is the way this project will go.

  • Hardware

    Nevyn • 10/09/2026 at 05:58 • 0 comments

    Having simulated SSEM on a laptop and also on a modern day microcontroller the next question is what can we do on hardware?

    Th replica of the SSEM is on display in the Museum of Science and Industry in the UK and having seen it there is no way that I am going to get approval from management here to host 1 ton of metal frame and valves at home.

    There are other options...

    I am sure that many Hackaday readers will be familiar with Ben Eaters Breadboard Computer series of videos.  This series covered building a 8-bit computer from common logic chips.

    8-bit; 32-bit how hard can it be.  I think we will be finding out.

  • Tab5 SSEM Simulator

    Nevyn • 10/08/2026 at 20:03 • 0 comments

    The Tab5SSEM directory in the repository contains the current source code for the SSEM simulator that will run on the M5Stack Tab development board.  Running the application is fairly simple:

    • Build and flash the code as usual for an ESP-IDF application idf.py build flash monitor
    • Copy the contents of the SSEMPrograms directory onto a SD card formatted as FAT32
    • Reset the board

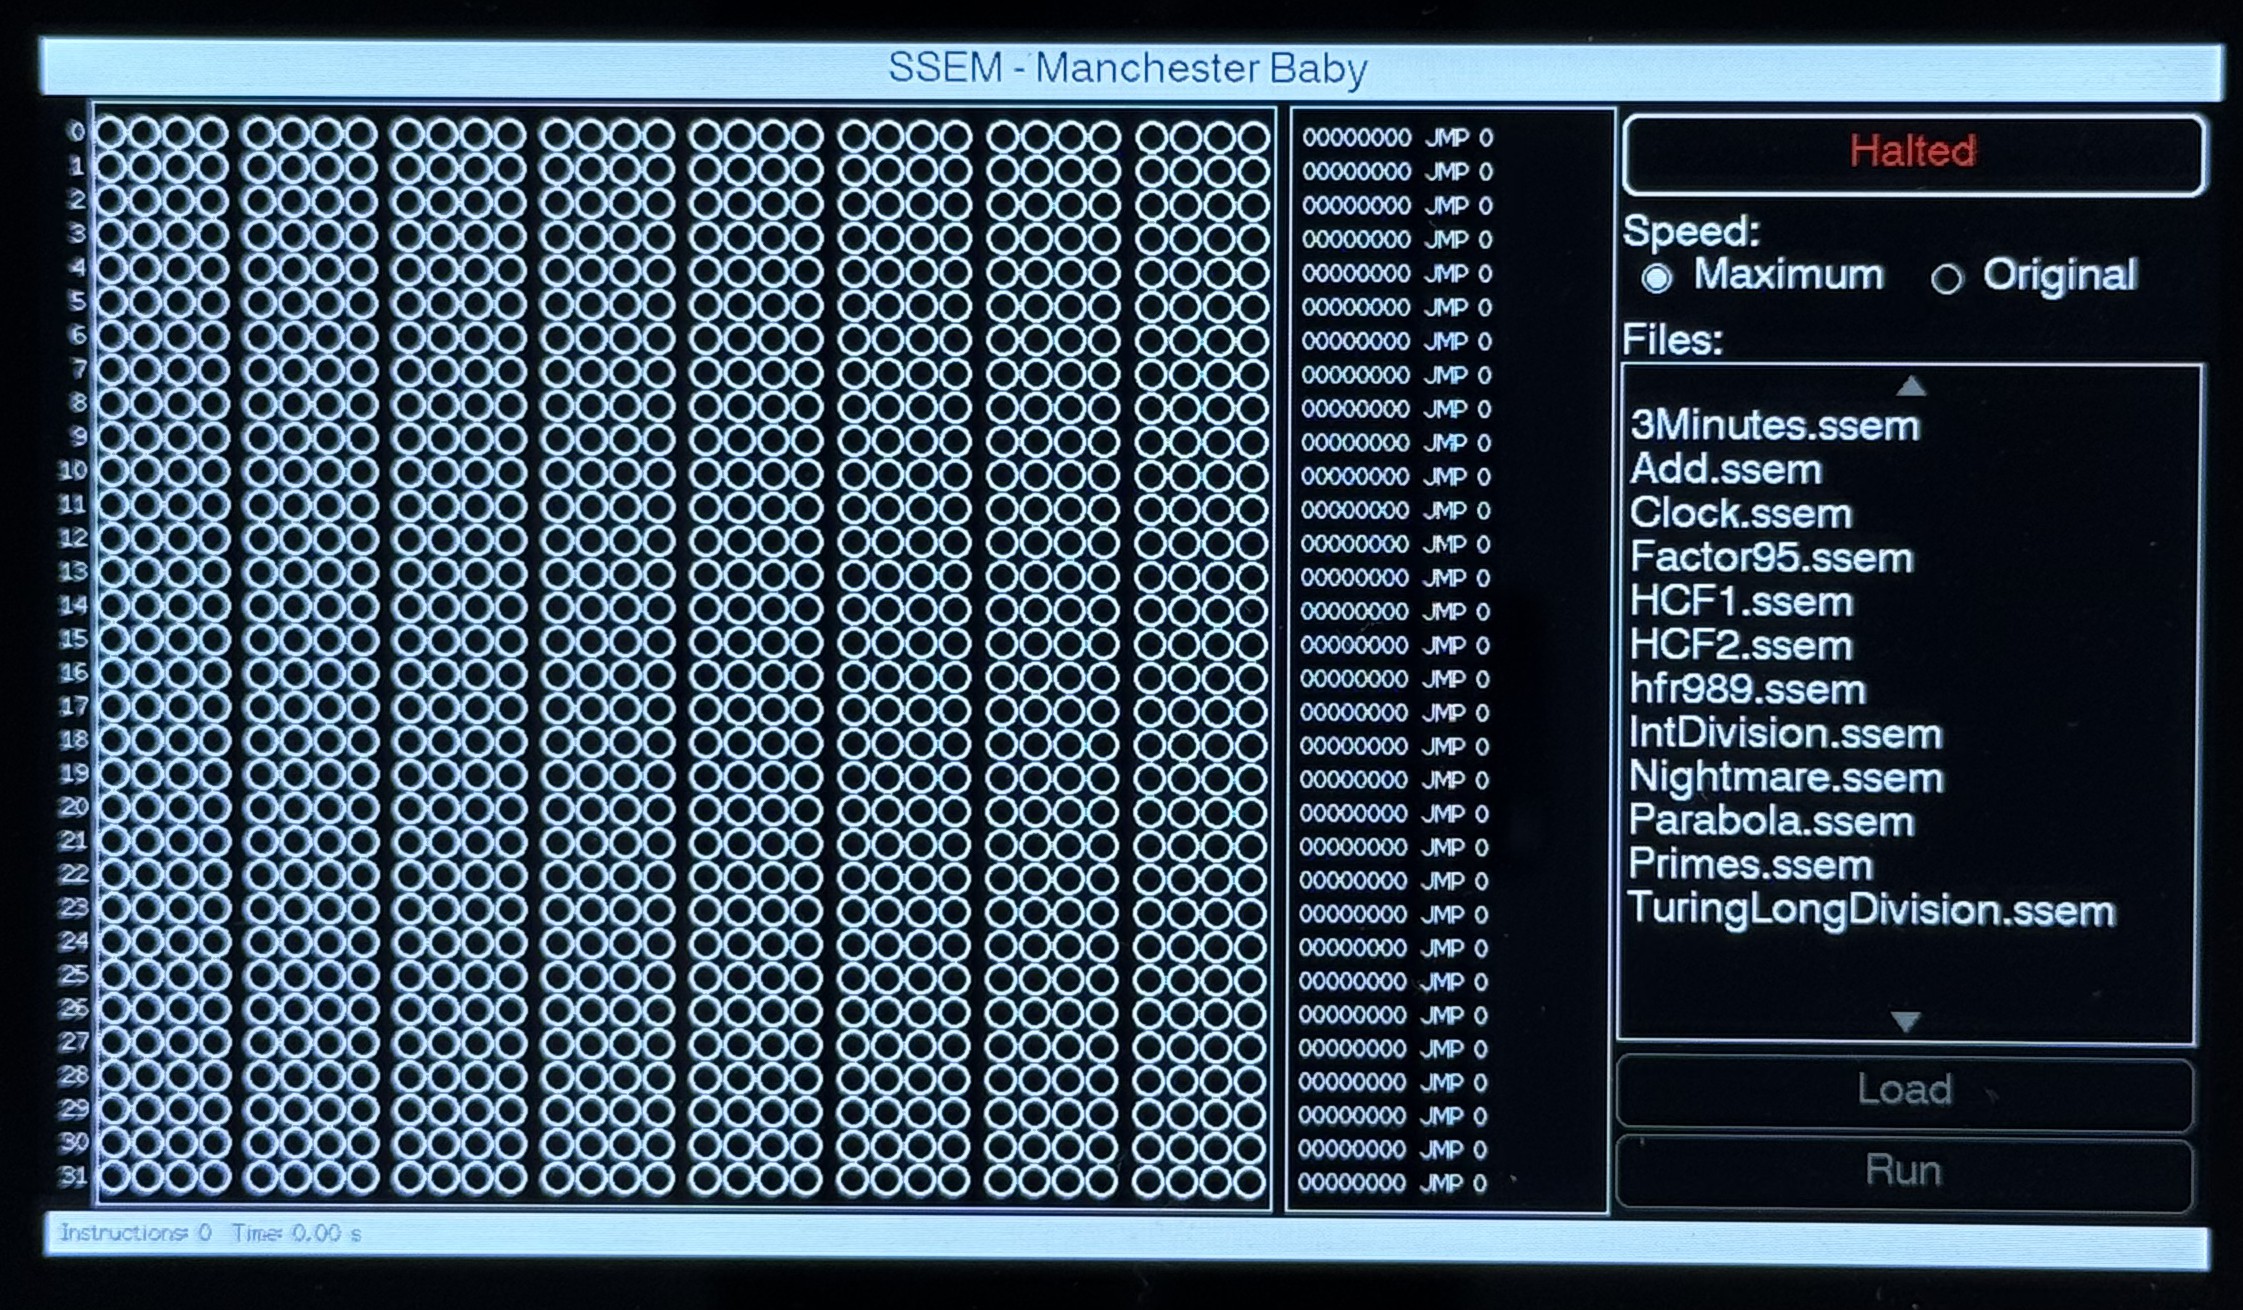
    After a short while a splash screen will be shown followed by the main user interface:

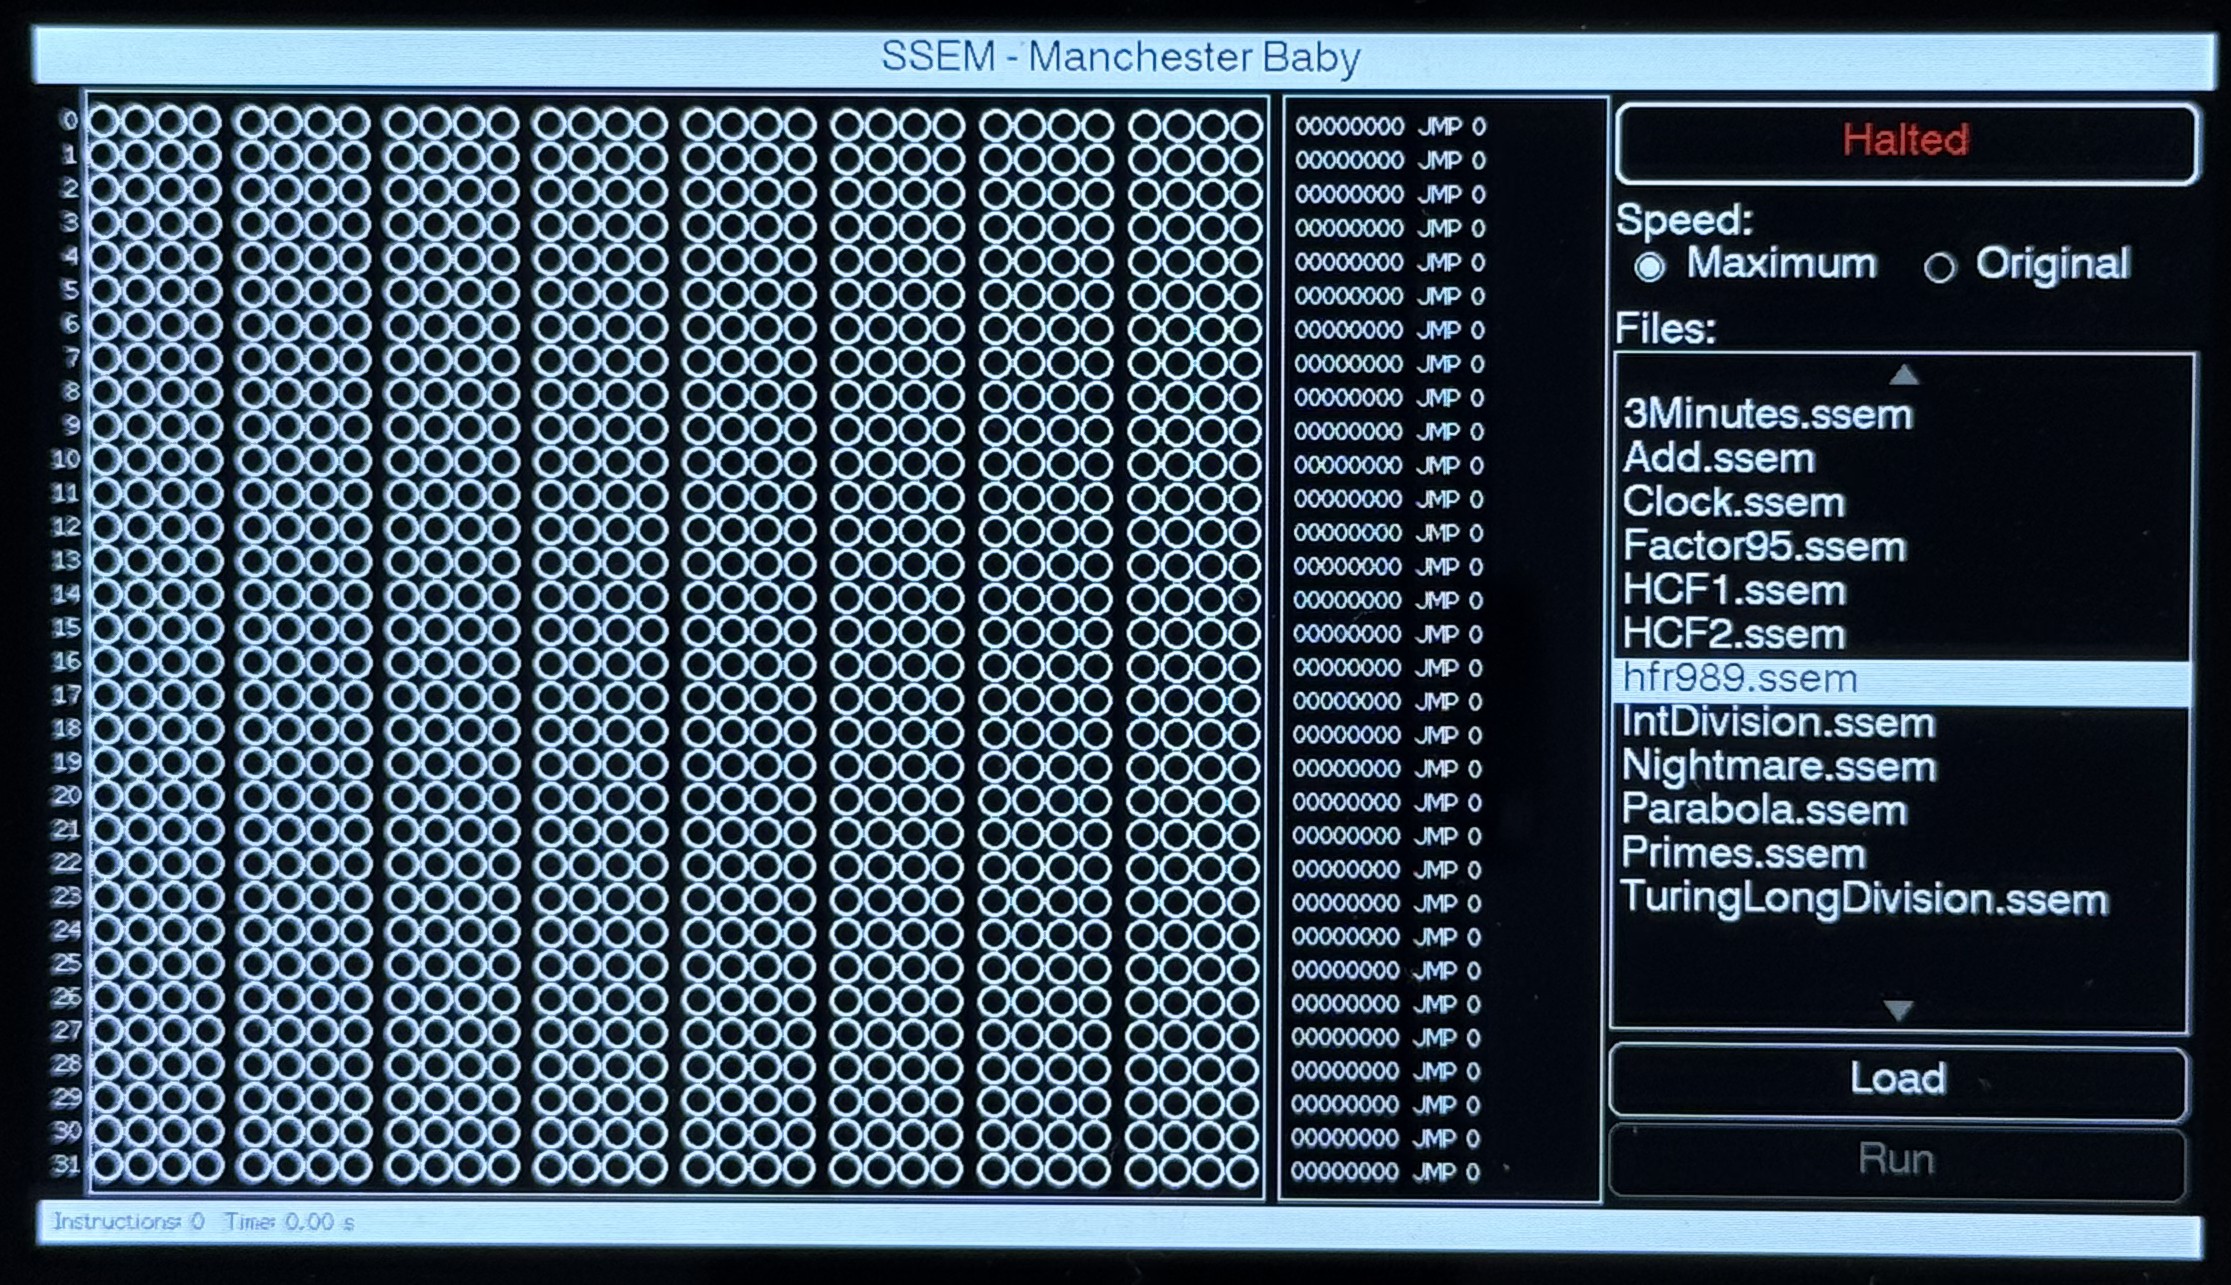
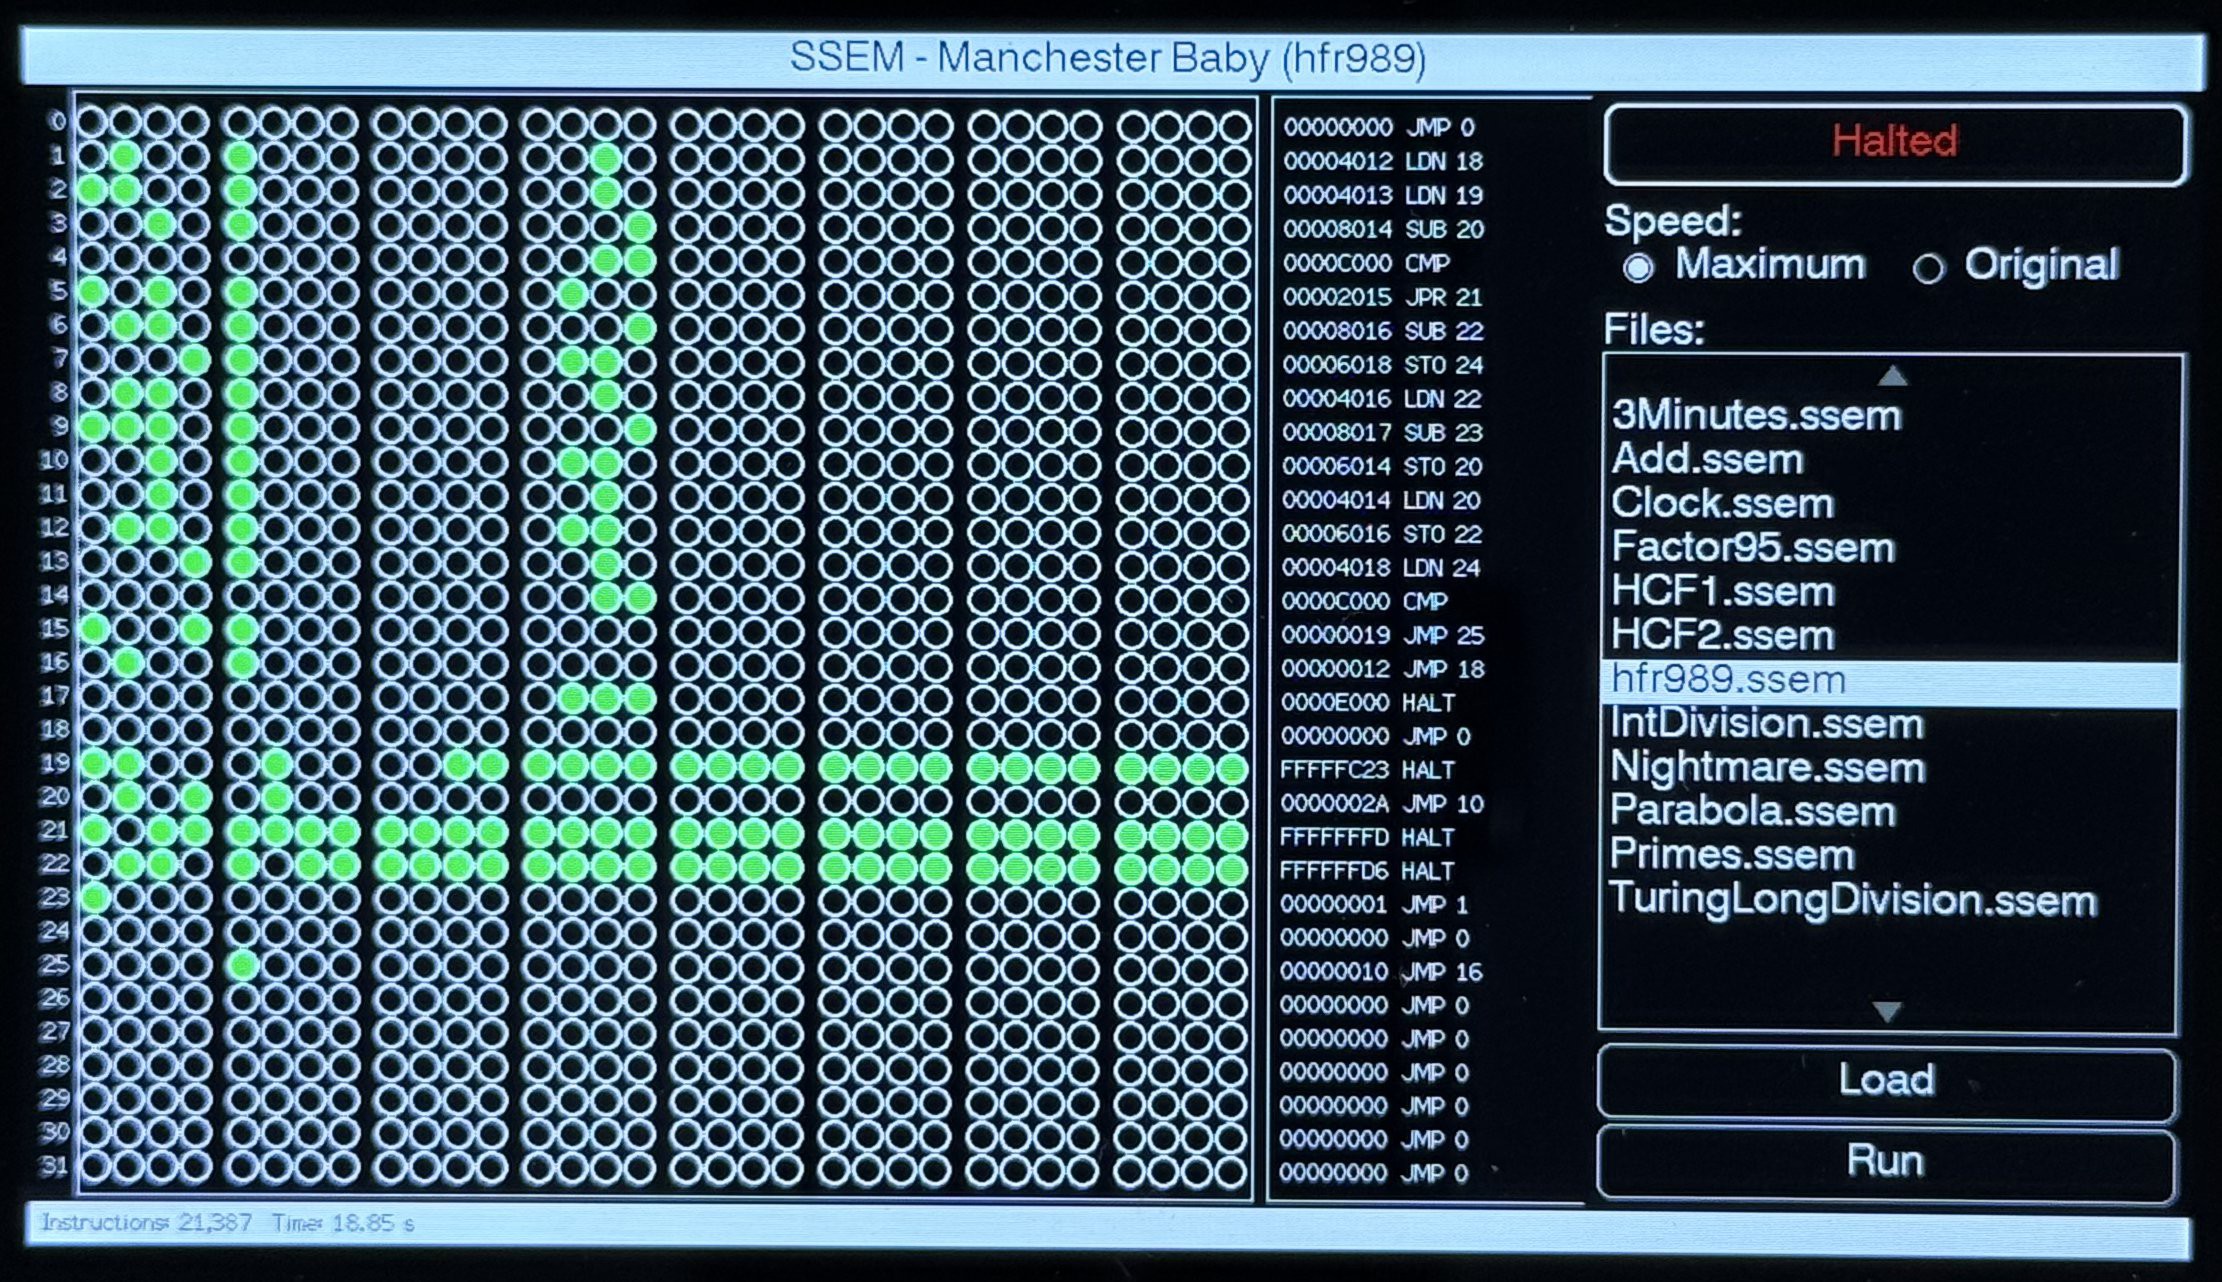
    Next, select a program to run, hfr989.ssem is the one that has been run previously:

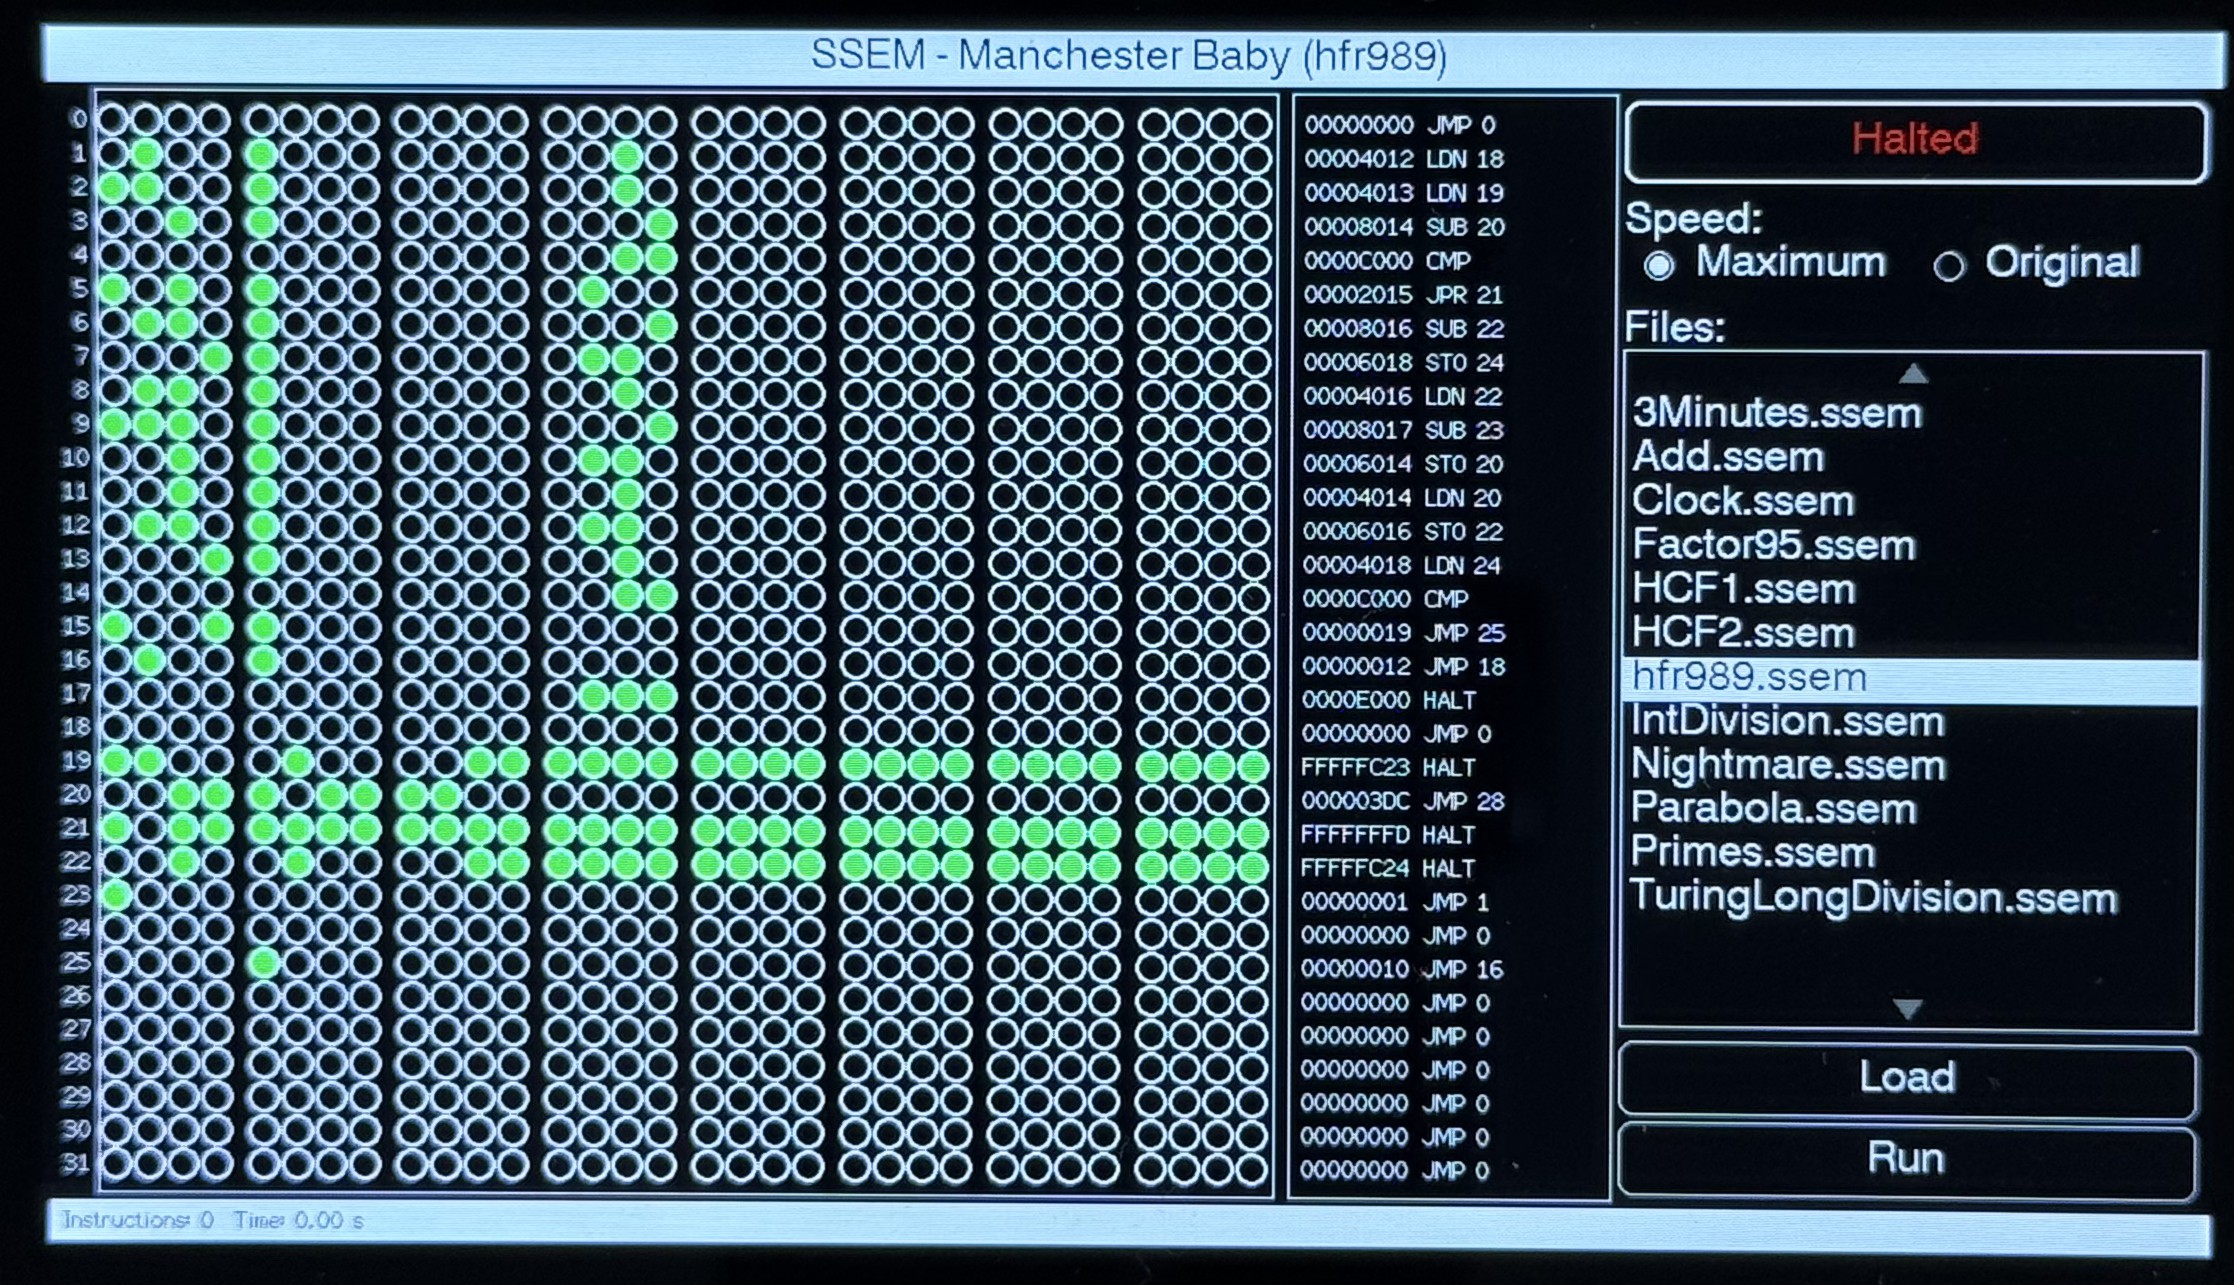
    Now, press load to pass the file to the assembler and load the contents into the store lines:

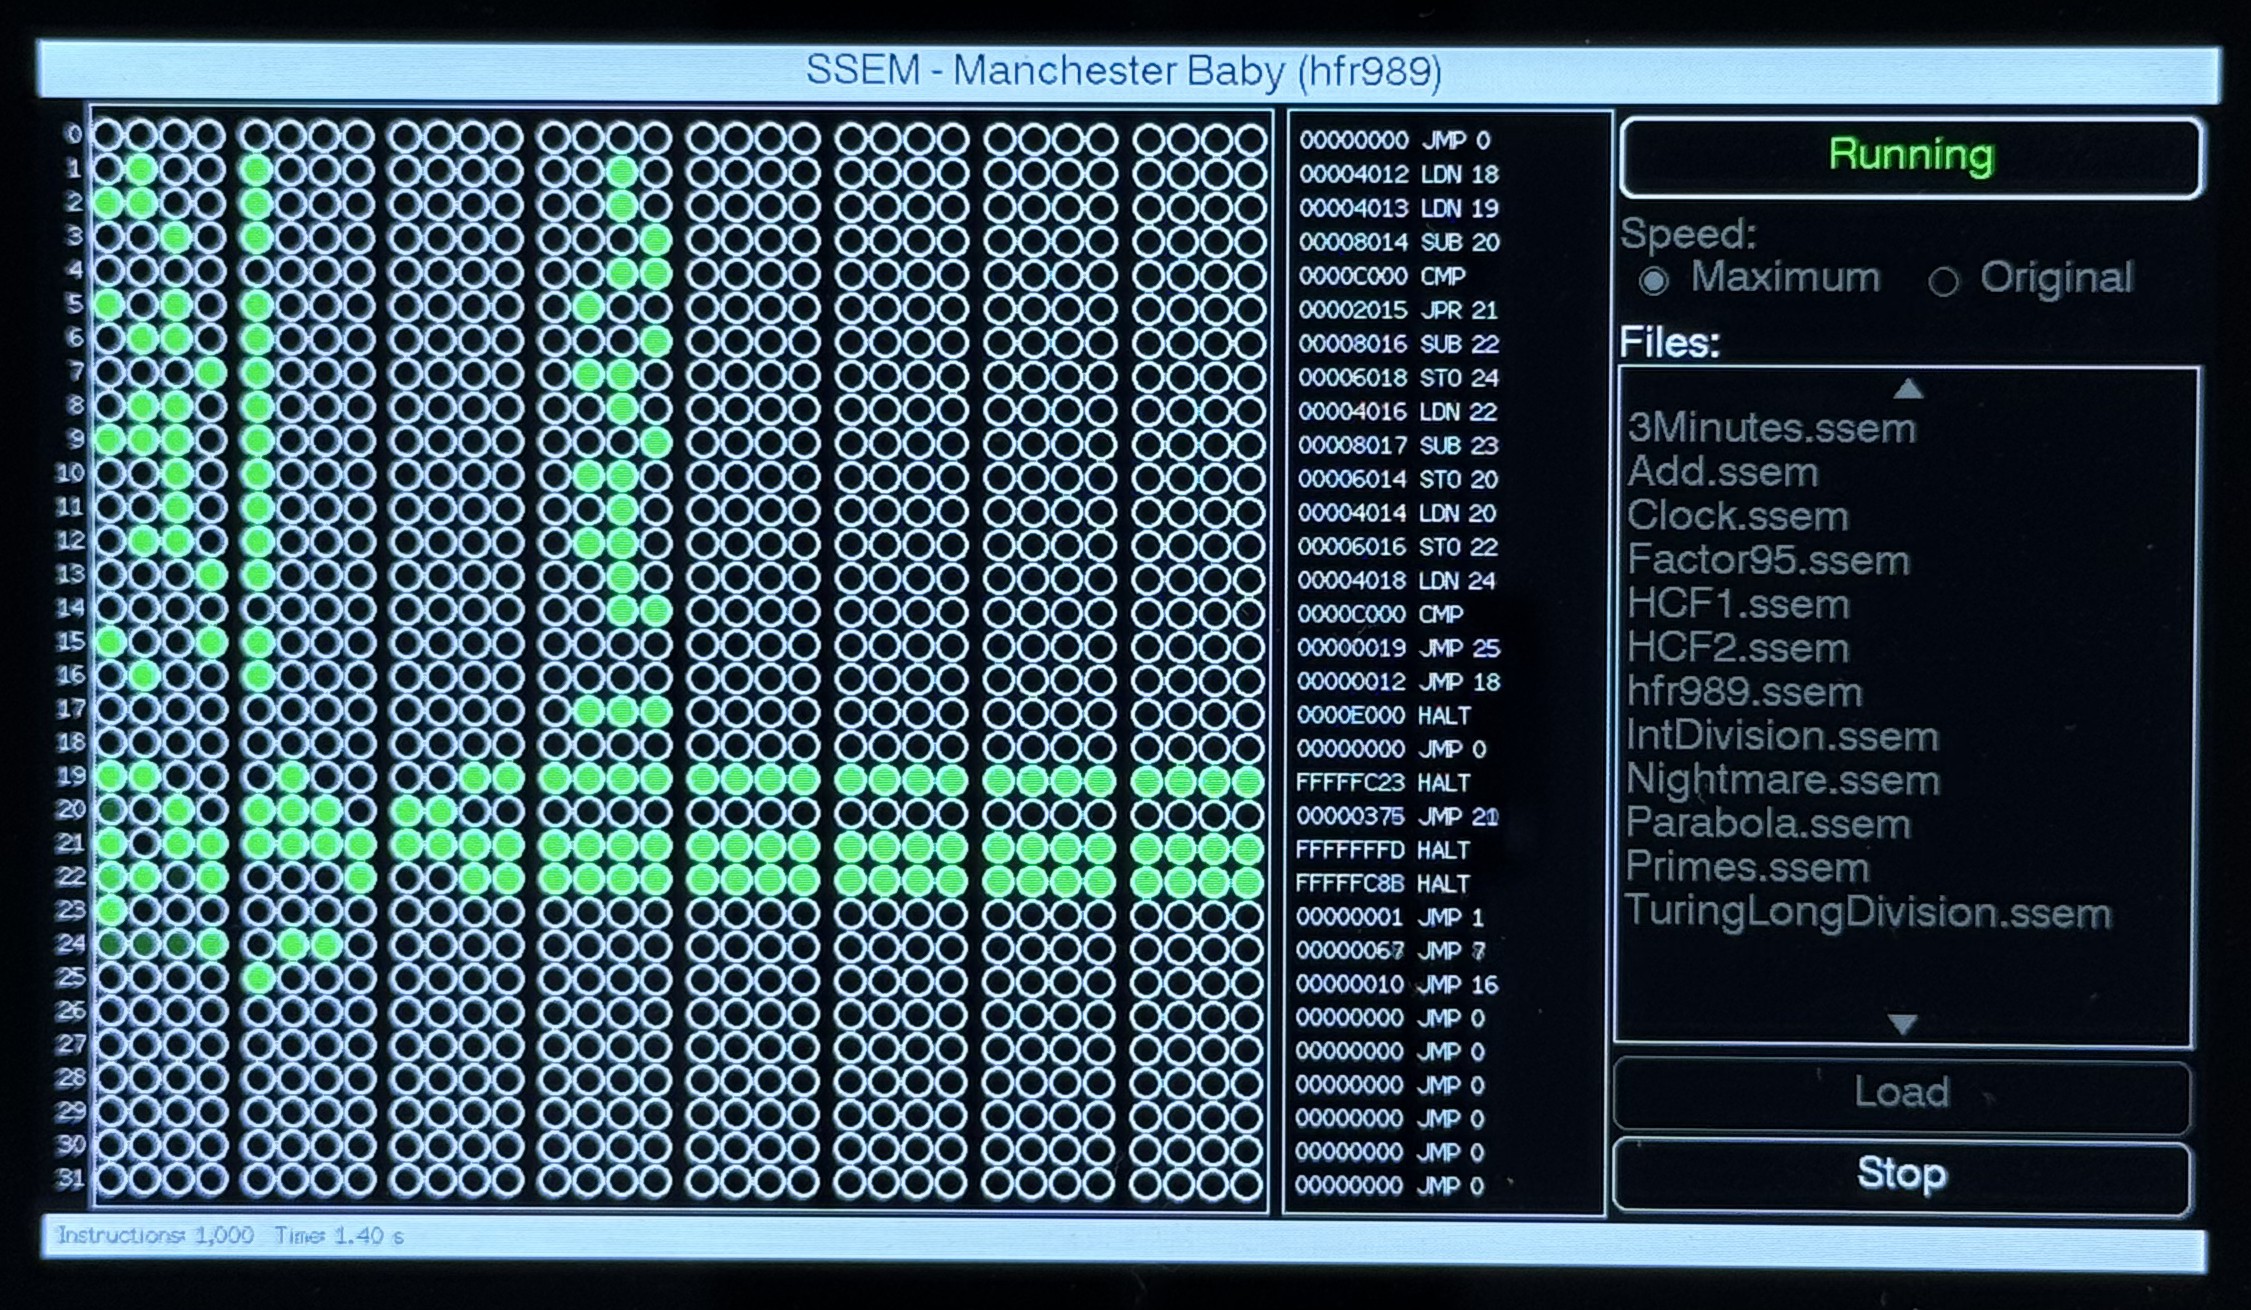
    The Run button is now enabled, pressing the button should run the application:

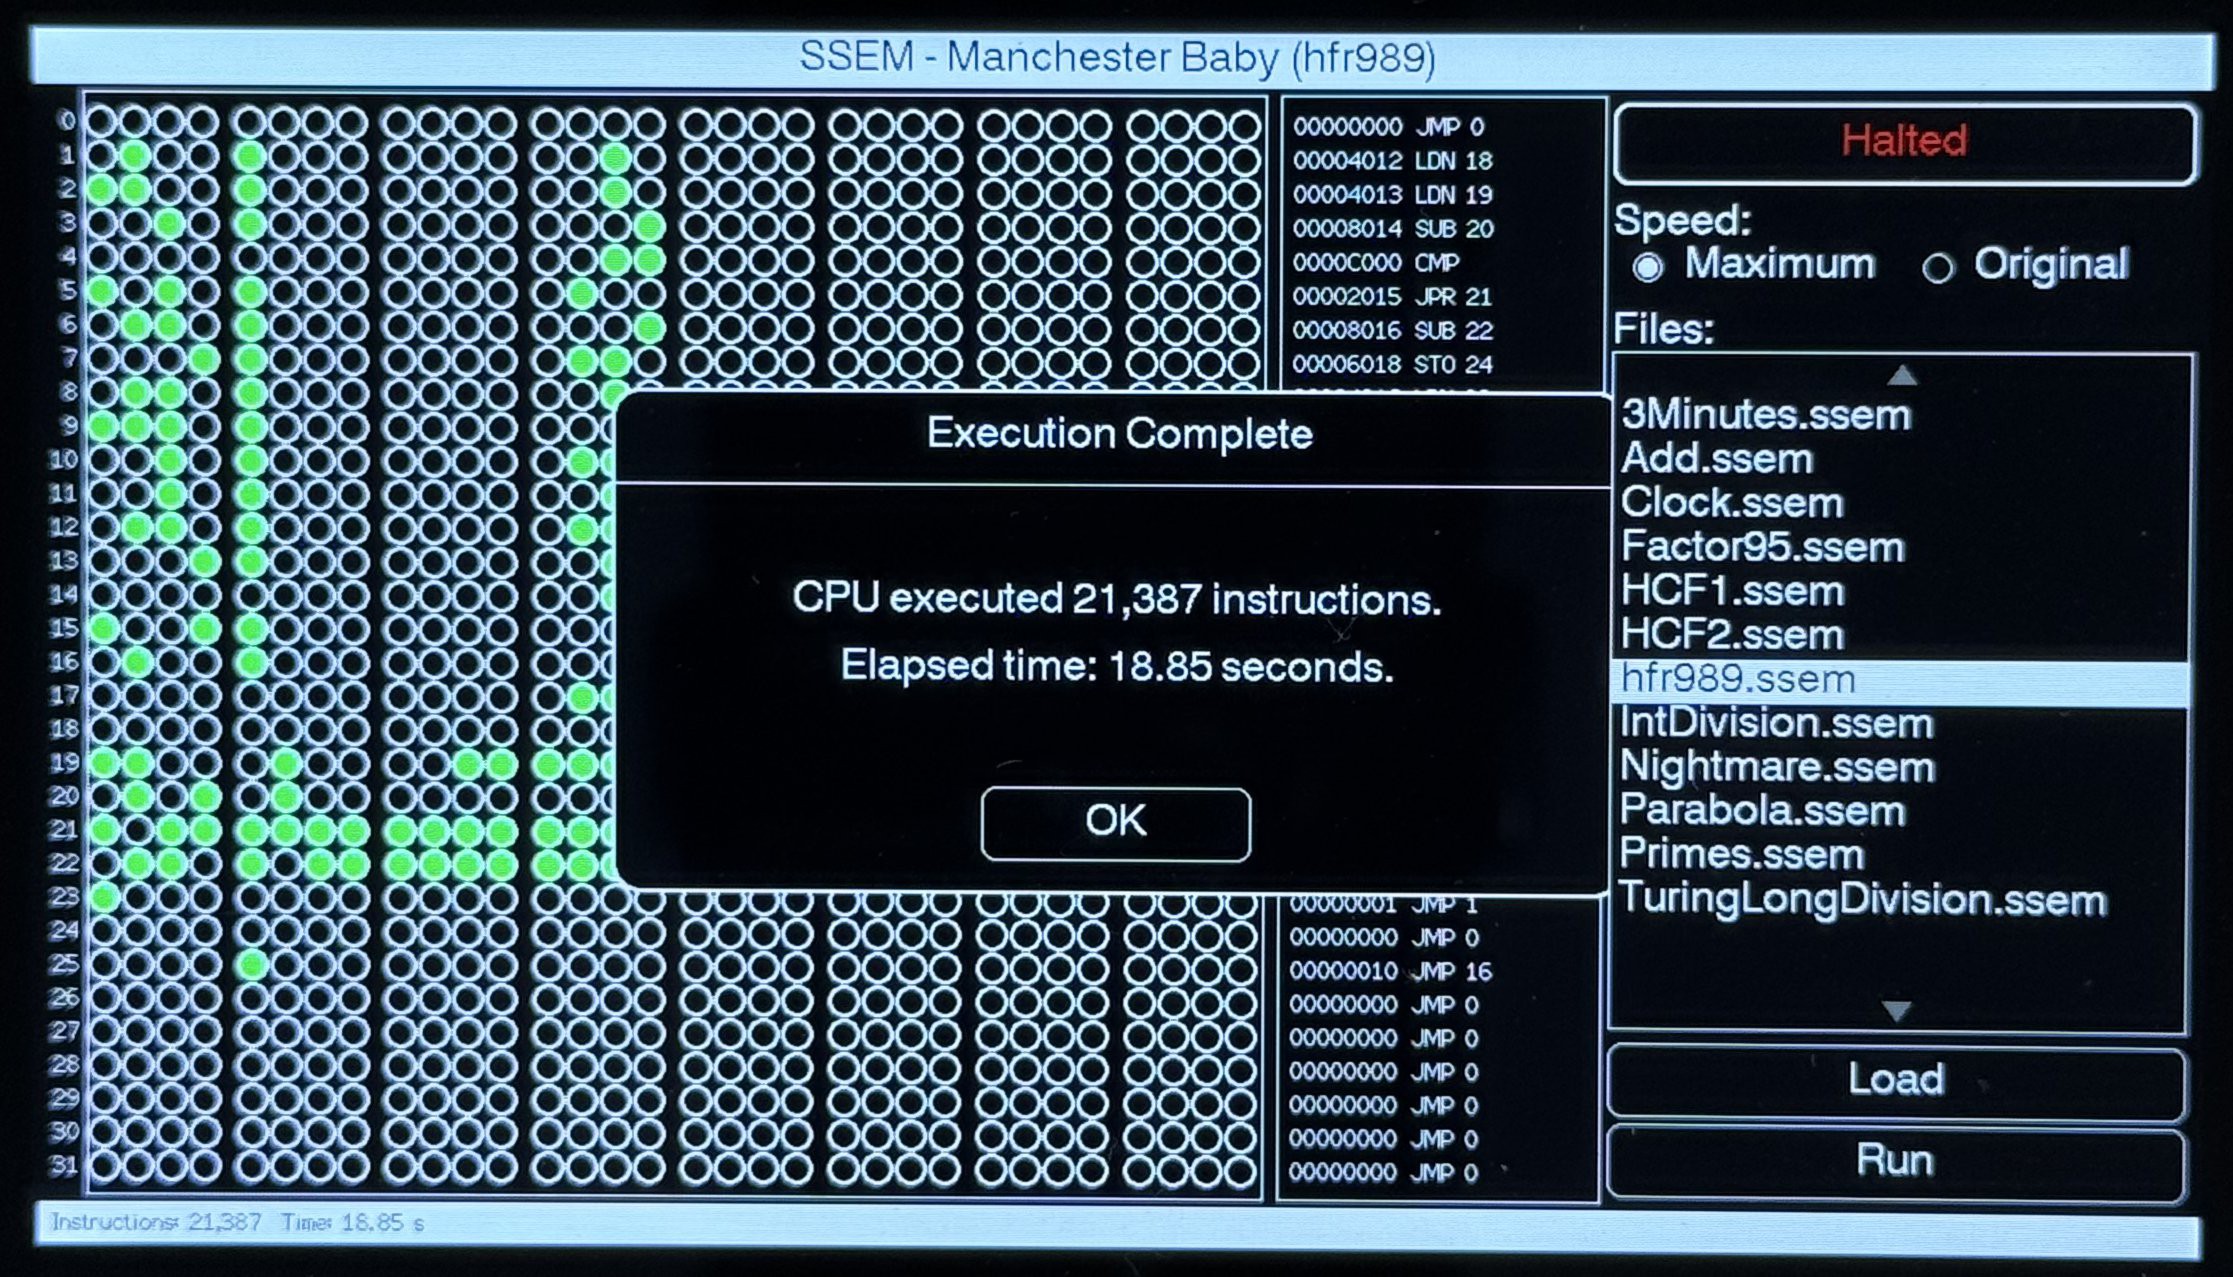
    At the end of the run a dialog will show the execution time along with the number of instructions that were executed:

    Pressing OK will show the final state of the store lines:

    The disassembly shows the same output as seen in previous runs in Python, the desktop C++ application and the NuttX implementation.

  • Using LLMs

    Nevyn • 10/08/2026 at 19:43 • 0 comments

    I make no attempt to hide the fact that I am happy with user interface design but I really do not like the actual implementation.

    LLMs were a bit hit and miss at the start of the user interface implementation.  The design was fluid but the key components identified.  With this in mind I started to implement the lower level supporting structures, buttons etc.  The initial look of the application was also started.

    Then came 2026...

    During this time LLMs started to become a lot more useful as the code generated was more reliable, better structured and generally more acceptable.

    With this in mind LLMs were used to provide some of the code supporting the user interface of the final application.

    I know the use of LLMs is controversial and hence this declaration for those who do not like their use.

    LLMs were used in the UI implementation only and then only for part of the implementation as some of the code already existed.

    Basically, I used the LLM to do the stuff I'm not really interested in (and so probably not very good at).

    The rest of the code (simulator, SD card, scheduling etc.) is LLM free.

  • Tab5 Application Design

    Nevyn • 10/08/2026 at 19:27 • 0 comments

    In the previous log the various external hardware components were discussed along with the new arrival on the scene, the M5Stack Tab5.  This presents an interesting platform as it offers a number of the components necessary to provide a good user experience.

    The touch screen display will allow for both user input and output.  This can replace the display tube (CRT) used to present the state of the store lines and results of the program run.  With some poetic licence we can extend this to contain some elements present in a modern operating system interface, for instance a basic file selection system.

    With this in mind the application will wrap around the existing C++ simulator and provide the following:

    • ESP IDF application
    • Show the store line contents
    • Show a list of assembly files on the SD card
    • Allow the selection of a file
    • Buttons to load and run a file
    • Show the state (running or stopped)
    • Show line count and execution time at the end of a run

    There are some obvious things missing such as the ability to manually set the contents of a store line.

    The display will be controlled using LVGL with support from the M5Stack libraries.

  • Hardware Selection

    Nevyn • 10/08/2026 at 18:42 • 0 comments

    So far this project has concentrated on the software side of the problem creating simulators for the SSEM for multiple environments.  It now becomes necessary on any hardware required to support the application running on a microcontroller.  It would be good to provide a hardware implementation for the control interface.

    Display

    The Small Scale Experimental Machine used a Cathode Ray Tube (CRT) to show the state of the store lines (and optionally the CI and PI store lines).  Each store line held 32 bits and there were 32 store lines in the machine.

    One obvious choice for the display would be a 32 x 32 RGB LED matrix display.  The display is self contained and there are several drivers available.

    Input

    Input to the machine comes from a series of switches, toggle switches for setting a store line and push switches for some operations.  These switches could be used to set the contents of a store line (programming).

    Additional Output

    There was an additional indicator showing of the machine was running or stopped.  This was a simple light on the system.

    Stop Press 2025

    At the end of 2025 M5Stack released the Tab5 development platform.  This ESP32-P4 development platform contains a display, touch interface and SD card interface in the package.

    Interesting...

  • Microcontroller Implementation using NuttX

    Nevyn • 10/08/2026 at 18:16 • 0 comments

    By now we have the C++ code running on the desktop and the memory usage has been validated using valgrind.  The code should now be in a reasonable state to move to the memory constrained environment of microcontrollers.  The following platform is targeted here:

    • Raspberry Pi PicoW
    • NuttX

    The initial port will replicate the desktop application by running the code through the serial console.  Additional hardware can be added later once the code has been proven to work.

    Creating a NuttX Application

    The process of creating a NuttX application is covered in the C++ Example documentation in the NuttX application documentation.

    Building the NuttX application is a little more complex than the desktop application as the operating system needs to be built along with the application code.

    Luckily this process is covered in some external guides I produced back in 2023:

    Following these three guides generates should result in a basic ssem application deployed to the board.  Replacing the sample code in the Creating a NuttX application link above with the code in the GitHub repository linked from this project page should result in the SSEM simulator deployed to a PicoW board.

    Testing the Application

    The application can be tested by connecting a USB / Serial board to the PicoW.  The board starts with the NuttX shell (nsh) running by default.  Just open a terminal and connect to the USB / Serial board.  Connect using the parameters 115200,n,8,1 and press return twice.  If everything has deployed correctly the prompt nsh> should be displayed.

    Enter the command help at the shell prompt and the ssem application should appear in the list of deployed applications.

    Running the application shows output similar to the desktop and Python applications:

    NuttShell (NSH) NuttX-10.4.0
    nsh> ssem
                       00000000001111111111222222222233
                       01234567890123456789012345678901
       0: 0x00000000 - 00000000000000000000000000000000 JMP 0            ; 0
       1: 0x48020000 - 01001000000000100000000000000000 LDN 18           ; 16402
       2: 0xc8020000 - 11001000000000100000000000000000 LDN 19           ; 16403
       3: 0x28010000 - 00101000000000010000000000000000 SUB 20           ; 32788
       4: 0x00030000 - 00000000000000110000000000000000 CMP              ; 49152
       5: 0xa8040000 - 10101000000001000000000000000000 JPR 21           ; 8213
       6: 0x68010000 - 01101000000000010000000000000000 SUB 22           ; 32790
       7: 0x18060000 - 00011000000001100000000000000000 STO 24           ; 24600
       8: 0x68020000 - 01101000000000100000000000000000 LDN 22           ; 16406
       9: 0xe8010000 - 11101000000000010000000000000000 SUB 23           ; 32791
      10: 0x28060000 - 00101000000001100000000000000000 STO 20           ; 24596
      11: 0x28020000 - 00101000000000100000000000000000 LDN 20           ; 16404
      12: 0x68060000 - 01101000000001100000000000000000 STO 22           ; 24598
      13: 0x18020000 - 00011000000000100000000000000000 LDN 24           ; 16408
      14: 0x00030000 - 00000000000000110000000000000000 CMP              ; 49152
      15: 0x98000000 - 10011000000000000000000000000000 JMP 25           ; 25
      16: 0x48000000 - 01001000000000000000000000000000 JMP 18           ; 18
      17: 0x00070000 - 00000000000001110000000000000000 HALT             ; 57344
      18: 0x00000000 - 00000000000000000000000000000000 JMP 0            ; 0
      19: 0xc43fffff - 11000100001111111111111111111111 HALT             ; -989
      20: 0x3bc00000 - 00111011110000000000000000000000 JMP 28           ; 988
      21: 0xbfffffff - 10111111111111111111111111111111 HALT             ; -3
      22: 0x243fffff - 00100100001111111111111111111111 HALT             ; -988
      23: 0x80000000 - 10000000000000000000000000000000 JMP 1            ; 1
      24: 0x00000000 - 00000000000000000000000000000000 JMP 0            ; 0
      25: 0x08000000 - 00001000000000000000000000000000 JMP 16           ; 16
      26: 0x00000000 - 00000000000000000000000000000000 JMP 0            ; 0
      27: 0x00000000 - 00000000000000000000000000000000 JMP 0            ; 0
      28: 0x00000000 - 00000000000000000000000000000000 JMP 0            ; 0
      29: 0x00000000 - 00000000000000000000000000000000 JMP 0            ; 0
     30: 0x00000000 - 00000000000000000000000000000000 JMP 0 ; 0
    ...
    Read more »

  • C++ Desktop Simulator

    Nevyn • 10/08/2026 at 16:58 • 0 comments

    A desktop version of the simulator can be used along with common C/C++ development tools.  This implementation will use valgrind to verify memory usage.  This was considered to be crucial as considering memory constraints in microcontroller environments.

    A desktop application will also present the opportunity to add some unit tests for the C++ code.

    Valgrind on MacOS

    There was a problem with valgrind running on MacOS at the time of the initial memory check work.  As a result it was necessary to run these tests using a docker image.

    Unit Tests

    The desktop application has been written in such a way that the same application can run either the main application executing a SSEM application or the unit tests.

    Full instructions for running these two tests as well as the main application are provided in the Desktop Readme.

    Running hfr989.ssem

    The desktop application will run the factoring application by default.  Capturing the output shows some familiar output:

    Program execution complete.
                       00000000001111111111222222222233
                       01234567890123456789012345678901
       0: 0x00000000 - 00000000000000000000000000000000 JMP 0            ; 0
       1: 0x48020000 - 01001000000000100000000000000000 LDN 18           ; 16402
       2: 0xc8020000 - 11001000000000100000000000000000 LDN 19           ; 16403
       3: 0x28010000 - 00101000000000010000000000000000 SUB 20           ; 32788
       4: 0x00030000 - 00000000000000110000000000000000 CMP              ; 49152
       5: 0xa8040000 - 10101000000001000000000000000000 JPR 21           ; 8213
       6: 0x68010000 - 01101000000000010000000000000000 SUB 22           ; 32790
       7: 0x18060000 - 00011000000001100000000000000000 STO 24           ; 24600
       8: 0x68020000 - 01101000000000100000000000000000 LDN 22           ; 16406
       9: 0xe8010000 - 11101000000000010000000000000000 SUB 23           ; 32791
      10: 0x28060000 - 00101000000001100000000000000000 STO 20           ; 24596
      11: 0x28020000 - 00101000000000100000000000000000 LDN 20           ; 16404
      12: 0x68060000 - 01101000000001100000000000000000 STO 22           ; 24598
      13: 0x18020000 - 00011000000000100000000000000000 LDN 24           ; 16408
      14: 0x00030000 - 00000000000000110000000000000000 CMP              ; 49152
      15: 0x98000000 - 10011000000000000000000000000000 JMP 25           ; 25
      16: 0x48000000 - 01001000000000000000000000000000 JMP 18           ; 18
      17: 0x00070000 - 00000000000001110000000000000000 HALT             ; 57344
      18: 0x00000000 - 00000000000000000000000000000000 JMP 0            ; 0
      19: 0xc43fffff - 11000100001111111111111111111111 HALT             ; -989
      20: 0x54000000 - 01010100000000000000000000000000 JMP 10           ; 42
      21: 0xbfffffff - 10111111111111111111111111111111 HALT             ; -3
      22: 0x6bffffff - 01101011111111111111111111111111 HALT             ; -42
      23: 0x80000000 - 10000000000000000000000000000000 JMP 1            ; 1
      24: 0x00000000 - 00000000000000000000000000000000 JMP 0            ; 0
      25: 0x08000000 - 00001000000000000000000000000000 JMP 16           ; 16
      26: 0x00000000 - 00000000000000000000000000000000 JMP 0            ; 0
      27: 0x00000000 - 00000000000000000000000000000000 JMP 0            ; 0
      28: 0x00000000 - 00000000000000000000000000000000 JMP 0            ; 0
      29: 0x00000000 - 00000000000000000000000000000000 JMP 0            ; 0
      30: 0x00000000 - 00000000000000000000000000000000 JMP 0            ; 0
      31: 0x00000000 - 00000000000000000000000000000000 JMP 0            ; 0
    Executed 21387 instructions in 675000 nanoseconds.

    Valgrind Checks

    And finally, time to check the memory usage with valgrind

    ==60== Memcheck, a memory error detector
    ==60== Copyright (C) 2002-2024, and GNU GPL'd, by Julian Seward et al.
    ==60== Using Valgrind-3.26.0 and LibVEX; rerun with -h for copyright info
    ==60== Command: ./ssem_main
    ==60== Parent PID: 55
    ==60== 
    ==60== 
    ==60== HEAP SUMMARY:
    ==60==     in use at exit: 0 bytes in 0 blocks
    ==60==   total heap usage: 229 allocs, 229 frees, 92,575 bytes allocated
    ==60== 
    ==60== All heap blocks were freed -- no leaks are possible
    ==60== 
    ==60== ERROR SUMMARY: 0 errors from 0 contexts (suppressed: 0 from 0)

    No errors, looking good. 

  • Porting the Simulator

    Nevyn • 10/07/2026 at 10:03 • 0 comments

    The Python simulator run well on a modern computer.  The console output shows the start and end conditions for the SSEM.  It should also be possible to show the state of the machine as the application executes.  It should also be possible to do this with hardware and some options were considered:

    • MicroPython / CircuitPython and RGB matrix
    • NuttX (C/C++)
    • FreeRTOS (C/C++)

    The Python on hardware option was investigated for a while but eventually this was abandoned.  The main reason was to move away from Python as C and C++ are my favoured languages.

    The next evolution of the system was a port to NuttX.

    C / C++

    Porting to C and / or C++ poses a new set of programming issues since both languages present multiple opportunities to introduce memory access issues. In order to help mitigate against this the core code can be isolated as it would be generic code. This allows a sample desktop application to be used for testing and also memory checks using well established checking tools (think valgrind et. al.).

    The aim of the initial port is to provide the same functionality of the original application with any changes necessary to provide additional robustness as we are undoubtedly going to be seeing pointers in the C++ port.

    Where possible, the structure of the original Python code has been maintained to keep a 1:1 mapping with the original code and test suite. This will provide an easy way to validate the unit tests in the port against the original Python code. The original Python code was validated against David Sharps Java Simulator.

    The long term aim of this port is to provide a way of running the application on a Raspberry Pi Pico connected to hardware which will emulate the original SSEM. The application on the Raspberry Pi Pico will target the NuttX RTOS. As we will see later, compiling and running on NuttX will present some interesting issues.

View all 14 project logs

Enjoy this project?

Share

Discussions

Similar Projects

Does this project spark your interest?

Become a member to follow this project and never miss any updates