-
Bill of materials
10/15/2017 at 22:15 • 0 commentsIn link below you can find complete bill of materials for electronic modules. Bill of materials of the complete assembly can be found in attached files.
![BOM link BOM link]()
Project cost (approximation):
- Electronic components ~35$.
- 3D print of enclosure ~15$.
- Li-Po battery ~6$.
- PCBs ~20$.
- Strap holders and straps ~10$.
- Magnets ~5$.
- Screen protection acrylic ~2$.
-
Final assembly
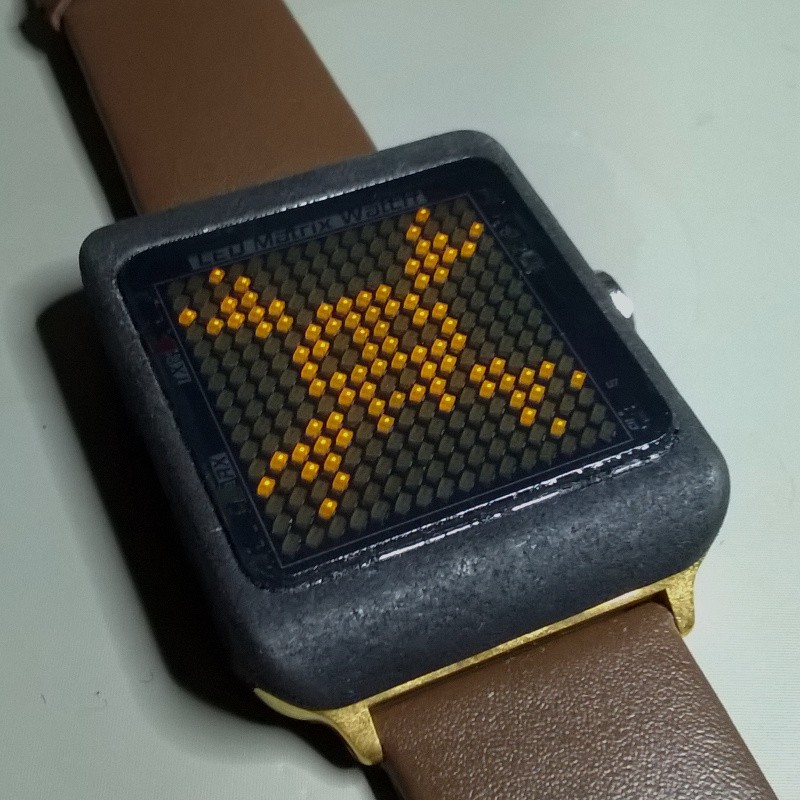
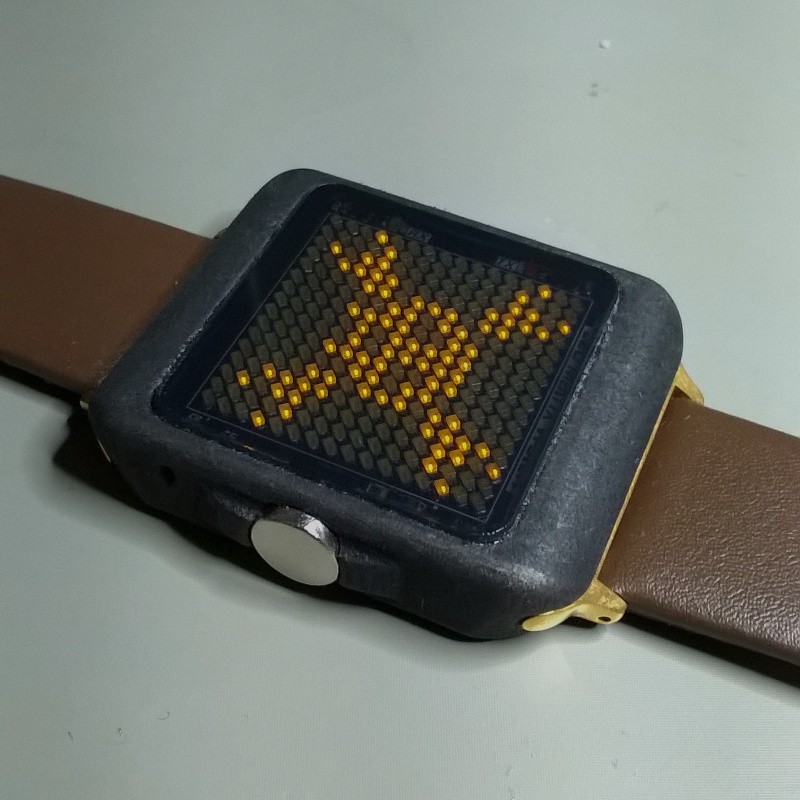
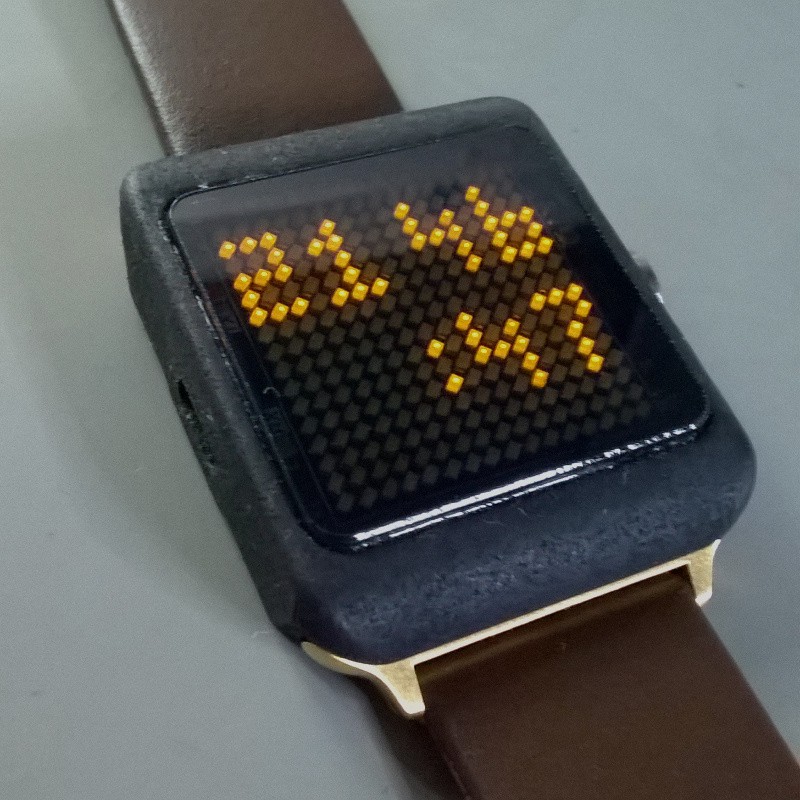
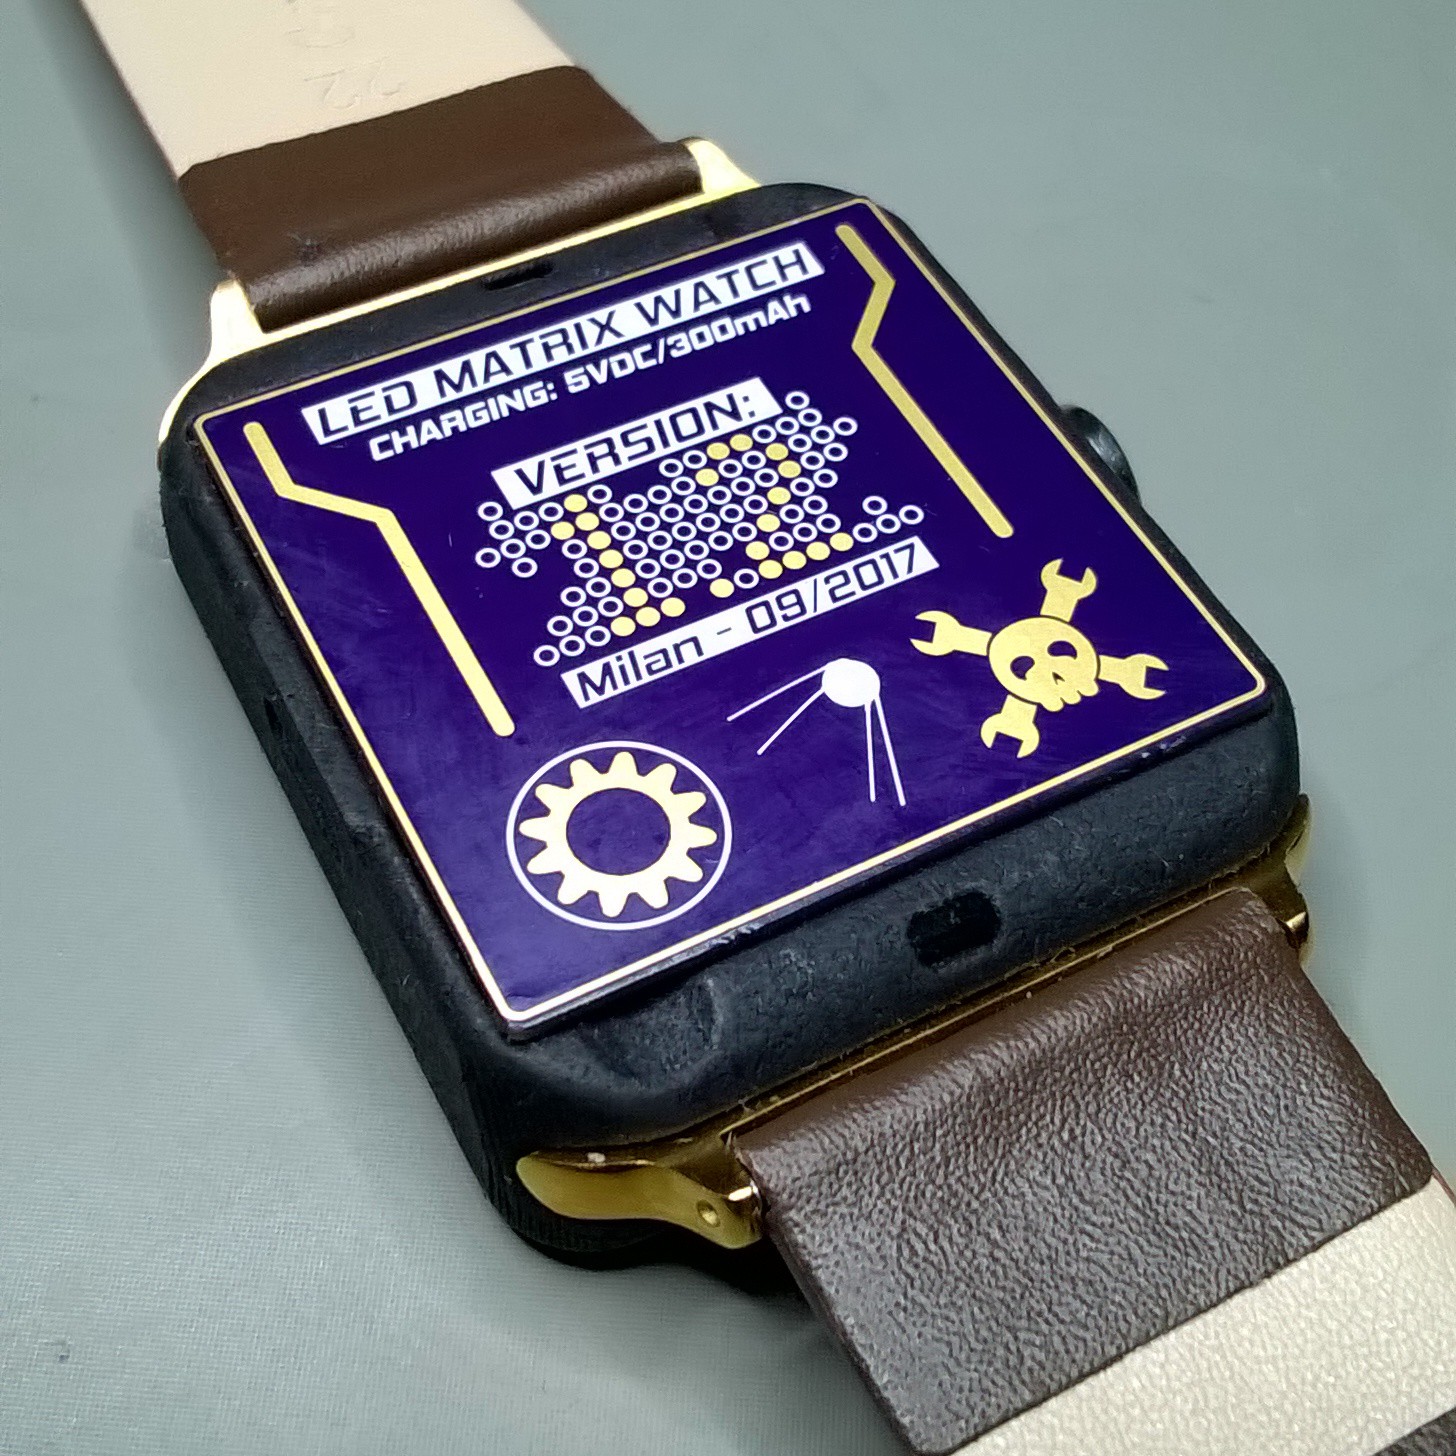
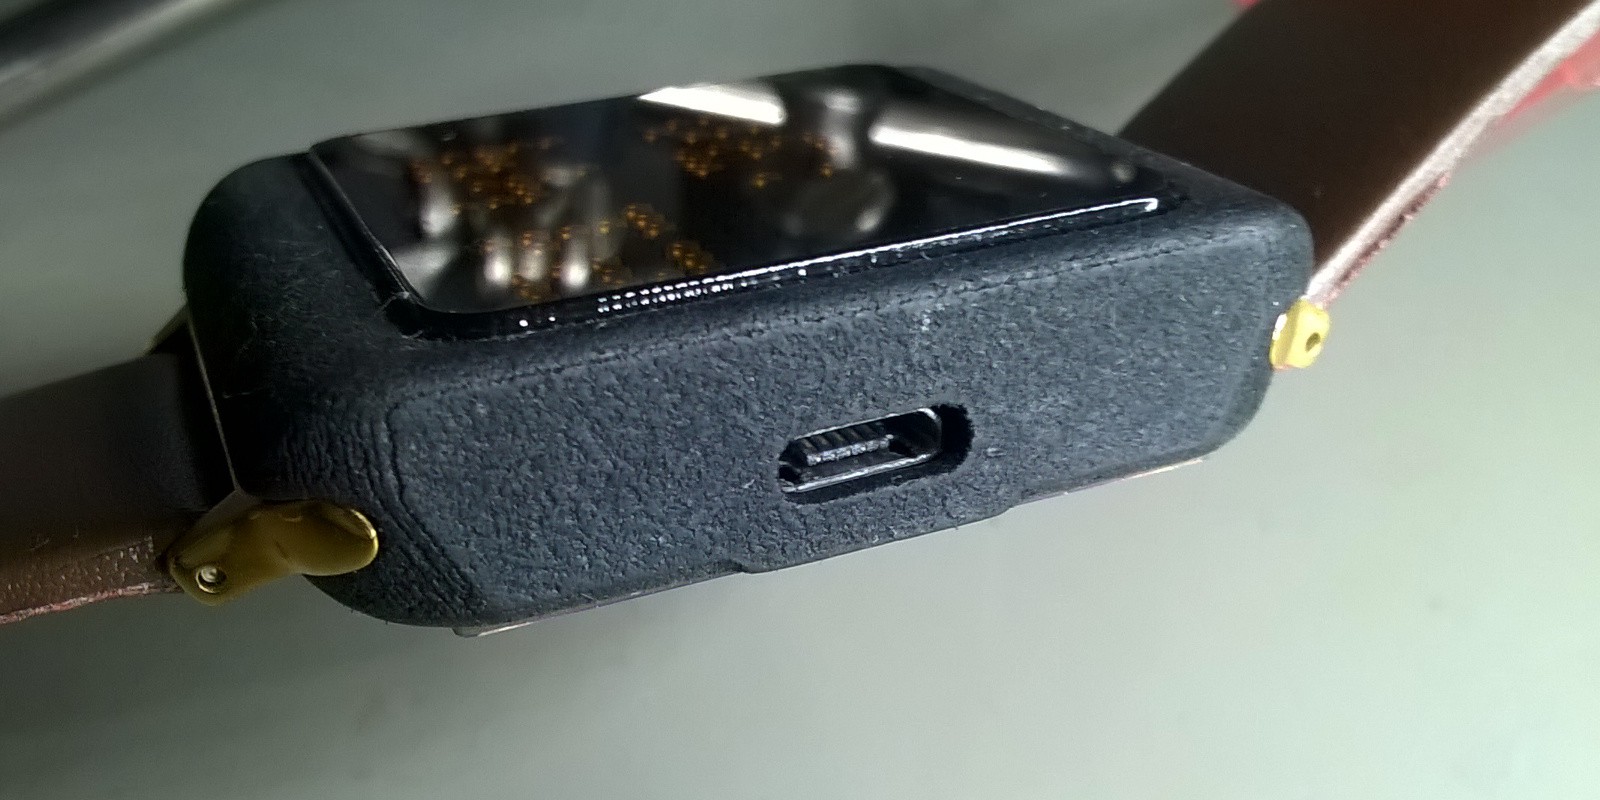
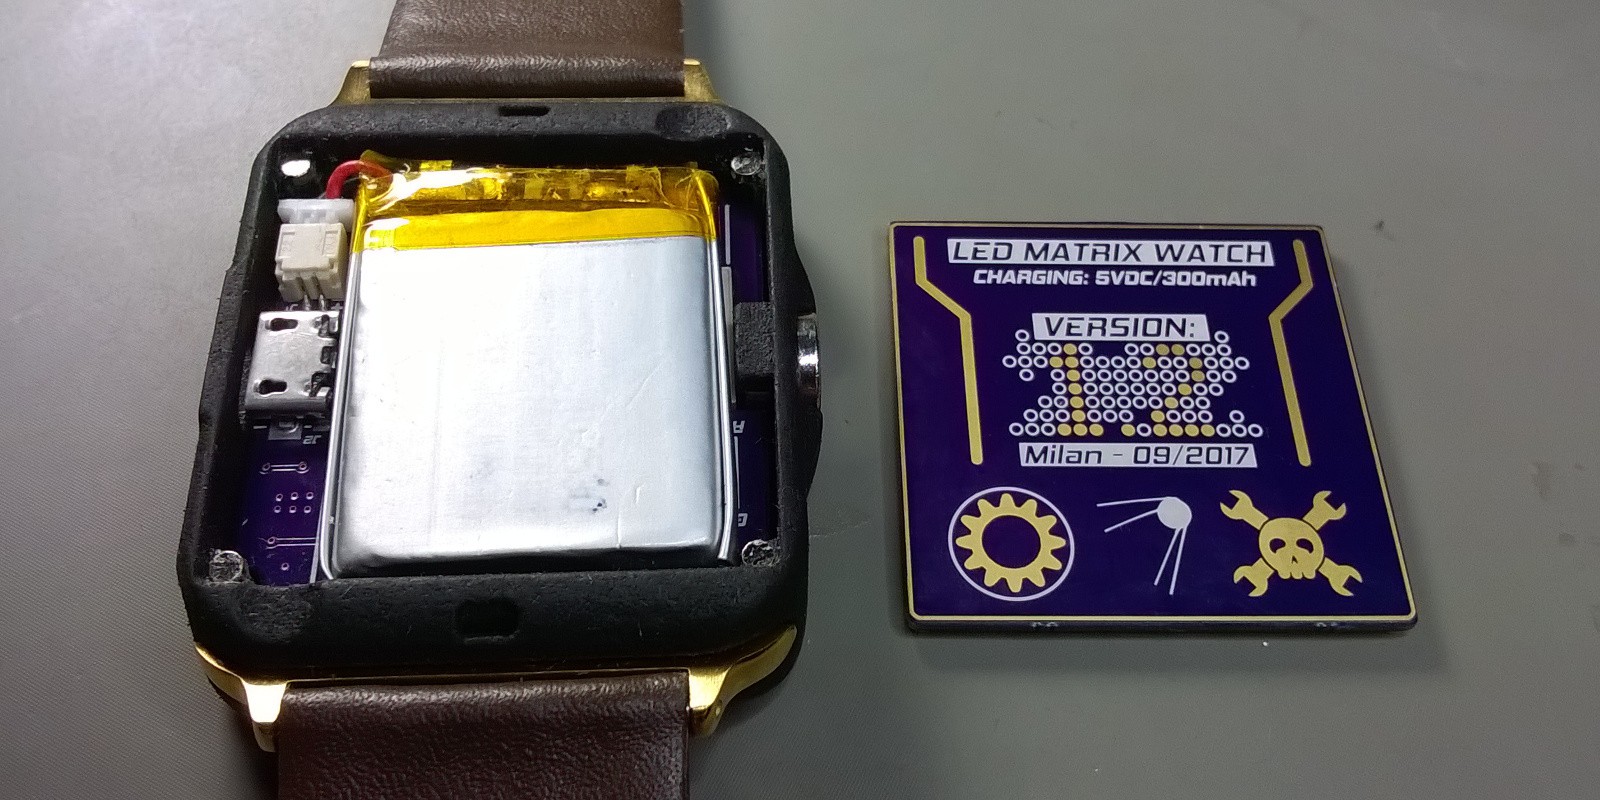
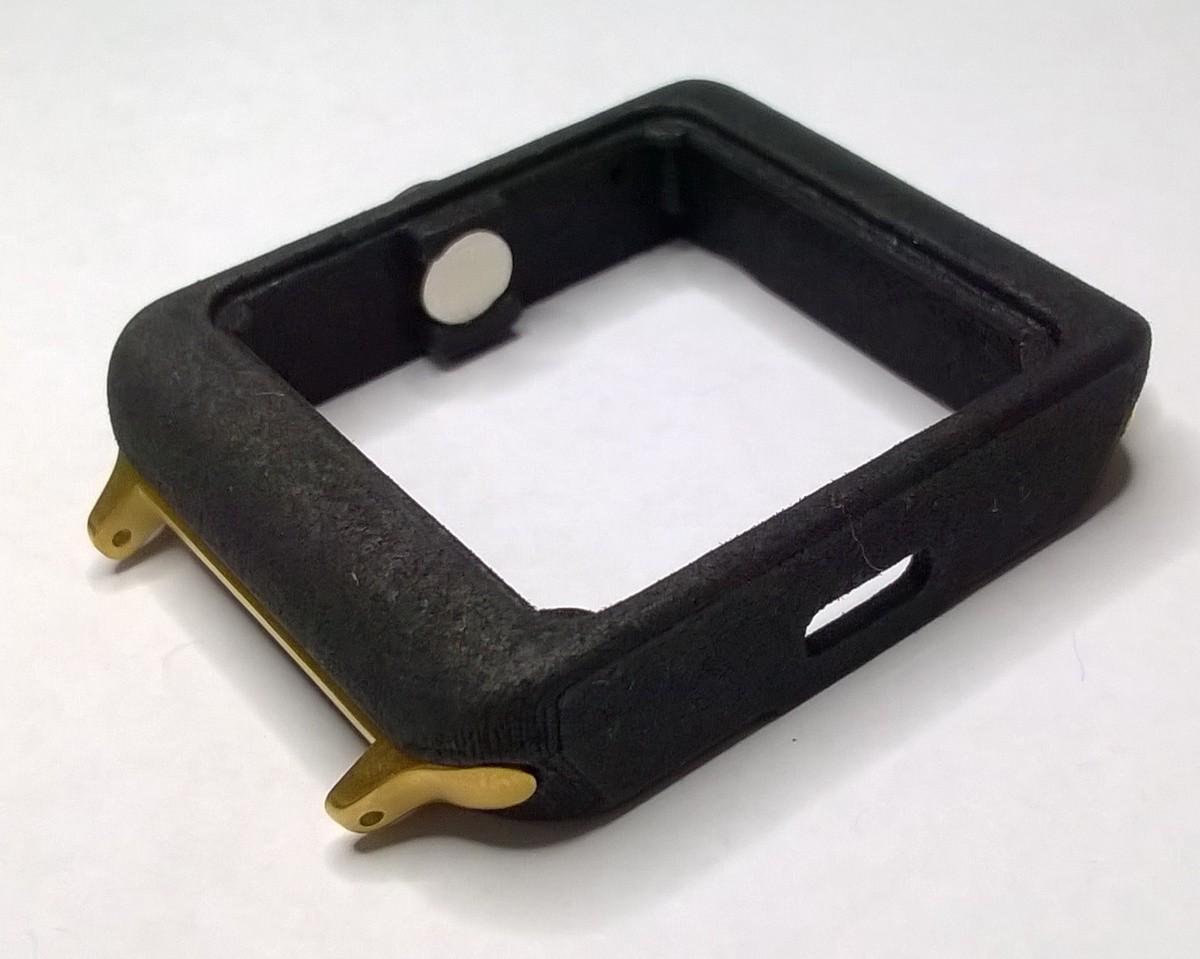
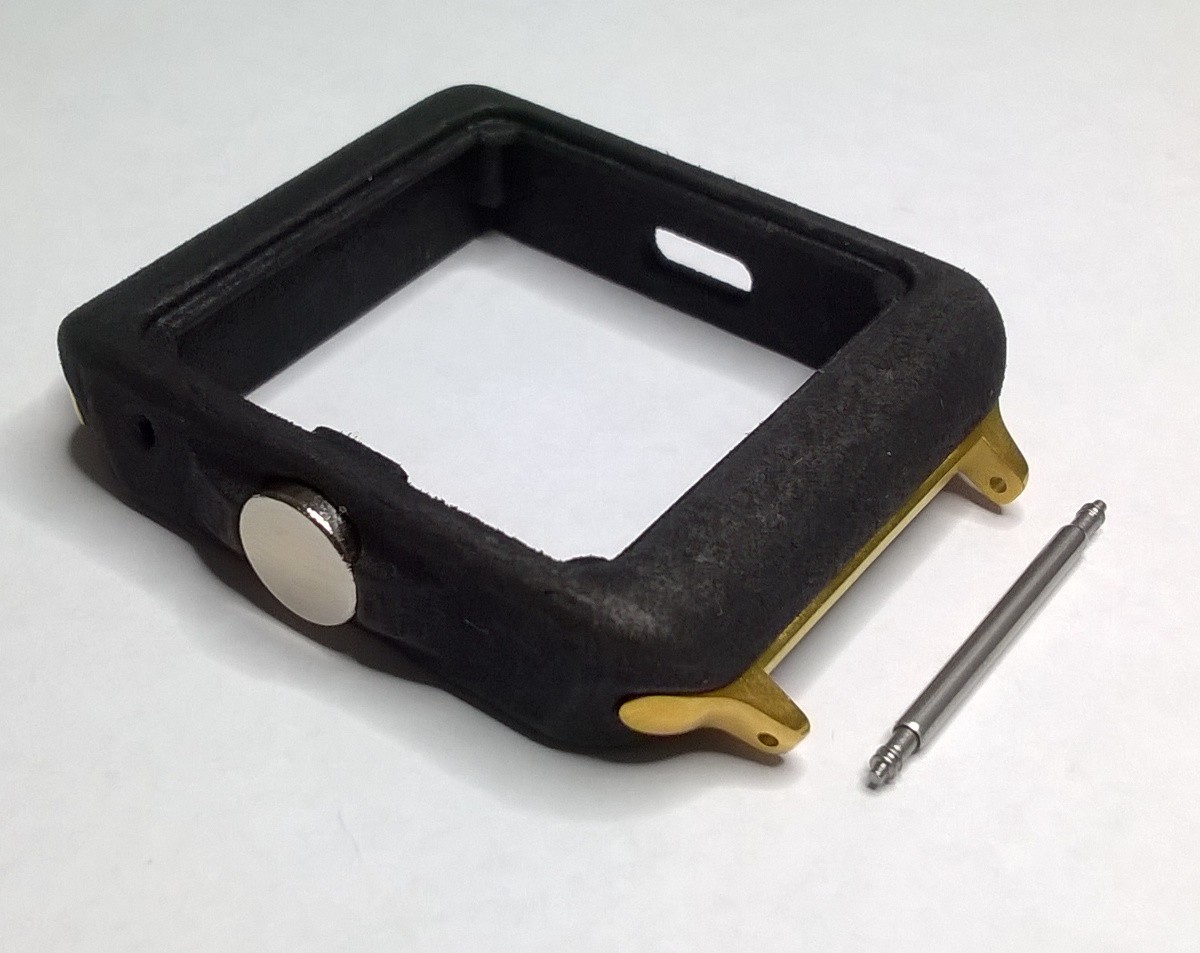
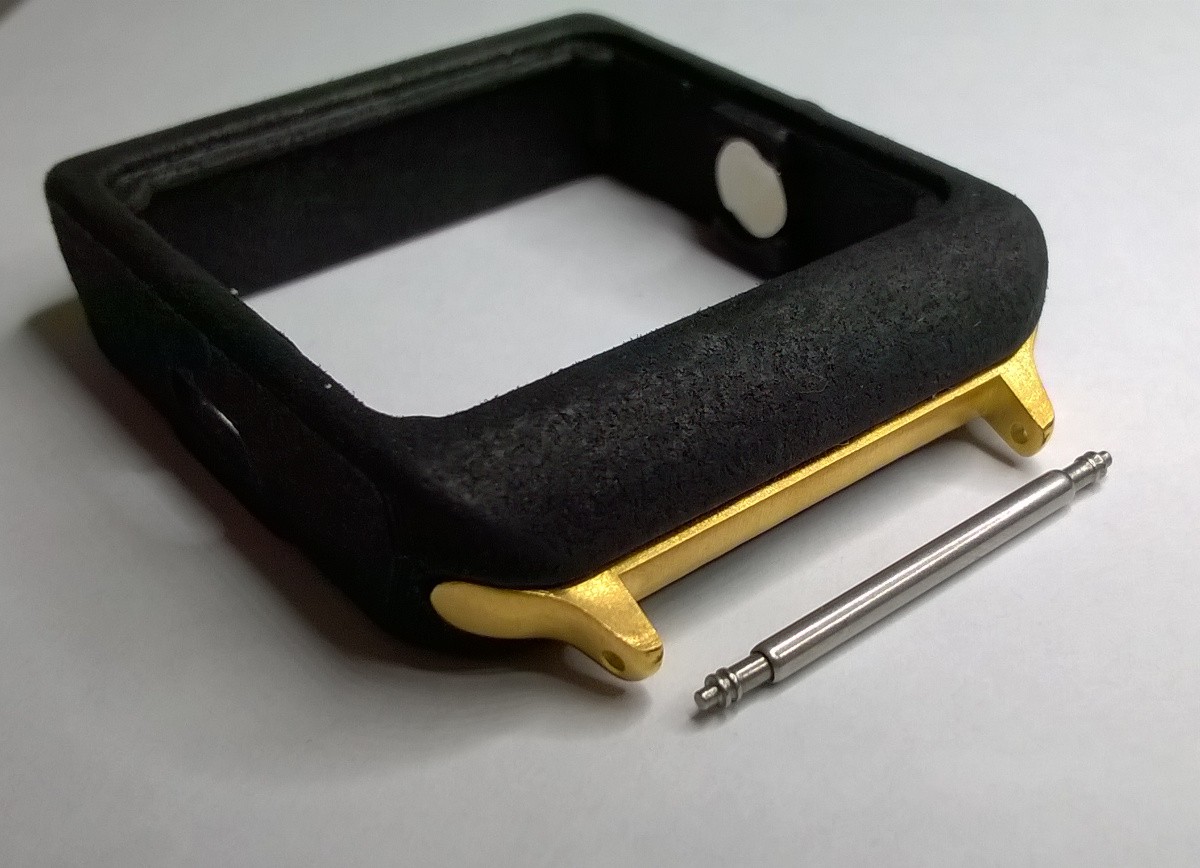
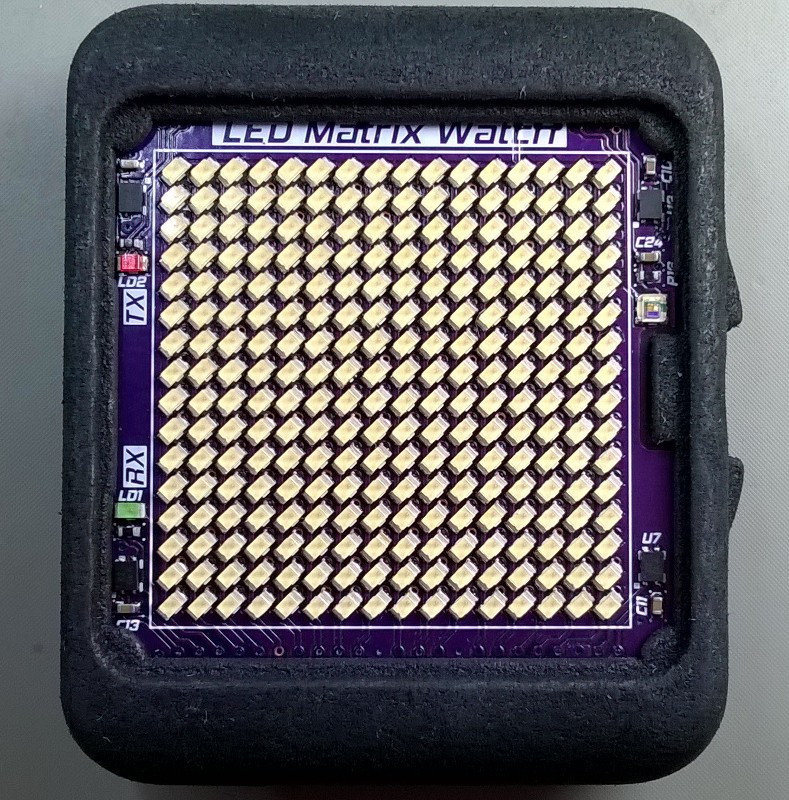
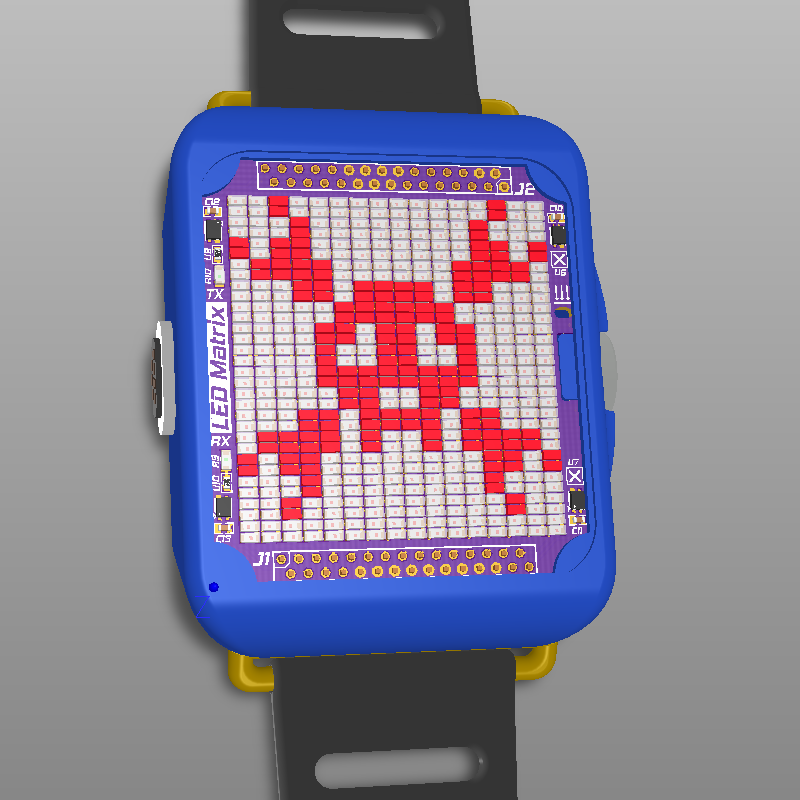
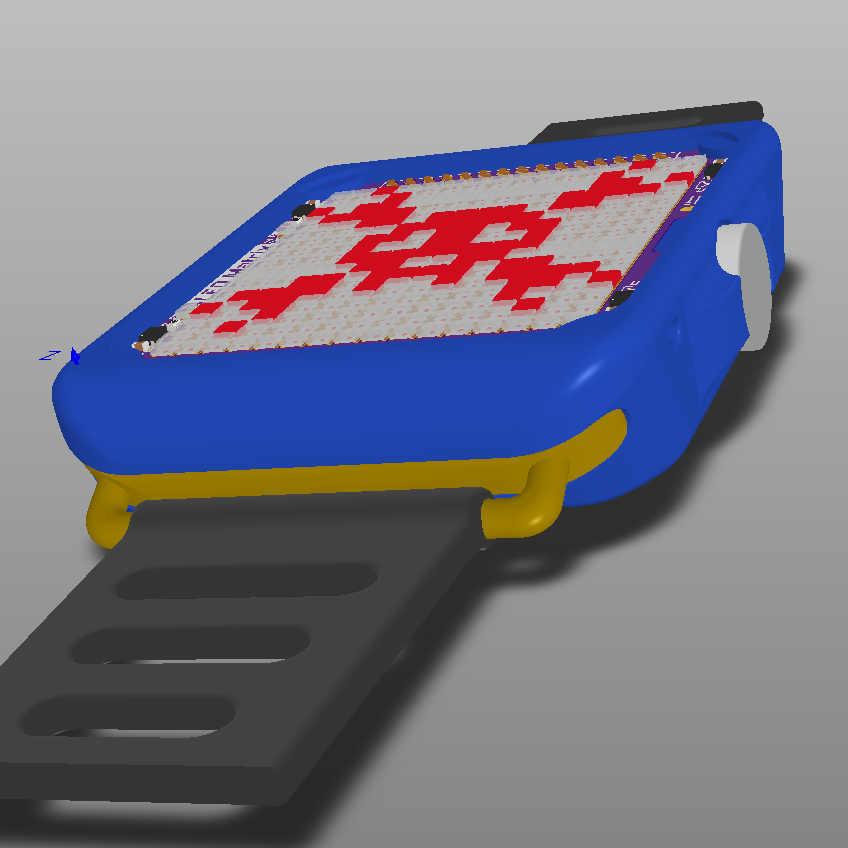
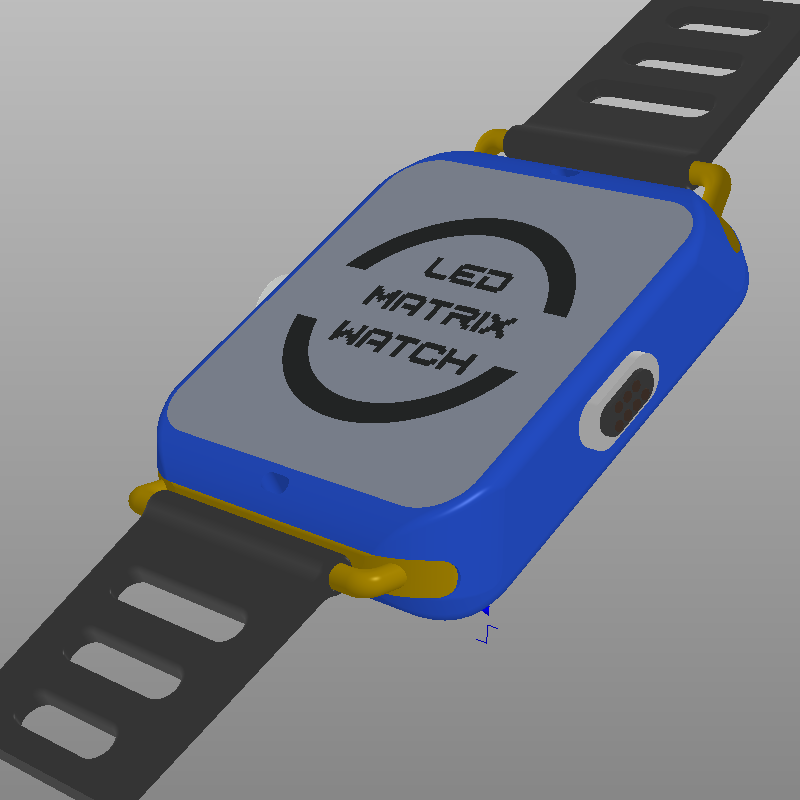
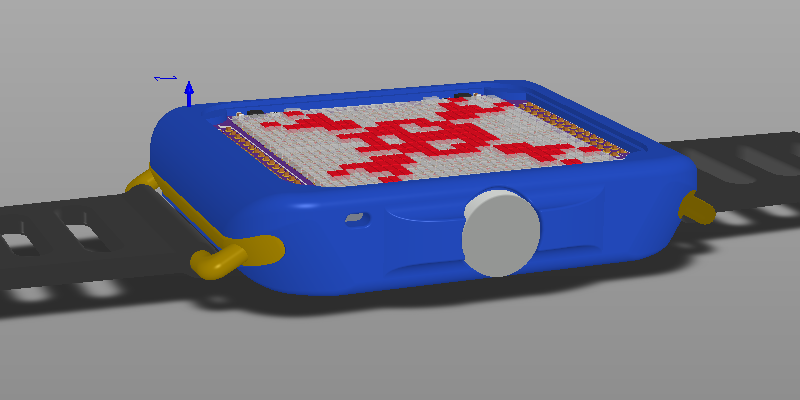
10/15/2017 at 20:44 • 0 commentsFor now here are some pictures of the assembled device. Video that showcases its features will come soon. Assembly is made out of 3D printed body, smoked acrylic used as screen cover, back cover pcb, strap adapters for 22 mm strap, electronics and magnets.
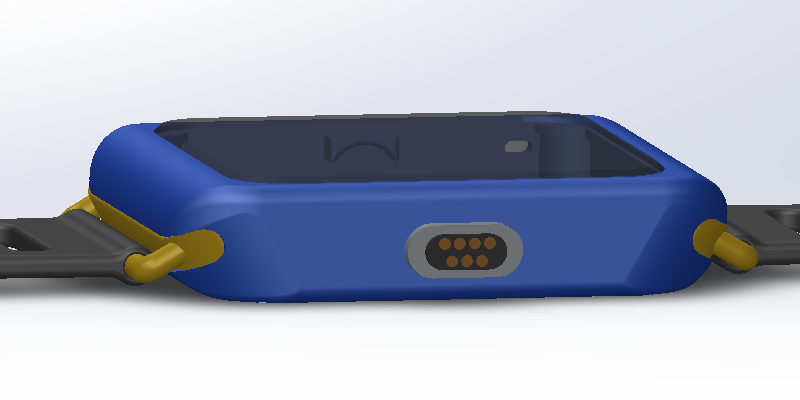
Strap adapters fit snugly and don't wiggle. They can be removed by pushing back locking pin on the bottom of the case. Customized pcb that acts as improvised cover is attached by 4 magnets and due to two cavities on each side of the case can be easily taken off. Smoked acrylic is glued on front face of the watch to protect electronics inside.
![]()
![]()
![]()
![]()
![]()
![]()
-
Making new version - part 2.
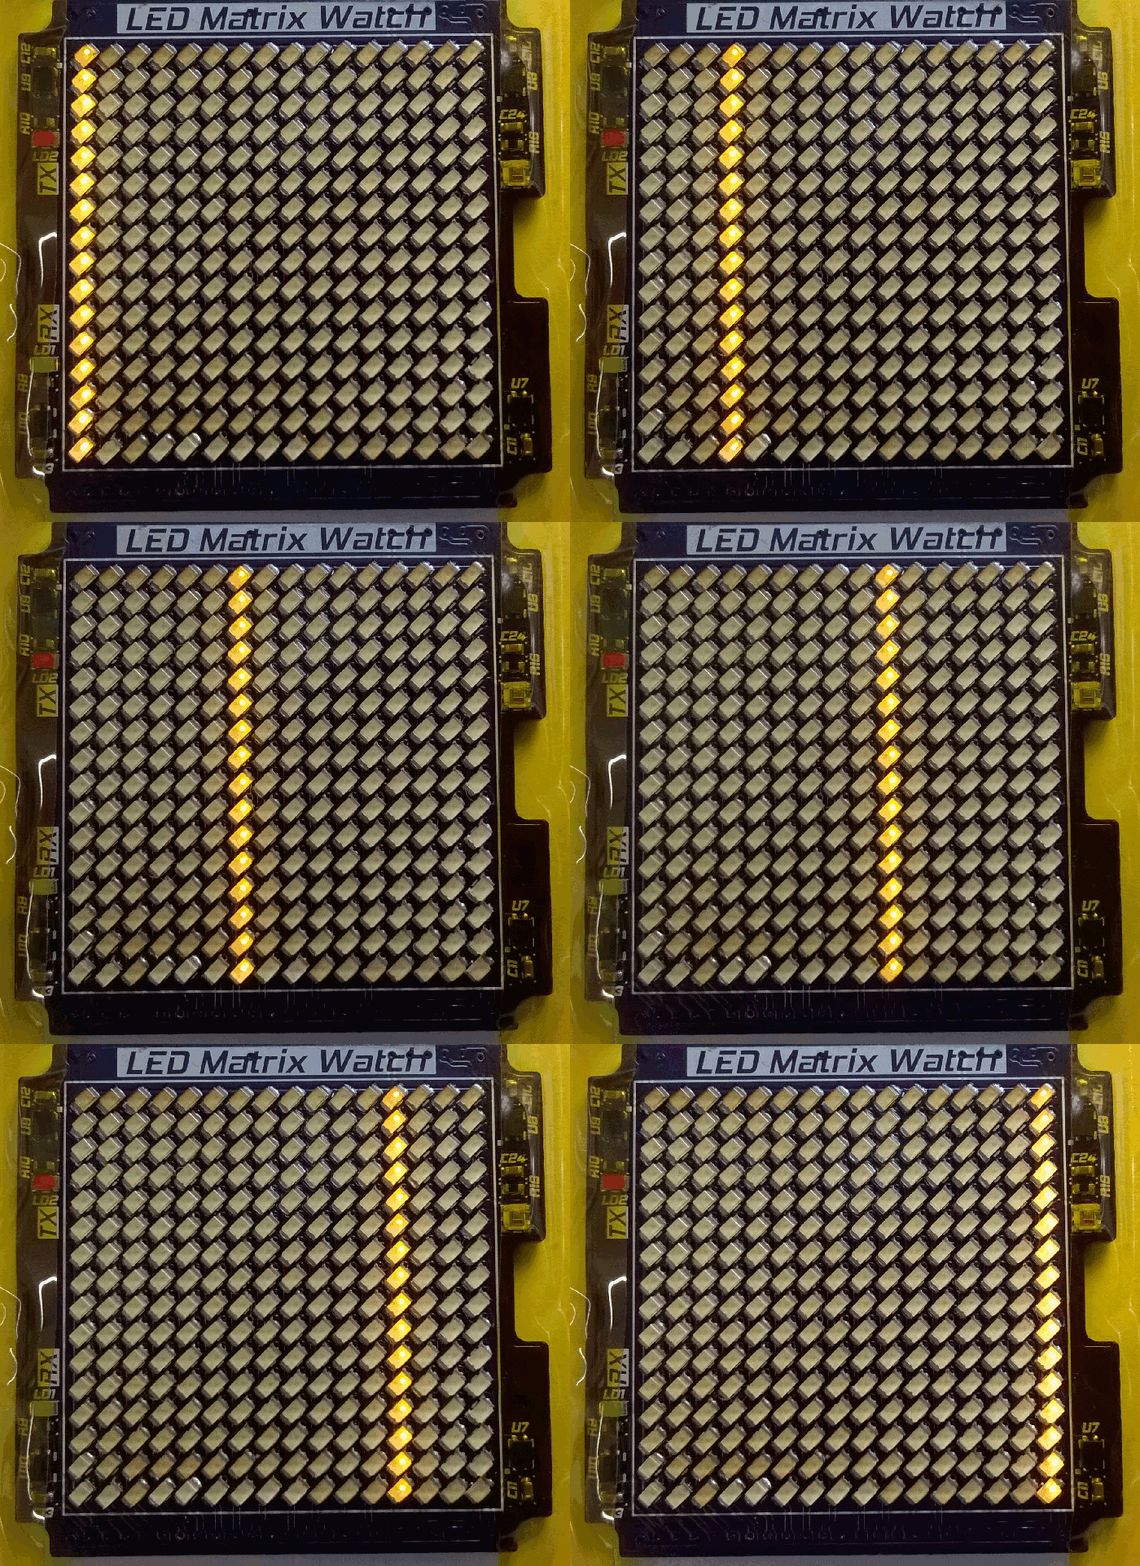
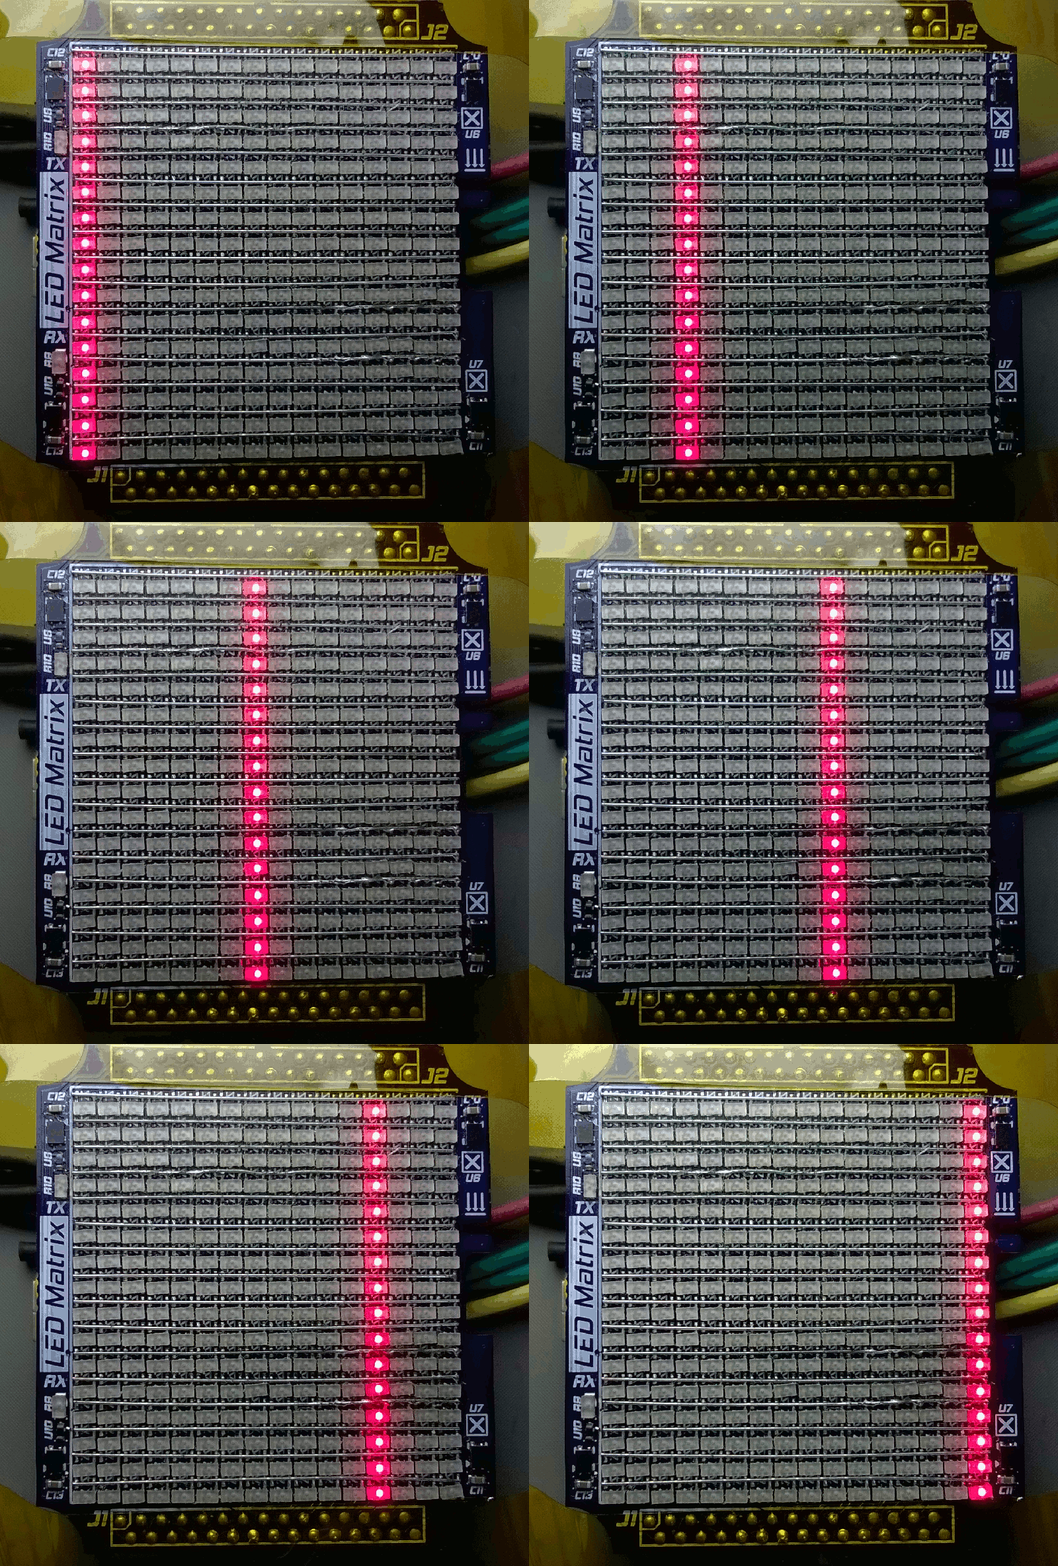
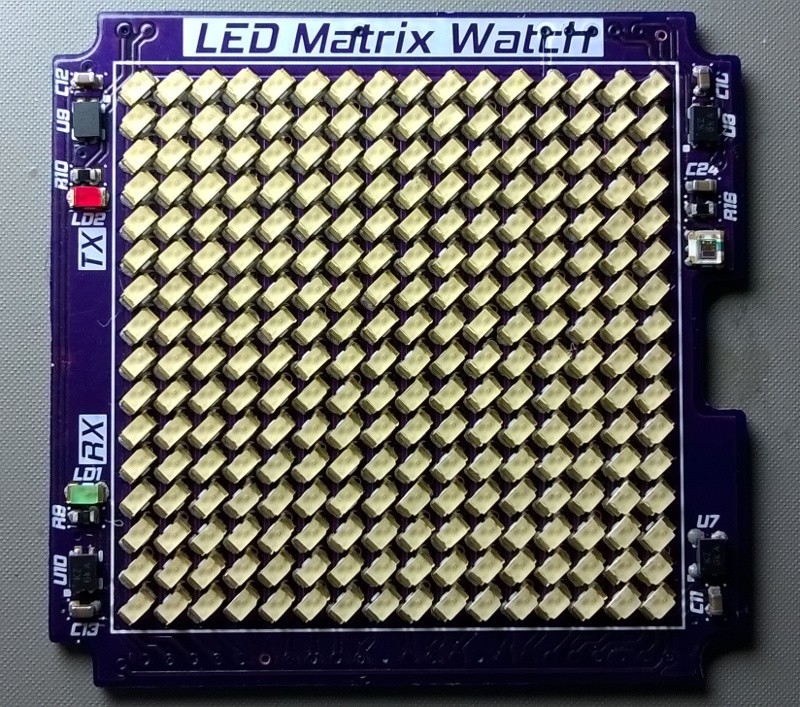
10/02/2017 at 20:55 • 0 commentsI have finished testing assembled modules. Only thing left is to connect them together and mount then in enclosure. I am planning to finish hardware part of the project this weekend. Here is picture of Led matrix PCB running test software.
![]()
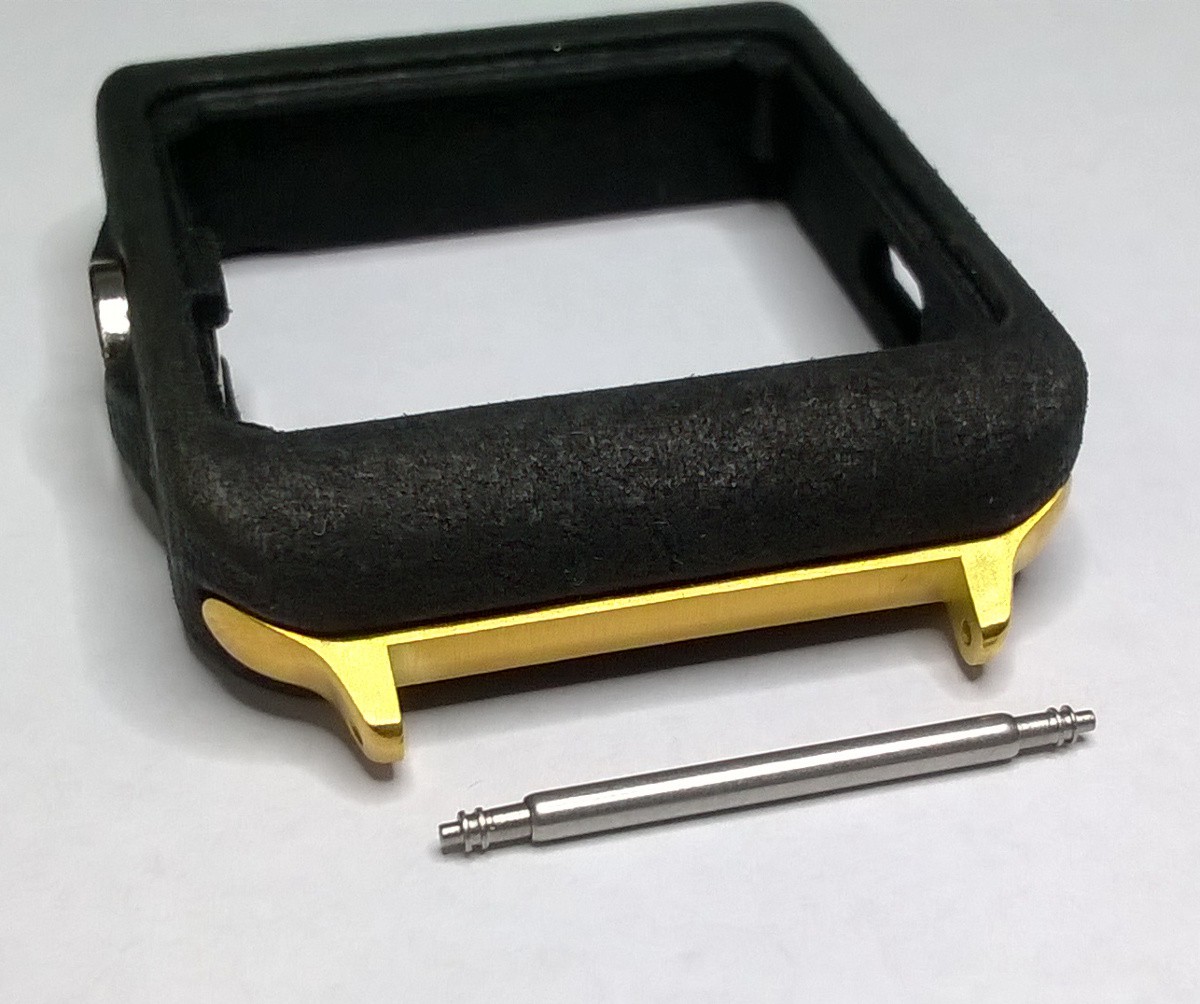
Here are also some pictures of the enclosure. I have tested few types of adapters and straps (apple watch compatible off eBay) and they all fit perfectly and snugly. Magnets work and fit great although they might be tiny bit too strong.
![]()
![]()
![]()
![]()
-
Making new version - part 1.
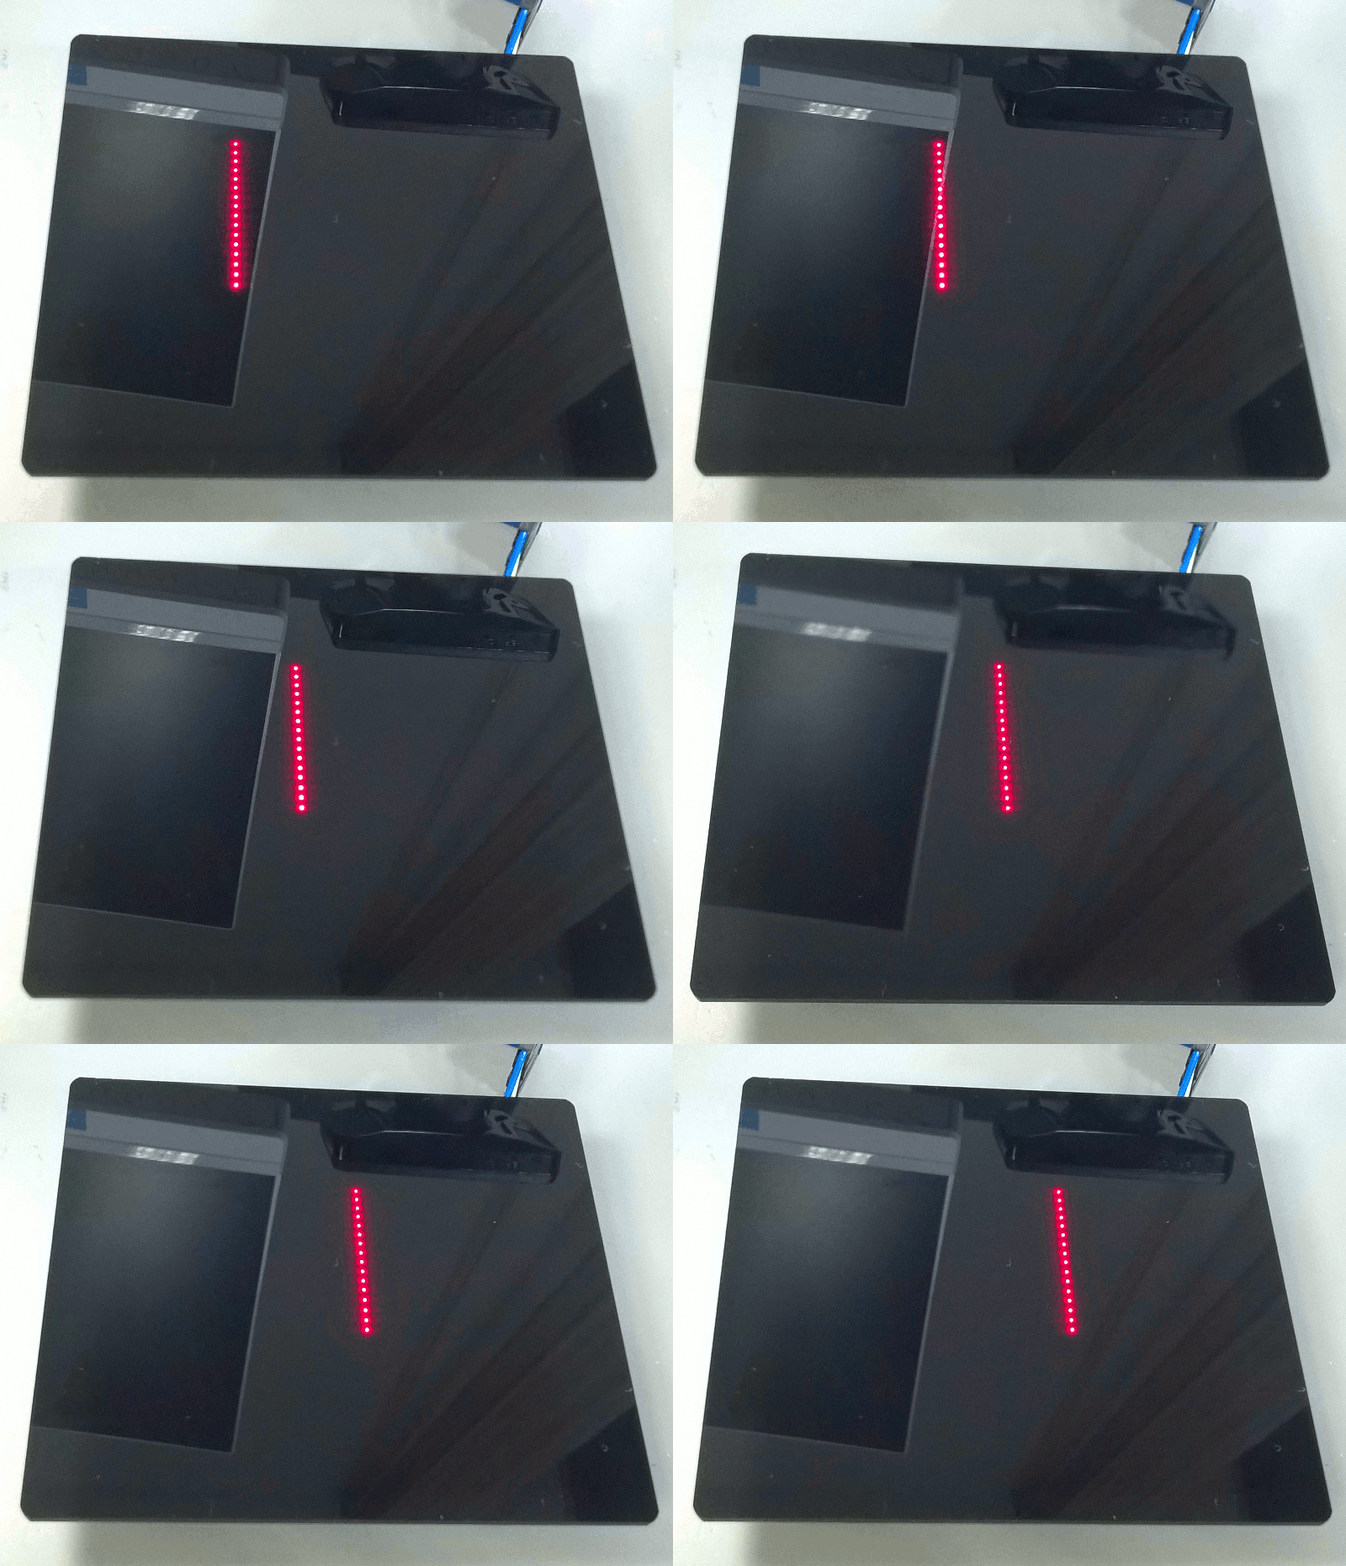
09/25/2017 at 22:58 • 0 commentsHere are two gifs showing working first prototype of Led Matrix watch. Gif on the right shows led matrix under neutral density filter (ND16) that is used in photography (got it from eBay). Plan is to cut filter into shape and put it over led matrix when in enclosure. Filter is 1.8mm thick.
![]()
![]()
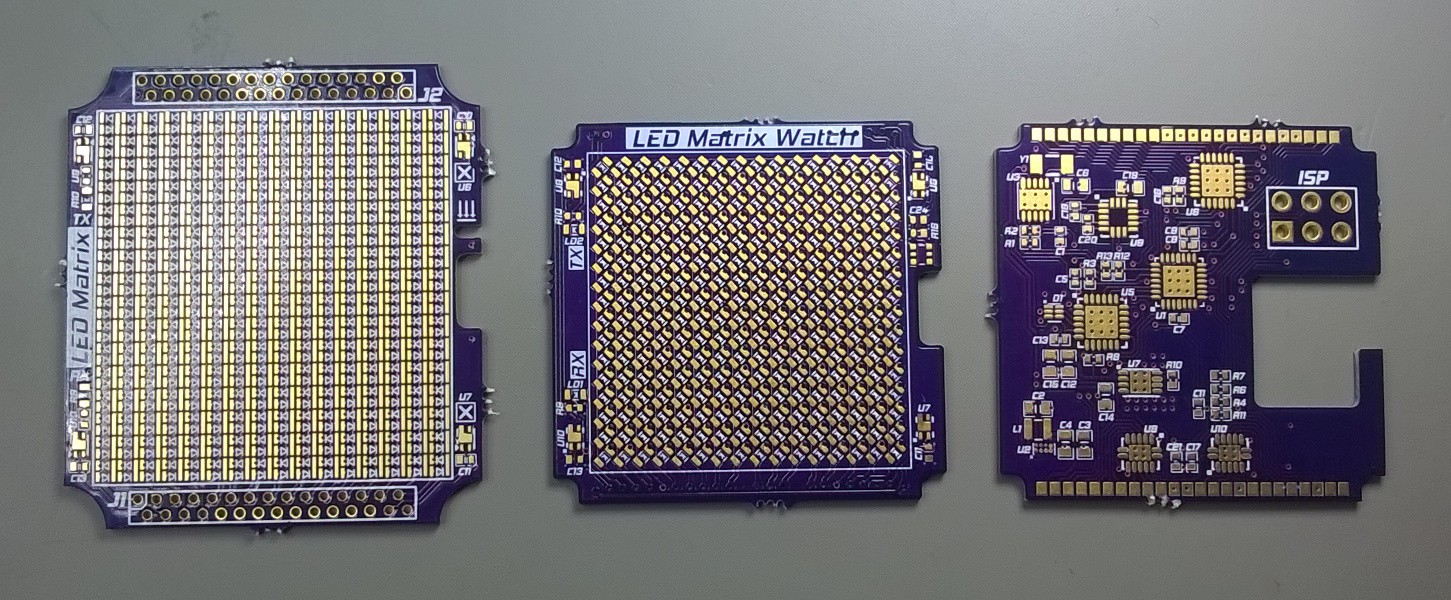
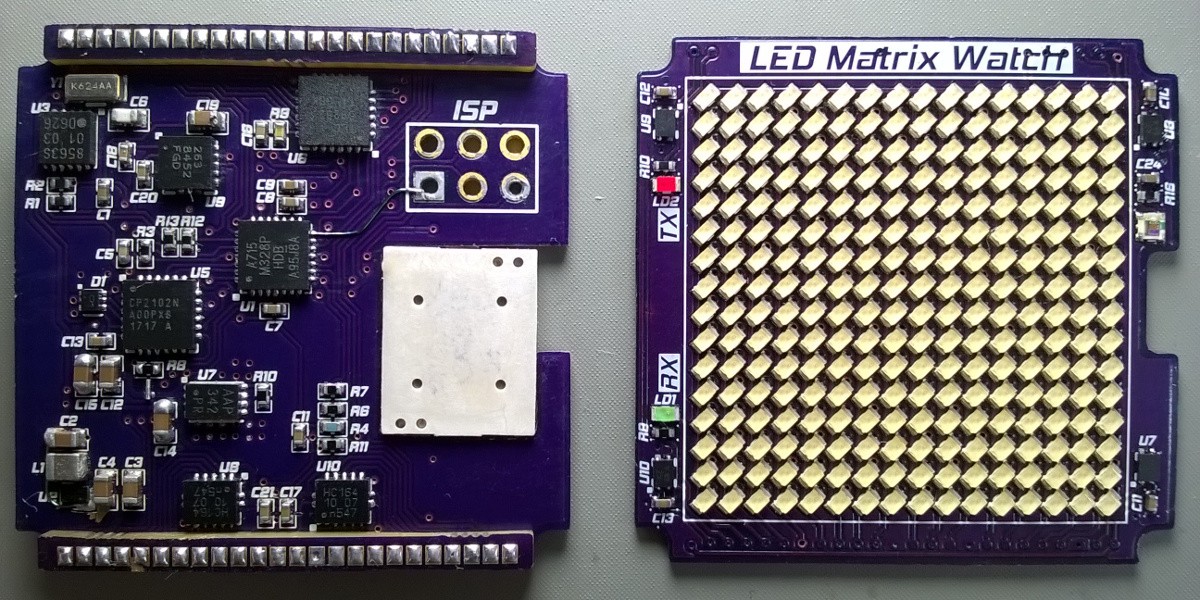
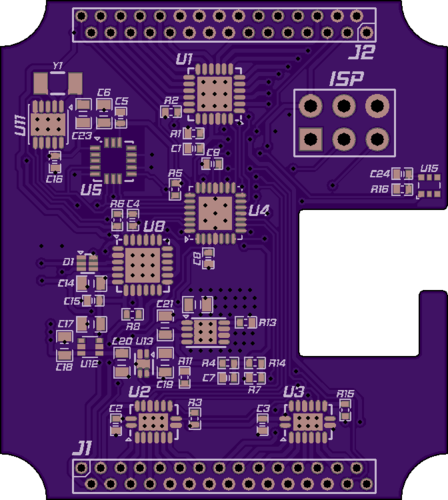
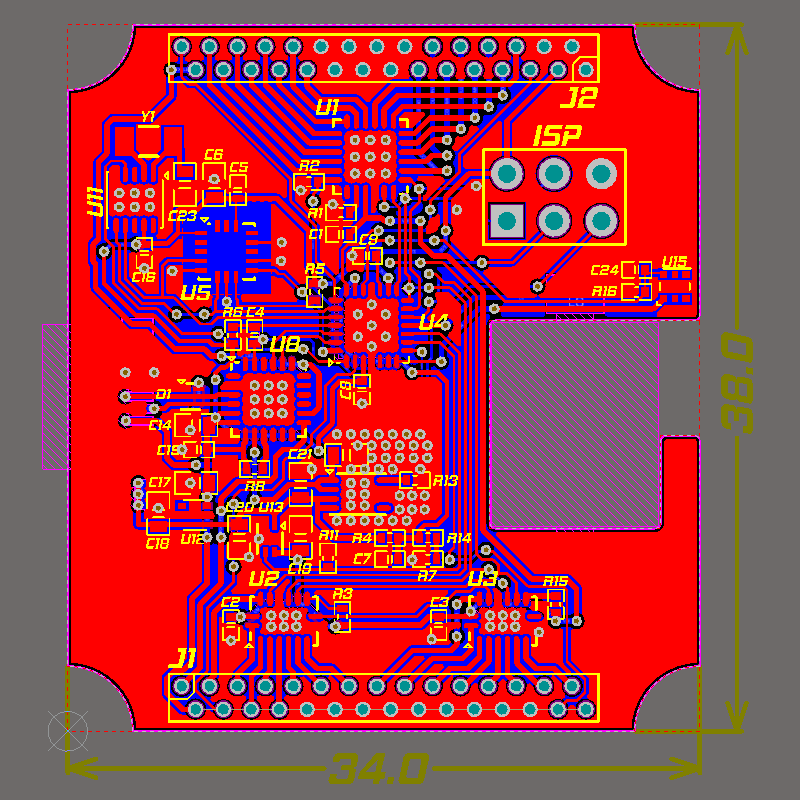
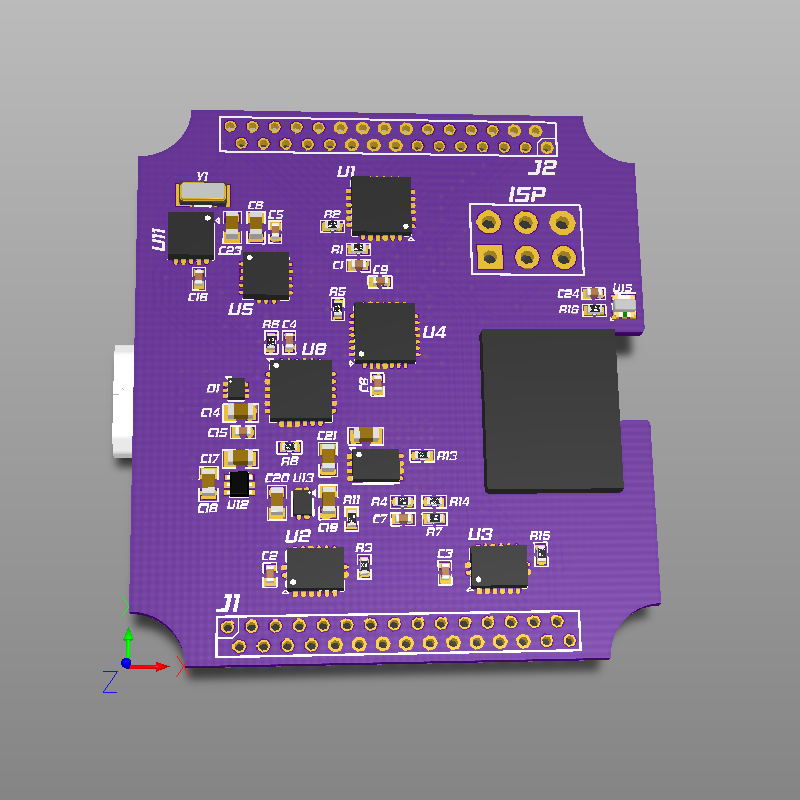
Next up, you can see pictures of the new PCBs. PCBs are made by OSHPark. Some changes introduced from the first version are:
- Optimization of components - capacitors (some 0402 caps changed to 0603 to reduce cost)
- TH connections replaced with SMD pads
- Reduced size so that smaller and more ergonomic enclosure is possible
- Accelerometer changed from LIS3DHTR to MMA8452QT
- Shift registers changed from 74HC595 to 74HC164
- Led driver changed from TLC5928 to TLC59282 (more current to drive leds)
- NCP170 LDO repleced by high efficiency buck converter TPS62743 (WCSP package)
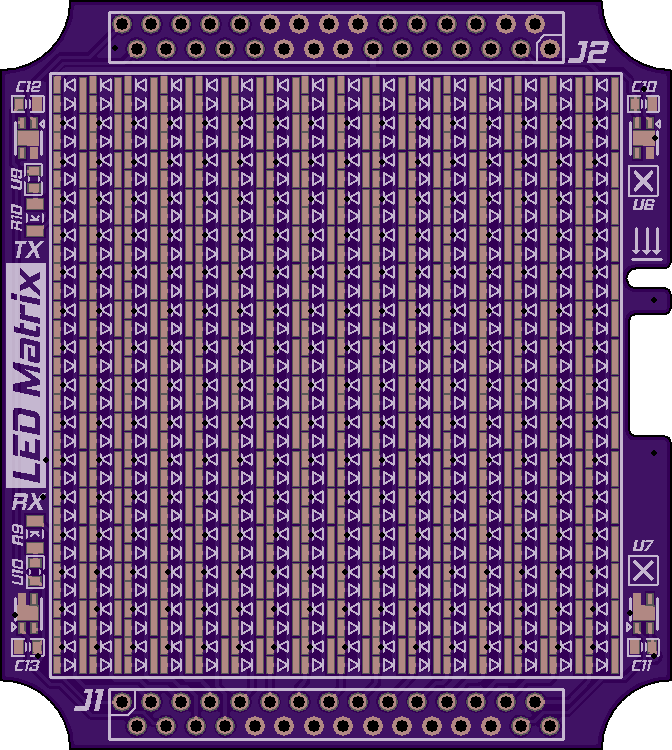
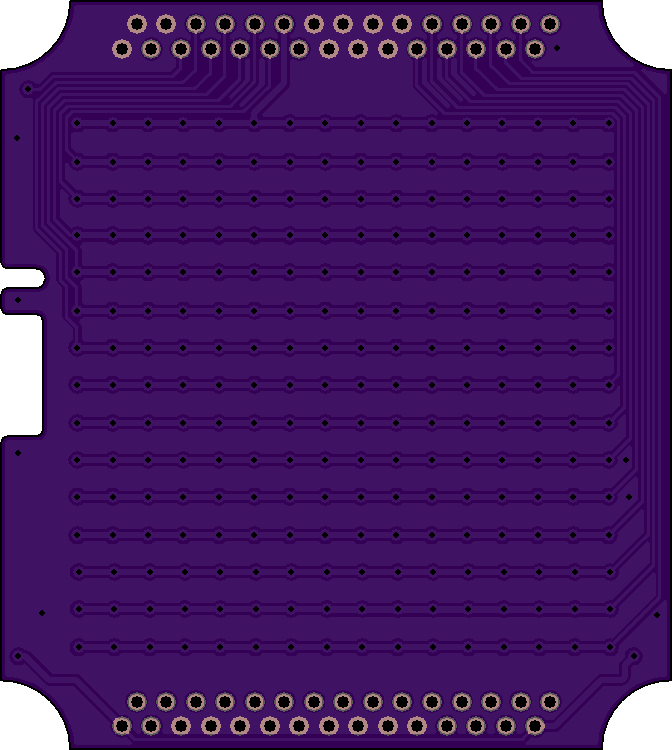
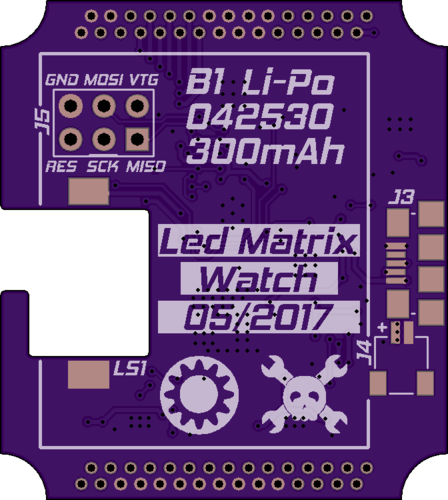
Led Matrix Motherboard PCB spacer Backplate ![]()
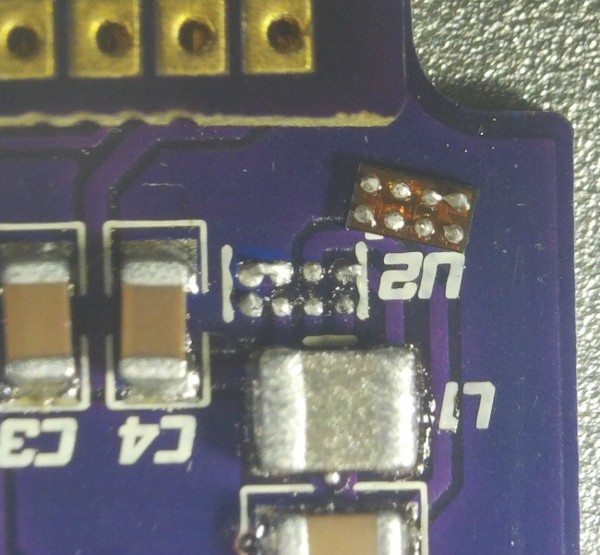
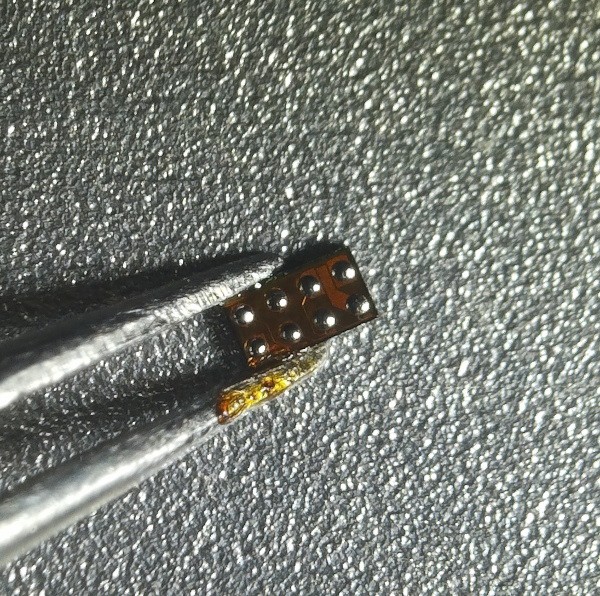
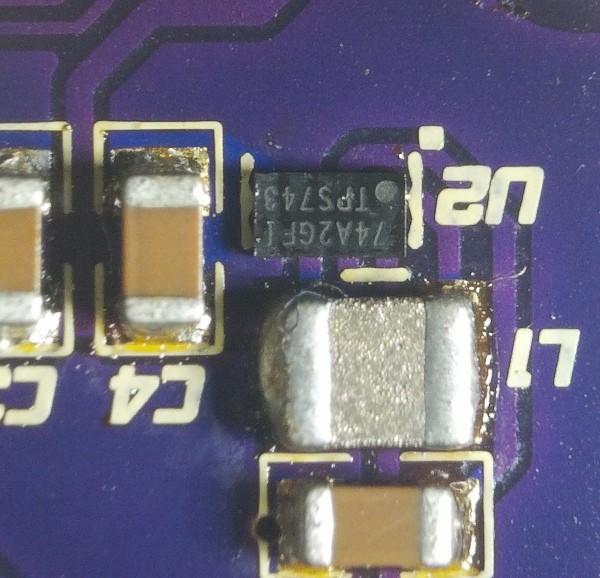
There were no major problems with PCB assembly. All components reflowed nicely, except U2 that was shorted. Short was due to stencil being too thick so there was too much solder paste on the footprint. Also there were two mistakes on the PCB so they need to be corrected. PCBs on OSHPark link have all those mistakes corrected.
- VSEL pins of the TPS62743 were tied to the ground which gave output voltage of 1.2V and I needed them to be tied to input voltage to give output voltage of 3.3V. I disconnected traces from ground plane and connected them to input decoupling capacitor via thin enameled copper wire.
- MISO pin was not connected to ISP header, therefore jumper wire is needed from MCU pin 14 to ISP header pin 1. Jumper is need only while programming via ISP. After programming bootloader all programming is done via USB.
![]()
- Reworking shorted U2 (WCSP-8, 0.4mm) - Desoldering shorted component, cleaning pads with soldring iron and soldering component with hot air station (with addition of flux).
Enclosure was modeled in solidworks and ordered from i.materialise.com (price was 15EUR for one piece). Enclosure was printed using SLS printer in black polyamide and polished after. Few pictures to test if all fits together:
![]()
![]()
-
Soldering - Part 2.
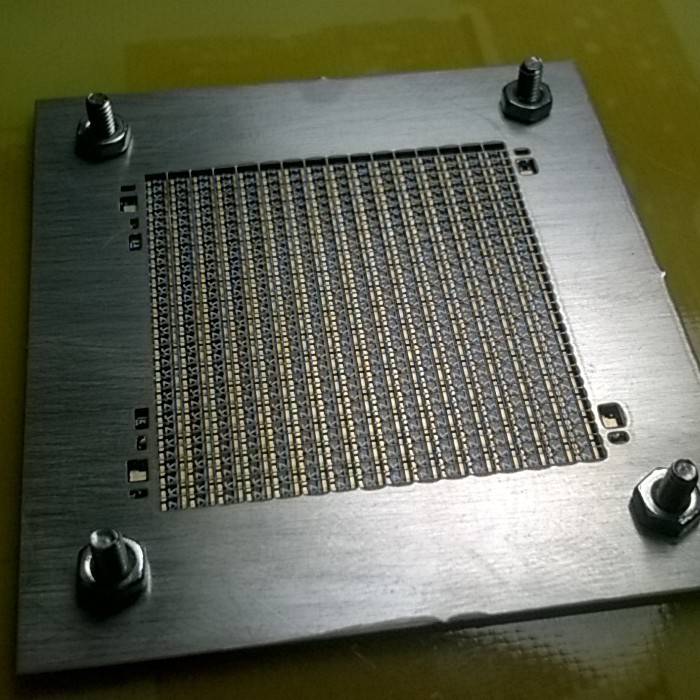
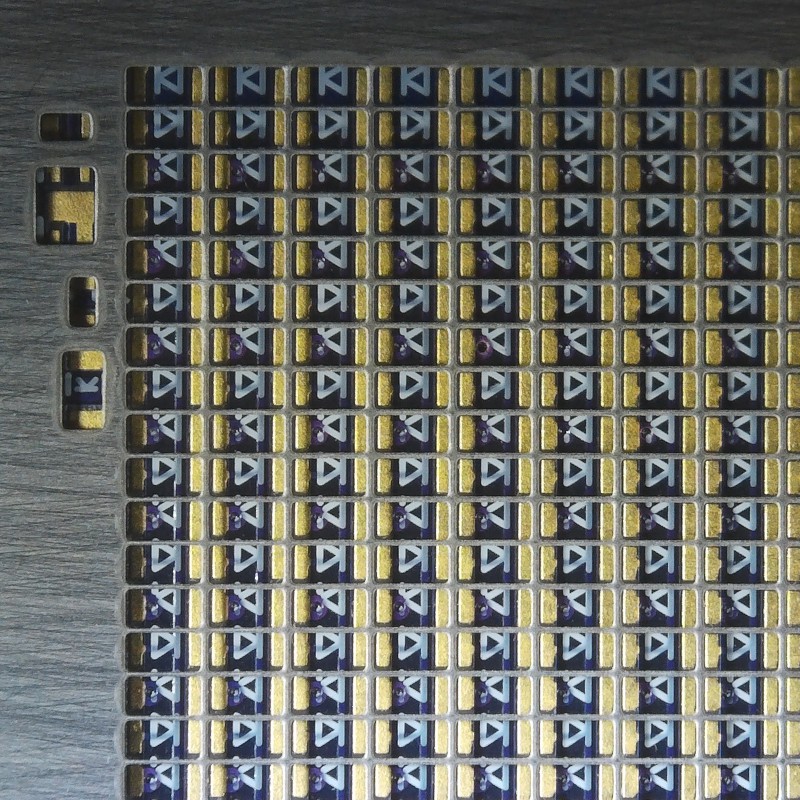
07/02/2017 at 19:01 • 0 commentsAfter some time off it's time to continue this project. Since last update i was left with soldering led matrix. Plan was to use custom ss stencil to hold LEDs in place while heating them with hot air station, but it didn't work(kind off). Since stencil was chemically made(etched) holes at the edges of stencil weren't big enough to fit LEDs so i had to improvise. Basically i mounted only one LED for each segment and shorted other one. This means that there are now 256 LEDs on PCB. Next step is to assemble the module, see how matrix looks under diffuser, test and improve the design. Here is the video and some pictures of the process:
![]()
![]()
![]()
![]()
-
Soldering - Part 1.
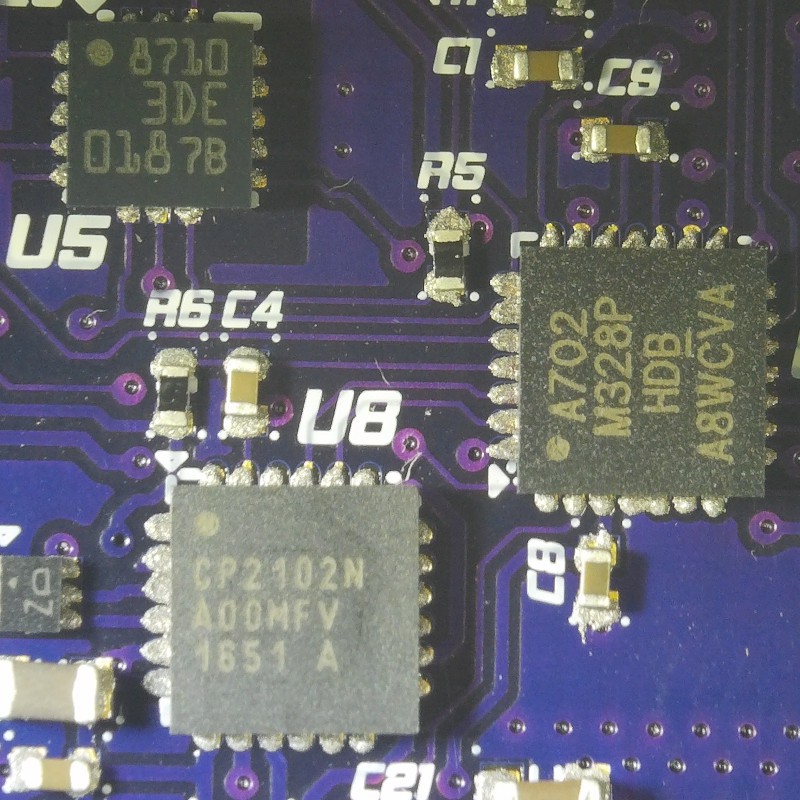
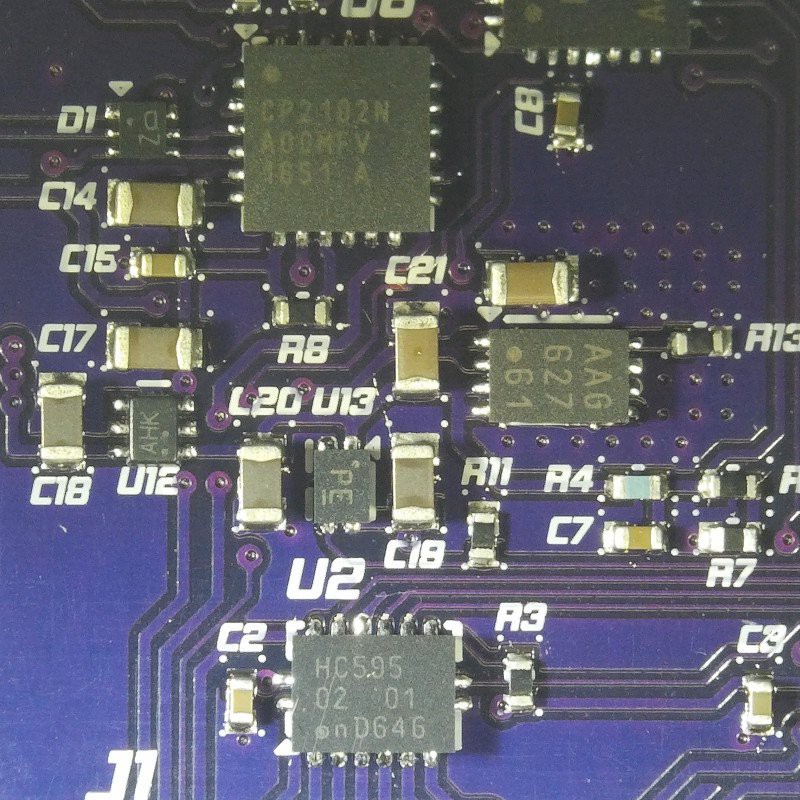
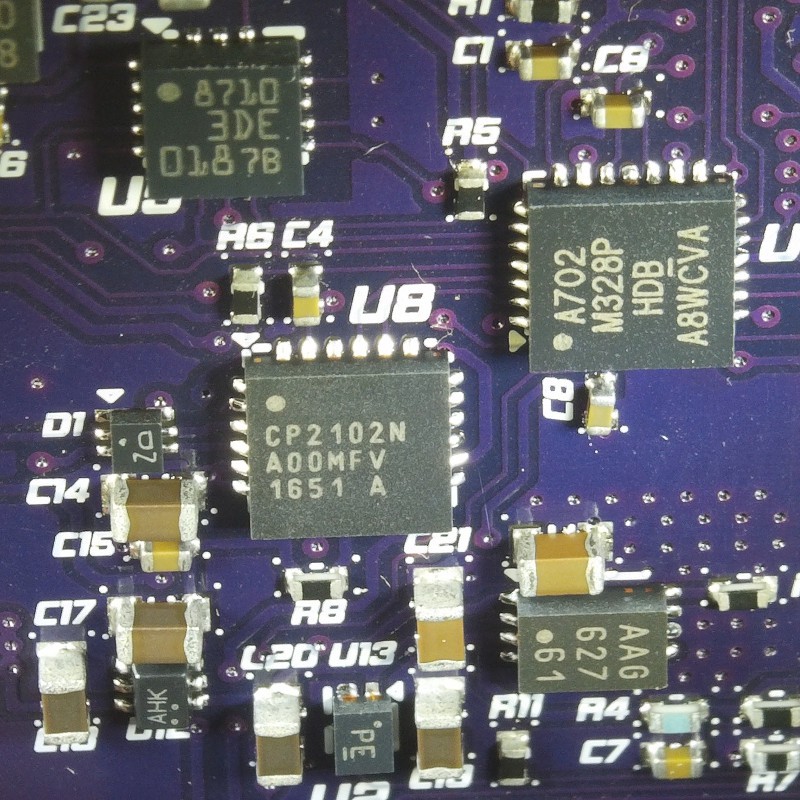
06/05/2017 at 22:15 • 1 commentHere are some picture and video of soldered led matrix driver board. All components were placed by hand using fine tip tweezers. It took me around 45 min to setup and 15 min to place all of the components. There were no solder bridges after reflow, only few unsoldered pads(U13 last picture) that needed to be reheated with soldering iron. Next up is writing test code while I wait for stencil for led matrix PCB(It takes long becouse it is free). Soldered led matrix PCB will be shown in "Soldering - Part 2." project log.
![]()
![]()
![]()
![]()
-
PCBs
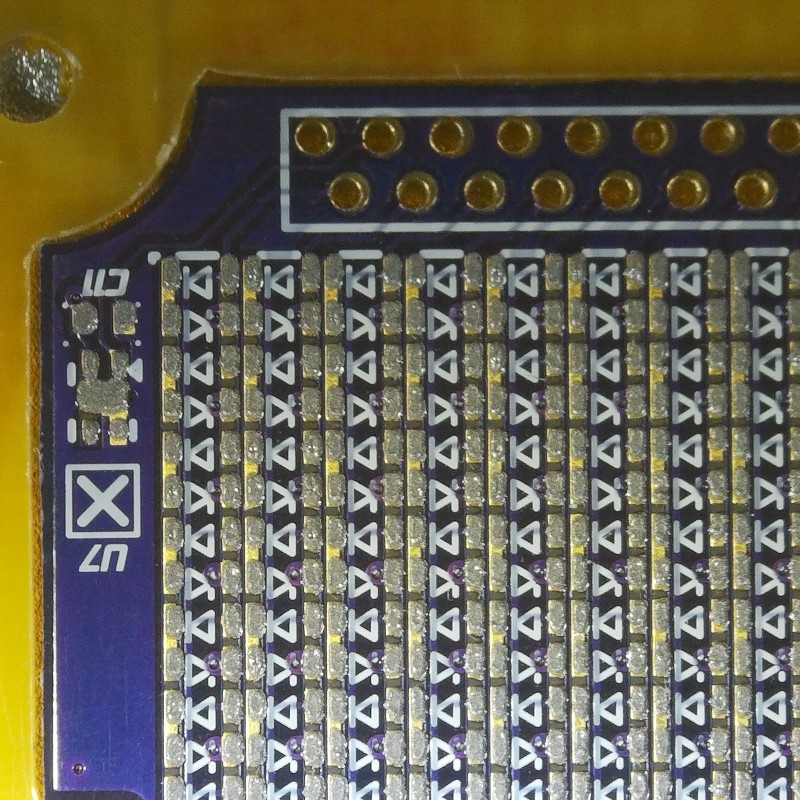
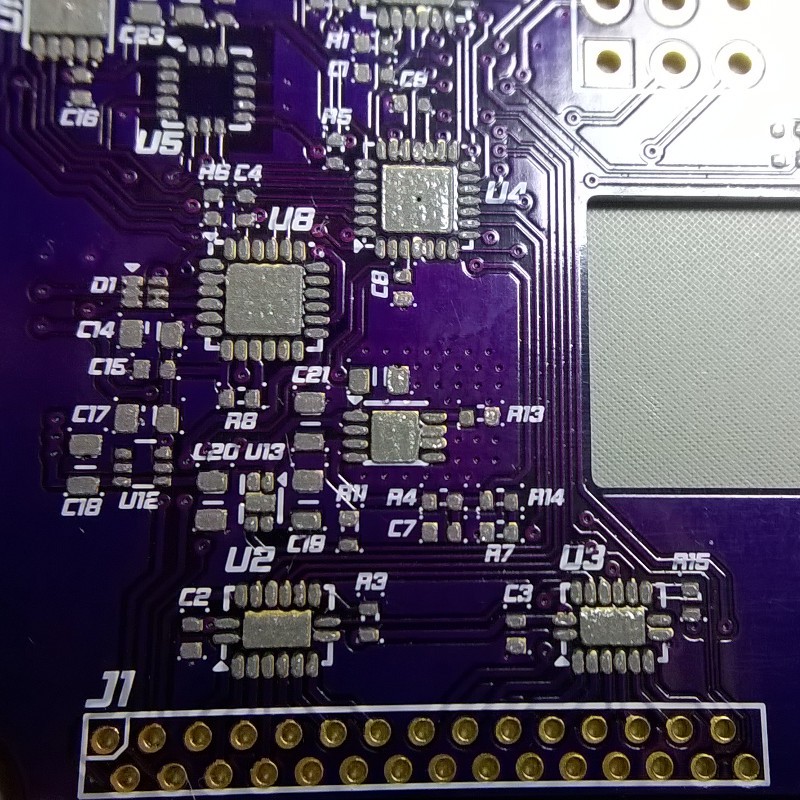
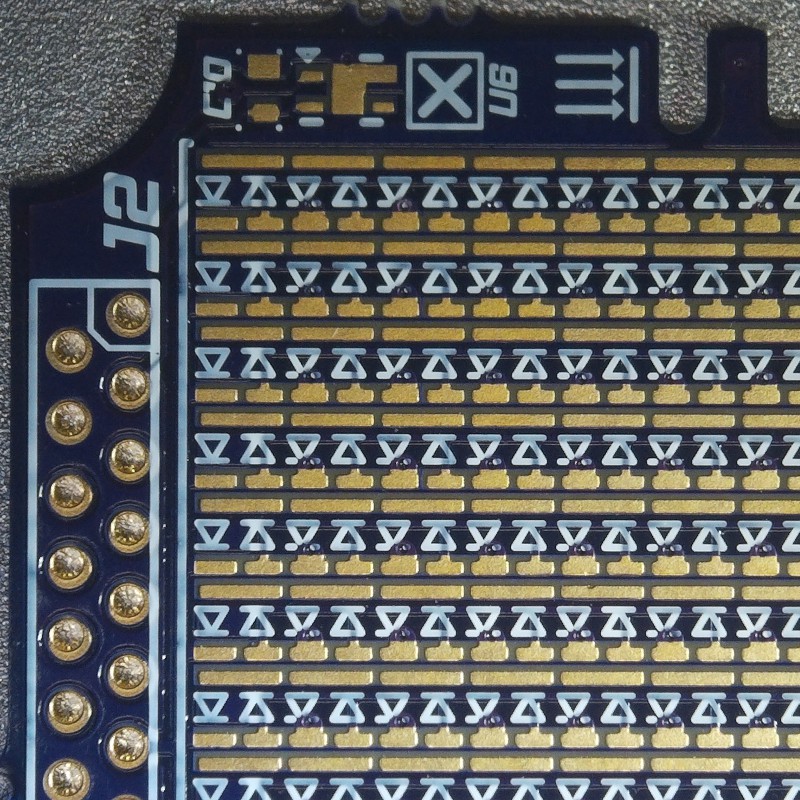
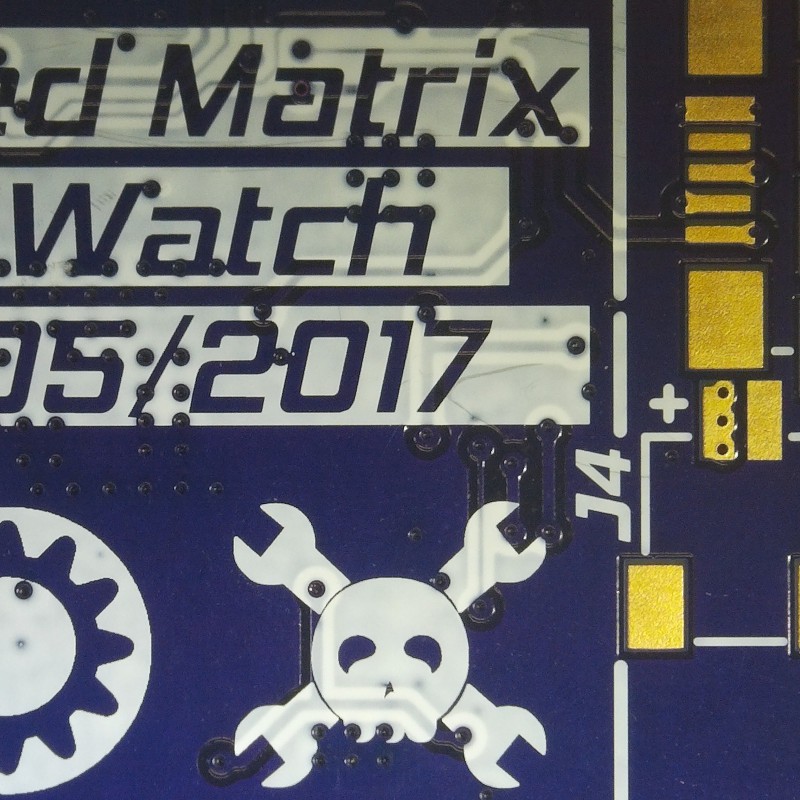
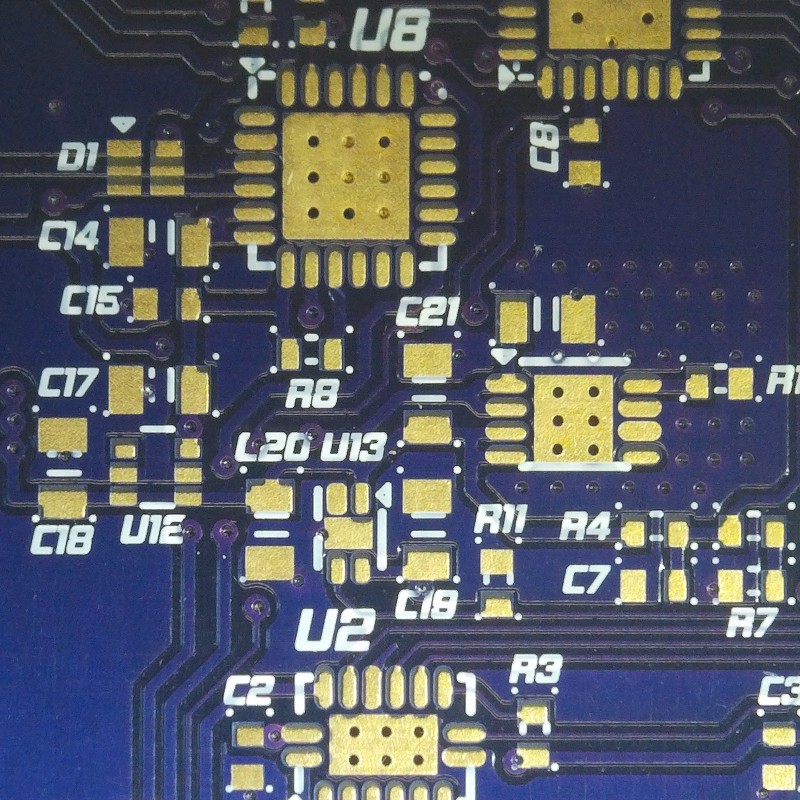
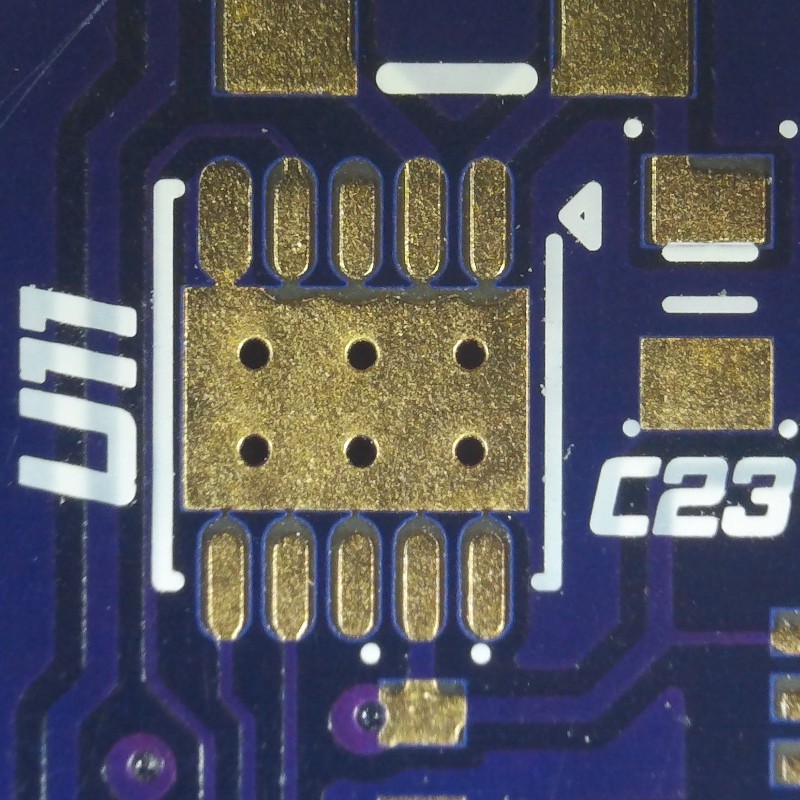
06/03/2017 at 21:17 • 1 commentHere are the pictures of PCBs that arrived few days ago. Since these are the first PCBs that I ordered from OSH Park, I decided to inspect them in detail under microscope. Gold plating on copper is smooth, evenly distributed and nice to solder on (tried test soldering few components on one PCB). Silkscreen is smooth, "high resolution" and looks way better than on Chinese PCBs (Chinese mostly use dot matrix printers so theirs silkscreen looks "pixelated"). Only downside is that solder mask isn't perfectly aligned with pads, but that wont be a problem.
![]()
![]()
![]()
![]()
-
Modeling enclosure
05/18/2017 at 22:02 • 0 commentsWhile waiting for PCBs to arrive I designed enclosure for the watch. I made few printed watch enclosures in the past and from my experience, I don't think one can be made to look good and be reliable. Moving plastic parts like holes that hold strap springs just wear out after a month of use. Therefore I designed enclosure that is compatible with apple watch accessories (straps, strap adapters...). Since strap adapters are metal and made for commercial watch they will be robust and available cheaply on ebay.
Main parts of the enclosure are:
- Clear cover - 1 mm thick acrlyic sheet covered with tinted vinyl wrap.
- Main enclosure body - With slits for straps or strap adapters.
- Back cover - 1 mm thick aluminium sheet with attached magnets and custom etched logo.
- External magnet - Used to activate four hall effect sensors.
- Sound port - Small hole next to external magnet for piezo sounder.
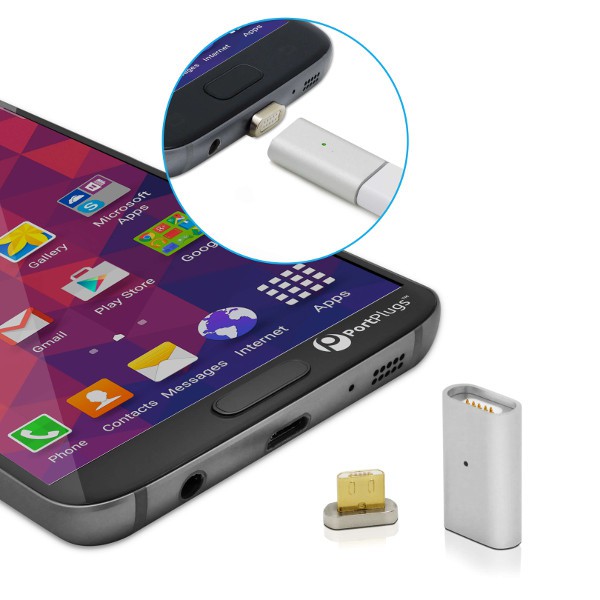
- Magnetic USB adapter - Looks cool.
![]()
![]()
![]()
![]()
![]()
![]()
-
Ordering PCBs / Components
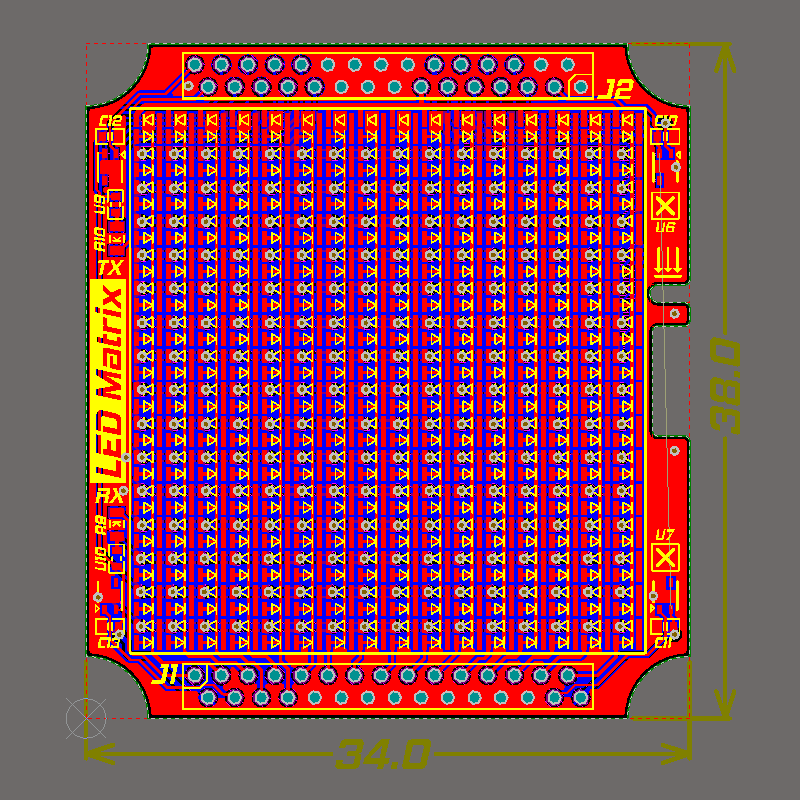
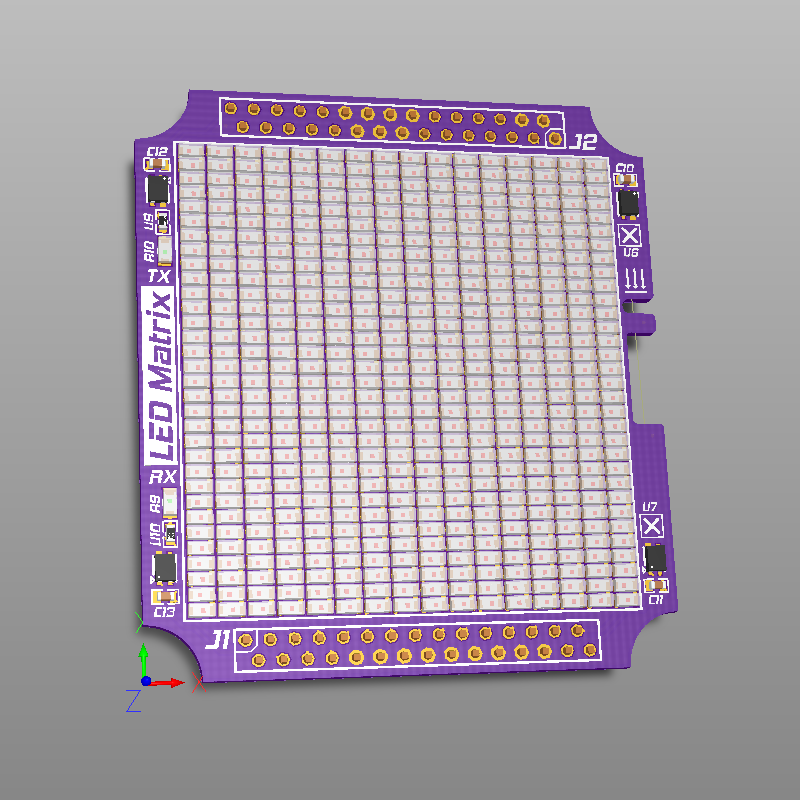
04/30/2017 at 21:00 • 1 commentI have ordered PCBs from OSHPark. They are expected to be done by May 19th, adding shipping time I except them by the end of May. For now only gerber files are available in project repository. I will upload entire project file with embedded step model of enclosure when model is. Finished gerbers look something like this:
![]()
![]()
![]()
![]()
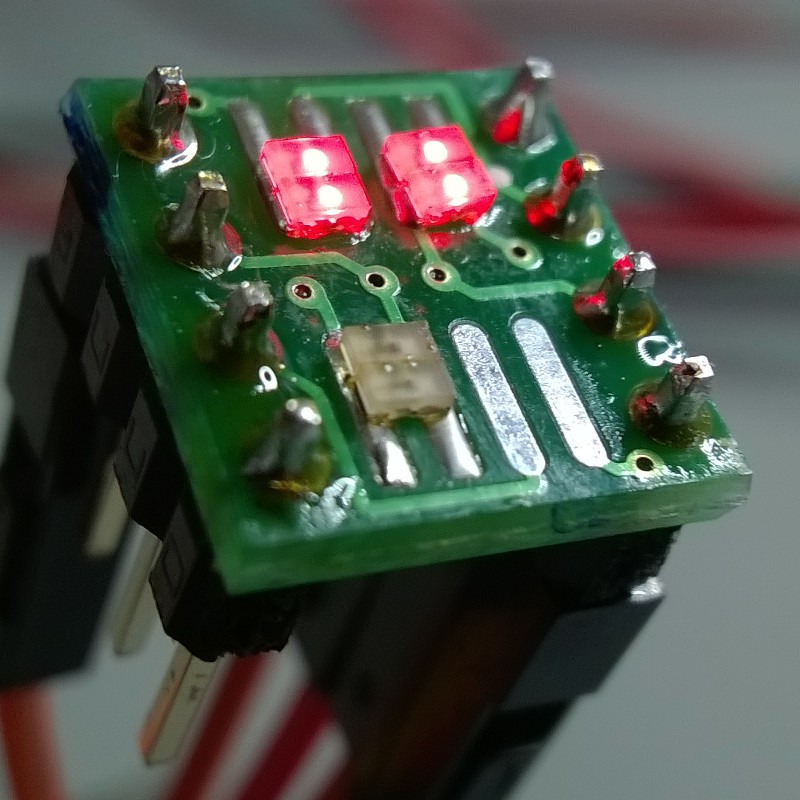
All of the components were ordered from Mouser except LEDs used for matrix (Vishay TLMS1000), connectors and battery. LEDs were ordered from TME since they were cheaper (0.0715$ @ 500pcs compared to 0.138$ @ 500pcs). Here are some pictures of lit LEDs soldered on soe random PCB (I wanted to see how well epoxy diffuses light):
![]()
![]()
-
Designing PCBs
04/19/2017 at 20:21 • 0 commentsSince the last update I was working on driver PCB for led matrix but there are still few touch ups to do. PCBs will be ordered from PCBWay or OSH Park. PCBWay is dirt cheap (10 PCBs are 5$ + shipping), while PCBs from OSH Park have nice ENIG surface finish.
Changes: I have replaced original peizo buzzer with new one that can be reverse mounted on PCB (more space efficient) and replaced 100mAh battery with 300mAh one (writing on silk is wrong. It is 300 not 350mAh). New battery is 4 mm thick(3 mm old) and more space efficient(covers more free space on PCB).
PCB Characteristics:
- 0.8 mm PCB thickness
- 0.15 mm signal, 0,3 mm power trace width
- 0.15 mm trace clearance
- 0.3 / 0.6 mm vias
Watch thickness should be something like this(top to bottom):
- 2 mm Plexiglas (don't think I can get thinner plexiglas)
- 0.2 mm of clearance
- 0.6 mm component height on LED matrix PCB
- 0.8 mm LED matrix board thickness
- 1 mm of clearance for components on driver board
- 0.8 mm driver board thickness
- 4 mm battery thickness
- 0.5 mm of clearance
- 1 mm for removable aluminium back cover
= 10.9 mm total thickens. For comparison Apple watch (42 mm version) is 12.46 mm thick.
Assembly Video:
Some picture of PCBs:
![]()
![]()
![]()
![]()
LED Matrix Watch
Wrist watch with monochromatic 16X16 LED Matrix inspired by retro LED watches of 70s and 80s.
 Mile
Mile
