Kenneth Zaborny
-
Body work
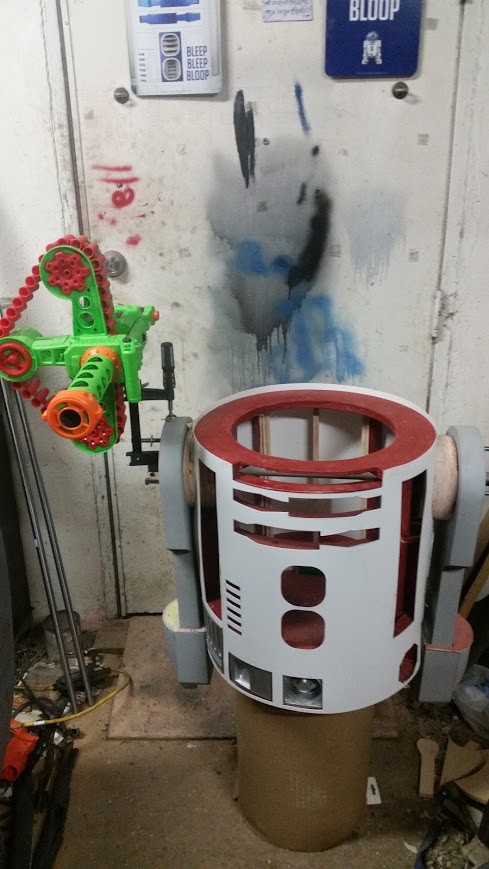
11/05/2017 at 16:00 • 0 commentsI finally committed to bonding the inner layer of skins to the frame but first I wanted to paint the frame black in case any part was visible.
![]()
Then the process of bonding the skins started. First the inner layer was bonded to the frame. The outer layer was glued to the inner layer with Weldon.
![]()
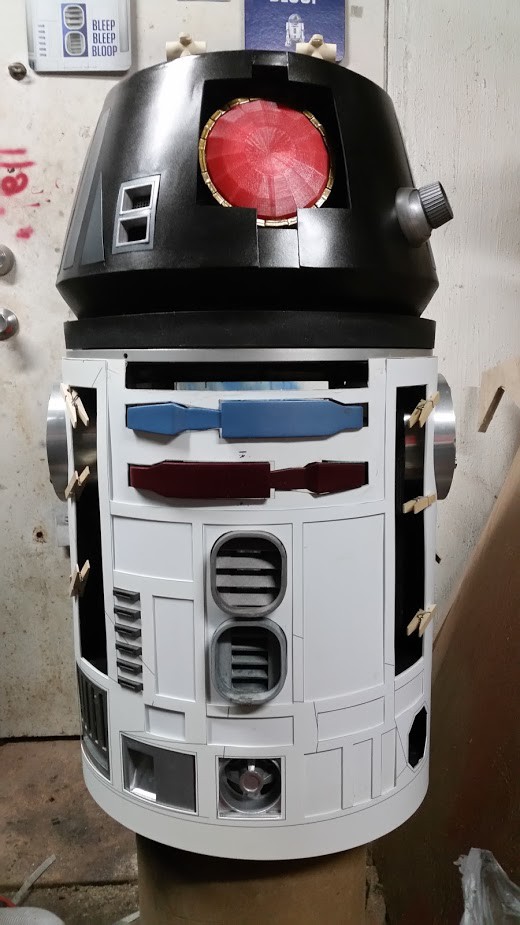
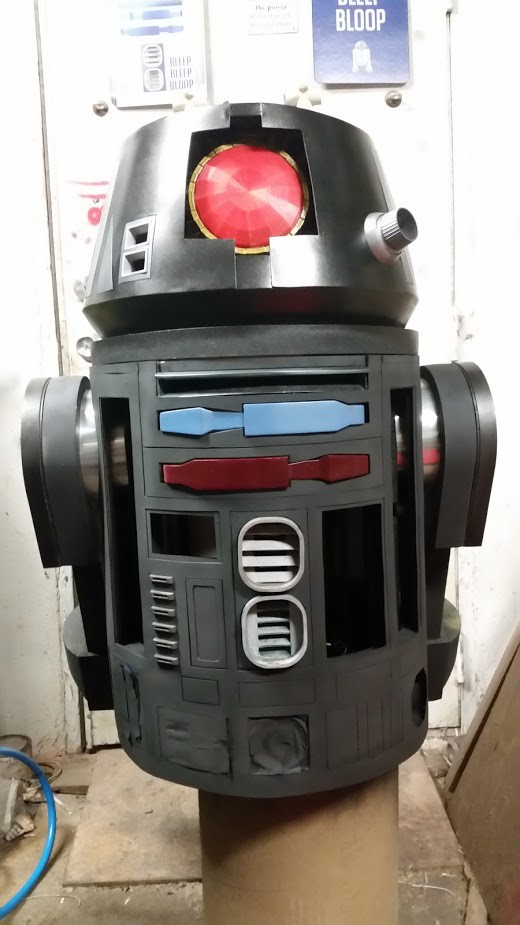
I filled in some minor imperfections before priming the body. There are still some spots to be fixed before more priming and the base coat are applied. I also need to figure out the doors.![]()
I originally only wanted the two long doors but during the process of attaching the skins I decided to add two more opening doors.
![]()
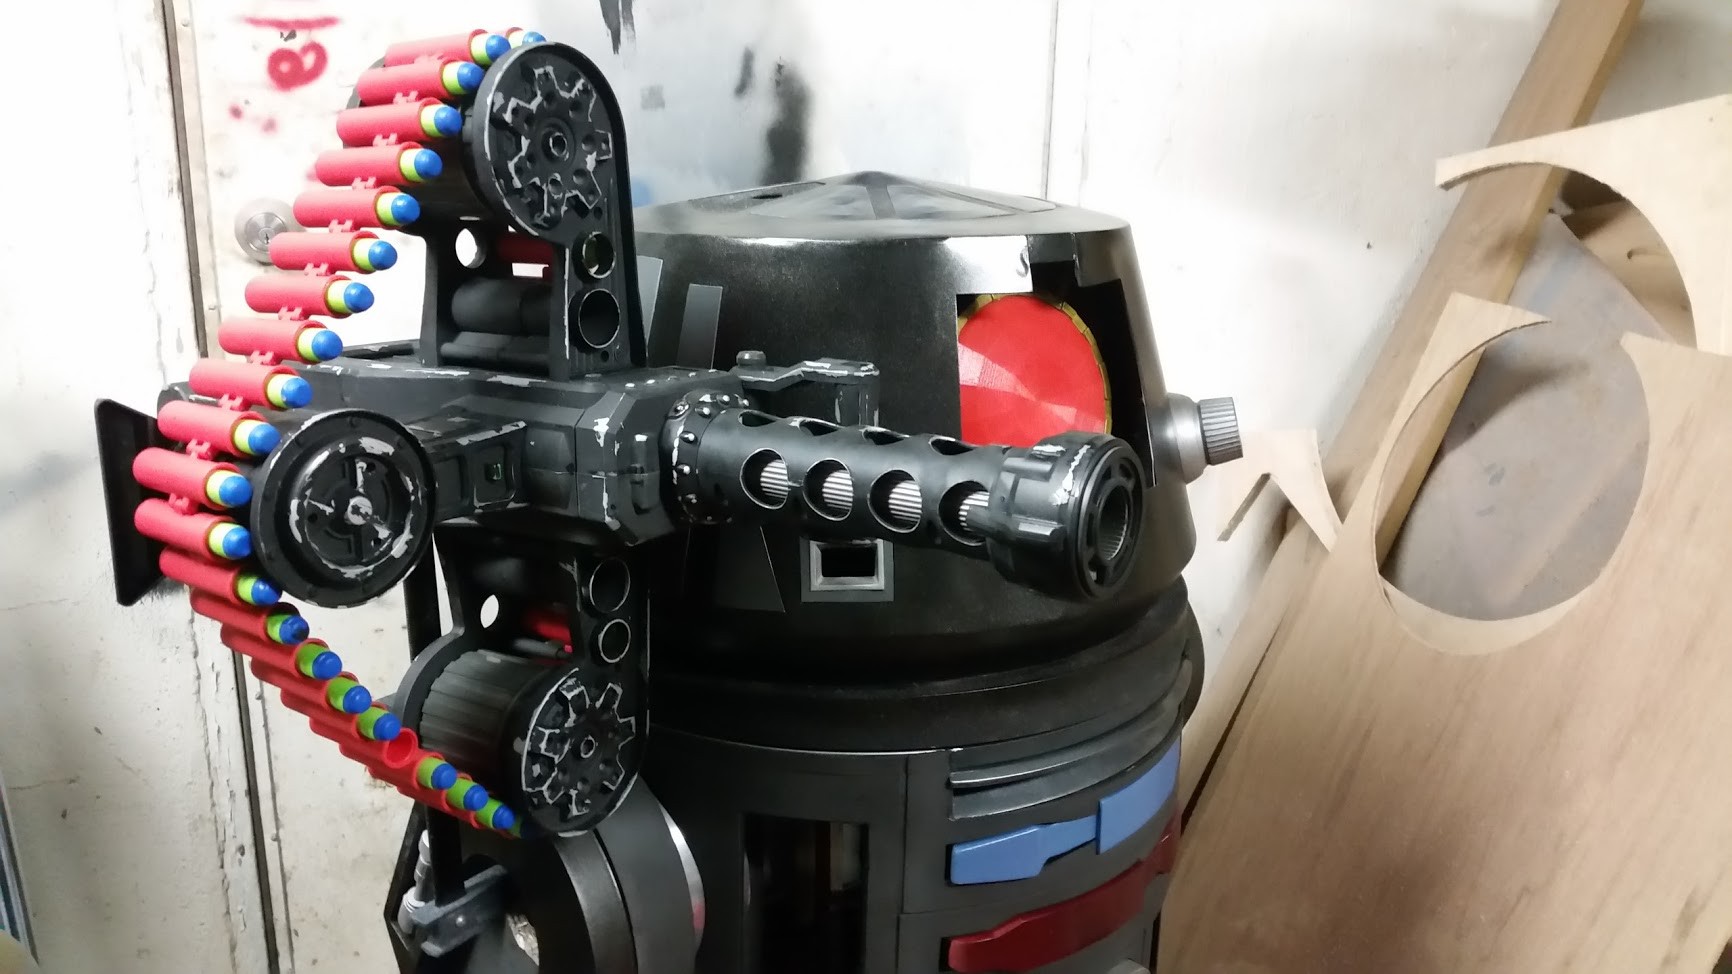
I'm not sure what I am going to put behind the doors yet but it will be something fun. Maybe more weapons. BT could always use more weapons. Speaking of weapons...
![]()
I finished the primary painting of the chaingun. I will paint the belt later. I want to try for a brass look.
-
Work on the dome continues
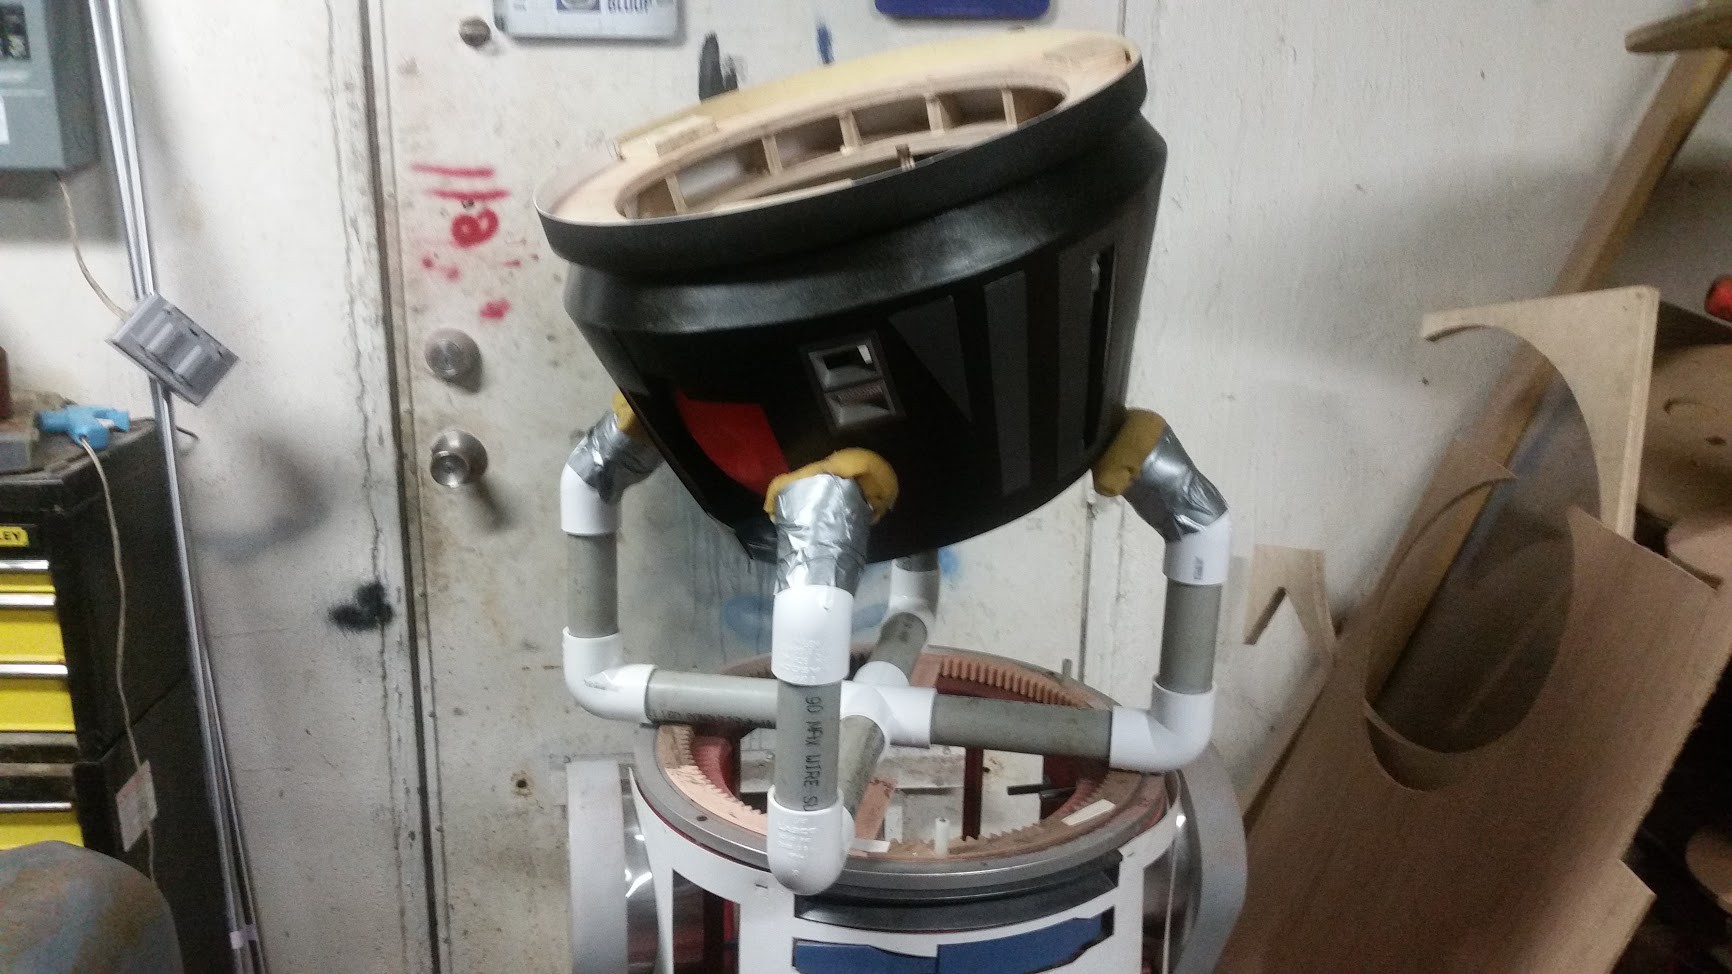
10/08/2017 at 18:48 • 0 commentsThis dome holder is something I've wanted to build for a few months. I finally got around to picking up all the elbow joints. It was designed by someone on the Astromech.net forums and works beautifully to make the inner dome accessible without scratching or damaging the outside.
![]()
Now that I can properly access the inside of the dome I can work on all the electronics I want to add starting with a proper lighting set up for that eye.
-
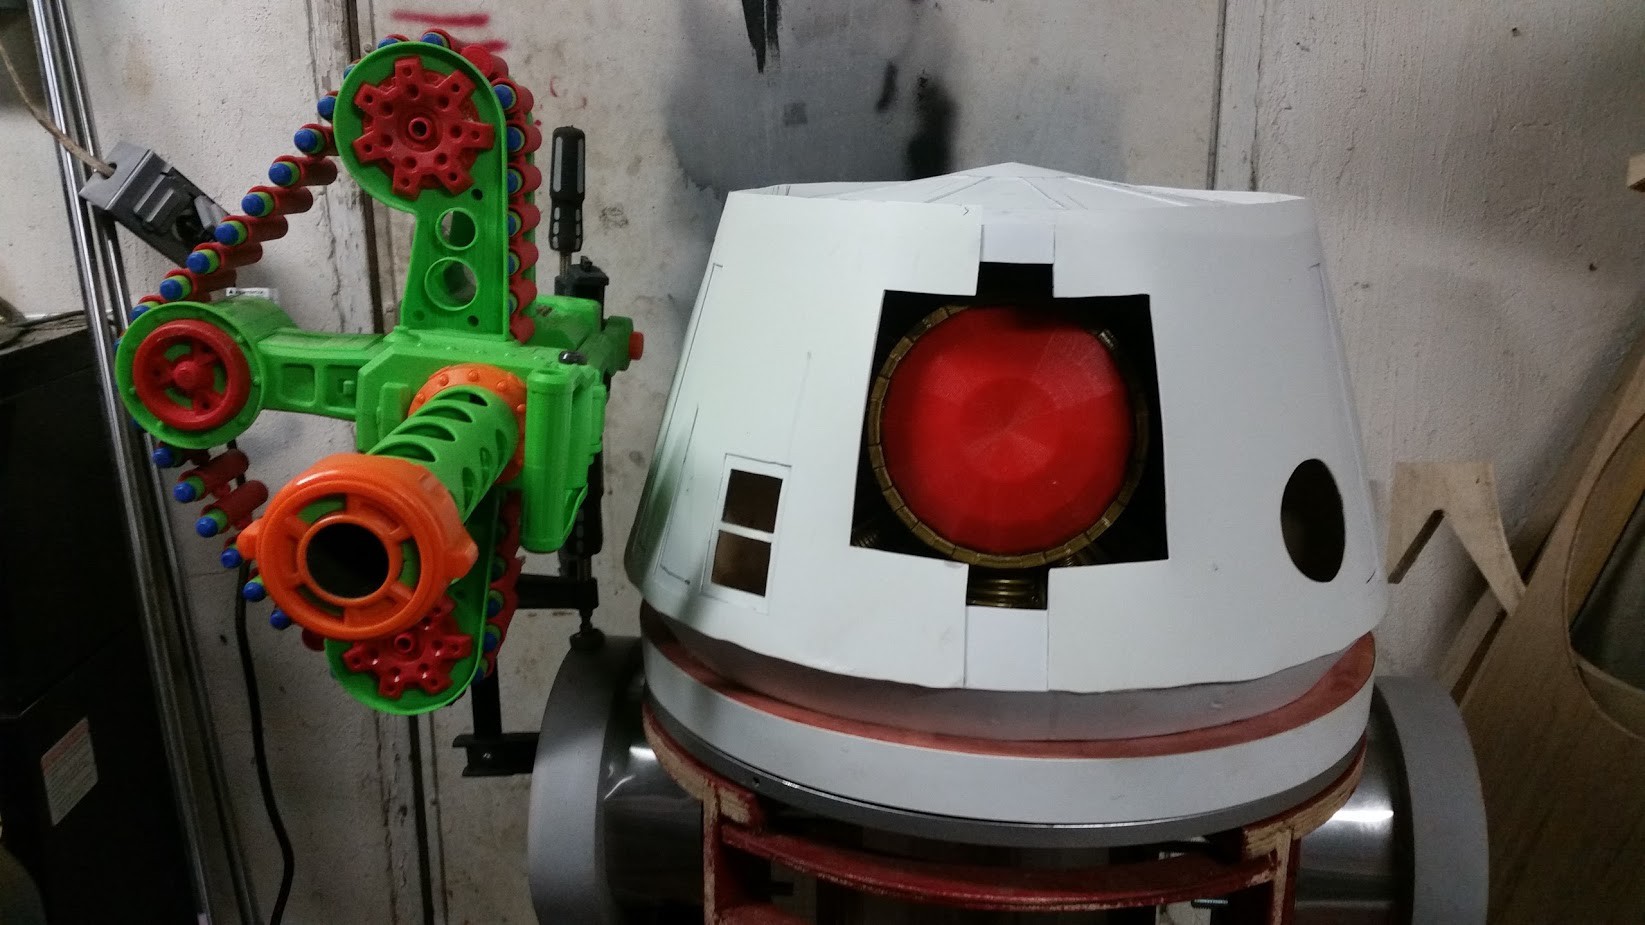
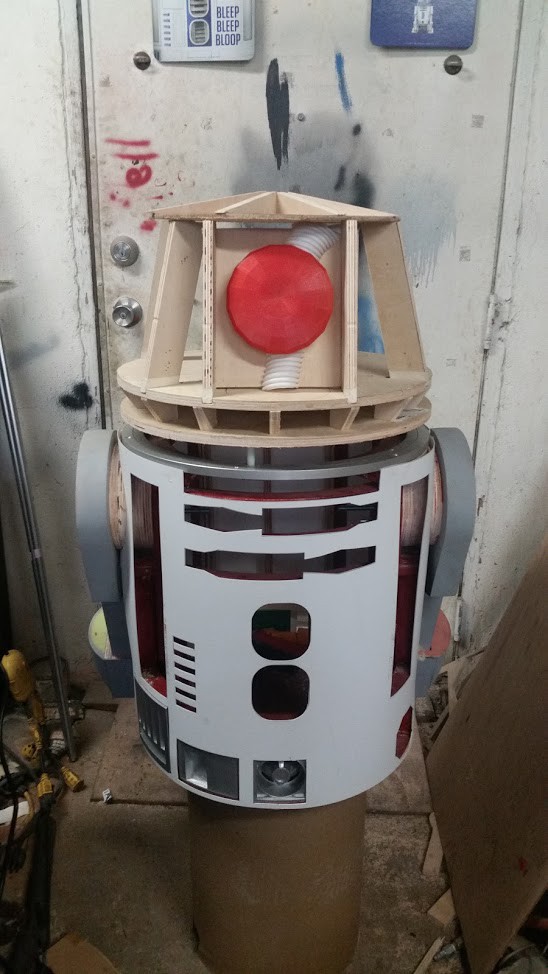
Sanding...so very much sanding
09/28/2017 at 15:23 • 0 commentsI've tried to focus on BT-1's dome since I'd like to take it as a table top display to Quest-con at the end of October.
![]()
Since I constructed BT's dome from several different types of plans nothing fit perfectly. It's all been trial and error. That's what you get when you're building a one-of-a-kind droid.![]()
I've been sanding and filling and sanding and filling after gluing the styrene skins around BT's wood skeleton. Last night I did the final sanding with a fine grit before a base coat.
![]()
I still need to lay down more layers of clear but I ran out. I've got to wait the 48 hour window for recoats now but it will take me that long to get more.
-
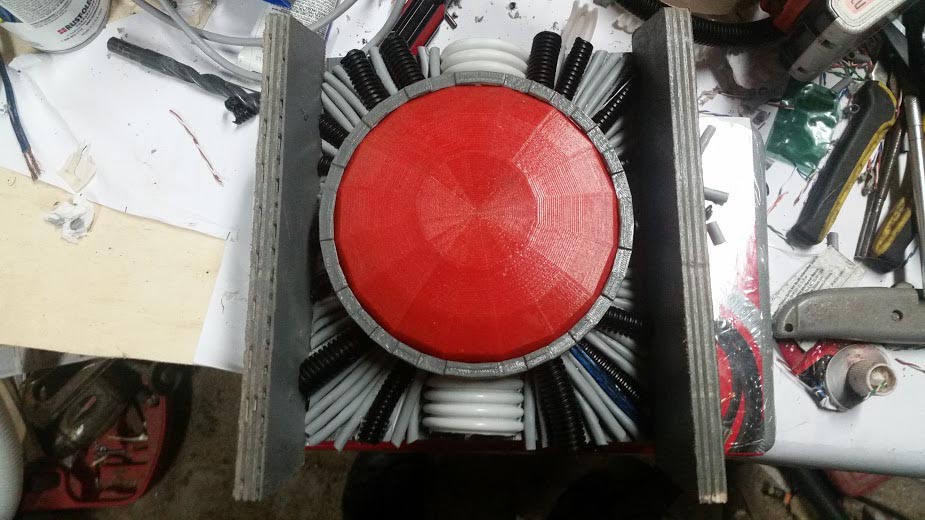
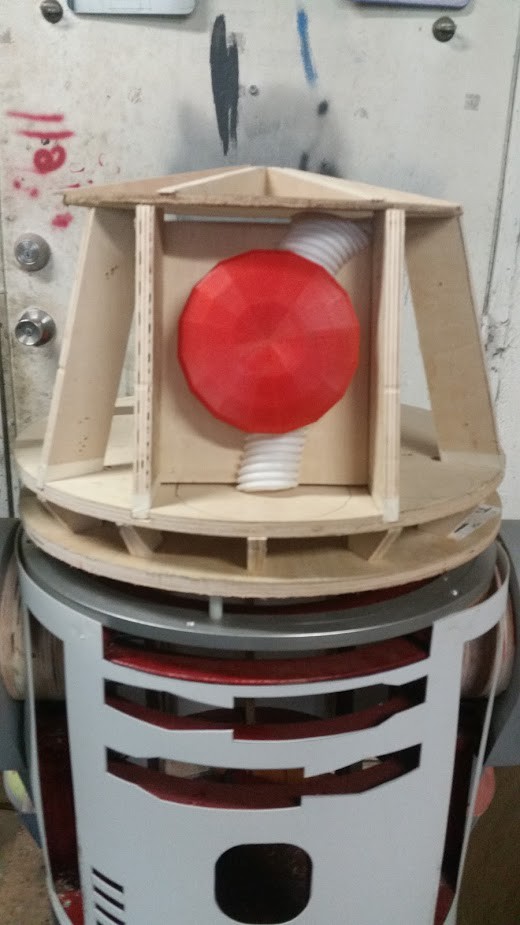
Eye detail
07/14/2017 at 05:41 • 0 commentsI want to make BT's eye interesting and true to the comic. I didn't realize it before but BT does have a lot of symmetry with the tubing behind the eye. It's one of the most consistent things about his design. I tried to emulate that as best I could with the materials I had. I did not want to 3d print the tubes. I didn't think I could capture the proper depth.
![]()
If I can find my leftover can of Testors Lime Gold Flake from Crow I'll use it for BT's yellowish gold parts.
![]()
-
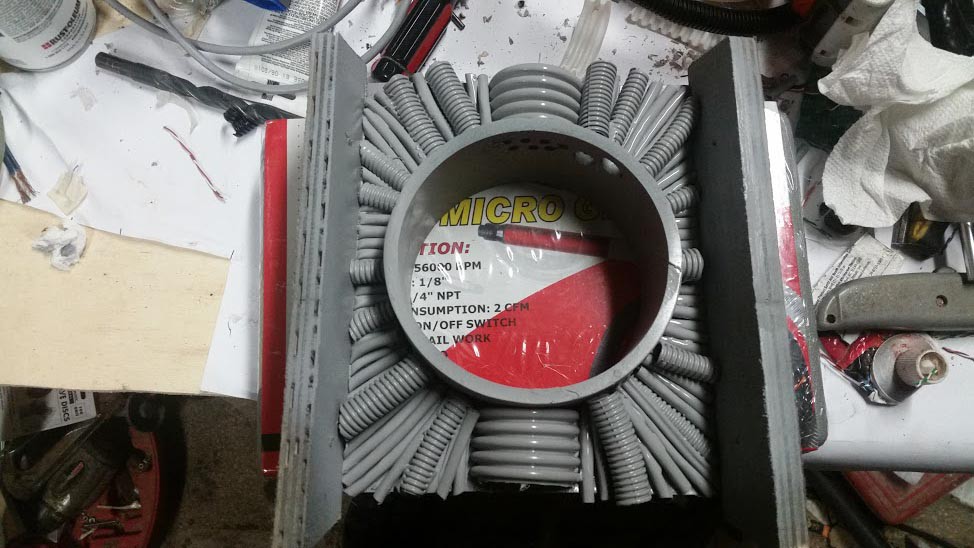
Eye see you
06/04/2017 at 15:56 • 0 commentsSorry about the pun. I couldn't help myself.
![]()
The MPCNC did a good job of cutting out the many, many dome support blocks I needed. I decided to give BT's eye box some depth and detail with parts I had leftover from building Crow. I'll probably pick up some more random sizes of that conduit because it works so well.
![]()
I am definitely keeping with the R6 style head even though the toy version of BT uses an R5 head. I just think it looks less comical.
-
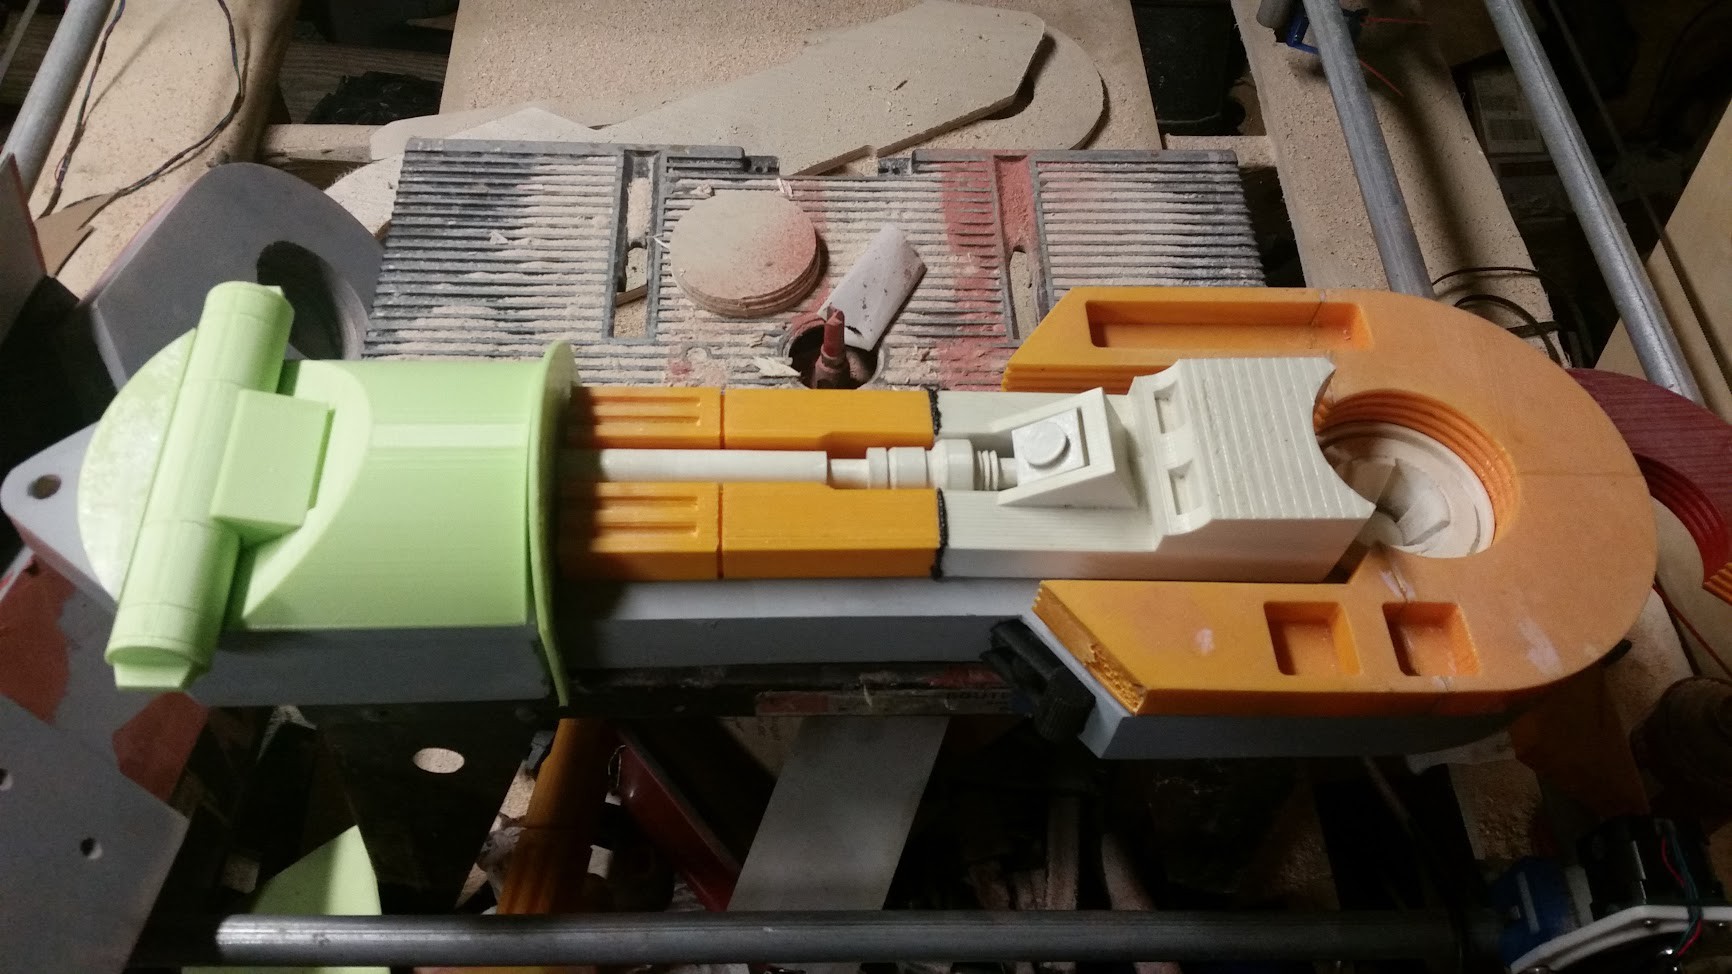
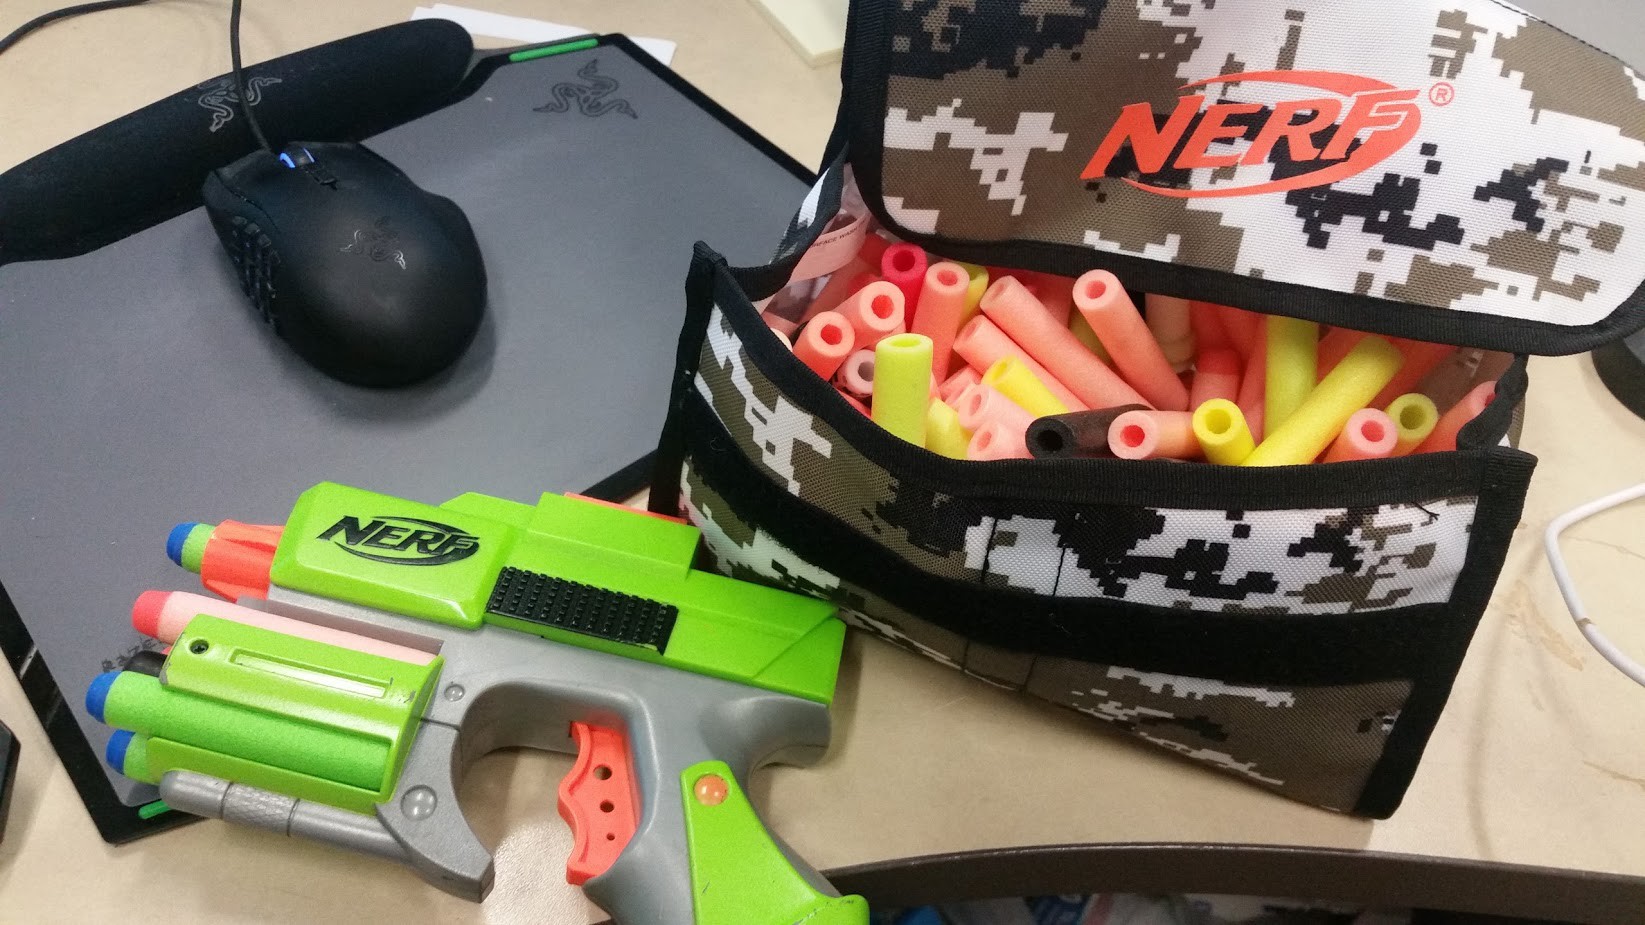
Found my shoulder mounted weapon
05/12/2017 at 02:12 • 0 commentsI found the foam gun I want to use for one of the shoulder mounted weapons. Yes, my garage door sometimes doubles as a paint test area.
![]()
It's a Dart Zone Enforcer. The 40 dart capacity, full auto firing, and slow rate of fire all appeal to me. I should be able to wire it up for remote firing and since it's slow I won't expend all 40 darts in 2 seconds.
![]()
I have a "spare" R2 dome that I used to get the neck bearing centered. I need to lower it about 2mm so I'll have to print up spacers. I also permanently affixed the legs.
![]()
Some droids are capable of 2-3-2 which means they will pivot up to two legs and pull up the center leg. Then they will reverse this process. It's a lot of work and looks amazing. Unfortunately I don't have the room inside BT for all that so I'm permanently putting him into three leg mode.
-
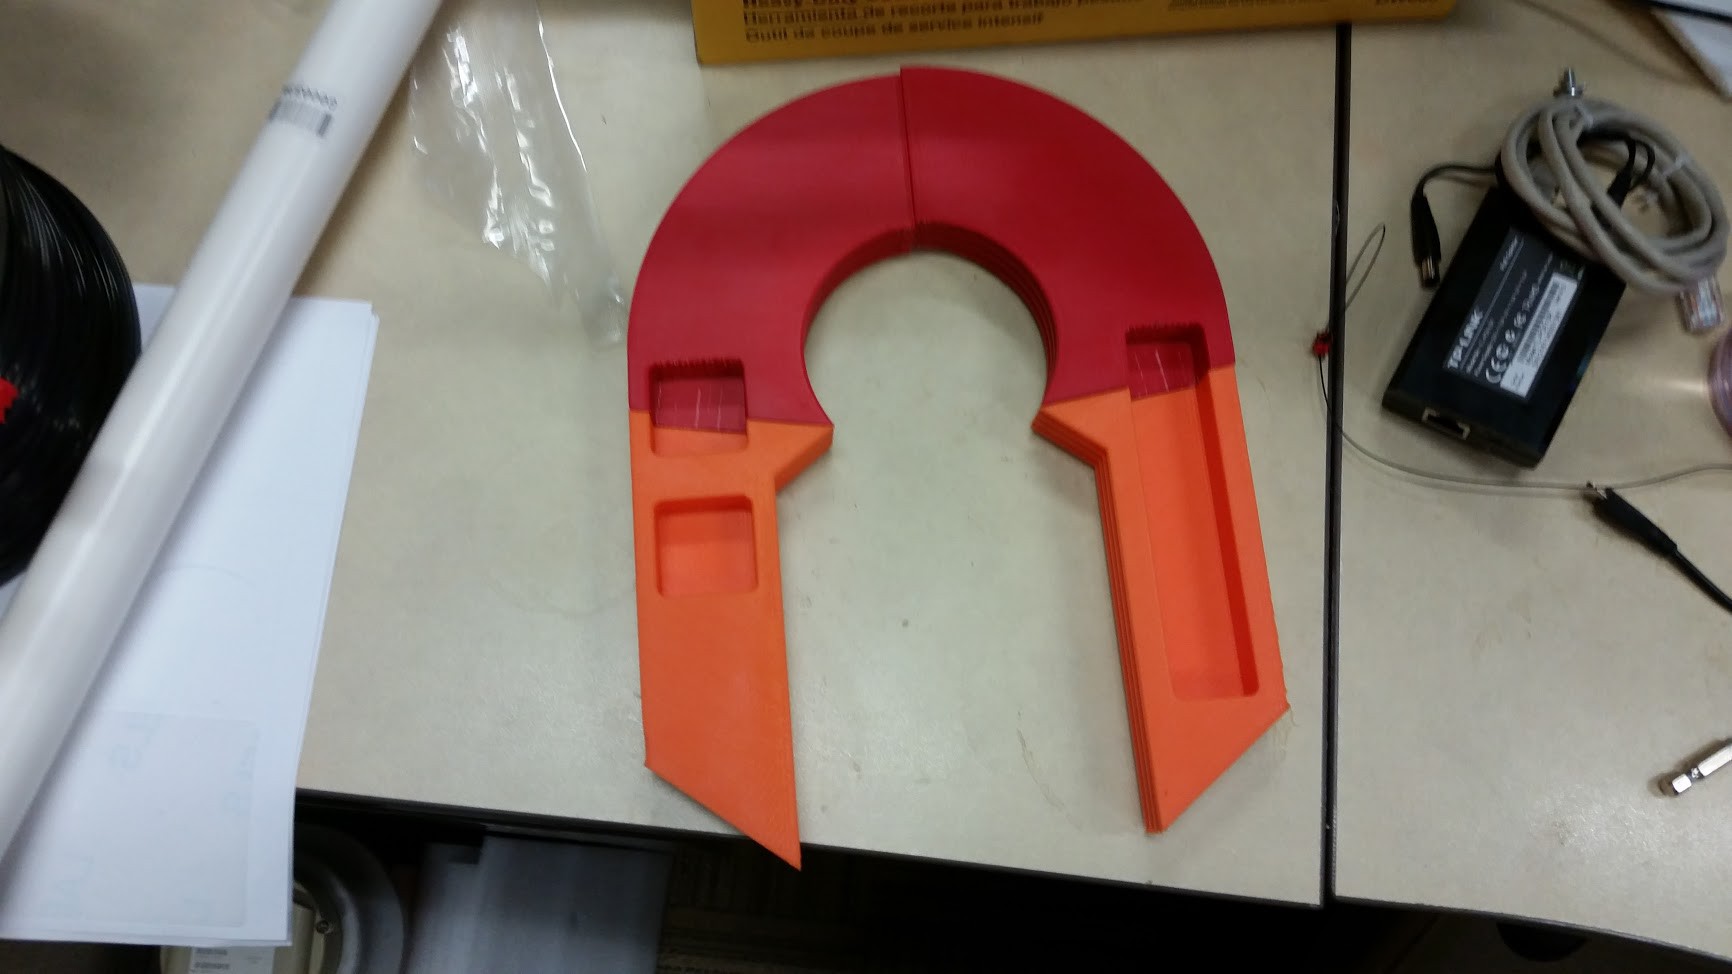
Legs and Details
05/07/2017 at 18:00 • 0 commentsI'm planning to print as many details as possible. The main portion of the legs are getting close to being ready for final paint (once I decide on a color) so it's time to prep the detail pieces.
![]()
![]()
I am obviously going to need a smaller gun. Even if I took this one apart I doubt I could fit everything needed inside the body.
![]()
Luckily I have friends that keep making horrible decisions to pick up any Nerf they find at thrift stores and garage sales.
-
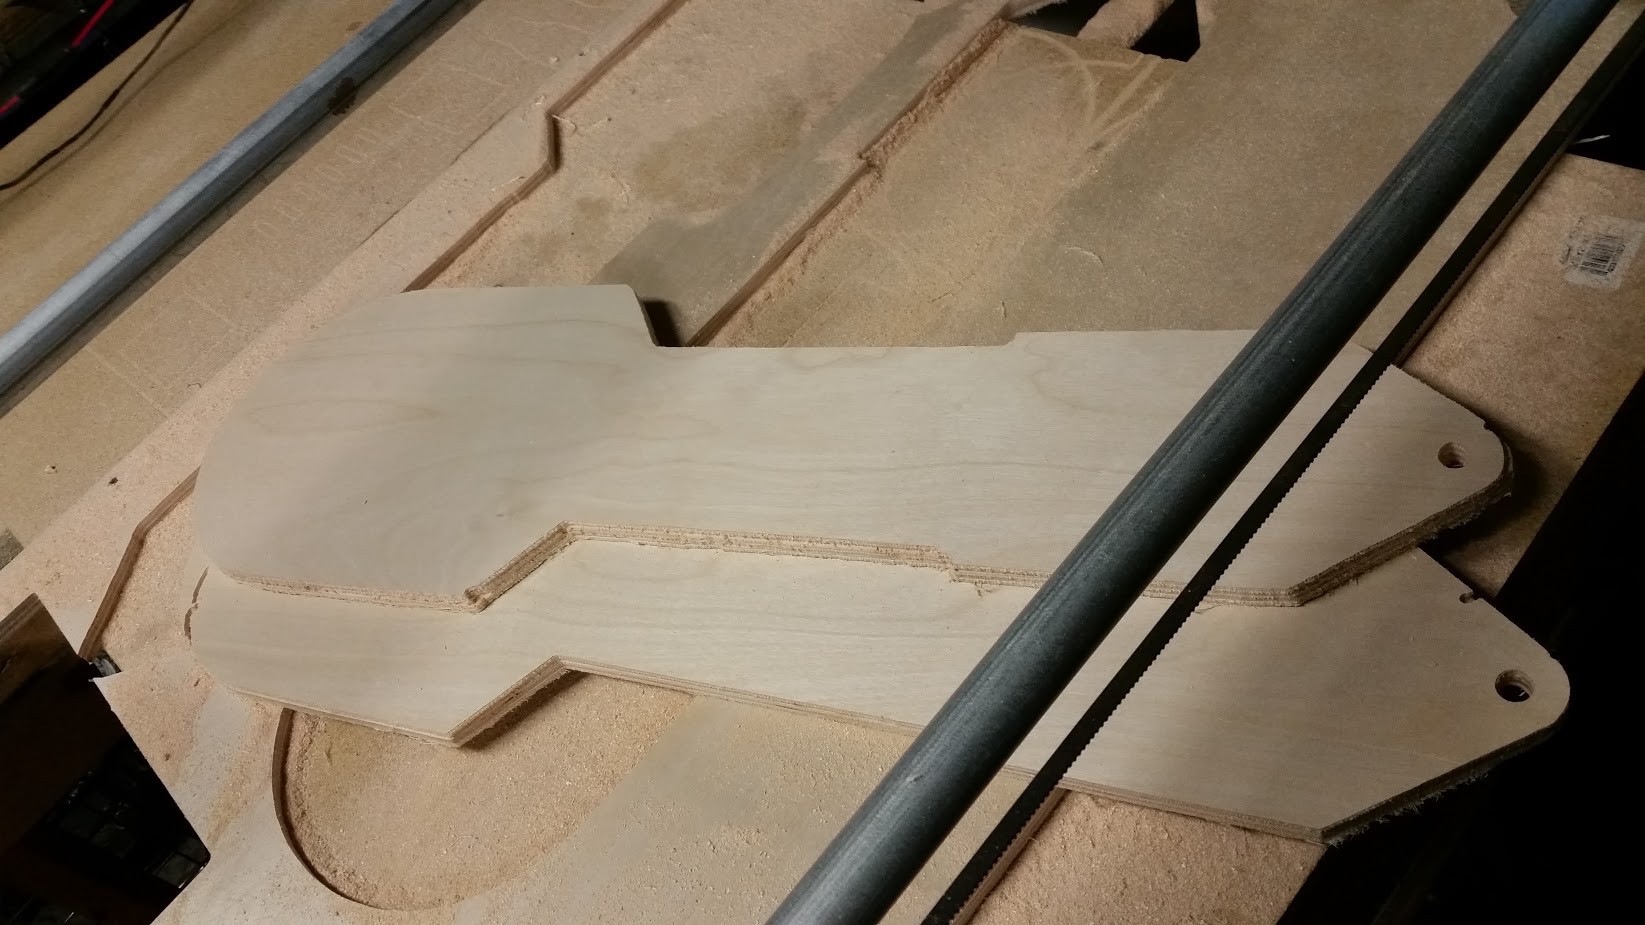
Legs
04/11/2017 at 14:21 • 0 commentsI plan to 3d print all the leg details. I have a Flashforge Creator Pro. These files are available on the Astromech.net wiki. They're already sliced to print on small print beds.
![]()
The first leg cuts were rough but with a little trial and error I have a full set of legs.
![]()
![]()
The next step is gluing these together. They're just dry fit at the moment. I used a 3/8th wooden dowel as alignment pins. There's a sheet of aluminum cut into the ankle section for added support. I've seen images of cracked and broken droid ankles. This can lead to damaged droids or worse, injury to people around the droid.
-
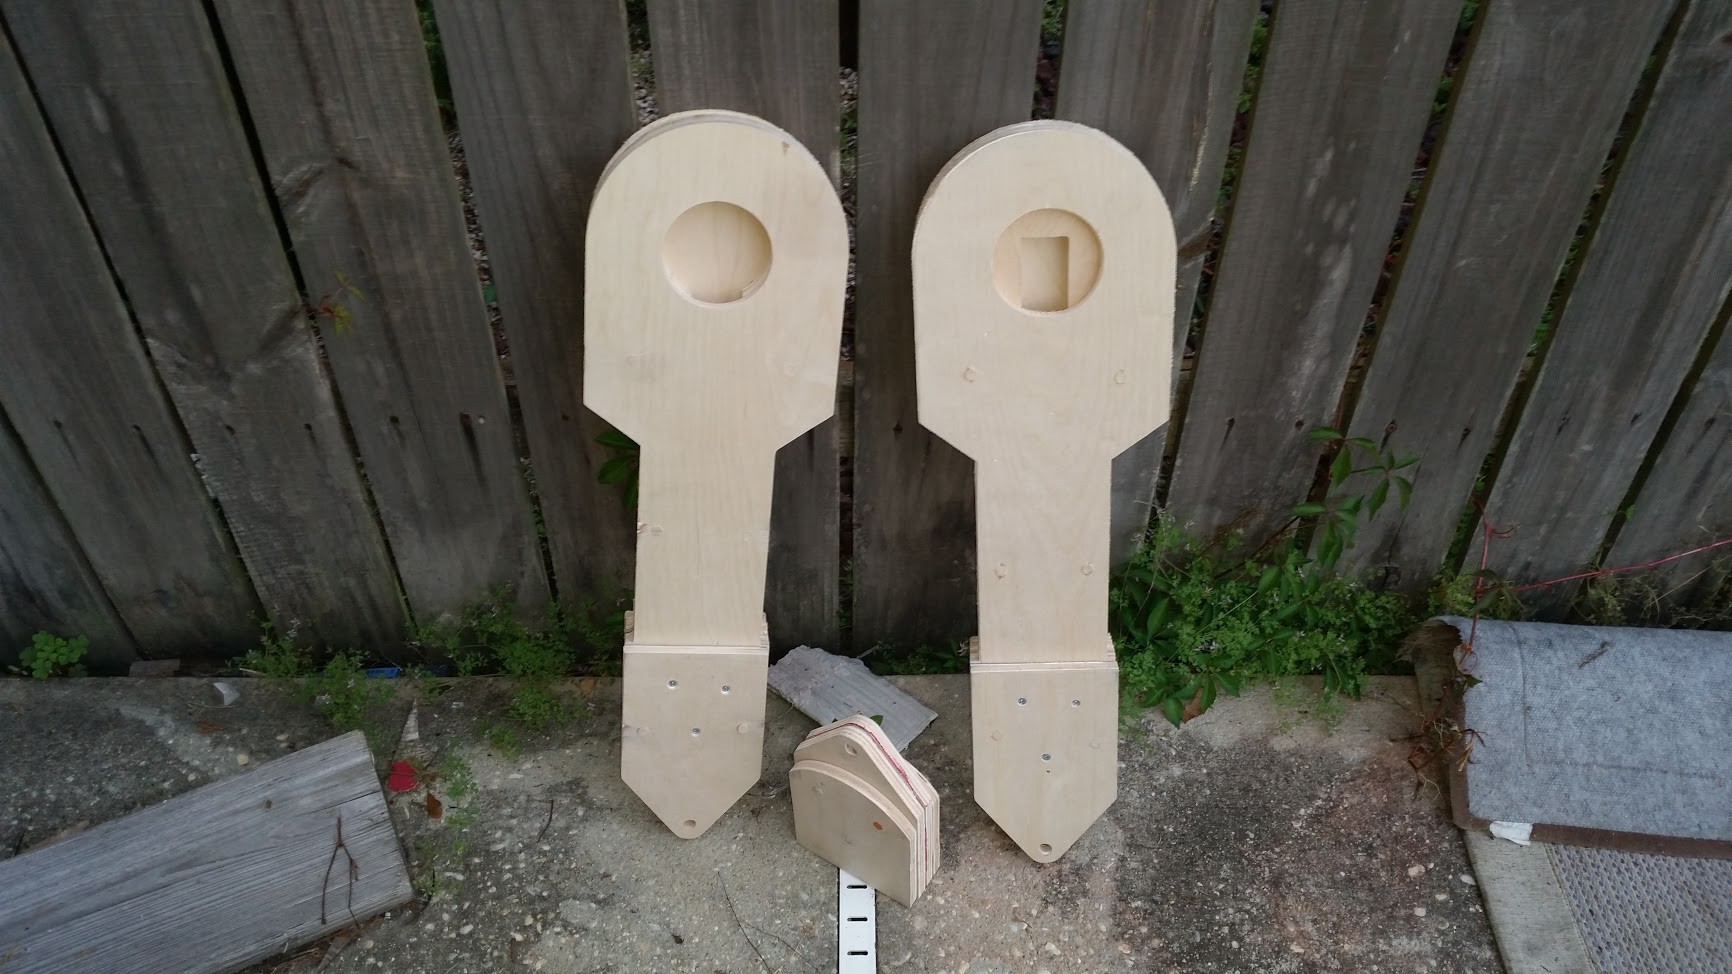
Beginnings
04/09/2017 at 17:25 • 0 comments![]()
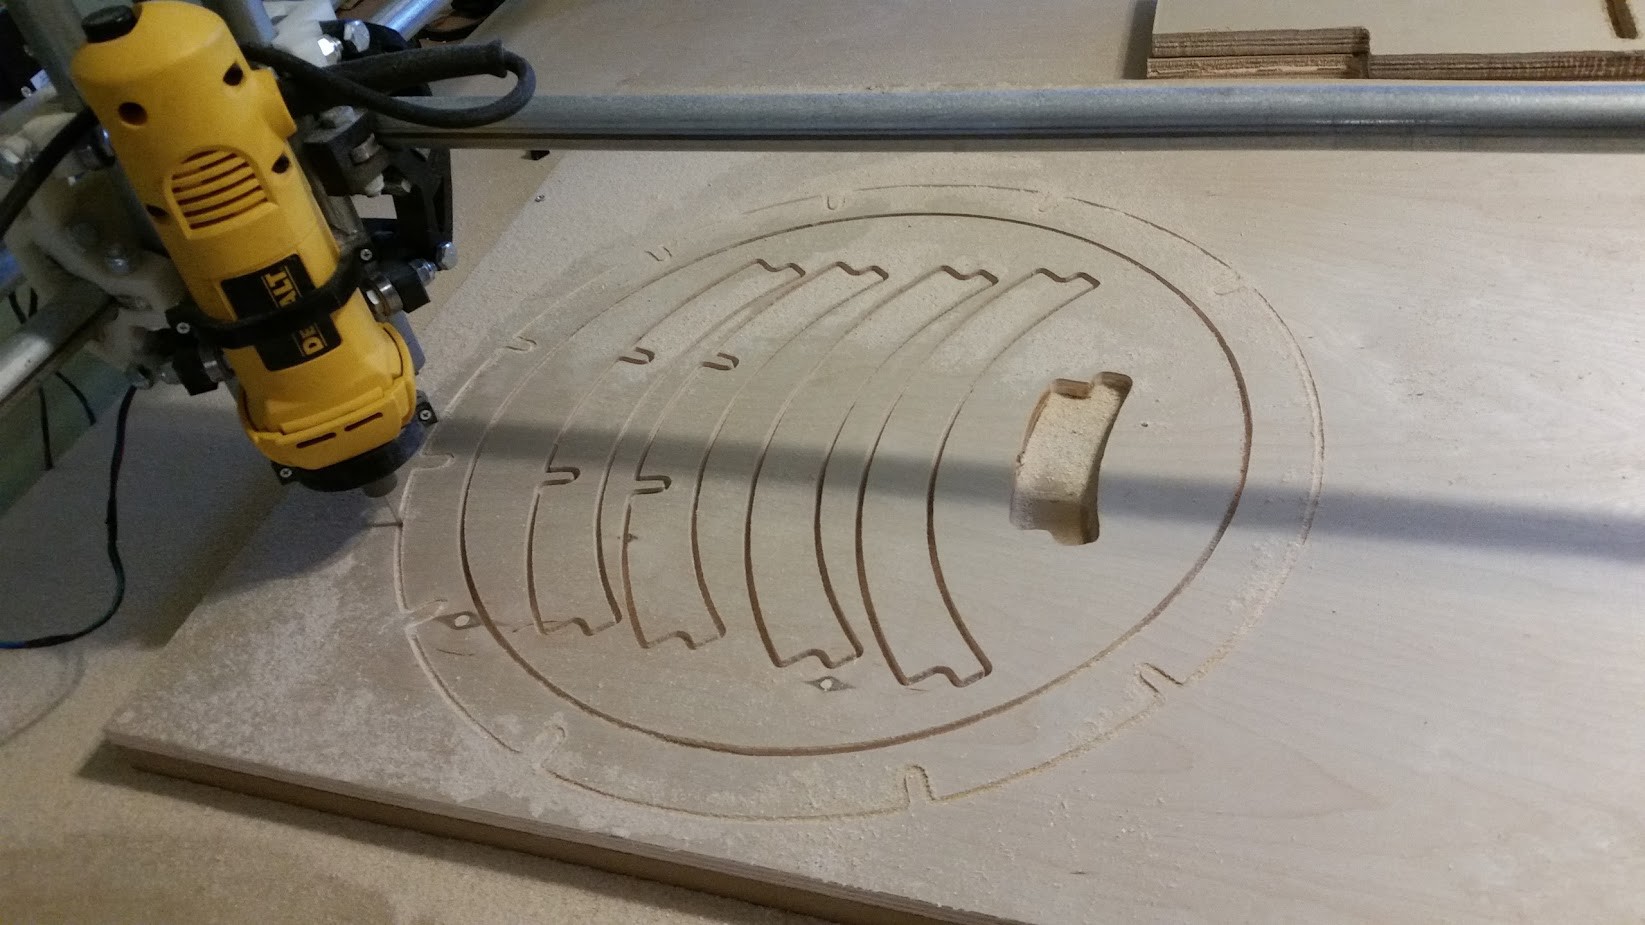
Once it was dialed in and I was able to get through the learning curve the MPCNC generated the frame. I am using birch for strength.
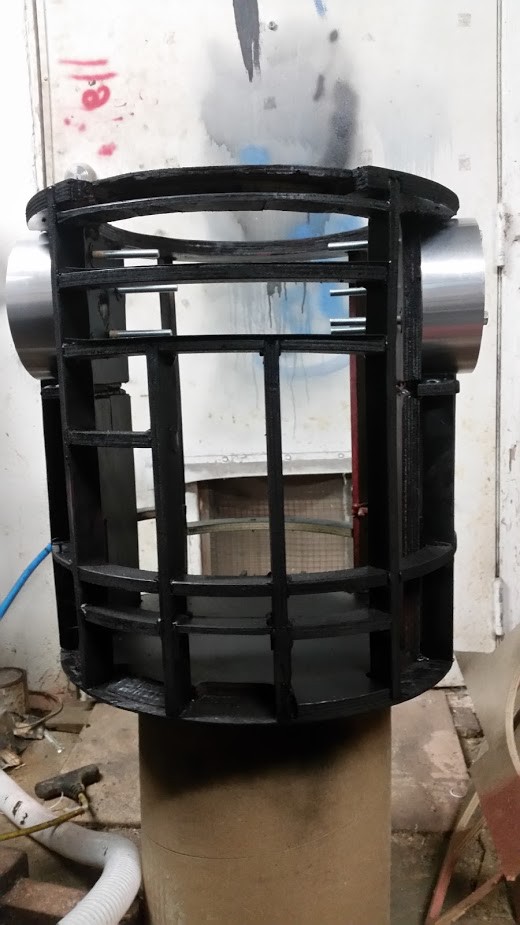
![]()
This is a test fit of the 3d printed parts with the inner skin. The skin was drawn with the MPCNC and then cut by hand. I was having issues getting a clean cut on the styrene. This way is more labor intensive but I didn't want to waste a lot of styrene.
Star Wars: BT-1 the Blastomech
BT-1 was introduced in the Star Wars Darth Vader comic books as a twisted mirror version of R2-D2. BT-1 is the first and only Blastomech.