 Christine
-
1Watch this video!
This video will give you a sense of how Sotto gets put together, making the following instructions WAY less confusing :)
-
2Start Printing!
![]()
Get your prints started! If you don't have a 3D printer, you can always take advantage of awesome services like 3dhubs and fictiv.
Download your stl files here! You'll need 5 holders, 5 covers, 1 base plate, 1 "scale 100", 1 "scale 75", and 5 "scale 50"'s.
You can also download the bangle if you want, but it will probably only fit you if you too have an unreasonably tiny wrist.
-
3Upload Code!
![]()
While you’re waiting for the print to finish, upload this code to your Feather using the Arduino IDE.
-
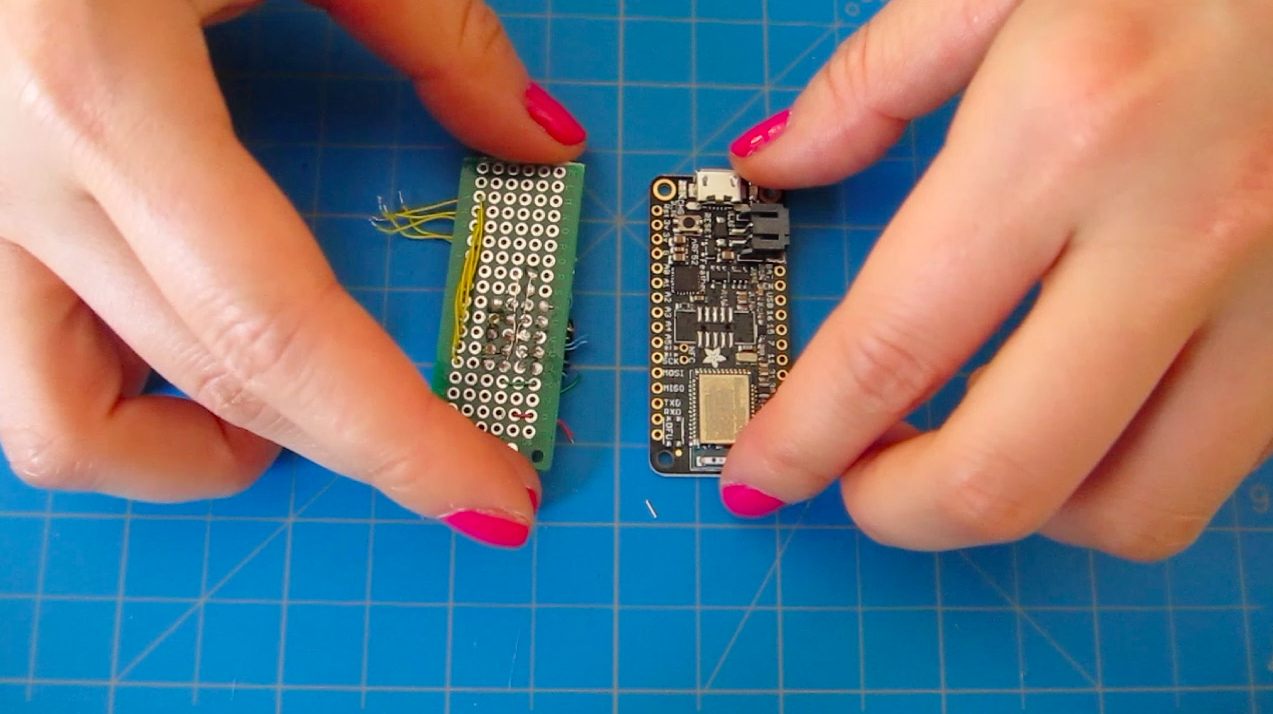
4Prep Your Board!
![]()
Cut your protoboard to roughly fit the size of the Feather. Use your wires to take the inconveniently placed pins and turn them into tidy little rows of four. The rows should be:
A0 3v Gnd 11
A1 3v Gnd 10
A5 3v Gnd 9
A3 3v Gnd 6
A4 3v Gnd 5
The A_ pins record input from the buttons, and the numbered pins will send output to the vibration motors.
I added pulldown resistors between the A pins and Gnd on the underside of the protoboard.
Leave enough room so that you can sandwich your battery between the Feather and the protoboard.
Solder lengths of wire about 4-6 inches long from the base of each row, ending in a male JST header. Make sure that you are consistent about the orientation of these headers-- you're going to need to remember it when you solder the female headers in a little bit. Also make sure the micro USB port of your Feather faces in the opposite direction of the wires, otherwise it will be hard to charge.
Add a switch that will toggle pin 12 between Gnd and 3v. This switch will let you move between the Read and Write modes.
-
5Prep your button/holders!
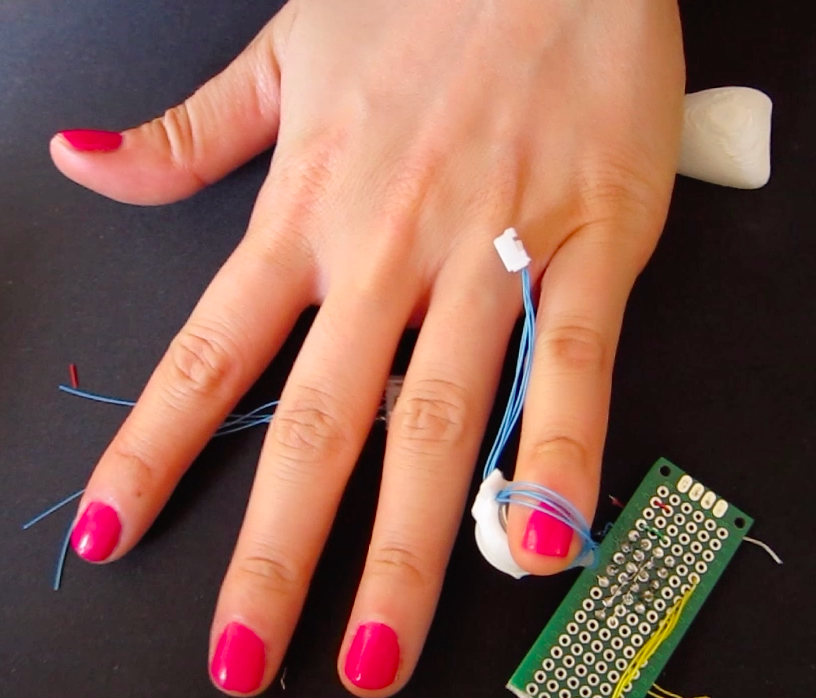
Go get your prints and take the supports out. Take a look at how the buttons and vibration motors fit into the holder. The motor will sit on top of the button, and pressing the motor should depress the top of the button.
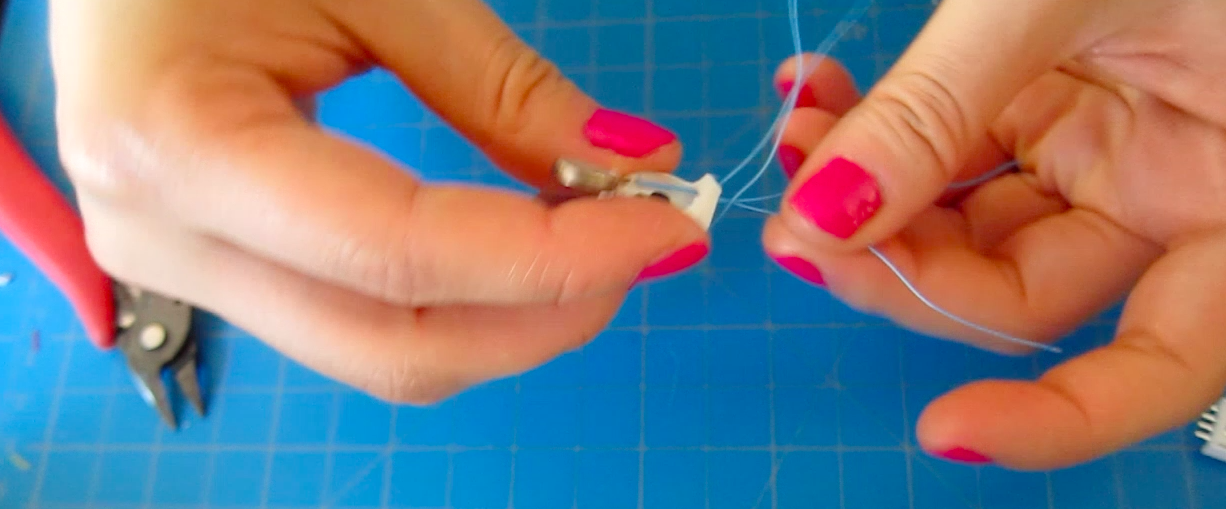
Cut the legs off of one side of a button and solder a 2-5 inch lengths of wire (err on the longer side if you have big hands) to the remaining legs.
De-solder the existing leads on a vibration motor and replace them with lengths of wire the same length as those on the button.
![]()
![]()
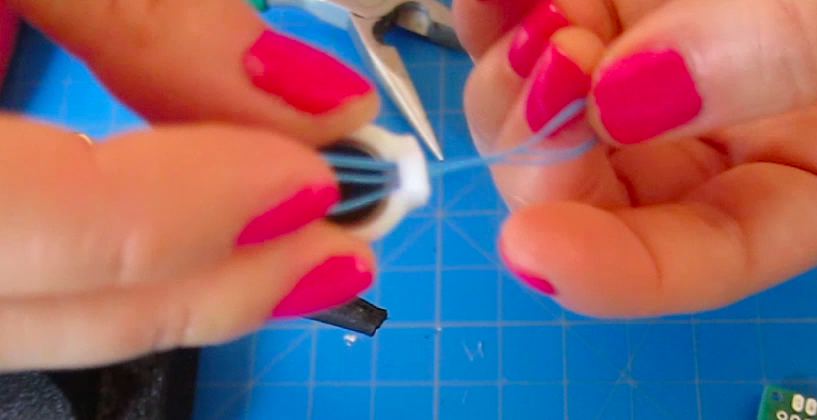
Now, place the button into the bottom of the button holder and put the pancake motor on top. Use hot glue to fix the wires to the hole and help secure the solder joints. Thread the wires through the hole on the opposite side, to make a loop. Don’t glue this part.
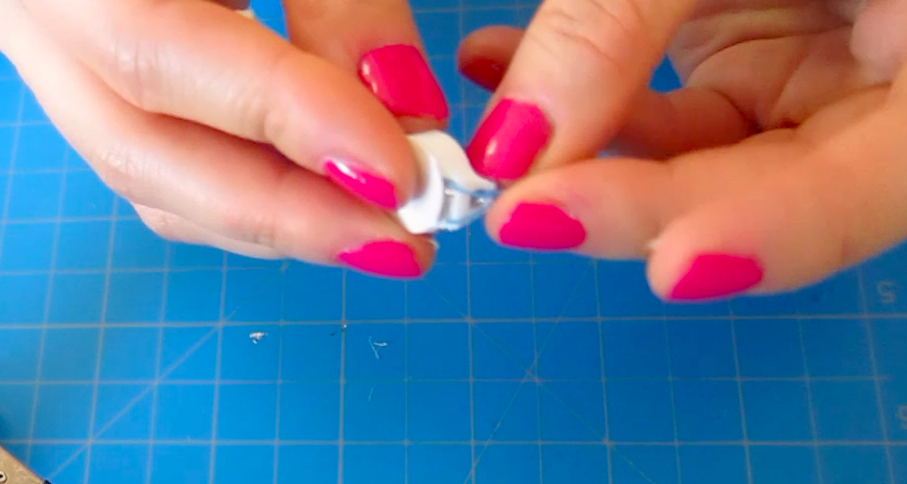
Put a little hot glue on the underside of the button and press the cover on top of it.
![]()
![]()
Solder or crimp female headers to the ends of the wires from the button/holder, and snap them into the female JST connector so that they will contact the male JST in the right places. They should line up like this:
Female Header: Button | Button | Motor | Motor
Male Header: A_ | 3v | Gnd | Numbered Pin
![]()
You can also add a scale here. Clip one side of the opening on the scale and put the wires in it. Then, glue the scale onto the top of the male JST header, covering the header and also securing the solder joints.
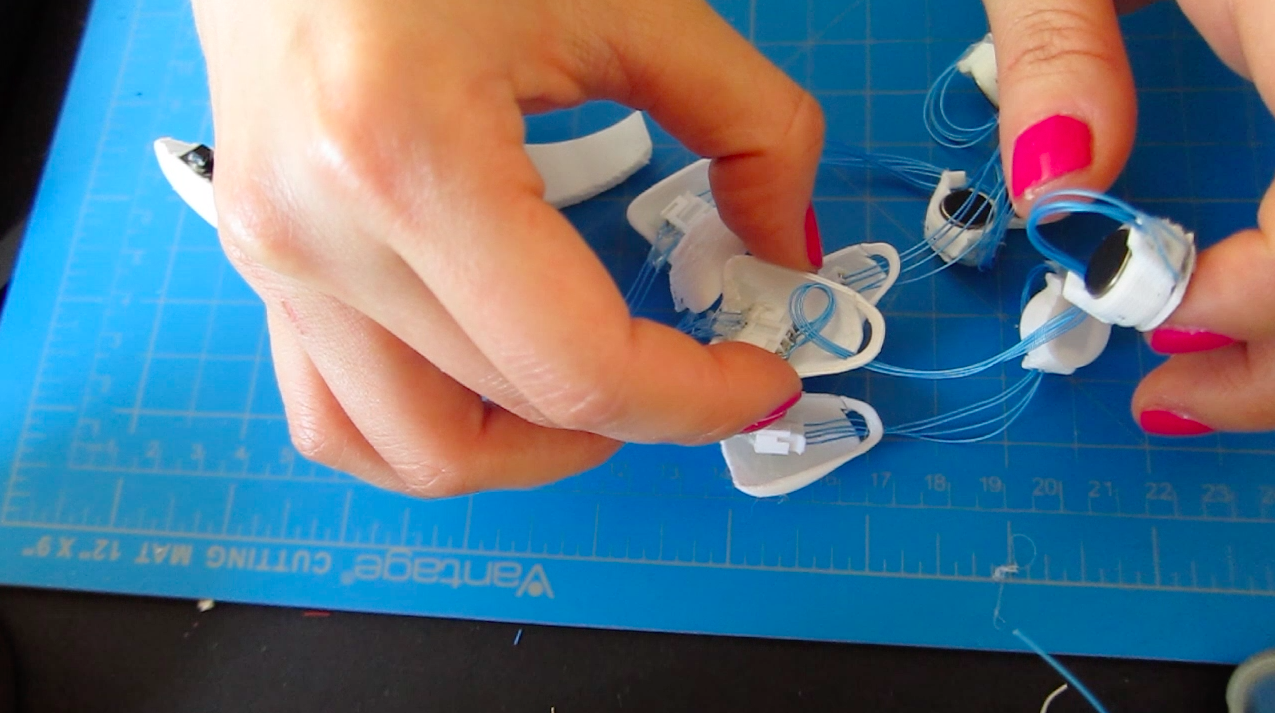
Repeat for the other four button/holders.
-
6Connect and test!
Make adjustments as needed.
-
7Make it pretty!
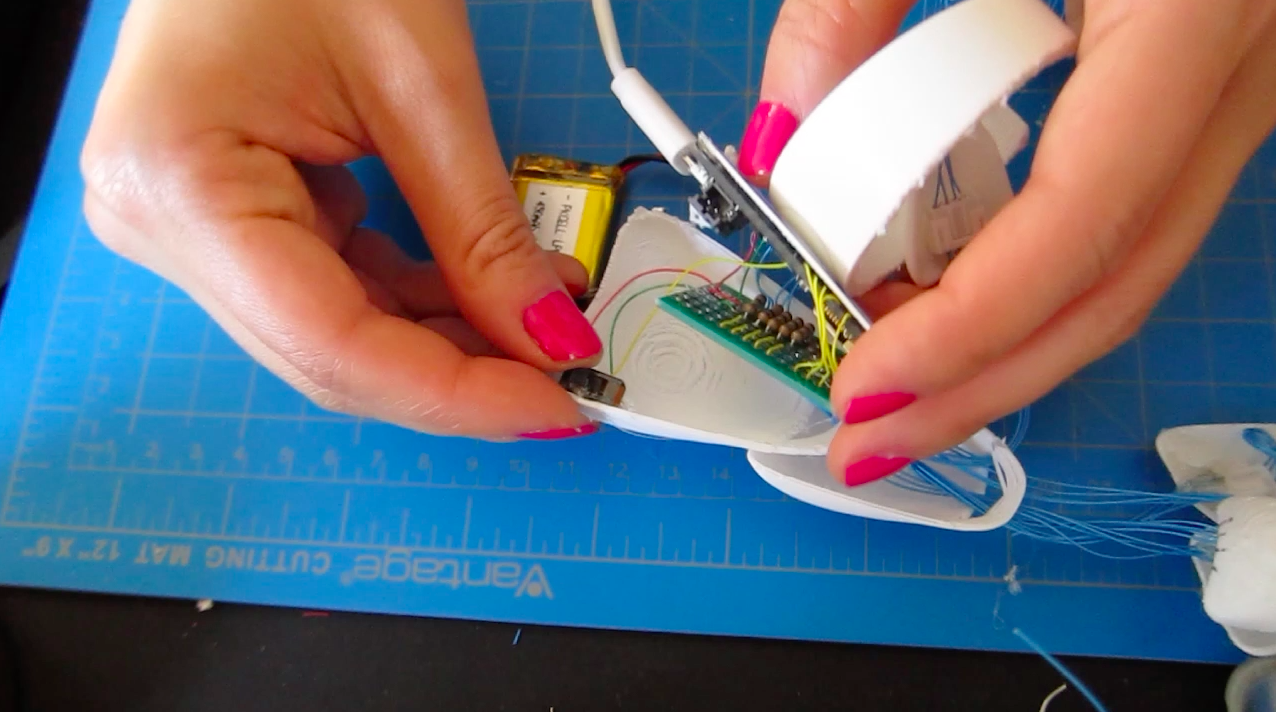
Now it's time to figure out a way to get it on your wrist. I 3D-printed a little bangle, and glued the Feather onto the printed base plate.
To use the decorative scales, clip the side of the opening and thread the wires through. The biggest scale goes on top of the feather. You can glue the switch on the underside of this scale. The middle sized scale goes over the opening on the biggest scale, holding the male JST wires in a bundle.
![]()
![]()
-
8Wear it!
Put on the bangle, put the rings on your fingers, and adjust as needed. You can change the position from near your fingertips to near your knuckles, depending on what you're doing.
-
9Connect it!
Open your bluetooth settings on your mobile device and connect to Sotto. If it's your first time connecting, it may show up as a Bluefruit device.
I suggest starting with Sotto plugged into the Arduino serial monitor, so you can debug any connection issues.
-
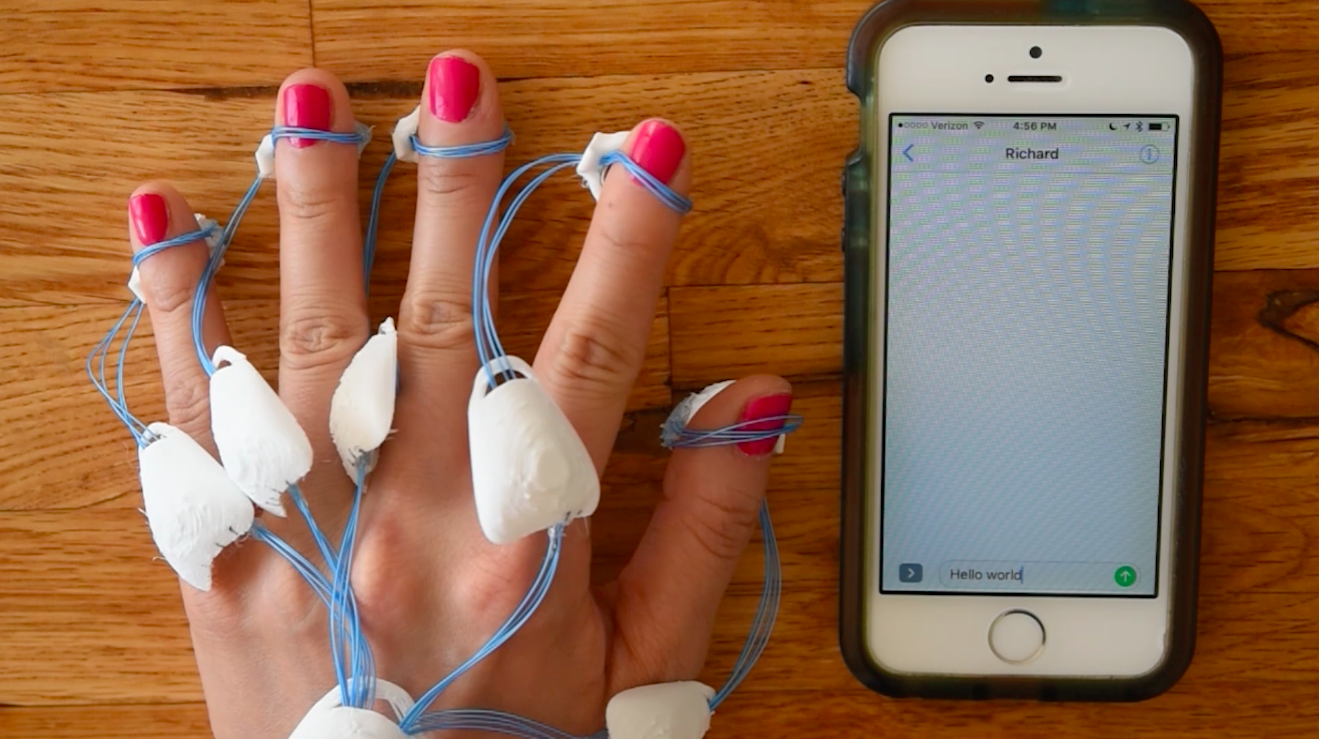
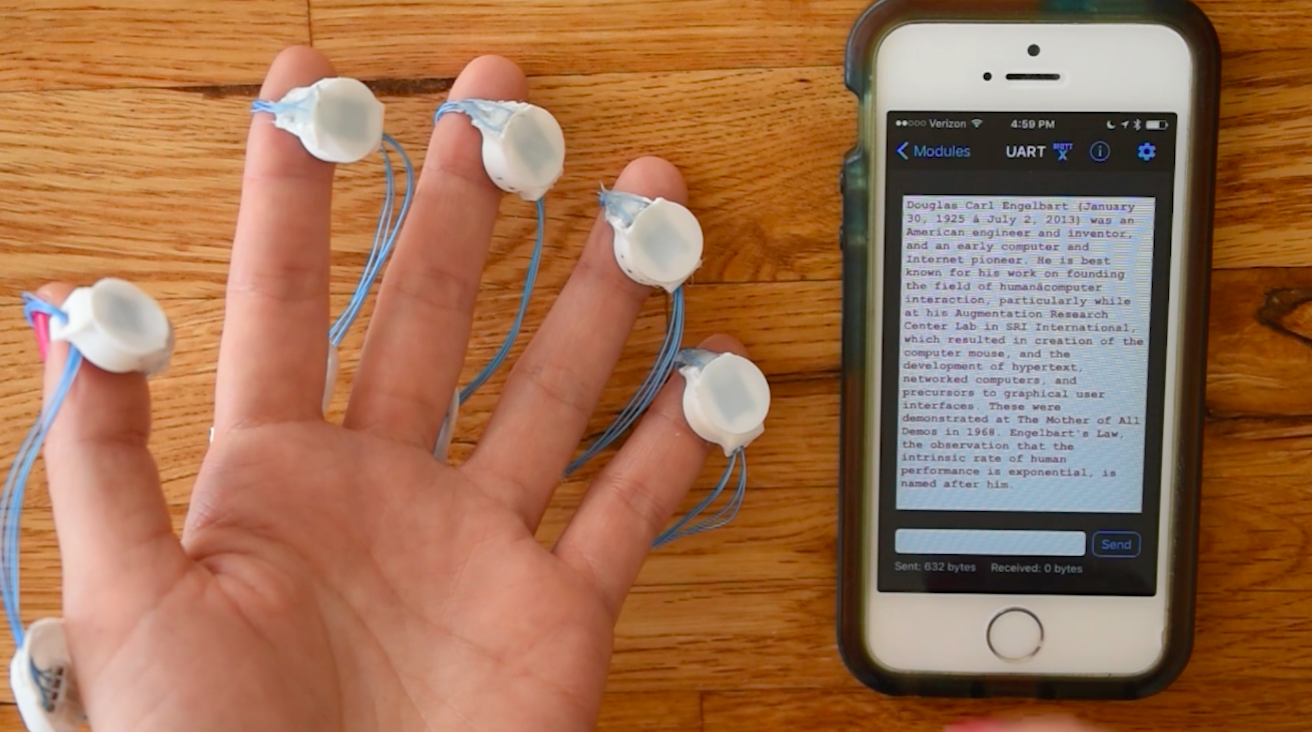
10Use it!
![]()
Open up the bluetooth options on your phone and connect to the Bluefruit. After the first connection, it should broadcast as "Sotto."
Try typing! If you need practice, you can always play with the chorded keyset emulator!
You can also use the Adafruit Bluefruit app for haptic "reading":
![]()
Have fun!!!
Sotto: A Silent One-Handed Modular Keyset
The essential input you never knew you needed. Sotto is a portable, wearable, more subtle way for you to text and type on the go.


Discussions
Become a Hackaday.io Member
Create an account to leave a comment. Already have an account? Log In.