All the details, I mean ALLLLLL of them, can be found at my blog, 24 Hour Engineer. I recently removed ads from the site so please enjoy the clean browsing experience.
You can skip right to the first PiTagErrUs post.
This project started because I love laser tag. My friends and I would play every week and we knew the course like the back of our hands. Of course, it was expensive to pay every week and we had to play at the same arena.
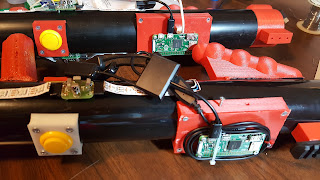
I knew I could produce a decent laser tagger in my garage but I was less confident I could produce ten. With 3D printing and inexpensive PCB makers it was time to rekindle the dream of a laser tag system of my own. One I could play anywhere, anytime with anyone.
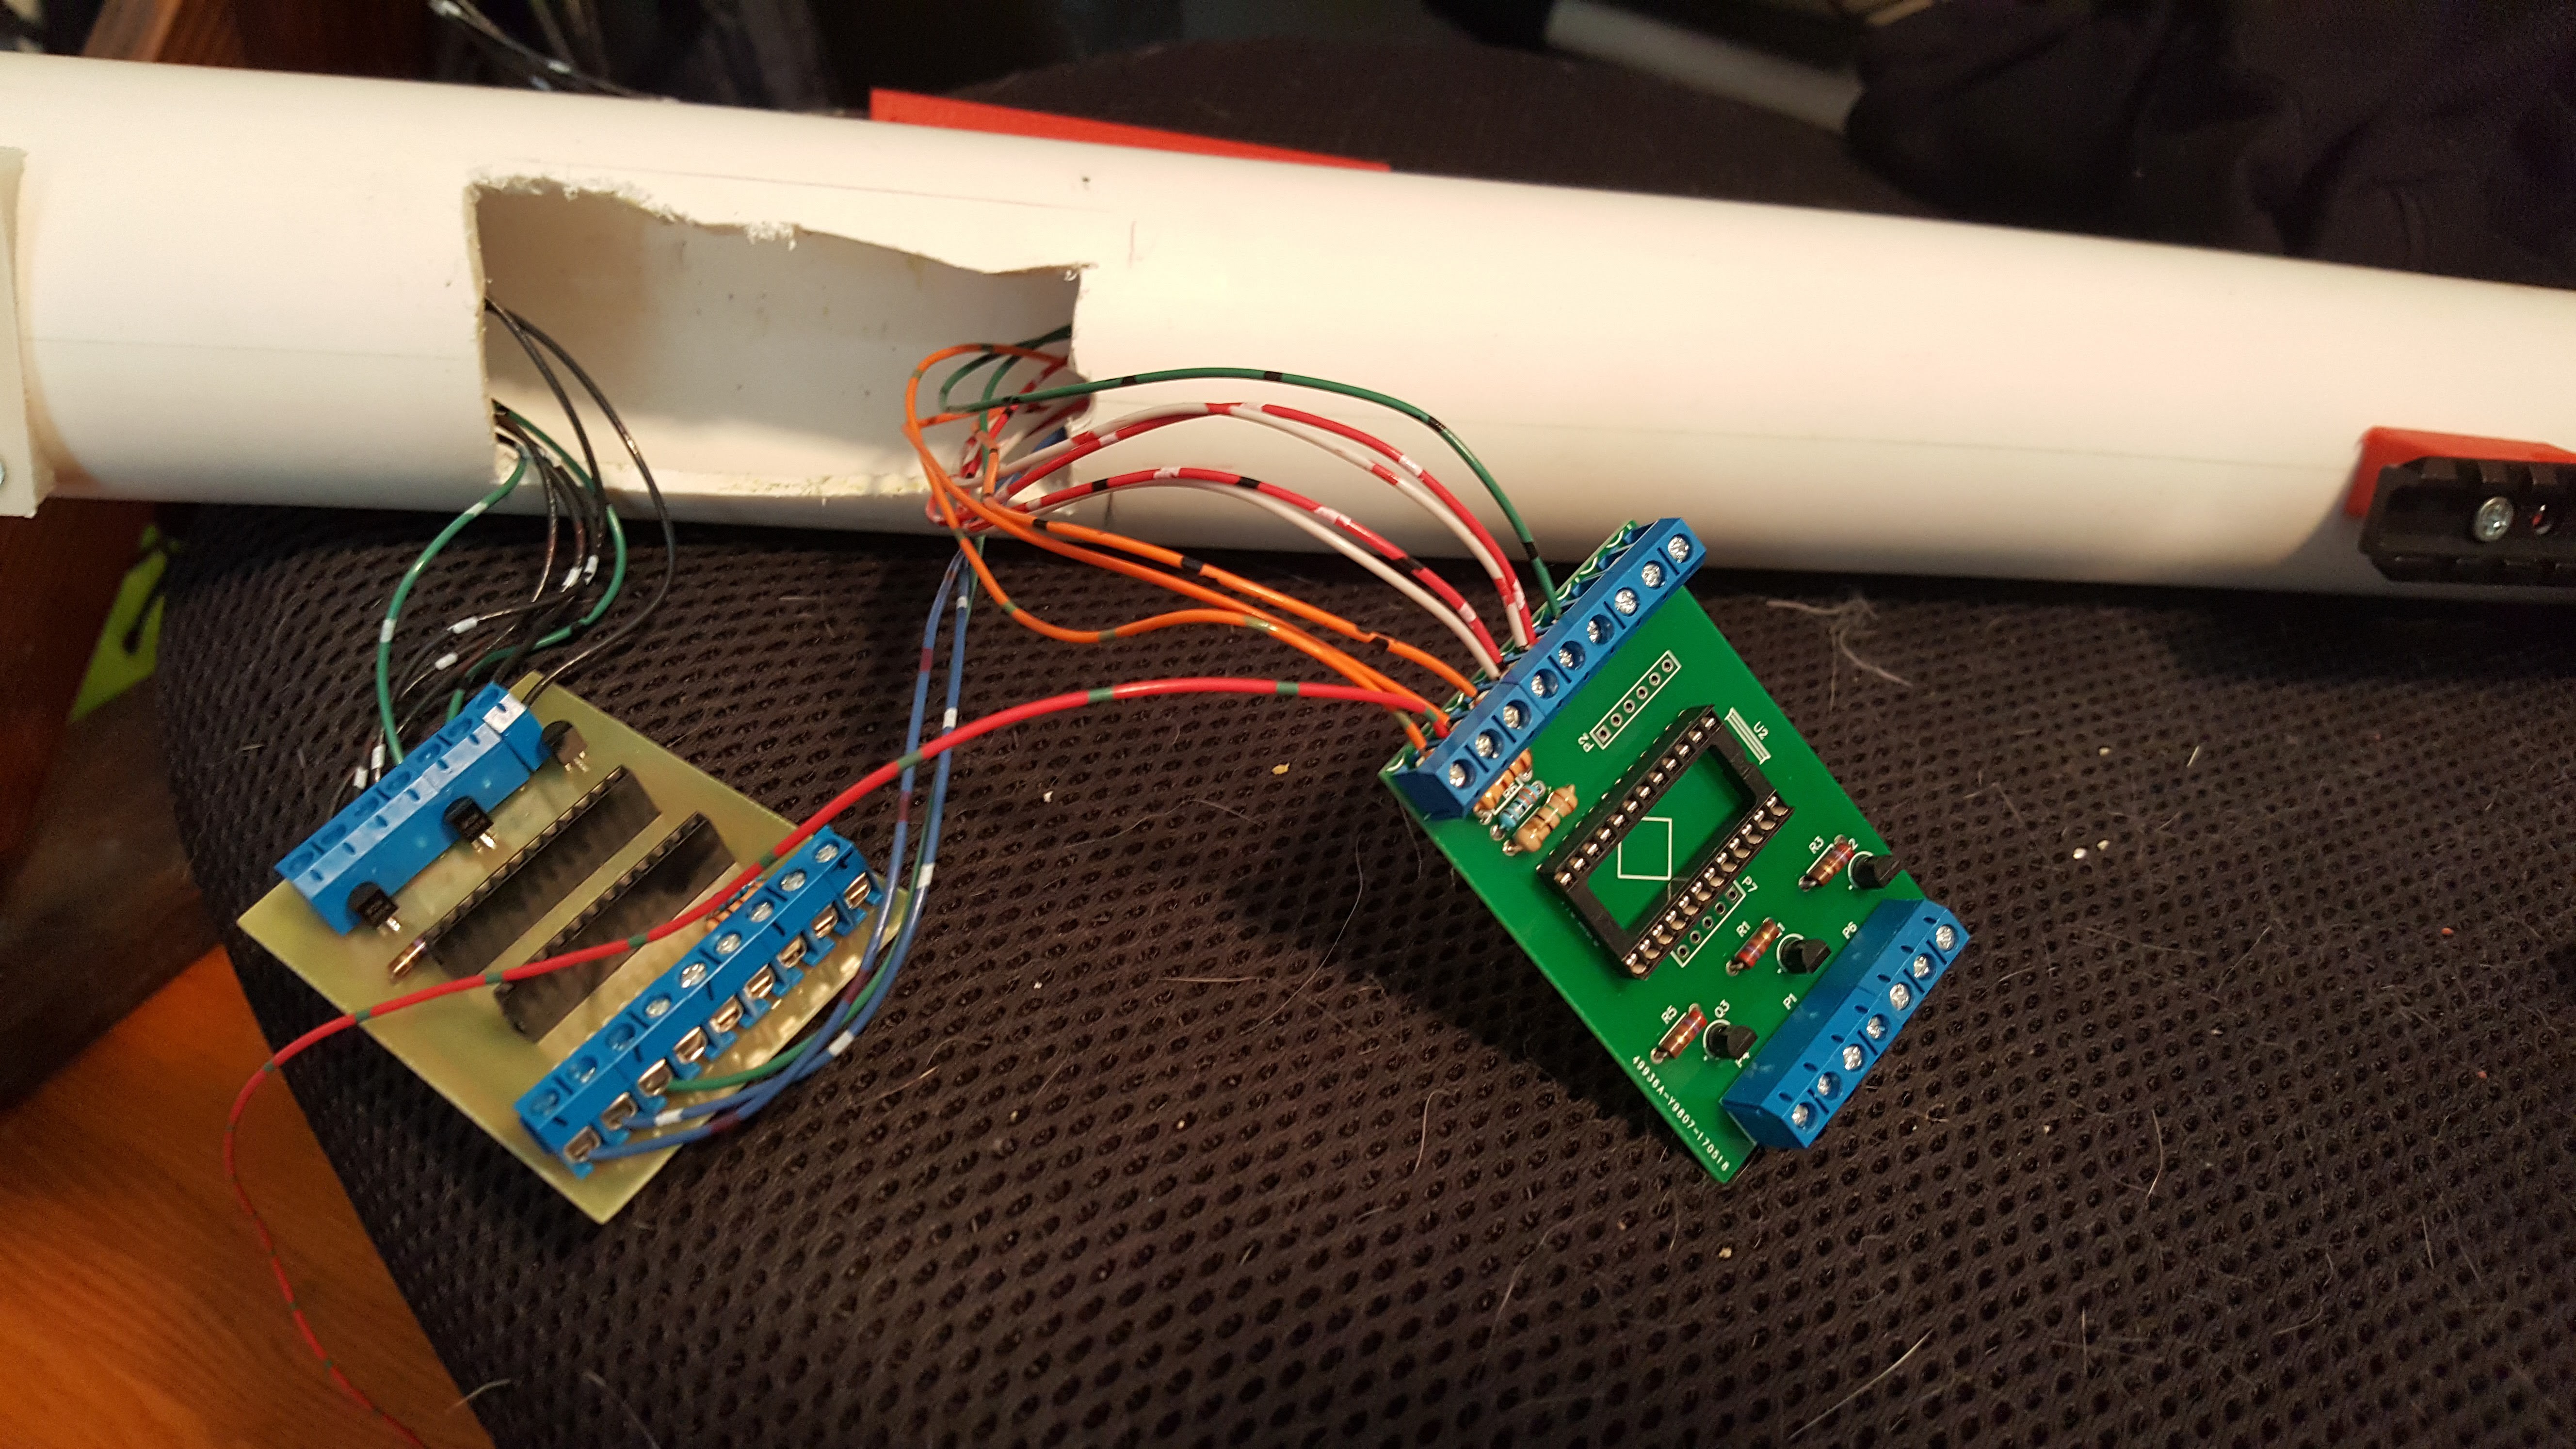
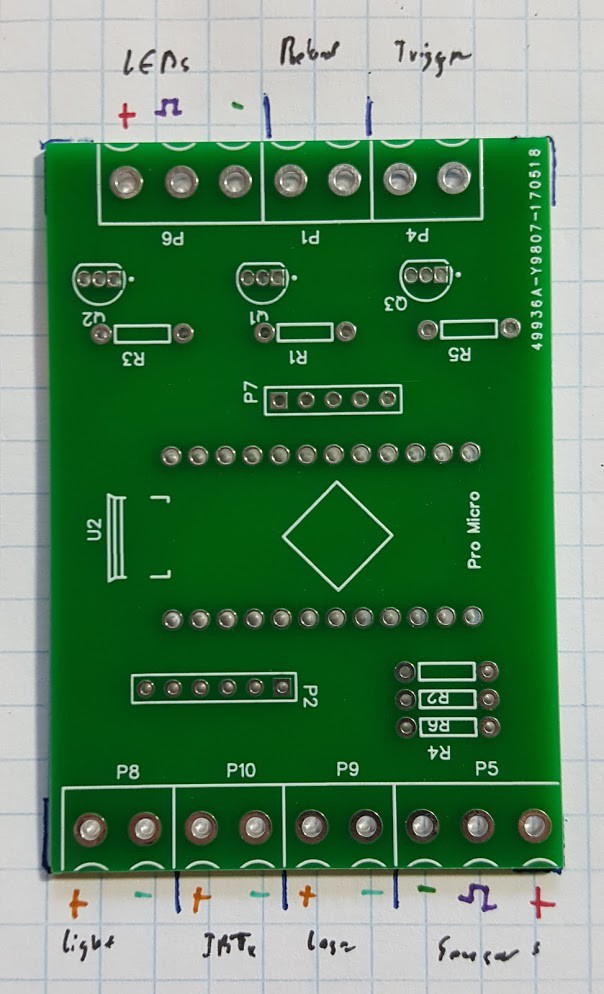
There is no complex soldering, every component in my prototypes was large enough to solder by hand.
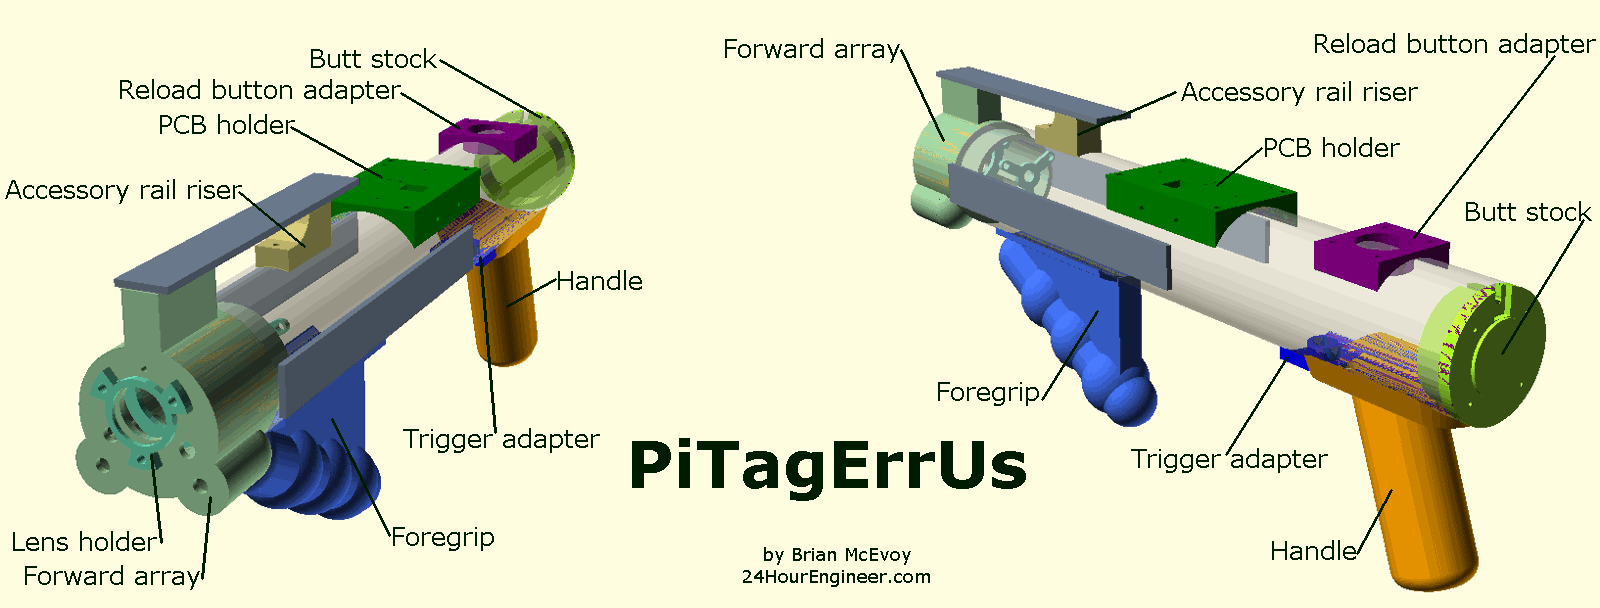
There are no huge model, each component should fit on a small printer. Many don't even need supports to print properly.
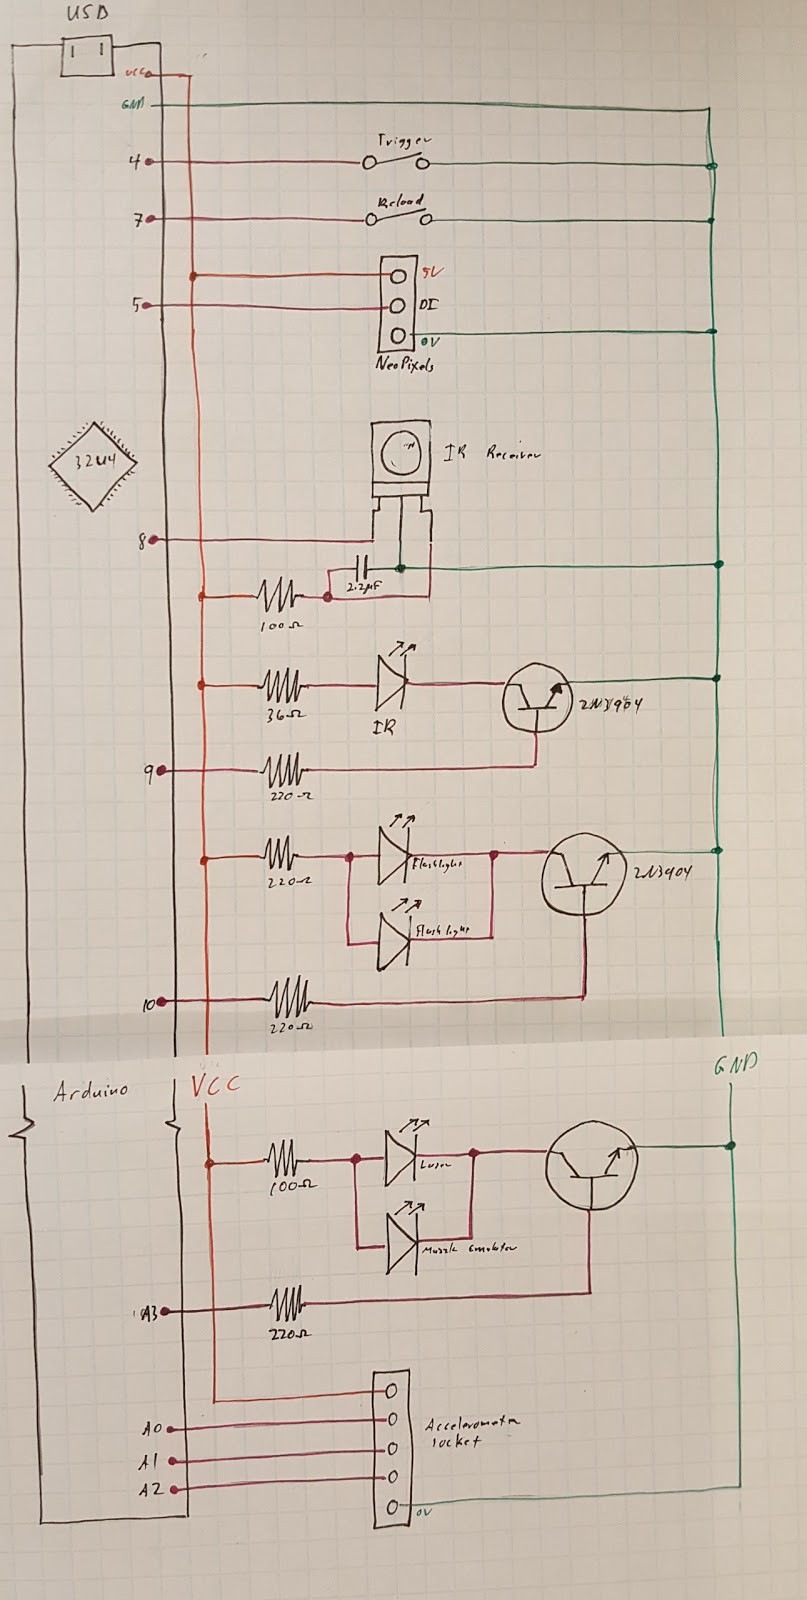
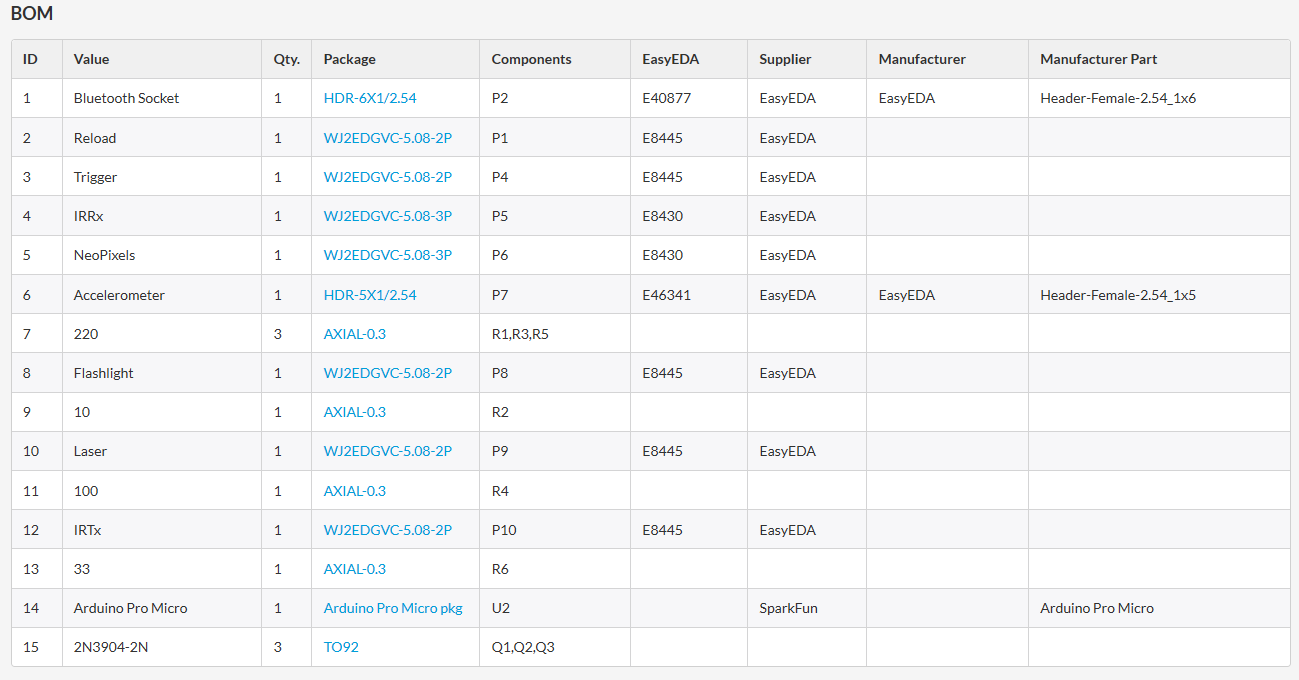
There are no peculiar components, everything can be easily sourced from regular suppliers. That's the beauty of using things like Arduino, anyone can buy and reprogram them with relative ease.
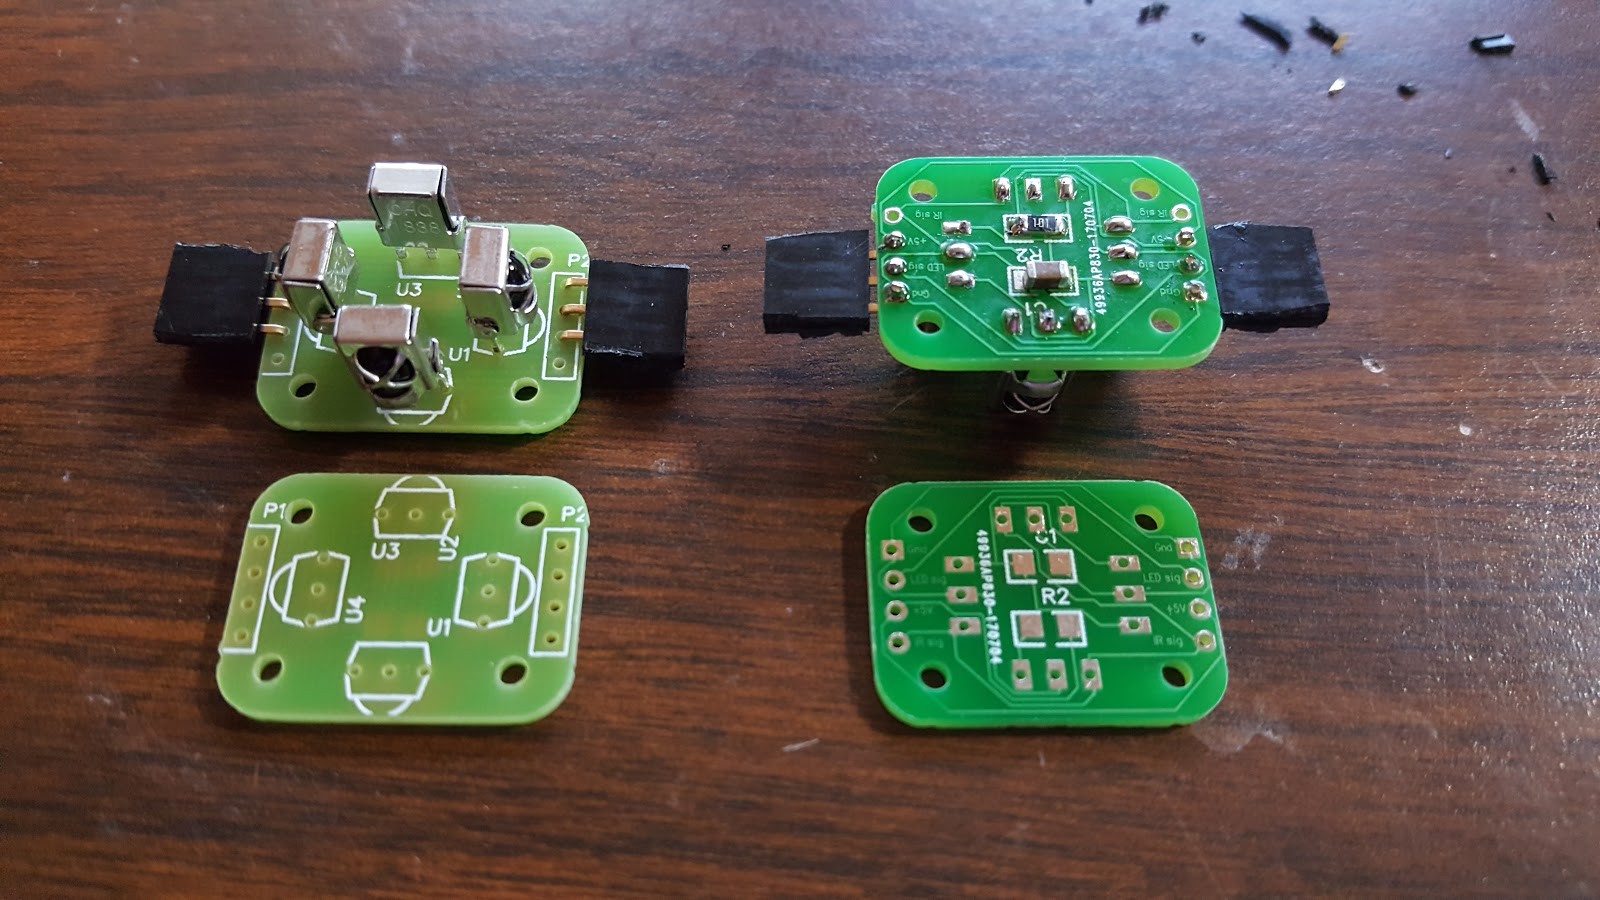
There are no closed-source parts, all 3D printed parts were designed by me and the OpenSCAD source is included with the STL models. The PCBs are also free to download and edit. If you're tricky, you could even solder parts to a protoboard and skip the PCB or you can print your own at home.
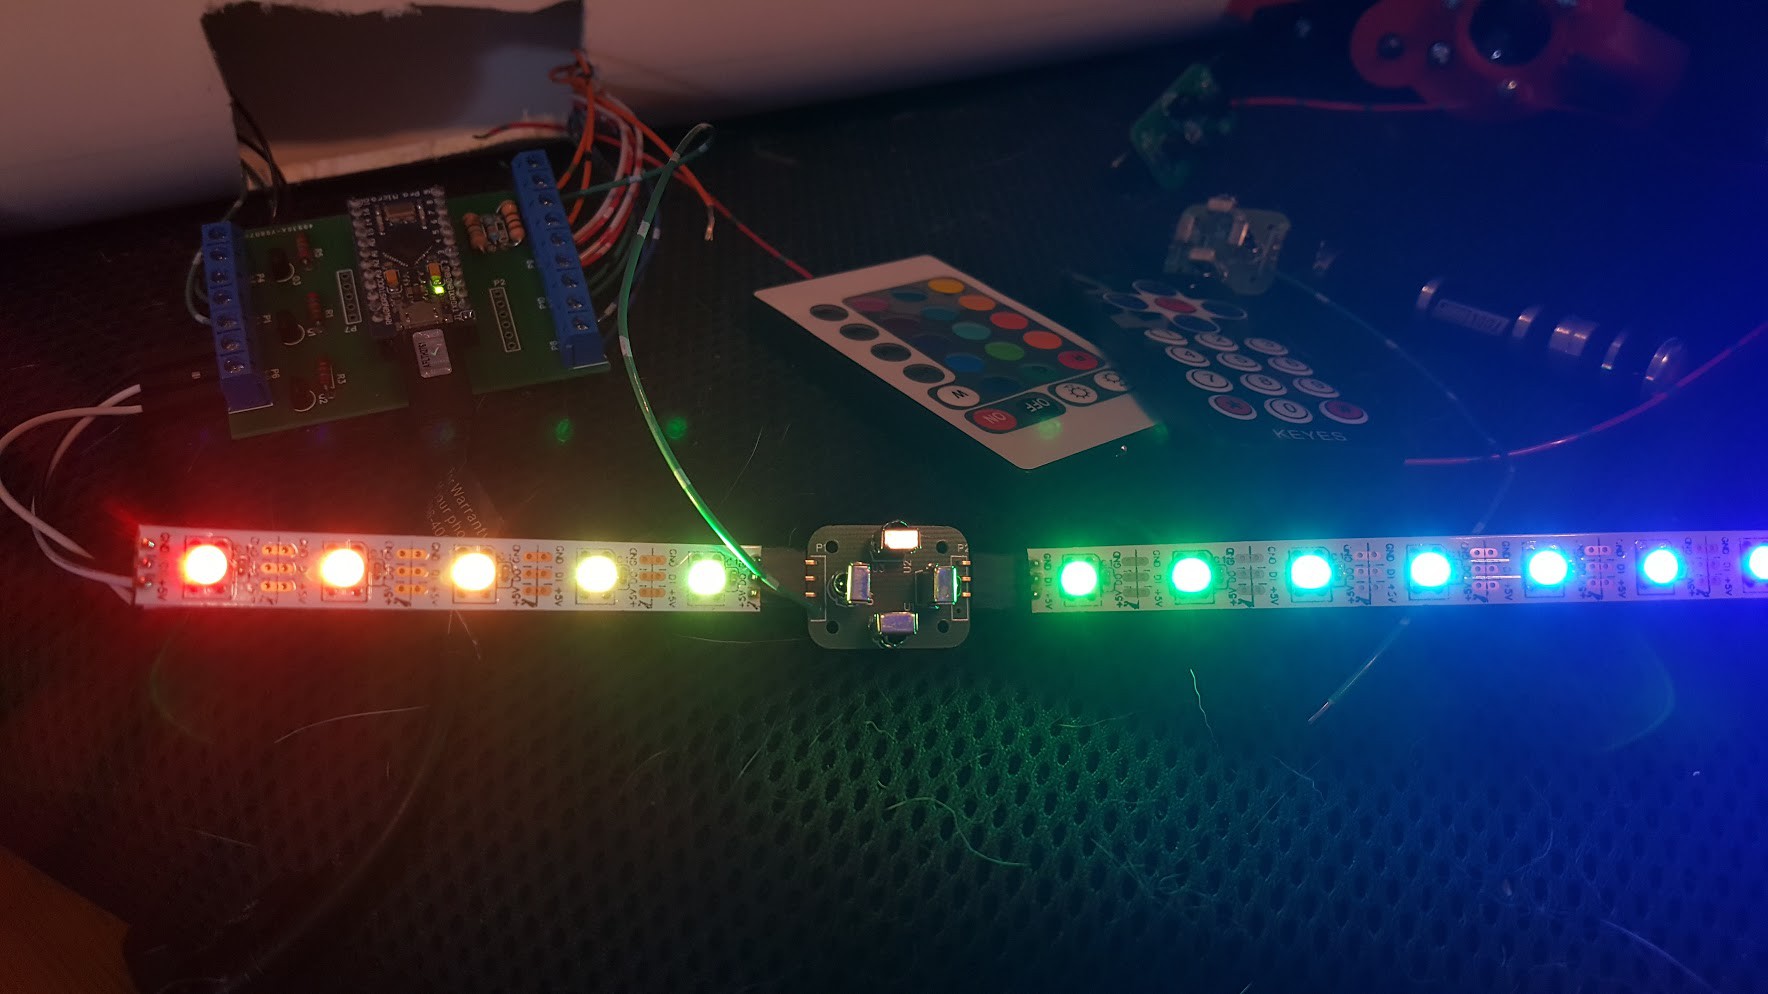
This project is modular. Inside the Arduino is only the most basic automation. Its primary purpose is to receive serial data from a game controller like a Pi, Android or even a Windows machine. A demo program was written in Python to get started with an inexpensive Raspberry Pi but if you want to write your own games, maybe with wireless connectivity or sounds effects, you are free to do so. It's simply a matter of observing my code and using those serial commands however you like. The tagger doesn't try to tell you how to play, it just makes the gun act like a peripheral to your Pi or smartphone.
 Brian McEvoy





 diysciborg
 mclien
 Quinn
Quinn