Close
0%
0%

LAMEBOY - another ESP12 handheld

fully portable ESP12 project with battery charging and power muxing

Similar projects worth following
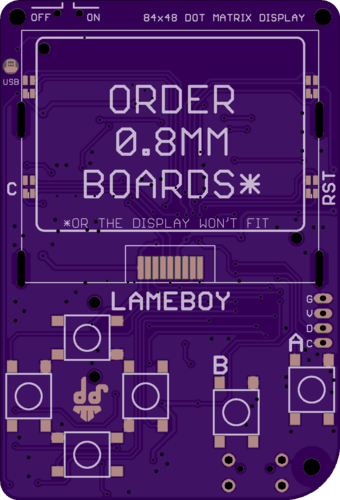
Ever since https://hackaday.io/project/18648-nokia-3310-5110-display-board I've wanted to slap on an ESP module and some buttons to make a nice little portable handheld. Now with some googling and checking out other projects how they get their stuff done and a bit time on hand while on vacation I'm using every spare minute to work on this PCB. There are some minor things I'm not sure about that need testing, but the general concept is clear.

What is this good for? 

Ever needed an IoT remote to connect to all your MQTT stuff? Or wanted to check your hackaday.io likes? Maybe test your WiFi with the ESP8266? It's also good for gaming, as the looks might give away.


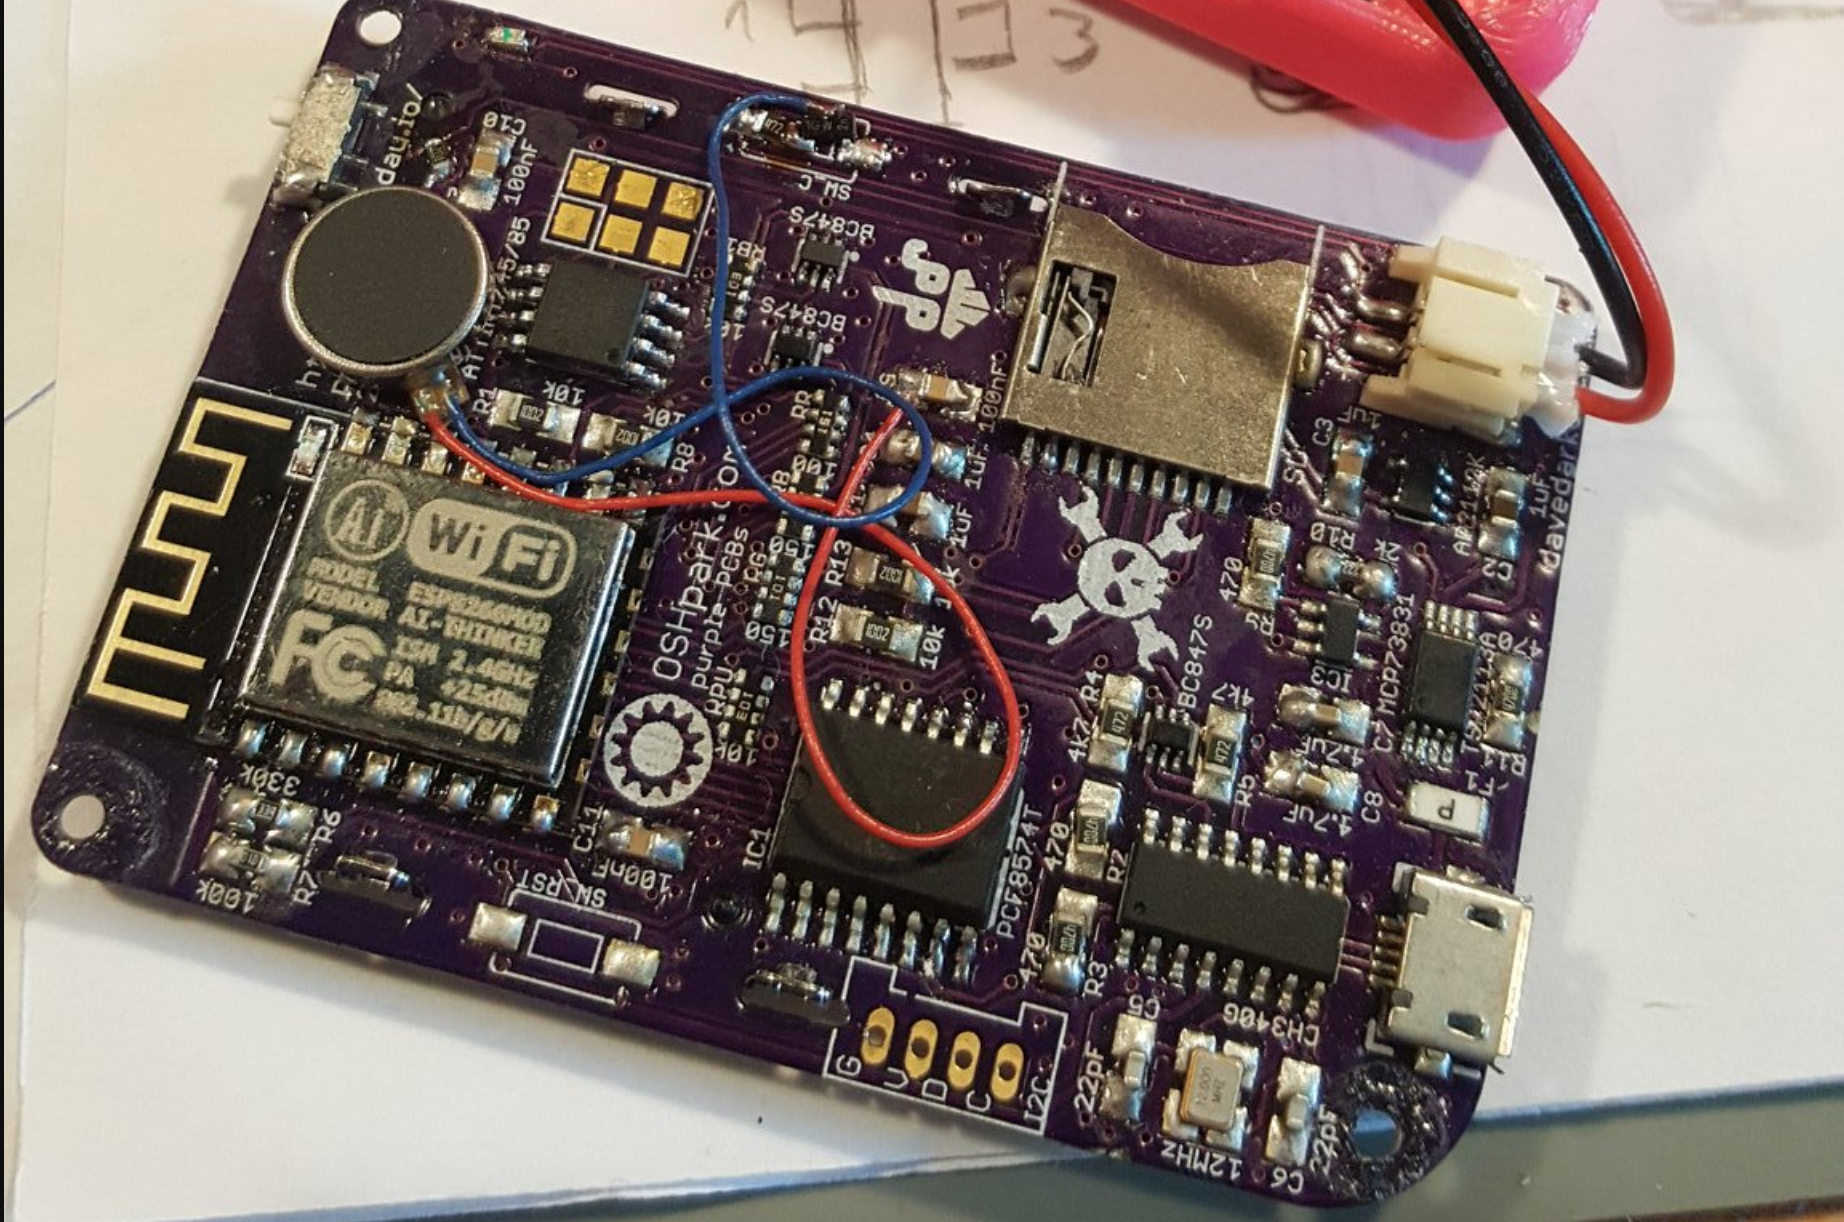
RGB background light might seem unnecessary at first, but in context and with some thought it's a good indicator for things. To save pins I'm throwing an attiny13/45/85 on the board to let a BlinkM clone handle the RGB controlling. https://code.google.com/archive/p/codalyze/downloads - firmware


On that I2C is also a PCF8574, an IO Expander that will scan the buttons for me.


There is a grove connector - basically almost a 2mm JST connector - that will allow me to add some sensors or another board that I'm working on for sound
#T85SID - I2C sound thing 

https://playground.arduino.cc/Main/SIDuinoI2c

http://playground.arduino.cc/Main/SID-emulator


When it comes to power, I've wanted it all, meaning the board needs to be able to charge a LiPo with the help of an MCP73831 but also stay on when I plugin USB or remove it. For this I've integrated the TPS2113A, a power mux chip that does just that and keeps me from throwing in diodes at everything (that chip was also featured in a 3hours youtube live stream by David Watts - great watch!)


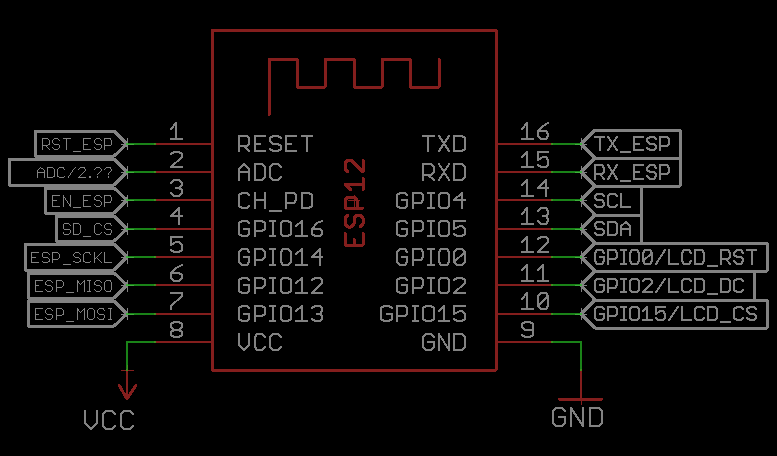
For connectivity I've copied from the known ESP breakout boards out there, that use the CH340G as a serial to USB converter and also a flip-flop circuit for pulling GPIO and RESET at the right time.


PCB change log R1 to R2

  • changed every footprint from 0805/1206 to 0603
  • updated footprint for I2C connecter (wrong dimensions in R1)
  • moved the SD card further into the case (spoiler alert, too far)
  • changed 1117-3.3 regulator to AP2112K

R2 to R3

  • changed every footprint from 0603 to "onefitsall" -> 0603/0805/1206
  • moved the SD card back out a bit
  • moved side buttons further down between lcd slots
  • moved LED for charging to a more familiar spot, shines through pcb
  • added three decoupling caps
  • corrected RGB LED layout and wiring error (RED and GREEN were mixed up)
  • bigger footprint for crystal might improve hand soldering
  • moarrr labelz
  • [bug] Enable pin of ap2112k goes to the switch, other side is connected to VCC but should have been connected to regulator in

R3 (current) to R4 (WIP RC)

  • changed USB micro footprint to fit more rigid version with through-hole fixing to the PCB
  • adding soundstuff I still work on

esp8266_deauther.ino.generic.bin

binary file for deauther, both button chips work now

octet-stream - 643.66 kB - 08/24/2020 at 19:06

Download

esp8266_deauther.zip

use spacehuhntechs board definitions, adafruit GFX and Adafruit_PCD8544

Zip Archive - 2.55 MB - 08/24/2020 at 19:05

Download

LAMEBOY_HUDY.zip

Zip Archive - 375.40 kB - 02/06/2020 at 17:58

Download

LAMEBOY_RGB_test.ino.d1_mini.bin

macbinary - 222.33 kB - 02/19/2018 at 16:31

Download

partslist_kit.pdf

Adobe Portable Document Format - 30.86 kB - 02/10/2018 at 21:19

Preview

View all 11 components

  • Deauther ordeal

    davedarko08/24/2020 at 19:12 0 comments

    I finally found my 2017 modified version of the deauther and added it to the download section. Use at own risk, don't come to me or Spacehuhn for advice. This is as is. Use it on your own tech only. Don't make people hate you because you want to "jam" your neighbors. Be nice and responsible.

    Proud of the added "scan" for the button IO expander, as I've used different versions with different addresses over time.

  • good vibrations

    davedarko08/22/2019 at 17:50 0 comments

    Added minimal changes overall, but they are quite a decent change functionality wise. When woody added a pager [here], I was amazed by the idea. When I saw him and his Lameboy the other day at the 3rd Hardware Happy Hour in Berlin, I decided to add that to one of my own and add an update to the schematics.

    Much often I forget to add sound to my projects and here I try to free GPIO0 from resetting the LCD and instead connect a tiny buzzer to it. The LCD has a reset circuit added now.

    I'm undecided to wheather I should order these versions or mod the other 10+ pcbs though, so I'll just update the github repo for now.

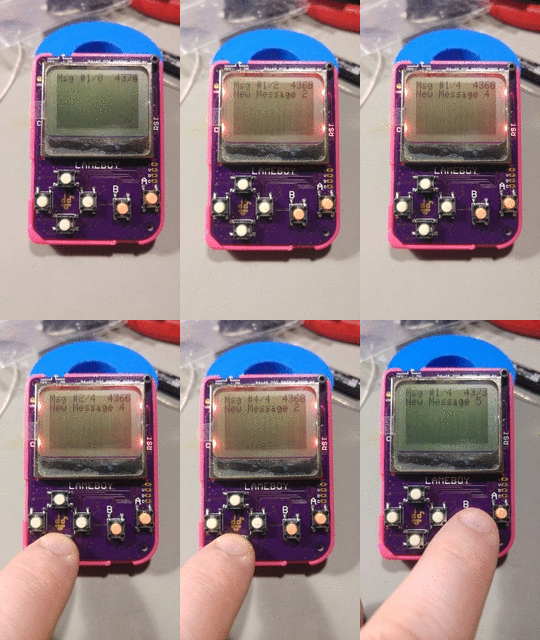
  • LameBoy MQTT pager aka LameQuix [by @woodworker]

    WooDWorkeR03/17/2018 at 23:52 5 comments

    The Idea

    I've wanted to build myself a small MQTT based message reader like those majestic 90s pagers everybody lusted after back then and I have a Lameboy.
    So I knew what i had to do.

    This "mod" does consist of 2 parts, a little hardware upgrade and a very small firmware.

    Read more »

  • Arduino skeleton script

    davedarko03/14/2018 at 11:23 0 comments

    no wifi, 4 stars.

    #include <ESP8266WiFi.h>
    #include <SPI.h>
    #include <Adafruit_GFX.h>
    #include <Adafruit_PCD8544.h>
    #include <Wire.h>
    
    uint32_t bat = 4200;
    Adafruit_PCD8544 display = Adafruit_PCD8544(2, 15, 0);
    
    #define BUTTON_UP    B10000000
    #define BUTTON_DOWN  B00100000
    #define BUTTON_LEFT  B01000000
    #define BUTTON_RIGHT B00010000
    #define BUTTON_A     B00000100
    #define BUTTON_B     B00001000
    #define BUTTON_C     B00000001
    #define BUTTON_SD    B00000010
    
    boolean bottonU_pressed = false;
    boolean bottonD_pressed = false;
    boolean bottonL_pressed = false;
    boolean bottonR_pressed = false;
    boolean bottonA_pressed = false;
    boolean bottonB_pressed = false;
    boolean bottonC_pressed = false;
    boolean bottonSD_pressed = false;
    
    void setup()
    {
      
      Serial.begin(115200);
      Wire.begin();
      setBackgroundColor('c', 200,200,200);
      
      display.begin();
      display.clearDisplay();
      display.setRotation(2);
      display.setContrast(58);
      display.display();
    
      setBackgroundColor('n', 255, 100, 100);
      display.clearDisplay();
      display.setCursor(0, 0);
      display.setTextSize(2);
      display.setTextColor(BLACK);
      display.println("OH HI!");
      display.display();
      delay(2000);
    
      setBackgroundColor('c', 200 ,200, 200);
      display.setTextColor(BLACK, WHITE);
      display.setTextSize(1);
      
    }
    
    void loop() 
    {
      read_buttons();
      display.clearDisplay();
      uint32_t aIn = analogRead(A0);
      aIn = map(aIn, 0, 1024, 0, 4400); 
      bat = (aIn+bat)/2;
      display.println(bat);
      if (bottonU_pressed) display.println("U");
      if (bottonD_pressed) display.println("D");
      if (bottonL_pressed) display.println("L");
      if (bottonR_pressed) display.println("R");
      if (bottonA_pressed) display.println("A");
      if (bottonB_pressed) display.println("B");
      if (bottonC_pressed) display.println("C");
      if (bottonSD_pressed) display.println("SD");
      display.display();
      delay(25);
    }
    
    void setBackgroundColor(char c, int r, int g, int b)
    {
      // c is fade to color, n is now color
      Wire.beginTransmission(0x80);
      Wire.write(c);
      Wire.write(r);
      Wire.write(g);
      Wire.write(b);
      Wire.endTransmission();
    }
    
    void read_buttons()
    {
      Wire.requestFrom(0x20, 1);
      byte data = Wire.read();
      bottonU_pressed = (~data & BUTTON_UP) > 0;
      bottonD_pressed = (~data & BUTTON_DOWN) > 0;
      bottonL_pressed = (~data & BUTTON_LEFT) > 0;
      bottonR_pressed = (~data & BUTTON_RIGHT) > 0;
      bottonA_pressed = (~data & BUTTON_A) > 0;
      bottonB_pressed = (~data & BUTTON_B) > 0;
      bottonC_pressed = (~data & BUTTON_C) > 0;
      bottonSD_pressed = (~data & BUTTON_SD) > 0;
    }

  • customised spacehuhn case

    davedarko02/25/2018 at 16:11 4 comments

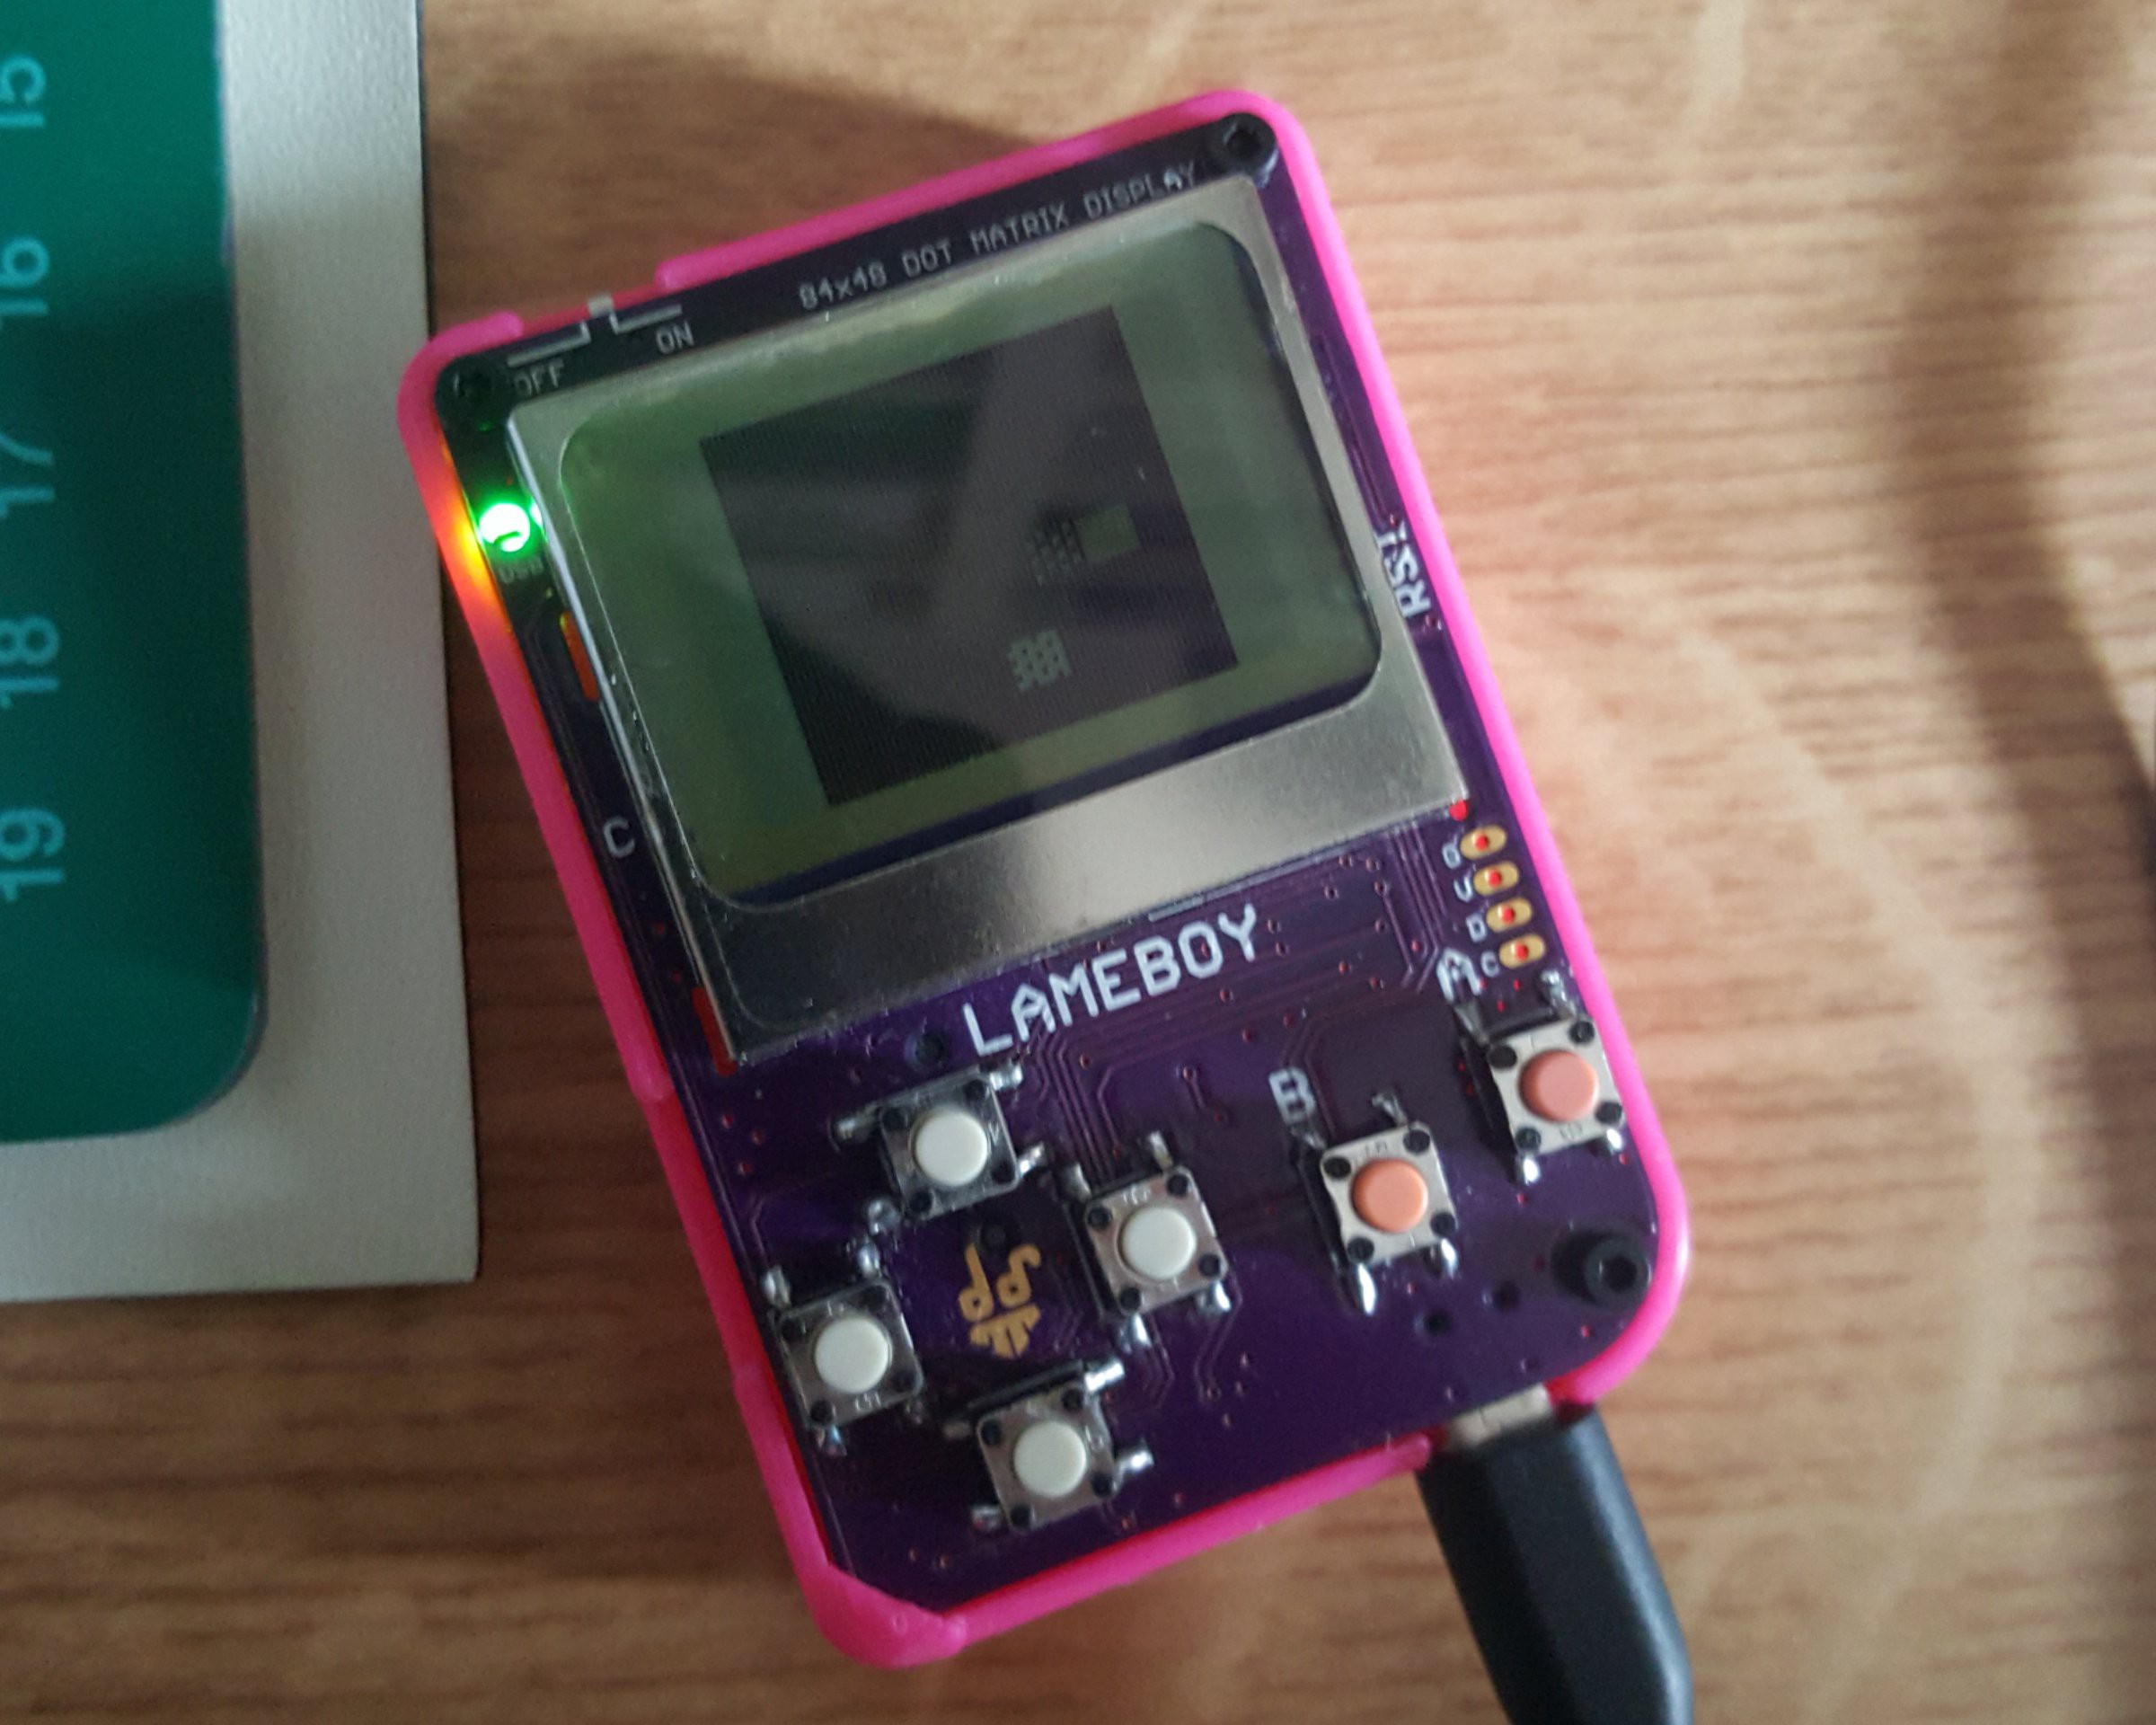
    I've used a 3D printing pen to test if I could do some inlays with that - I think it worked out reasonably well :)

  • CircuitPython on the Lameboy

    davedarko02/23/2018 at 08:25 0 comments

    Here are some commands you need to get started to install circuit python and snake on @ɖҿϝիɟթվ s #PewPew FeatherWing engine. How awesome is that :) You can also follow along Radomir's description, which is way better. 

    https://hackaday.io/project/21578-pewpew-featherwing/log/100304-lameboy-playing-pewpew-games

    sudo esptool.py -p /dev/cu.wchusbserial1410 erase_flash
    sudo esptool.py -p /dev/cu.wchusbserial1410 --baud 115200 write_flash --flash_size=detect 0 adafruit-circuitpython-feather_huzzah-2.2.3.bin
    
    // deactivate esp debug to serial
    import esp; esp.osdebug(None)
    
    ampy -p /dev/cu.wchusbserial1420 ls
    ampy -p /dev/cu.wchusbserial1420 put lameboy.py
    ampy -p /dev/cu.wchusbserial1420 put pew.py
    ampy -p /dev/cu.wchusbserial1420 put snake.py
    ampy -p /dev/cu.wchusbserial1420 put menu.py
    ampy -p /dev/cu.wchusbserial1420 put main.py
    
    // in case of errors
    import os; os.remove('main.py')
    
    // change attiny i2c adress to allow coms
    import lameboy; lameboy.i2c.writeto(0, b'A\x0d\xd0\x0d\x0d')

  • Changing the address of the Attiny

    davedarko02/20/2018 at 21:17 6 comments

    [UPDATE] I've soldered up another Lameboy and checked the behaviour in Arduino, tried sending data to 0x0d but nothing happened. I've then set the address to 0x0d and it works with that address. Seems like it won't be written to the EEPROM on init but later checks the EEPROM for an address. (btw., I've edited the range for scanning from 1-255 to 0-127). It's probably still a different experience with python. 

    Thanks to Radomir @ɖҿϝիɟթվ  who read through the cyz_rgb code and found the procedure, it's now possible to set the adress of the blinkM clone to a "real" legal value. This is how you'd do that in Arduino. After that it's stored into the EEPROM of the attiny. I'll do that for the next kits that go out.

    void setAdress(byte a)
    {
      // A X D0 0D X
      Wire.beginTransmission(0x00);
      Wire.write('A');
      Wire.write(a);
      Wire.write(0xd0);
      Wire.write(0x0d);
      Wire.write(a);
      Wire.endTransmission();
    }

  • R3.1 boards in the wild

    davedarko02/20/2018 at 08:55 0 comments

    So before I started selling on @Tindie , I was sending off a kit to @ɖҿϝիɟթվ  and I forgot to send him a crystal with that kit / check all the content before sending. There are also two fully assembled versions out there now, one has an ESP chip with 2MB flash instead of 4MB. From then on every ESP12 module is checked before sending. 

    So here's rule number one:

    Use the checklist and check if every part is in the kit. Obviously.

    Known issues number one is the enable pin of the power regulator is floating, you need to botch the 10k to the switch. 

    I will modify all future / rest of the pcbs so it's clear where to put it
    • missing markings for RGB LEDs, the dot points towards the USB plug
    • the charging indicator LED - minus points towards the USB plug
    • power muxing chip pin 1 points AWAY from USB plug

    There is no test program that greats you with a "hooray, you've made it". 

    flash the ESP with a basic code, flash RGB lights, check buttons and display
    Change the I2C address of the attiny before shipping

    to be continued...

  • the quest for sound

    davedarko02/15/2018 at 11:55 12 comments

    I'm currently looking into getting a sound pin and the most likely candidate right now is the LCD reset pin. Did anyone ever had any problems not using the reset pin of the Nokia LCD? What could I test to make sure it works fine? worst case scenario is turning the lameboy on and off again, I guess. I could try using RX and TX for sound, where depending on the TX state the RX would emit sound (no modem noises while uploading if done right). But if I could free the RST pin for sound, then I could use the same idea for RX and TX to transmit IR maybe. Would be cool features to have, I think. 

    Also to consider:

  • kits

    davedarko12/01/2017 at 15:23 4 comments

    I'm slowly starting to buy parts for 12 kits. I have a list of people who are interested already and will contact them, once I have everything. It takes me longer than I would have wanted, some financial mishaps are forcing me to not spend money on that. Instead I started selling stuff on tindie, to get some money in again. I've been to a hospital in America, everything is alright, but I had to pay 3 bills upfront before I get all the money back from my insurance. This also is under control, just sucks to watch out not spending too much on stuff.

    [UPDATE] seems like I only need 100 Ohm and 150 Ohm resistor arrays, but sadly I had no luck so far getting them in Germany. Only on aliexpress I found some and they usually take a long time to arrive here. No luck on eBay. Also I'm not sure I really need resistors on the green and blue LEDs anyway, since their forwarding voltage is 3.3V at 20mA. 

    [UPDATE] Thanks to my recent work on #ESP8266 RFid reader I've noticed that the regulator needs to be pulled low, you can't just let it float - which makes perfect sense thinking about it. So that needs to be botched with every version now, but the files are updated. For kitting things up, I need to make sure that everyone is clear on what is what and where to put it. It's complicated and frustrating for sure, hope to make it easy enough though, since selling finished ones seems not an option atm. - German laws... always complicating stuff ;) 

    This is probably worth watching :)

View all 42 project logs

Enjoy this project?

Share

Discussions

universal jacket wrote 02/27/2024 at 18:49 point

We have 

https://universaljacket.com/shop/jason-derulo-yellow-jacket/

  Are you sure? yes | no

nerdu wrote 02/18/2024 at 21:42 point

it working with arduboy programs?

  Are you sure? yes | no

davedarko wrote 02/20/2024 at 09:36 point

no, display is too small and the chip architecture is different. plus it's probably cheaper to buy an arduboy :)

  Are you sure? yes | no

Andy Preston wrote 08/23/2019 at 09:08 point

LOVE the name! Excellent!

  Are you sure? yes | no

davedarko wrote 08/23/2019 at 18:51 point

worse resolution than the original - what else to call it, right? :D

  Are you sure? yes | no

Jeremy g. wrote 02/17/2018 at 01:09 point

I want one... thoughts on adding a Samd11? or samd09? as the main controller and using the esp as the coms device?

  Are you sure? yes | no

davedarko wrote 02/17/2018 at 01:12 point

there are ideas about an Atmel chip doing keyboard, rgb backlight and tones instead. ESP remains main controller though.

  Are you sure? yes | no

Keko wrote 11/11/2017 at 23:58 point

Hi, did you manage to try to run a Atari emulator on ESP8266?

  Are you sure? yes | no

d1rtyd wrote 10/05/2017 at 20:01 point

Why did you go with an attiny/blinkm clone instead of ws2811/fastled?  The ESP can drive the ws2811 directly and it only uses one pin.  

  Are you sure? yes | no

davedarko wrote 10/05/2017 at 23:57 point

That's still one pin I don't have since I need I2C for the buttons. There's not much room under the lcd for standard ws2812 anyways, would need apa106(?) dotstars that are 2x2mm and the an extra attiny for controlling them. This way it's a bit retro but worked for me. System is also 3V3 - not officially ws2812 voltage as well.

  Are you sure? yes | no

d1rtyd wrote 10/06/2017 at 14:05 point

Ah, that makes sense.  Thanks for the quick reply!  I'm also interested in one!

  Are you sure? yes | no

EK wrote 09/20/2017 at 15:39 point

Will you make this into a kit and sell it on Tindie? :)

  Are you sure? yes | no

davedarko wrote 09/20/2017 at 16:33 point

Do you mean kit as in "a package of smd parts plus pcb"? I'm thinking about that vs. already soldered - some parts can't be handsoldered, like the crystal, so I'd need to redesign a bit. Next 4 weeks I'll work on this little board and the software. Will also update parts and board designs here.

  Are you sure? yes | no

EK wrote 09/20/2017 at 16:35 point

Yeah! All for the hand soldering, that's one of the fun parts! Maybe there could be a way to have an optional hand-solderable crystal, so maybe it wouldn't need as much of a big redesign?

  Are you sure? yes | no

AVR wrote 08/29/2017 at 03:09 point

if this is using my lib I will gladly repost about it on my project page/twitter!

  Are you sure? yes | no

davedarko wrote 08/29/2017 at 05:43 point

I don't think I did, but I'm happy to try, independent of any tweets ;) happy to have something that's not easily overwritten by an update that renders it unfunctional. Please drop a link to your lib :)

  Are you sure? yes | no

Craig Hissett wrote 08/19/2017 at 21:10 point

Put me on this list for one of these when they are done please. 

I've been desperate for an ESP-portable with screen for quite some time!

I'm going to be getting another one or two of @al1's breakout board when money allows, then going to try using it with a Nextion screen for now, but yours is perfect!

  Are you sure? yes | no

davedarko wrote 08/19/2017 at 21:19 point

Thank you so much! The hardware is very close to @al1s boards, I'll definitely remember you when it comes to selling some and you'll be first!

  Are you sure? yes | no

Craig Hissett wrote 08/19/2017 at 21:23 point

Cheers buddy!

Yeah I love Al1's board  (and your version too!) - I use them all the time for various taska at home and at work. Im getting another one of Al's just so I can have one at home and at work :-)

If I spend some time on the Nextion's display I could make something very useful, but having a proper handheld such as this can't be beaten, really.

The Grove expansion is a great touch too!

  Are you sure? yes | no

Similar Projects

Does this project spark your interest?

Become a member to follow this project and never miss any updates