-
Jaw Plate Production
03/09/2016 at 03:28 • 6 commentsHere is my preliminary fixture plate design, it will allow me to mill out 4 sets of jaws at a time.
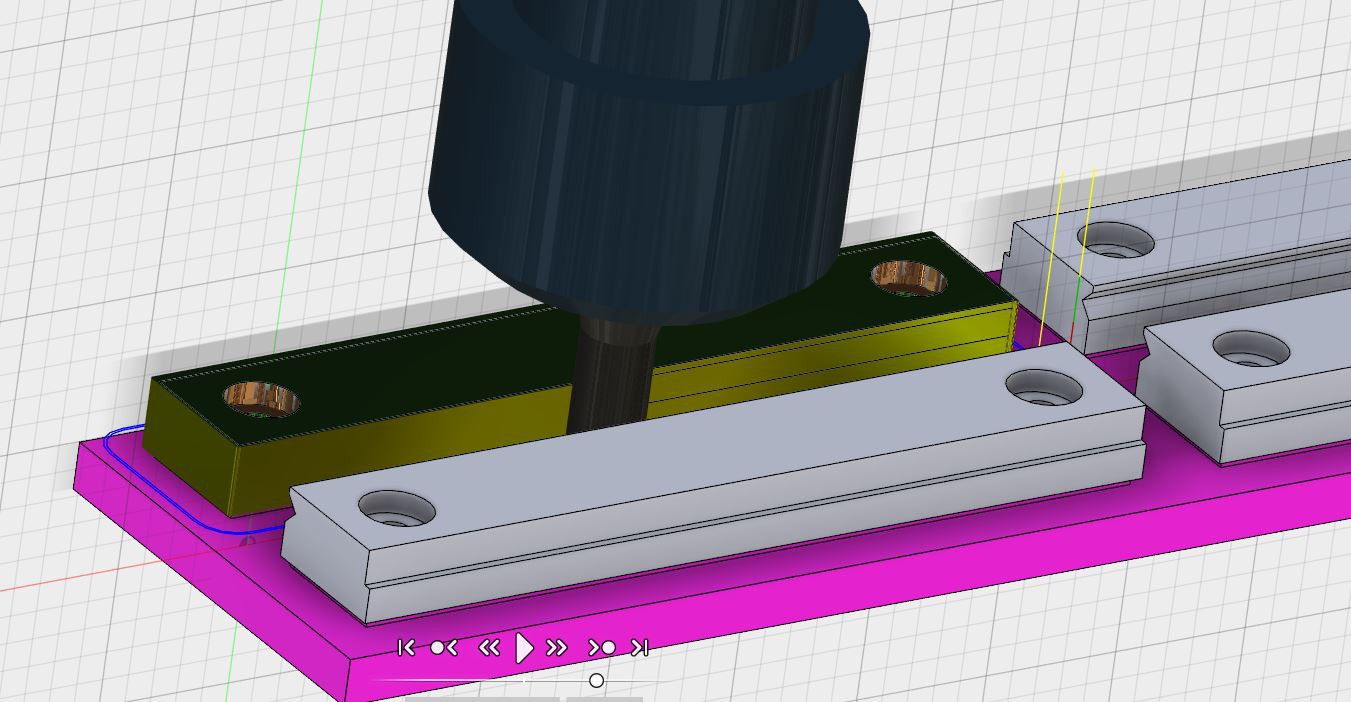
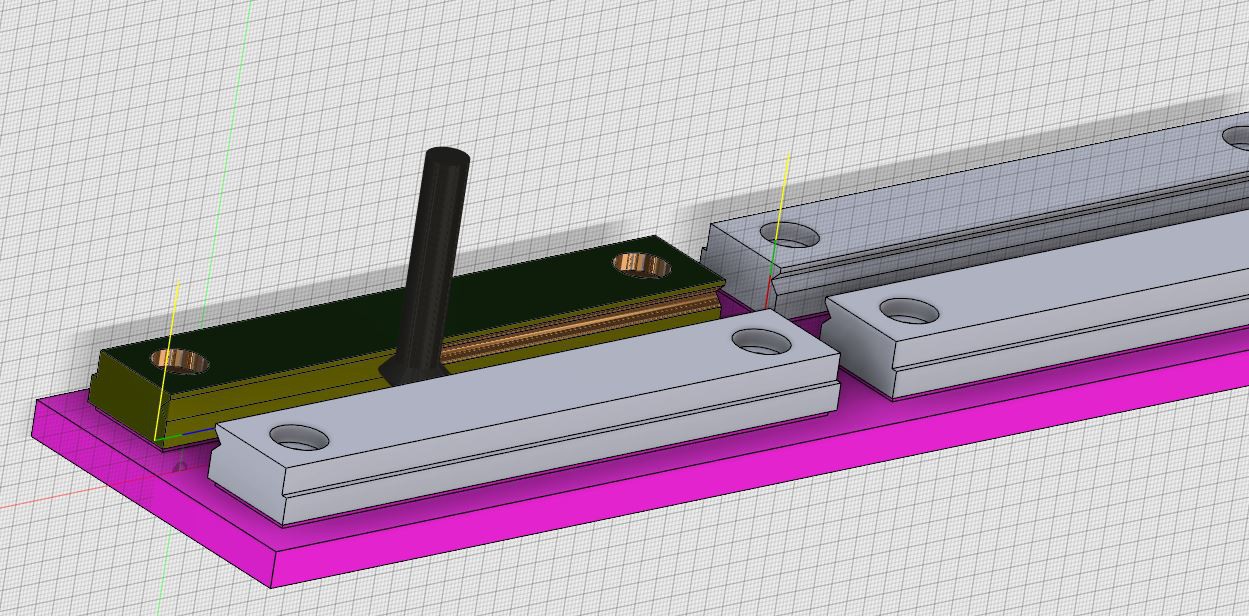
Below you can see the finished parts on the fixture, but imagine bars of raw material slightly larger than each part. My first step will be to load these 8 bars of raw material onto the fixture.
I will hold the bars of raw material in place using rectangular bars clamped with a hex bolt. After the bars are held down, my first operation involves milling counterbores and holes for each jaw plate.
After this operation the machine will pause and I will install mounting screws to clamp the jaw plates down so I can remove the rectangular bars. Now I am free to mill the sides, and the v-grooves without worrying about the rectangle bars.
Here are some shots of the machining:We'll see how this goes, my materials will be arriving in the next few days, will try to put in some time this weekend to get this going.
-
High Temperature Teflon Jaws - Worth it for $10?
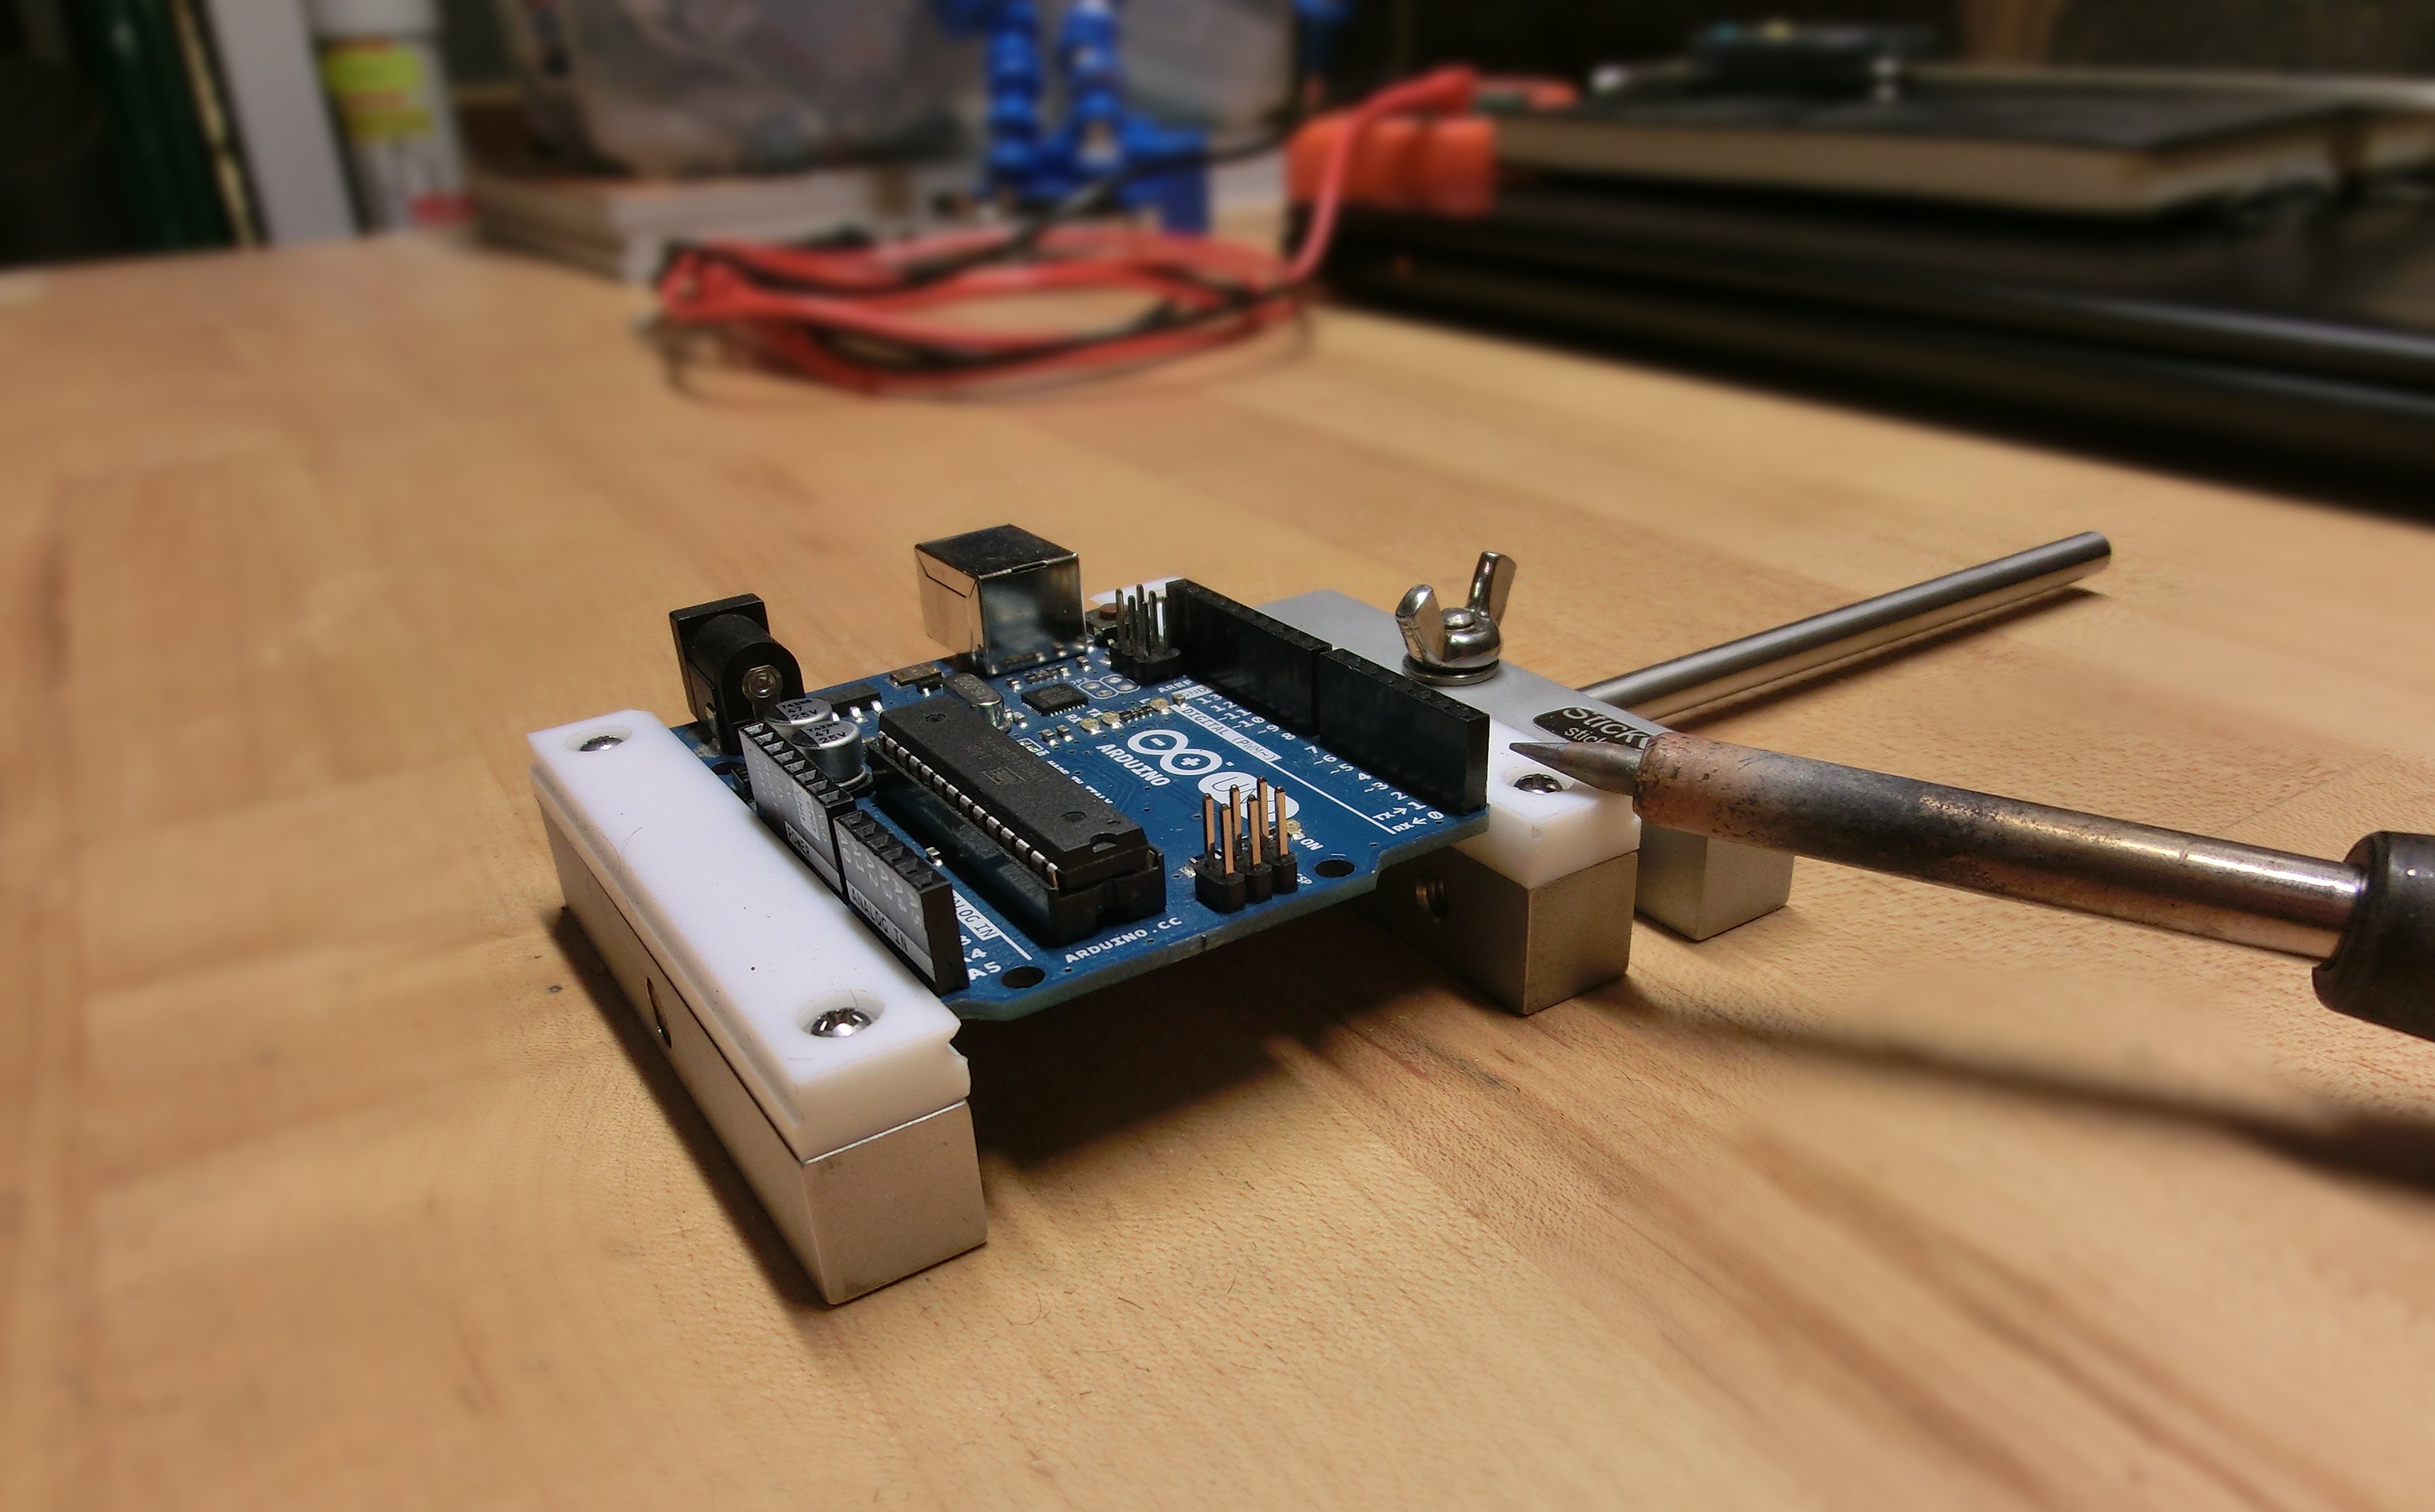
03/07/2016 at 00:48 • 14 commentsI recently machined several sets of prototype jaws made from Teflon (PTFE), shown in the picture below. The main advantage being high temperature resistance; you can take a hot soldering iron and touch it directly to the jaw plates without leaving a mark. I have to say, they are pretty cool and will last a lifetime of soldering.
I am thinking about making a few hundred sets of these to sell on Tindie, along with offering standard replacement nylon jaws and potentially other materials if there is demand. If you have a Stickvise, chime in with with your opinion -
1. Is this worthwhile? Is it something you'd pay $10-$12 a set for? My goal is not to make much money on these, but to ensure people with damaged jaws don't let their Stickvise collect dust.
2. Are there other materials you'd like to see? Is aluminum or steel interesting to you? Let me know in the comments, thanks!
-
Ultimate Stickvise build pulls out all the stops
02/28/2016 at 18:57 • 0 comments@Jan just posted a killer build (Check out his project here: #Low Profile Vise w/ metal quick change jaws) that uses Stickvise for inspiration. He lives in Germany so the shipping on Stickvise was a little steep, plus he has access to a nice milling machine so it made sense to just build his own. This also allowed him to incorporate several substantial upgrades.
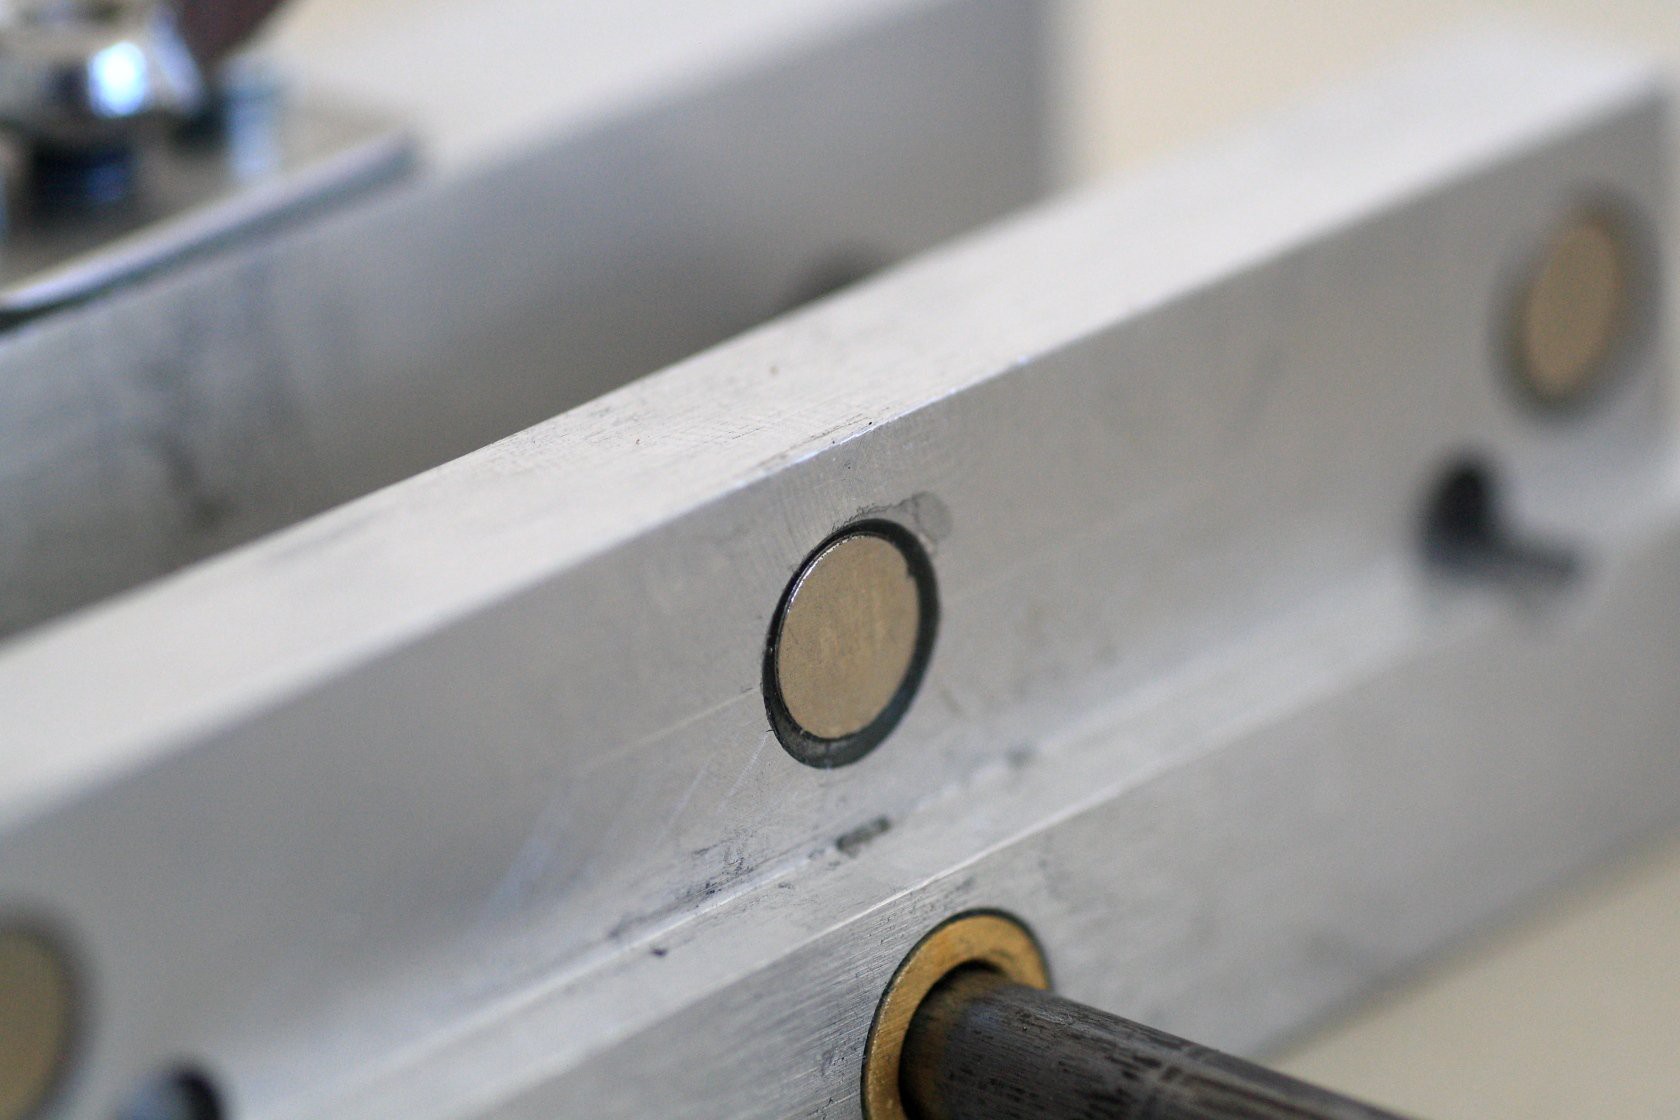
The first upgrade was a really neat quick change jaw feature that allows you to swap steel jaw plates out without the need for tools. It relies on three glued in magnets for attachment. Jan plans to make several different steel plates that are suitable for different tasks. He may even powder coat them so they are insulating as well!
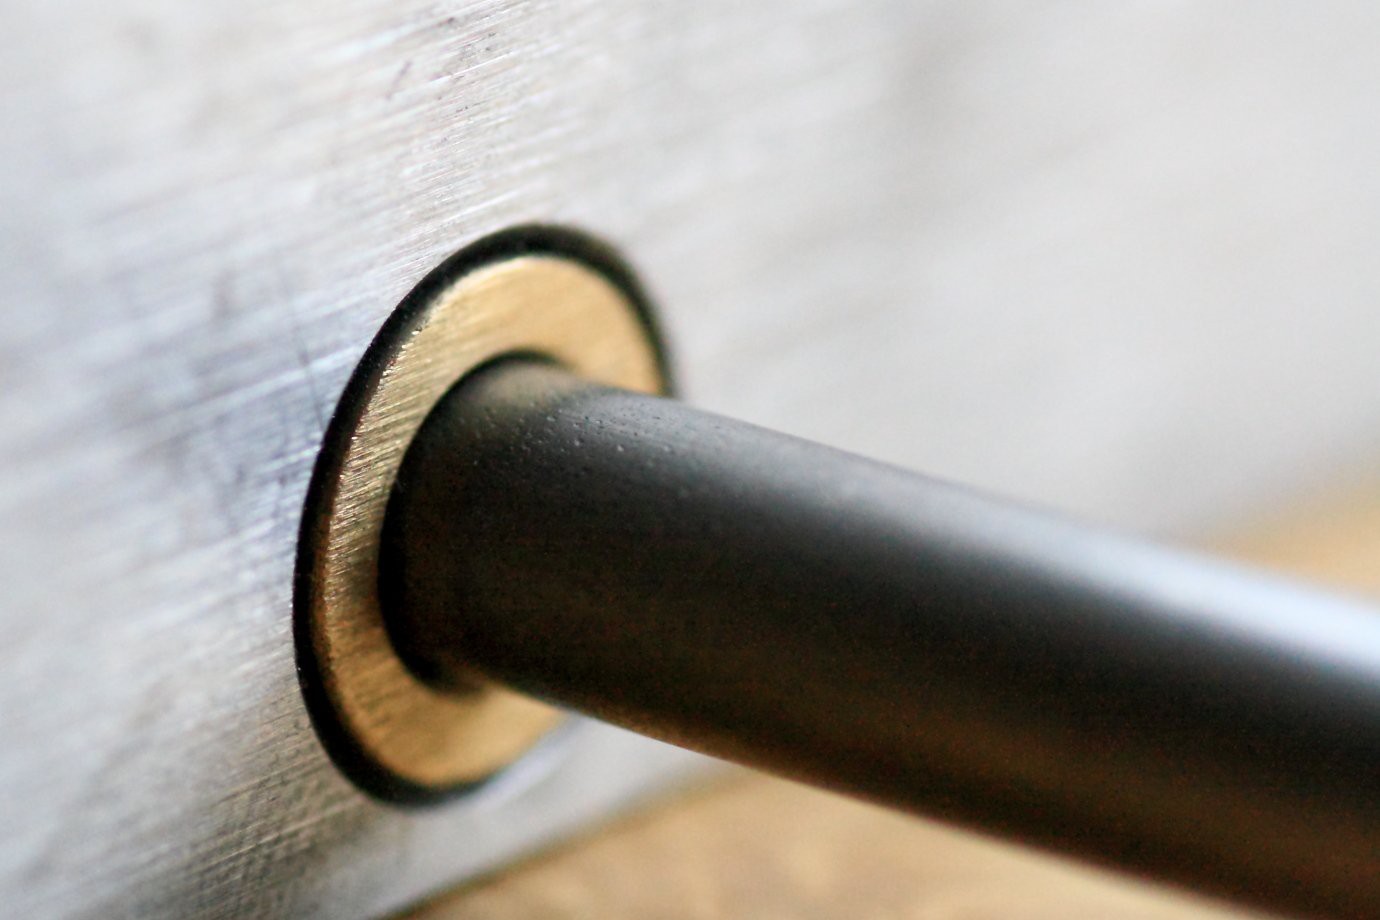
The second major upgrade was adding a brass bushing for a silky sliding fit along the main shaft, check out his nice photography below:
Very cool ideas and looked like a lot of fun to build. Thanks again to Jan for posting the project!
-
Two new Stickvise spins
02/28/2016 at 12:42 • 0 comments@SUF has come up with two great projects related to Stickvise recently.
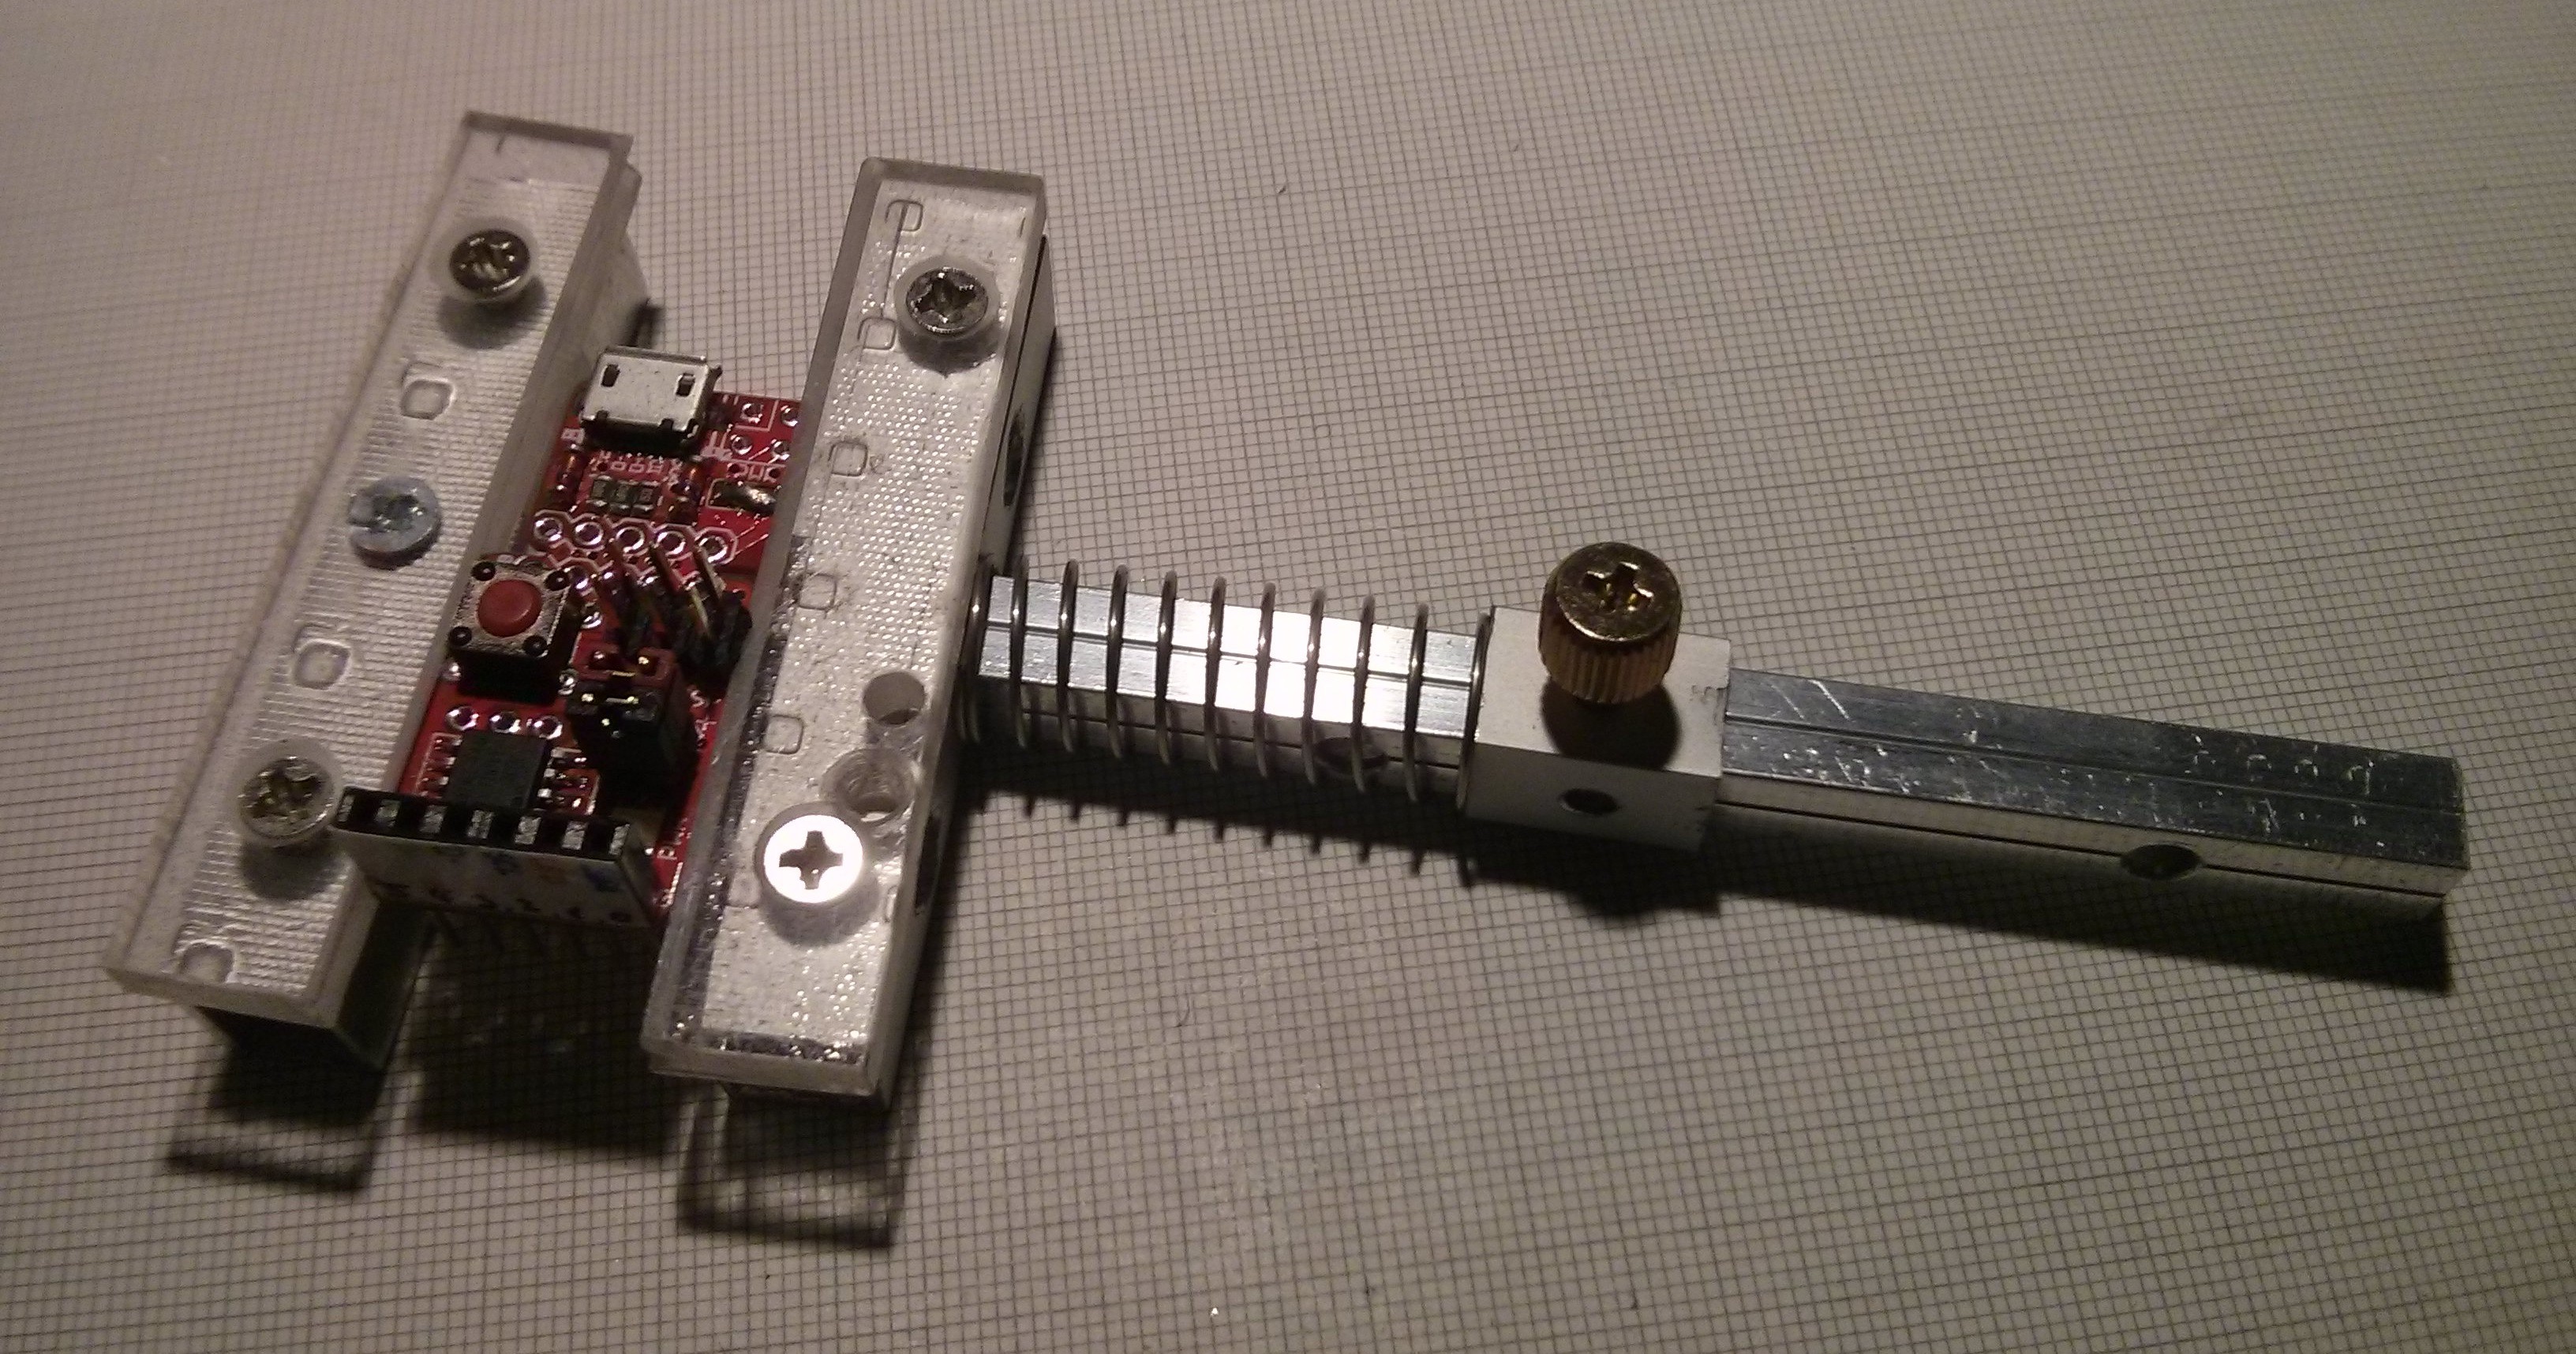
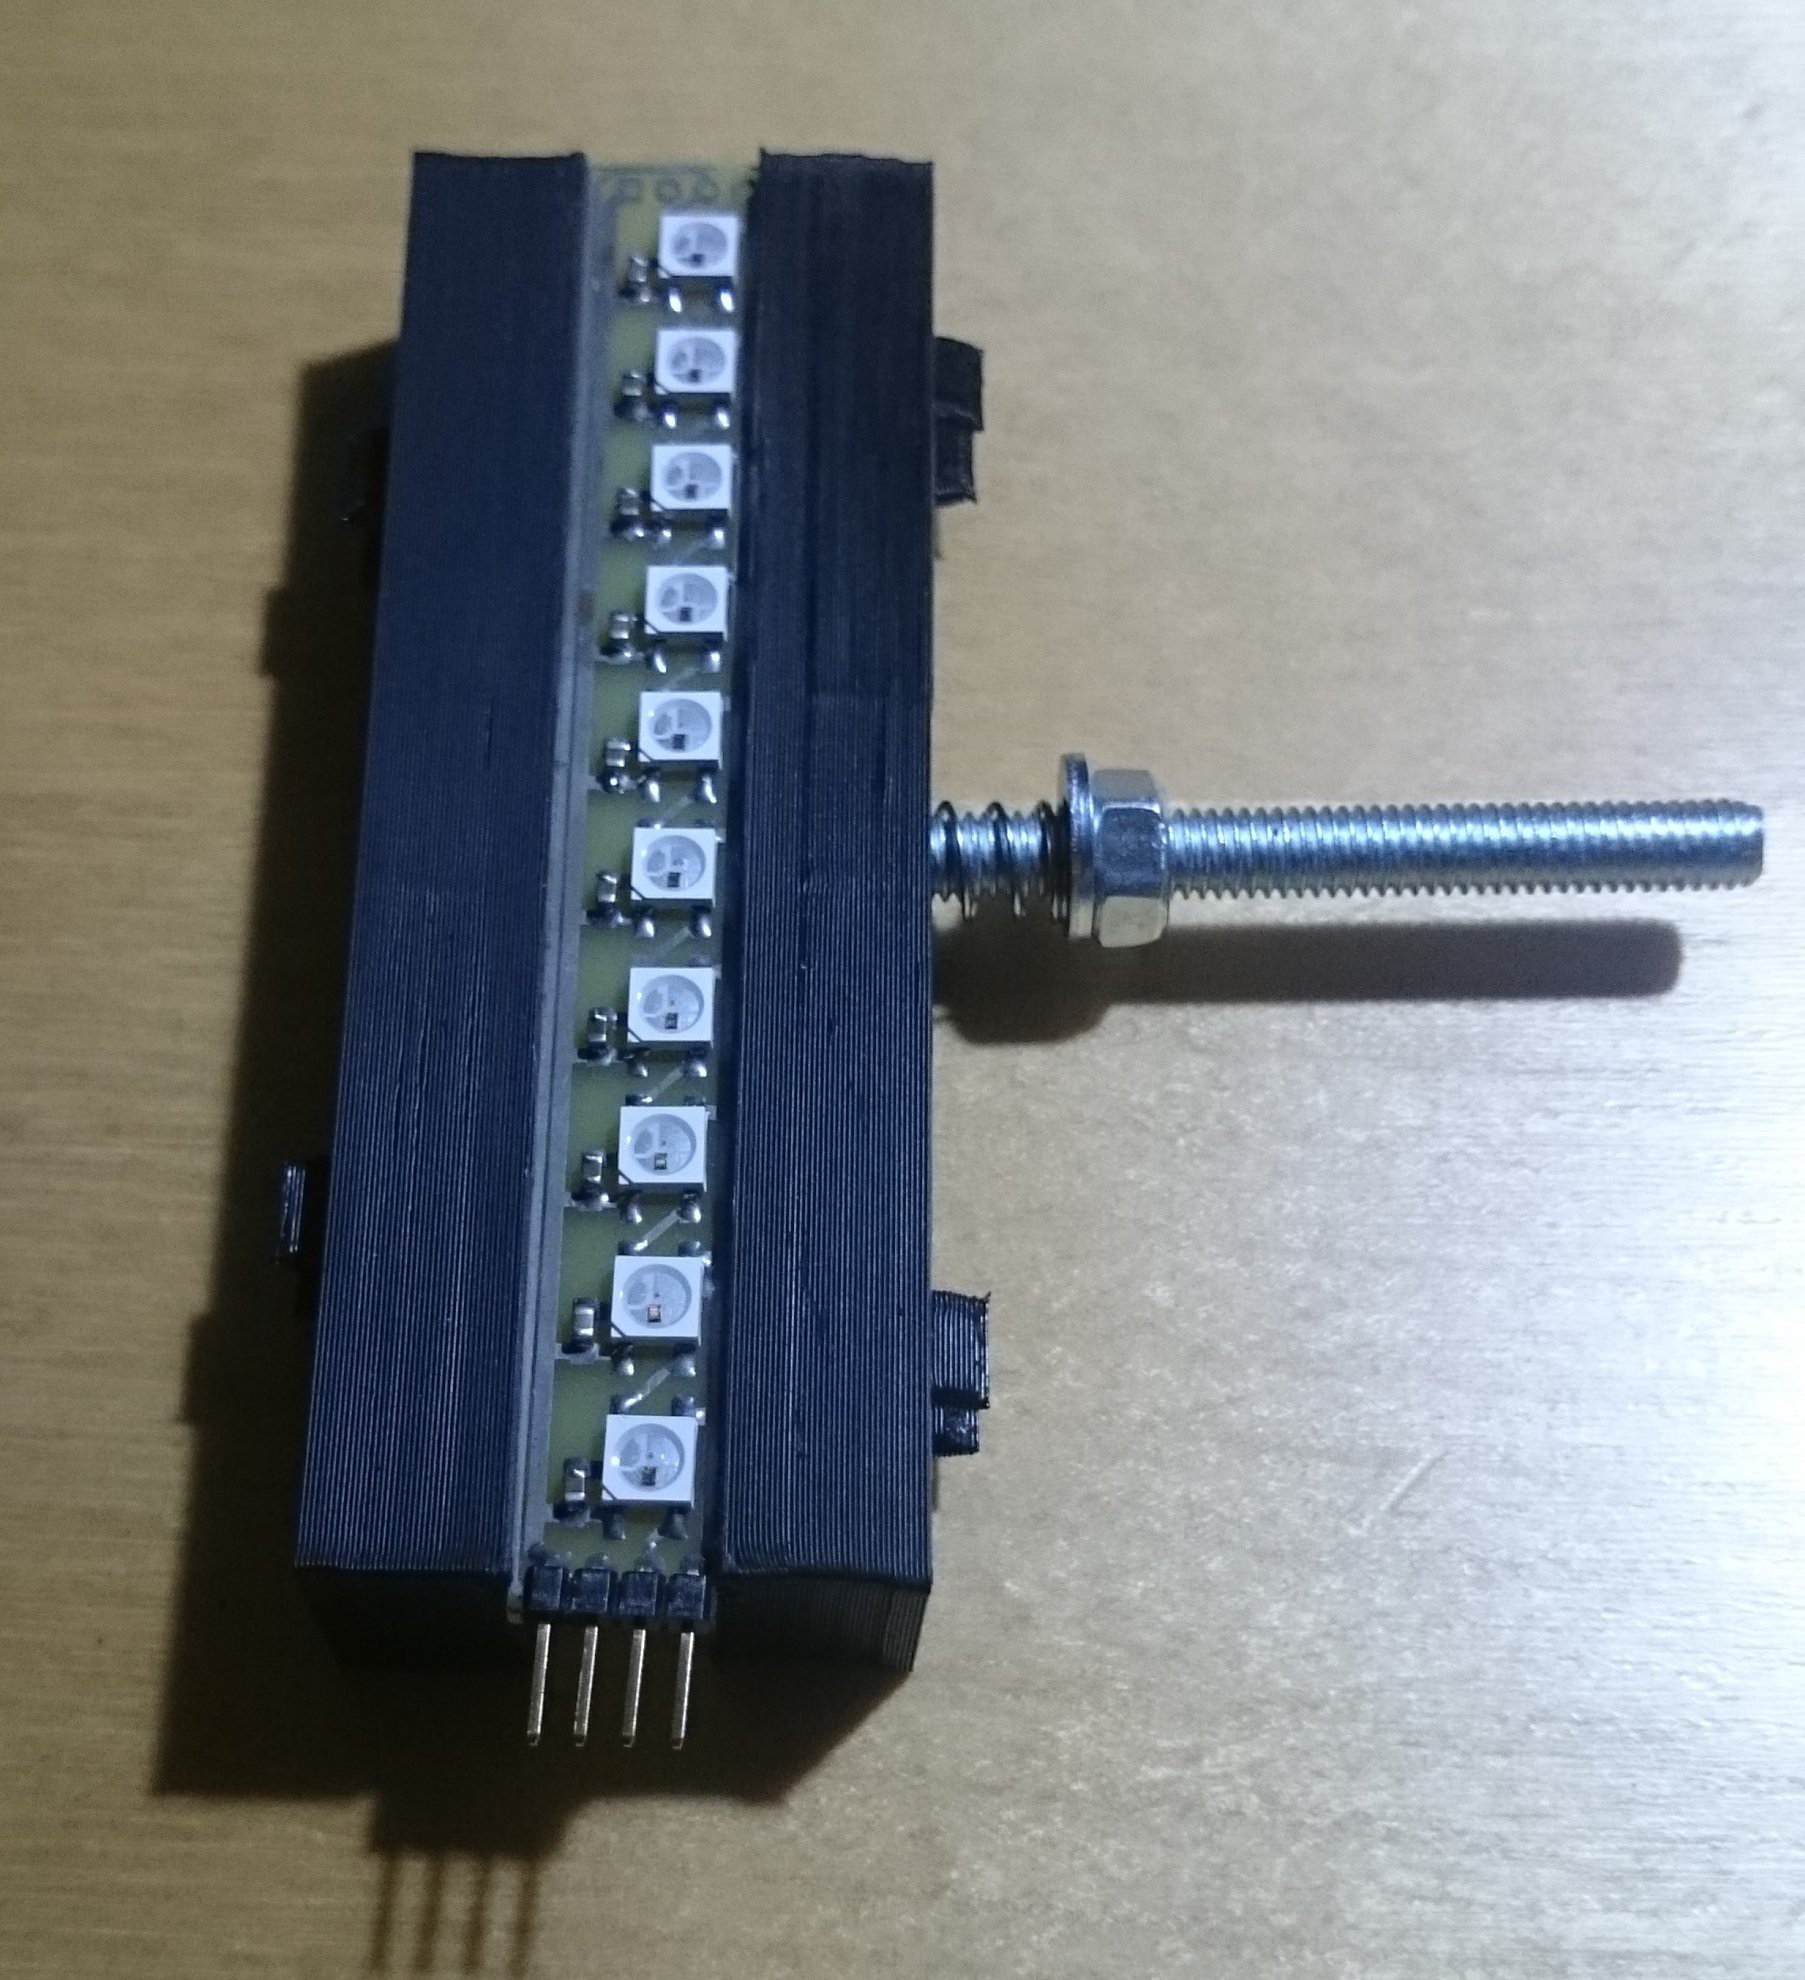
The first is a pocket size version of Stickvise called #MobileVise that uses a bolt and nut, a spring and two little 3d prints. When you take it apart, the bolt, nut and spring can be stored inside the jaws which clip together to make a tiny box. You could attach it to your key-chain it's so small!
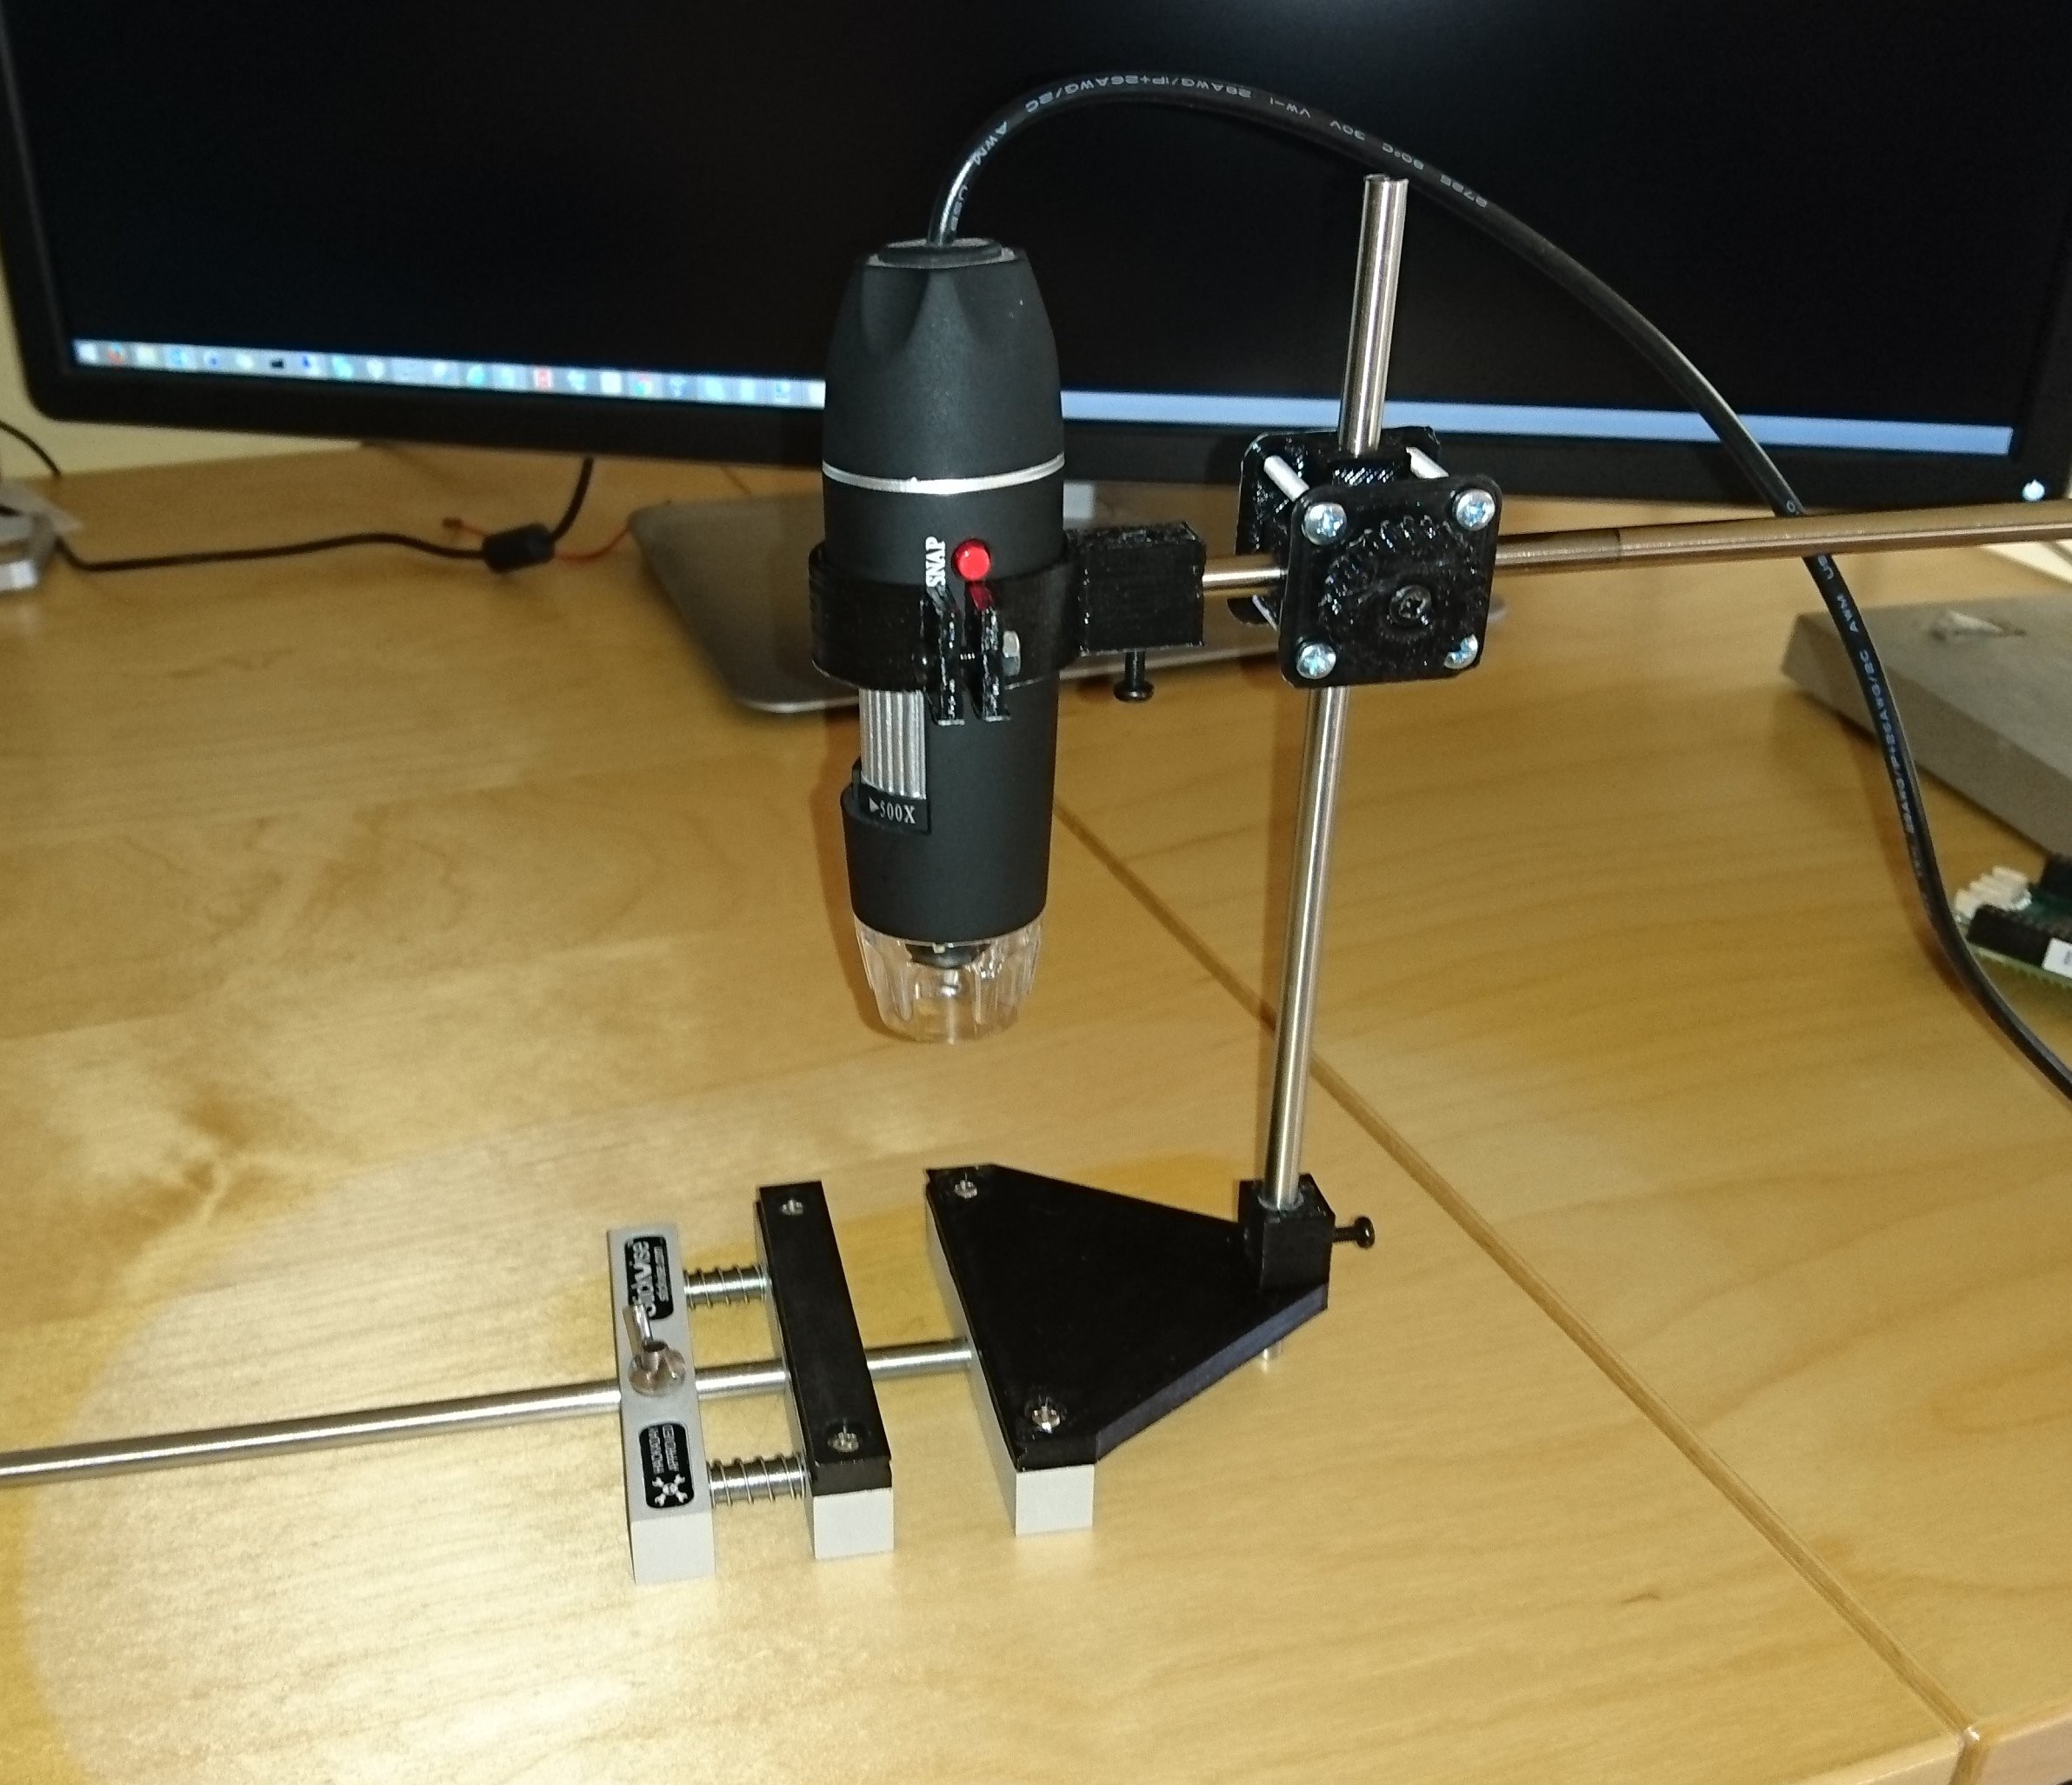
Yesterday he published another cool design to hold a dirt-cheap $10 microscope on the back of his Stickvise, his project is called #StickScope and provides the 3d files to make one. You'll need some 6mm rod and other misc screws as well, then you'll be up and running for soldering under magnification!
Thanks again for sharing @SUF!
-
Stickvise DIY builds - Running List
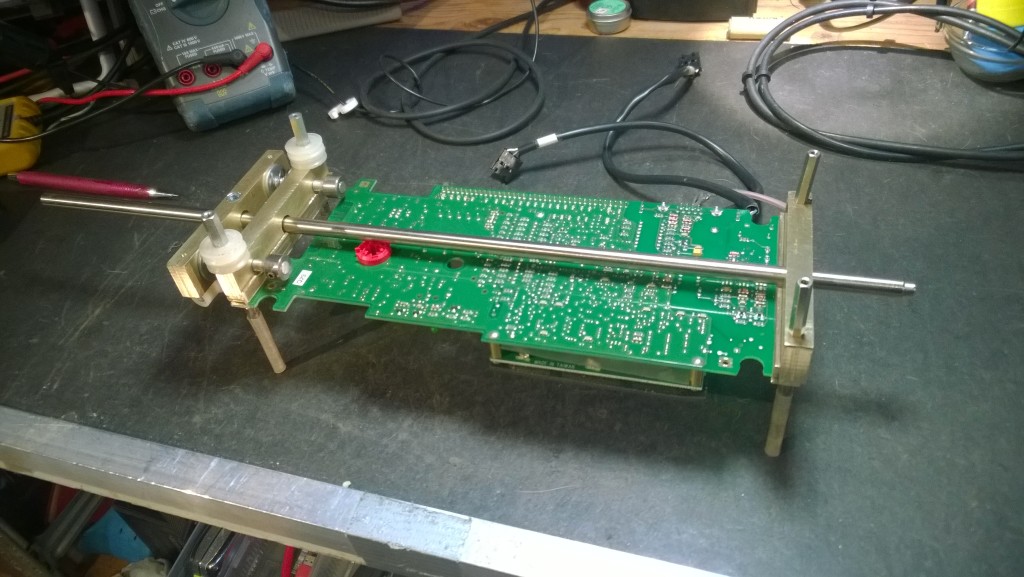
12/22/2015 at 23:14 • 0 commentsA pretty cool Stickvise inspired tool was made by pa4tim in the Netherlands. His lab is absolutely crazy, looks like he collects and repairs old test equipment as a hobby. Check out his website if interested: http://www.pa4tim.nl/?page_id=2
![Bottom]() Another cool Stickvise build by @Stefan Lochbrunner made from leftover scraps of his hacked together CNC machine: https://hackaday.io/project/8911-misc-spur-of-the-moment-projects/log/29416-scrapvise
Another cool Stickvise build by @Stefan Lochbrunner made from leftover scraps of his hacked together CNC machine: https://hackaday.io/project/8911-misc-spur-of-the-moment-projects/log/29416-scrapvise![]()
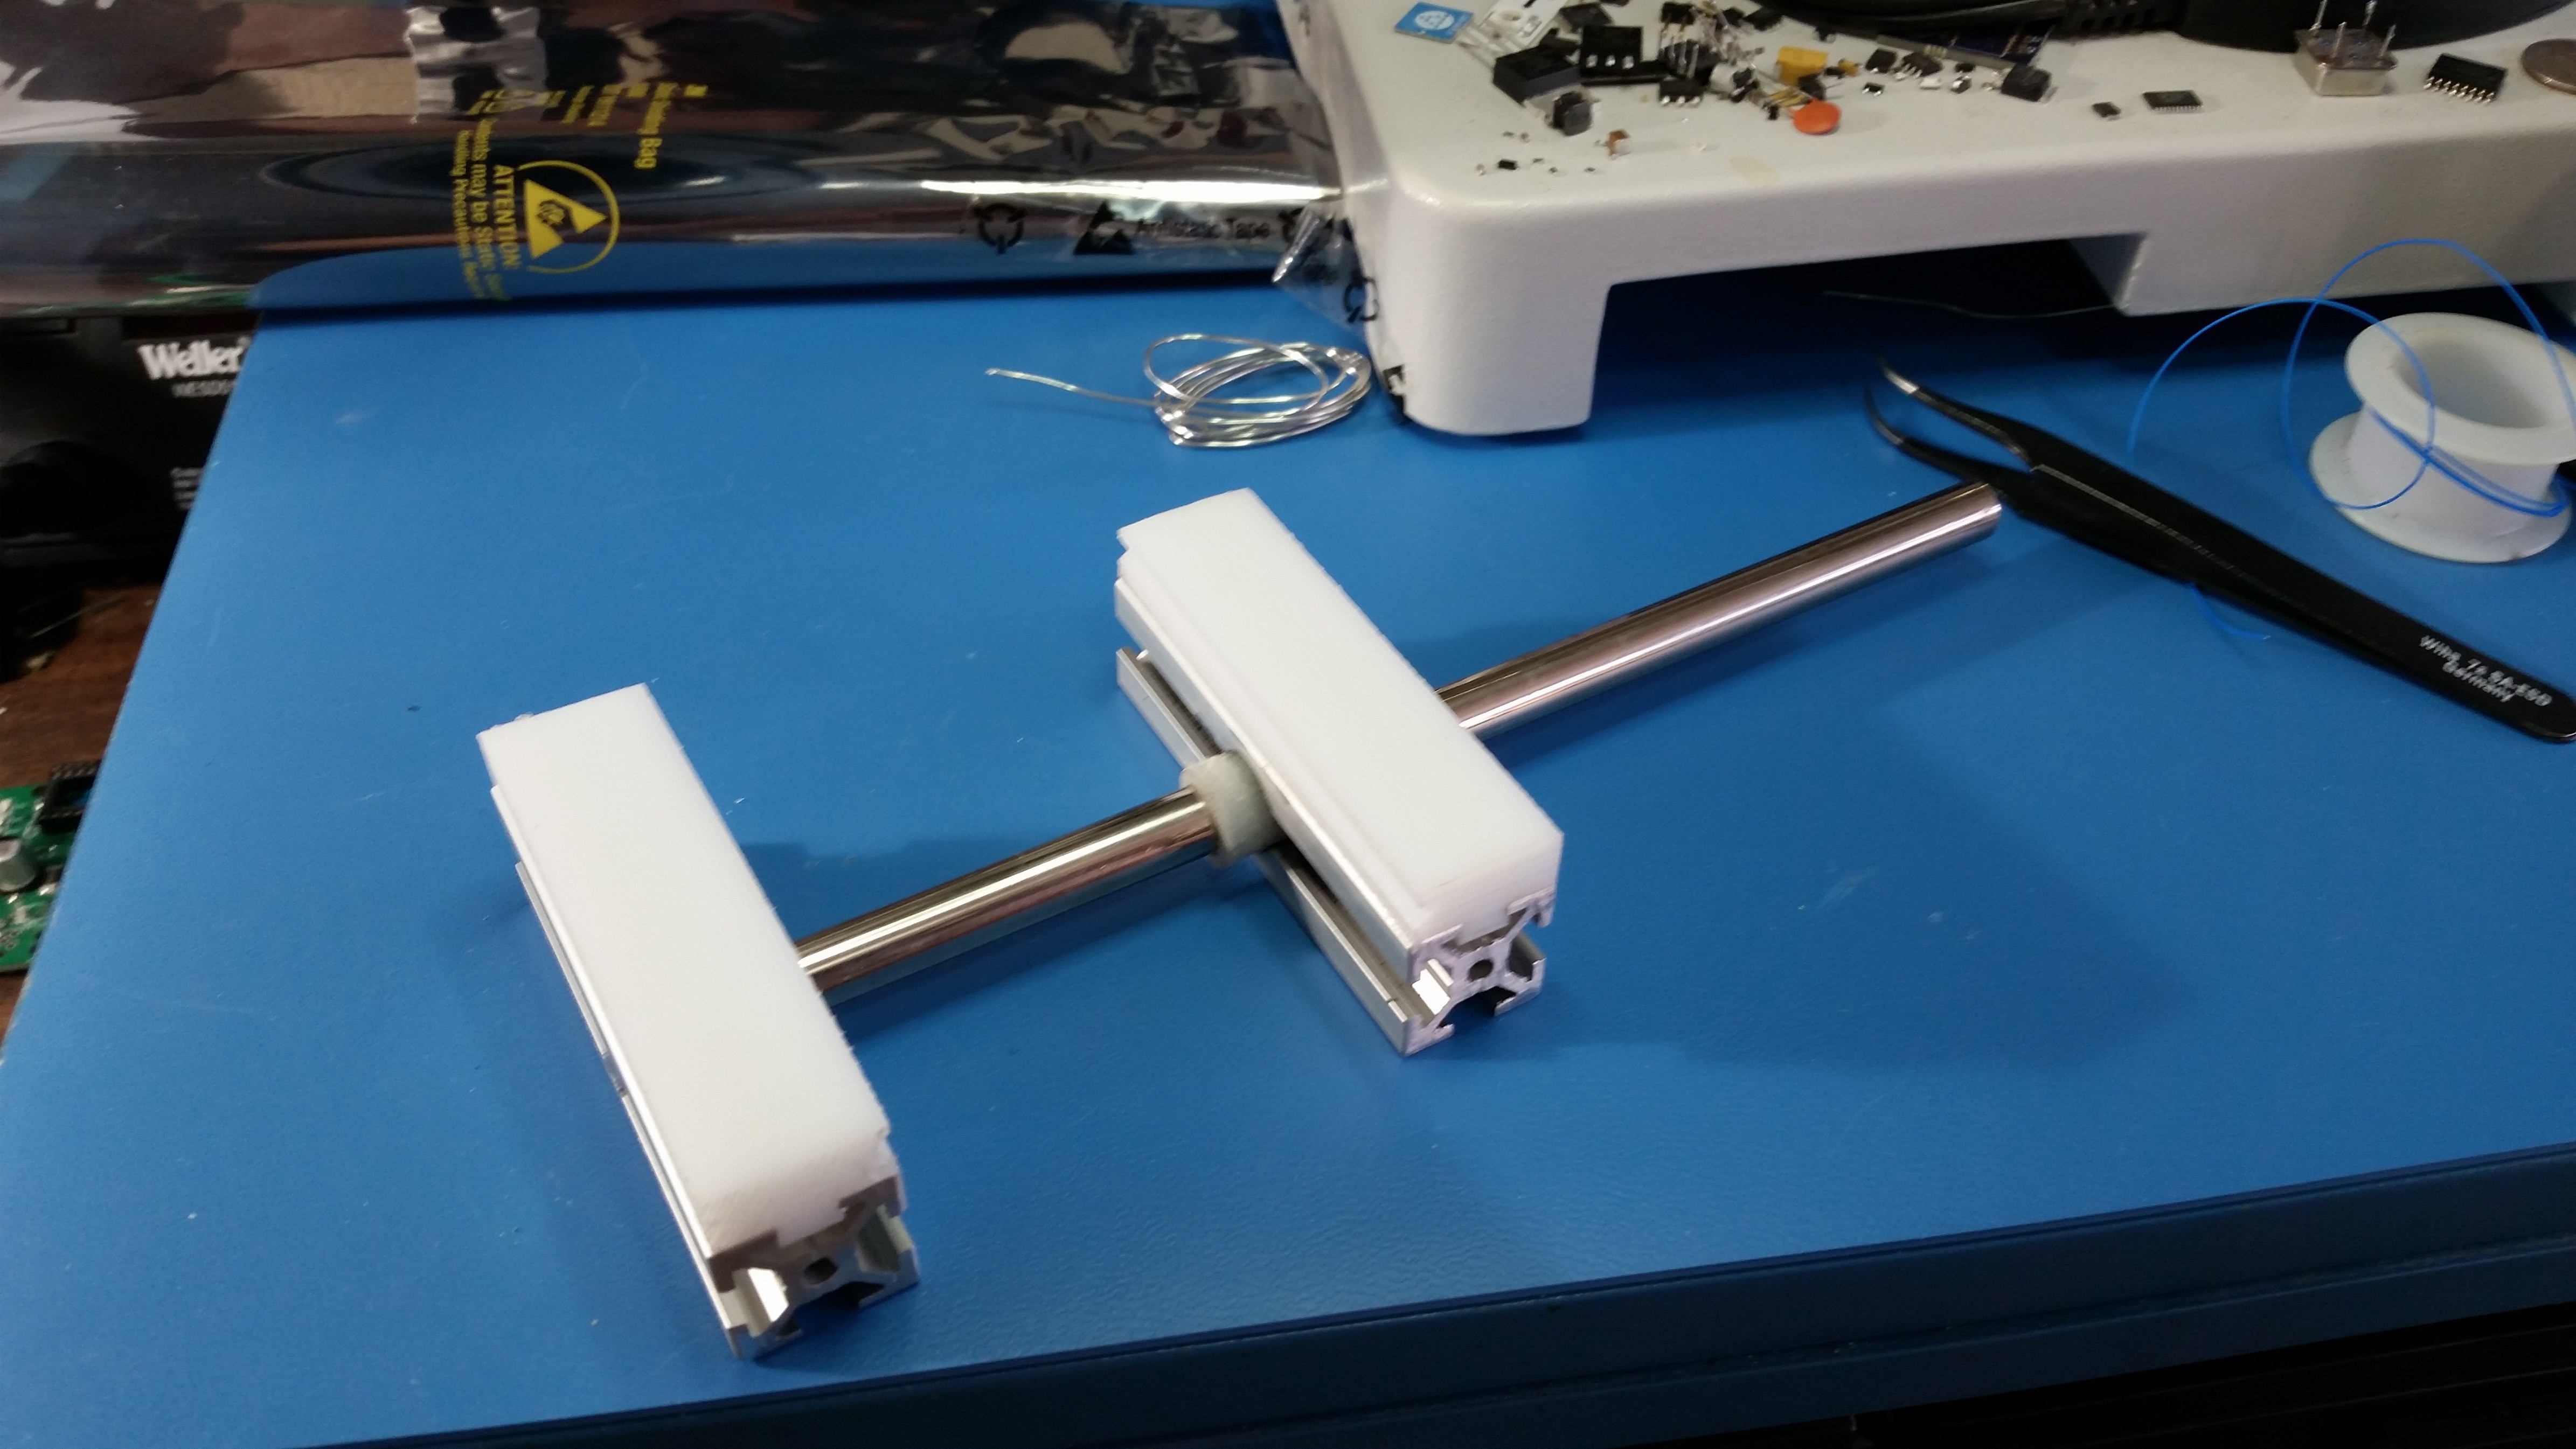
#Dougie's Stickvise Ripoff by @doug.metzler is made from 80/20 and what looks like dovetailed HDPE or some other plastic. This is more than just a hack, very nicely made even with what looks like a delrin bushing for the shaft.
![]()
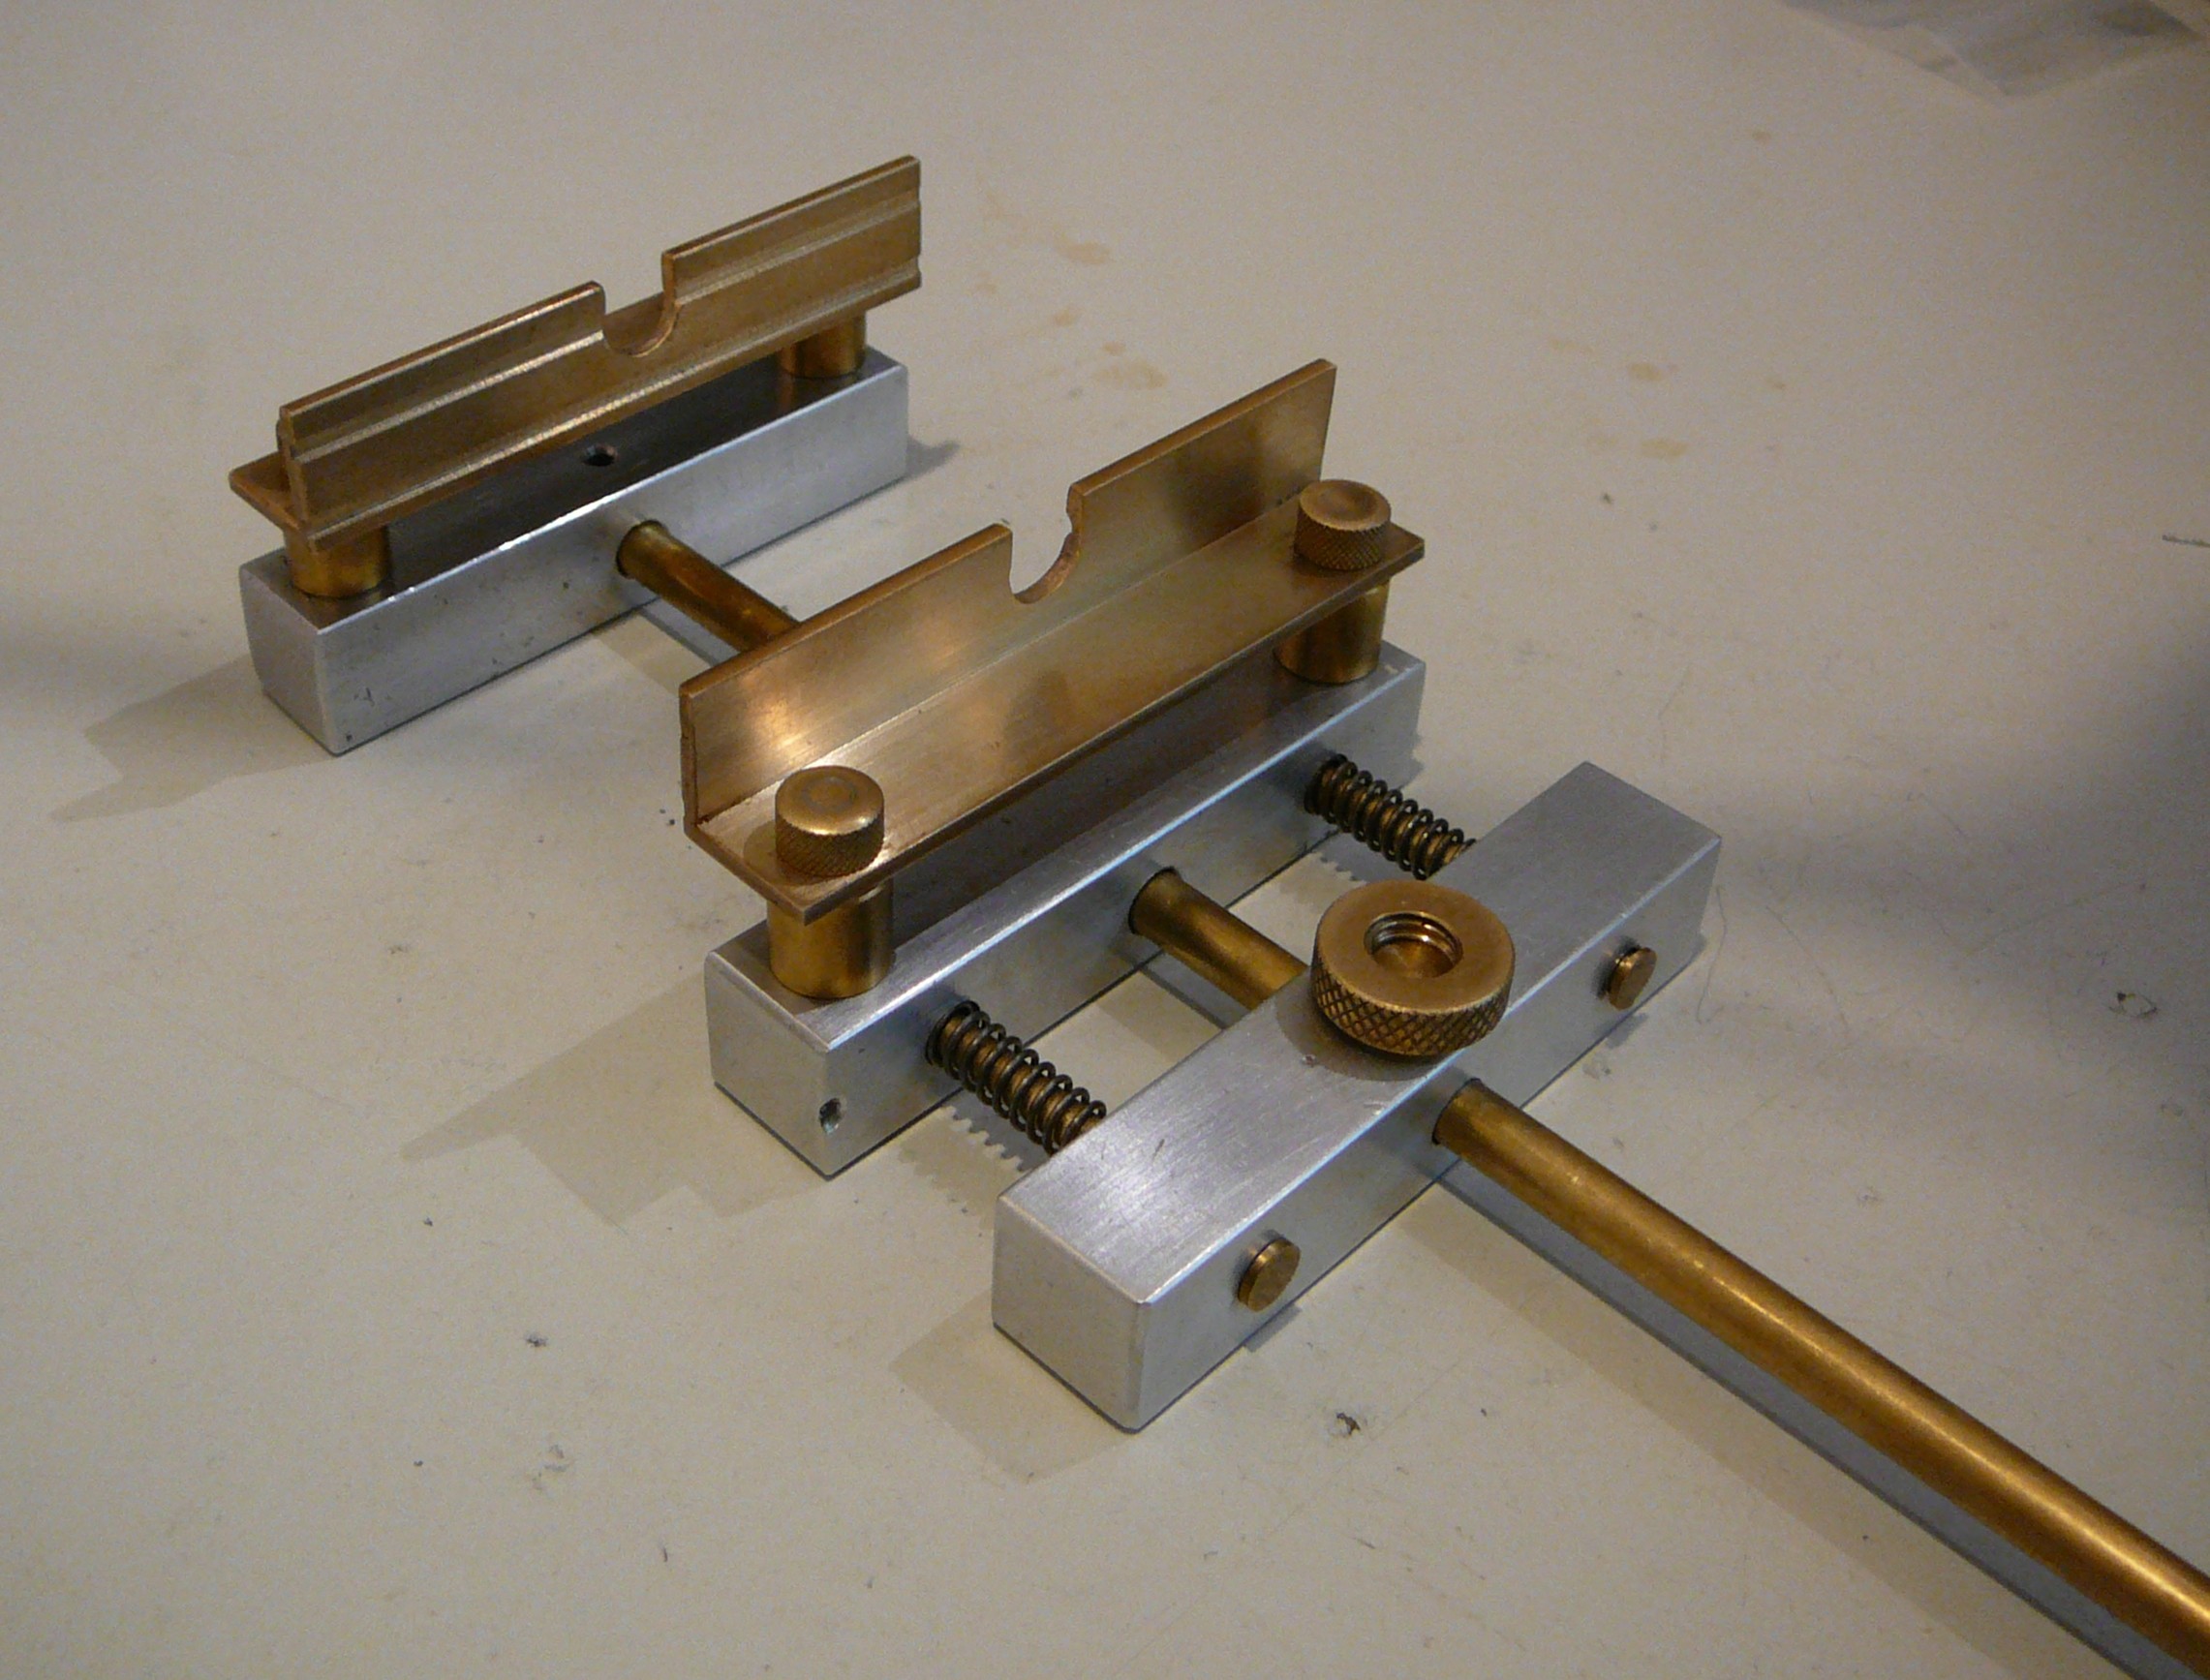
#Full Metal Stickvise by @Martijn is by far the most over-the-top I have seen. He machined a bunch of nice brass parts for his.
![]()
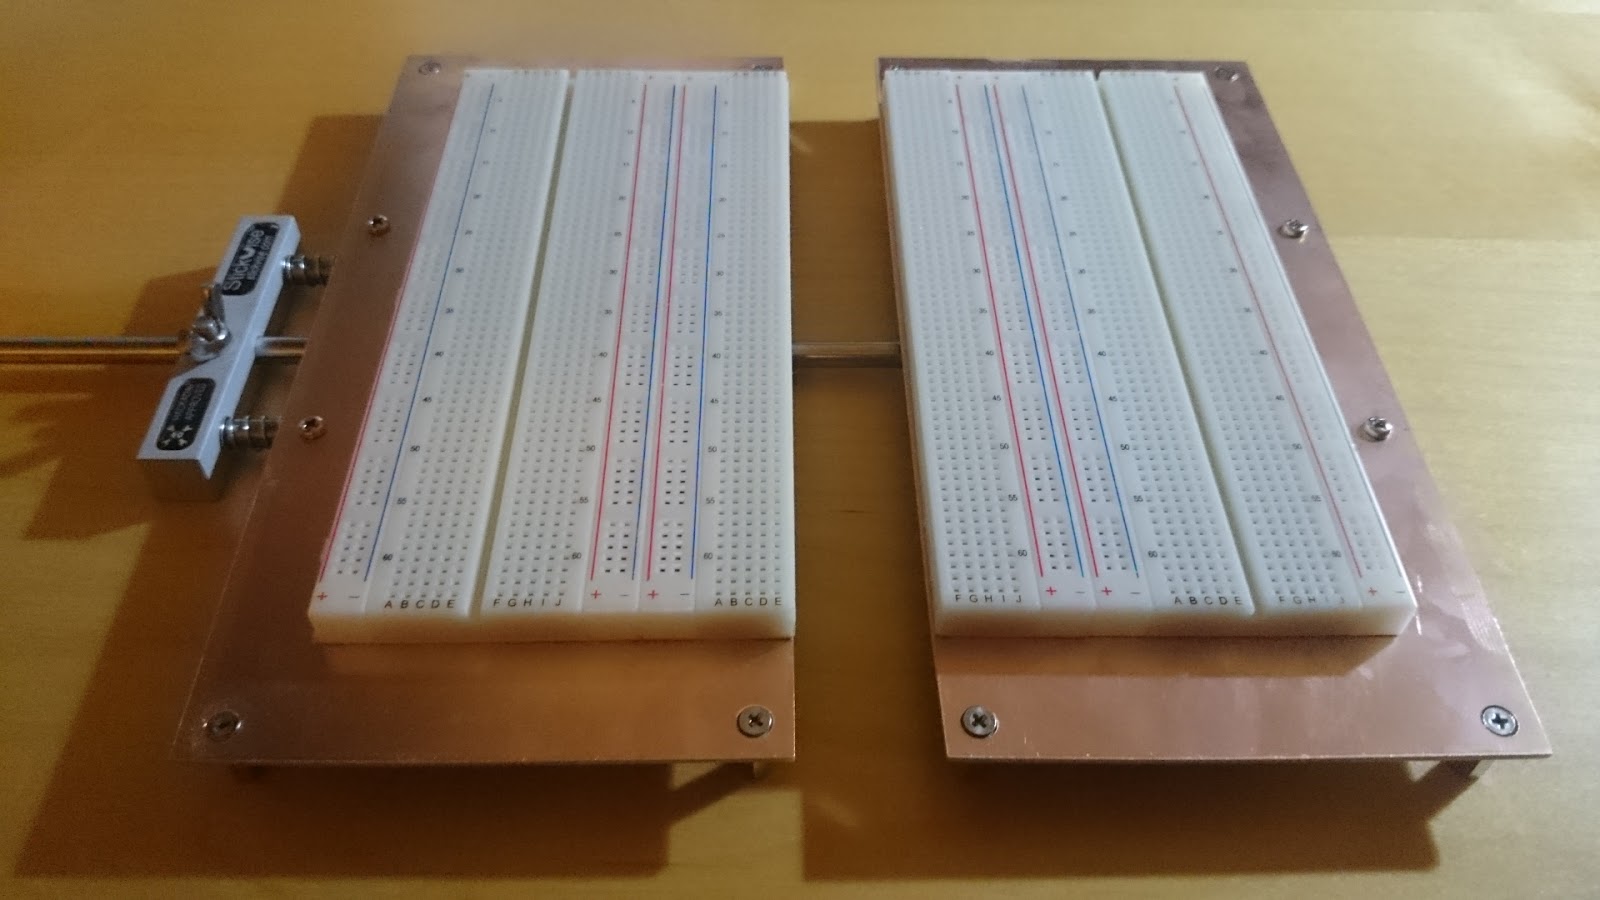
#Expandable breadboard by @SUF is a pair of giant breadboard jaws for Stickvise, really cool idea.
![]()
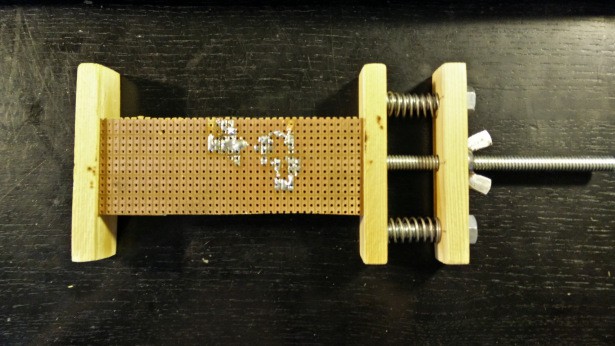
Wooden Stickvise by Matt is a nice version made from wood scraps, once again just a bunch of junk laying around that was put to good use!
![]()
3d printed breadboard springvise by Pat was one of the coolest spins of the idea, this is original enough that it's not even a Stickvise build it's a completely new type of PCB holder. Very cool, it was even featured on Hackaday!
![BreadboardVise1-cropped]()
I can't say enough how neat it is to see so many people building off of the original idea of Stickvise!
-
Back in stock!!!
12/15/2015 at 00:35 • 0 commentsHackaday is stocked back up, thanks to all who have waited!
-
Mini-hacks (many involving Stickvise)
12/04/2015 at 22:21 • 0 commentsCheck out this project by @RoGeorge : #The Devil is in the Details
He shows a bunch of helpful and unusual tips for soldering, and he is using his Stickvise all over the place!
-
Wooden Stickvise Build
11/04/2015 at 21:26 • 3 commentsJust stumbled upon this today, a guy in London named Matt built a Stickvise out of wood after hearing about it on EEVBlog. It appears to be working well for him. He used a long piece of threaded rod, some springs, bolts and a bunch of scrap wood that he had lying around. Yet another example of someone taking inspiration and building their own version, nice to see!
![]()
-
Martijn's Stickvise build
09/18/2015 at 01:29 • 0 commentsThis is just awesome, a fellow hacker built his own Stickvise from scratch and posted a video of his build along with a time lapse video showing how he used it to solder a Geiger counter project together!
https://hackaday.io/project/6931/log/25360-some-thoughts-about-my-version-of-the-stickvise
If you are following Stickvise, please go over and skull his project!
-
PCB milling with Stickvise
09/08/2015 at 00:57 • 2 commentsAfter some brainstorming with Matt Berggren (@technolomaniac) I decided to try developing a set of attachments for Stickvise that would allow it to be used for PCB milling. Some of the new features are:
1. Magnetic feet - to attach to the steel base plates used by some light duty milling machines such as the Othermill. Also turns Stickvise into an expensive refrigerator magnet!
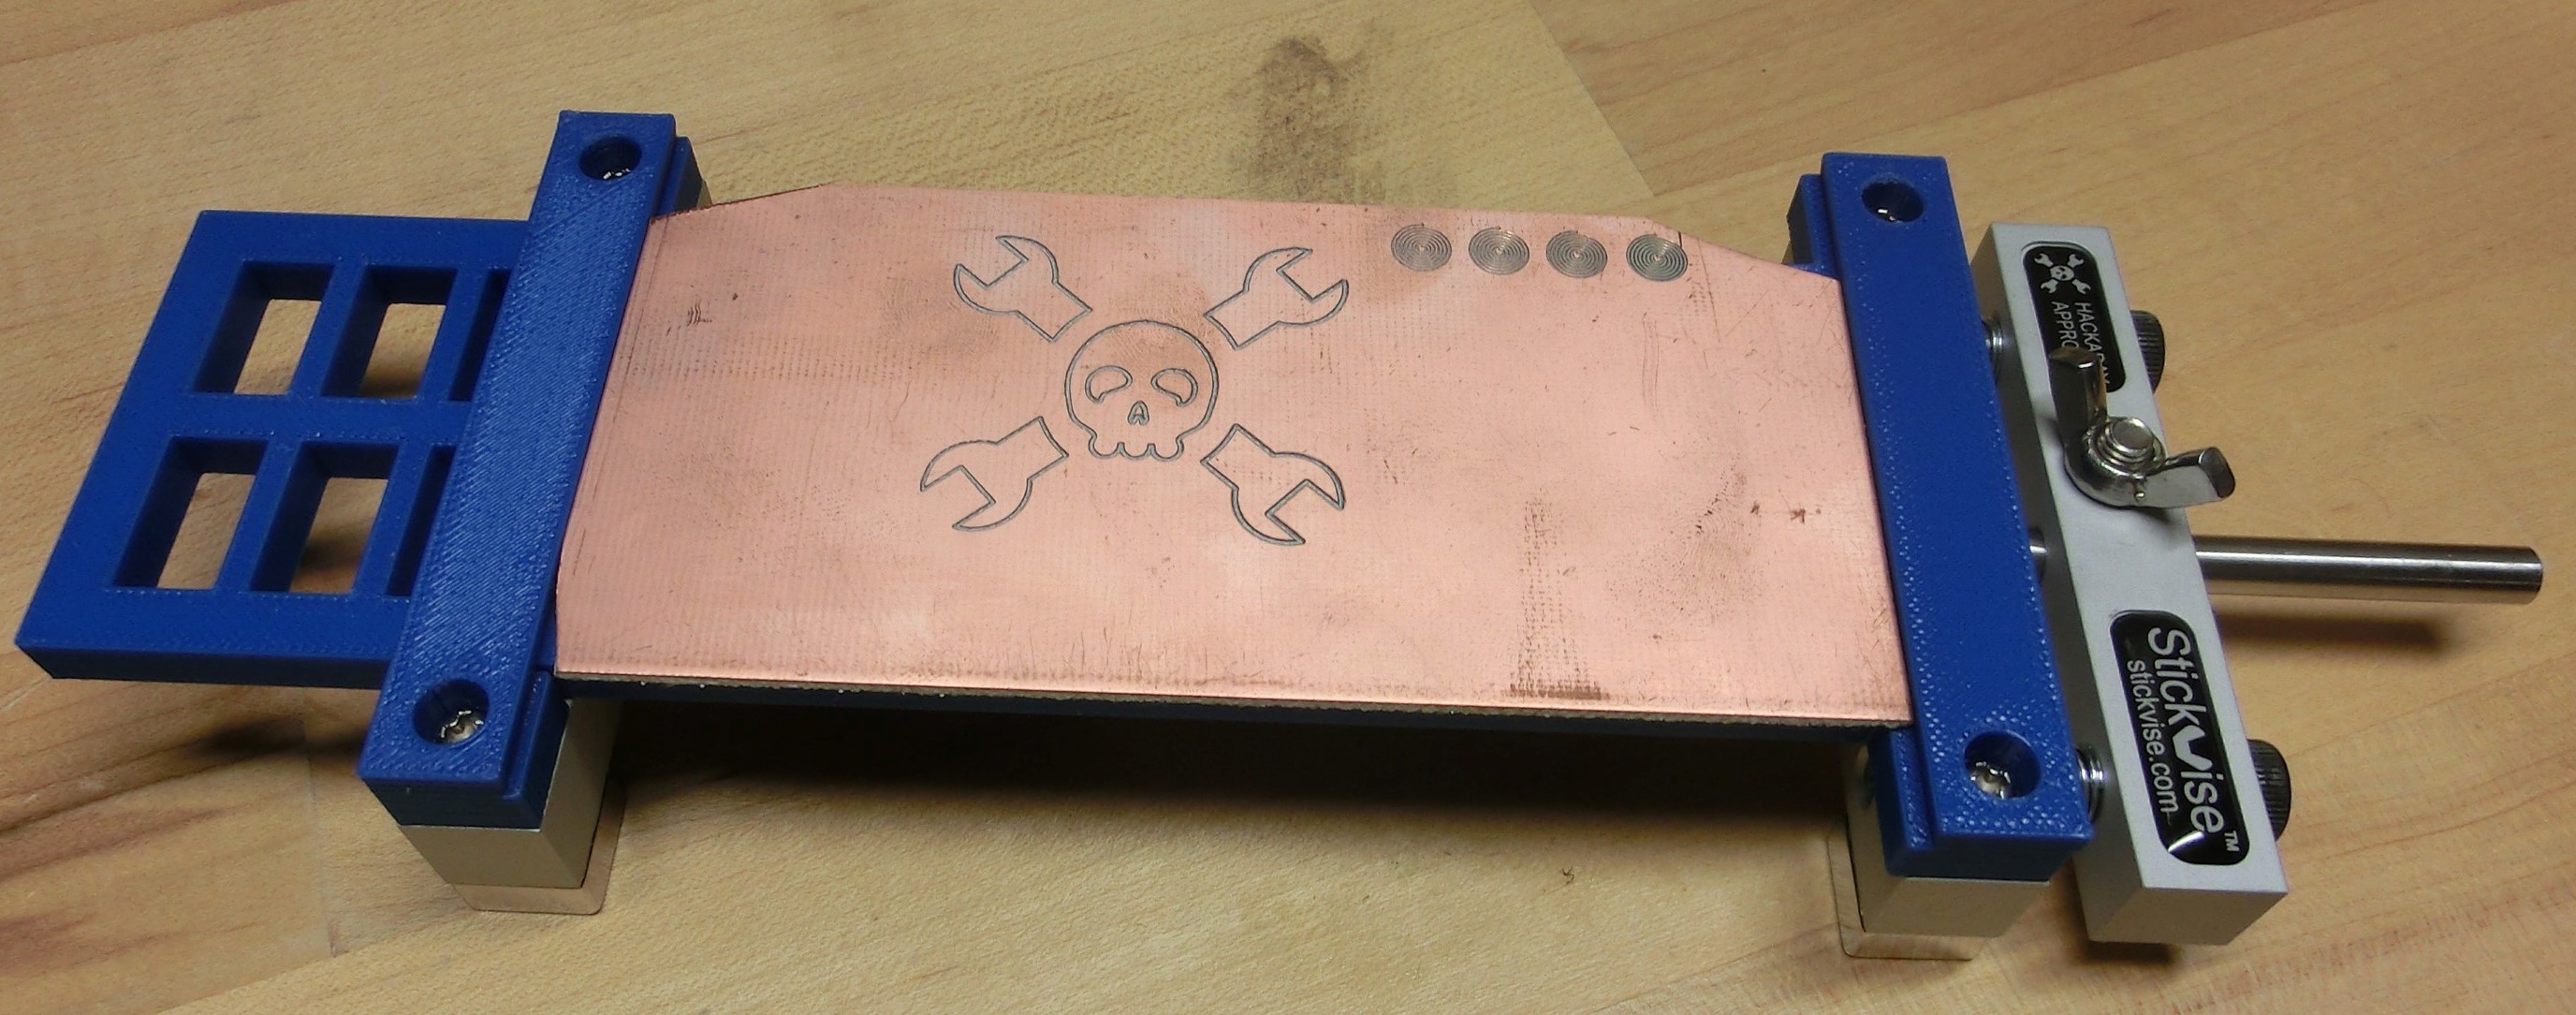
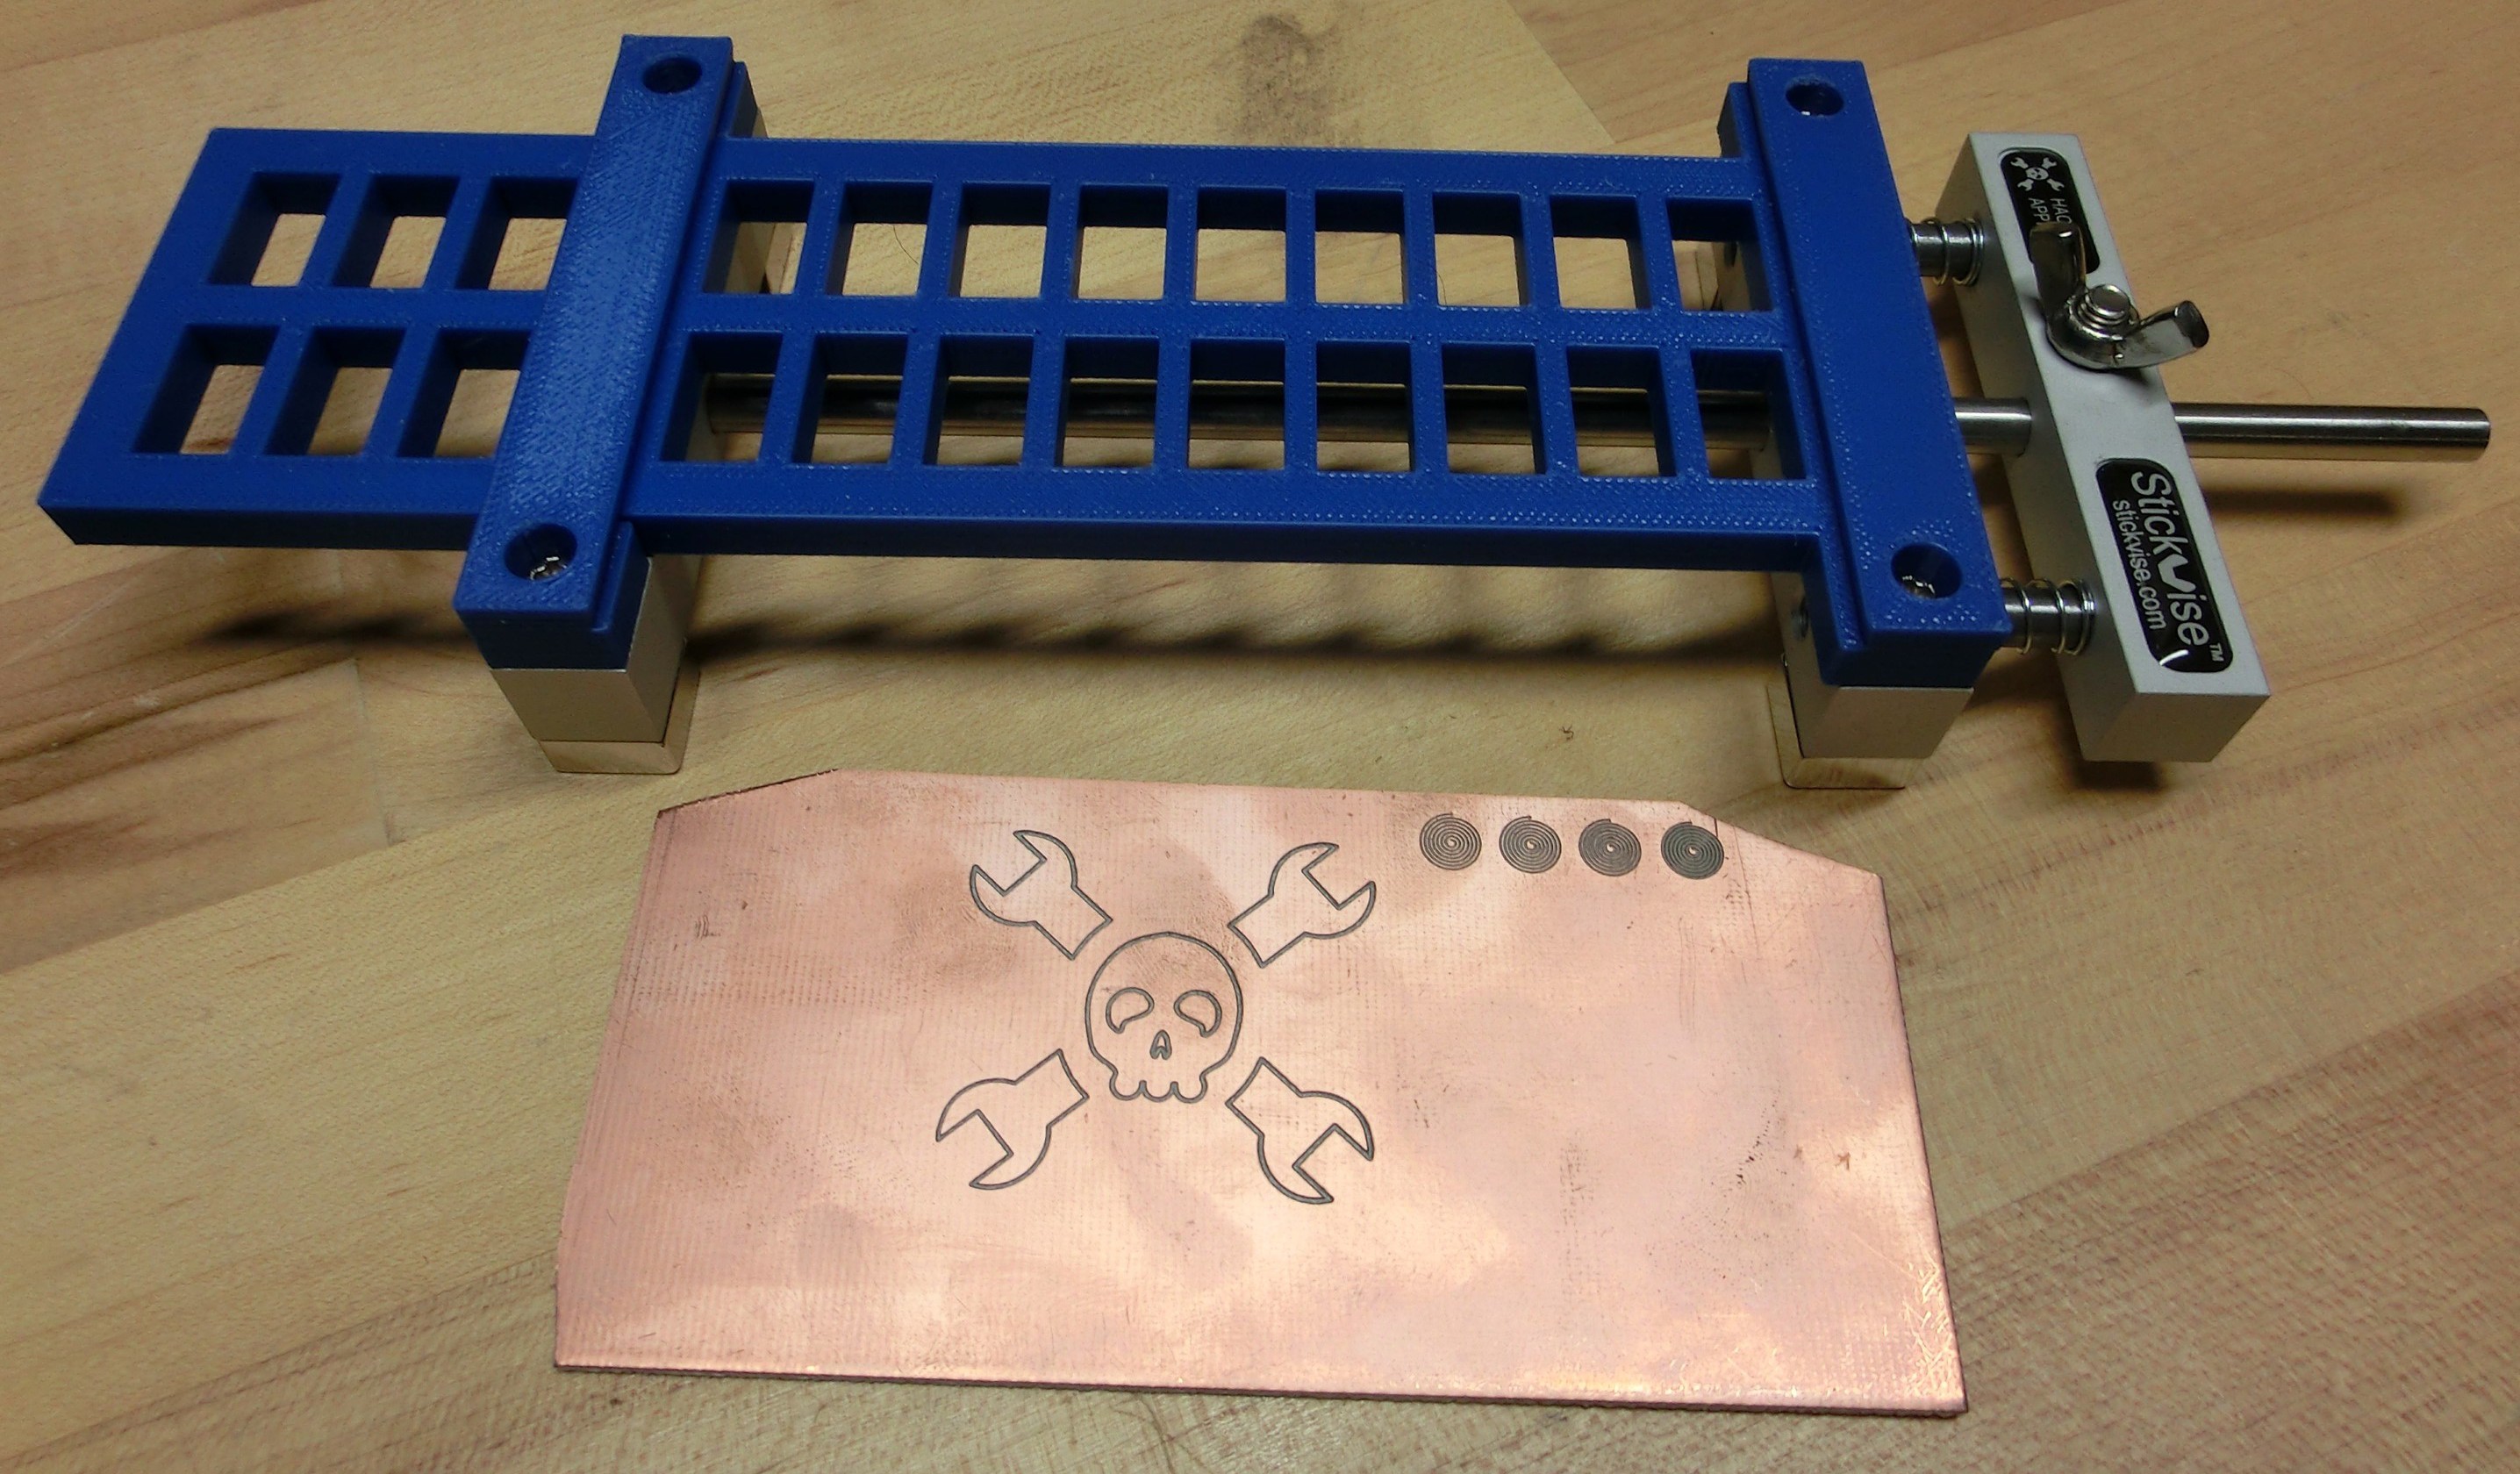
2. Special support jaws - By default, Stickvise does not support a PCB in the middle - it was designed for soldering. For milling, I designed a set of jaws that span the length of the vise to support flat stock all the way across. This prevents flexing even on very long and narrow PCBs as shown below.
Here is the prototype:
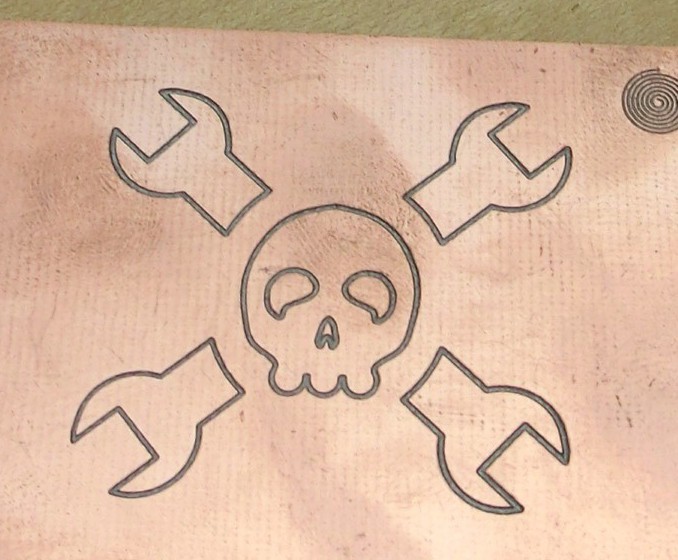
As you can see I milled a jolly wrencher without much problem. Here is a closeup:
The biggest challenge is going to be routing a board outline, the fine trace milling works great, but I did not get a chance to test full through board milling. It will be interesting to see if the magnets slip against the steel plate, or if the board slips in the vise jaws. I think it will greatly depend on how aggressive I am with the cutter, will definitely test this soon and post an update.
So far the results are promising though!
More details:
-Milled using a Tormach PCNC770, using a 1/8" carbide 60 degree v-groove cutter at .005" depth, 10,000 RPM and 10 IPM feed rate.
-Held in place using only the magnetic feet against the work table
Stickvise - low profile soldering vise
Stickvise is a low profile vise designed for PCB soldering. This product was born on Hackaday.io.
 Alex Rich



 Another cool Stickvise build by