Close
0%
0%

Multimeter remote display

Multimeter remote display using a wireless link

Similar projects worth following
Multimeter remote display system consisting of two separate parts:
1) Transmit Unit - connected to multimeter, read serial data from meter, and send to display unit via wireless connection.
2) Display Unit - display meter data on LCD.

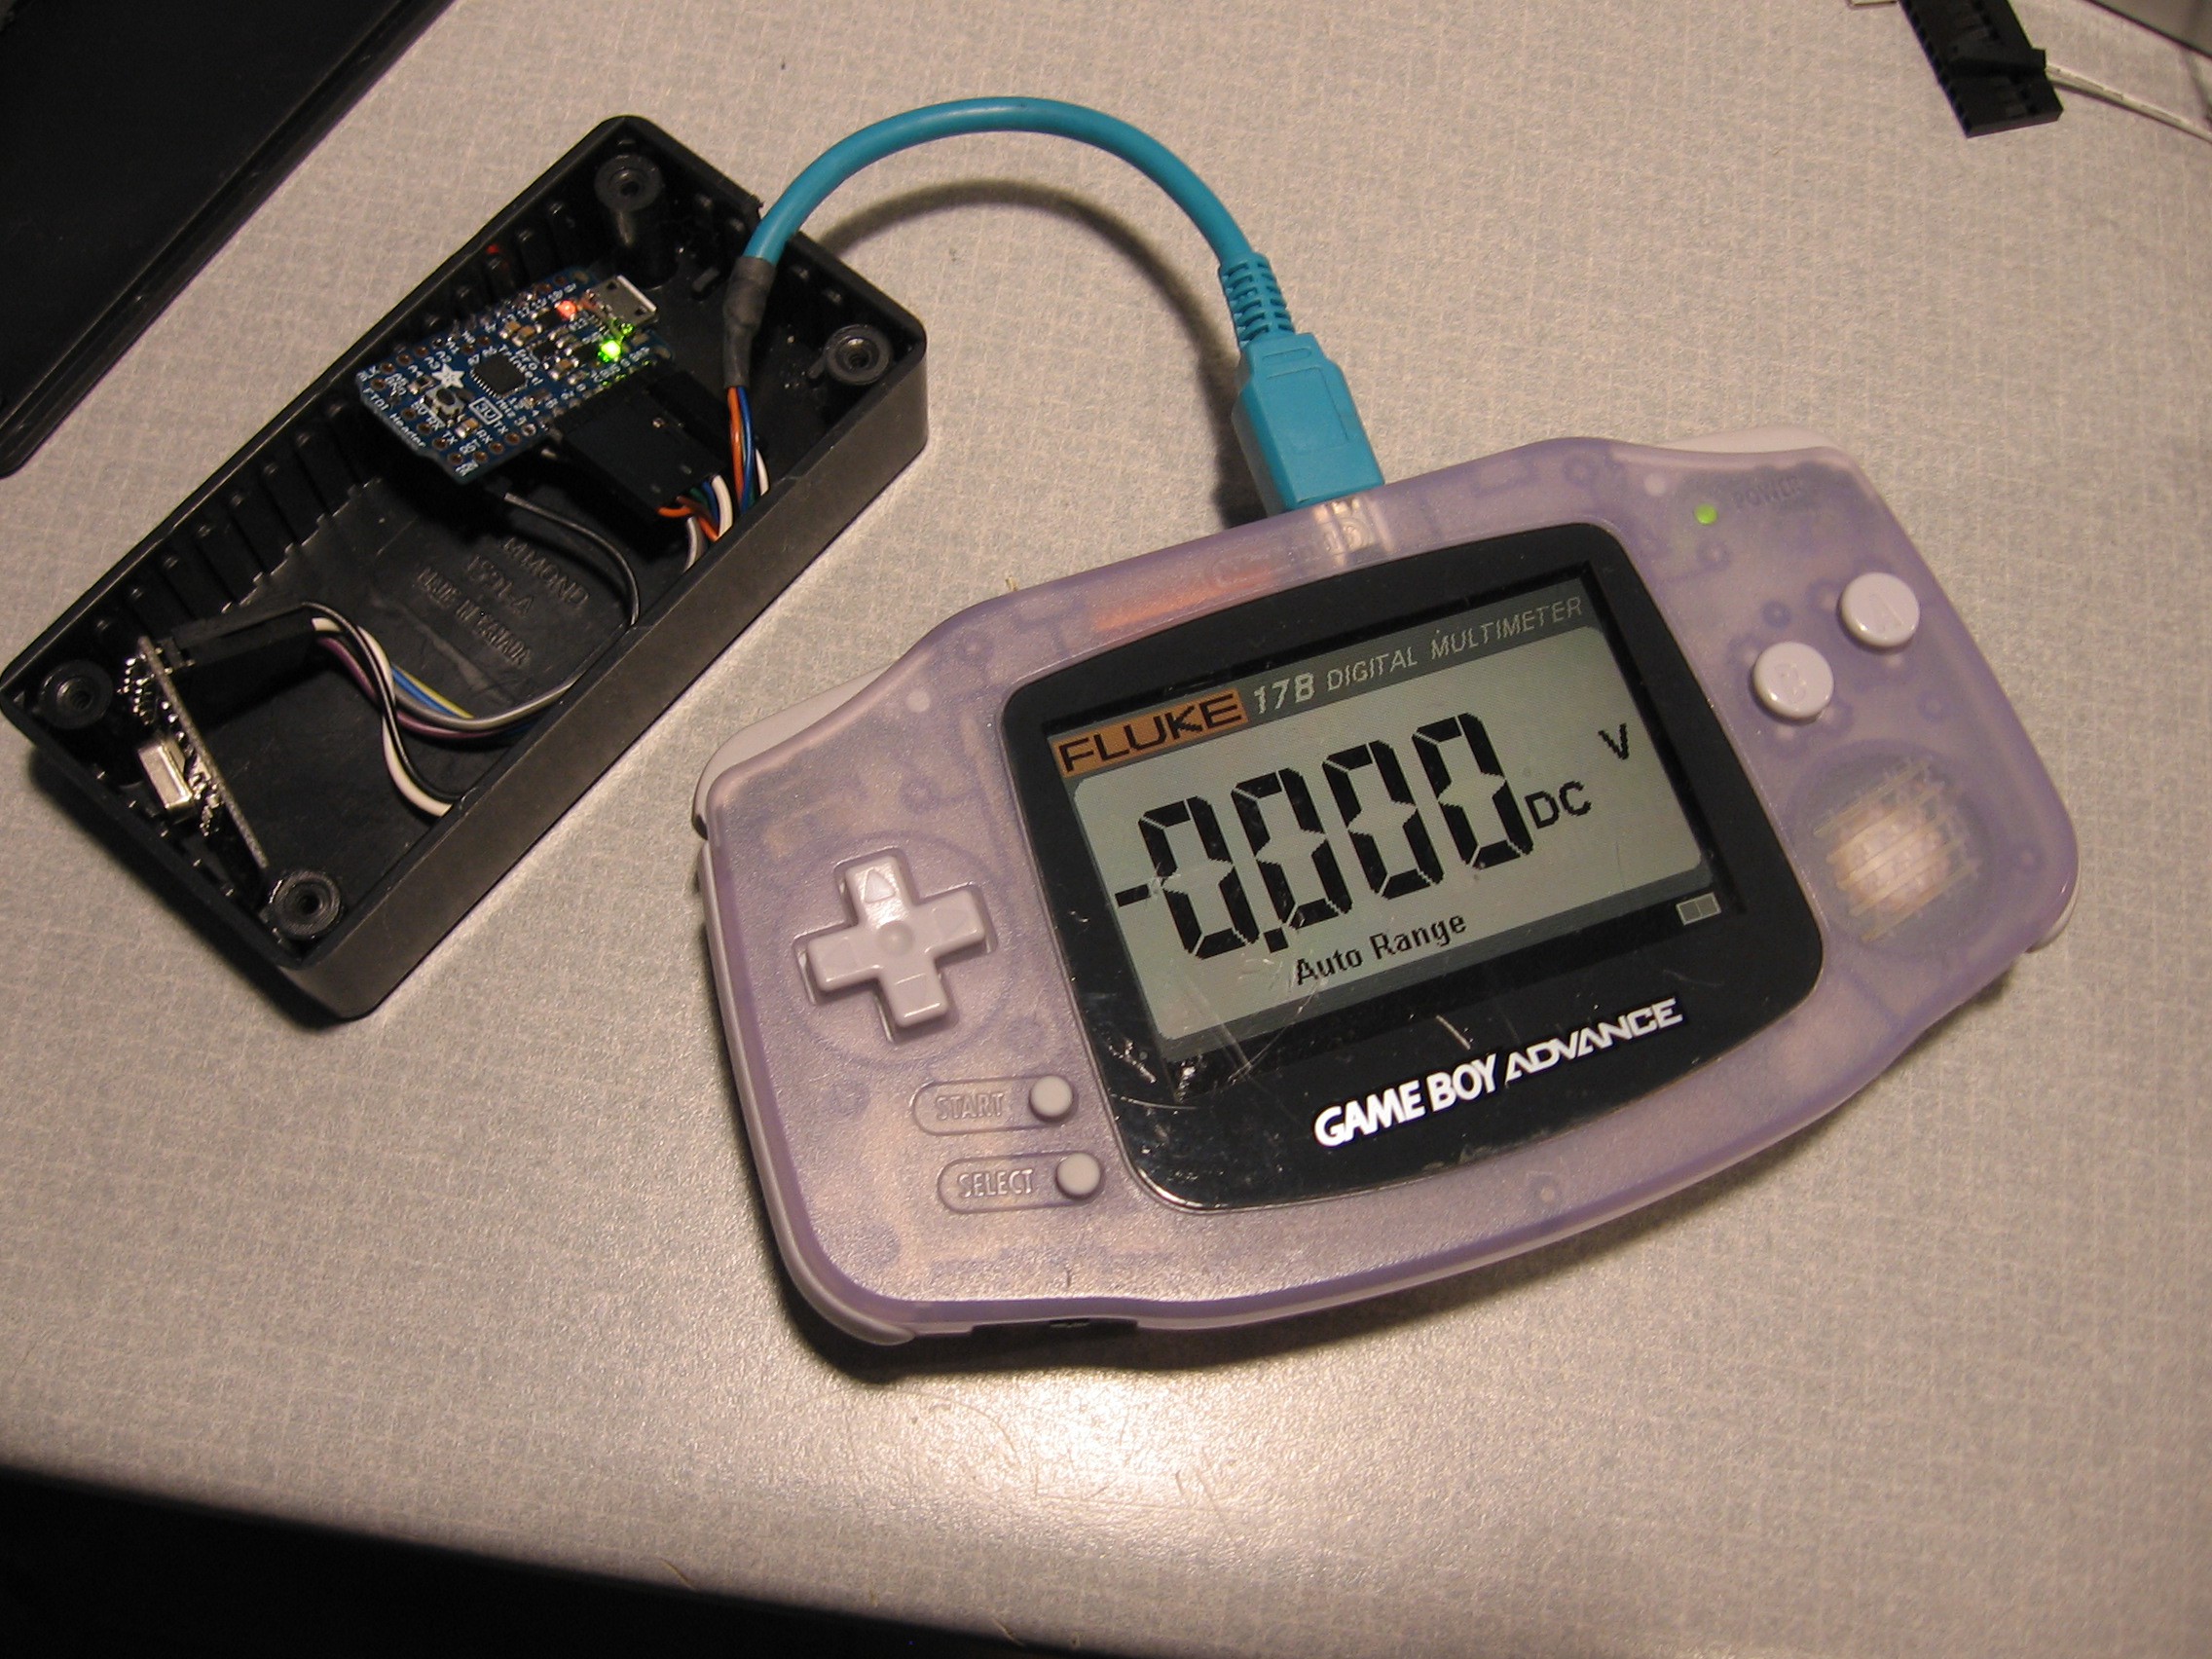
More than one system can be used at a time without interfering with each other. I'm running a Fluke 17B transmitting to a GameBoy Advance as well as a Digtek DT-4000ZC transmitting to a pocketable OLED display. I've programmed the OLED display unit as being switchable to either meter.

The range of the nRF24L01+ boards are a respectable few floors in a house.

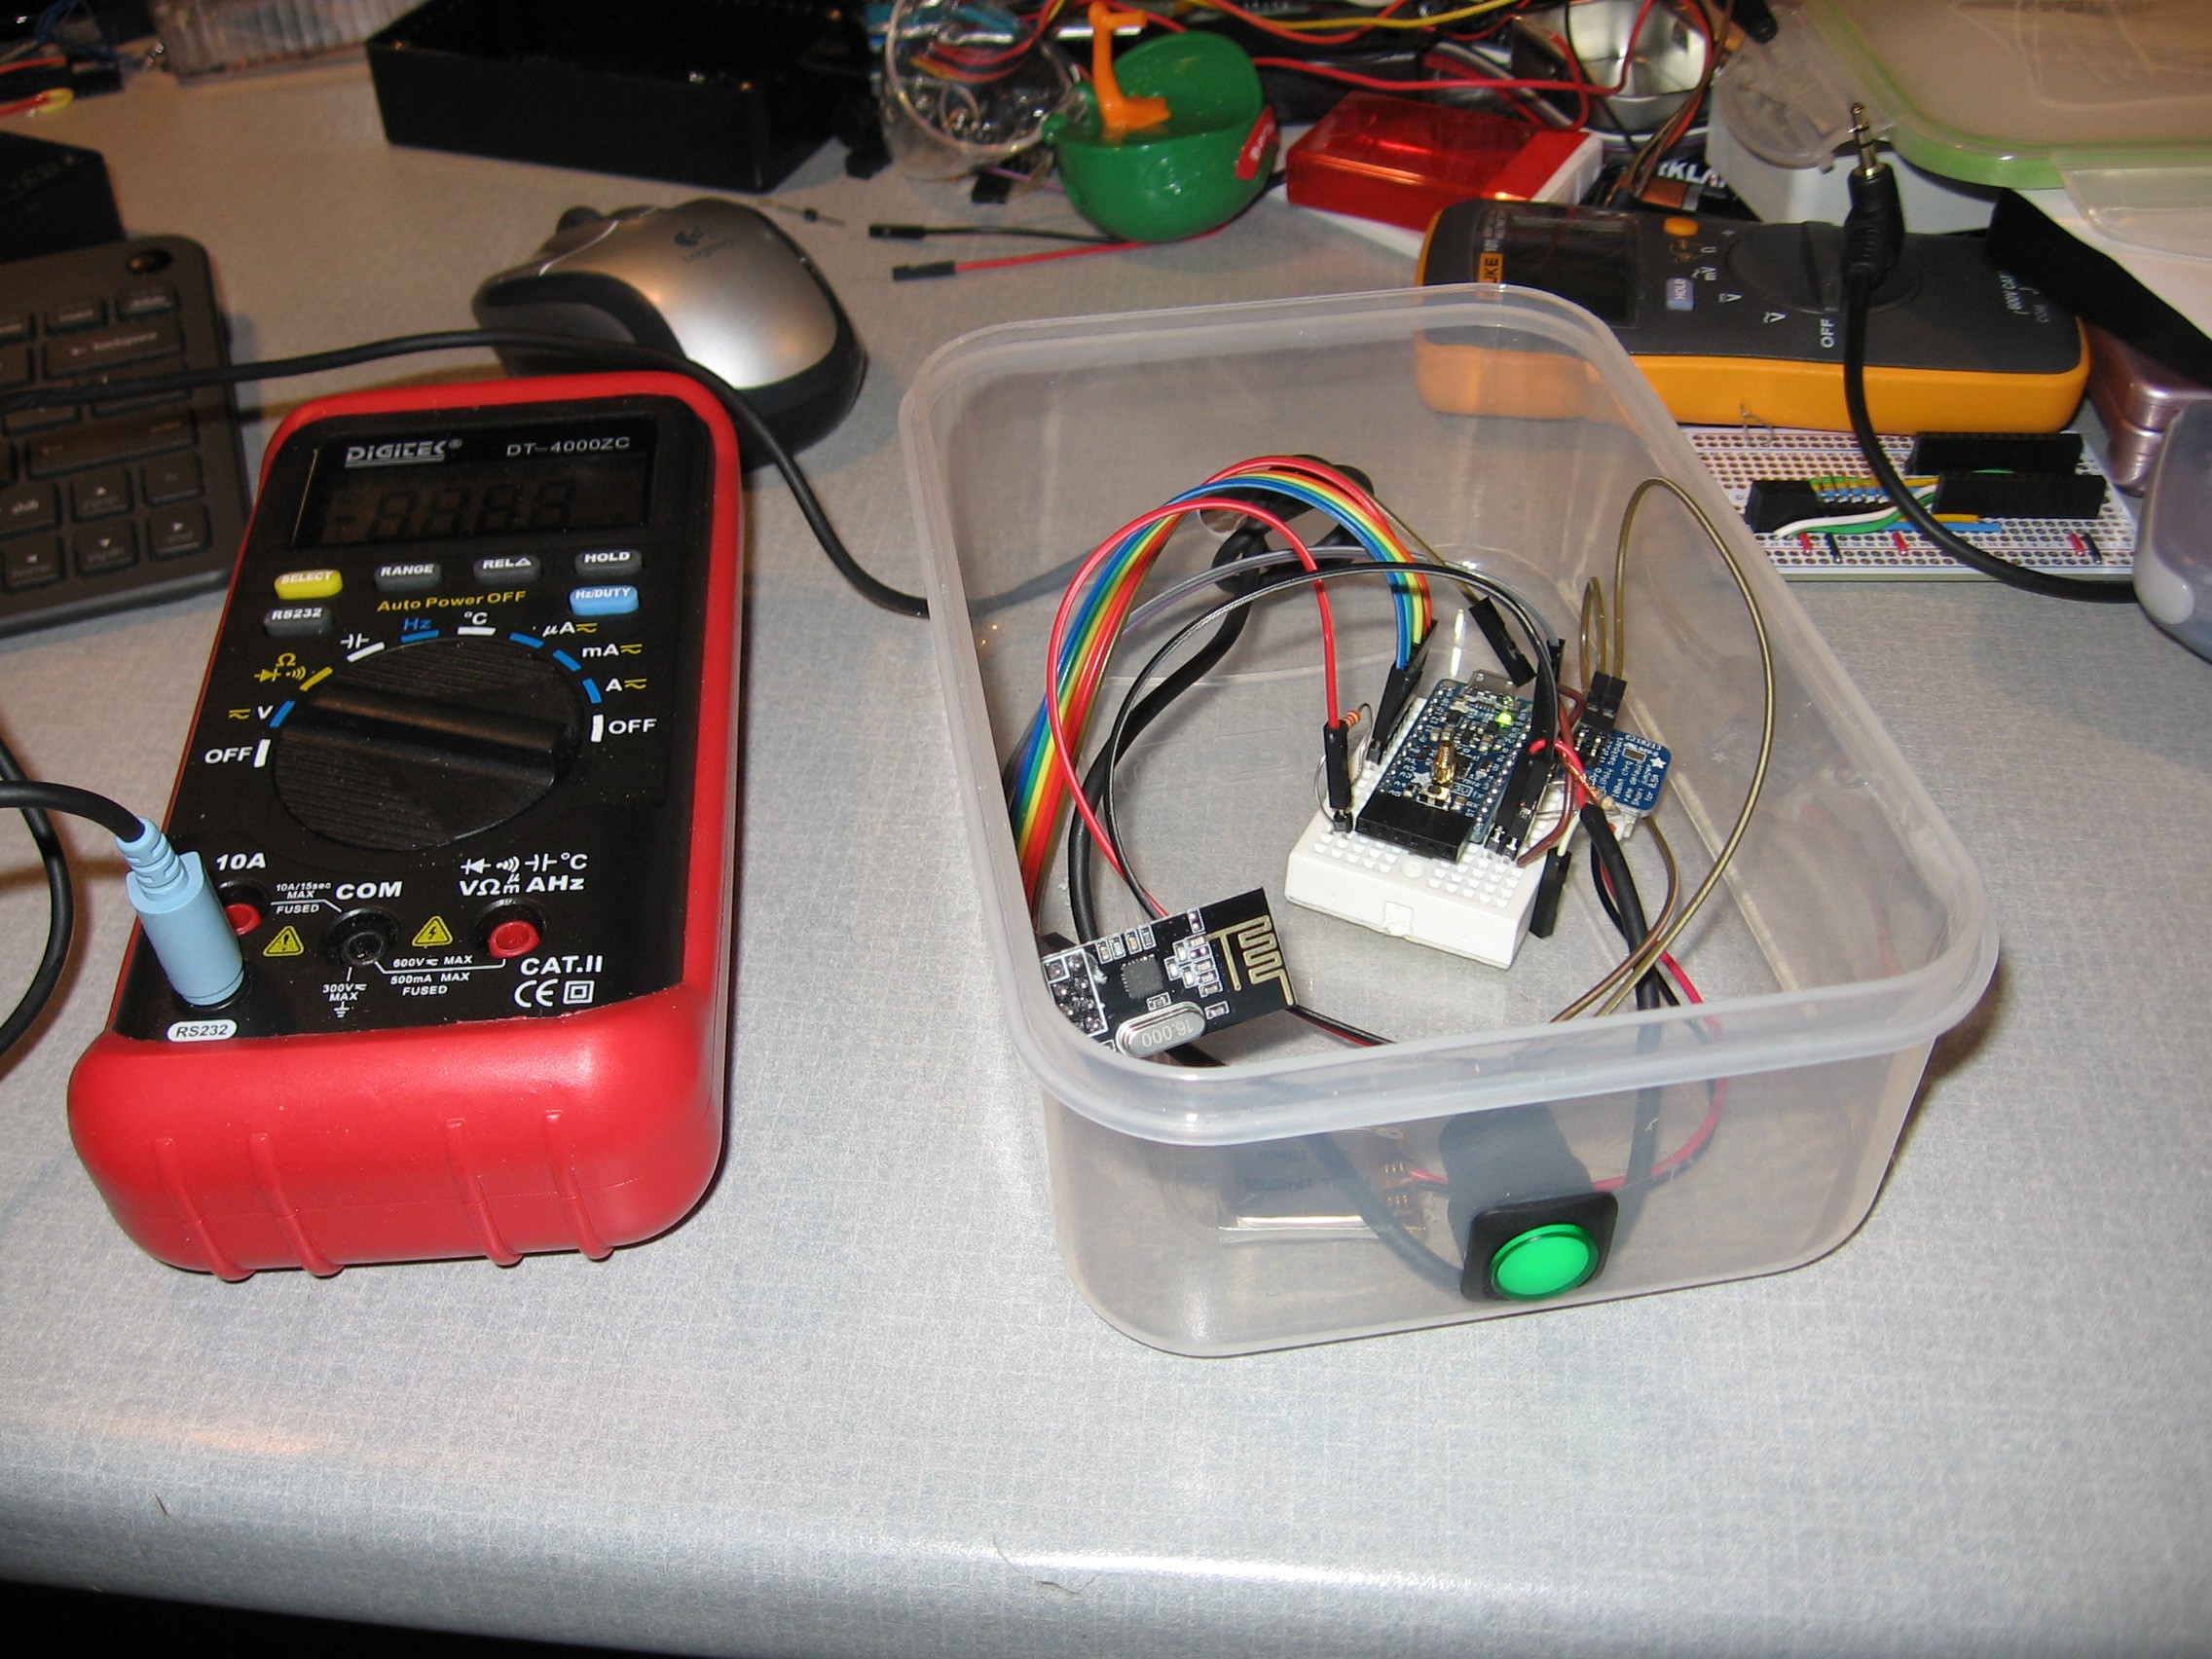
I have a couple of meters that use a Fortune Semiconductor FS9721_LP3 chip, Digitek DT-4000ZC and a Fluke 17B. The Digitek connection is nice, it has 3.5 mm jack on the front that is optically isolated. The Fluke is not advertized as being able to transmit out it's serial data, but if you open it up and set a particular pin low it will send the data out on another pin. See this link for details.

http://sigrok.org/wiki/Multimeter_ICs#Fortune_Semiconductor_FS9721_LP3
  • 1 × FLUKE 17B XMIT --- nRF24L01+ smd board nRF24L01+ Breakout board, 1.27 smd version (Ebay)
  • 1 × FLUKE 17B XMIT --- Pro Trinket 3V Adafruit
  • 2 × FLUKE 17B XMIT --- 2mm Brass standoffs with nuts Ebay
  • 1 × Digitek XMIT --- Trinet Pro 3V Adafruit
  • 1 × Digitek XMIT --- nRF24L01+ board Ebay

View all 20 components

  • Code for 128x64 Display Unit Cleaned Up

    Ken Kaarvik01/03/2015 at 00:53 0 comments

    I uploaded the sketch for the 128x64 OLED Remote Display Unit before I got rid of my dev notes. I had a couple of other displays working but had to draw the line somewhere (feature creep!). There were a few notes that didn't make sense anymore so I figured it would be best to nip the confusion in the bud. I'd be interested to hear from others if they get this all to work. Hope the notes all make sense!

  • Documentation Day

    Ken Kaarvik01/01/2015 at 22:23 0 comments

    The most important part of any project is documentation, which I tend to leave till I'm forced to do it. That time has come! I'm busy putting together all the info to recreate and modify what I've done. Also busy learning about uploading youtube videos - my uploads take forever!

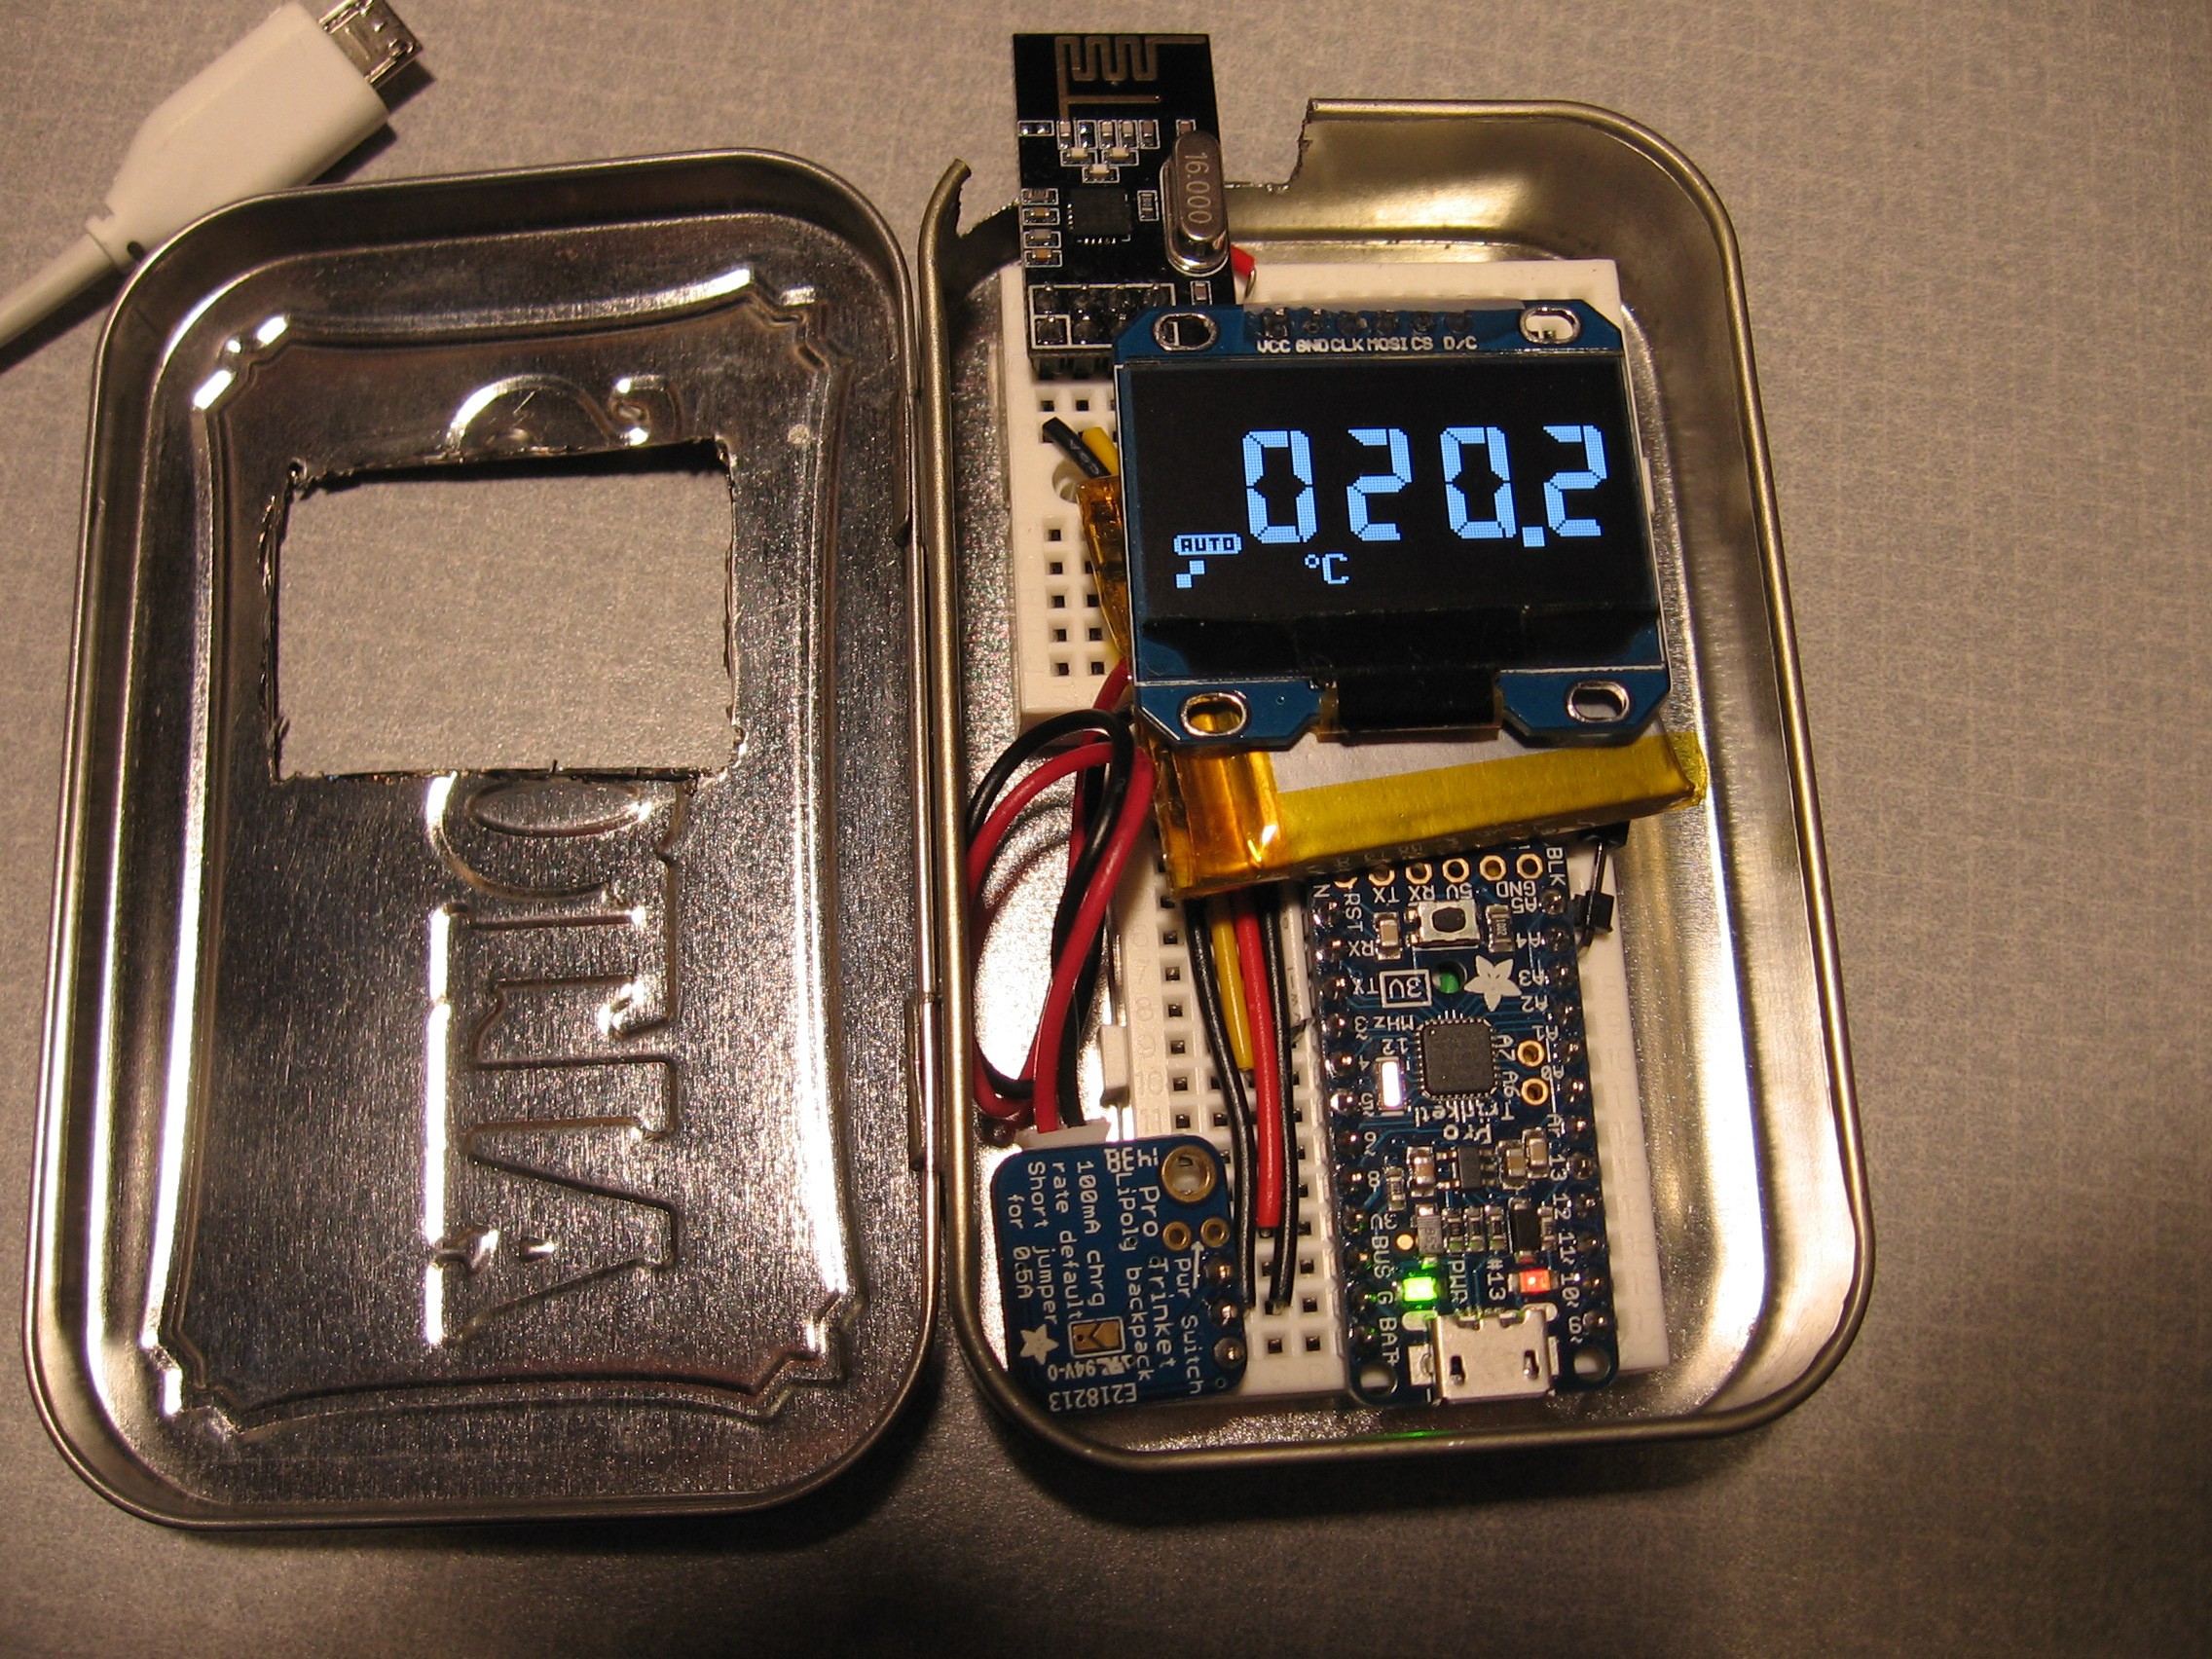
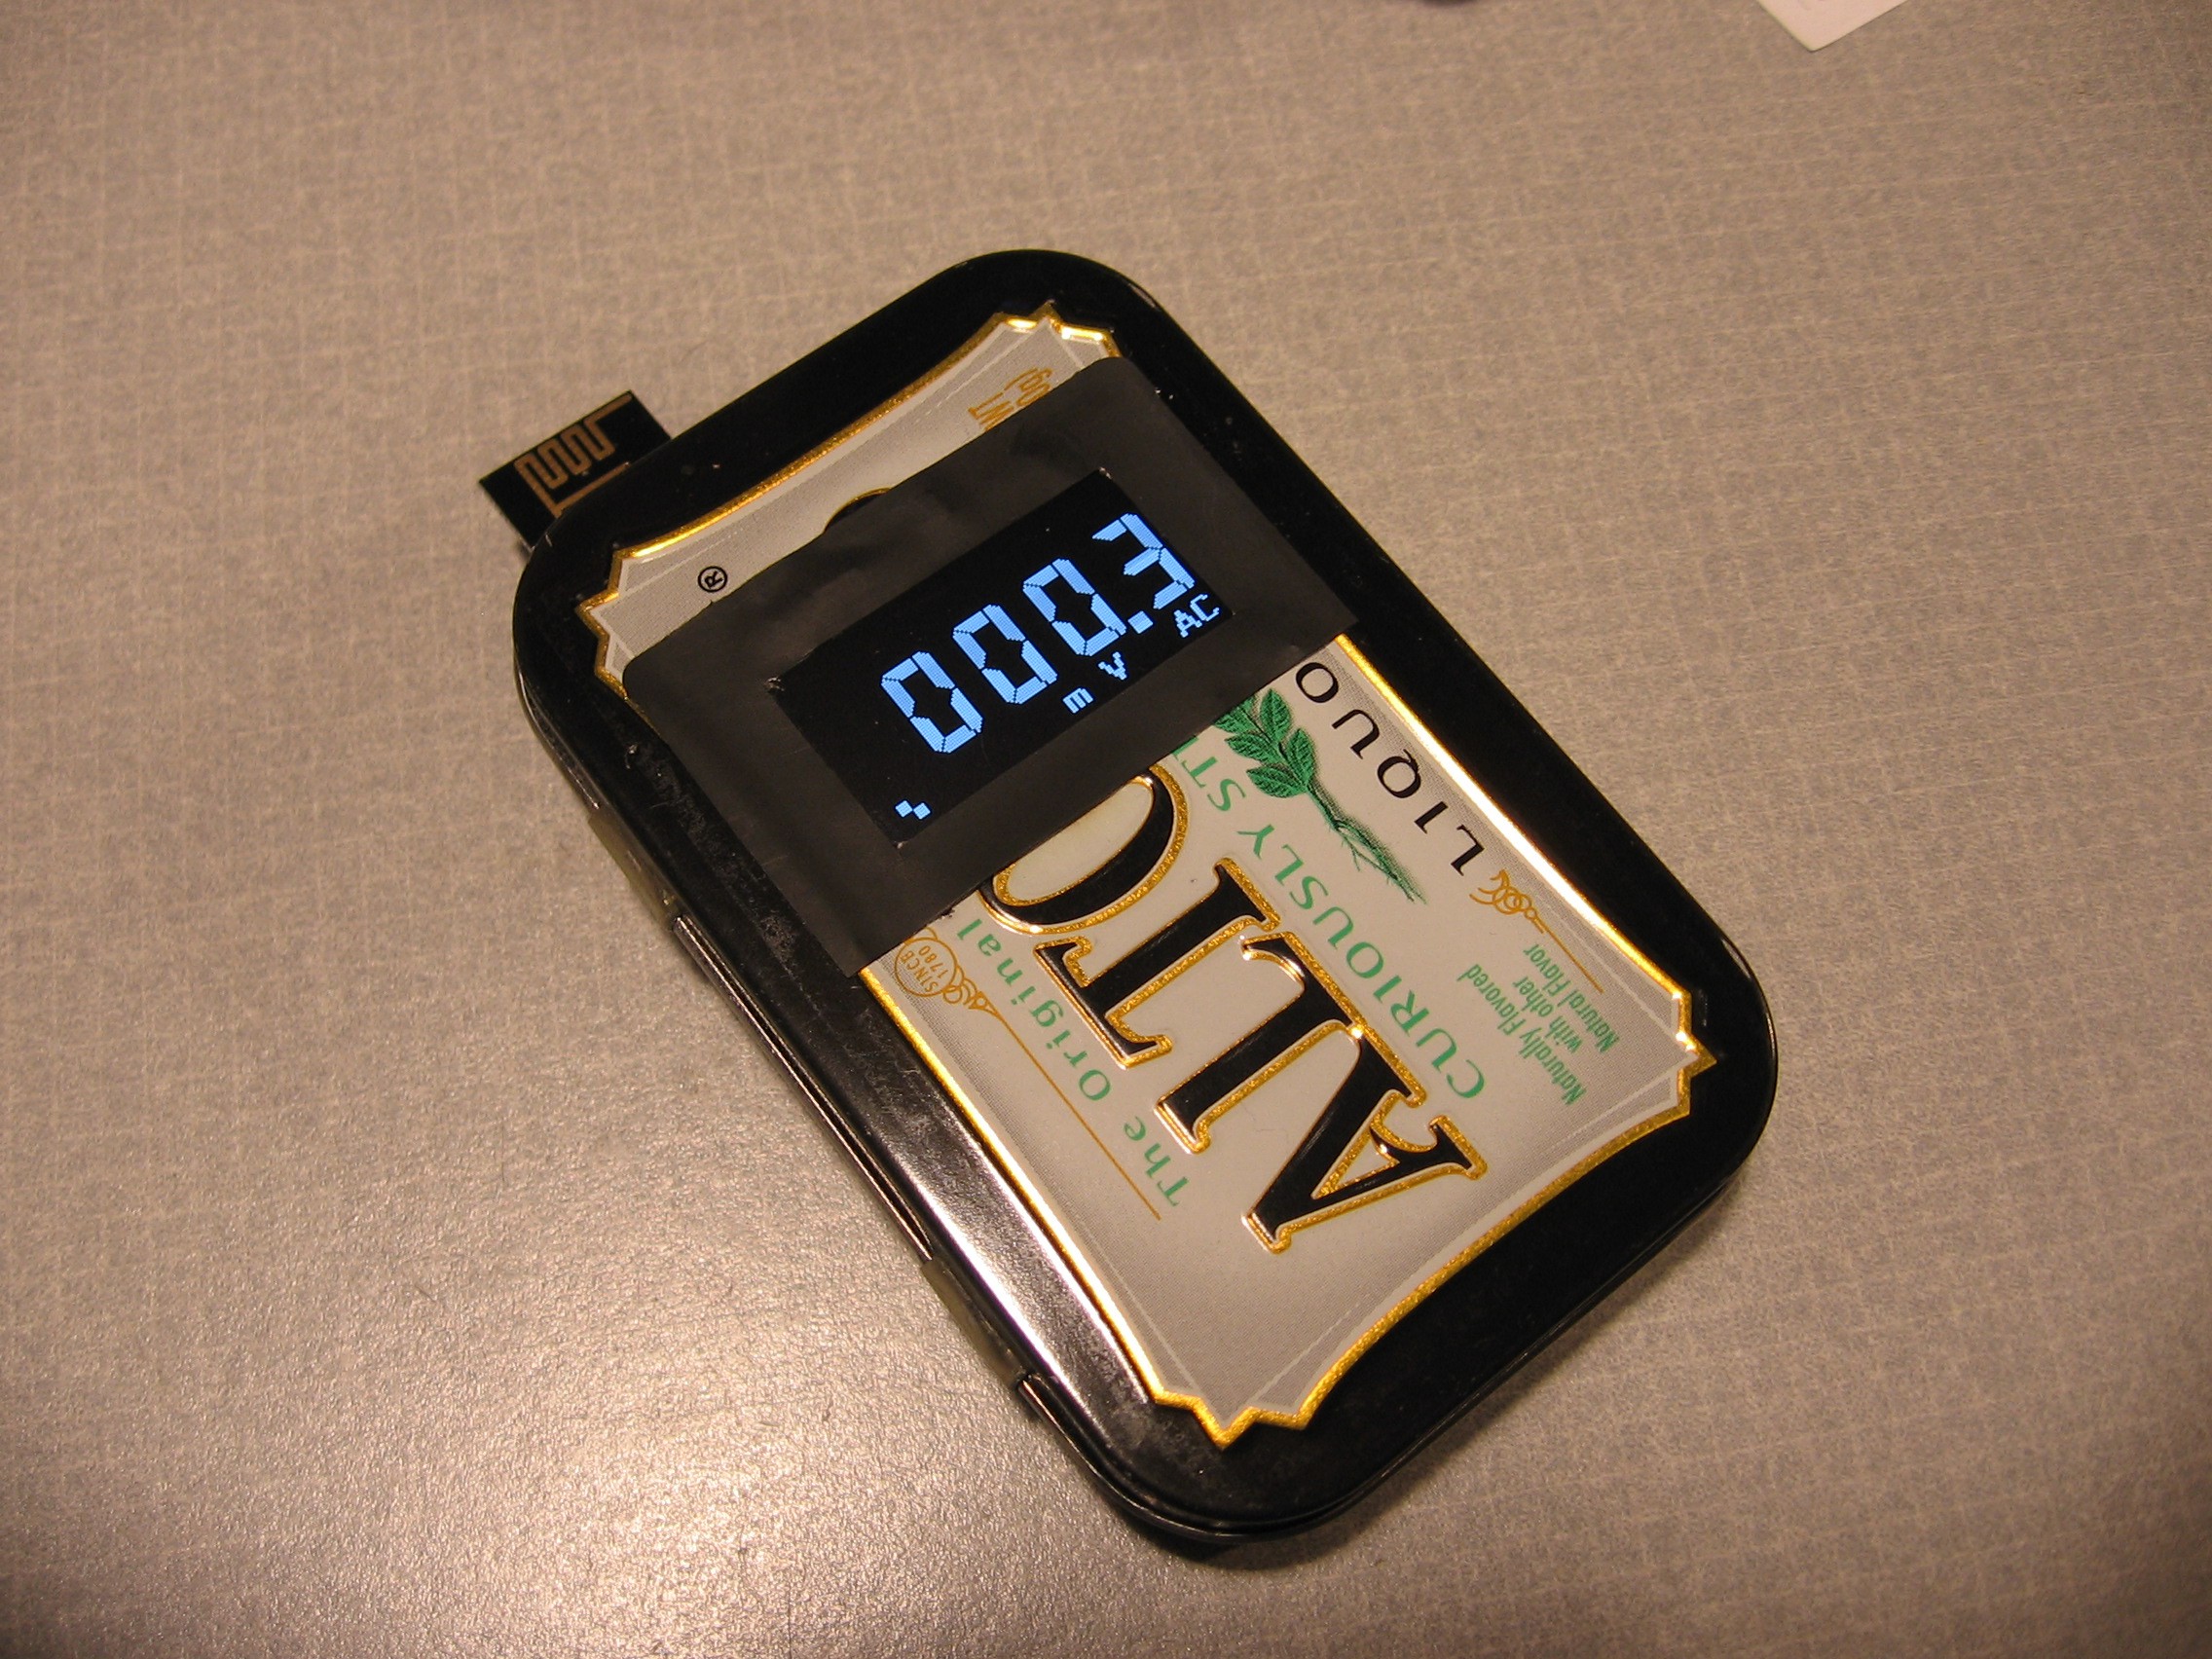
    I'm happy with the 128x64 OLED remote display mounted in the Altoids tin, I can remove the nRF24l01+ board and place it in the tin when the thing is stored (like in my pocket!). A square sticker with a cutout for the display covers up the rough cut opening.

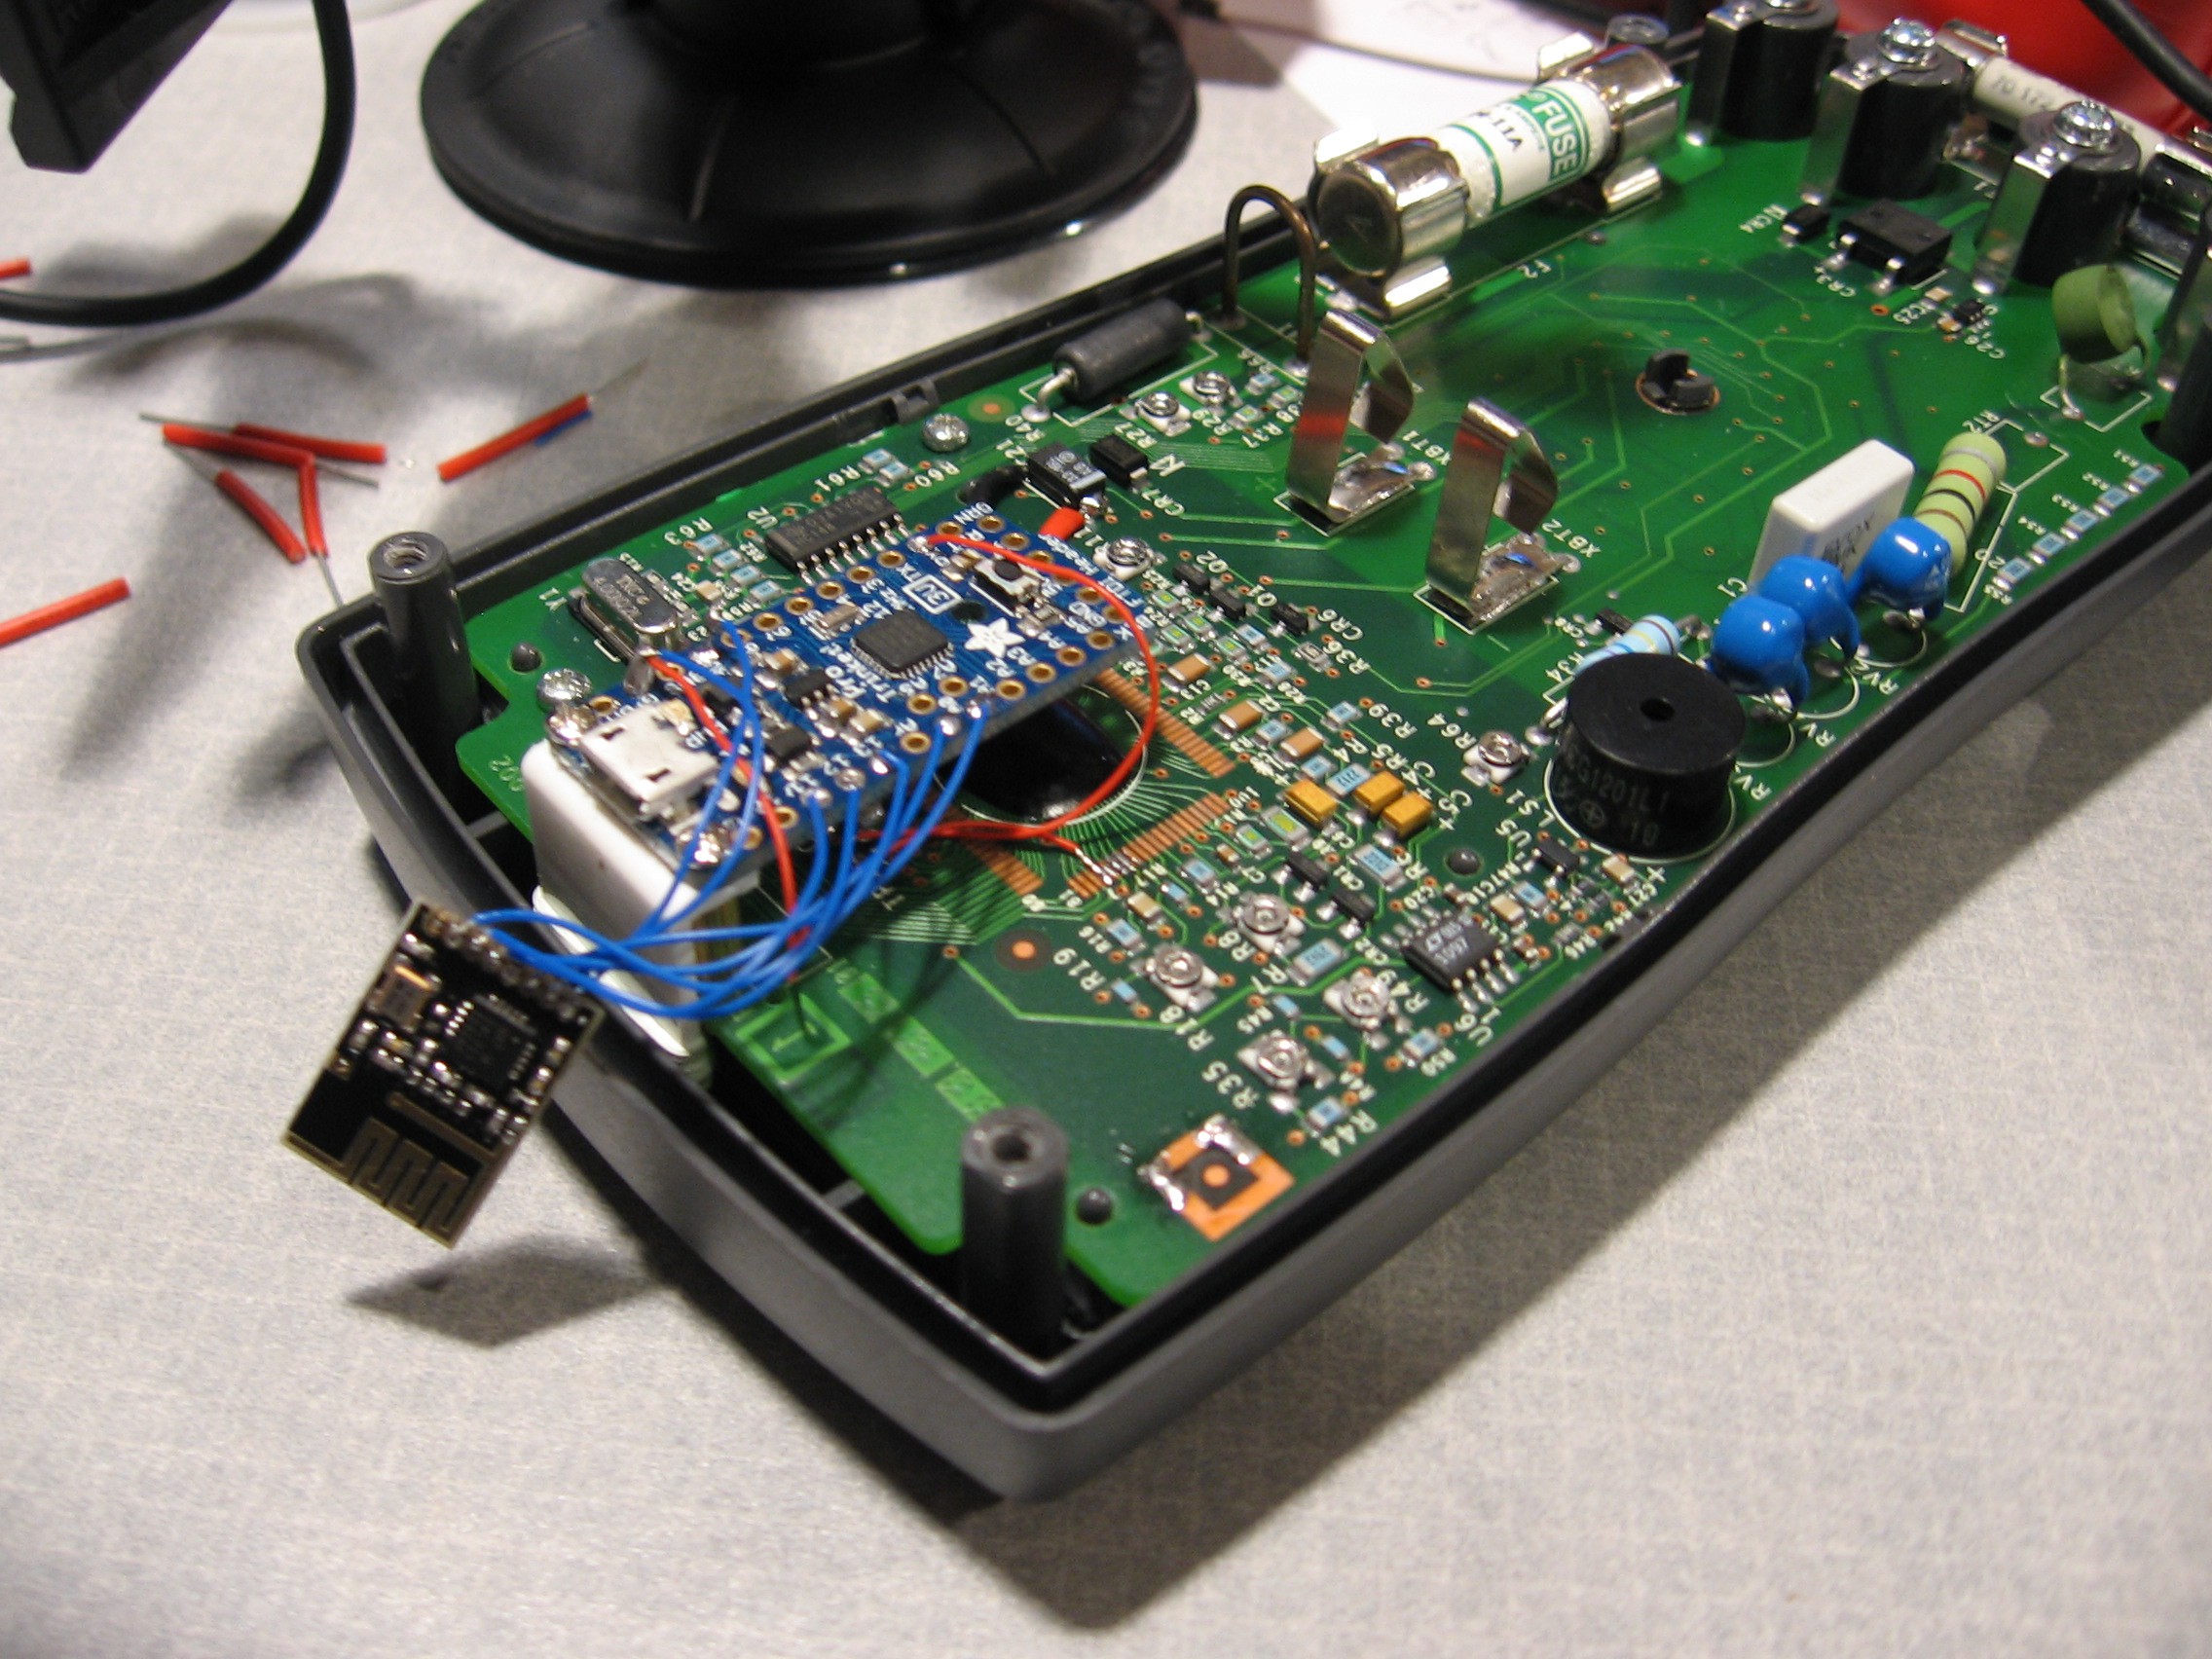
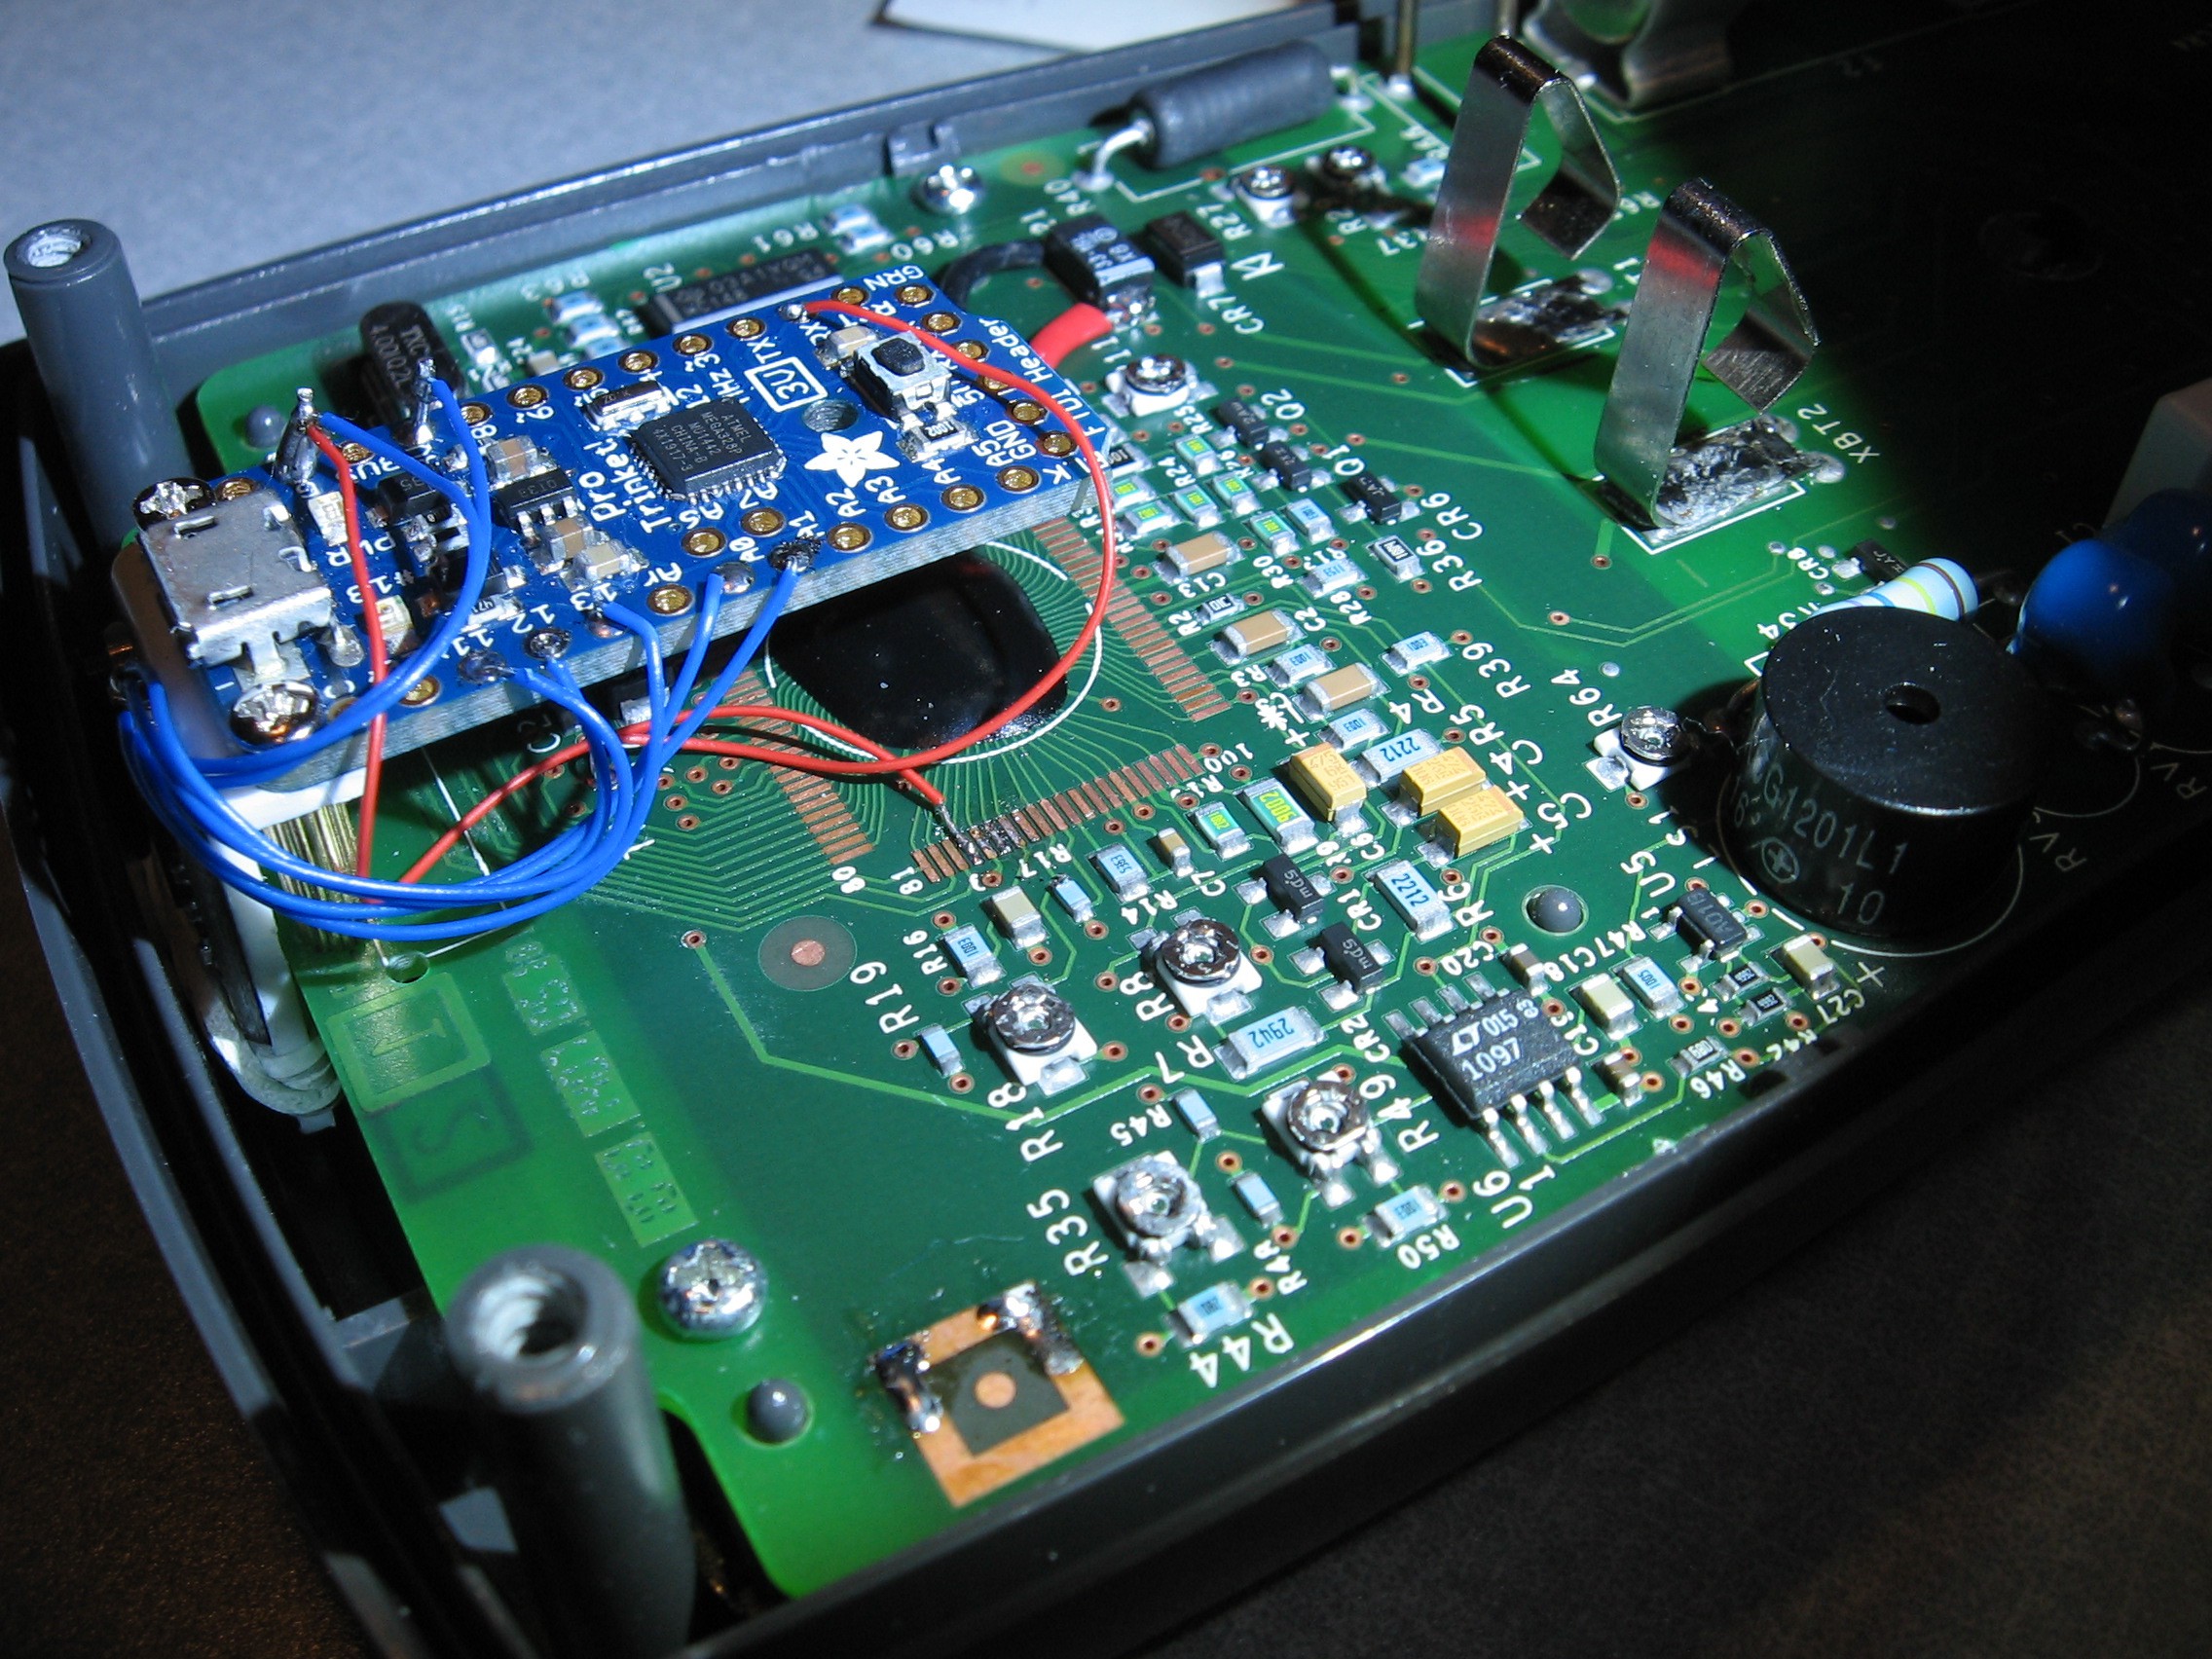
    I also think the Trinket mounted directly inside the Fluke 17B worked out great. The mounting holes allow for a very secure mounting.

    The GameBoy Advance dongle could be mounted better, all the components are just place inside a basic box with just the wires attaching to the boards holding everything in place. It works but I think I might sacrifice one of my Gameboy Advances and mount a trinket inside permanently.

    The dongle that connects to the Digitek Meter was just left on the breadboard and stuck in a clear food container. I placed a power switch on it so I didn't have to take the sealed lid off all the time. This would be better if the trinket was also mount inside the meter.


  • Mount Trinket Pro Inside Fluke 17B

    Ken Kaarvik12/27/2014 at 21:49 3 comments

    Spent some time trying to figure out how to mount the Trinket and nRF24 board inside the Fluke securely and permanently. I've drilled two holes in the meter's PCB to mount two 2mm (diameter) brass standoffs. I cut up a plastic toy block to create an angle bracket to fasten the nRF24 board. The bracket is held in place with the same standoffs that support the trinket. The nRF24 board is then held tightly to the plastic bracket with a Rainbow Loom rubber band. The Fluke 17B draws just under 2 mA before the add circuitry and about 9 mA after.

  • 128x64 OLED display unit in an Altoids case

    Ken Kaarvik12/17/2014 at 00:15 0 comments

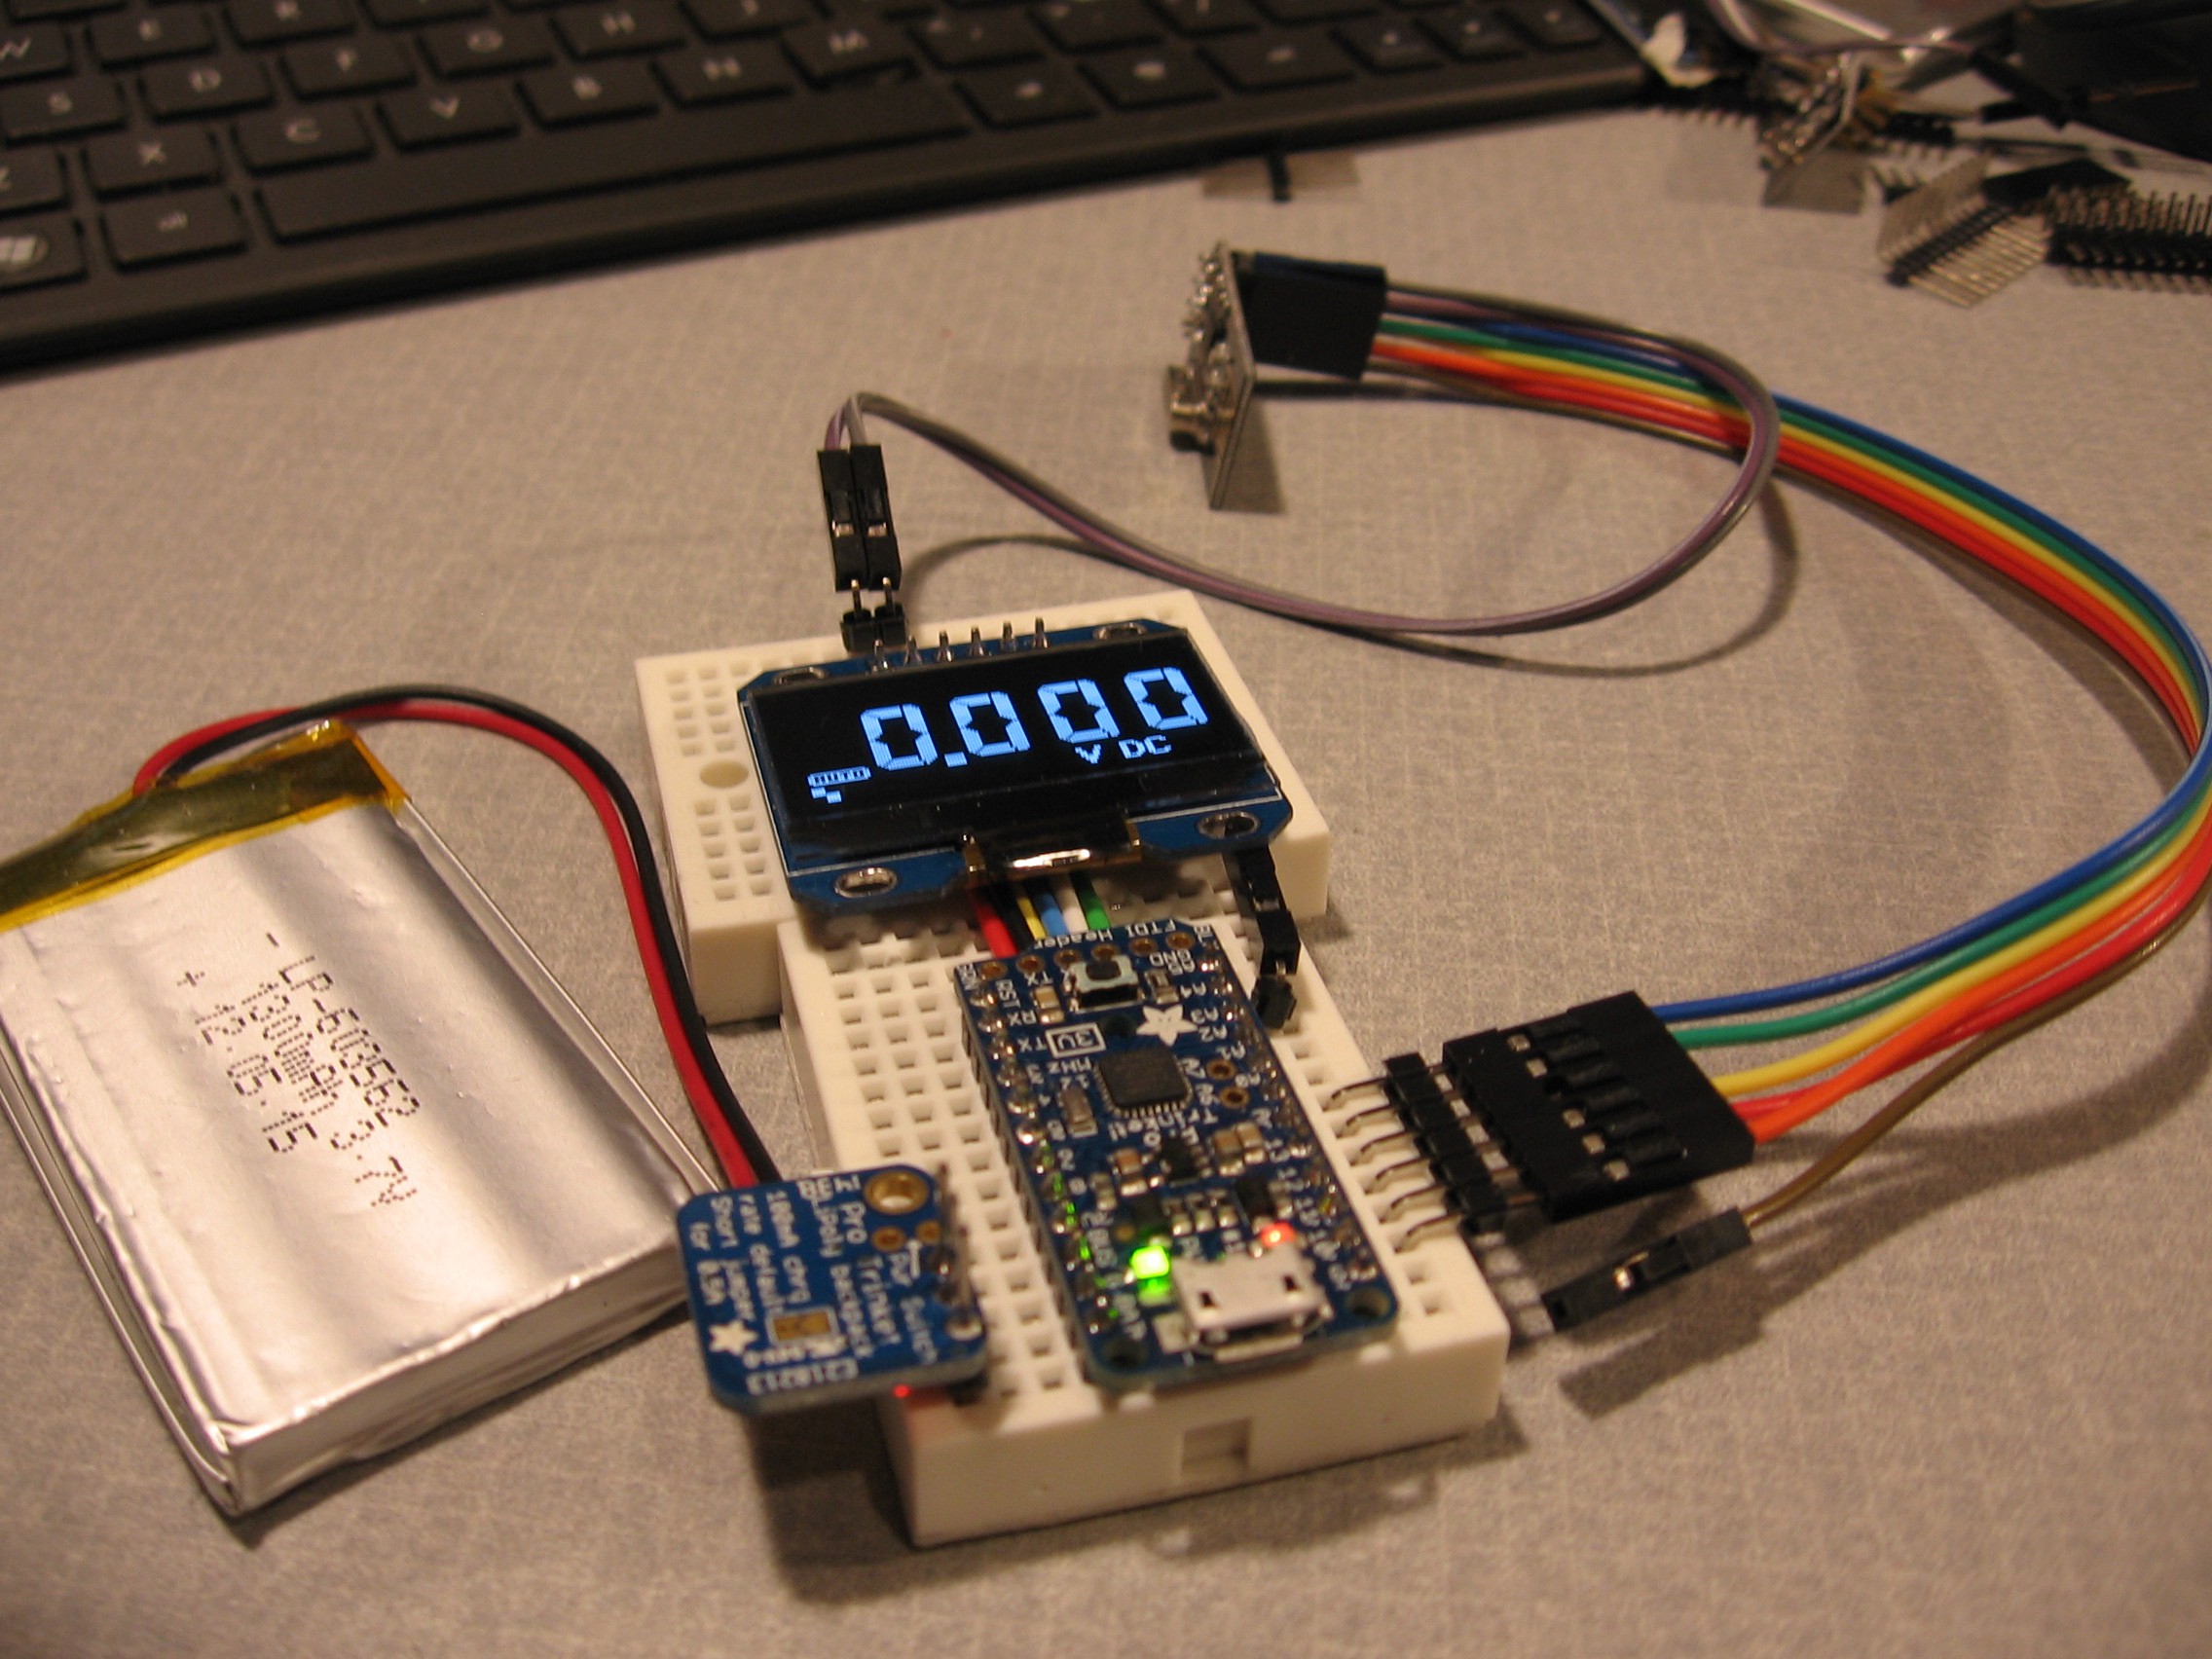
    I've decided to just put the bread boarded circuit into an Altoids case.

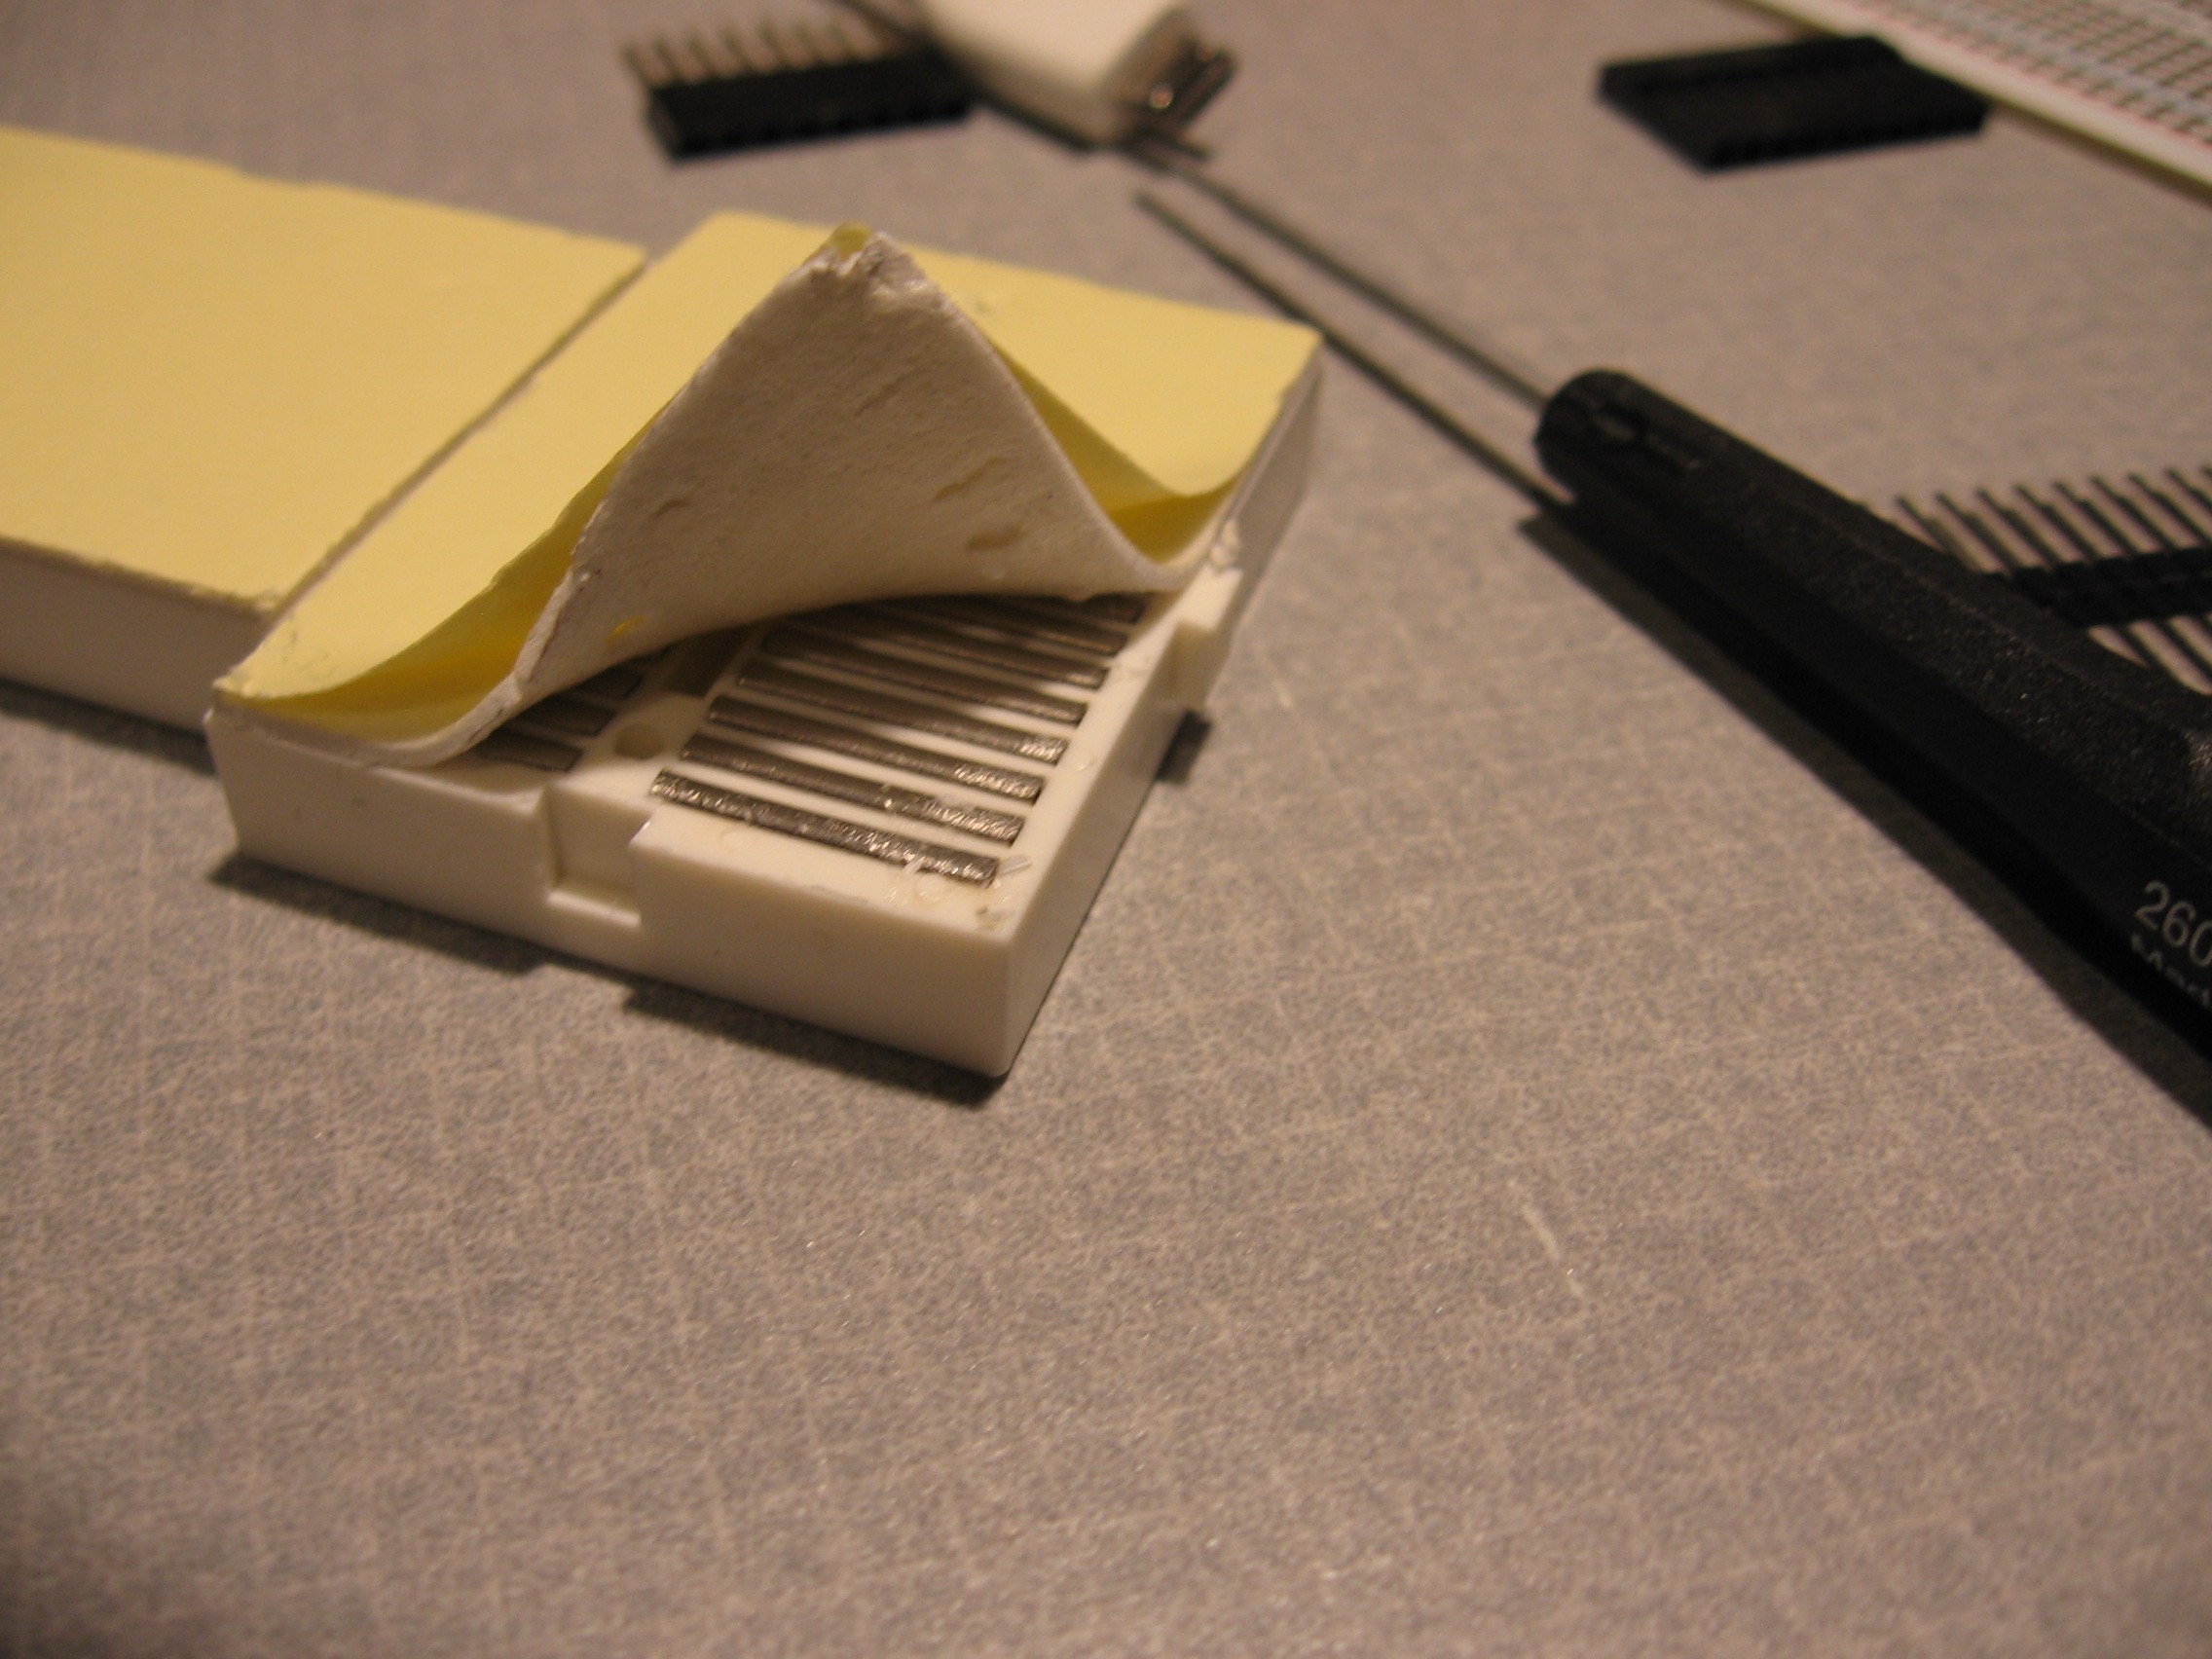
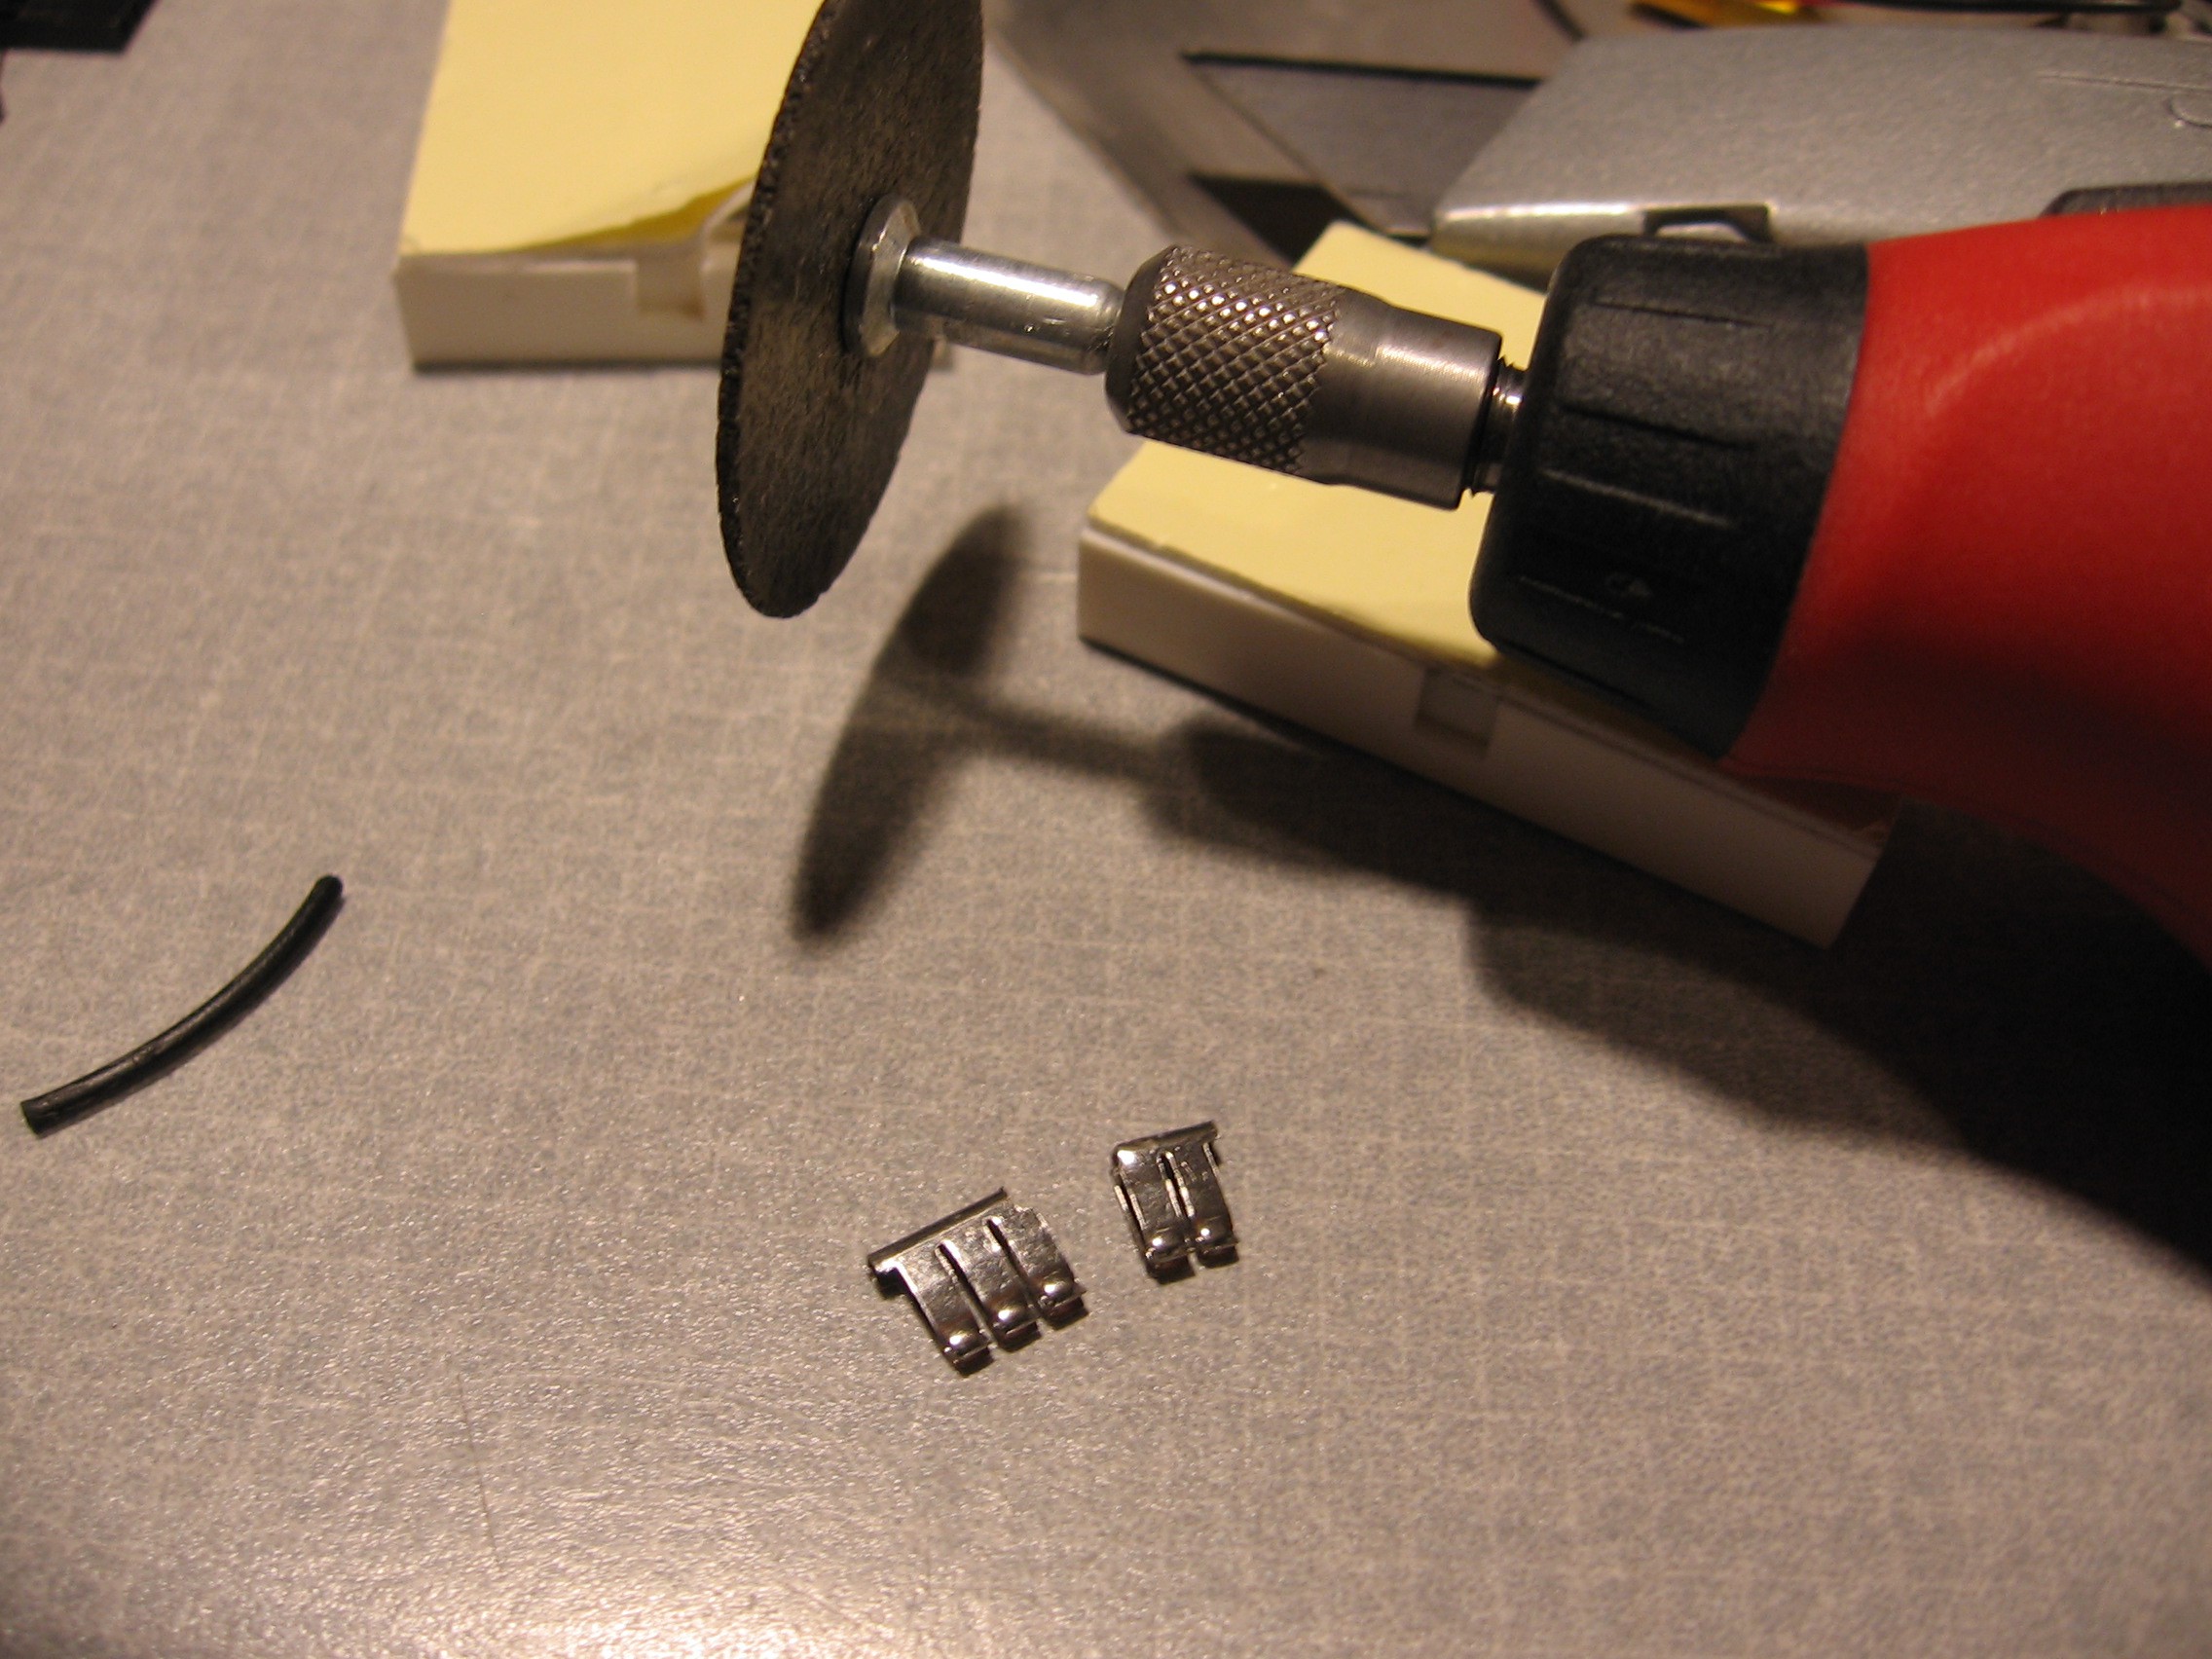
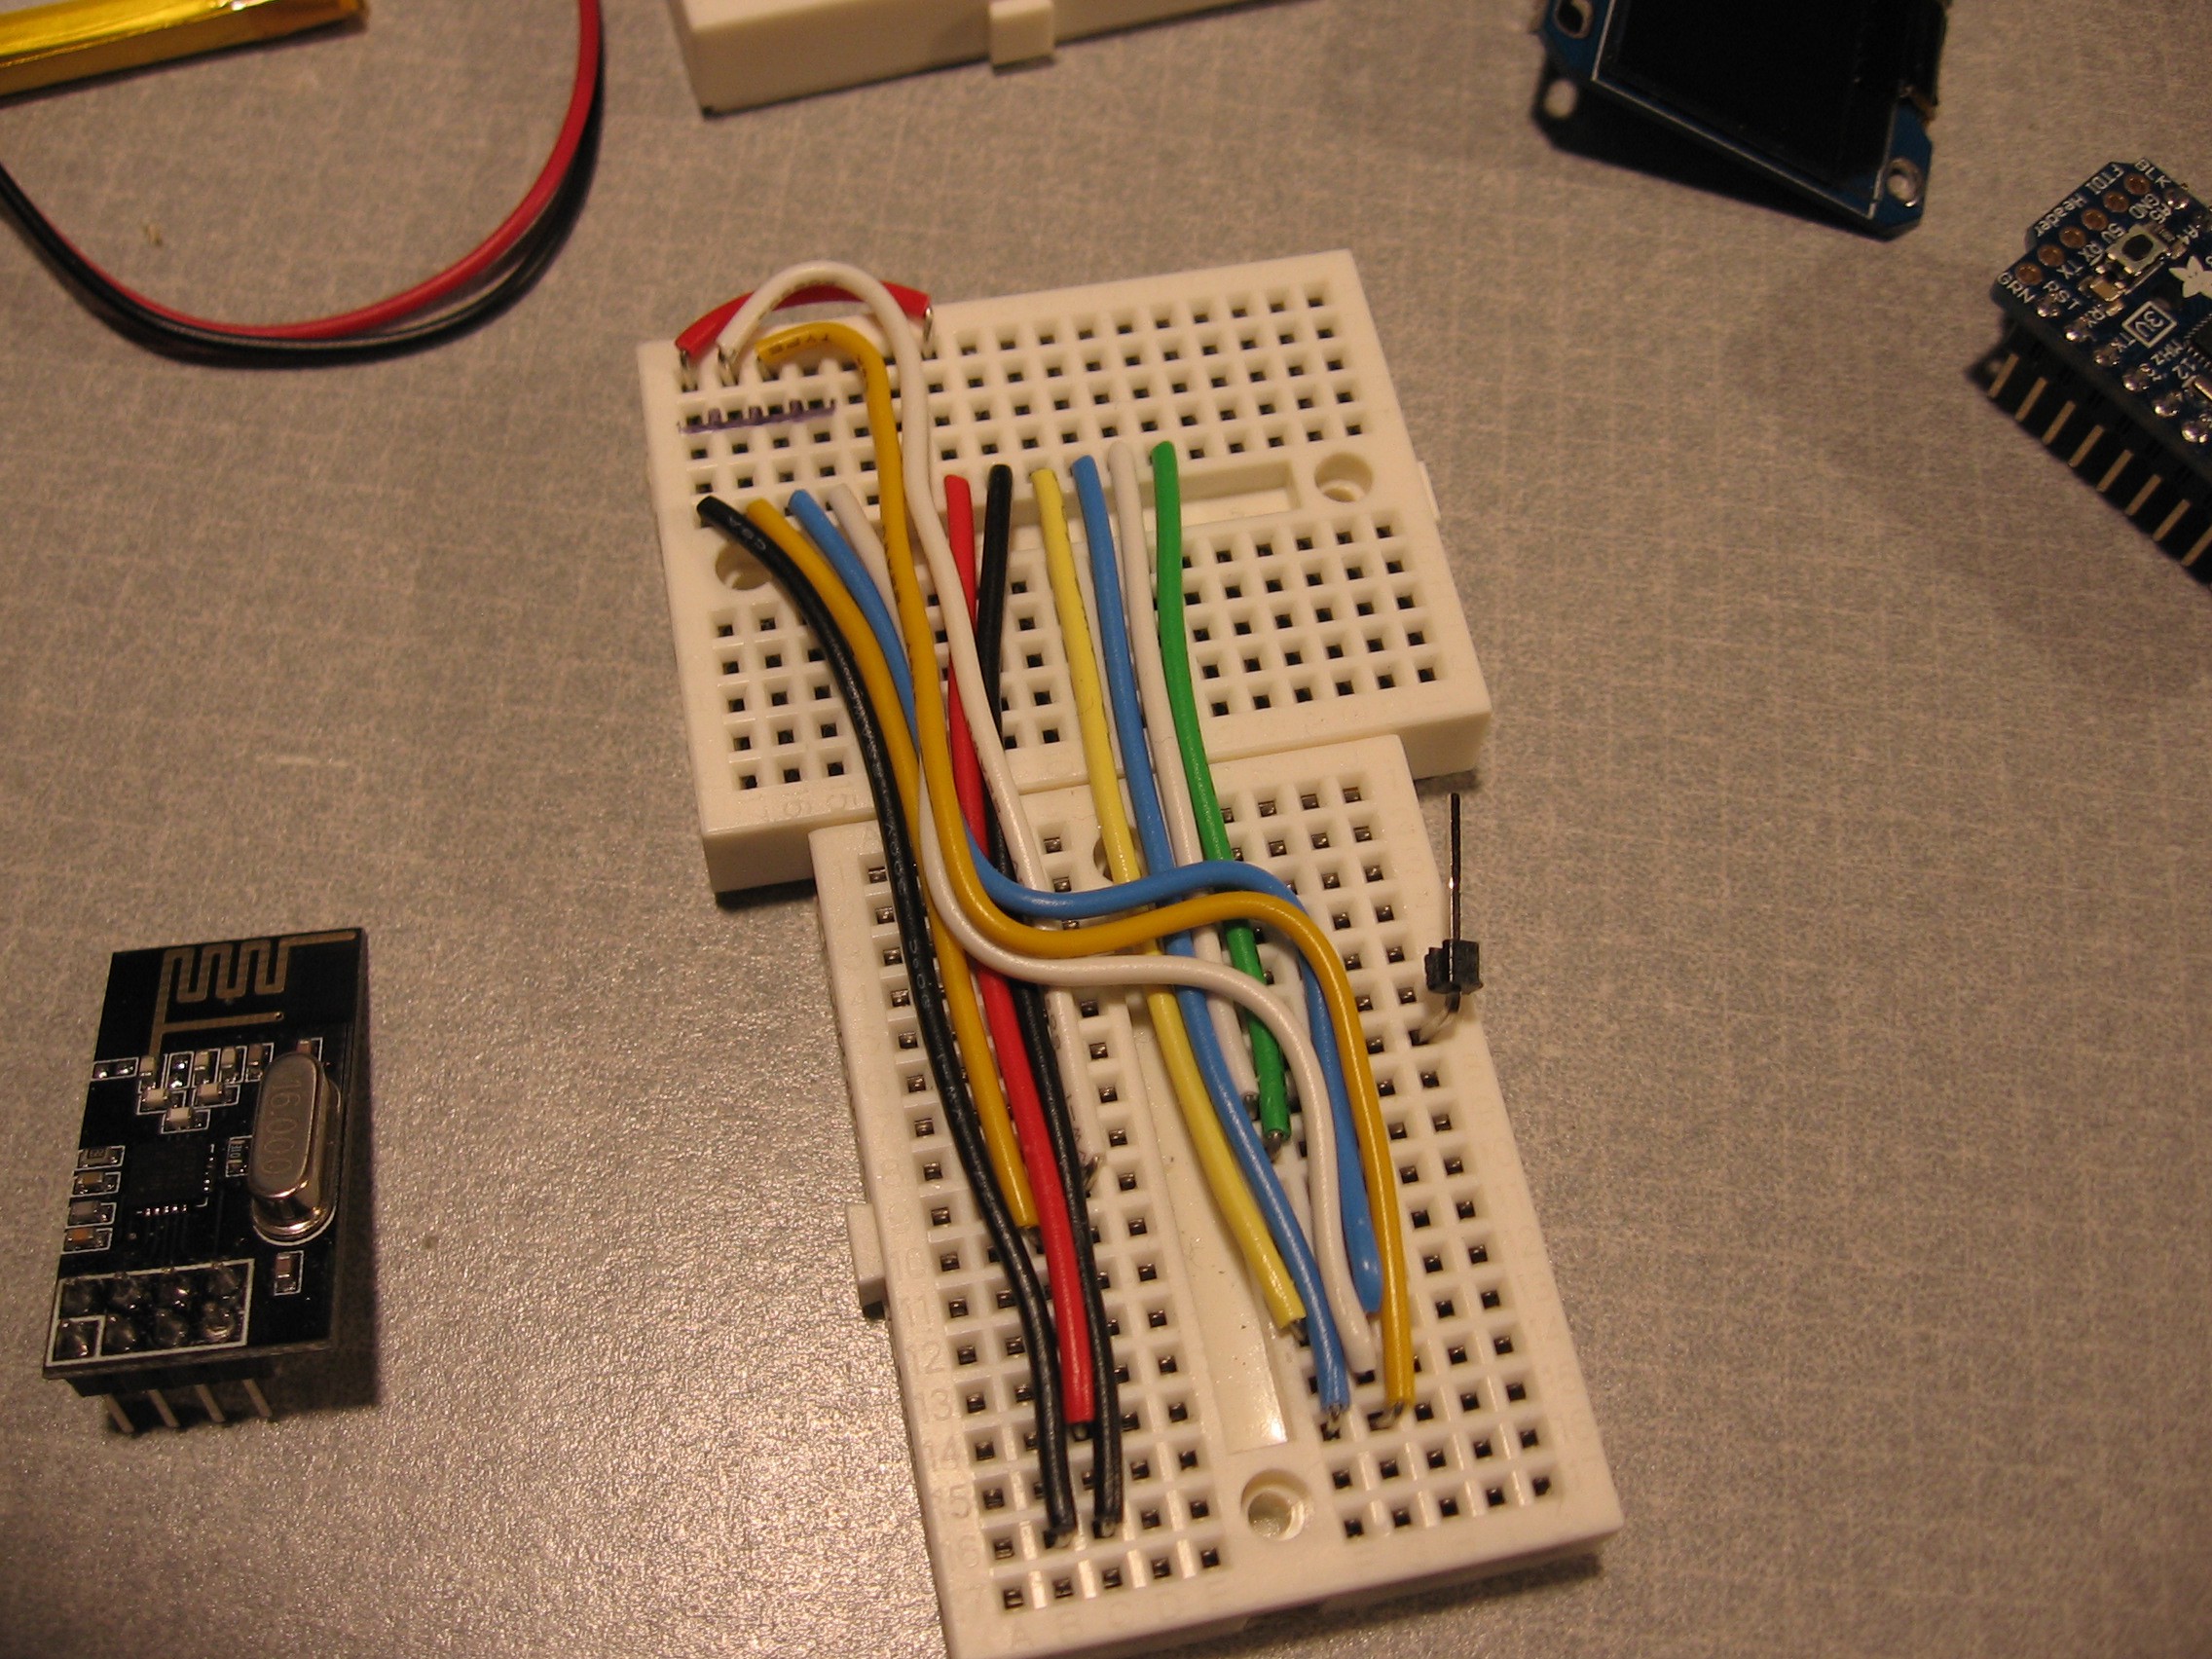
    In order to nicely mount the NRF24L01+ breakout board I did a mod to one of the solderless breadboards. I removed four of the connector strips and cut them in half with my dremmel.

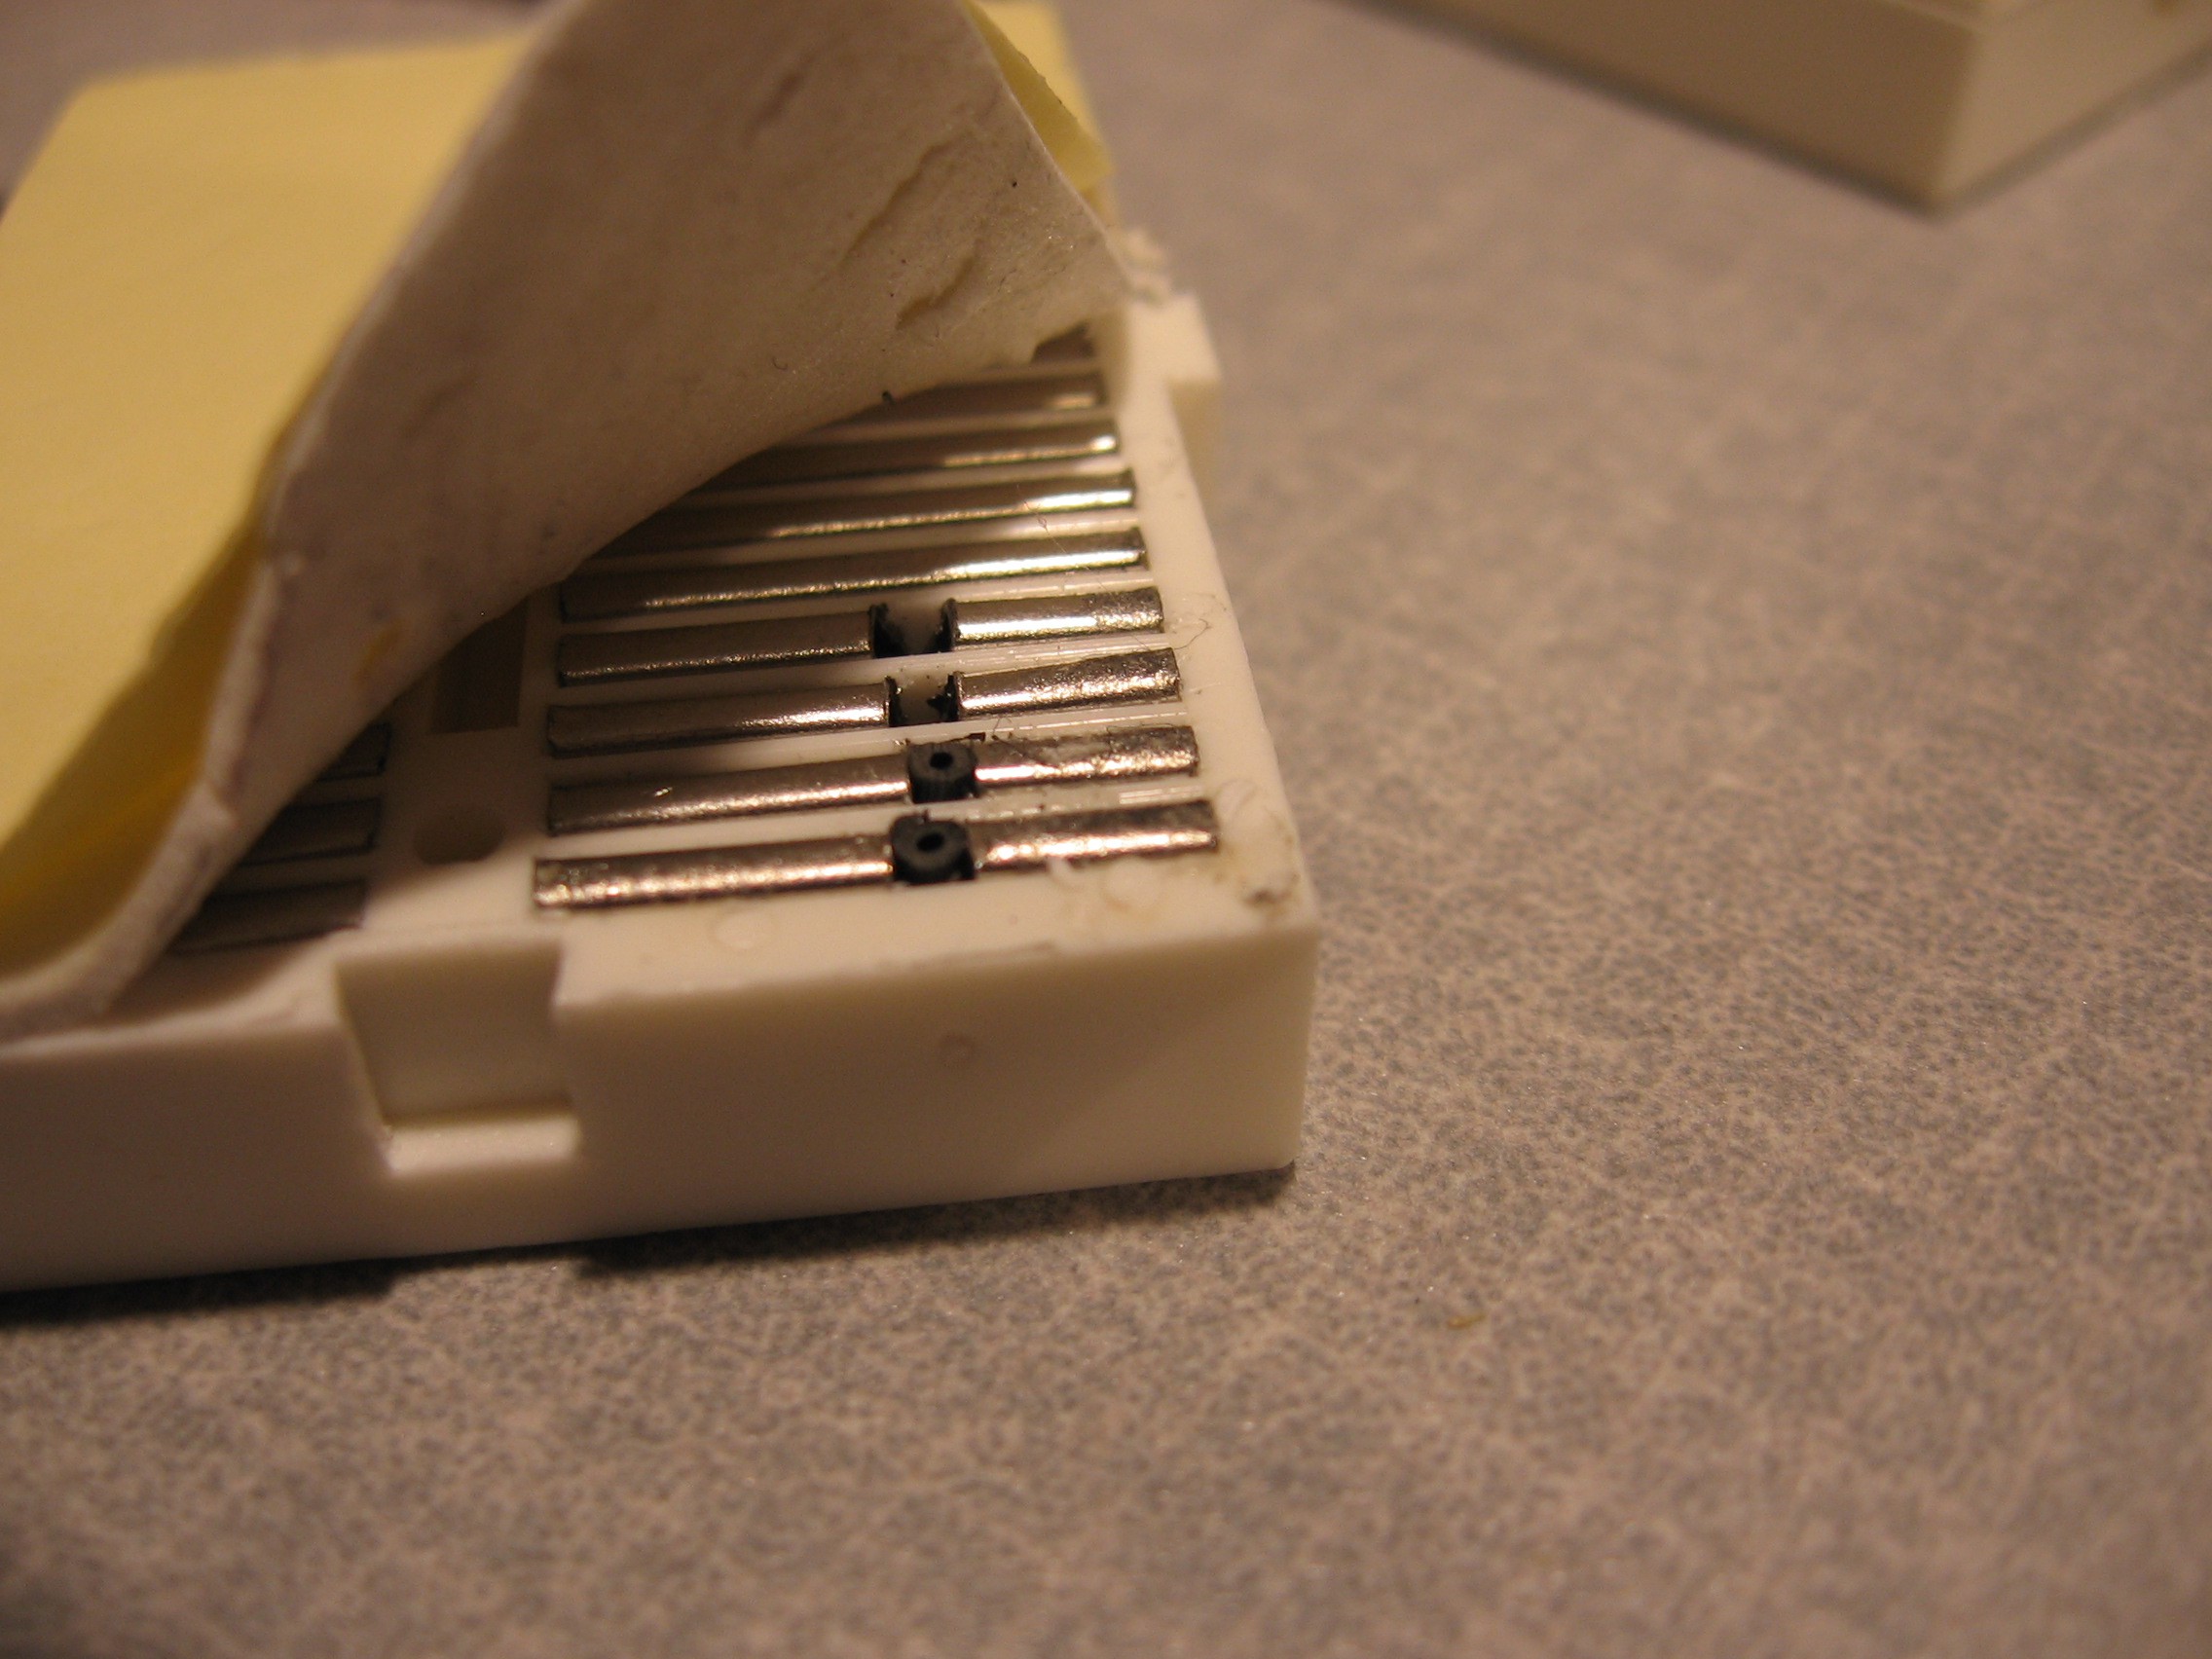
    I used some hookup wire insulation to insulate the broken apart connectors on two of them. I didn't bother with the last two. I found that if you put too long of a piece of insulating material the spring connecters don't work very well, better just to leave an air gap.

    Here's a pic with only the wires.

  • 128x64 OLED display unit

    Ken Kaarvik12/06/2014 at 03:26 0 comments

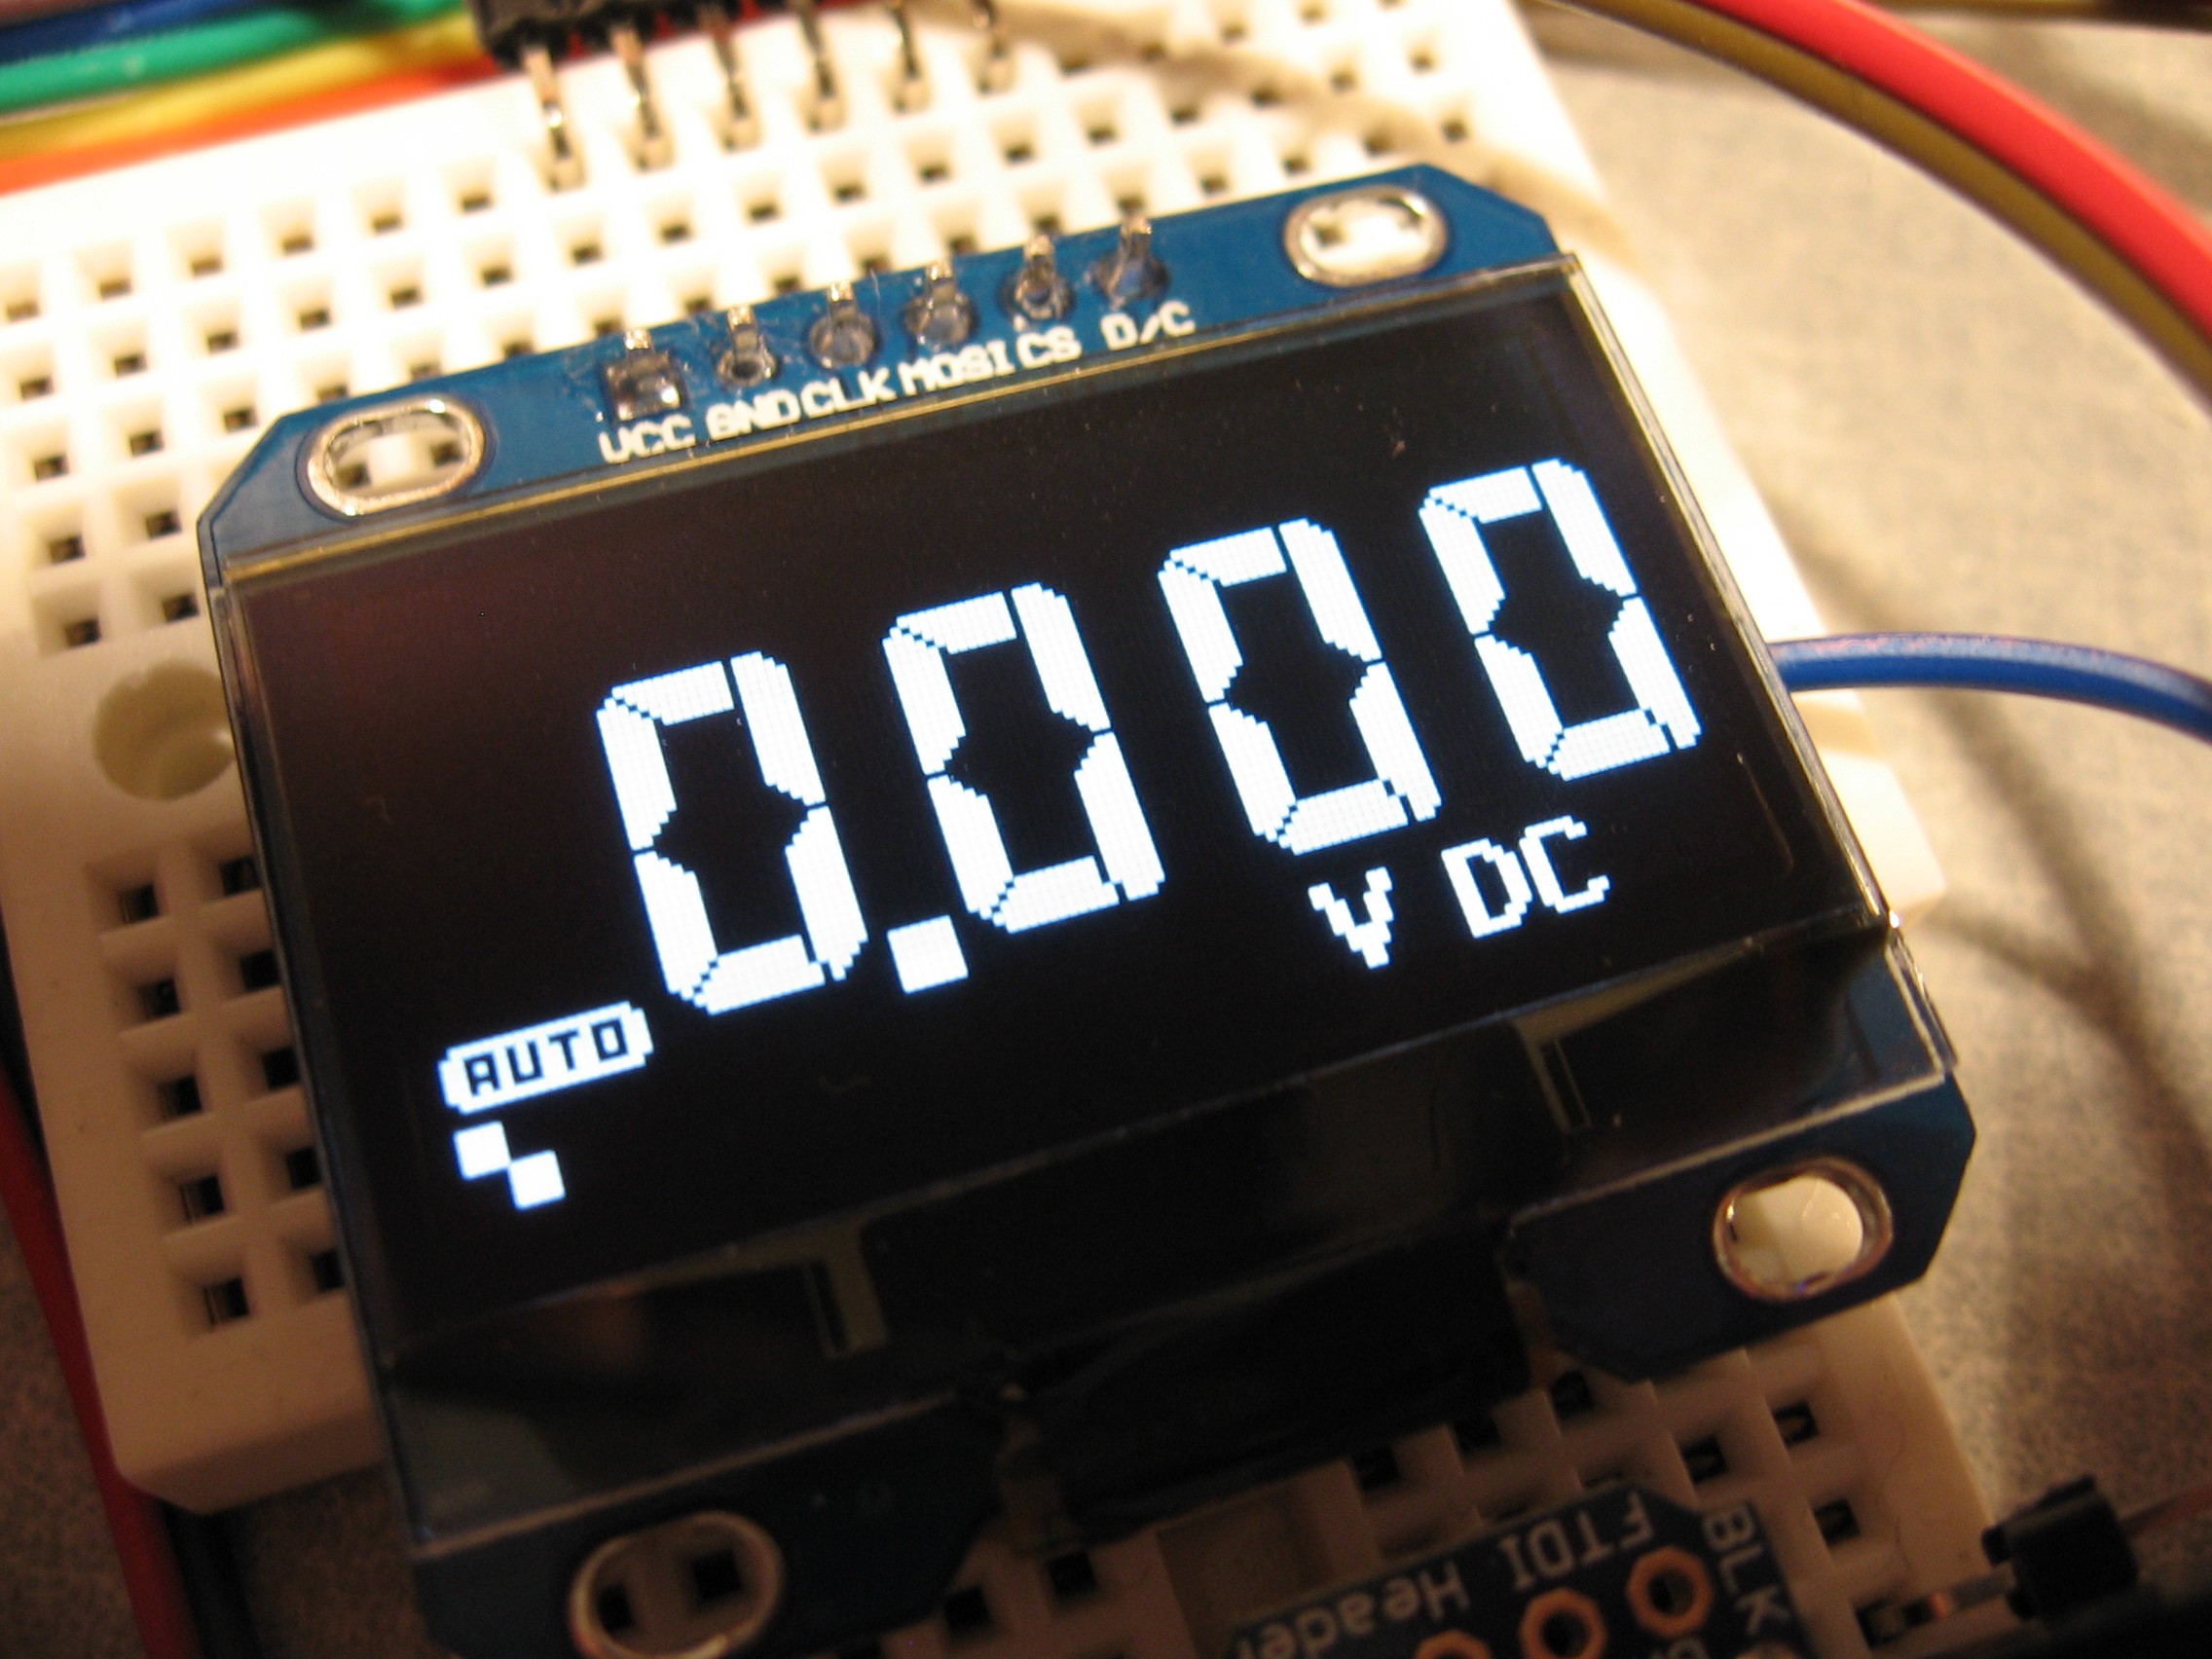
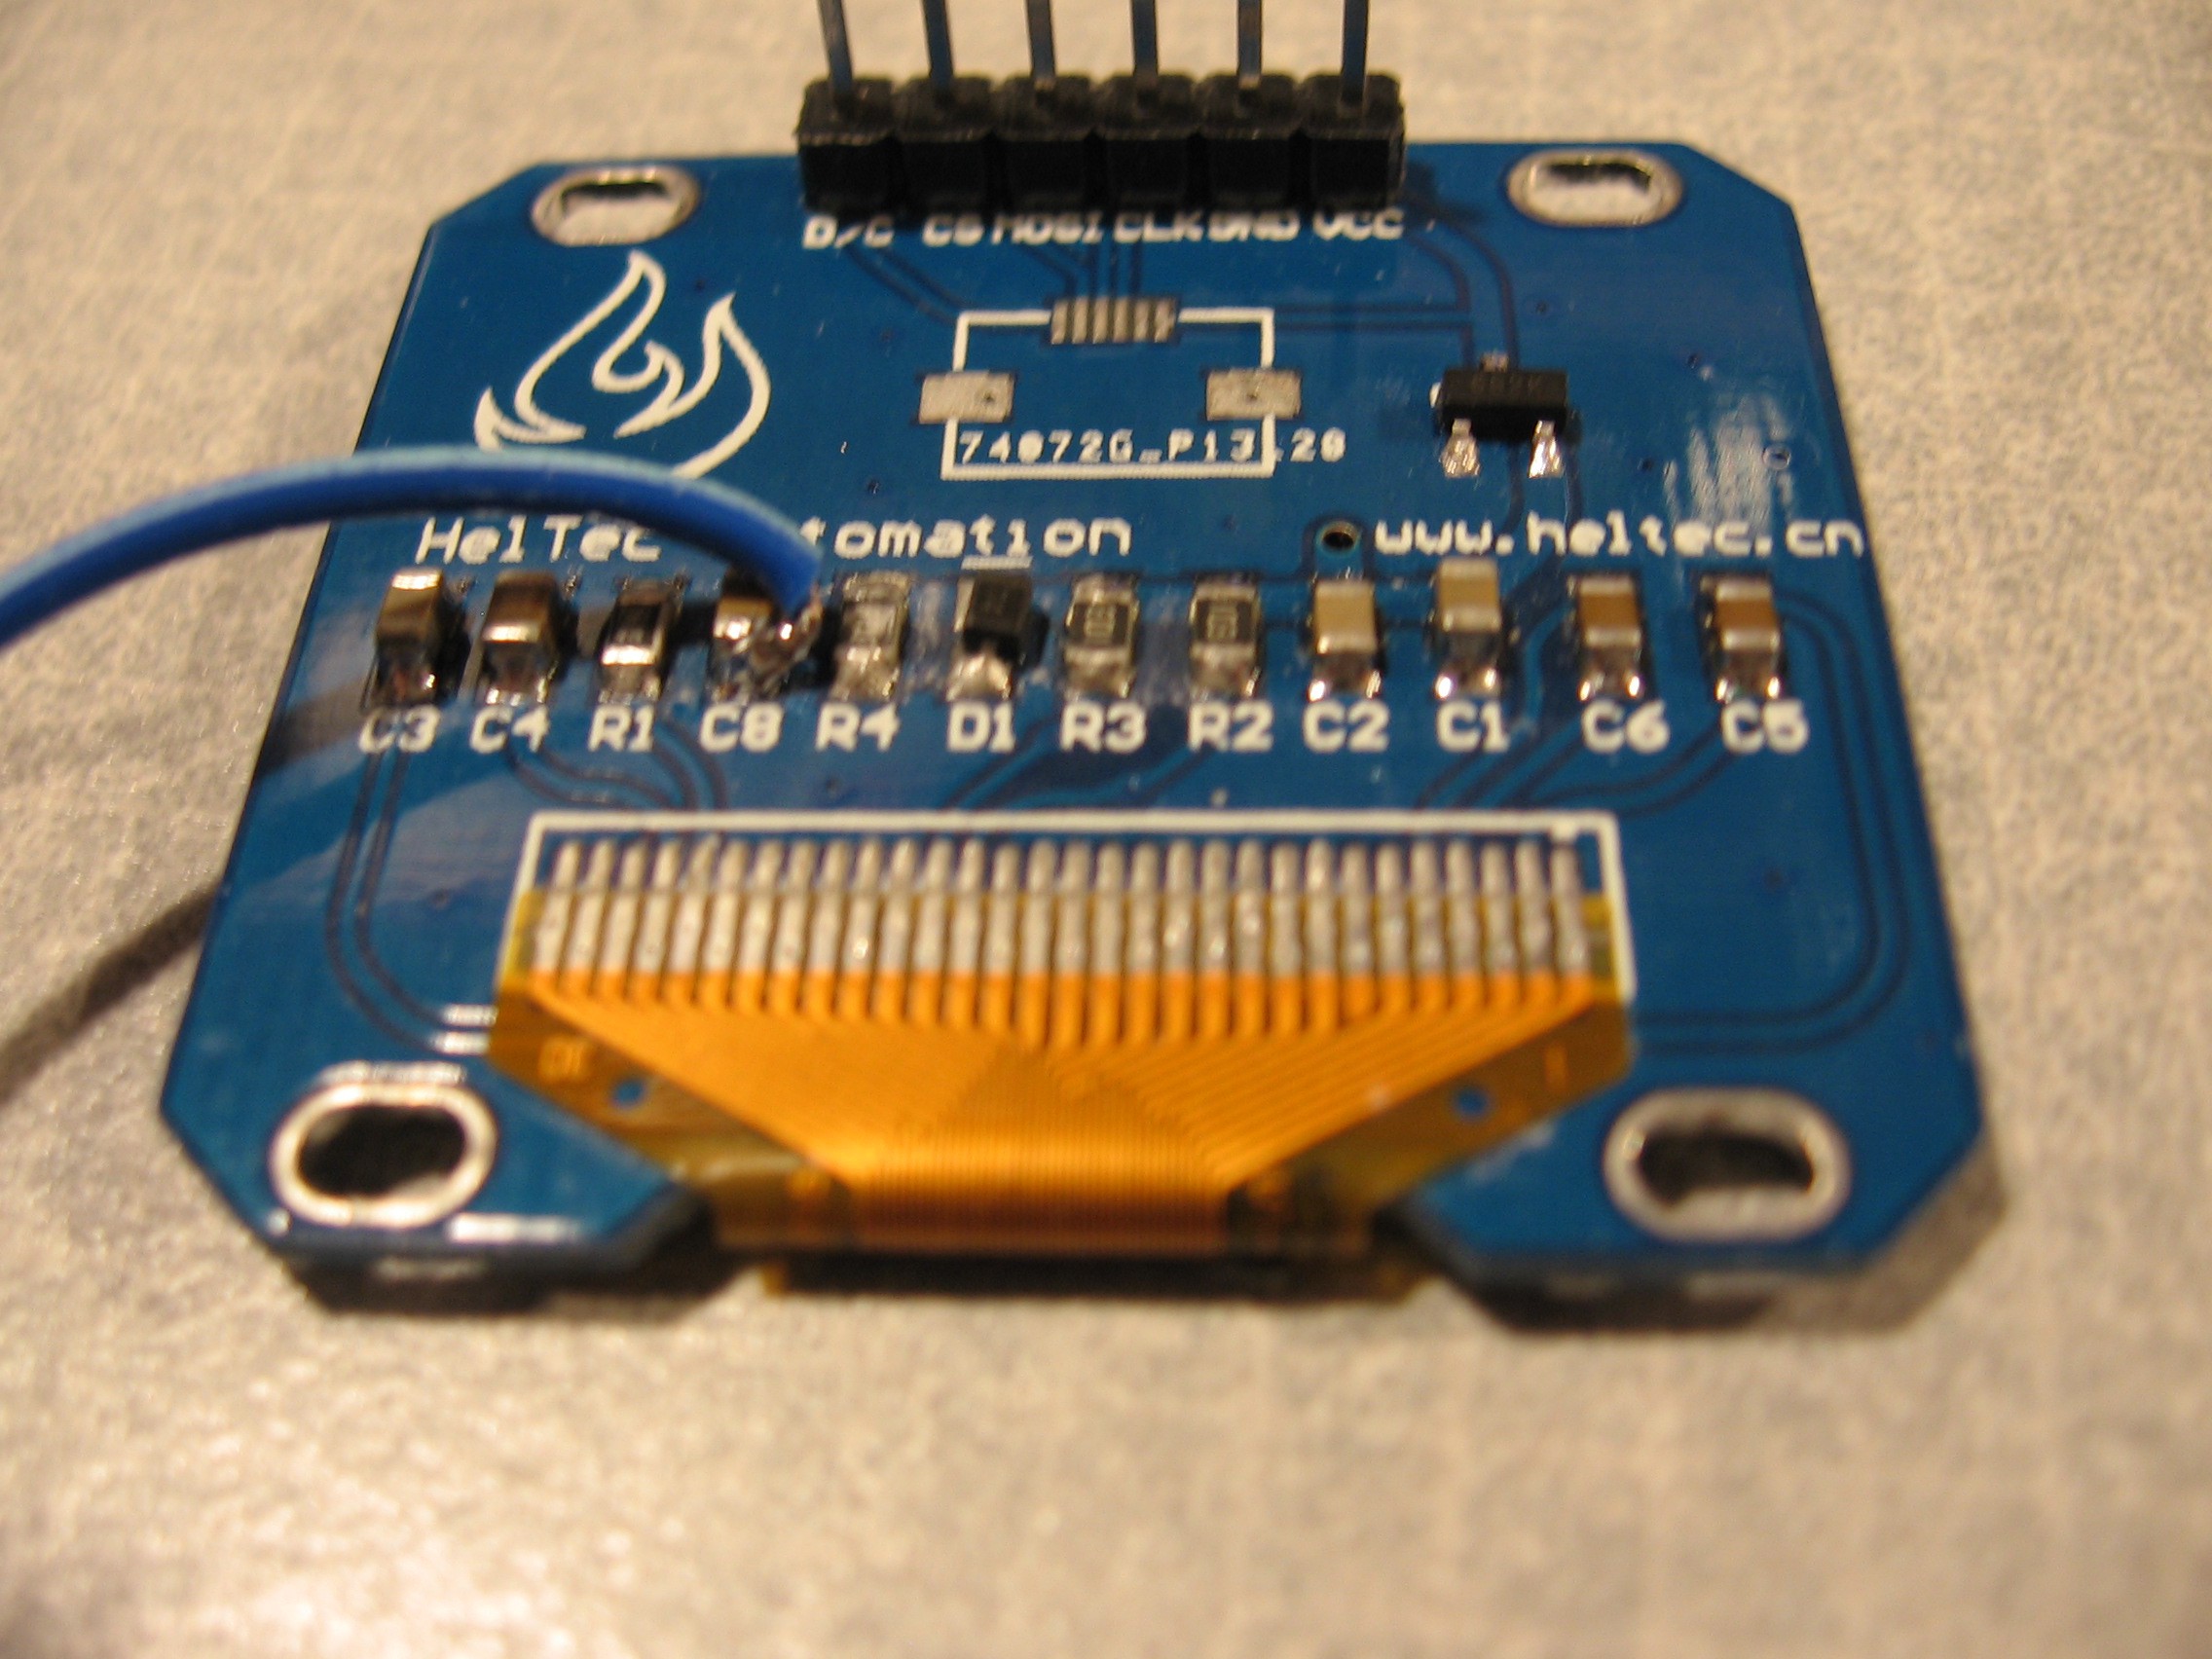
    I've got my trinket talking to my SSD1306 128x64 OLED display. My code needs to reset the OLED upon start up but the reset pin wasn't broken out on the cheap Ebay special, nothing that a bodge wire couldn't fix.

    I've got the bread boarded up circuit almost fitting into an Altoids case. Trying to figure out how to assemble this thing permanently, almost tempted to just stick the bread boards into the Altoids case. I like how the bread boards that I'm using snap together in either orientation.

  • Trinkets arrived

    Ken Kaarvik12/05/2014 at 01:51 0 comments

    My trinkets arrived so I just had to try out a couple of things that I had running on an 8MHz mini pro clone.

    My transmit unit uses the softseral function but won't work on my 12 MHz trinket. I guess I'll use hardware serial.

    My code that boots up a GameBoy Advance works with no modification. I'm also working on a display unit that will be more "pocketable". I'll probably have a couple of different versions with different displays.

  • Trinkets ordered

    Ken Kaarvik12/03/2014 at 00:13 0 comments

    Trinkets ordered. Ordered a couple of trinkets from Adafruit, also picked out nice looking 1.3" SHARP Memory LCD display. I have a couple of other cheaper LCDs on hand that also would be suitable. I'm planning on using a couple of nRF24L01+ modules for the wireless connection.

View all 7 project logs

Enjoy this project?

Share

Discussions

atax112 wrote 11/05/2023 at 16:44 point

Great idea!

I would love to get remote readings from my meter, because of small space I cannot have every tool in front of me when needed.

I have a Mastech MS8268 with a Silan SC 9711 SOC inside.
According to the datasheets of both SOCs, they have matching pins of 84/ENTX and 64/TXD.

Would it be possible to  do the project with my meter? ( I assume yes)

I have a hard time finding available Trinket Pros , I think a seeeduino-xiao-samd21 would be a suitable replacement looking at the pinout.

Edit: I have a few pro micros laying around, larger footprint than a seeeduino, still need to get the nRF24L01+ boards though...

Where can I find the code though? "Everything zipped" link is broken.

Edit2: Found the contest files navigating your site. 

Thank you.

  Are you sure? yes | no

Dom wrote 01/07/2015 at 12:48 point

Beautiful, reminds me of those and rubbish GameBoy oscilloscopes.


Except this has a real cool and sensible application!

  Are you sure? yes | no

Similar Projects

Does this project spark your interest?

Become a member to follow this project and never miss any updates