-
1Step 1
Preparation
The shelf rail is used to create an U-formed frame (as handle) and the legs.
Mark 150cm shelf rail at 50, 100 and 150cm (two U frames and 4 legs). Dor the center segment, add marks at 12.5cm, 25cm and 37.5cm (4 equal parts - legs). For the two other segments add marks at approx 17cm from each end.
The numbers depend on the LED light used...
Do NOT cut the shelf rail now, as the additional segments are used as lever to bend the shelf rail.
-
2Step 2
"U" frame
Method a) just use a vice
method b) bend the shelf rail in three steps:
b1) put the shelf rail on the table edge and firmly bend it to mark the location
b2) put the shelf rail on the floor, put a chair on top and sit on it, bend the shelf rail as far as possible towards 90°.
![]()
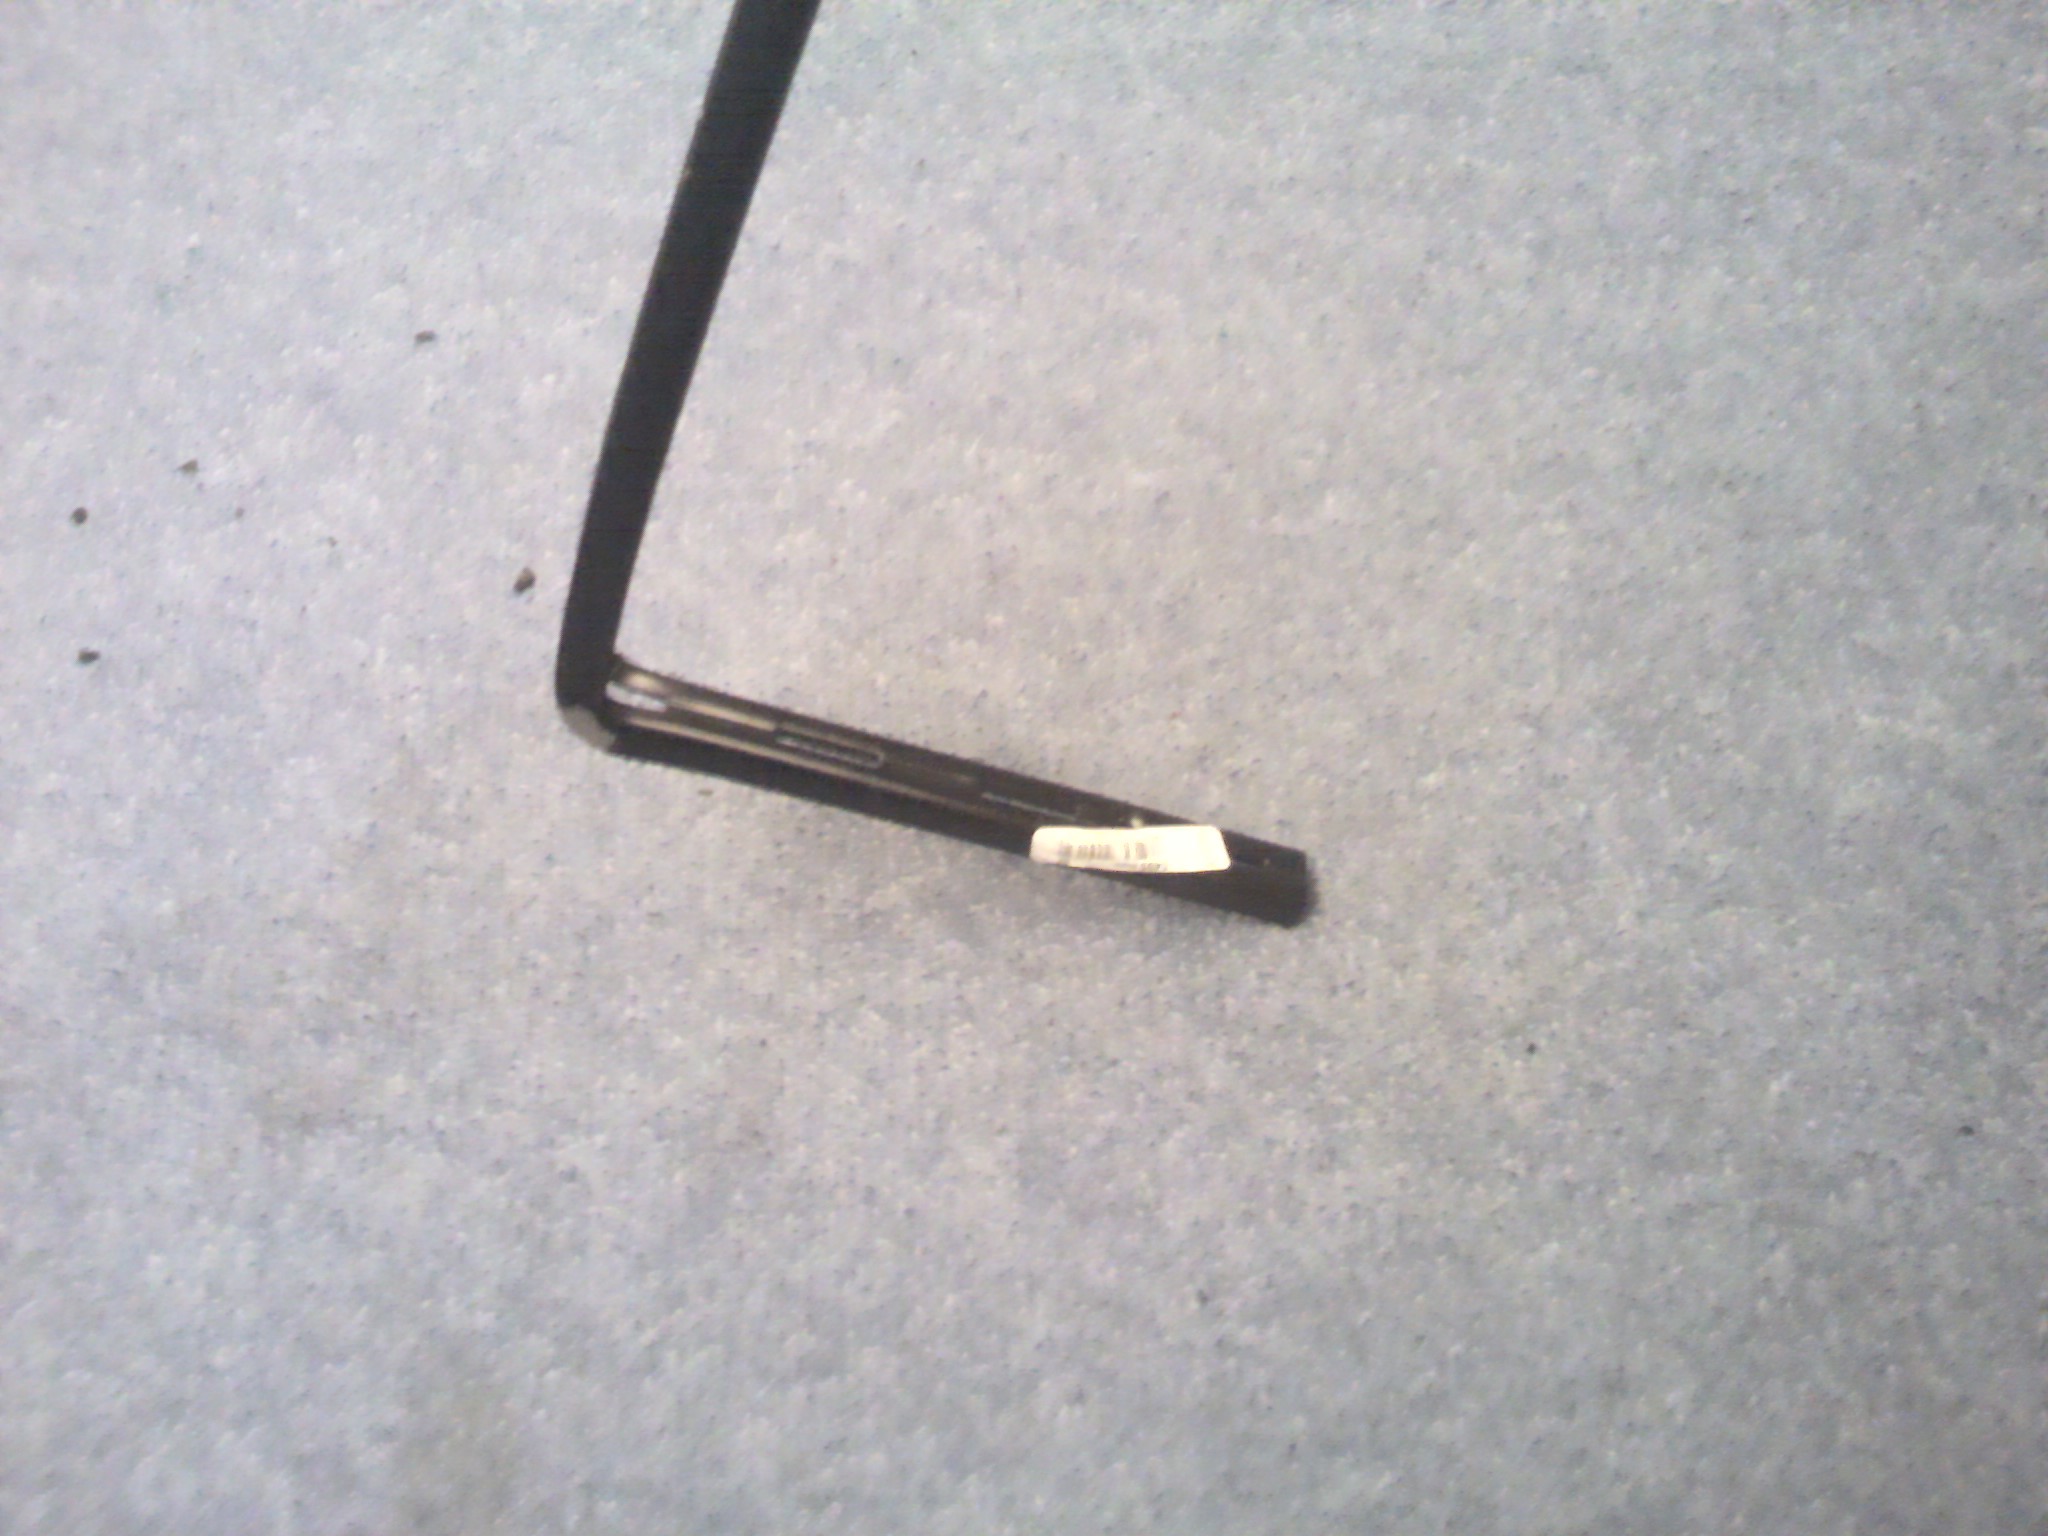
b3) apply force to bend it to 90°
![]()
-
3Step 3
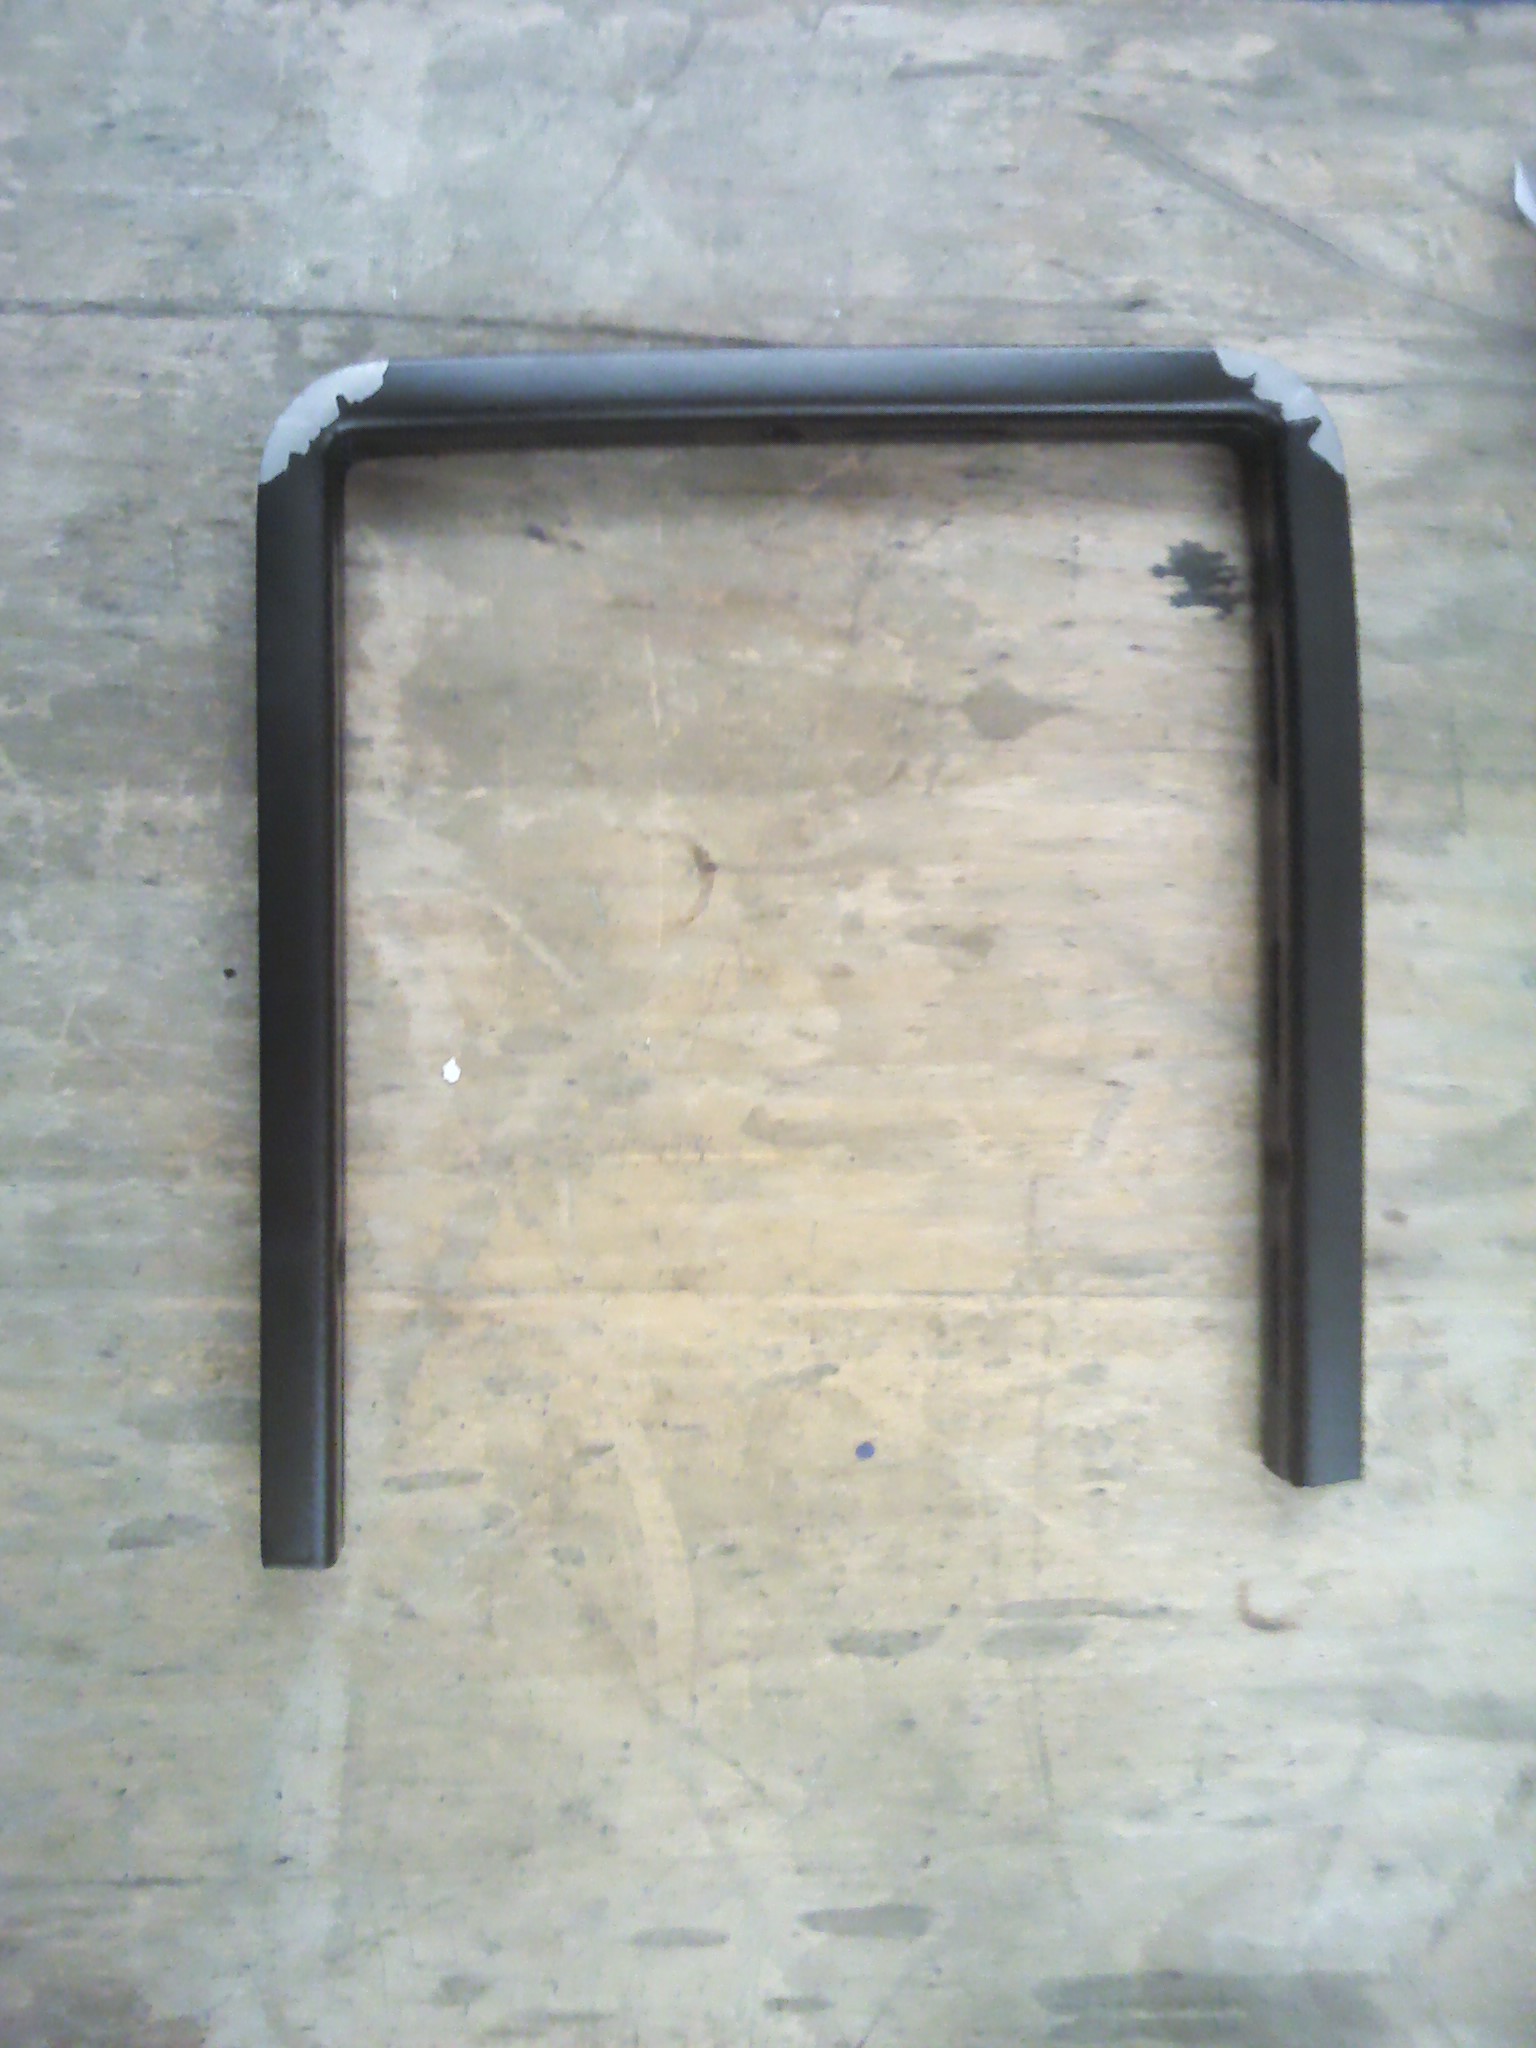
repeat for other 17cm part and cut after first 50cm:
![]()
-
4Step 4
repeat previous steps for other end of shelf rail to create 2nd U frame
-
5Step 5
Legs
cut remaining shelf rail (50cm) into 4 equal length parts to create the stands
-
6Step 6
prelim. assembly
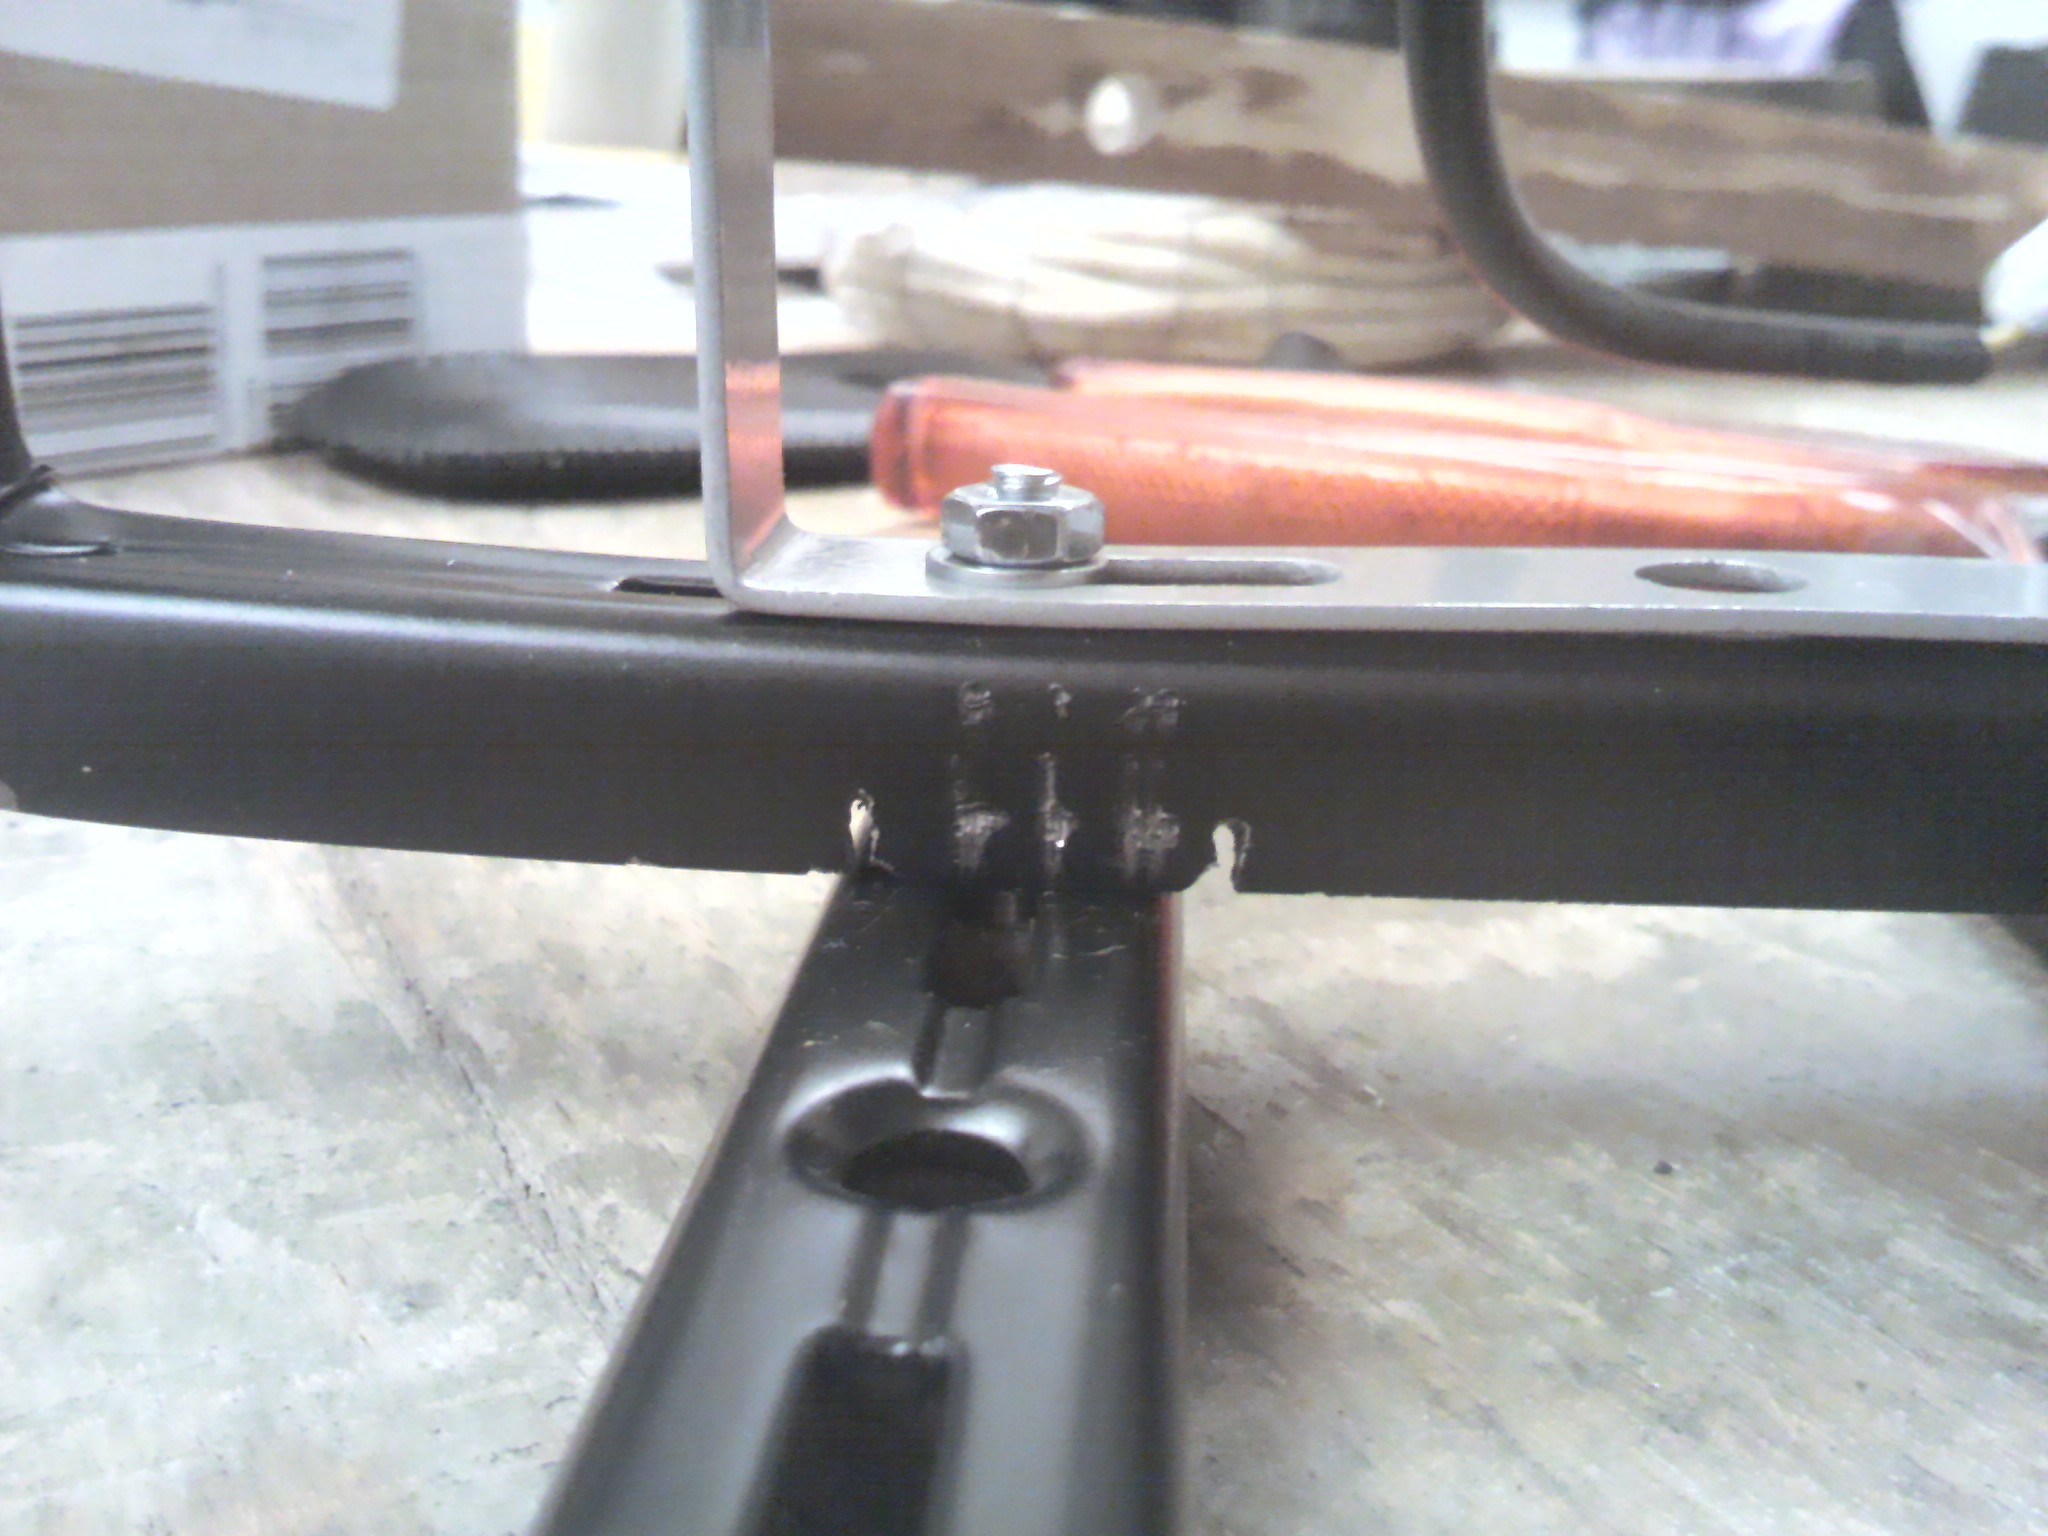
Screw light in place with bolts, washers and nuts. Cut a small piece away from the U frame ( not done 100% in the pic) to prevent legs from rotating:
![]()
-
7Step 7
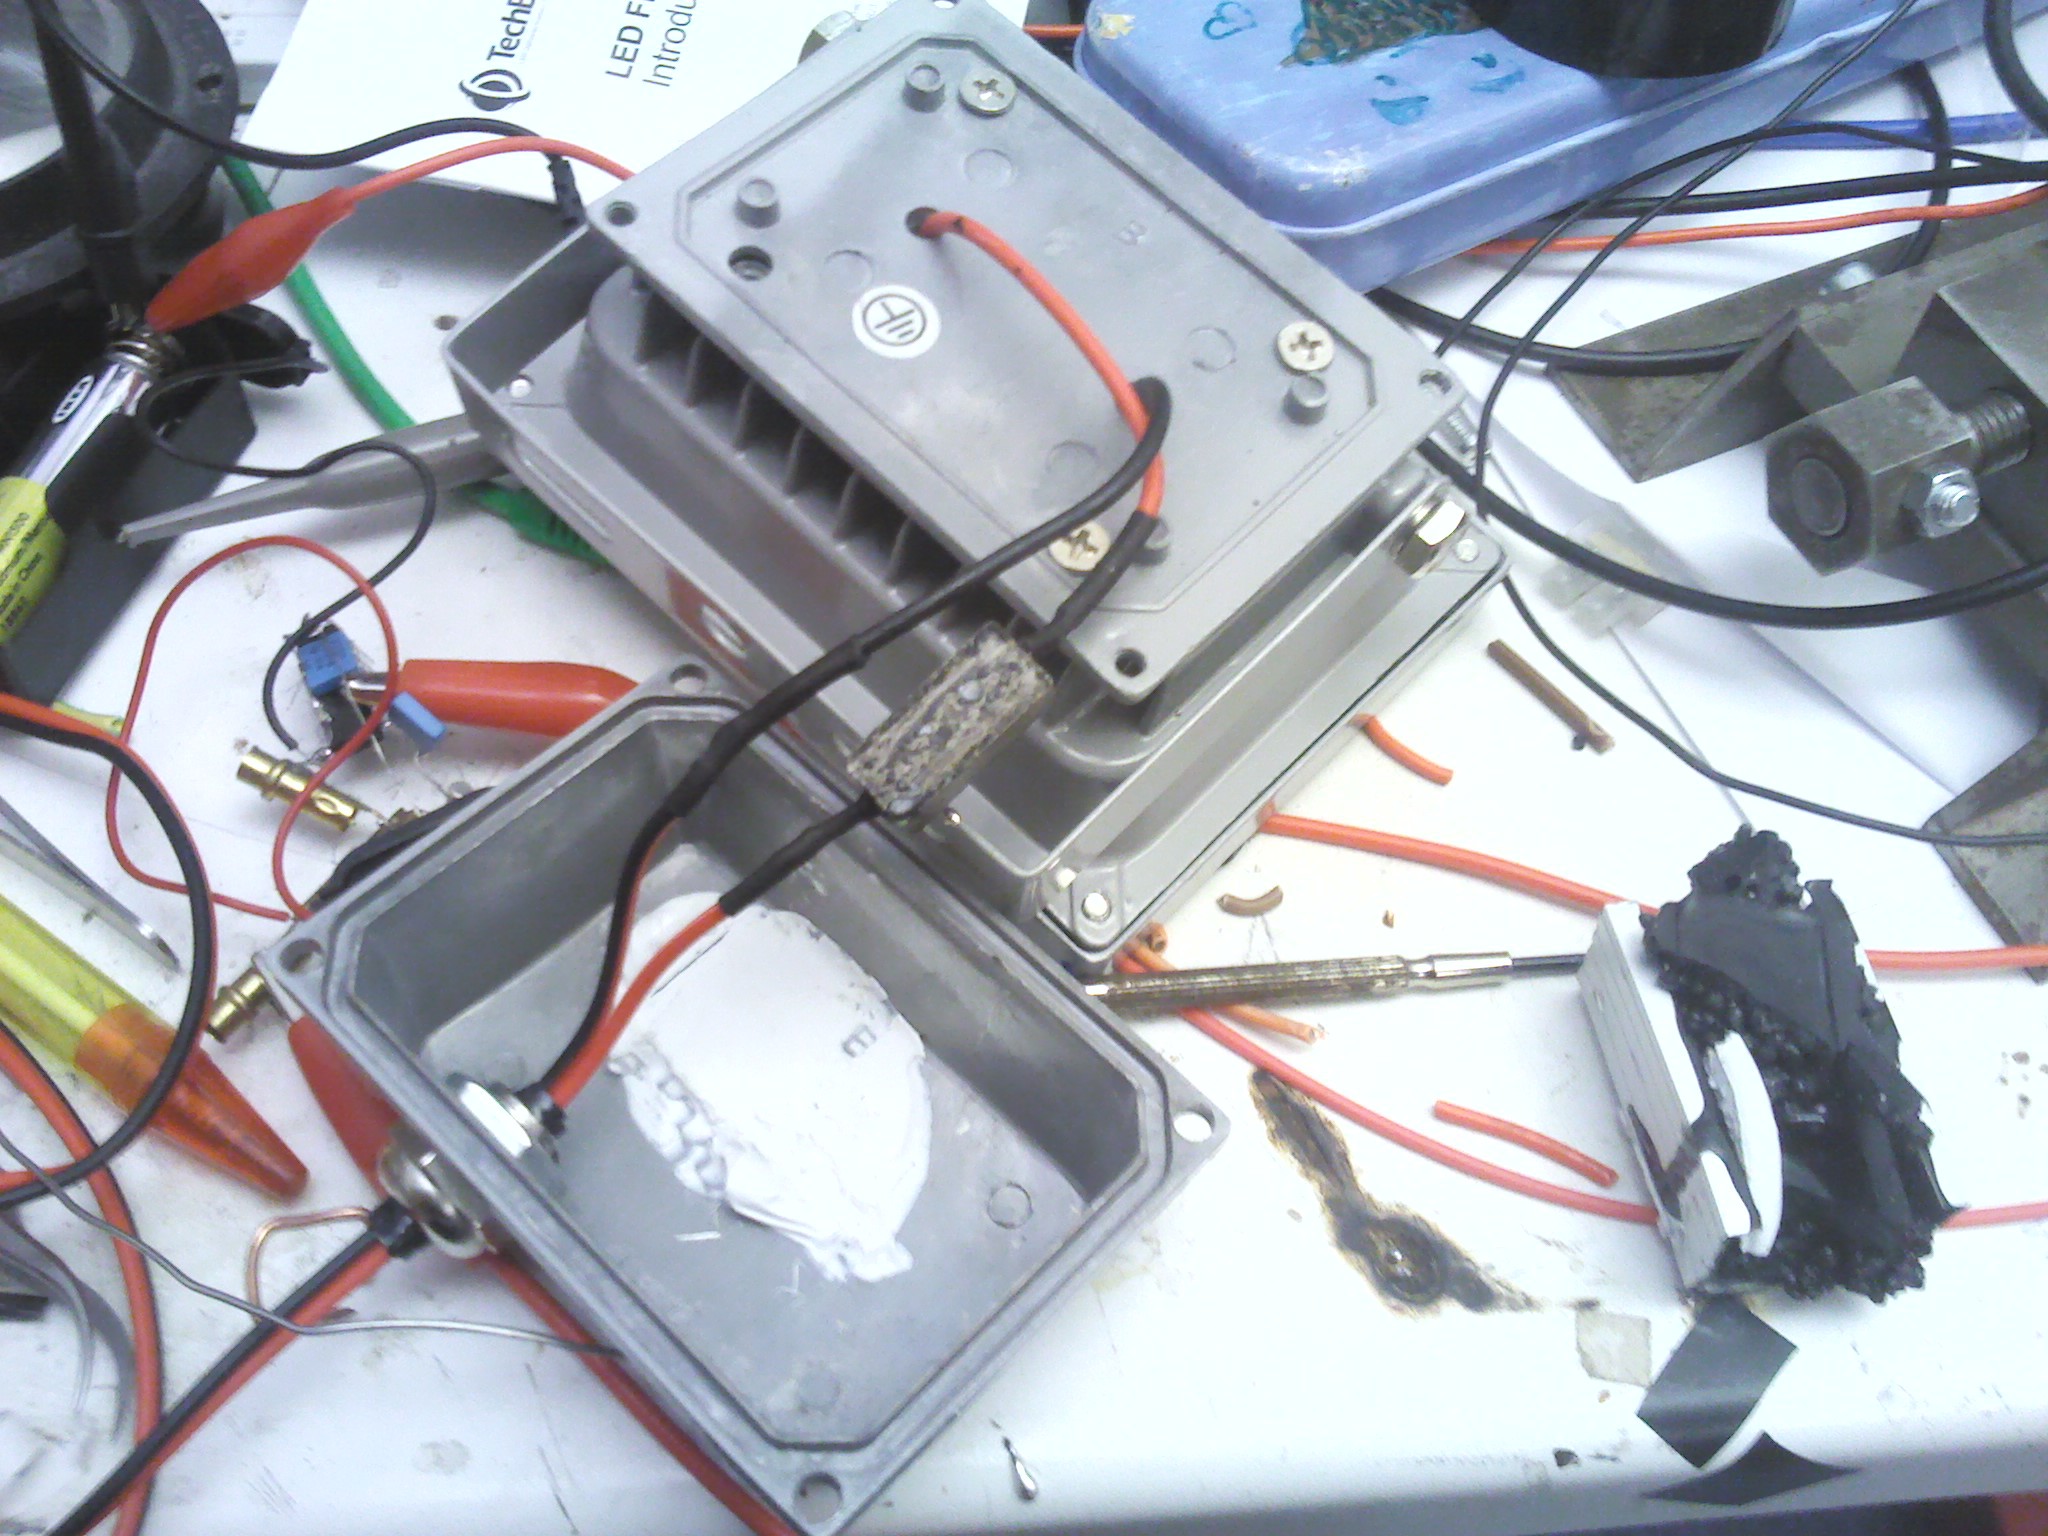
Disassemble LED light / attach power cord / reassemble
![]()
yep, they used a 2 Ohm resistor as "constant" current source...
-
8Step 8
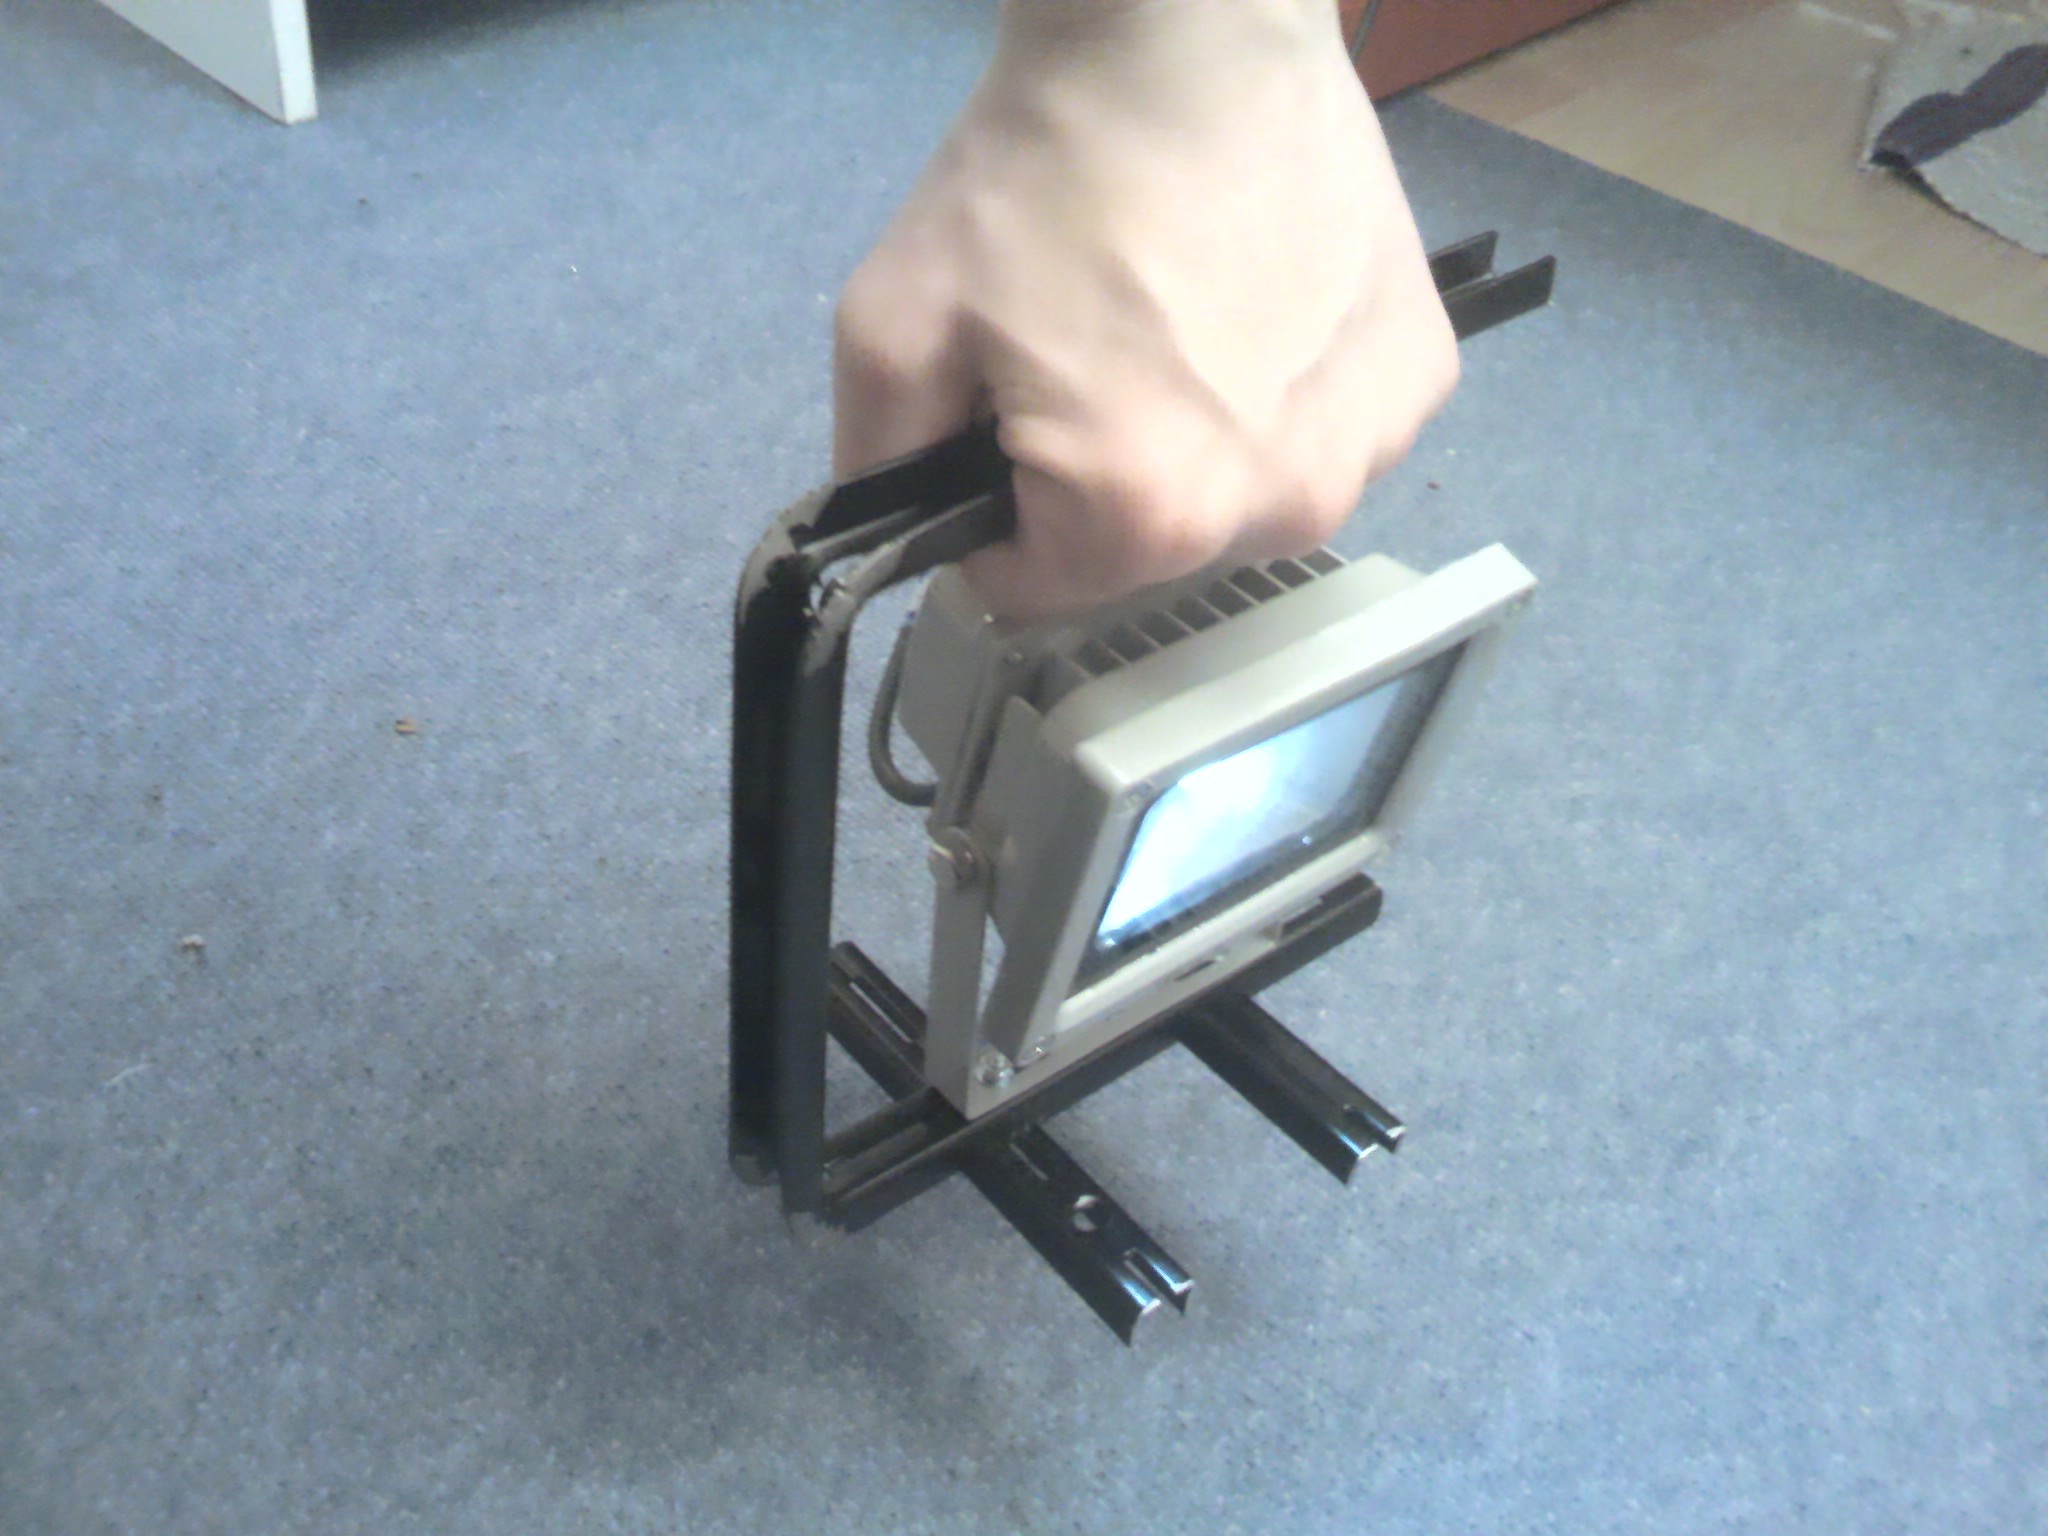
Done :)
![]()
 rawe
rawe
Discussions
Become a Hackaday.io Member
Create an account to leave a comment. Already have an account? Log In.