-
Resuming work
07/08/2016 at 19:27 • 0 commentsI mentioned in a previous post that I would be taking a break from this project until sometime this summer. Well it's summer now, I'm in Canada, and I have the necessary time to resume development. I have started programming just a couple weeks ago, and now have something worth showing. It's a basic demo of audio wirelessly streaming from my phone over bluetooth to the carbt, and then over FM radio, working almost automatically.
Starting fresh is the reason why it took so long to reach this point again. With all the changes made to Raspbian, Pulseaudio, and Bluez, I could not transfer much work from previous prototypes. Fortunately, the changes they made to Raspbian Jessie made the process just a bit less painful. I loosely followed this guide to get bluetooth audio working, and added my own fixes and performance adjustments.
Of course, none of this goes without any problems. Audio playback quality in the car was terrible, and only coming from a single side. At first I thought Pulseaudio or alsa was stuck in some kind of mono mode, but they did not report any problems and no experimental changes helped. Playback on a portable radio did sound better, but was still only coming out of one speaker. This sort of narrowed the problem down to the FM transmitter. Fm transmitter settings are easier to change, so I started there.
Older FM playback tests sounded fine besides a high pitched whine in the background, which is the result of an incorrect crystal frequency setting. The QN8027 accepts both 12MHZ and 24MHZ crystals, but defaults to 24. I have used the 24 for prototyping, which worked perfectly, but ended up using the 12 because of form-factor availability. I did make sure to test the 12 before to make sure it works, but nothing more. Correcting the crystal setting fixed the noise problem, but apparently created the low quality, mono-only problem.
I decided to research how FM radio stereo transmission works to see if that would get me any leads. Pilot frequencies and MPX gave me something relevant to work off of, so I went back to the QN8027 datasheet to look for anything related. The QN8027 has a setting for adjusting the pilot frequency deviation, called GAIN_TXPLT. Setting that to its minimum fixed the mono problem, and radios will now receive stereo audio from it. However, the audio quality is still bad, so I continued looking for more frequency related settings. The only other relevant setting controls overall transmission frequency deviation. No harm in messing with that, and I'm running out of leads anyways. The first change made everything worse, but after more adjusting, the low quality problem was fixed. Now why did a supported crystal value change make this whole process necessary? Hell if I know. Maybe the crystal I used was way out of spec, or the sad excuse for antenna circuitry made everything terrible to begin with.
The last problem was relatively minor, intermittent, and had to do with USB. All I have been able to determine is that something is wrong with the integrated USB hub, and only the last port will work reliably. It isn't a game breaking problem since I only need one working port, but it is kind of limiting. I wish the Raspberry Pi Zero had at least another USB port or something.
Hardware problems aside, it is time to continue with software configuration and programming. I'm starting with basic TFT GUI stuff today, and then continuing with automation and everything else. The thought of having to get the read-only fs working at the end of all this is frightening. Anyways, keep an eye on this project's GitHub repo, as I will be updating it as I progress.
-
Assembly Complete
04/18/2016 at 23:53 • 0 comments![]()
I have now completed the assembly phase of this project. While almost everything ended up working as planned, the process wasn't without its problems. Soldering was more or less routine, that was fine. The semi-permanent, sandwiched-PCB design of this device proved to cause problems with debugging and testing though.
The first issue was with the FM transmitter, as it was not transmitting at all. Everything else was working fine, I2C and everything. After testing with an external antenna circuit, I was able to narrow the problem down to a defective SMD capacitor in the on-board antenna circuit. I guess that's the risk you take when using very cheap parts from aliexpress. After a new capacitor and some software reconfiguration for the lower frequency crystal that was used, the FM transmitter worked perfectly.
The next problem was with the USB hub circuit. Originally, I thought it was just the schematic that I used for the USB hub that was bad, since I did not actually prototyped anything for USB before ordering the PCBs. I did not yet have the necessary USB IC, and waiting for it any longer would reduce the time I would have to reorder the PCBs if any large problems arose. However, after testing the same circuit on a breadboard, everything appeared to work fine. I then started disconnecting parts from the breadboarded circuit like capacitors and resistors, until it stopped working. In my case, a missing 2.7K resistor on the REXT pin of the FE1.1s is enough to stop everything in its tracks. I checked the same resistor's connections on the problem device, and it turned out to have bad solder connections. Fortunately, the resistor was very close to the edge of the device, so resoldering it would not be a problem. Otherwise, I would have had to desolder the Pi to get to it, start over and desolder the Pi anyways, or just give up on the USB hub. After that simple fix, everything with USB was good. Stupid me managed to break off a USB port during testing, but it did not damage anything else and there are still two good ports left.
The last problem was me overestimating the brightness of the power LED on the front. Those tiny green LEDs are blindingly bright, and I didn't really want to blind myself while driving at night. The solution was a simple resistor replacement, which then made things a lot more tolerable.
Overall, I am very satisfied with the final result. The overall design can still use some improvement though. For v2, I plan on making some of the following changes:
- Add a light sensor and a good PWM output for LED control
- Add audio input and output jacks like previously planned
- Try to find a better form factor display
- Remove some unnecessary things like the serial pins, etc
- General hardware arrangement
Programming is coming next.
-
Received PCBs
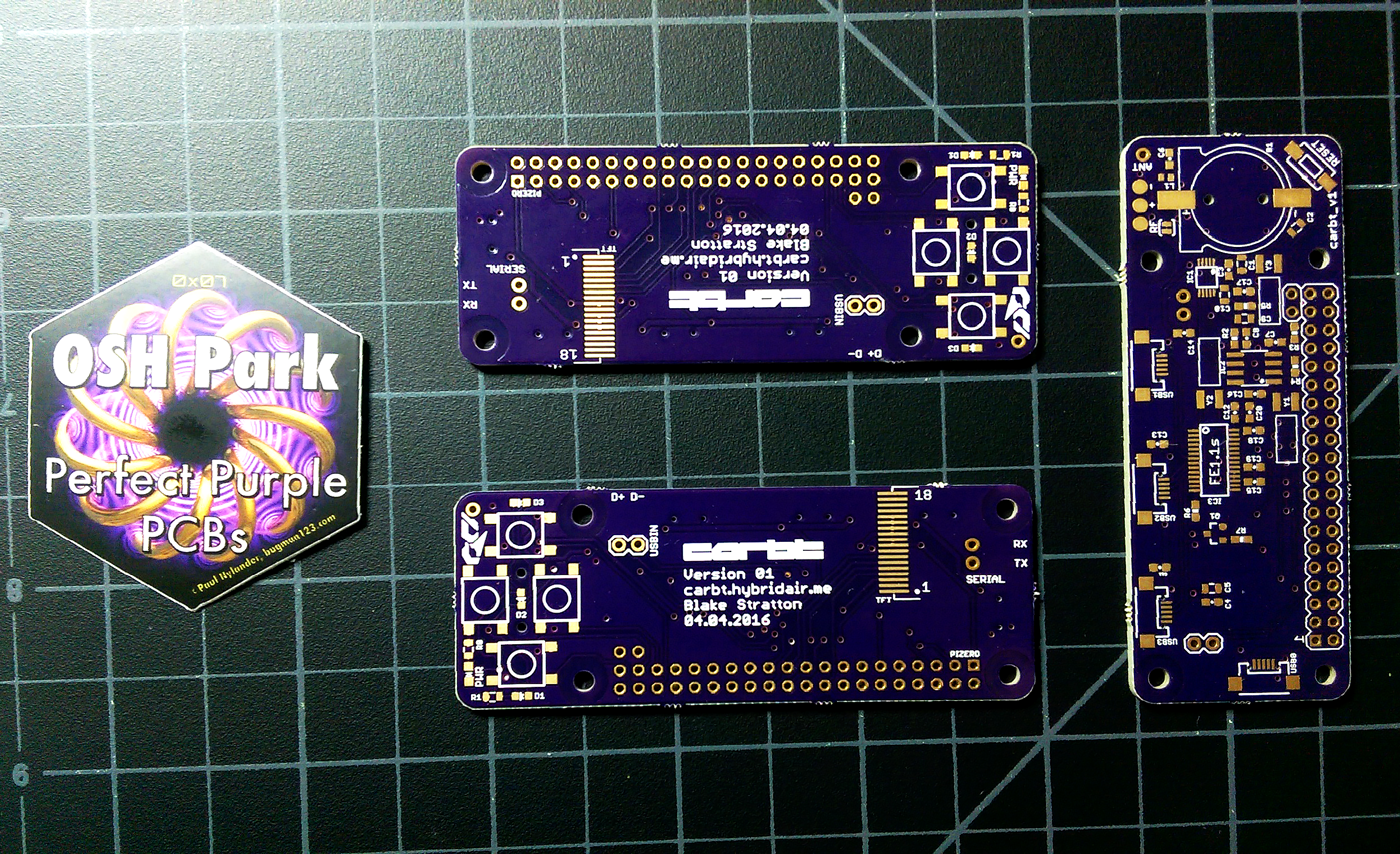
04/17/2016 at 00:15 • 0 commentsJust a small update, as of today I have received my PCBs from Oshpark! I have all the parts I need to start assembling this too, so I'll probably start later tonight or tomorrow.
![]()
-
PCBs ordered!
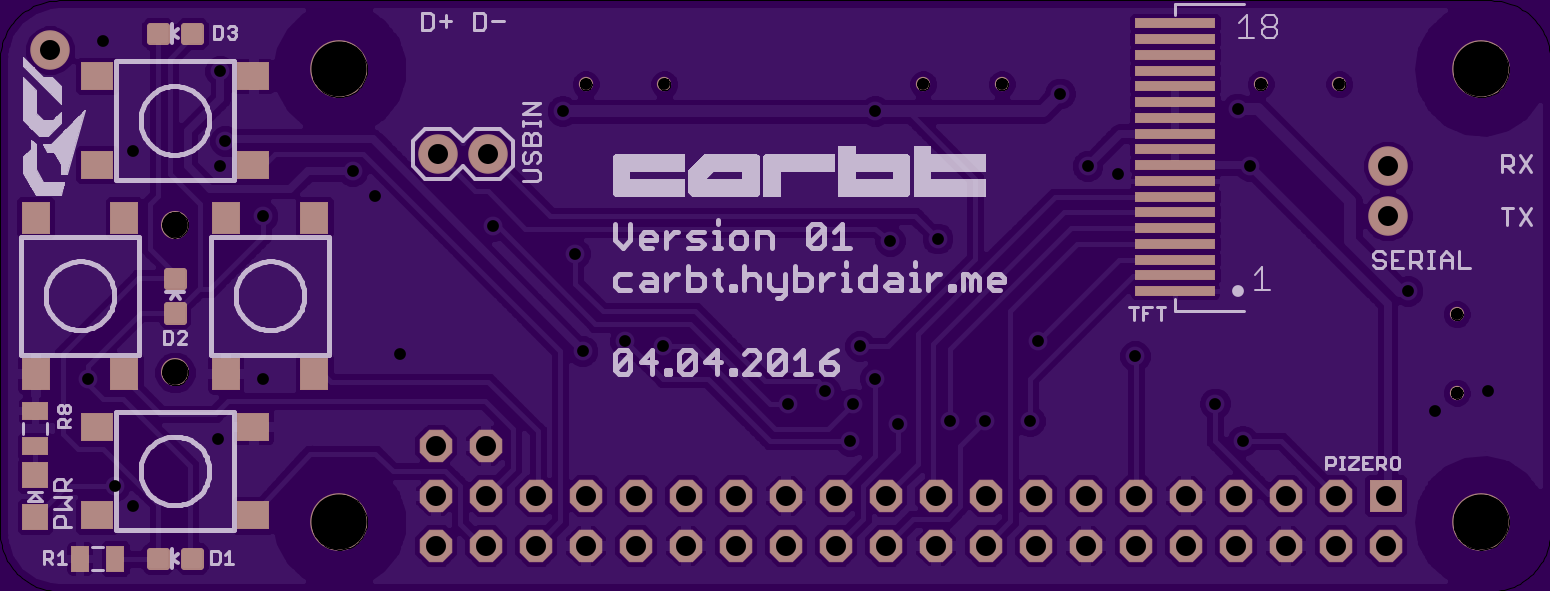
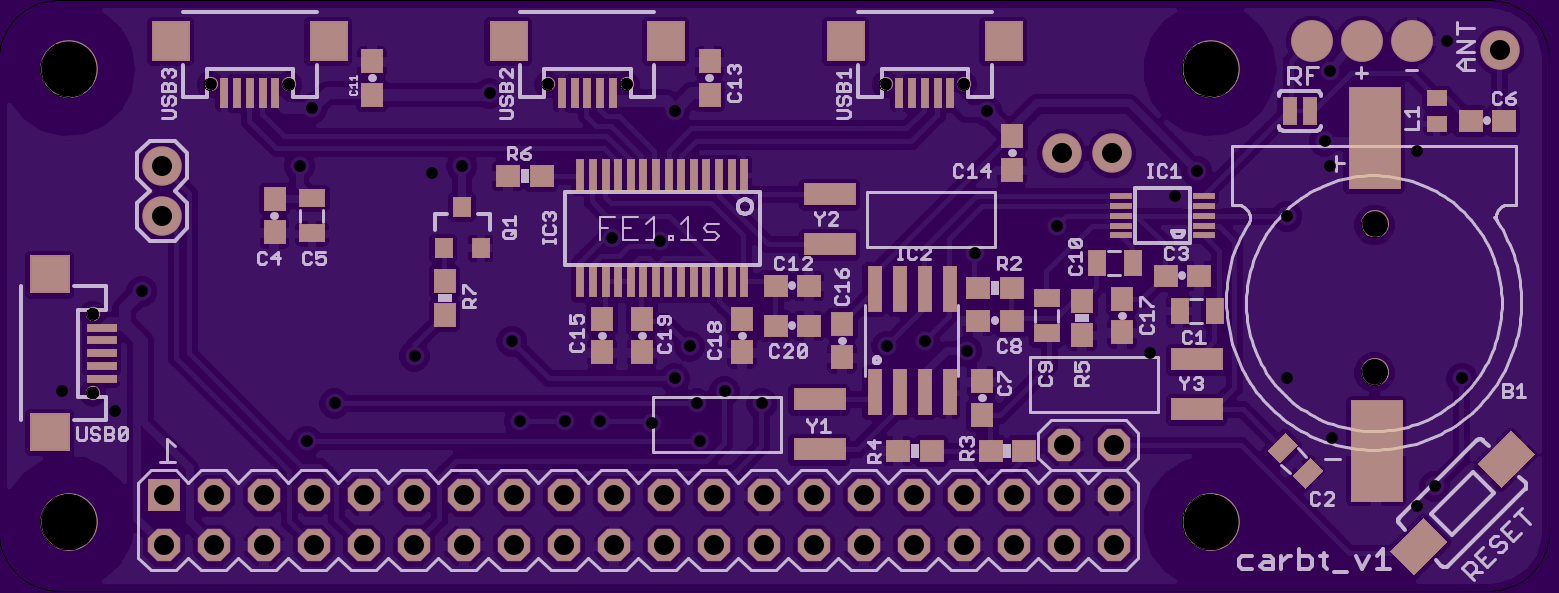
04/05/2016 at 21:28 • 0 commentsI have finished designing the PCB, and have sent off the design to OSHPark to be made. Have a look at the final design below!
![]()
![]()
I also posted a rough 3D model of the project on sketchfab, to give you a better idea of what the complete device will look like. The textures are broken, but the overall model is correct. Unfortunately, some design compromises had to be made to get everything to fit without making the board too big.
First, the Pi Zero is going to be directly soldered to the carbt PCB. While using removable male/female headers would be nice, it ended up making the whole thing too thick. Given that the Pi Zero is very cheap, and its purpose in this project, being permanently connected shouldn't be an issue. Access to the SD card, serial pins, USB, and HDMI is still possible.
For the USB hub part, micro USB ports are used instead of full-size USB A ports. This is very similar to how the Pi's host USB port is designed. The full-size USB ports are too thick, and require significantly more PCB surface area than the micro ports. Small and inexpensive adaptors will be used to provide compatibility for standard fullsize USB devices. The USB bluetooth adaptor is shown in the sketchfab model as an example. As for connecting the HUB to the Pi itself, two leads will be soldered to the USB test pads on the pi, which then connect to two pins on the carbt.
The RTC's battery was placed in an easily accessible location, on the side of the PCB that is not covered by the Pi. Pads for the FM transmitter antenna are also exposed on that side. The user has the option of using the built in "antenna" circuit, or directly connecting their own antenna (with an amplifier, if desired). A solder-jumper has been provided for switching between antenna types.
The primary buttons on the front of the device have a few dimmed white LEDs near them, to easily locate them in the dark. An additional brighter green LED is used to signify when the device is powered on. There is a smaller button on the backside, used for resetting the Pi in the event it locks up. Since the whole thing will be running off a read-only file system, using the reset button should not have any detrimental effects.
Due to time constraints, I was not able to implement the auxiliary audio jacks, or sensors. Those will need to be saved for a future version 2. Other than that, I was able to include almost everything that I wanted to, and am very satisfied. I will post an update once I receive the boards, and when I am able to start assembling it all.
-
Prototyping complete
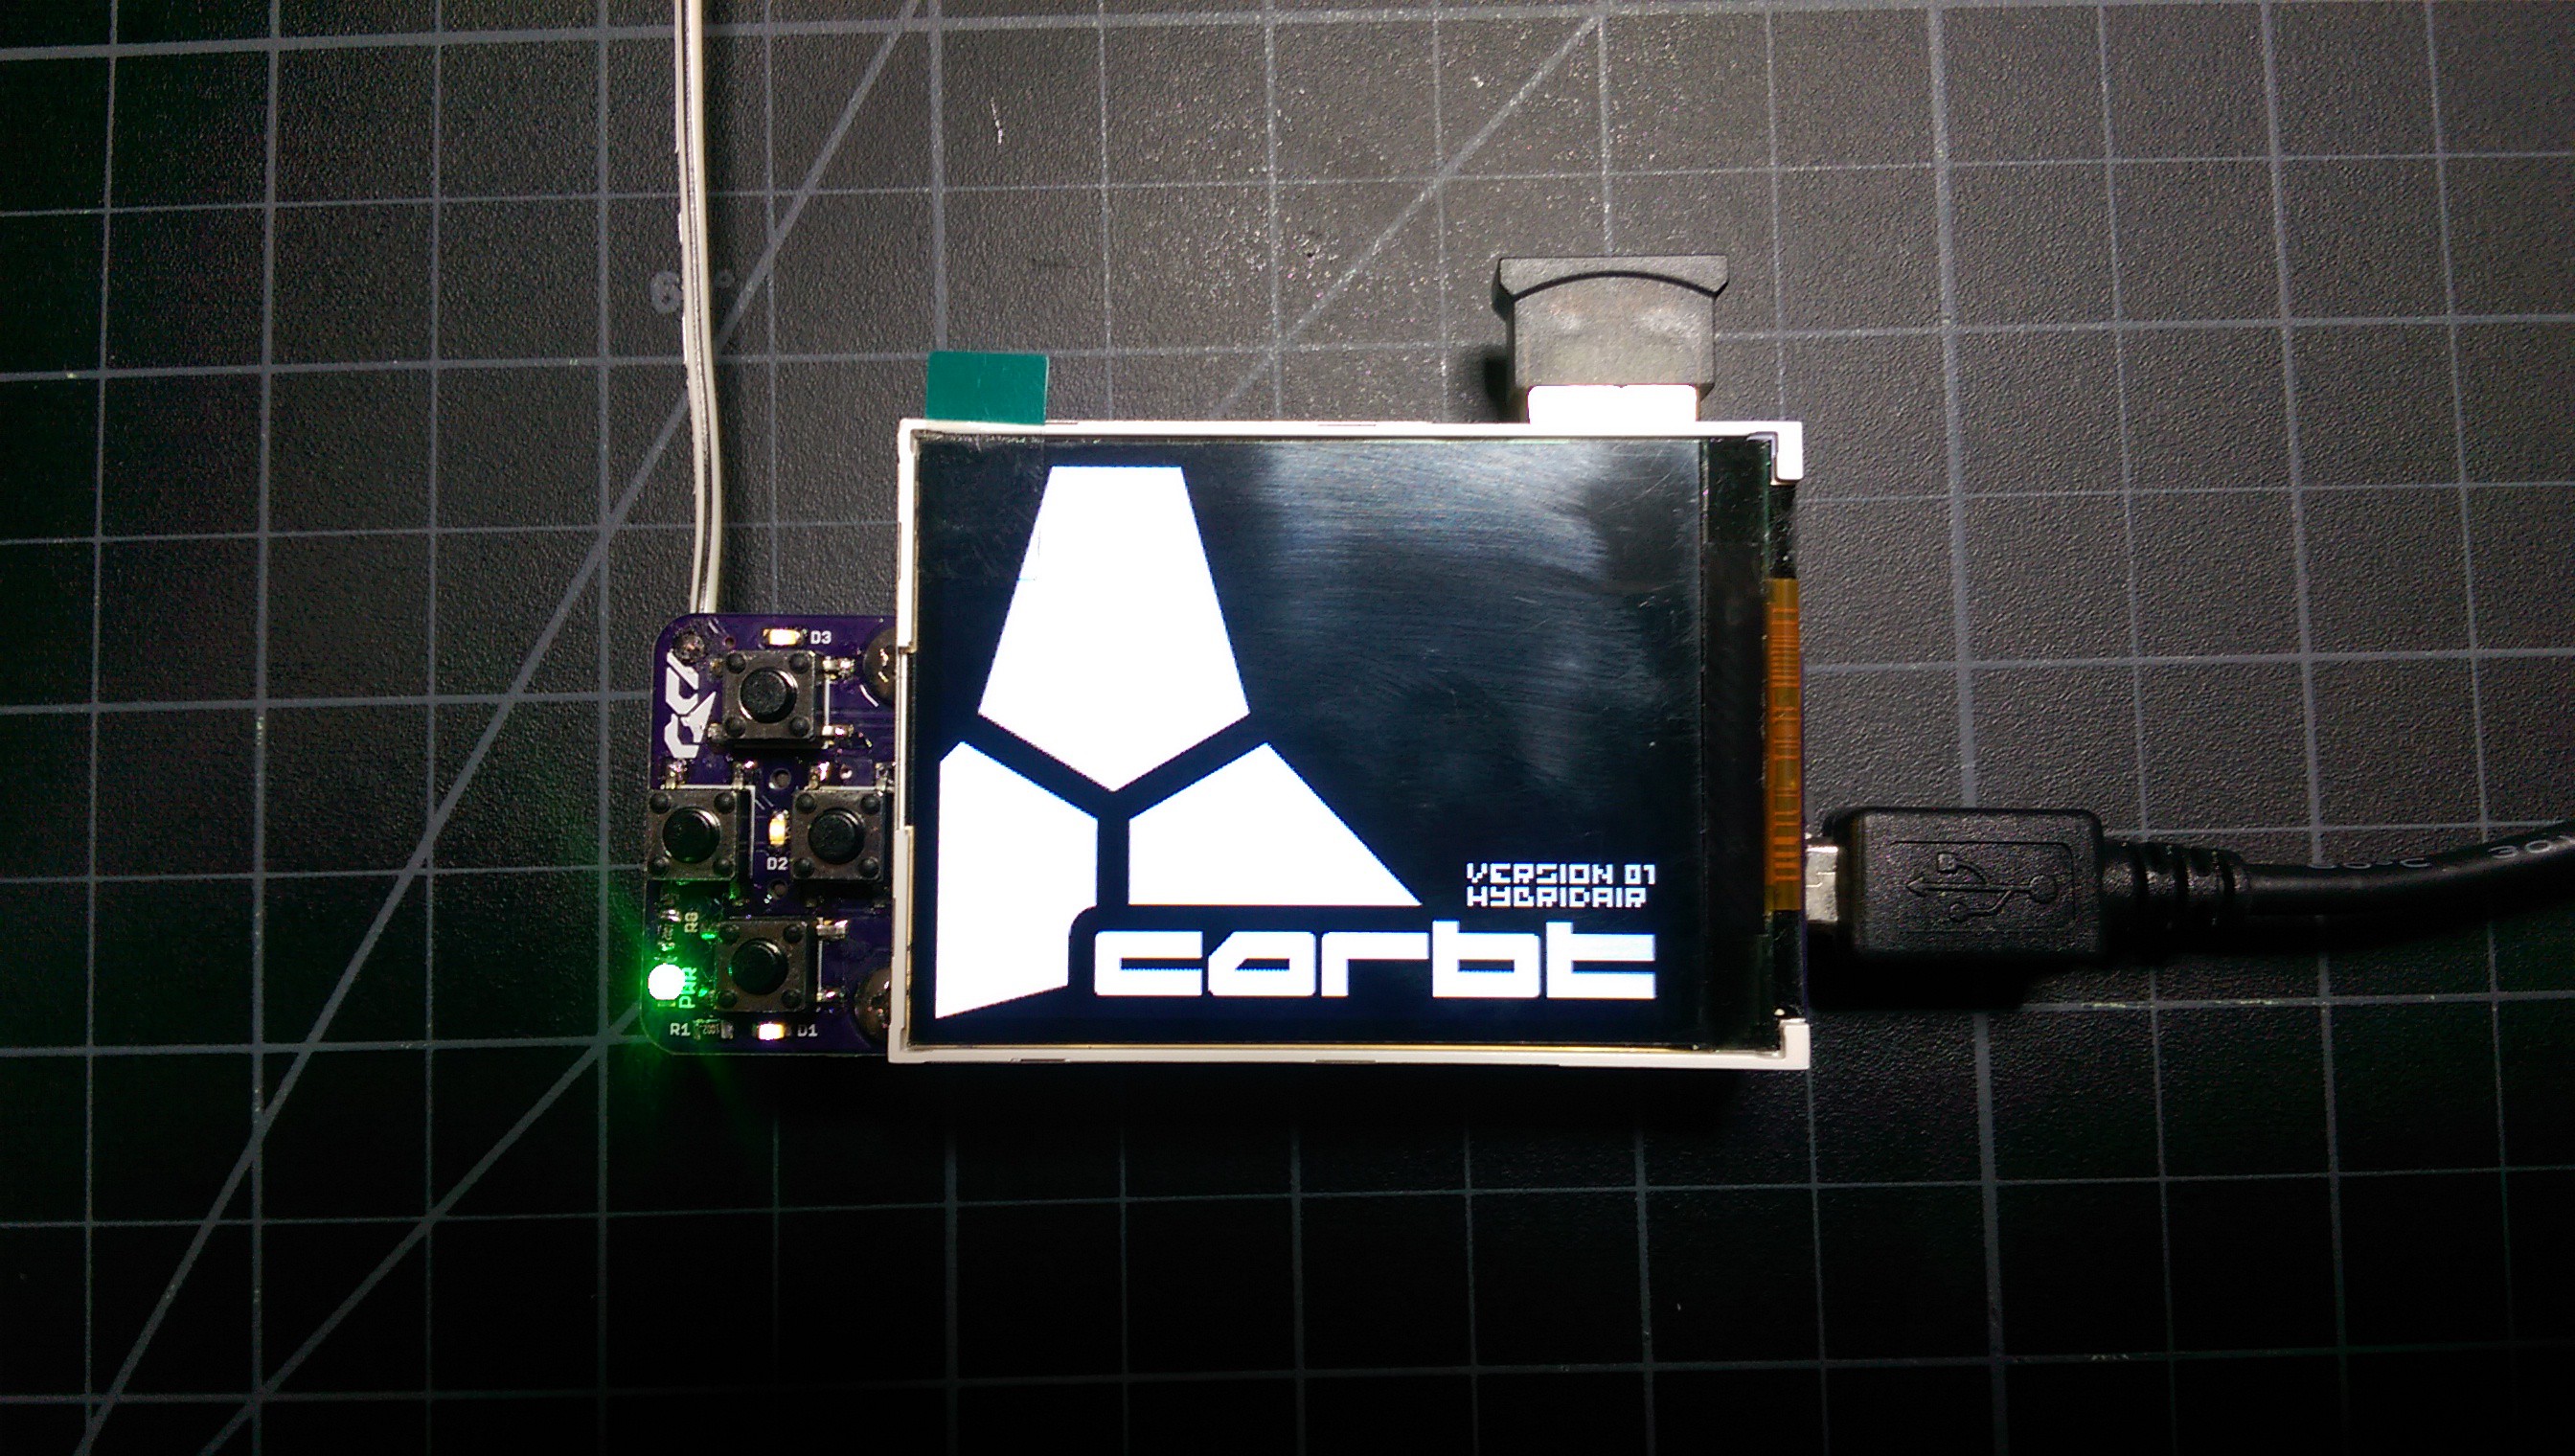
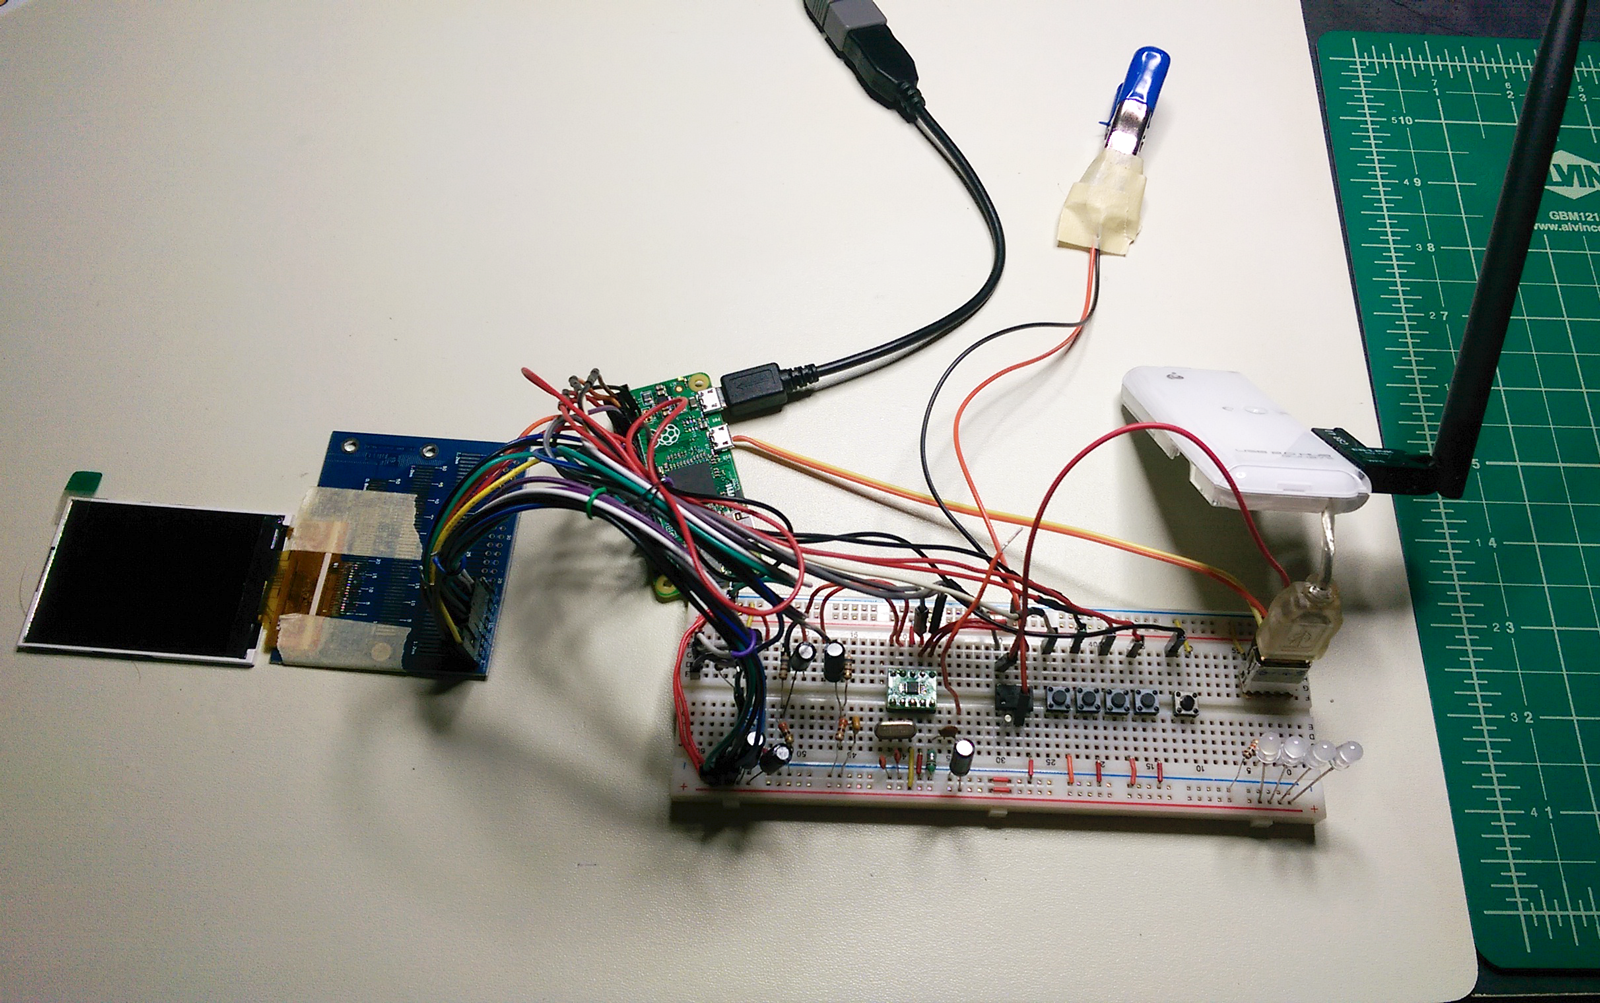
03/30/2016 at 22:36 • 0 commentsSince the last post, I have finished up the hardware prototyping stage for this project. The FM transmitter, audio output over GPIO, hardware RTC, button inputs, bluetooth, and external USB have all been re-added. I have only done enough software testing to ensure that everything works together, so there is not much to show for functionality. So instead, have a picture of what it currently looks like:
![]()
The LEDs at the bottom right are only meant for button illumination, they don't do anything else. I soldered some wires onto the USB test pads on the Pi, since I will be incorporating a USB Hub into the final design. USB hub functionality is needed for the bluetooth adaptor, and to support things like external storage or wifi. A DS1307 hardware RTC was added for timekeeping, since the device will not be connected to the Internet normally. The RTC is important for things like statistic logging, for example. Everything else has been kept mostly the same as before.
I am saving doing all of the actual programming for this summer, when I will be visiting my SO in Canada for 4 months. I will not have any of my tools with me besides the very basics, so all of the hardware stuff will need to be finished by the end of next month. I am at the point where I can start designing the PCB, so I'll update you guys when it's ready for manufacture.
-
TFT LCD support added
03/24/2016 at 21:00 • 0 commentsI have just finished the hardware part of integrating my 2.4" TFT LCD into this project. I am using the FBTFT project to drive it, and everything is working well so far. I created a simple startup animation thing to use as a proof of concept, which can be seen towards the end of the video. Video performance is not the greatest, but it's to be expected and is sufficient either way. Dimming functionality has also been added through the use of a potentiometer. Dimming may change or be removed later on, it depends on if I can source some good wheel potentiometers or a PWM IC alternative.
-
Resuming activity
03/21/2016 at 20:05 • 0 commentsSorry for the longer than expected hold, I have been busy with personal business and another small project which is finishing up now. I'll be posting that here in the near future.
Anyways, during the hold I have been thinking about this project more and have done some work regarding it. I have decided to change the structure of this project yet again. The new plan is to use the newly released Raspberry Pi Zero in place of the previous one. The Zero will significantly reduce the cost, size, and complexity of this project. To further reduce size, I am also going to be putting all the hardware onto a single board soldered directly to the Pi. There will no longer be a need for a separate module with its own microcontroller and supporting hardware.
A small and cheap TFT LCD (like this one) will replace the expensive and bulky LCD currently in use. It will be controlled directly by the Pi, and allow for more detailed information to be shown.
Complex power management circuitry has also been made redundant after some minor changes I have made to my car. I purchased a good, basic cigarette lighter USB adaptor, which will always remain plugged in. I then modified my car's cigarette lighter jack so that it will only be powered while the car is on. I used a cheap fuse tap to tap off of a fuse that was only powered when the key is set to ACC or higher, and spliced the output to the cigarette lighter. Fortunately, no disassembly was required to get to my car's center console wiring, making the whole process very easy. Because the whole device will only be powered when the car is on, the Pi's filesystem will need to be made read-only to prevent SD card corruption.
Otherwise, basic functionality to going to stay mostly the same. Still using bluetooth and FM radio for music transmission, car statistic display will still exist, etc. The buzzer may or may not be removed, it depends on how well it cooperates with the Pi. I will be posting updates here more often now, since I have time to work on this project again.
-
Putting the project on hold
10/30/2015 at 22:08 • 0 commentsI will be putting this project on hold for a few months, from now to mid-February 2016 probably. I have another more time-sensitive project that I need to begin working on, which I will be posting here shortly. Make sure to keep an eye out for it!
I have been continuing to make progress on this project as usual, albeit rather slowly. Since the last update, I have been working on the ODB2 integration, and have added a buzzer to the display module for audio feedback. The setup I had to use for the buzzer is kind of unusual. Due to the ATTiny44's PWM limitations, I could either have 2 individual fixed-frequency PWM channels, or a single variable PWM/frequency channel. Since I am already using PWM for the lighting, I instead had to use a 555 to create the variable frequencies for the buzzer. I am only able to get 3 distinct tones out of it though, since using the other available PWM channel to control the 555 output frequency was too unreliable. To get those 3 tones, I am toggling two outputs which go through some resistor dividers, and then to the 555 control voltage pin. It isn't much, but I made a short video showing some basic functionality.
-
I am still working on this
10/15/2015 at 00:09 • 0 commentsSorry for the lack of updates, school has started and has made progress a little slow. I am currently working on OBD2 integration, which is actually almost done. I have also finally gotten around to updating this project's GitHub repo and hackaday.io page, have a look! https://github.com/HybridAir/carbt_v1
-
Music Control
09/07/2015 at 23:50 • 0 commentsI finished the music control part of the device today, have a look!
carbt_v1
[DISCONTINUED] An inexpensive bluetooth music system for cars with lacking stereos.
 HybridAir