MasterOfNull
-
Ditching the lens.
02/09/2018 at 04:26 • 0 commentsI've decided to ditch the zoom lens and just use half the fov of the camera.
It just makes everything so much simpler.
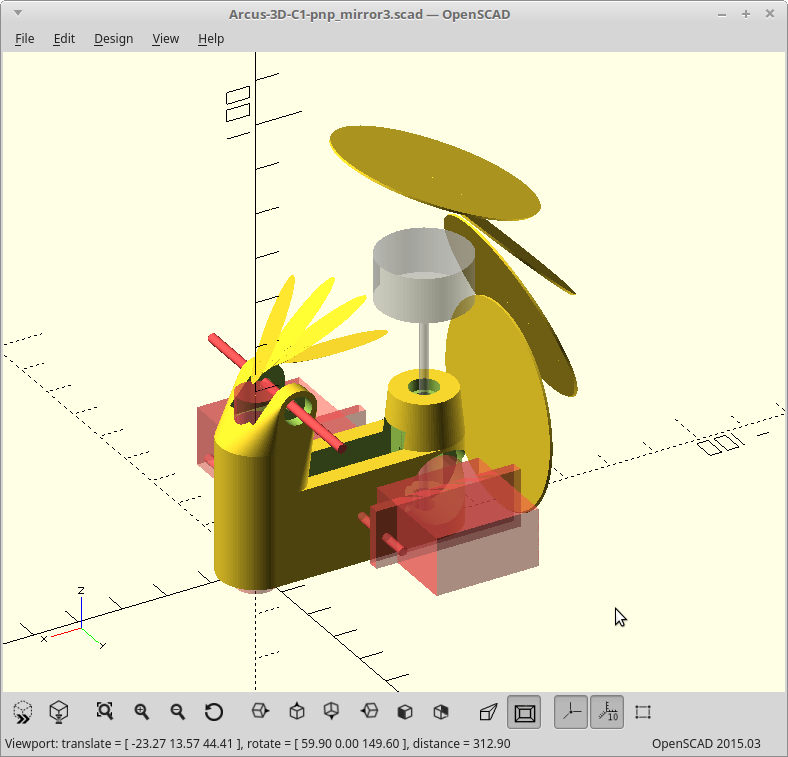
The gray cylinder is 20mm diameter and 10mm tall, representing the maximum size part this will be able to handle without generating clearance issues with the swingarm. The FOV depicted here is 40 degrees. I expect the larger mirror will be about half this size though as there will be no need to view beyond the maxiumum part size I'm handling.
![]()
I've also decided to drive the mirror swingarm with a linkage instead of directly gearing it off the servo. This allows me to have a hard stop in the deployed position and better protect the servo as the linkage will flex. It also lets me drive both sides of the swingarm so it can be lighter.
This let me turn both servos on thier sides which then opens up space for my lighting ring to sit. I think the servos will end up being mounted via separately printed standoffs as it reduces the material considerably and still lets me print it on it's side.
Still working on how to elegantly incorporate a homing switch and then I'll be ready to print this thing.
-
Iteration
02/06/2018 at 01:13 • 0 commentsI've been experimenting with different layouts for how to retract the optics.
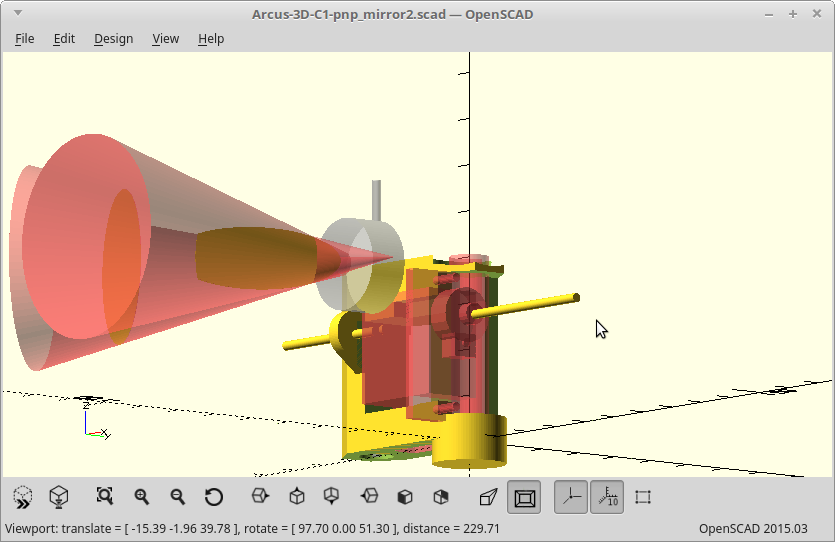
My original idea had the mirror assembly swinging in line with the camera/nozzle and away from the nozzle. That required a swing of a full 120 degrees with a best case no gearing time of 0.34 seconds to deploy. I was not happy with that.
![]()
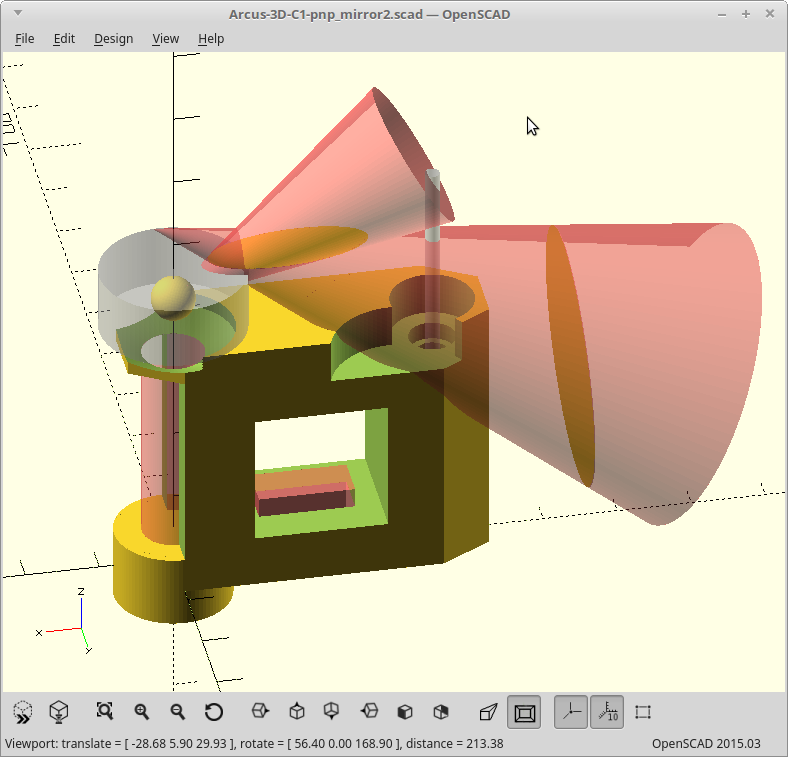
That was replaced by swinging it 90 degrees to the side, which then resulted in a best case time of 0.25 seconds. I was still not happy..
![]()
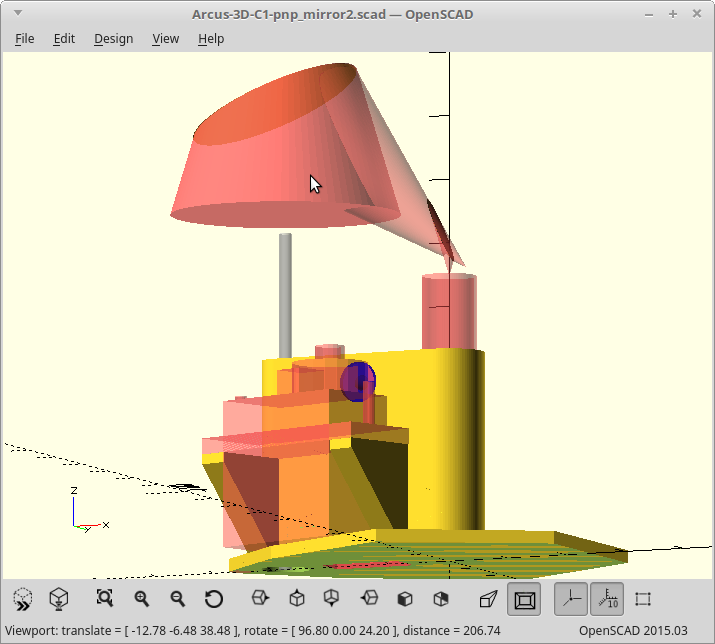
The last iteration has the mirrors back to swinging inline with the nozzle/camera, but now swinging them towards the nozzle. That only requires a swing of 60 degrees with a best case no gearing time of 0.17 seconds. Only issue with this design right now is that the pivot point required is inside where my lens was going. The lens is the gray cylinder here.
![]()
I had one more idea come to mind with both mirrors on an uneven length linkage, and then they could both move different directions out of the way. Problem is then I have to generate two extremely reliable meshing linkages. The mirrors have to stop at exactly the same spot every time or the part centering will not be reliable. I'm not pursuing that one for now.
I've also switched to planning on printing this on it's side so some things changed, like the ability to hollow out the middle without generating bridges and using hexagonal ends to avoid overhangs. This makes fixing the 'middle of the lens' pivot point a bit more challenging though too.
-
Optics visualization in the browser.
02/02/2018 at 03:42 • 0 commentsI actually ended up modeling my optics with just cones and planes in OpenSCAD, but I also ran across this while doing my research. For something a little more complicated, this could be pretty useful.
Thought I'd share it anyway. It's pretty neat.
-
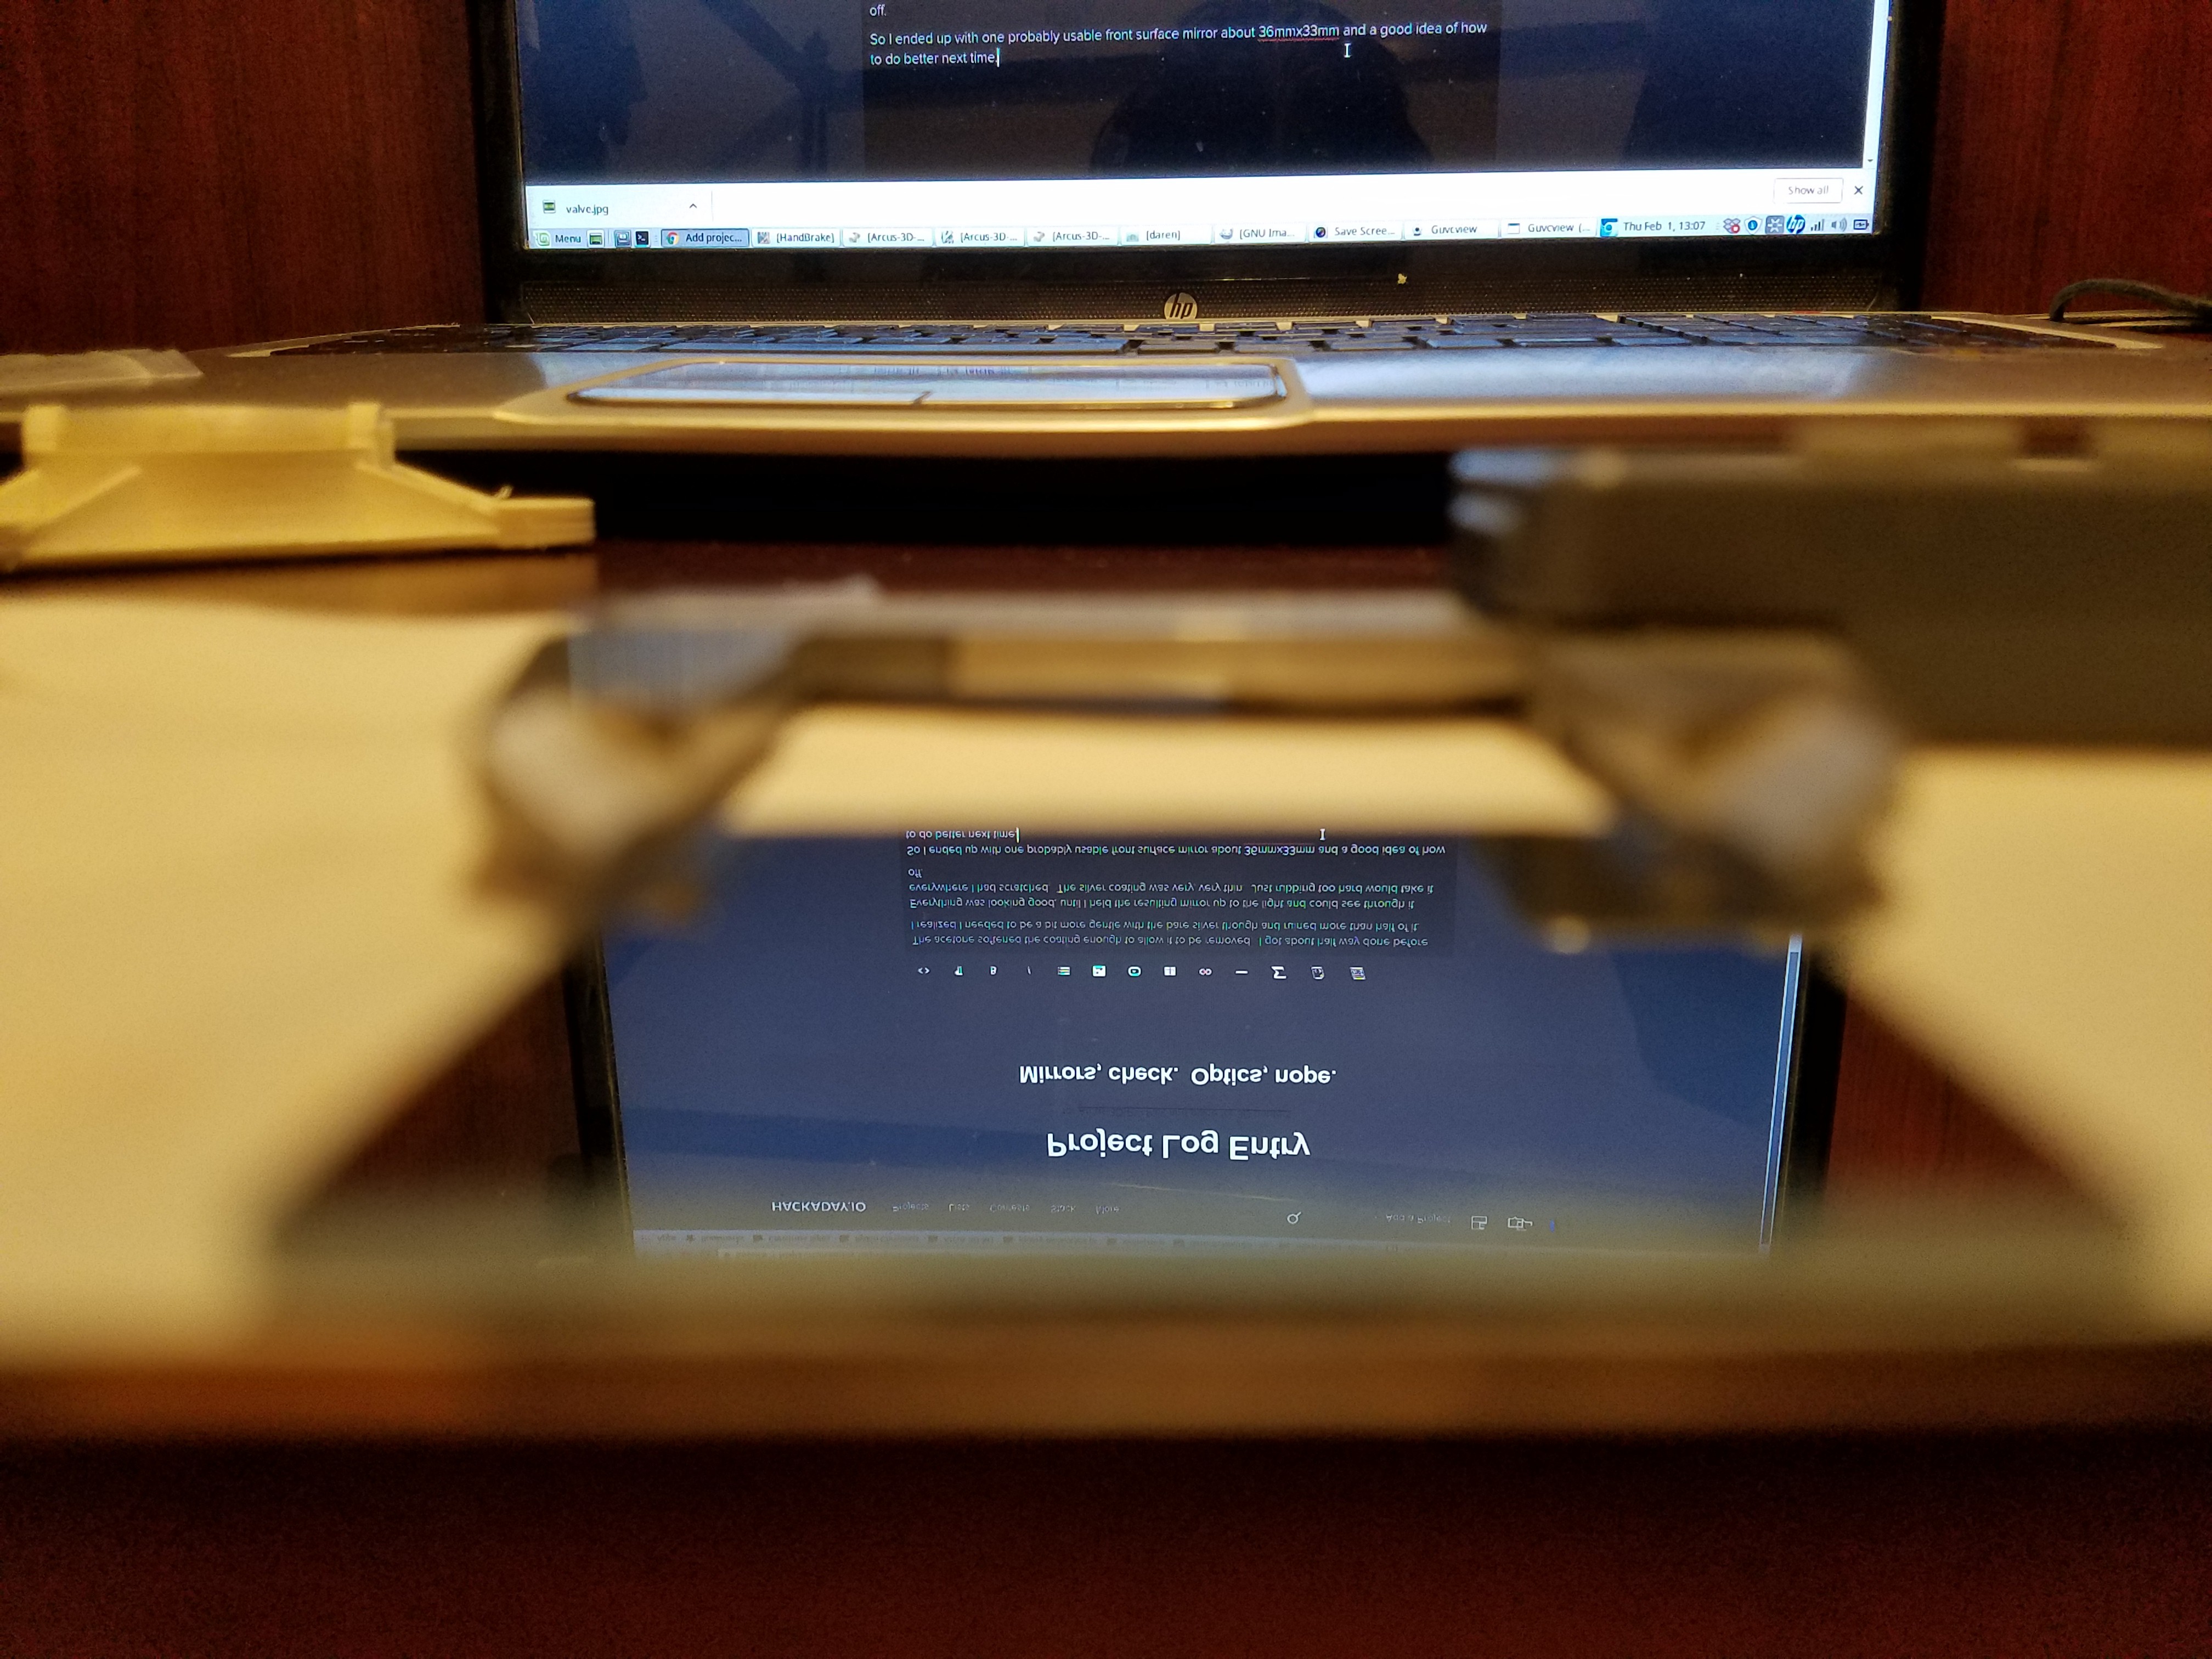
Mirrors, check. Optics, nope.
02/01/2018 at 18:34 • 0 commentsThe acetone softened the coating enough to allow it to be removed. I got about half way done before I realized I needed to be a bit more gentle with the bare silver though and ruined more than half of it.
Everything was looking good, until I held the resulting mirror up to the light and could see through it everywhere I had scratched. The silver coating was very, very thin. Just rubbing too hard would take it off.
So I ended up with one probably usable front surface mirror about 36mmx33mm and a good idea of how to do better next time.
![]()
Next was to assemble a mockup of my optics to see how it worked. It doesn't.
The FOV of my endoscope camera was 67 degrees. That was far too large of a beam, so the plan was to reduce that to 33.5 degrees with a 2:1 telephoto cell phone camera lens placed in the beam path directly after the first bounce. This didn't work as I had hoped.
- The 2:1 telephoto lens was actually about 1.8:1.
- The telephoto lens had to be right on the endoscope or it pin-cushioned terribly.
- Putting it right on the endoscope meant I had to put it before the first mirror bounce. This increased the beam size dramatically, which then increased the mirror sizes required.
- The latter means my beam path now intersects with the side of the part being viewed.
- The minimum fixed focus distance when using the lens was increased to ~65mm.
None of these issues are show stoppers, but they all add up to larger and heavier mirrors located farther away will be needed. I was already near the limit of what I was willing to ask a 9g servo to do reliably.
If it starts to take longer than ~0.25 seconds to deploy and retract the mirrors, I might as well scrap this part of the plan and move to a dedicated up-looking camera. At that point I can move the entire head/part being viewed to a stationary camera faster. Simpler too..
-
First surface mirrors on the cheap
02/01/2018 at 03:39 • 2 commentsI'll need some good quality first surface mirrors for this to work.
The angle of incidence of the small first mirror (24 degrees currently) is high enough that the thickness of glass I would have in a regular mirror would generate significant double images otherwise.
So far the likely DIY candidates are:
- painstakingly wet sanded and polished stainless steel.
- removing the protective coating from the back of a regular glass mirror exposing the silver.
Wet sanding the stainless actually worked, mostly. The problem with this approach I found was I could flex the stainless enough to distort the image just by pressing on it. This doesn't lend itself to generating a perfectly flat surface. Once my first try was done, I found I had generated a concave mirror with a focal length of about 6 feet just from the pressure of my finger on the center of it while sanding.
I suppose the next step would be to temporarily mount the stainless to something that won't flex like a block of aluminum, and then repeating the sanding.
For the second idea I'm still waiting on the coating to dissolve. Acetone seemed to soften it, so I've put the whole mirror in a cup of it and I'm waiting. I'm hoping that whatever was used to silver the mirror won't also dissolve once the coating is removed. I guess we'll find out tomorrow.
Arcus-3D-P1 - Pick and Place for 3D printers
Open source, mostly 3D printable, lightweight pick and place head for a standard groove mount