-
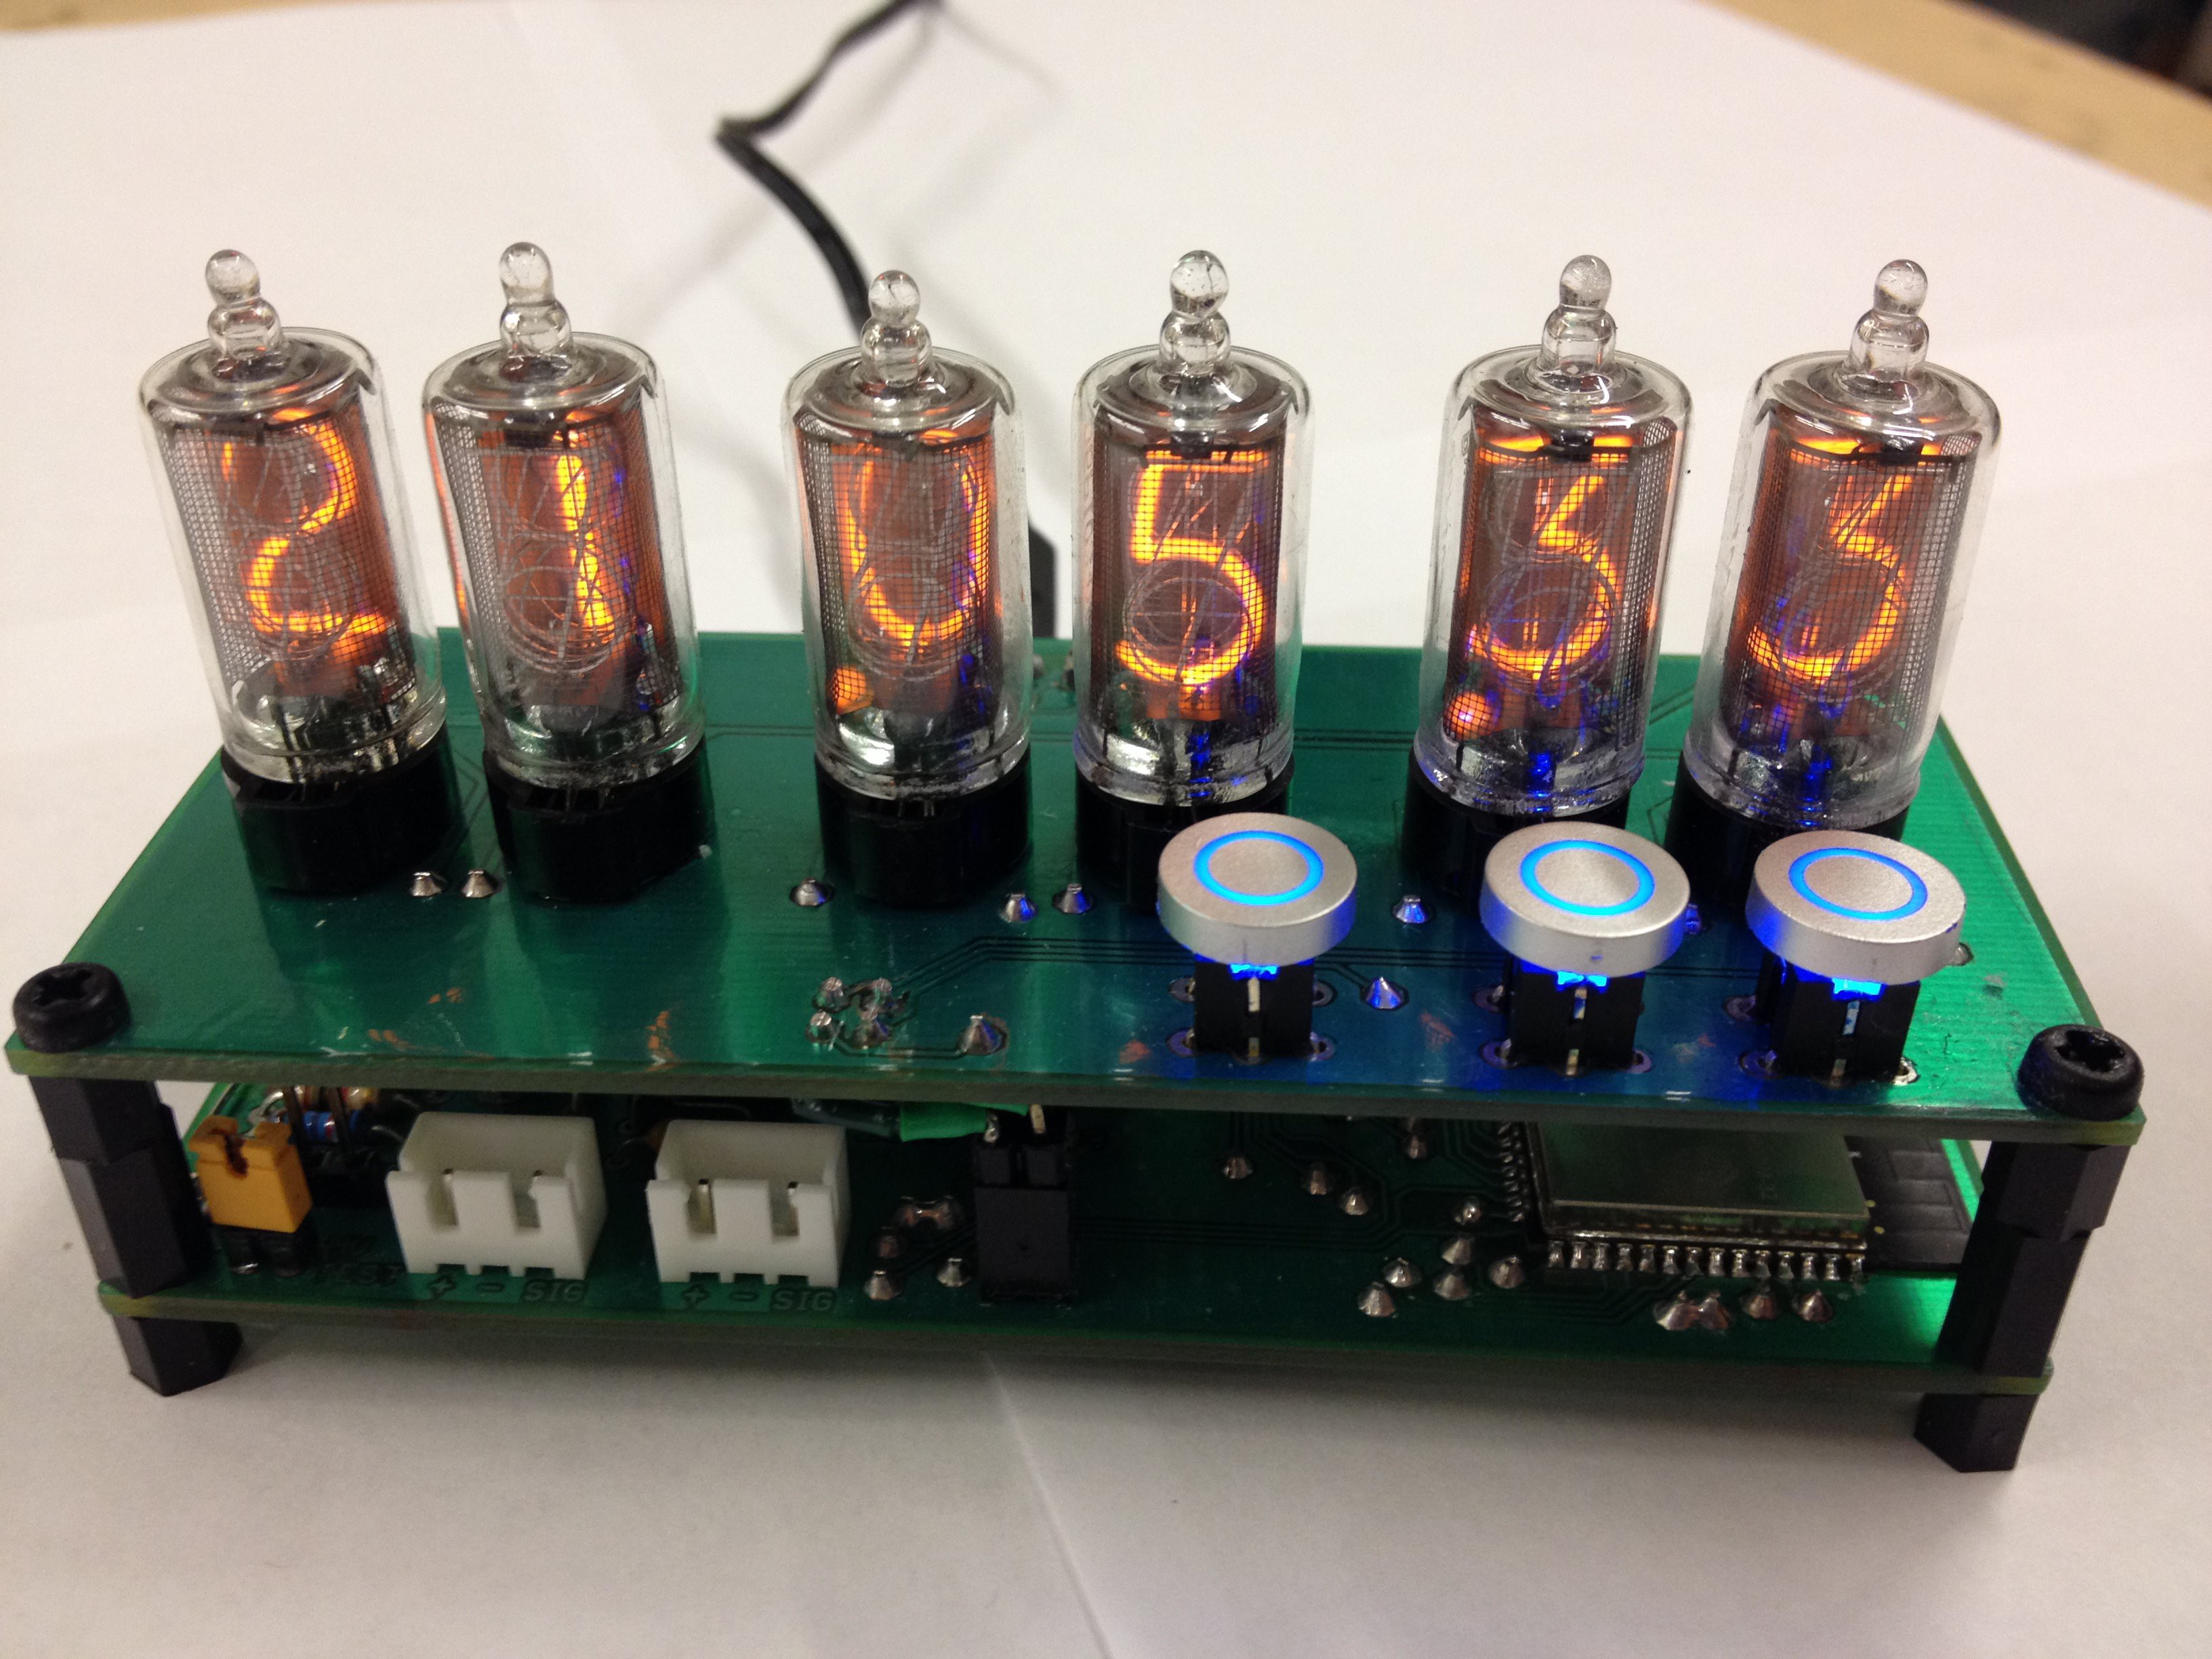
Assembled and functioning
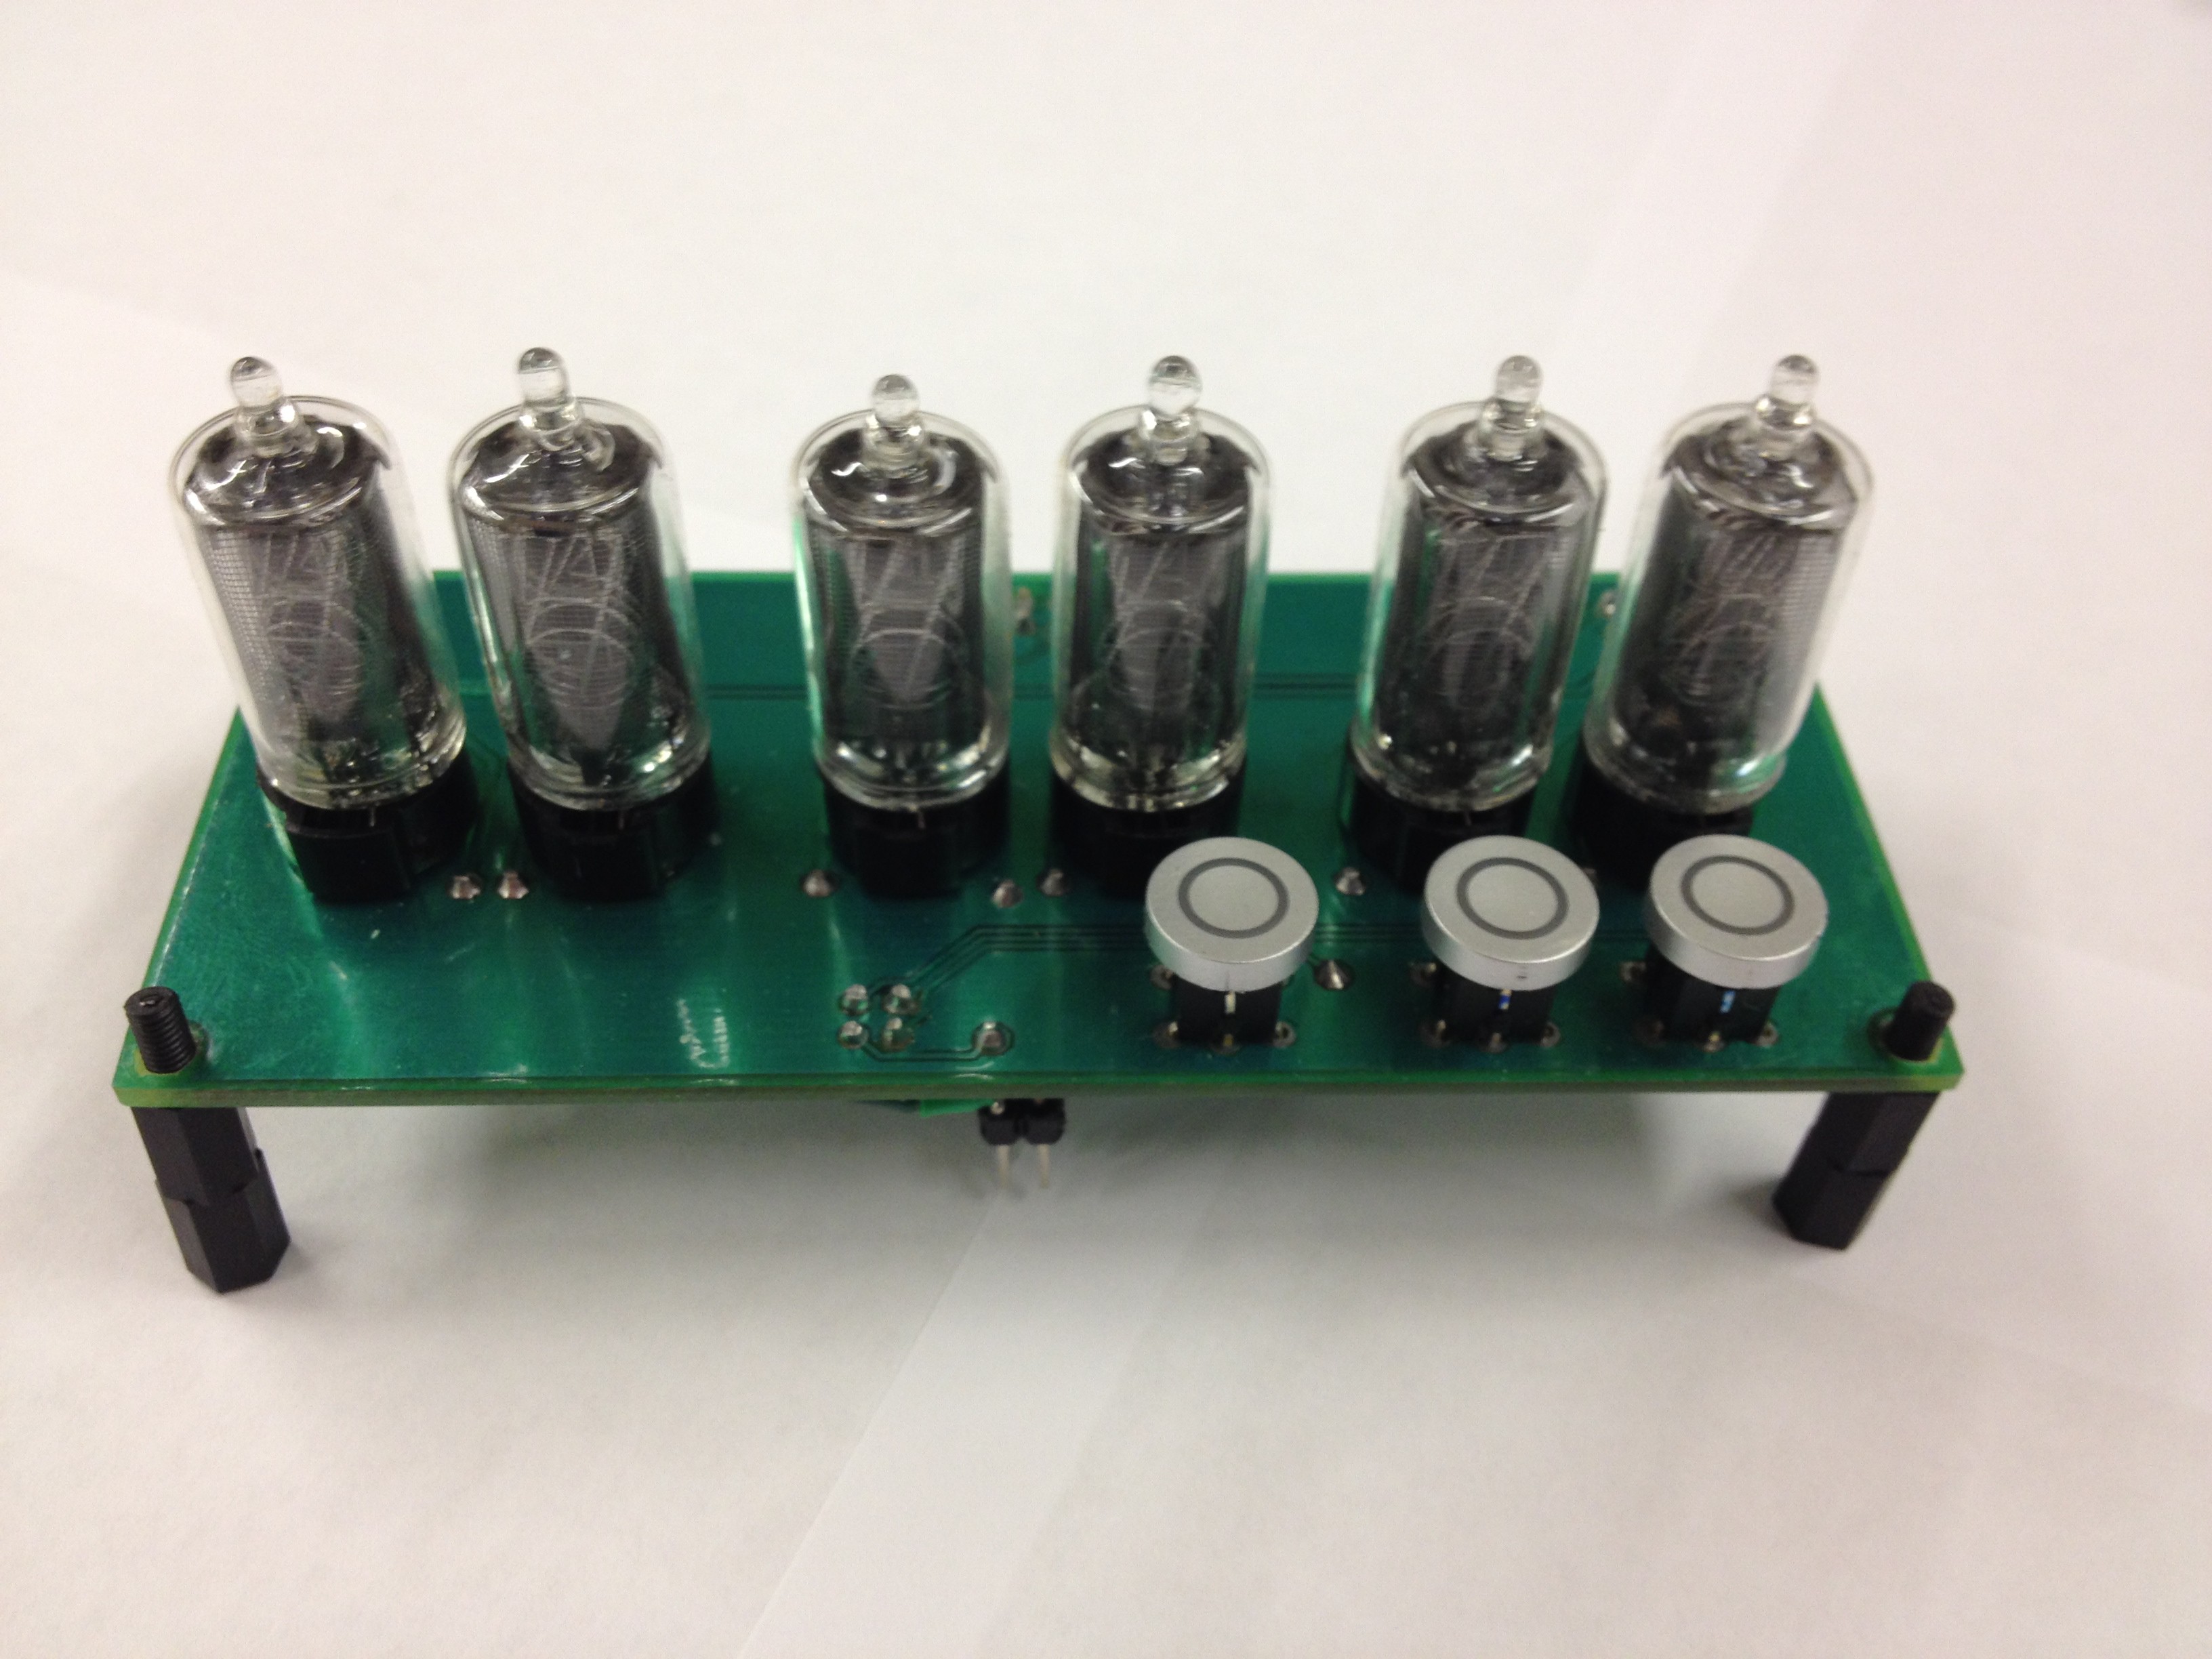
02/16/2018 at 20:56 • 0 commentsHere's a pic after assembling and now functioning correctly.
At this point it gets NTP time via Wifi and I can control it via bluetooth with an app I made for my phone that for now simply adjusts brightness of the tubes and buttons and can set the timezone and daylight savings setting for NTP time. It can also increment hours and minutes for if I wasn't using NTP to set the time.
There's space on the main board for some potentiometers to control brightness for tubes and buttons but I'm not sure if I Want those or am OK with adjusting via my phone or with a light sensor.
After this I'll need to make a case for it to be housed in!
-
Assembling the tube board
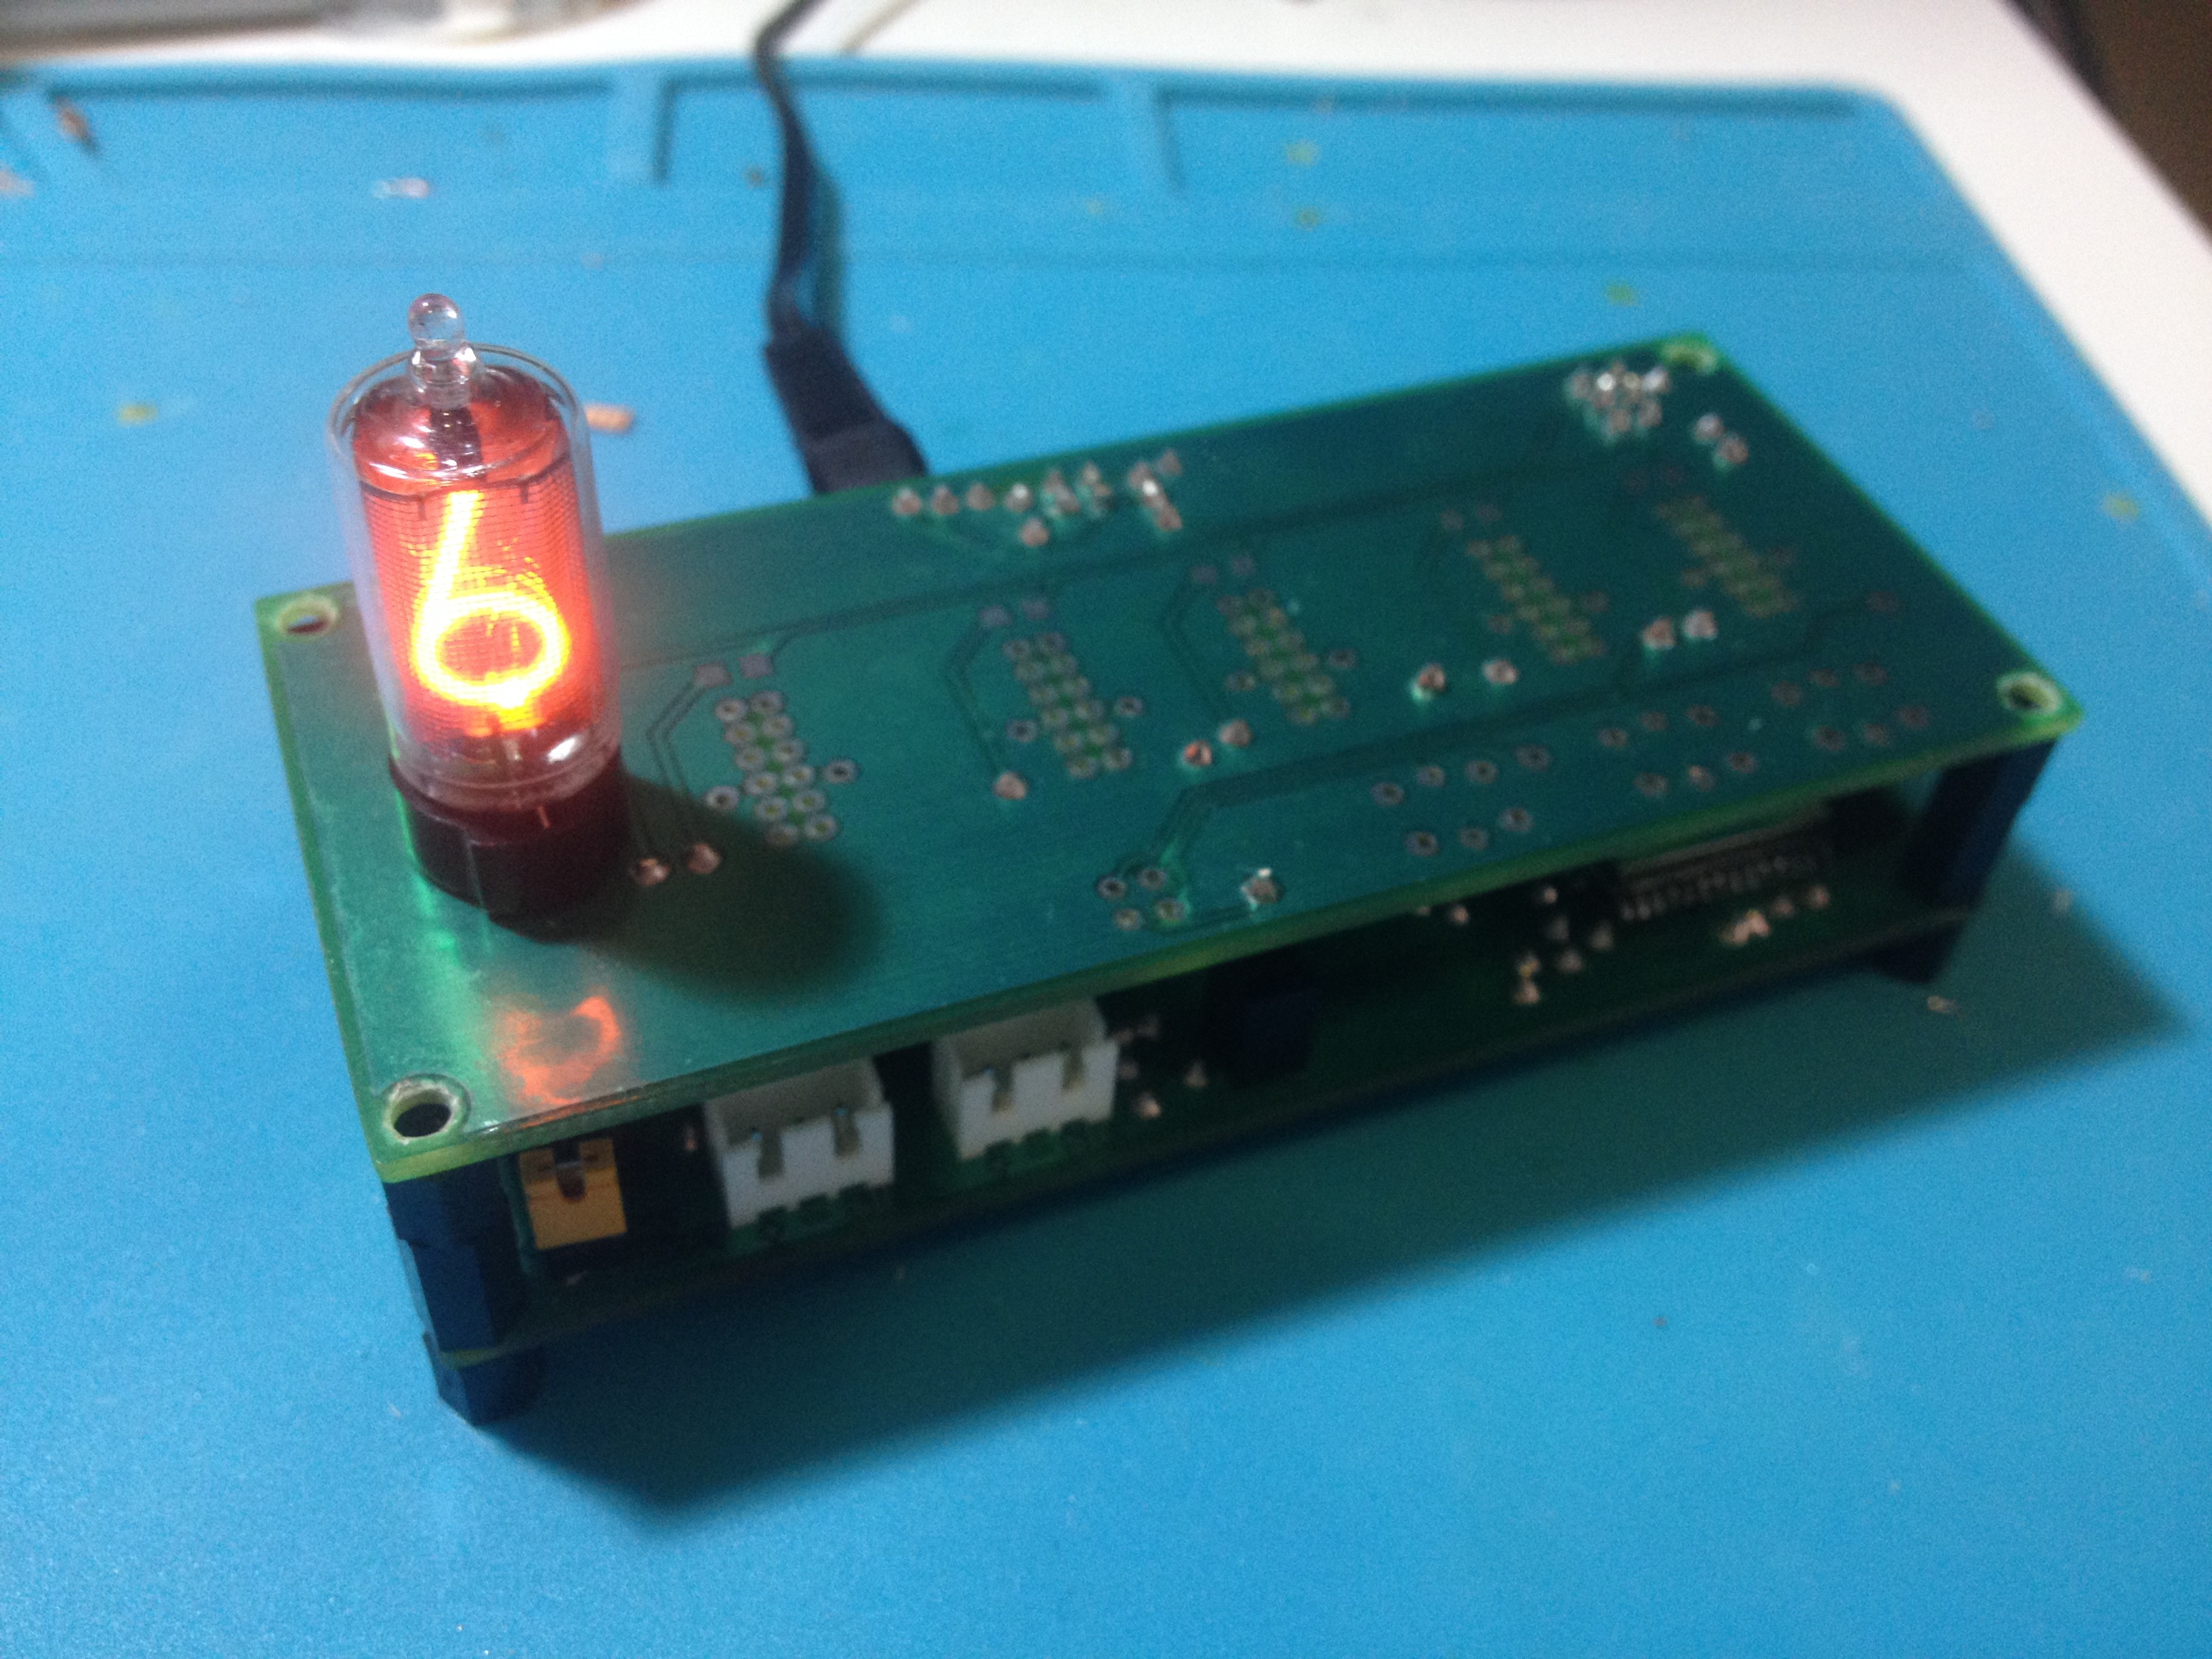
02/16/2018 at 20:54 • 0 commentsI got the components on the board and then placed one tube so I Could test it in conjunction with the main board and make sure I Was able to actually make it display OK.
This was the moment I had the necessary components on the tube board and a single tube placed and sorted out sending data to the HV5530 chips to make a digit display properly! It took quite some time :)
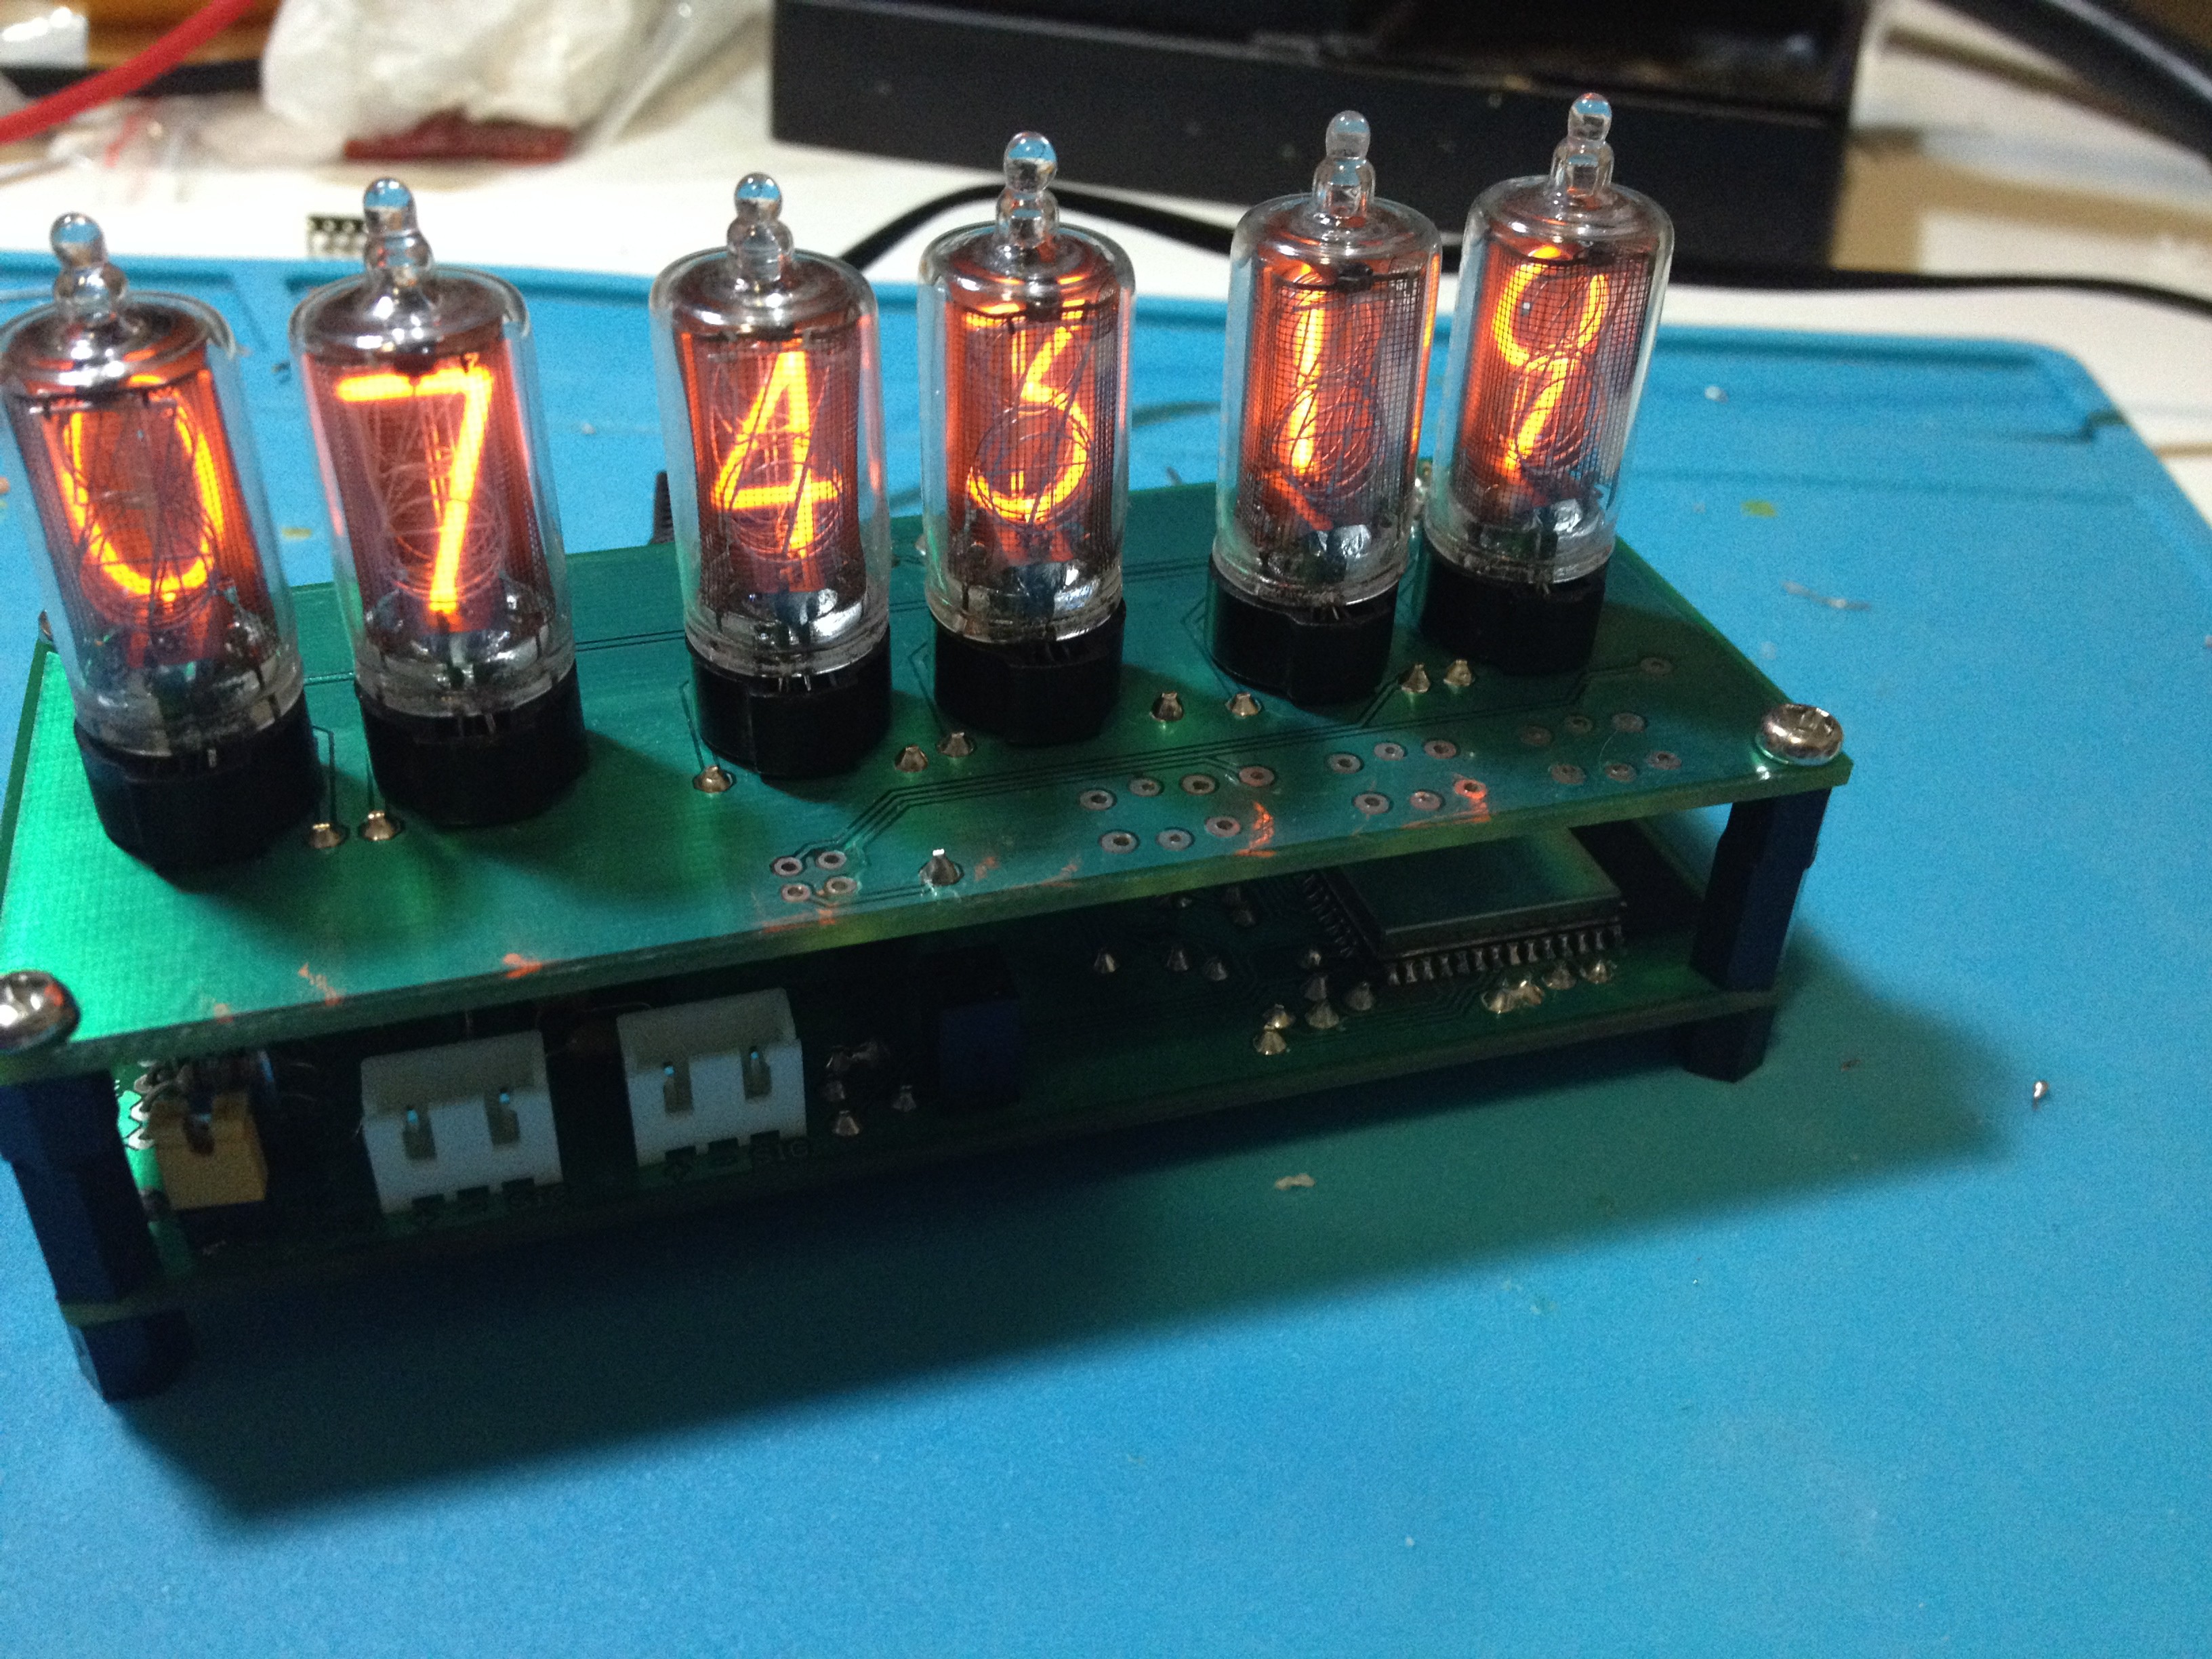
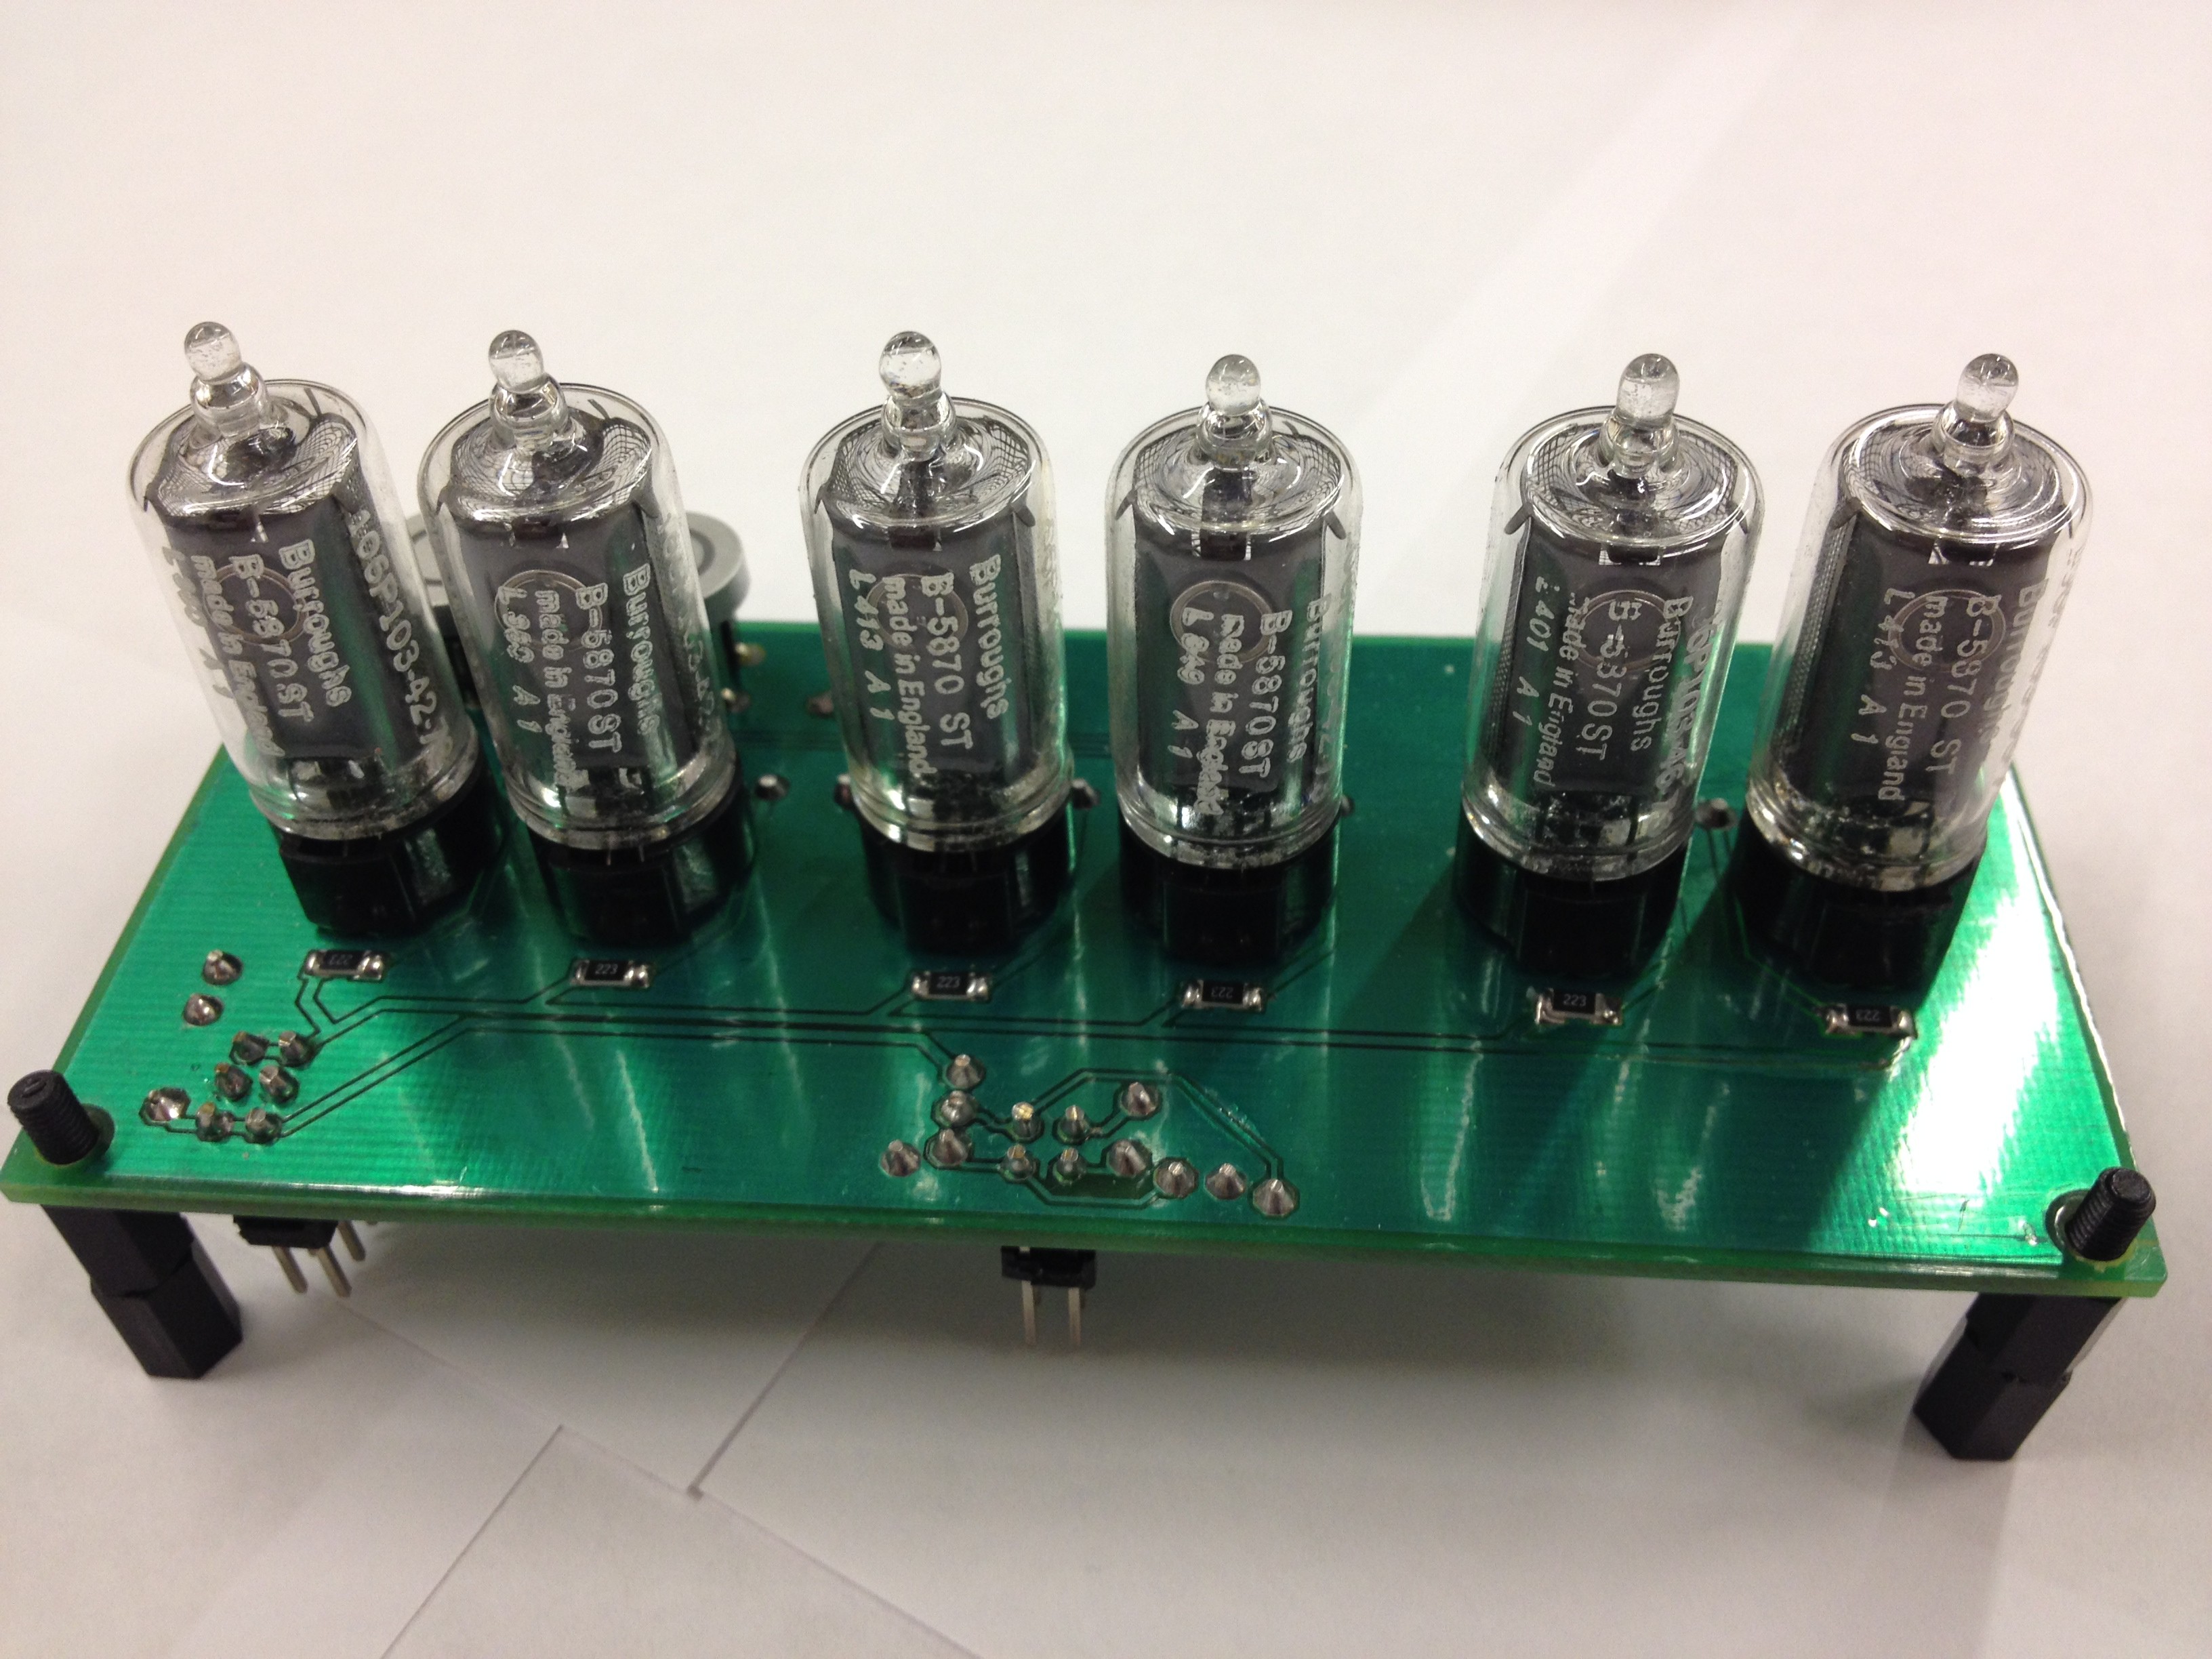
And then after all tubes placed and tested. This was a good day!
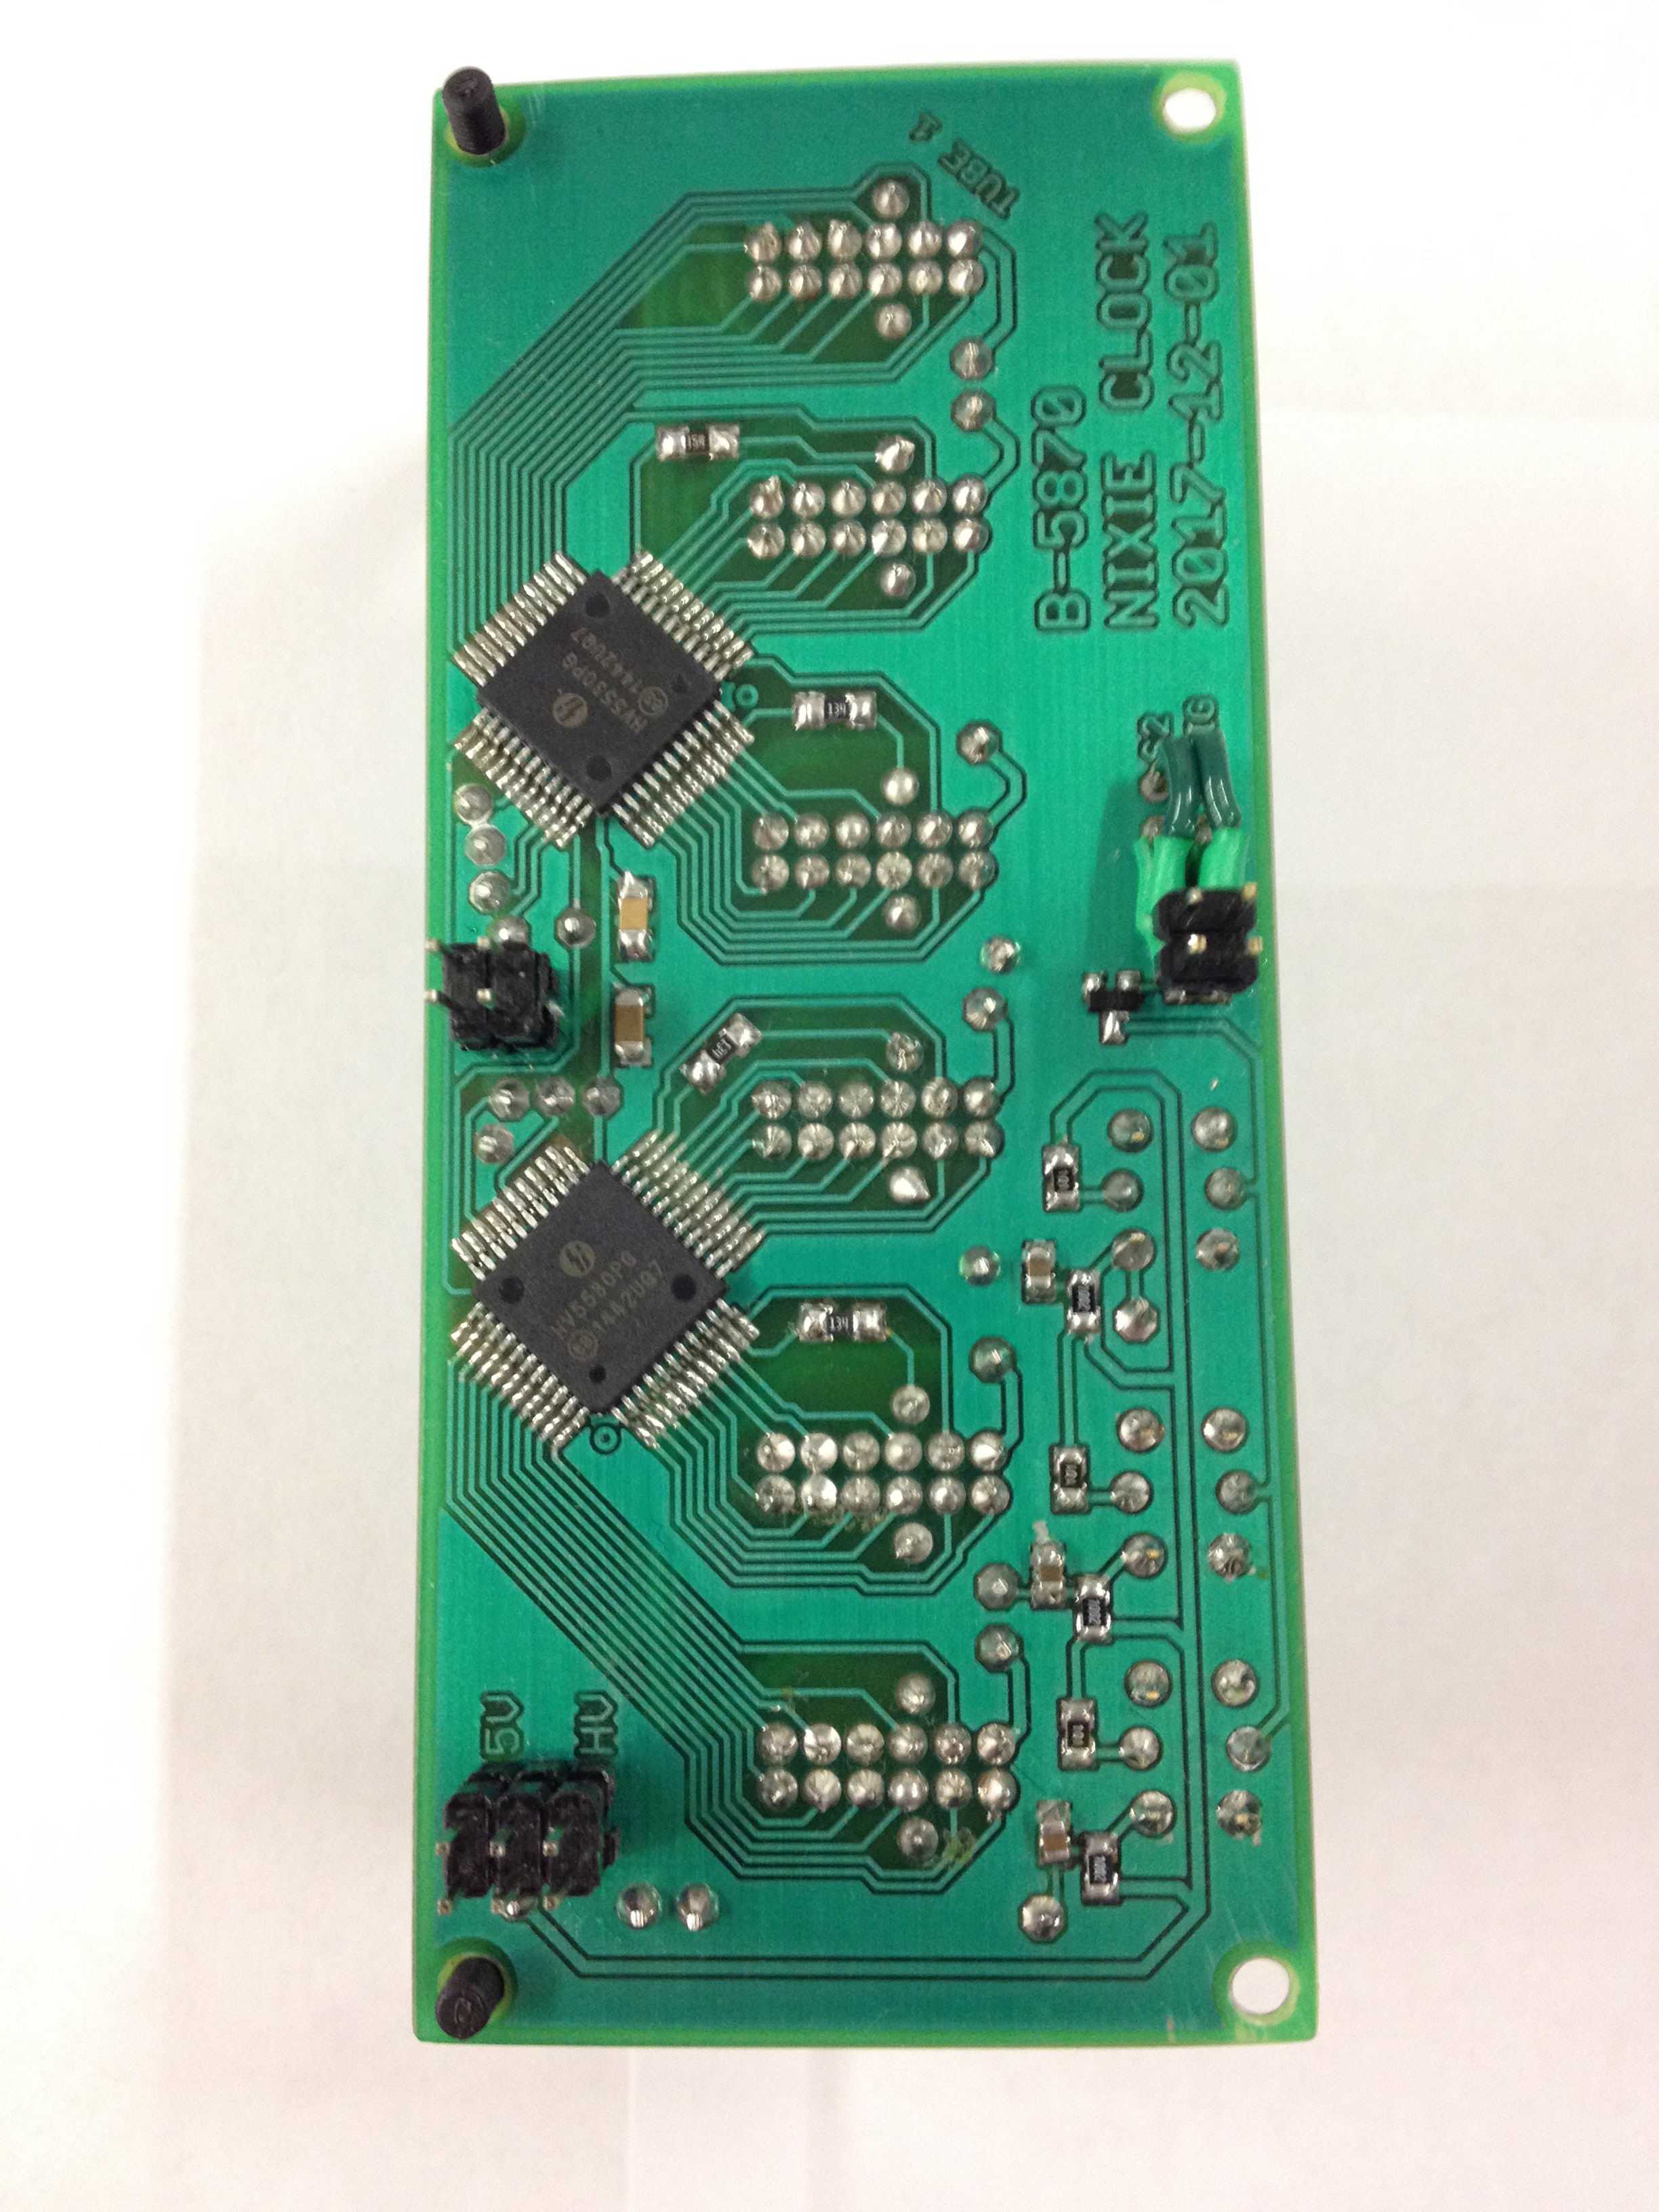
Bottom of board after assembly was finished and everything attached.And then a couple pics of the top of board after assembly.
From the Front
From the Back -
Main board Assembled
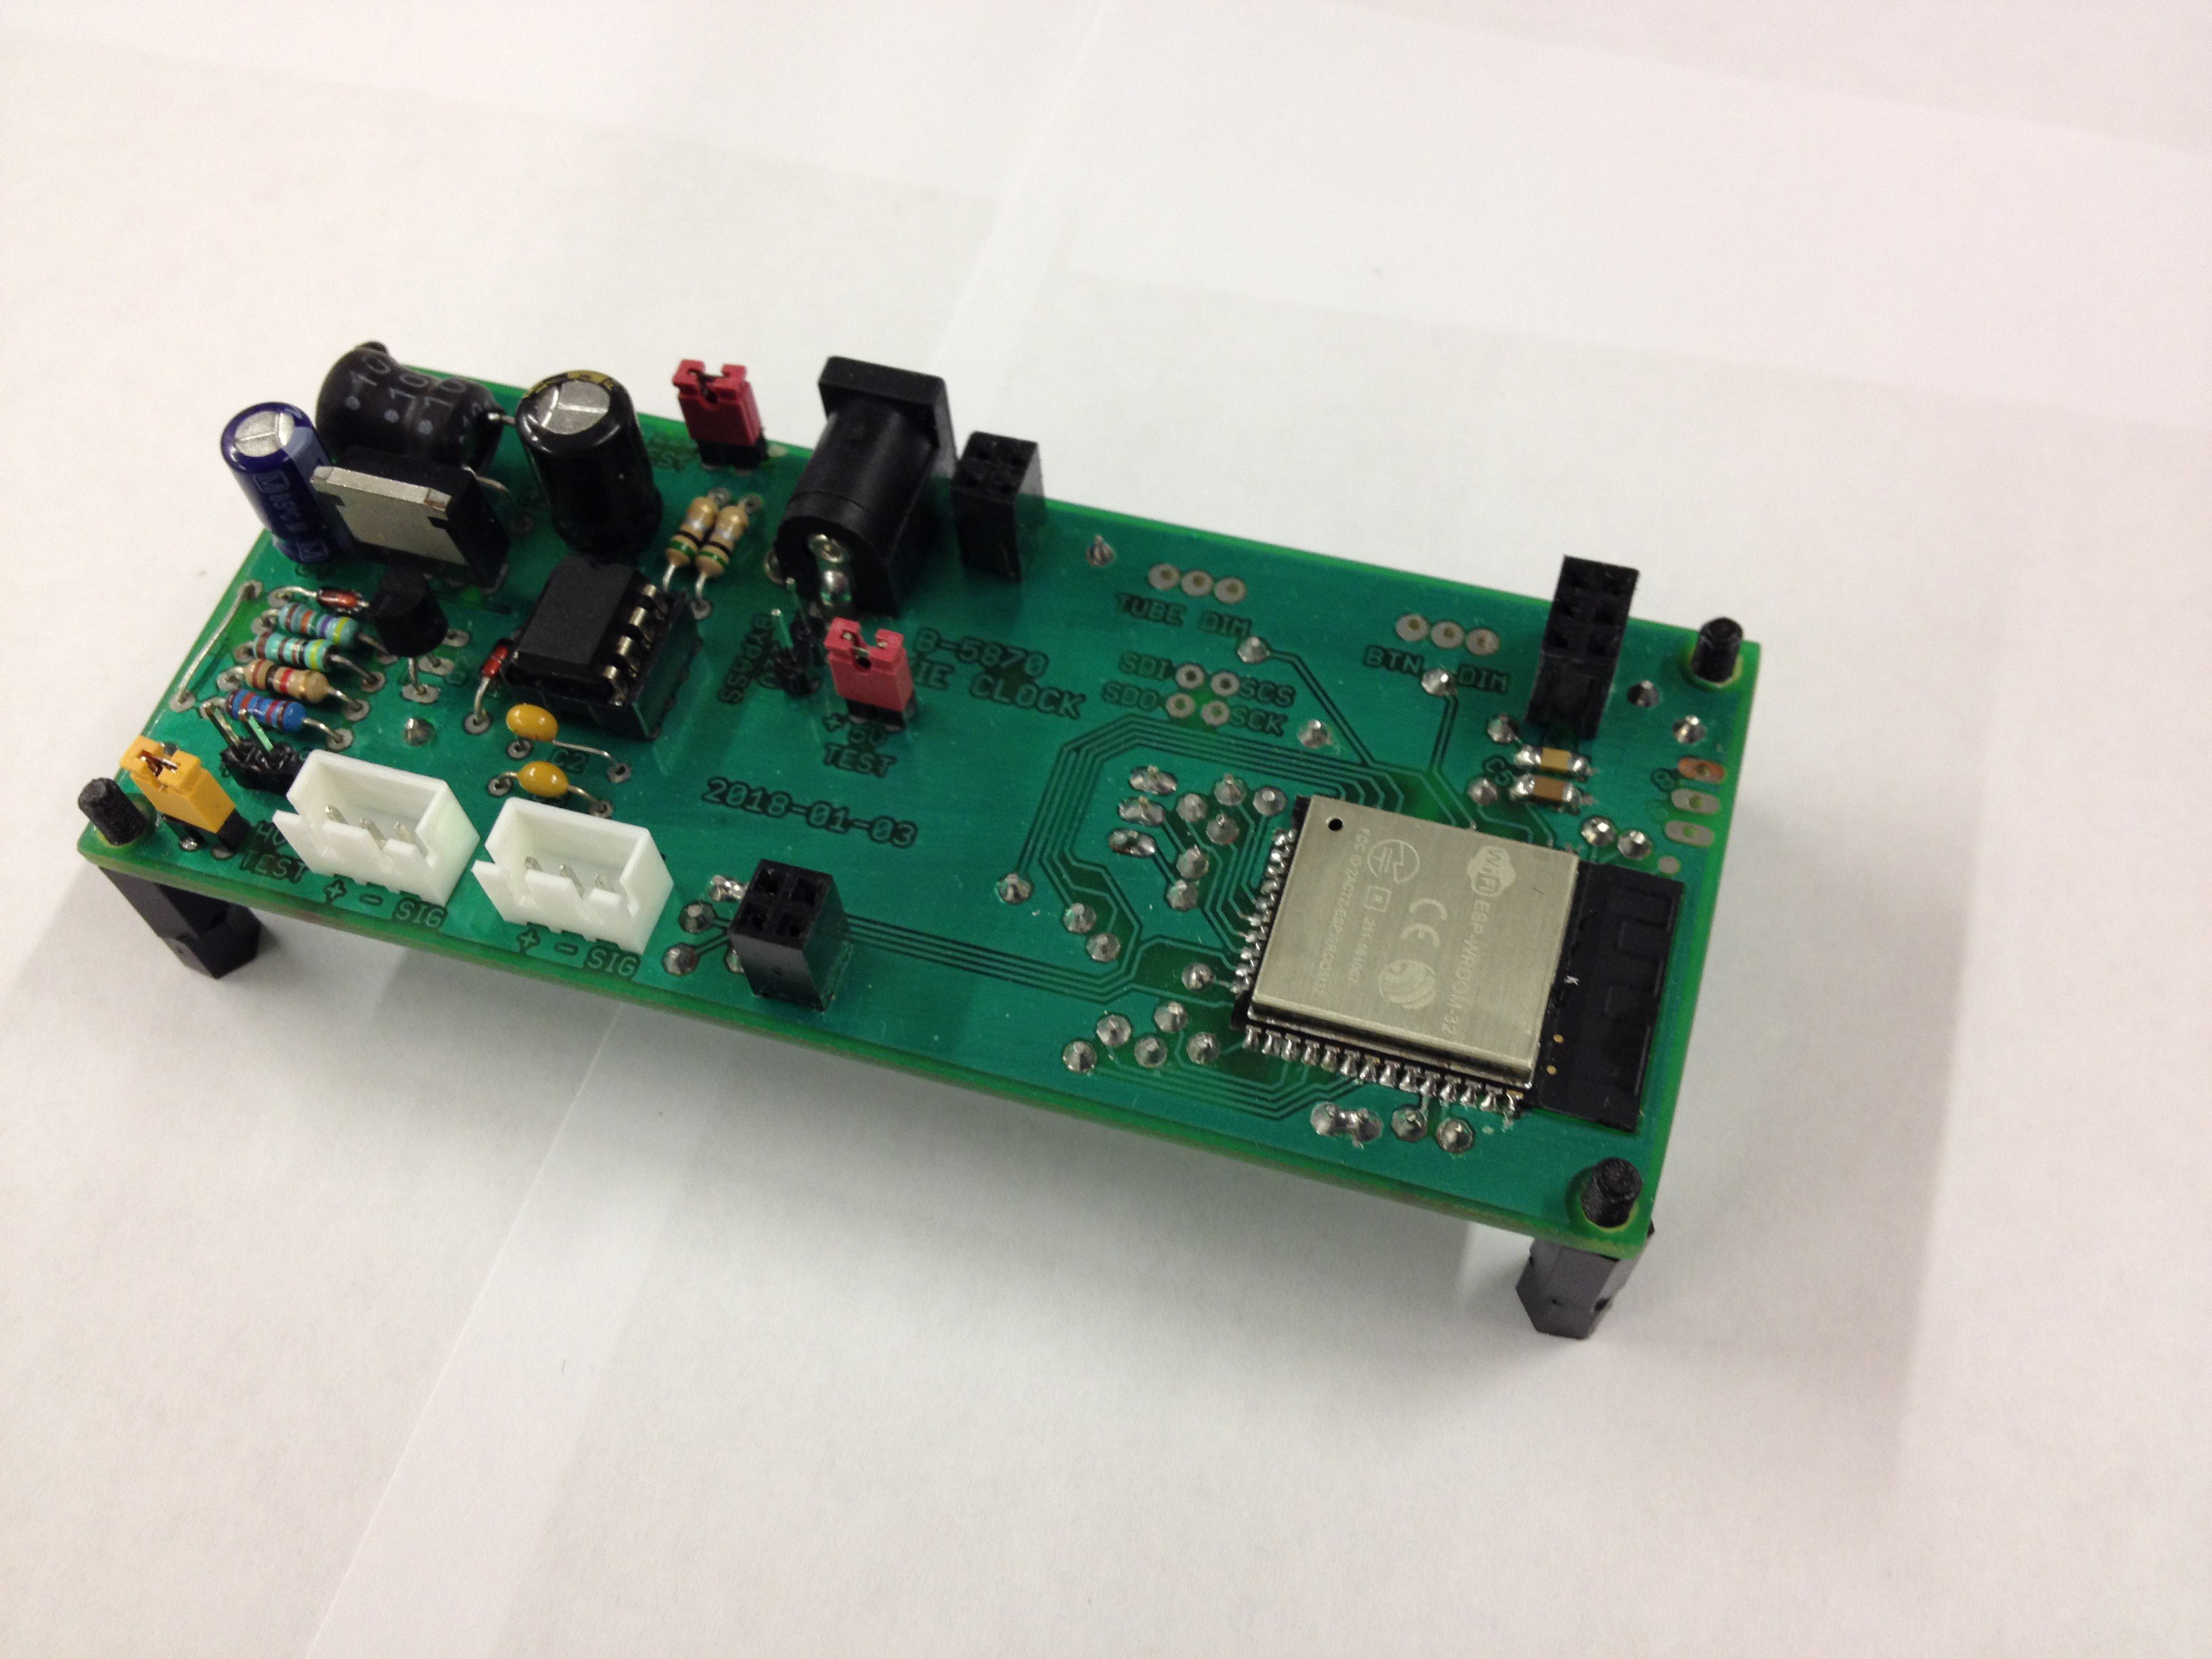
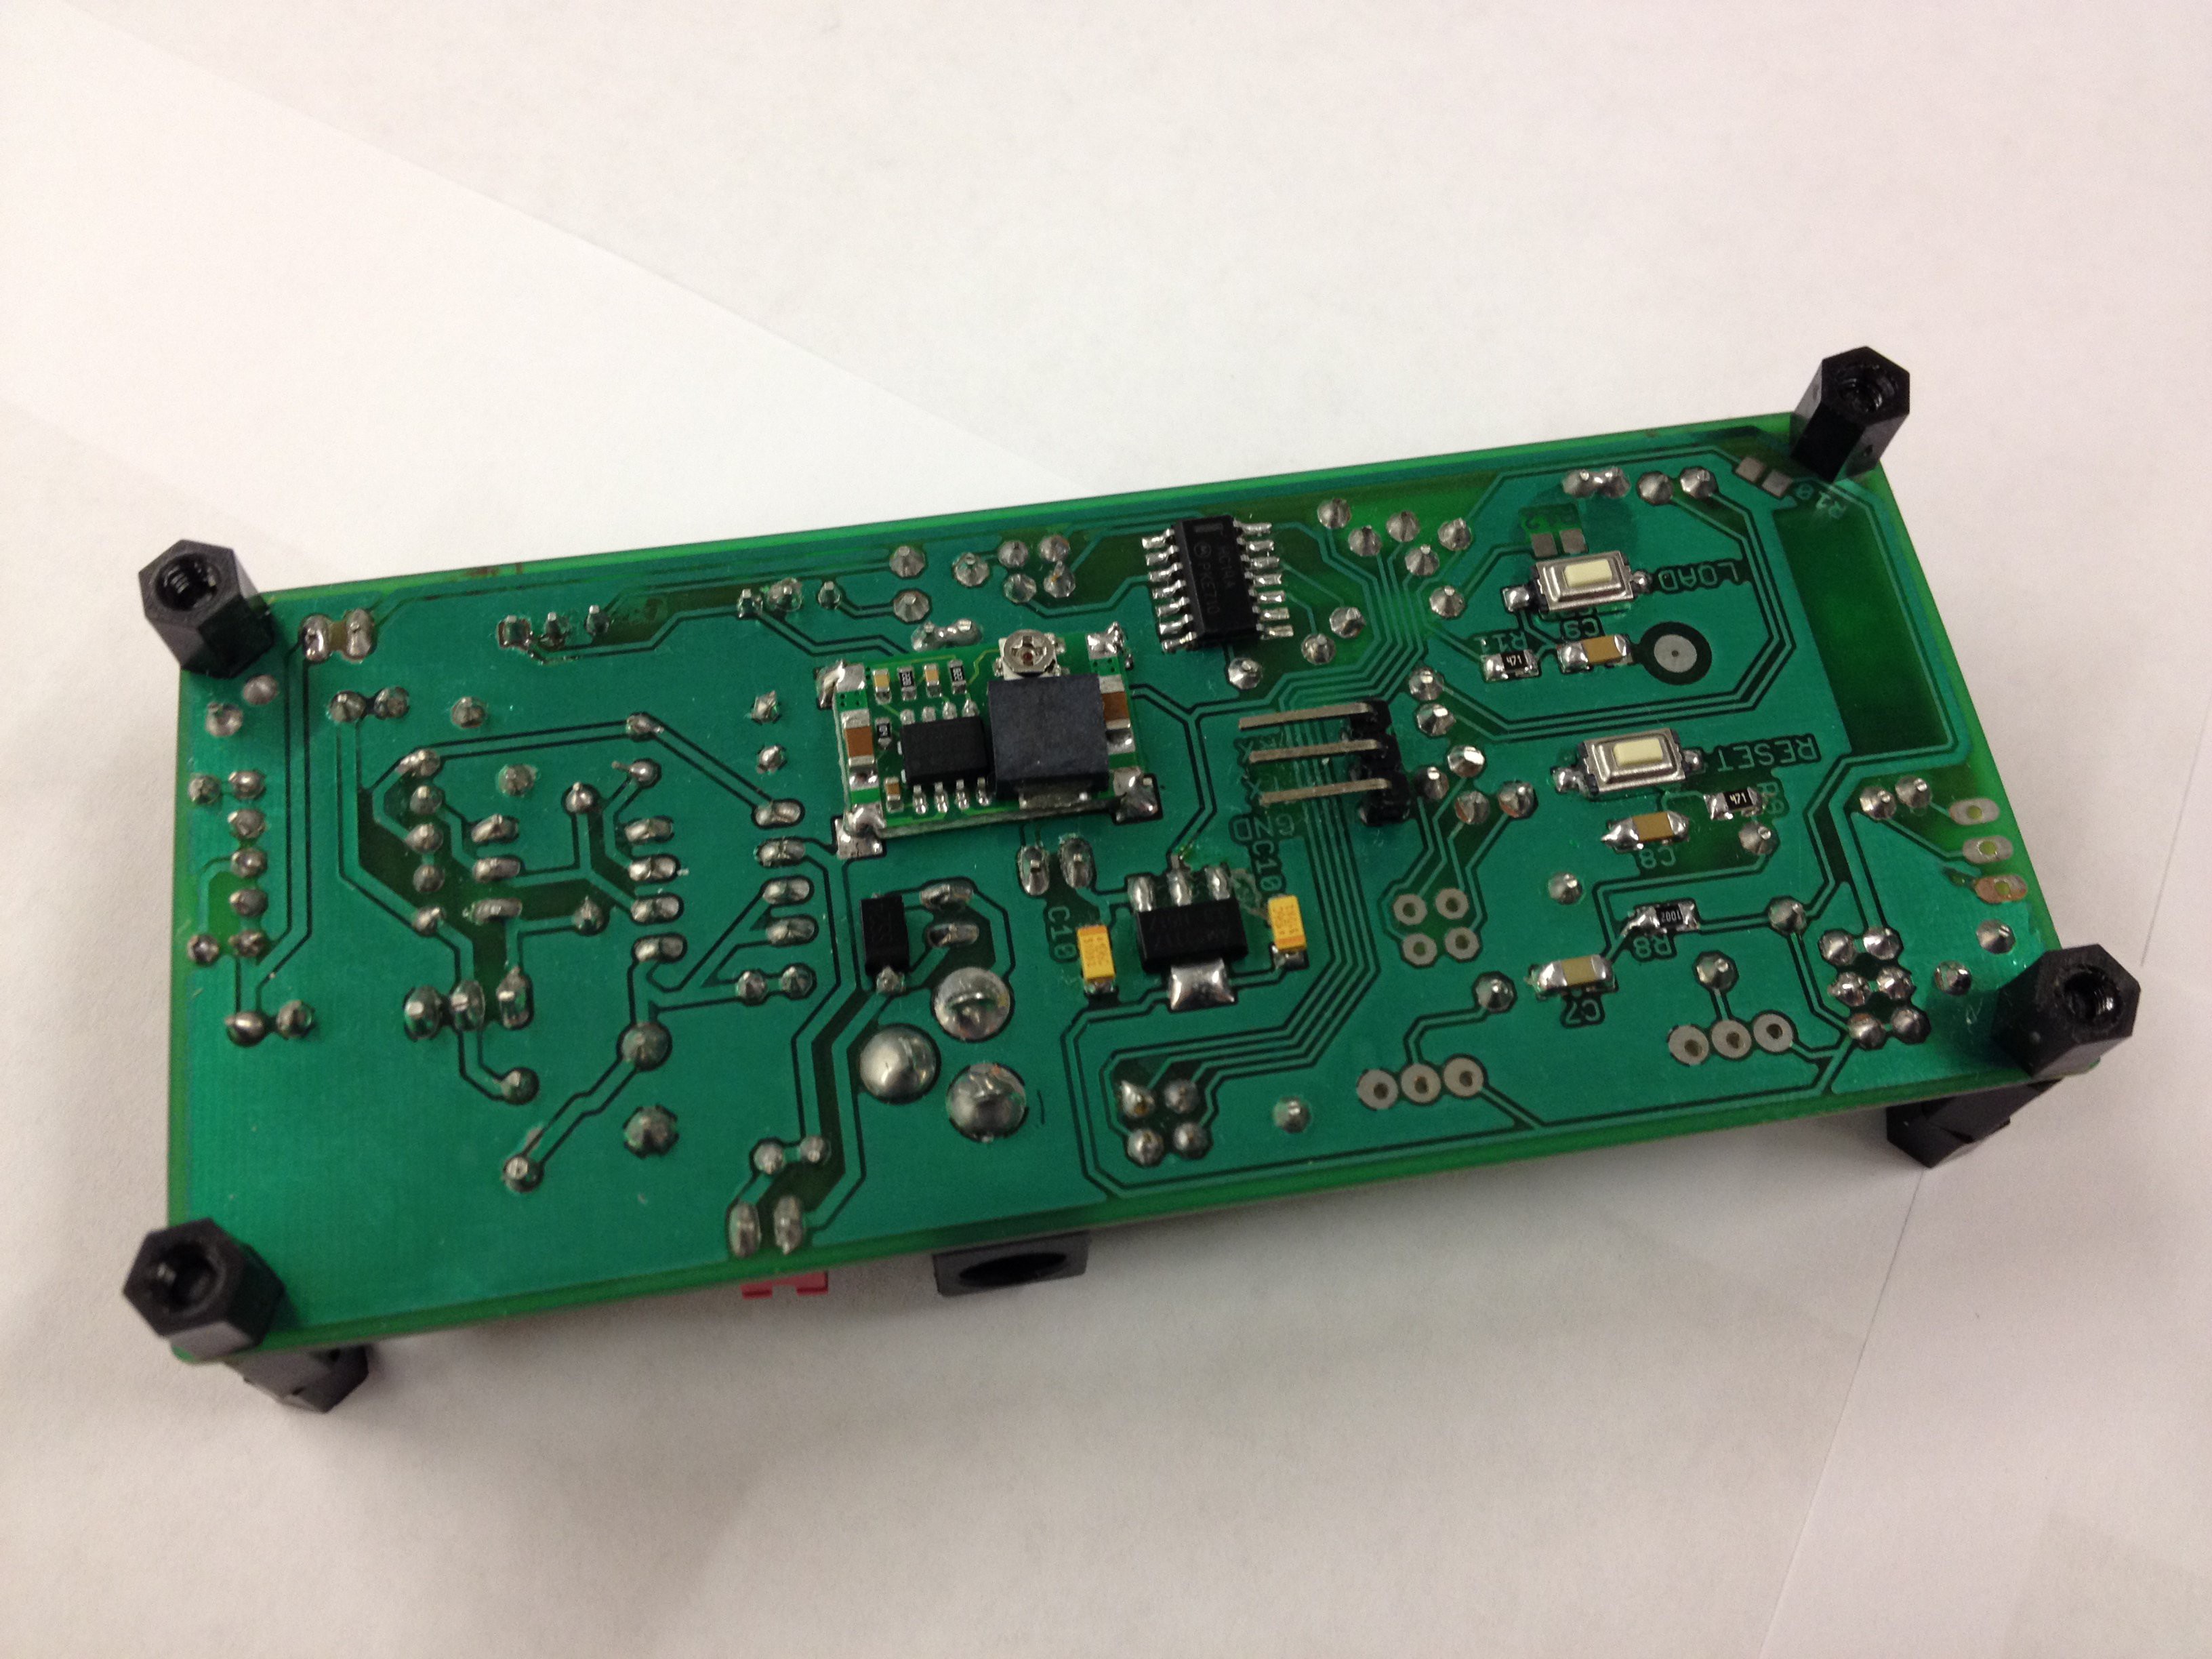
02/16/2018 at 20:44 • 0 commentsSome pics after assembling the main board and after having tested the high voltage supply and making sure the ESP32 was functioning correctly and able to be programmed.
TopBottom
-
Making the main PCB
02/16/2018 at 20:40 • 1 commentNext came making the main PCB
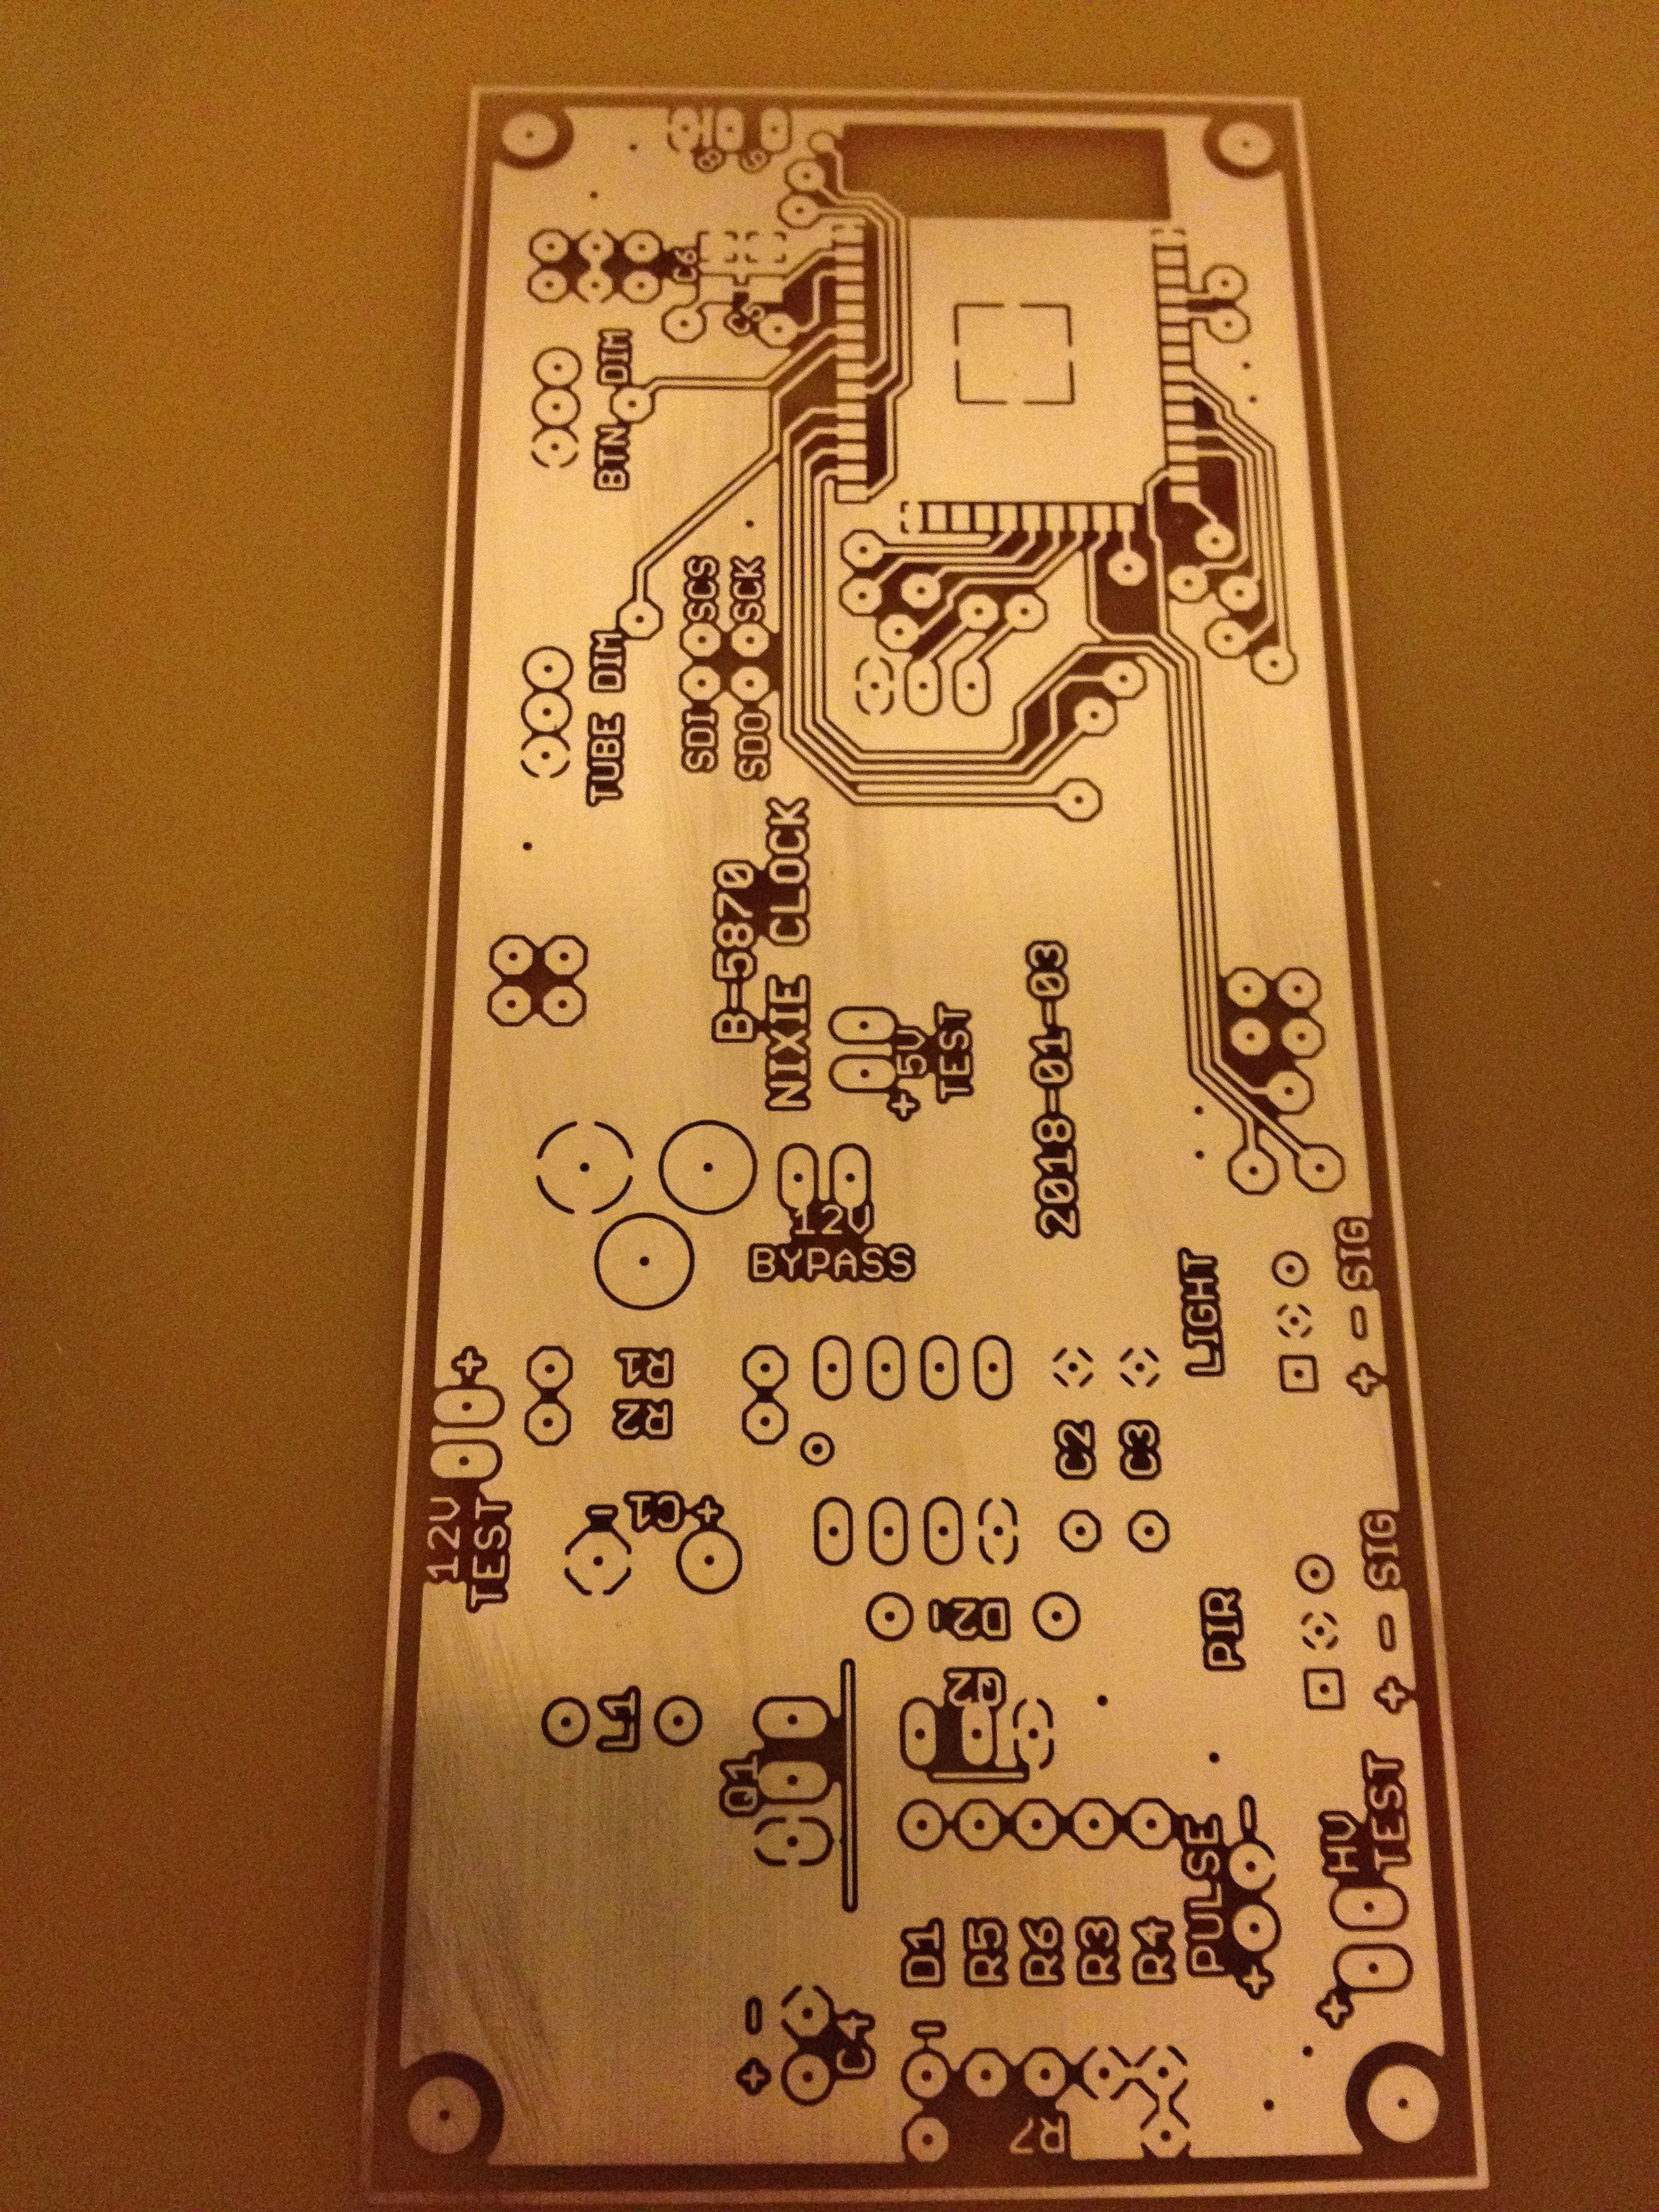
Top after etching and tinning
![]()
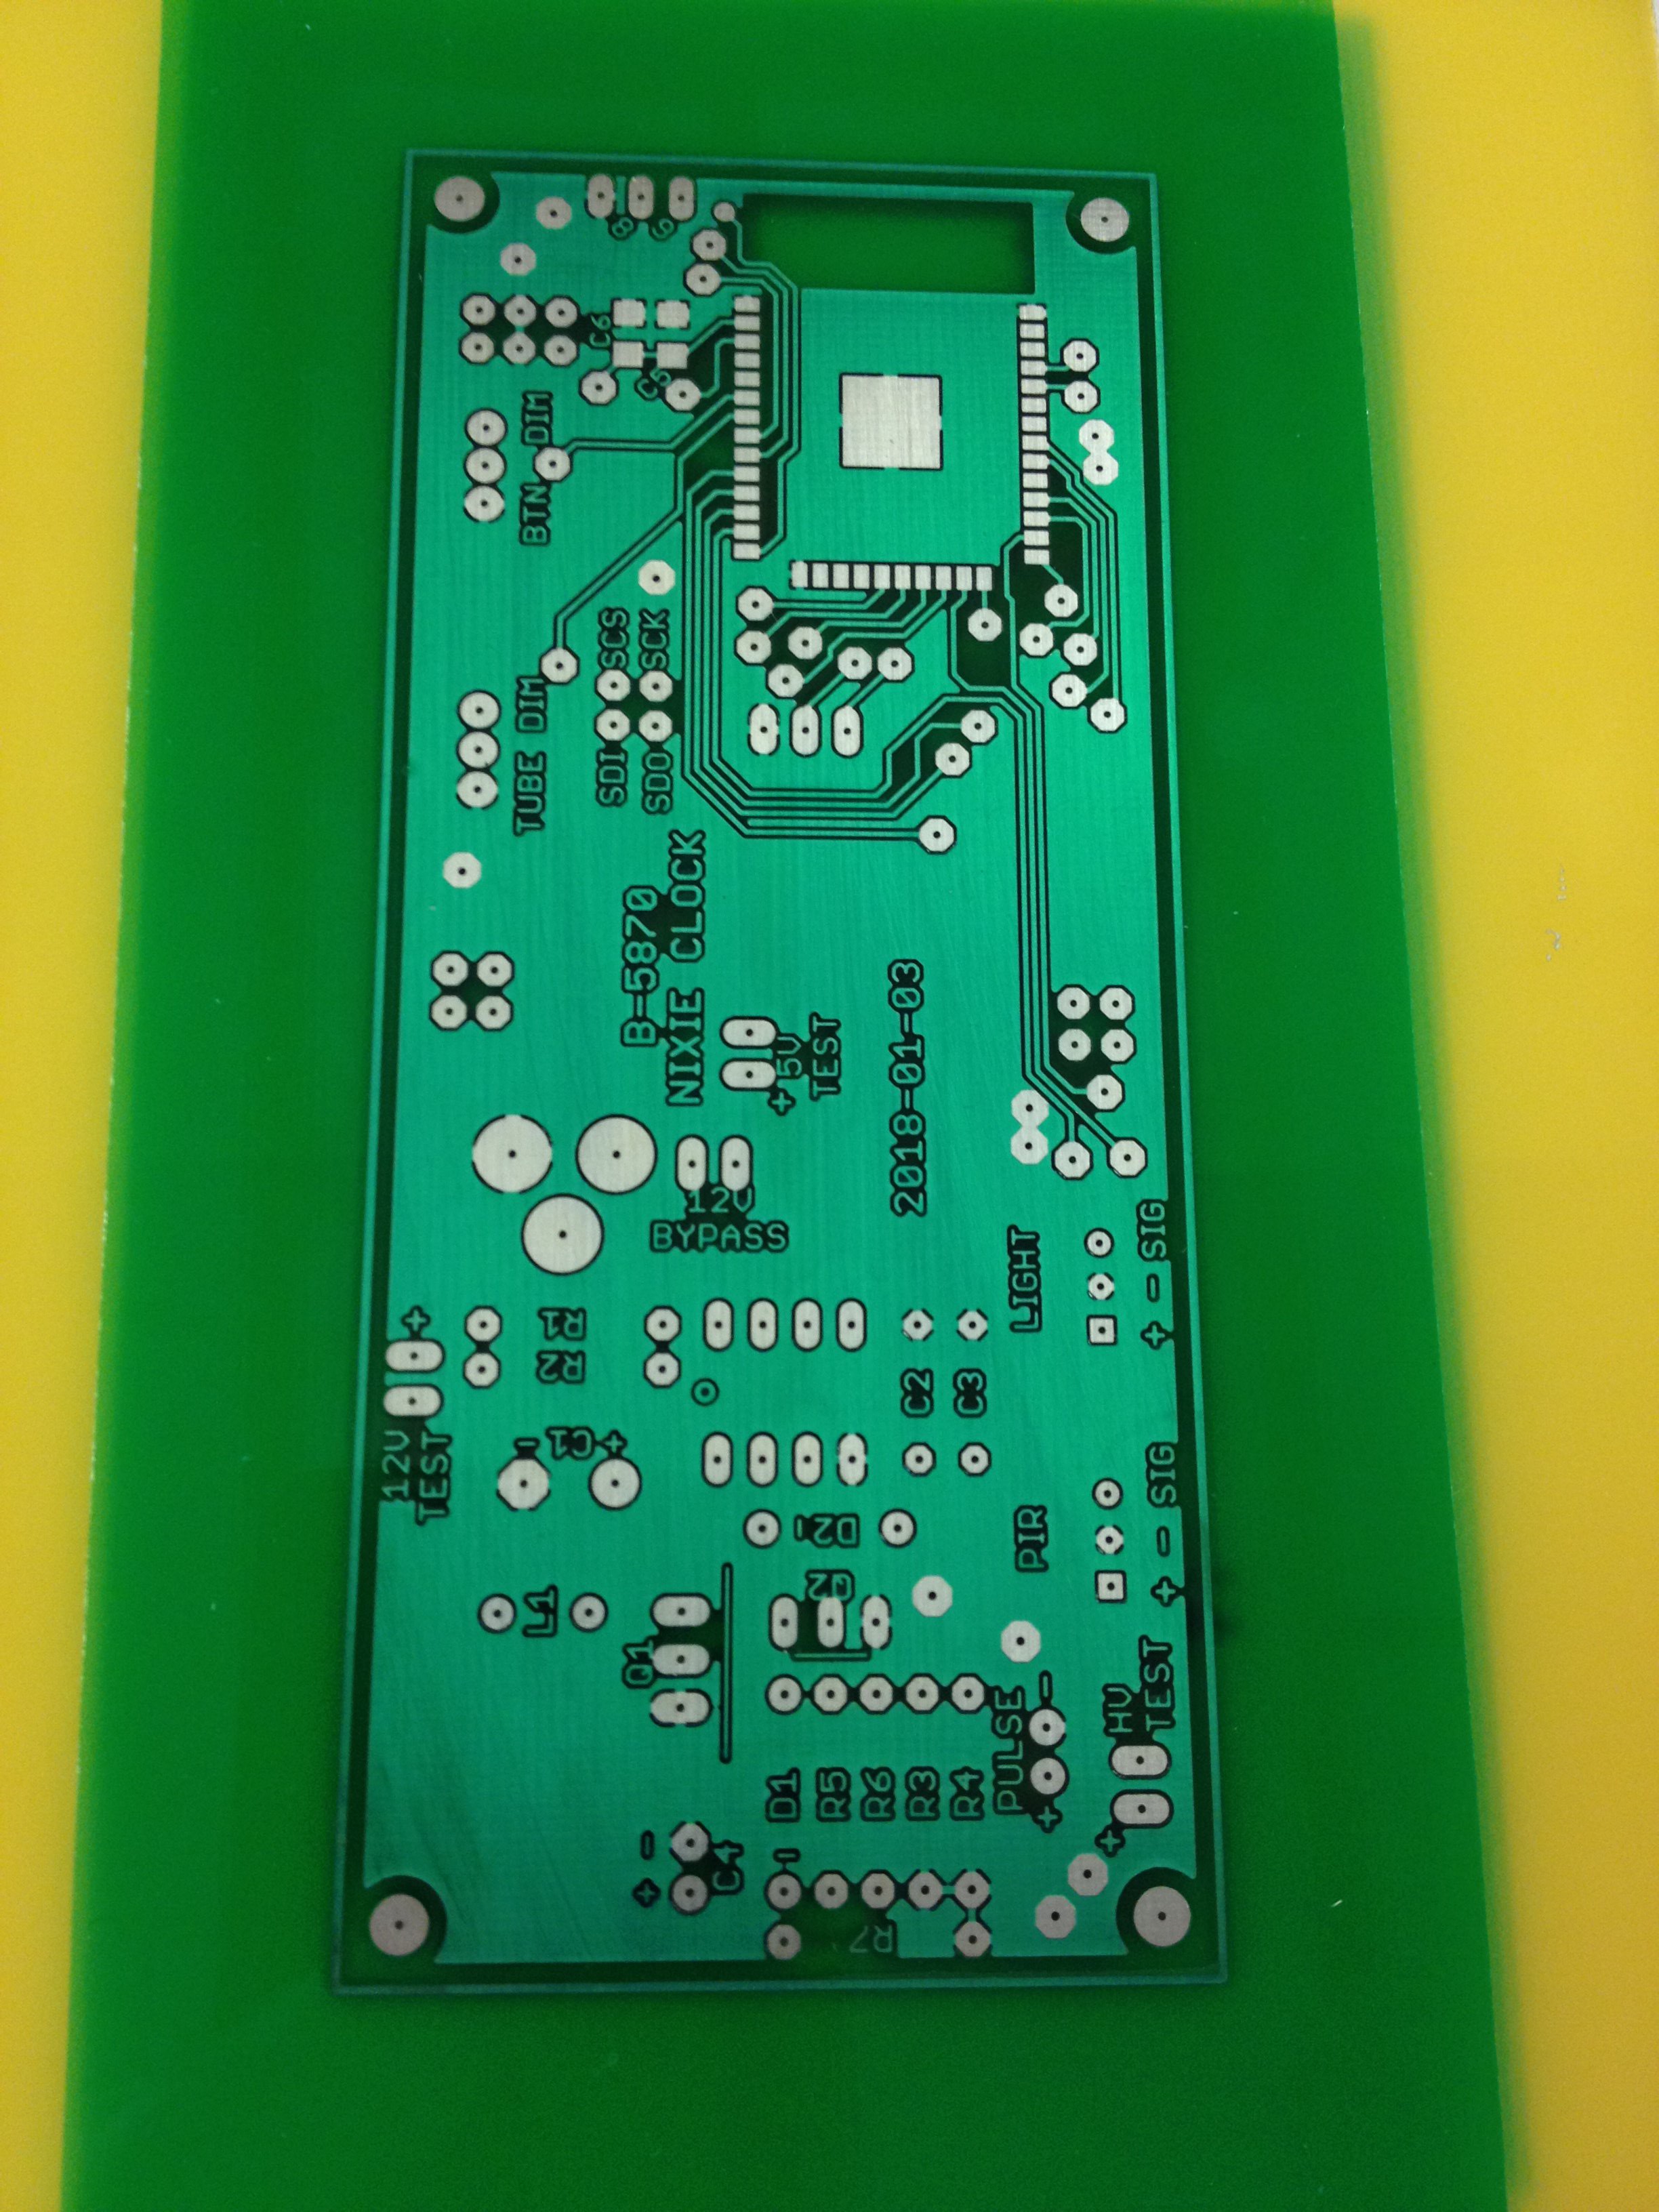
Top after applying solder mask
Bottom after applying solder mask
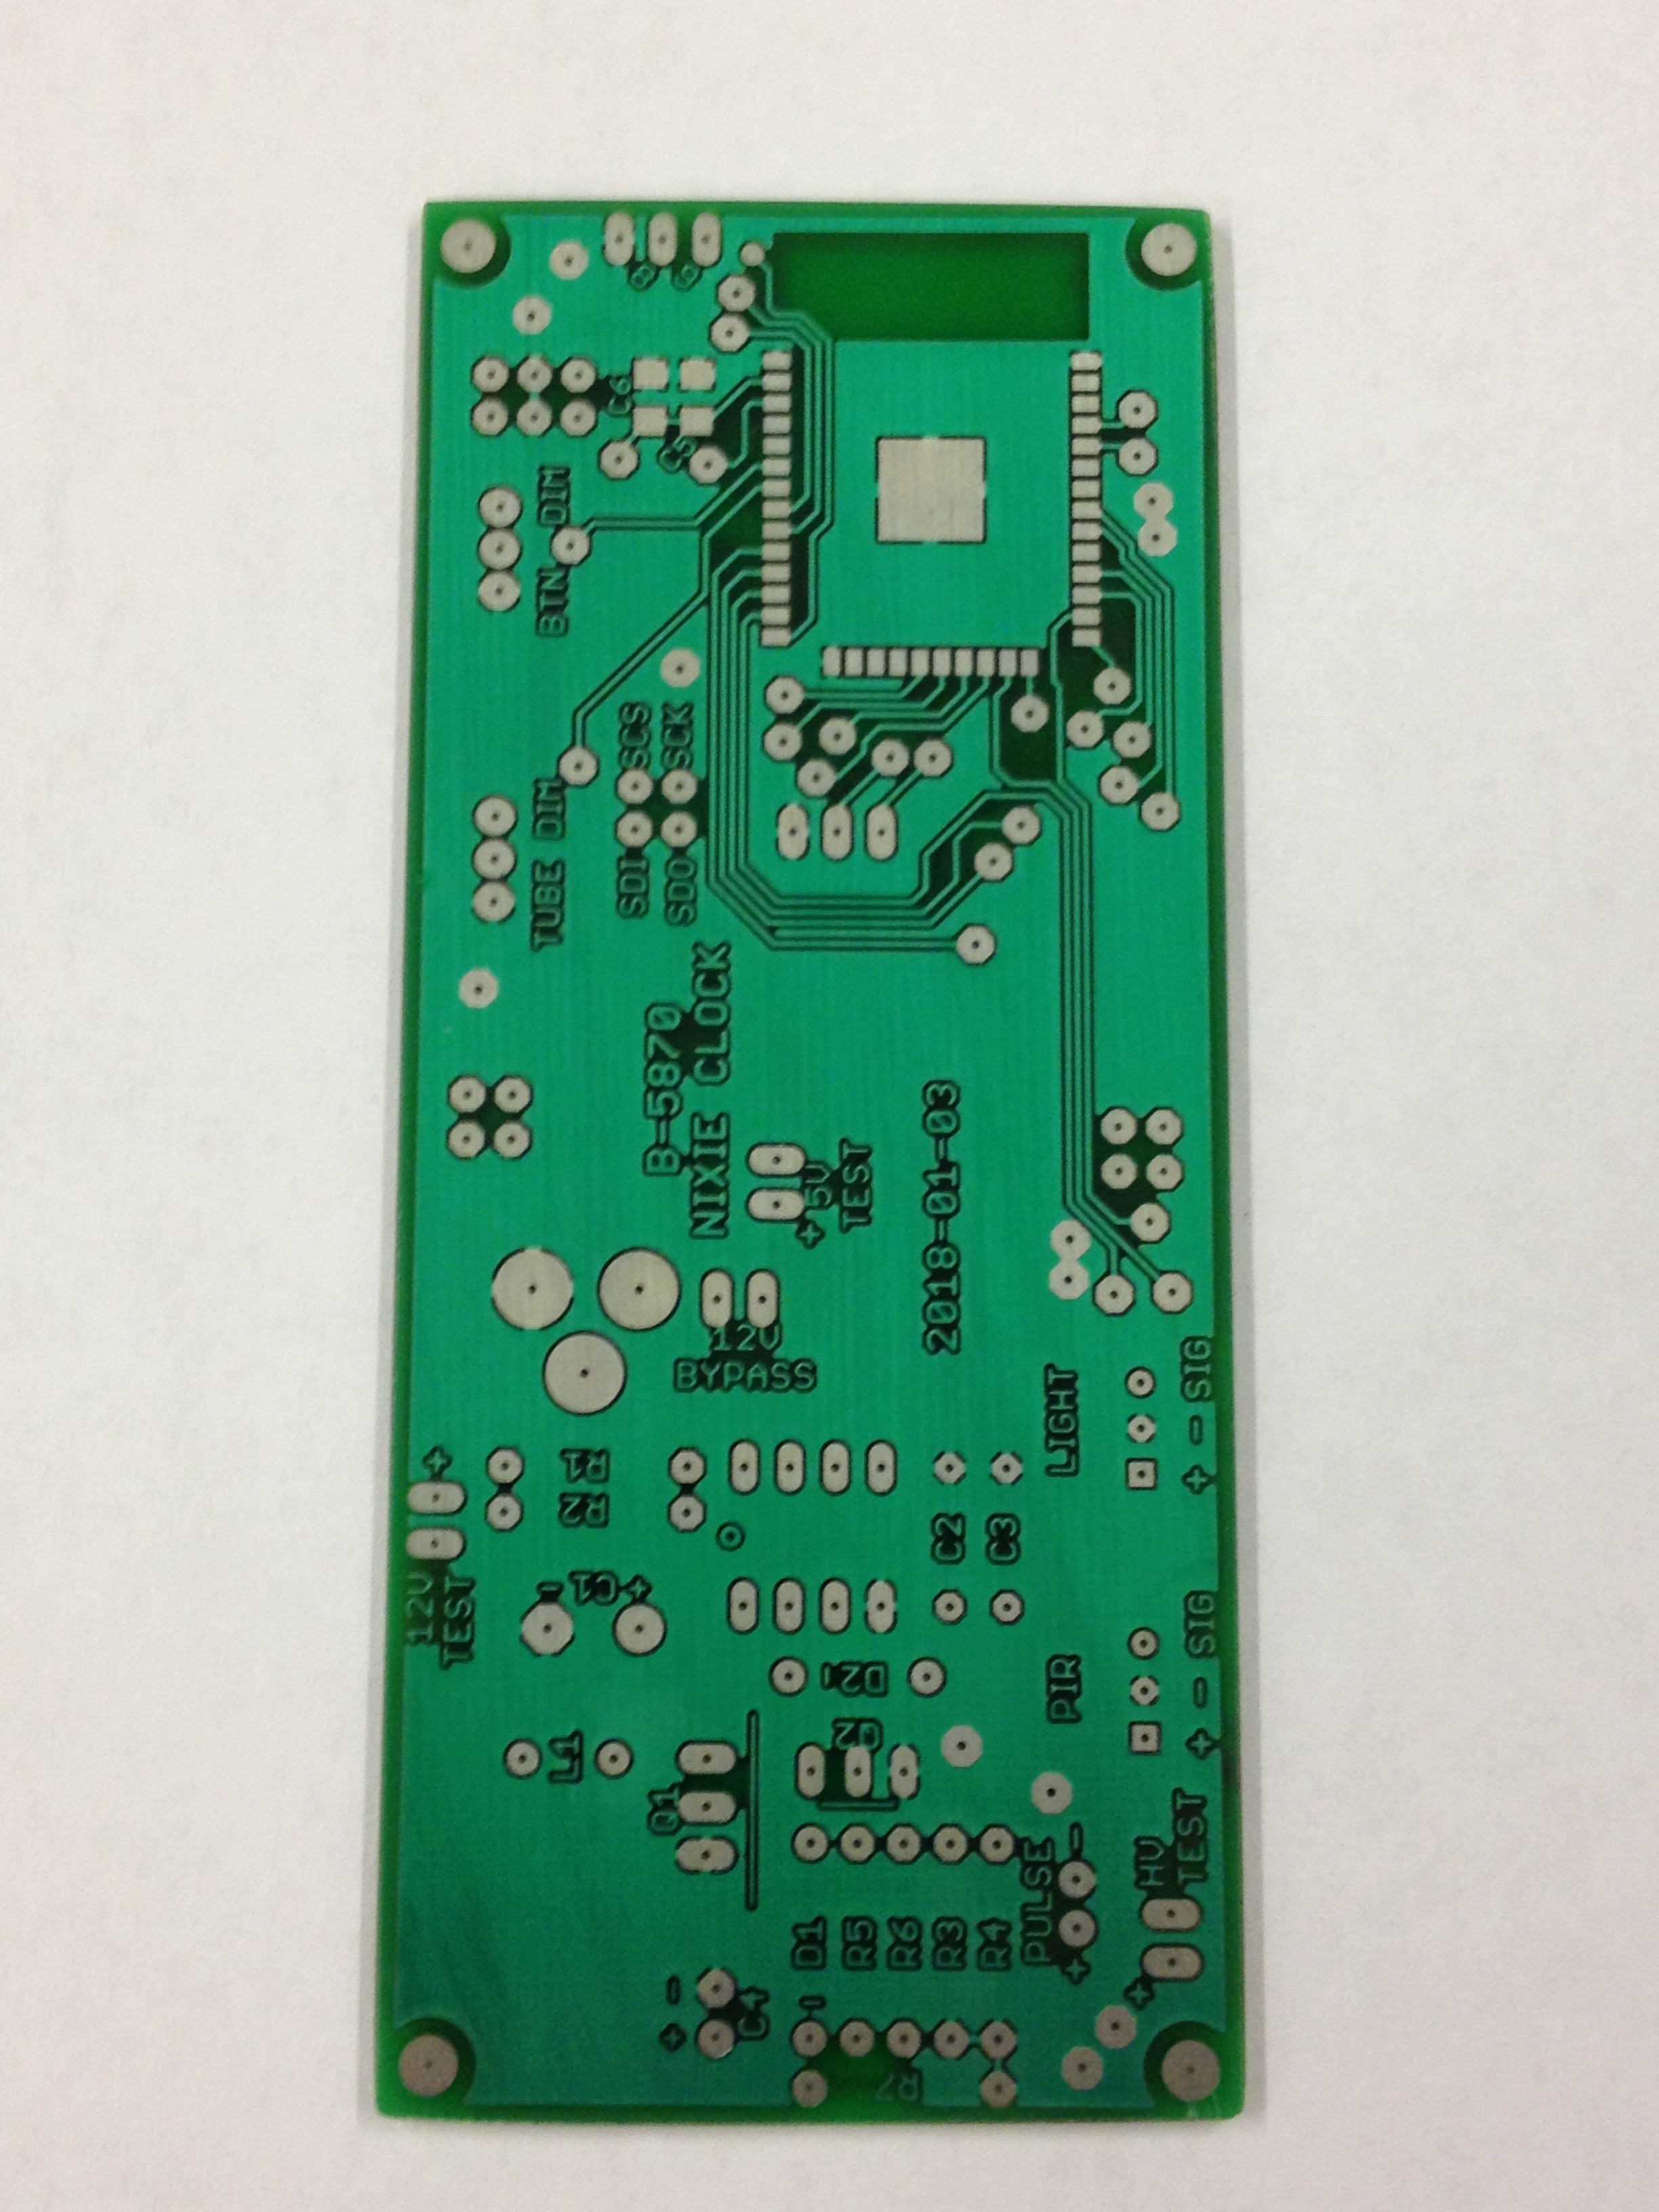
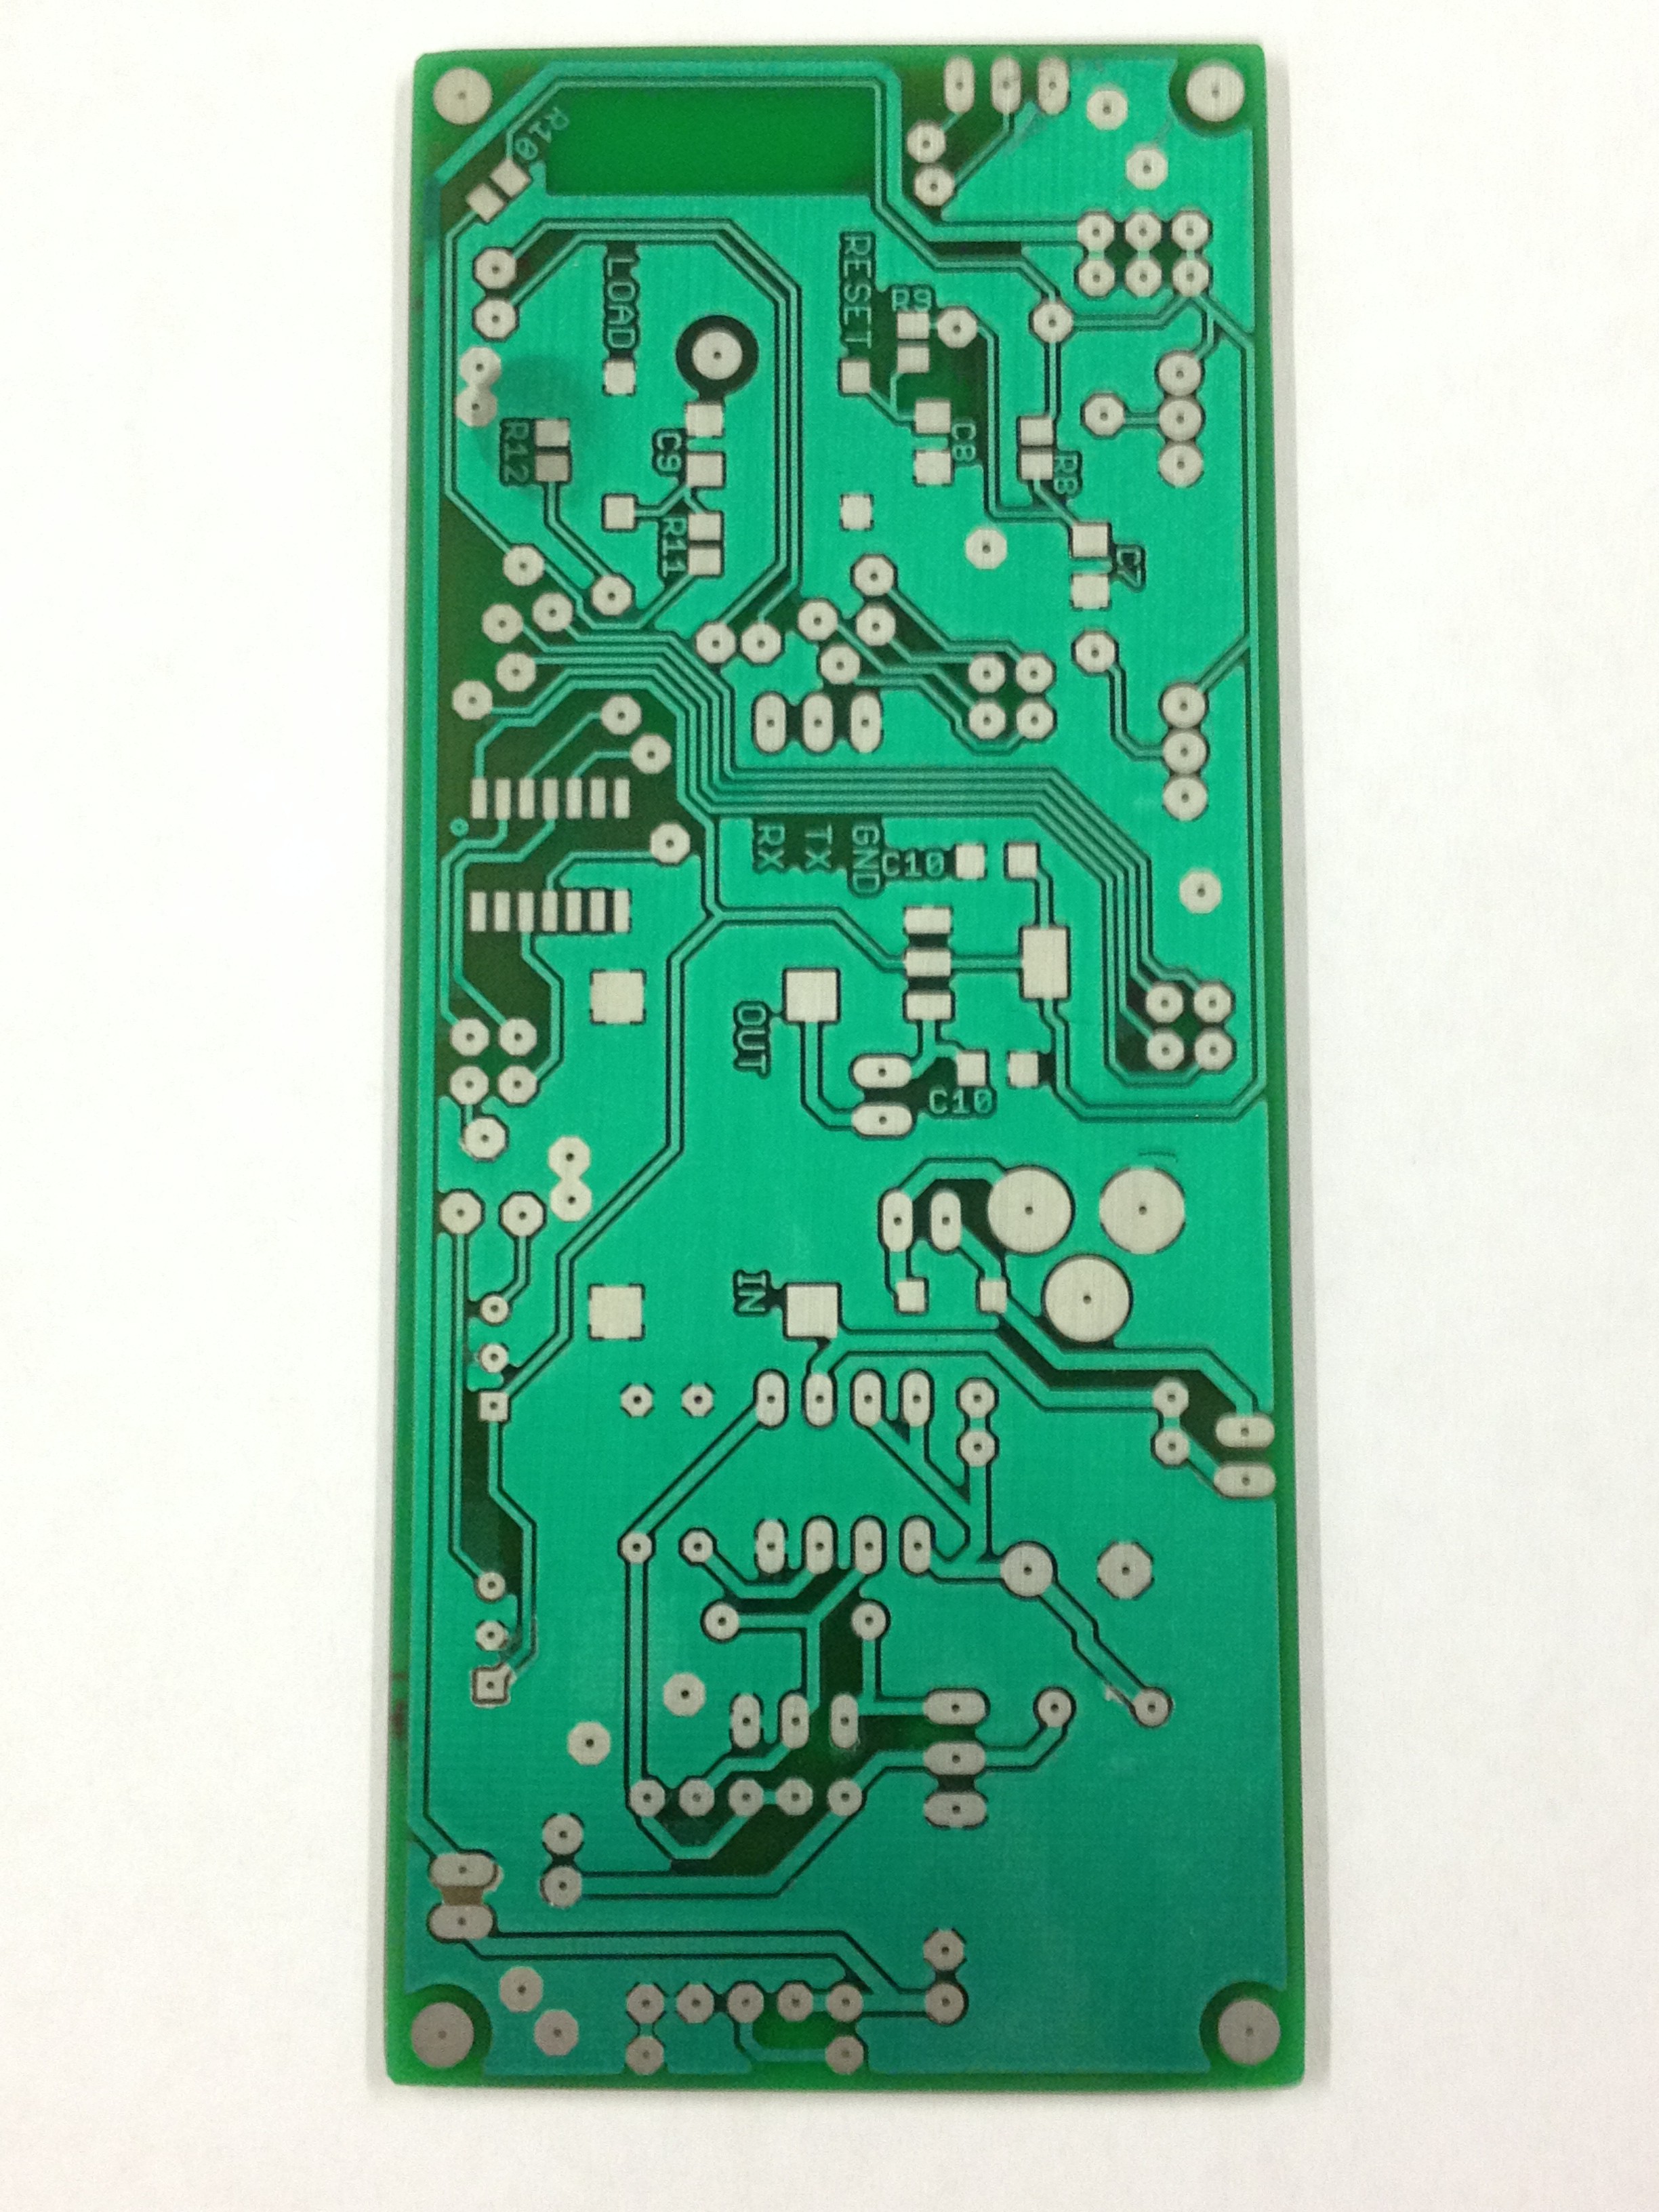
Top after cutting to size
Bottom after cutting to size
-
Making the PCB for the Tubes
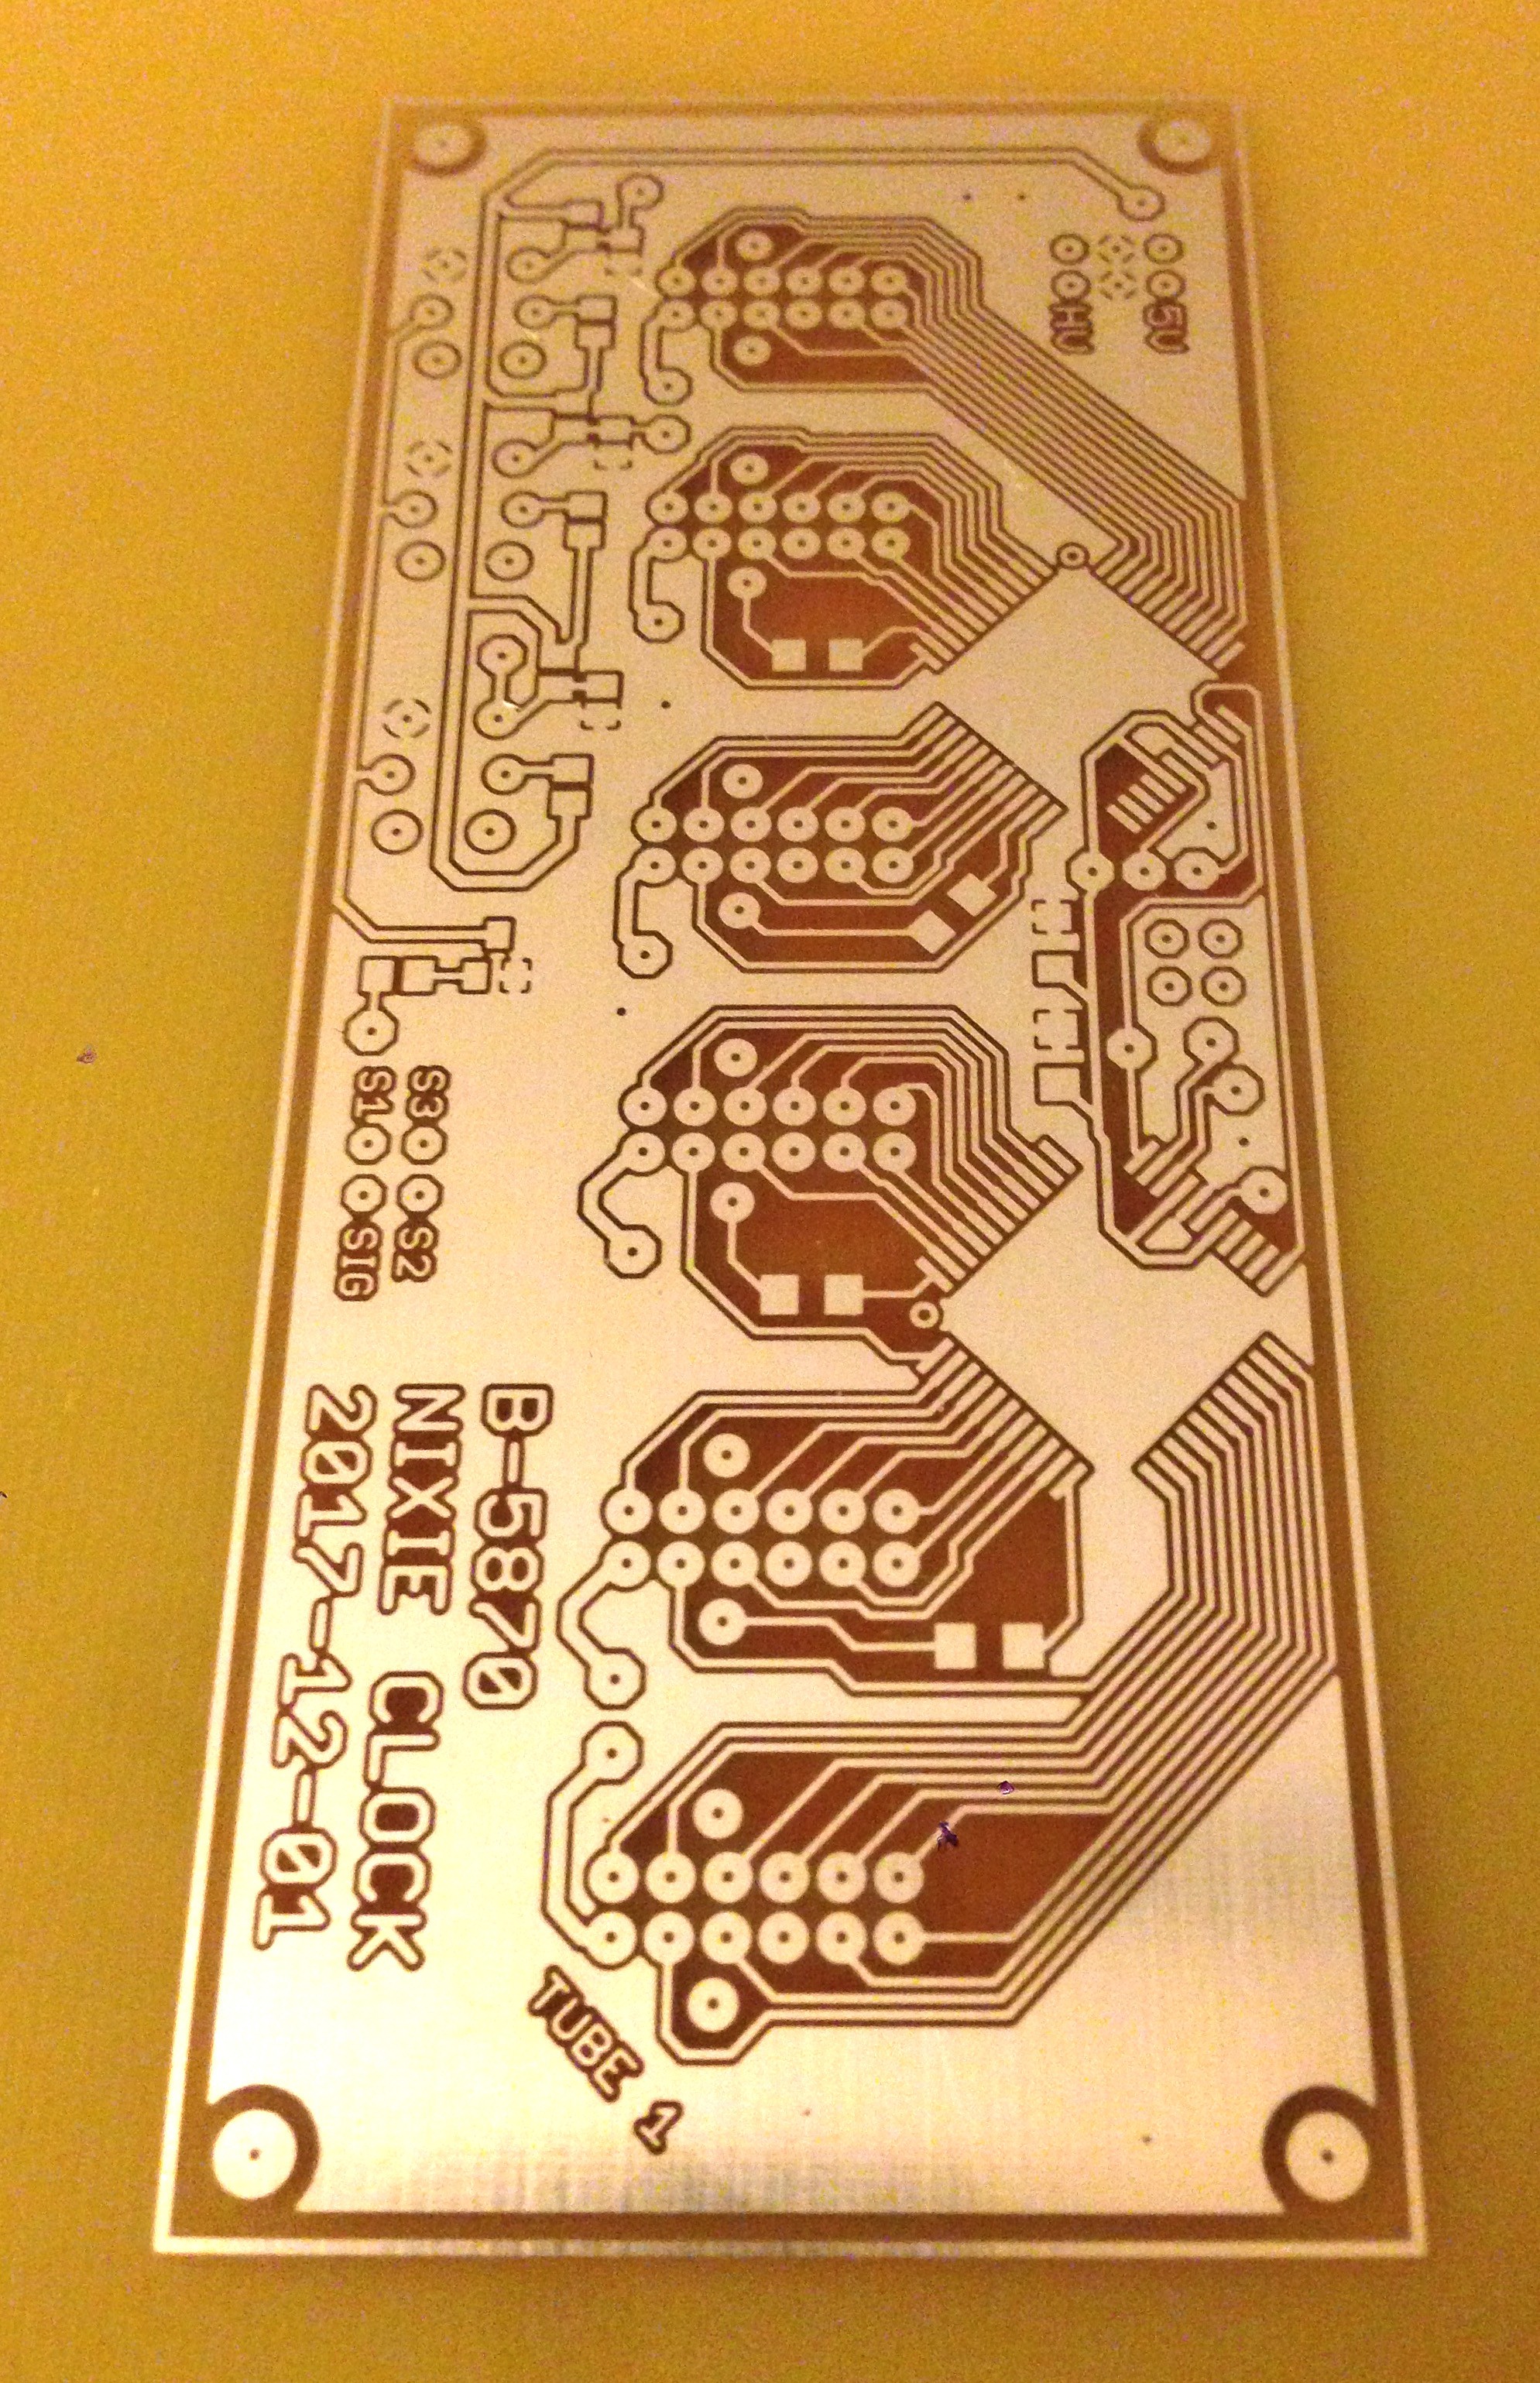
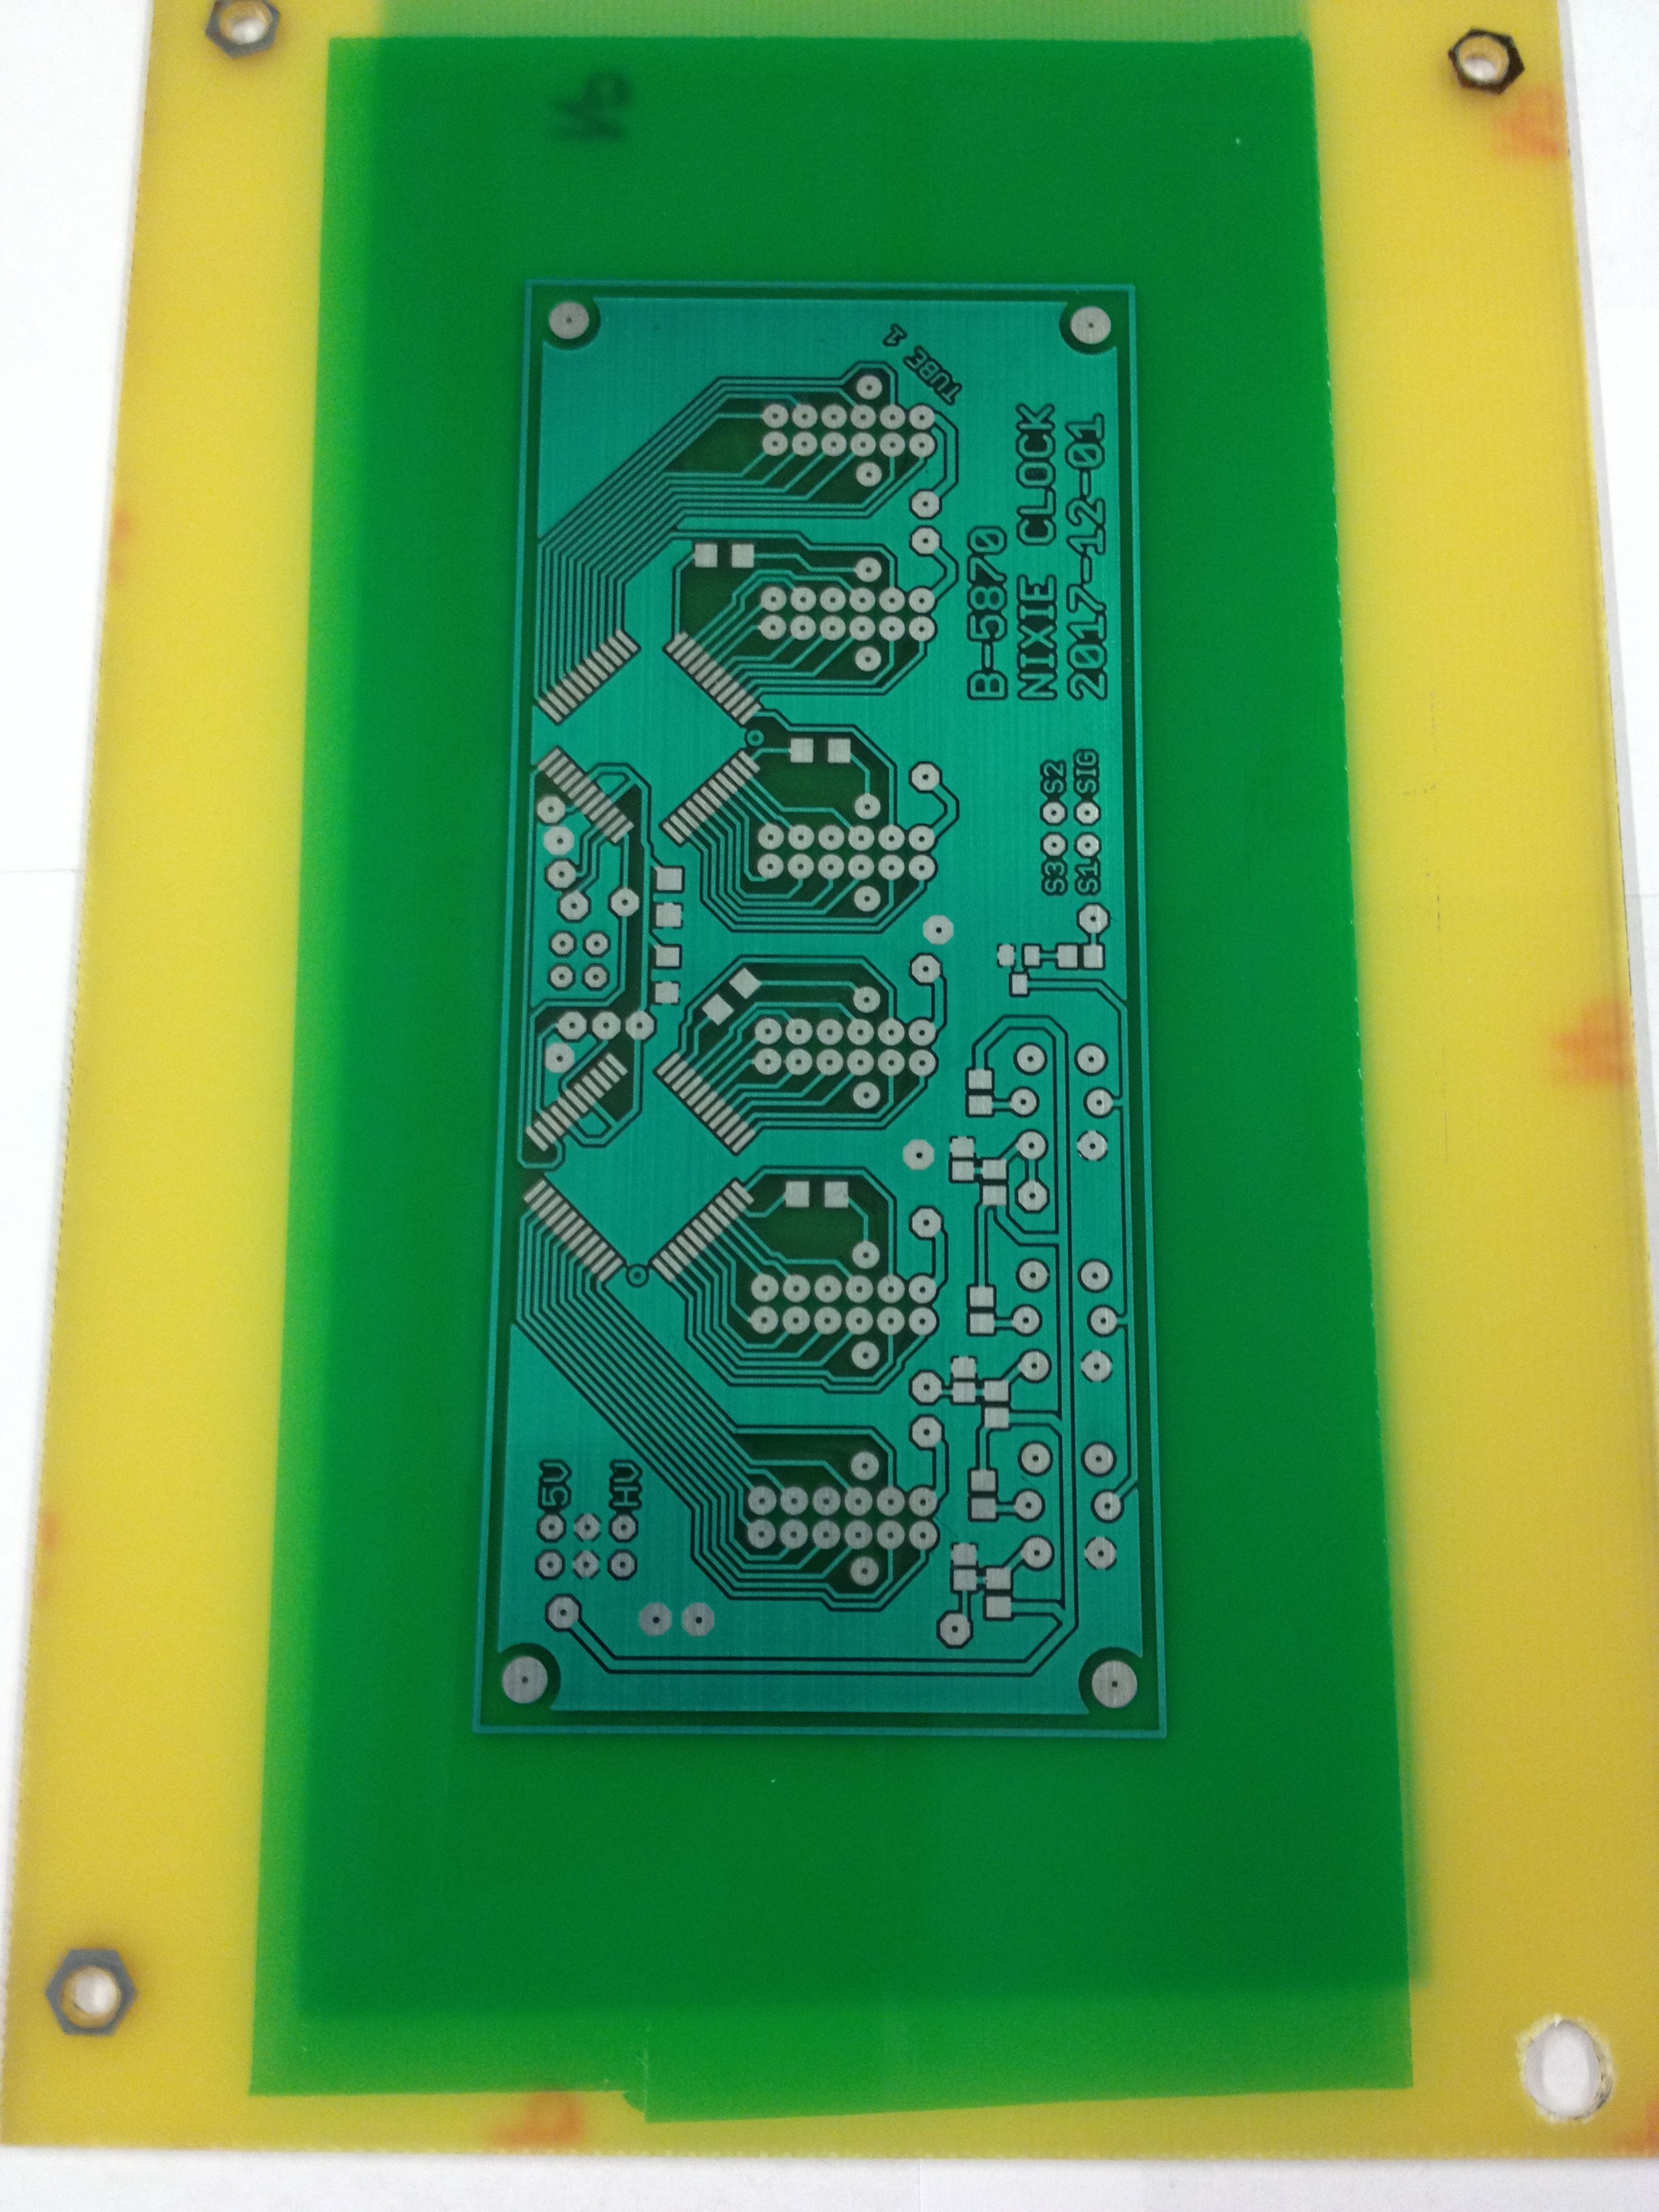
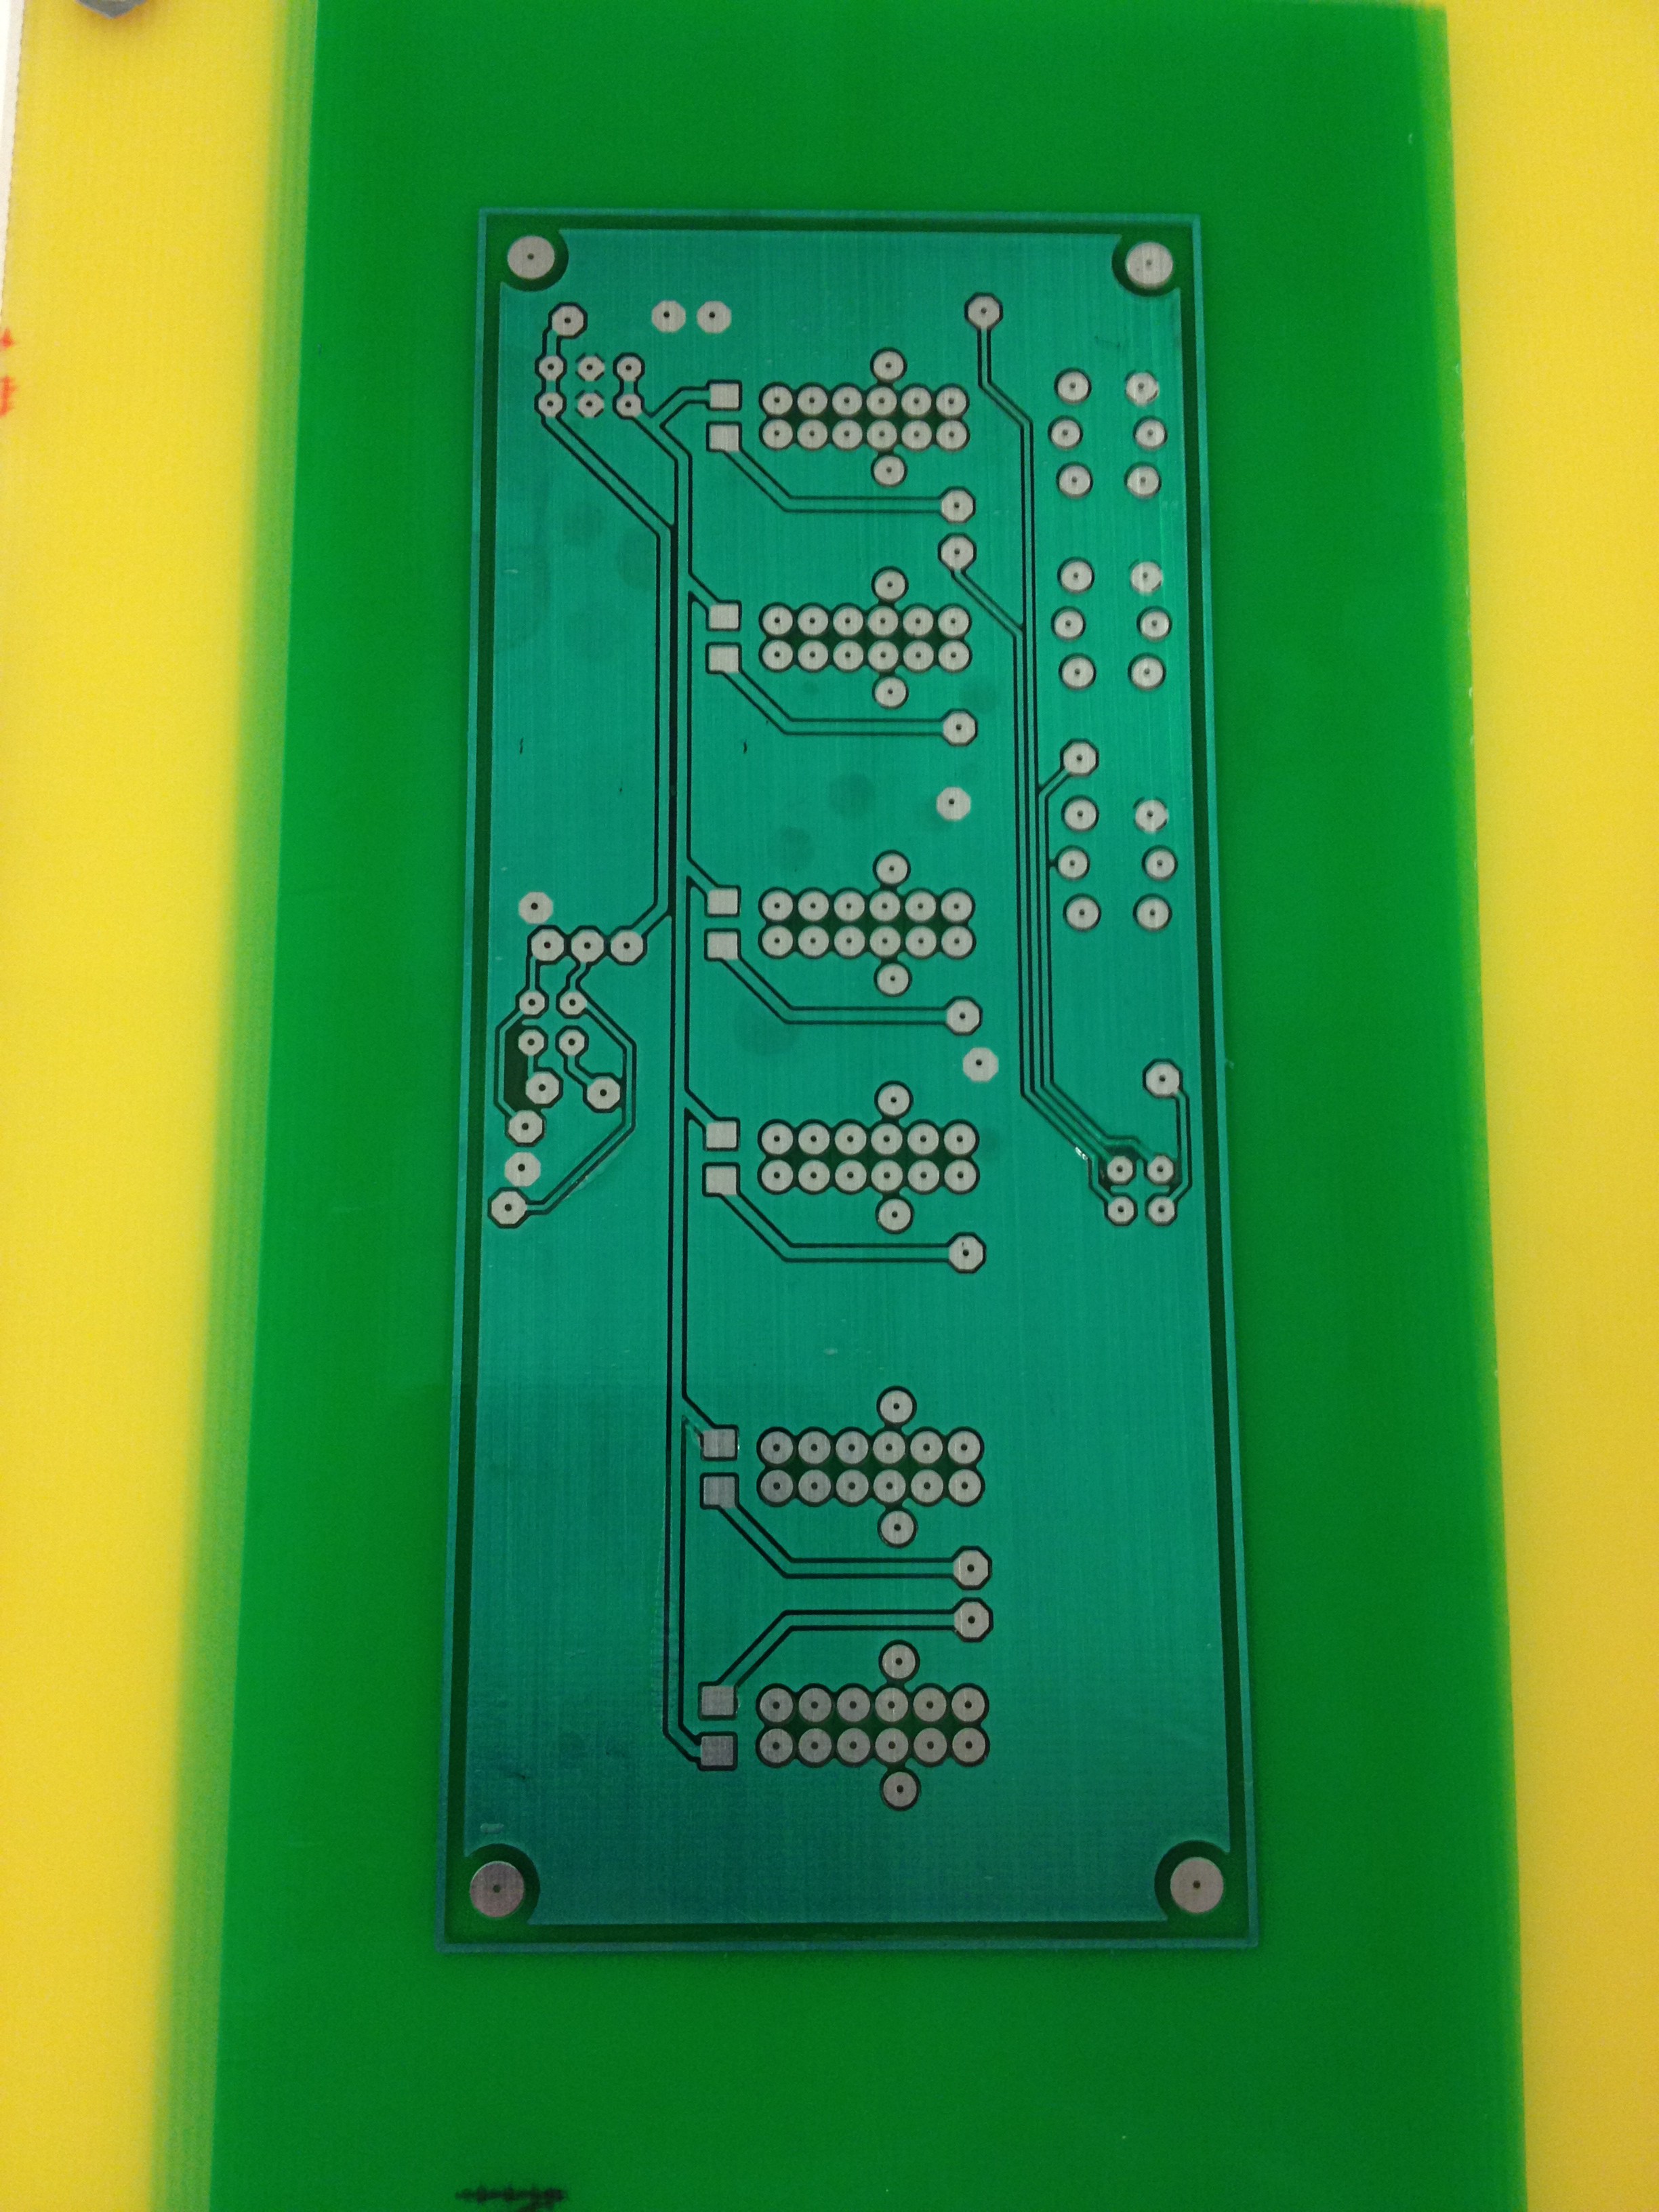
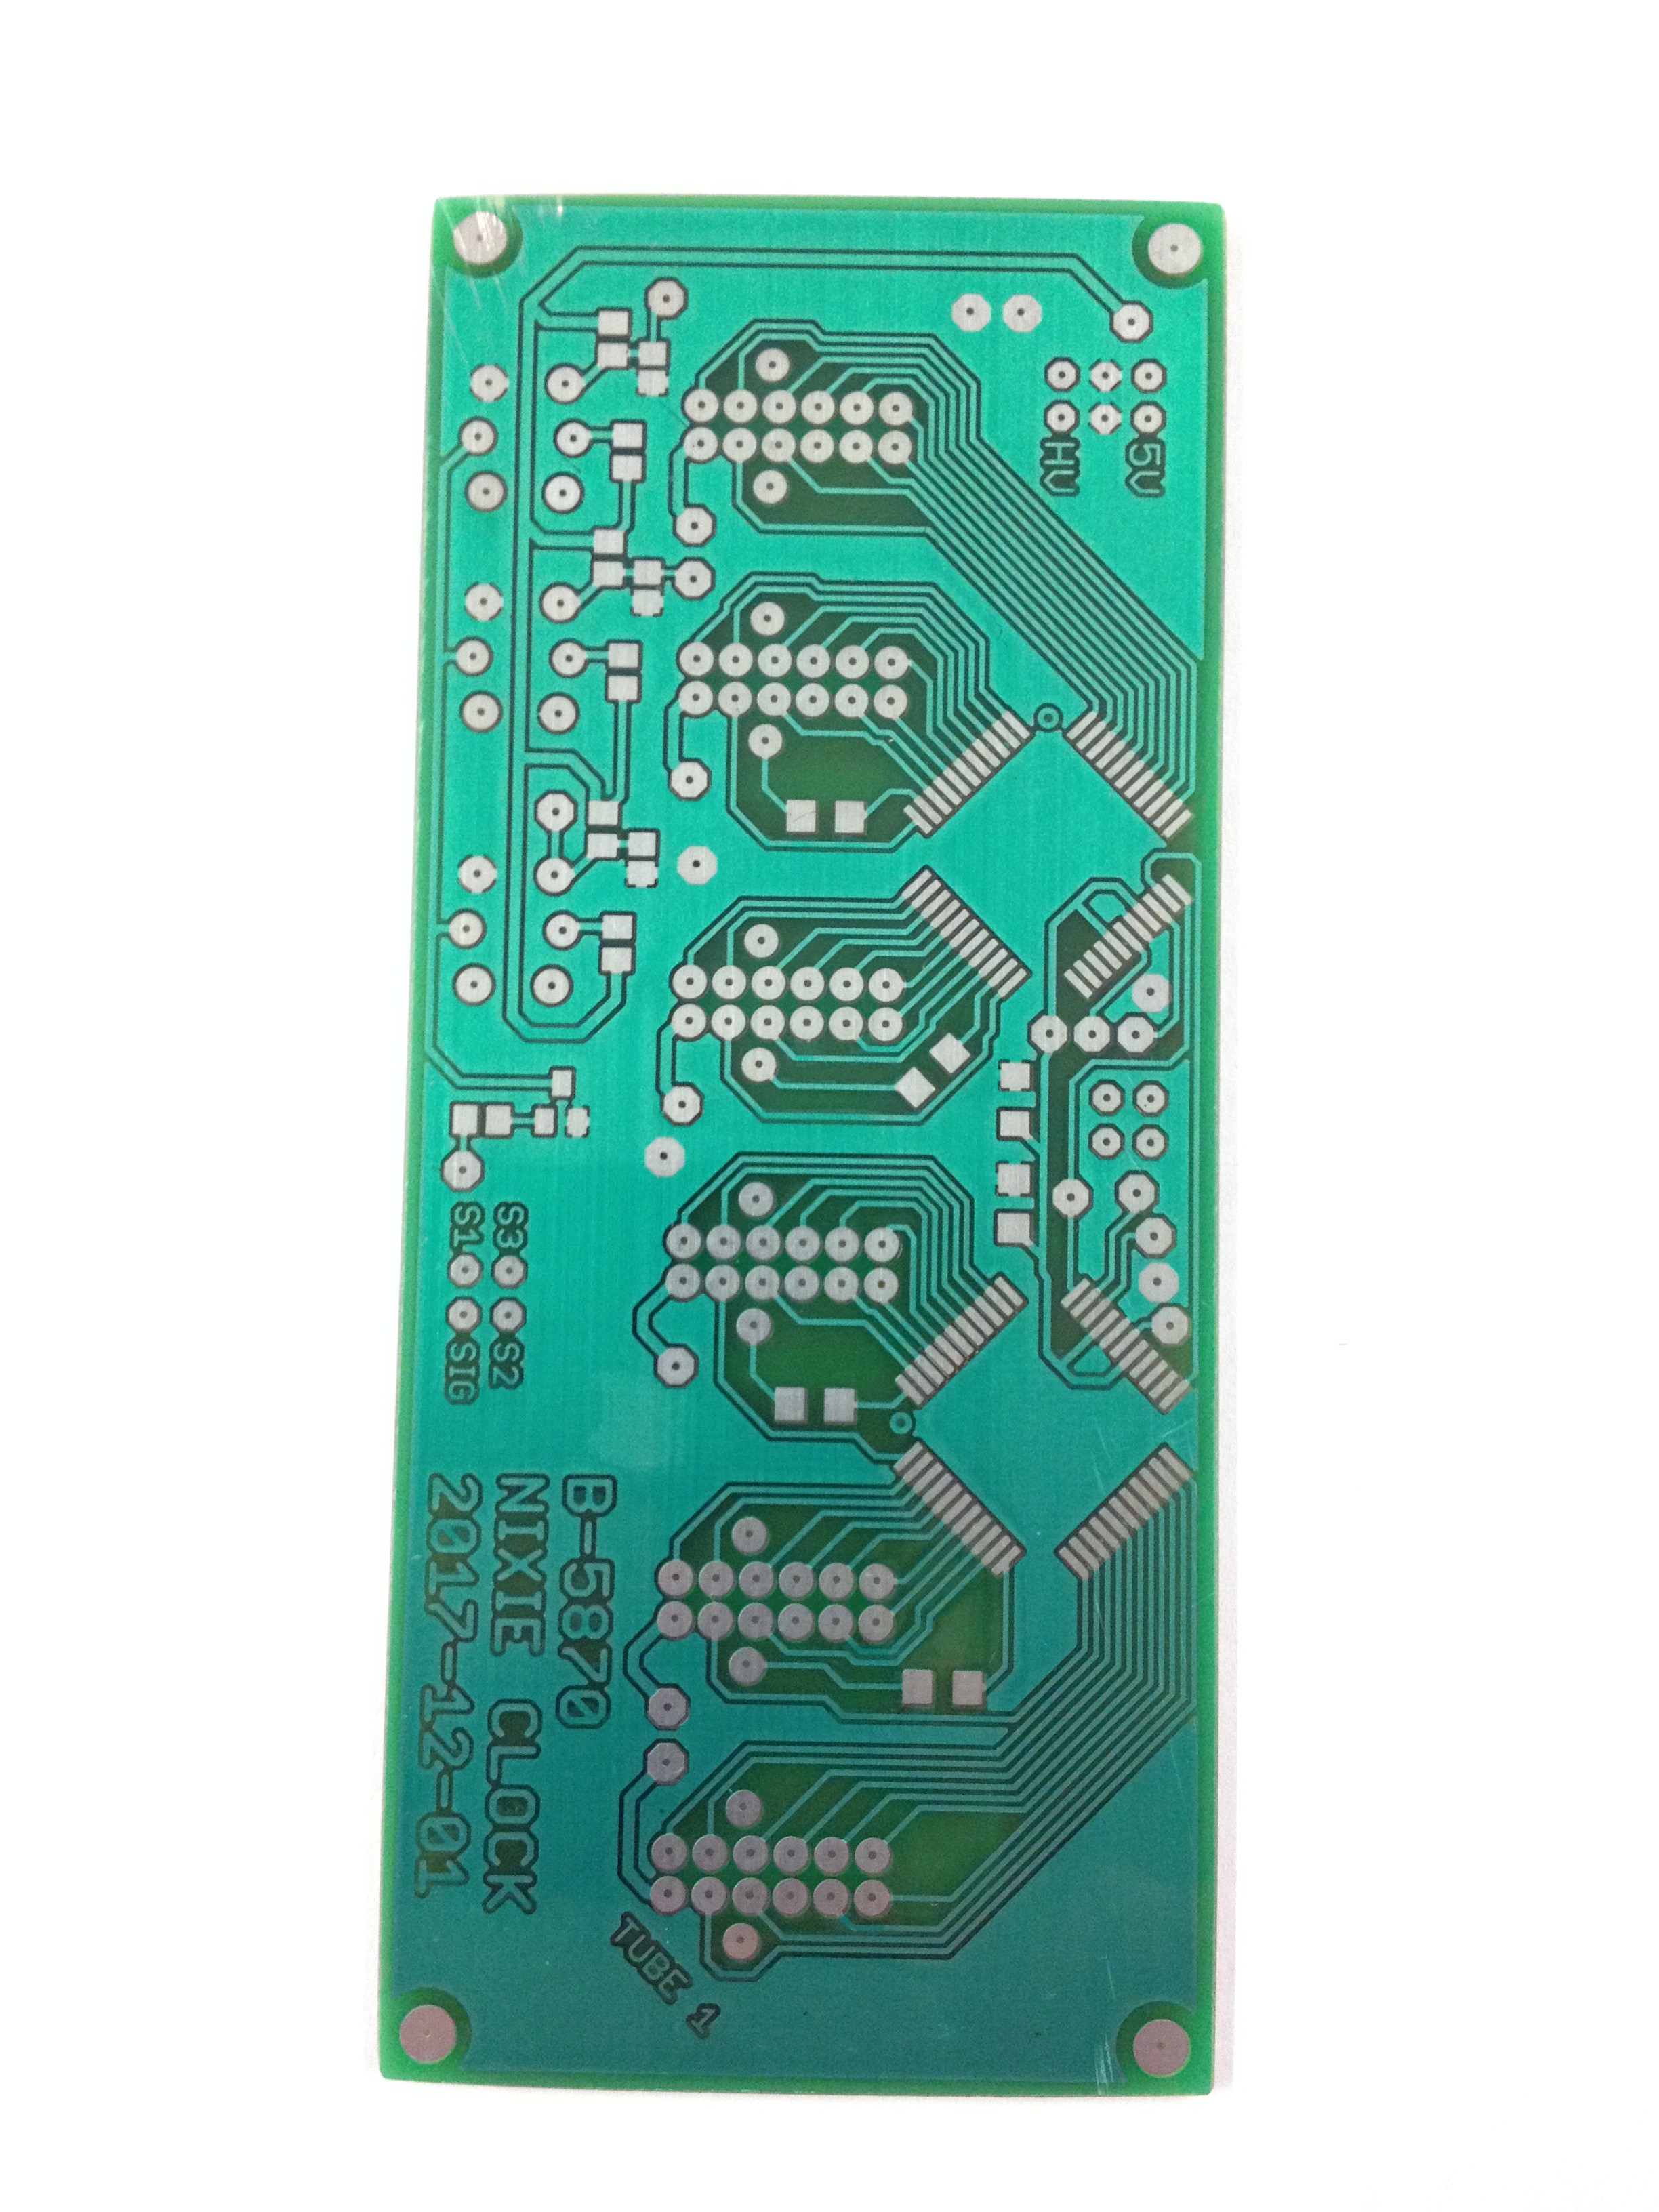
02/16/2018 at 20:35 • 0 commentsFirst was to make the PCB for the tubes. Here's a few pics of the process:
Bottom of the board after etching and tinning.![]()
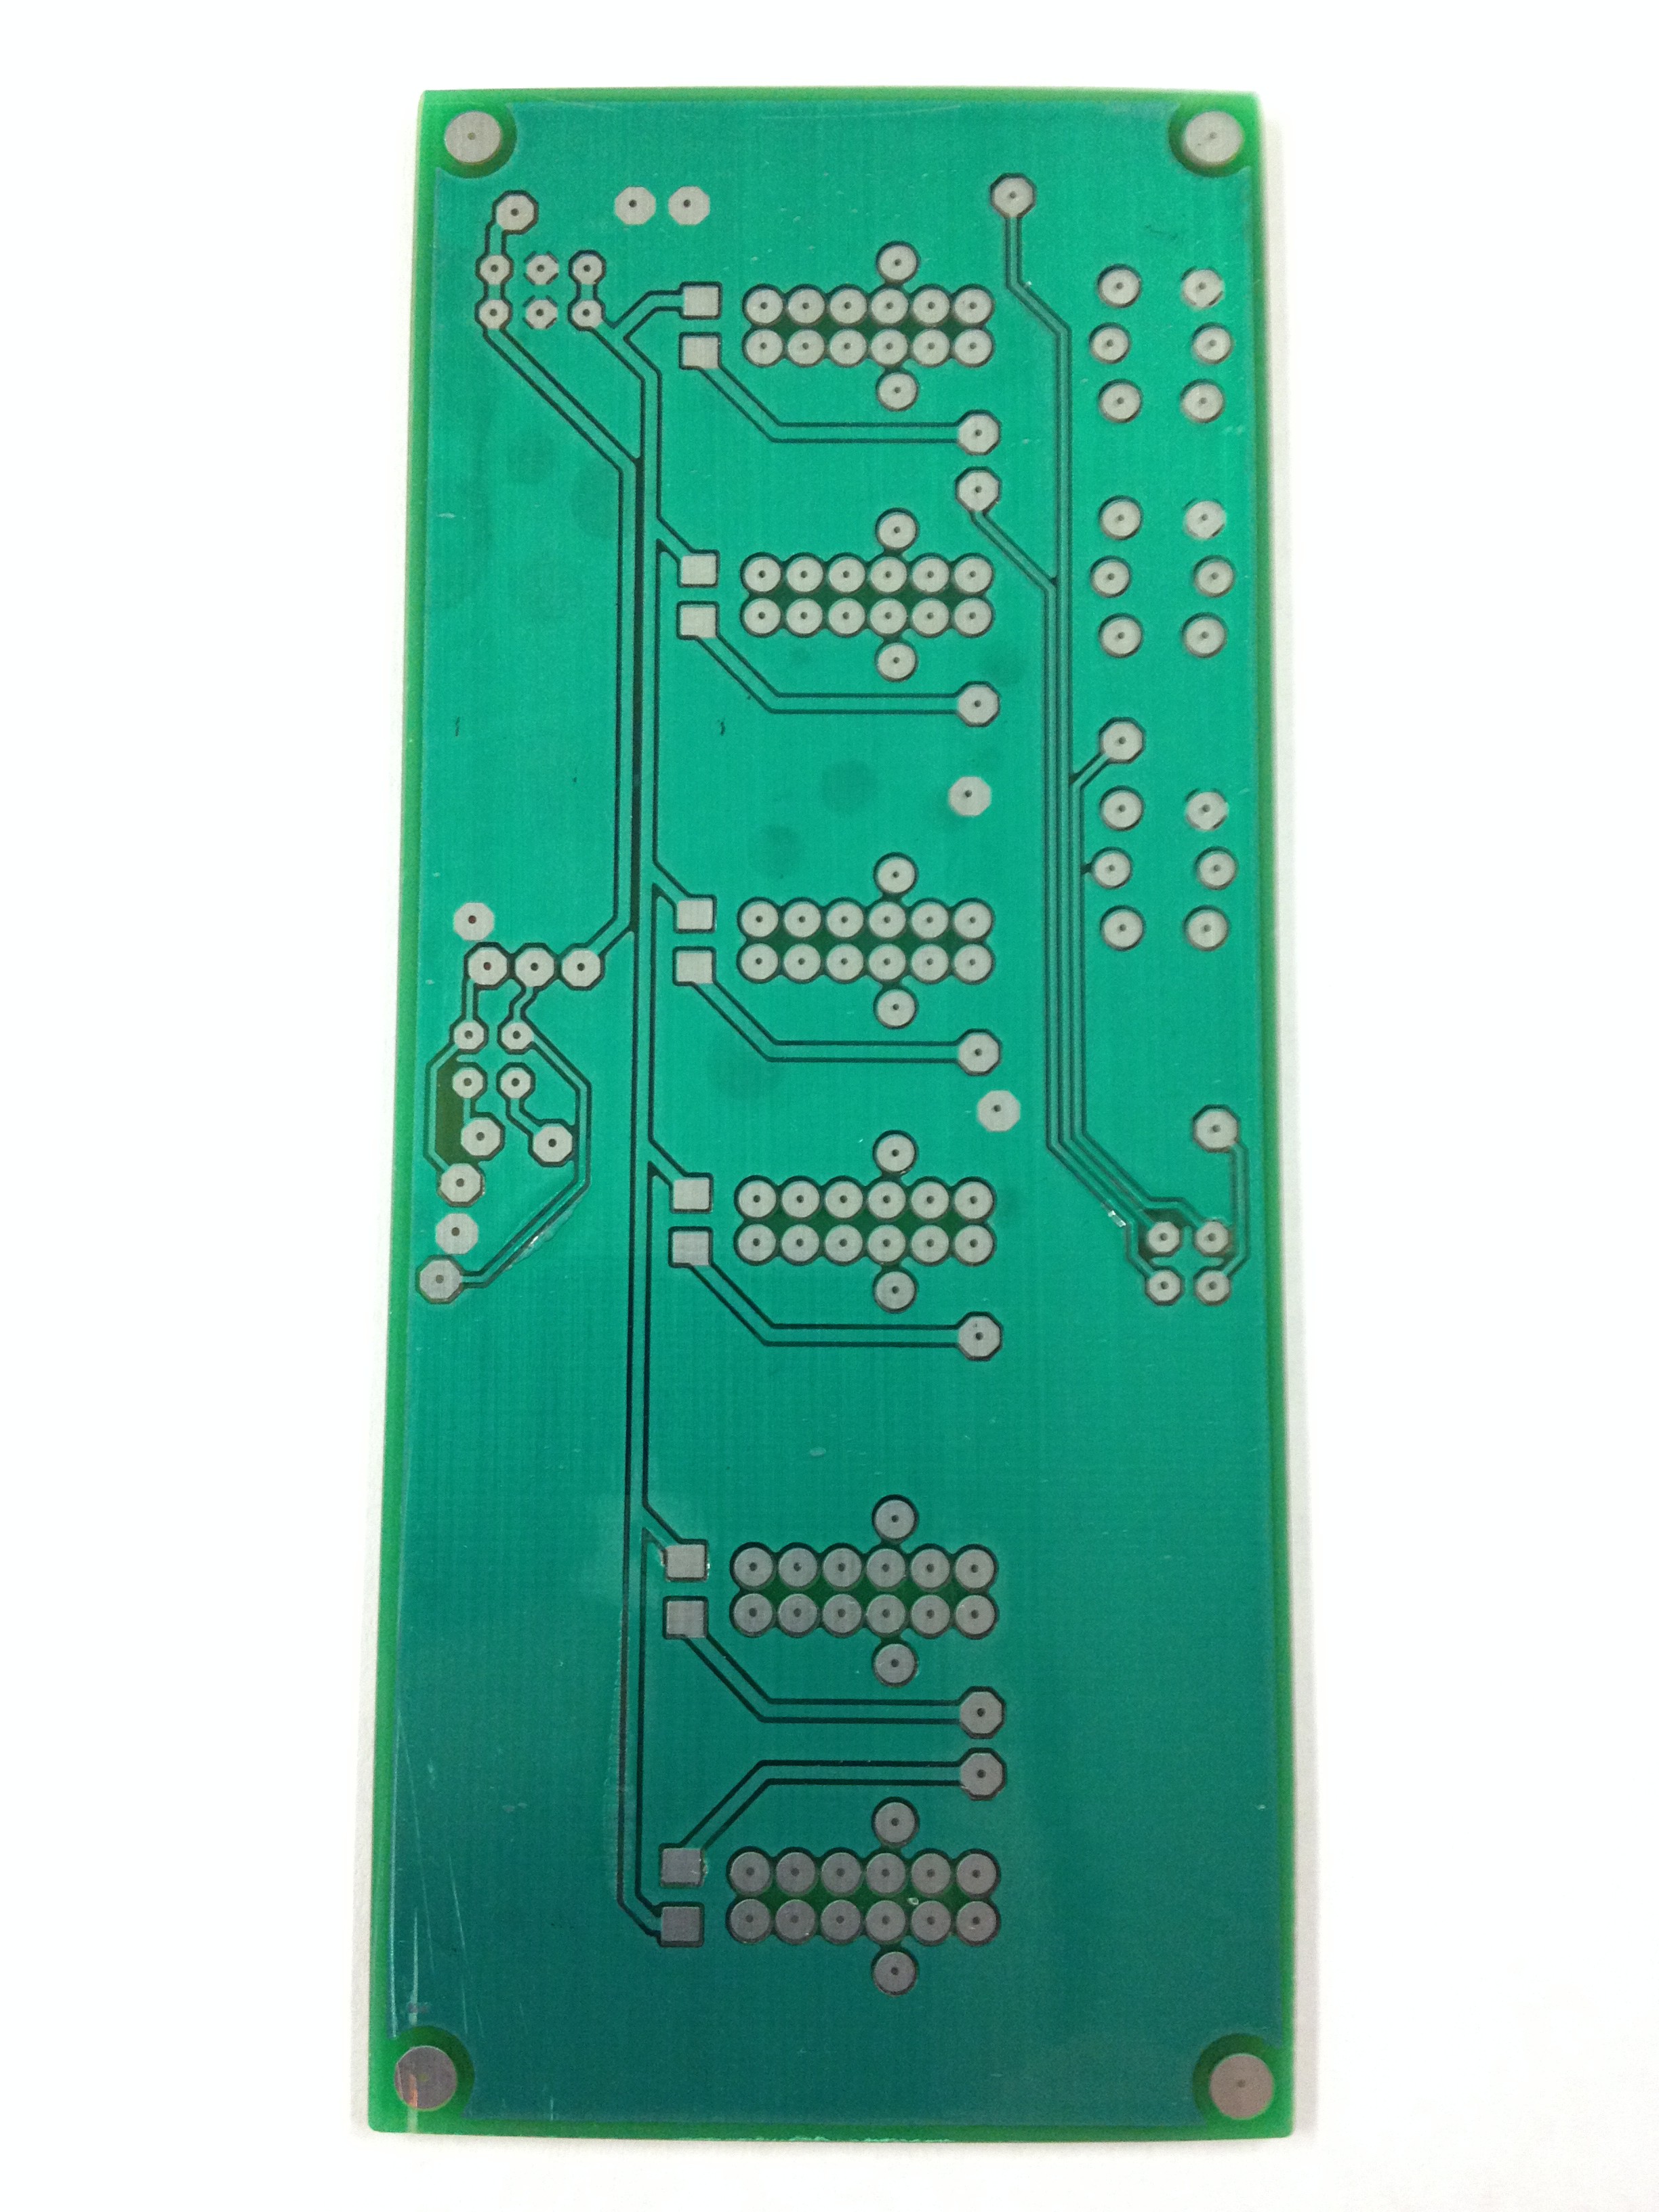
Bottom of the board after solder mask appliedTop of board after solder mask applied
Bottom of board after cut to size
Top of board after cut to size
