Close
0%
0%

Printable buttons for tactile domes

How to design and print small buttons for a portable console based on Arduino called Arduboy

Similar projects worth following
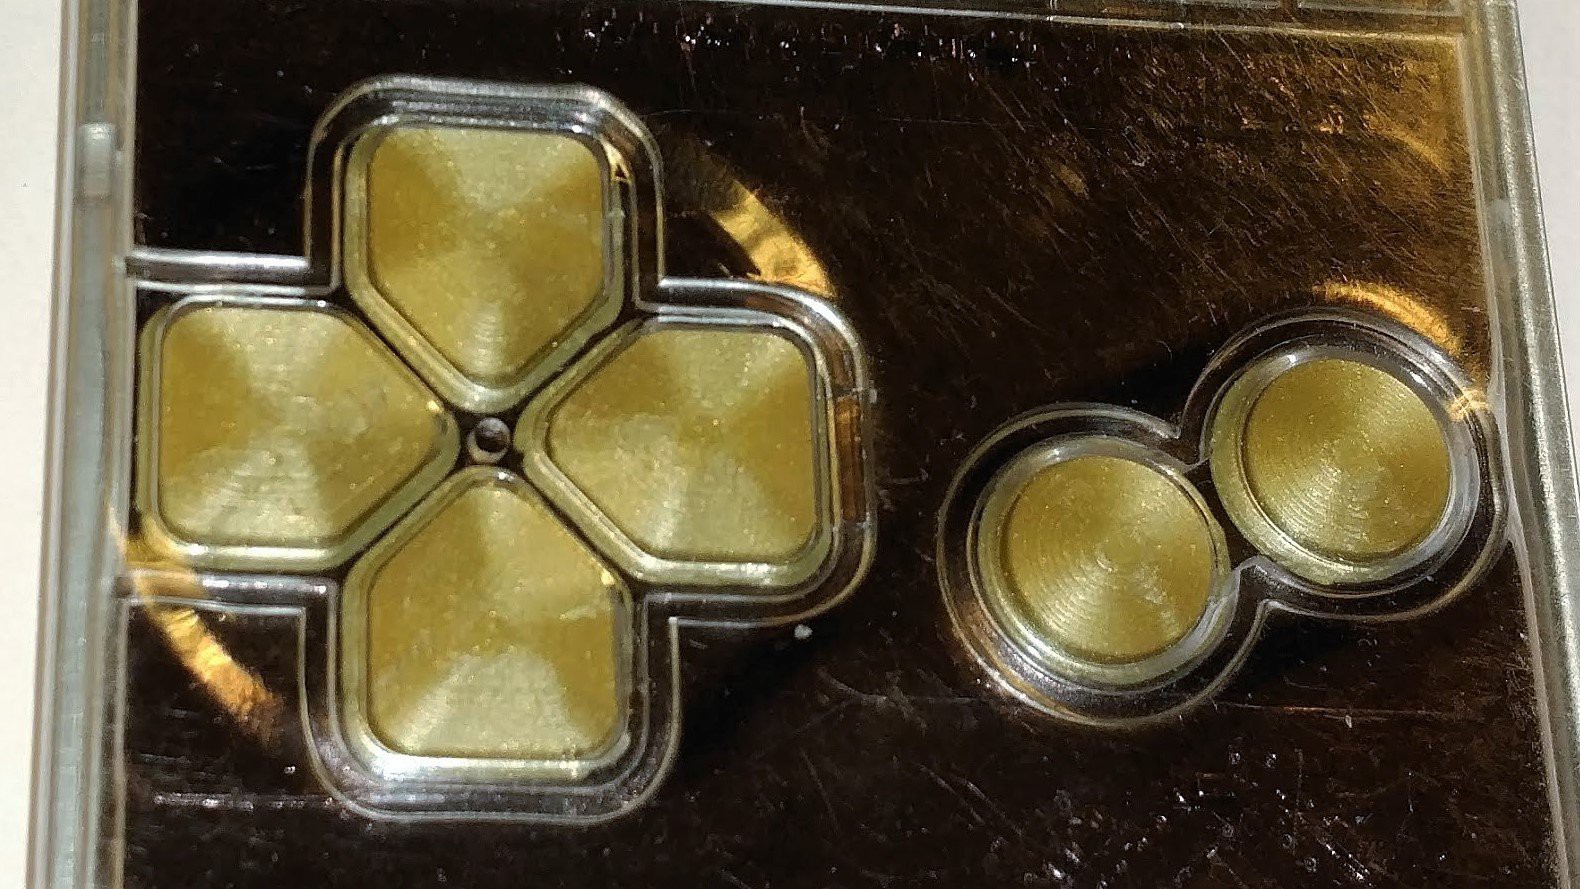
Arduboy is a miniature game system the size of a credit card. After a successful Kickstarter campaign months ago, a new version of the Arduboy is going to be fabricated, with golden buttons and a black pcb. But before that one gets released I wanted to make my own.

I just need to paint the PCB and the buttons. Who knew that the paint thinner in the paint was going to eat my buttons and leave me with an unfinished hack? Can my printer save me with such tiny prints?

Introduction

Everything was going nice with my custom Arduboy, after painting the PCB with a sharpie marker, I just need to reattach the LCD and paint the buttons with a shiny gold color. 
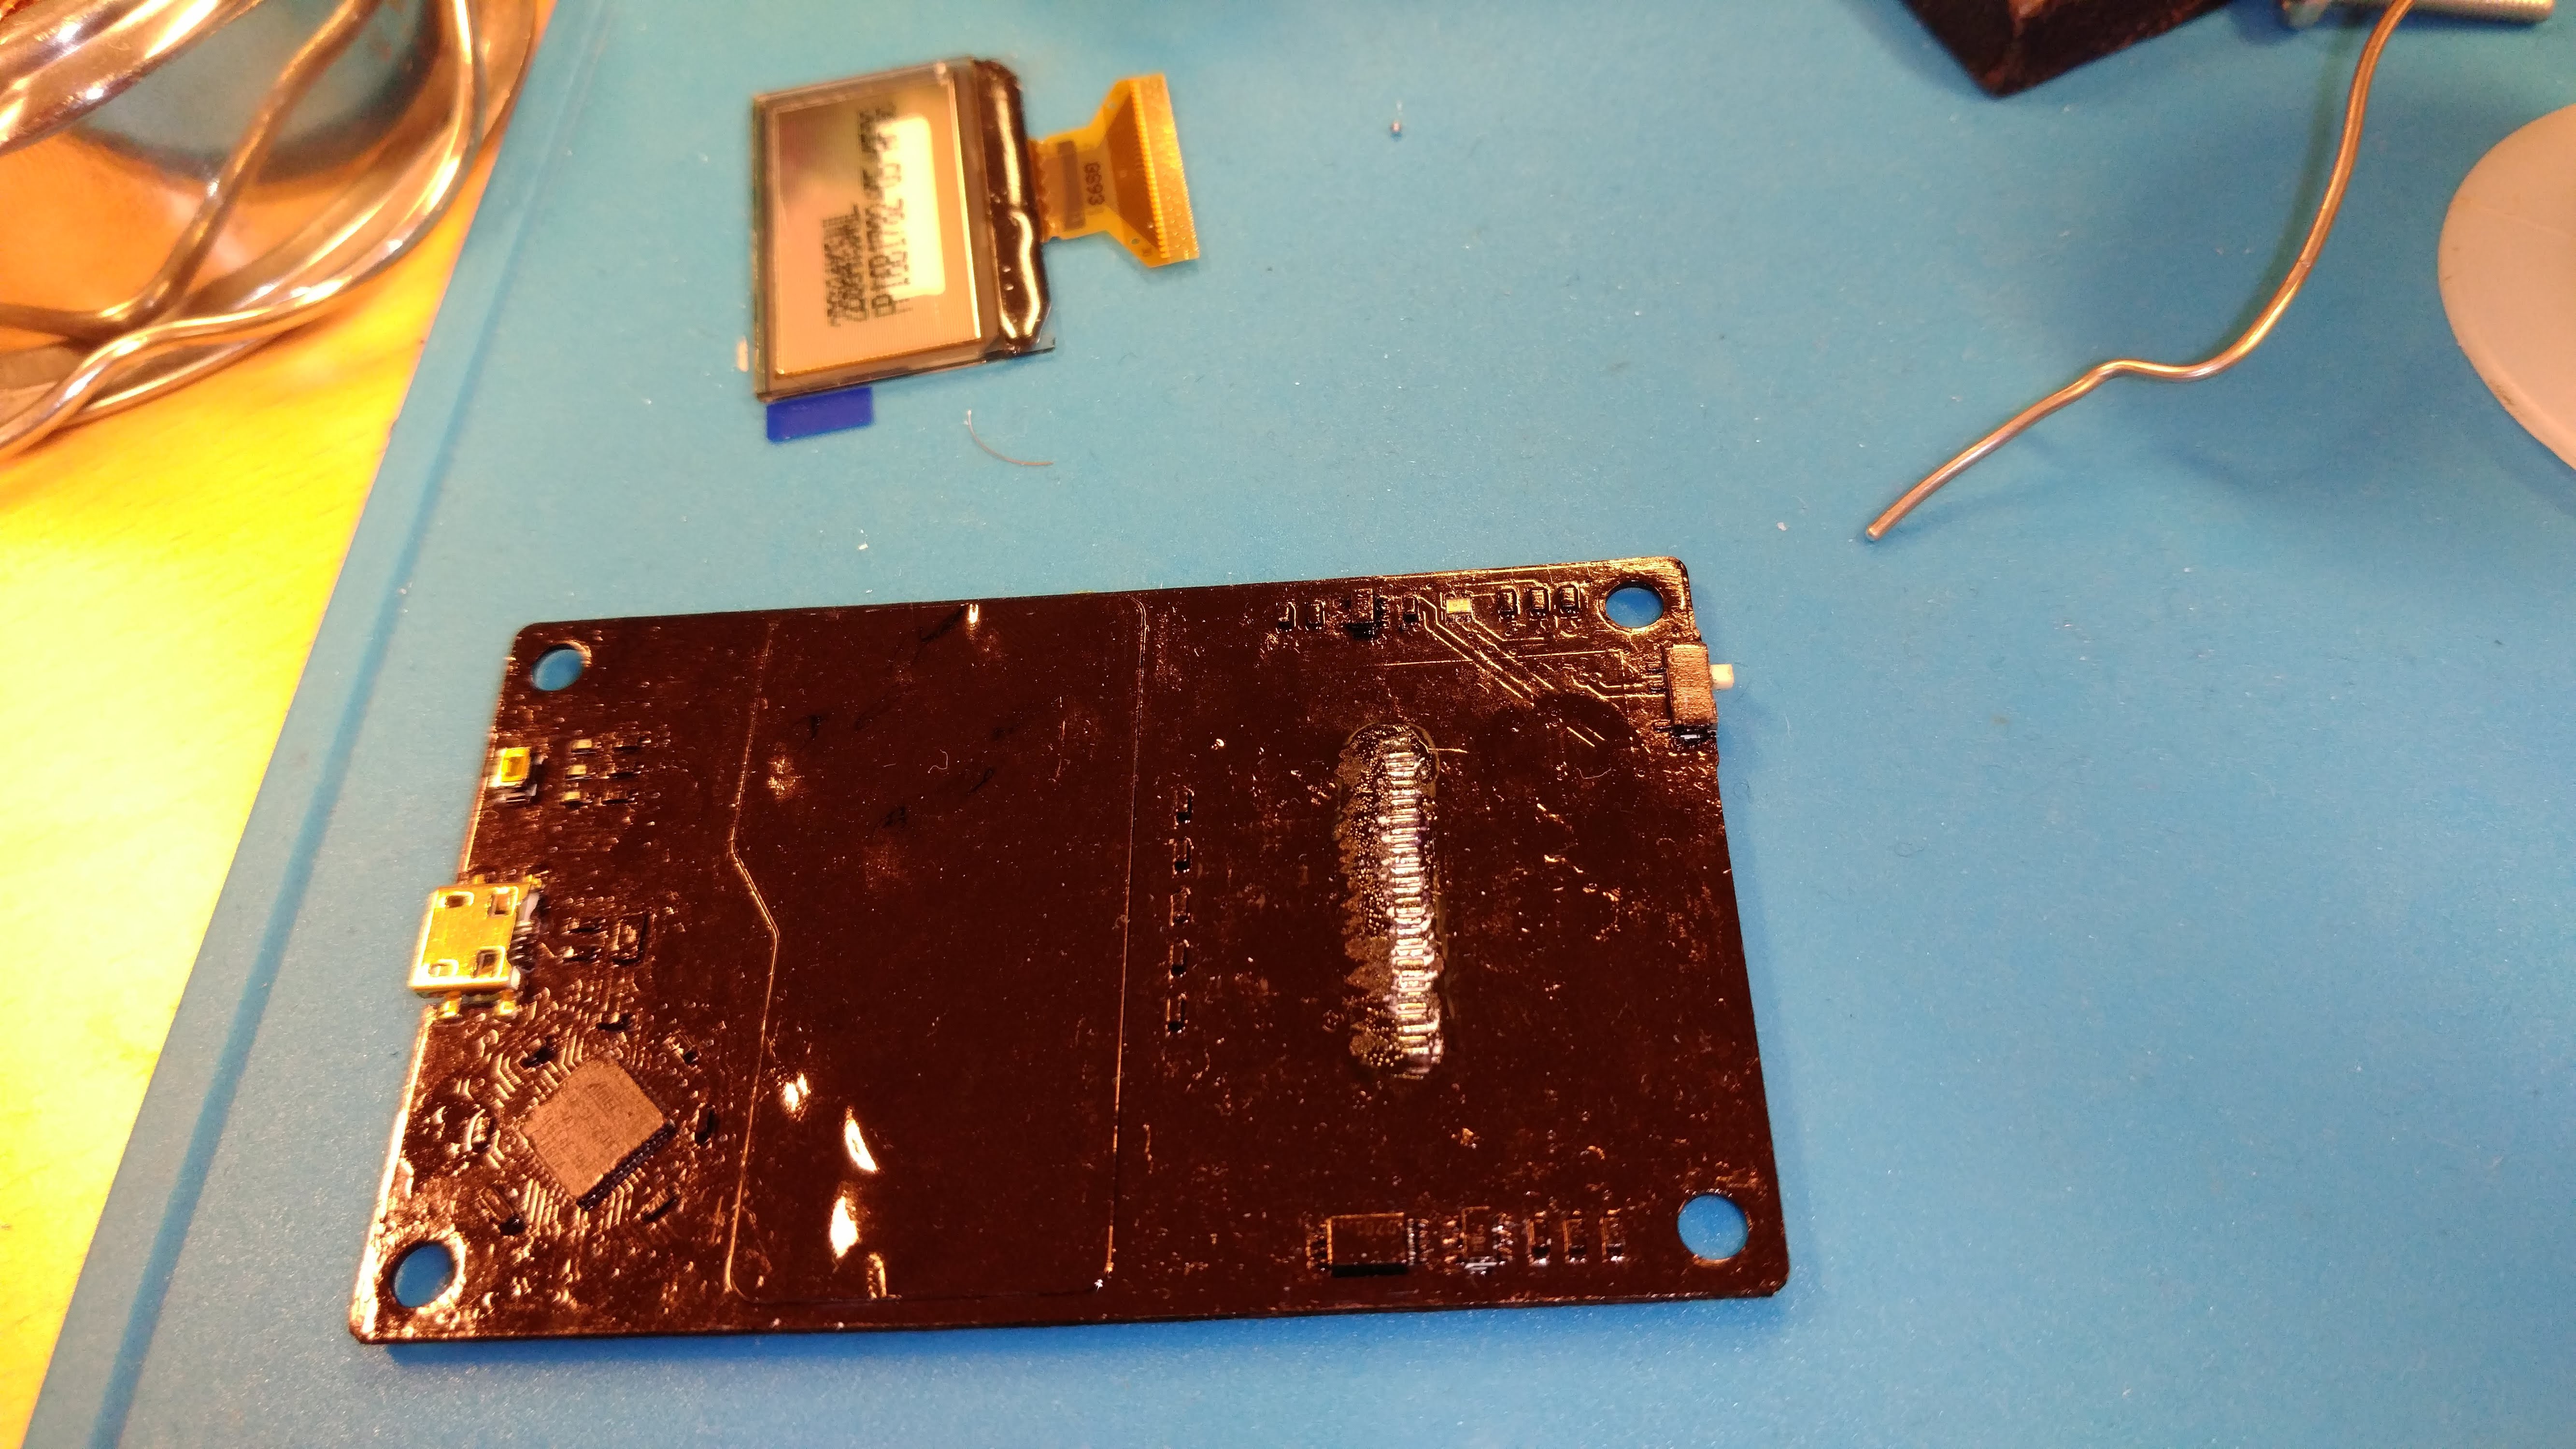
All the other Arduboys are looking how the gold paint gets dry. But the paint never got dry:
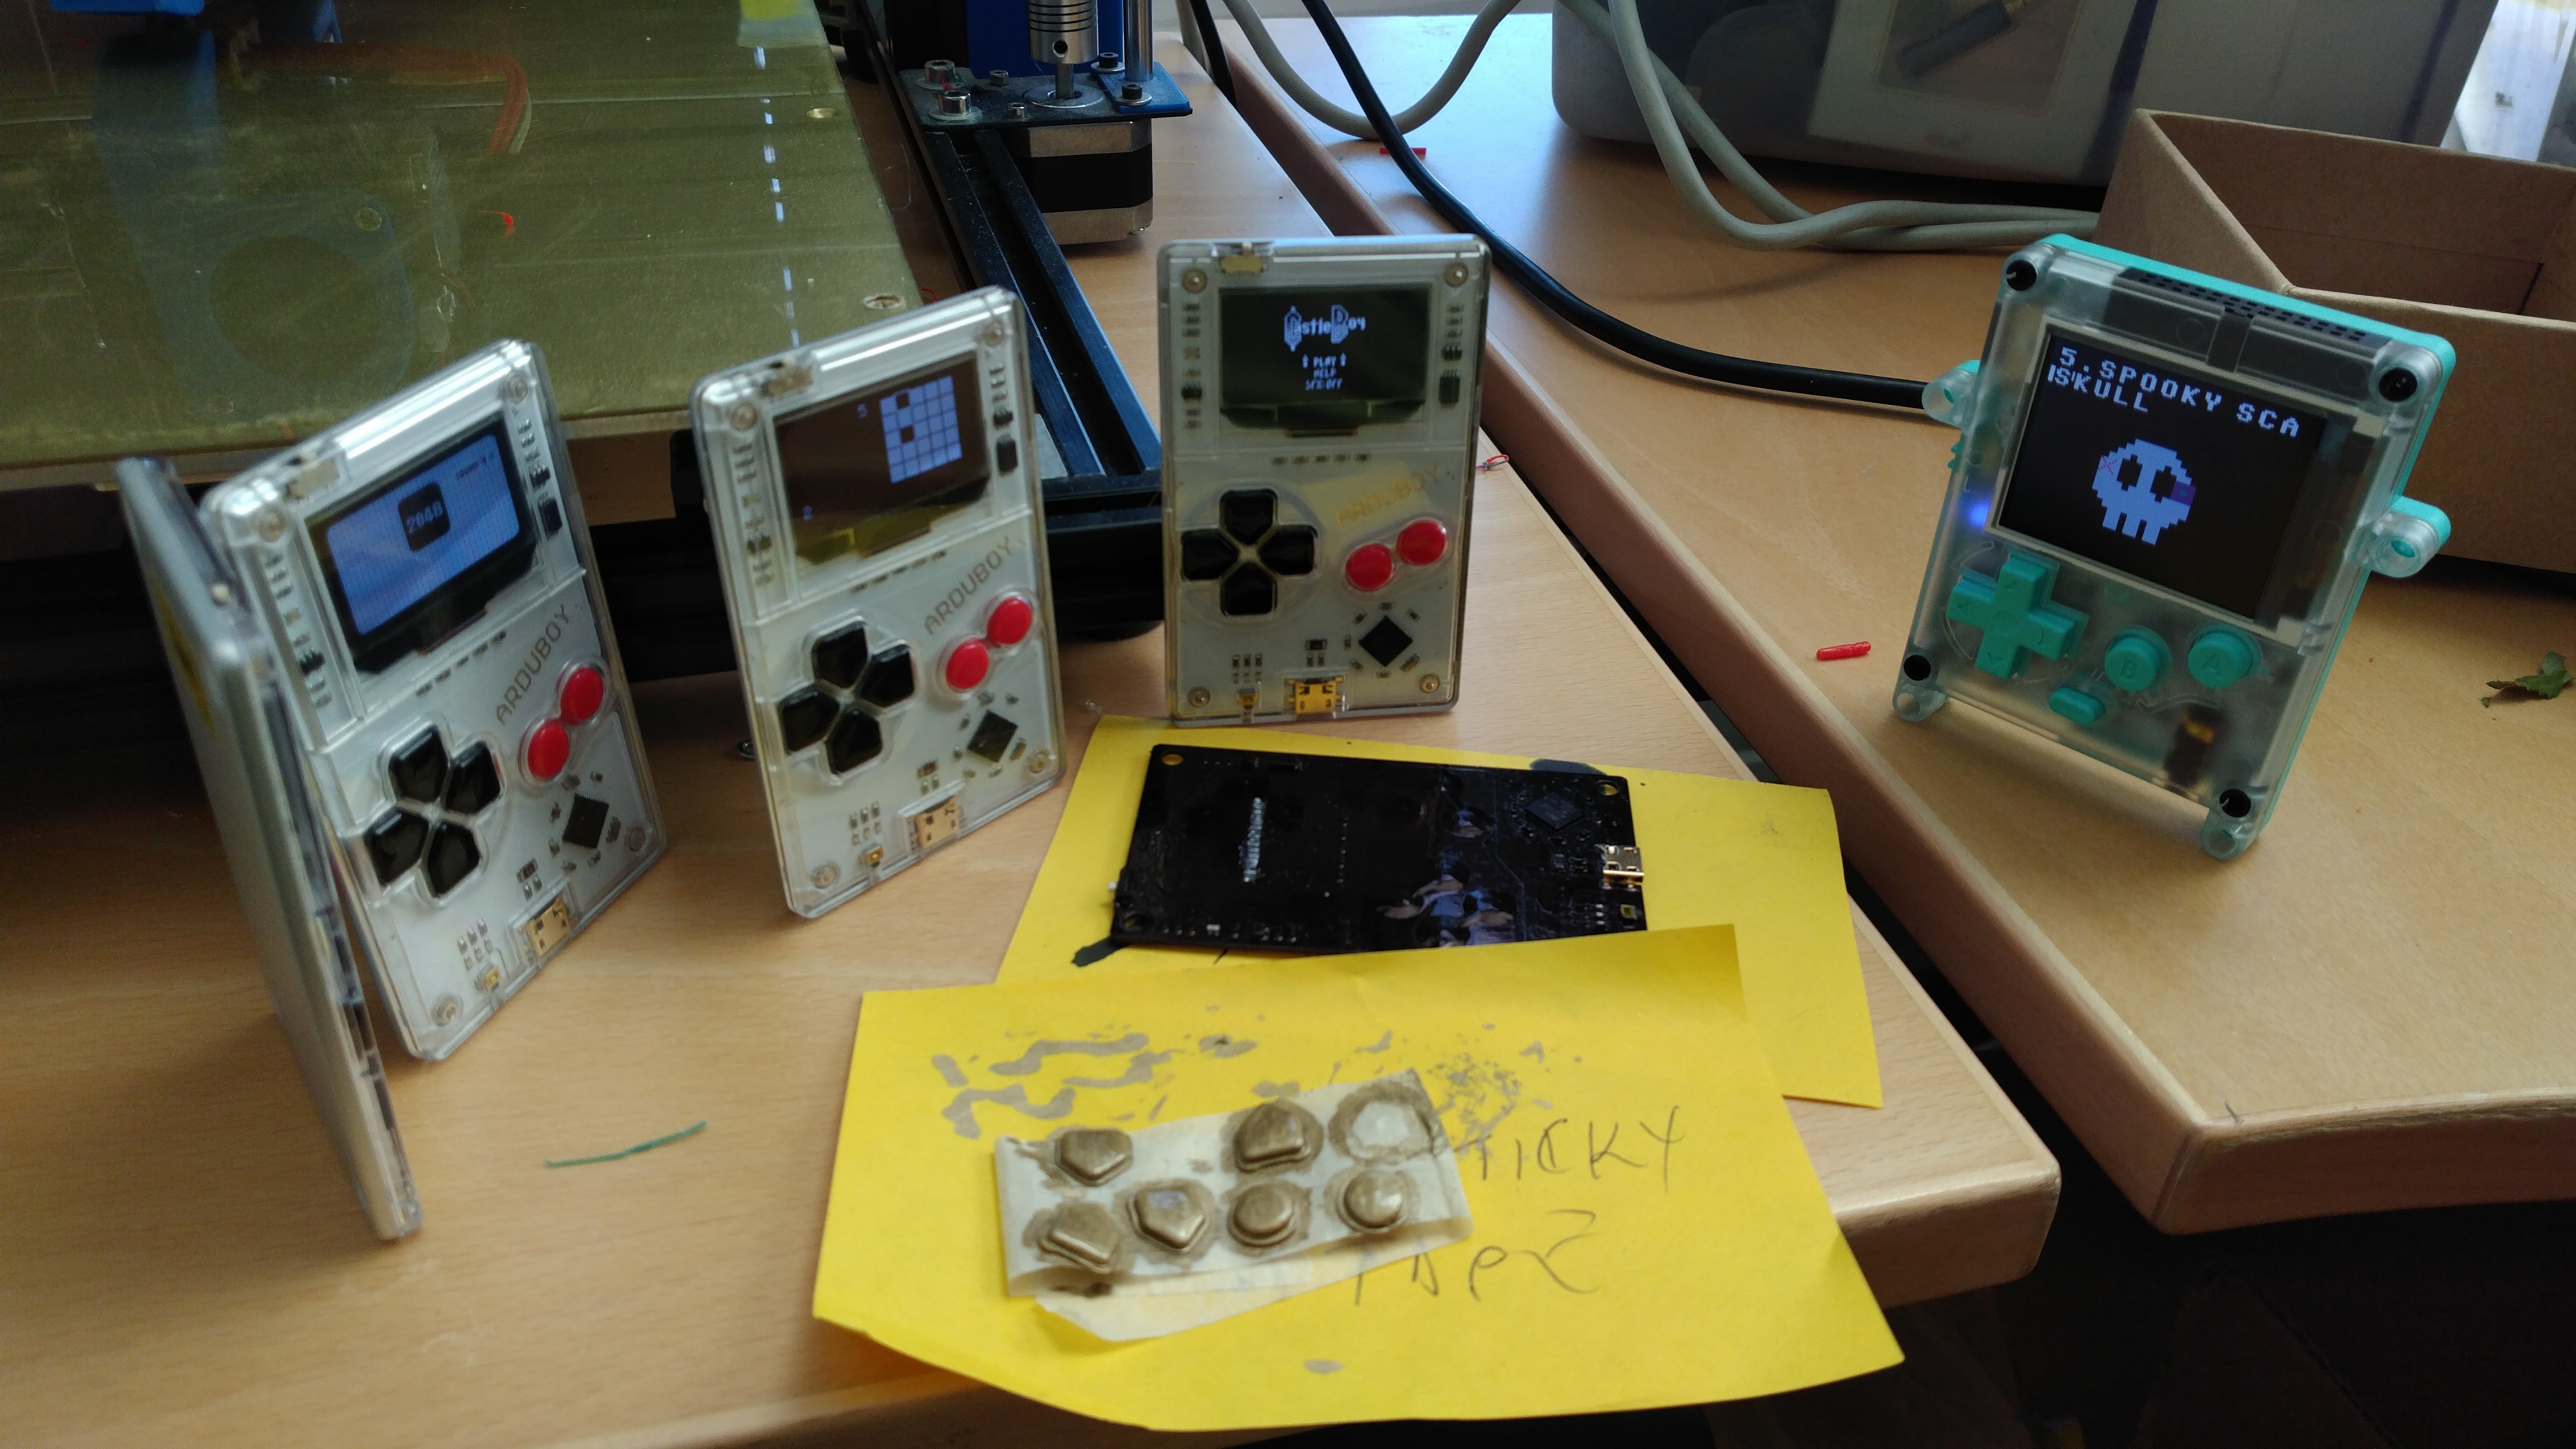
Now I have no buttons. The paint melted a layer of the coating and I had to discard them.

Design

A and B buttons

These are quite simple. Copying the dimensions from the original ones I get a simple profile:
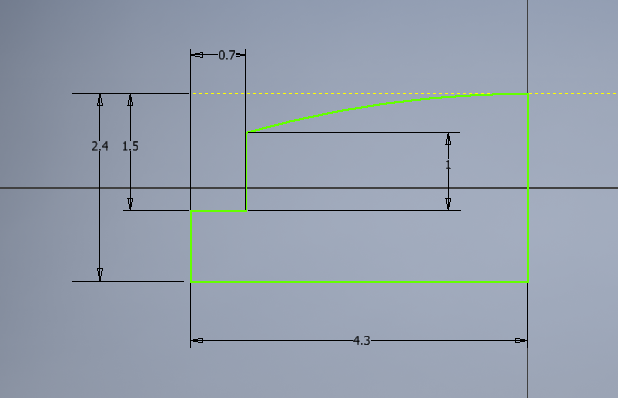
 Then you have to revolve the profile around the right side vertical axis and you get a nice button:
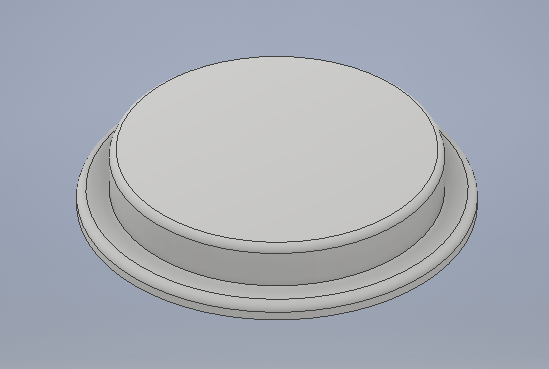
Directional buttons

These are more complex because the shape is not a primitive. My first design is composed by two simple shapes and several fillets:
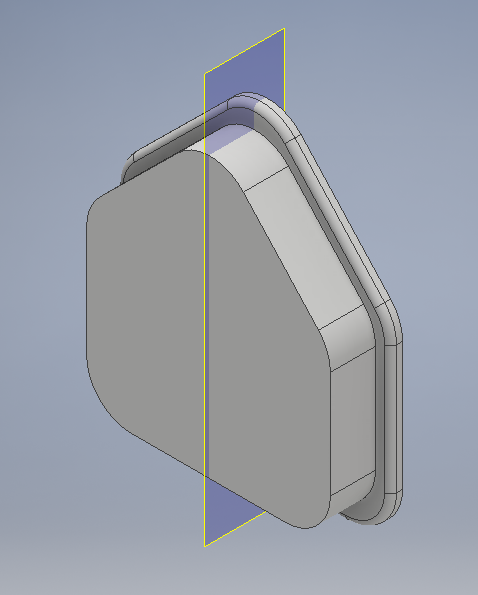
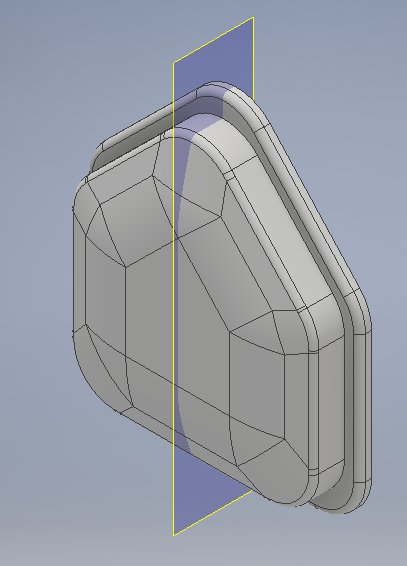
Using freeforms, I can replace the top part with a more organic shape:
Done. The directional button is ready.
Problems 

So, it seems like my printer saved the Arduboy. Now I can assemble the console and play... right?
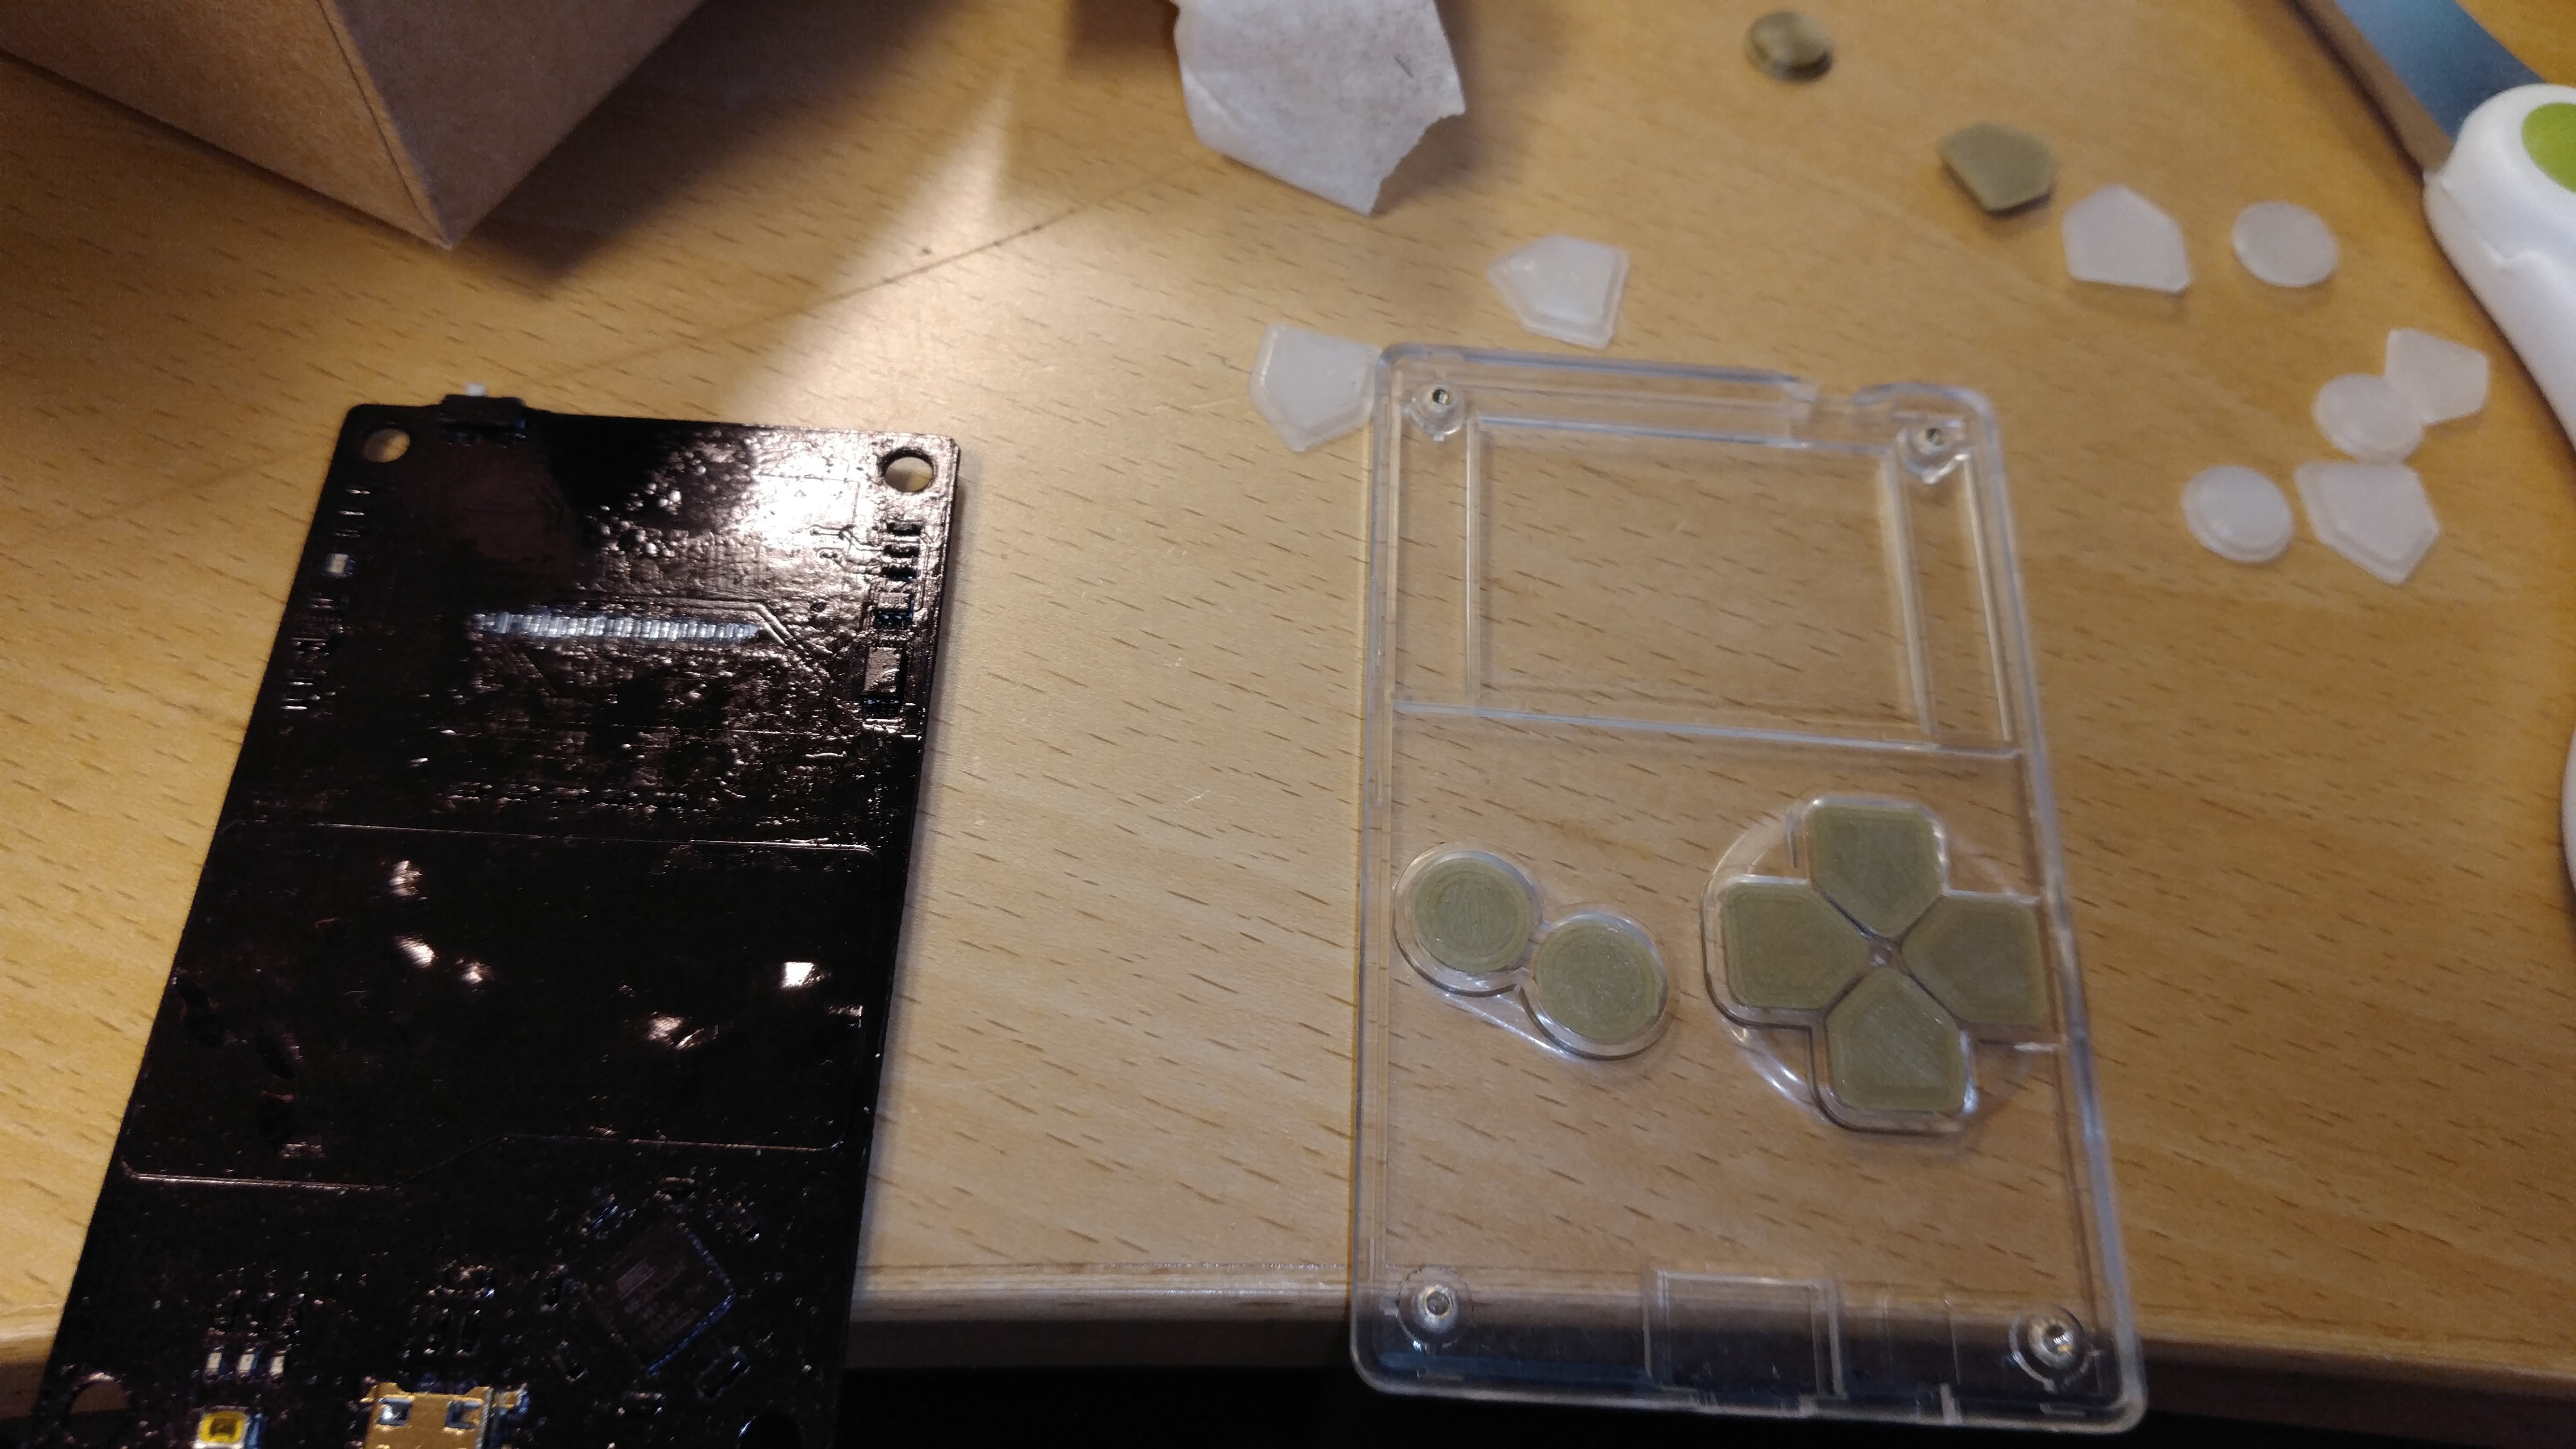
After few seconds I notice that the buttons are crap. You have to press them extremely hard to get a key-press registered. Something is wrong. The only difference with the original ones is a protrusion in the bottom. Of course, I cannot make that protrusion because FDM 3D printing limitations.
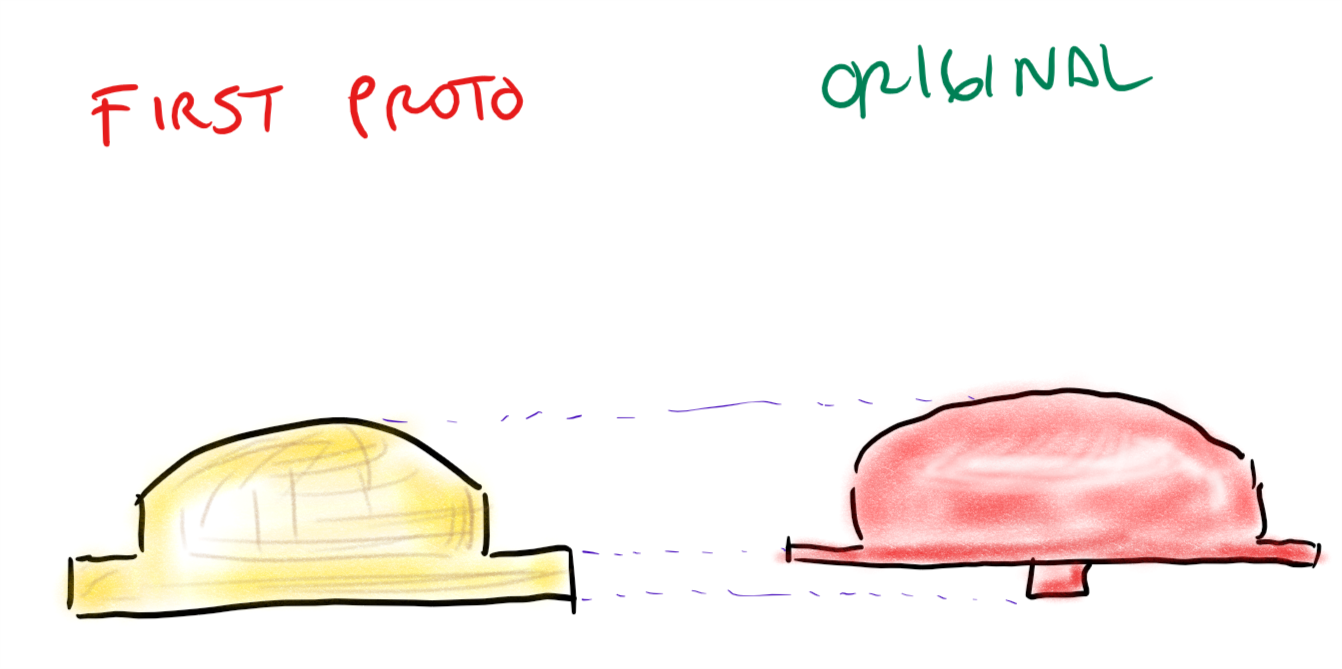
I printed so many versions trying to achieve that protrusion... nothing worked.
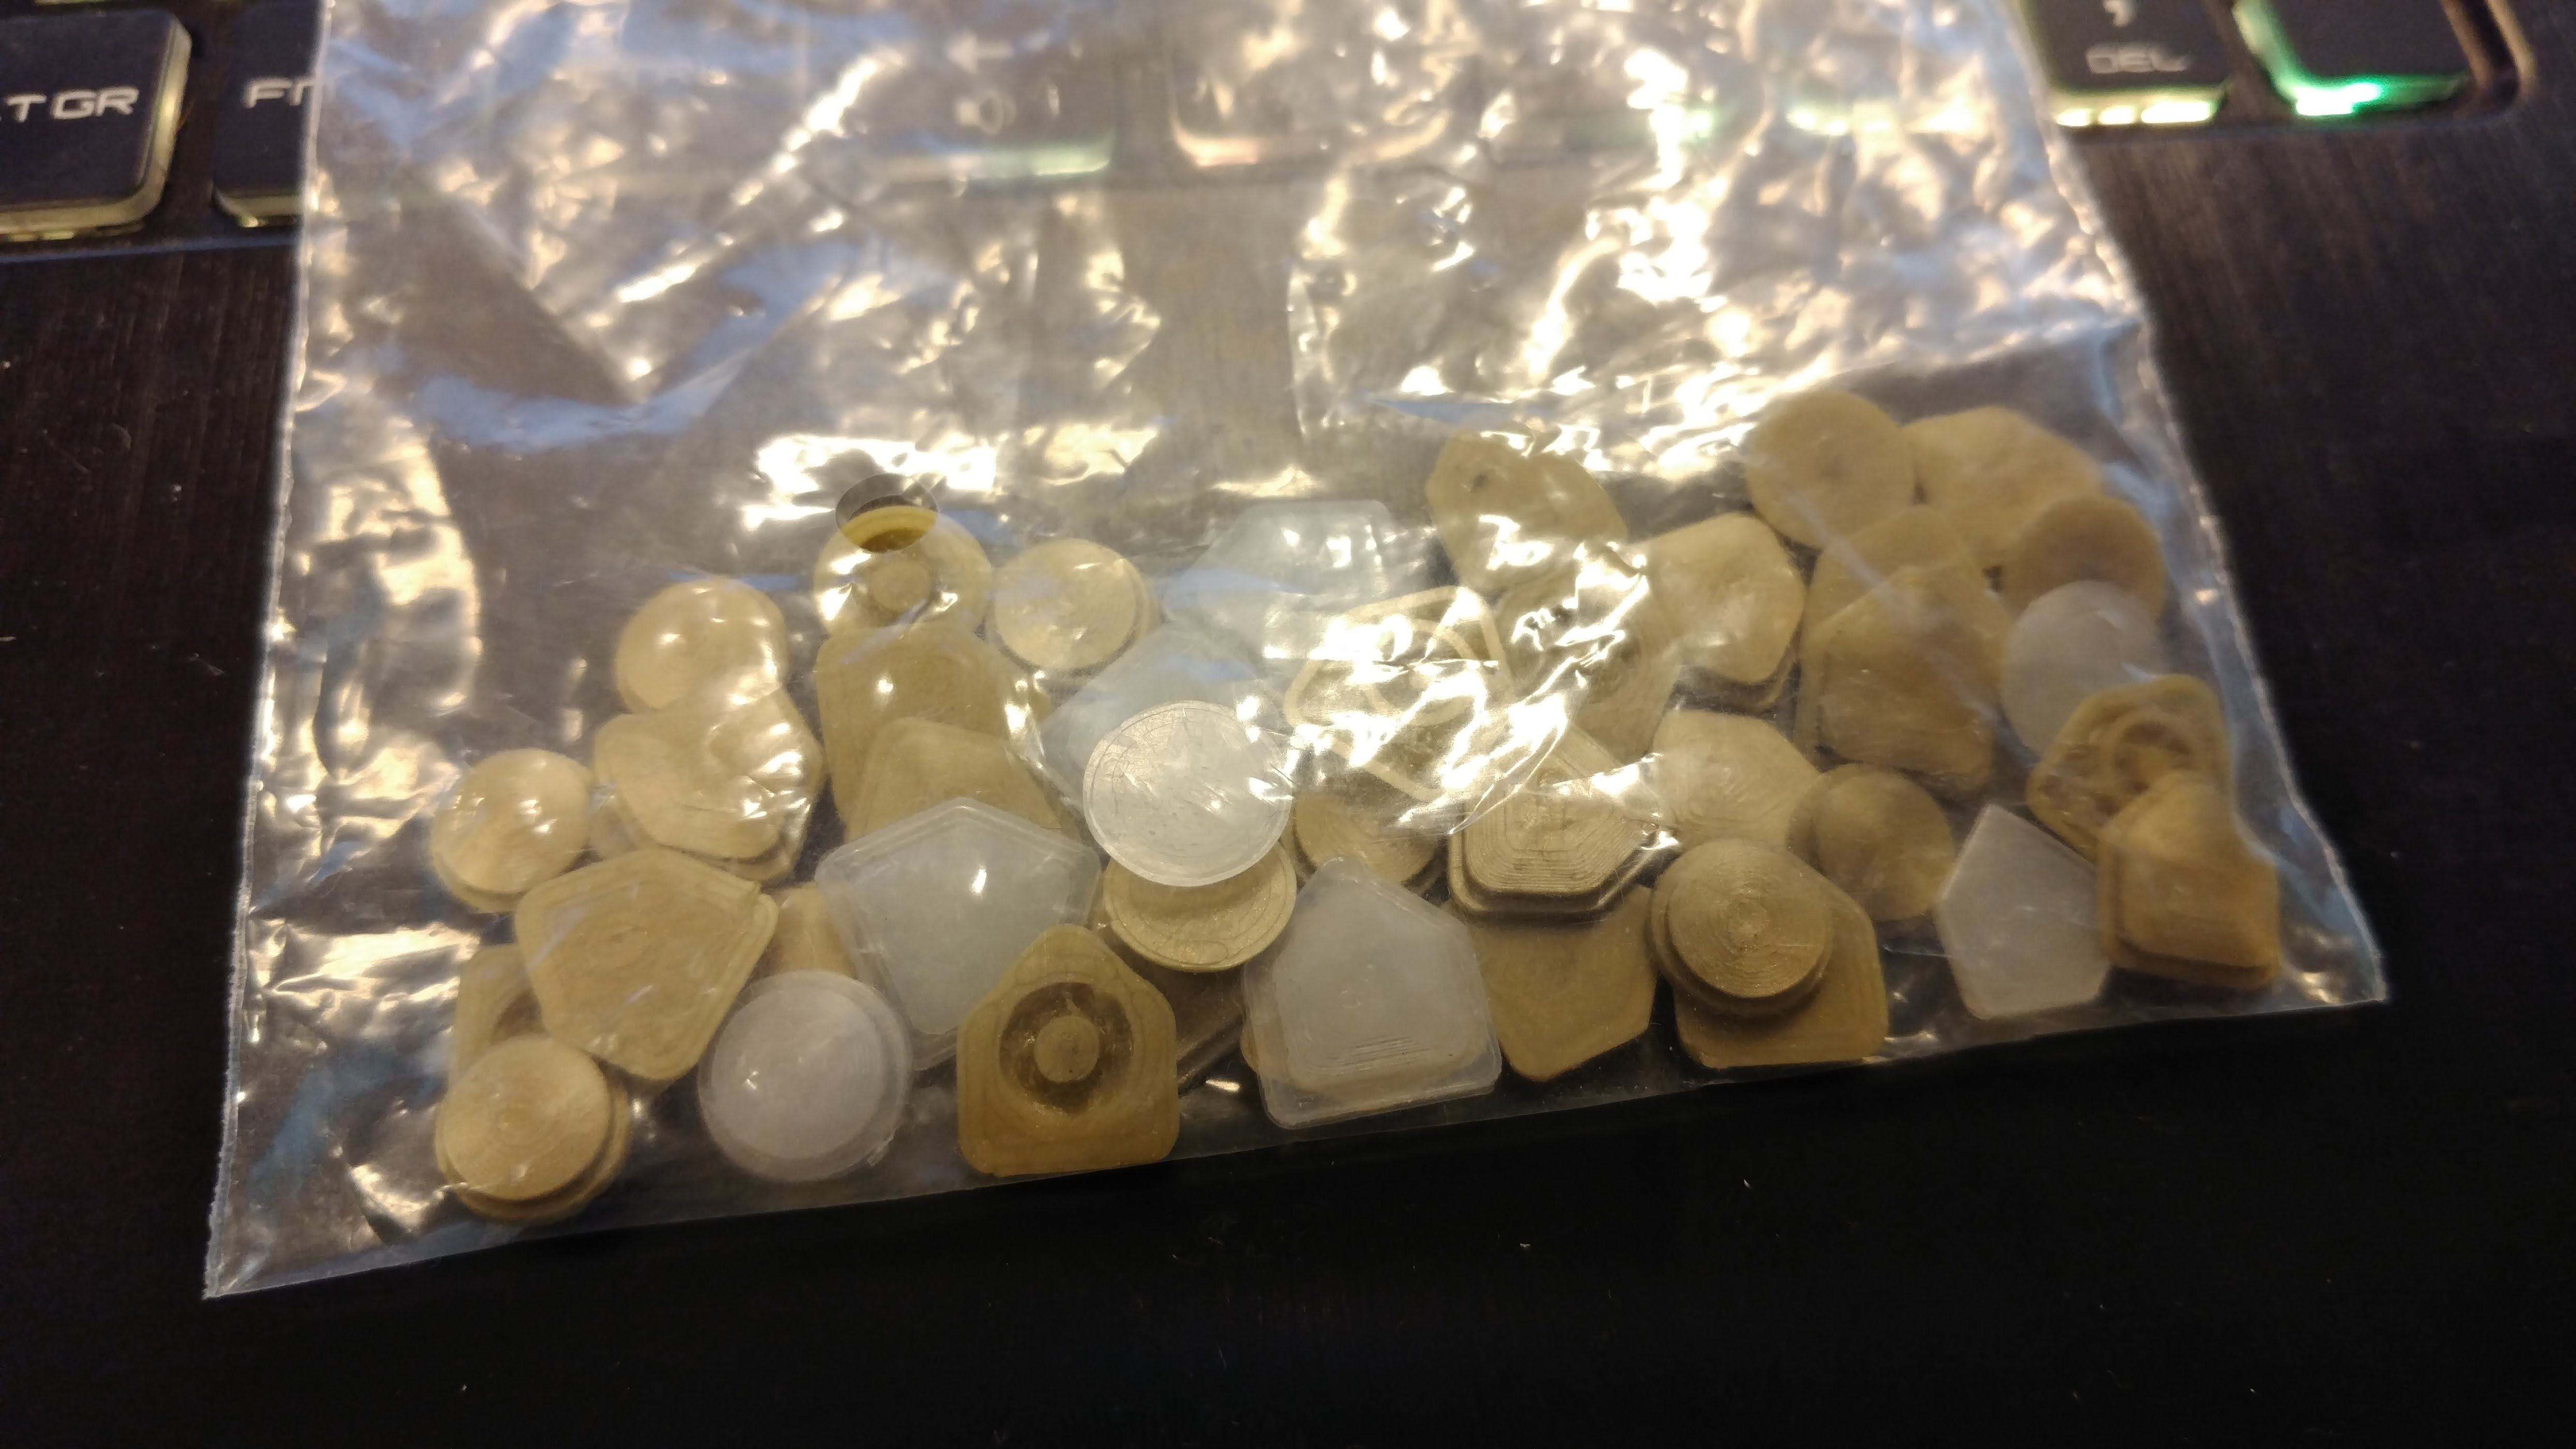
Sometimes you need to think out of the box, what if I did not print that protrusion but used filament for creating what I needed:
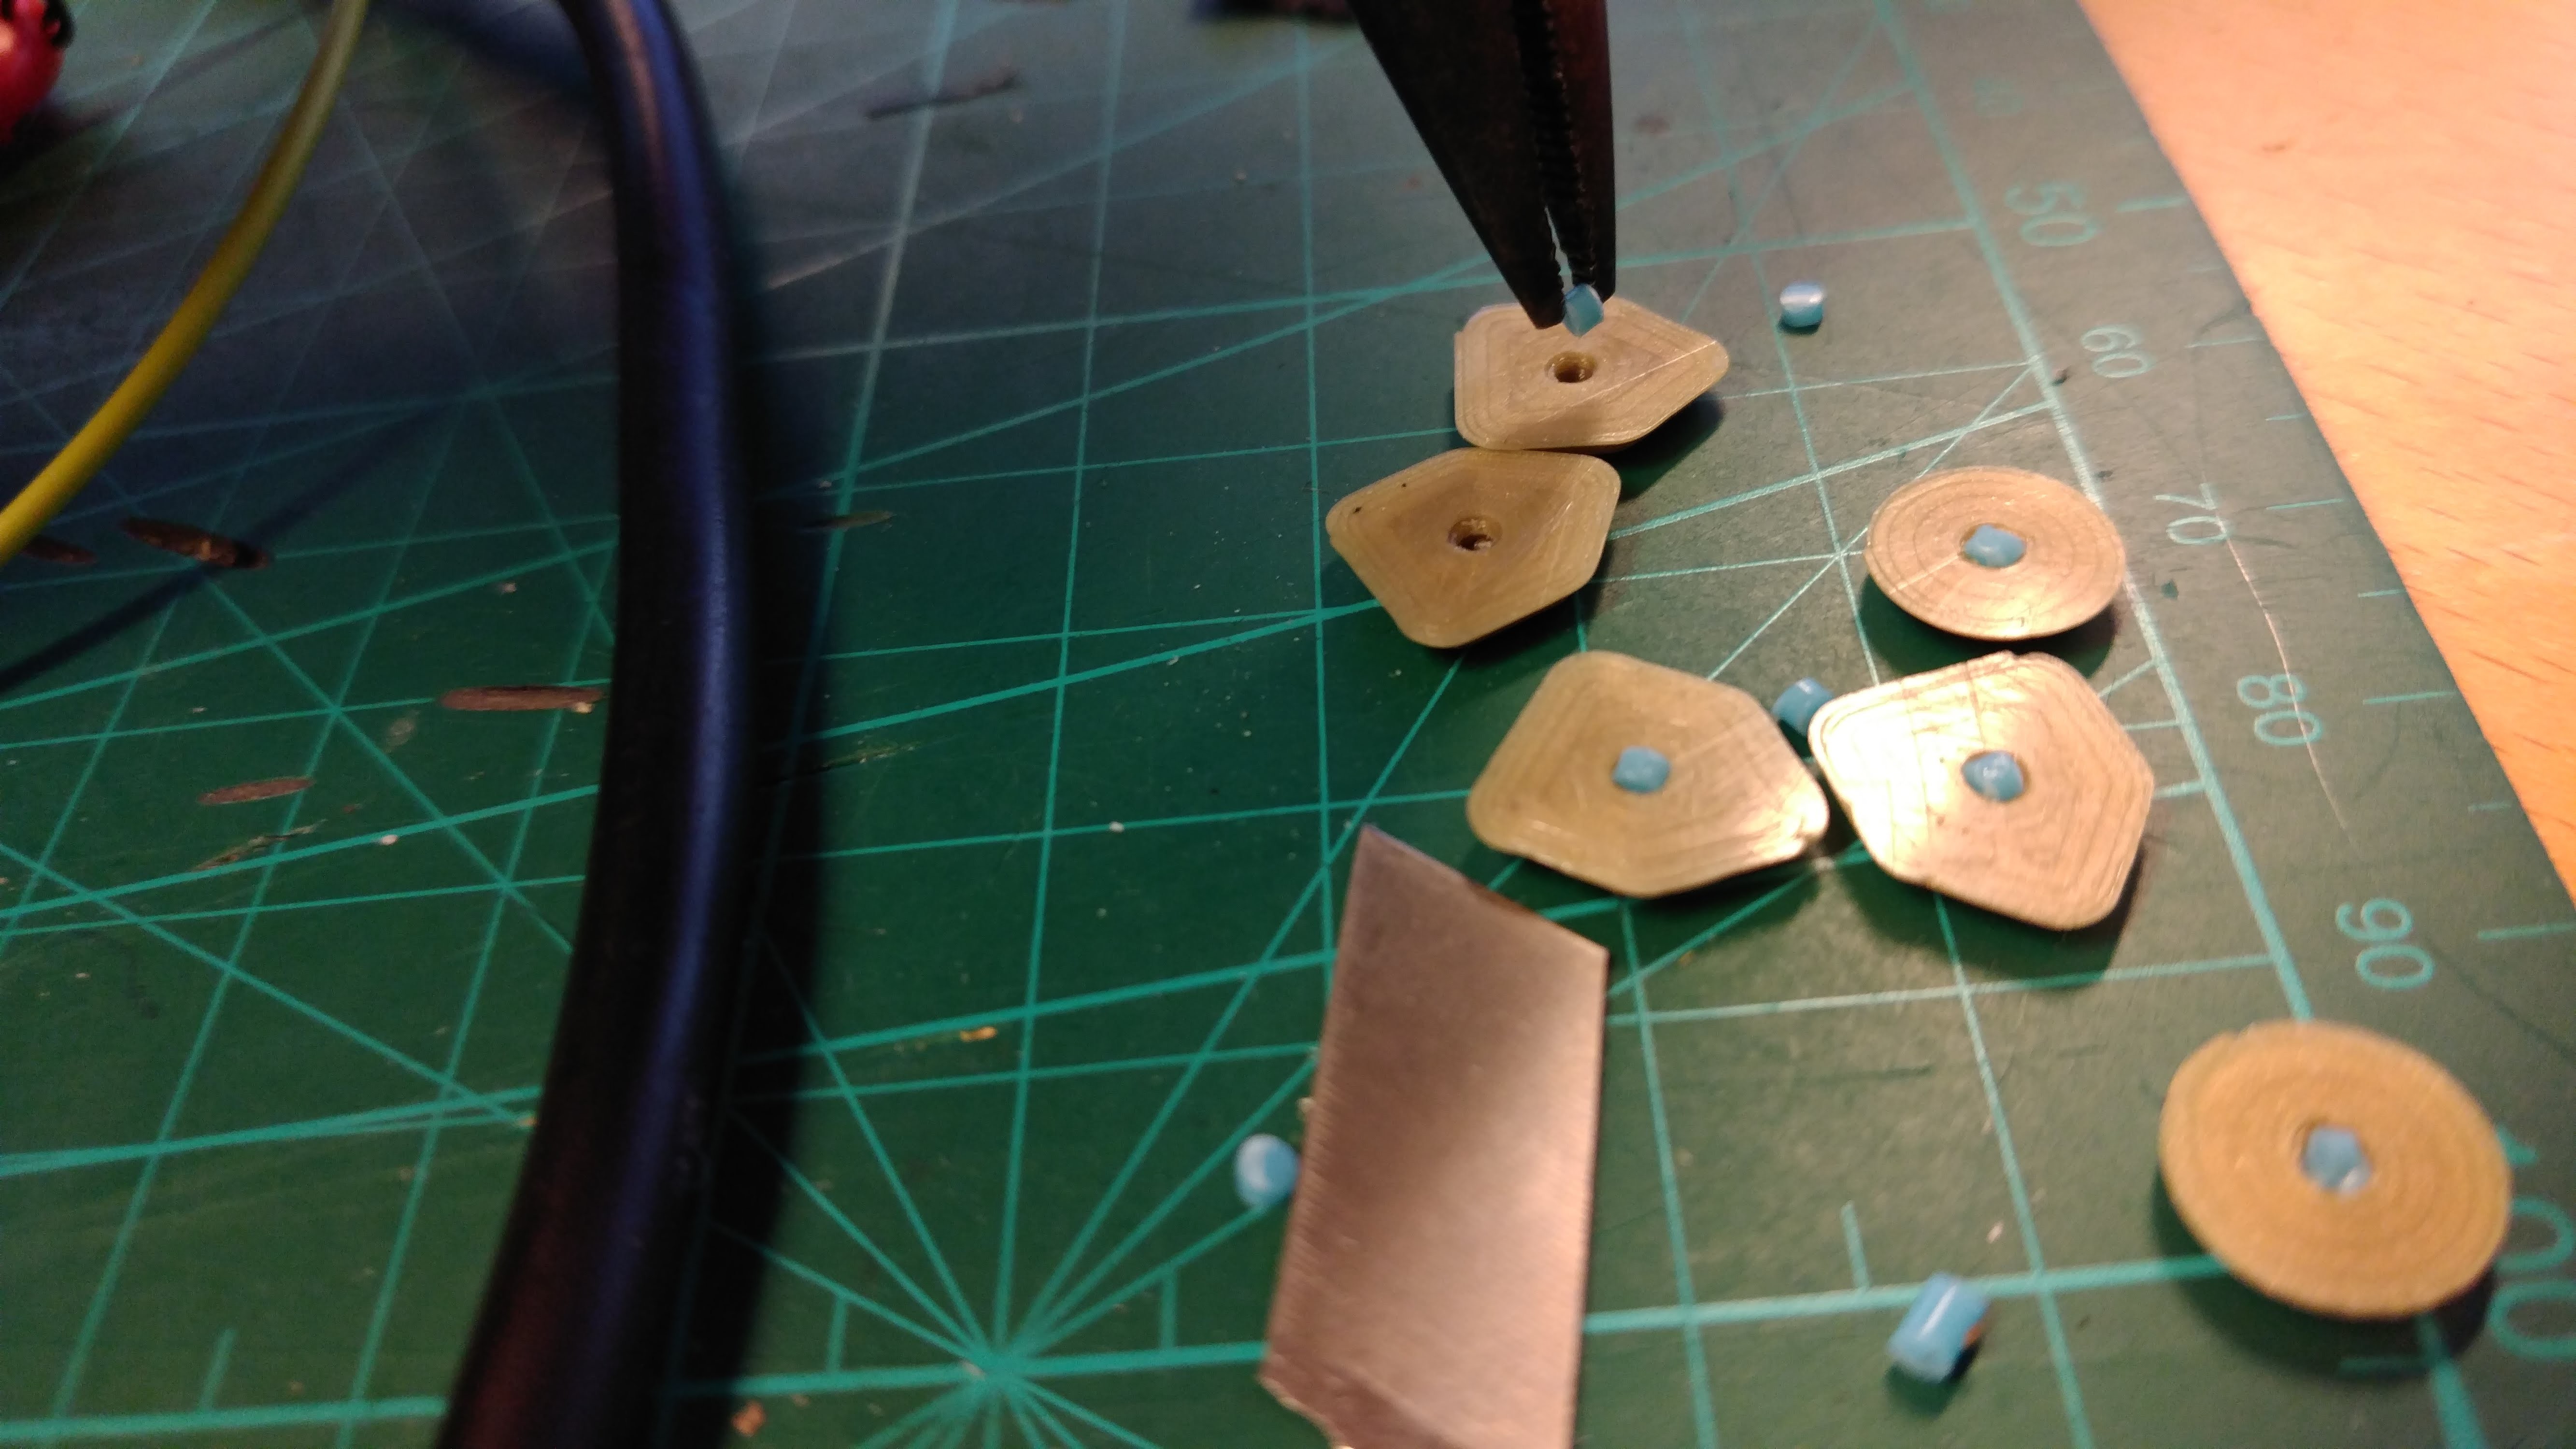
A piece of filament goes sideways (to use the constant diameter of the filament to my advantage)  in a hole, below each button. 

Conclusions

After playing for several days with them, I can say that the new buttons are perfect. And since you cannot buy button replacements, there is no really another way to fix your Arduboy. 

I cannot perceive any difference between the printed buttons and the original ones just by touching them. But I am printing them at 0.05 layer so the finishing surface is really smooth on the fingertips, so maybe that is the reason. 

sources.zip

Autodesk Inventor parts

x-zip-compressed - 449.36 kB - 02/05/2018 at 12:59

Download

ab.stl

A and B buttons (print 2)

Standard Tesselated Geometry - 582.21 kB - 02/05/2018 at 12:59

Download

directional.stl

Directional buttons (print 4)

Standard Tesselated Geometry - 510.14 kB - 02/05/2018 at 12:59

Download

  • 1
    Post printing

    Cut pieces of about 1 mm of filament and using nose pliers push them sideways into the bottom part of each button. You are going to feel resistance first and then the fit will be perfect.

View all instructions

Enjoy this project?

Share

Discussions

Vishnu Mohanan wrote 04/30/2018 at 14:08 point

This gives me confidence that I'd be able to print some buttons for my EXPLOG project. Your prints look great.

  Are you sure? yes | no

c.Invent wrote 04/23/2018 at 08:24 point

That's a brilliant idea! The arduboy buttons have, for such a small thickness, a very long course and amazing feeling, so we tried to replicate and adapt them to our funkey zero project (https://hackaday.io/project/134065-funkey-zero). But our prints have a flat bottom like your first iterations, we'll definitely try your idea with a chunk of filament inside and let everyone know it's your idea. That's great thinking man! 

  Are you sure? yes | no

Shree Kumar wrote 04/19/2018 at 00:23 point

+1 to what @zakqwy says above.  Brilliant technique.  I will use this soon @eried . I have an arduboy too, but my motivation is primarily adding buttons to my DIY phone. The buttons I have designed till now seem reasonable, but this technique seems superior.

  Are you sure? yes | no

zakqwy wrote 04/18/2018 at 21:59 point

using a chunk of filament on its side to ensure accurate dimensions is a great idea!

  Are you sure? yes | no

Similar Projects

Does this project spark your interest?

Become a member to follow this project and never miss any updates