SephenDeVos
-
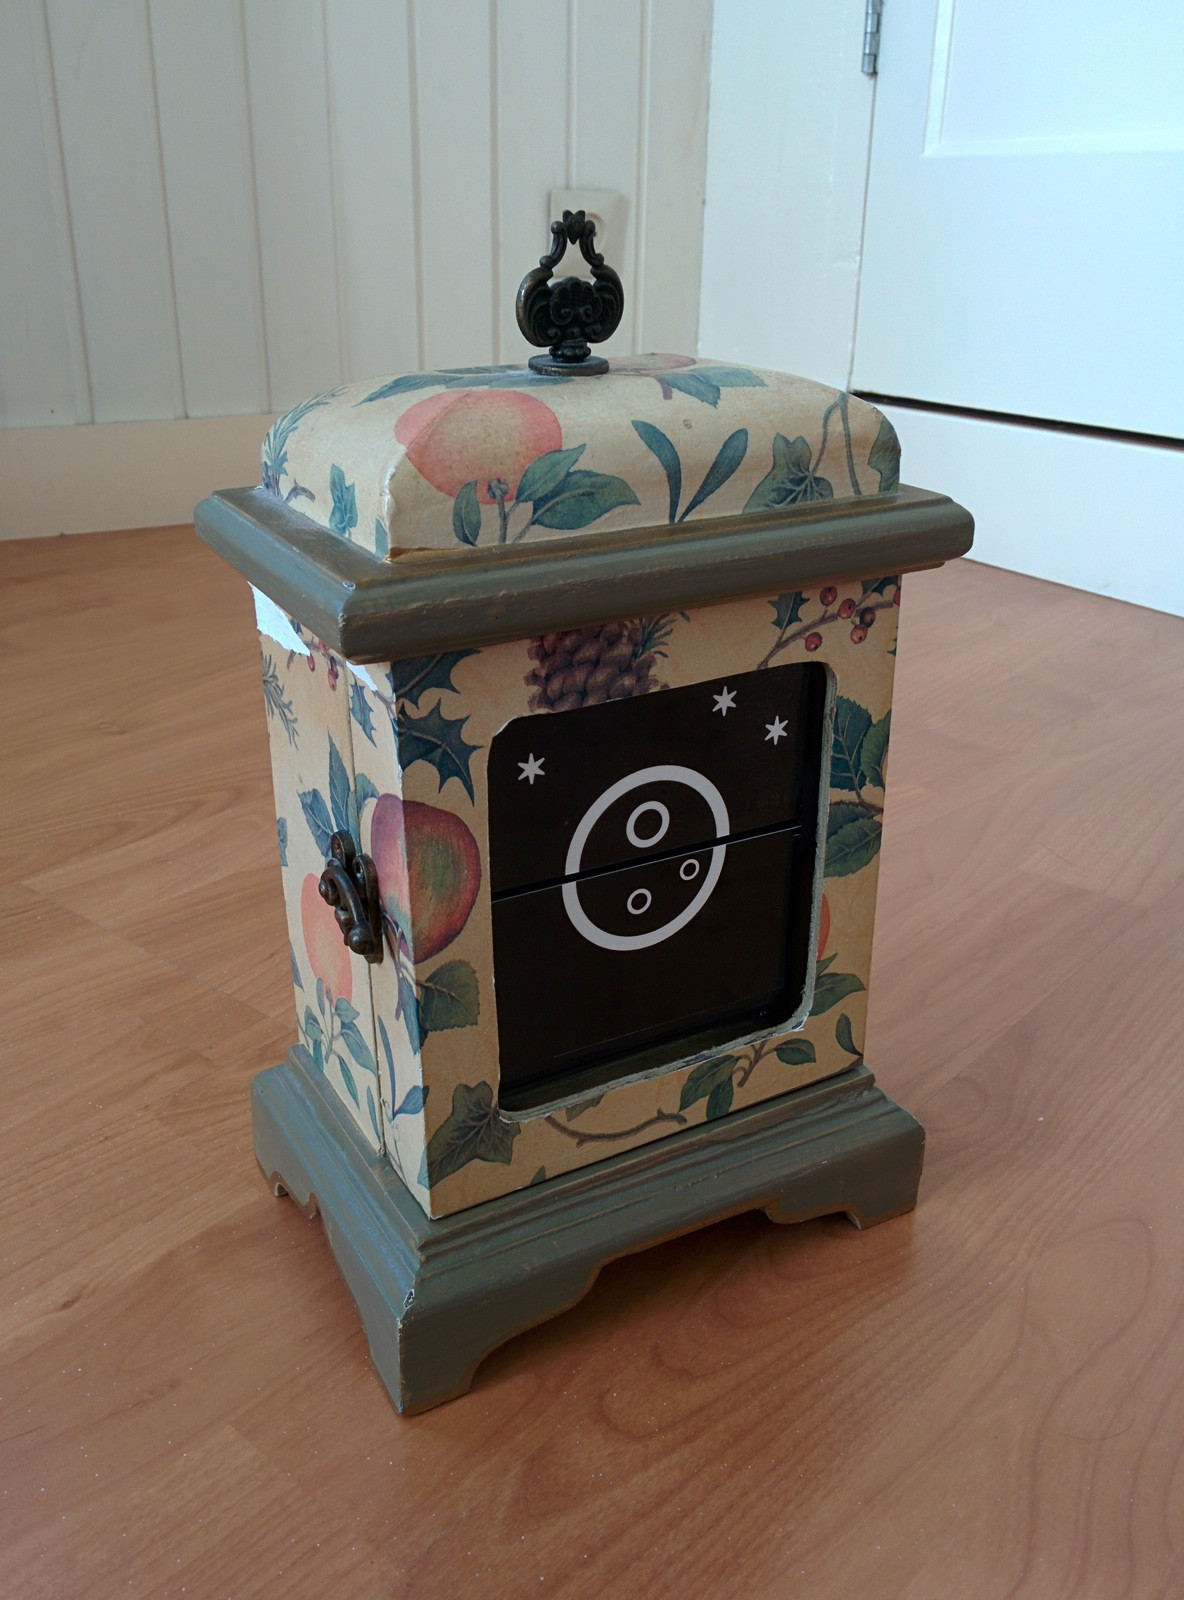
Almost done
03/28/2015 at 12:02 • 0 commentsFinally had some time to make a video of the "complete" weather clock. The only thing i want to do is make new matte cards instead of the current glossy ones.
-
Attraction
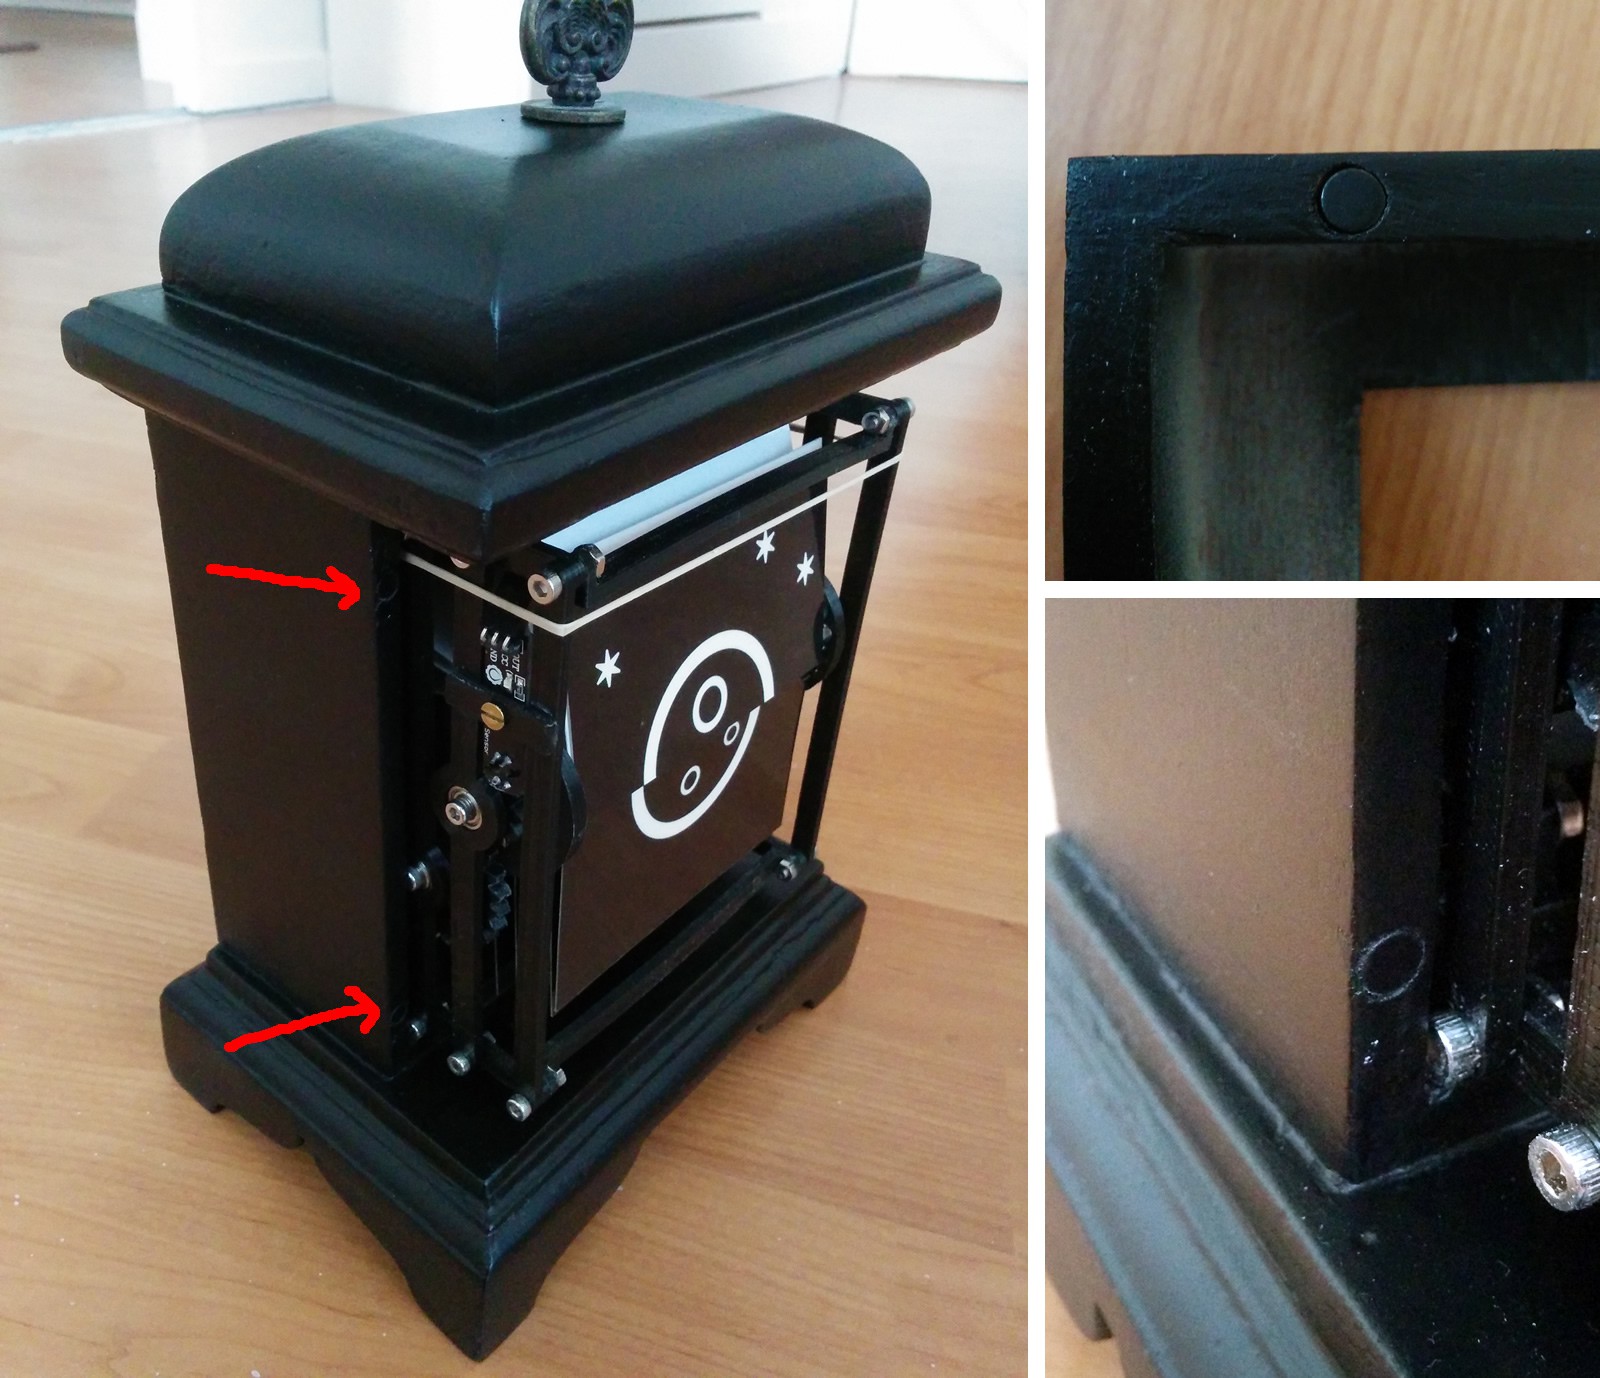
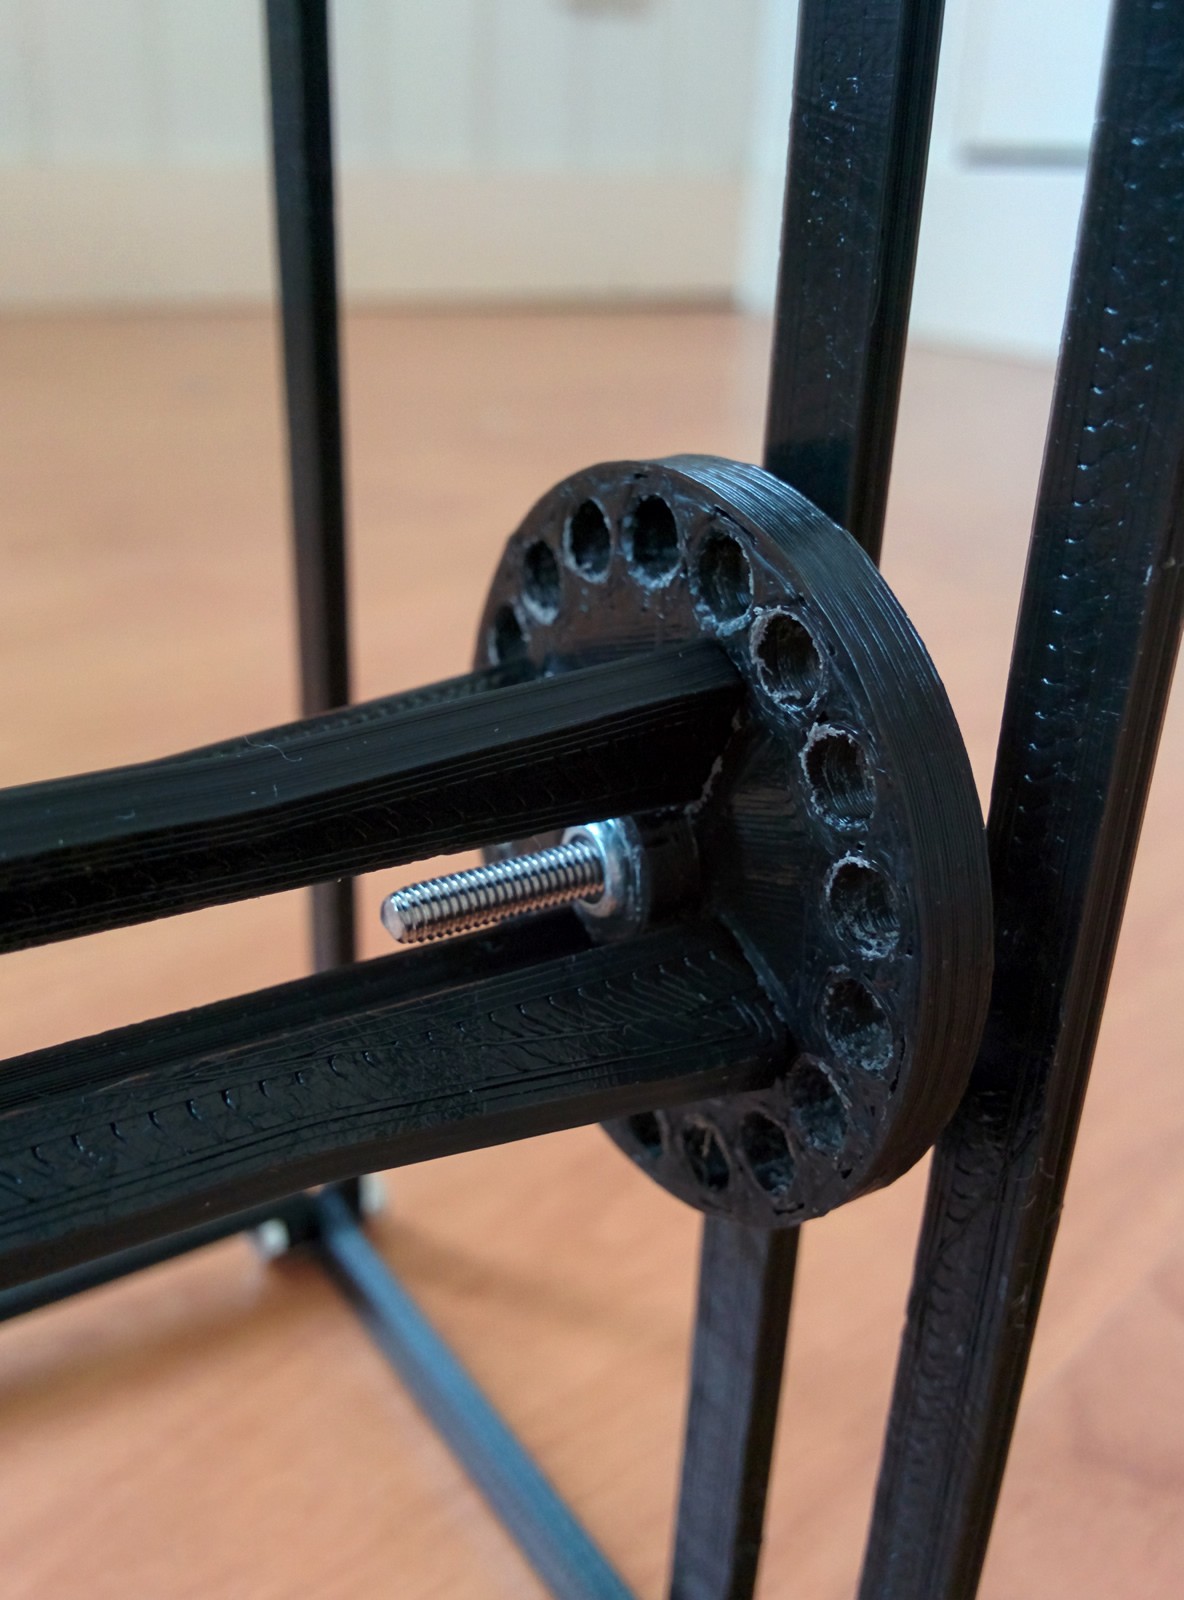
03/25/2015 at 07:20 • 0 commentsDrilled eight 5mm holes by hand about 3mm deep in the case and the front panel. Then glued in some 5x3mm magnets that i bought from aliexpress. after that i primed and painted the case. I think the paint will scratch from the magnets. But a black marker will fix that.
![]()
-
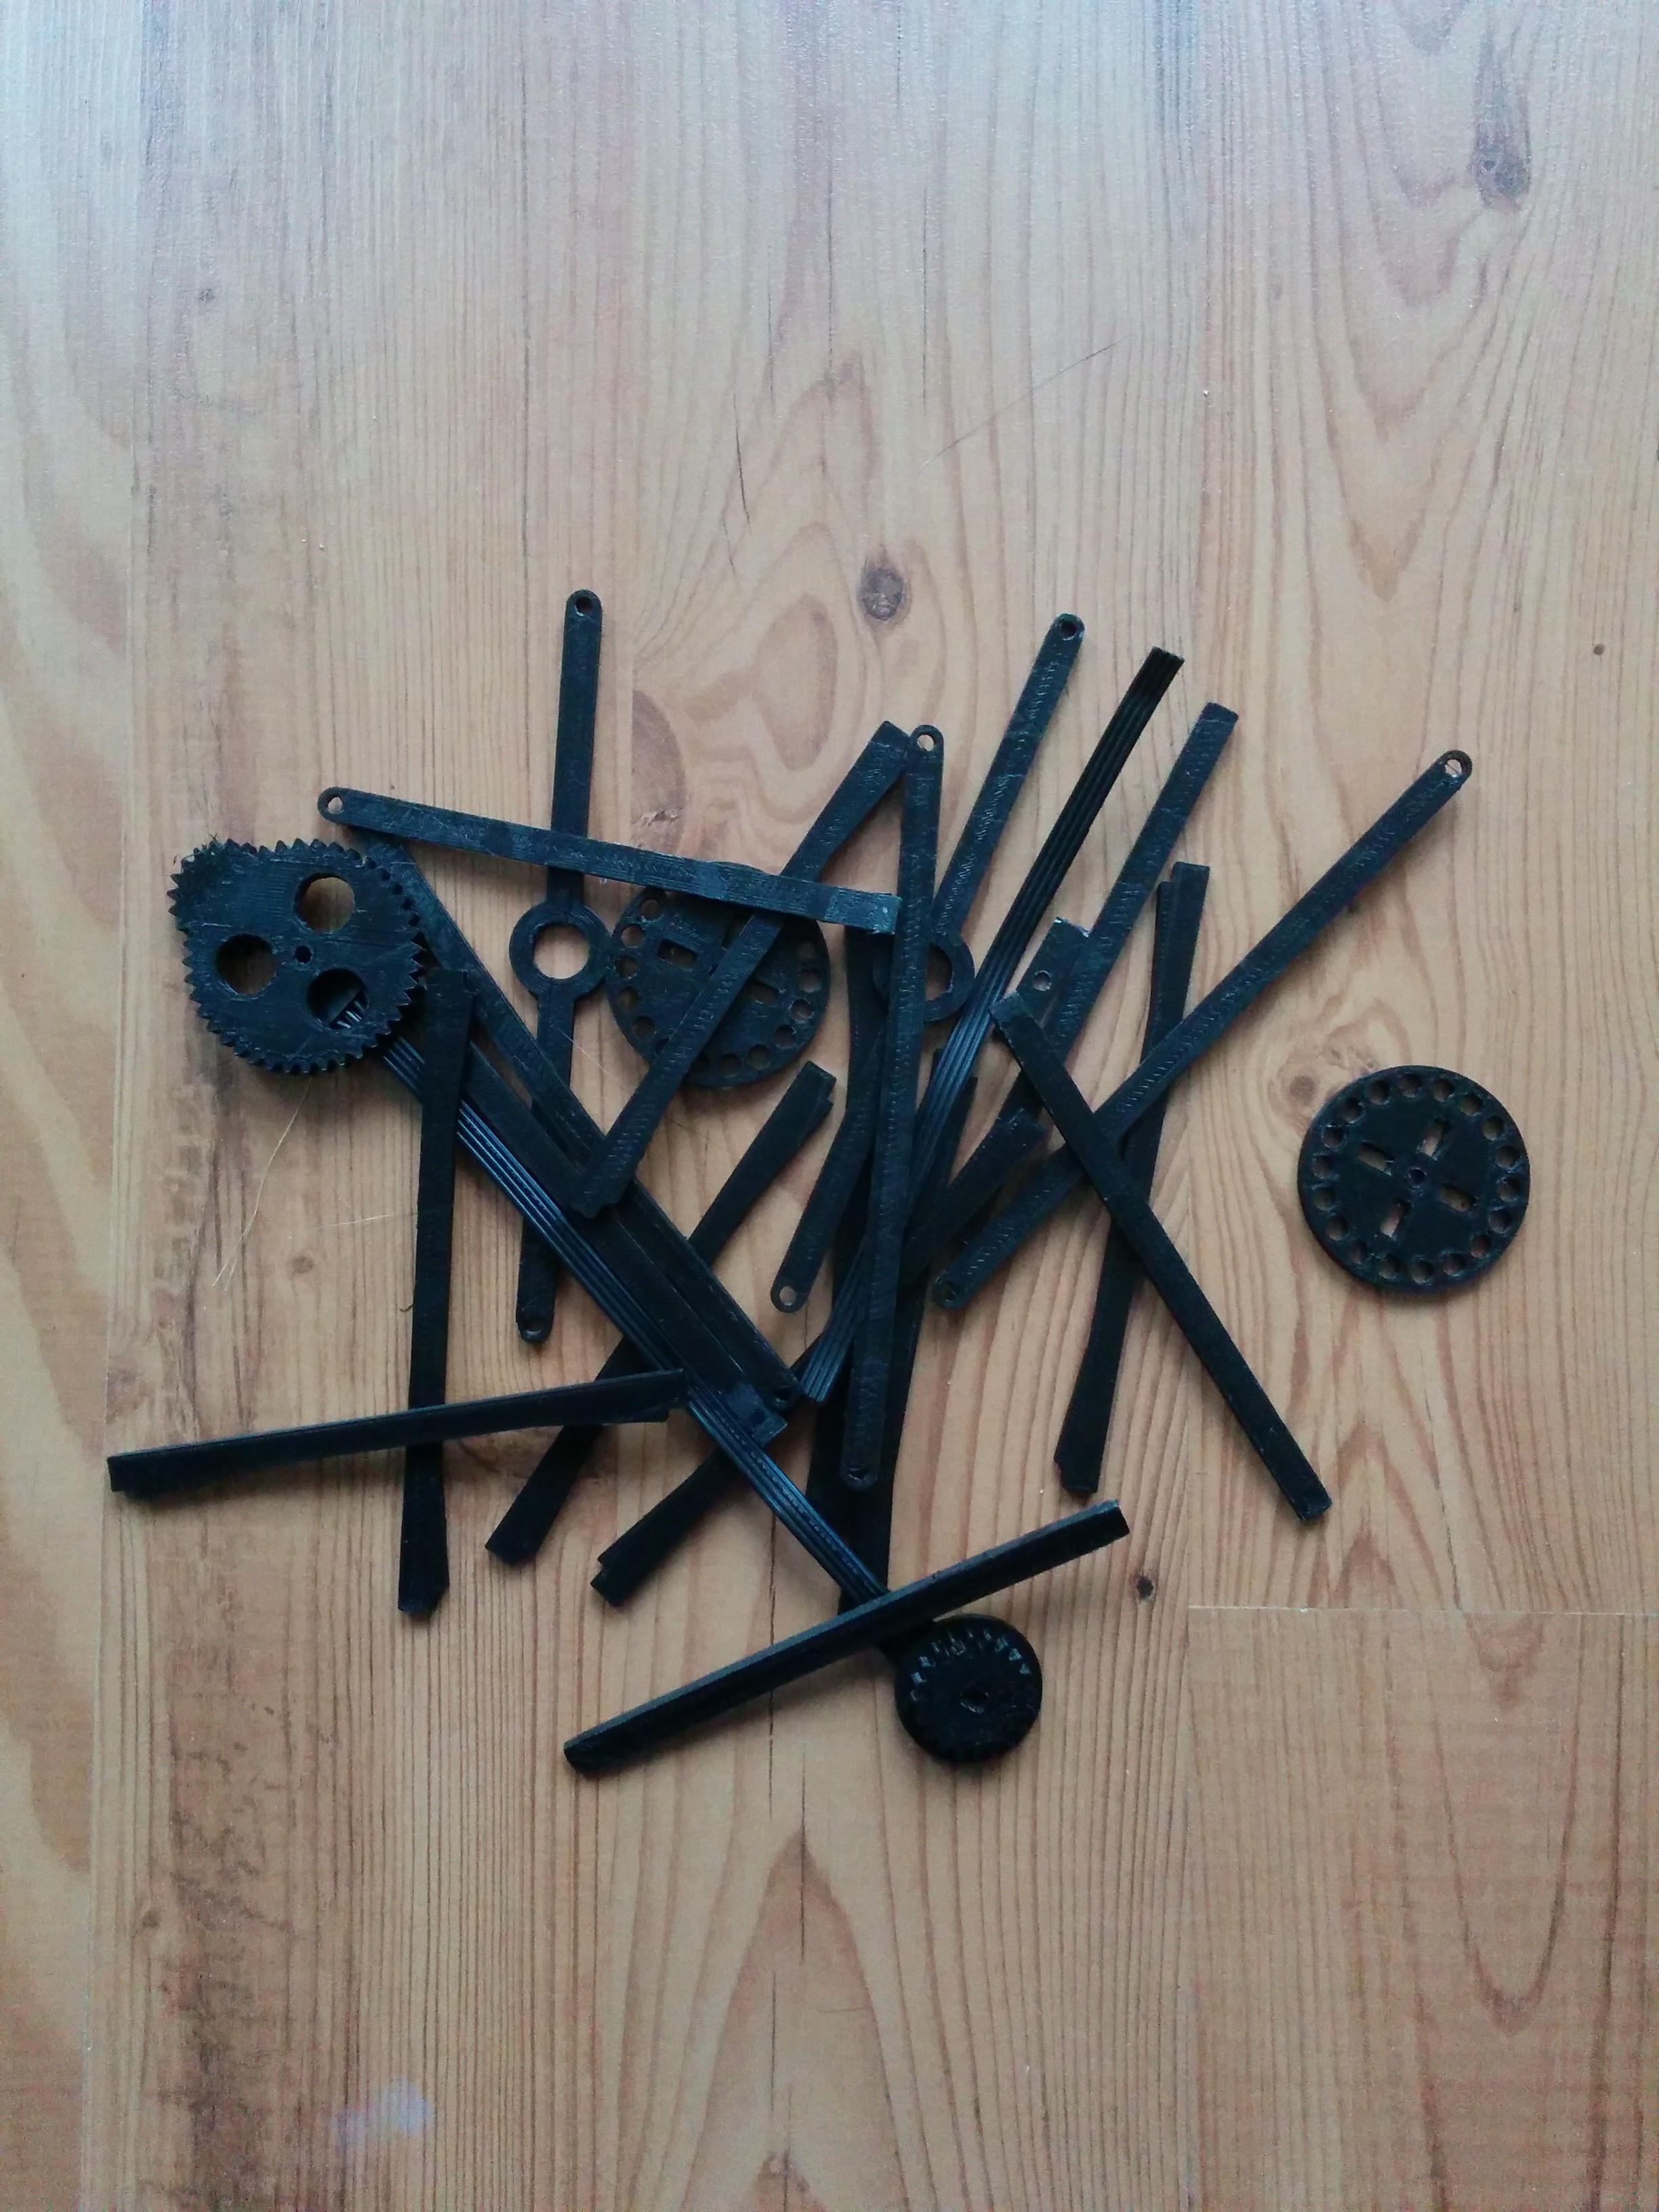
3d printed scrap
03/24/2015 at 12:32 • 0 commentsA lot of times you have to rethink and remake parts because things change along the way. These are the parts that didn't make it. :)
![]()
-
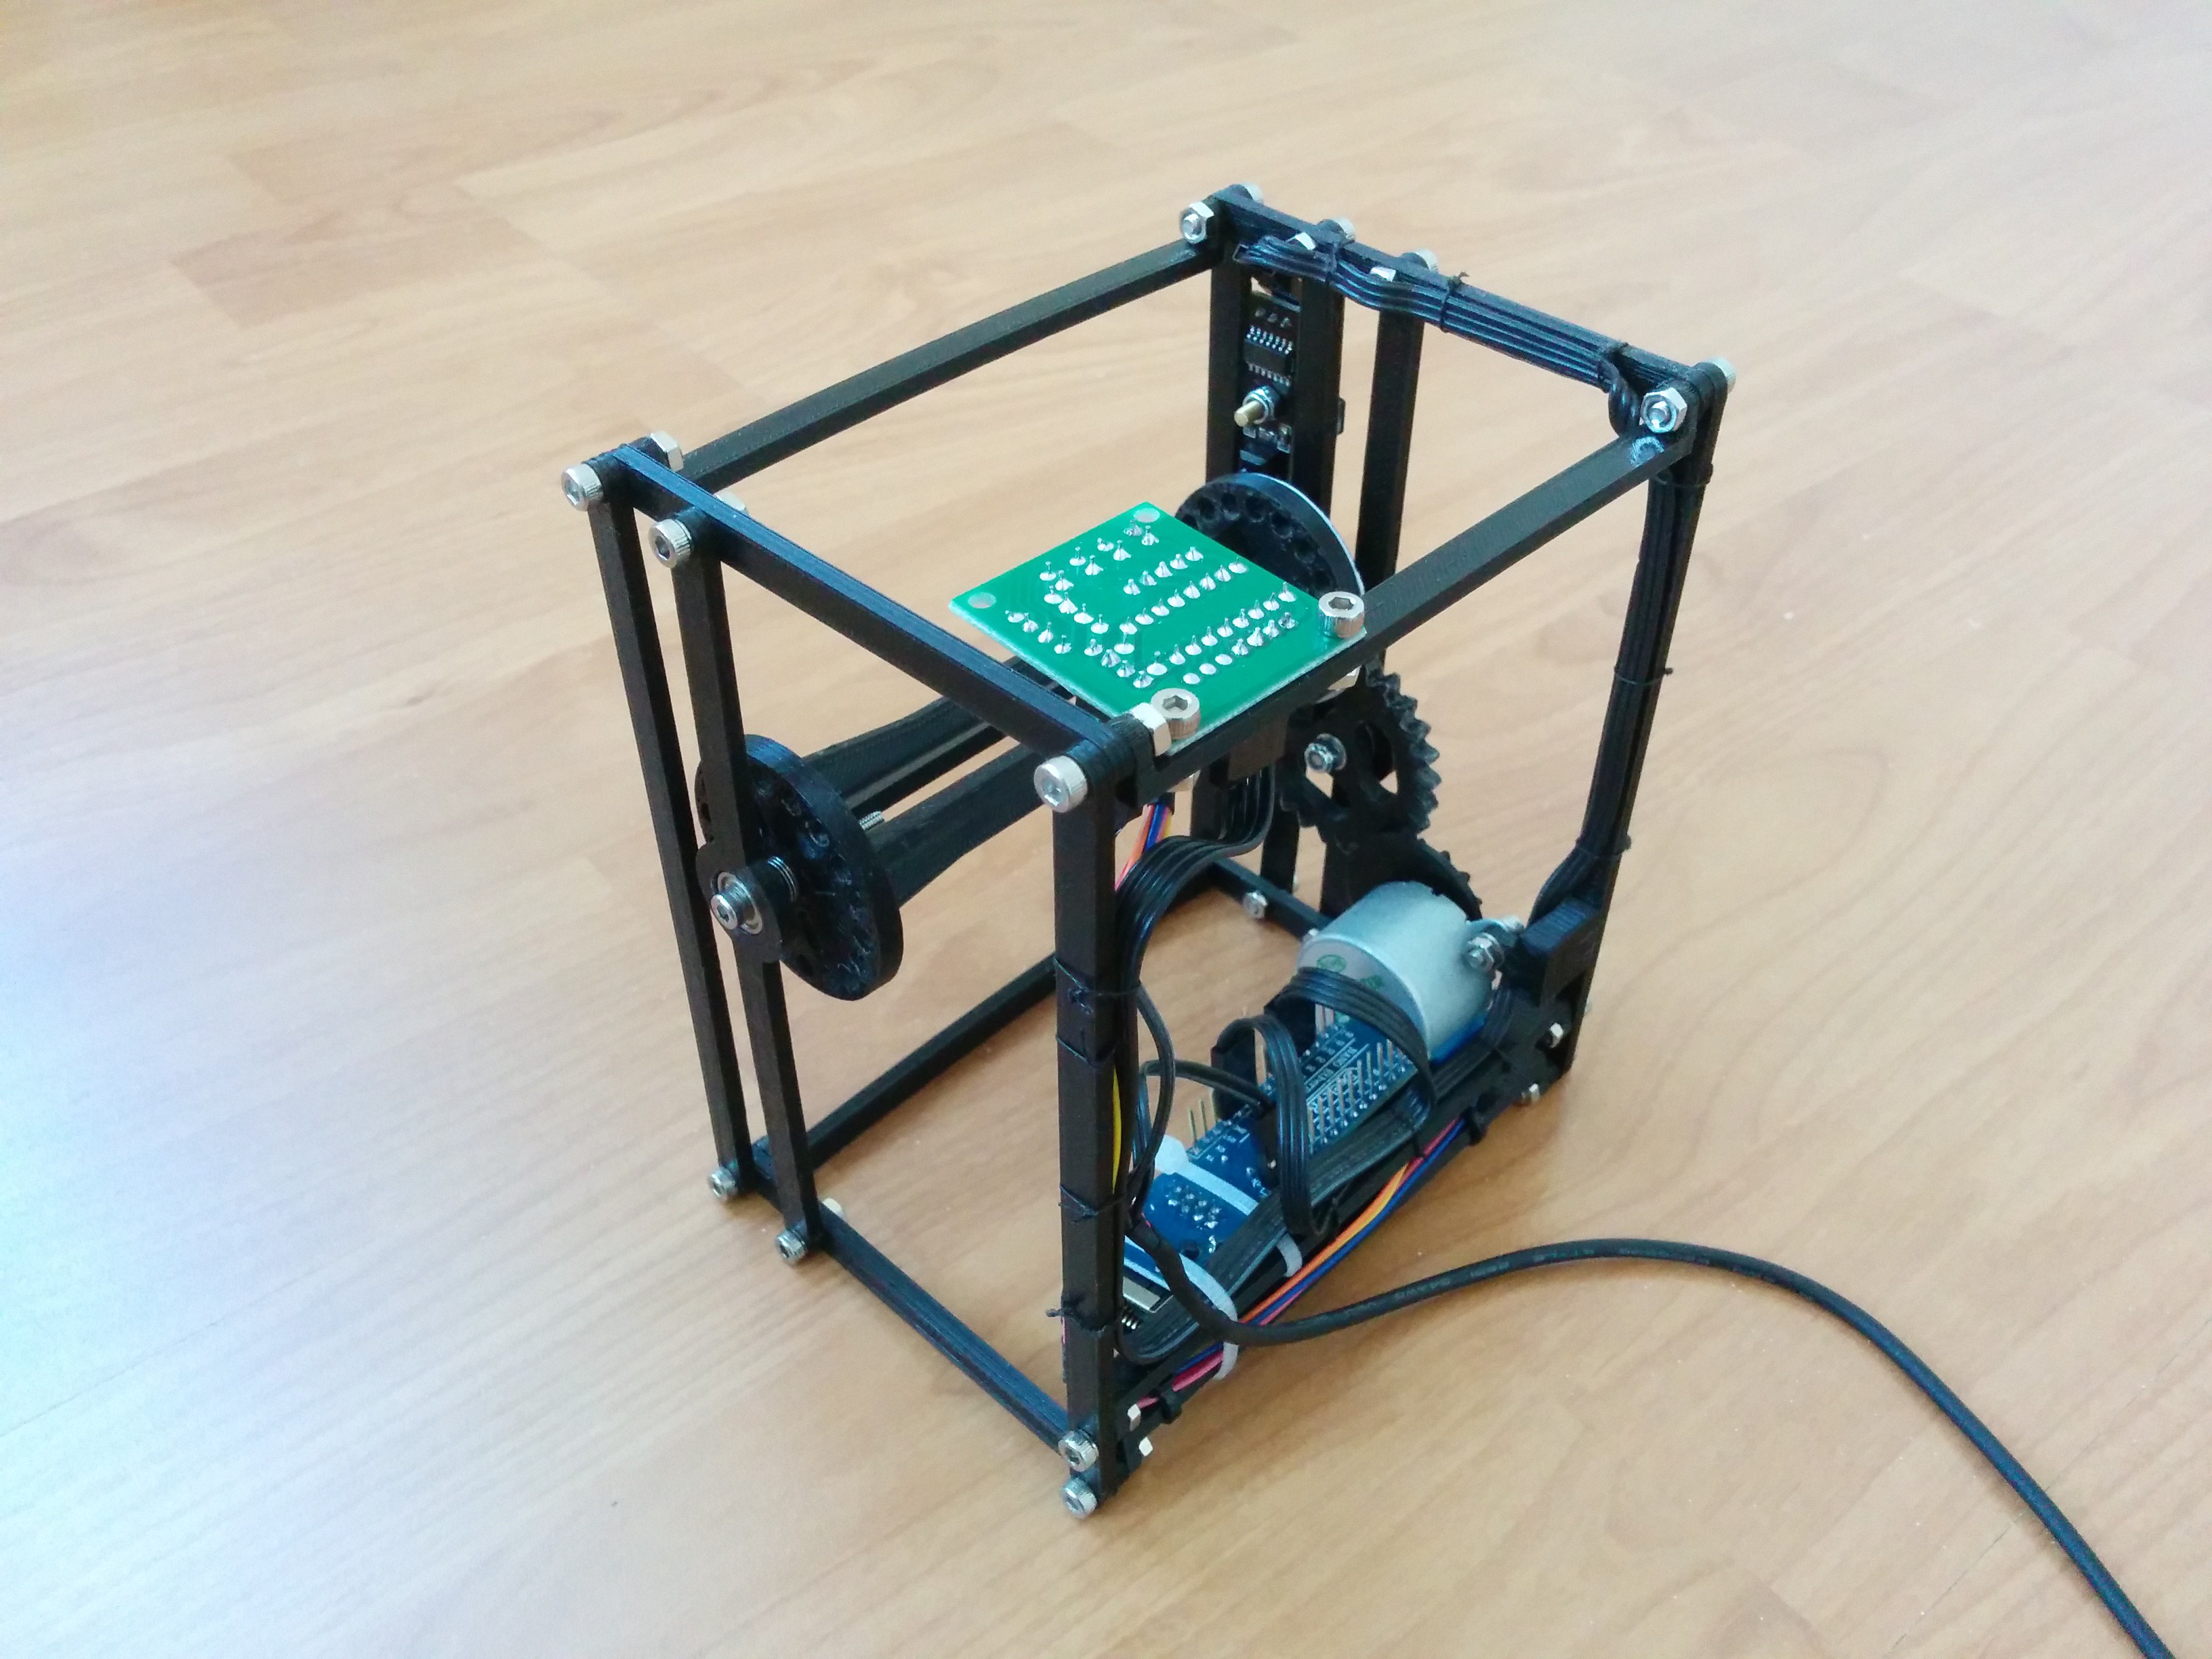
Piecing the frame together
03/24/2015 at 11:34 • 0 commentsSpace is tight so everything has a fixed place. First i used tie-wraps to secure the wiring but then the frame wouldn't fit in the case no more, now i'm using very strong yarn which works fine.
![]()
![]()
A ethernet cable just fits in its slot
![]()
-
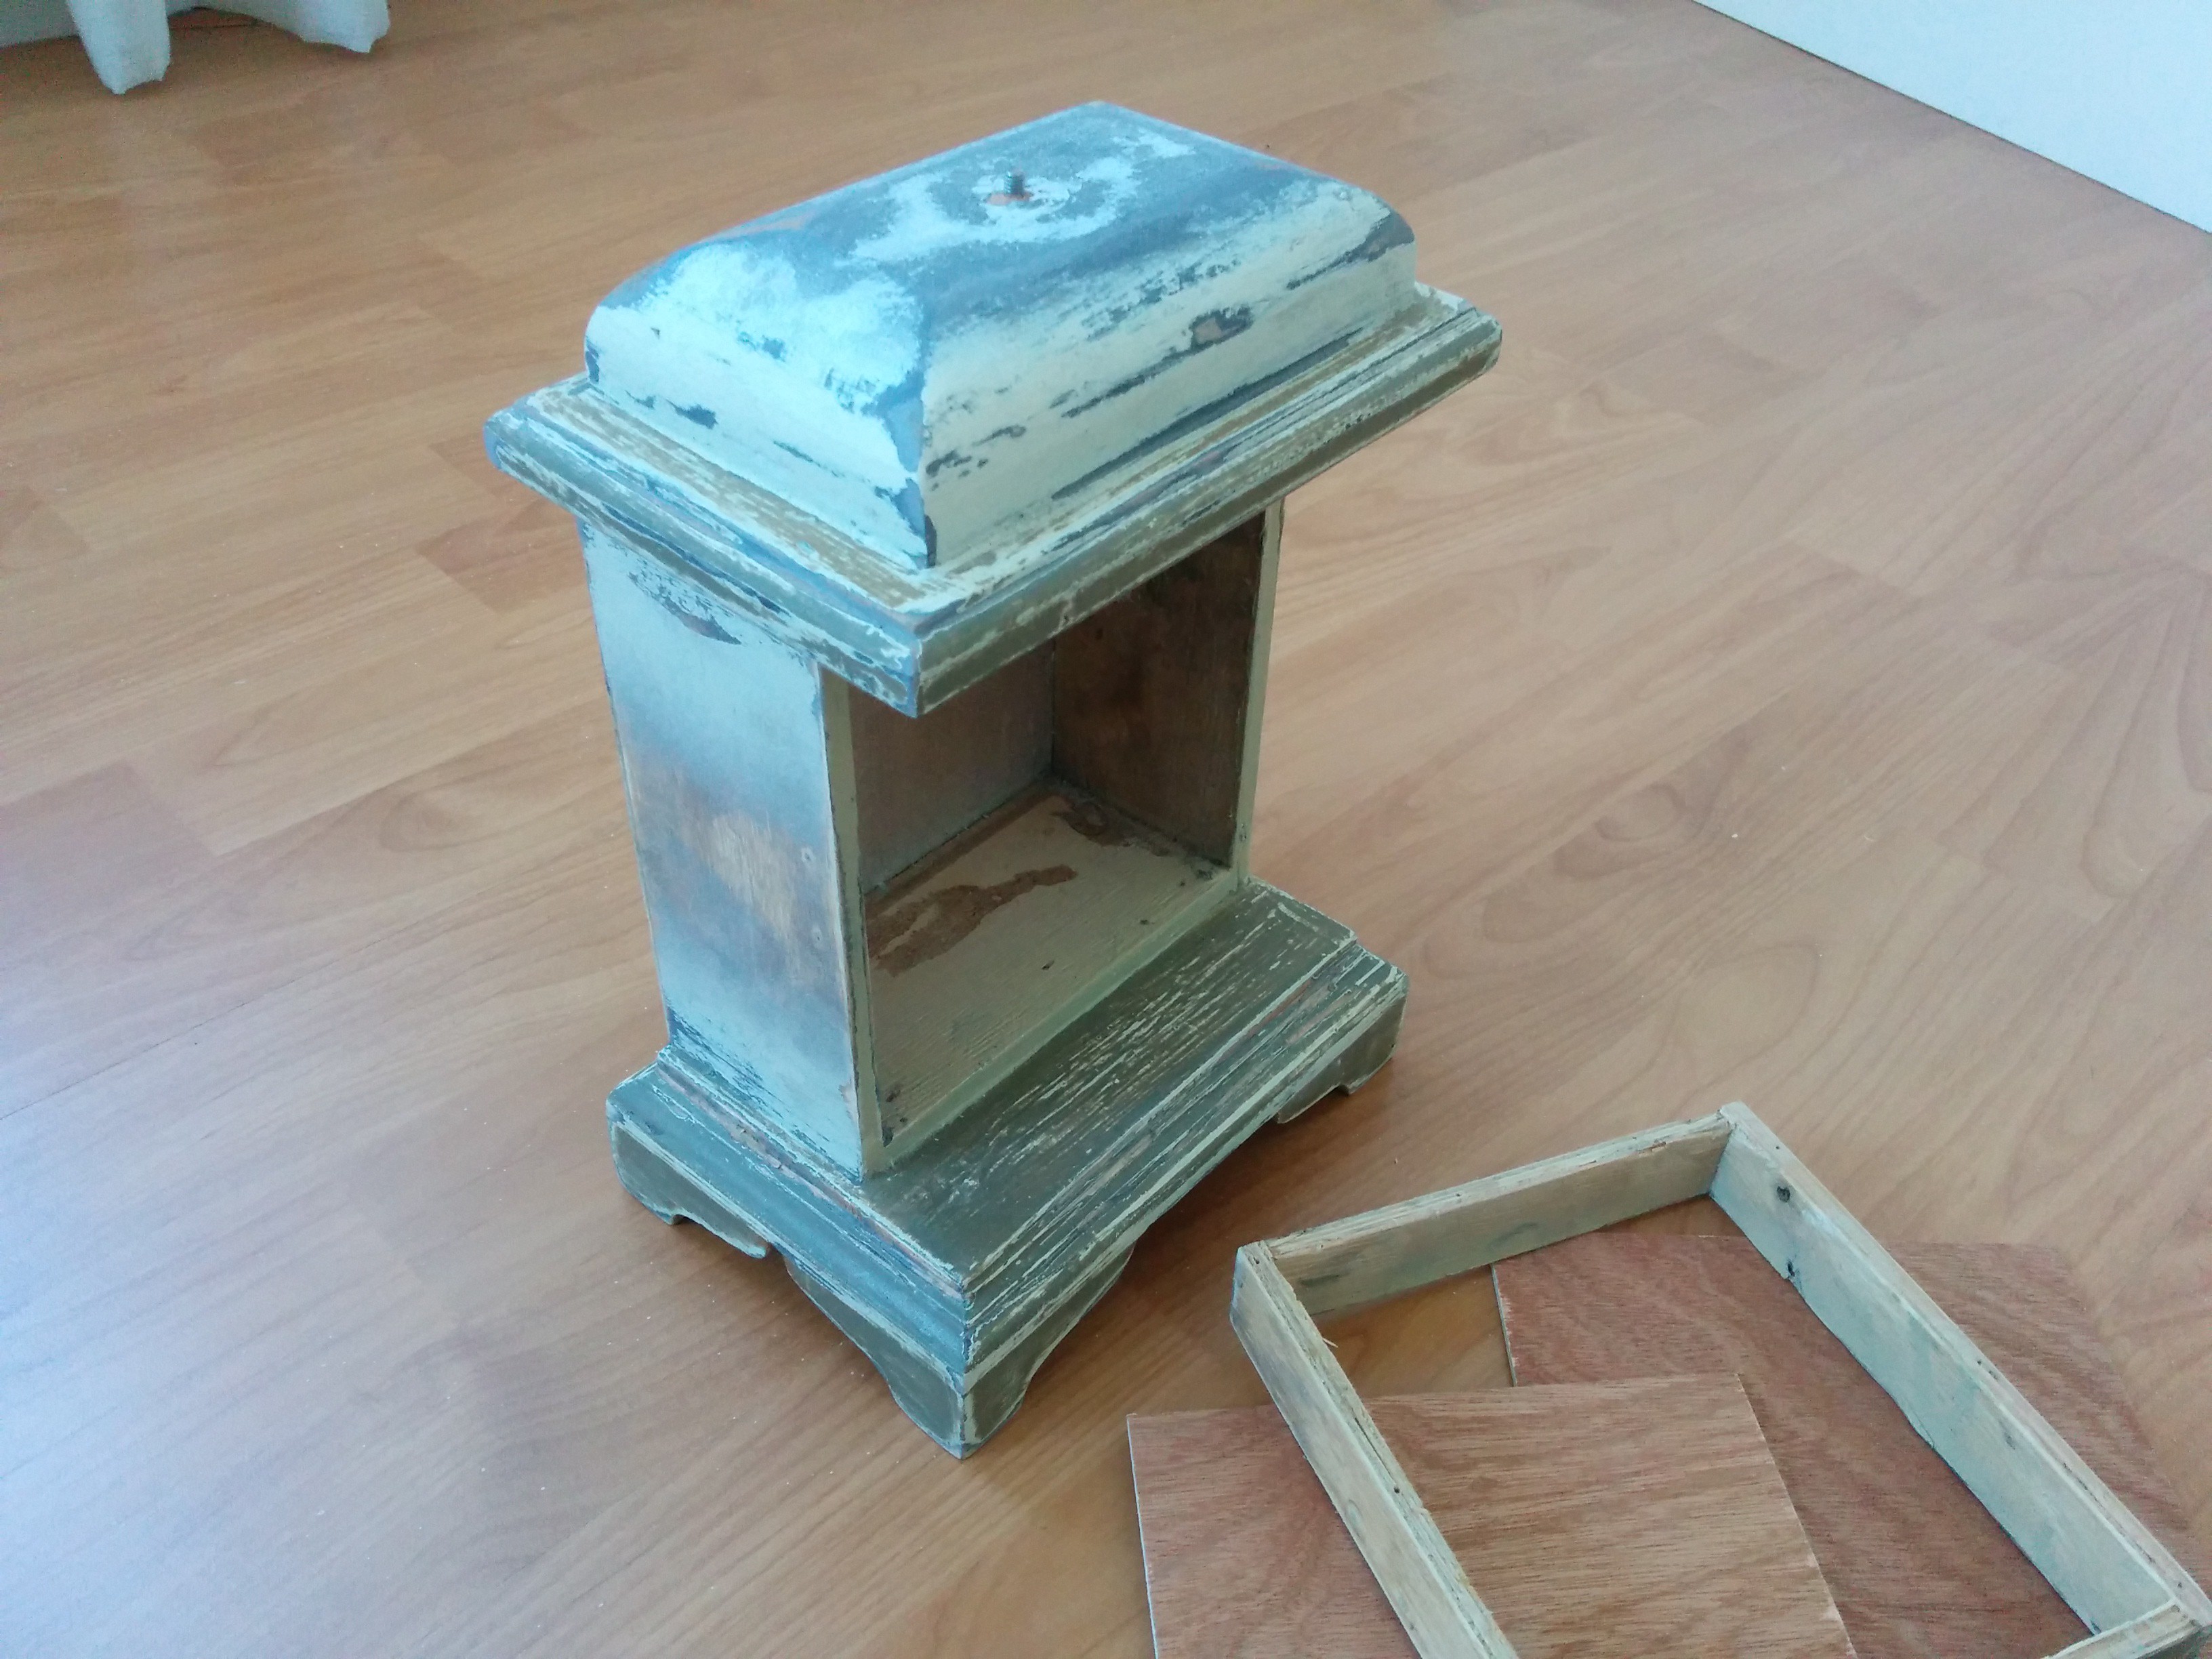
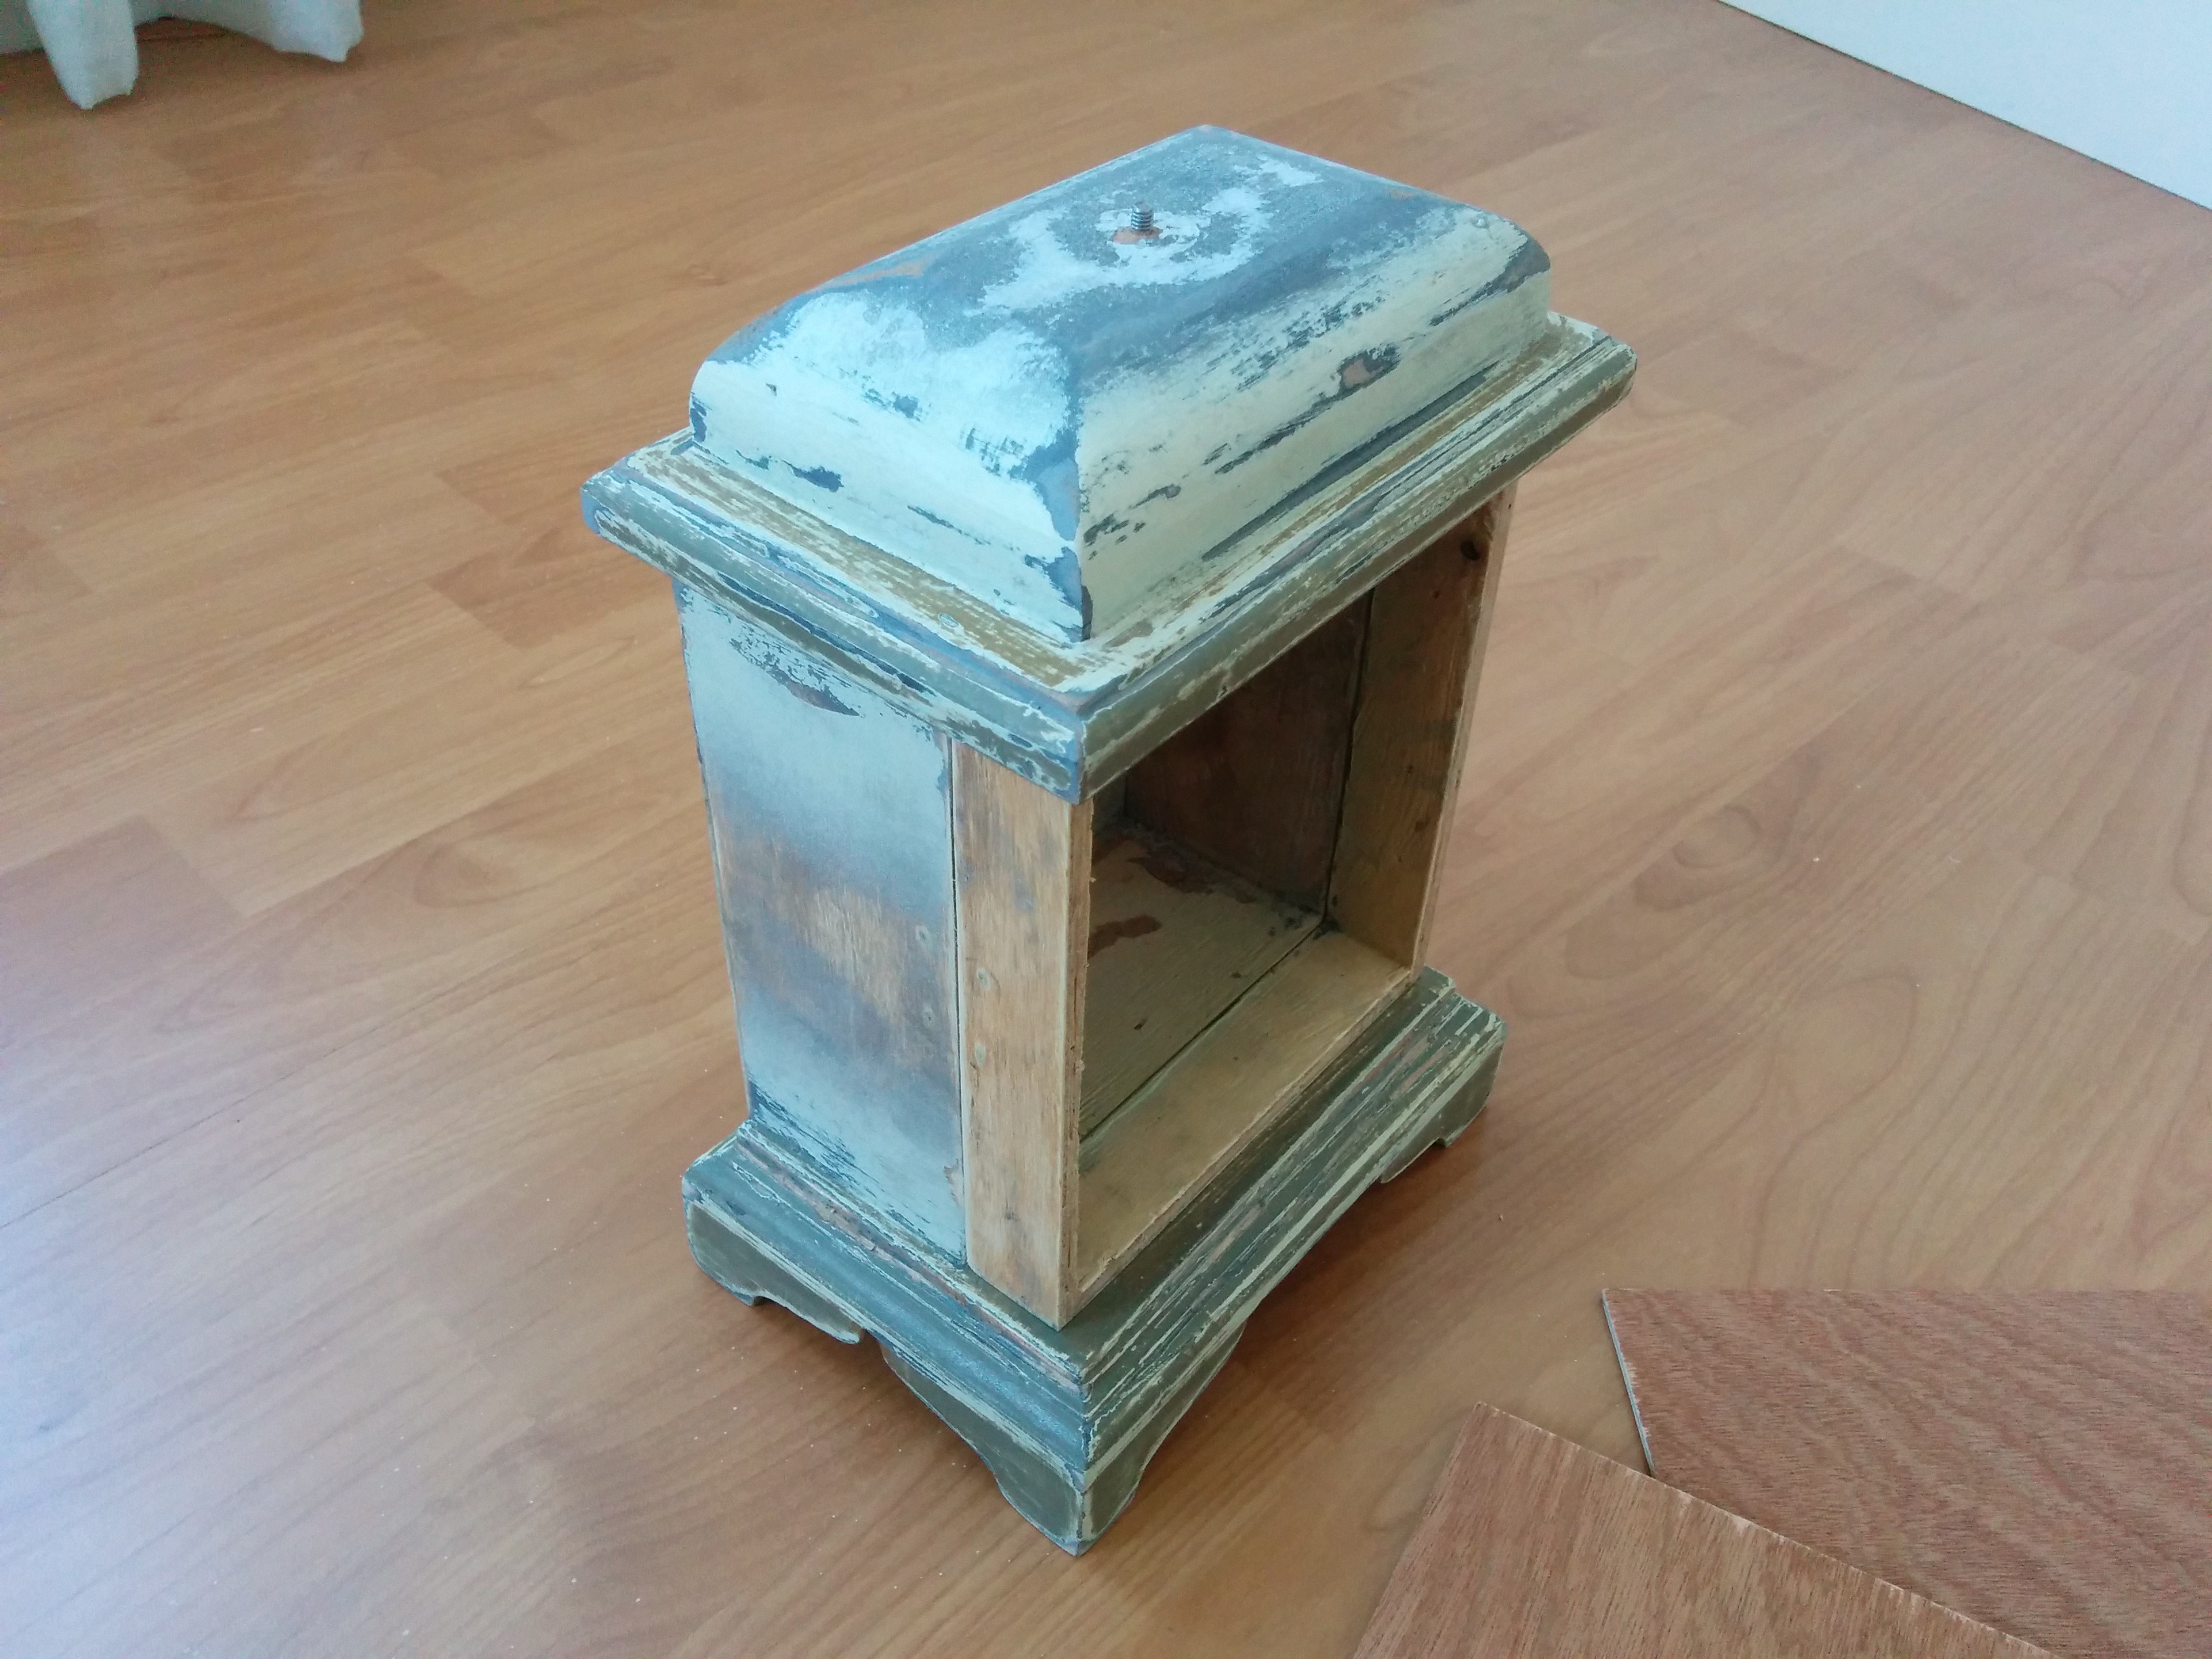
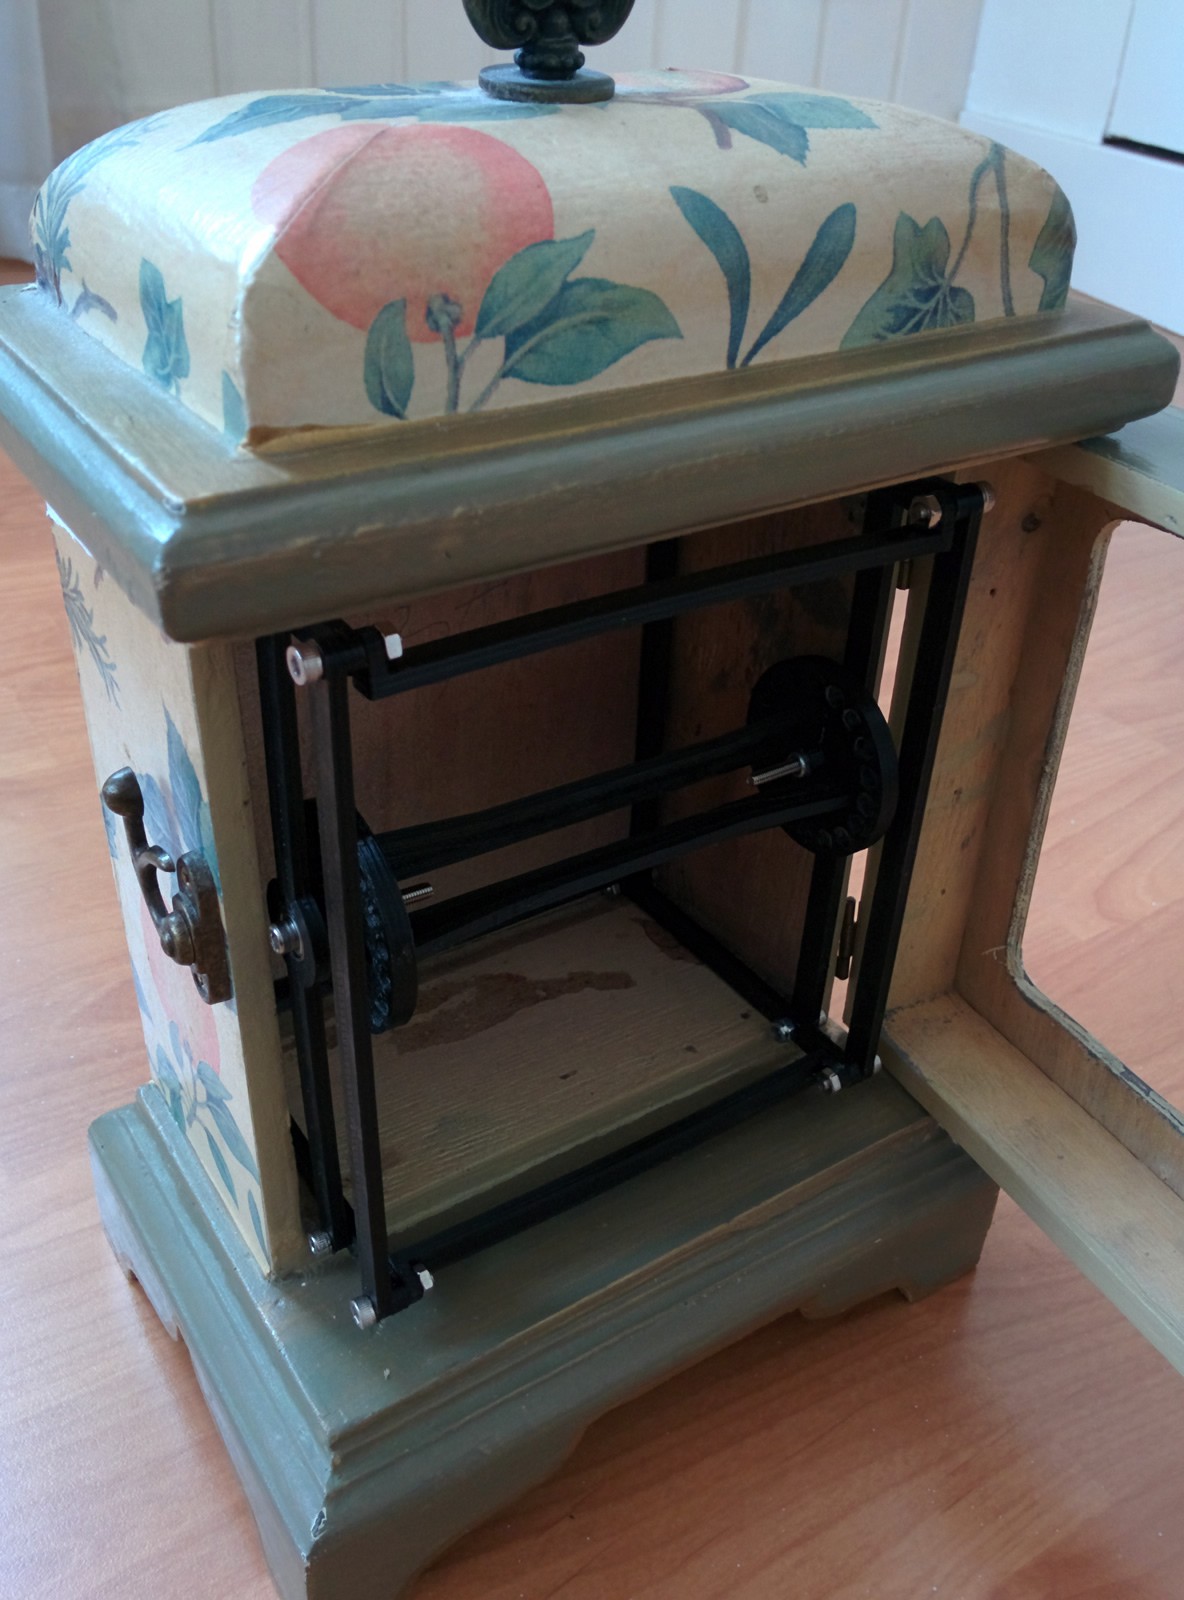
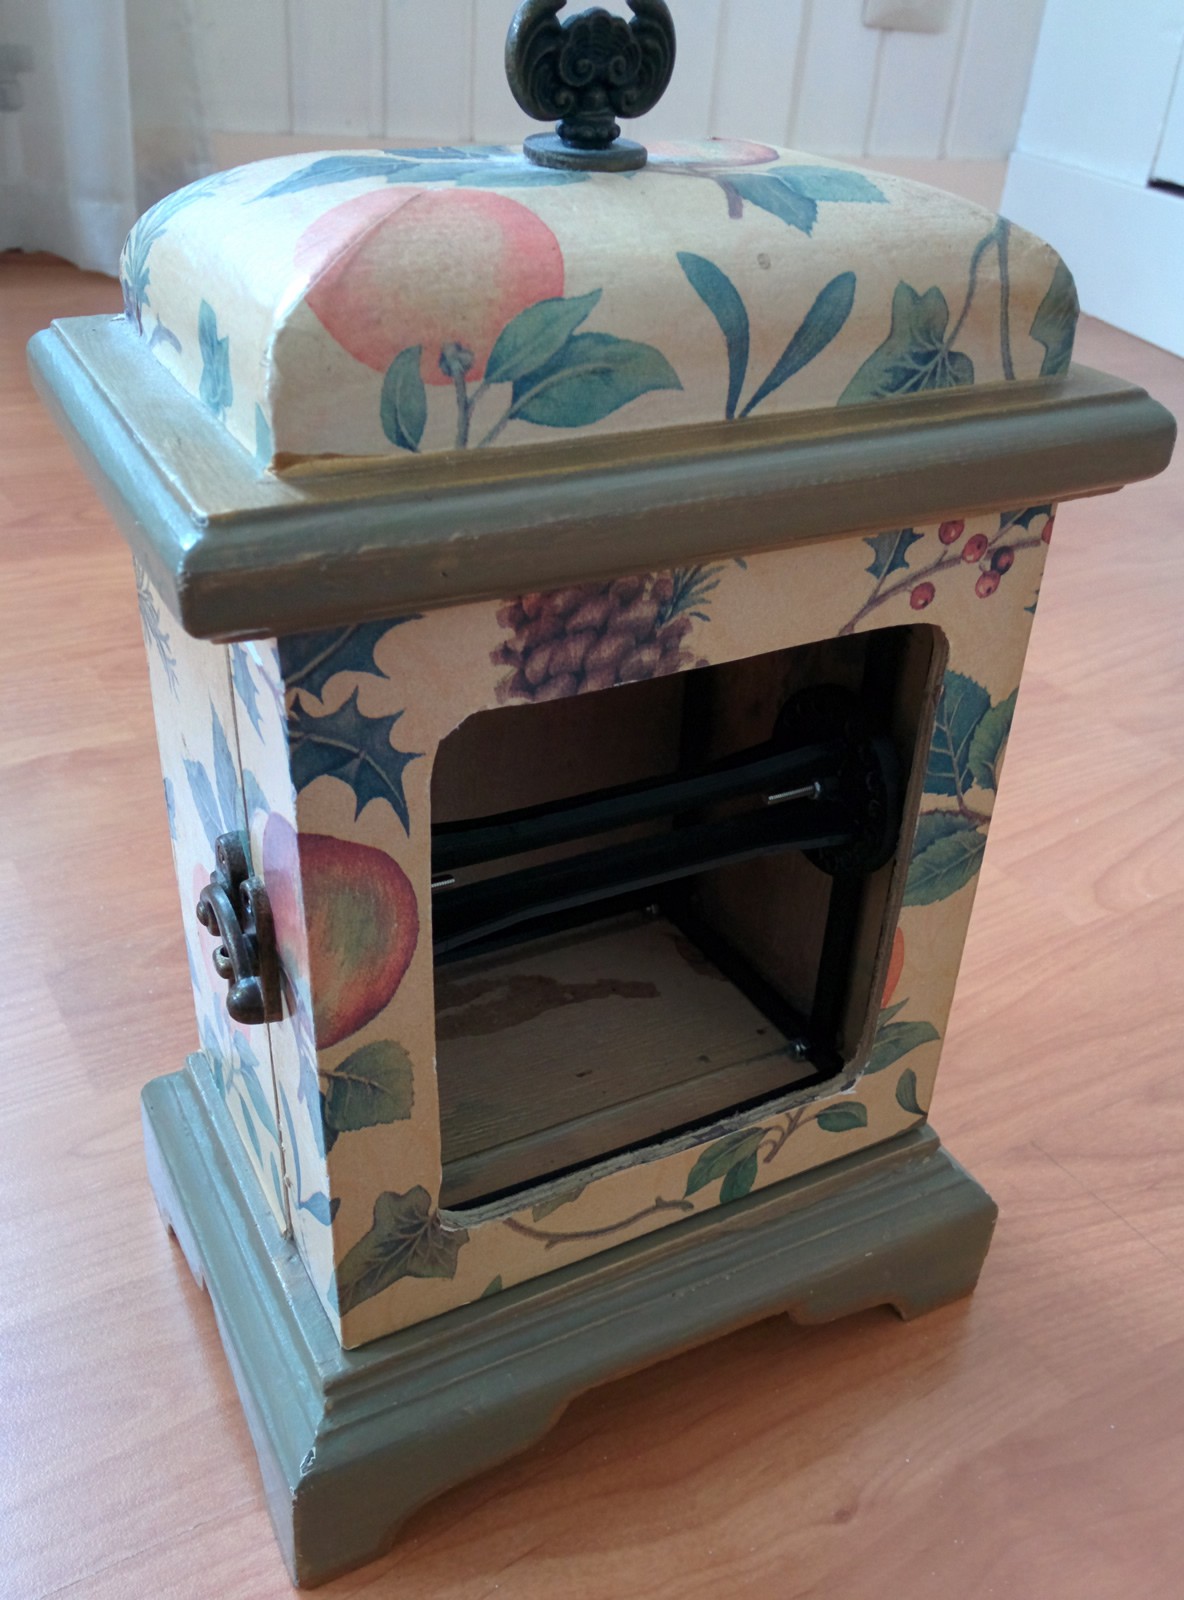
Modifying the clock case
03/24/2015 at 10:20 • 0 commentsI wasn't happy with the opening in the clock front so i removed the front panel and bought a new multiplex 3.6mm panel (0,20 euro cents!). Cut the correct opening in the panel using an jigsaw.
Sanded the case and used filler to touch up some damaged parts.
![]()
![]()
-
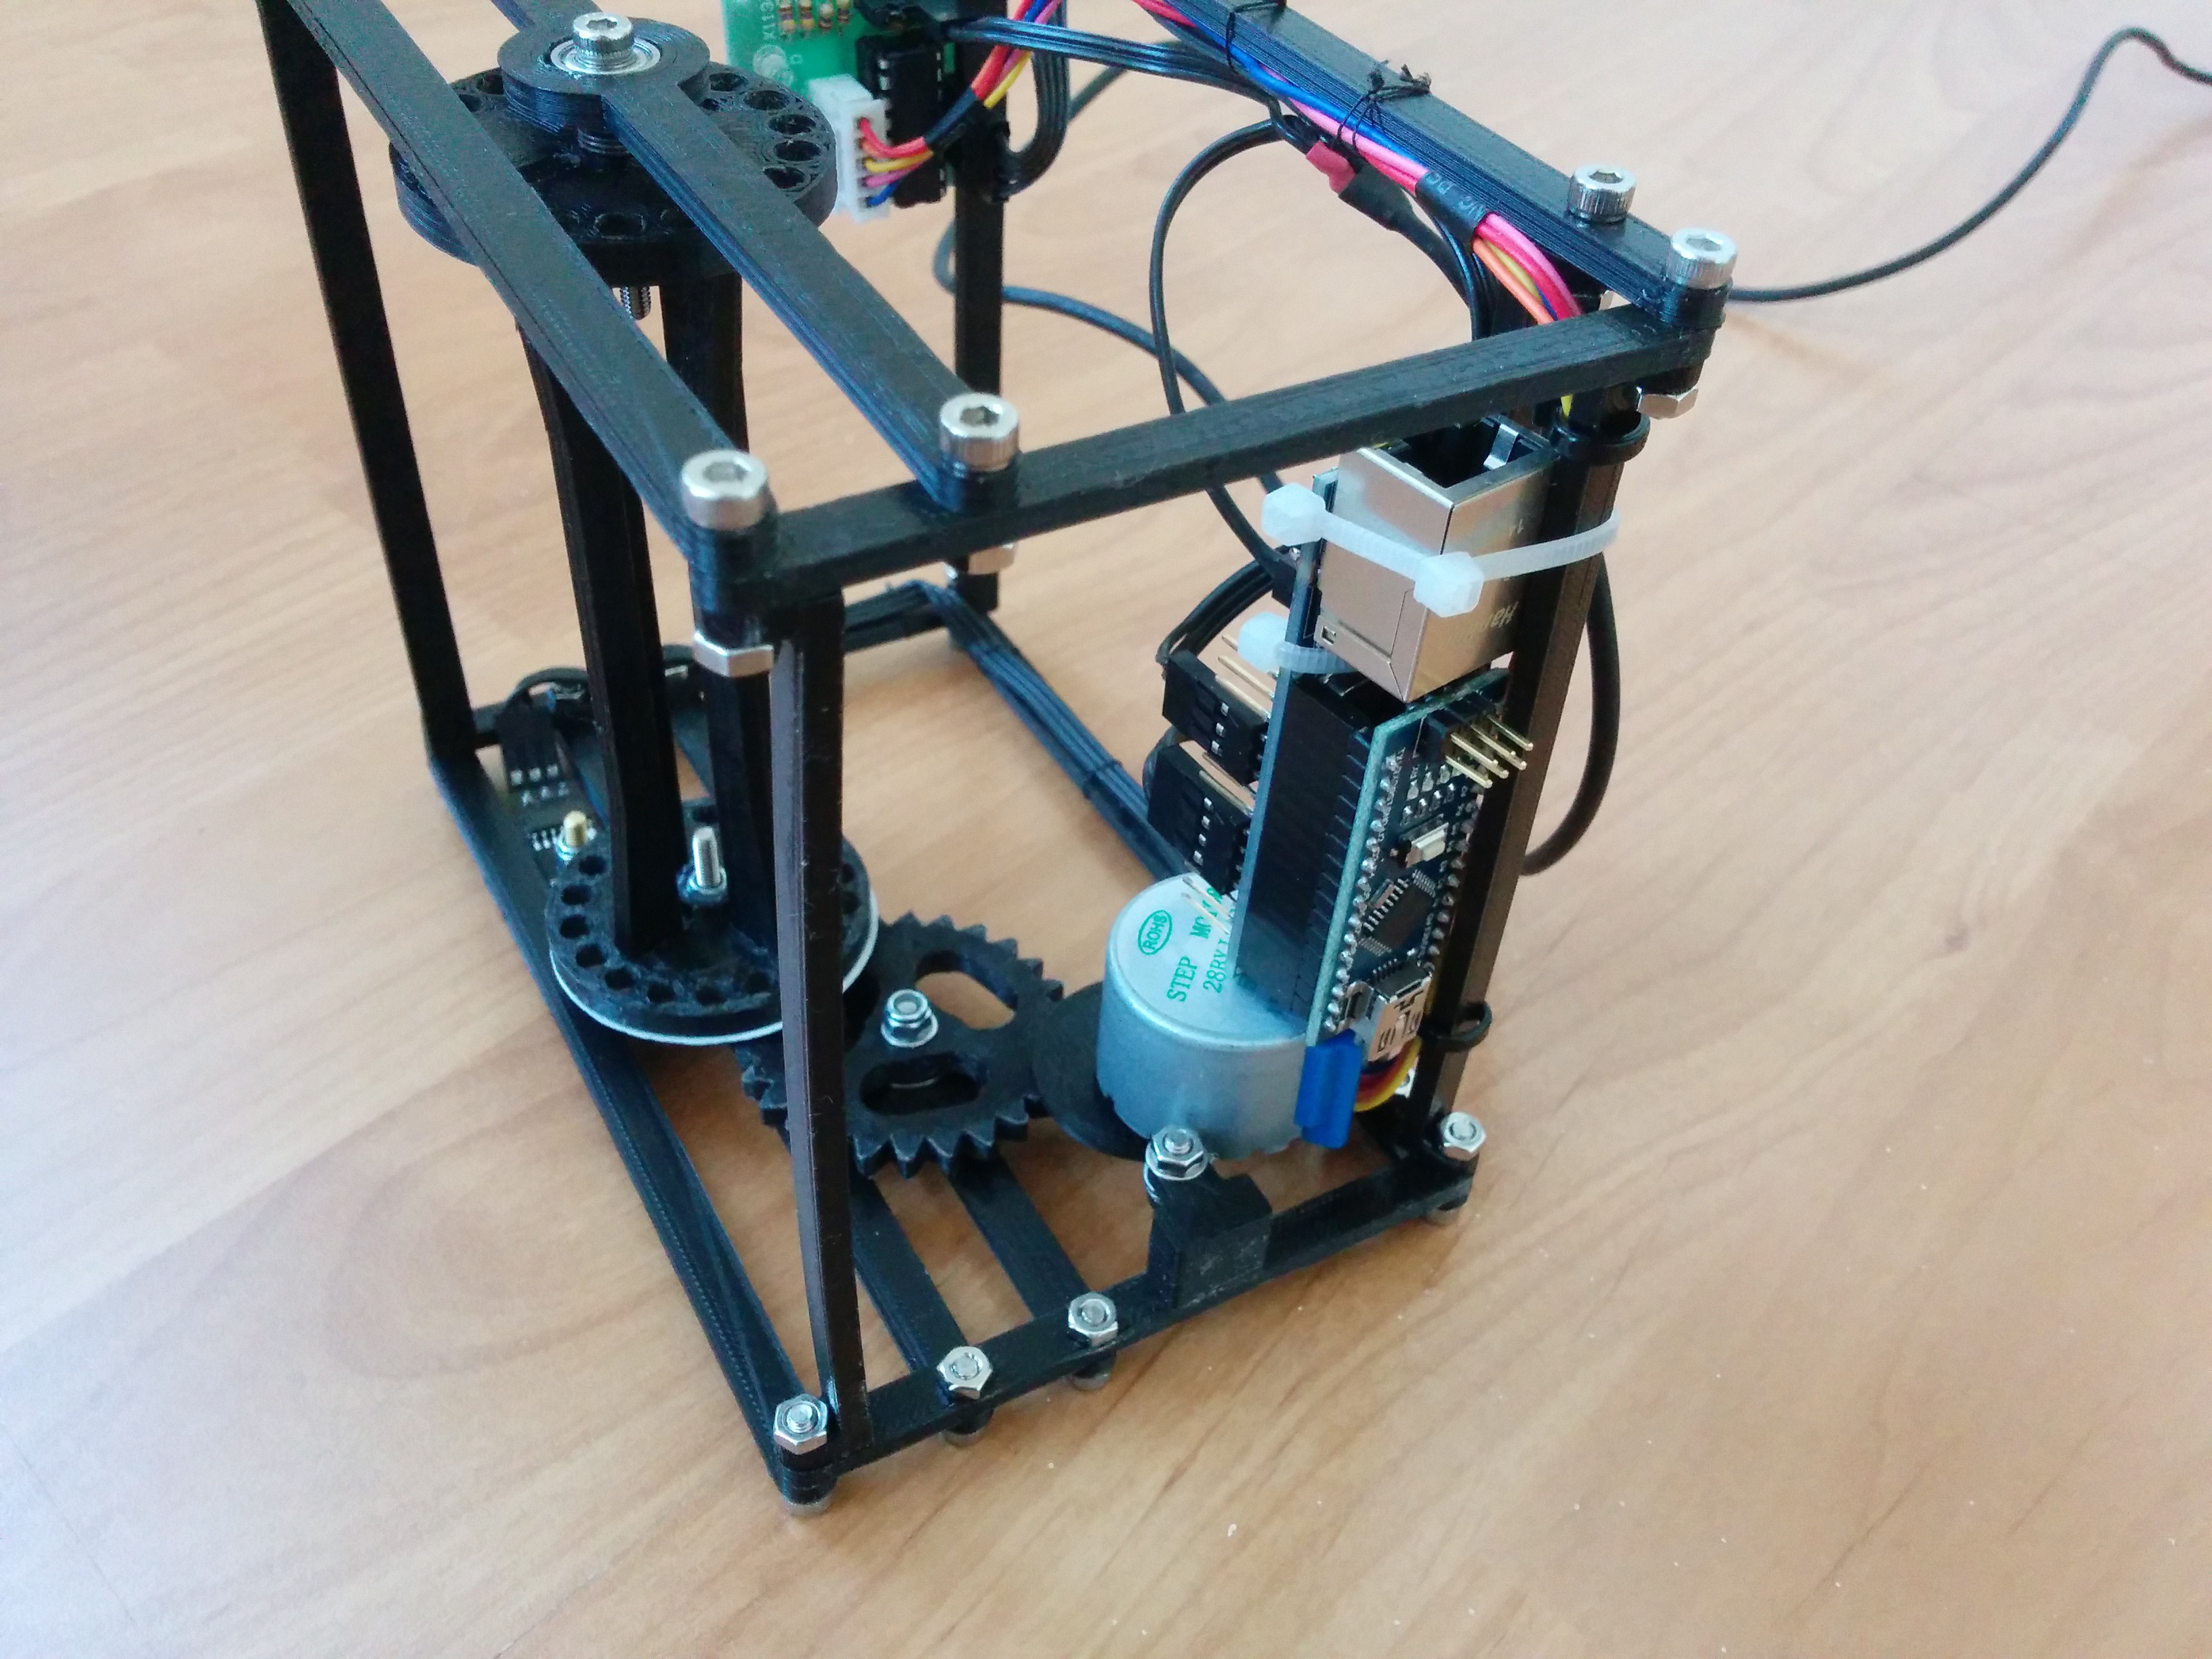
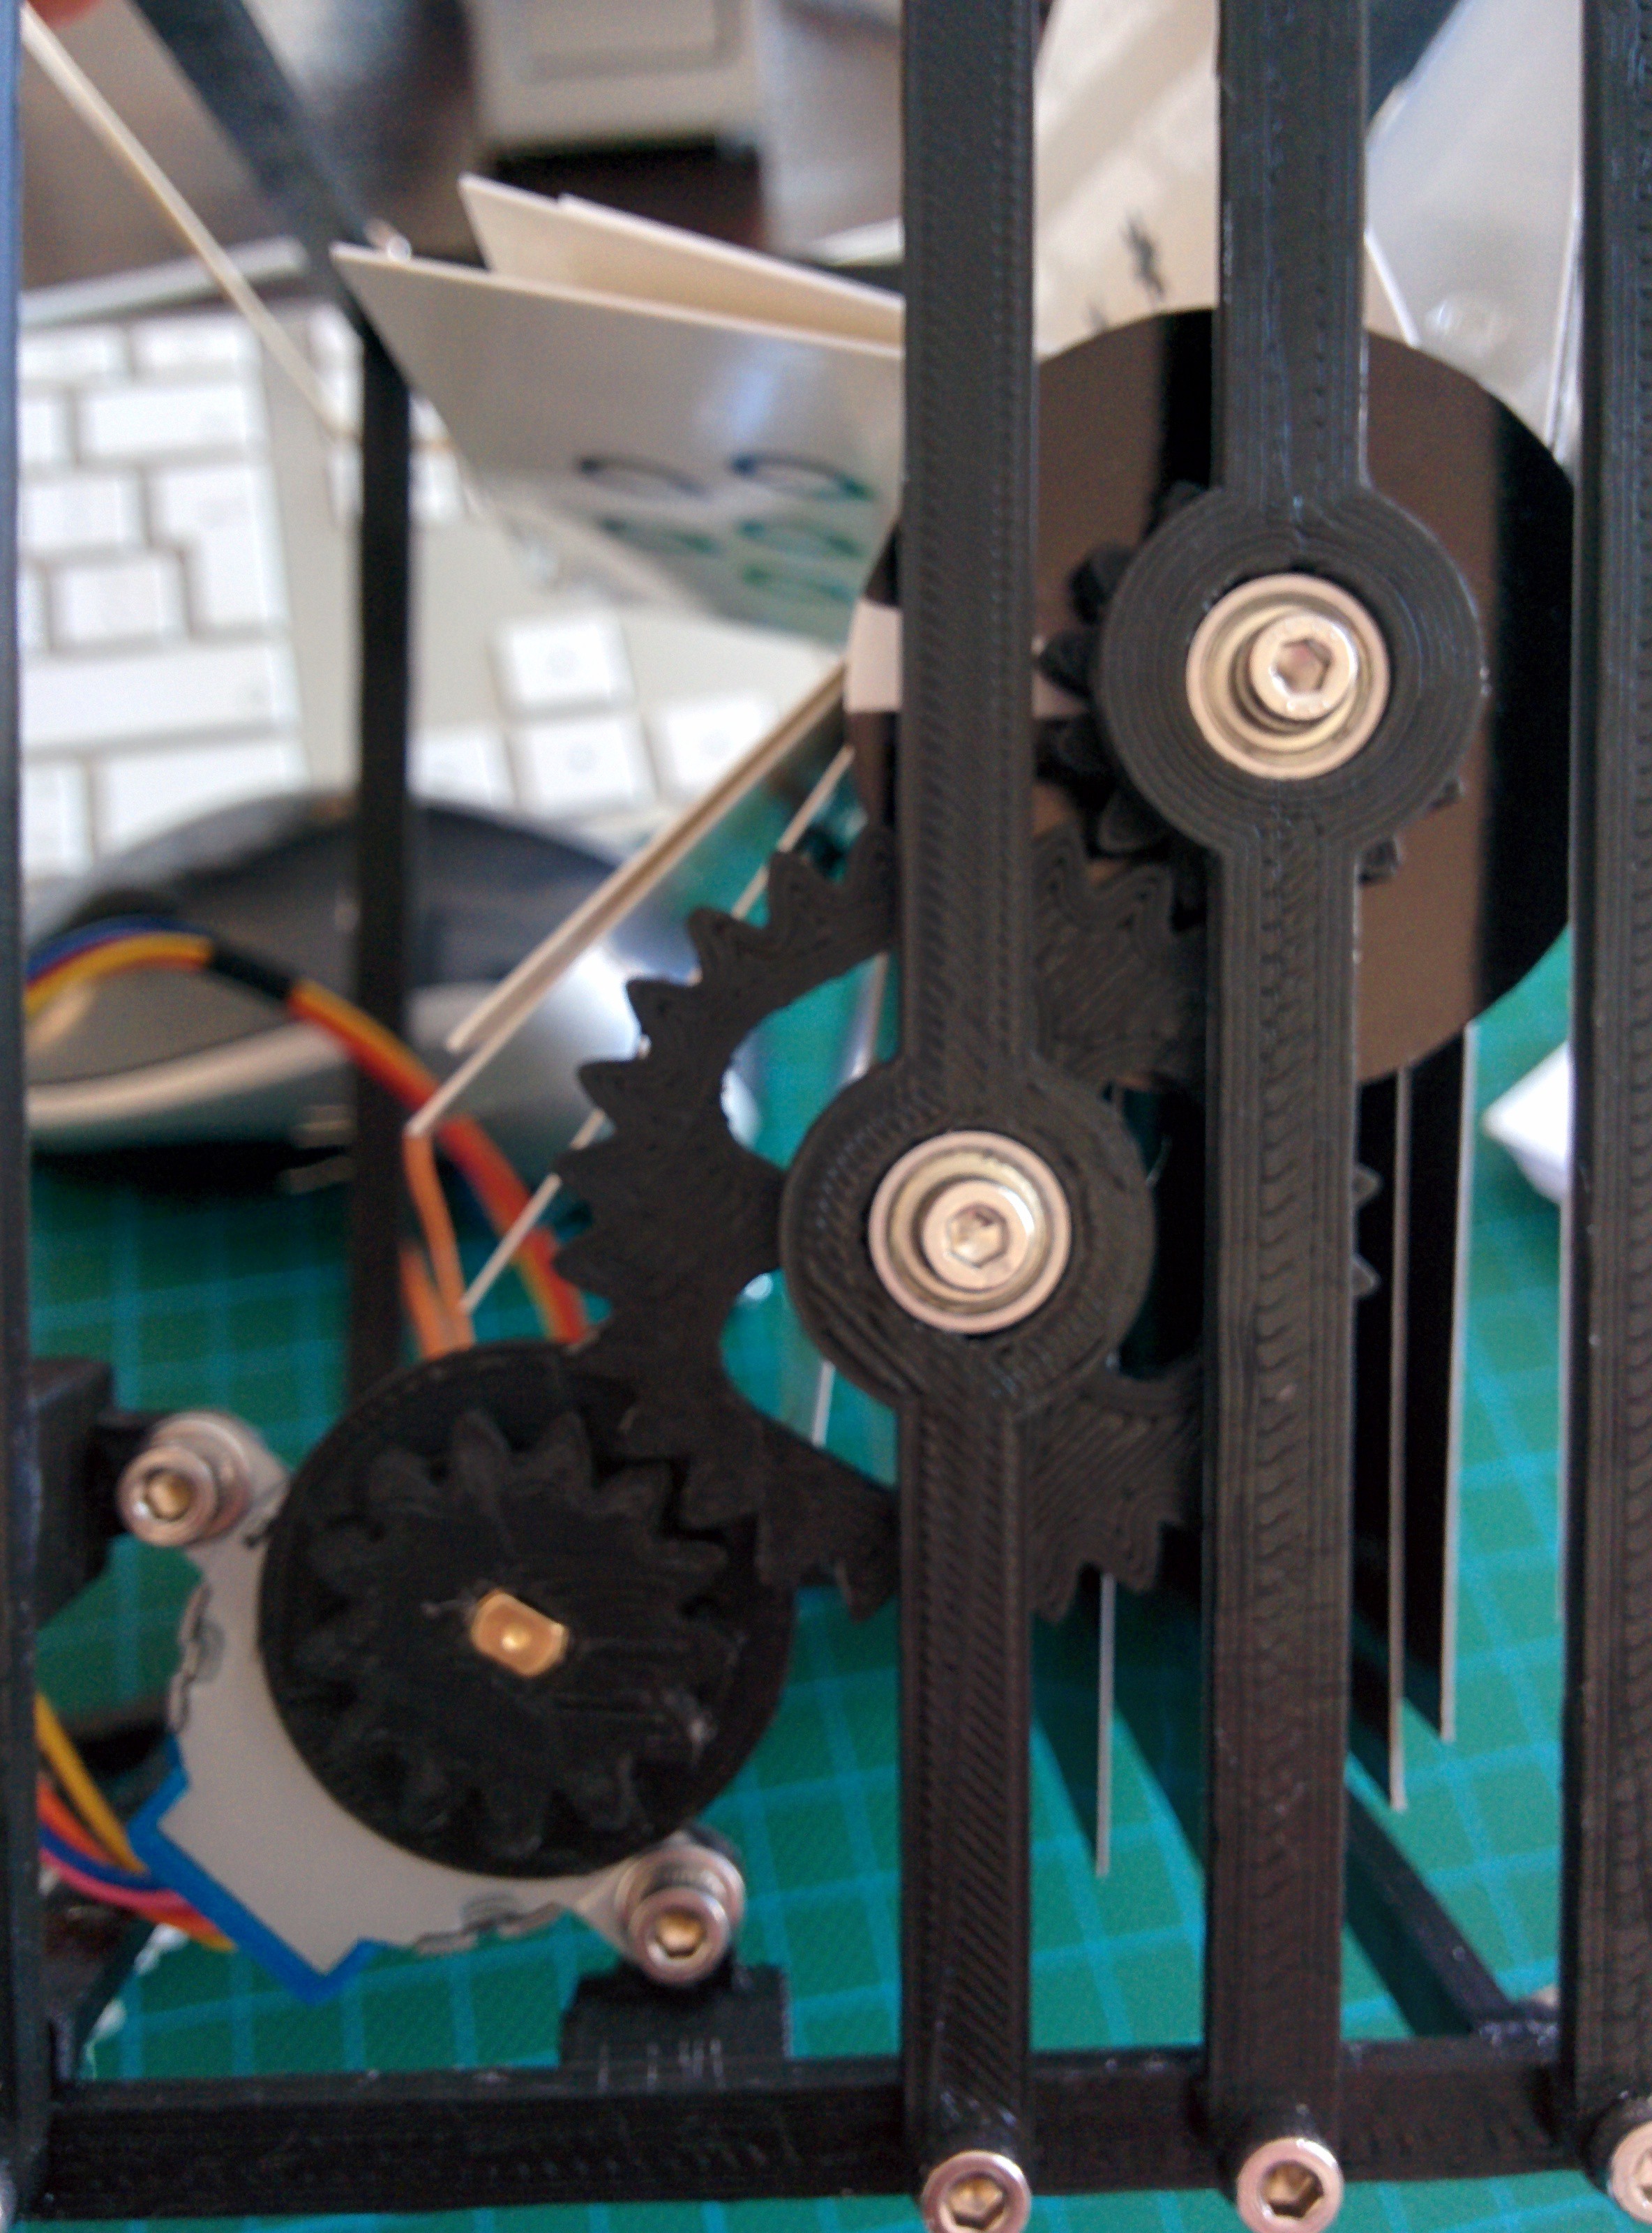
Motor wiring
03/24/2015 at 09:14 • 0 commentsThe motor was not turning fast enough and had very little force which resulted in the cogs jamming and showing the wrong position. This was fixed when i found this link (http://arduino-info.wikispaces.com/SmallSteppers). On this page i found that my wiring was wrong. If you're using e.g. pin 8, 9, 10, and 11 you must wire them like 8, 10, 9, 11.
after that this was the result no more jamming...
-
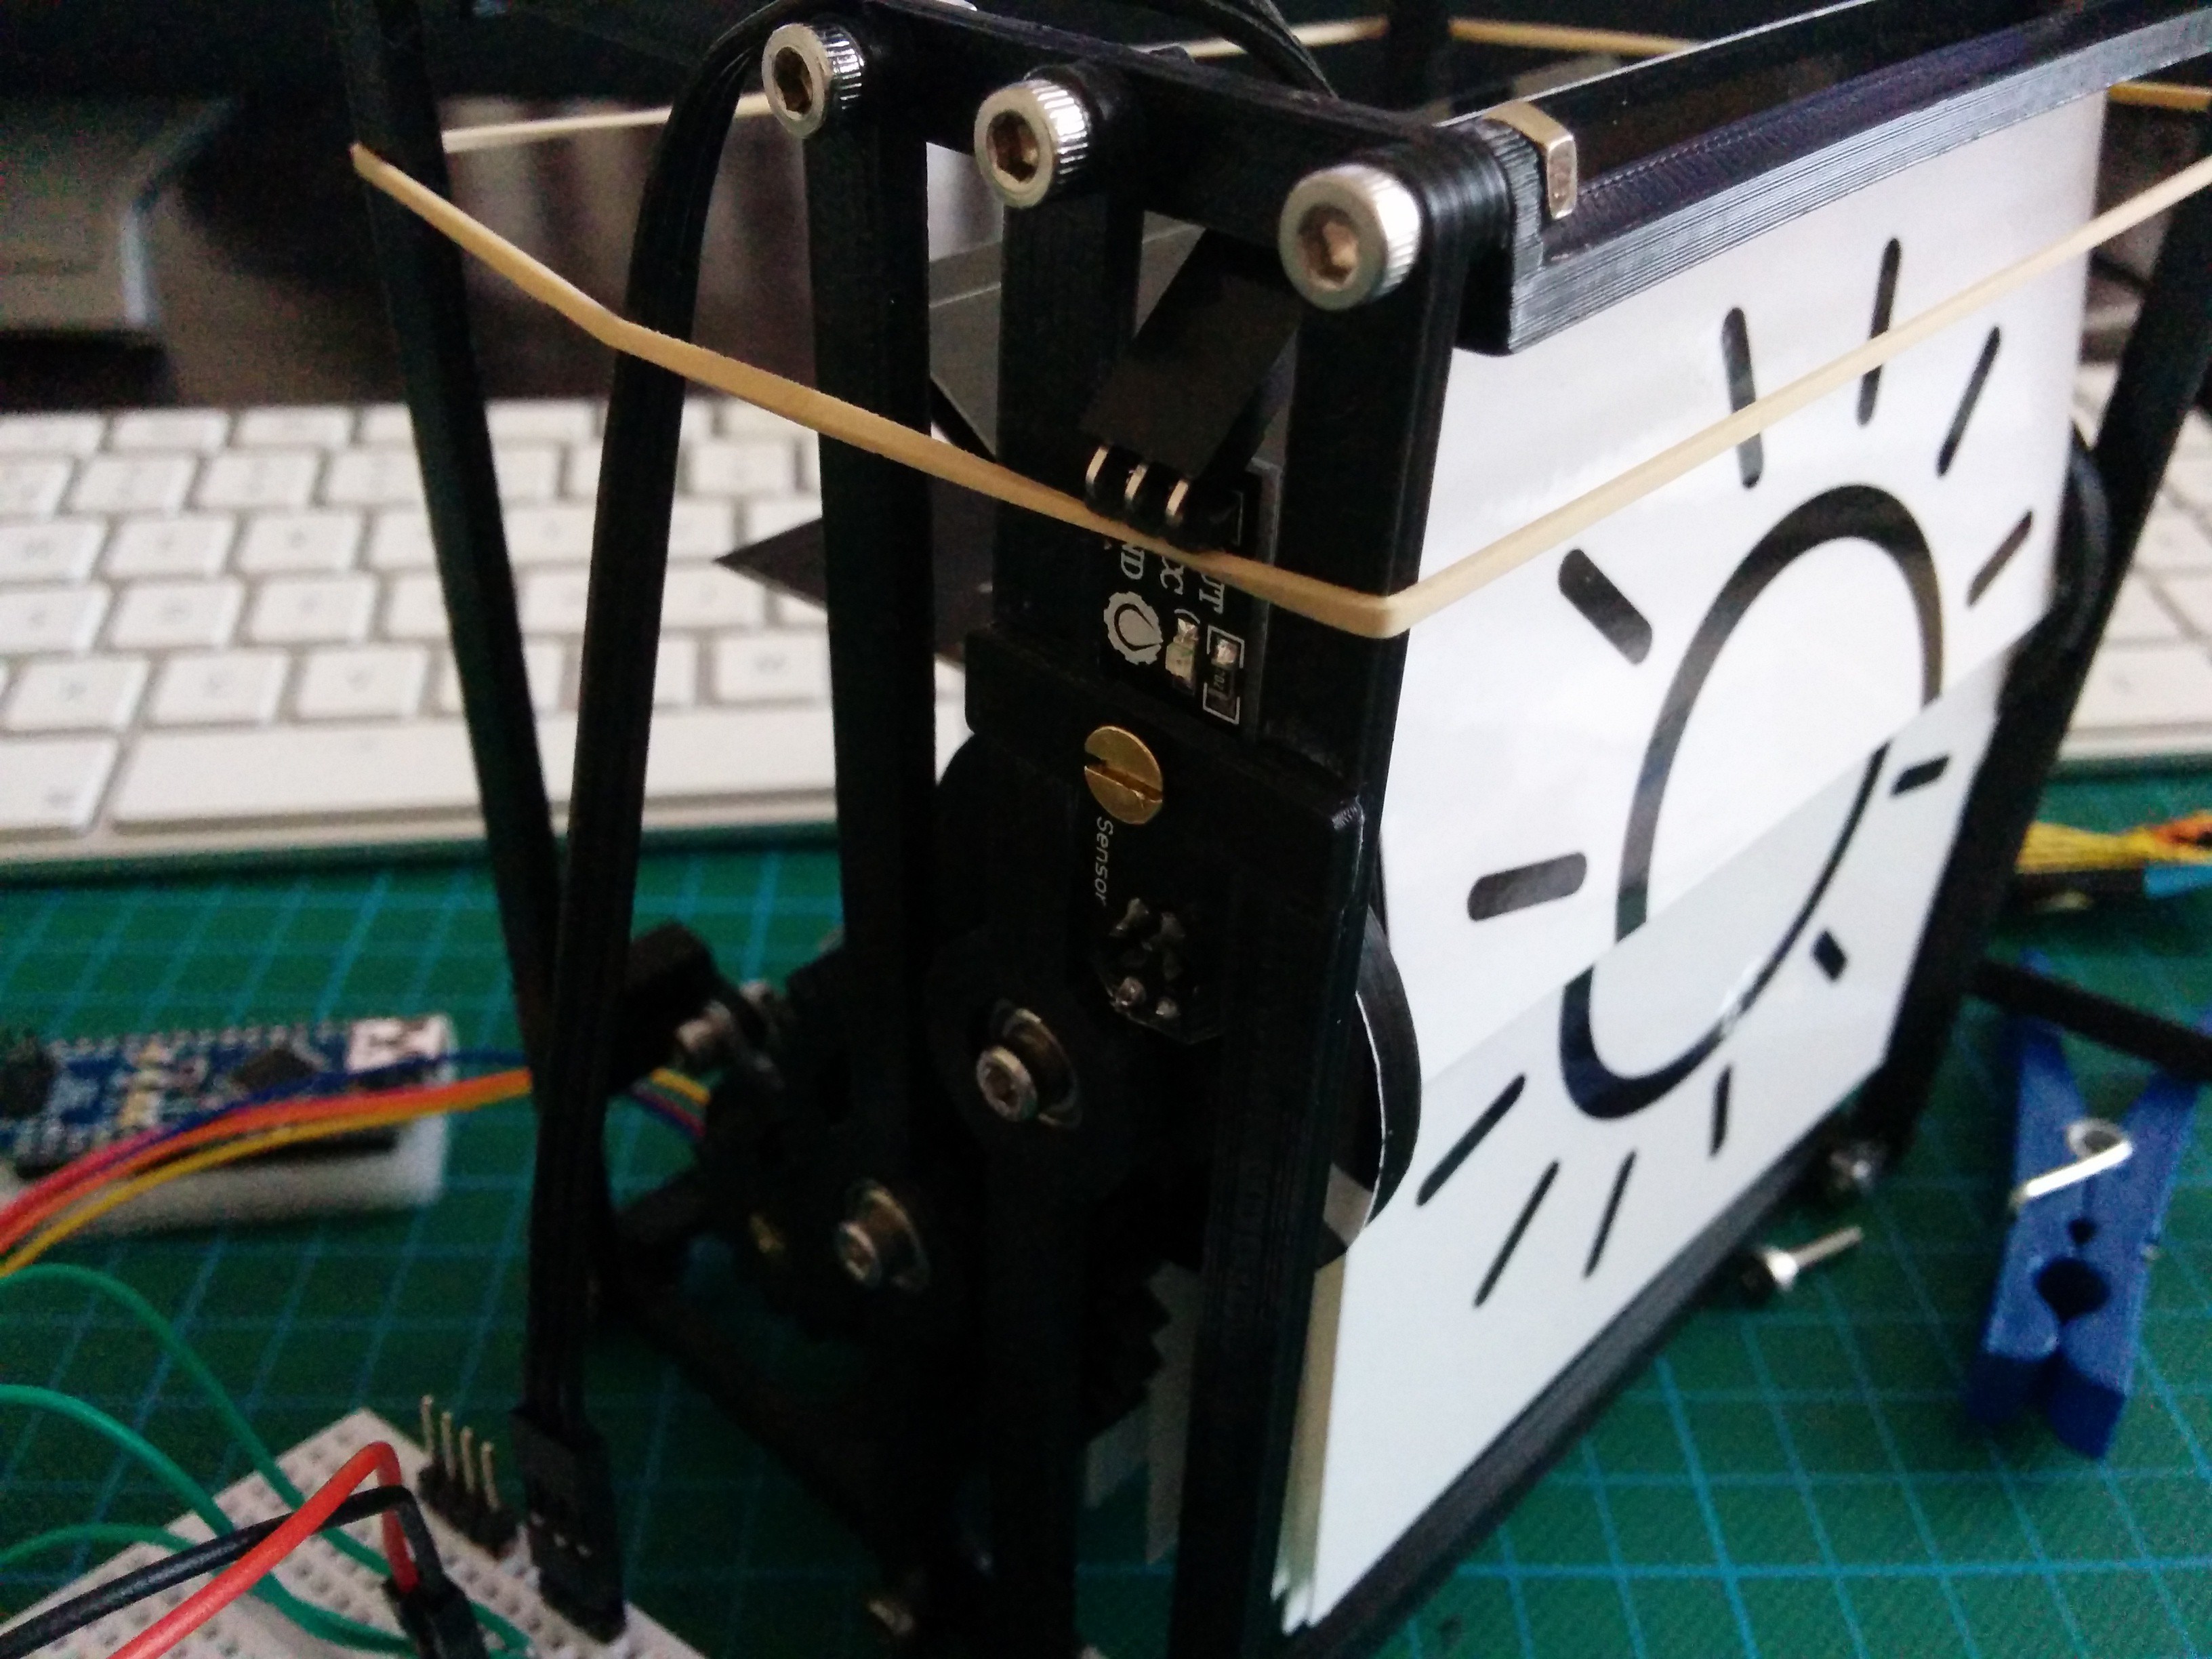
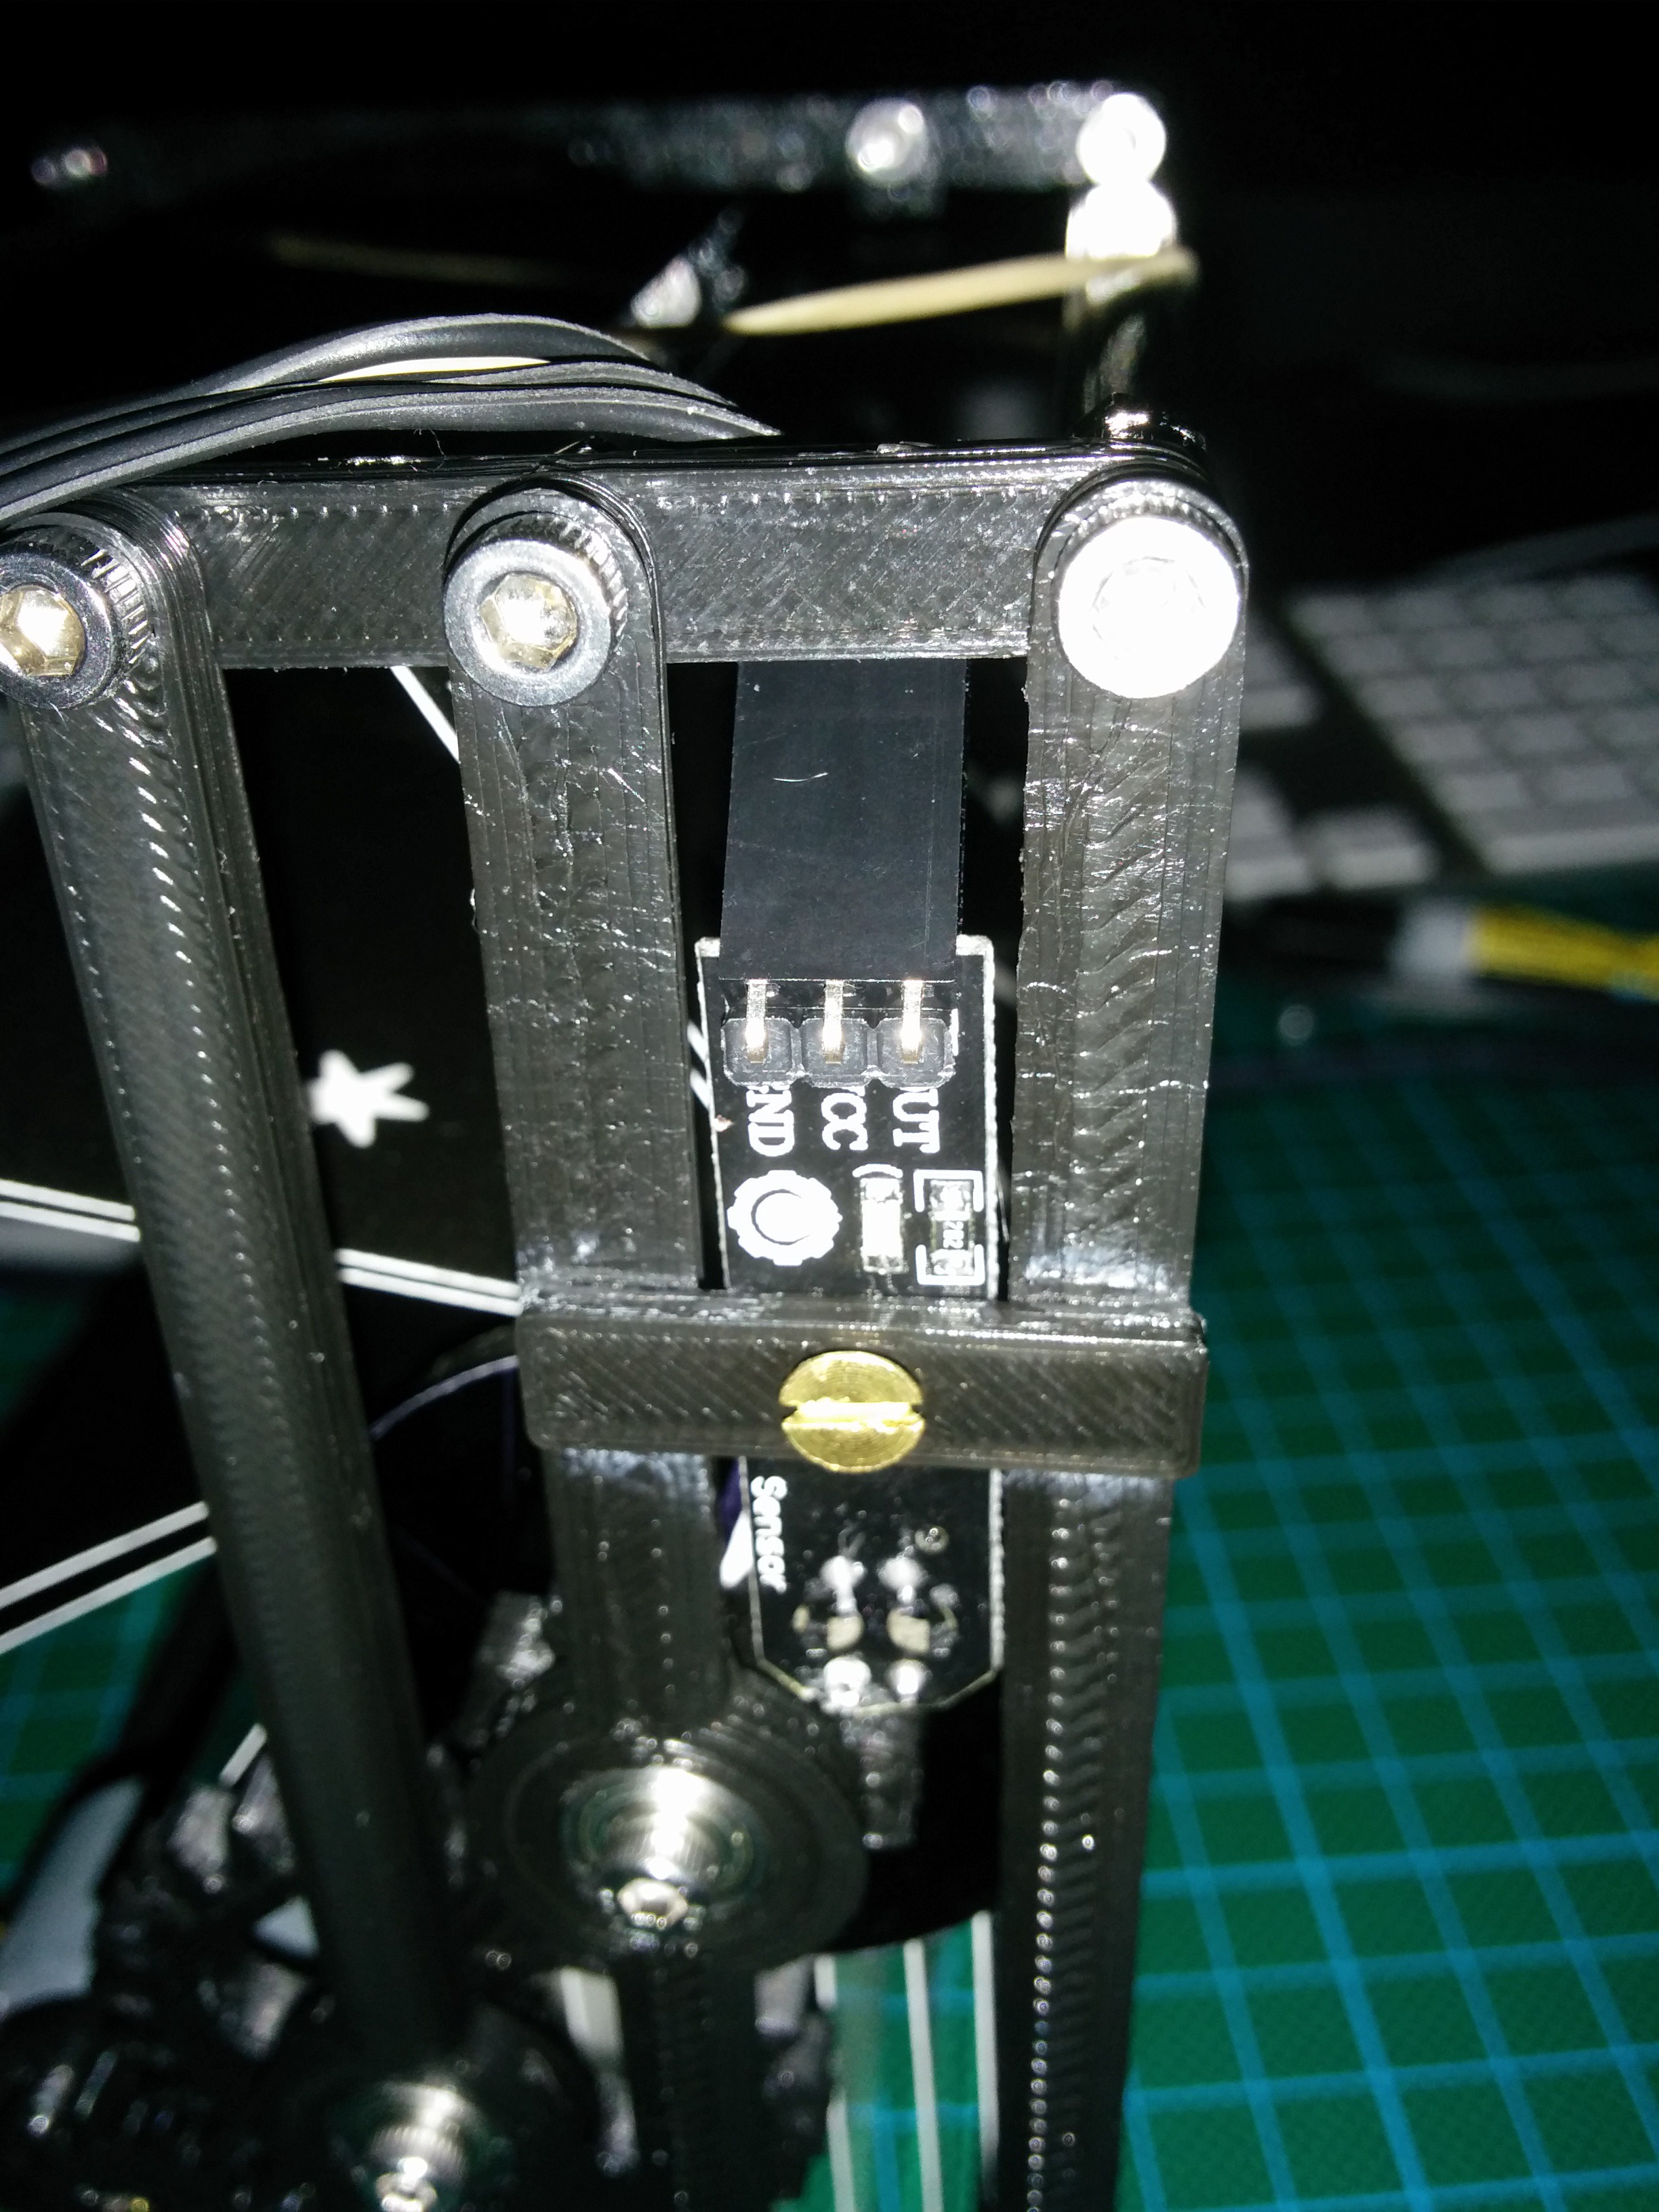
Fitting the IR sensor
03/24/2015 at 08:58 • 0 comments![]()
![]()
![]()
You'll see the IR sensor blink when the display shows the sun symbol and the display stops briefly and then continues to rotate to a fixed position.
-
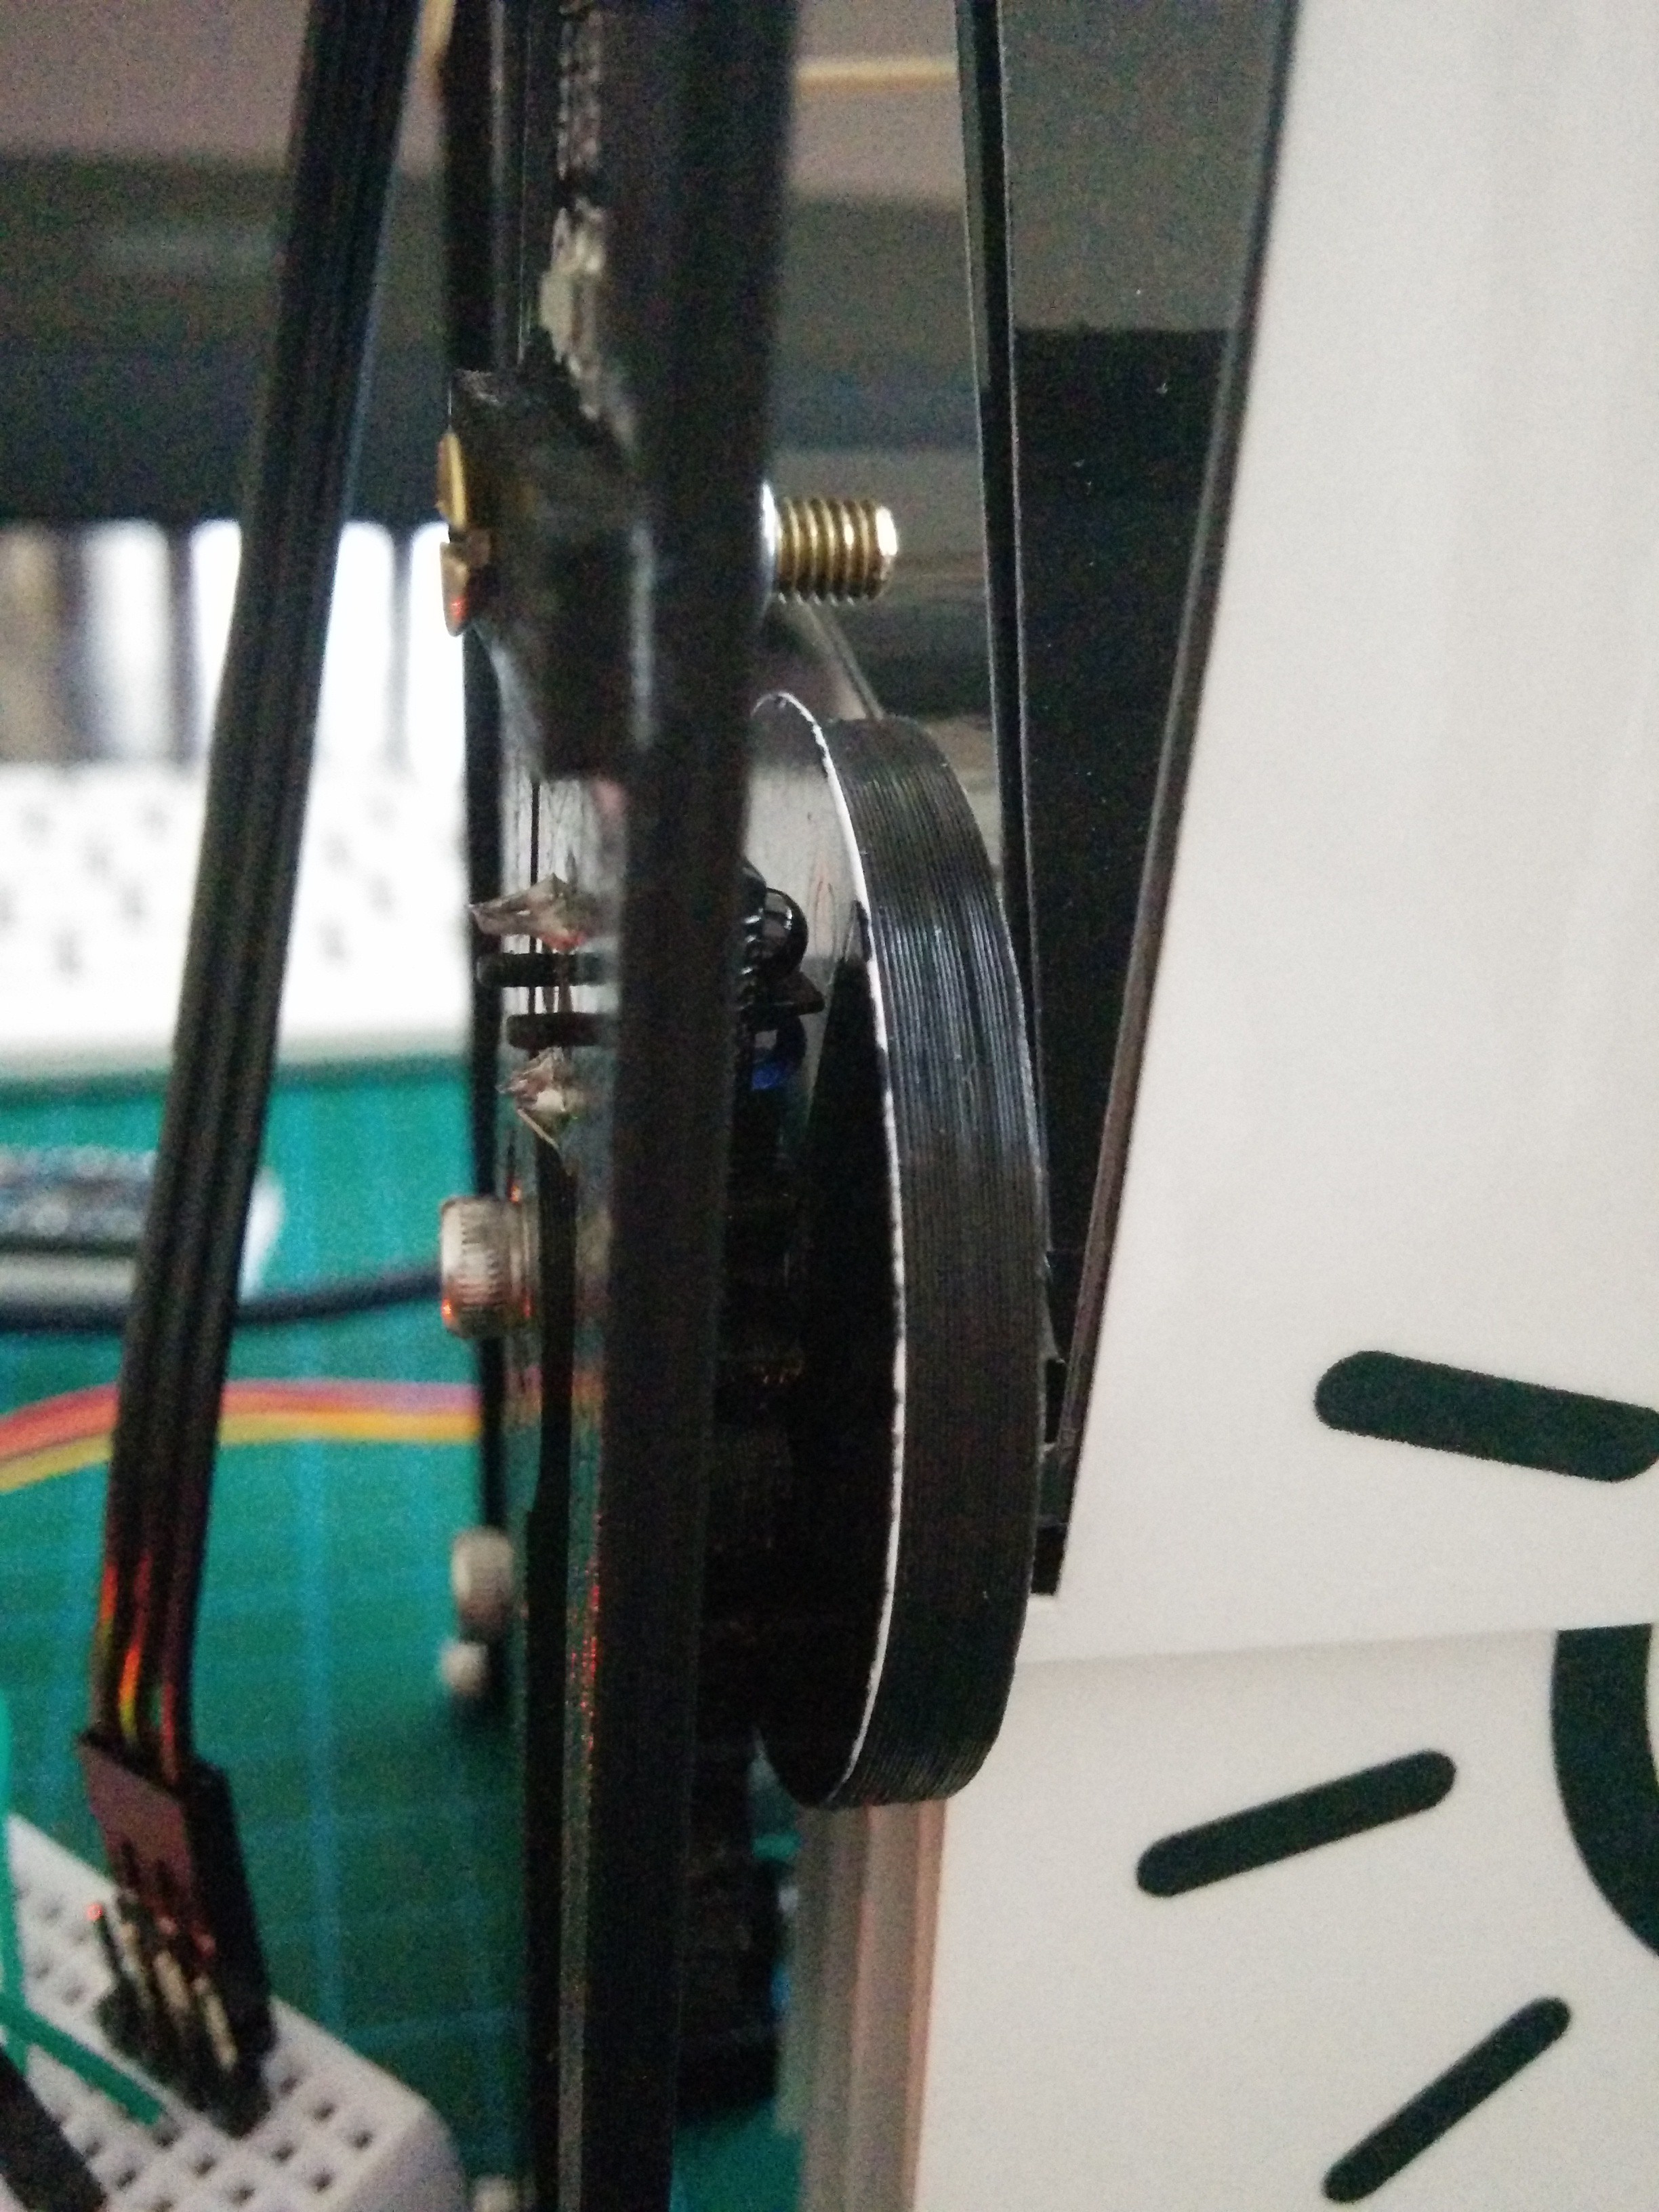
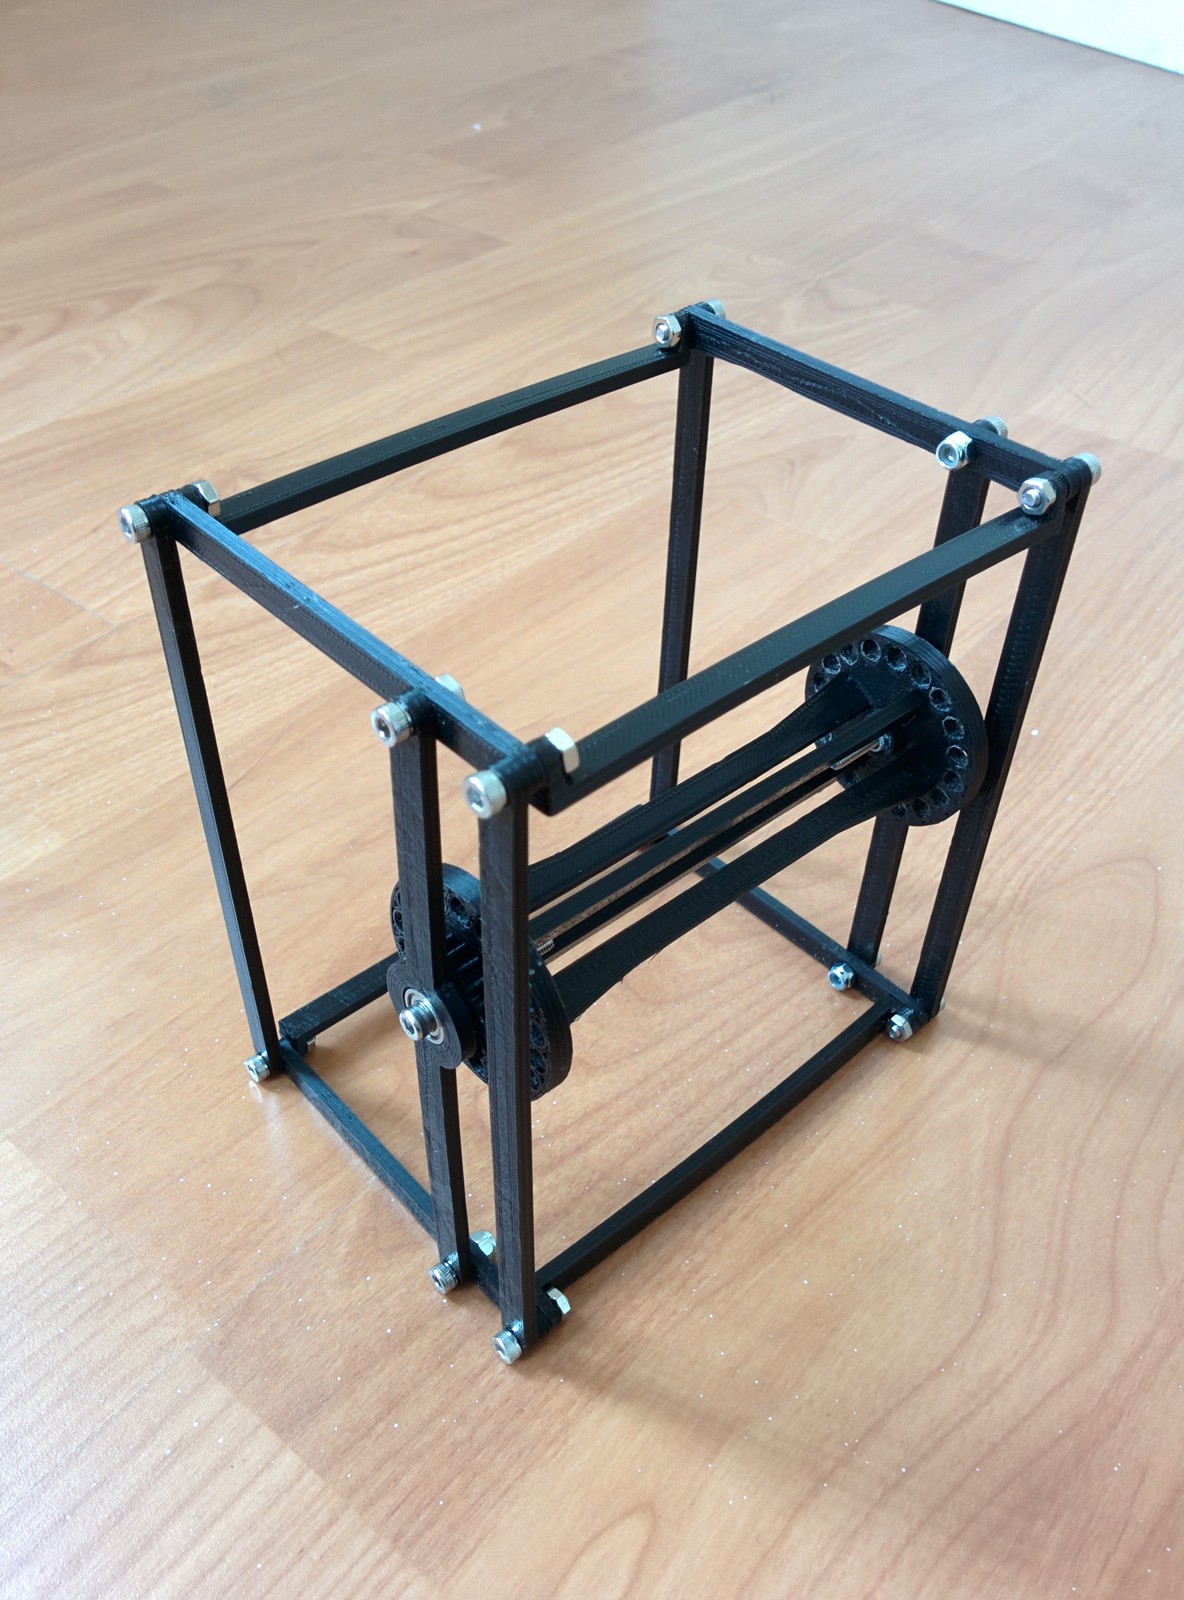
Adding cogs and motor and Testdrive
03/24/2015 at 08:28 • 0 commentsAdded the cogs and motor for driving the display
![]()
-
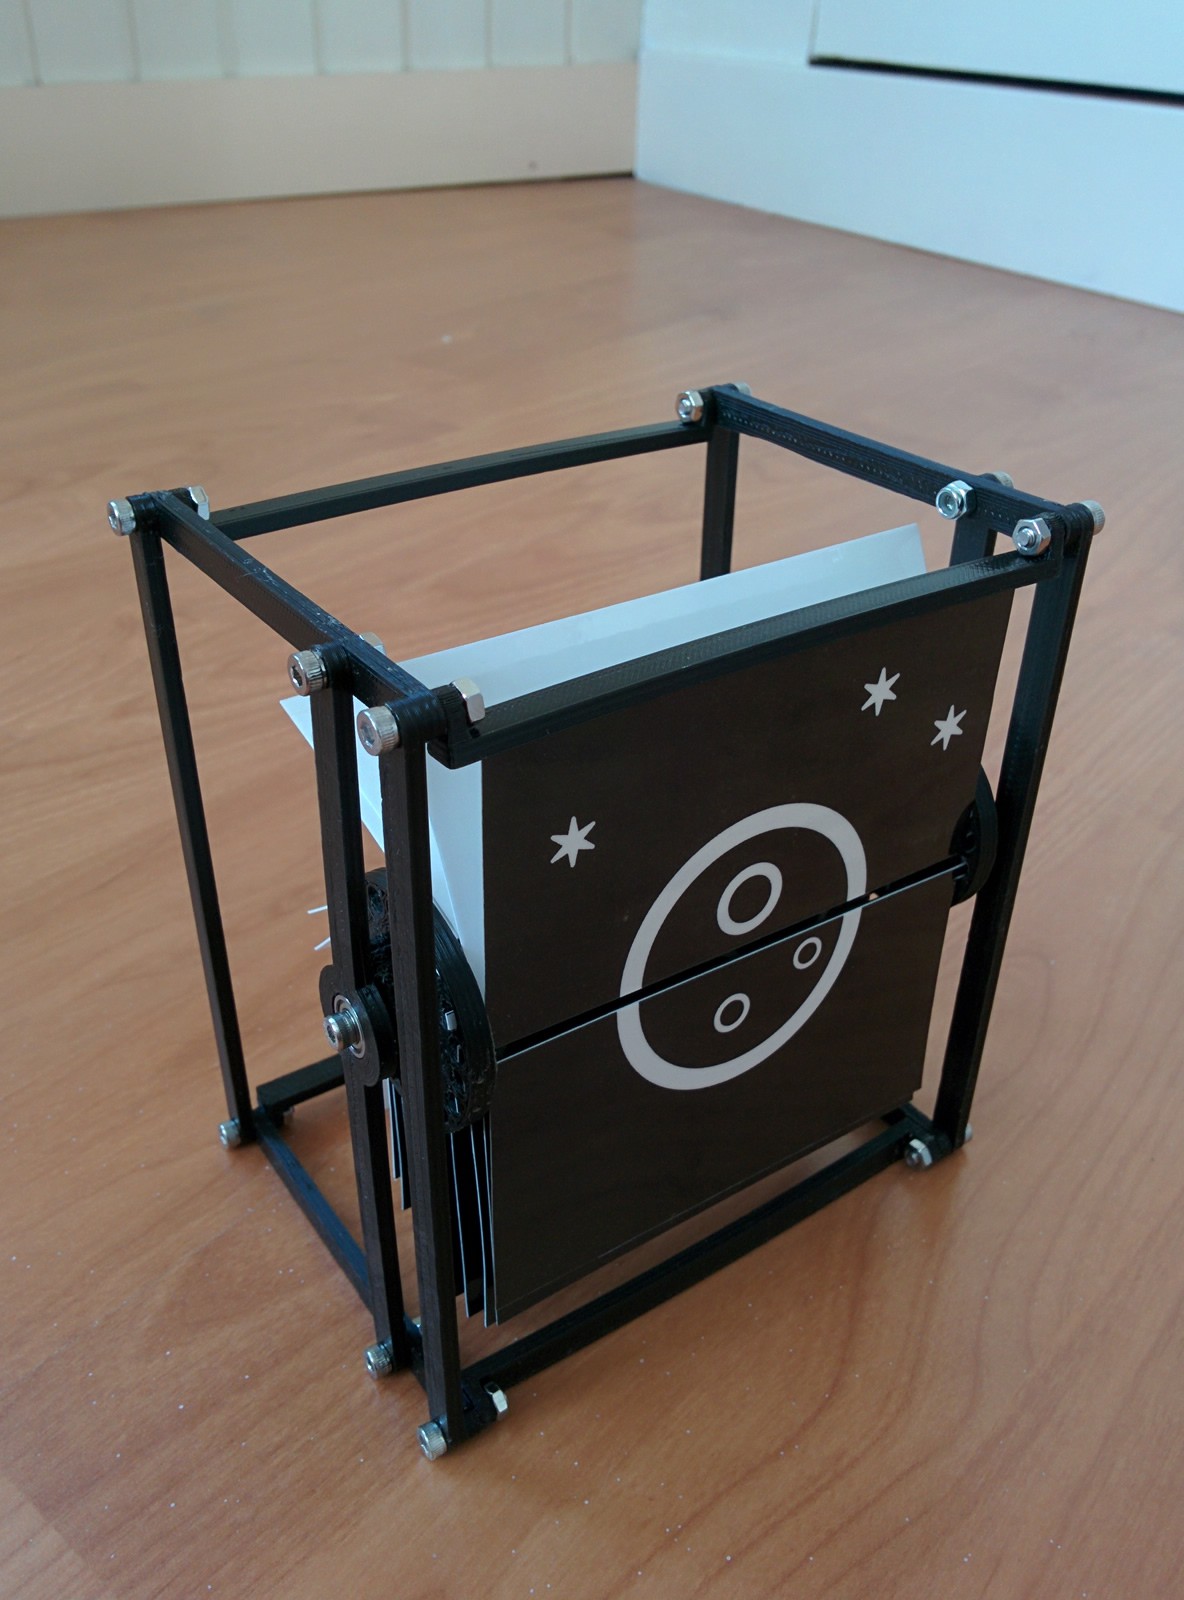
Frame expansion and cards
03/24/2015 at 08:07 • 0 commentsTest fitting again
![]()
![]()
I work for a large print company so I made the card in Ai and printed them on a HP Indigo laminated them using 75u laminating pouches. so they are about 350micron thick.
![]()
![]()
-
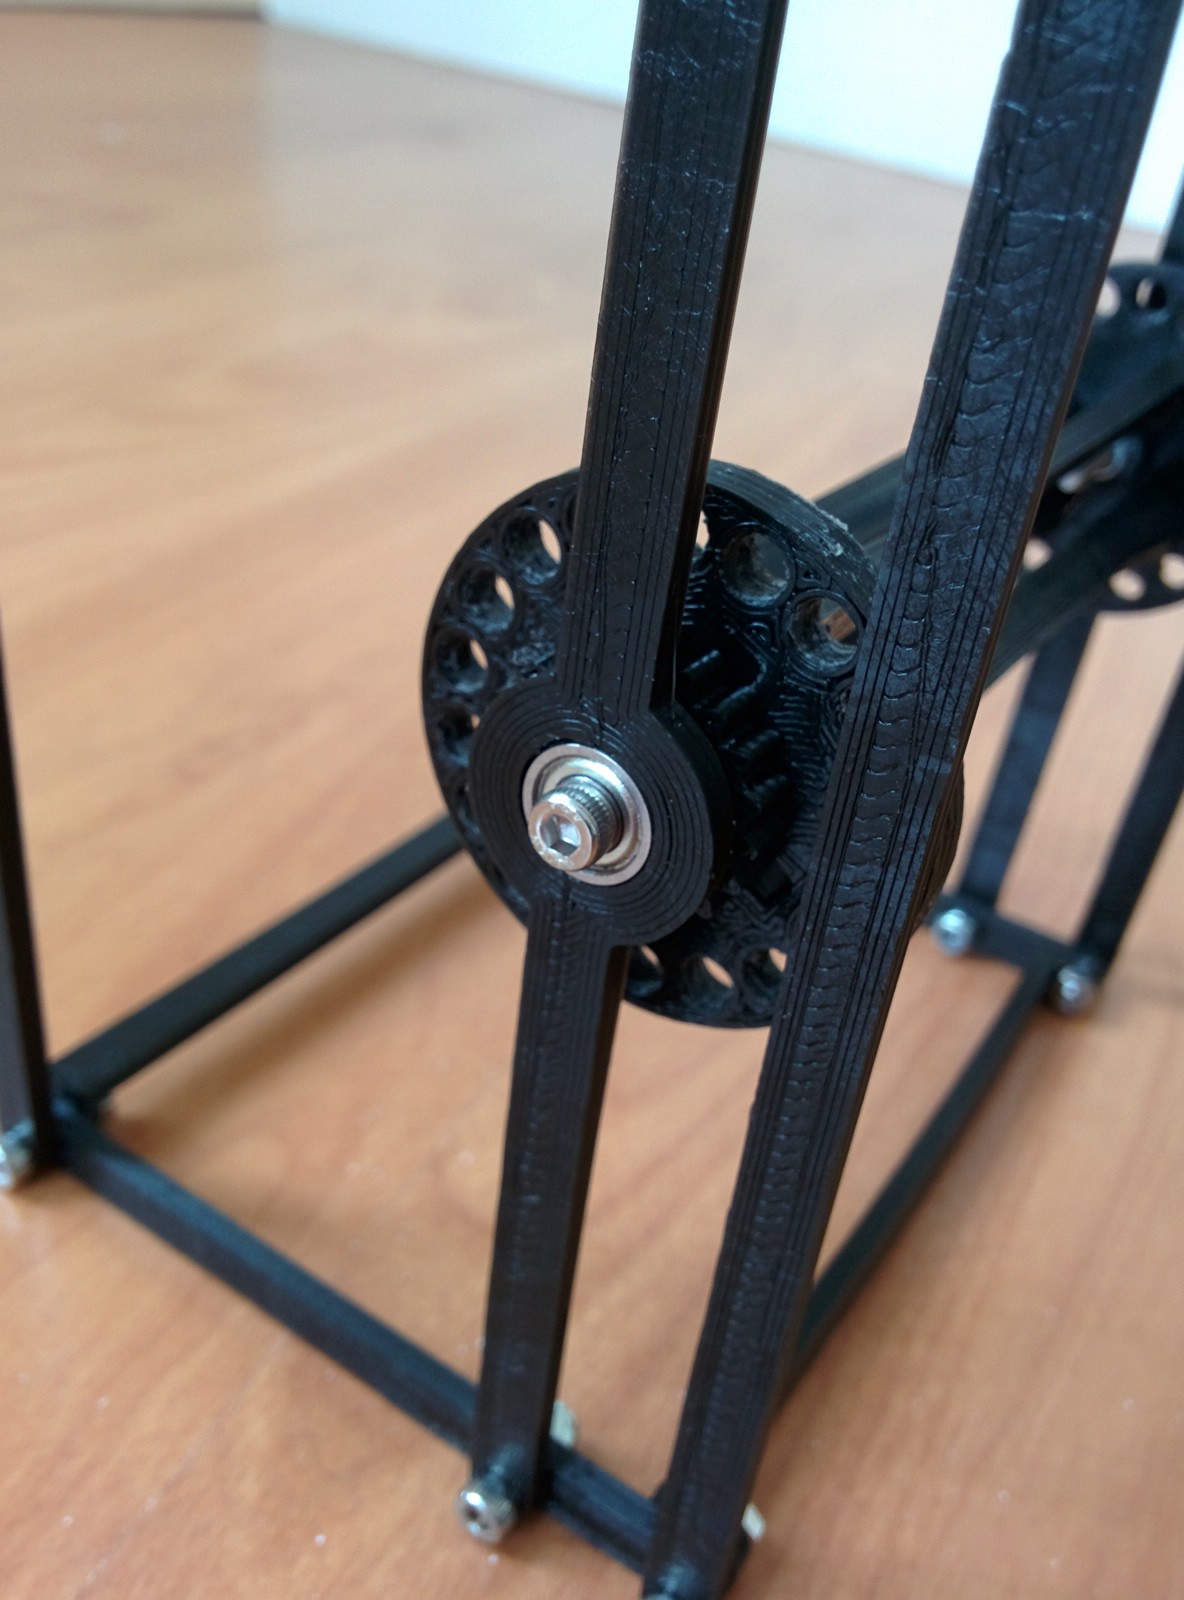
Adding components to the frame
03/24/2015 at 07:50 • 0 commentsAdded the parts that would hold the cards. Used some F623ZZ bearing that i had laying around from an old 3d printer build.
![]()
![]()
![]()
Internet Split Flap Weather Clock
Internet controlled weather station that shows the current weather with a split flap display.