Close
0%
0%

#T_H_S

Cheap low power open source heart rate and body temperature monitor

Similar projects worth following
In the remote parts of the world where they have no power and limited medical equipment I wanted to make a cheap low power heart rate and body temp monitor.

After trying to look for a project to enter into the 2015HackadayPrize I stumpbled upon this hackaday http://hackaday.com/2015/03/19/measuring-heart-rate-with-a-piezo/ post about measuring heart rate with a piezoelectric vibration sensor on the end of your finger

For the body temp I'm going to be using a LM35 Temperature sensor under the armpit which should give me my core temp.

Tying all the hardware together with a atmega328. Hoping to make it solar or hand cranked powered for remote use.

Jpeg

Video

Quick demo video of the hardware in action

Update video

The beginning

Another year another hackaday prize, (I hope this is going to be an annual affair). After entering last years contest with a project I just happen to be working on at the time I thought I would put a little bit more effort into this years entrance.

I drew imperative from This post on hackaday where they used a vibration sensor made for robots that uses a piezo speaker/sensor to read vibrations. They repurposed it to read your pulse on your finger. After seeing this I thought I could use it as a medical based sensor/monitoring kit. I racked my brain looking at all the different arduino sensor so see what else I could add to this. The only sensor that made sense to team up with the now heart rate sensor is a temperature sensor

Testing the piezo theory

Now that I had decided on what my project was going to be I could start fleshing the hardware . I started with the piezo vibration sensor to see if I could get it working for myself.

IMG_20150326_211437

I copied the code from This blog post to as a starting point, To my disappointment it wouldn't pick up my pulse with the piezo strapped to my finger. This was a real blow to my project because if I couldn't get this to work I would have to go back to the drawing board as they say. Not to be too discouraged I tried the piezo sensor on my wrist because this is where you normally take your pulse, IT WORKED I couldn't believe it. I did have to lower the threshold to make it easier to pick up my pulse.

Trials and tribulations with temp sensors

The thing I was looking for in a temp sensor was something that was enclosed and water proof so when I seen the DS18B20 I looked just what I wanted.

ds18b

One trying the example sketch and library everything looked good until I added the code for the piezo sensor, that's when I found out that the library was too slow so It wouldn't let me read the piezo sensor fast enough.

Back to the drawing board to try and find a replacement sensor. My attention turned to the LM35 as it being a similar size to the DS18B20 without its metal enclosure.

LM35

My idea was to remove the DS18B20 from its enclosure and put the LM35 in its place. One good things about the DS18B20 is that they use plenty of sealant to ensure its waterproff but that means its impossible to remove. The only way i found to remove it was to drill out of its enclosure, only then I realised that the LM35 was a 1mm too big so I sanded it down a touch but this destroyed the ability of the LM35 to read temperatures. In the end I just settled with using a bit of heat shrink tubing about the base of the LM35.

IMG_20150415_170746

Picking the enclosure

Like with all my previous projects I like to try out different things. Because this project didn't have to be small or portable, It let me be less picky about the enclosure. I wanted it to have a test equipment vibe and had been eyeing up these which would be big but not too big

enclosure

Also what I liked was that it all came apart, The front and back panel would come off and also the top and bottom. This made it much easier to work on the panels and if I messed it up would be easily replaced too.

The power solution

When most people think about powering a project they initially think of a lipo battery teamed with a cheap lithium battery charger which is a good solution. I like to use 18650 lithium battery which are significantly cheaper for high-capacity but a bit bulky, Also you can rip the guts out of a 18650 phone chargers because the PCB can be used for charging the battery and powering your project all on one board.

18650

I went with two 4200mAh battery to give the project a good battery life because it will be used off the grid with charging few and far between.

As the project might be run off a solar cell or plugged into the mains for long perides of time I wanted a way to power it but not charge the battery all the time. I added a swtich so you could just power #T_H_S or power and charge the battery, That way you wouldn't have to worry about over charging...

Read more »

  • 1 × Atmega328 Microprocessors, Microcontrollers, DSPs / ARM, RISC-Based Microcontrollers
  • 2 × 18650 battery
  • 1 × 18650 battery charger
  • 1 × 18650 battery holder
  • 1 × Piezo vibration sensor

View all 27 components

  • Interfacing to the computer

    facelessloser09/14/2015 at 08:46 0 comments

    I've been trying to find a way to display and log the heart rate and temperature data from my project on a computer. I've been sending serial data over the FTDI board and have a python scrip pick it up.

    I've been use pygame for its GUI properties but strugeling to get it to work the way I want. If I get time I will finish up the python script and add it to my source files on github

  • Productized model making

    facelessloser09/10/2015 at 08:52 0 comments

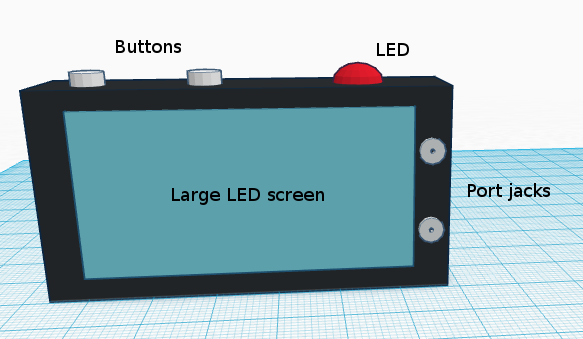
    After finding out I had gotten thought to the semi final of the Hackaday prize I realized I still had a lot of work to do. One item on the to-do list was to make a 'productized' version of my project.

    I had to find way to make a 3D model, luckily hackaday had posted a article on 3D modelling in your web browser LINK. One that really stood out to be really simple to use was Tinkercad so I thought I would give it a go. It is really basic and horrible to use with a laptop trackpad but It got the job done as you can see below


  • A rare sunny day in england

    facelessloser08/28/2015 at 09:55 0 comments

    Since I've gotten thru to the quarterfinals I can shoot a longer video. In the first video I didn't get the chance to show off the off the grid power sources I have for the project. I have a 5v solar cell with a DC to DC boost converter. I also have a hand crack phone charger which works remarkably well and doesnt require as much cranking as I thought it would. It was sunny enought to shoot a video of the solar cell powering my project yesterday so I just need to edit the video and upload it.

  • Powered by light

    facelessloser07/13/2015 at 22:03 0 comments

    When I started this project I always wanted it to be able to be powered by solar. The only experience I've had with solar cells is messing about with the garden solar lights but they dont produce much voltage/current.

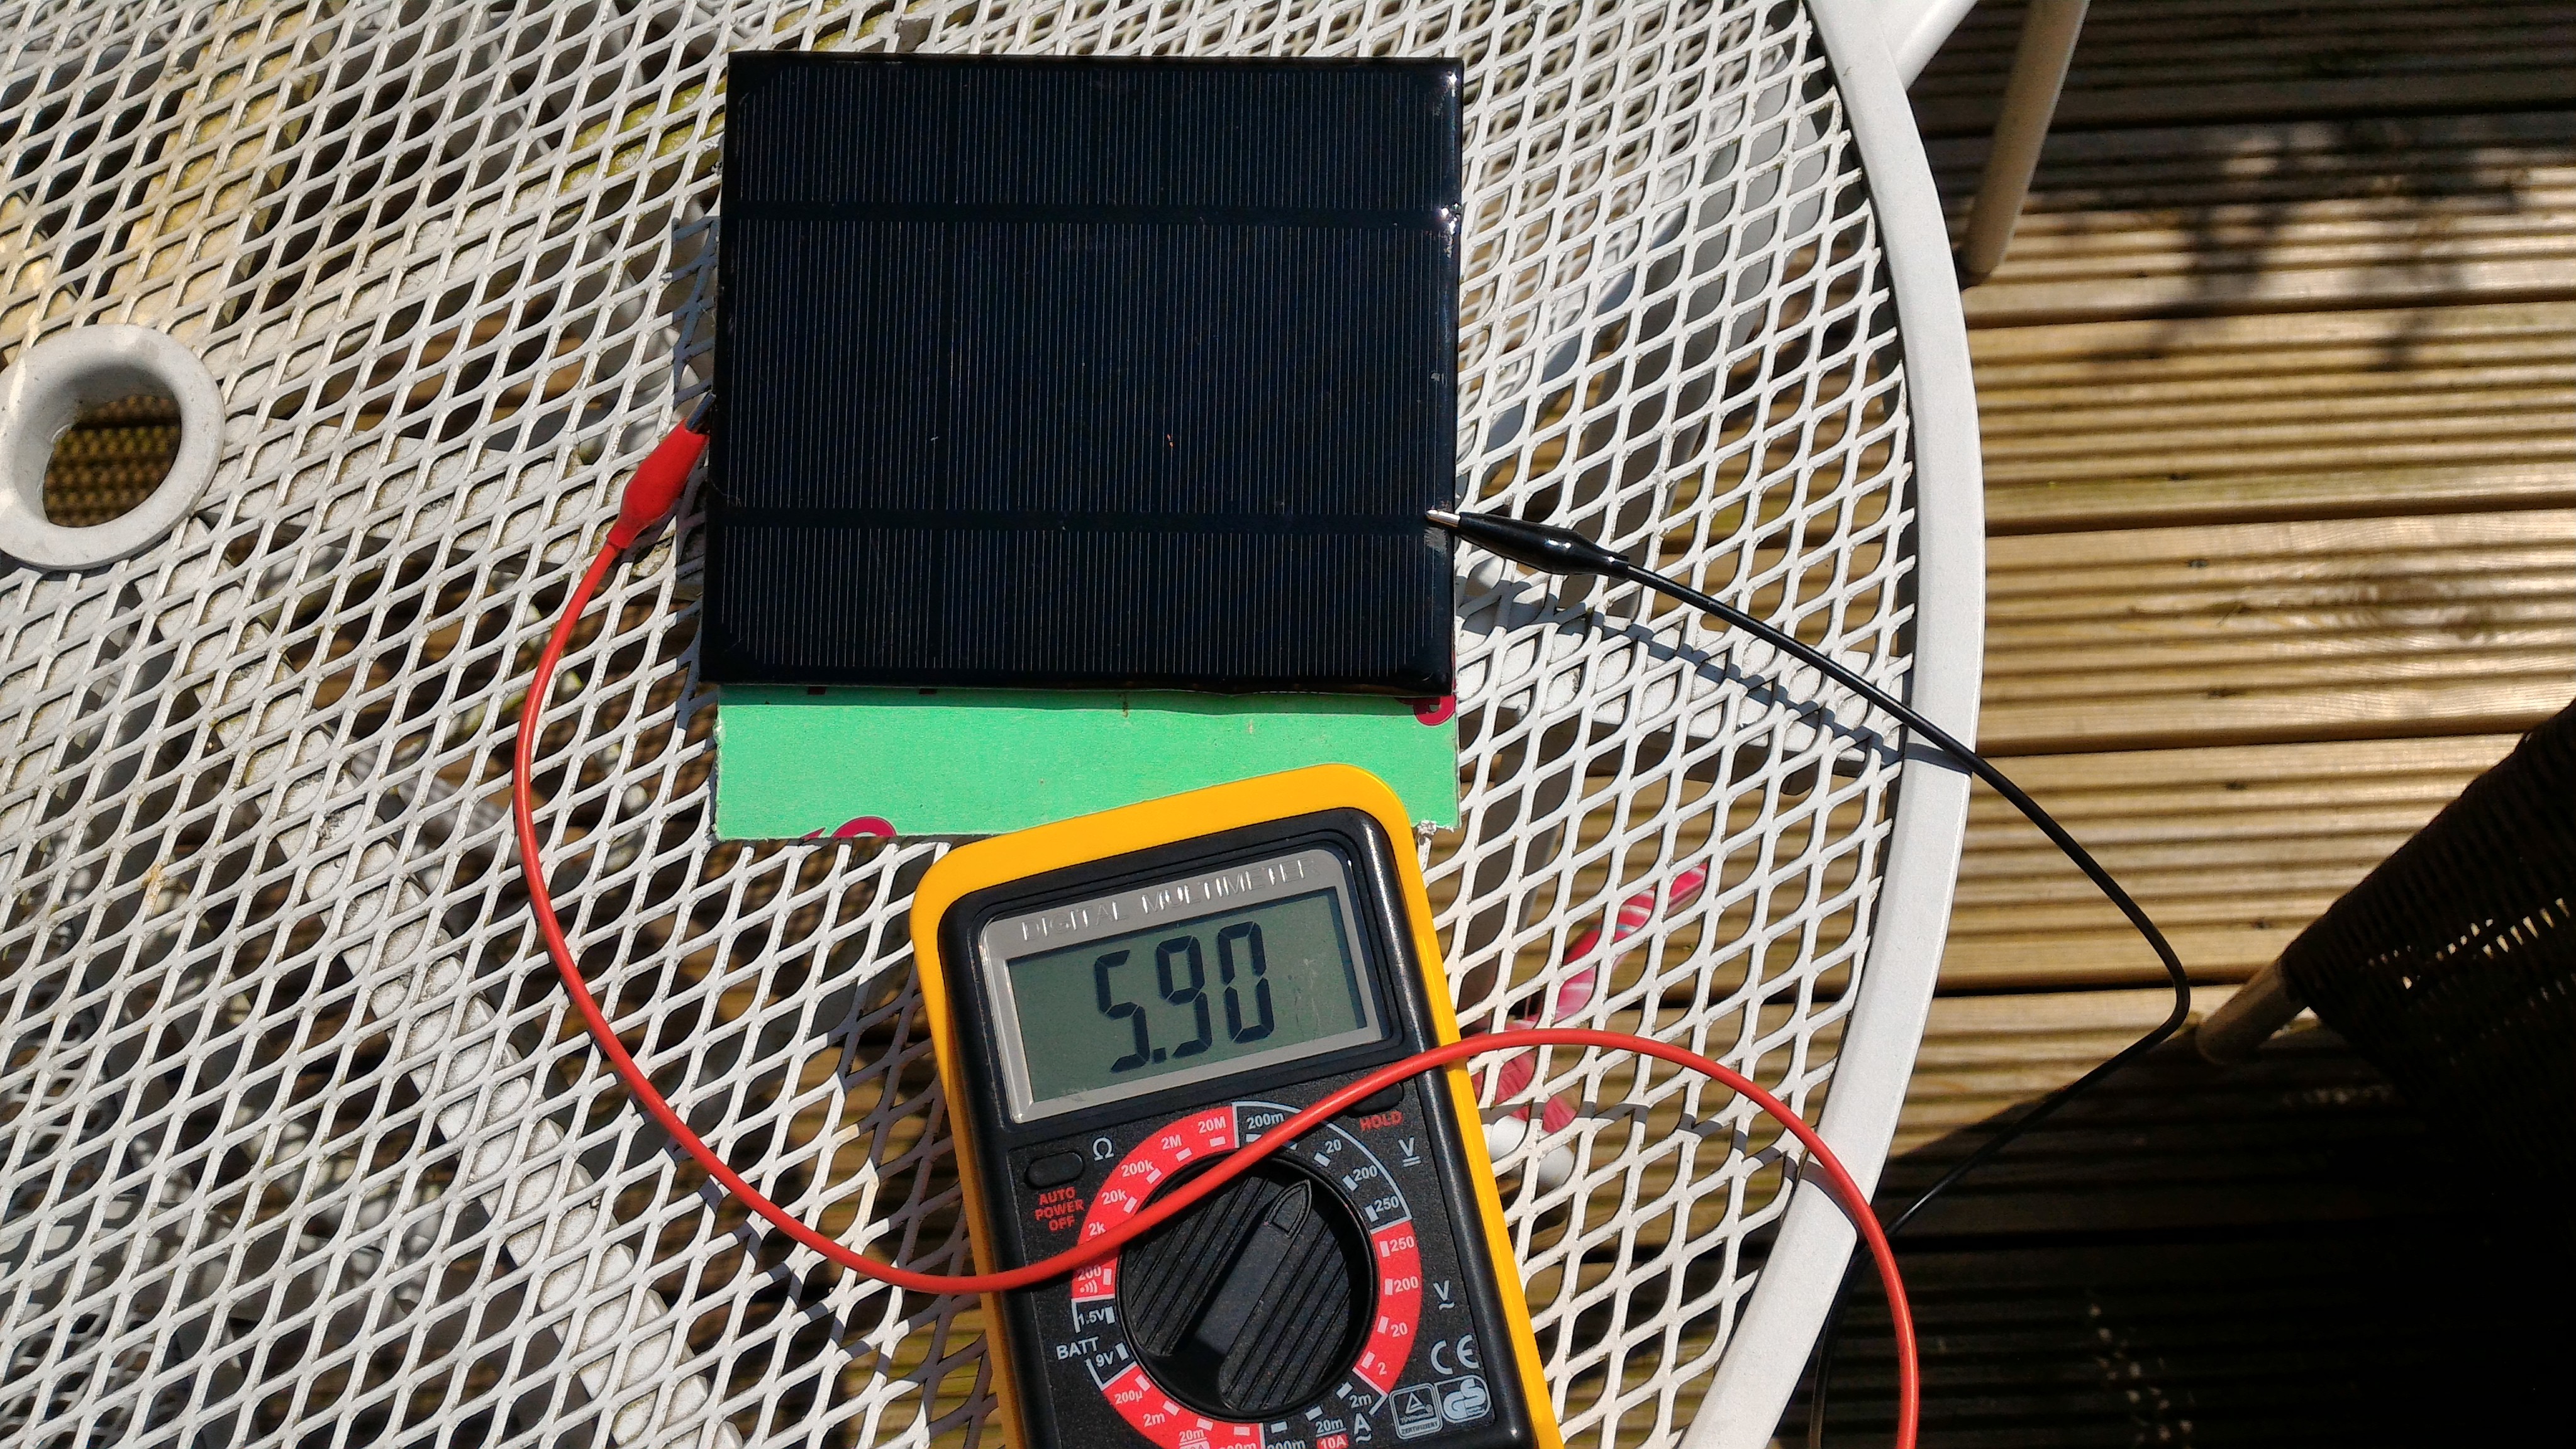
    I started looking around on ebay to see if I could find a 5v panel with decent output. I picked a 5v 500mAh 2.5 watt panel hoping that it would be able to power #T_H_S . Being in the UK we dont normaly get many sunny days so on recieving the panel I had to wait a few days before testing the panel out.

    I could get 5.90v with strong direct sunlight. Now I needed a way to boost/regulate the current so it would power #T_H_S .

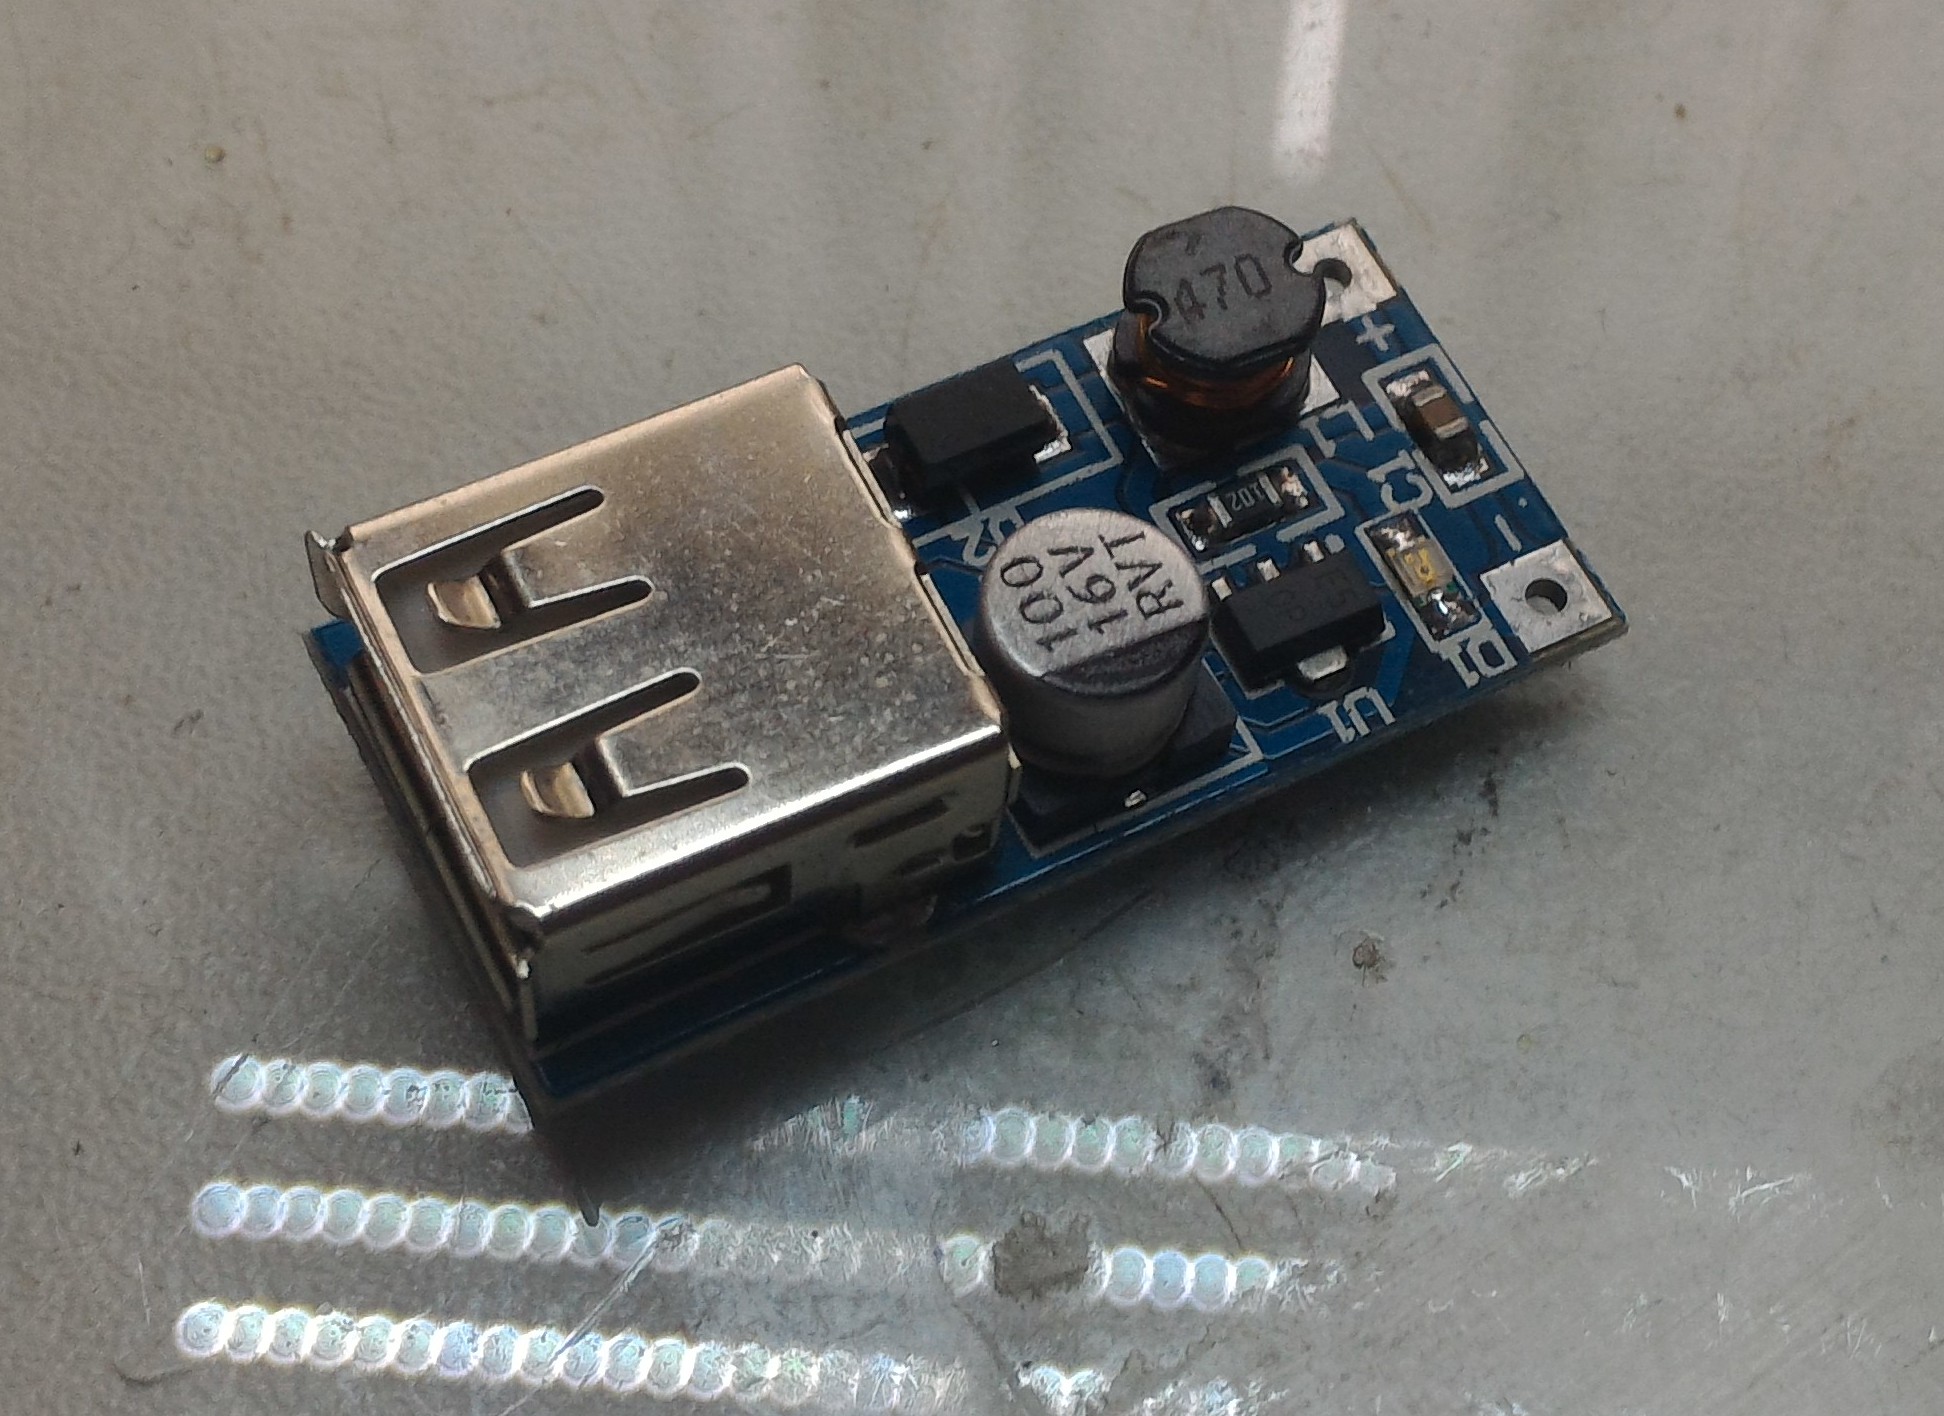
    I ordered a 5v DC - DC boost

    This allowed me to power #T_H_S as long as it was in strong direct sunlight. I would charge and power the battery's at the same time but now too sure how long it would take to fully charge them up.

    I mounted the solar cell on a piece of PVC ment for a window ledge so it was L shaped. This alowed it to have a slight angle to chatch the sun a little better

    Next thing I'm waiting on is a hand crank phone charger.

  • Finally, Im getting somewhere

    facelessloser06/24/2015 at 20:11 0 comments

    After getting the #T_H_S assembled I've Finally turned a corner with the firmware and got it working the way I want it too. As usual this has taken me longer then I thought and lead me though some code lessons so not all is lost. I hope to start documenting the build process and shooting a video soon. Keep your eyes peeled for future updates
  • PCB and enclosure

    facelessloser05/29/2015 at 16:35 0 comments

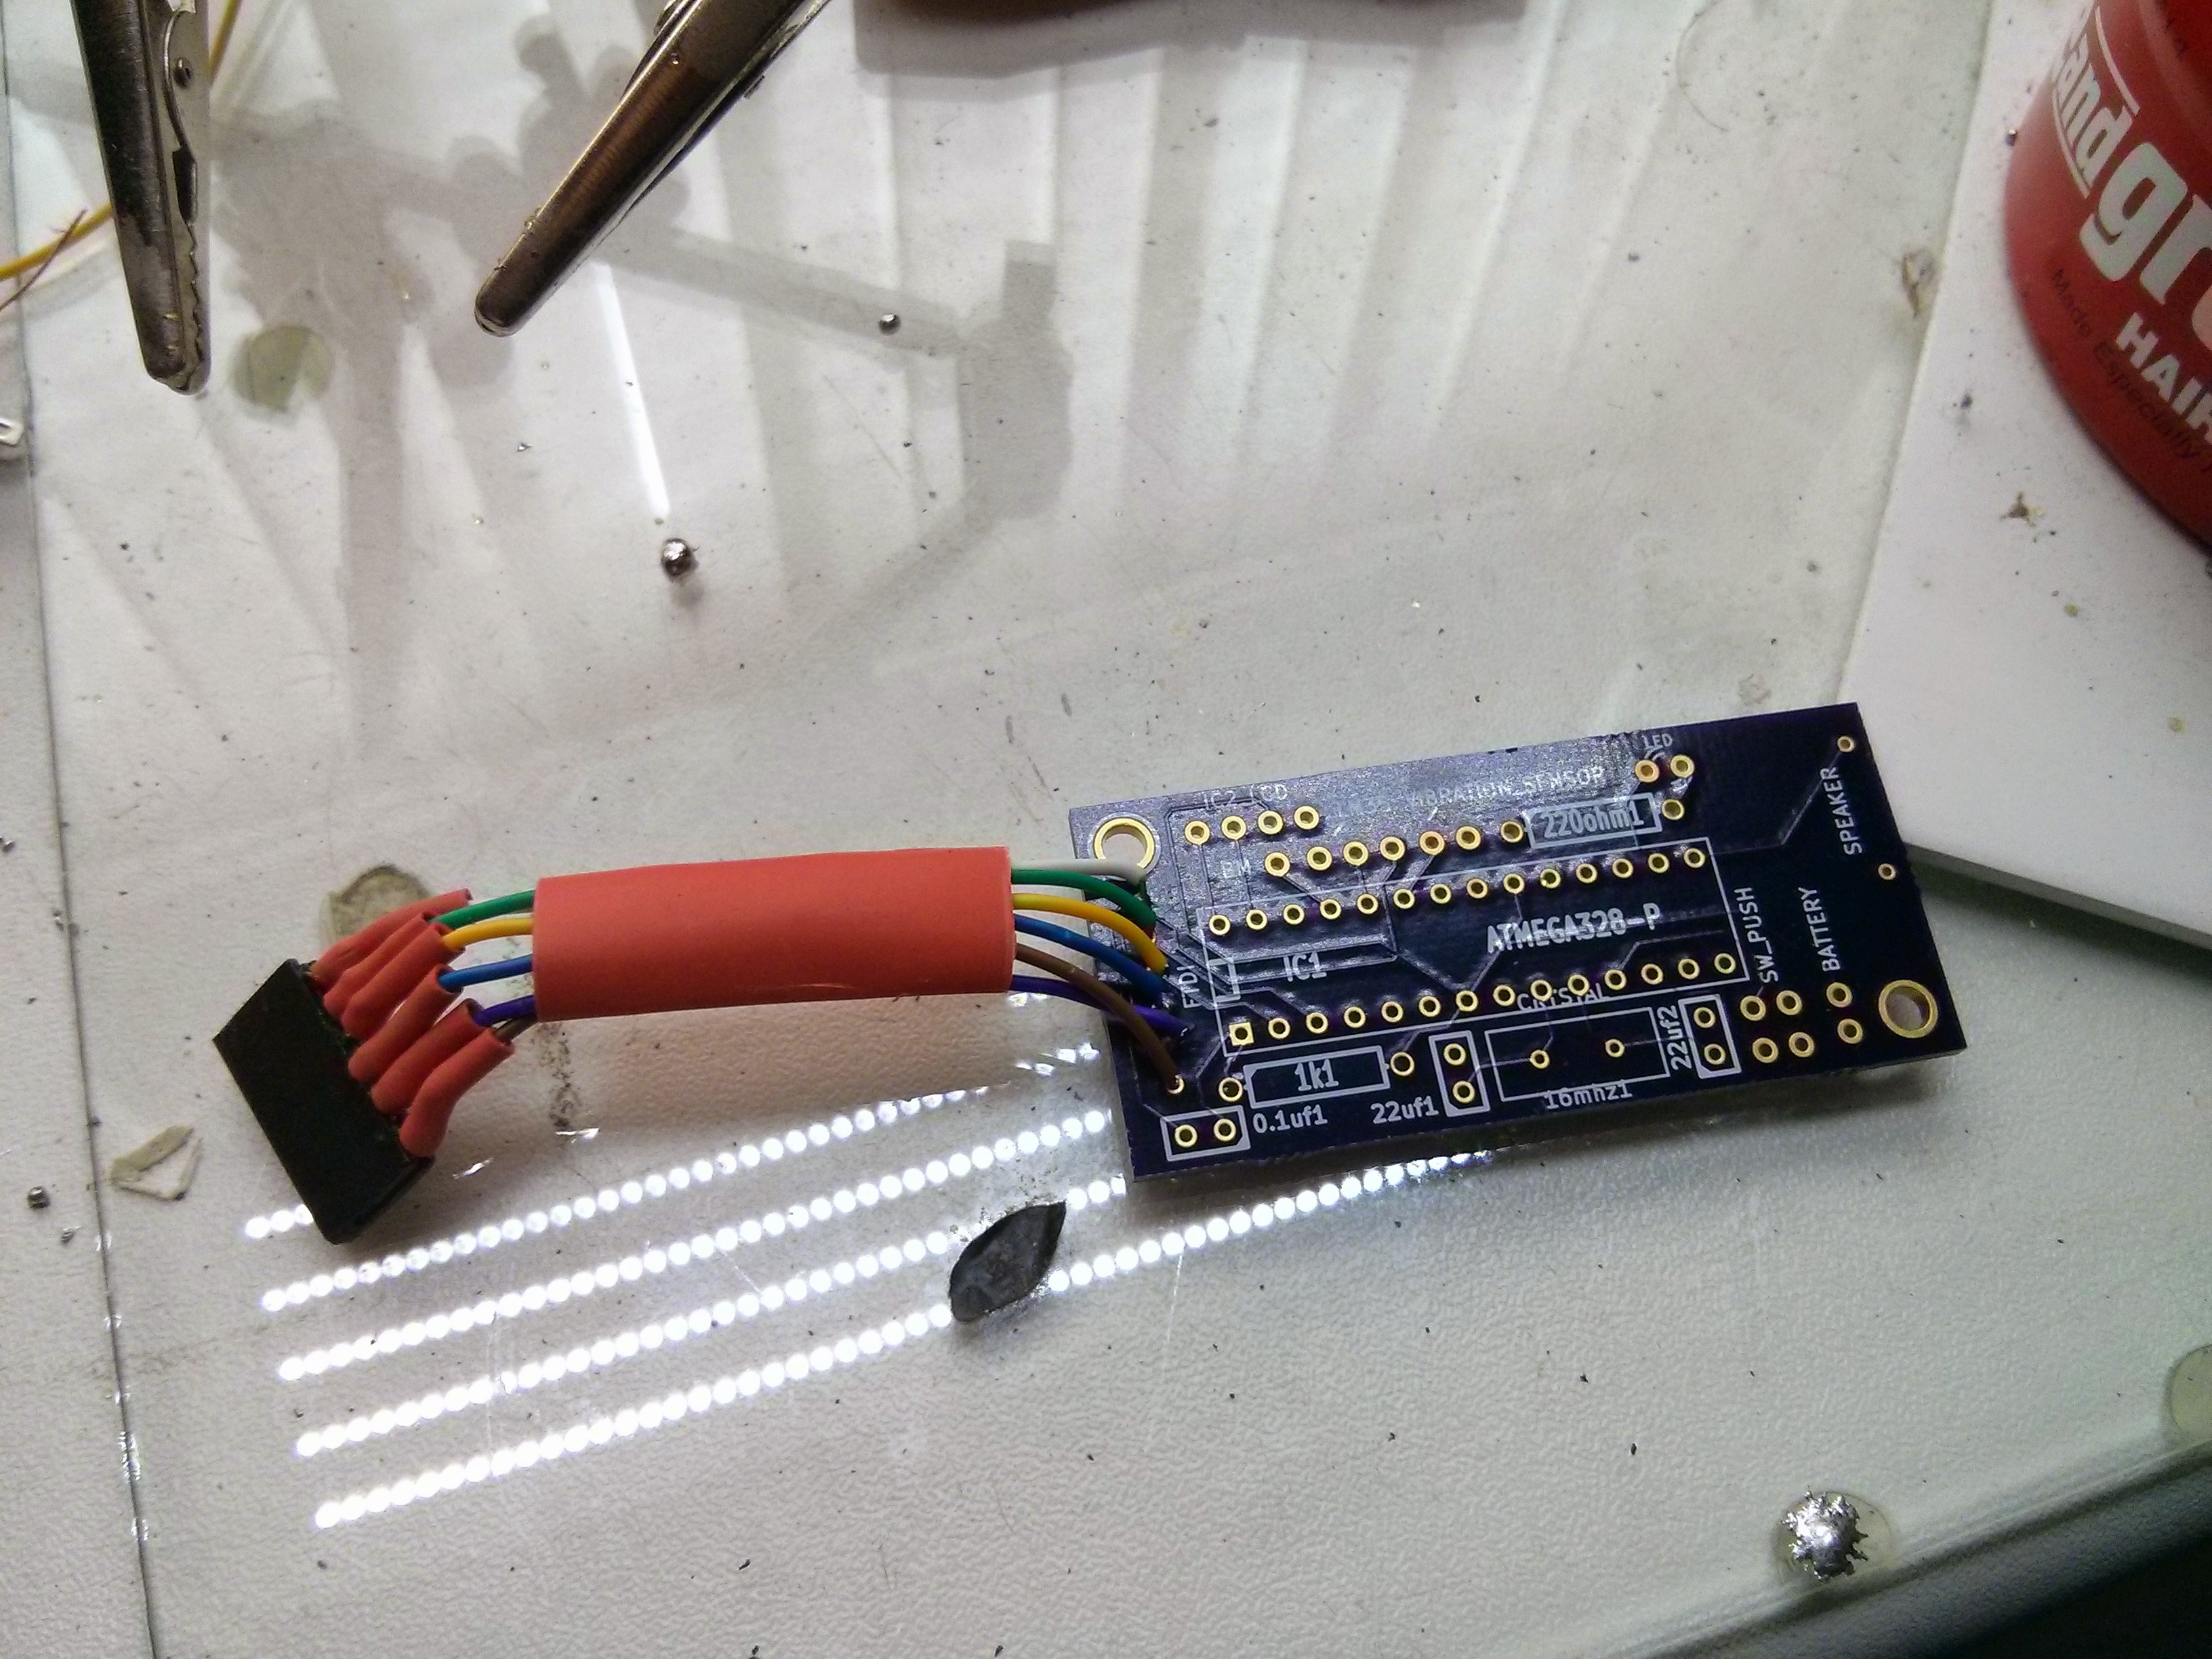
    So finally my PCB turned up from oshpark and it quickly dawned on my that some of the drill holes looked on the small side. On closer inpection it was confirmed that they were too small. This wasnt really a problem because the drill holes were big enought to solder some wire though so i would just have to break them out that way.

    It only really affected the FTDI connector and the speaker too.

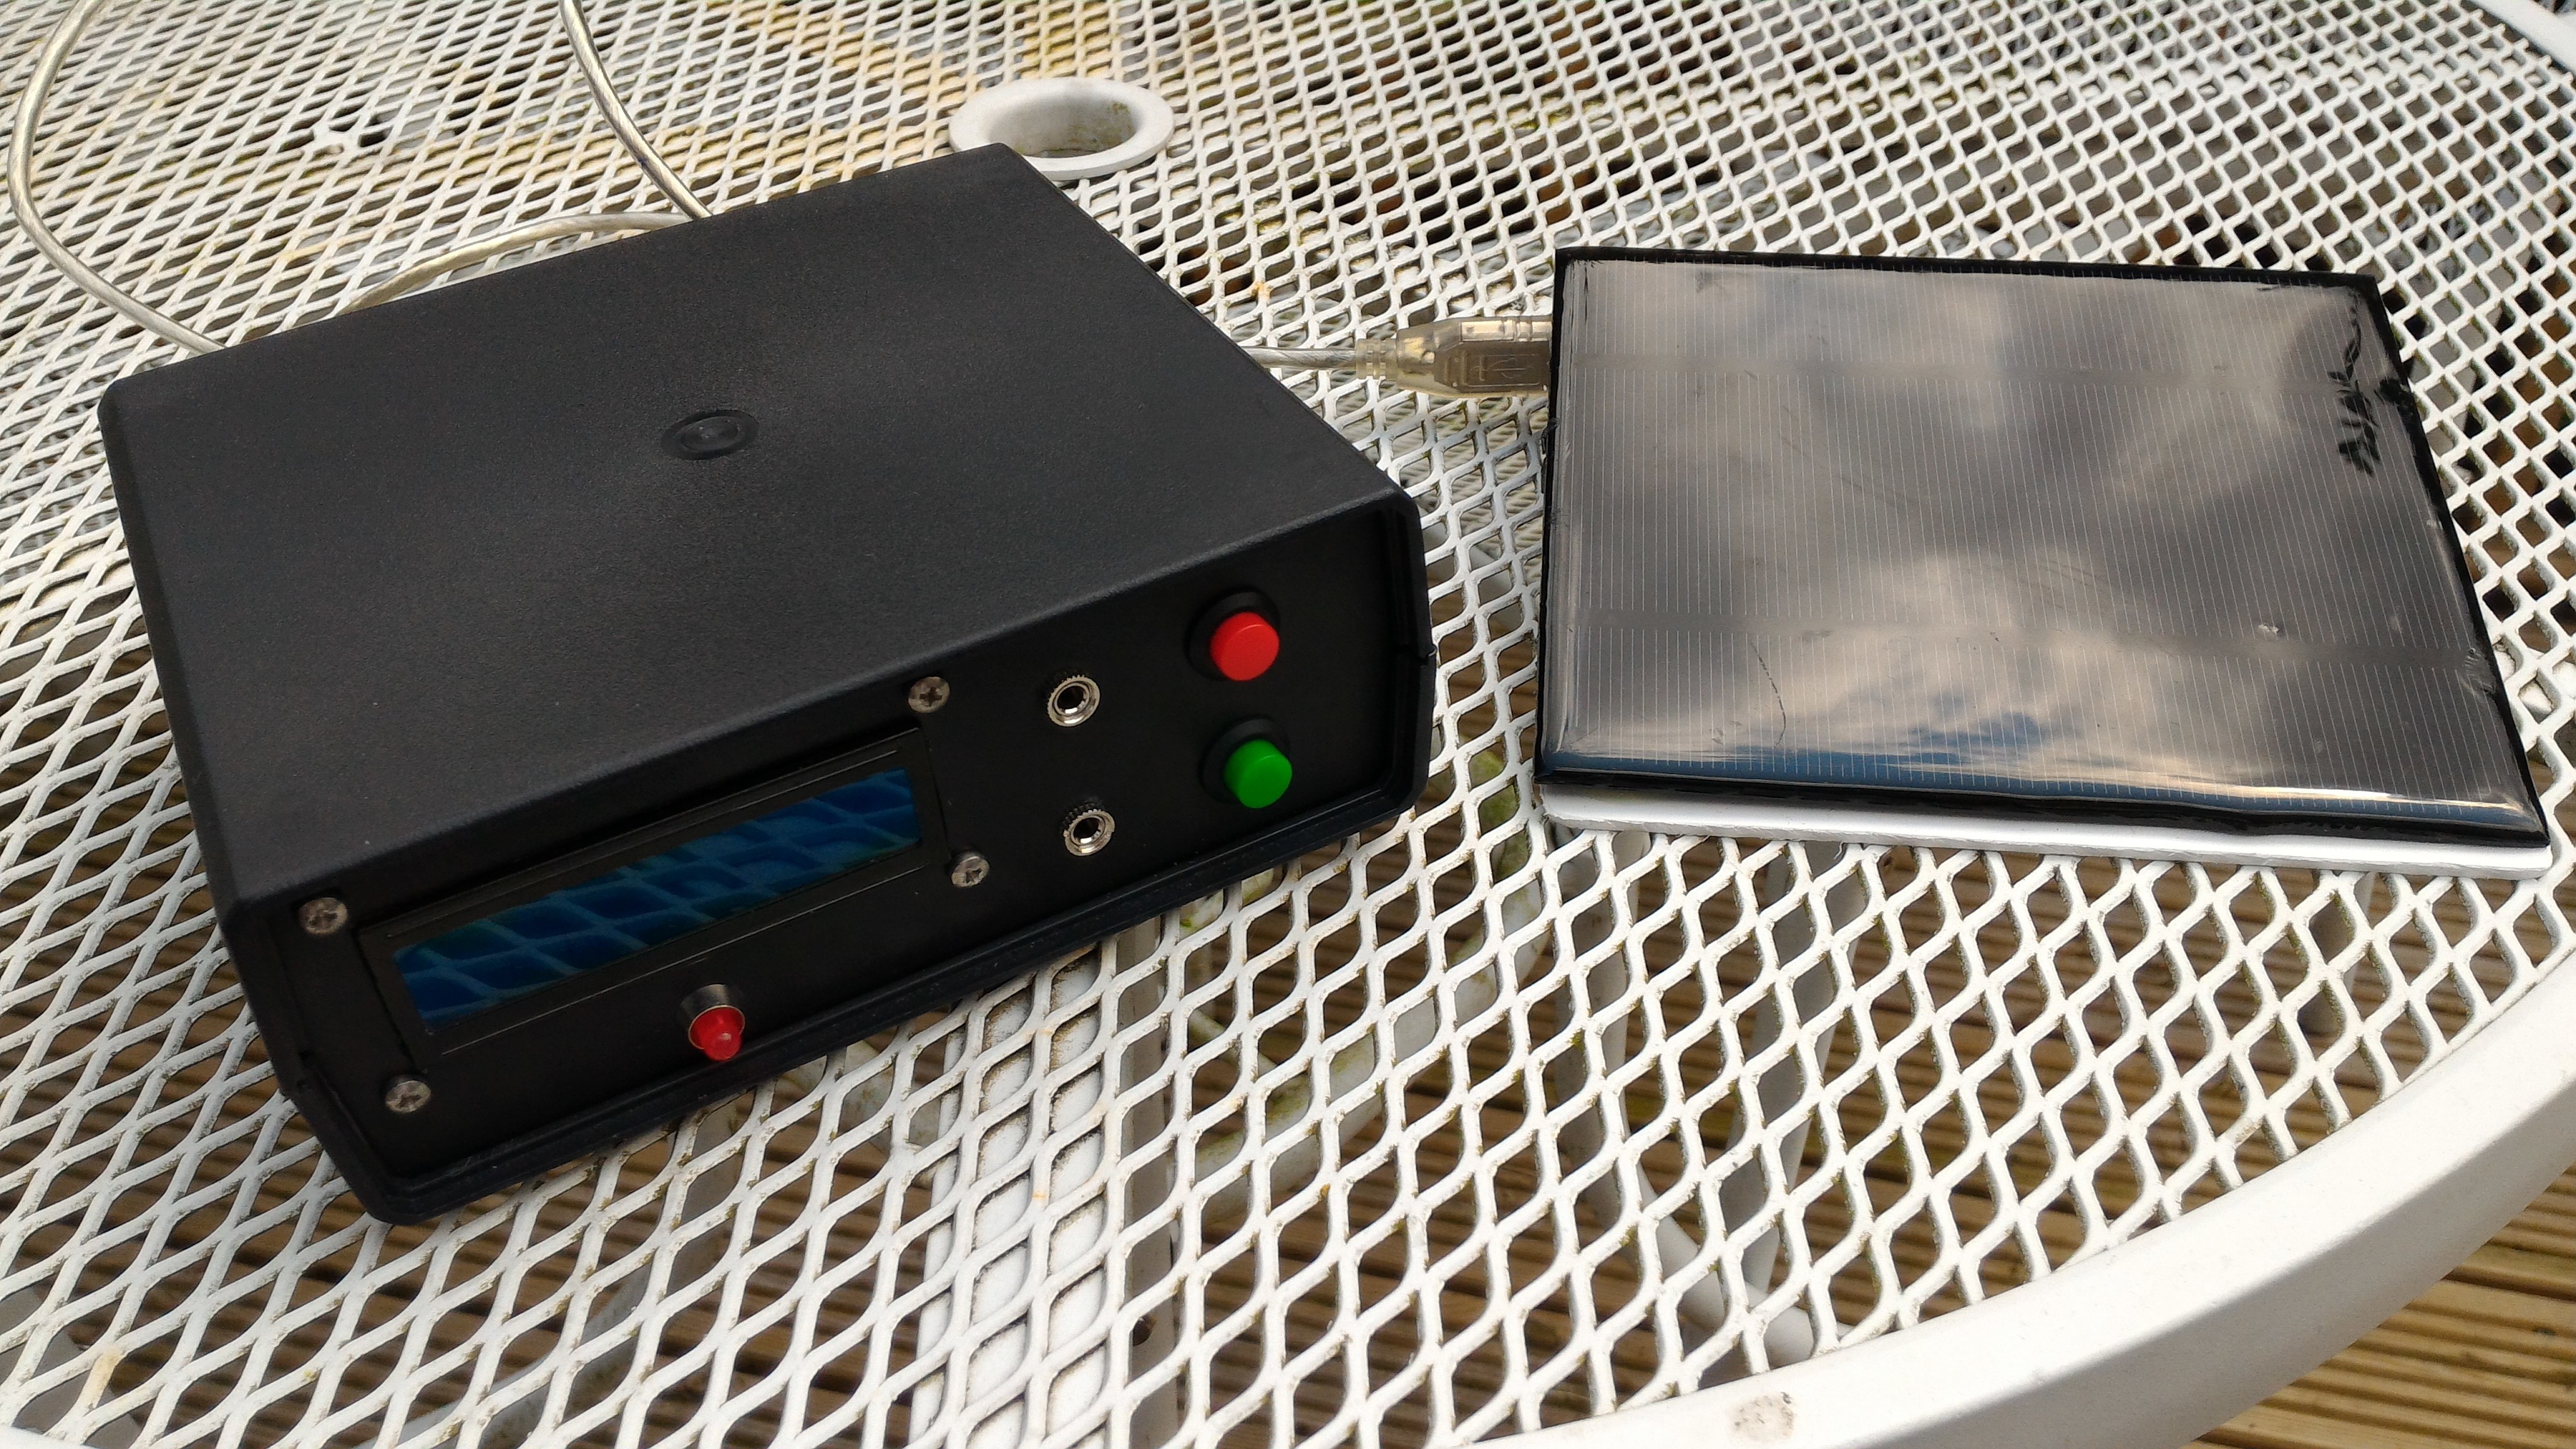
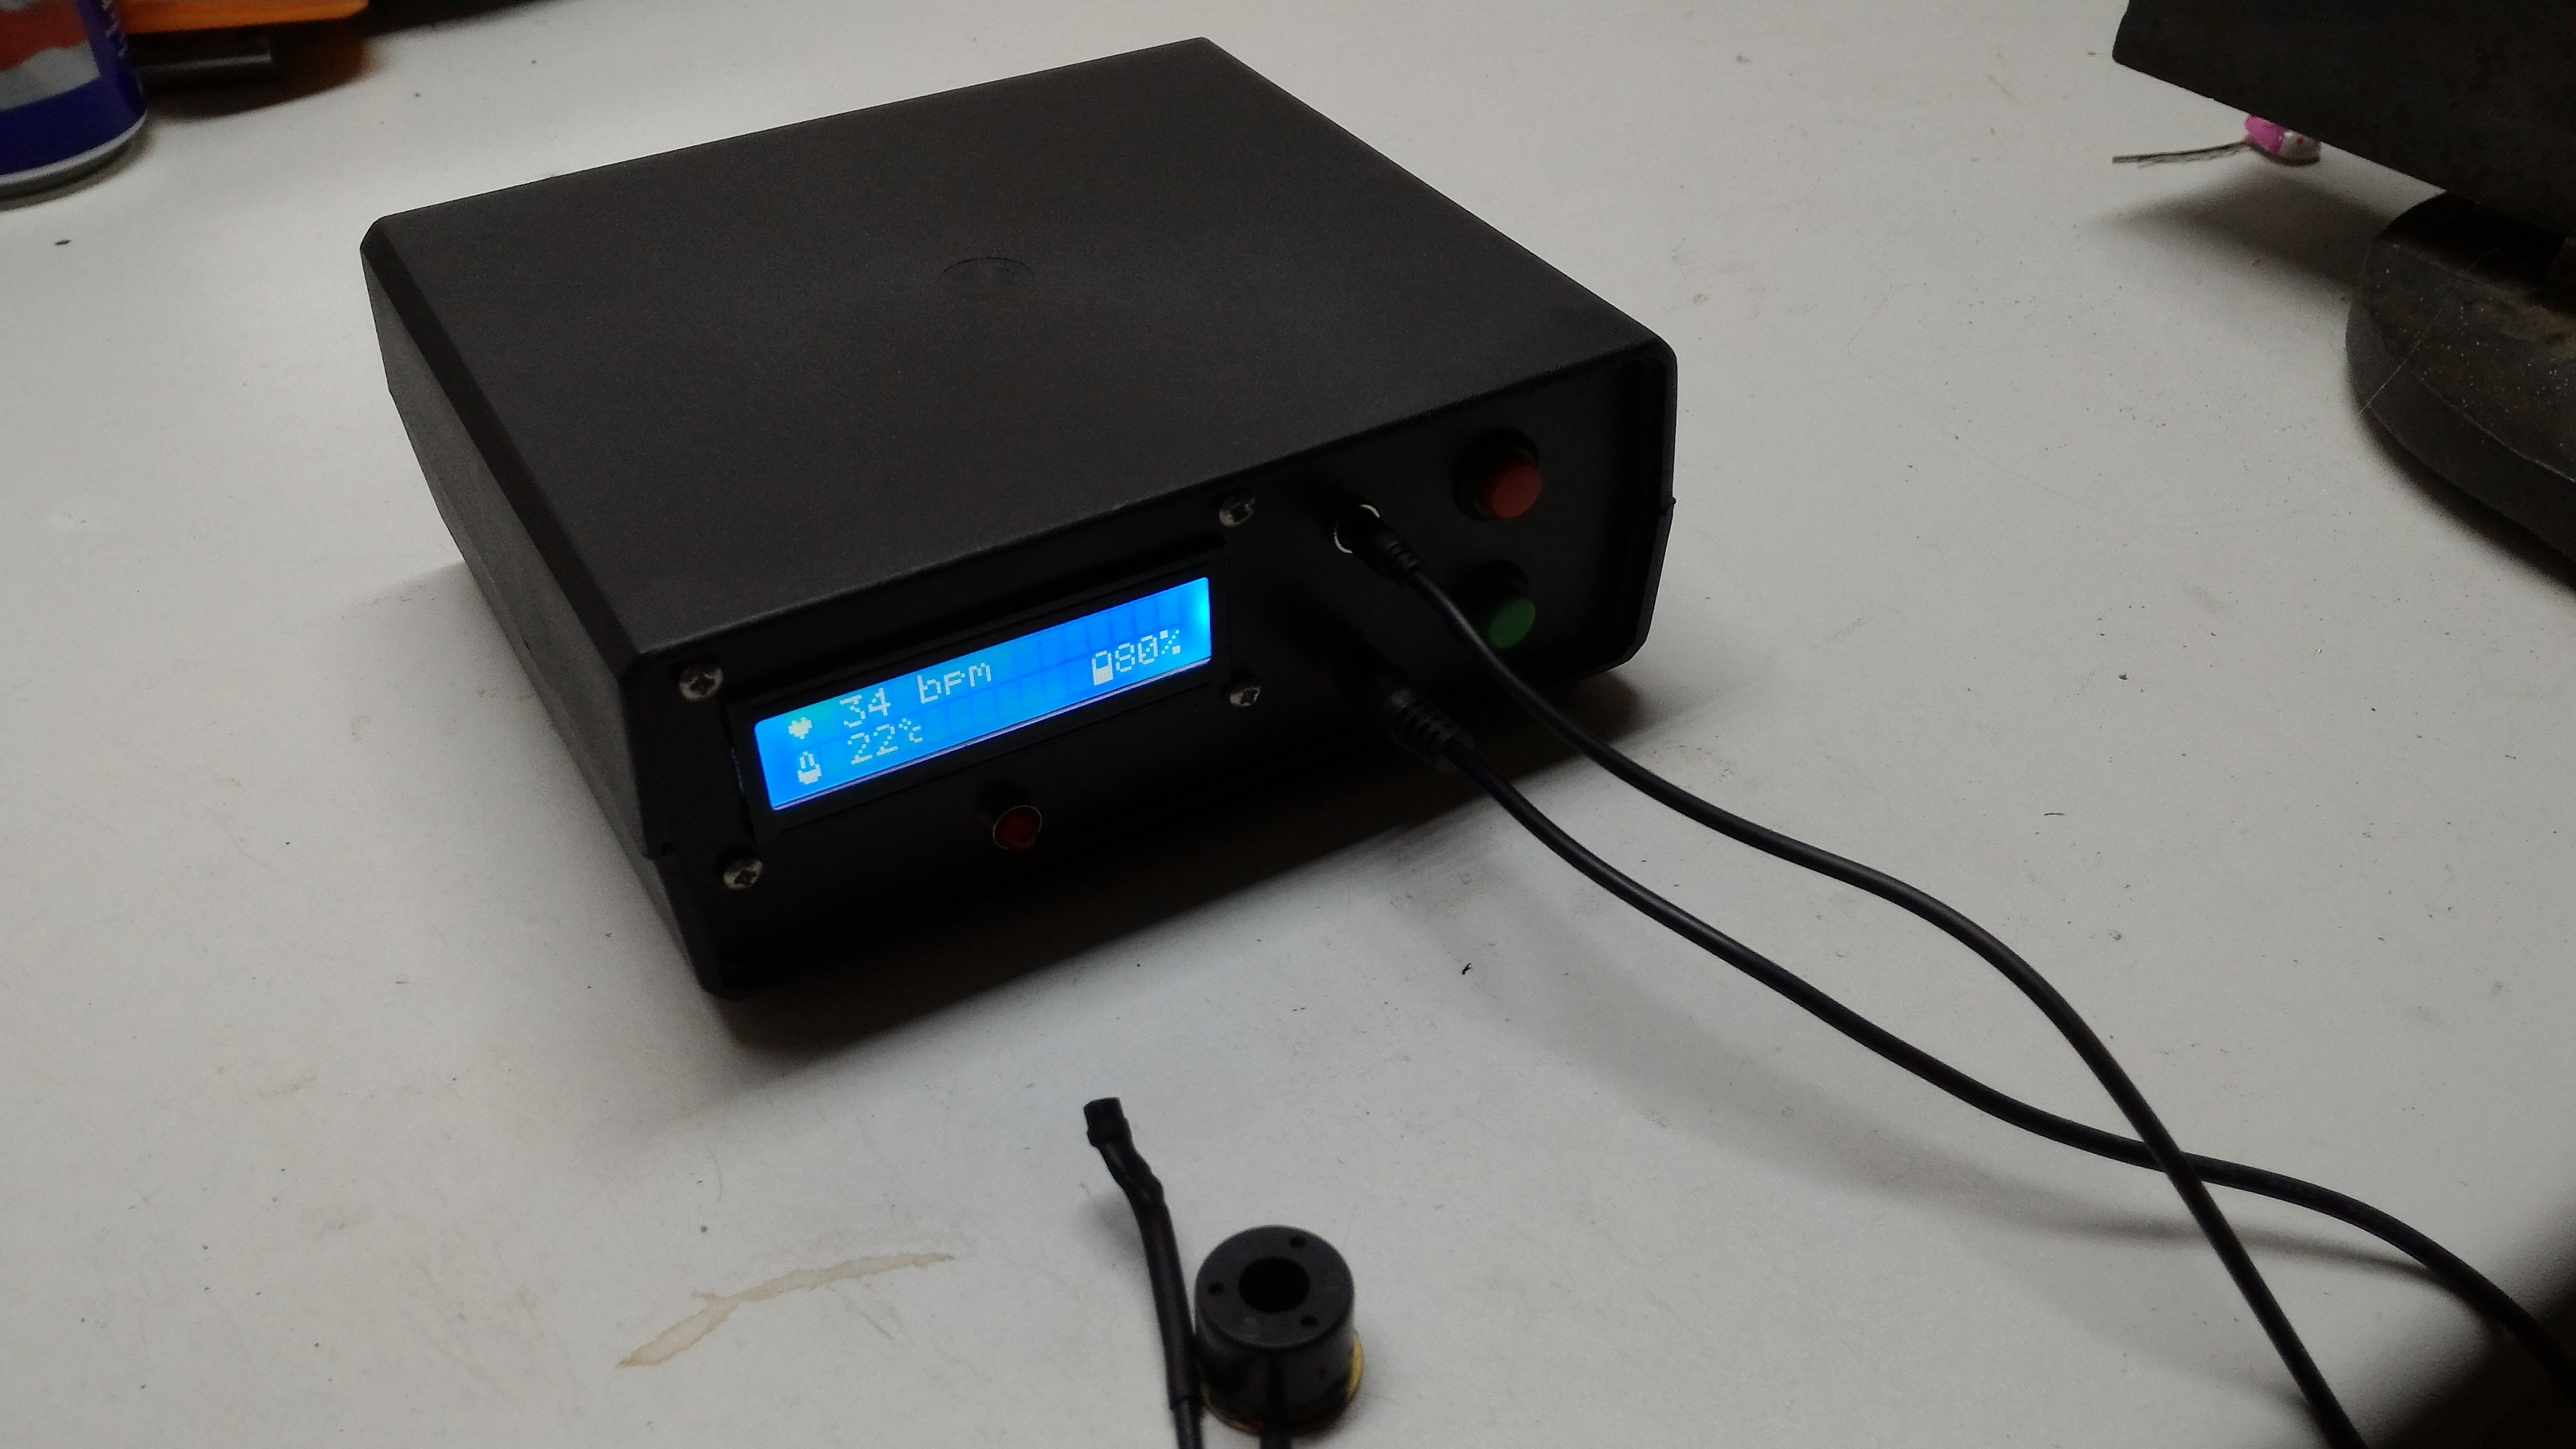
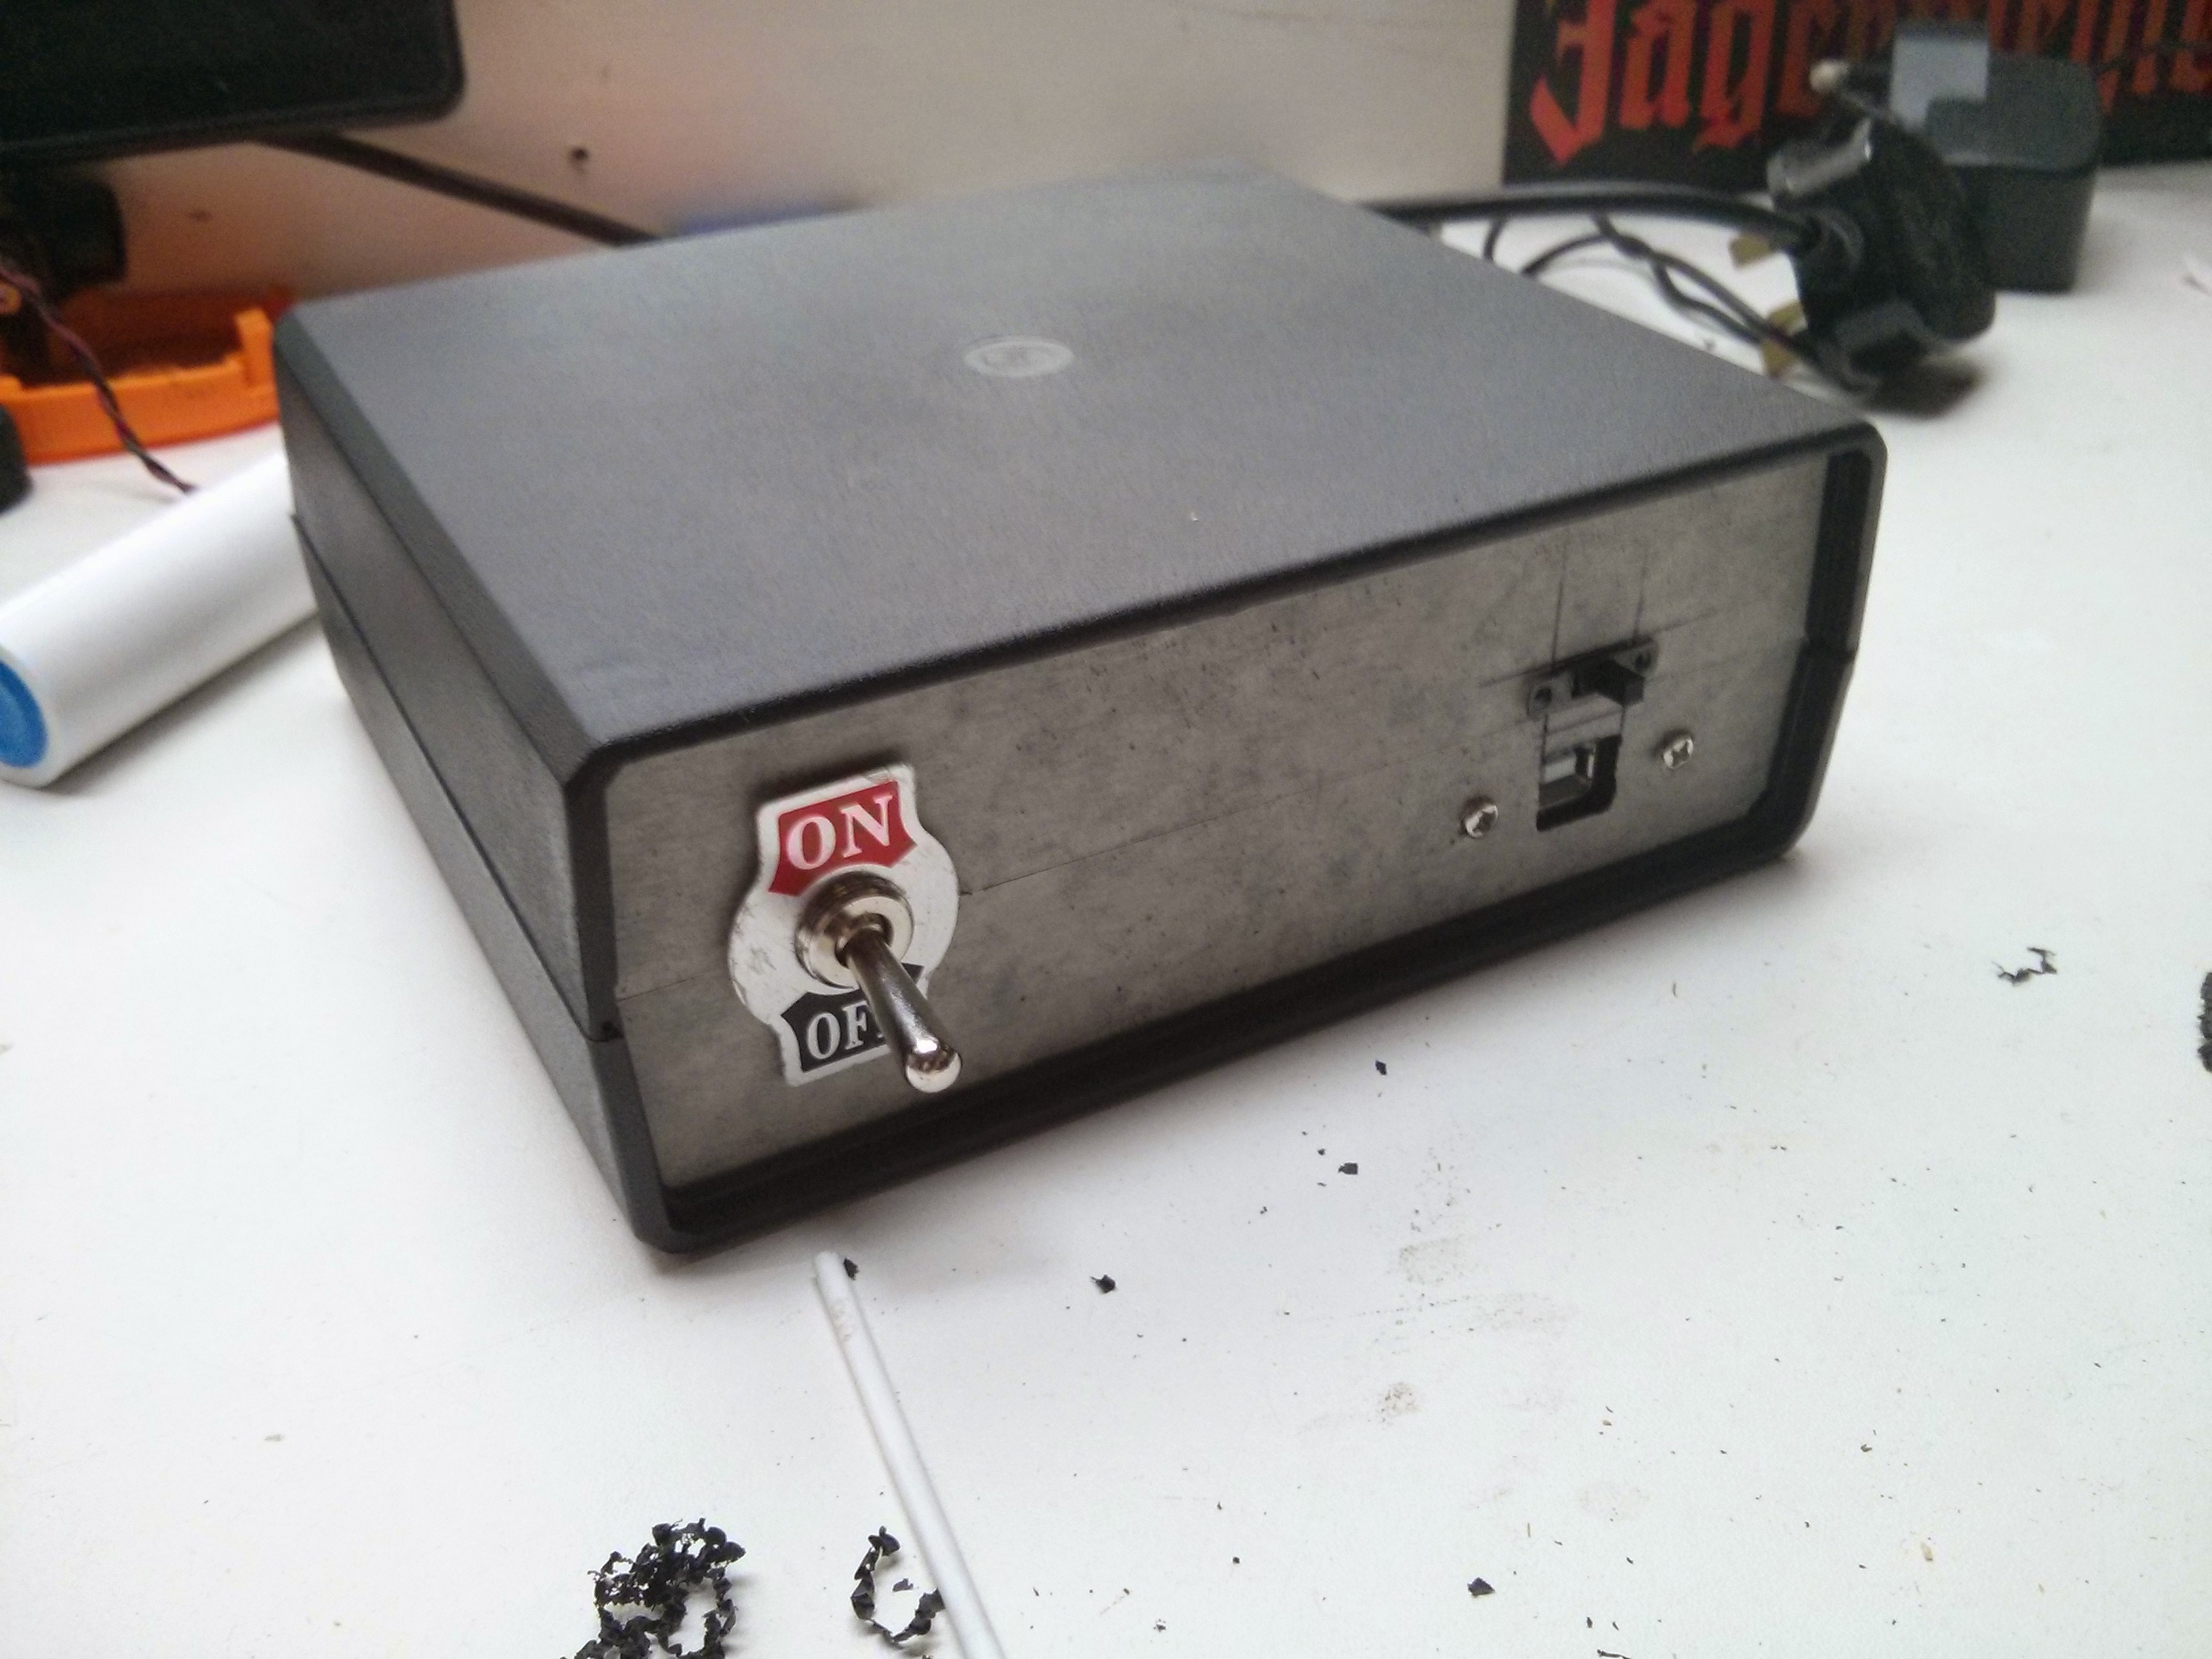
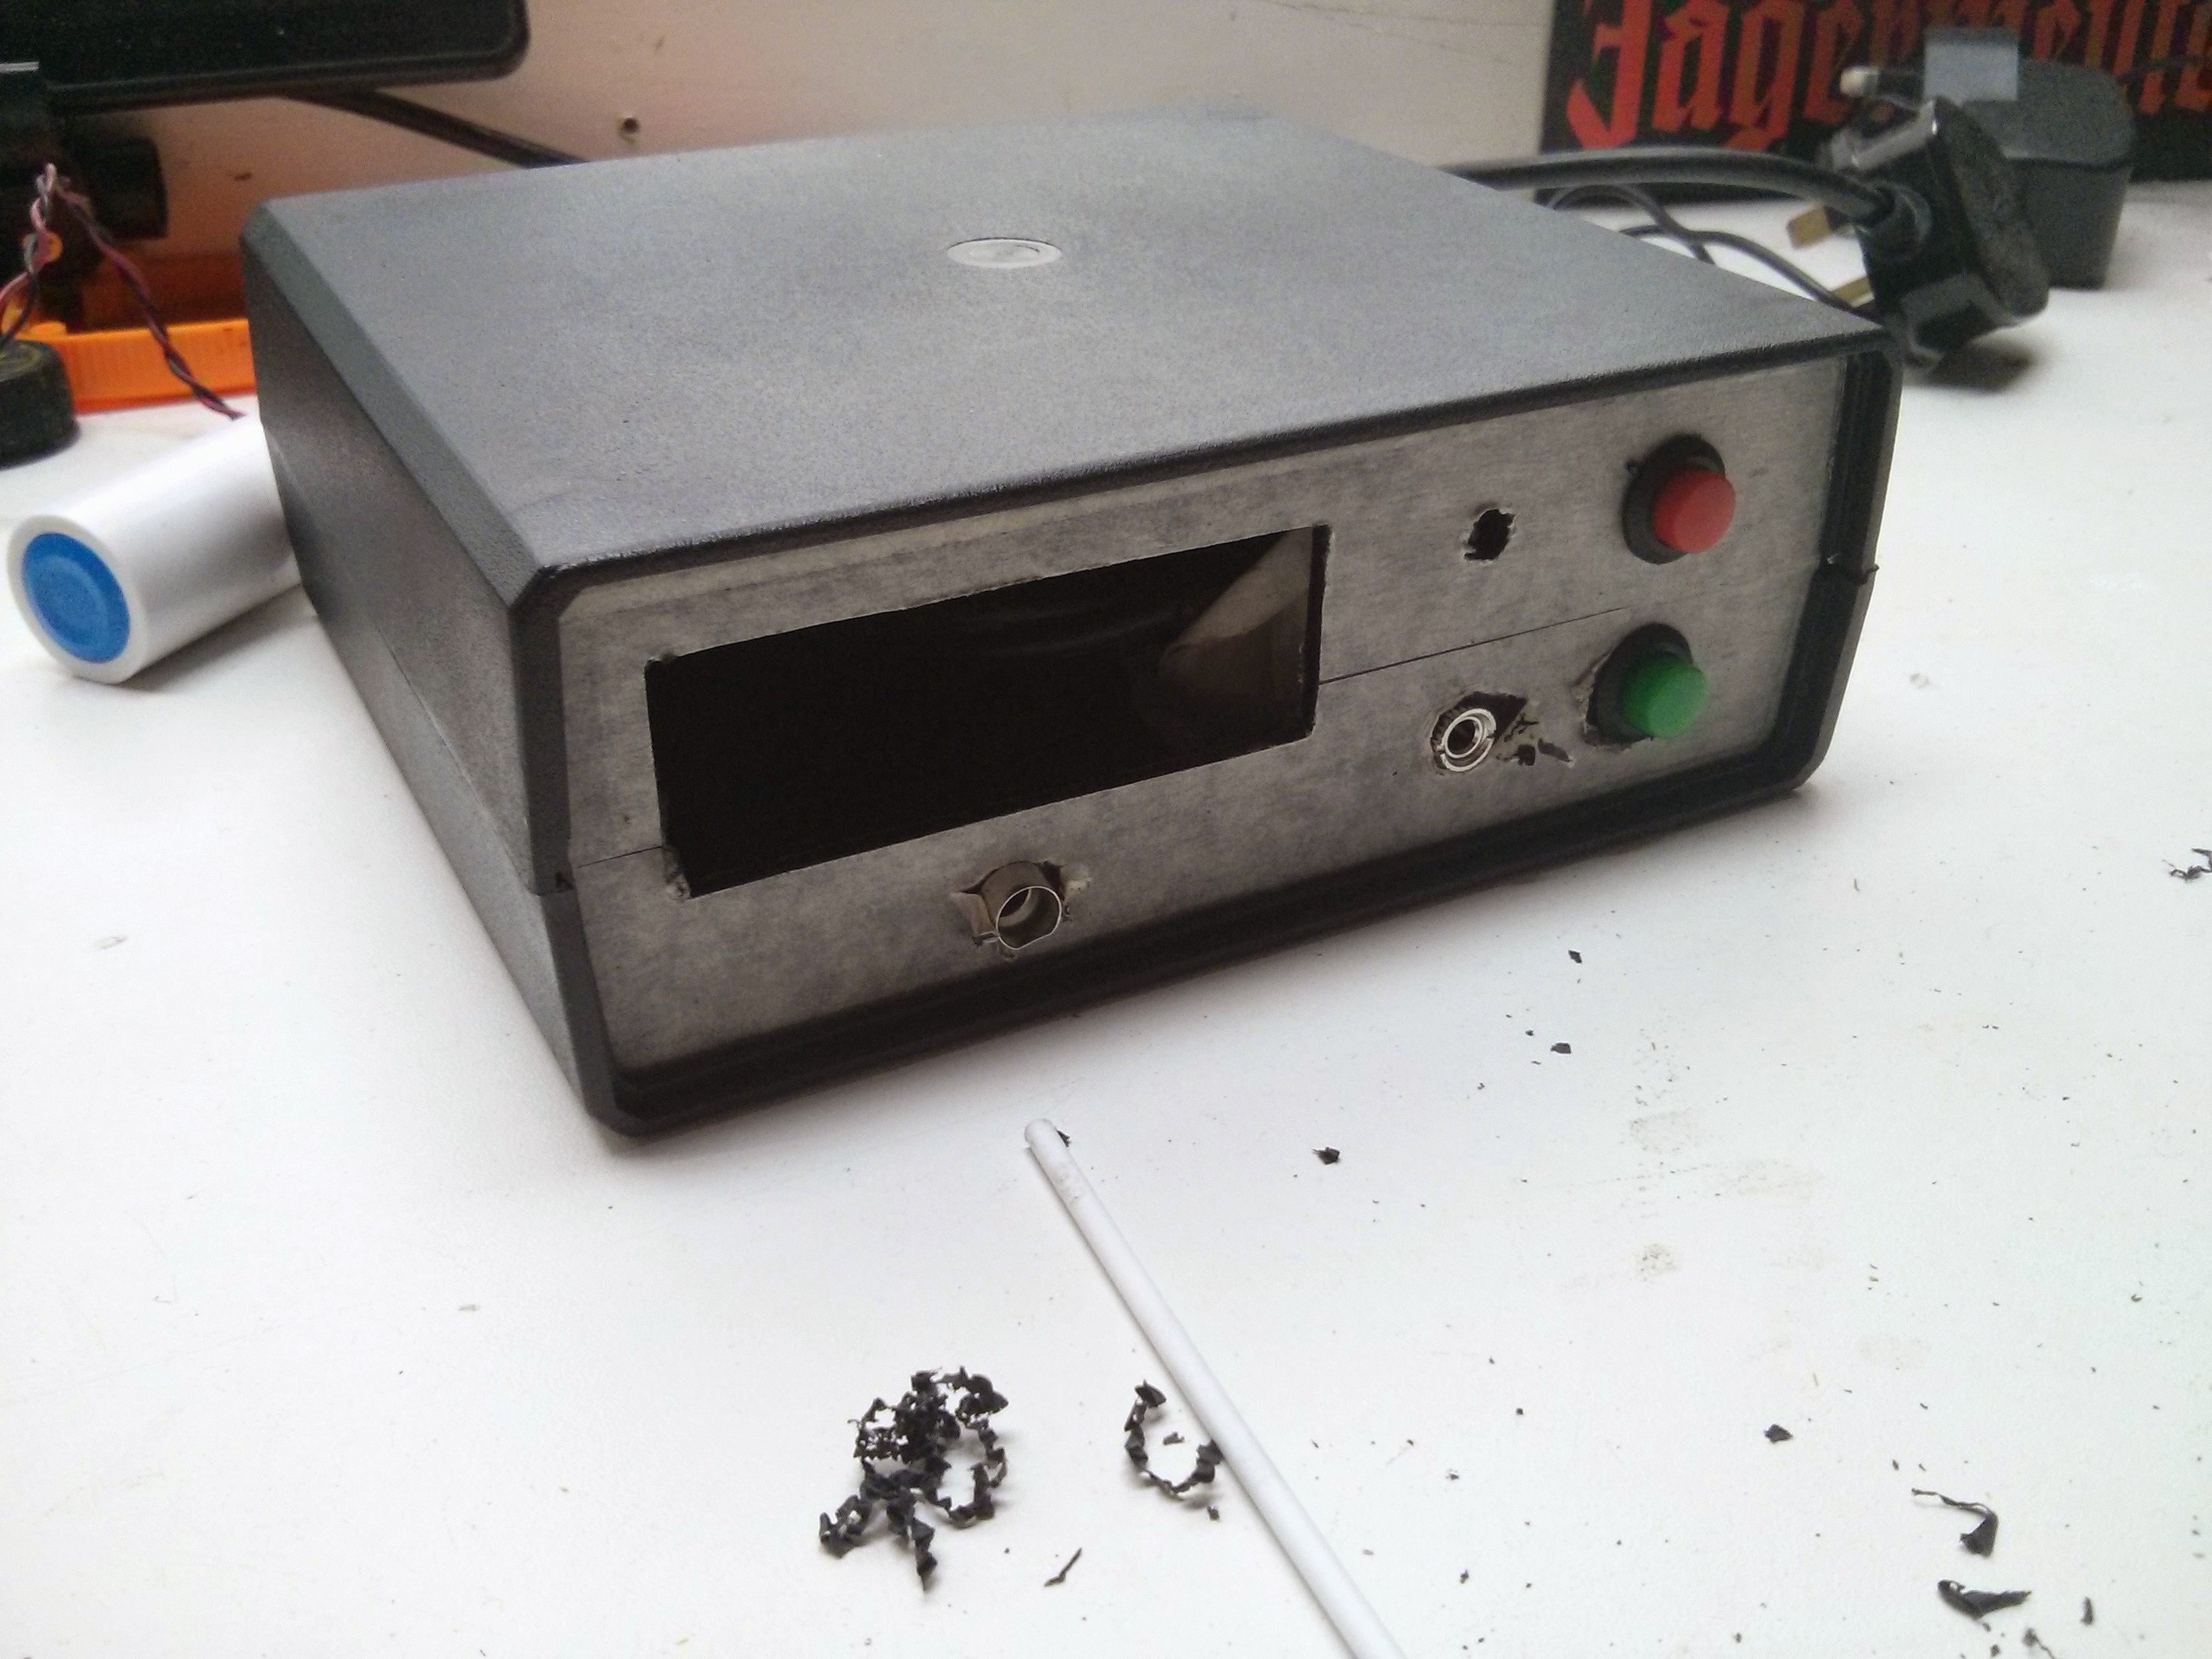
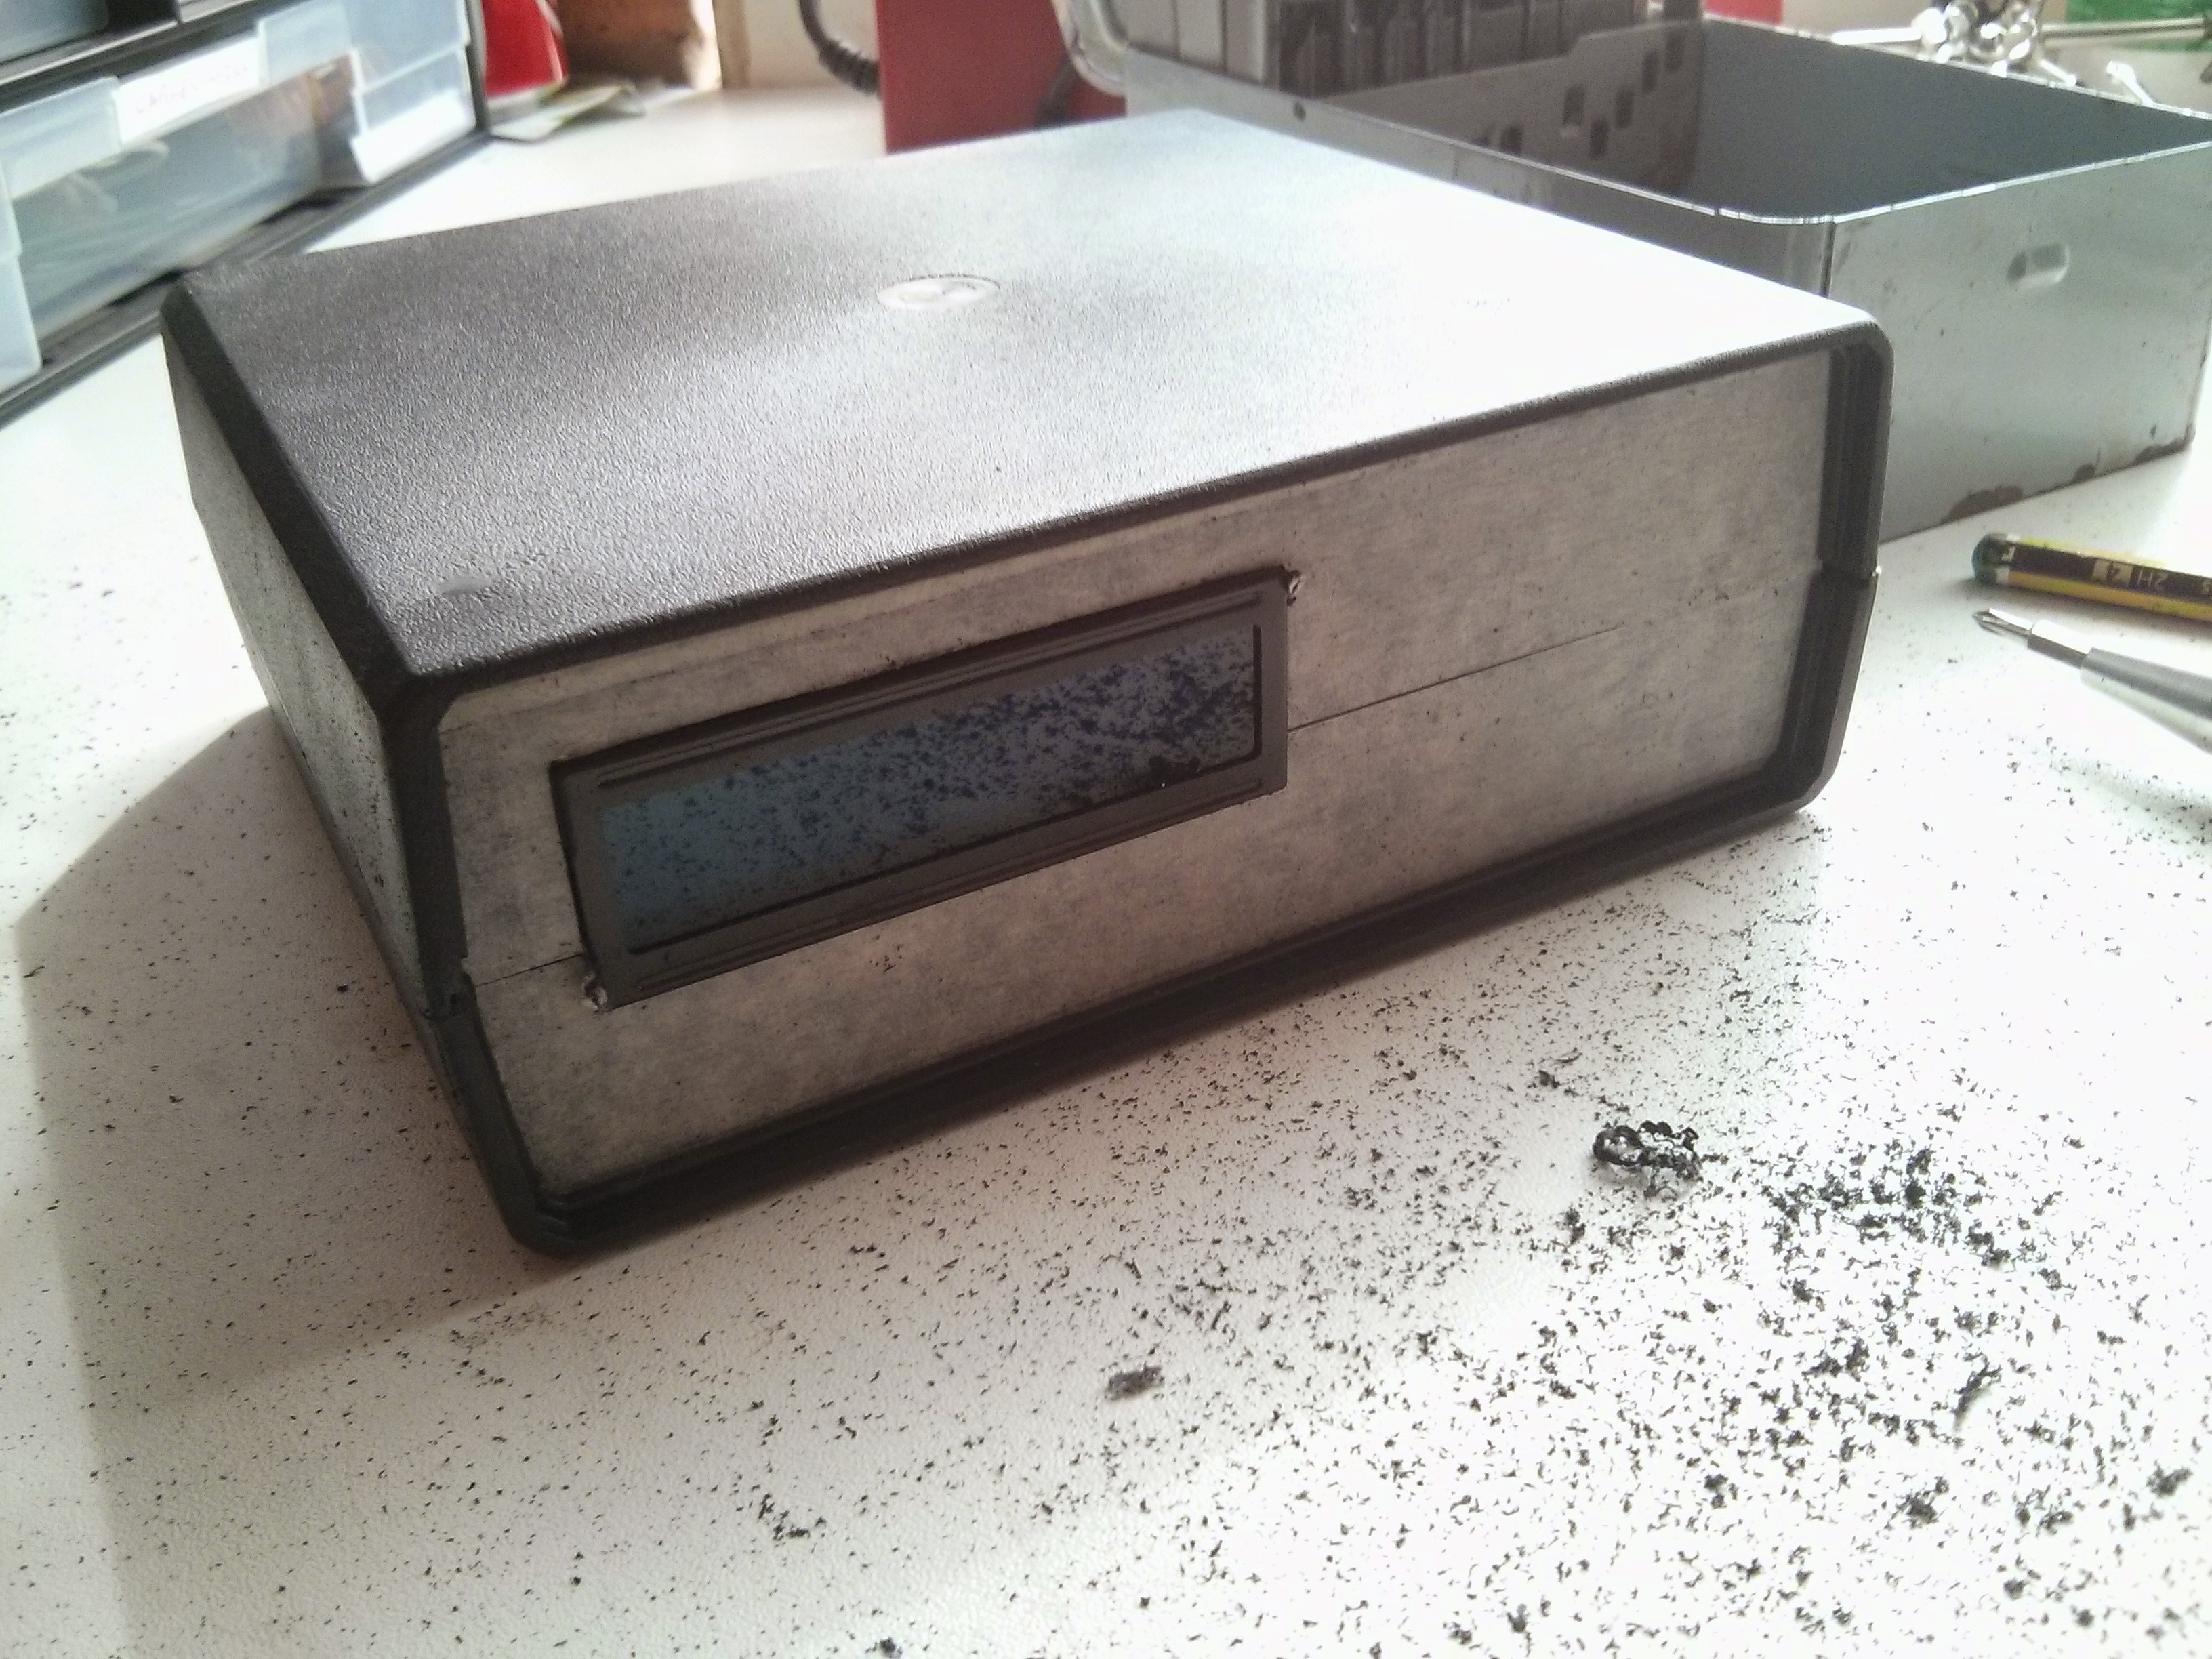
    Now that I had all my parts I could start thinking about how they were going to go into the enclosure. Started with the hardest part by cutting the hole for the LCD screen. I love this enclosure because it all comes apart so its easy to grip it in the vice ect.

    Next to the LCD screen is the two 3.5 mm head phone jacks and two buttons. Under the screen lives the LED for the heartbeat.

    Round the back there is the single throw double pole switch that handles the power on and the battery monitor wire. Also there is a usb B for charging and data upload. Above the usb b port there is a small switch so you can select between charging and just power
  • A large enclosure requires a large PCB

    facelessloser04/27/2015 at 19:27 0 comments

    I swapped out the DS18B20 temperature sensor since it was messing up my timing in my sketch and replaced it with LM35 and its been working great.

    Since the temperature sensor was the last bit of hardware I thought I should start to pick out an enclosure. With every new project I like to try new/different things so I picked a large desktop enclosure.

    One that would have plenty of room for all of the components to fit into. The thing about a big enclosure is that it will require a larger then I would normally be able to afford PCB. I really do hope I win some OSHPARK vouches so I can order my dream PCB for this and other projects and not have to worry about size

  • Sensing heart beat

    facelessloser04/11/2015 at 11:34 0 comments

    So far I've got the piezo sensor picking up my heart beat on my wrist, The heart rate is displayed on a 1602 LCD screen. For better visuals from a distance I added a red LED and a piezo speaker. I currently received a DS18B20 temperature sensor which looked great and came in the waterproof enclusore. But after added the code and library to my project I soon realized that it was too slow and messed up my timing for my piezo vibration sensor. My plan to over come this is to put a LM35 into the DS18B20 steal enclosure.

View all 8 project logs

  • 1
    Step 1

    I havn't really got a step by step guild but anyone is free to use my code/files from my Github to recreate or just use what you want from the project

View all instructions

Enjoy this project?

Share

Discussions

[deleted]

[this comment has been deleted]

facelessloser wrote 04/19/2015 at 16:59 point

It is sensitive enough to pick it up on your wrist but not your finger. It is a little fiddly to get it in just the right spot to pick up the heart rate tho

  Are you sure? yes | no

facelessloser wrote 03/26/2015 at 10:18 point

ah I hadn't thought of that lol. I will have to do some testing when my parts turn up. Thanks for the feed back

  Are you sure? yes | no

Sophi Kravitz wrote 03/26/2015 at 10:12 point

Hand cranked would be cool but temperature sensor in armpit and self-hand-cranking might interfere. You could make it work to measure active heart rate while cranking, then resting while draining battery.

  Are you sure? yes | no

Similar Projects

Does this project spark your interest?

Become a member to follow this project and never miss any updates