An attempt to develop a low-field coded-field compressed sensing magnetic resonance imager
low-field MRI
an attempt to develop a low-field coded-field compressed sensing magnetic resonance imager
an attempt to develop a low-field coded-field compressed sensing magnetic resonance imager
To make the experience fit your profile, pick a username and tell us what interests you.
We found and based on your interests.
An attempt to develop a low-field coded-field compressed sensing magnetic resonance imager
Further updates have moved to another build log:
With the recent success of the OpenCT2, I'm back thinking about the coded aperture MRI again. David was also in Antarctica for a while for his radio astronomy graduate work, but he's been back and we've been chatting about MRI things lately.
The two issues: Coil Winding, and a USB ADC
When the project went on the backburner, I'd hit two stumbling blocks that seemed like good solutions would have to present themselves for before things could progress:
Coil Winding Machine
Just like a prerequisite for becoming a jedi is building your own lightsaber, it seems like a prerequisite for being interested in radio is building your own coil winding machine. Radio coil winding seems like a somewhat lost art (I'm sure if this was a century ago, I'd know a dozen folks who were expert coil winders), but youtube has no shortage of videos of folks who have put together their own machines. It seems that one can also purchase manual coil winders fairly easily, but they tend to look ancient, and like one could come up with an automated design in a few evenings of work.
Being somewhat at the mercy of inspiration, a seemingly simple design suddenly came to me, and after a quick trip to the hardware store for some threaded rod, and by the end of the evening I had cobbled together some leftover Makerslide and Misumi aluminum extrusion into this:
The above half-complete winder allowed was just enough to wind a single-layer coil hundreds of times faster than I'd done it by hand (and nearly perfectly), convincing me that I was onto something.
After another evening slaving over a warm laser cutter, the coil winder emerged:
The different components, drawn from leftover pieces of projects, are the following:
Rotational/Winding Stage (right side):
Linear Stage (middle):
Spool Holder (left):
Control:
The dimensions of the long aluminum extrusion pieces are about 50cm, and the short ones holding each component are about 10-12cm high. The aluminum extrusion makes it easy to resize for larger/small coils, and to move in the tip of the liner stage very close to the coil form during setup.
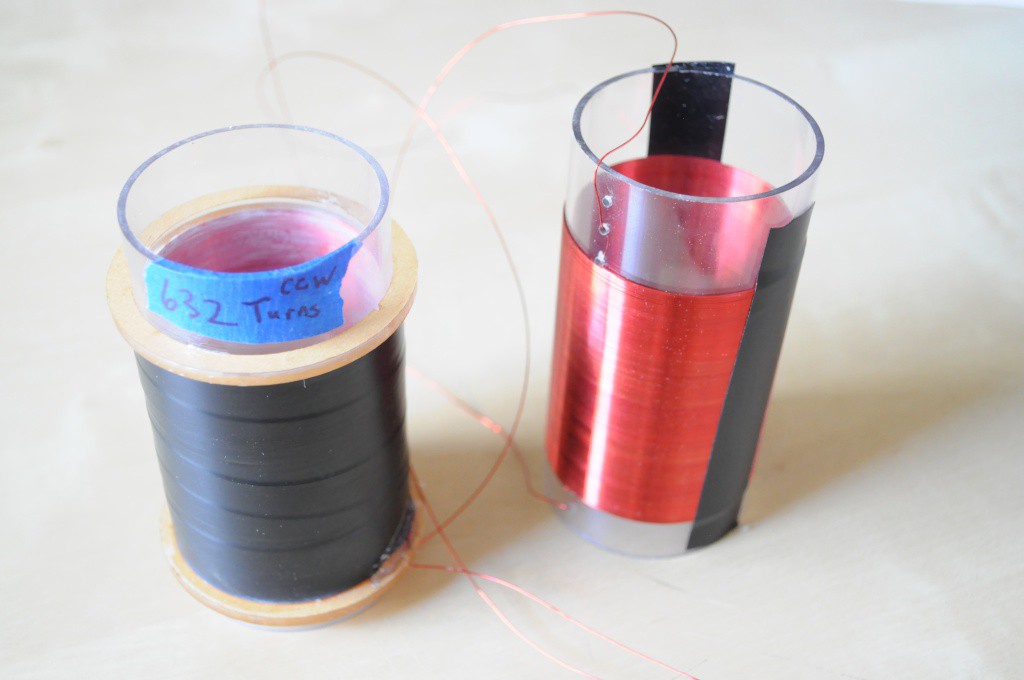
Winding Coils
Following Bradley Worley's great proton precession magnetometer (PyPPM) project, I decided a good place to start would be replicating his (or a similar) proton precession magnetometer, then experimenting with it under different non-uniform field conditions to see how viable the coded field technique may be. About 10 years ago Stefan and Richard Hollos published a book called Signals from the...
Read more »Let's have a look at the first test rig for measuring magnetic fields over a 3D volume.
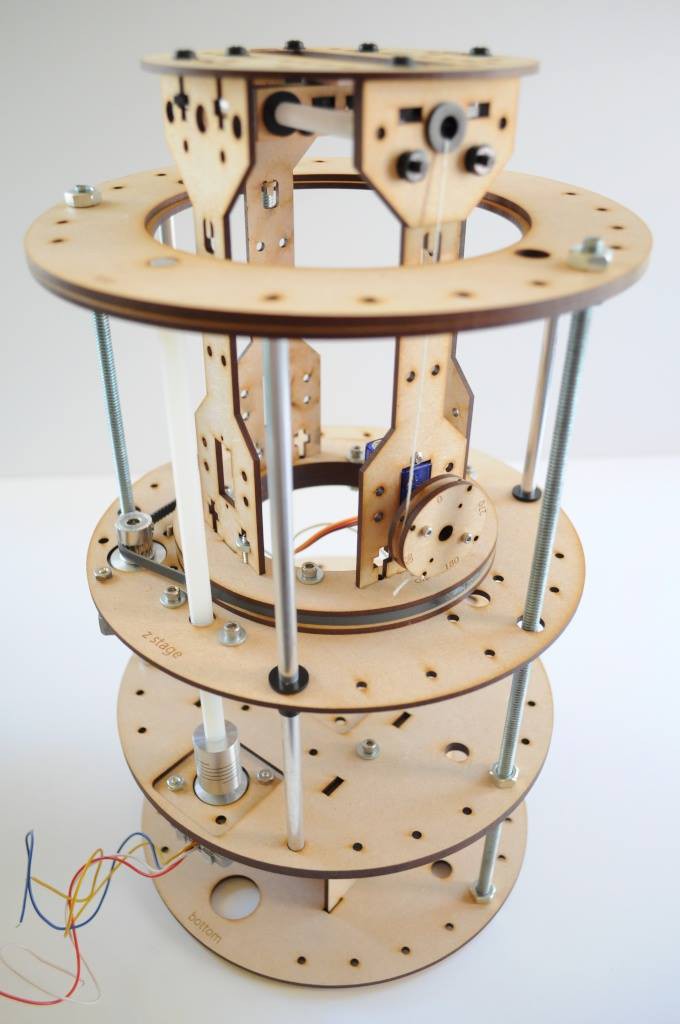
I confess that I've been thinking about this for a few weeks, and it's been a fun (and sometimes frustrating) design process. We'd like to accurately map the magnetic field intensity and direction at each location in a small volume -- say a 10cm cube. Normally if you'd like to move something through a volume (say, like a 3D printer extruder), you'd put together three perpendicular linear axes, mount your tool or sensor, and that would be it.
But here, getting accurate readings is very important -- this will ultimately be used to measure the first coded fields, and the accuracy of those field measurements will determine the quality of our reconstructions, and in the extreme case, whether the technique will work at all. And it just so happens that most of the things linear axes are made out of -- stepper motors, lead screws, nuts, and other hardware, are magnetic. So we'll have to think a little unconventionally, and figure out a way to make a scanning system that keeps these components somewhat distant from the scanning volume.
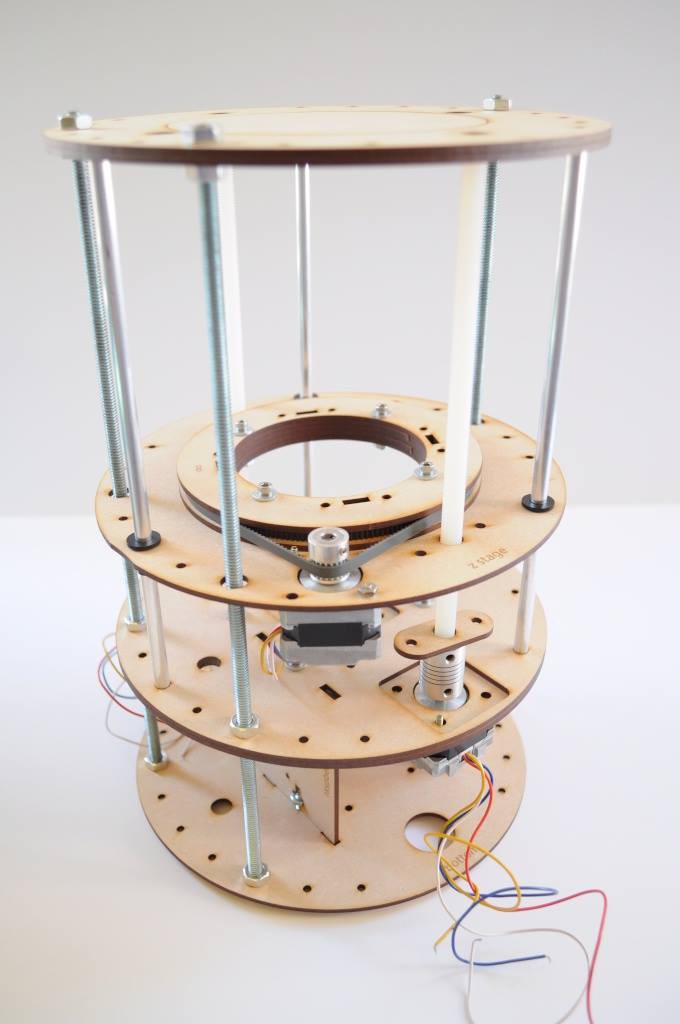
The Z and rotational axes
The design I've settled on for this first test uses polar coordinates, and keeps most of the metal parts (and all the metal parts that move or have electromagnets in them, like the steppers) reasonably far away from the magnetometer. To help give a sense of scale, the rig is 8 inches in diameter, and 12 inches tall. First we'll look at the Z and rotational (theta) axes, and then look at the radial (rho) axis.
The base for the rotational stage is mounted on two M8 nylon lead screws that transfer linear motion, and move the whole stage up and down in Z. The base has three 1/4 inch aluminum slides with nylon bushings at 120 degree angles, and there are also three stationary 1/4-20 threaded rods up the length of the machine that help keep everything rigid.
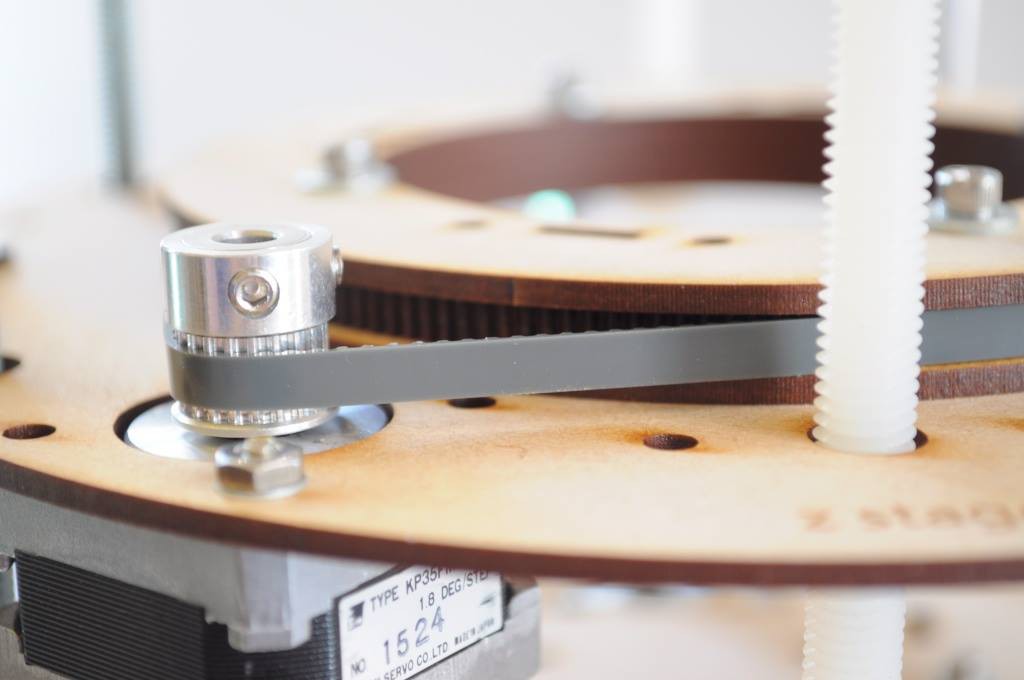
I really like how the rotational (theta) axis worked out -- I had some MLX (2.03mm pitch) timing belts left over from another project, and ended up (after several attempts) being able to successfully laser cut a giant ~5 inch timing pulley (with about 185 teeth) that easily rotates, and also serves as a platform for the radial (rho) stage that we'll see below.
A critical aspect of this stage is that, to make it useful for further testing (of the code coils, or even primary coil), it has to have a large open area in the center where stationary coils could be mounted from the bottom. This complicated the design a bit, but it ends up working out pretty well, and just the Z and rotational axes could very easily serve as the platform for a tiny CT scanner (or other interesting projects that need to rotate around a stationary sample).
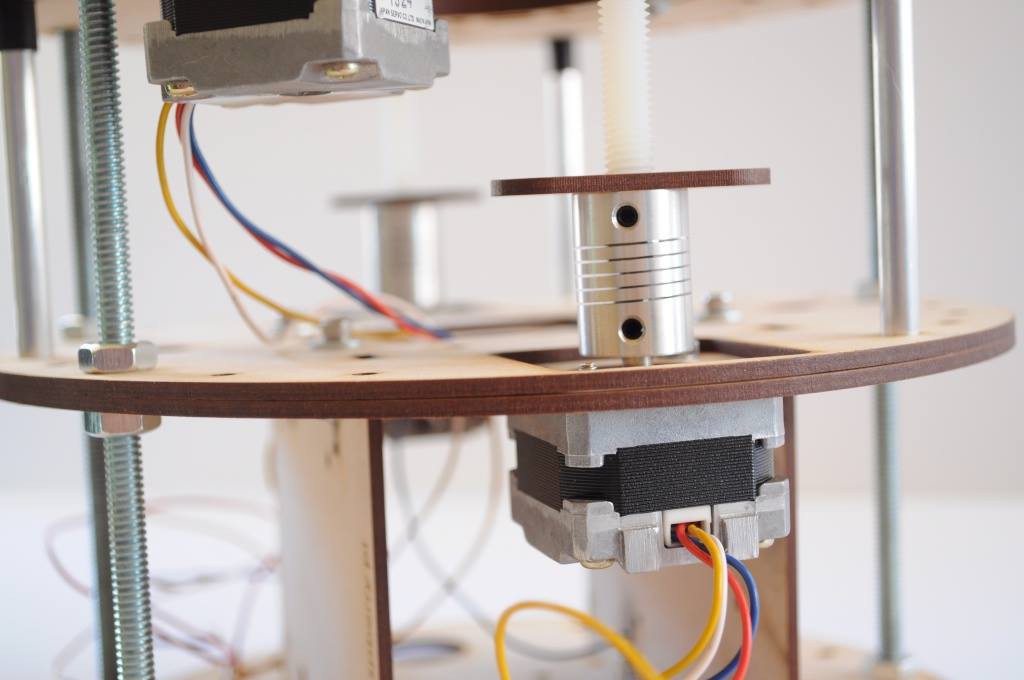
Two NEMA14 motors power the Z axis, and are coupled to the nylon lead screws using flexible aluminum couplers.
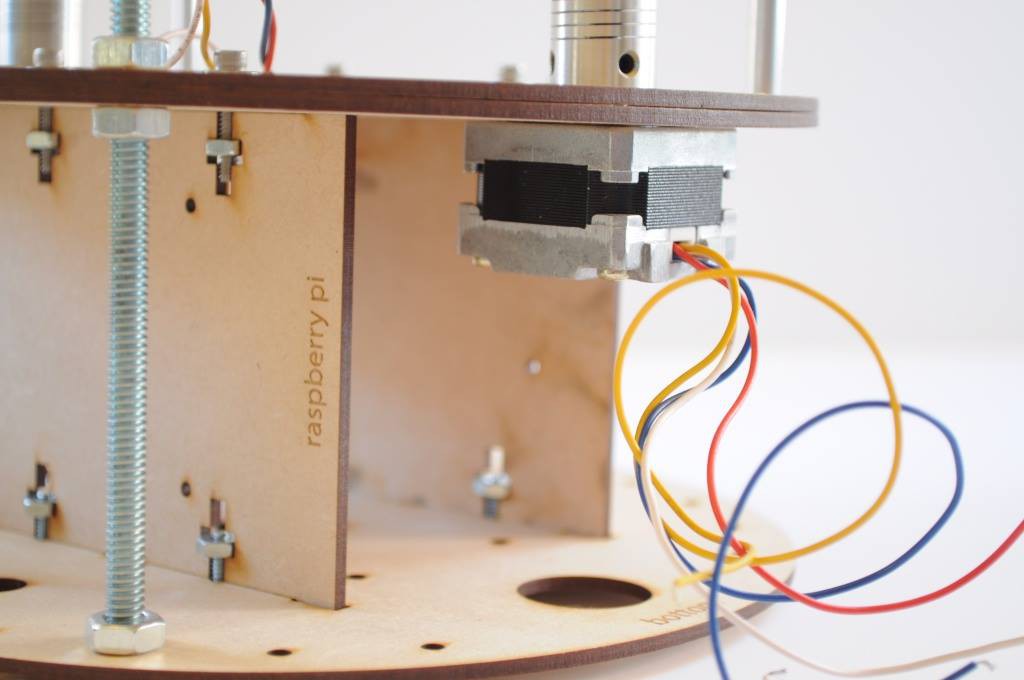
I like to try and include extra holes and mount patterns on the things that I design so that I can elegantly mount wires or other things as it develops without cutting a new part. Here I've included mount patterns for a Raspberry Pi and Arduino Uno on either side of the bottom of the base.
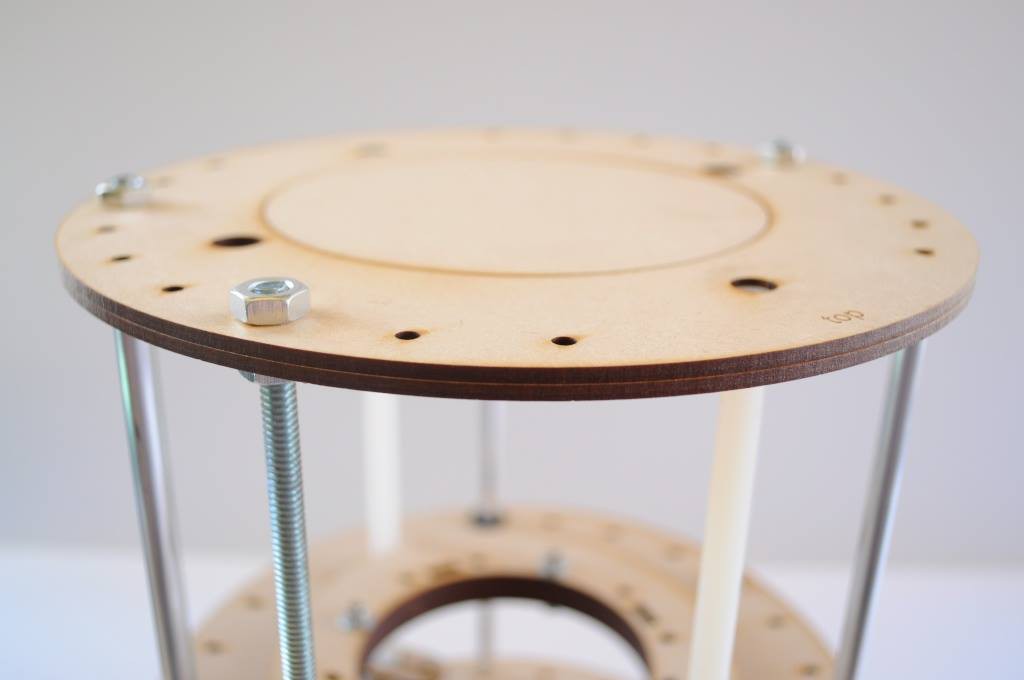
The lid on the top fits perfectly. Ideally under here there'll be a scanning magnetometer, and an extra stage.
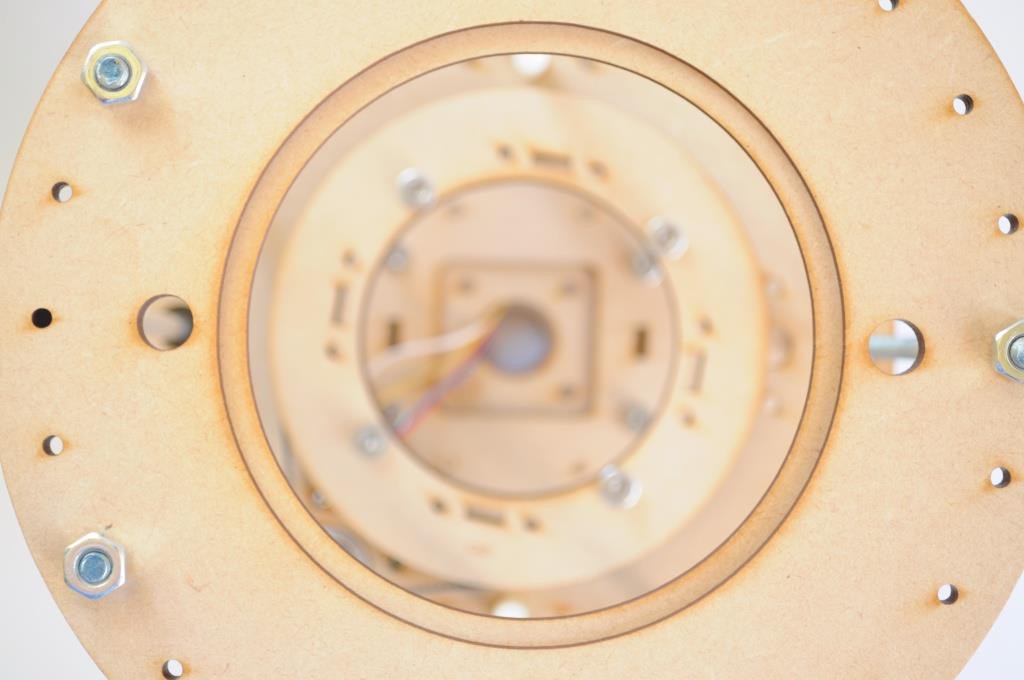
These next few pictures are looking top-down (without the lid). It was such a wonderful angle to photograph, I've included three pictures! I think these are some of my favorite photos that I've had the change to take recently.
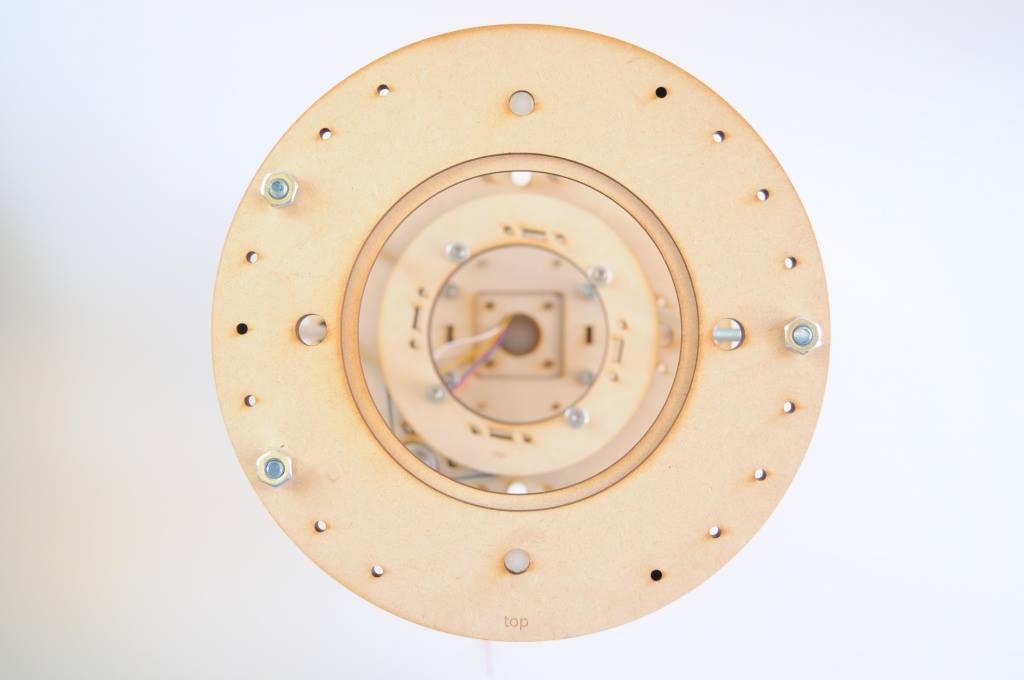

Now let's have a look at the radial (rho) stage, that physically translates the magnetometer from the center of the polar circle, outward along a radial line.

Radial (rho) stage (including the magnetometer)
The radial stage definitely looks unusual, but it's what my brain settled upon after thinking of many more complicated ideas. The idea here, again, is to keep all of the moving metal parts as far away from the magnetometer as possible, while still being able to transfer precise linear motion to the...
Read more »Let's have a look at a first pass at making a simulator for the coded field MRI.

Simulating an instrument is a helpful way to understand the design, how different elements interact, how the instrument behaves in the presence of noise, and identify any issues early on to help inform your design decisions. I have some experience with this from my first postdoc in designing an adaptive coded-aperture spectral imager, and so I've started putting together a simulator for the coded field MRI to help understand the design considerations, and what kind of performance one might expect with such a system with specific design decisions. The high-level and very powerful MATLAB numerical simulation suite is the standard tool for constructing these simulations, but in the spirit of open source I'll be using GNU Octave, an open-source effort at cloning much of MATLAB's functionality.
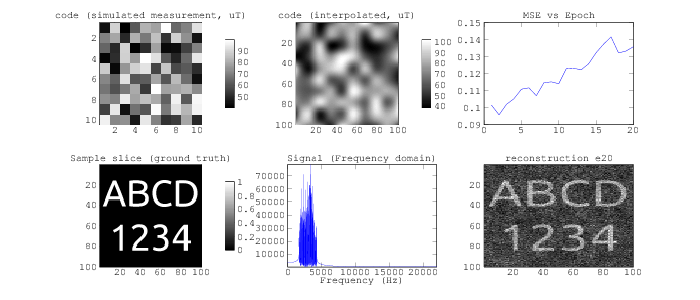
Some folks like to design all of the individual components of a system and then piece them all together at the end. I prefer to have a simple but modular system up and running end-to-end so that I can see how each new component affects the system, and get a better intuition of how things work. Here I've put together a very simple simulation that is idealized and doesn't yet incorporate many important physical phenomena, and so we'll progressively add them in over the course of the project as we get a better appreciation for them.
The basic questions that we might have at the beginning of this project are:
and many others. Here we'll begin to find answers to some of these.
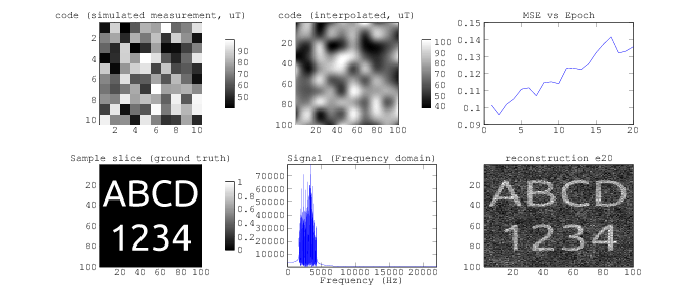
Let's orient to the simulator (above).
The simulator also includes a graph of the error in the reconstruction over time (top right), but I'm not sure that...
Read more »I happen to think that magnetic resonance imagers, or MRIs, are one of the most incredible machines that humans have built -- right along side spacecraft and large hadron colliders. MRIs are volumetric imagers, which means that they can scan inside objects and produce very accurate three dimensional renderings of where certain protons are, like the protons in the two hydrogen atoms that make up each water molecule.
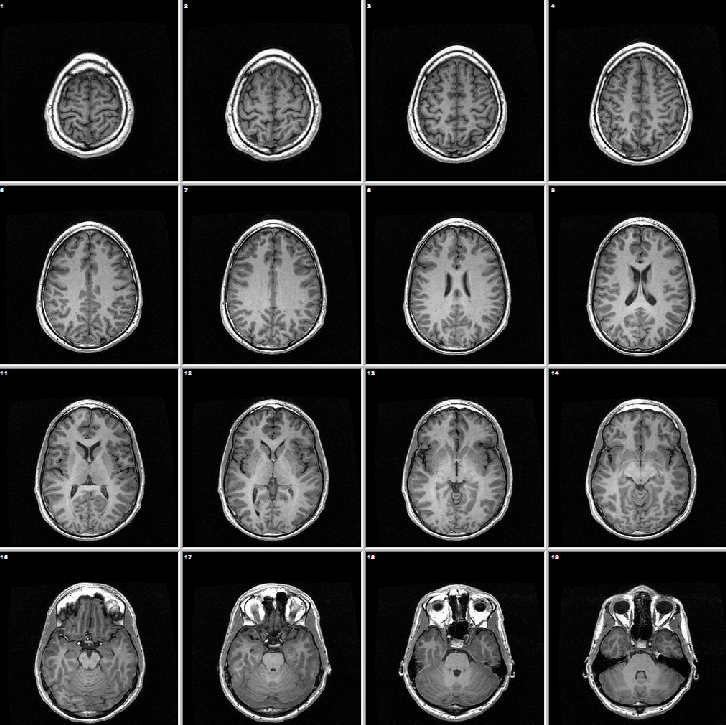
I confess that I didn't have a full appreciation for just how incredible MRIs are before taking an Advanced Brain Imaging class in graduate school, about six or seven years ago. Before hand I was largely only familiar with the common structural images that MRIs take, like the ones of my brain (above) often for diagnostic medical imaging like locating tumors or characterizing trauma. In cognitive neuroscience, we also made use of functional magnetic resonance imaging (fMRI), which is able to help identify the brain regions that are active when someone is completing particular tasks by measuring areas where there is increased blood oxygenation (the so-called BOLD signal). But it turns out that MRIs are capable of many more incredible methods of imaging. Magnetic Resonance Angiography can map the blood vessels in the body, Diffusion Tensor Imaging (DTI) can help image the neural connections in the brain, Magnetic Resonance Spectral Imaging can measure metabolic changes in tissue, to name only a few of the incredible techniques available. Even with all these incredible techniques, the structural images are still beautiful, and I really enjoy seeing structural scans of everyday objects, like these scans of fruits.
Magnetic Resonance Imaging (MRI) and Computed Tomography (CT)
Ever since taking that Advanced Brain Imaging class I've been thinking about how one might go about constructing their own MRI. It's not an easy task (we'll see why in a moment), but first let's look at a related imaging technique -- computed tomography (or CT) scanning. CT scanners are essentially x-ray scanners that are rotated 360 degrees around an object, and using reconstruction techniques like filtered backprojection, one can back out 3D information from a large number of 2D absorption images taken at a large number of different angles around an object.
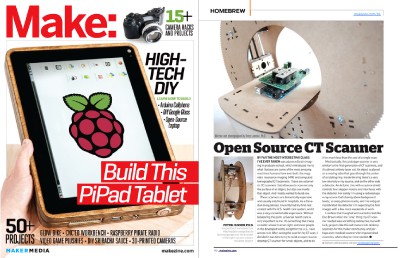 A little over a year ago I built a prototype desktop CT scanner, using a 10uCi Barium-133 radioisotope check source as a source for x-rays, and a modified extra sensitive Radiation Watch Type 5 high-energy particle detector to sense these low-energy x-rays. The first images of produce were really exciting for a first pass at a home built scanner, like the bell pepper below:
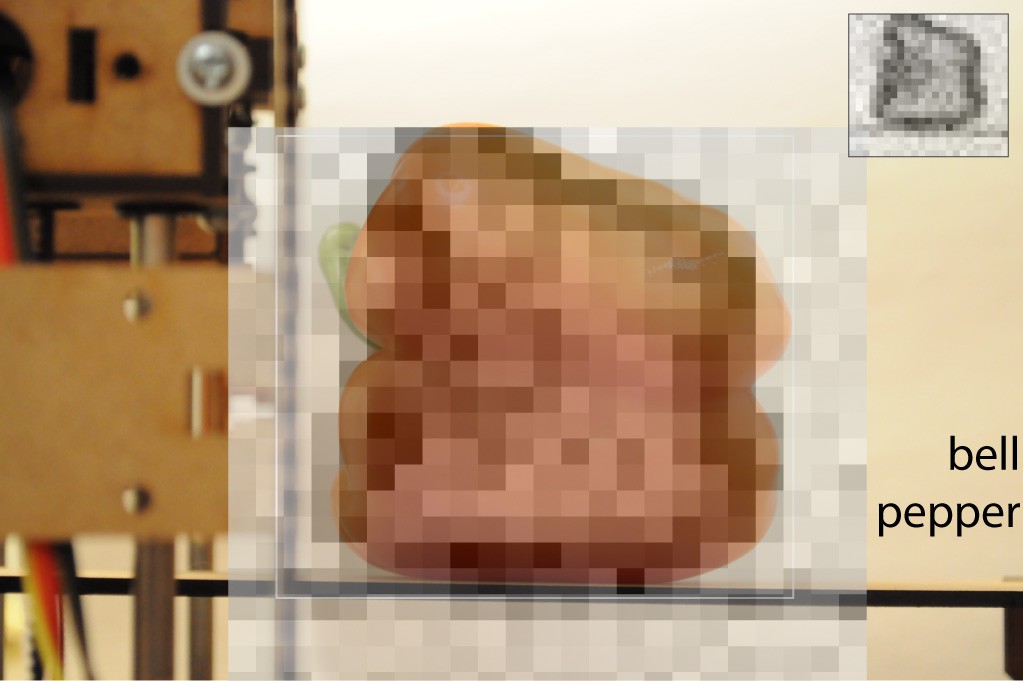
Unfortunately, these images took a good deal of time to acquire, because of the low intensity of the source. At about 90 seconds of sample time per pixel, a ~20x20 image took all night (about 10 hours) to acquire, so doing this at 1 degree increments would mean it would take an impractically long amount of time -- about 2 months -- to collect enough data for a 3D reconstruction. This is using the most intense radioisotope source that's legally allowed to be purchased, with a detector paired to be particularly sensitive to it's emissions. To speed this up you could add parallel detectors for a linear gain (ie. 10 detectors would reduce the scan time by a factor of 10, to 1 hour per slice), or increase the intensity of the source by using an x-ray tube. As a scientist it's important to be incredibly responsible, and one's health is just to precious to place in genuine danger with such things (not to mention the legal issues that undoubtedly exist). That leaves few options for CT scanning -- either find another wavelength, or decrease the source-detector distance, and construct a bank of tens of detectors to reduce the scan time to something on the order of a day. I'd thought about doing exactly this (the prototype is sitting beside me!), but really I'm at the mercy of inspiration, and what really inspires my volumetric imaging interests...
Read more »
Create an account to leave a comment. Already have an account? Log In.
Hi Sebastian, this one is on the back burner for a bit -- the summer was unexpectedly busy, and David (my radio astronomer teammate) has had to be atop various mountains and has a longer than normal trip to Antarctica this year. In the mean time I've working on the OpenCT2. If you're interested in a particular aspect of this project, please feel free to get in touch, and I can send the source.
I see. Interestingly I have also taken an interest in your OpenCT2 project. Check out my Github comment regarding the sensor board.
Thanks for pointing this out -- my notifications must have been disabled, and I didn't see your github message from a few days ago!
Once again, I posted a long comment explaining your project, so you might want to check it out and correct any errors.
Congrats on getting on the front page a 2nd time!
http://hackaday.com/2015/05/29/hackaday-prize-entry-a-better-diy-ct-scanner/#comment-2586138
mu-metal is your friend when trying to eliminate stray magnetic fields. not very friendly to the bank account though, not even on ebay.
I just posted a long explanation of your project on the main HAD blog site. It's at the bottom.
Um... you might want to check it out and correct me if I've made any mistakes.
http://hackaday.com/2015/05/04/hackaday-prize-entry-a-low-cost-open-source-mri/#comment-2553516
Coded aperture processing for MRI imaging - what a great idea! +1 skull to you, good sir!
Thank you! You did a great job with the summary, and I just replied to add a little more to the story.
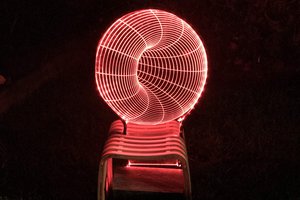
Would you be able to crop your main project image so the circle is centered? It's breaking my OCD :P
Become a member to follow this project and never miss any updates
By using our website and services, you expressly agree to the placement of our performance, functionality, and advertising cookies. Learn More

 Davide Ruzza
 Ted Yapo
 peter jansen
 jean
jean
Any plans to upload the project to Github?