Alessia Ianni-Palarchio
-
Sprucing It Up
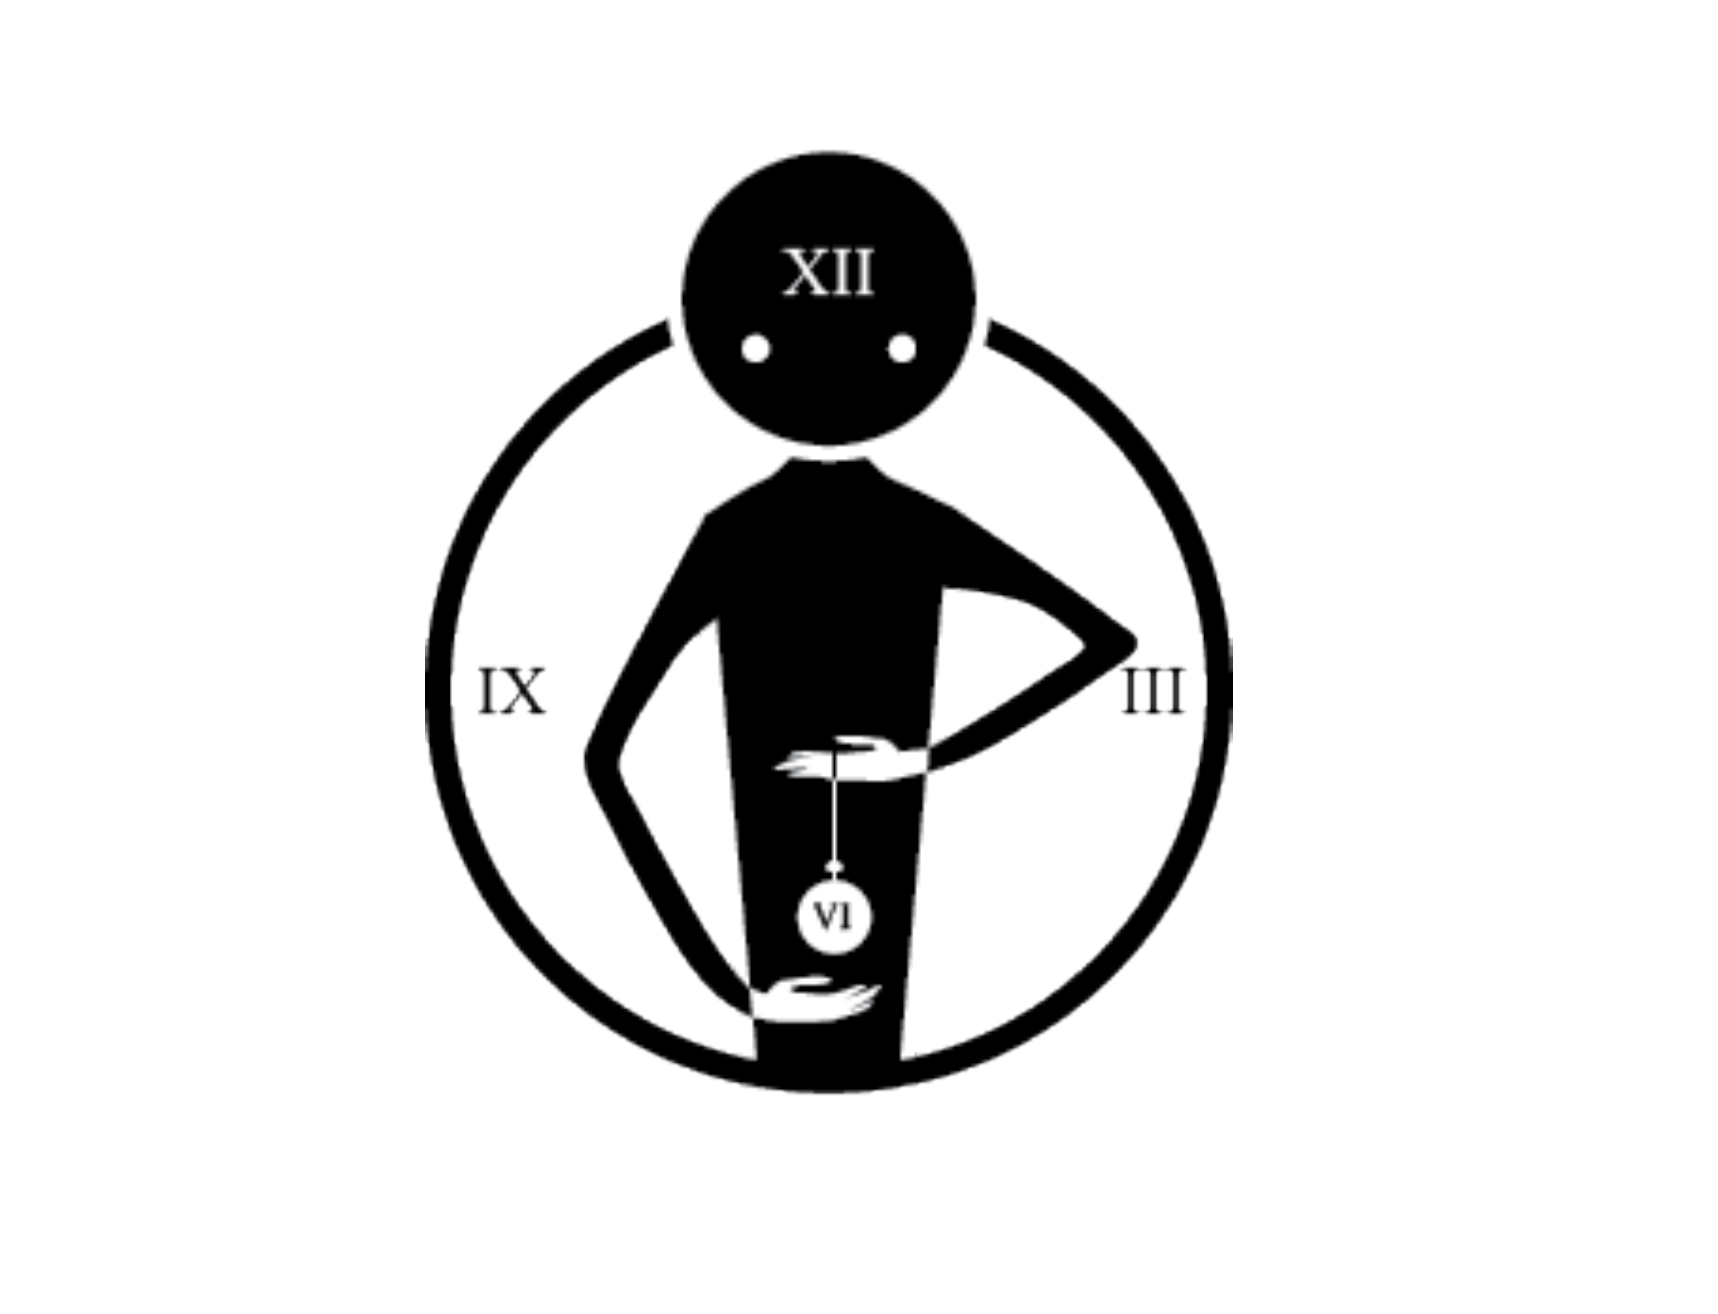
02/16/2018 at 02:26 • 0 commentsI wanted my handle to look just as good as it was functional. Since this is meant to go on a drawer full of shirts, I had the perfect design in mind to use.
![]()
I've done some screen printing in the past - and this was a design I used on one of my shirts! Naturally, it felt very fitting to include on the drawer meant for shirts now that I had the chance.
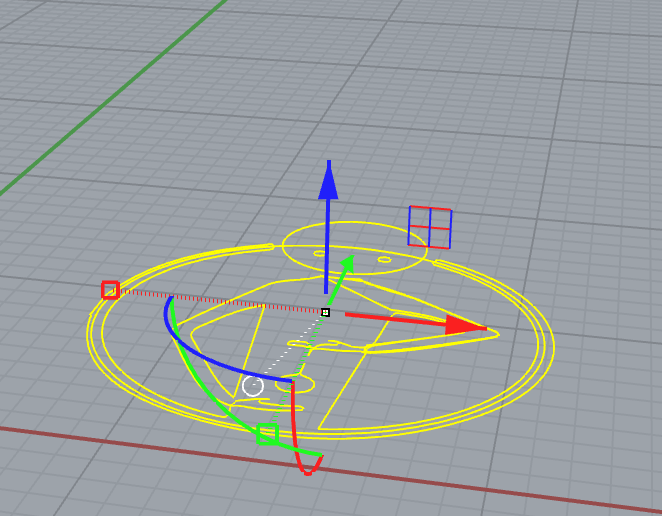
Taking the PNG, I made an outline vector that would be compatible with Rhino.![]()
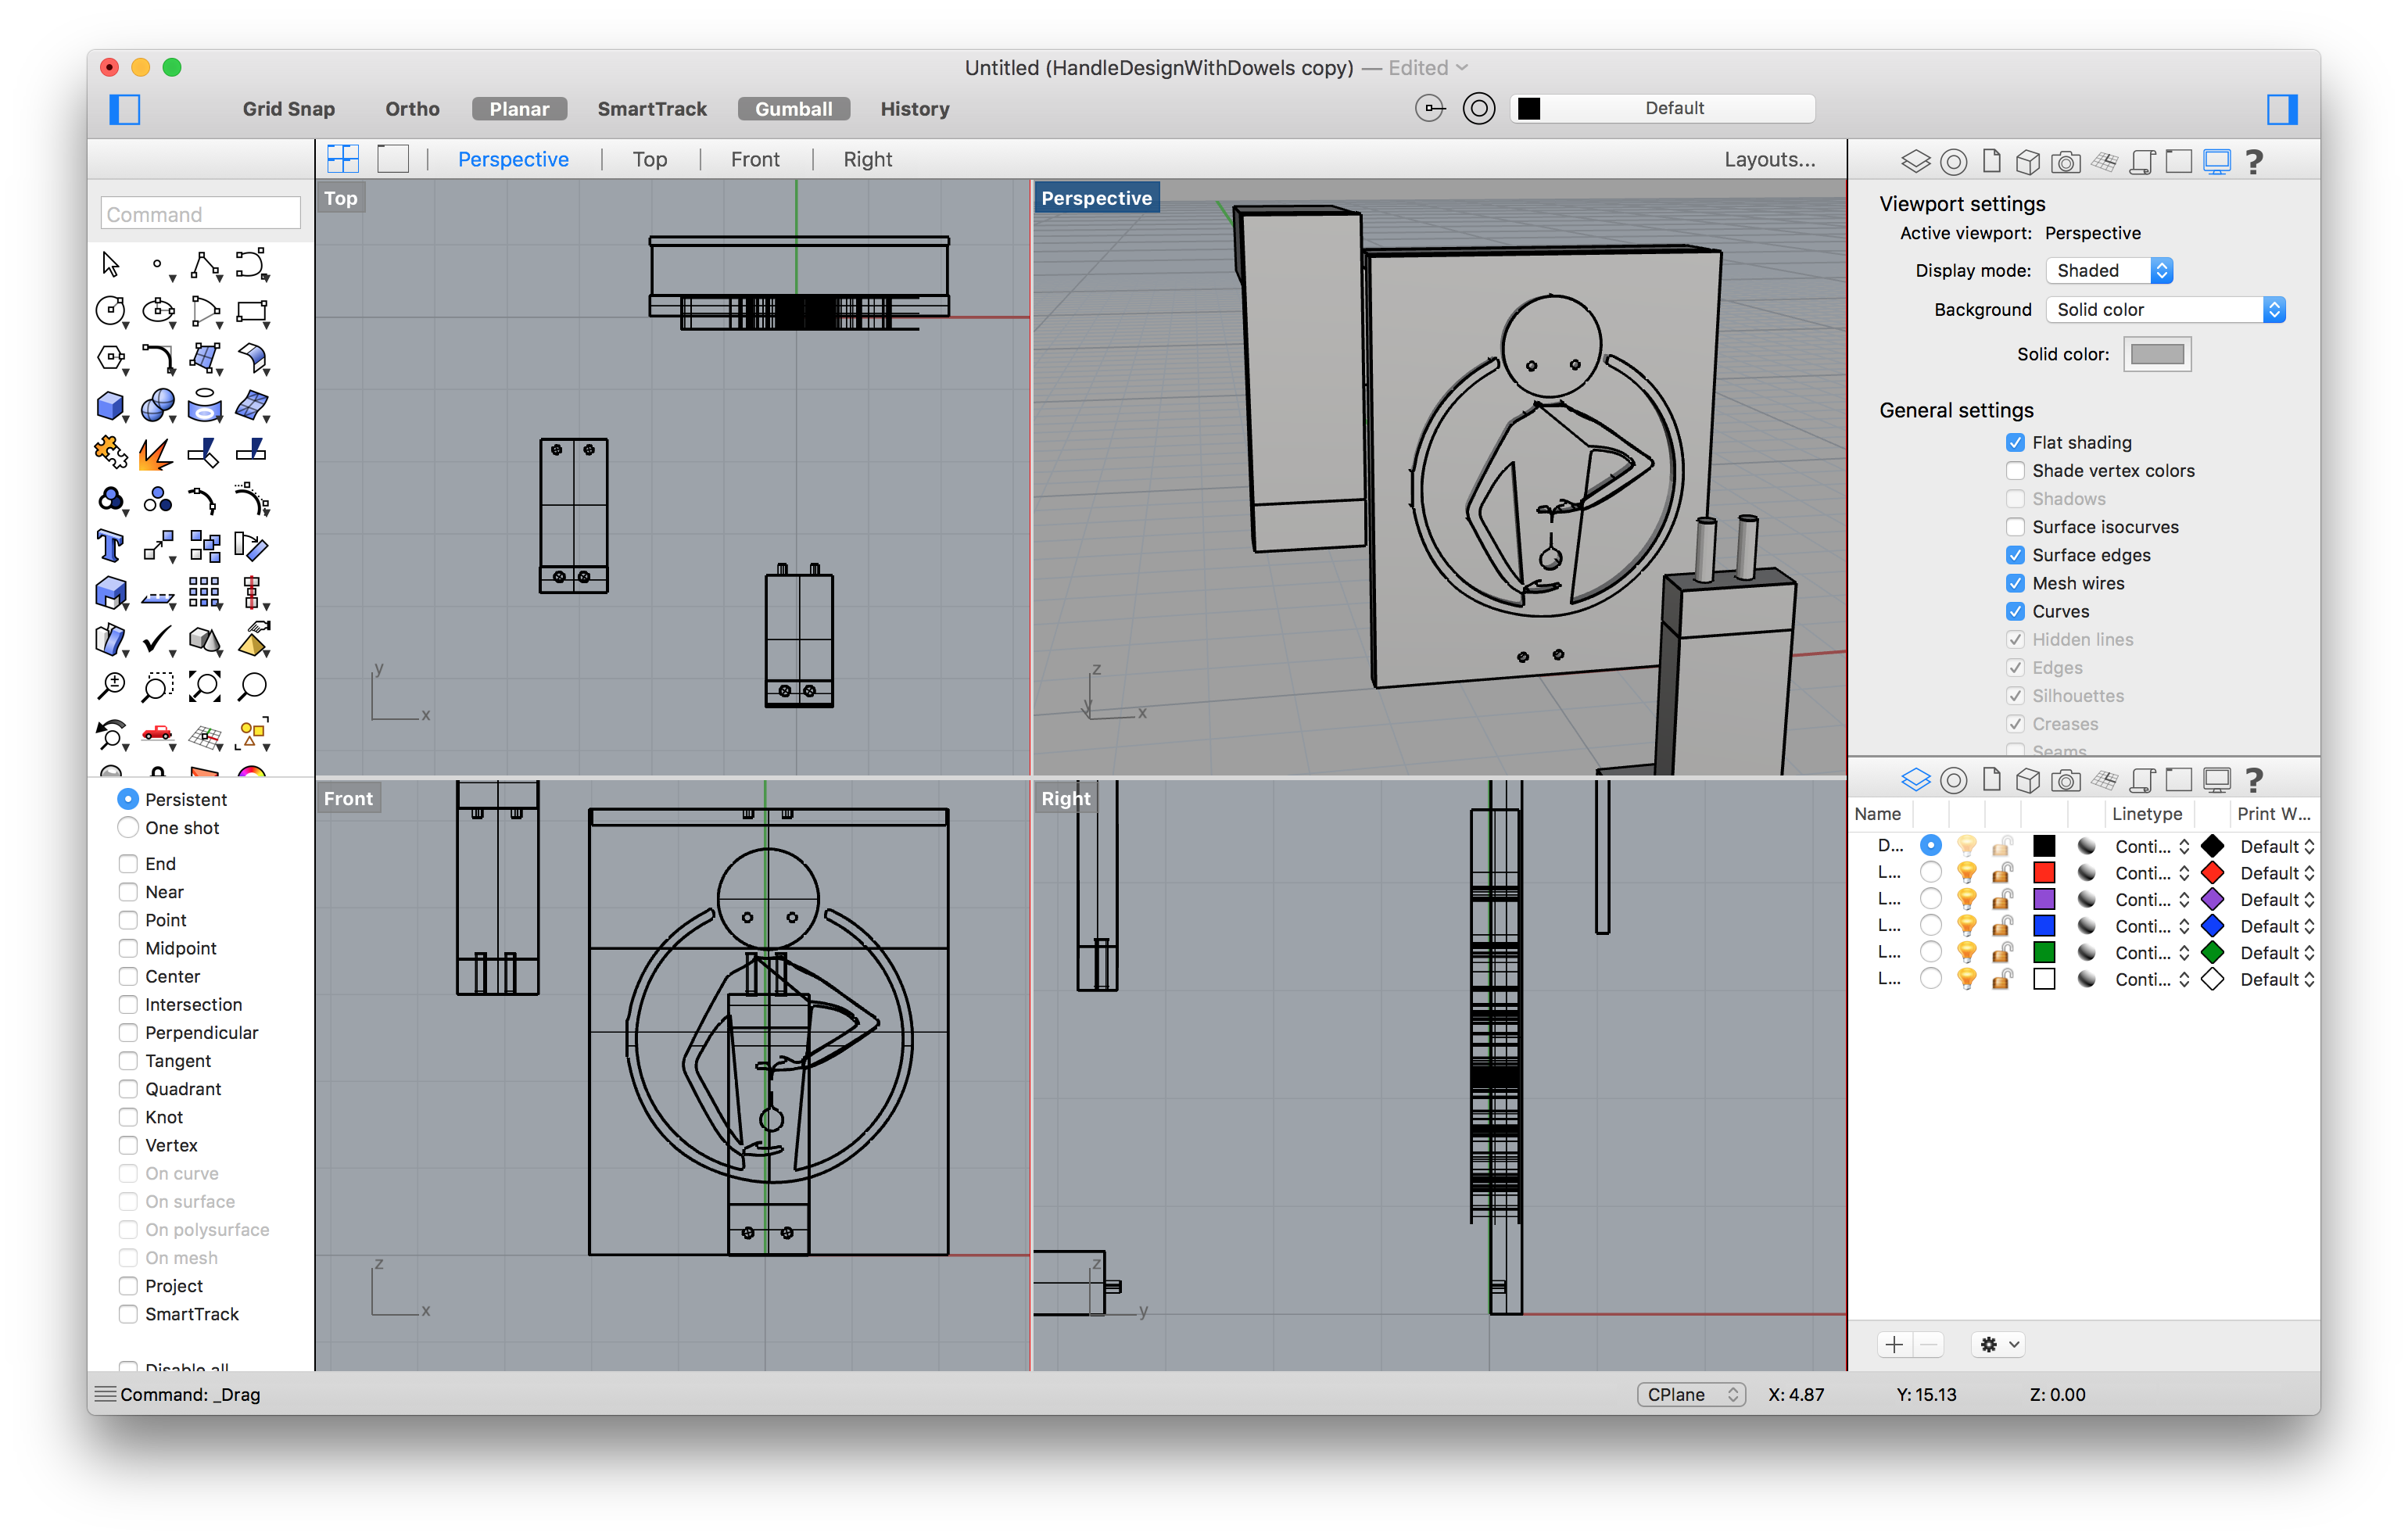
When it imports, it imports just as curves and not solid faces. From here it had to be extruded, and edited from its original form to become a proper, printable 3D model.
![]()
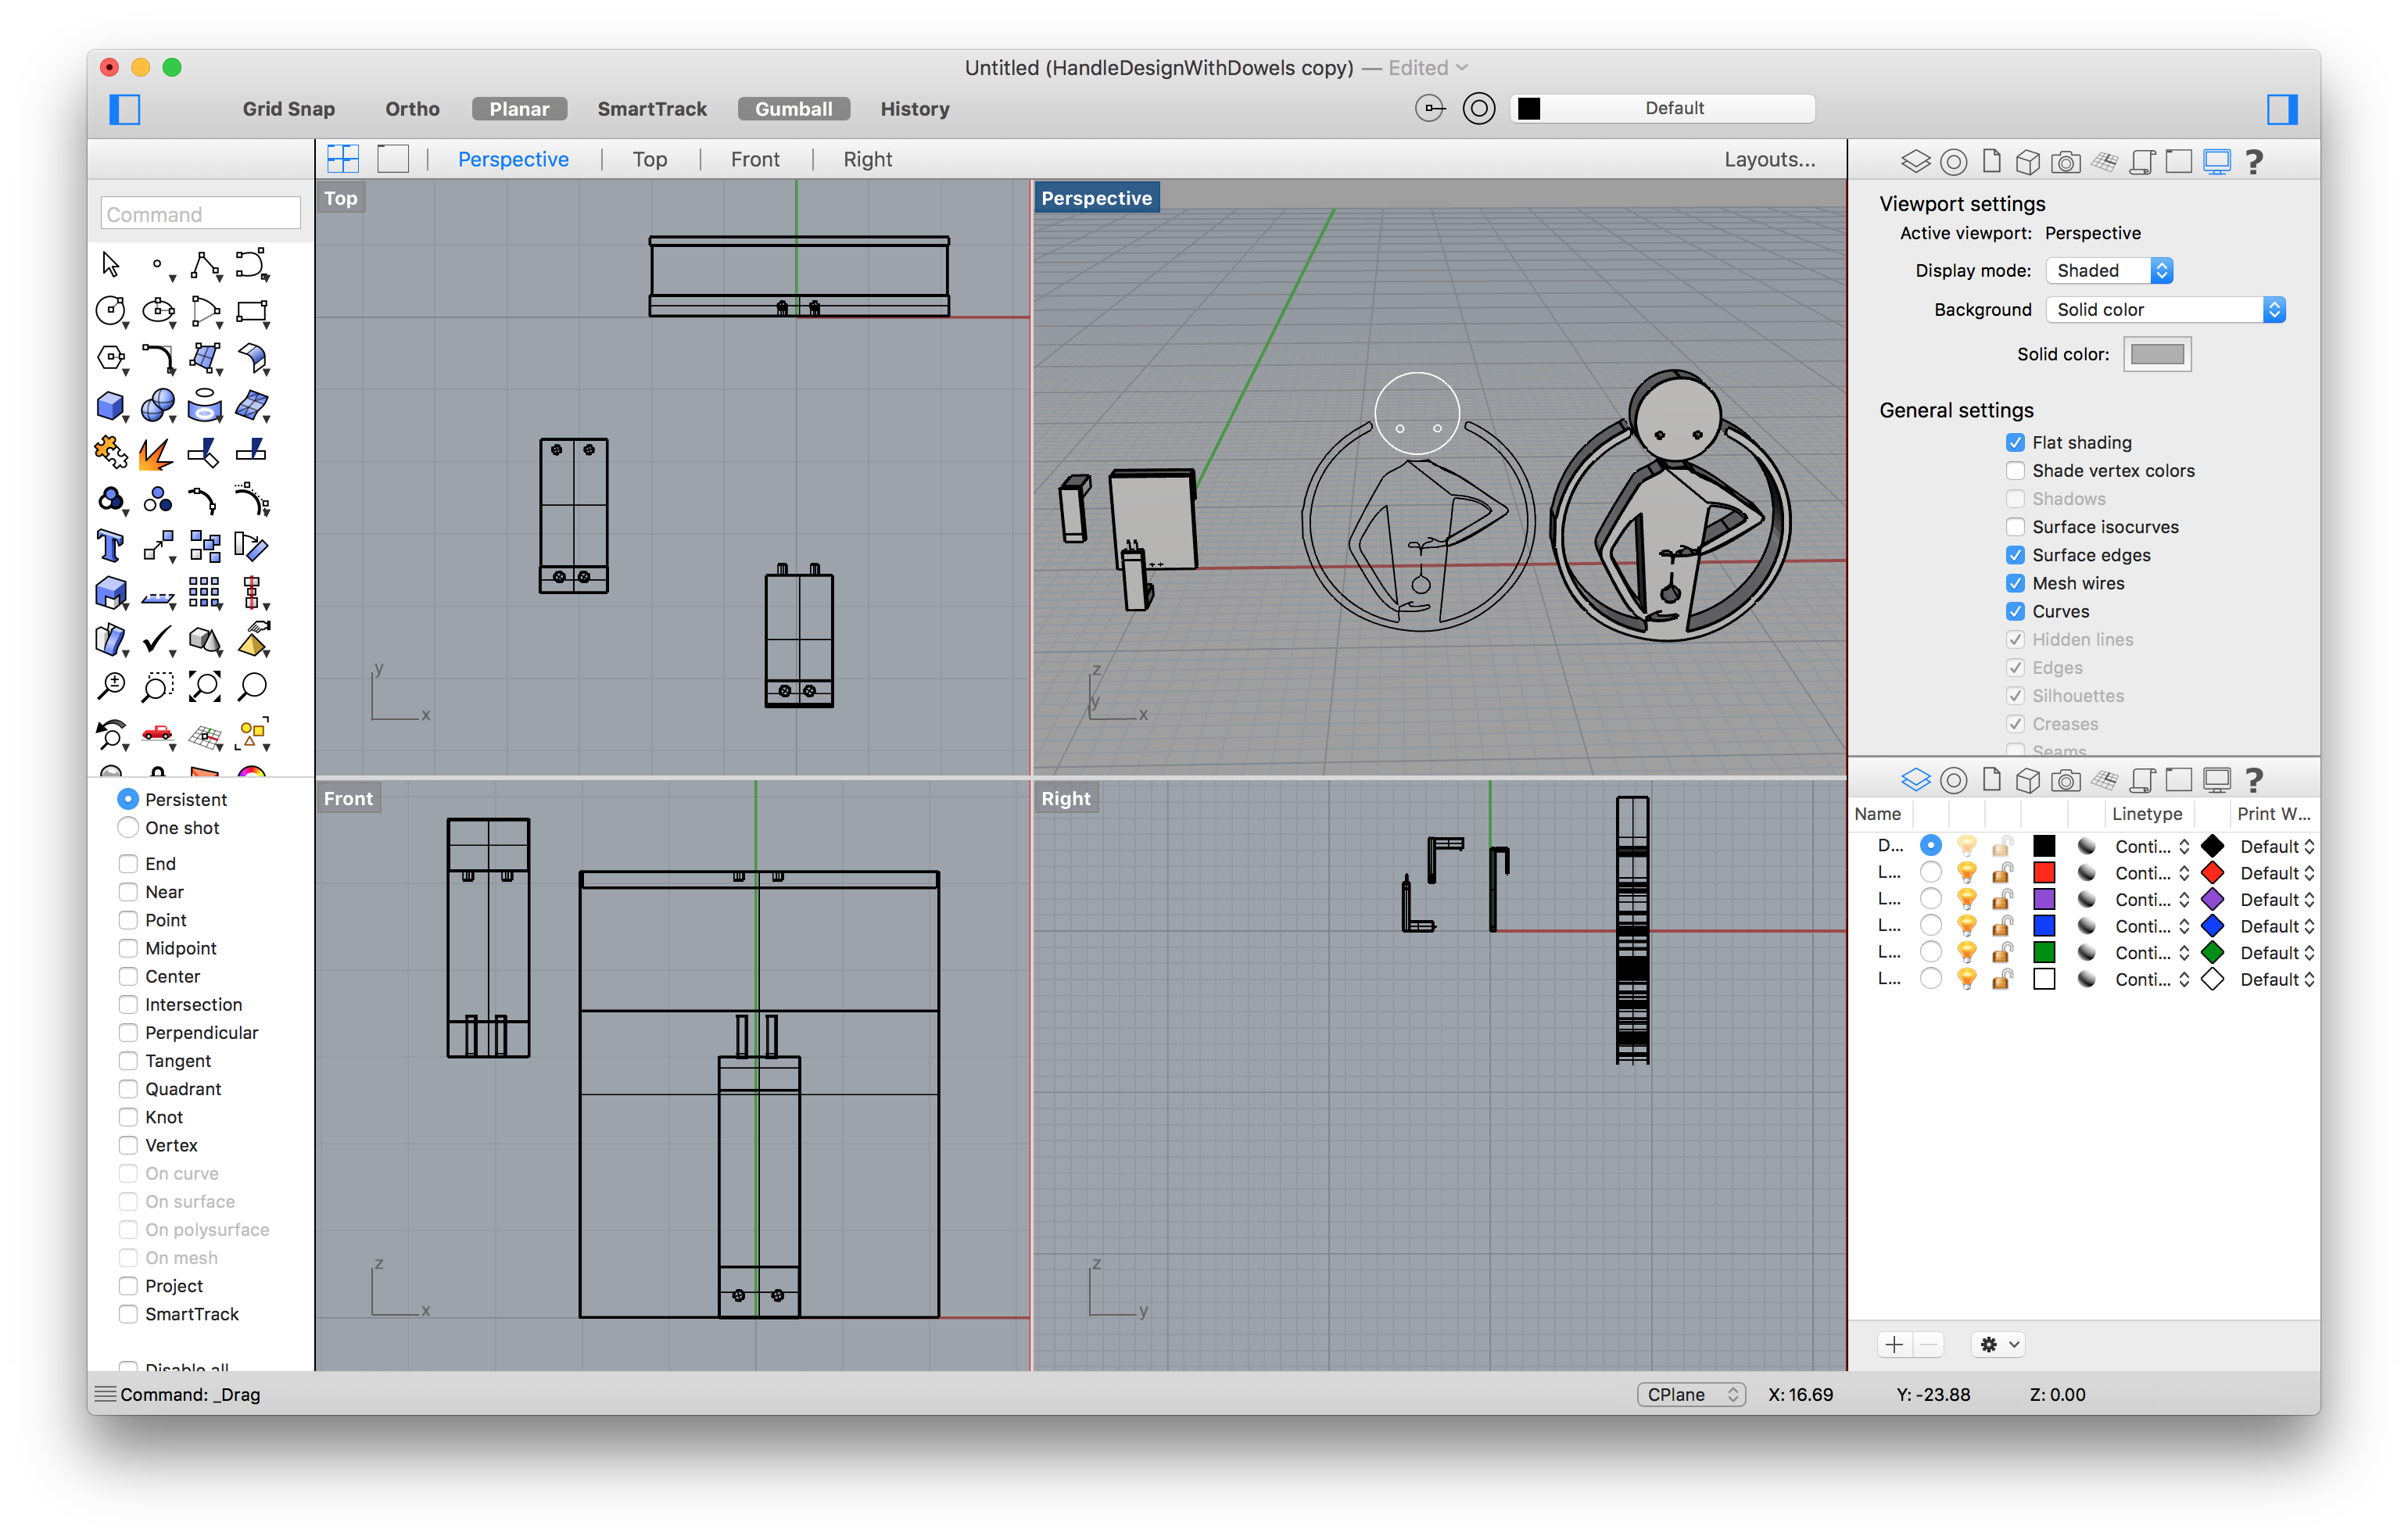
Then I made sure to join it with the base of the handle, double checking that there would still be enough room between the handle itself and the mount for the dresser.
![]()
![]()
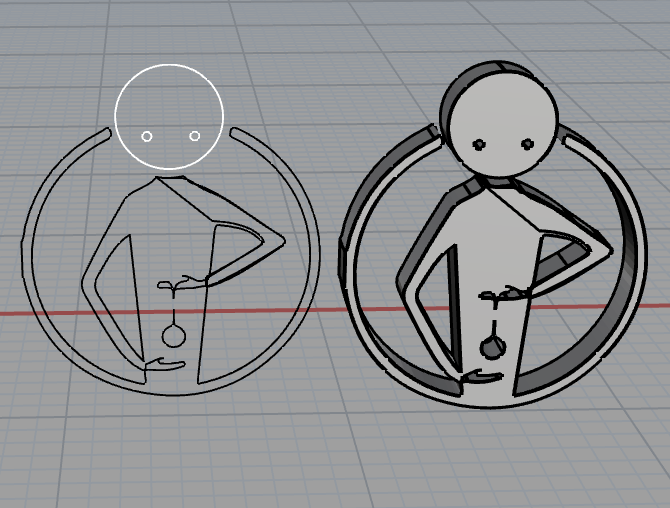
It was now that I realized I wanted to better visualize the final output. Grey's not a fun colour to work with. First, however, I ensured that there were no non-manifold edges (there weren't any). In the process I did discover a few naked edges that had to be fixed before I exported as an OBJ and an STL file.
After these fixes, I brought the model into Blender to get a real idea of how I wanted the final to print. Since it's in multiple pieces, I could print them in multiple colours. I ended up going with green (a favourite colour of mine) and purple (which goes oh so wonderfully with the green!)
![]()
-
3D Models - Working in Rhino
02/15/2018 at 22:25 • 0 comments![]()
![]()
My program of choice for doing the technical work is Rhino, since I know the program well, find the interface to be more intuitive than Blender and can locate bad meshes much easier should a problem arise. My first two drafts were not to scale, and were to do quick mockups of each handle type. Ultimately to use gravity to my advantage and to minimize the need for screws or additional adhesives, I decided to go with the top hook handle.
![]()
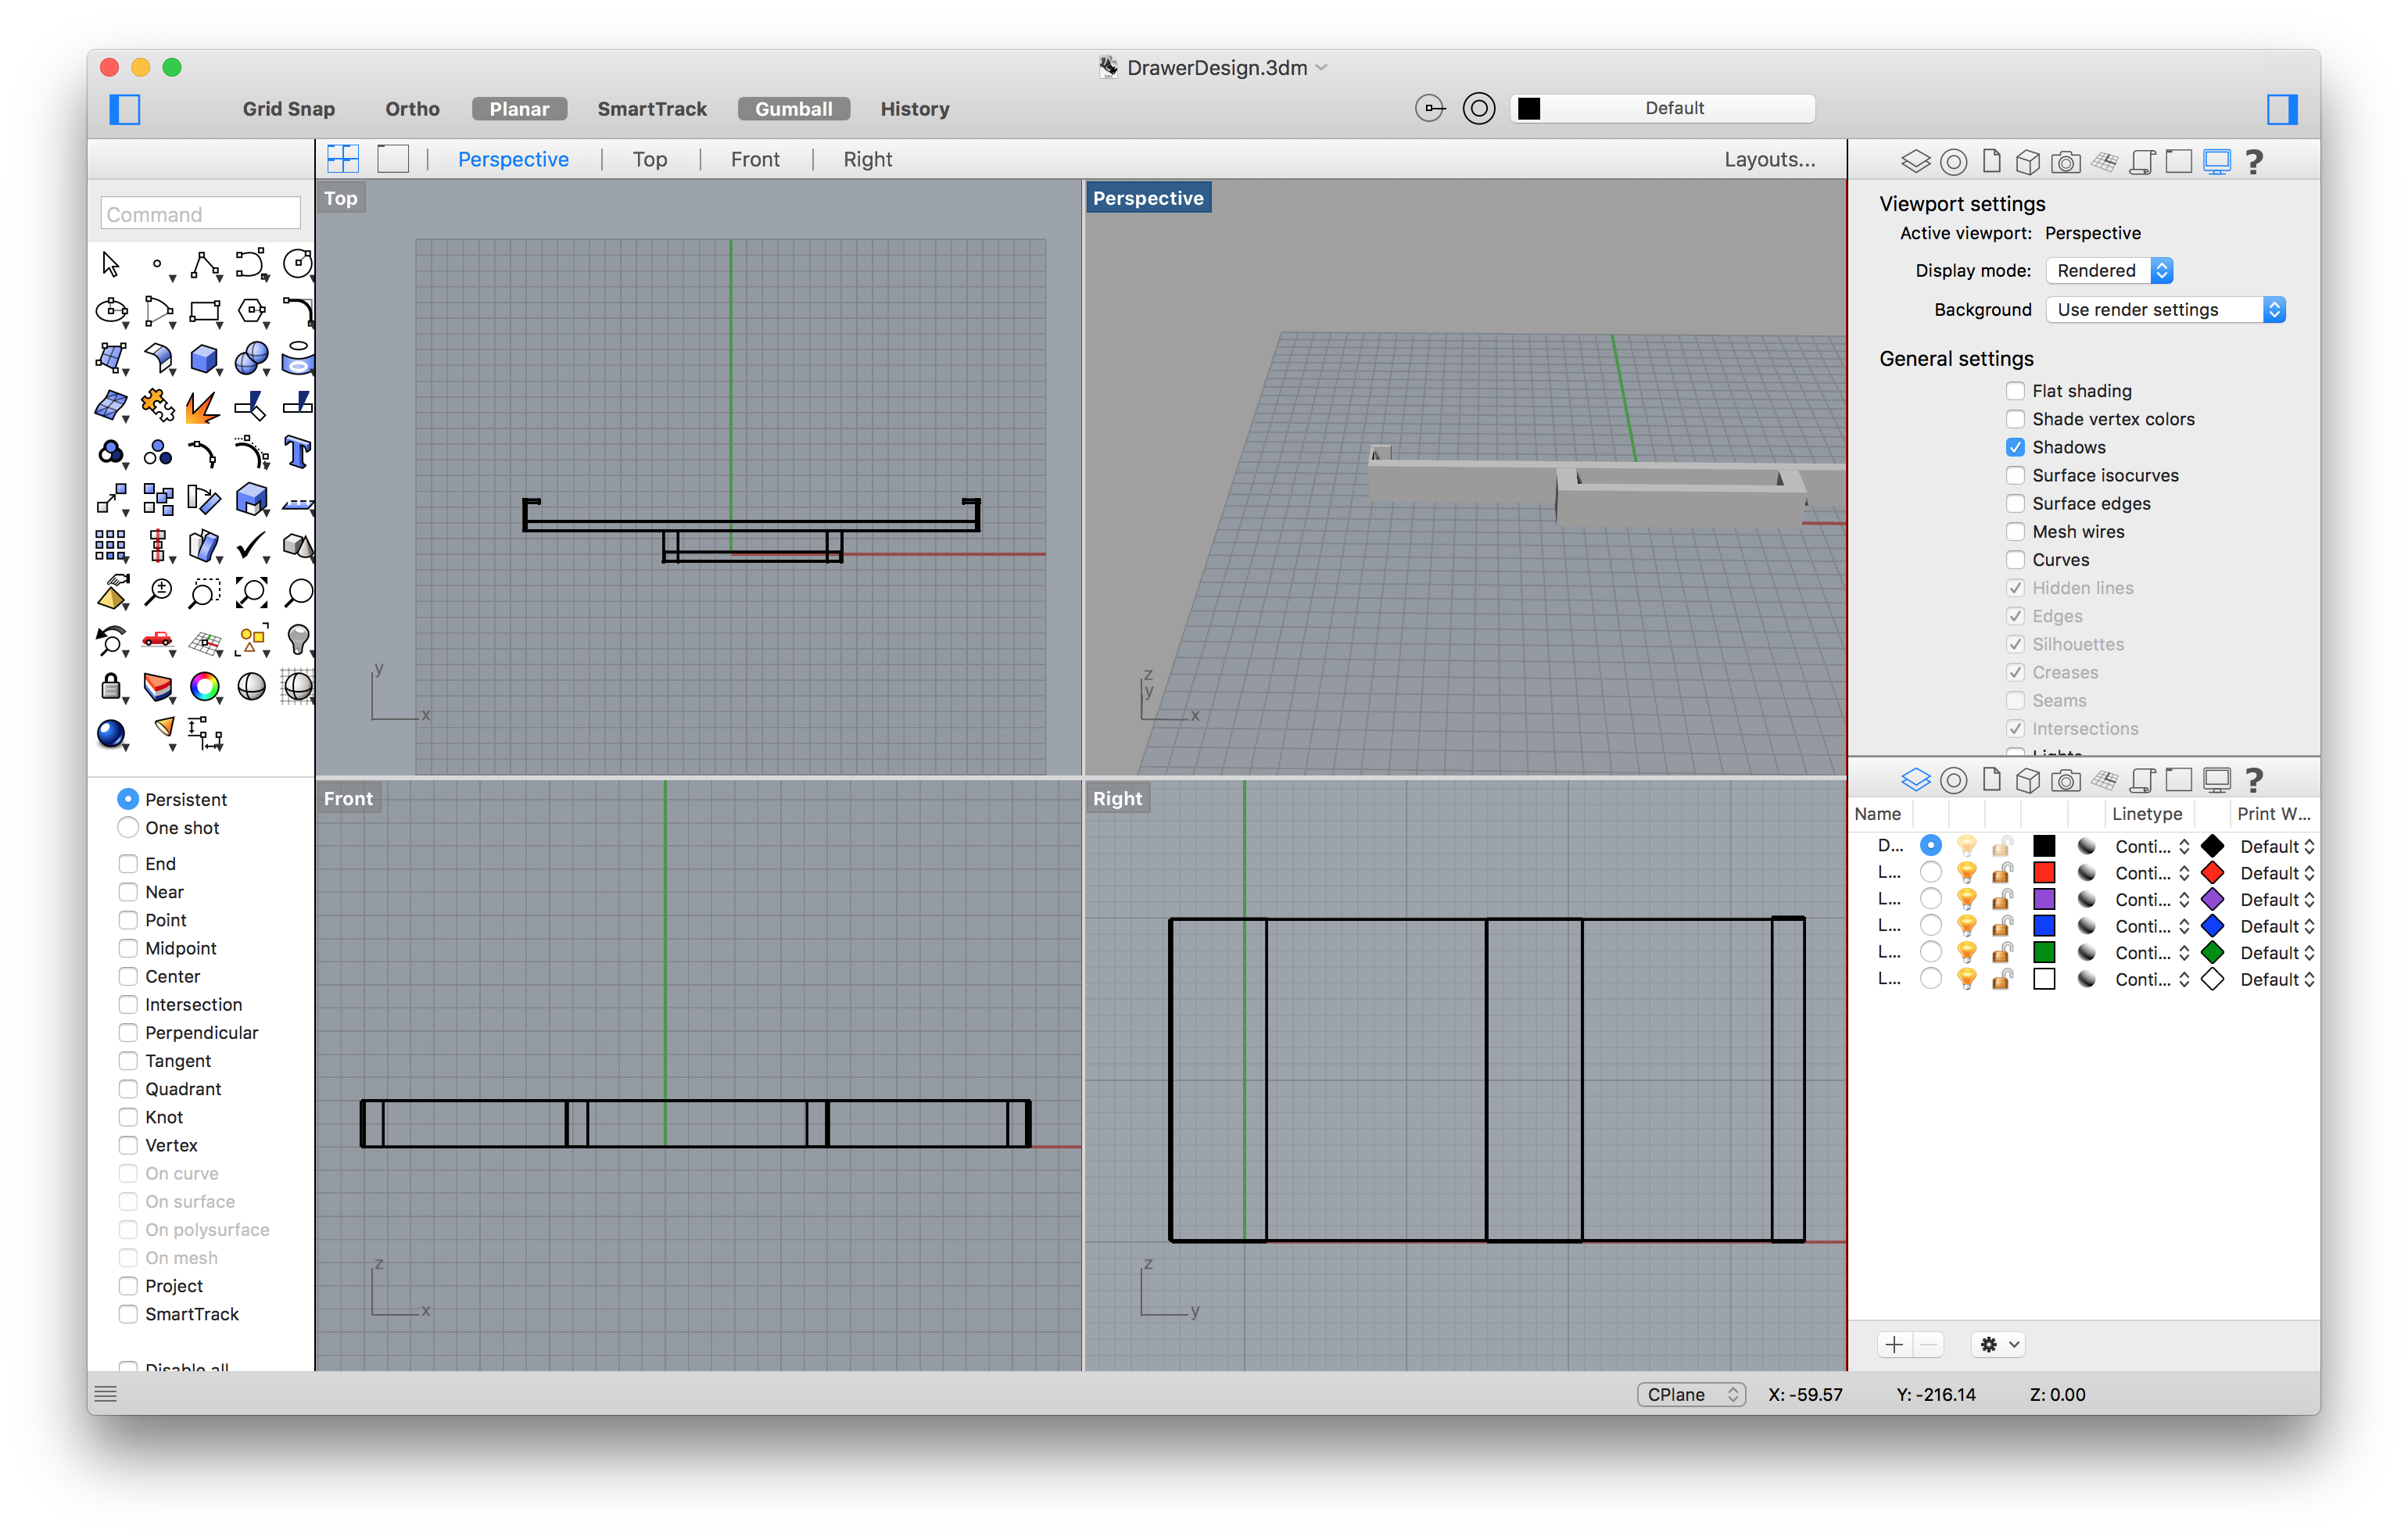
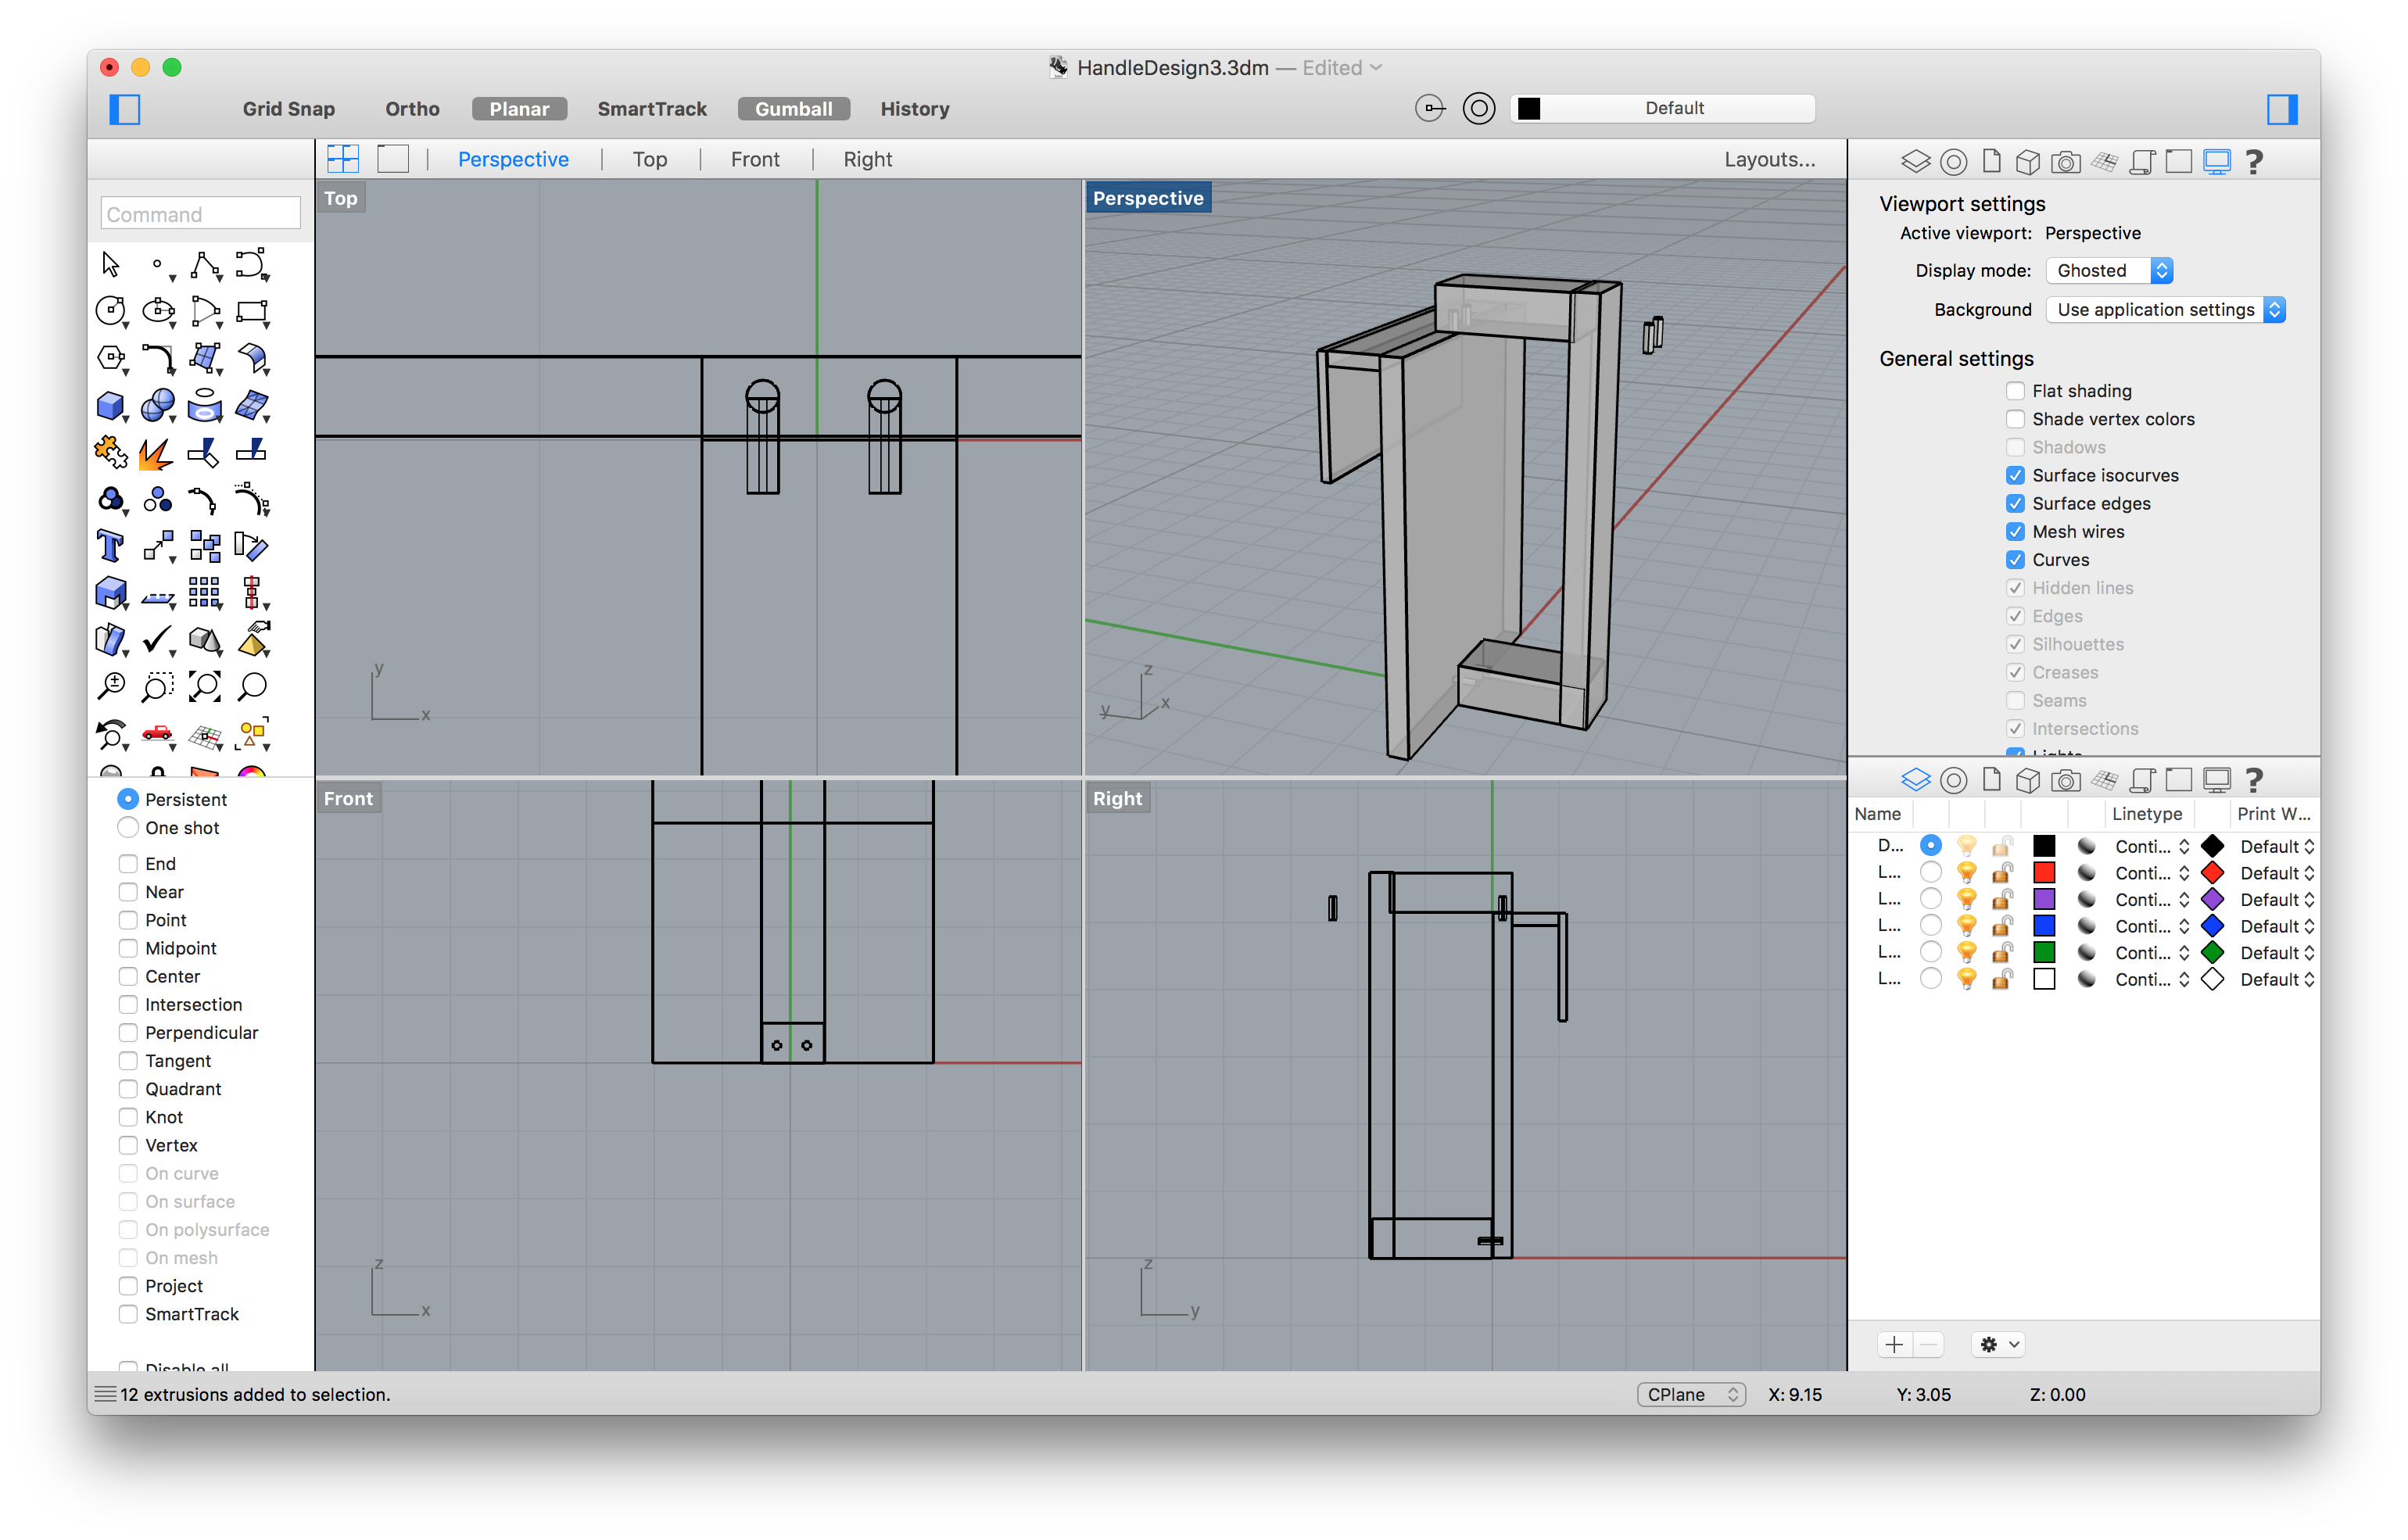
From here I started building a to-scale version, based on the drawer measurements I'd taken earlier. The first version used basic shapes to get the dimensions to be correct, and figure out the layout everything should have.
When I took a second look at this, I realized printing it all in one go might not be the ideal option (either if a piece breaks, and to ensure it would fit on a printing bed and use less support material).
![]()
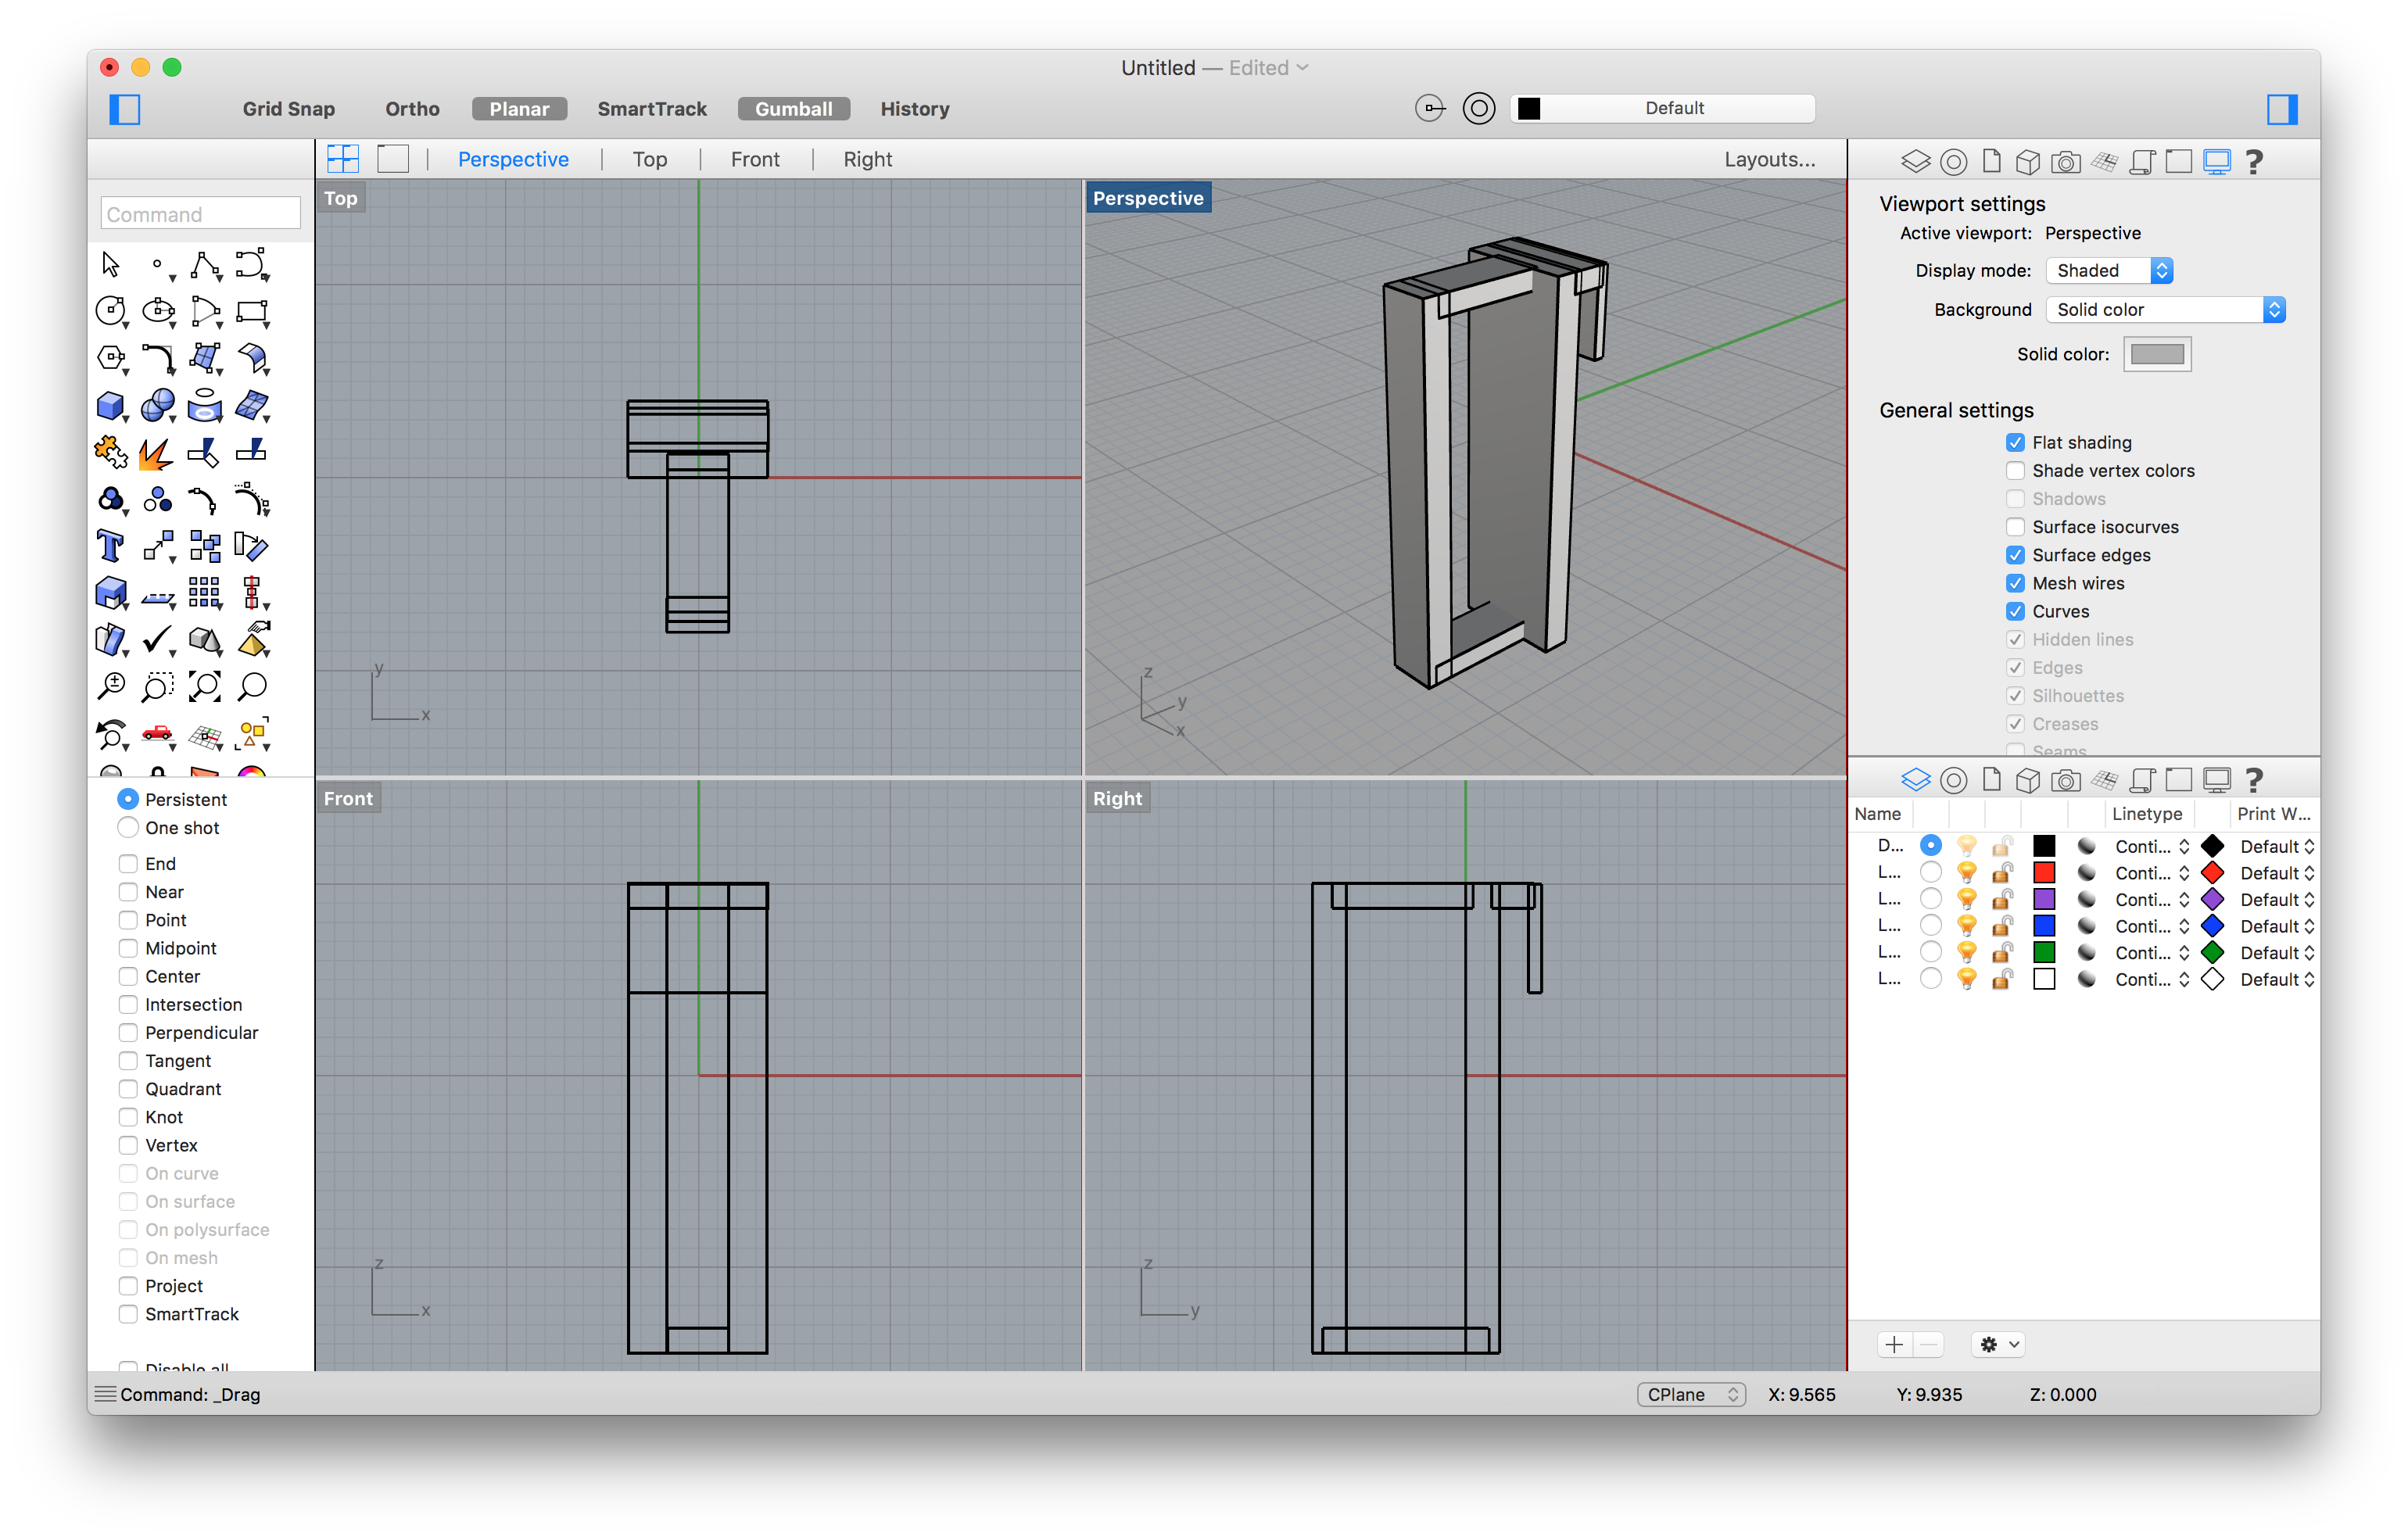
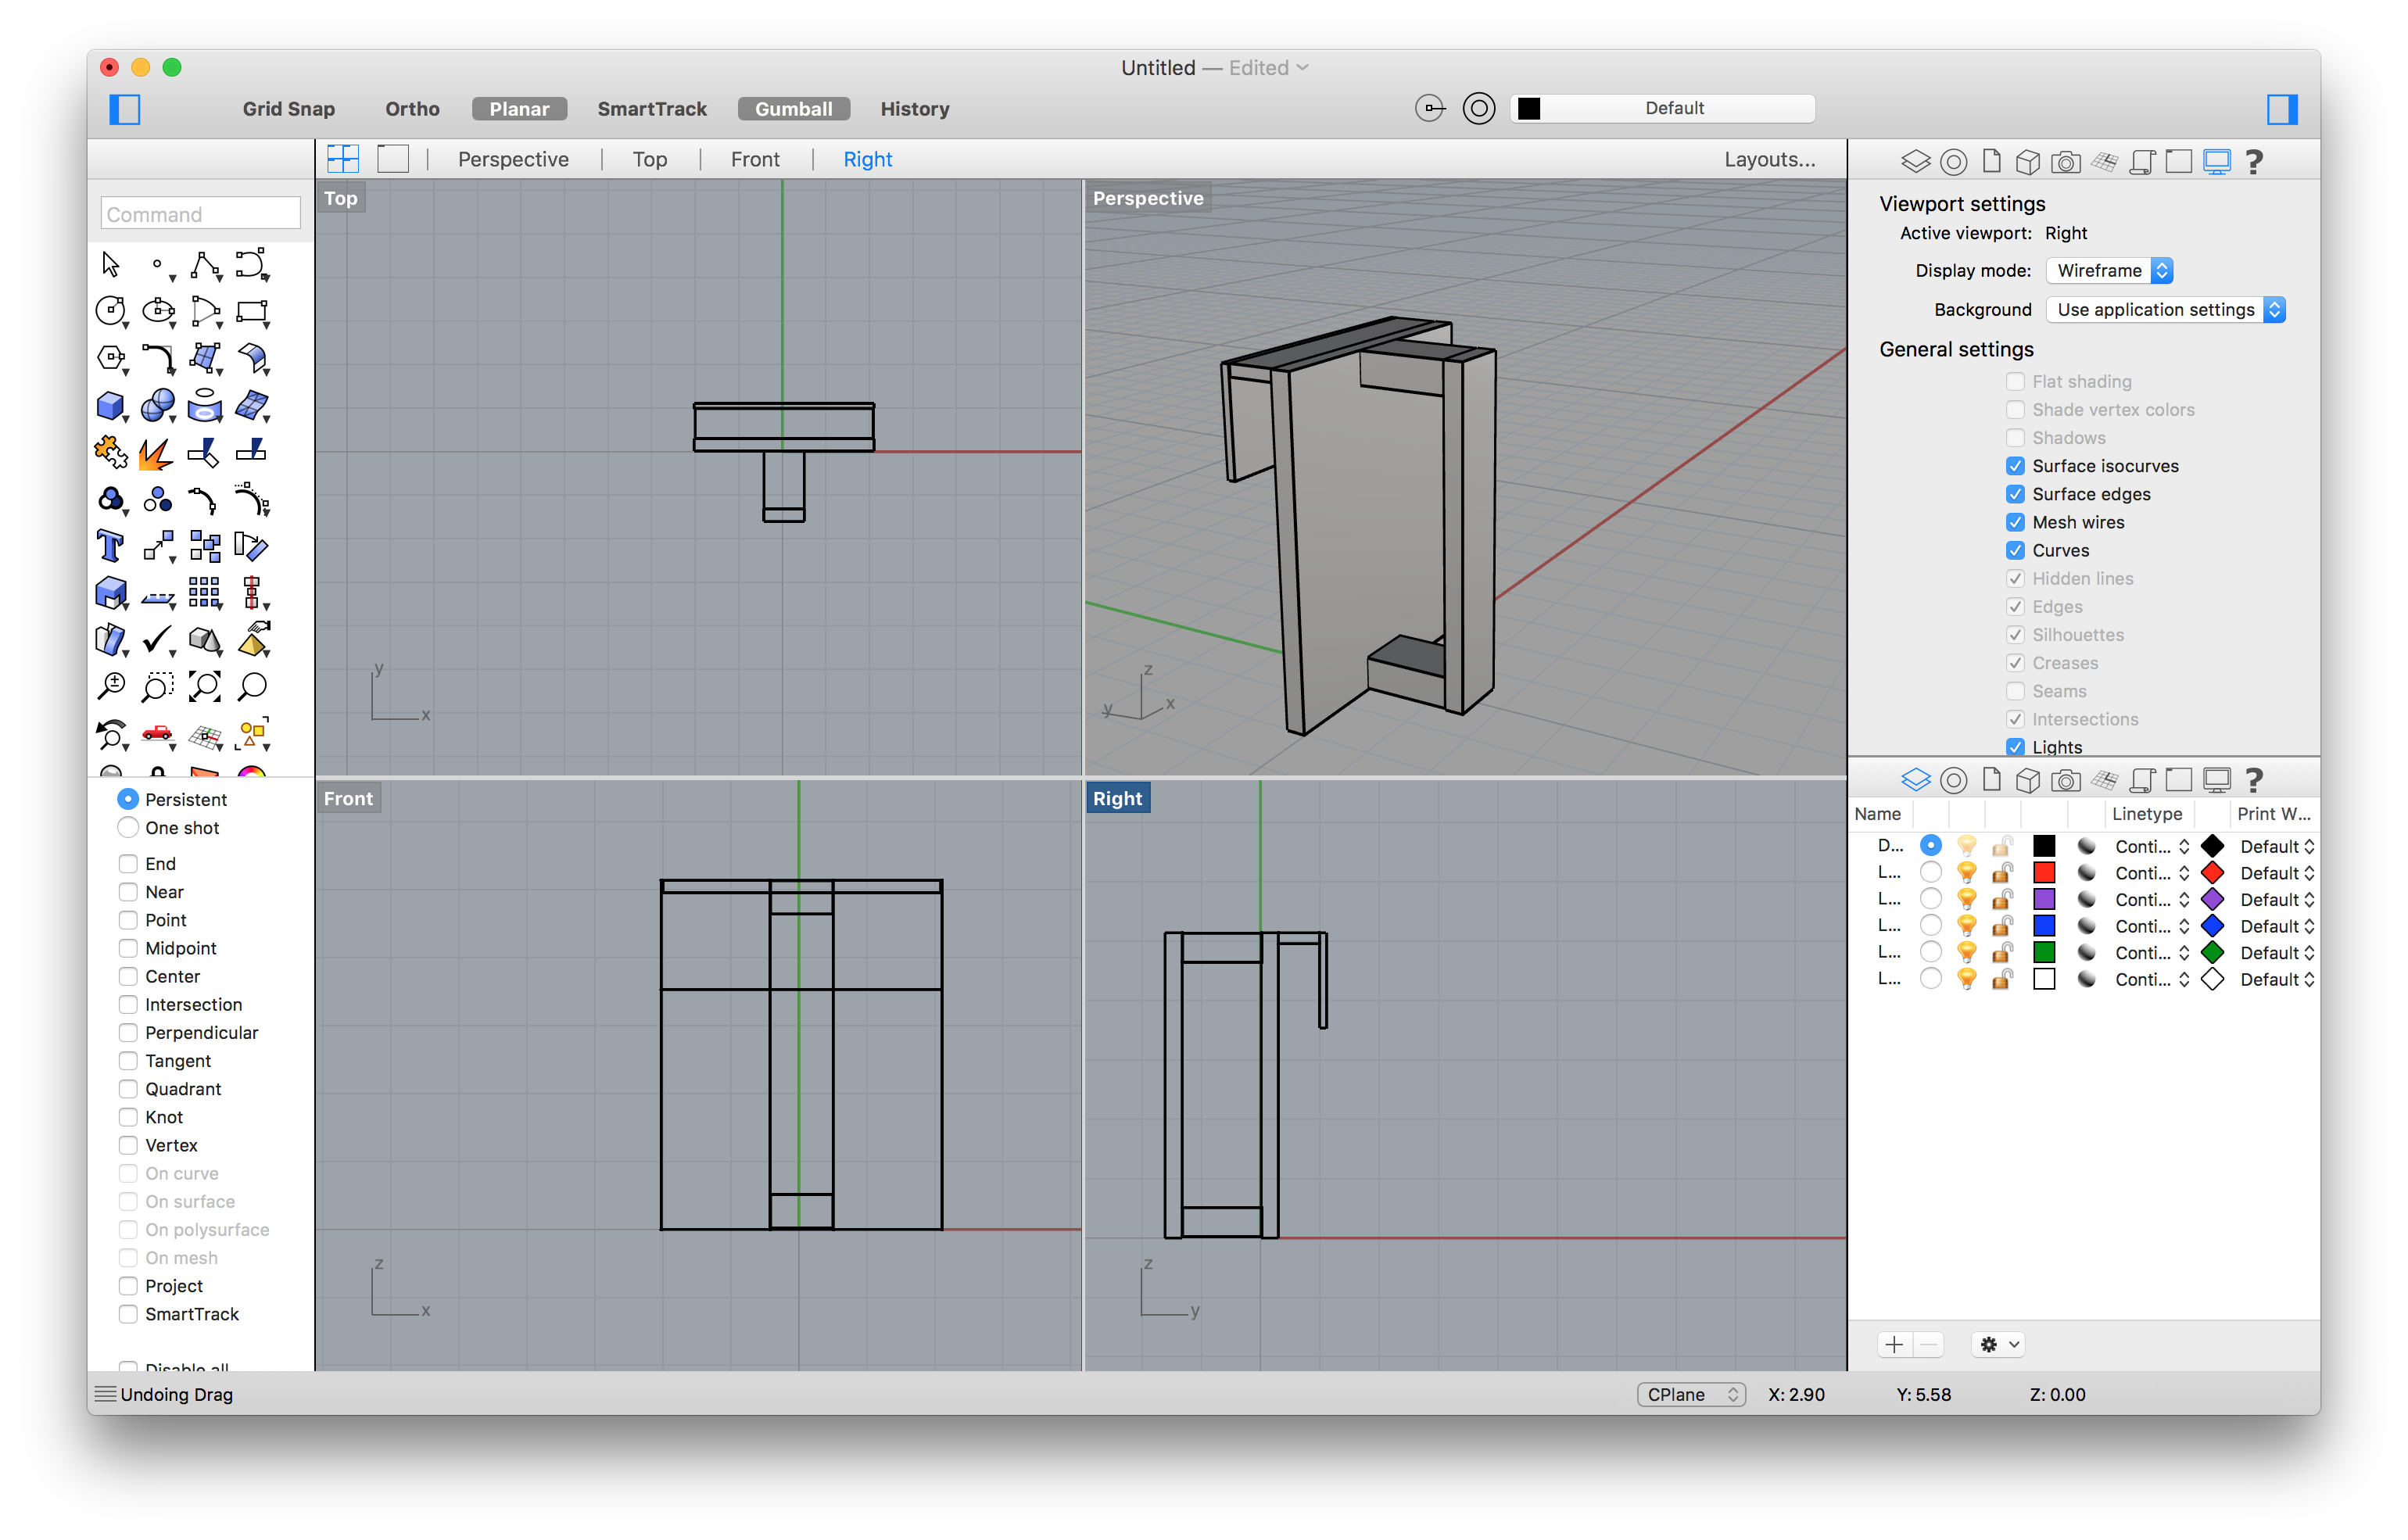
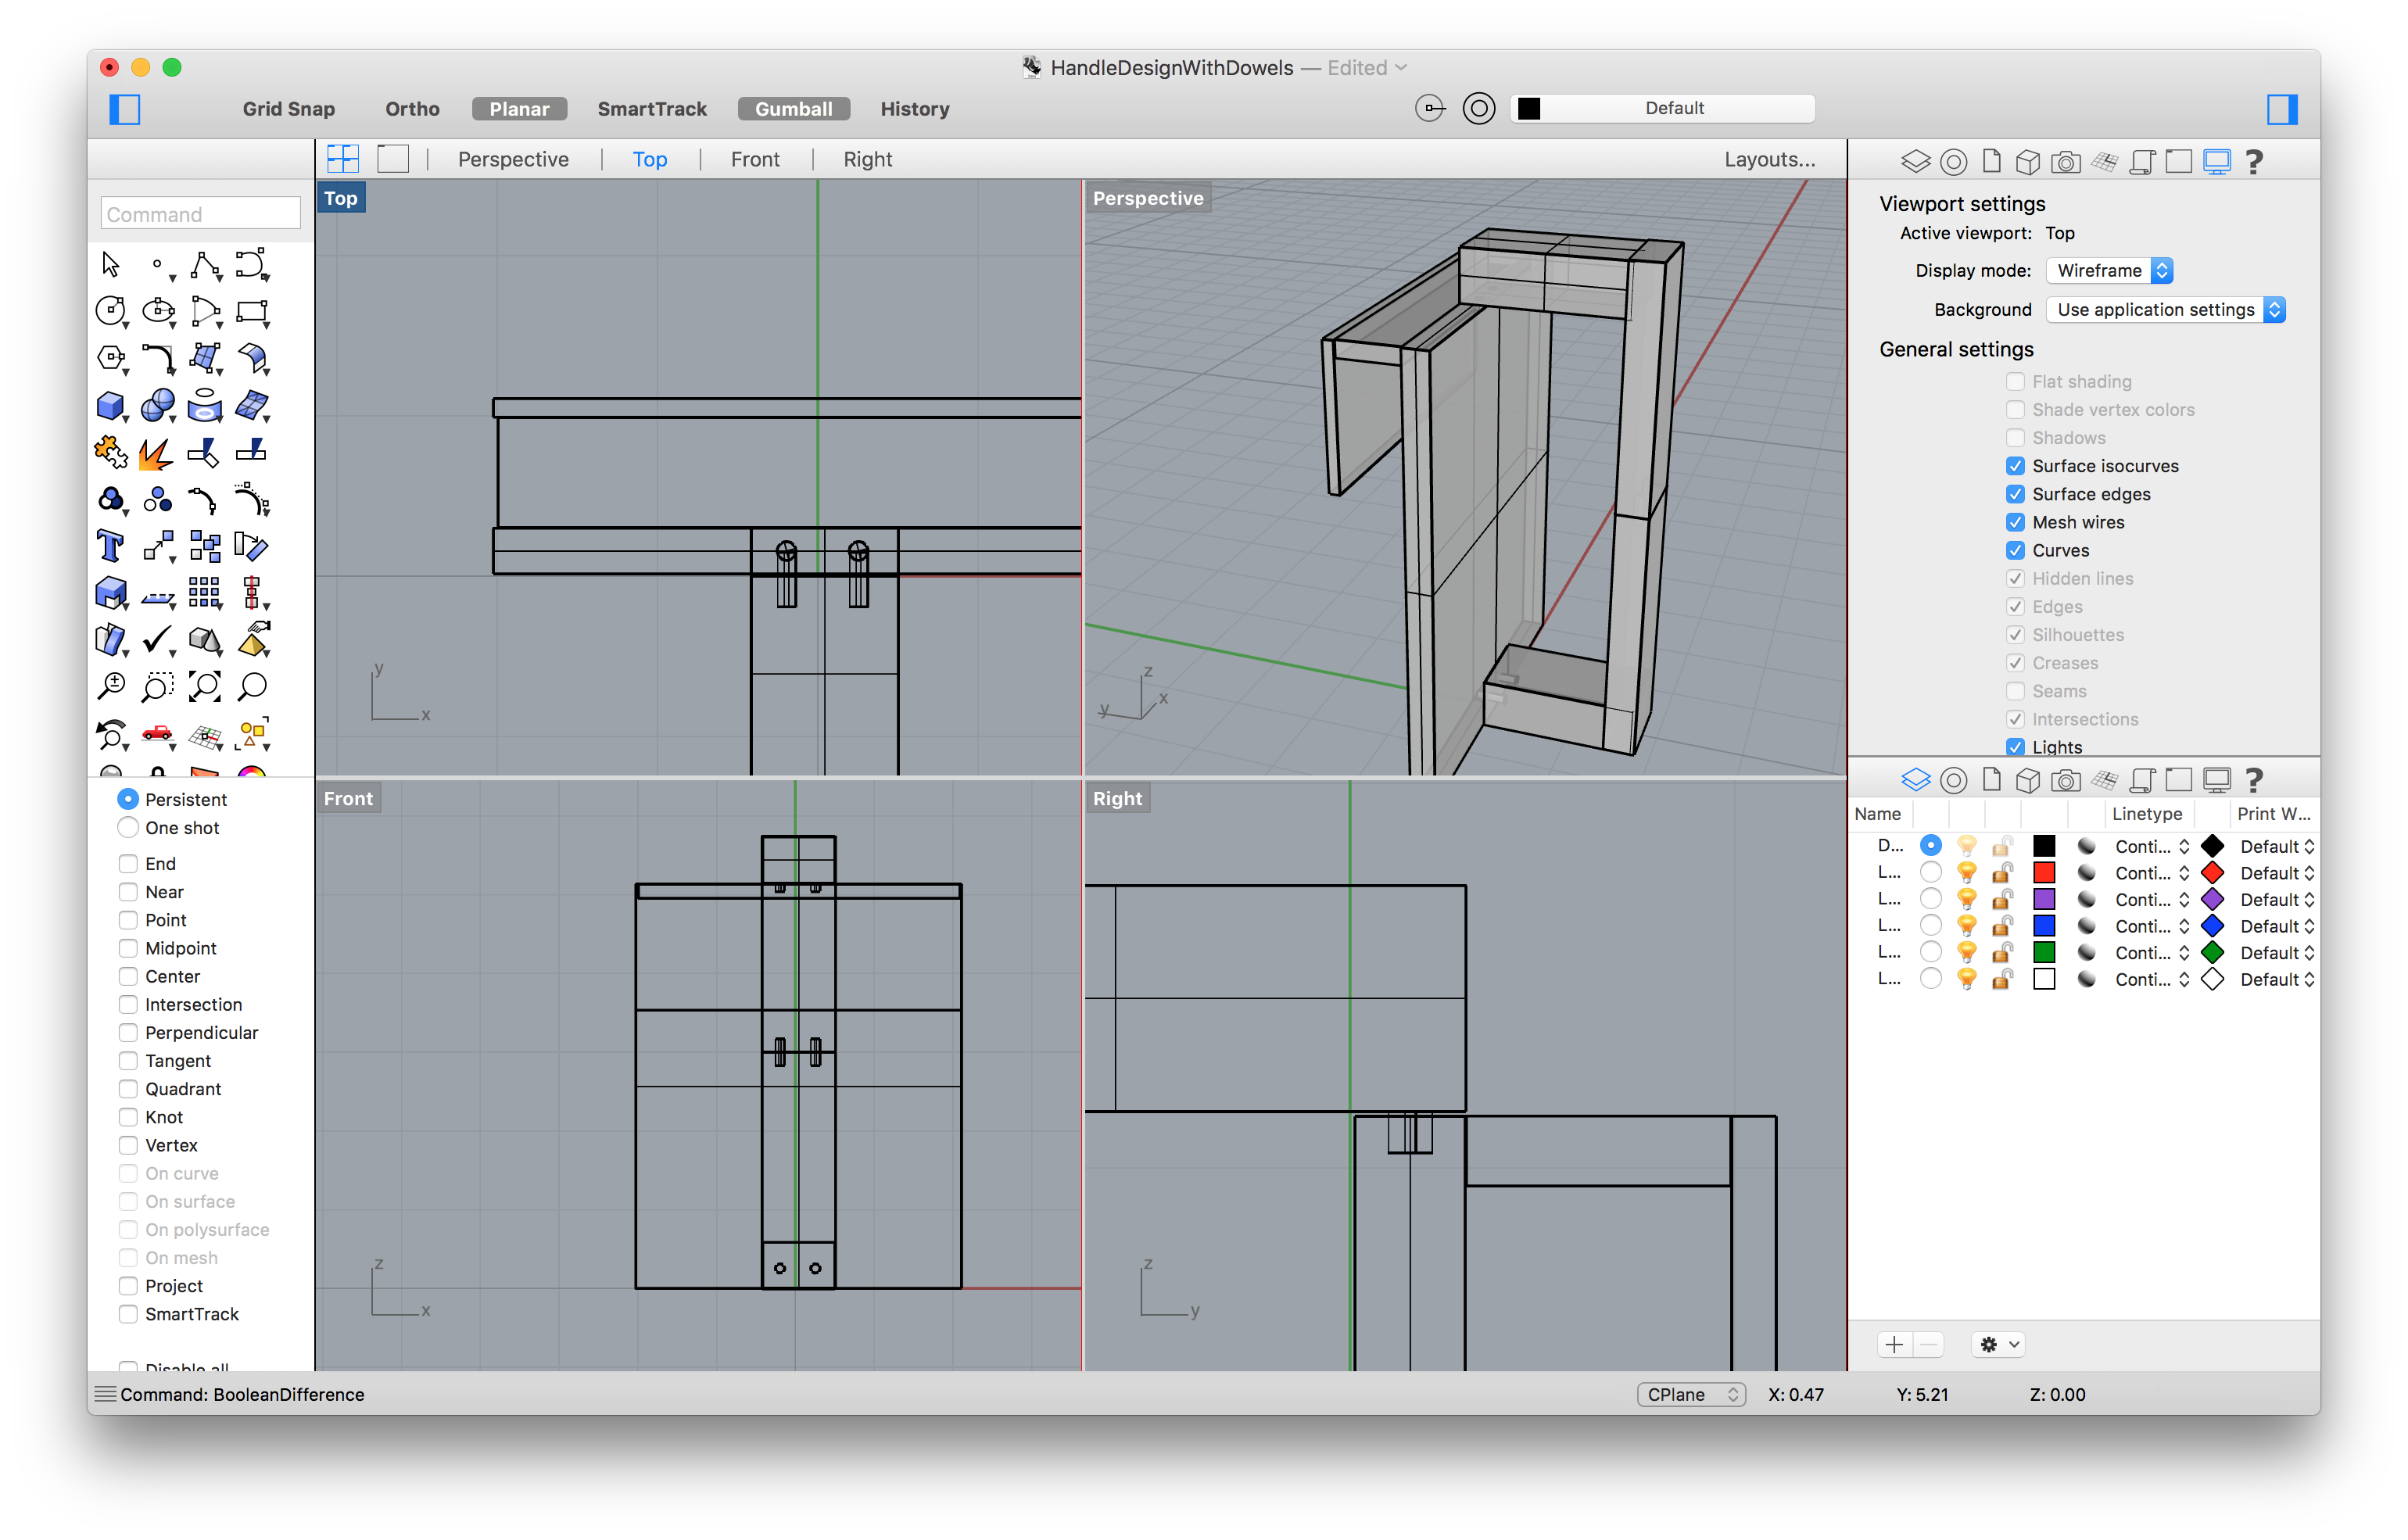
I adjusted the shape of the handle bit just enough to let it hang off the main frame. Then I could begin adding in dowels - the positioning of them came before I split the original objects, ensuring the would line up with one another.
![]()
I decided there would be one set of dowels anchoring it to the attachment frame on top, and then to also split the handle into two pieces so it would attached without needing to bend. The lower piece of the handle has two sets of dowels to hold it in place with the top piece of the handle, preventing the need for cutting and bending (though some adhesive would make the bond stronger it likely wouldn't be necessary.
-
Measurements and Planning
02/15/2018 at 21:25 • 0 comments![]()
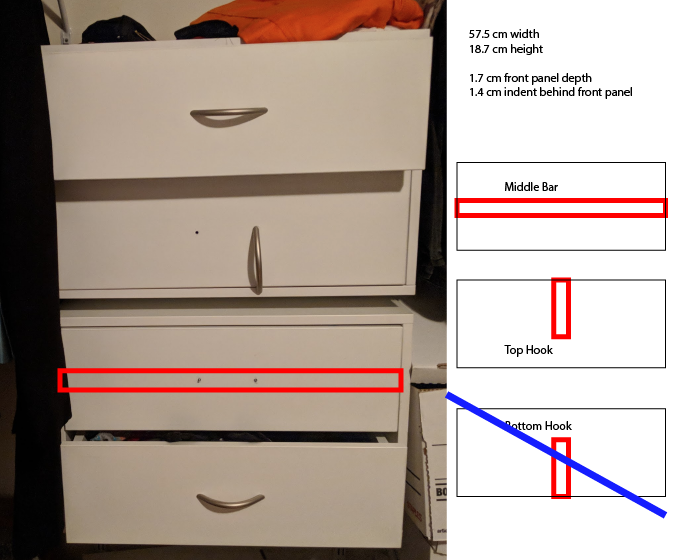
I decided to gather my measurements before starting to design anything. Taking into account the drawer shape (pictured above), I had a few options to go with. As pictured, the issue is that the handles keep falling off - a second handle is becoming a casualty now as well. To avoid this issue, I decided to avoid this handle design and instead create one that hooked into the drawer itself (for easier replacement, and again to avoid the repeating issue).
The three rough diagrams to the side are the options considered. The last option, the bottom hook, has to be ruled out as the bottom of the drawer is too flat and leaves no easy way to attach the new handle. This leaves the first and second options for design and testing - both of these would be hooking into the lip of the drawer on the inside to prevent the need for screws and drilling.
-
Intro Phase - Research and Planning
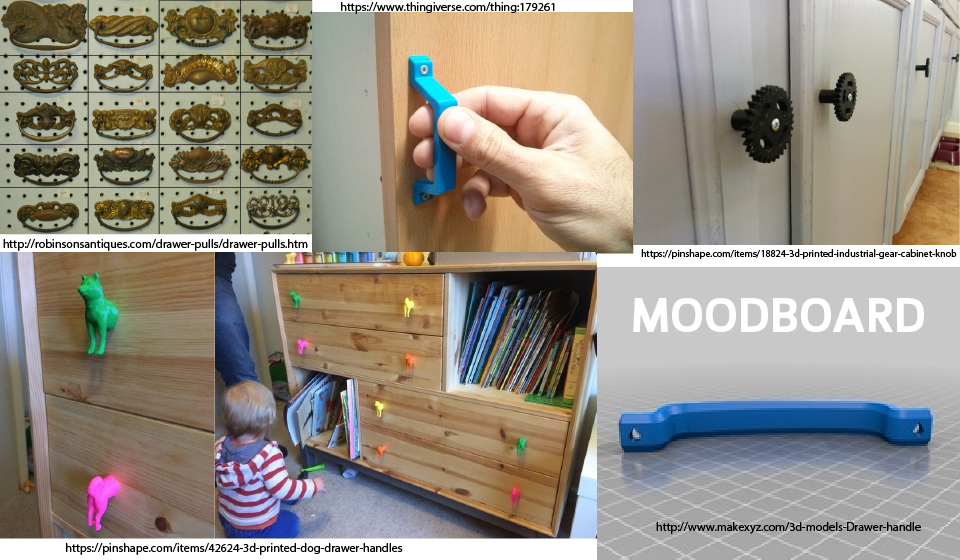
02/14/2018 at 00:26 • 0 commentsResearch comes first! Starting this project off, knowing that I want to be able to fix my drawer handle or replace it, I wanted to do some research first. I took a brief look into the aesthetic of drawer handles for 'typical' builds and what people have also done in the past when 3D printing handles as well.
![]()
From this mood board I noticed some patterns. Most of them only replace the current handle slot. Considering this is a reoccurring issue with it coming out of the screw holes, I don't think I want to go the same route.
The ornamentation is a bigger inspiration from me, with the dog handles being my favourite of the bunch that I've looked at thus far. I'll see about incorporating something interesting into my design - whether that be fandom related or just something to spruce up the drawers themselves.
A Handle on Life – Broken Drawer Handle Fix
Broken drawer handles are a pain, especially with the screws that can get lost easily! This is a fix to get a handle on those drawers again!