Shawn Gorman
-
Finishing Up
02/19/2018 at 01:33 • 0 comments![]()
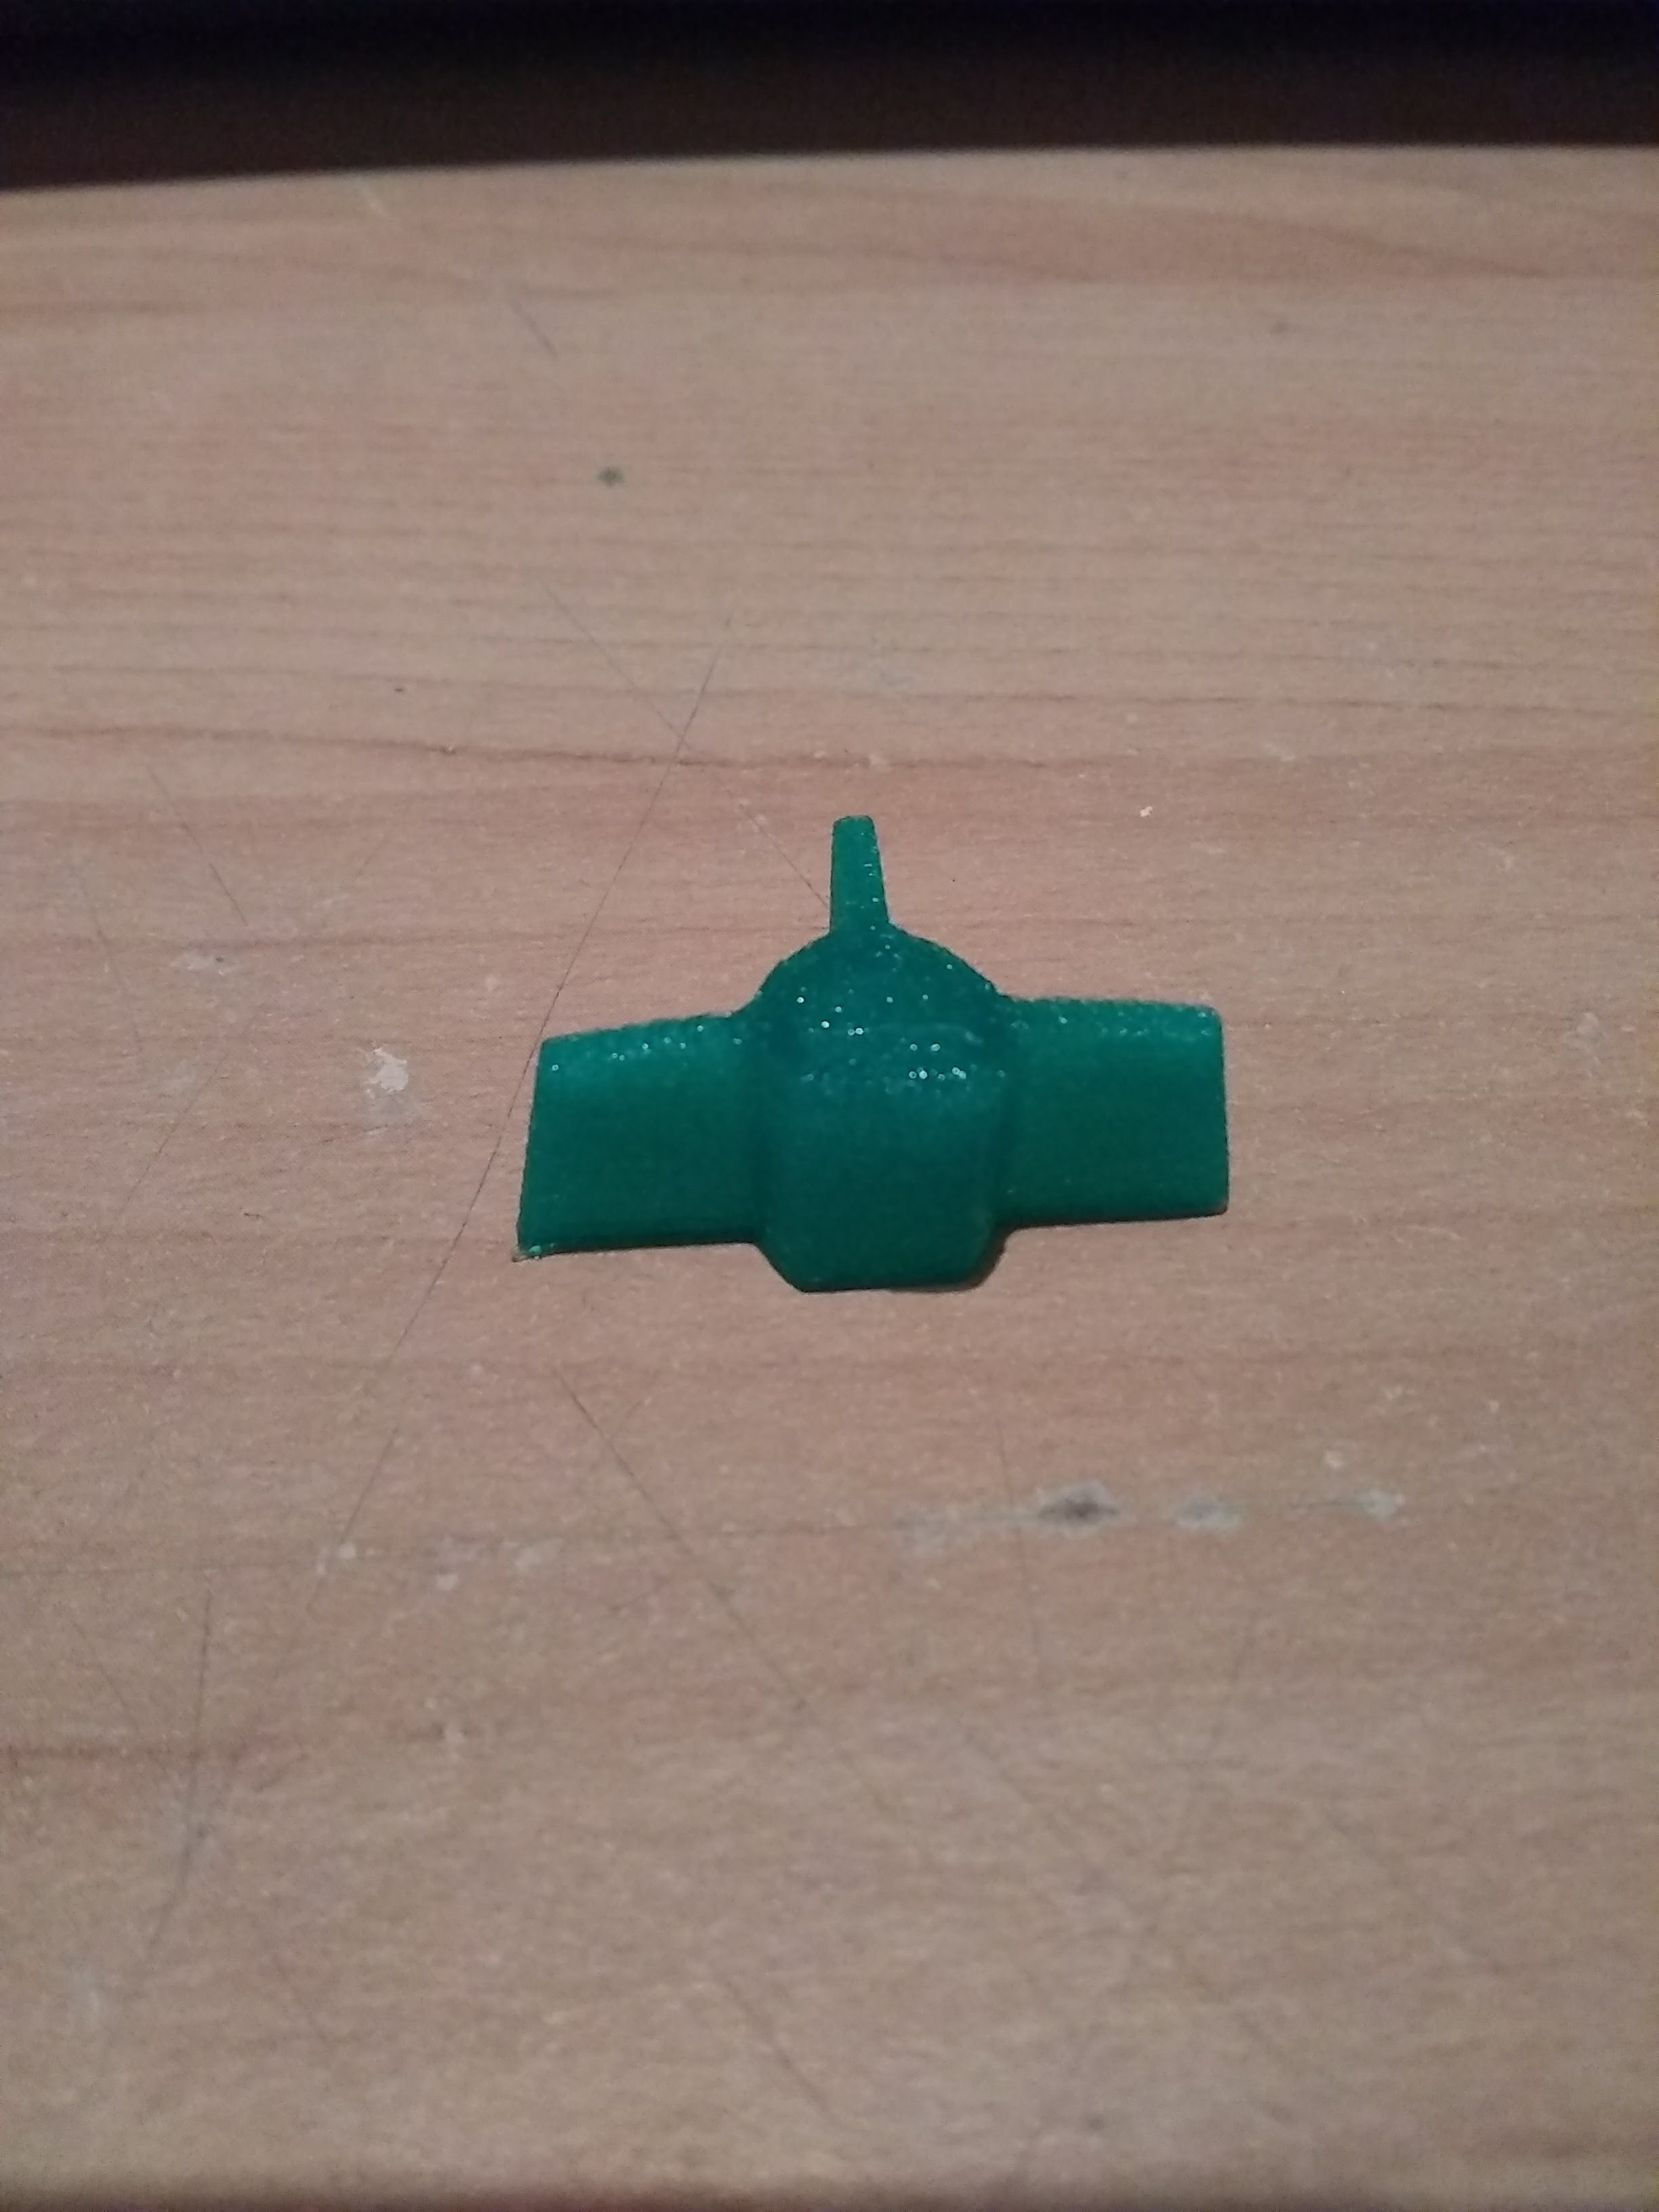
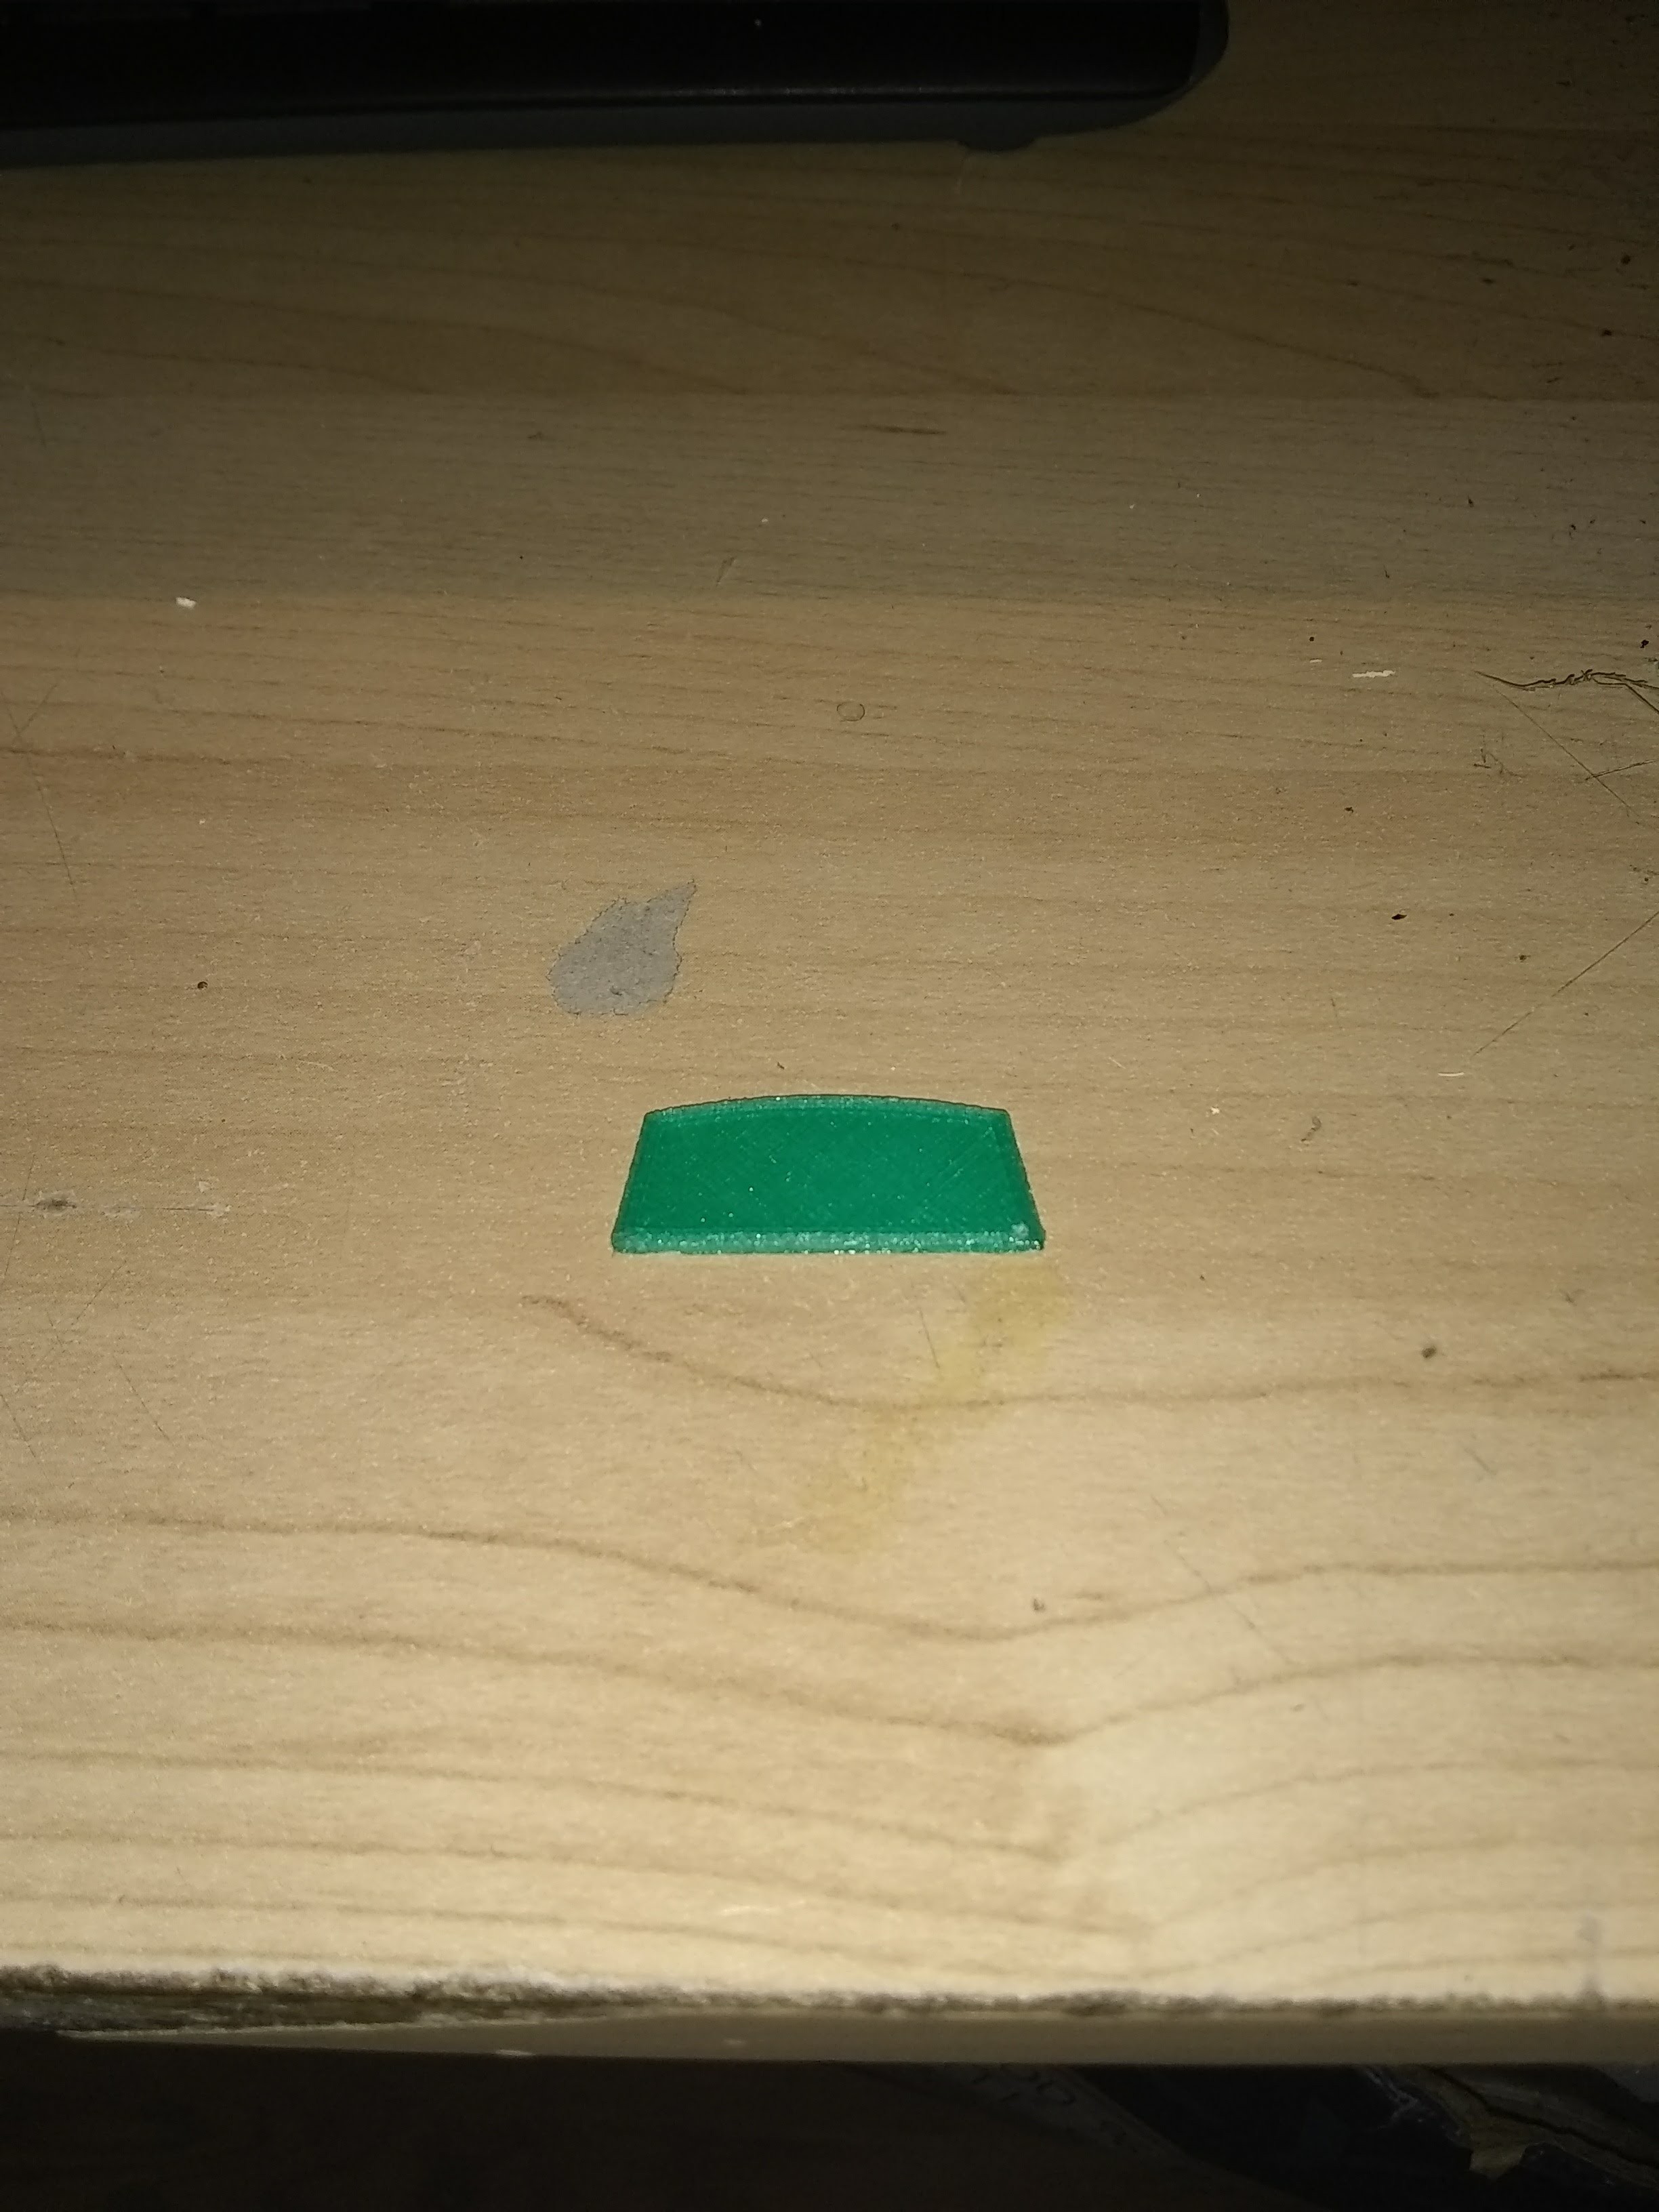
Here is the second ( and final) version of the printed insert. I fixed the capping of the end, and adjusted the 1 mm gap.
![]()
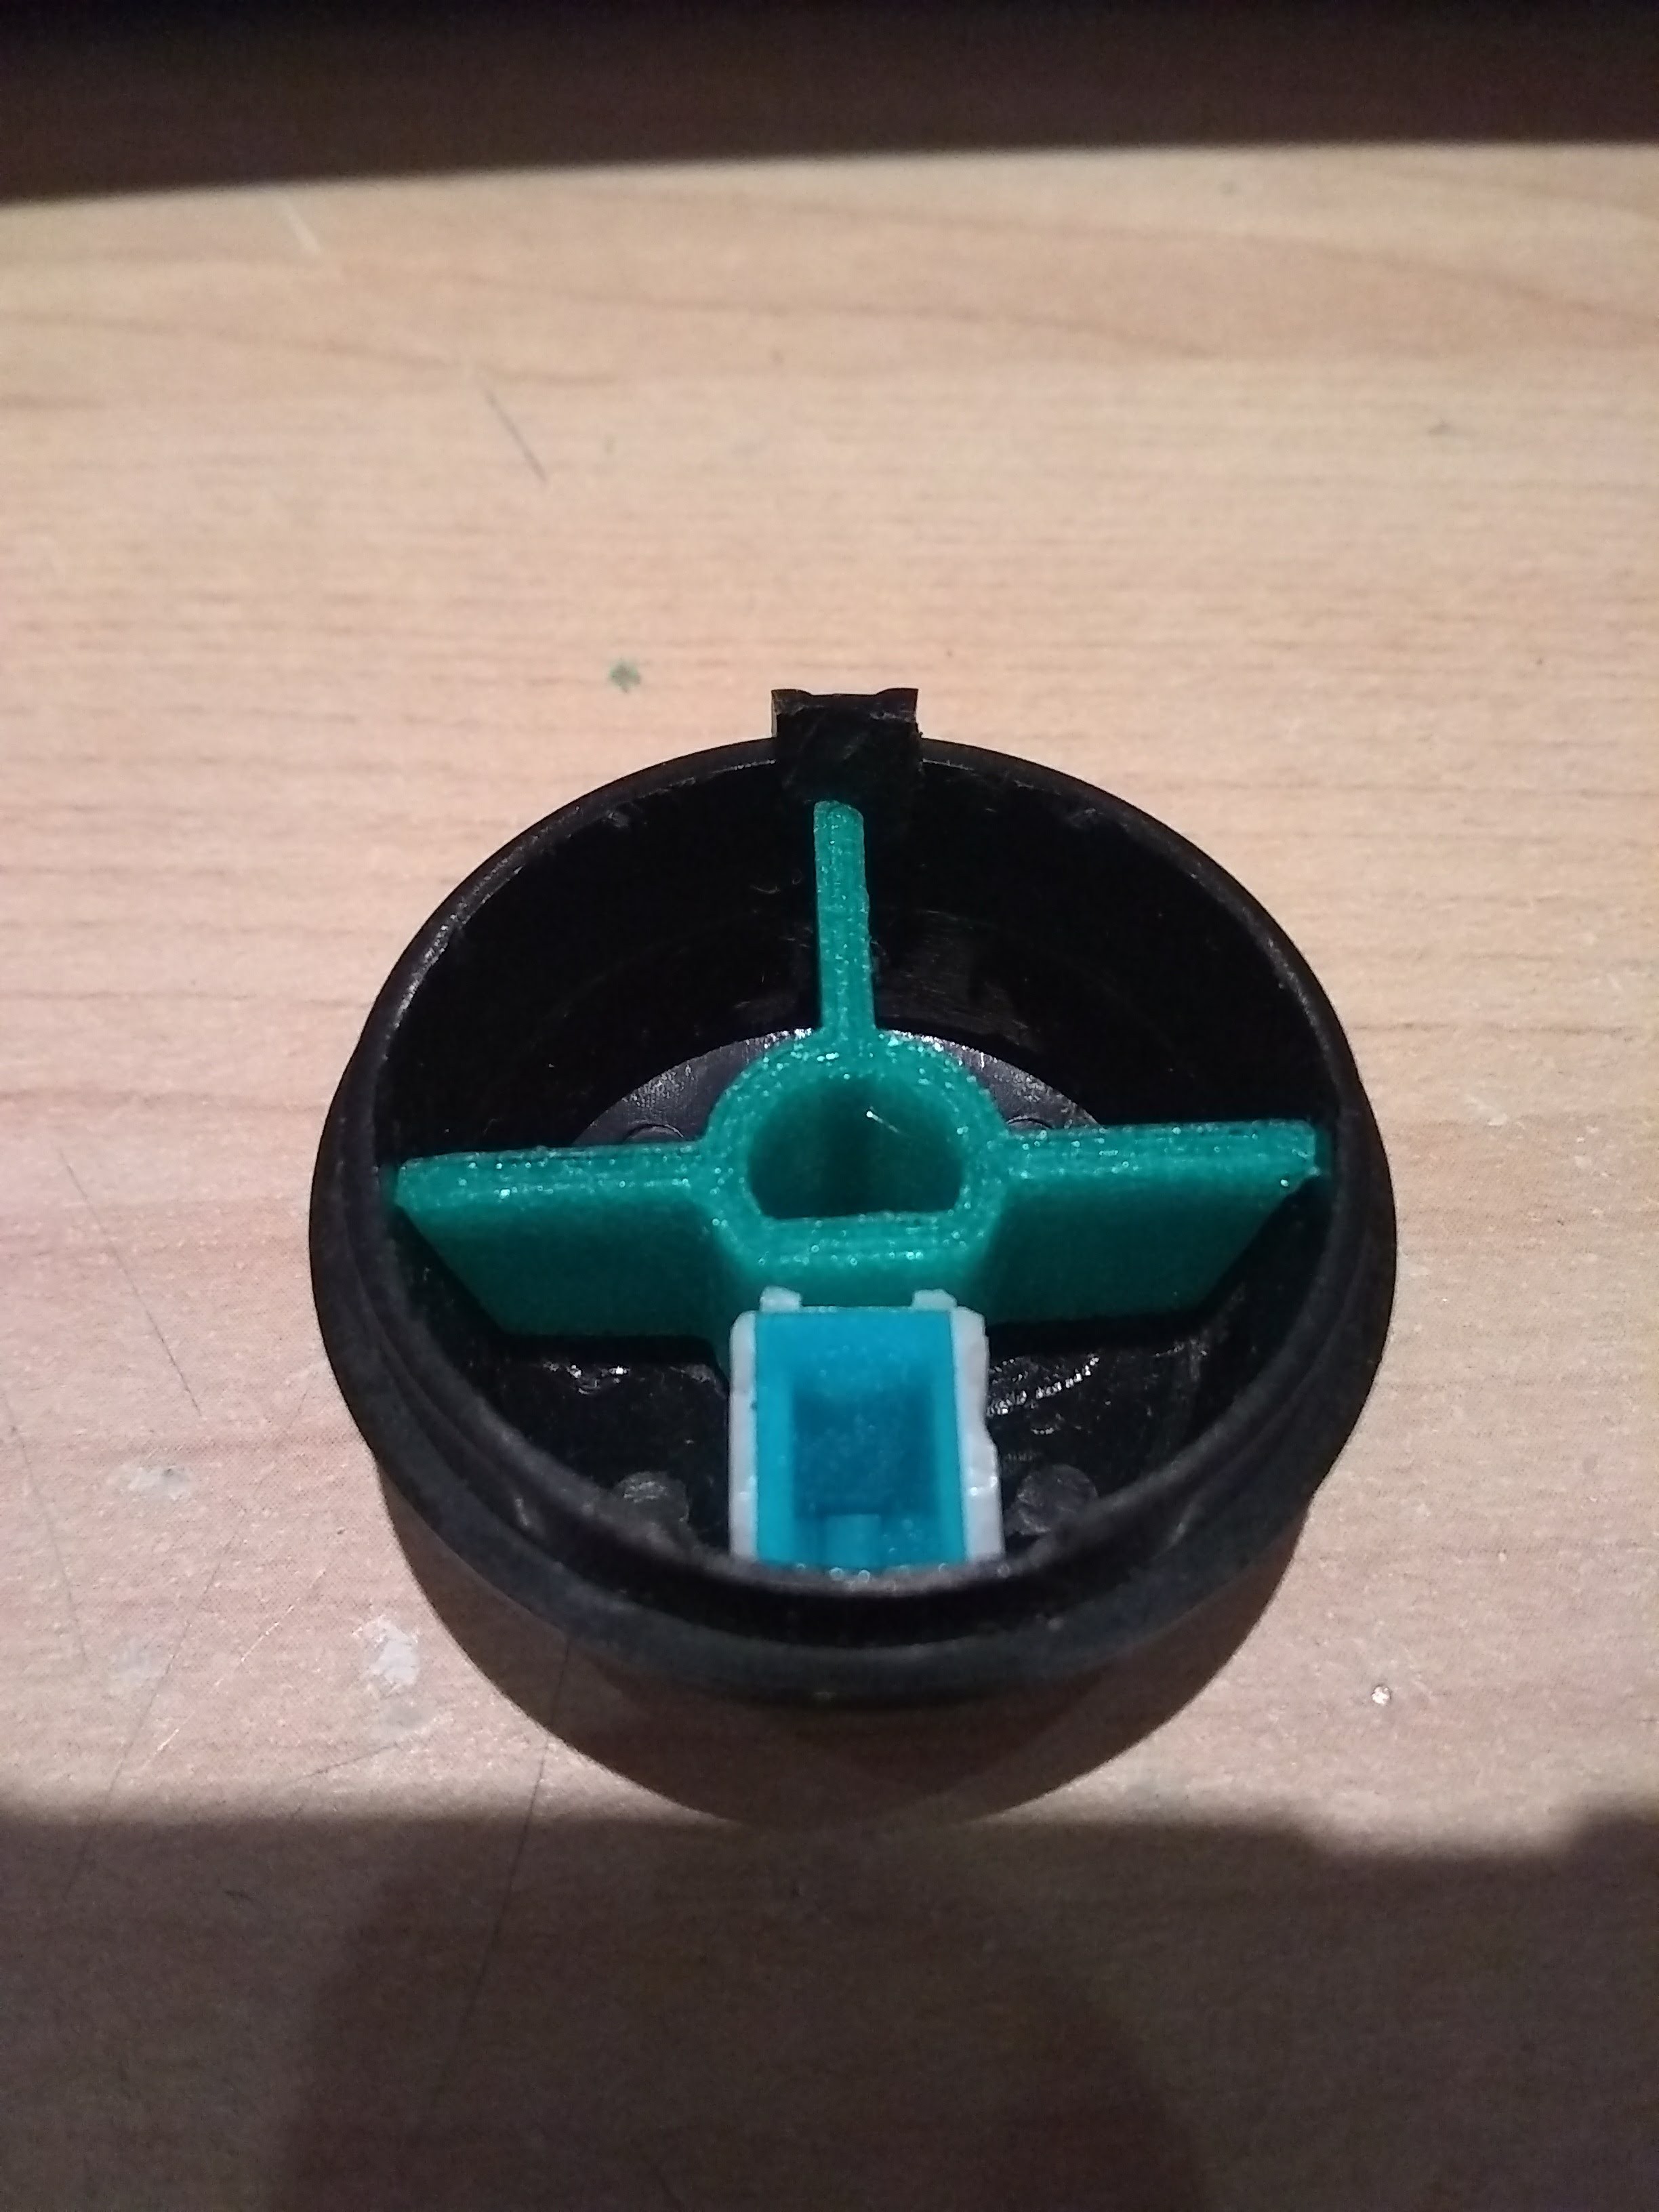
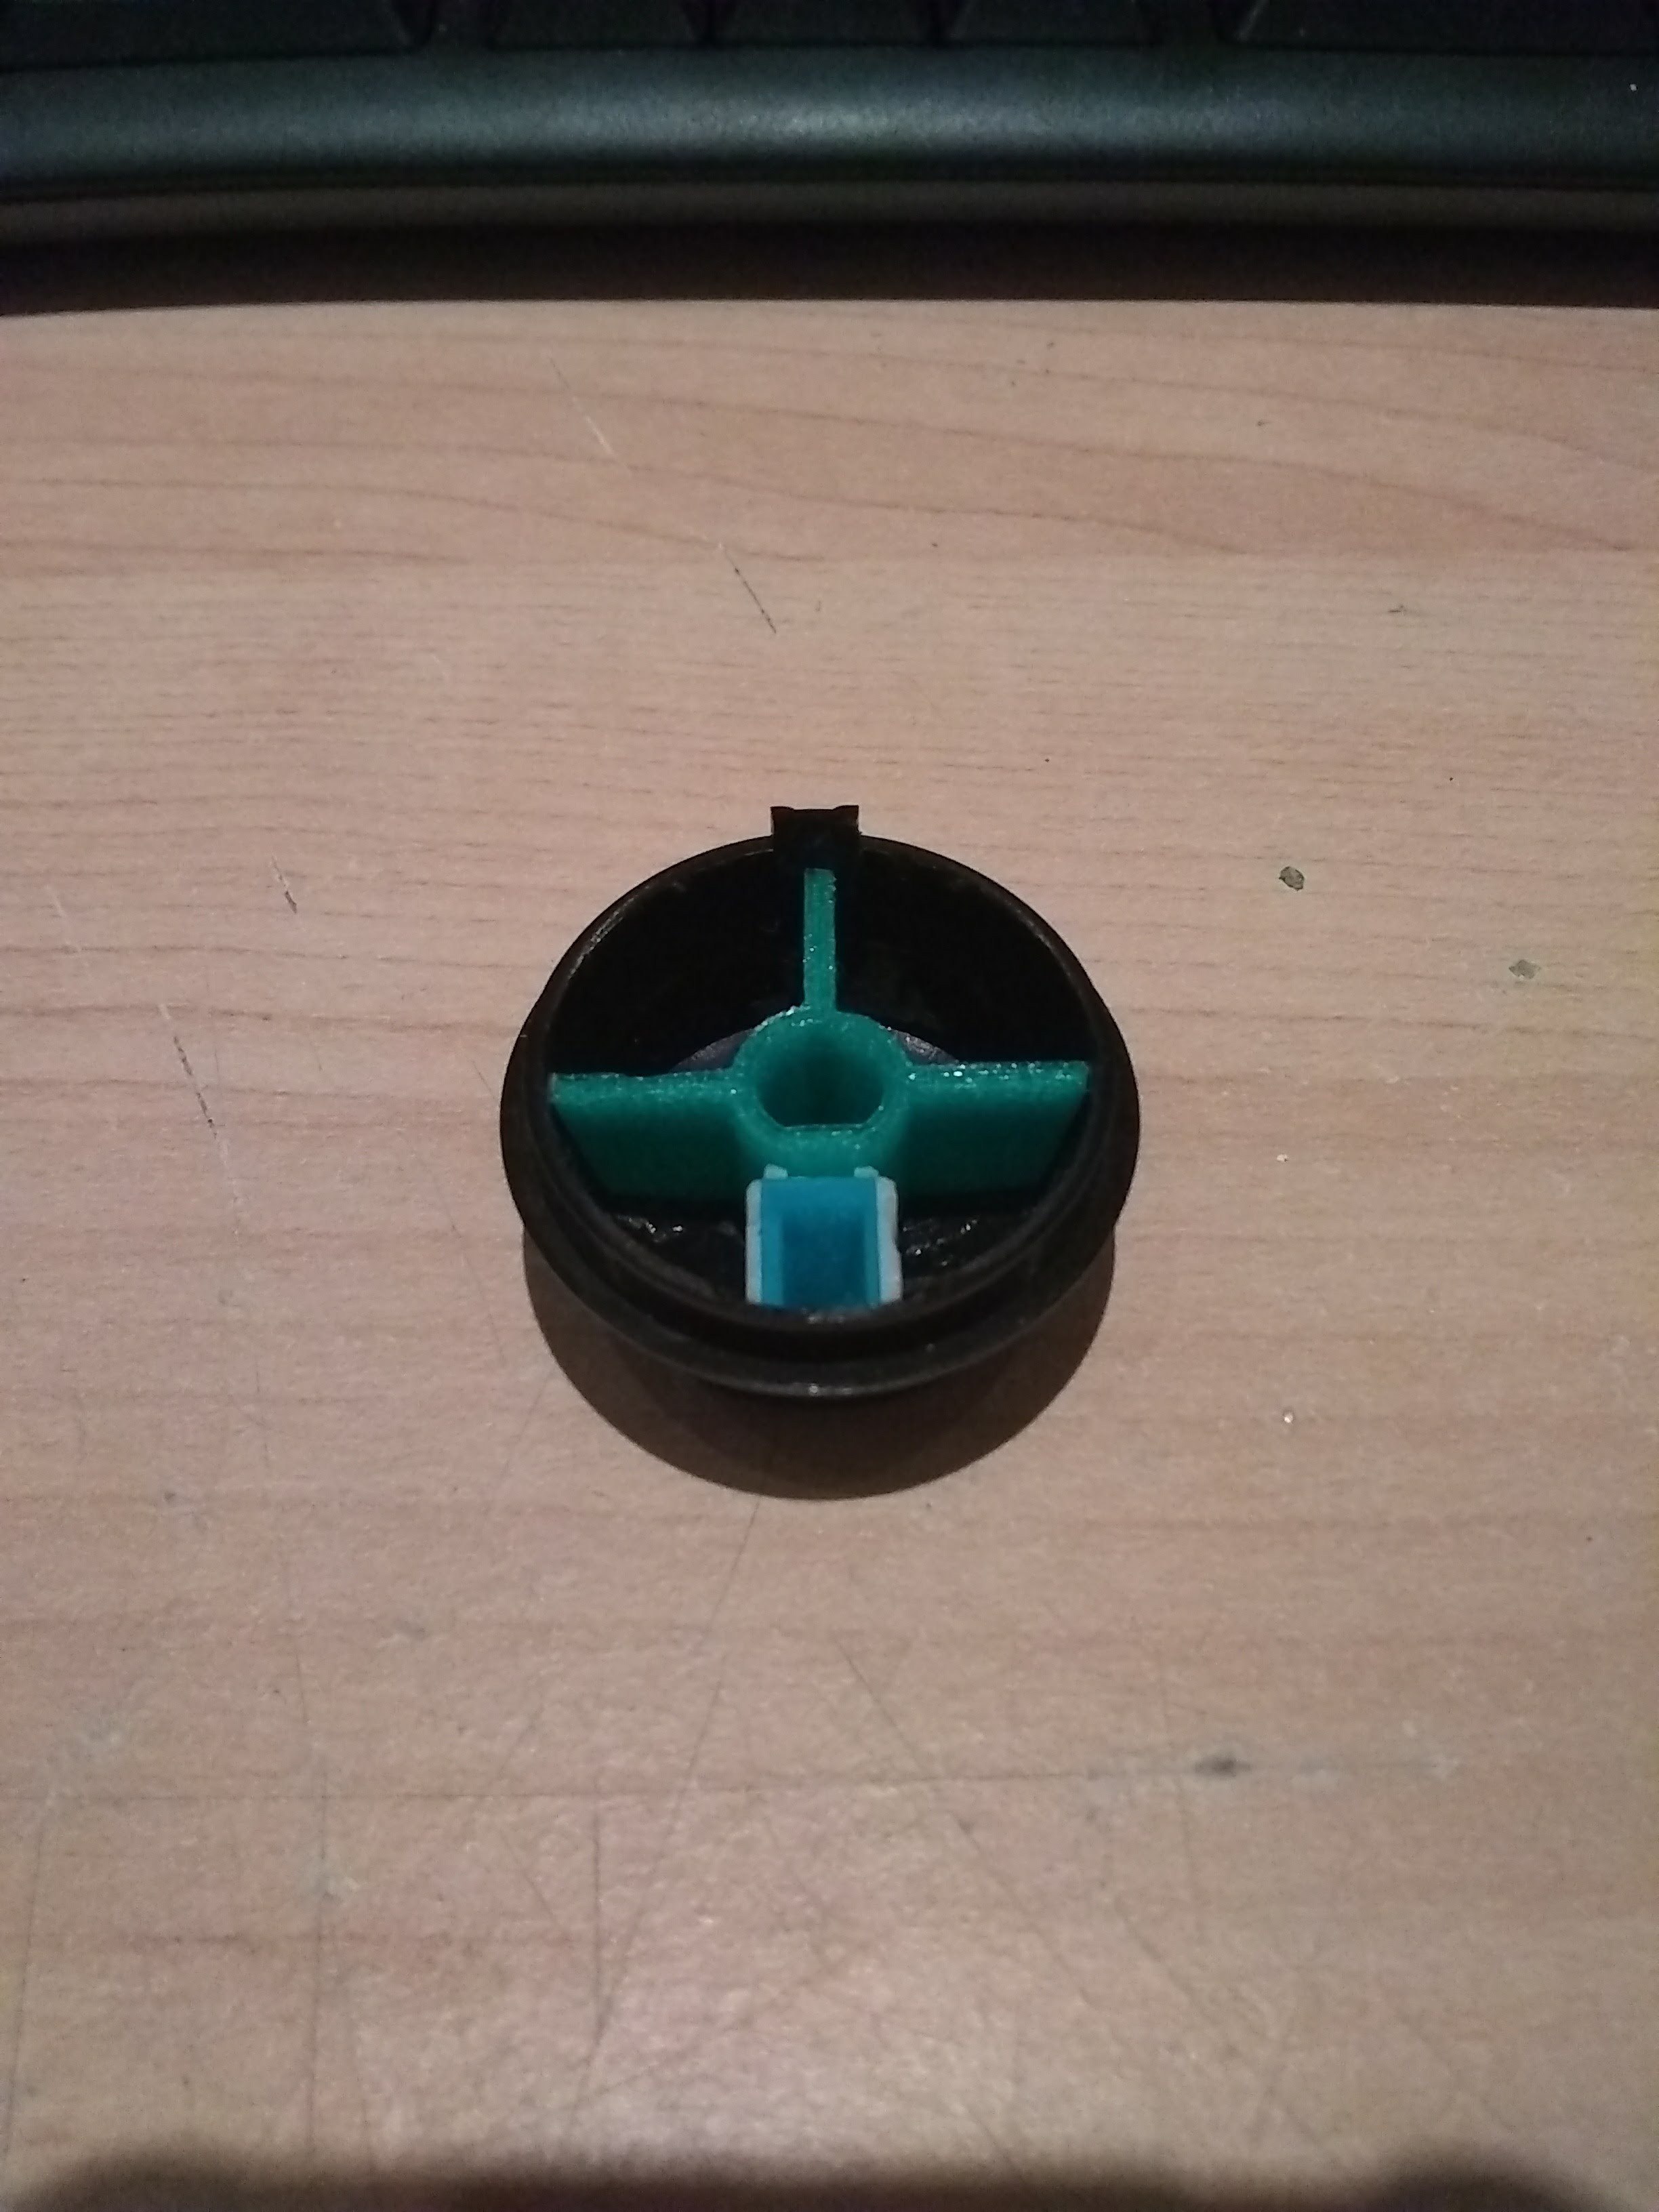
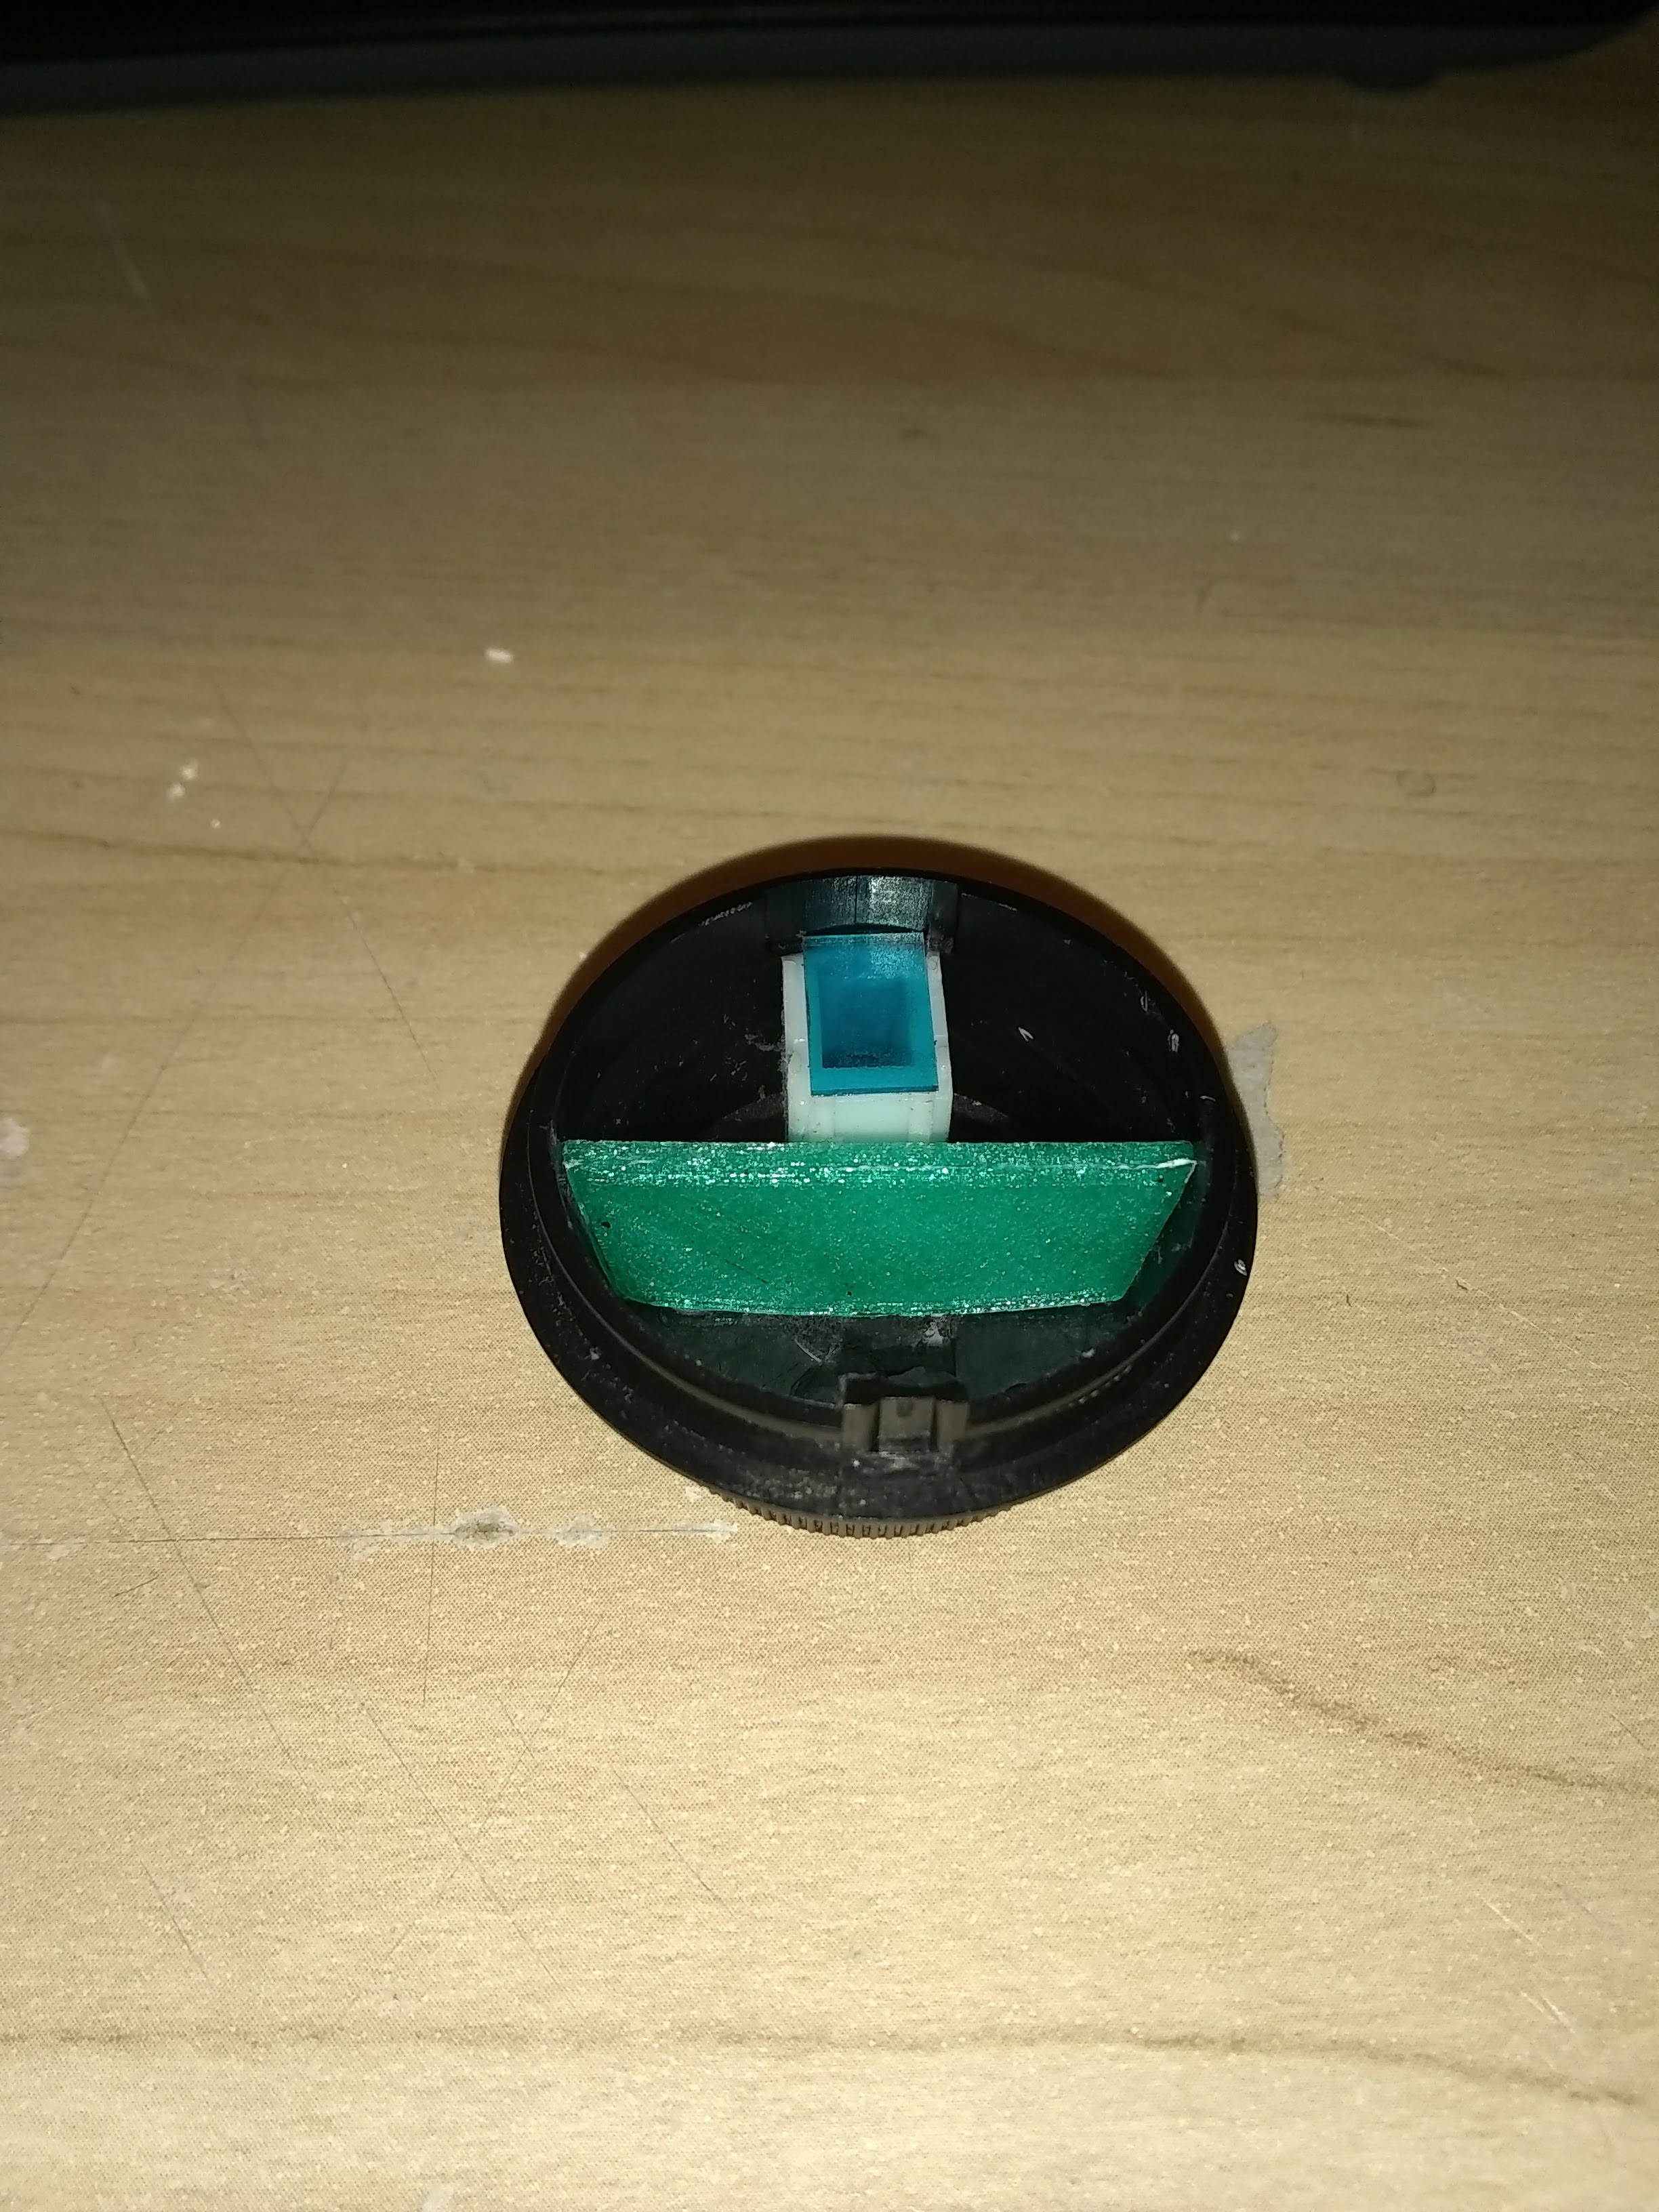
Here I checked the fit in the knob. very nice fit.
![]()
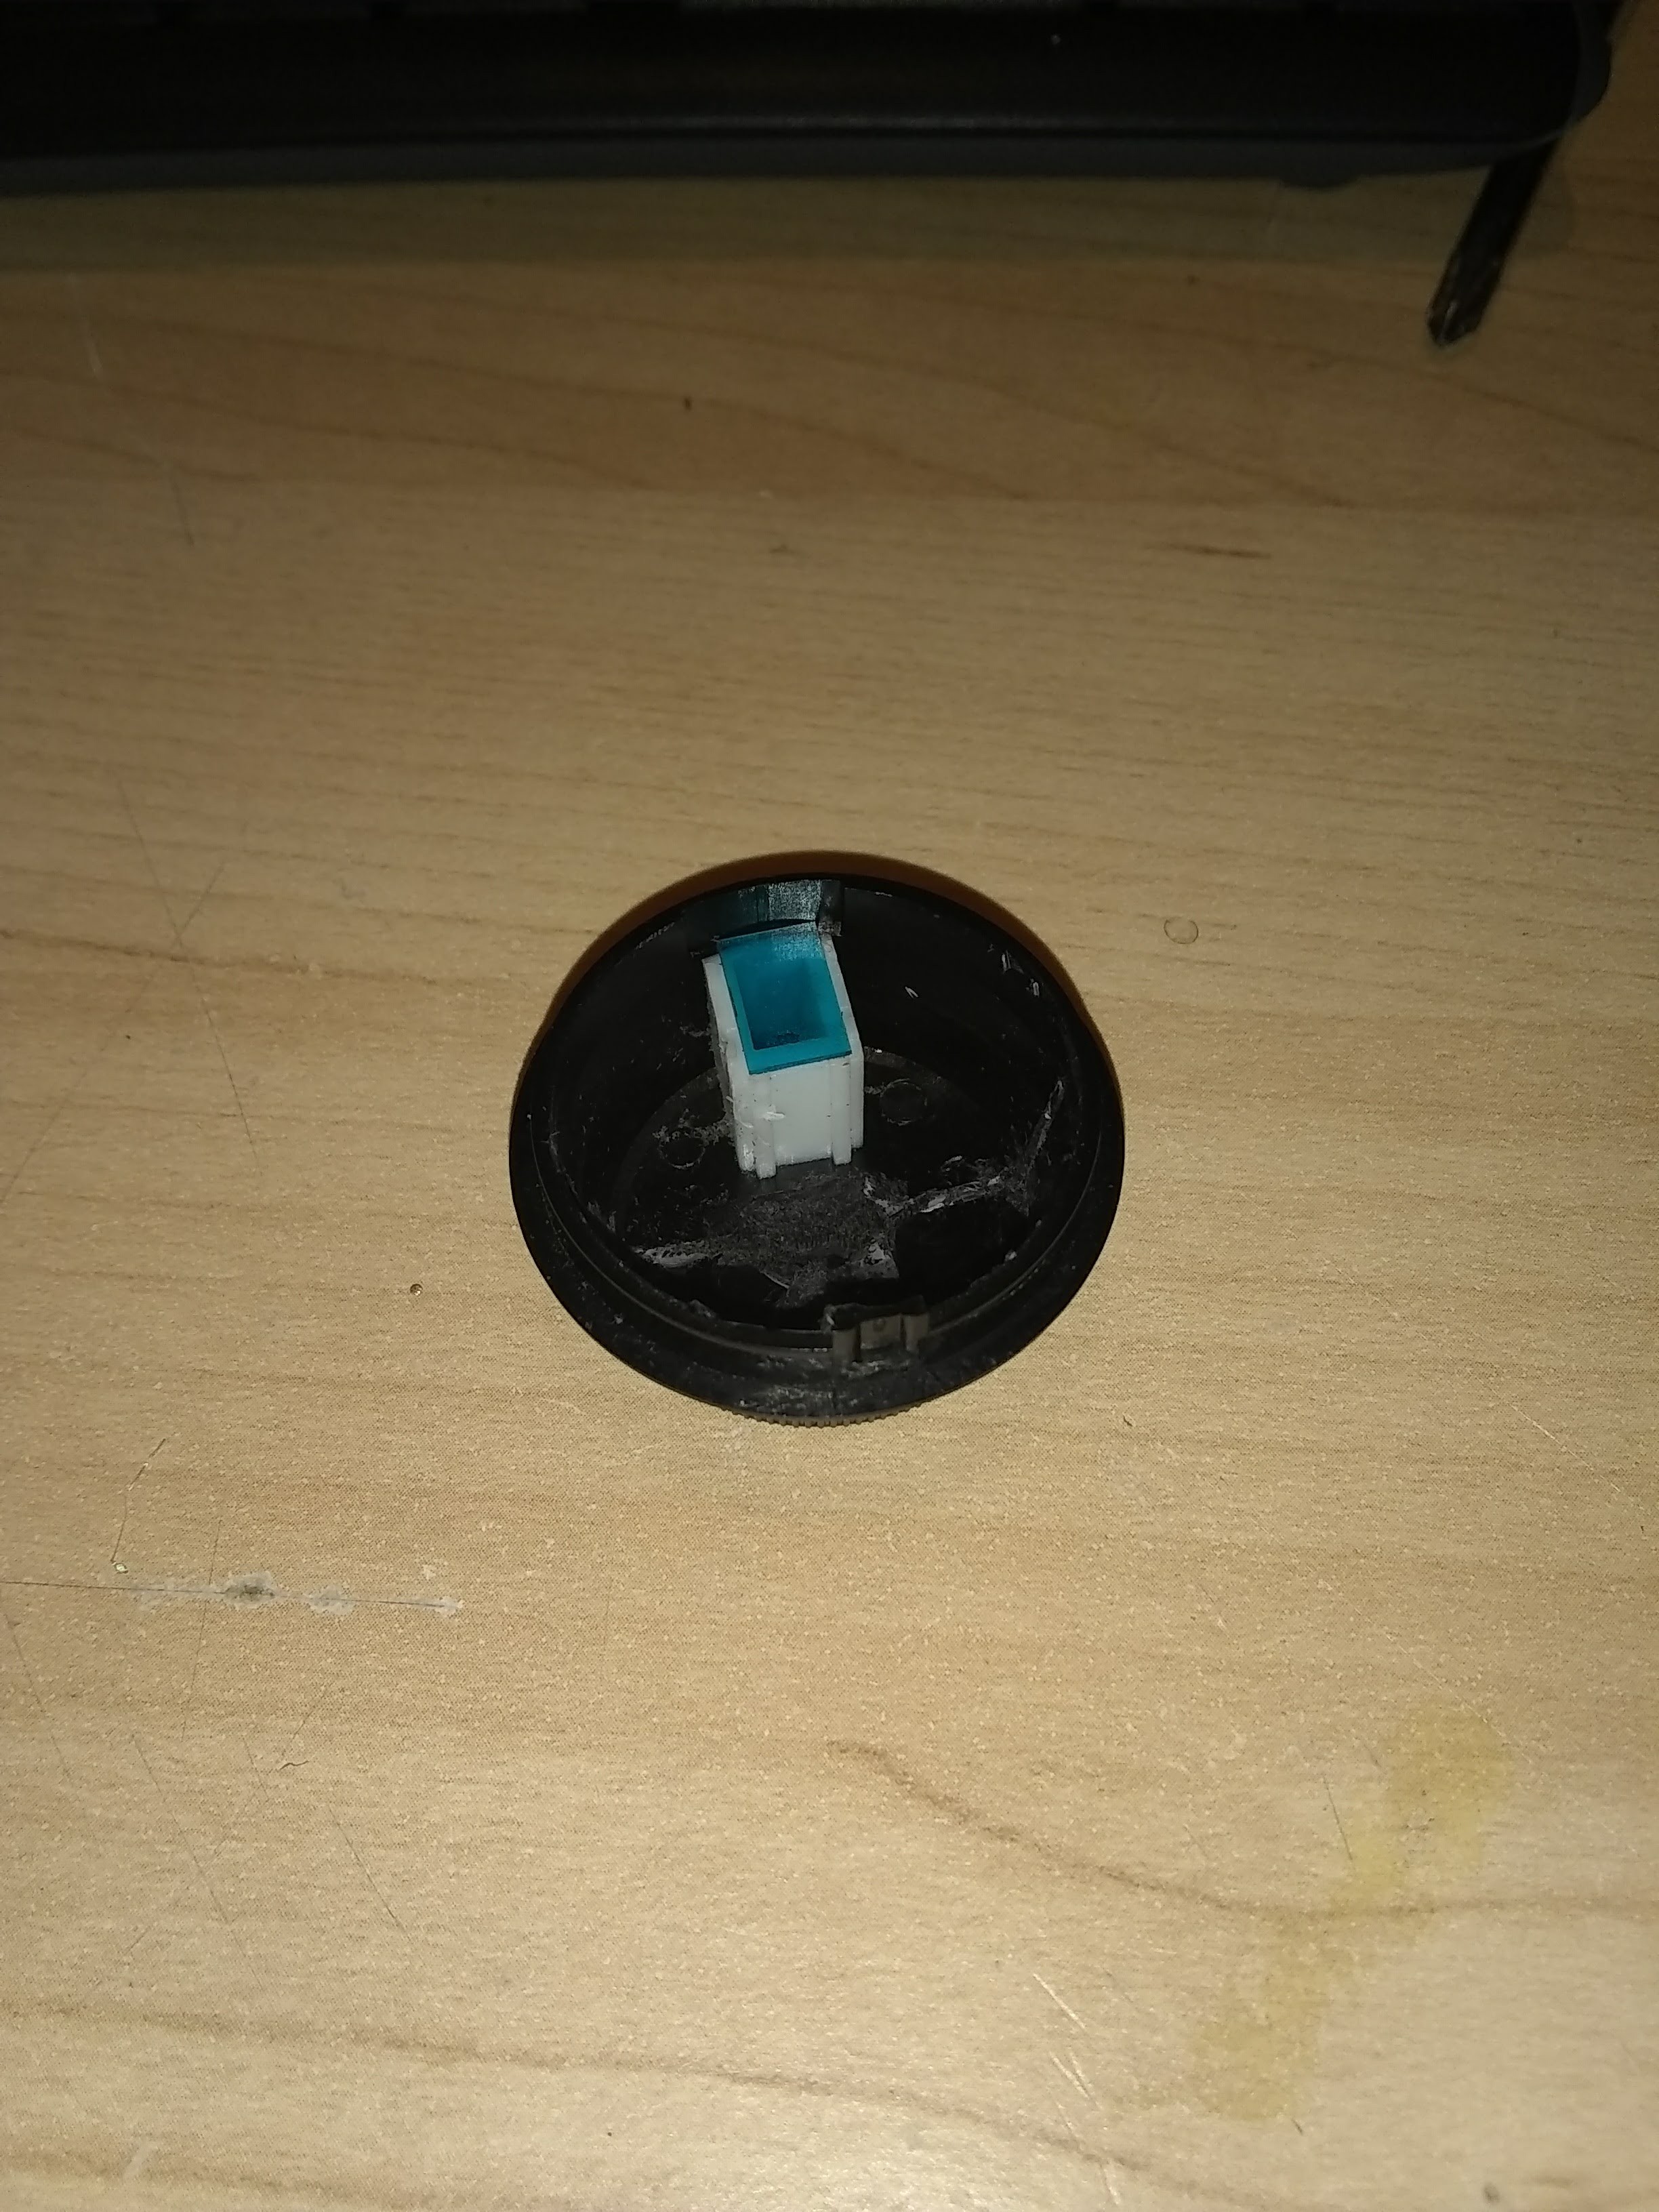
Testing the fit on the shaft of the switch. It fit well, though It is loose enough that it can be removed without too much force. I allowed for 0.2 mm of clearance from the actual measurement of the shaft, but I probably could have gone with 0.15 mm.
![]()
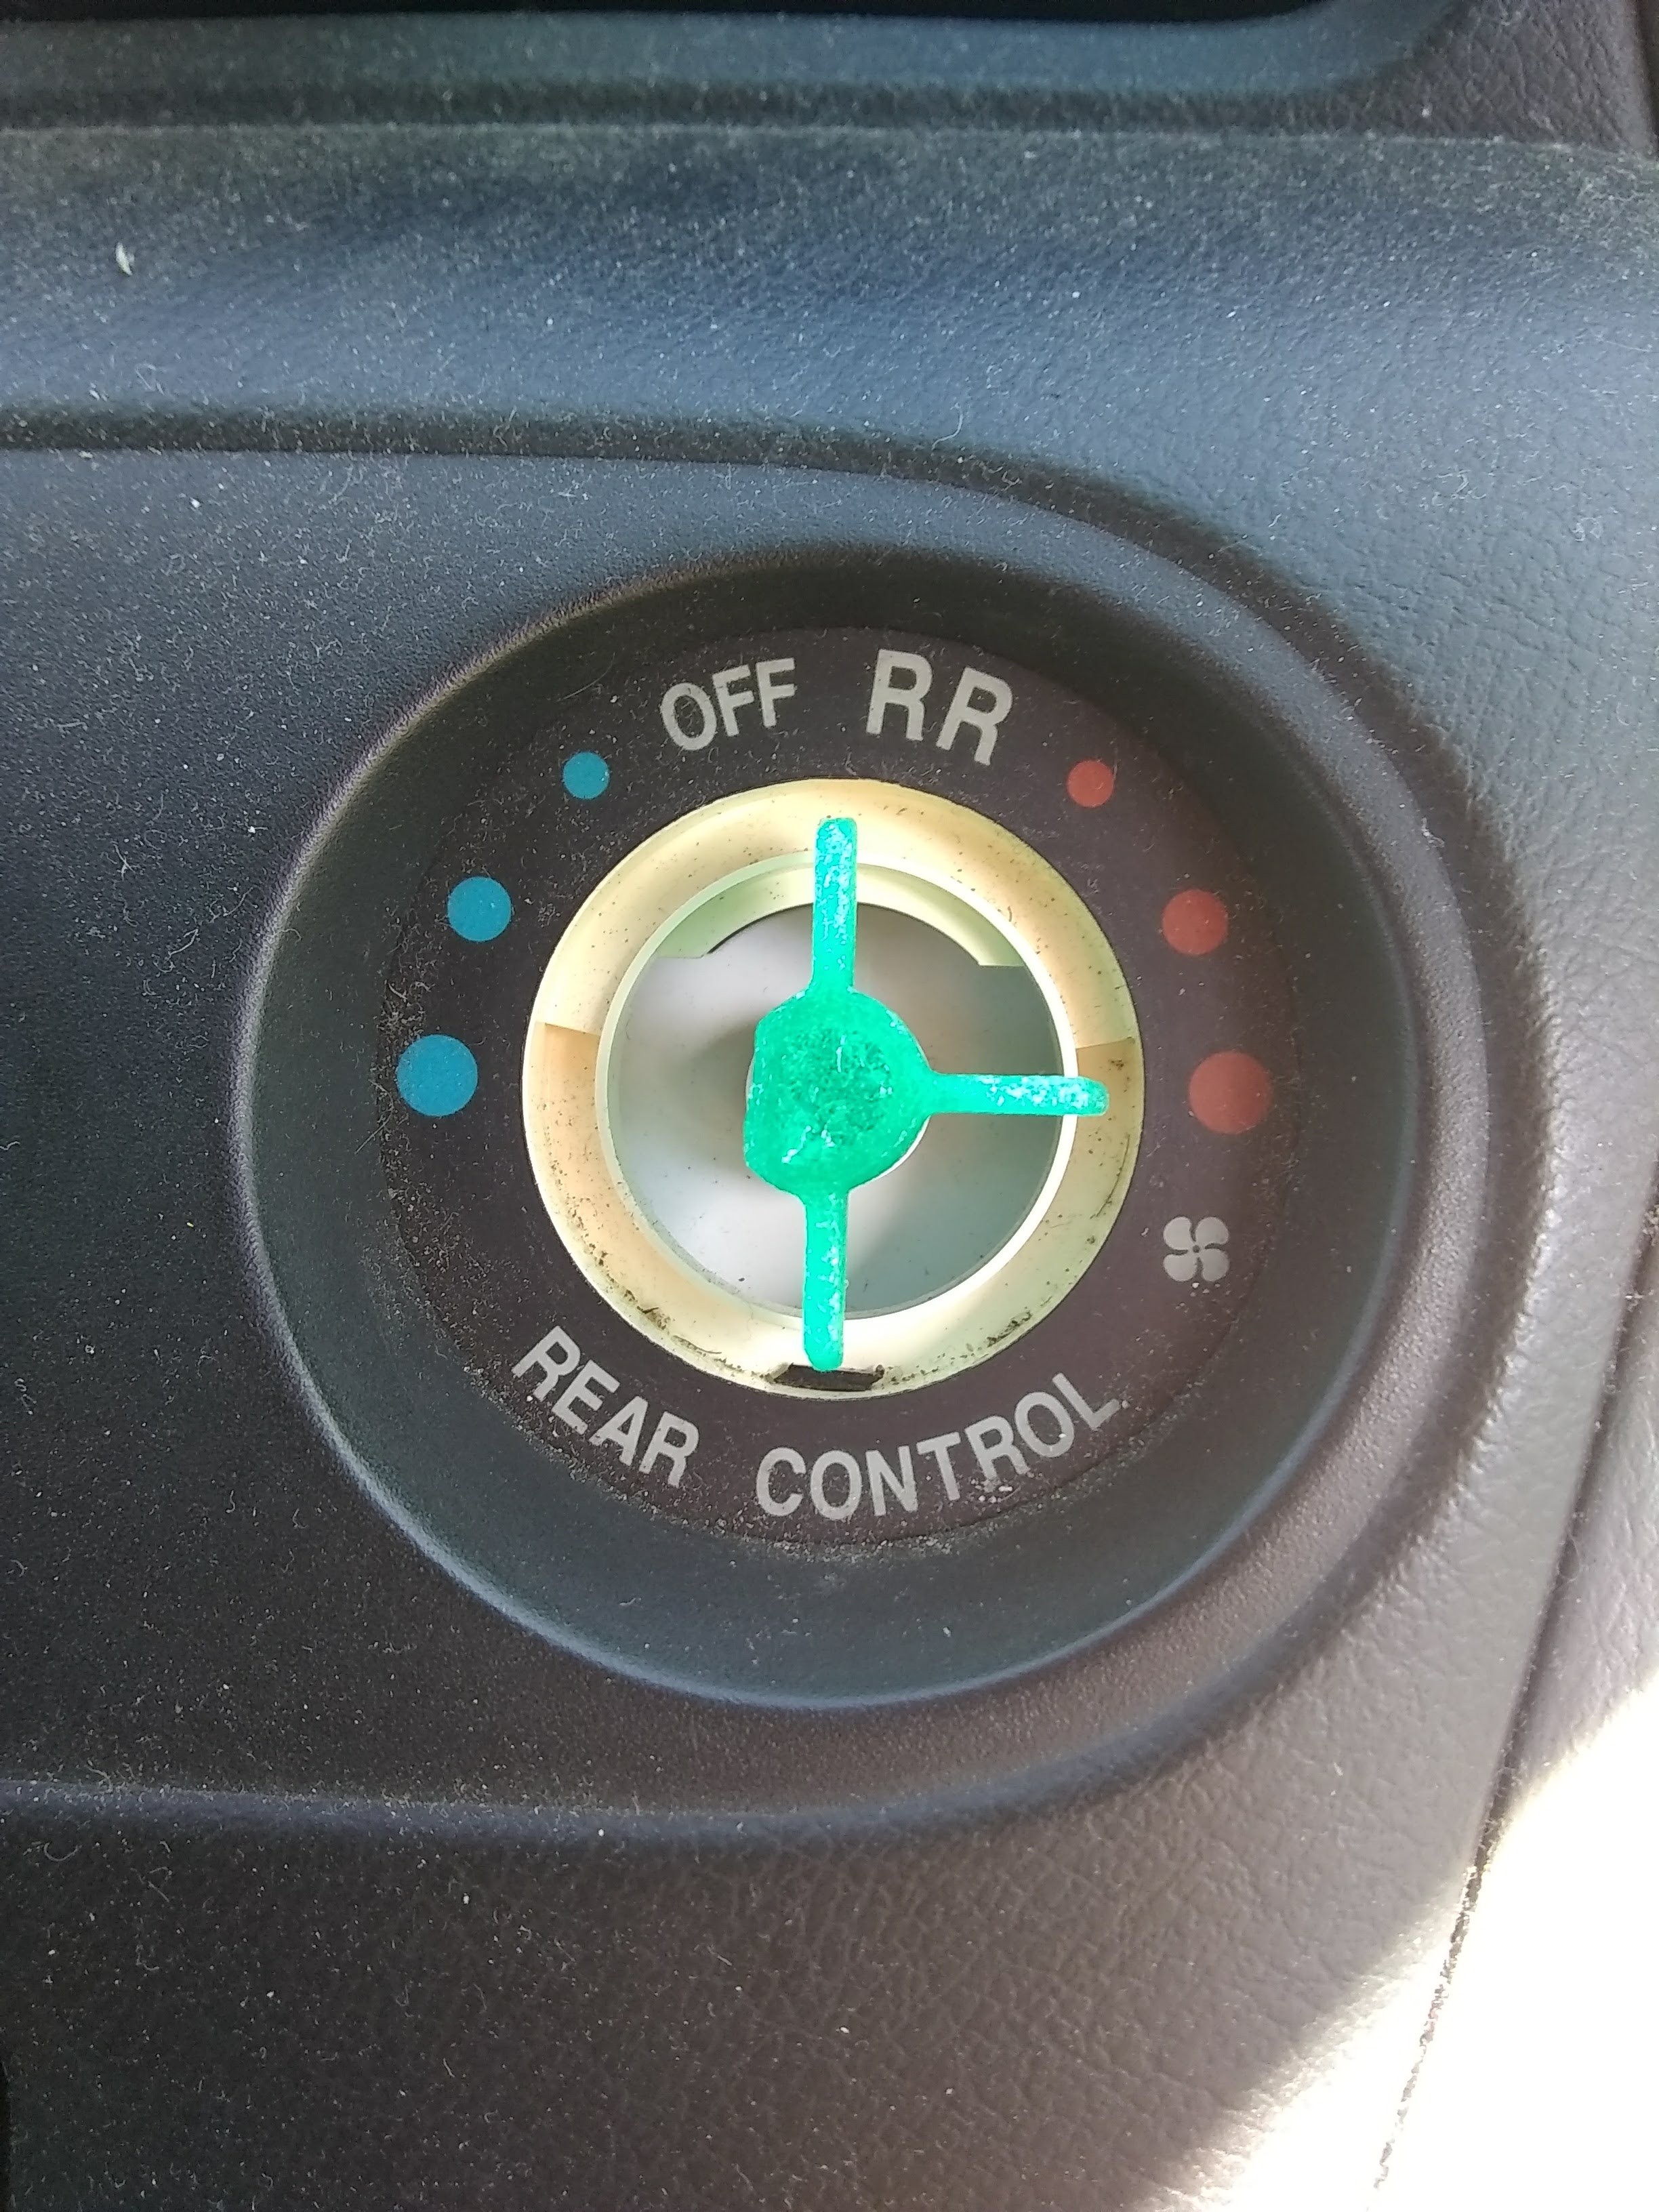
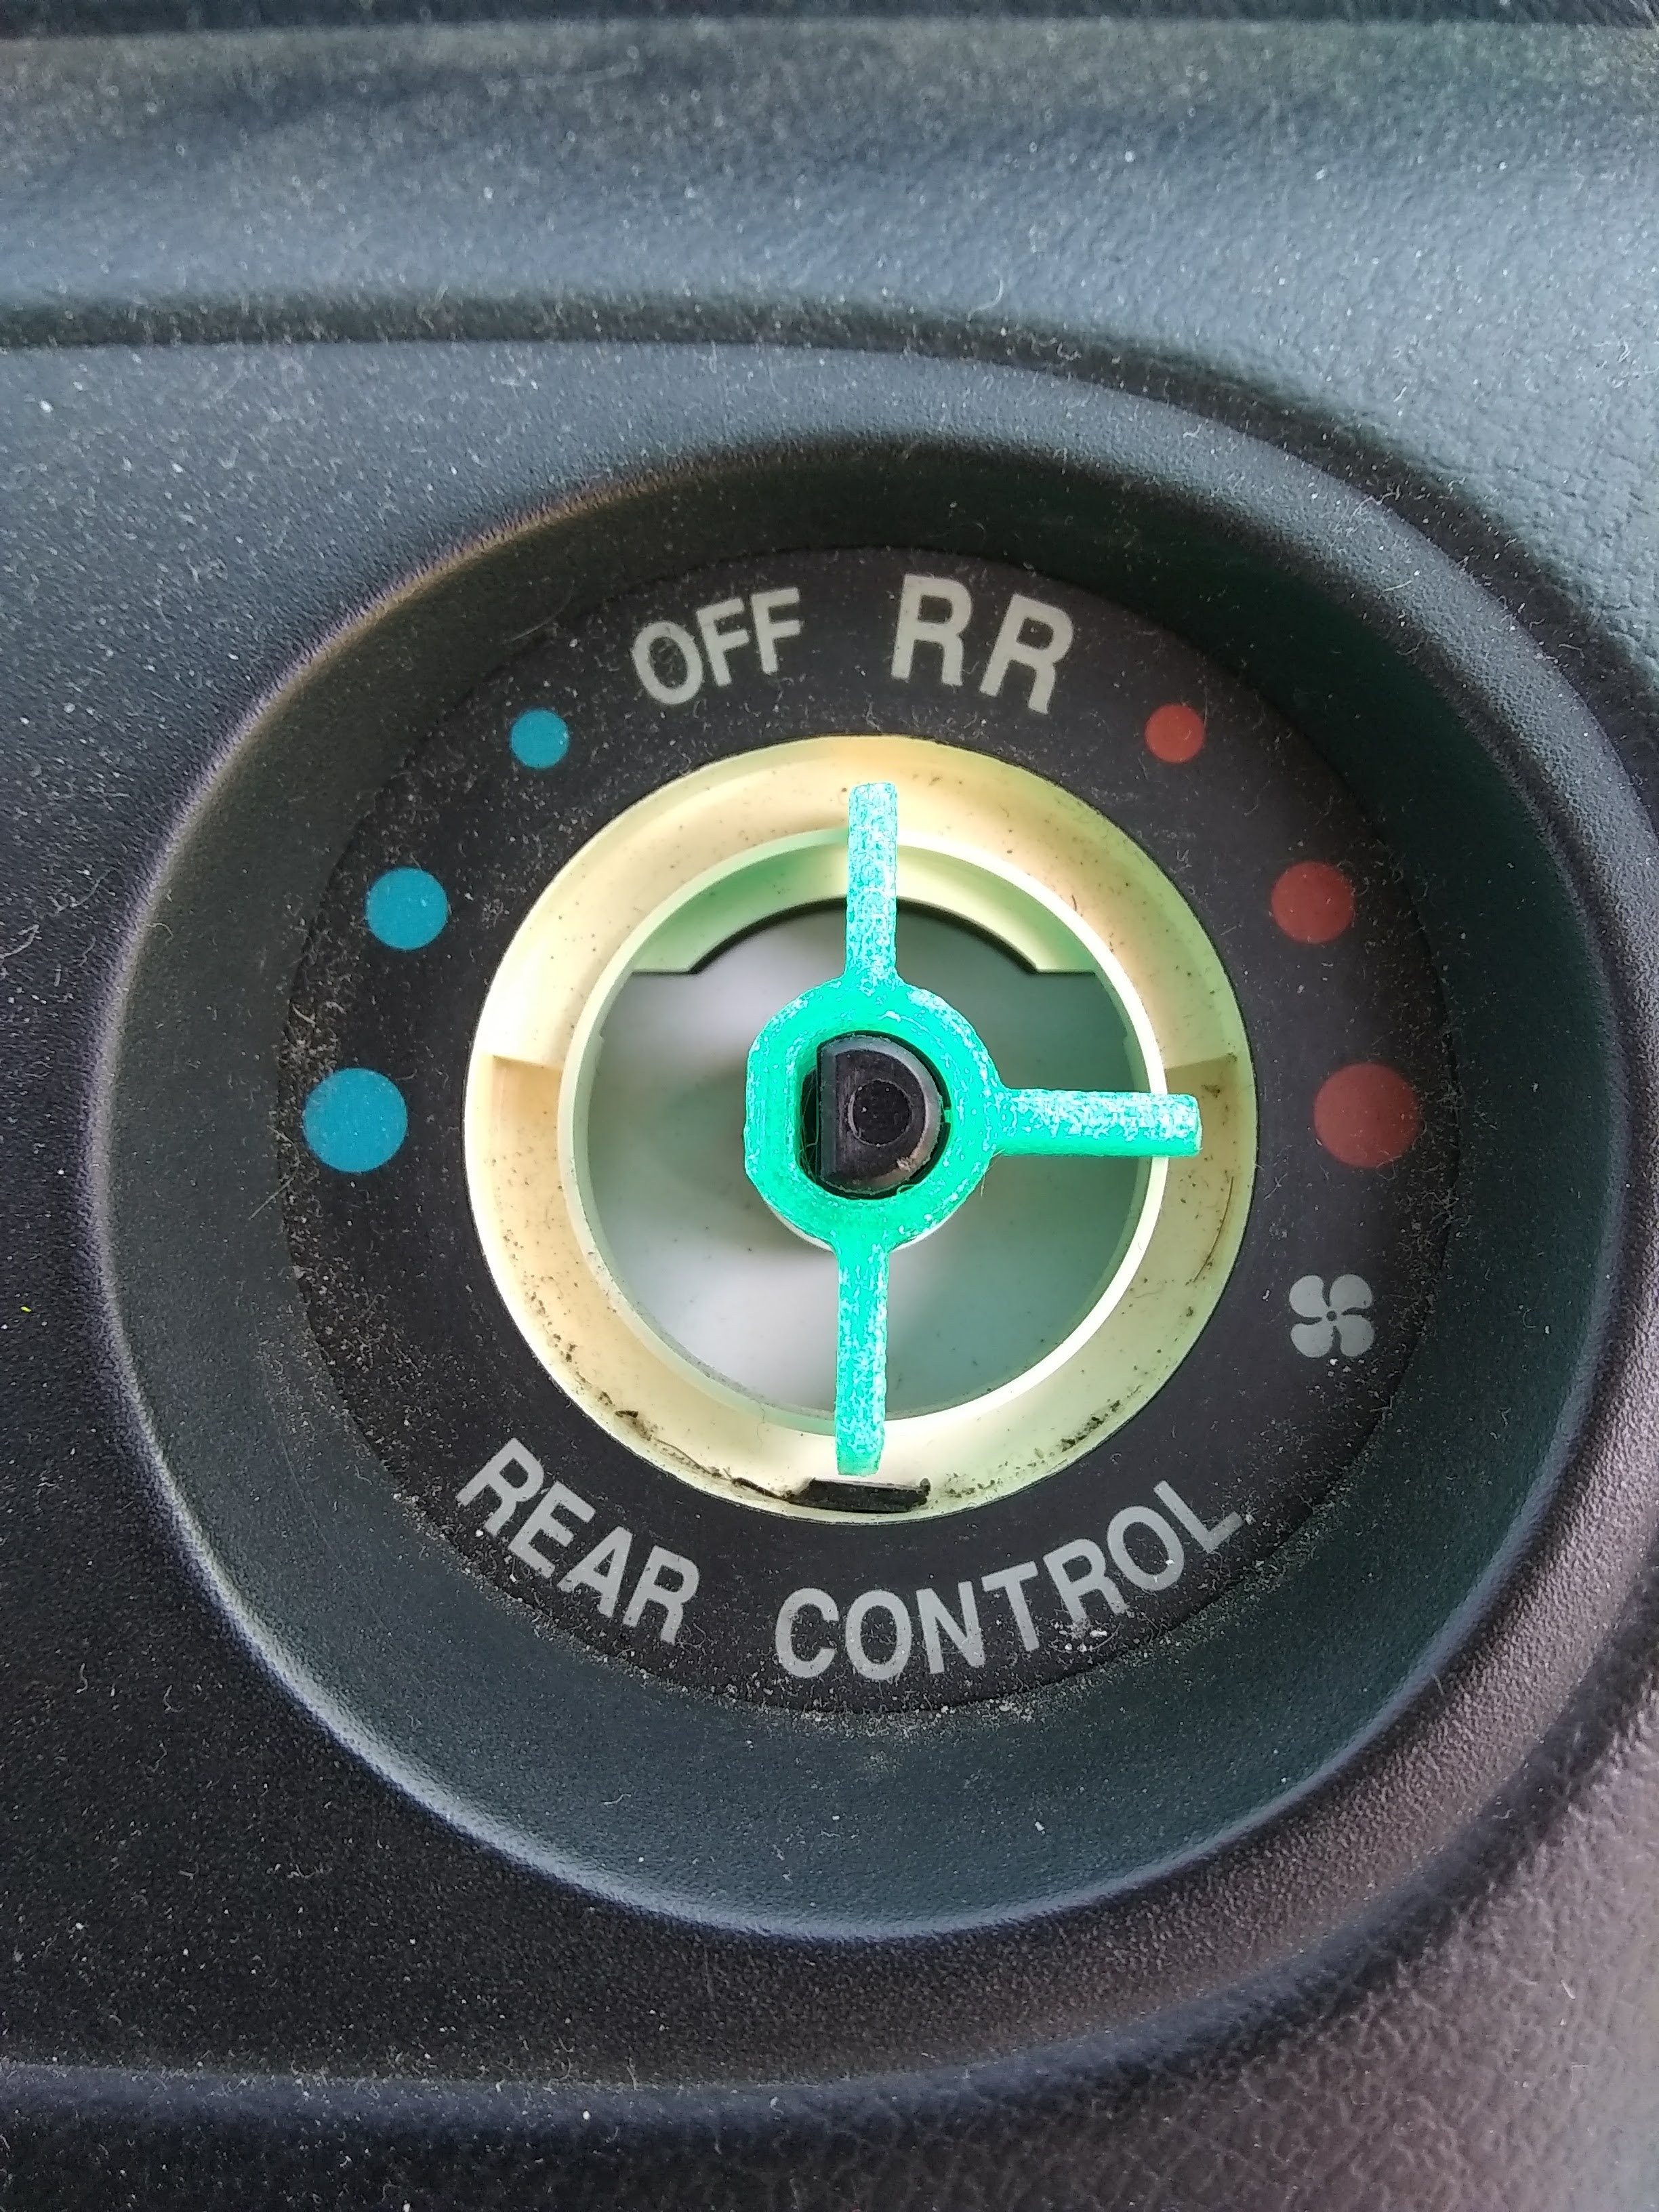
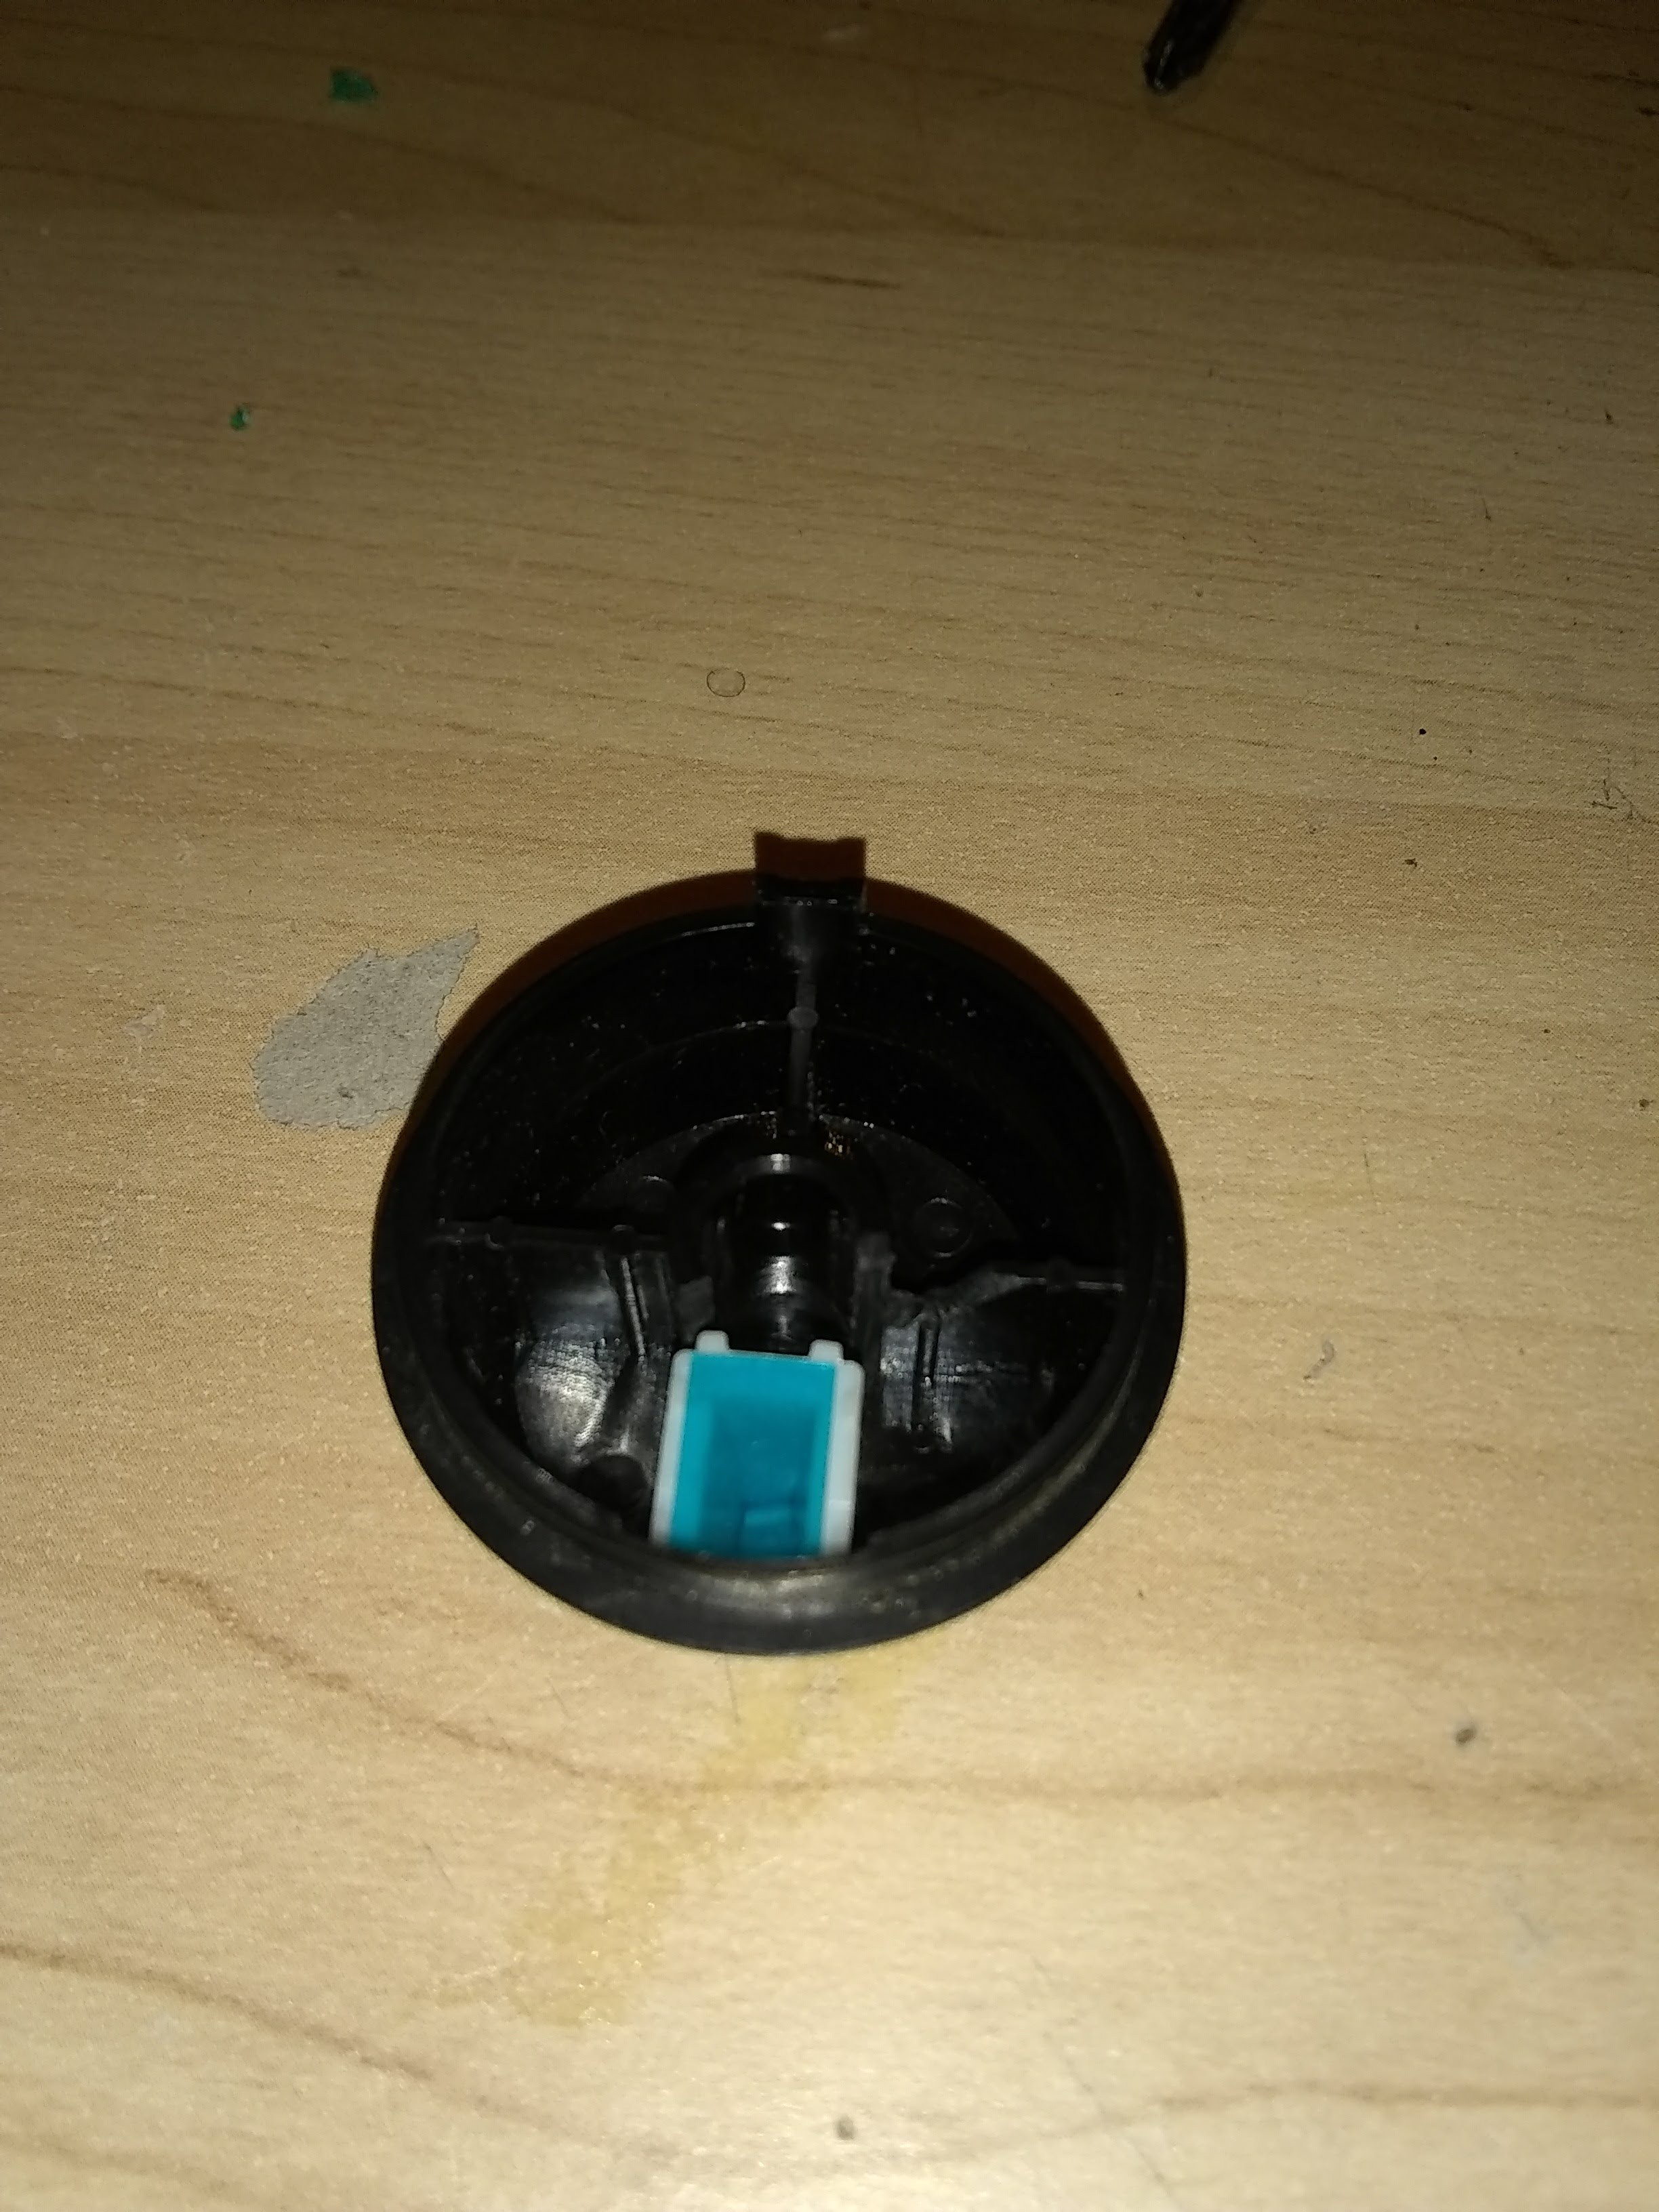
Final placement after gluing the insert into place. I used some UV curing resin to tack it into place quickly, followed by superglue. I probably could get away with just the super glue, but I had the resin on hand.
-
Checking the Printed Inset
02/19/2018 at 01:22 • 0 comments![]()
Test fitting the print into the knob. It was a tight fit. I sanded the edges a bit to get it to fit snugly, but there was a problem with the measurements that caused it to be off.
![]()
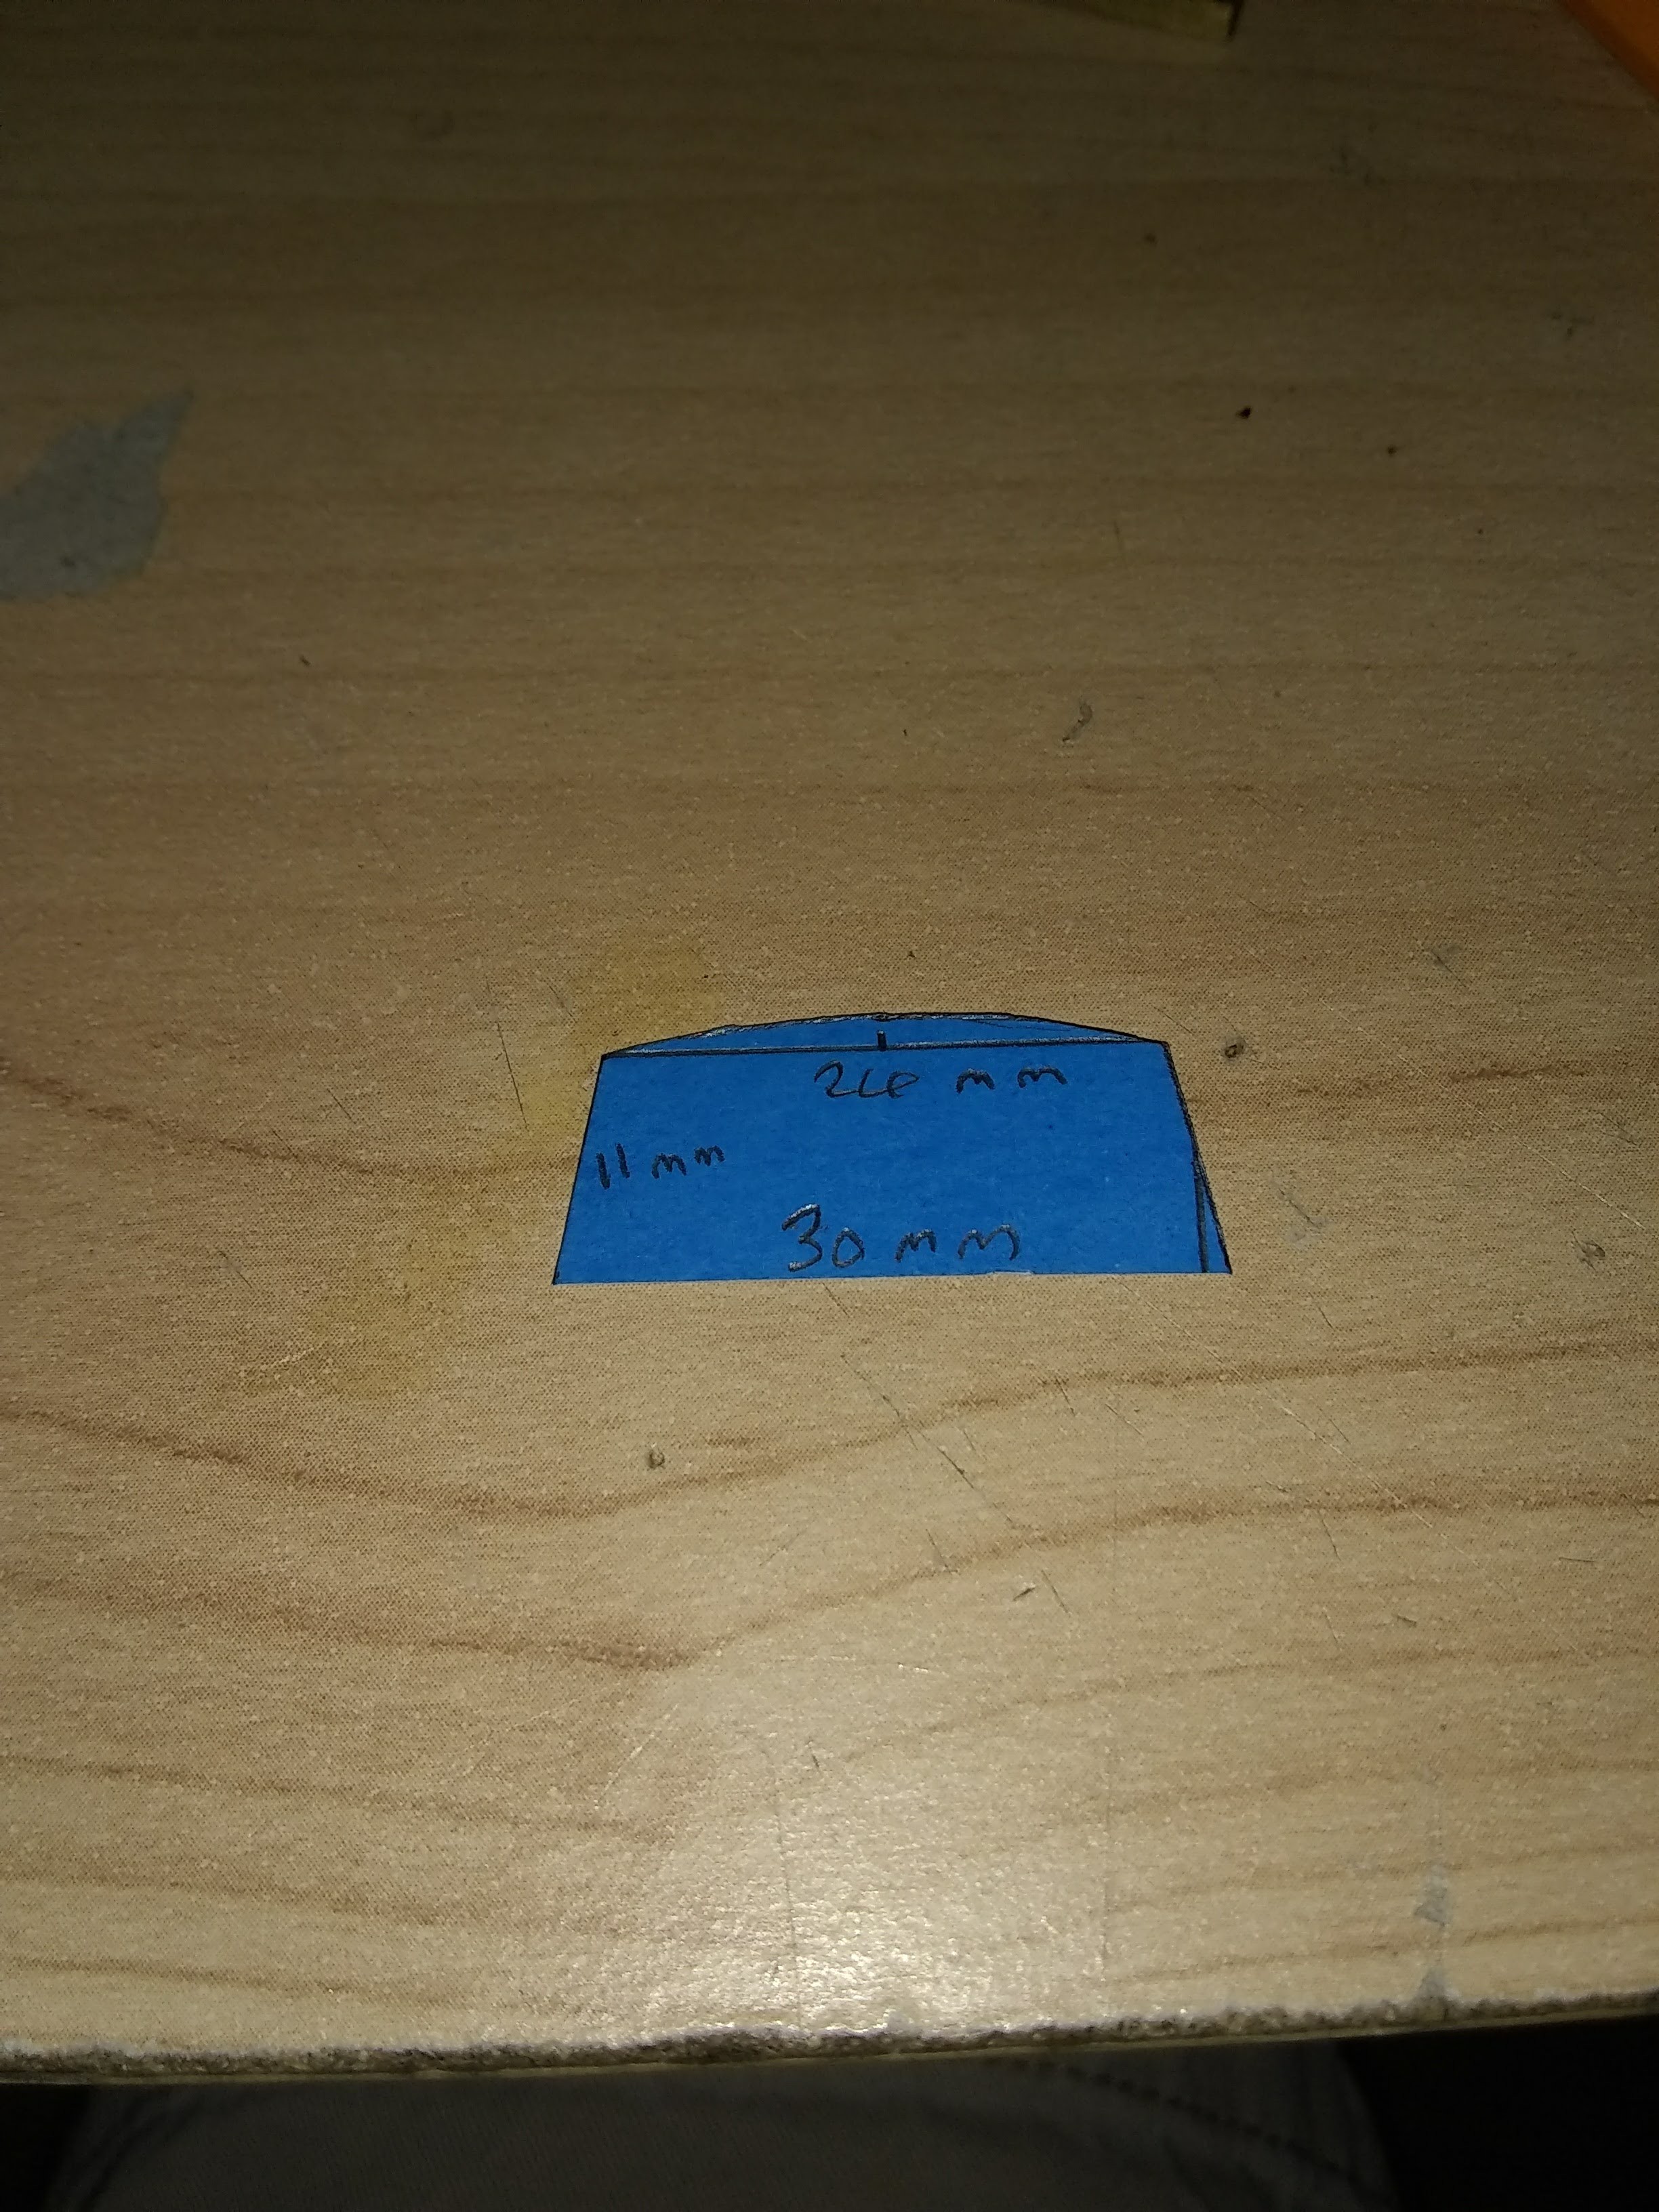
Here you can see there is a 1 mm gap on the flat side of the insert.
-
Modeling and Test Printing
02/19/2018 at 00:32 • 0 comments![]()
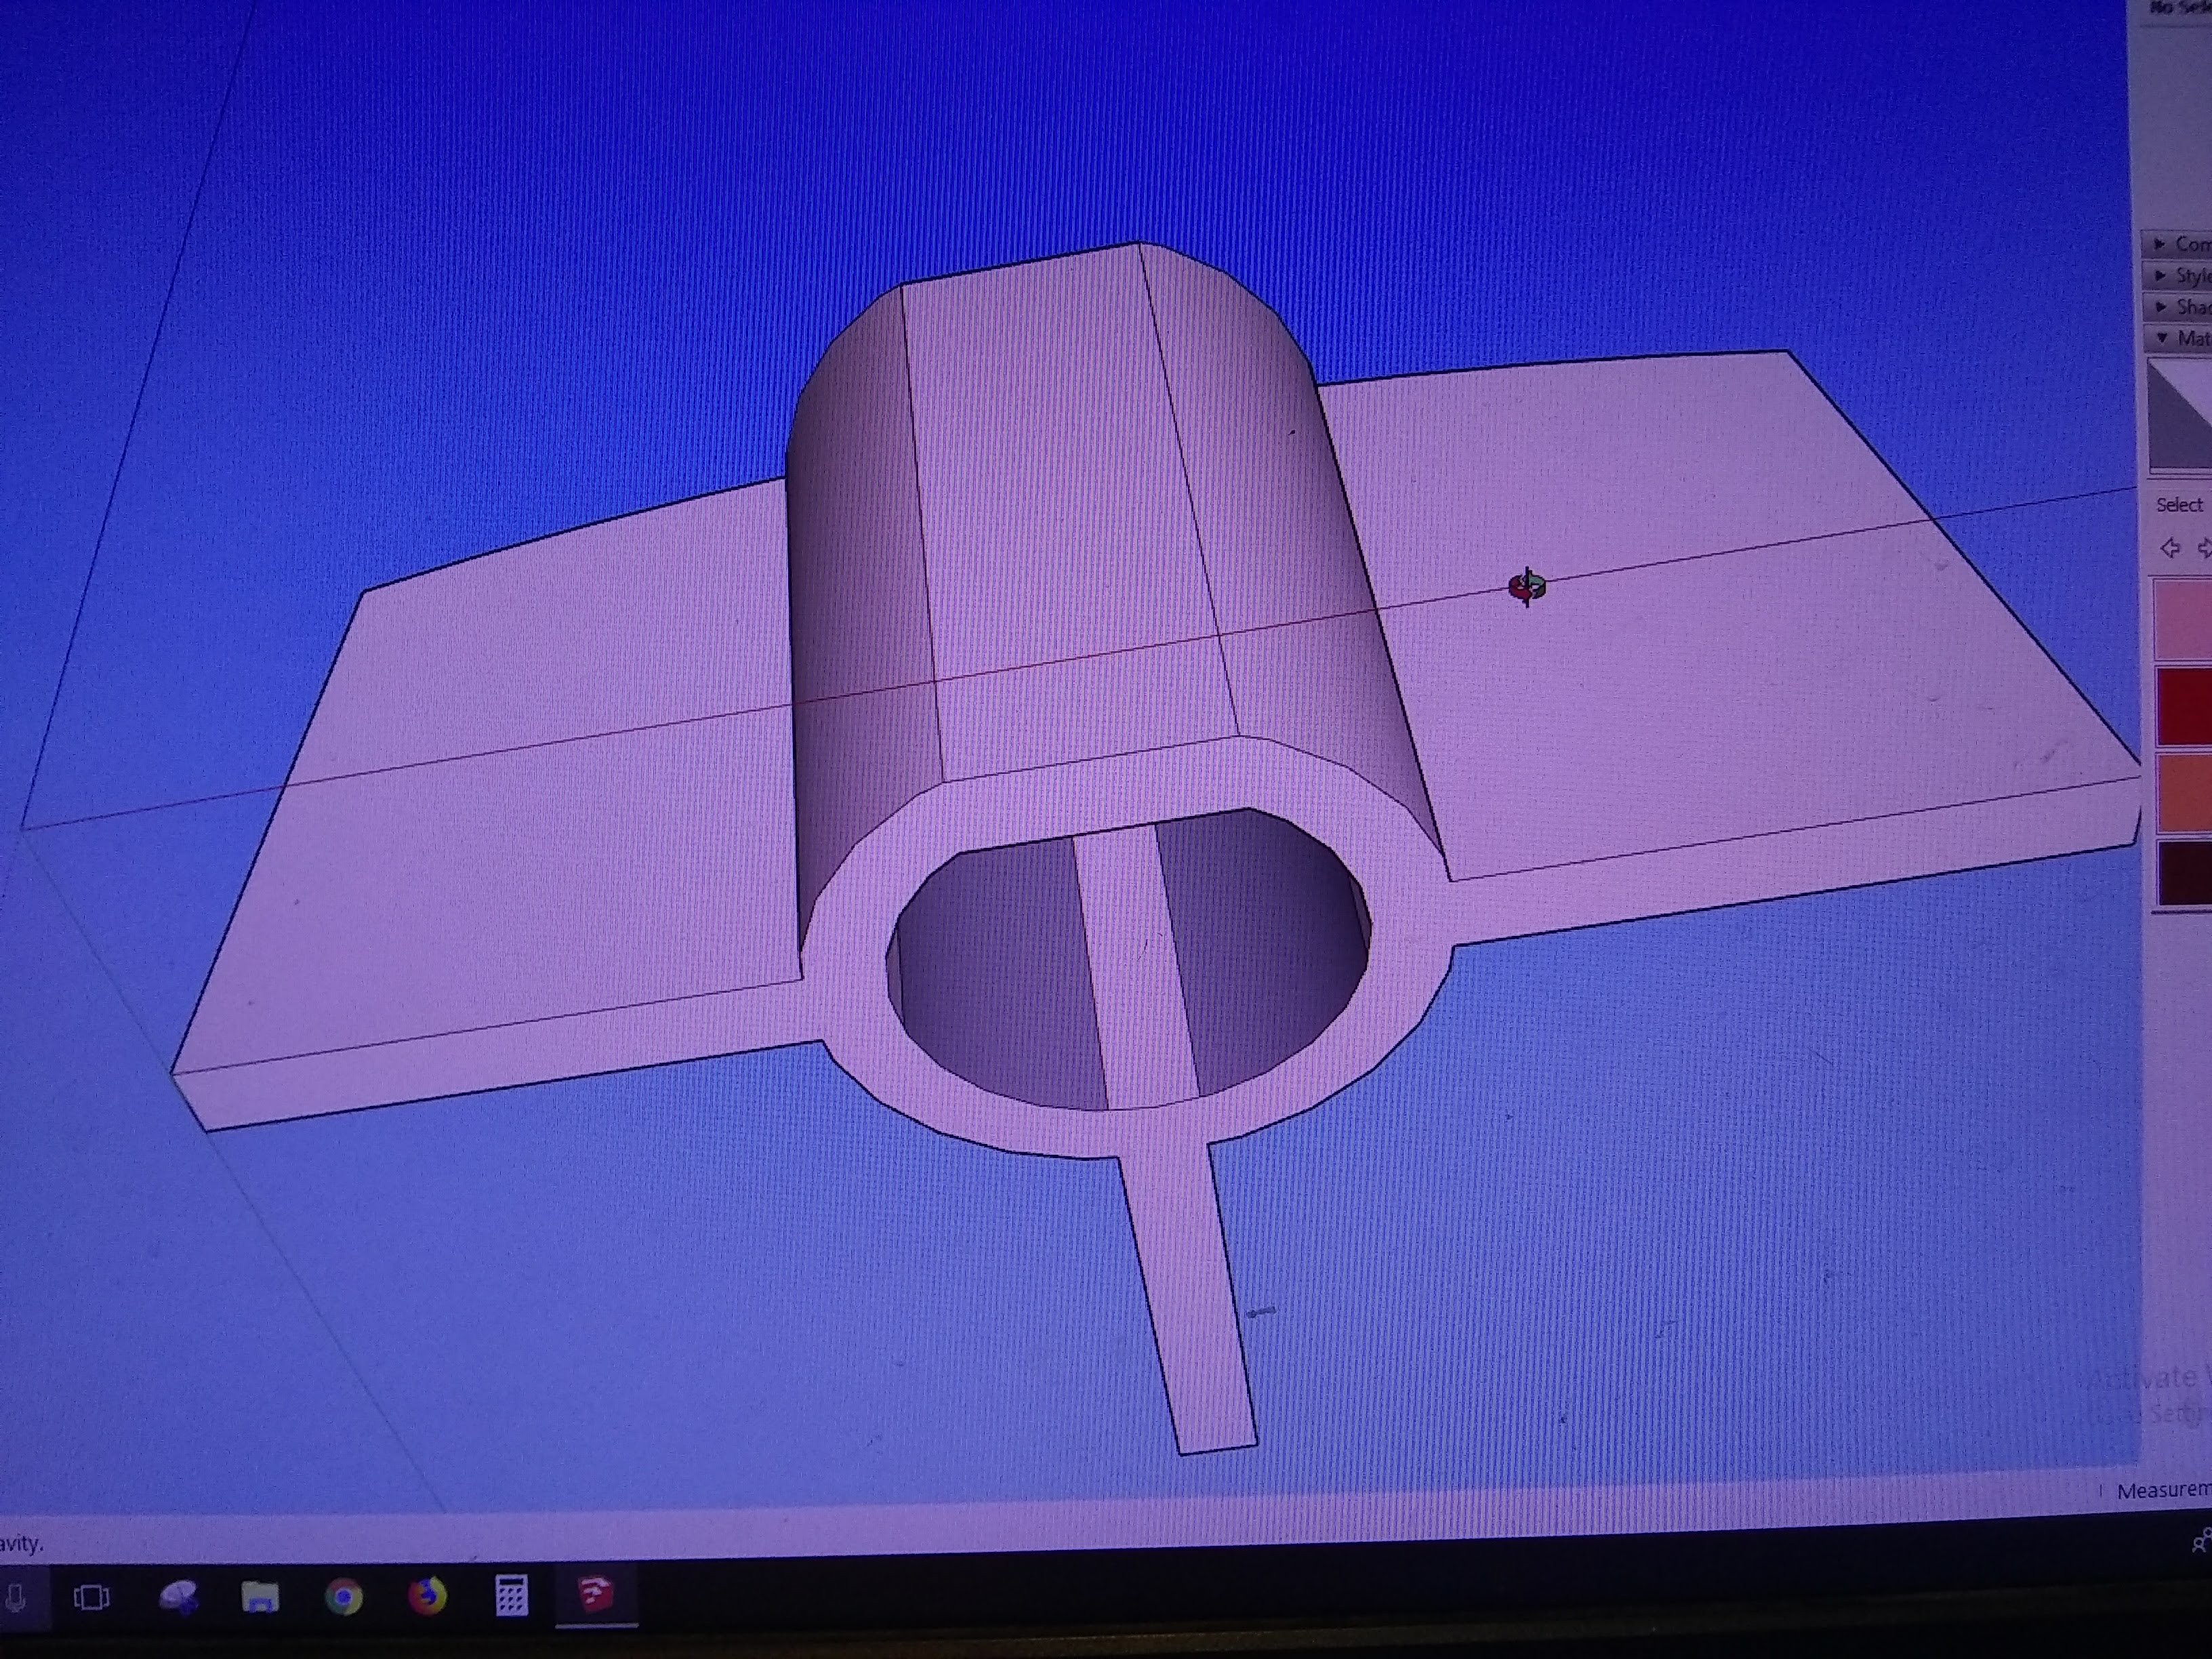
Here is version 1 of the knob insert in Sketchup.
![]()
Here is the first printing. I'd like to say I intended to leave the top open for fitting, which was helpful, but I made a mistake on the model.
-
First 3d Printing Tests
02/19/2018 at 00:29 • 0 comments![]()
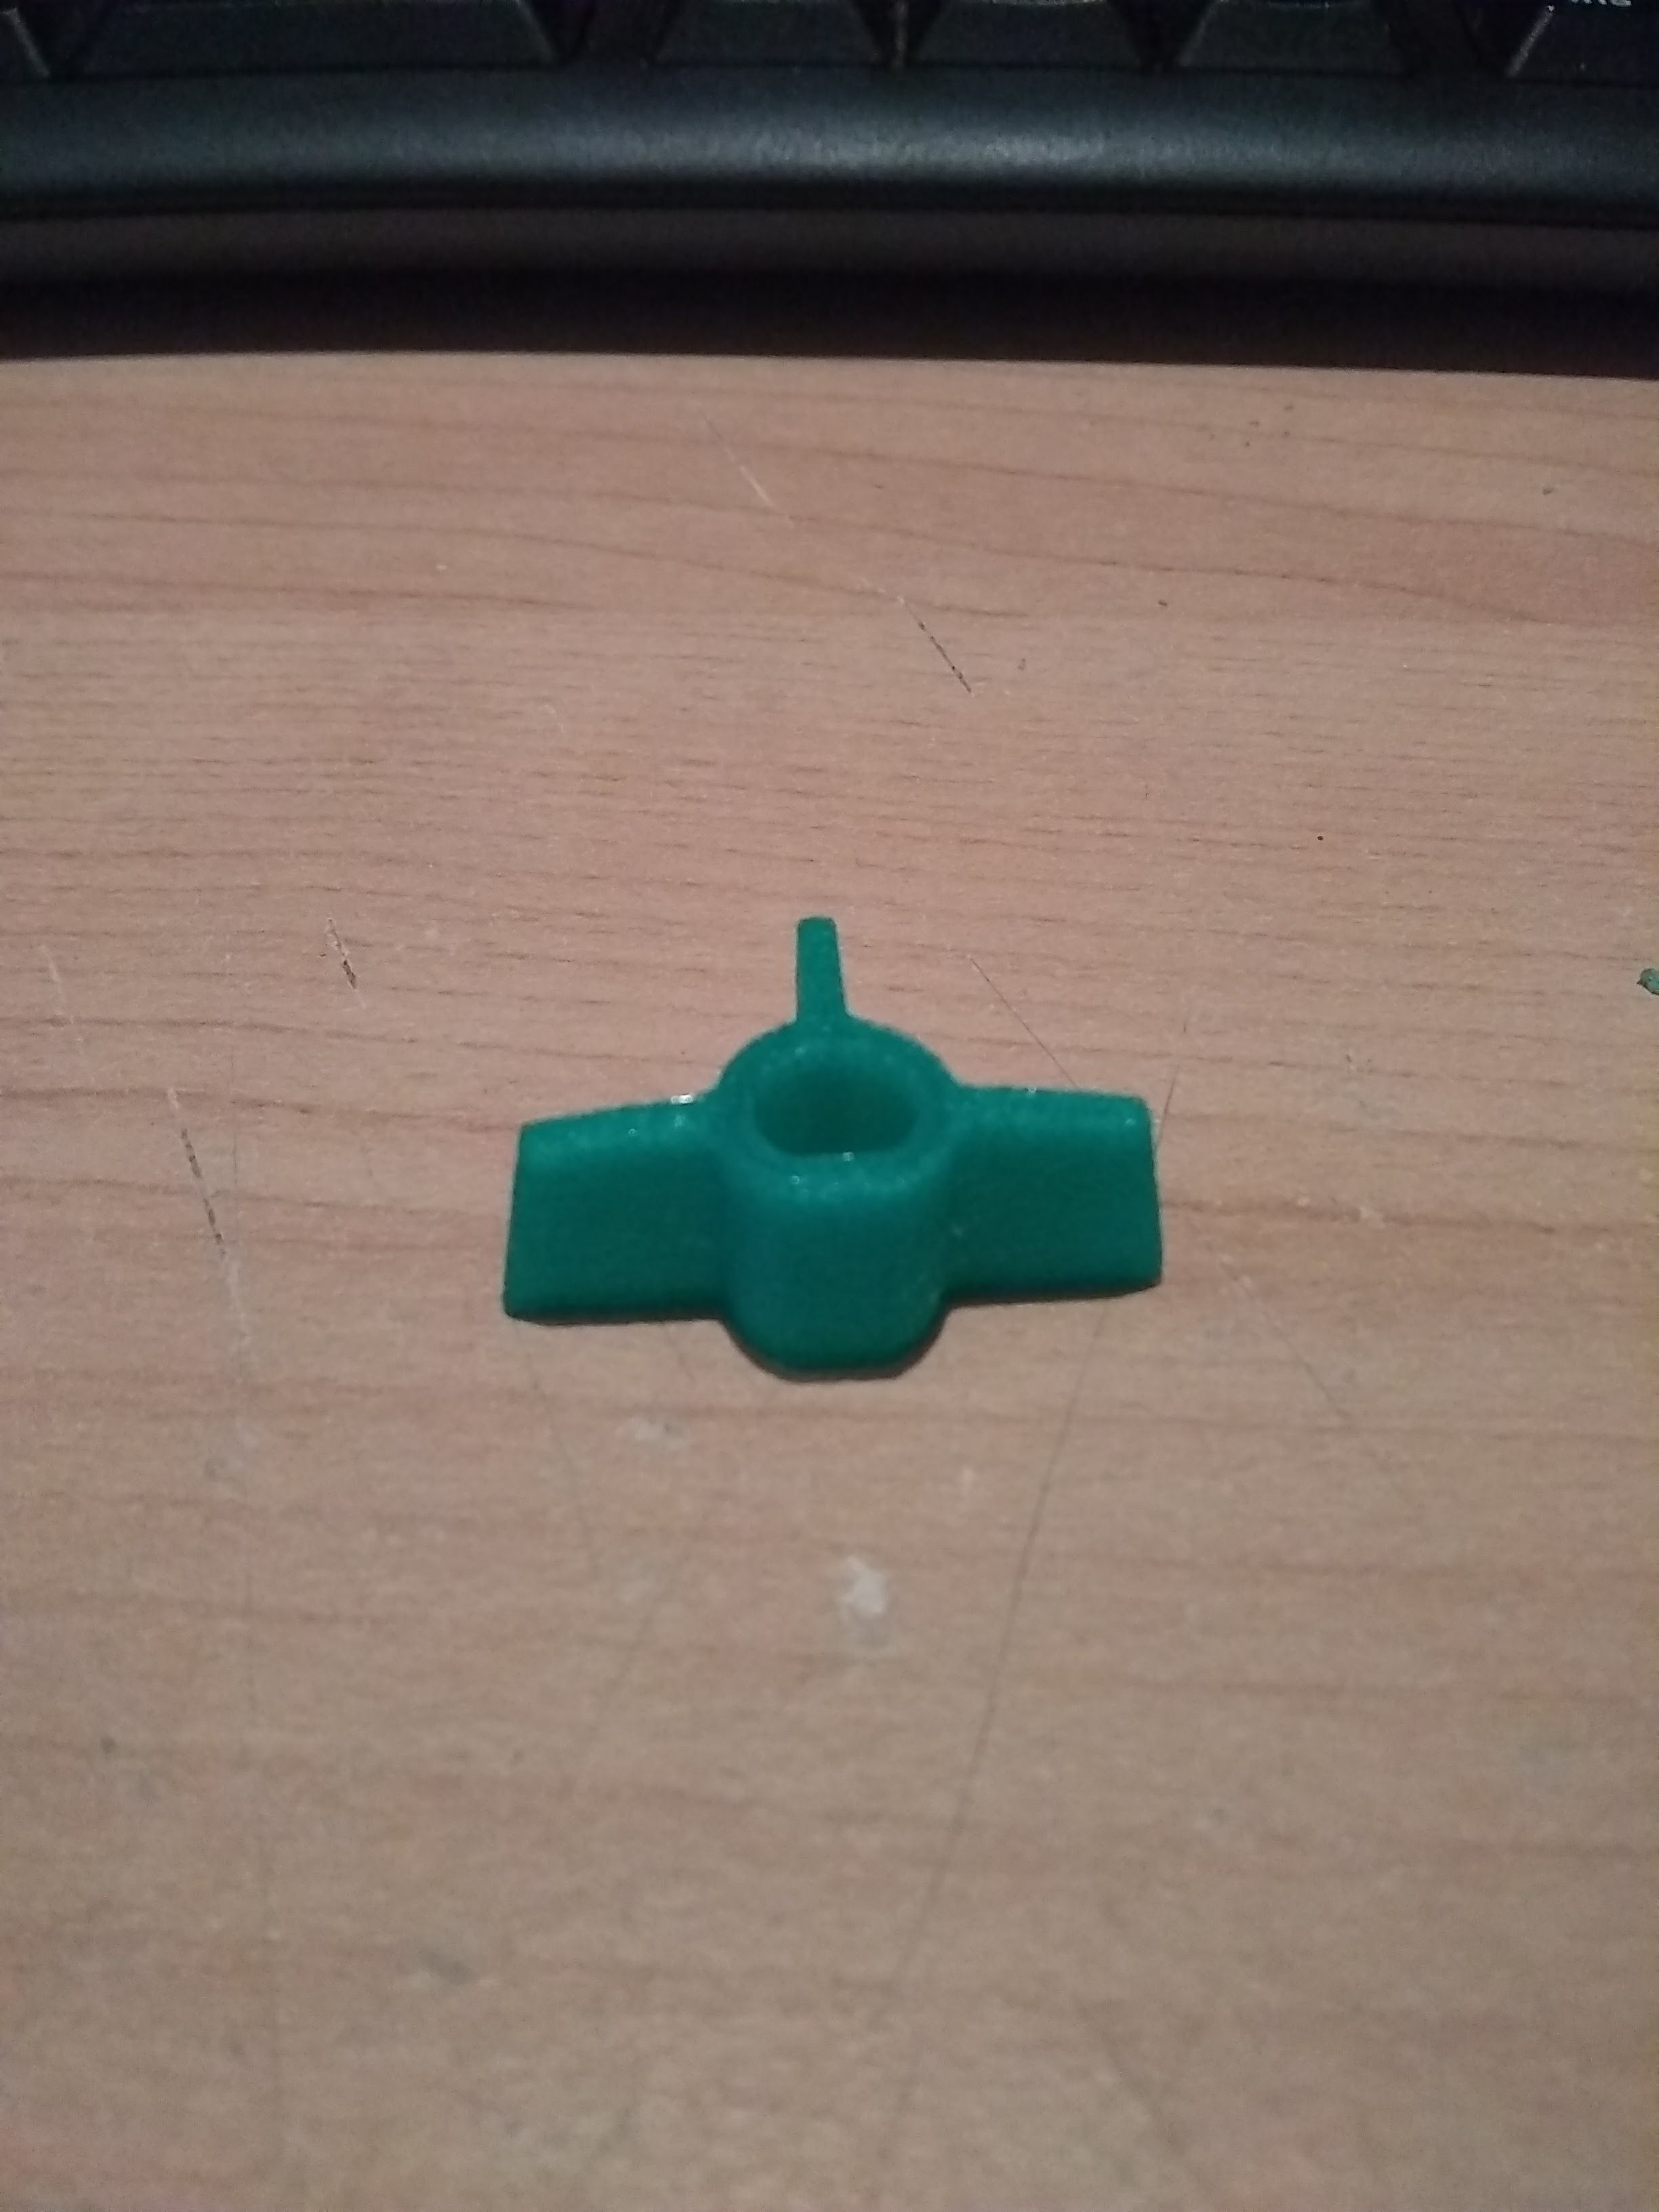
Here is the first 3d printed test piece for fitting. It fit well.
![]()
Here is the test piece fitted in the knob.
-
Prepping the Knob
02/19/2018 at 00:07 • 0 comments![]()
Here I have removed the broken parts.
![]()
Here the broken out part has been cleaned up with a rotary tool.
![]()
This is a cardstock template I made to determine the correct shape and fit of the part.
-
Broken Knob
02/19/2018 at 00:04 • 0 comments![]()
Here is the broken AC knob.
2001 Honda Odyssey AC Knob Repair
Using 3d printing to repair an AC knob for a 2001 Honda Odyssey.