 Ivan
IvanStep 1: Install Raspbian on an SD card or micro SD card depending on which model Raspberry Pi you have. Slot it into the Raspberry Pi.
Step 2: Plug one side of the HDMI cable into the Raspberry Pi and the other side into your display.
Step 3: Power up your Raspberry Pi and install the Raspbian OS. (You can just use the NOOBS package on an SD card)
Step 4: Configure your settings and login. Default Username: Pi
Default Password: raspberry
Step 5: You will see a terminal. Type: startx
Step 6: Plug in your Wifi USB and configure a wifi connection.
Step 7: Plug in your USB Hub.
Step 8: Prepare your USB Fan.
Step 9: Make a mining pool account, I'll be using slush's pool as an example, and bitcoin wallet.
Step 11: Open Terminal. Type these commands:
sudo apt-get update
sudo apt-getinstall autoconf autogen libtool uthash-dev libjansson-dev libcurl4-openssl-dev libusb-dev libncurses-dev git-core –y
git clone https://github.com/luke-jr/bfgminer.git
cd bfgminer
./autogen.sh
./configure
make
Step 12: Plug in ASIC USB Chip and cool it with your usb fan.
Step 13: run these last commands.
cd bfgminer
./bfgminer
<a target="_blank">username.worker</a>
<a target="_blank">password</a>
Step 14: If your USB is not detected type (type these separately):
M
+
auto
if still not detected replace "auto" with "all"
Killj0y
Warning: You may want to update bfgminer to the latest version as different version use different commands, I am using the latest one so far: 5.4.1


 John Basista
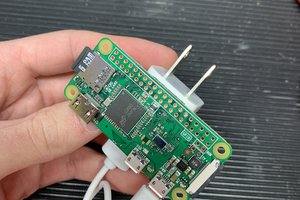
 Nate Schroeder
 hsavior
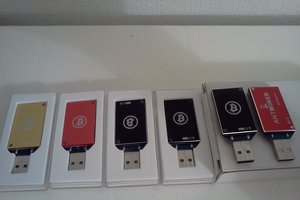
 Fatts McGee
Very interesting...In kc477’s comment, you said you didn’t have enough time to maintain it. Couldn’t you plug the raspberry pi in and leave it running?