-
How Much Wood Would Wood Glue Glue If Wood Glue Would Glue Wood?
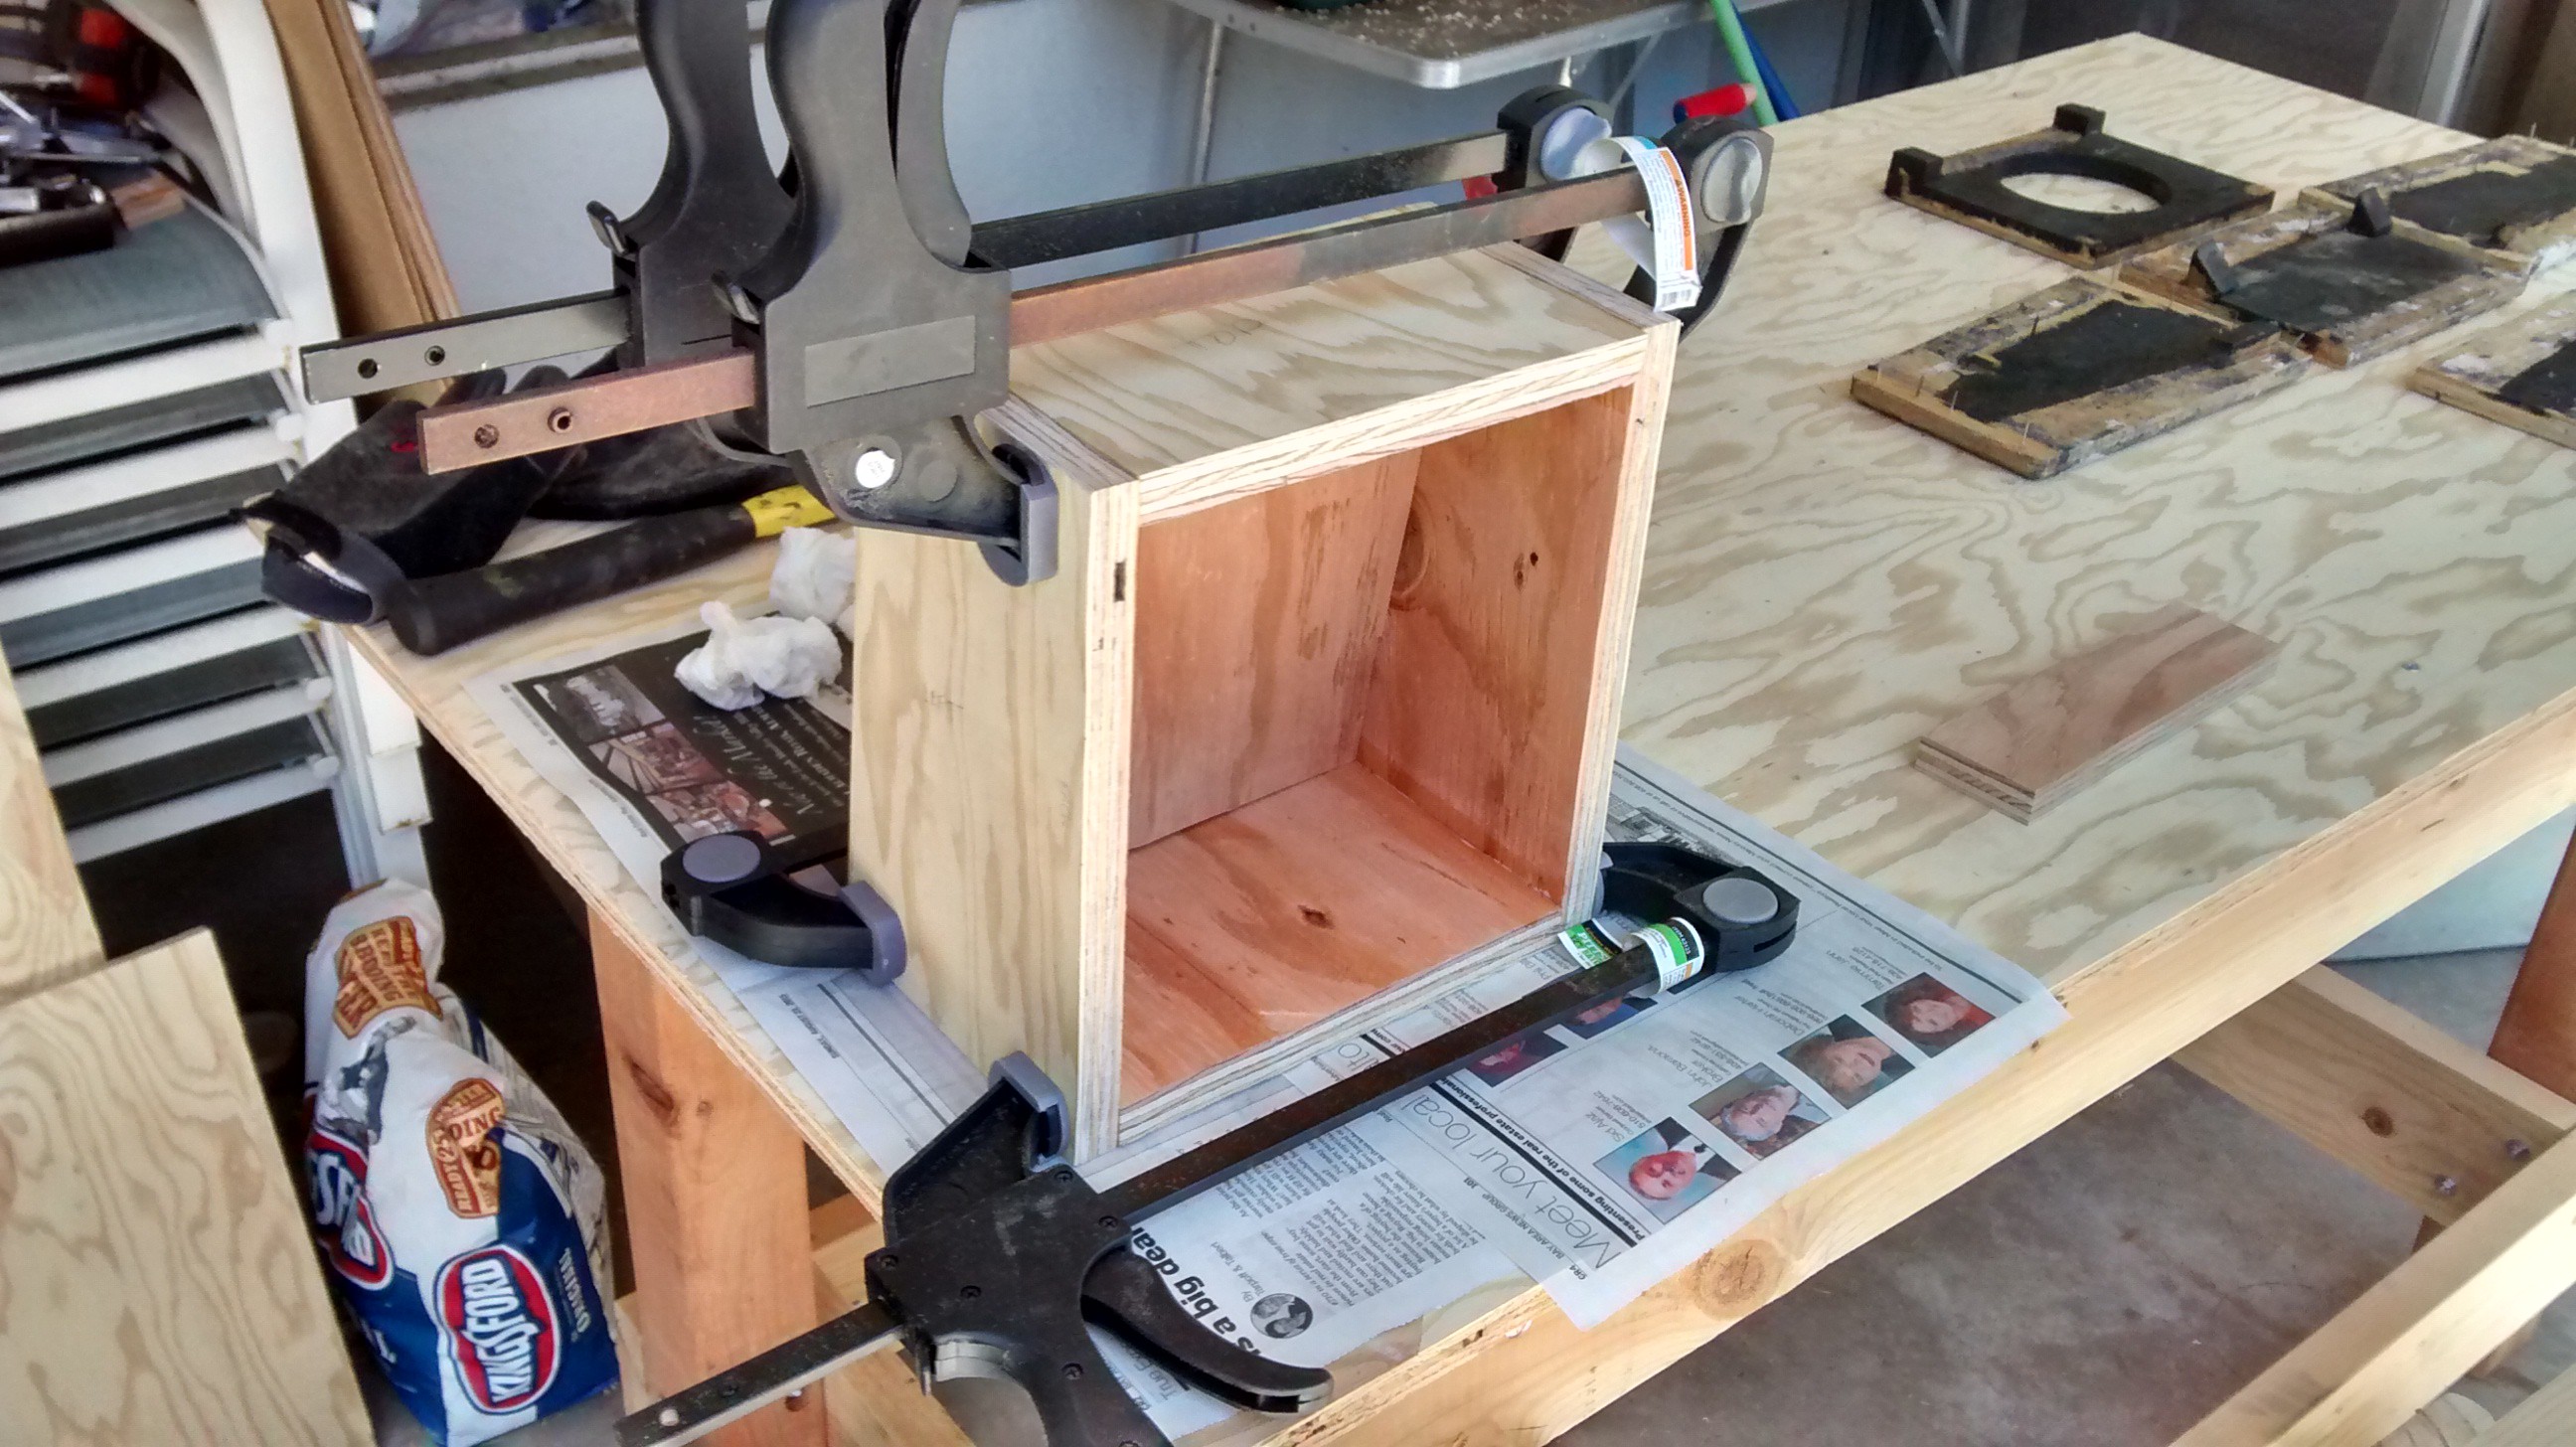
08/25/2015 at 17:27 • 0 commentsI was unable to cut out the speaker hole in the face plate, so I went ahead and glued together the outer pieces of the cabinet.
![]() The face plate was left in there while the glue set, presumably for a reason, but wasn't glued in itself.
The face plate was left in there while the glue set, presumably for a reason, but wasn't glued in itself.I'm also missing a batch of photos from this part of the build, so I don't have any visuals for the next bit.
Like I've mentioned, I want to mount the face plate differently in this rebuild. The original construction had it permanently nailed into the cabinet, but that didn't allow for the grille cloth to wrap around the edges. It wasn't designed to have any grille cloth so the previous owner just screwed it onto the front and left the edges visible. In order to accommodate the thickness of tolex and grille cloth between the face plate and cabinet, I need to fit the face plate with a gap around the edges, so the first step moving forward from here was actually to drill the mounting holes for the chassis. I simply clamped the old top piece to the cabinet and match-drilled the holes.
With the chassis mounted, I trimmed the edges of the face plate until I had about 1/16" clearance around the edges. It may be too much, it may be too little, but it's already more forethought than I expected of myself so I have hopes.
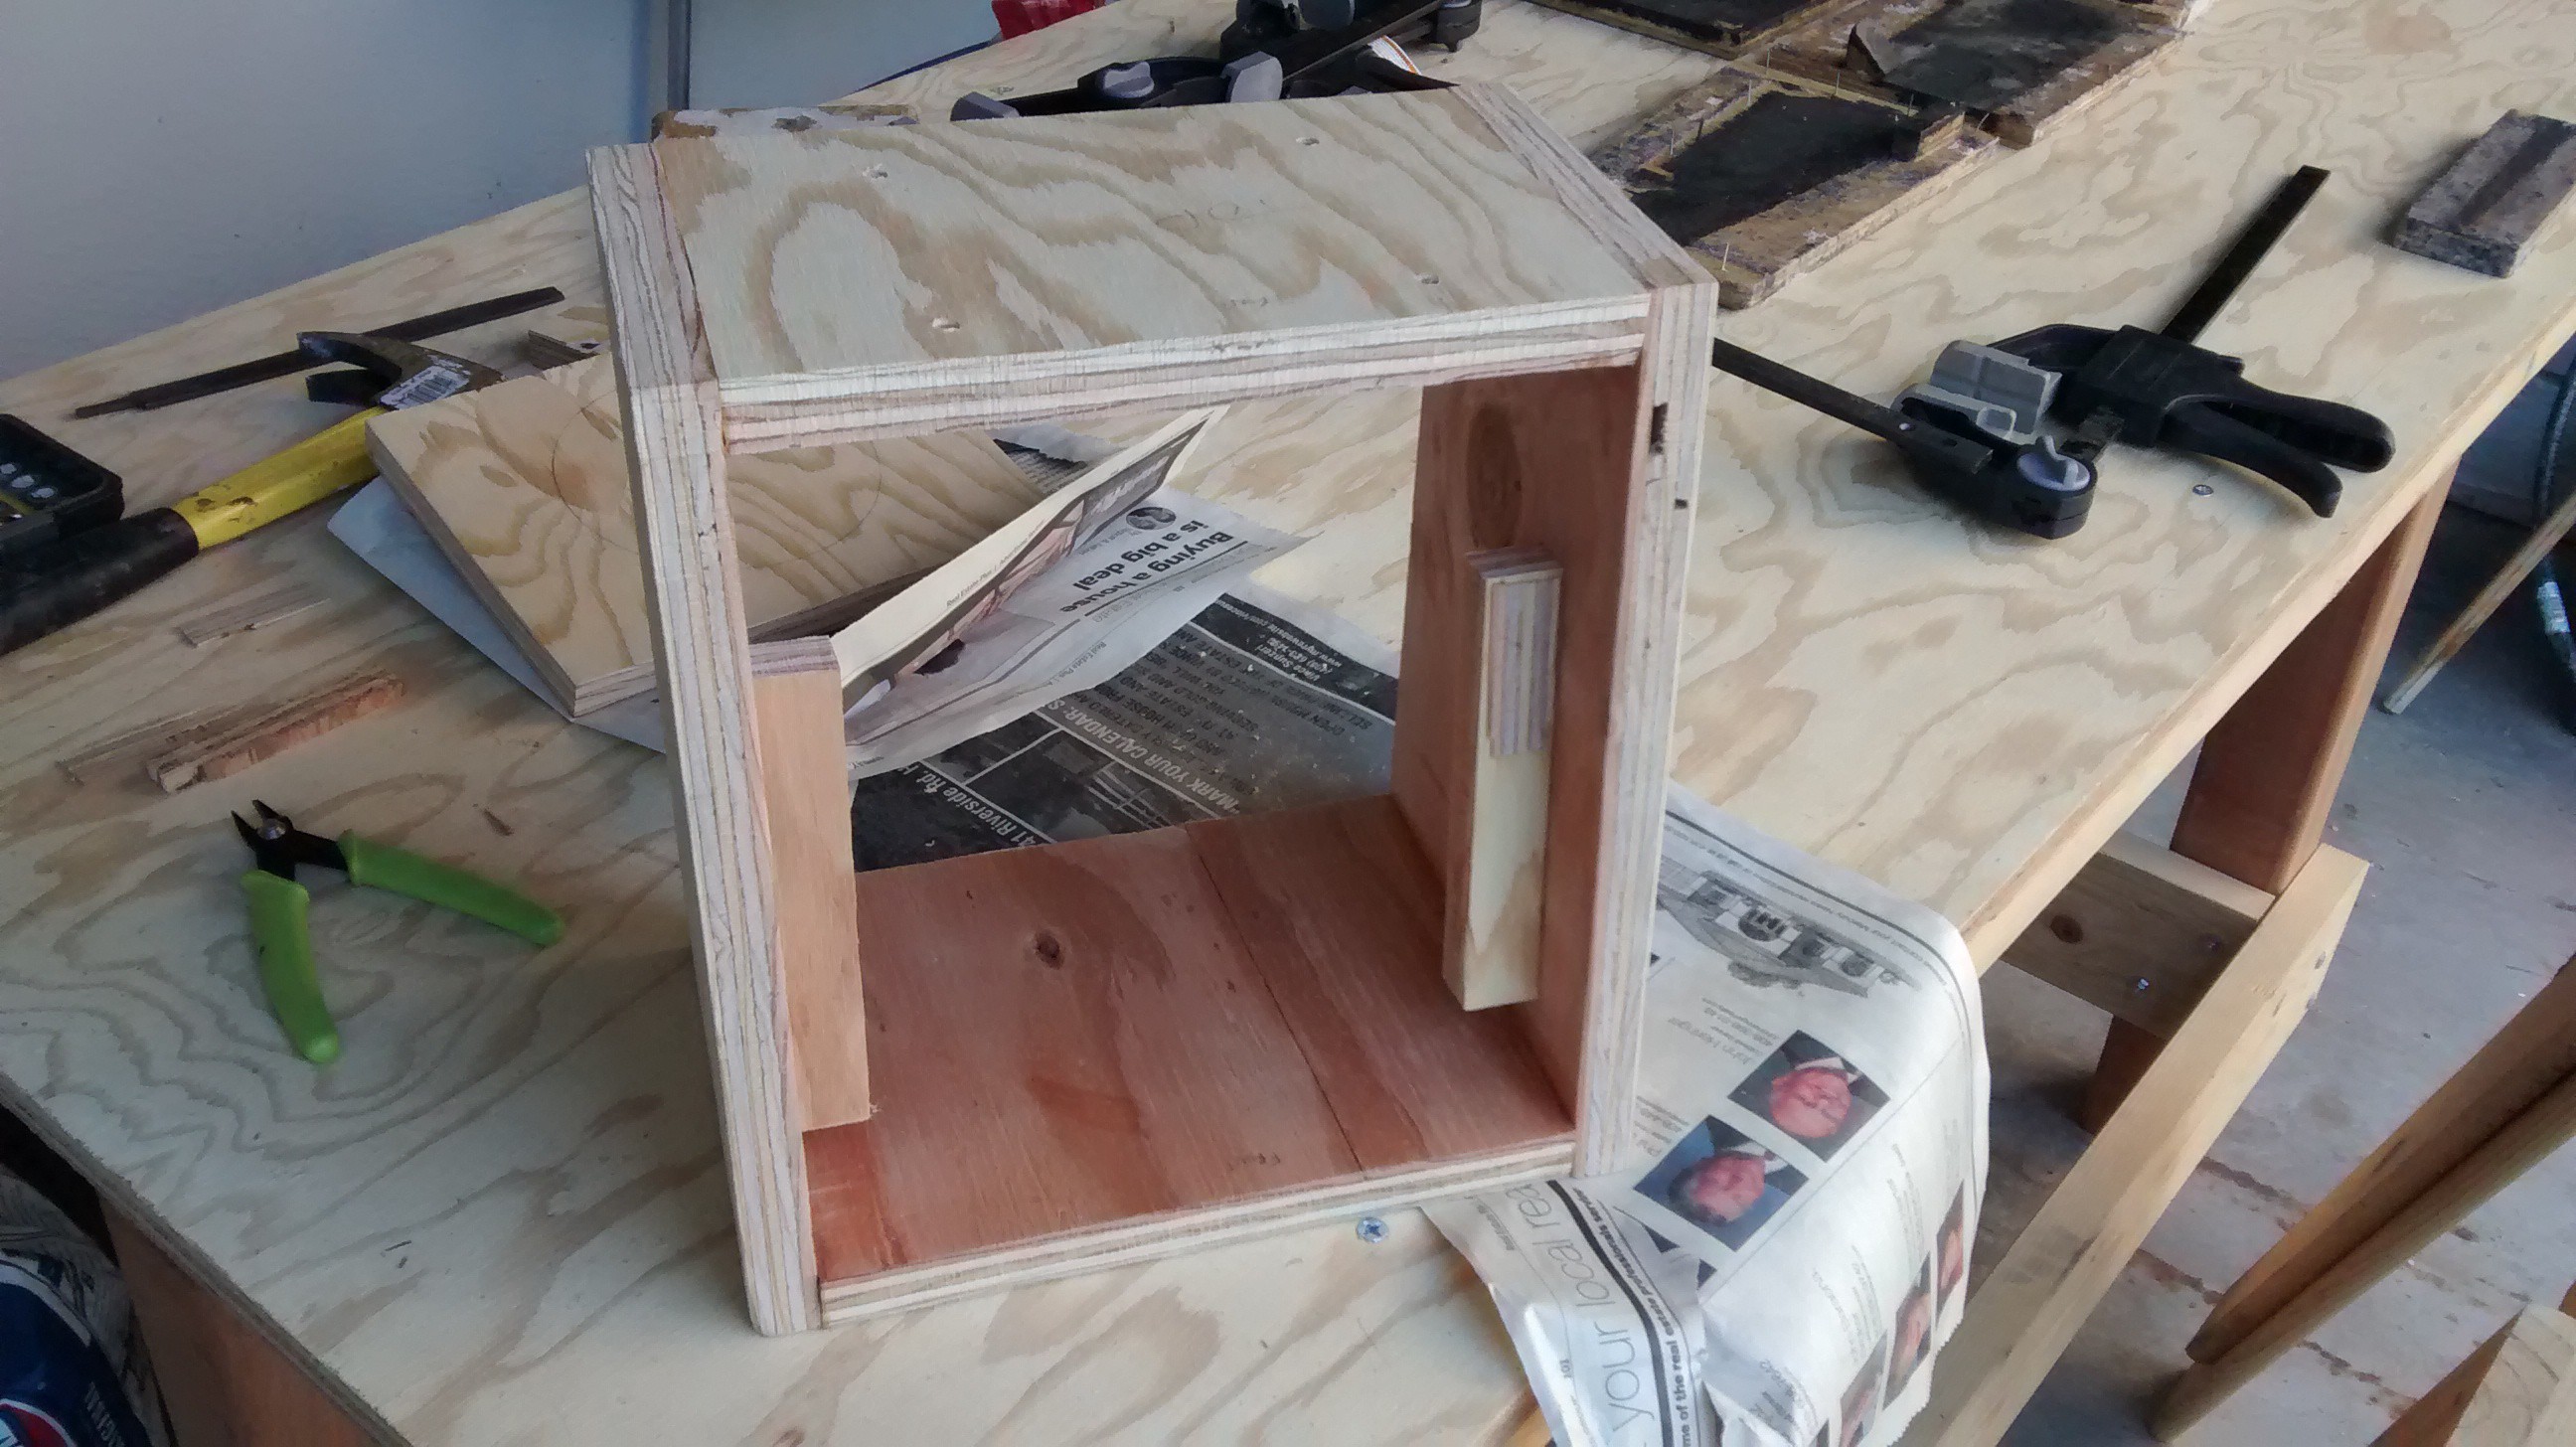
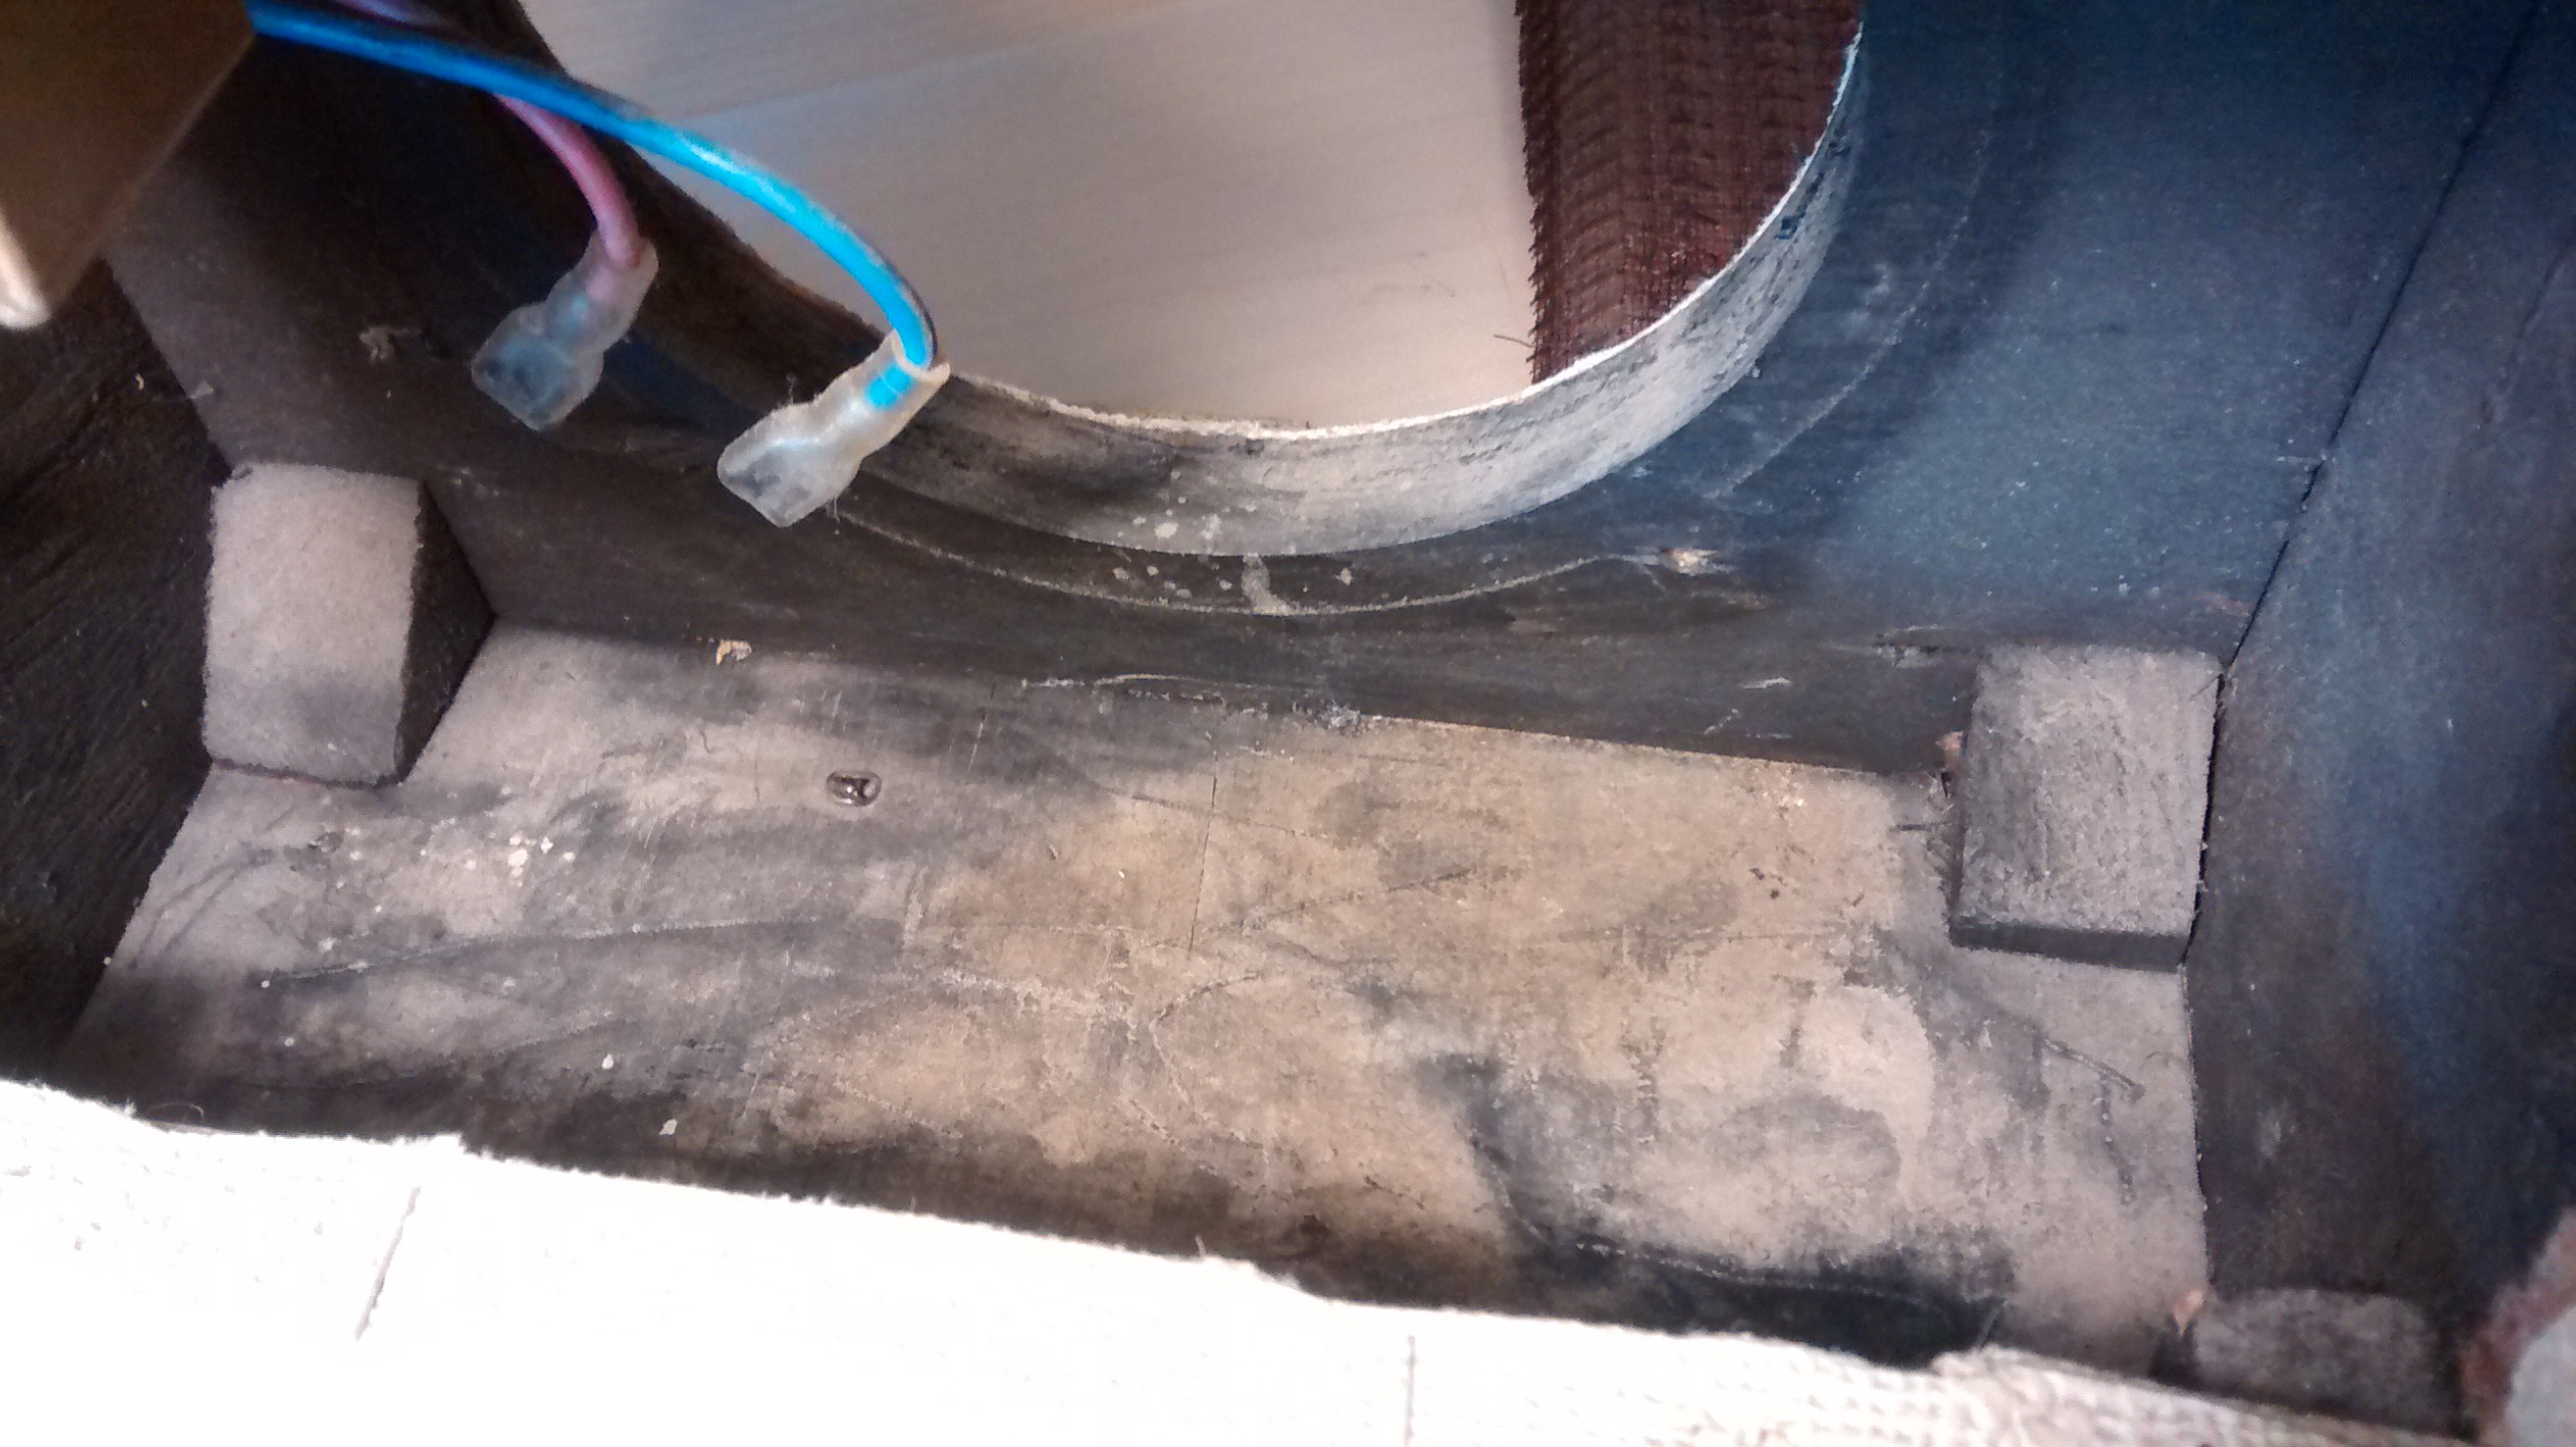
I then picked through wood scraps to find suitable pieces to act as mounting blocks for the face plate. I chose two pieces of wood about 3/4" wide and trimmed them to about 3/4 the height of the face plate. Then I taped them to the sides of the plate and held it inside the cabinet in about the position I wanted the plate and marked on the sides where the mounting blocks would attach. I glued them into the cabinet, making sure that the lamination went perpendicular to the direction the face plate mounting screws would go.
When the mounting blocks were dry, I realized I hadn't ensured that they were coplanar (see: previous comment on forethought), so I glued a small shim to adjust. (Pictures resume.)
![]() The result:
The result:![]() Also visible in the above image are the chassis mounting holes in the top panel.
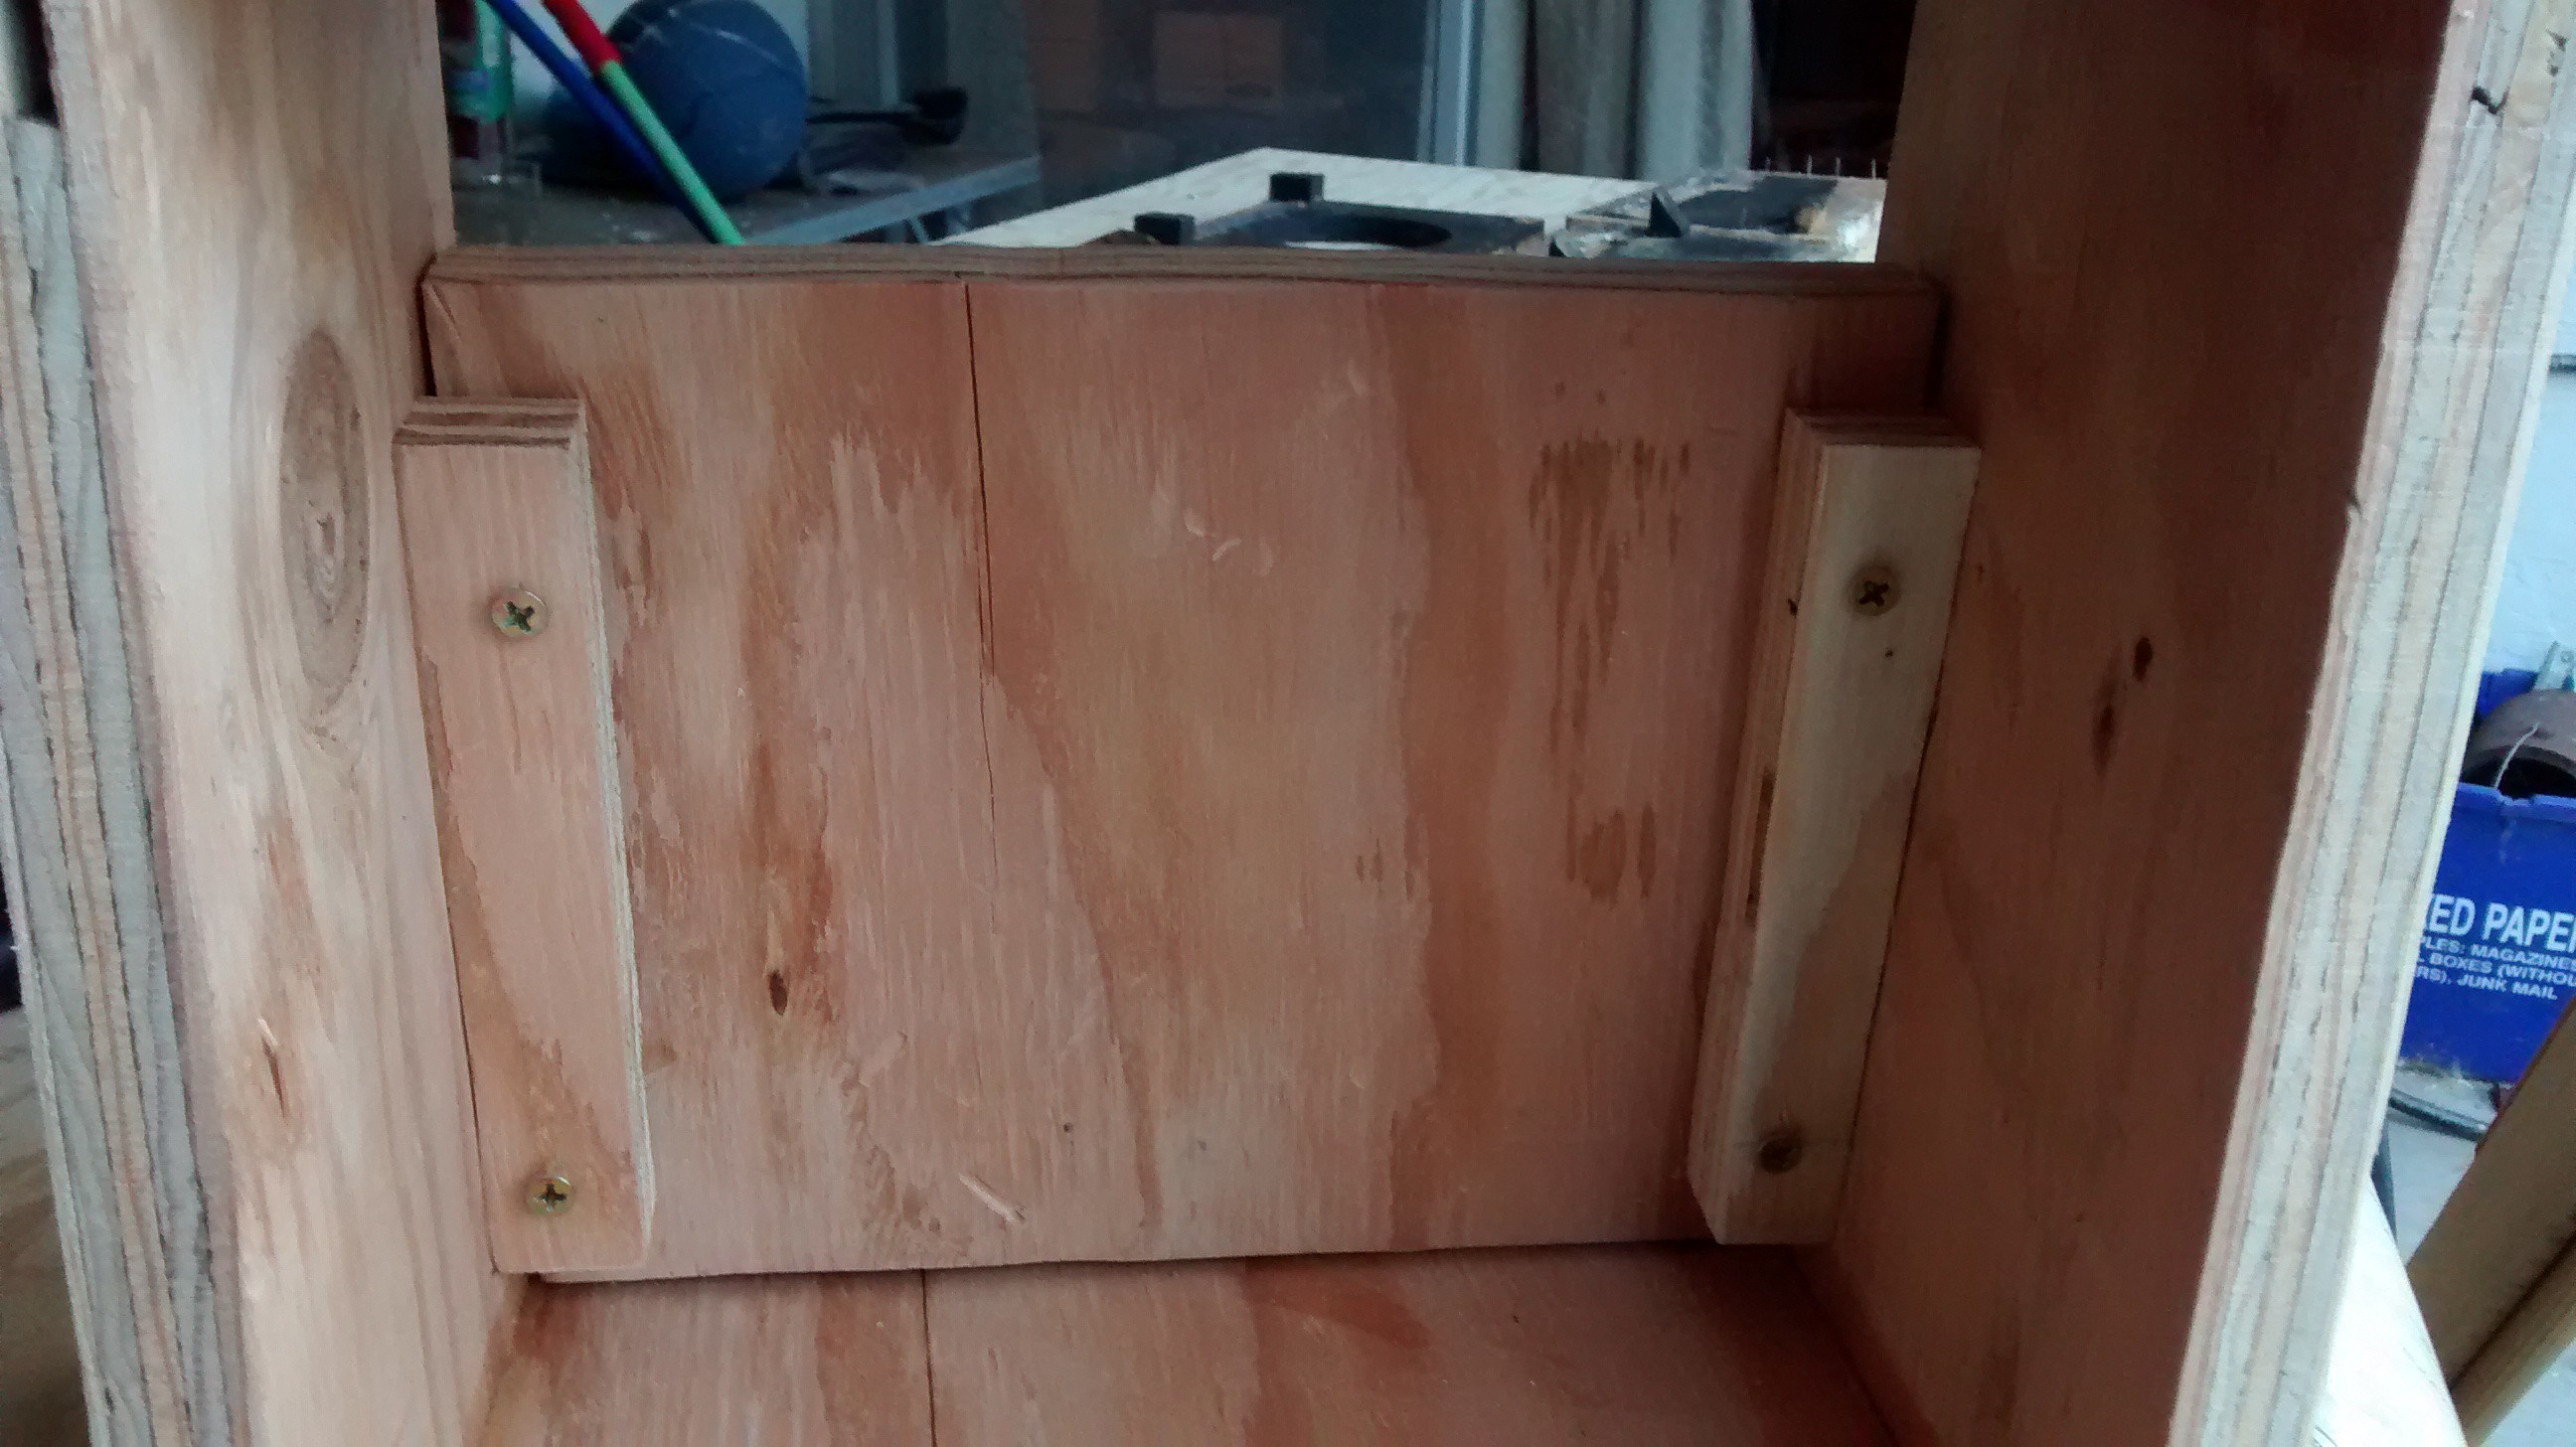
Also visible in the above image are the chassis mounting holes in the top panel.Finally, I could mount the face plate. The original amp hardware didn't have adequate screws, so I dug some small brass wood screws out of the garage. Then I clamped the face plate into place, drilled pilot holes for the screws, and screwed the plate on.
![]()
![]() Finally, I made sure the chassis still fit above the face plate.
Finally, I made sure the chassis still fit above the face plate.![]() There are essentially two steps left if I want to have the bare minimum for a functioning combo amp again: cut out the speaker hole, drill speaker mounting screws. I might have to be a bit clever about the actual mounting solution for the speaker, though, since I don't plan on making the grille cloth removable. I'll consider that when I get to it. Following those procedures, I need to mount the back plate like I did the face, and then I need to route and wrap the cabinet.
There are essentially two steps left if I want to have the bare minimum for a functioning combo amp again: cut out the speaker hole, drill speaker mounting screws. I might have to be a bit clever about the actual mounting solution for the speaker, though, since I don't plan on making the grille cloth removable. I'll consider that when I get to it. Following those procedures, I need to mount the back plate like I did the face, and then I need to route and wrap the cabinet. -
Episode IV: A New Cabinet
08/22/2015 at 22:07 • 0 commentsIt is a period of civil war. Rebel spaceships, striking from a hidden base, have won their first victory against the evil Galactic Empire. And I decided today was a good day to break apart the old cabinet and start making a new one.
I knew the pieces were secured with nails, but I had also expected them to be glued. I found that wasn't the case when took off the first side.
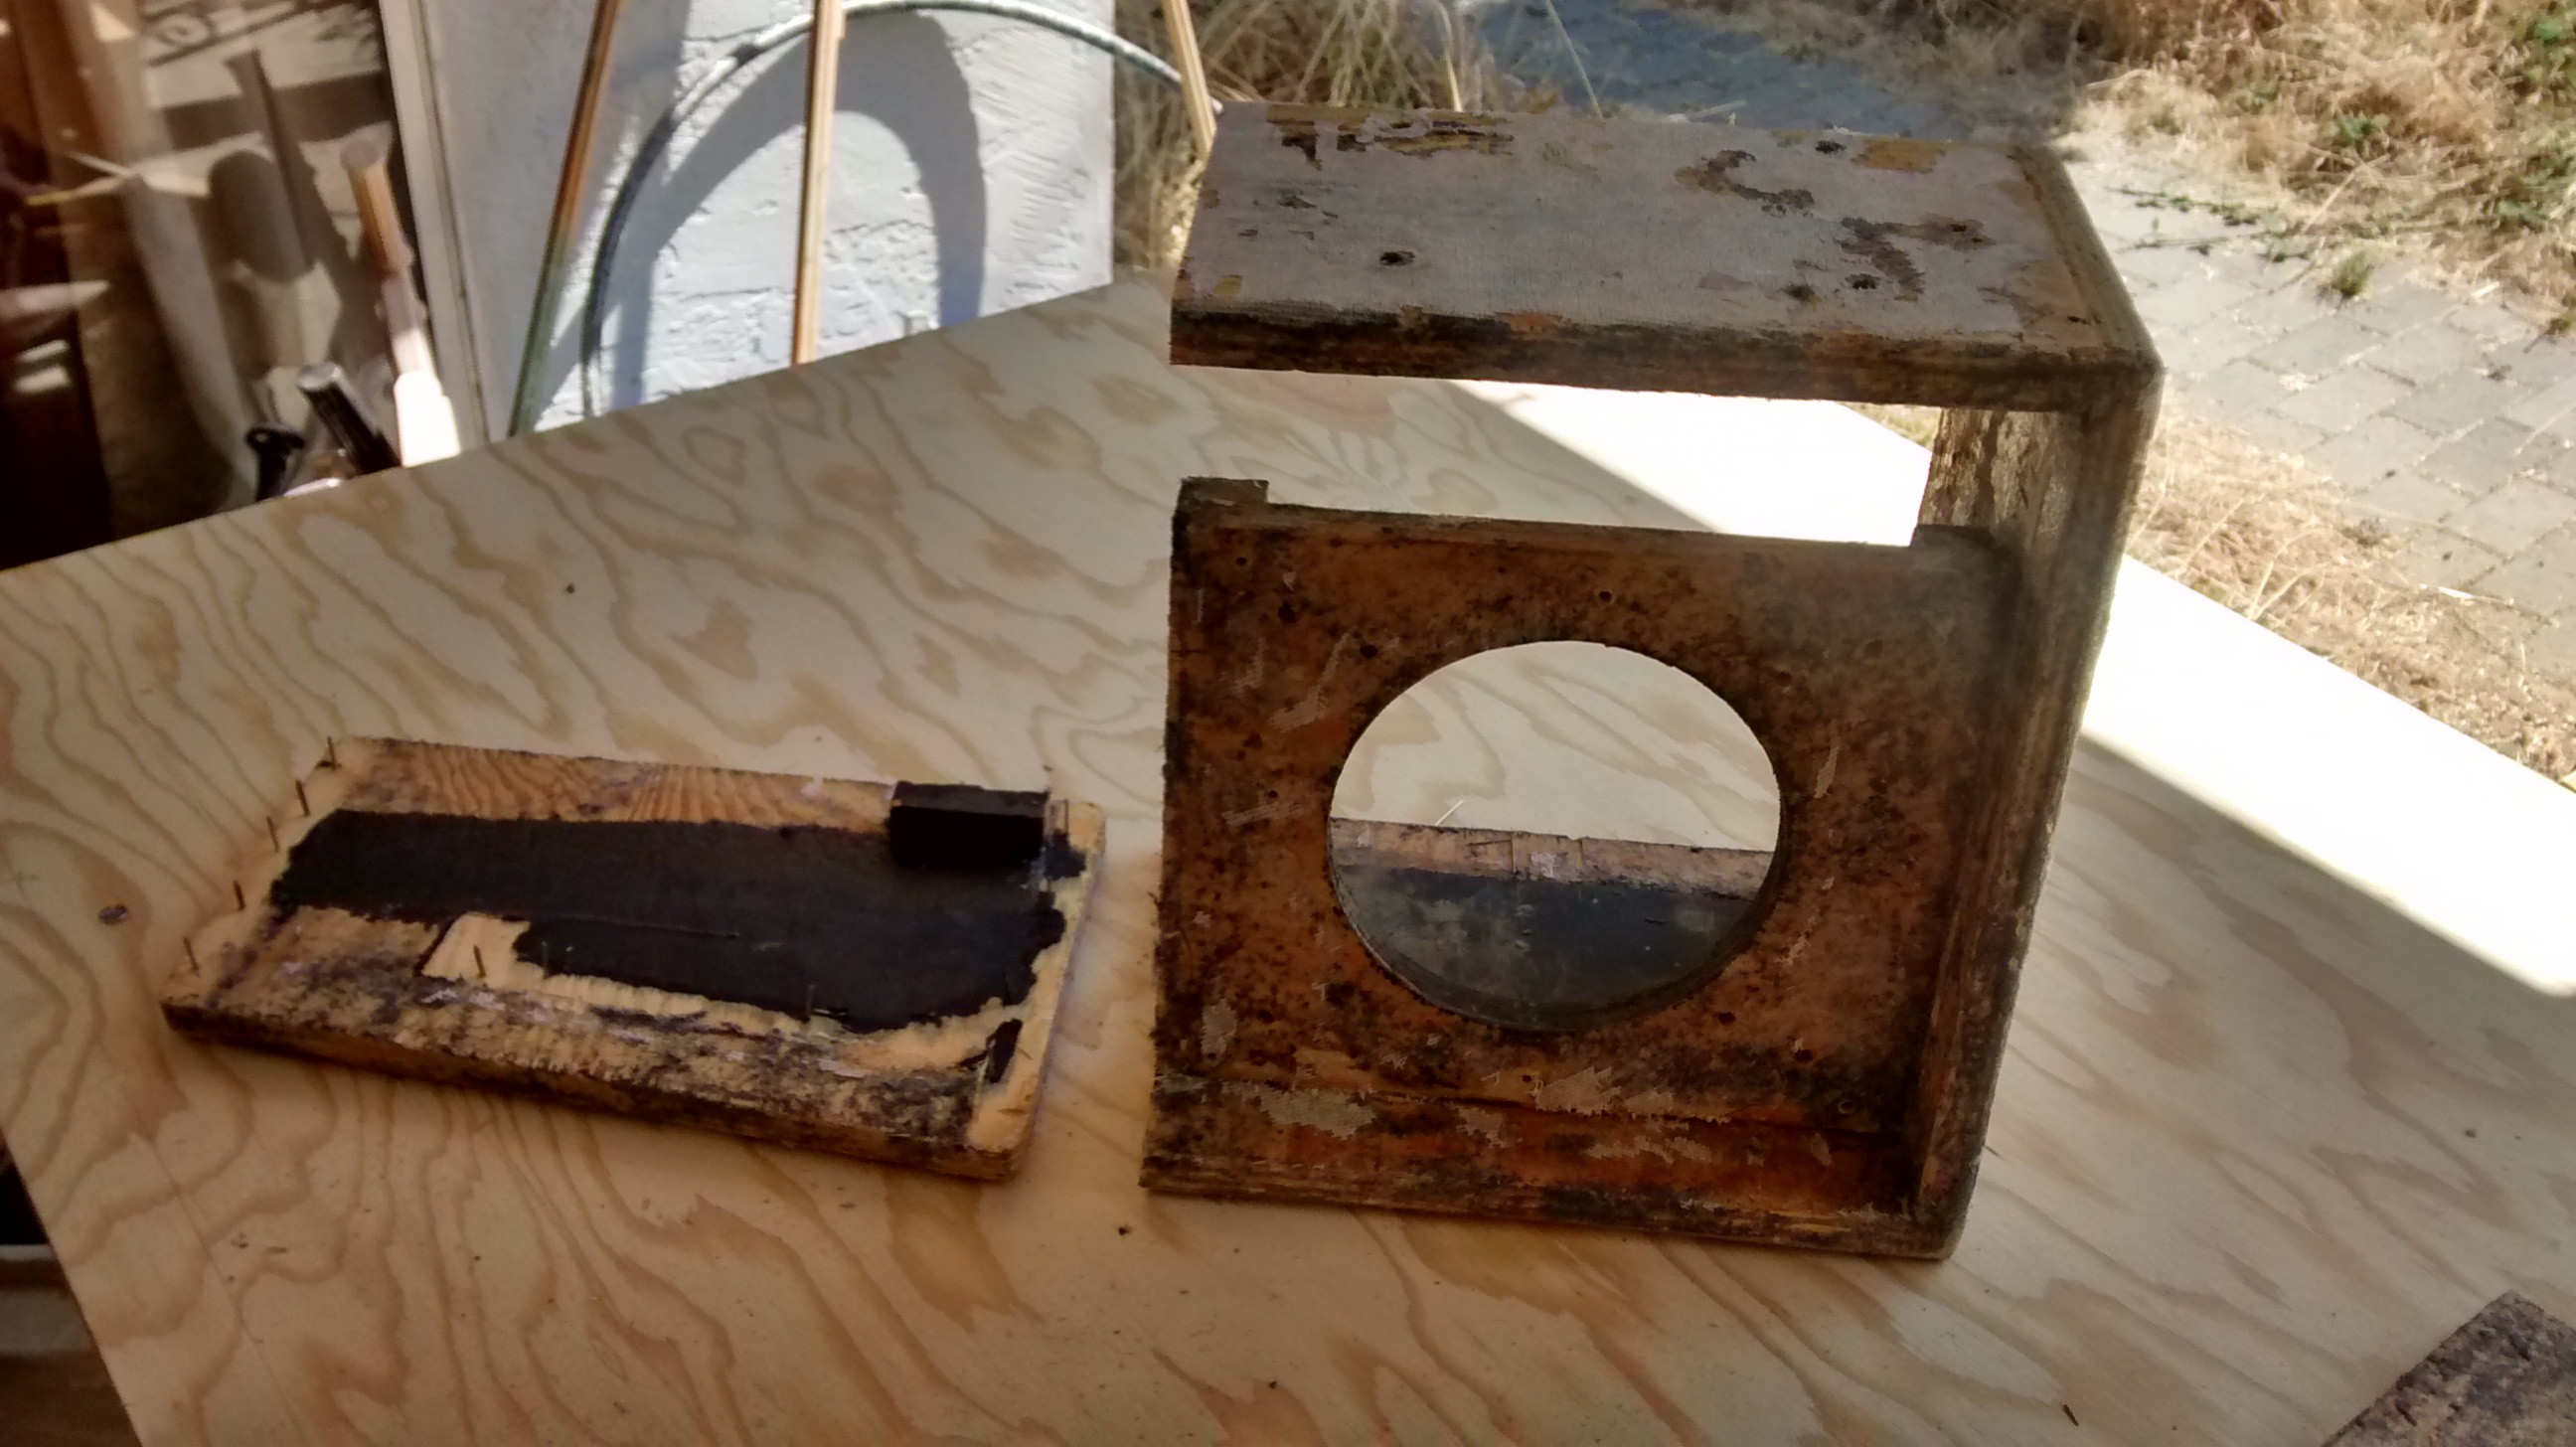
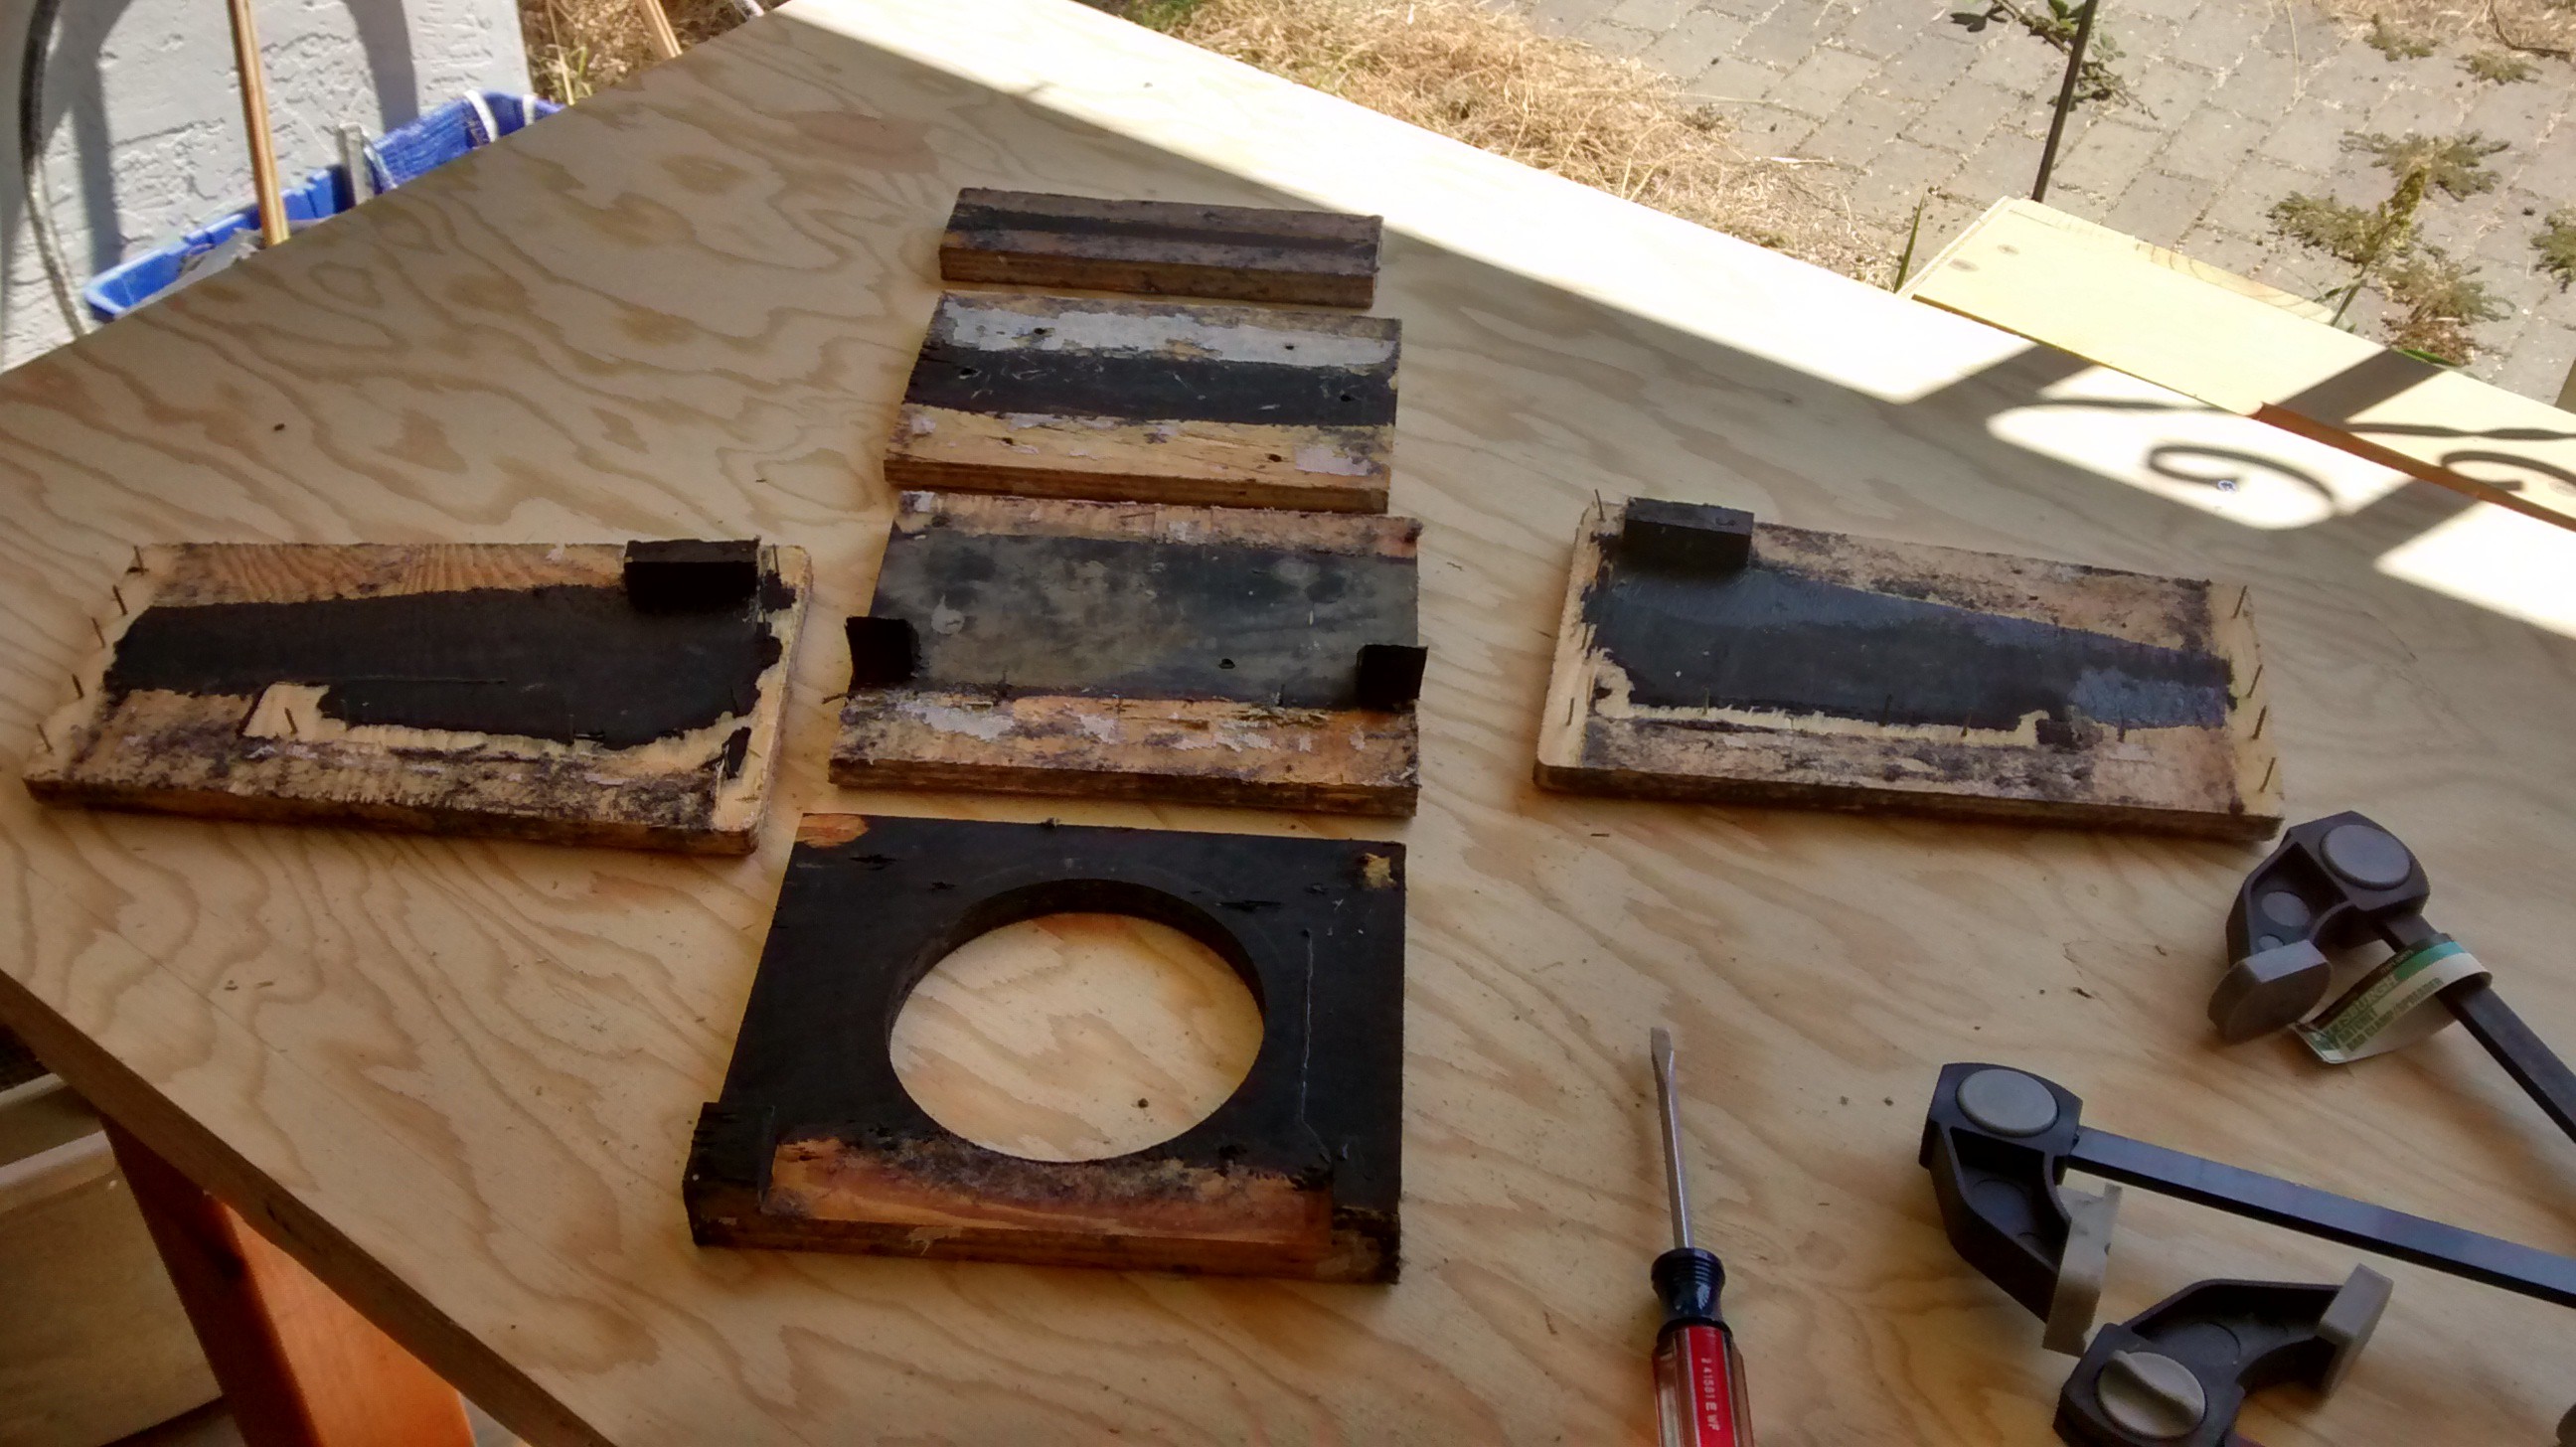
Once the outer adhesive and gunk had been broken along the seams, all it took to dismantle the cabinet was a screwdriver to pry apart the pieces.![]()
![]()
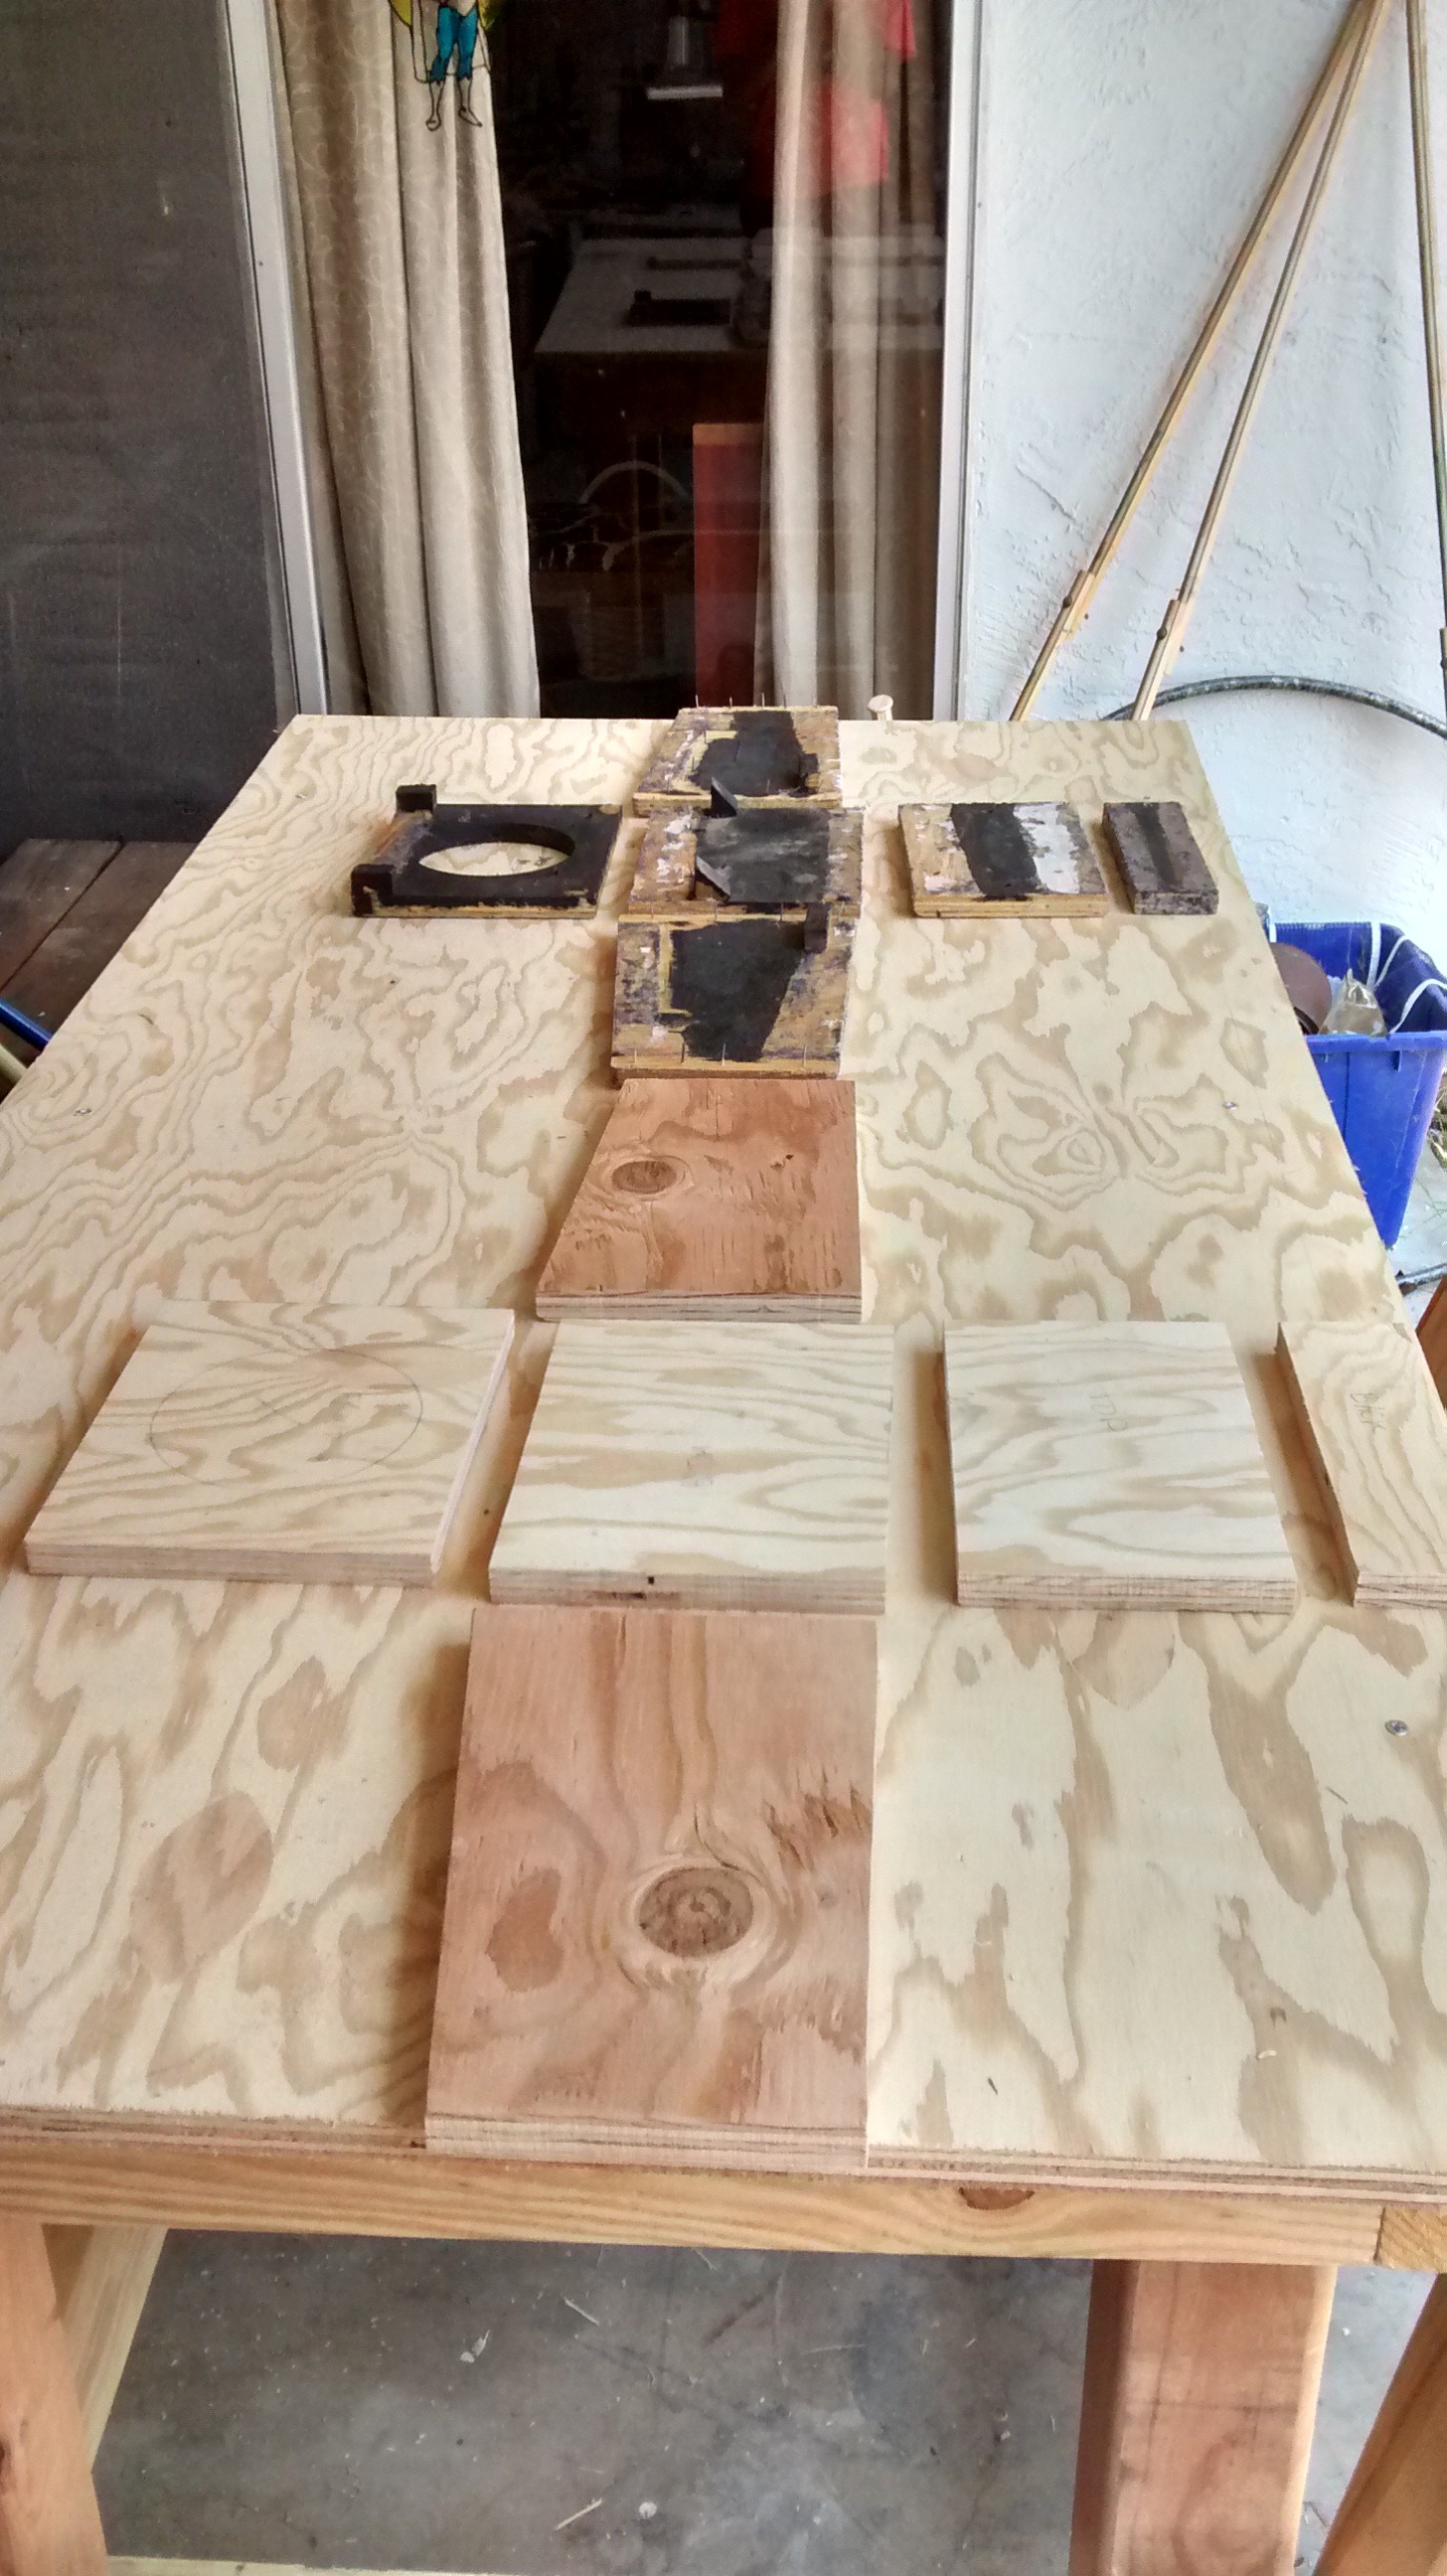
Then I just traced the old pieces onto new plywood.
And cut them out with a bandsaw, resulting in a copy.![]()
And propped up together:![]()
The speaker hole needs to be cut out and the front panel mounting points fabricated, but that's all I felt like doing for today.![]()
-
Speaker Repair and Tolex Removal
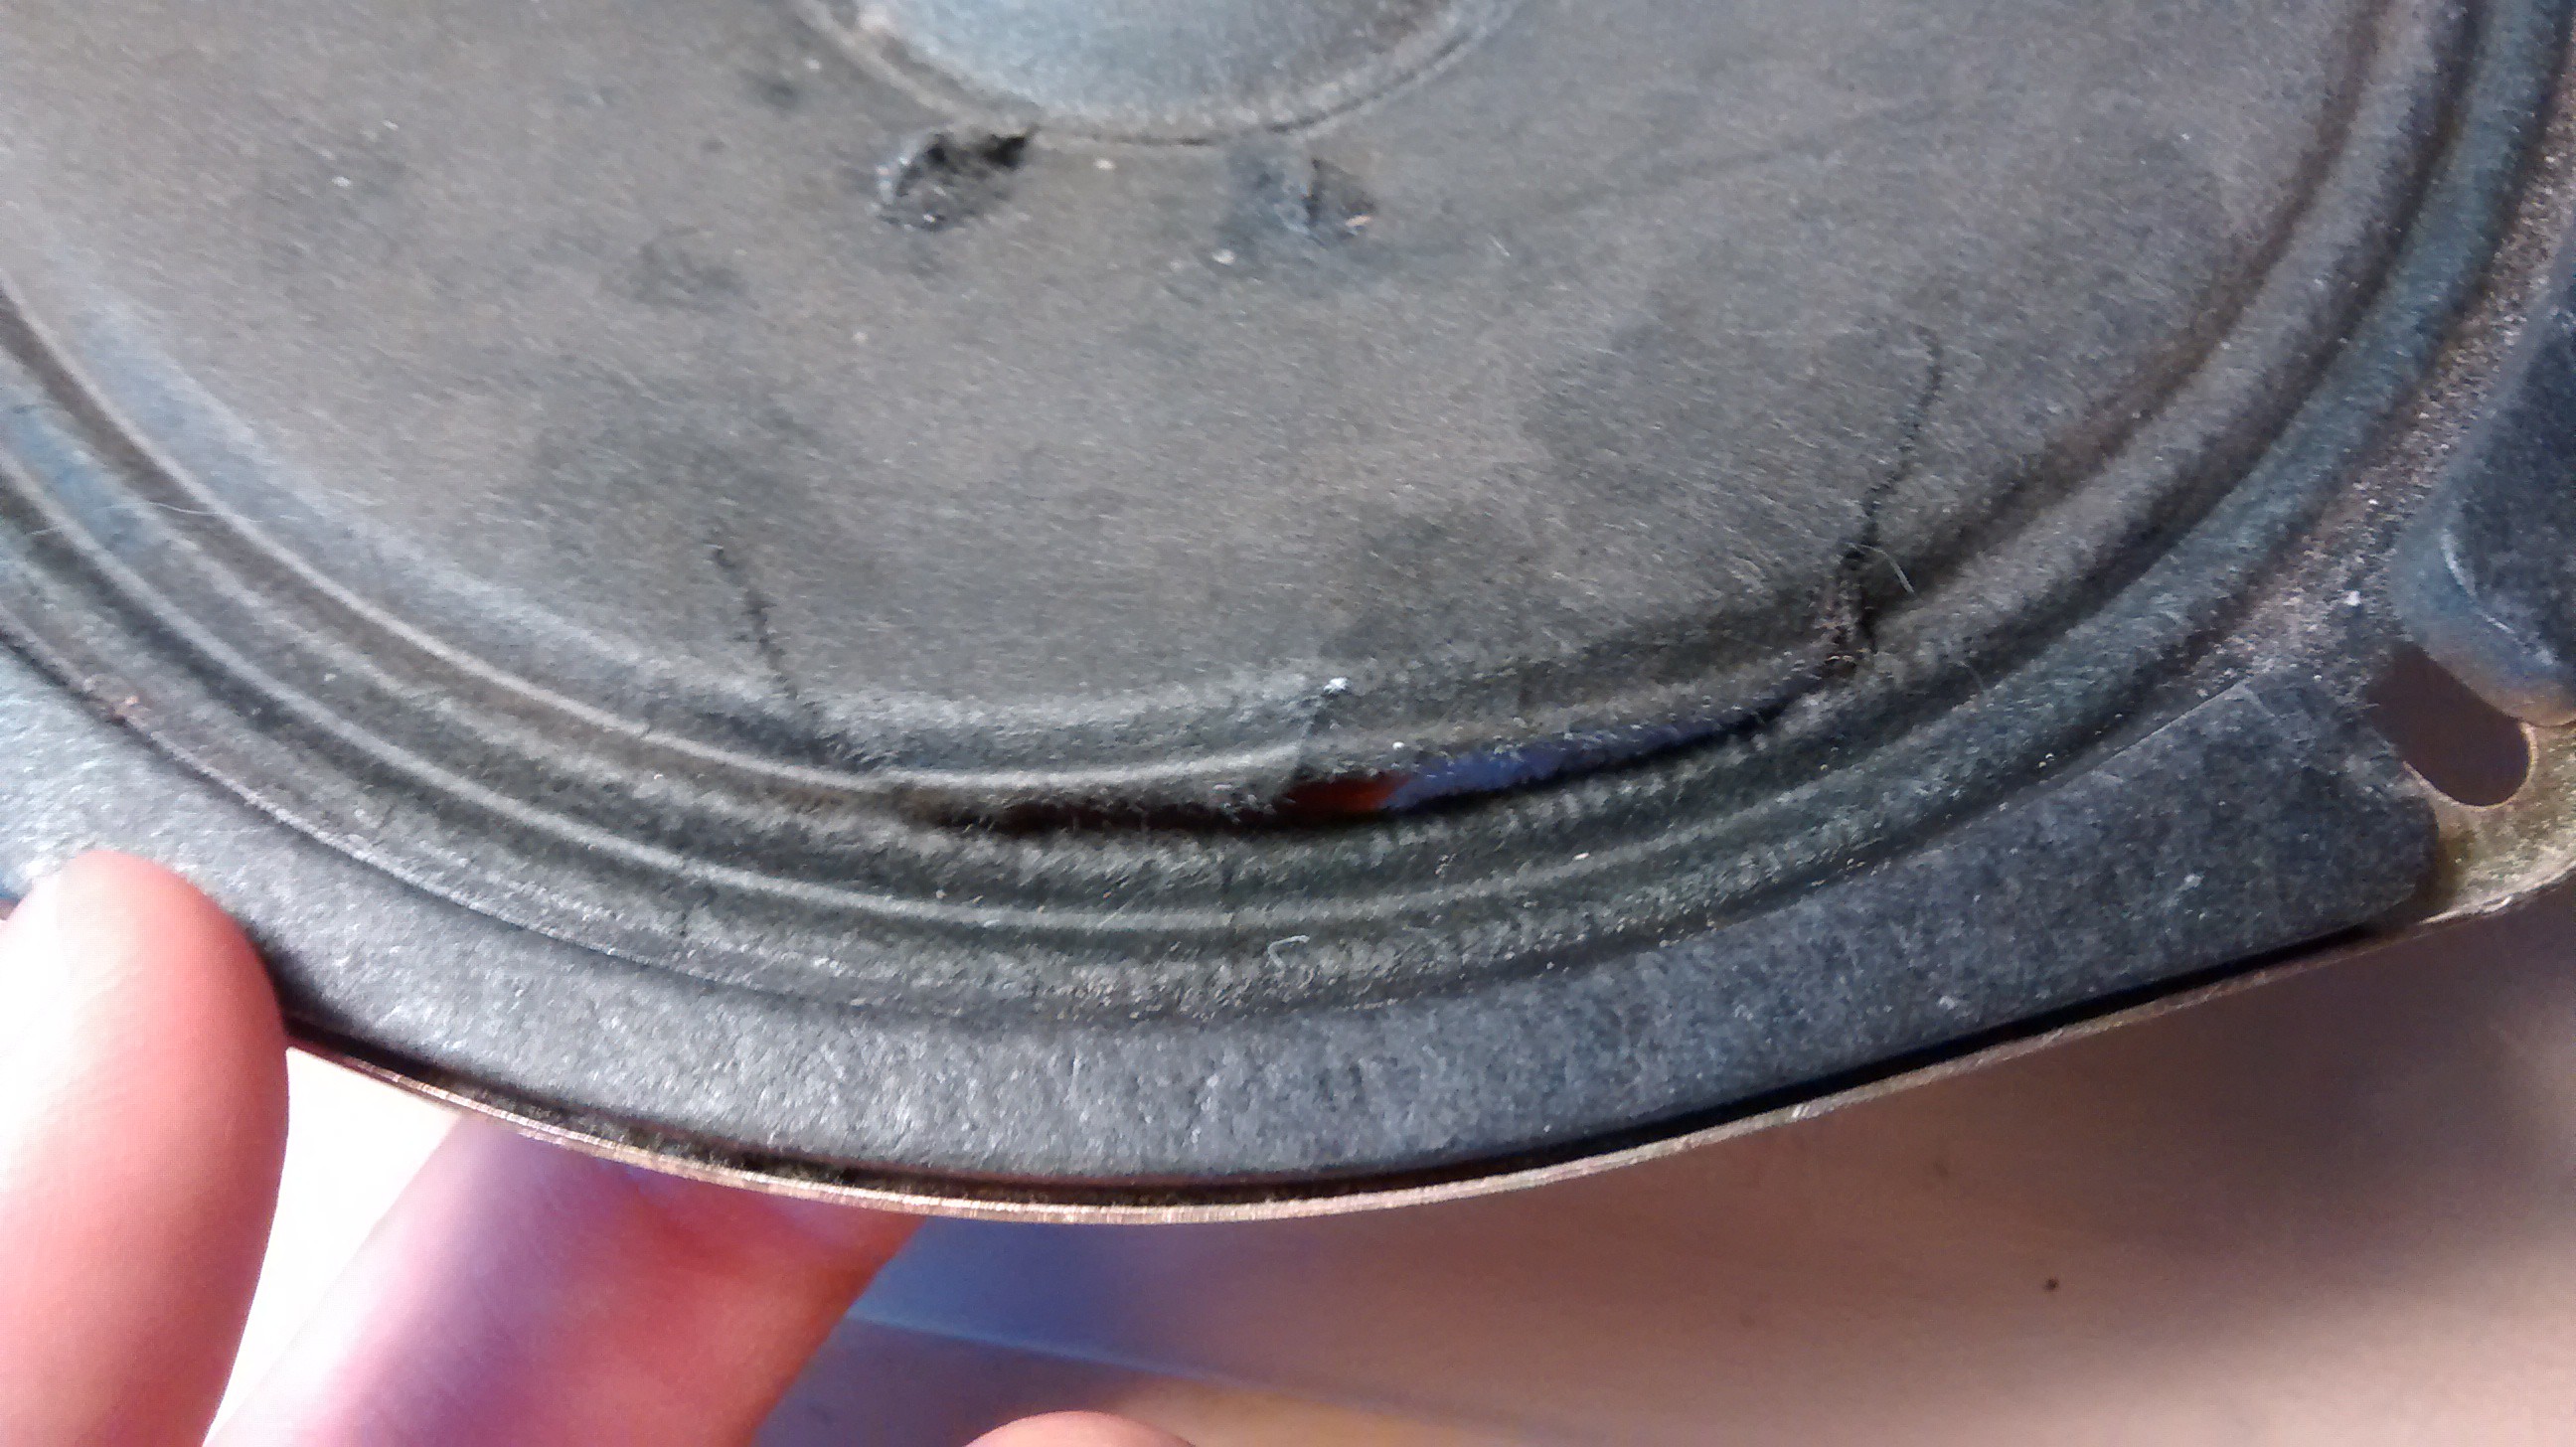
08/18/2015 at 17:13 • 0 commentsThe speaker cone had some tears in it, including a 1 1/2" long tear along the outside edge which created an audible flapping noise at high output. The others were small punctures, also in the edge of the speaker cone.
![]()
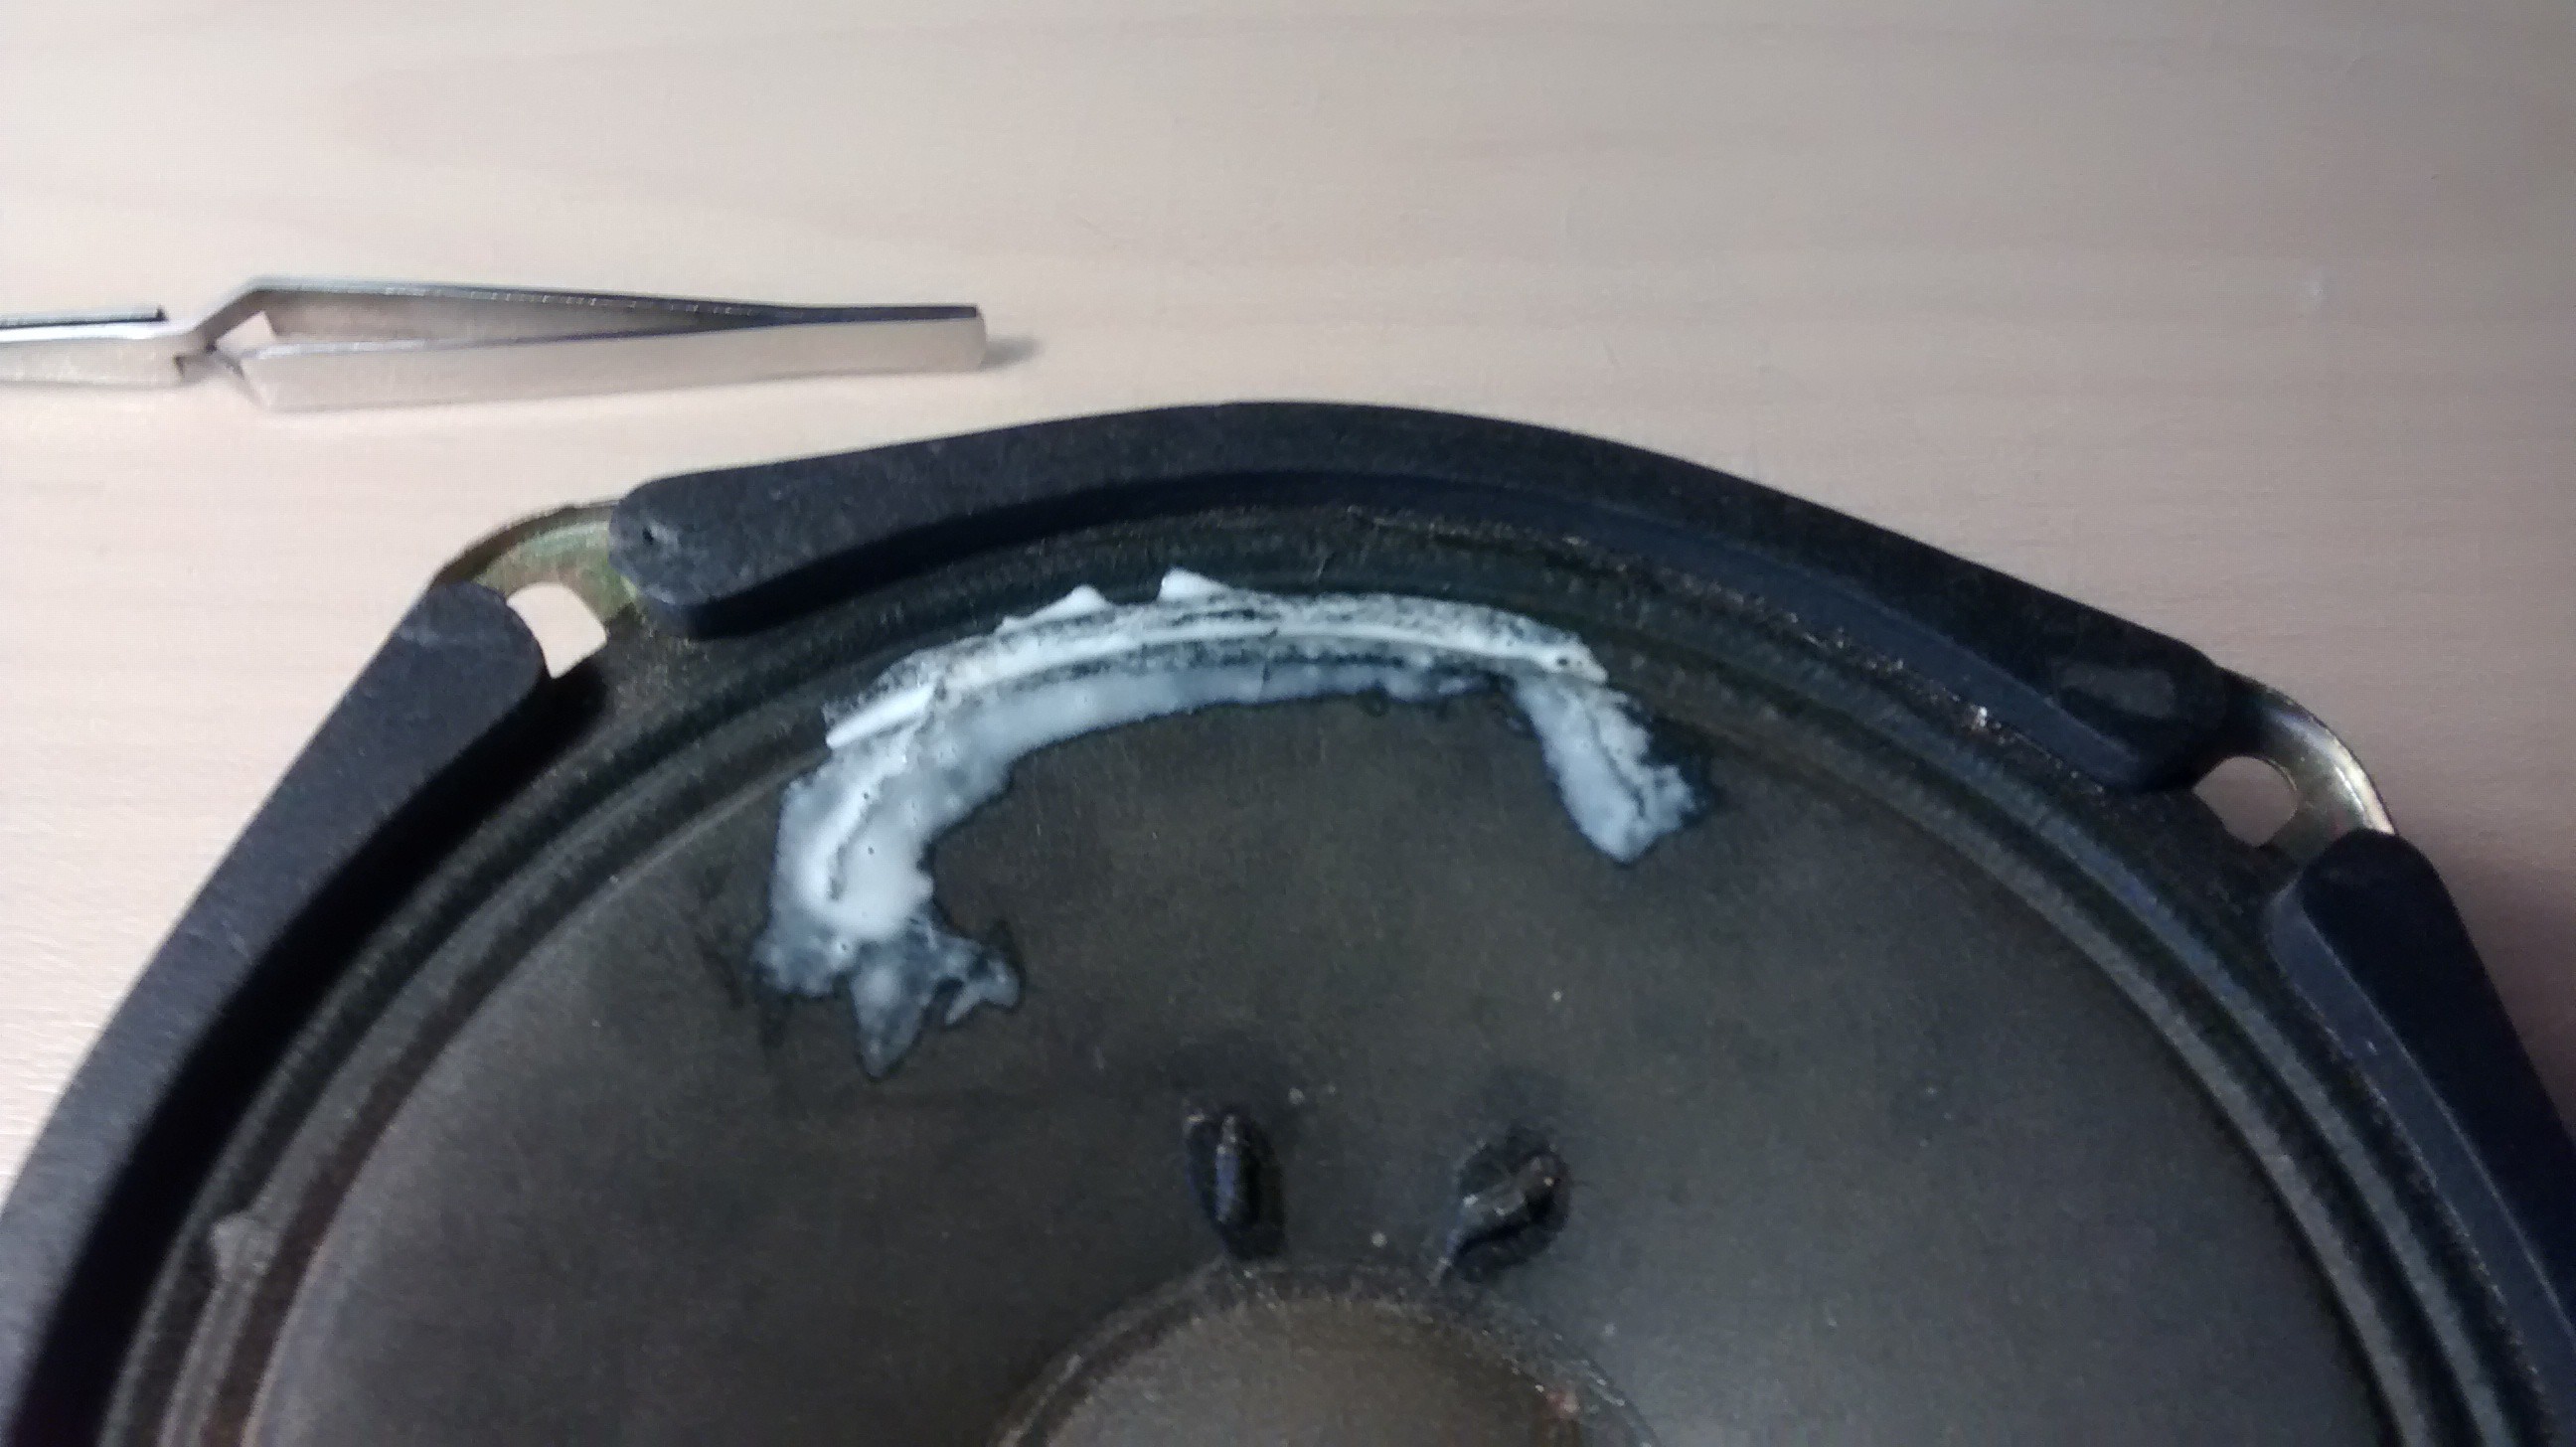
Since there was no missing material and the fibers could still mesh across the tears, I mixed 3:1 Aleene's Tacky Glue and water and brushed it on.
![]()
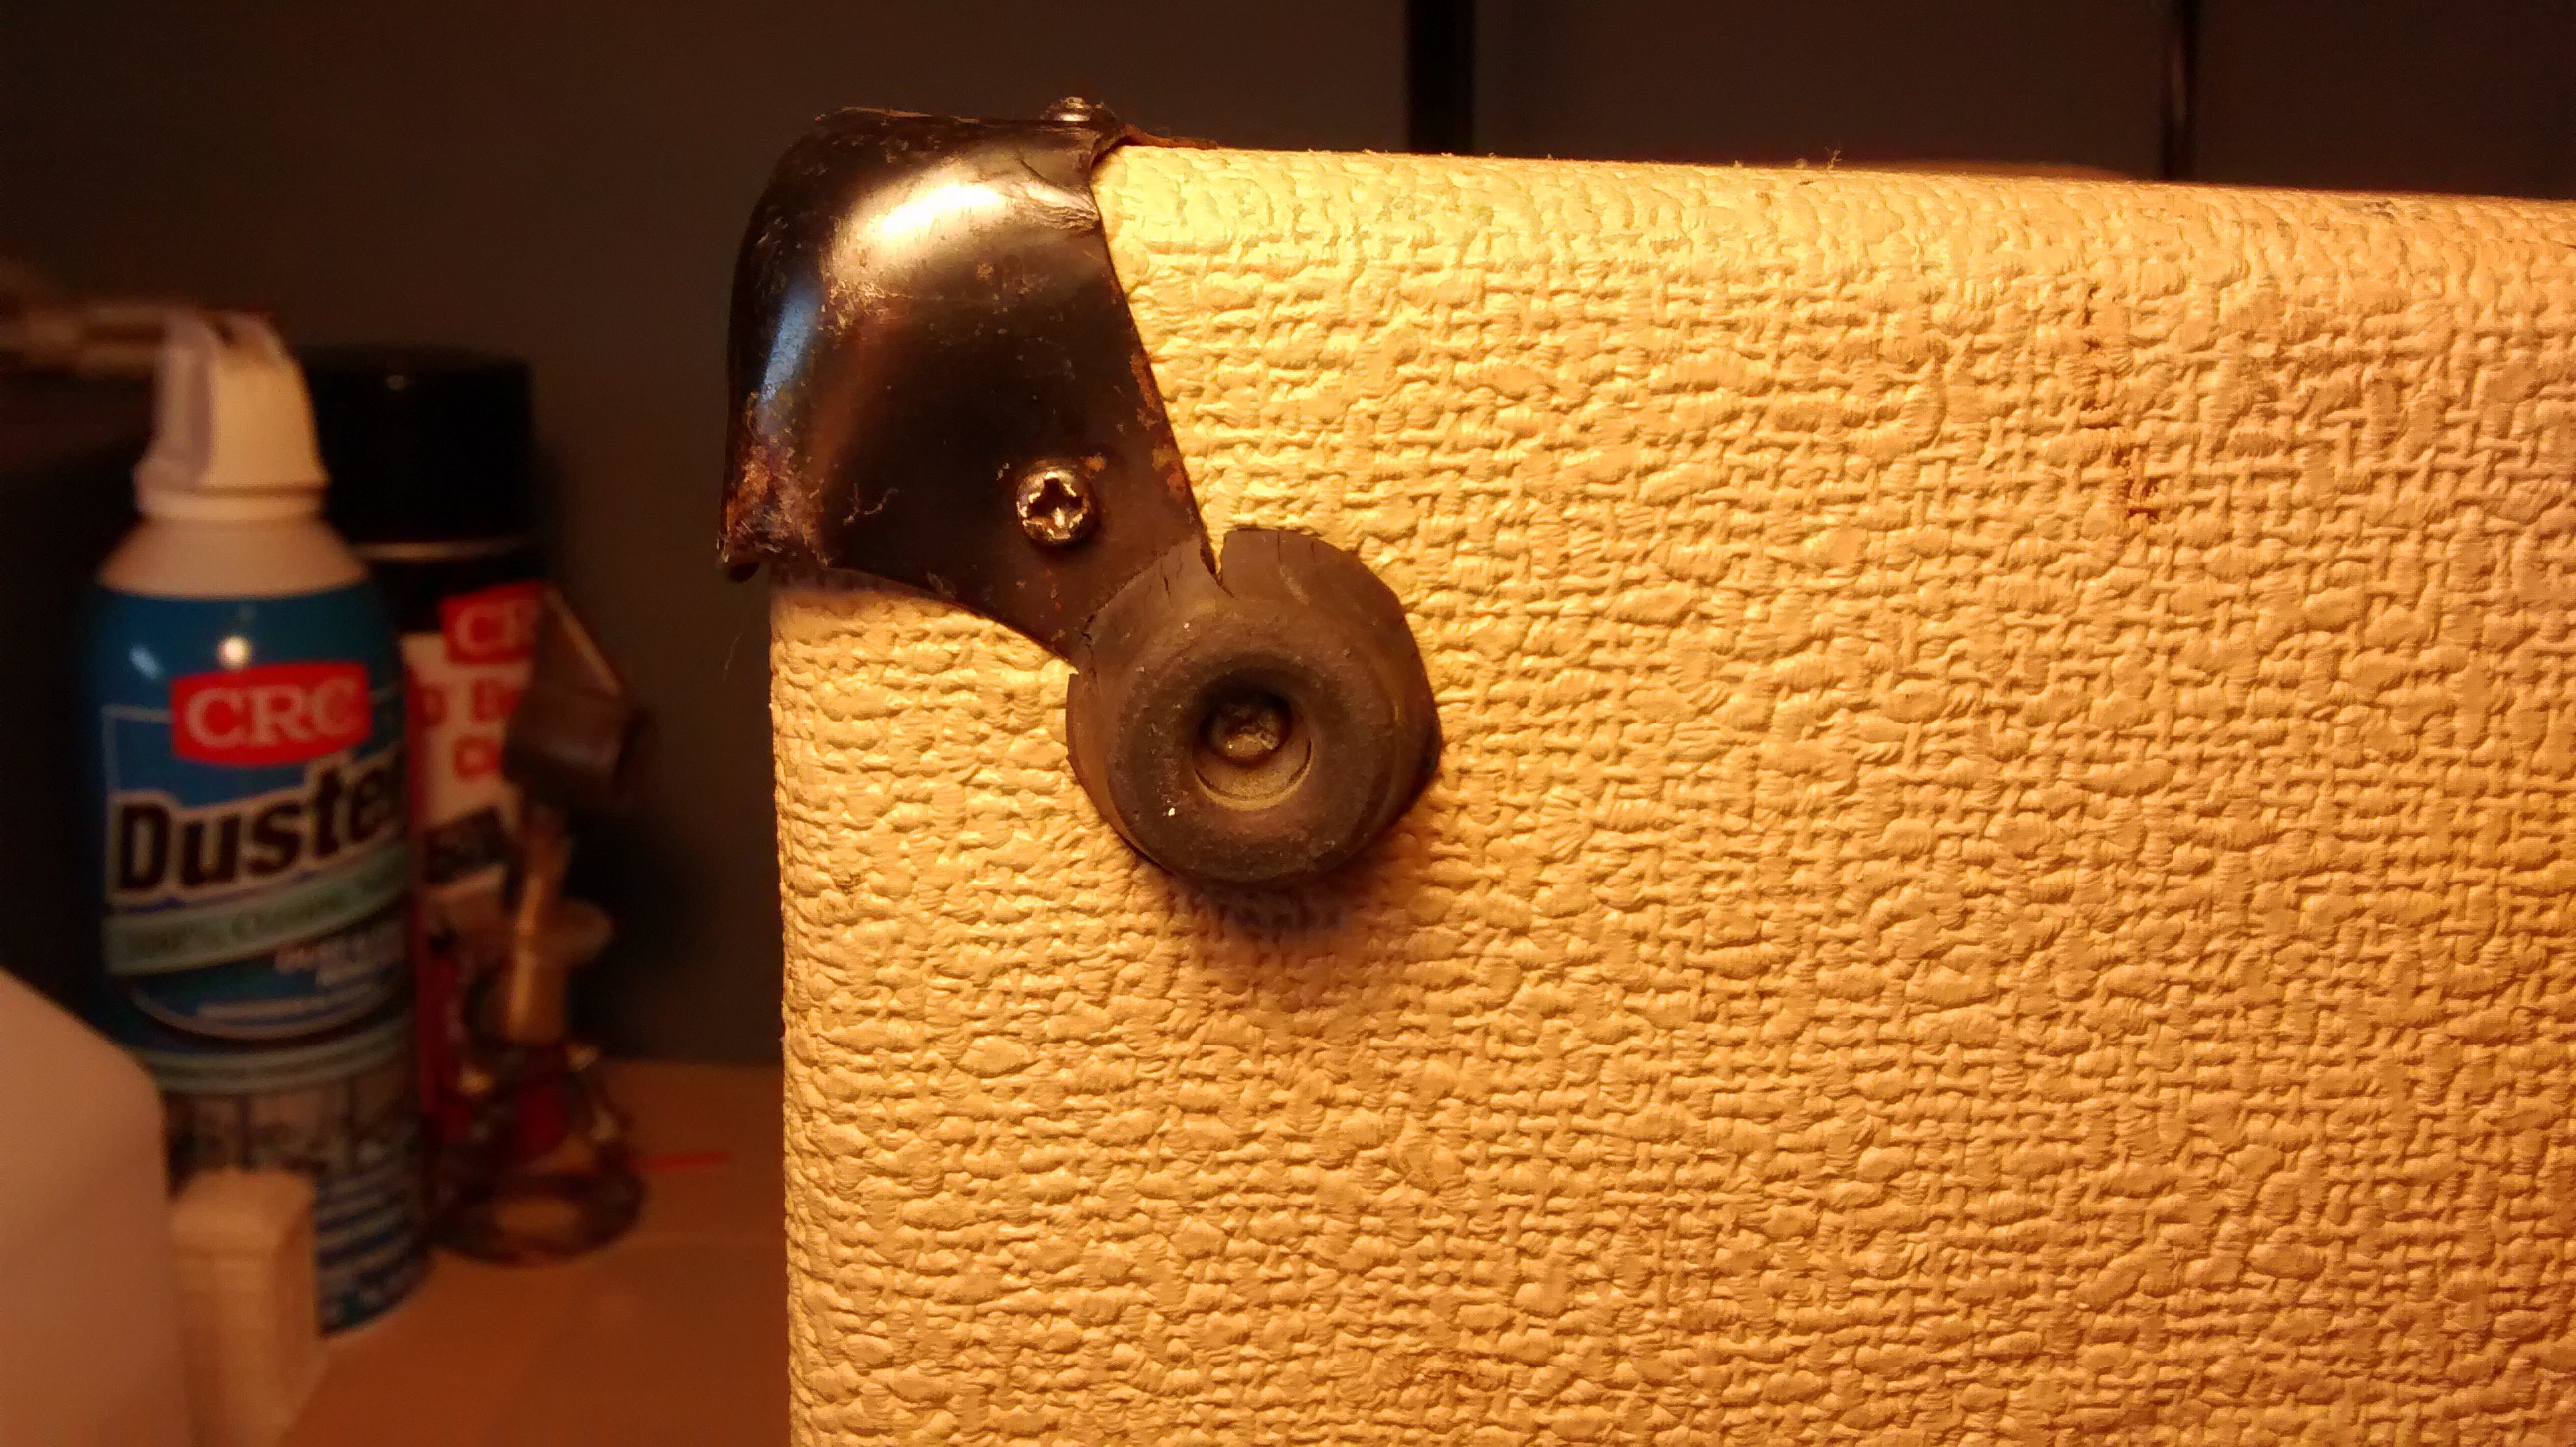
I then set aside the speaker to dry and started removing the remaining chassis hardware from the cabinet. The handle and corners are reusable, but the rubber feet are dry, cracked, and falling apart. I believe I have some spare amp feet somewhere to replace them.
![]()
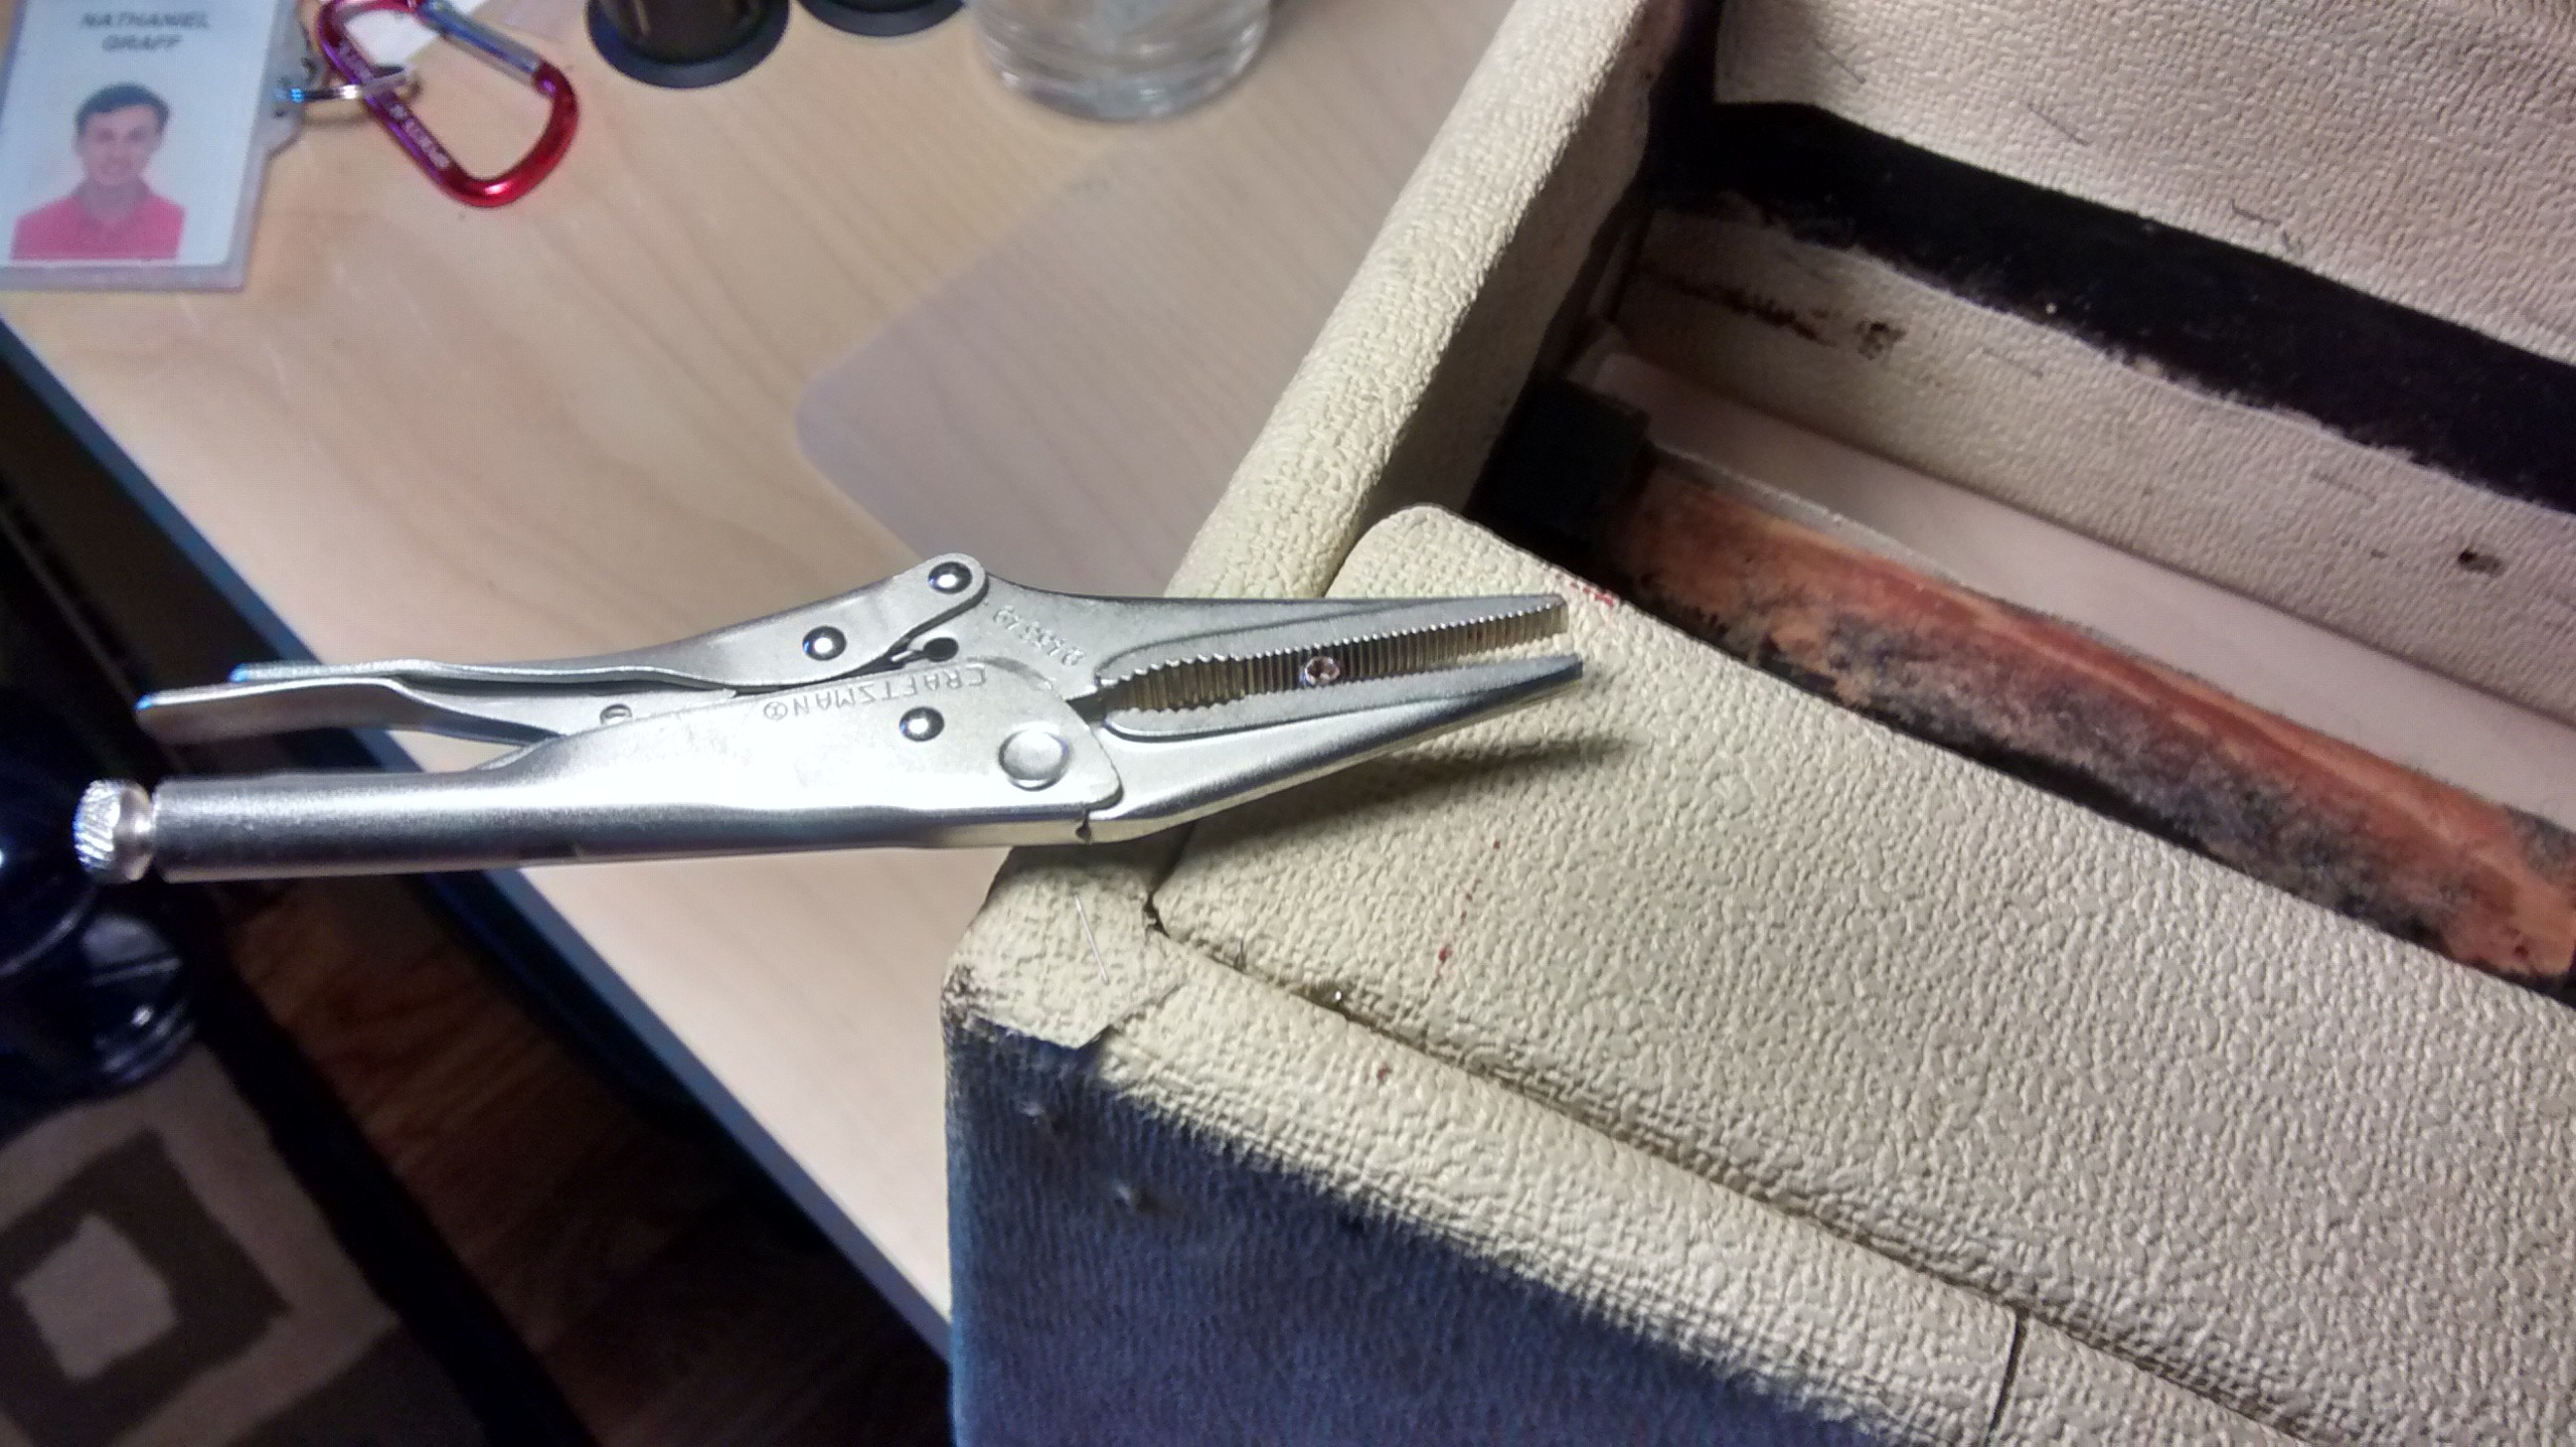
The last part to remove was the back panel, held on with two screws. The last screw in the panel, the last screw to remove on the entire amp, and it was the first and only one to strip during the entire tear down process. I got it off with vice grips.
![]()
With the amp fully apart, the next step was to peel off the tolex and prepare to re-cover the amp. It didn't go that smoothly.
![]()
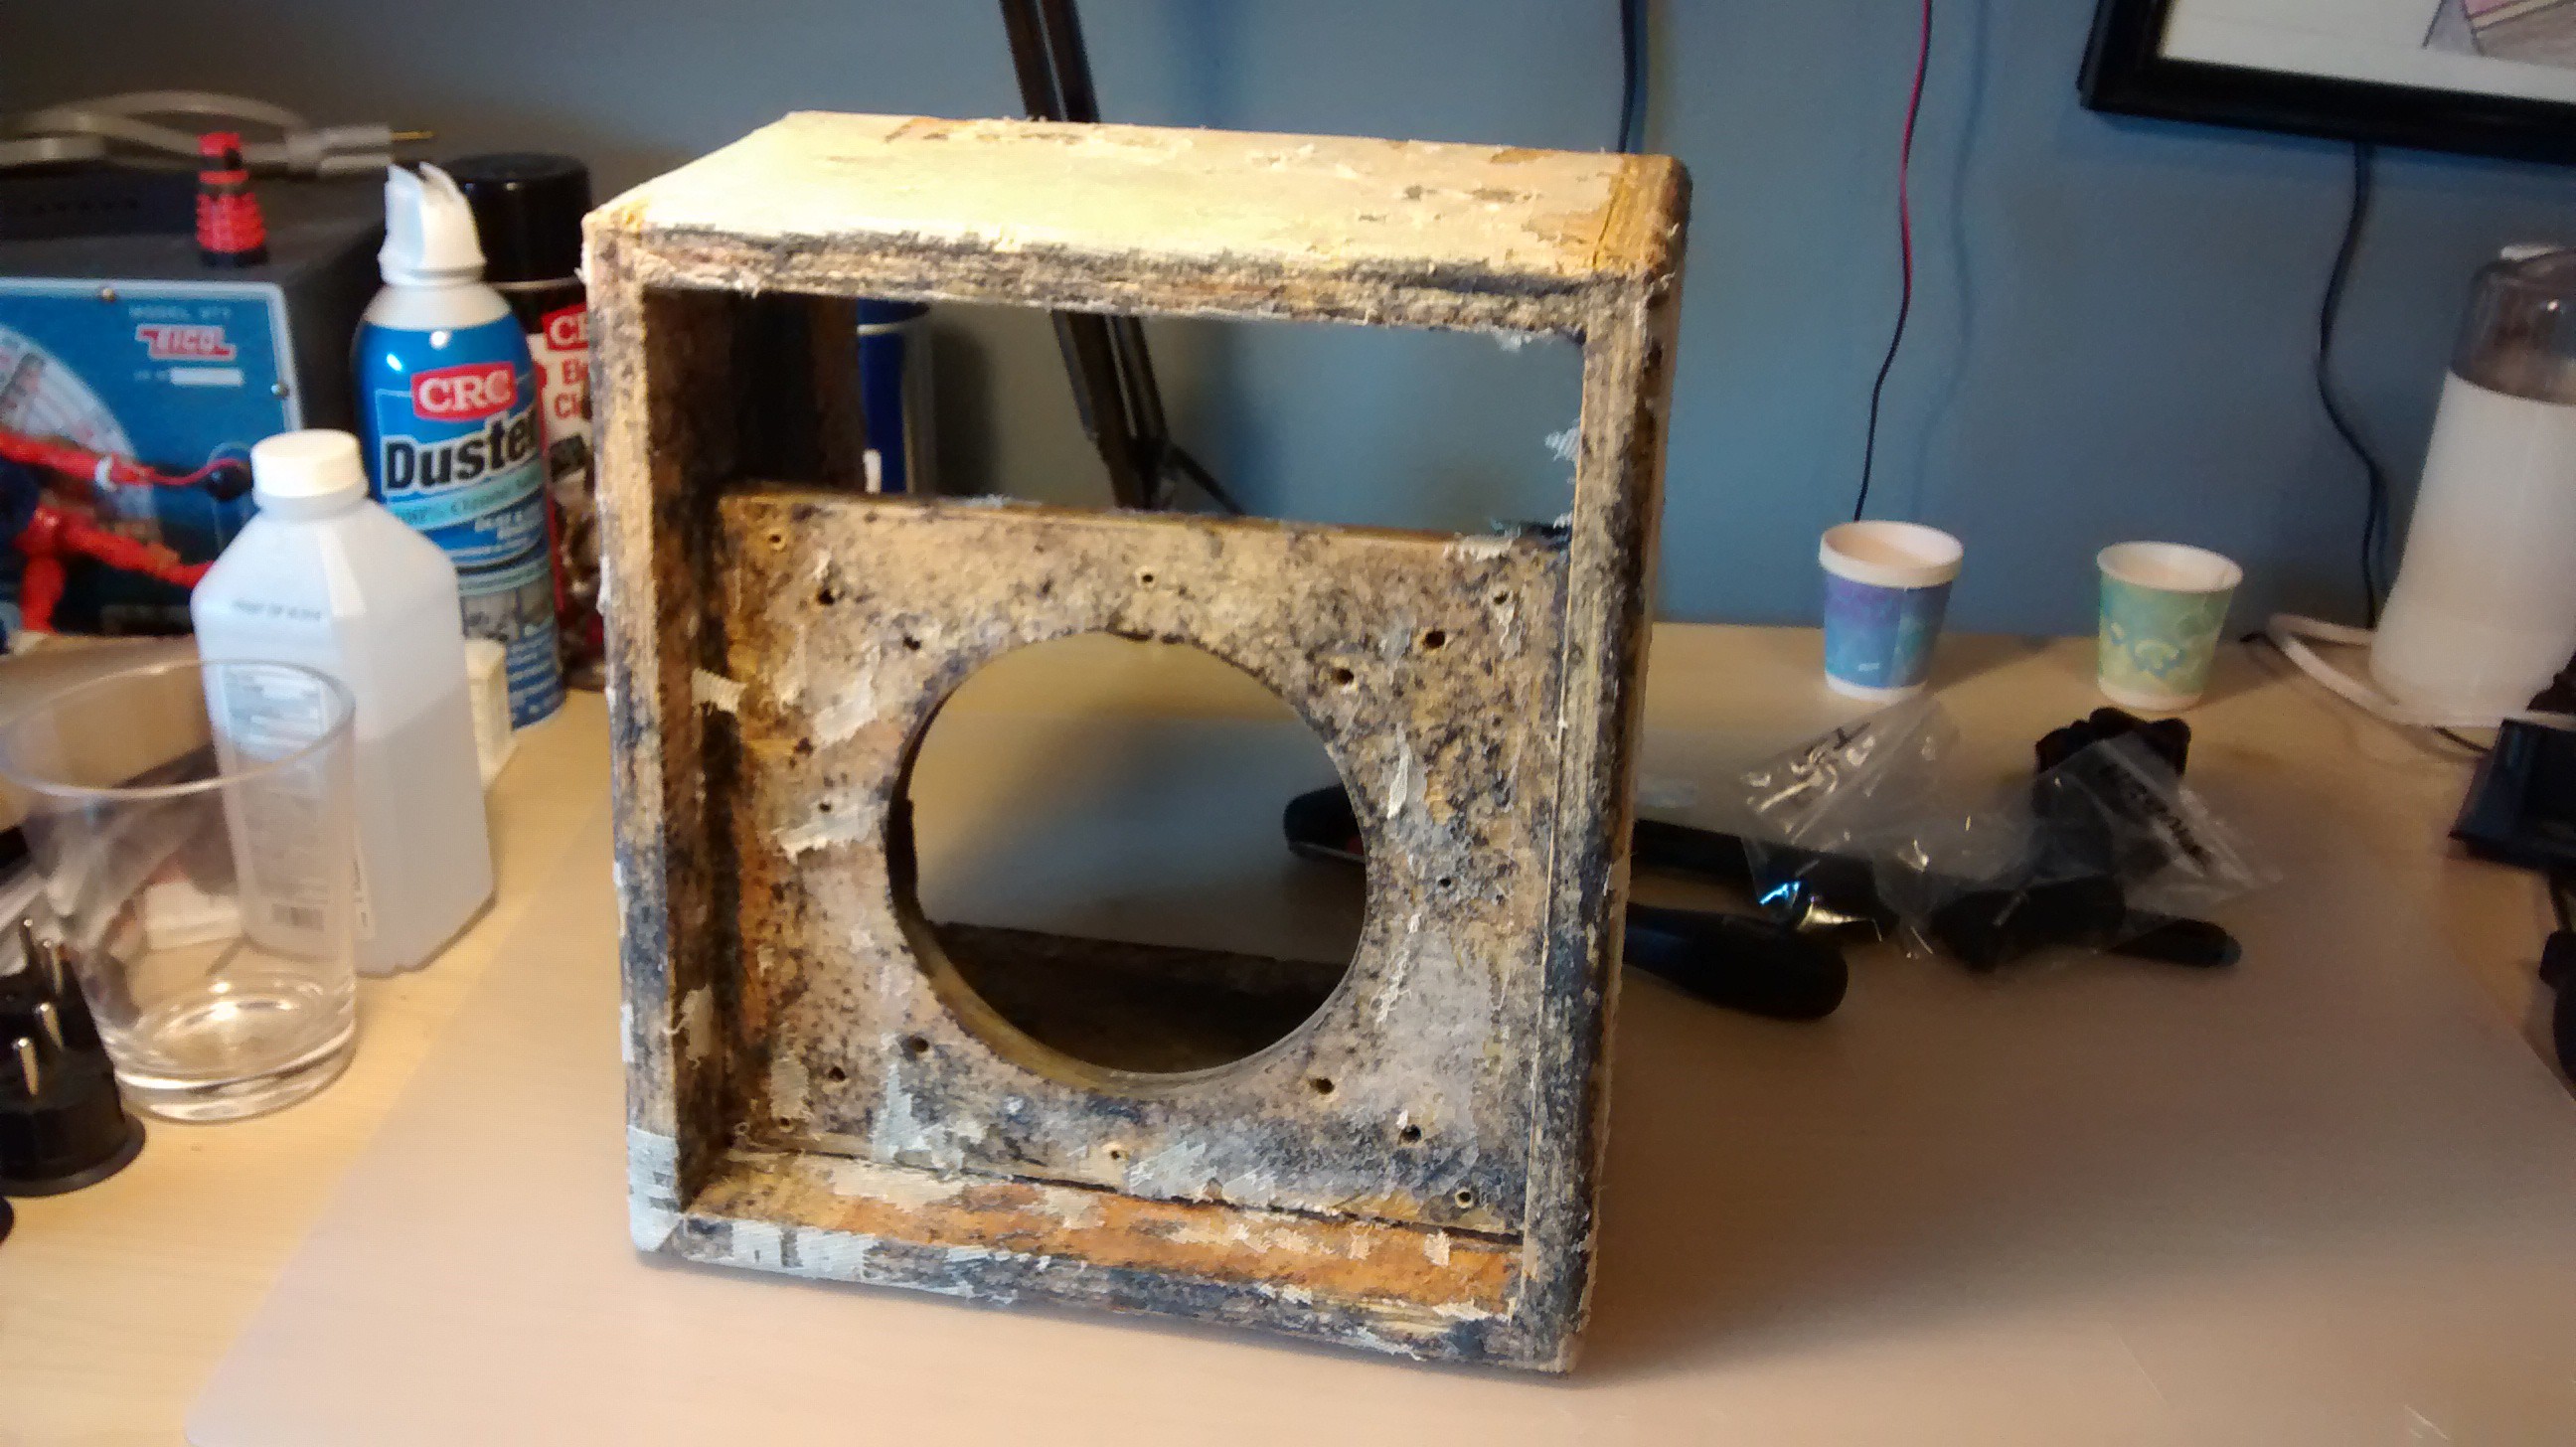
Underneath the tolex was a thick layer of glue and the remains of the original black carpeting. What's worse, in large swaths the rubber delaminated from the fiber mesh backing, leaving yet another layer of fiber embedded in the glue.
After the tolex was removed, I attempted to sand, file, and chisel the gunk off of the amp, but to no avail, it was just stuck on too well.
![]()
I also noted that one of the side panels had come unglued and was only held on with finishing nails. Besides fixing that, I'd like the grill cloth to wrap around the front panel for a cleaner edge, and it would be nice if the panel was removable. Lastly, the plywood has voids in several places. As a result, I plan to deconstruct the box and re-cut the panels out of some fresh scrap plywood.
Here's the dried speaker repair:
![]()
It seems to have fixed the flapping sound. The amp sounds overdrive-heavy at the moment, but in my experience that seems to clear itself up when the speaker is mounted properly.
-
Testing Audio, Cleaning the Chassis
07/31/2015 at 17:22 • 0 commentsSince there appeared to be nothing physically wrong with the amplifier, I plugged it in and turned it on. No blue smoke. I plugged in the speaker and turned it on again. A "vorp" emanated from the speaker, and fiddling with the knobs caused crackles and pops. I grabbed a bass guitar I had gotten at a flea market and plugged it in...
And sound came out. It actually worked! The pots were undeniably filthy and the input jack intermittent, but ultimately the amp was functional.
The power switch and LED were glued into the chassis, and the wires between the board and the transformer through the hole in the chassis soldered in place, so I unbolted everything I could and pulled it out of the way.
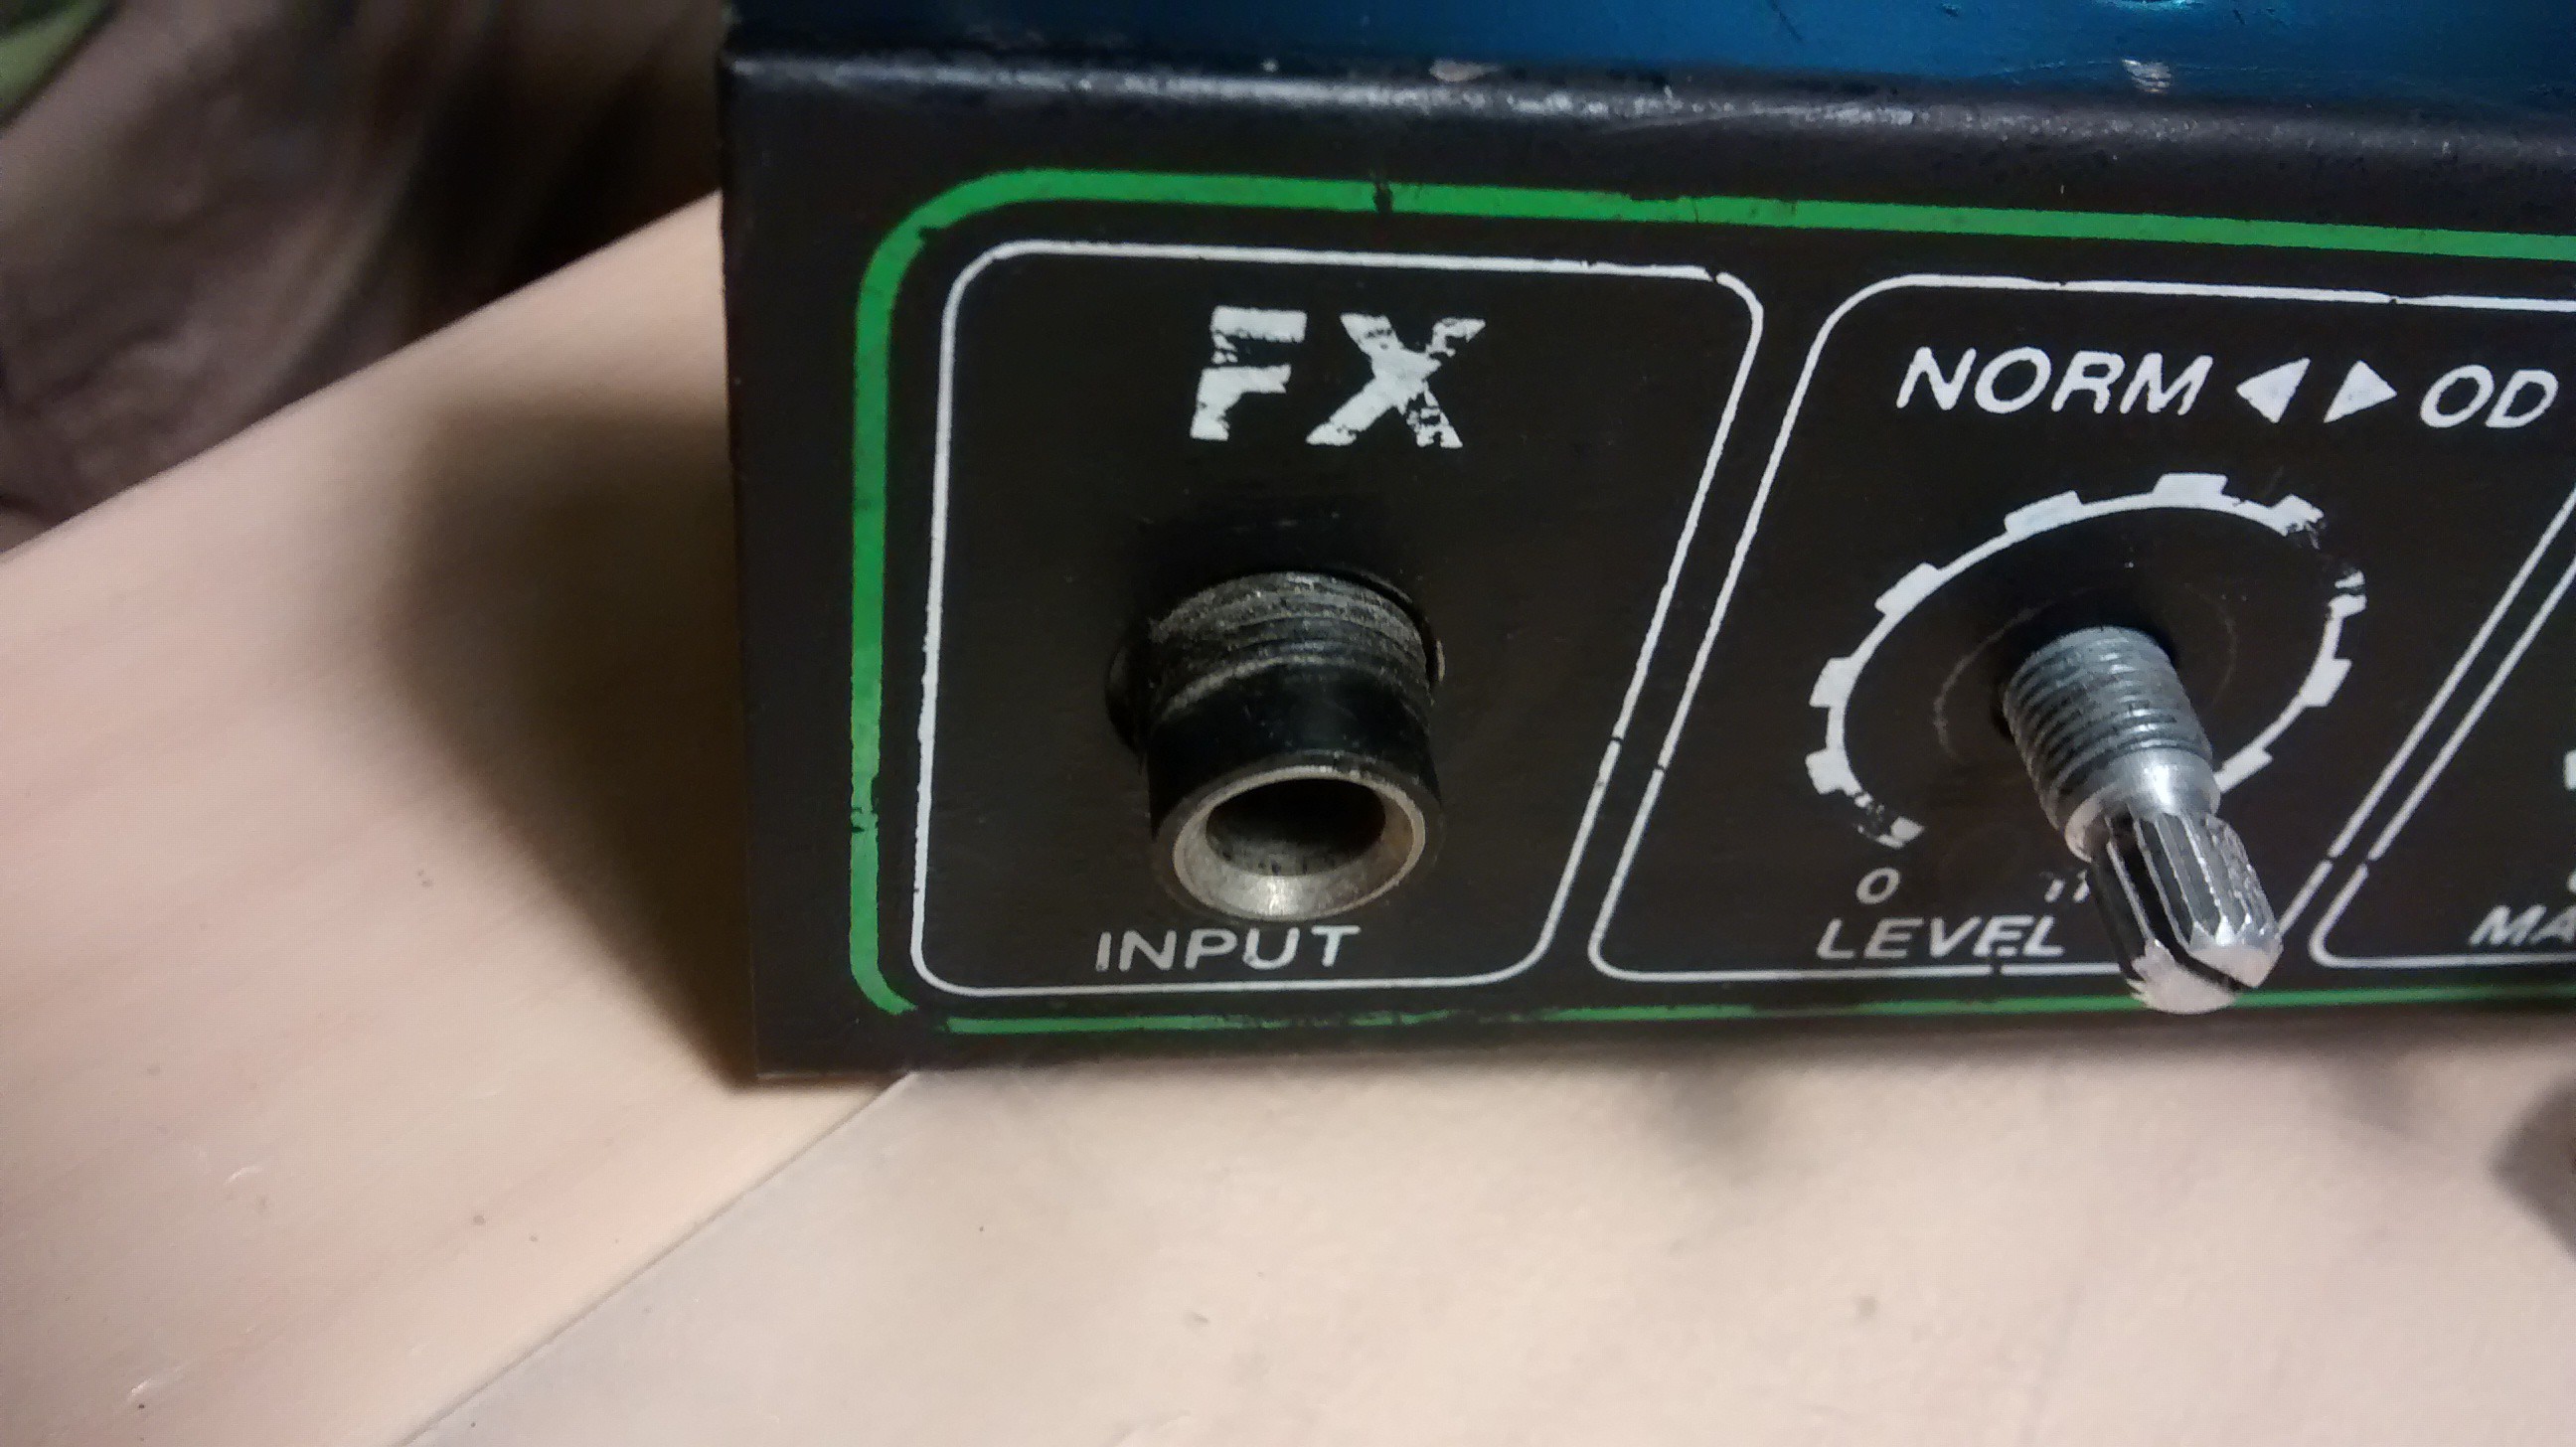
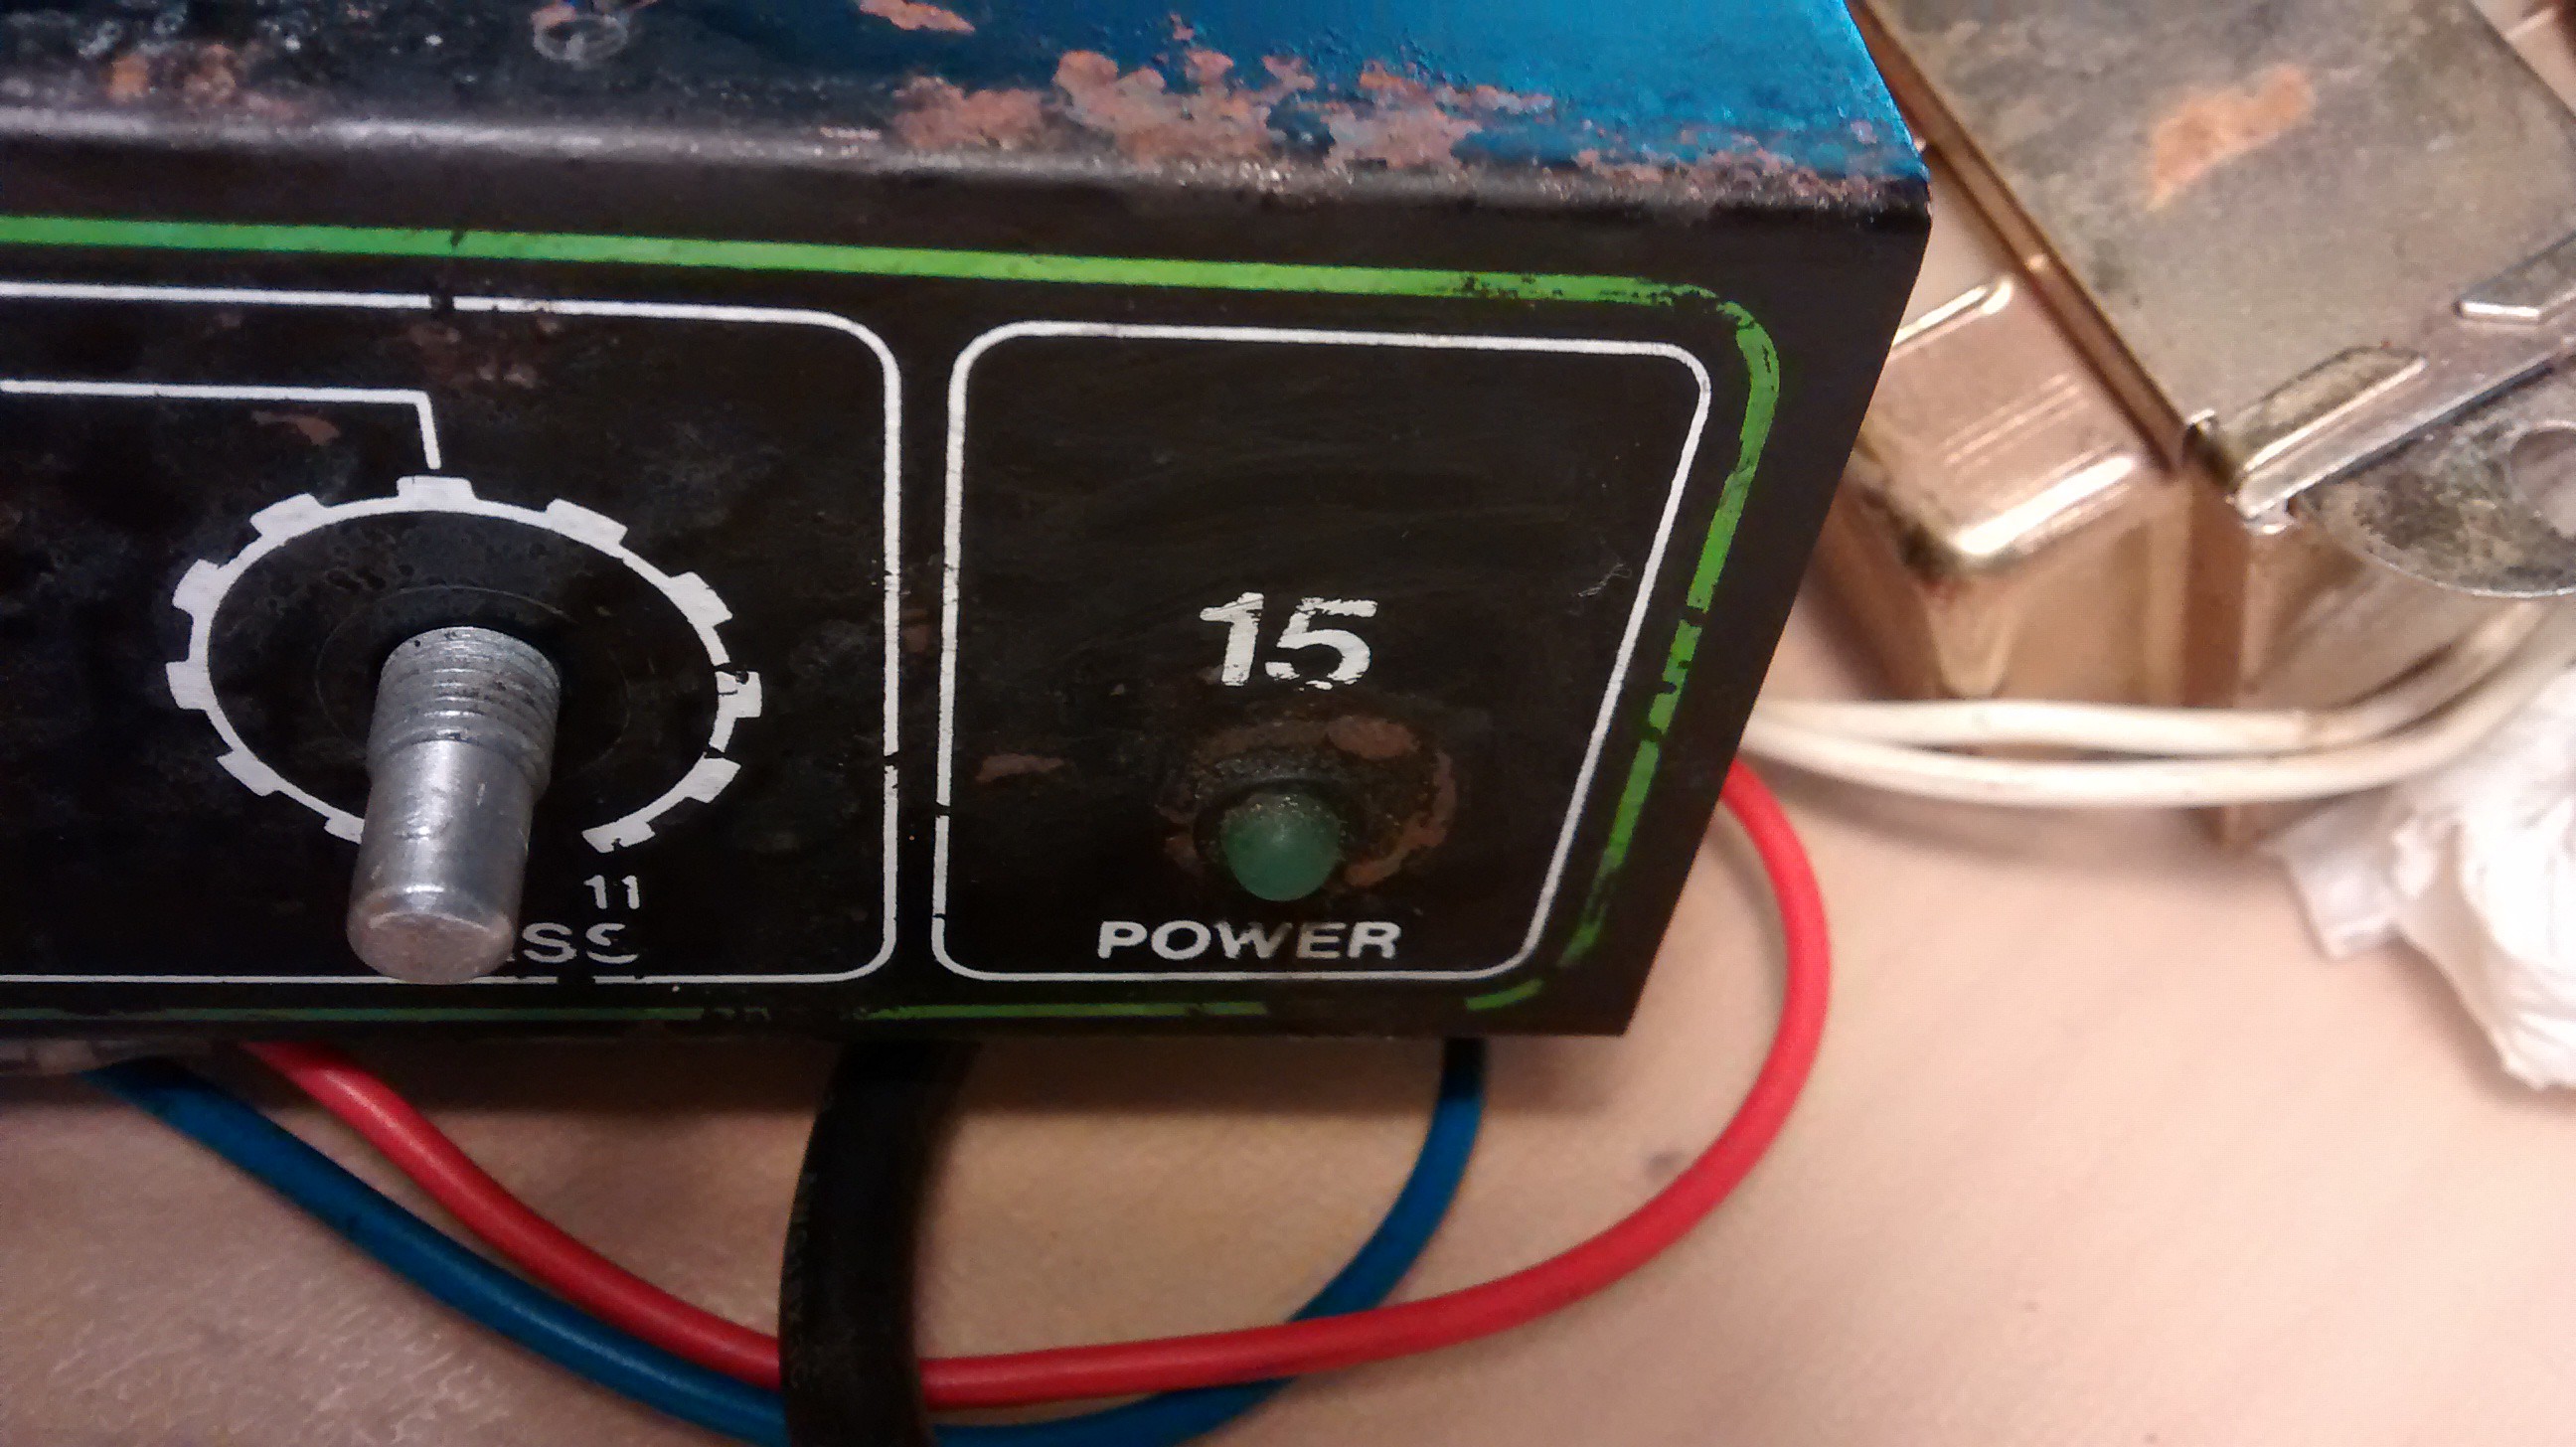
Then I grabbed napkins, q-tips, isopropyl alcohol, and an electrical contact cleaner, and set about scrubbing everything down. When I got to the face of the chassis, though, something strange happened.![]()
Here's what the chassis looked like before:
And here are the input jack and power light after:![]()
![]()
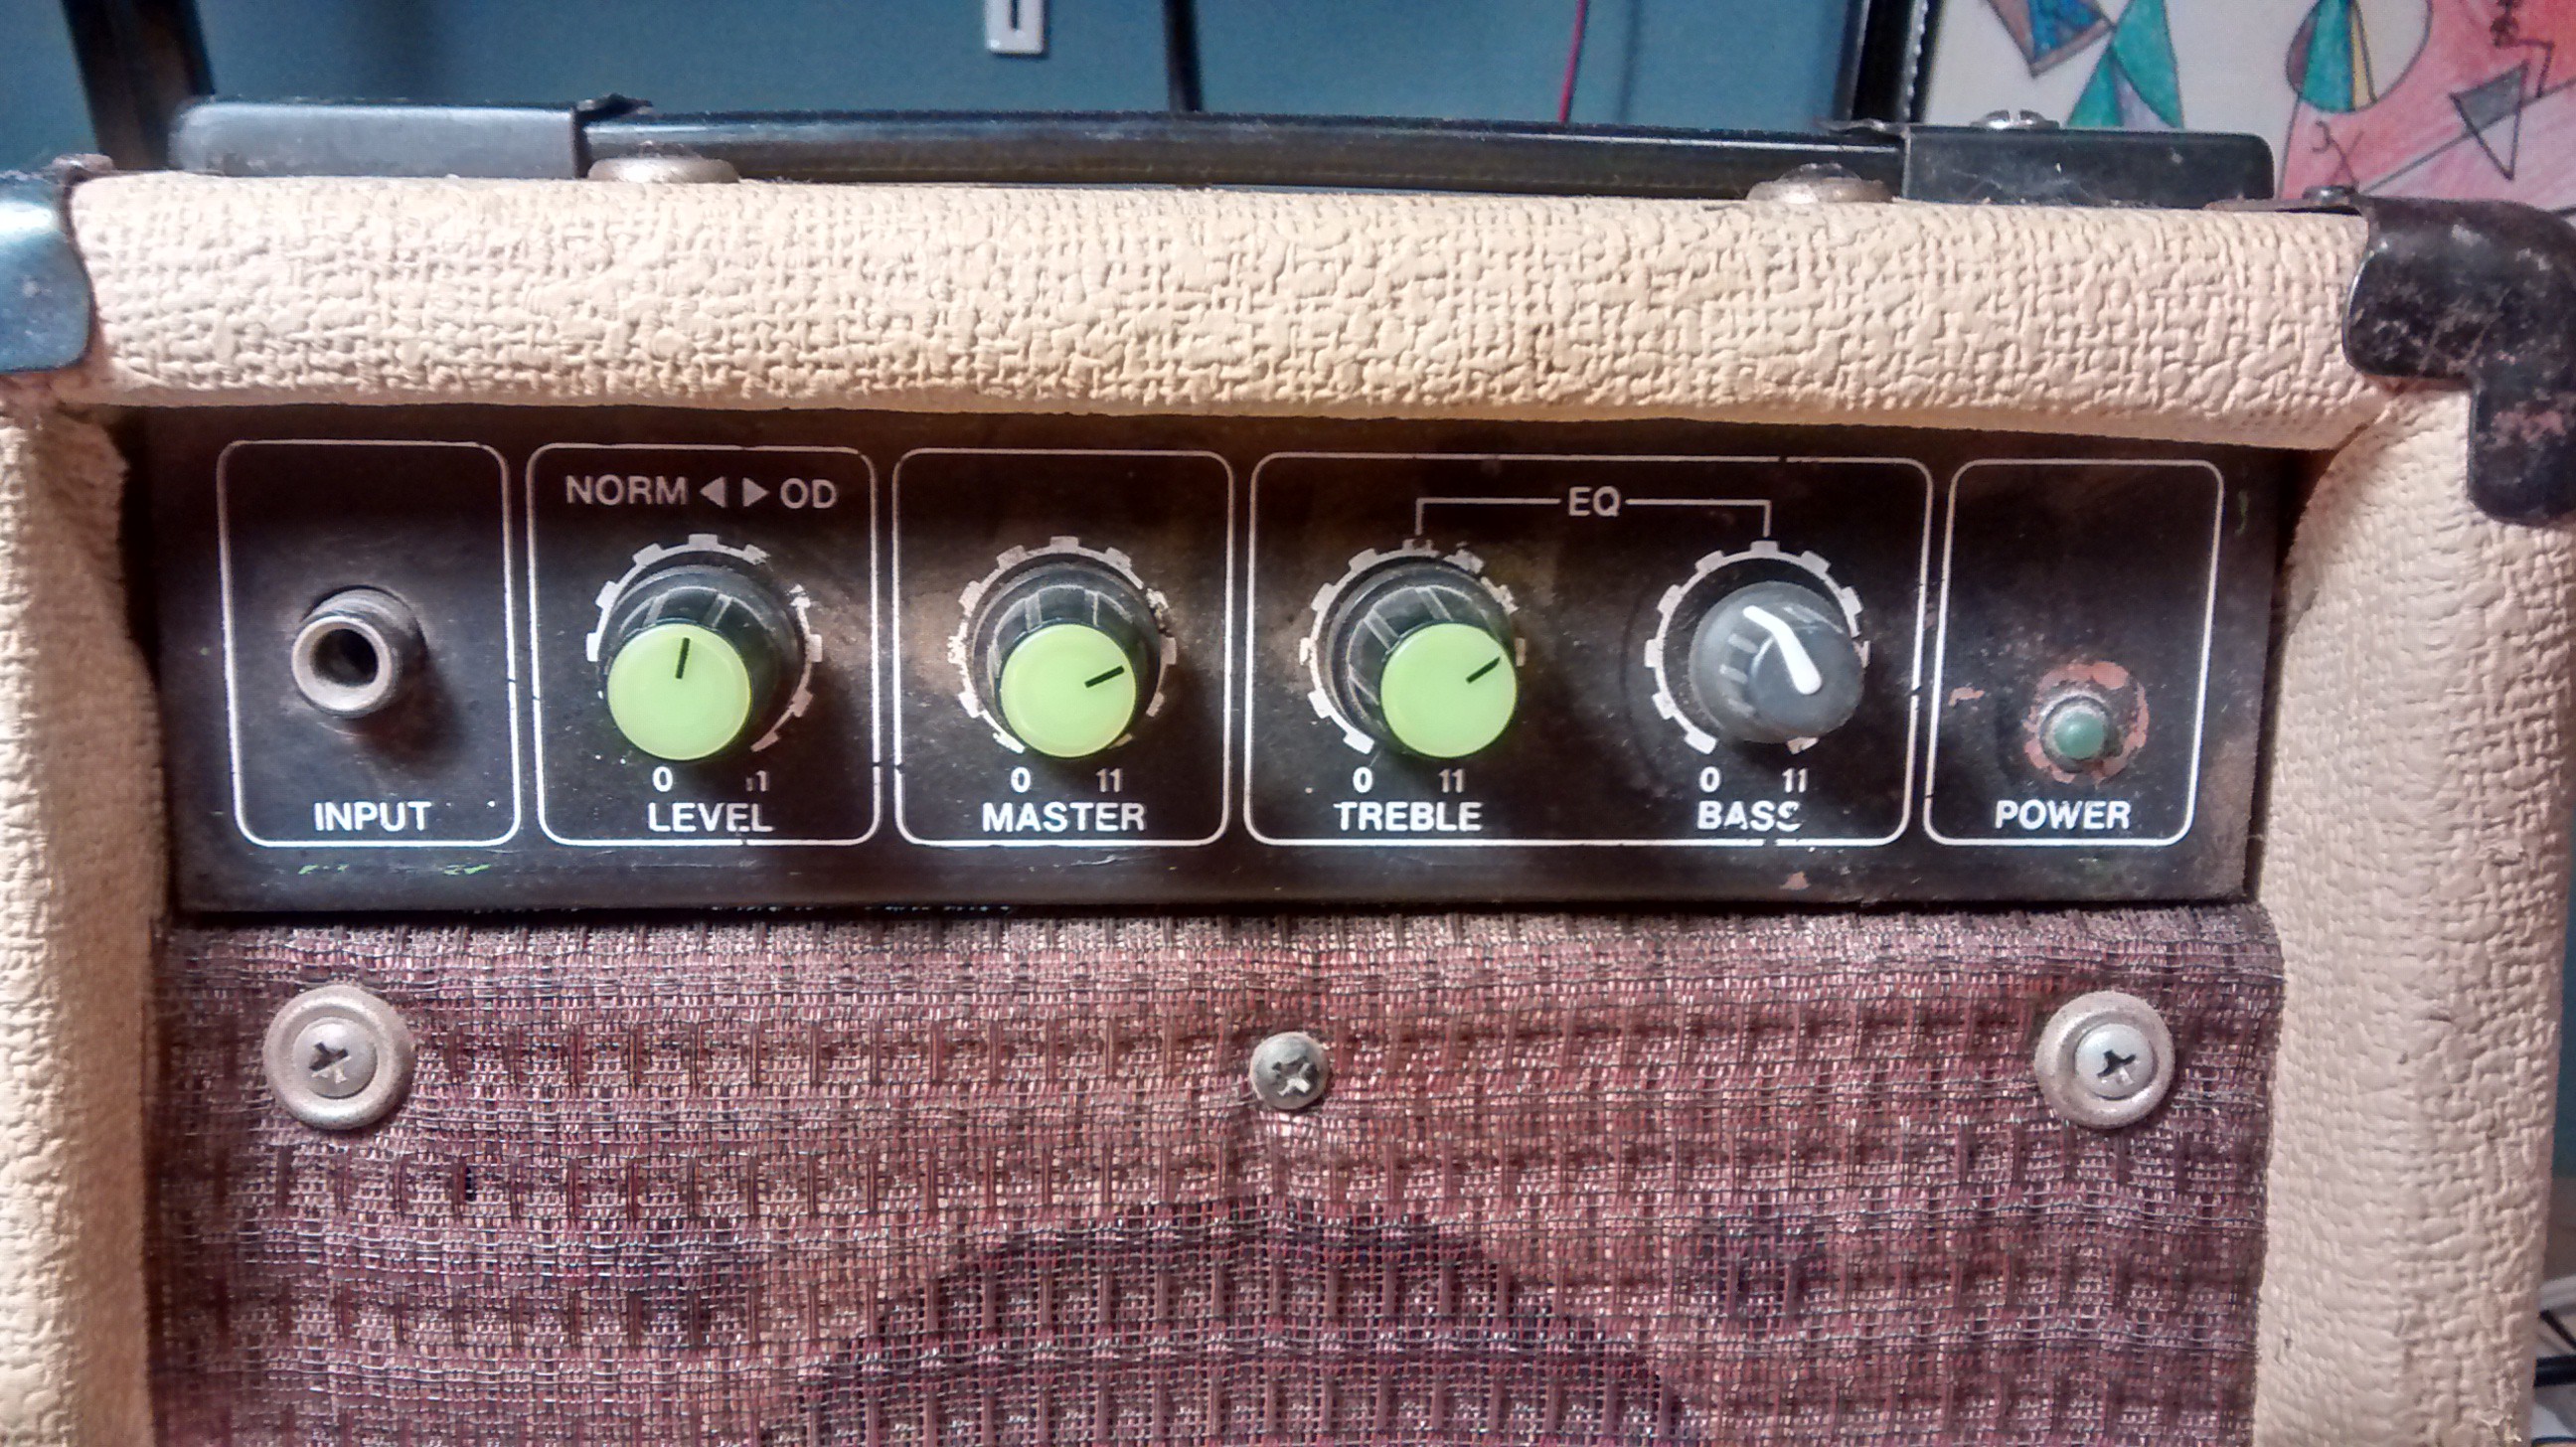
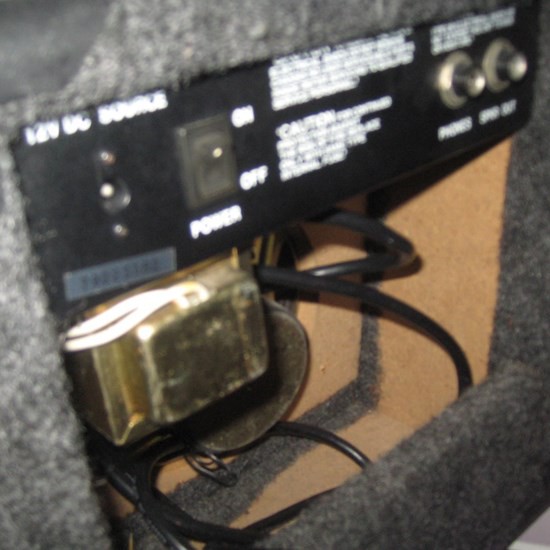
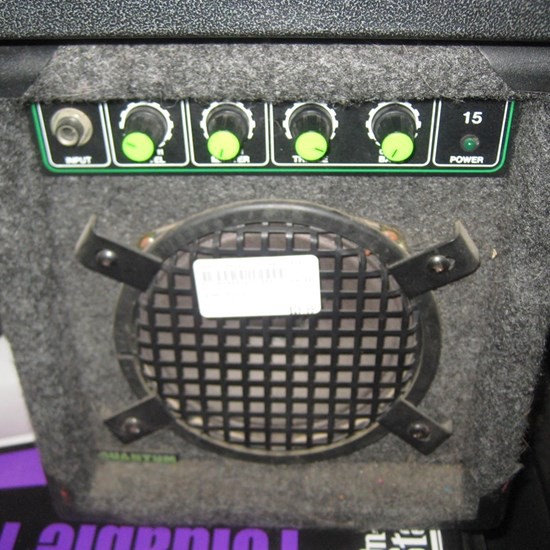
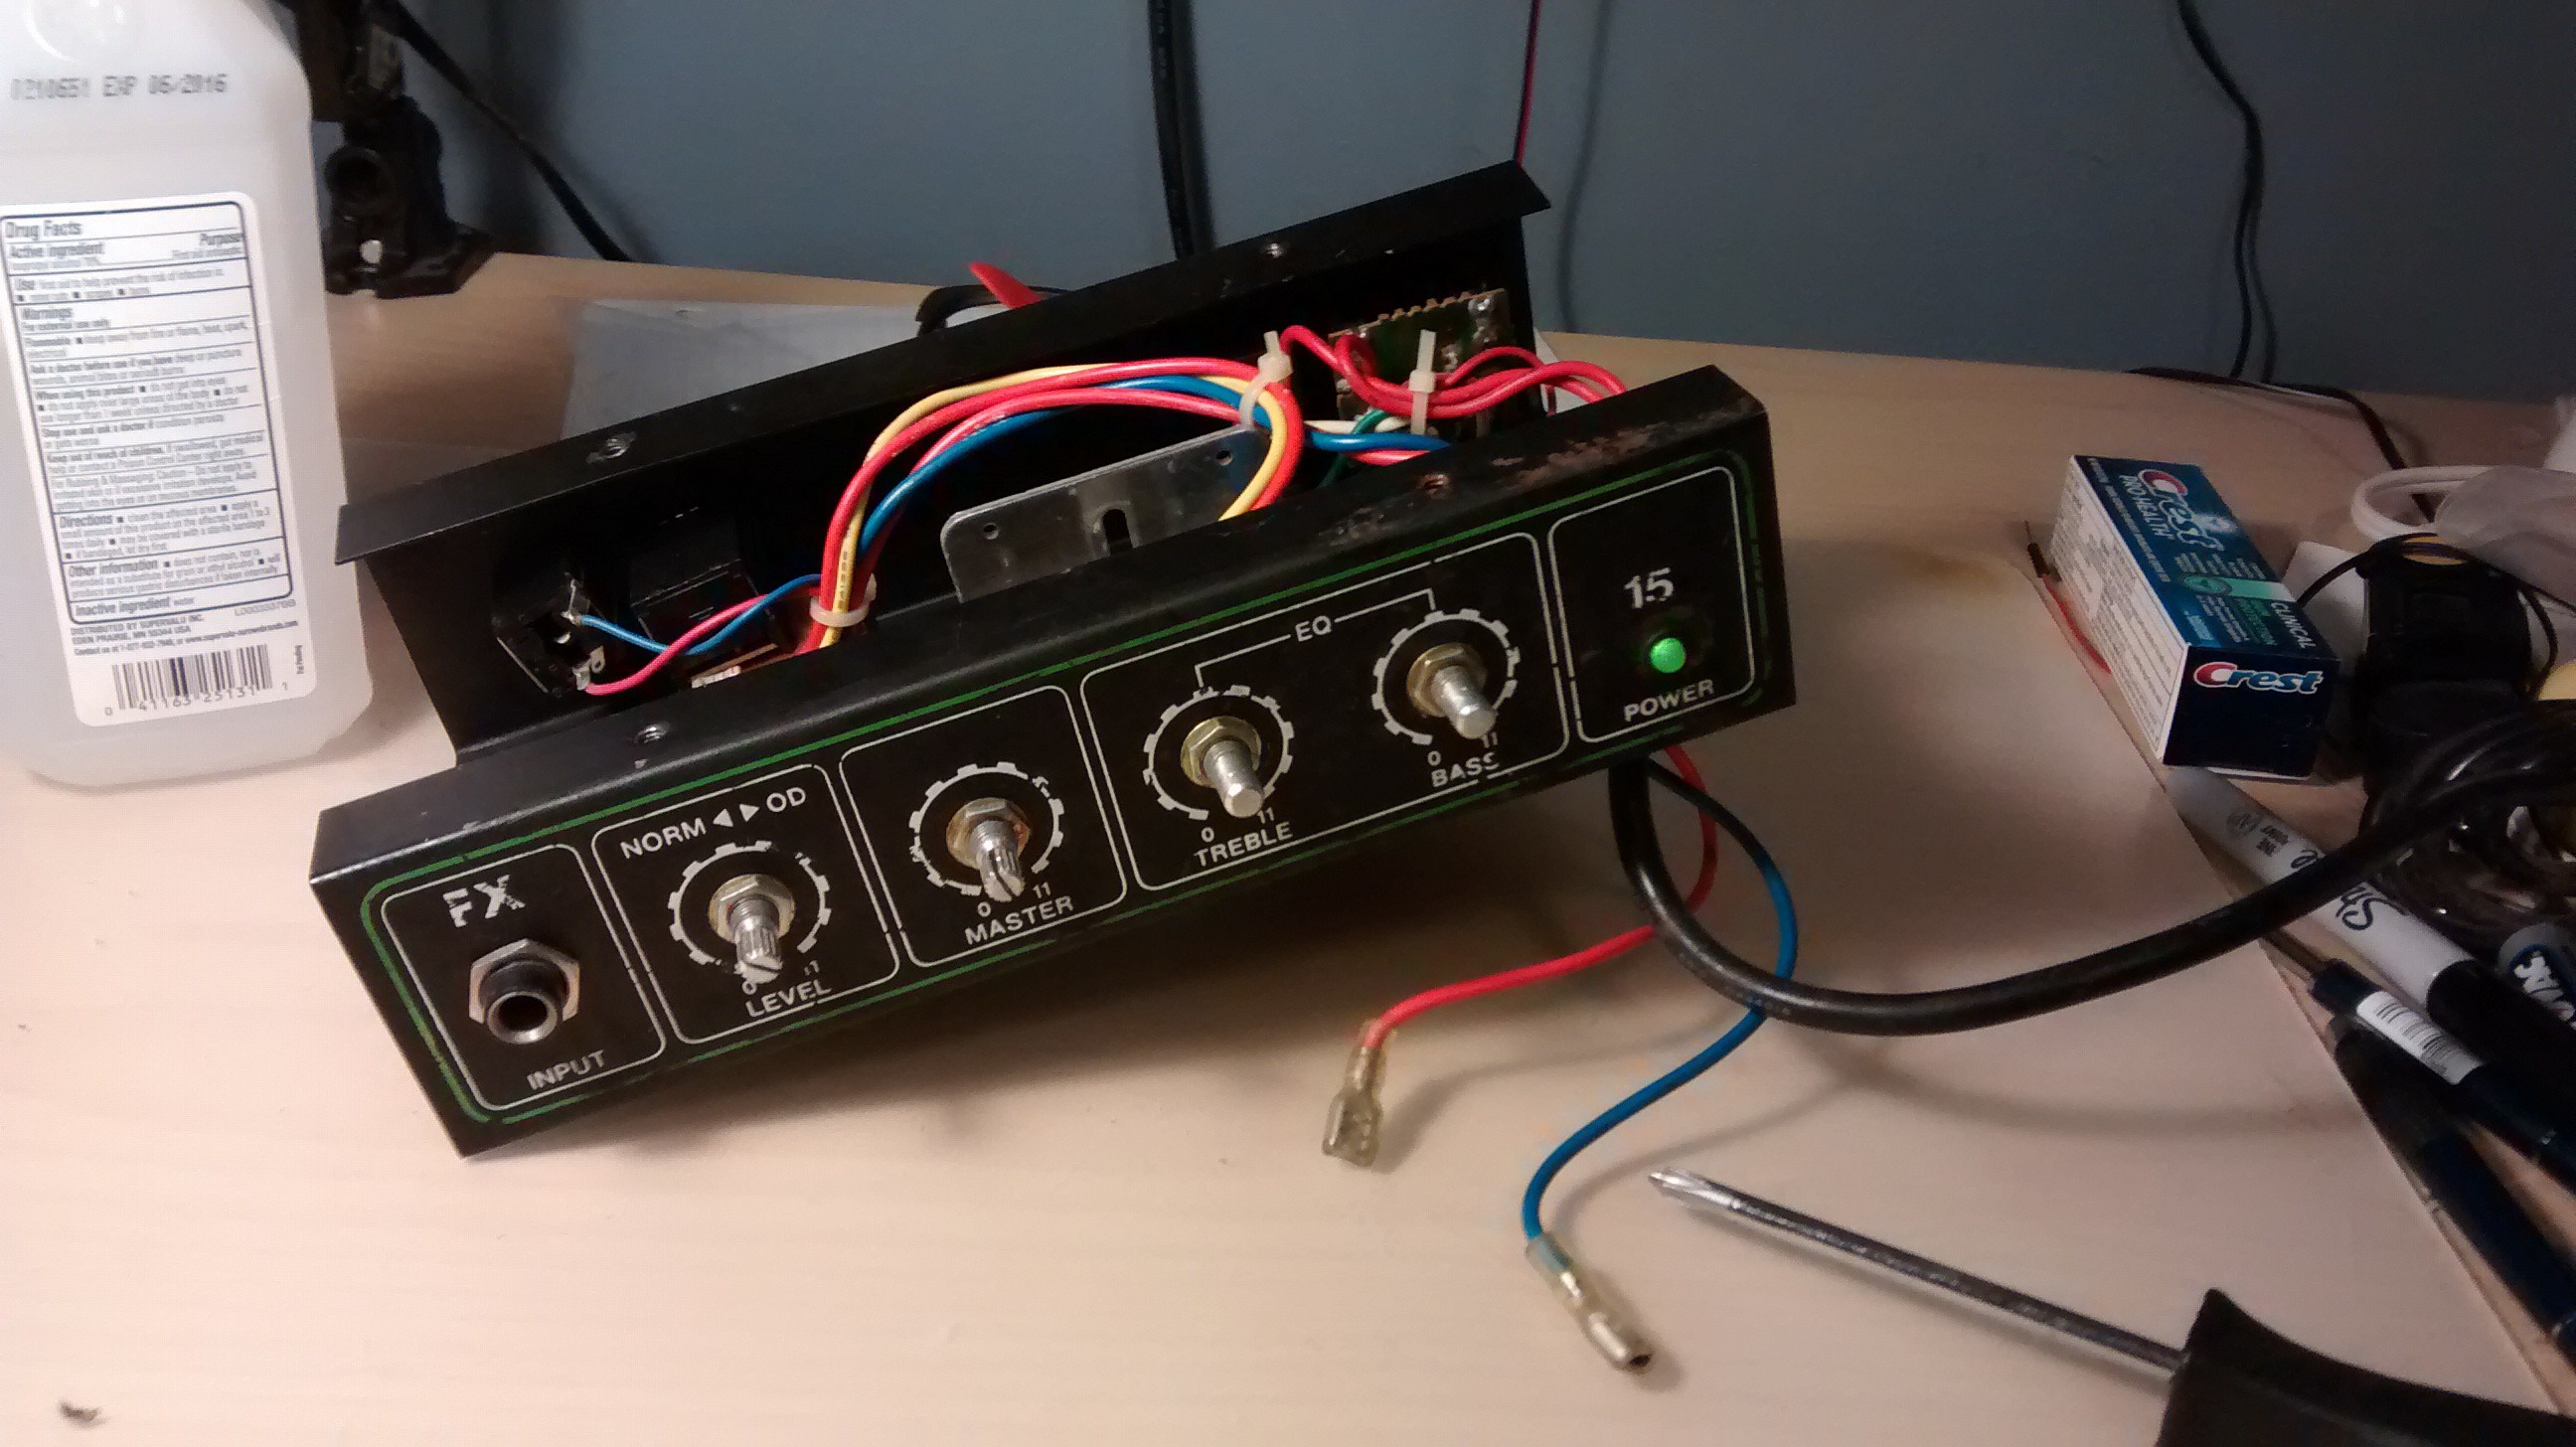
It seems that someone sharpied over a green outline and the model info for the amp. With a bit of googling, I was able to find out what amp this is. It's a Quantum 'Terminator' FX-15 amp. And boy has this one been trifled with. Here are the only photos I could find of an original:![]()
![]()
Blurry, but undeniably the same amp. It also explains the plethora of extra screws on the front holding the new grill cloth in place.![]()
With the chassis clean, I replaced the thermal paste on the power amp heat sink.
And then put the amp back together and turned it on.![]()
Since once again nothing exploded, I plugged the bass back in and confirmed that audio still came out. Success!![]()
Next I'll set about repairing the speaker, which has a small tear in the cone.
-
Jumping In
07/29/2015 at 22:28 • 0 commentsI started by unplugging the speaker and removing the grill cloth, taking pictures of screw placement and bagging the fasteners together in logical groups. The result was easy access to the collected layer of filth. Bleugh.
The amp's proximity to the window seems to have turned the cabinet into a flytrap.
![]()
I vacuumed out the cabinet. Much better. Not clean, but stomach-able.
![]()
I could then drop the chassis out of the cabinet and see what kind of circuit was in this thing.
![]()
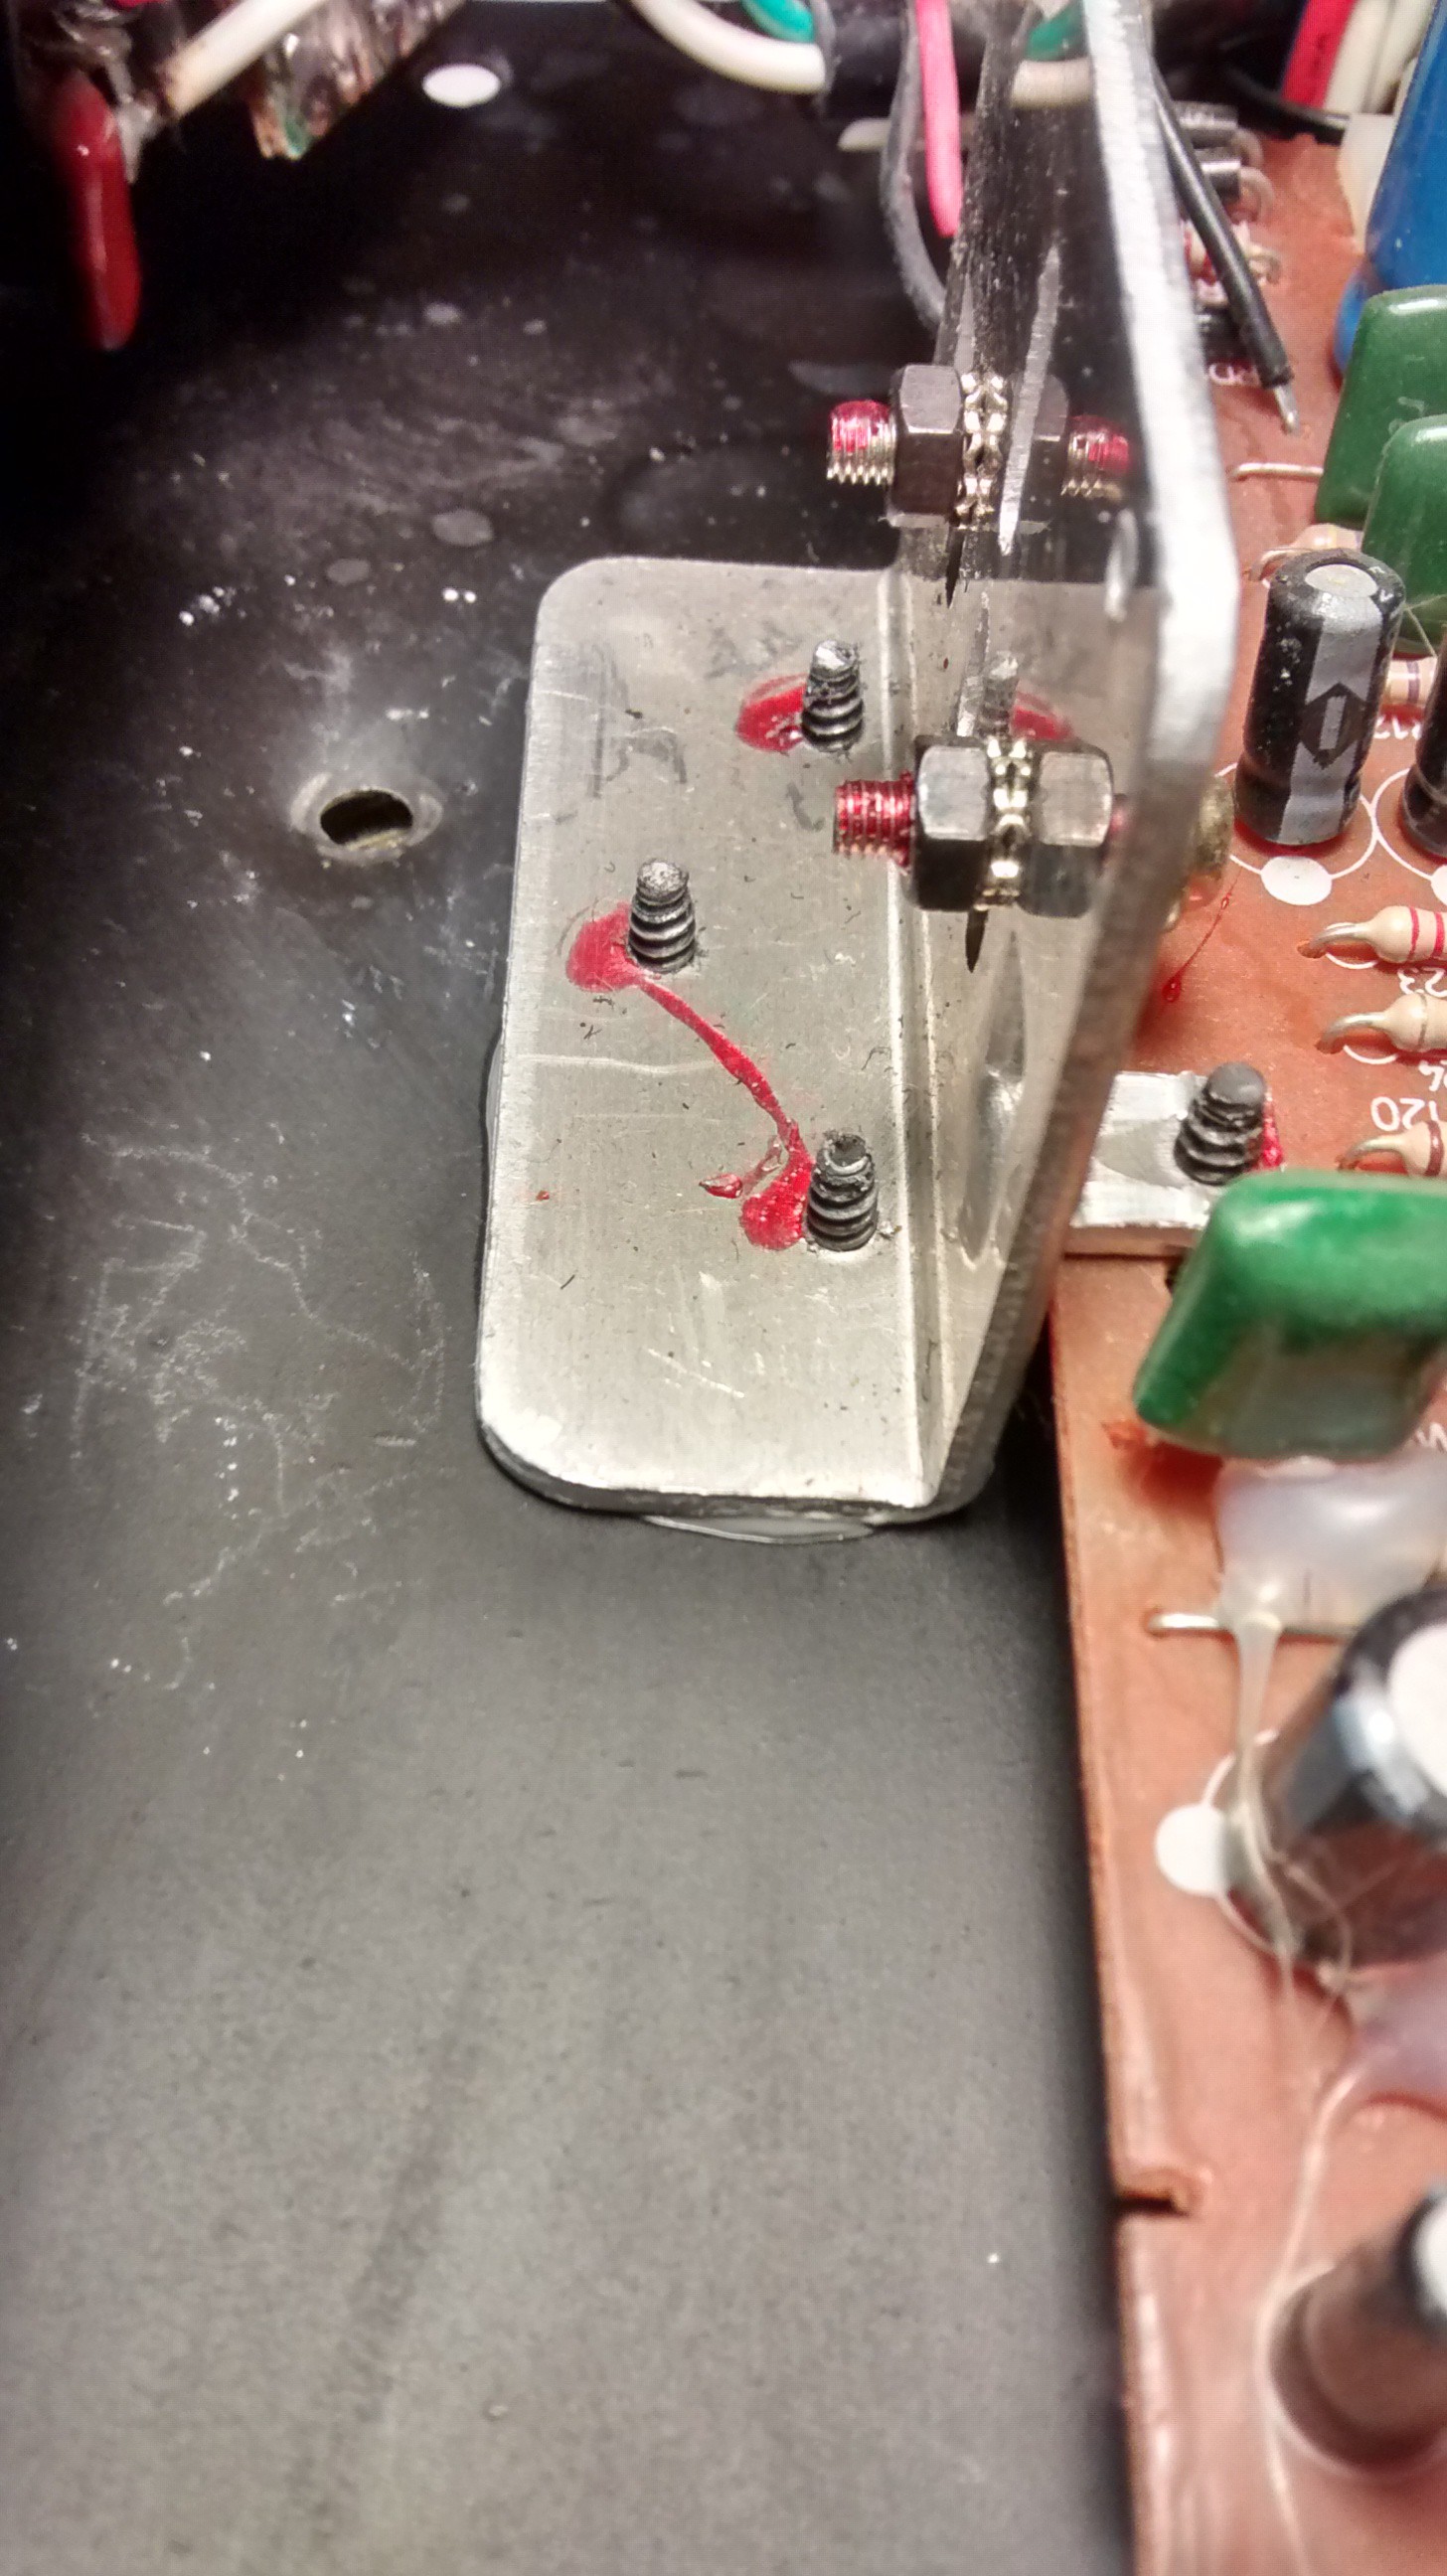
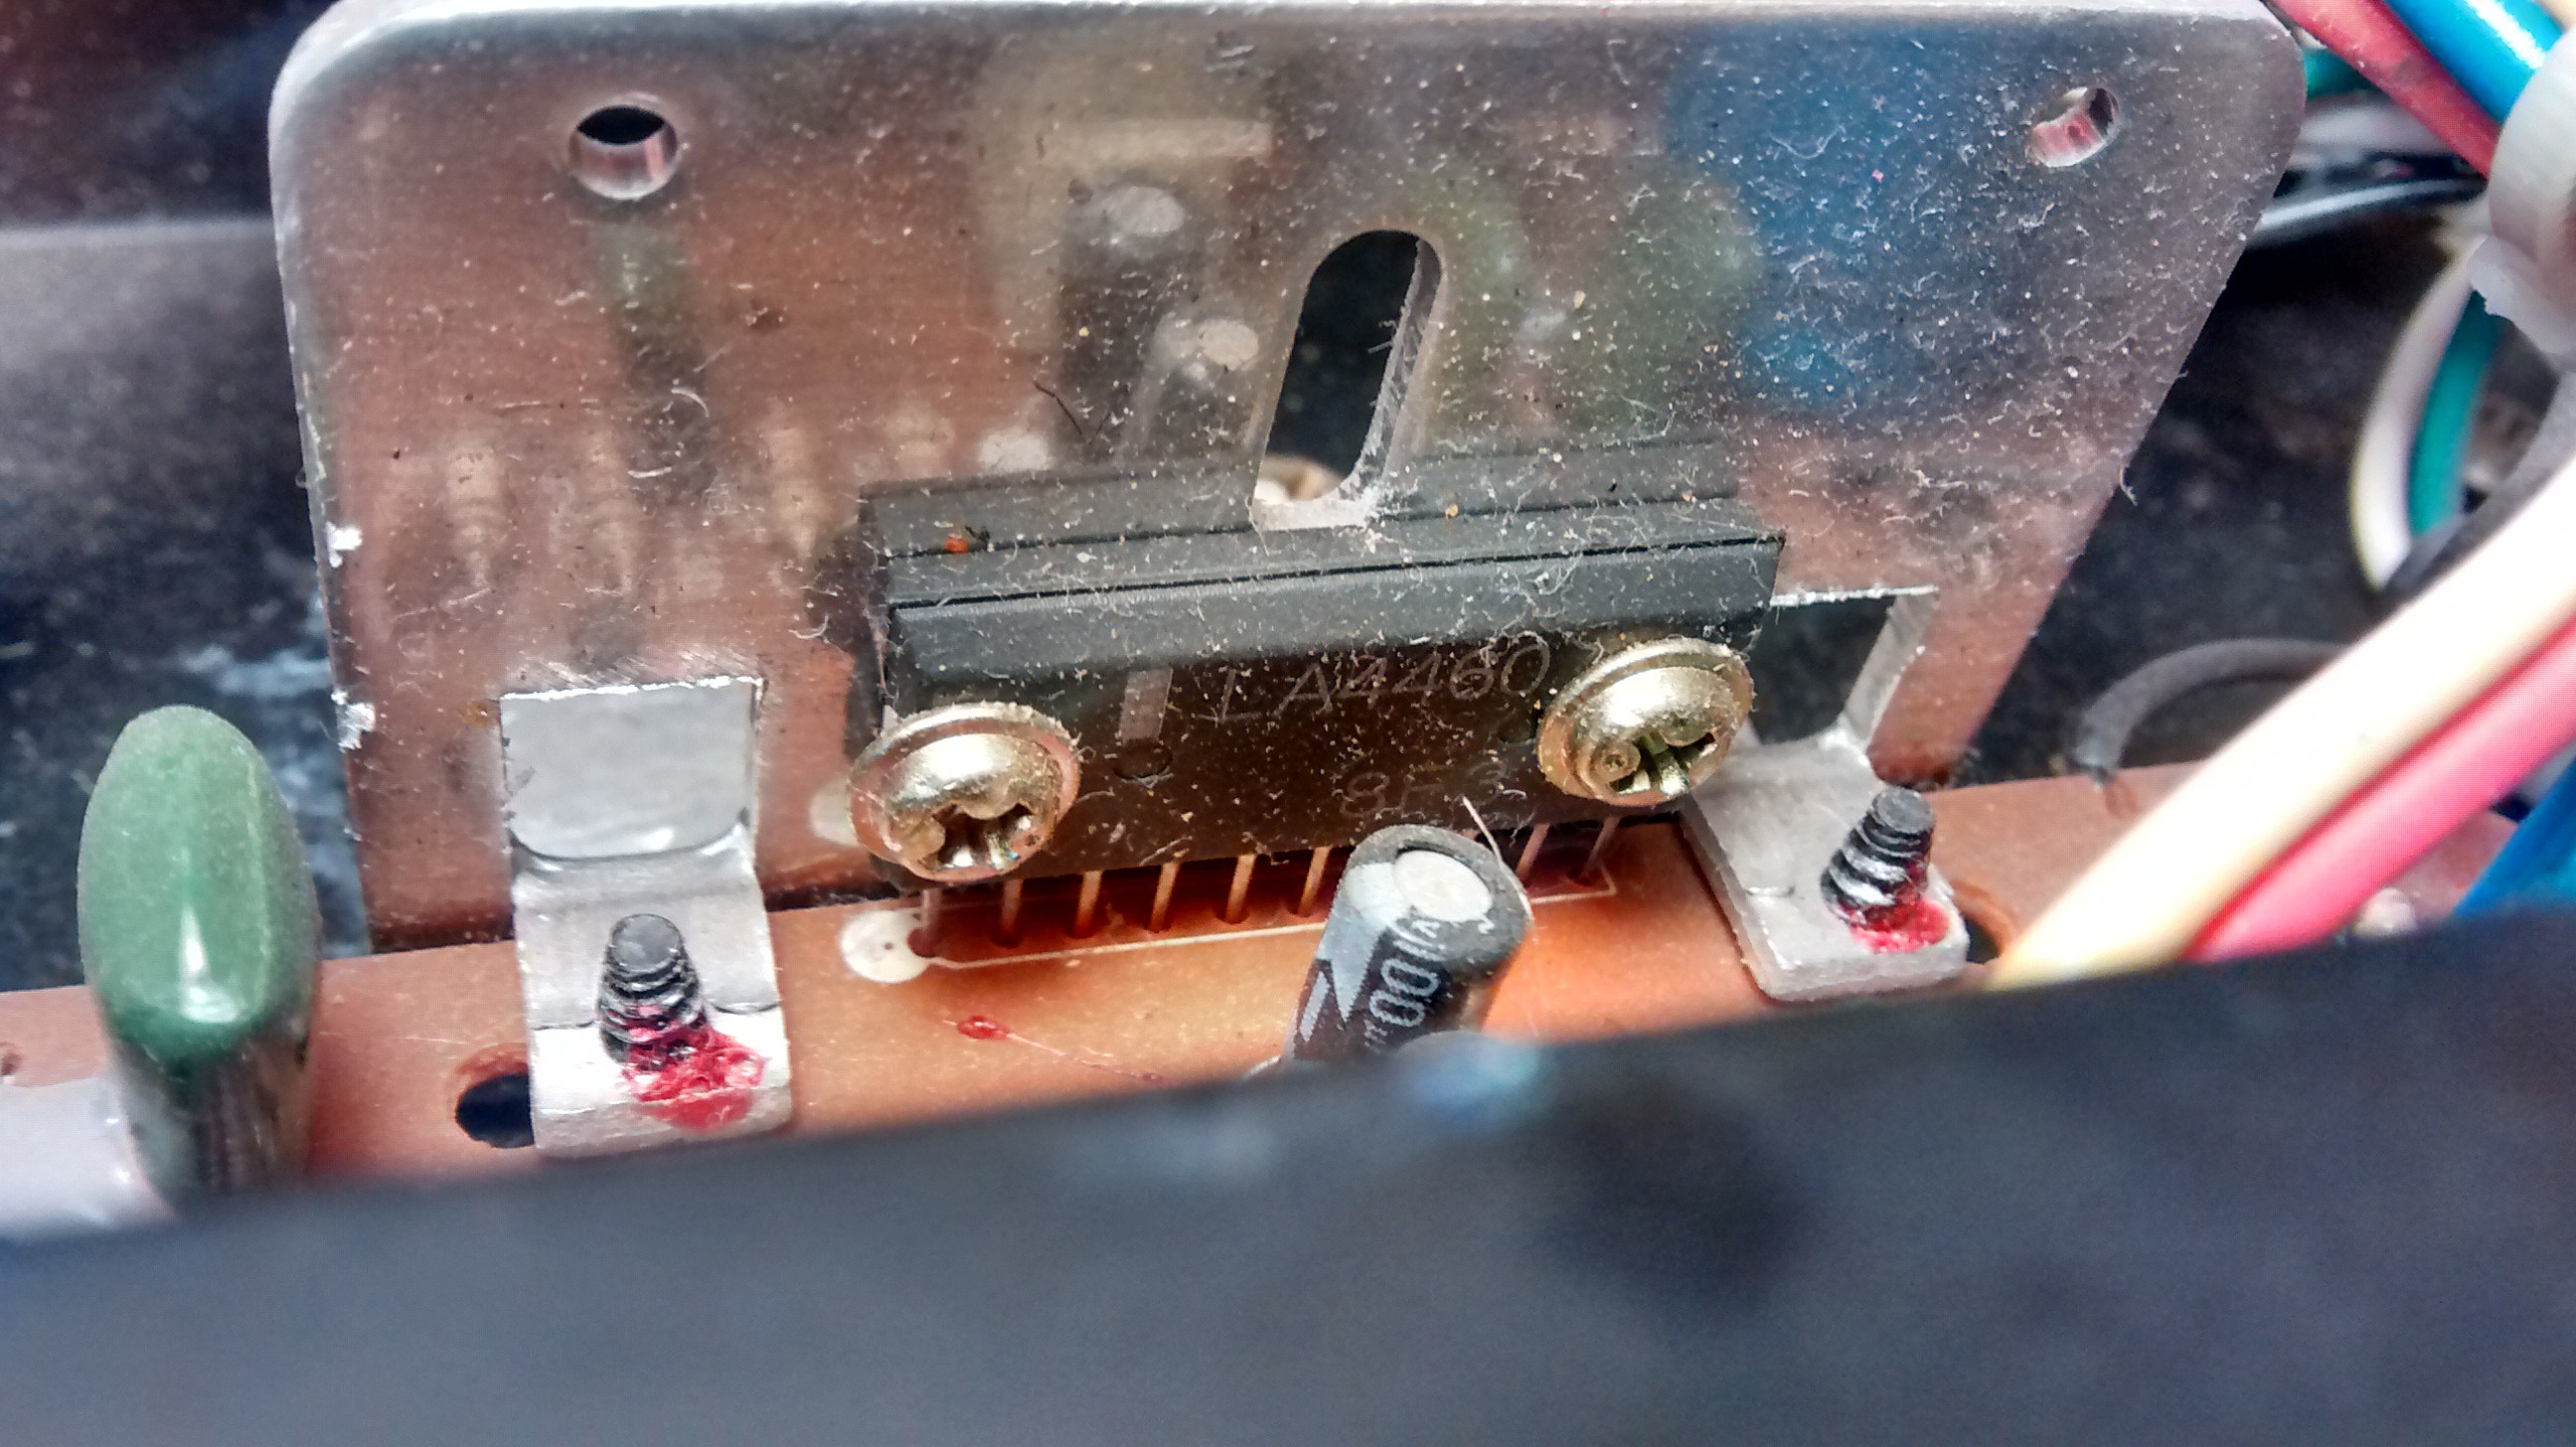
Yup. Definitely solid state. The aluminum bracket in the middle is the heat sink for what is obviously the power amplifier chip, an LA4460.
![]()
The circuit has no obvious faults, charred components, or broken bits, so it's entirely possible that nothing will need done to the electronics, but confirmation will have to wait for another day. In the meantime, the amp has no obvious branding anywhere on it. The tolex seems to have been amateurishly replaced at some point and stapled haphazardly into place. Presumably when that was done any logo was lost with it.
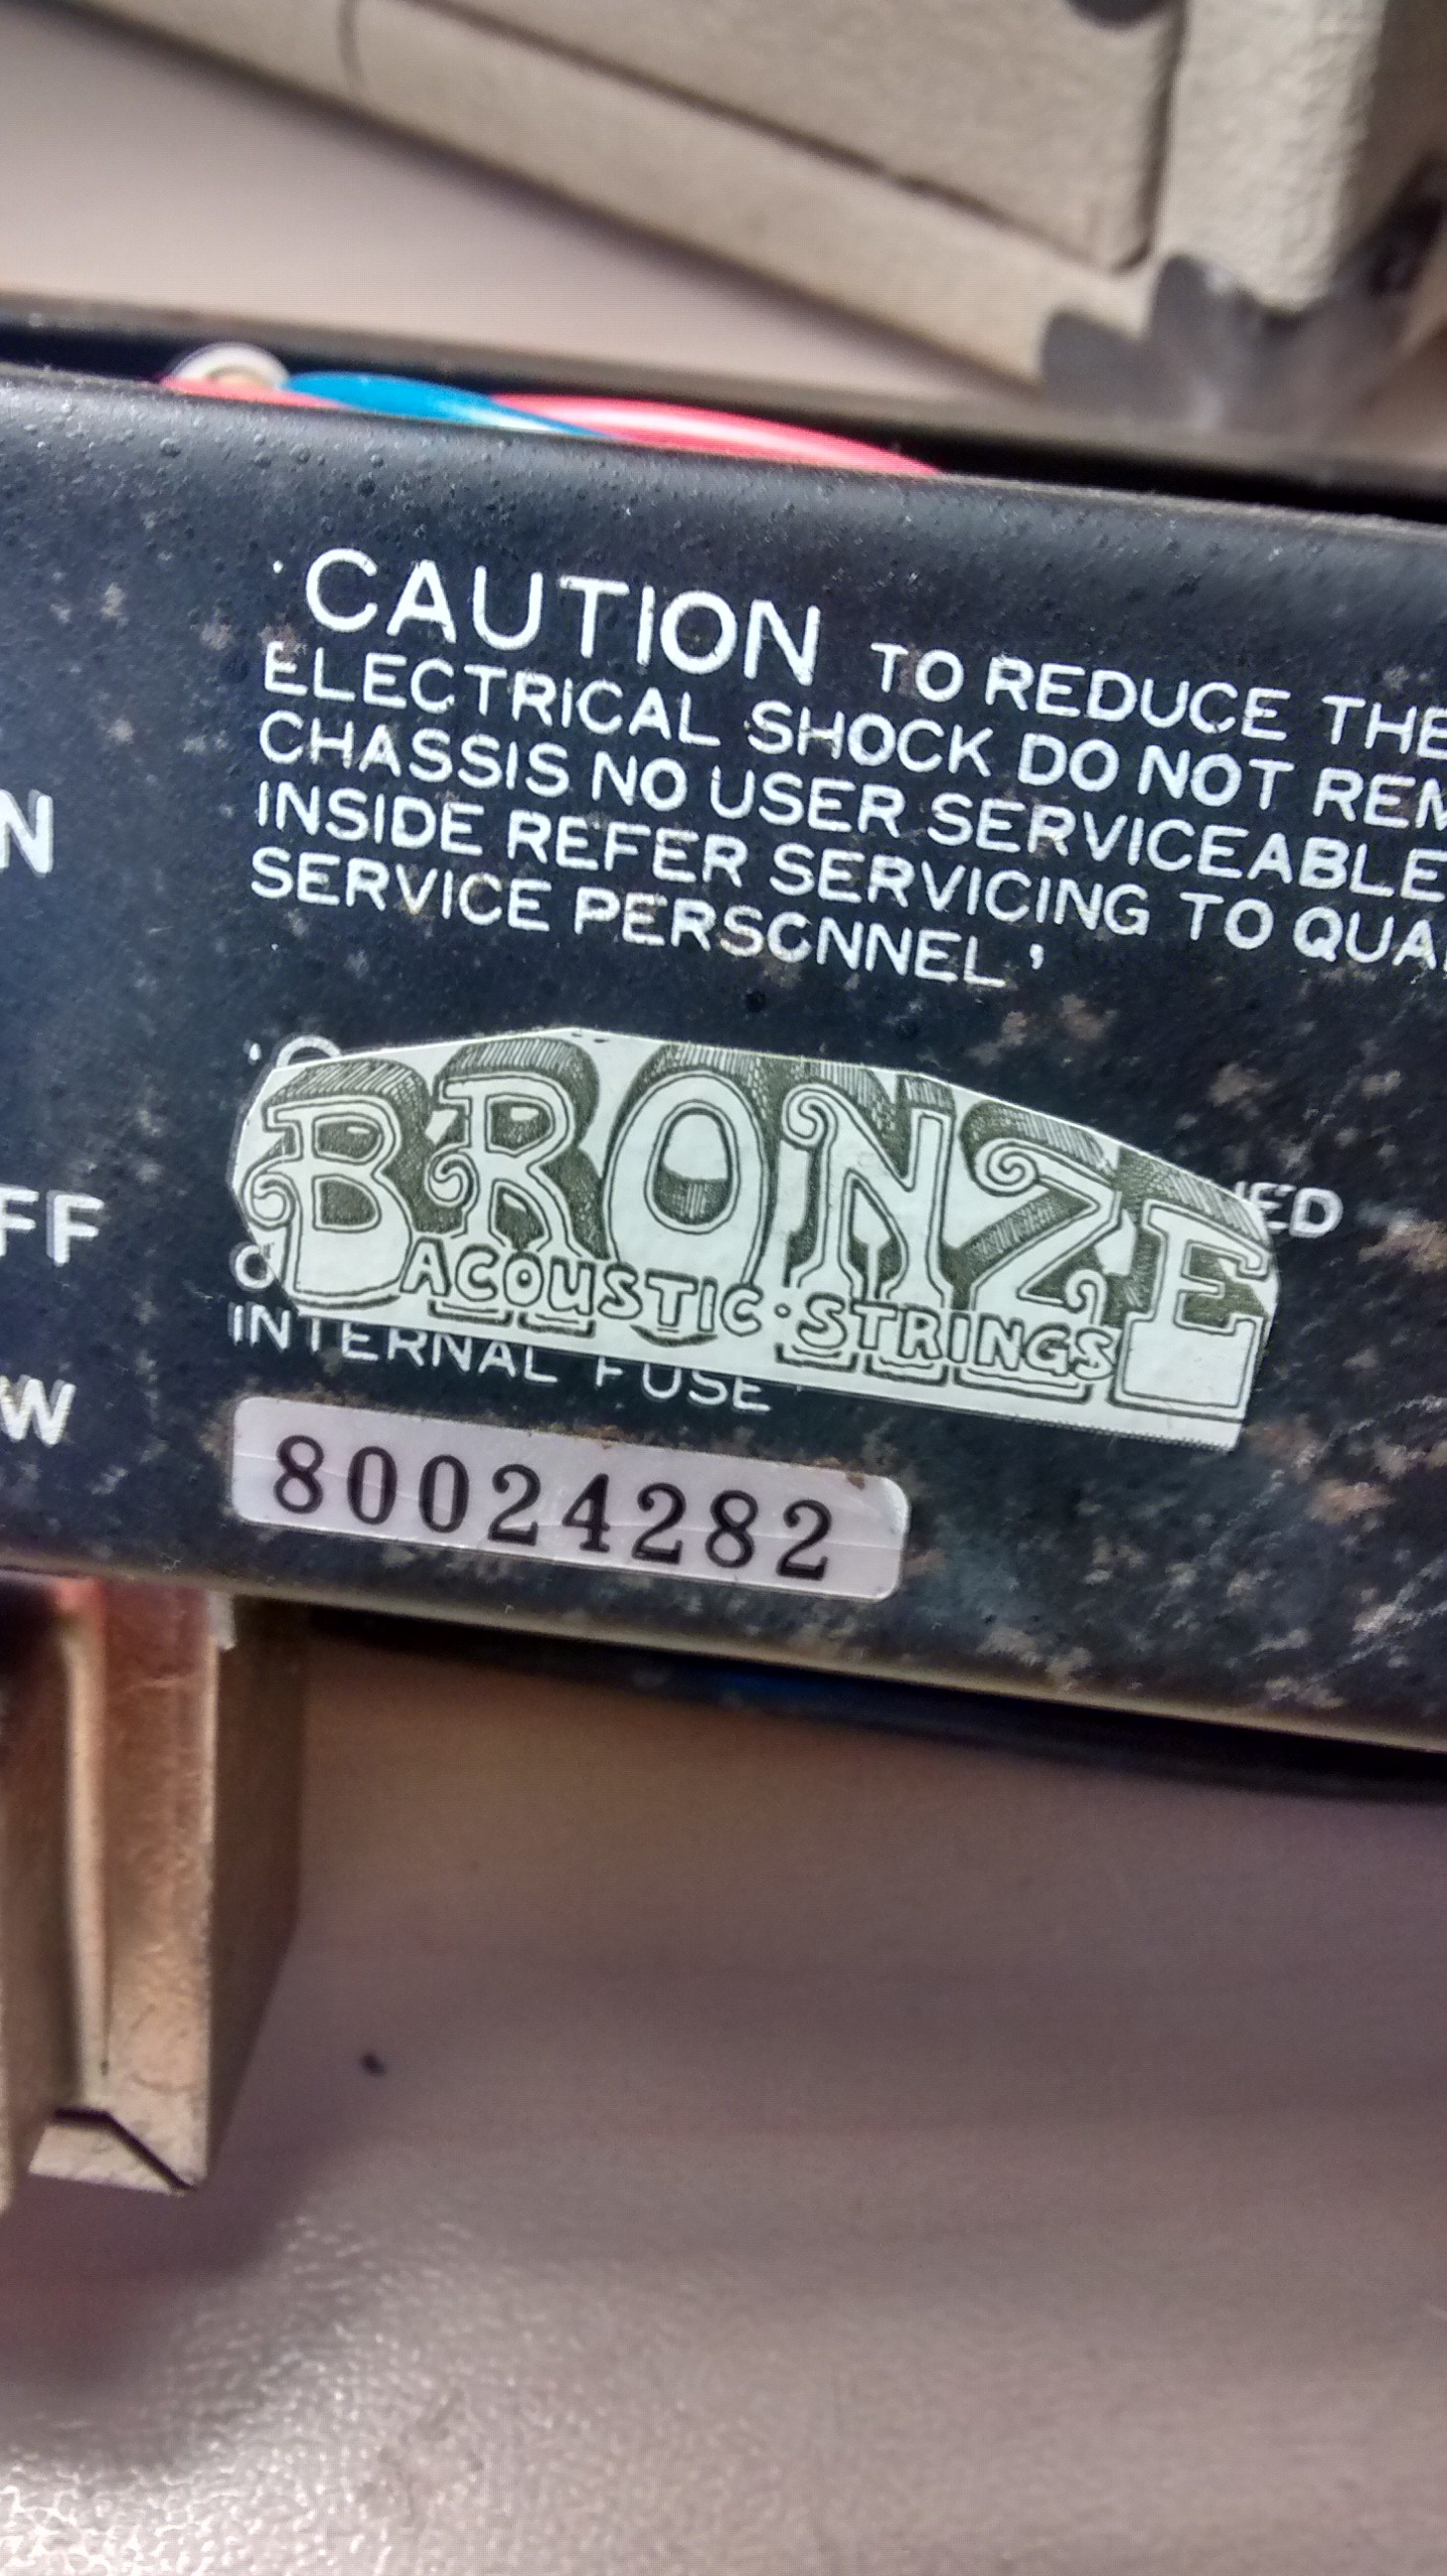
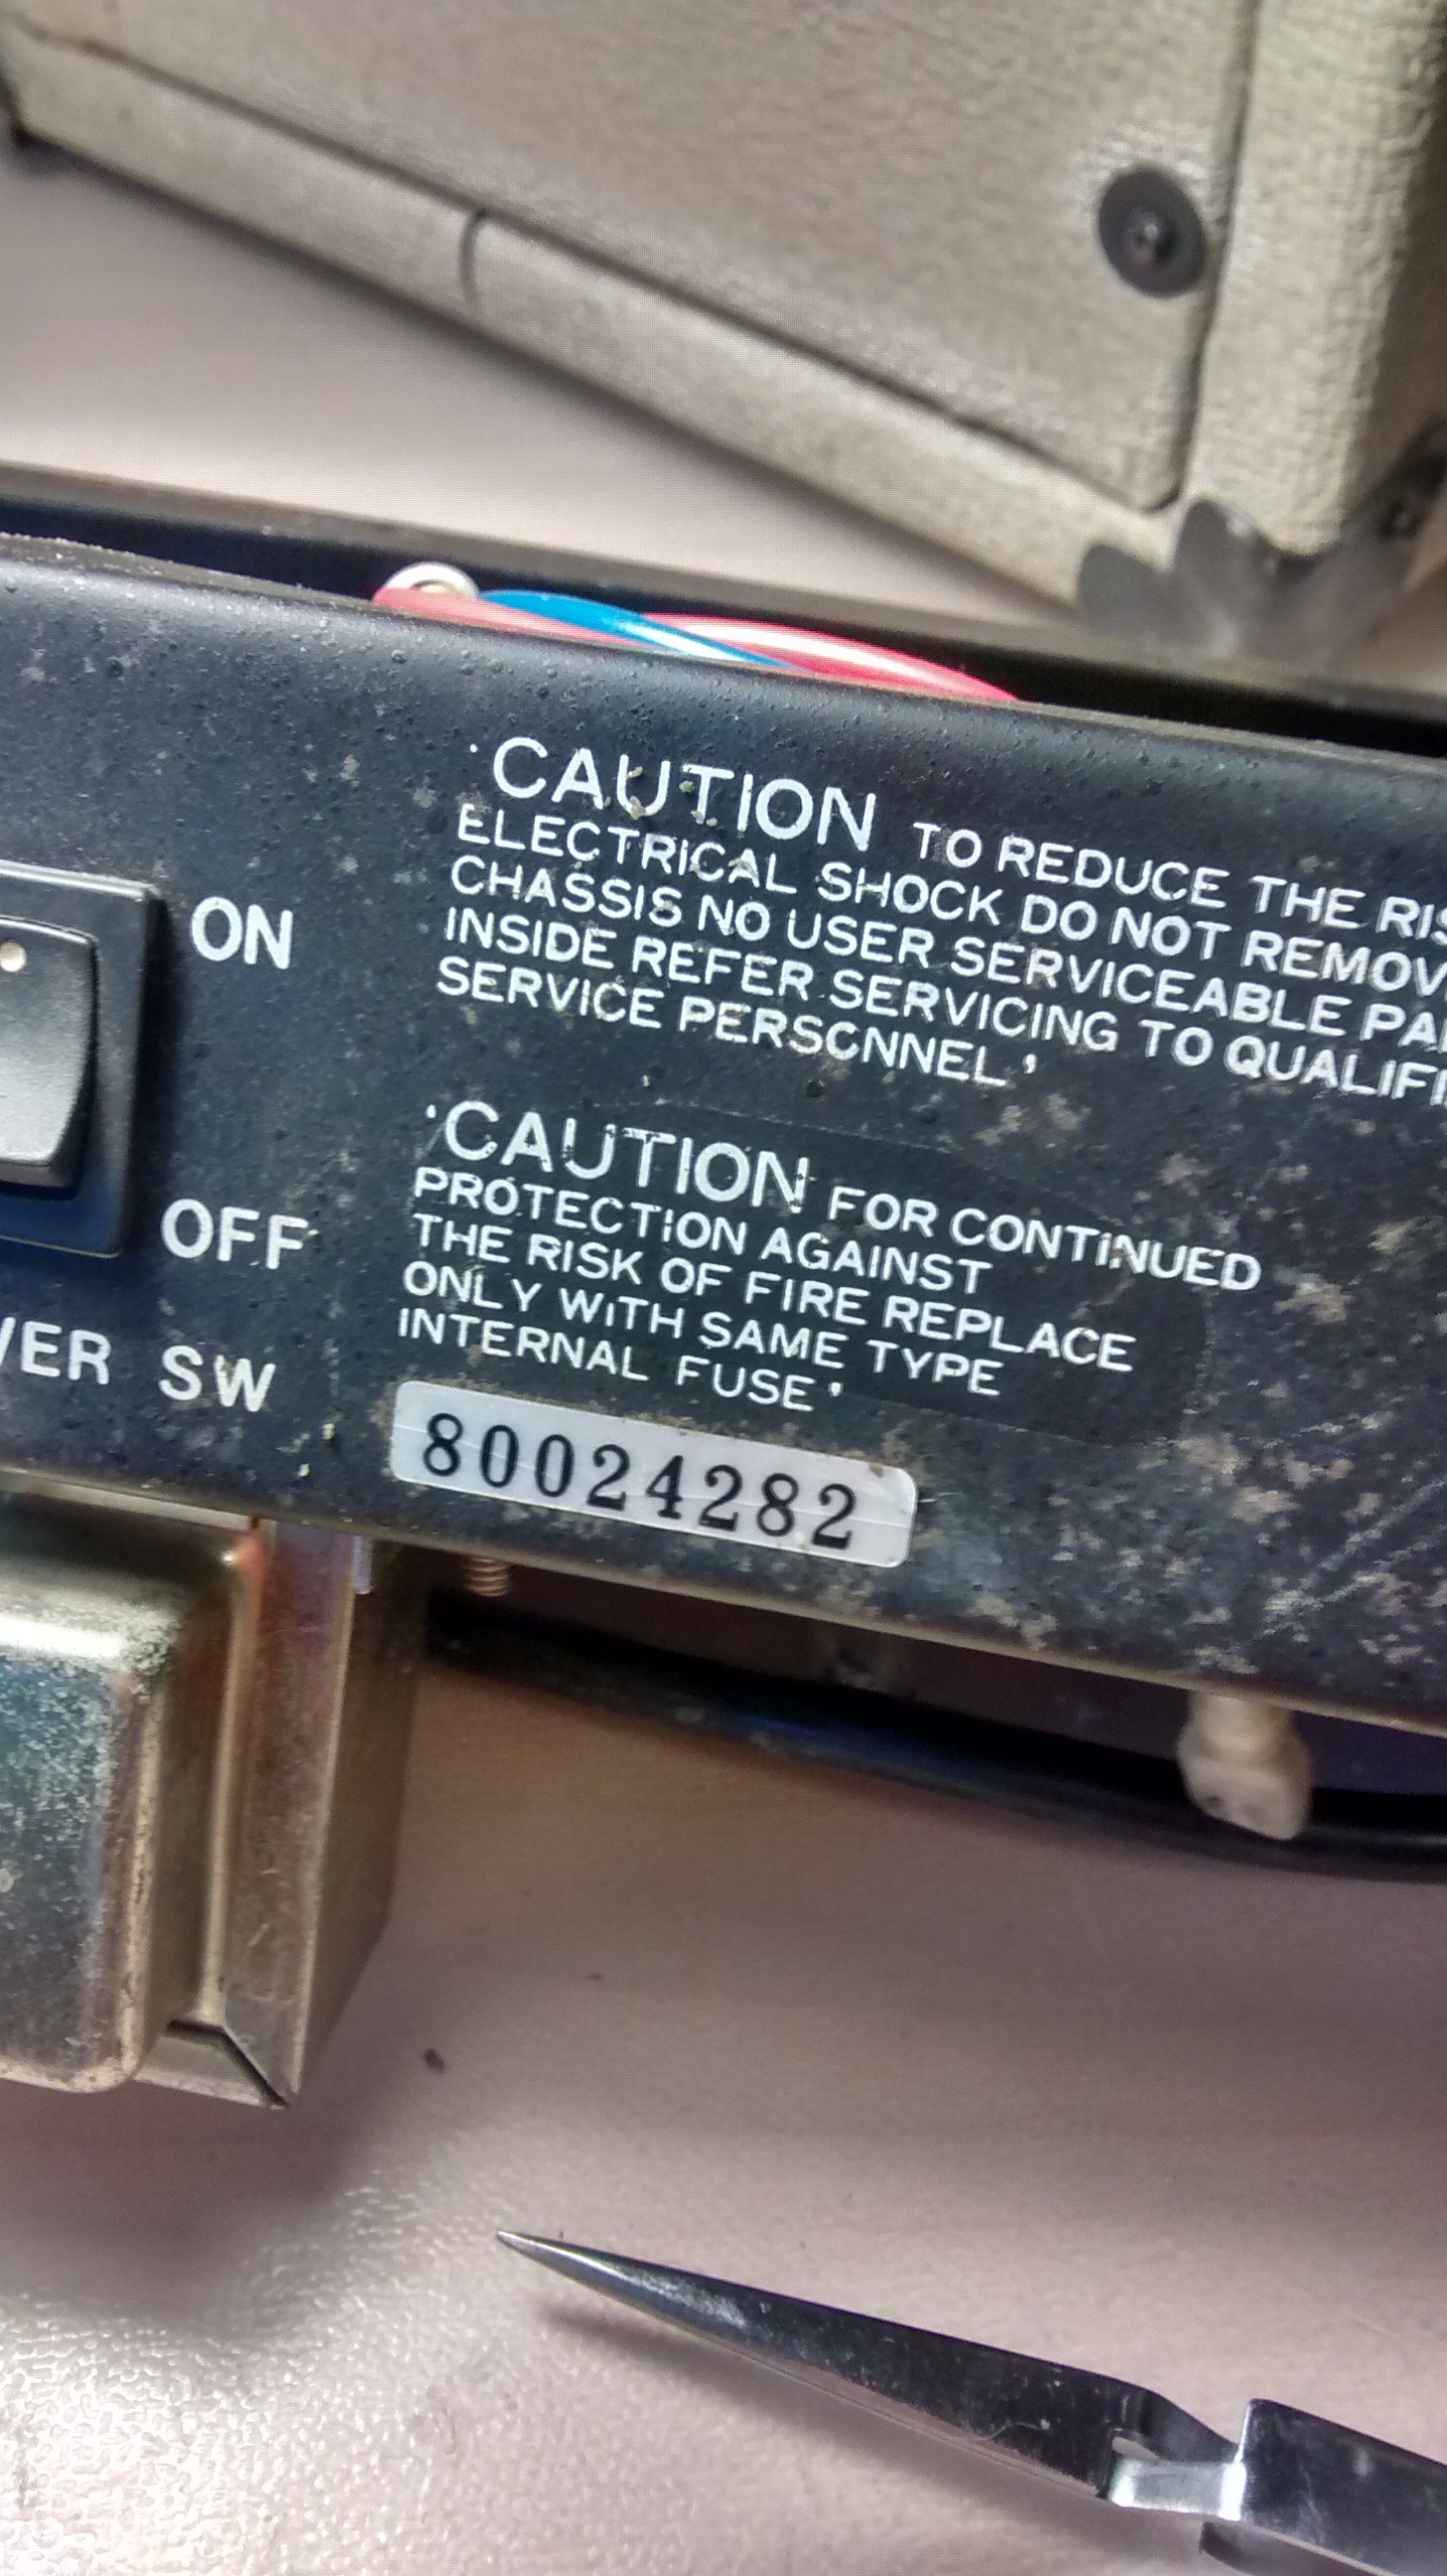
There are two stickers still covering potential identifying information, though, hopefully a brand is hiding under them.
![]()
![]()
Nothing hiding under there.
![]()
![]()
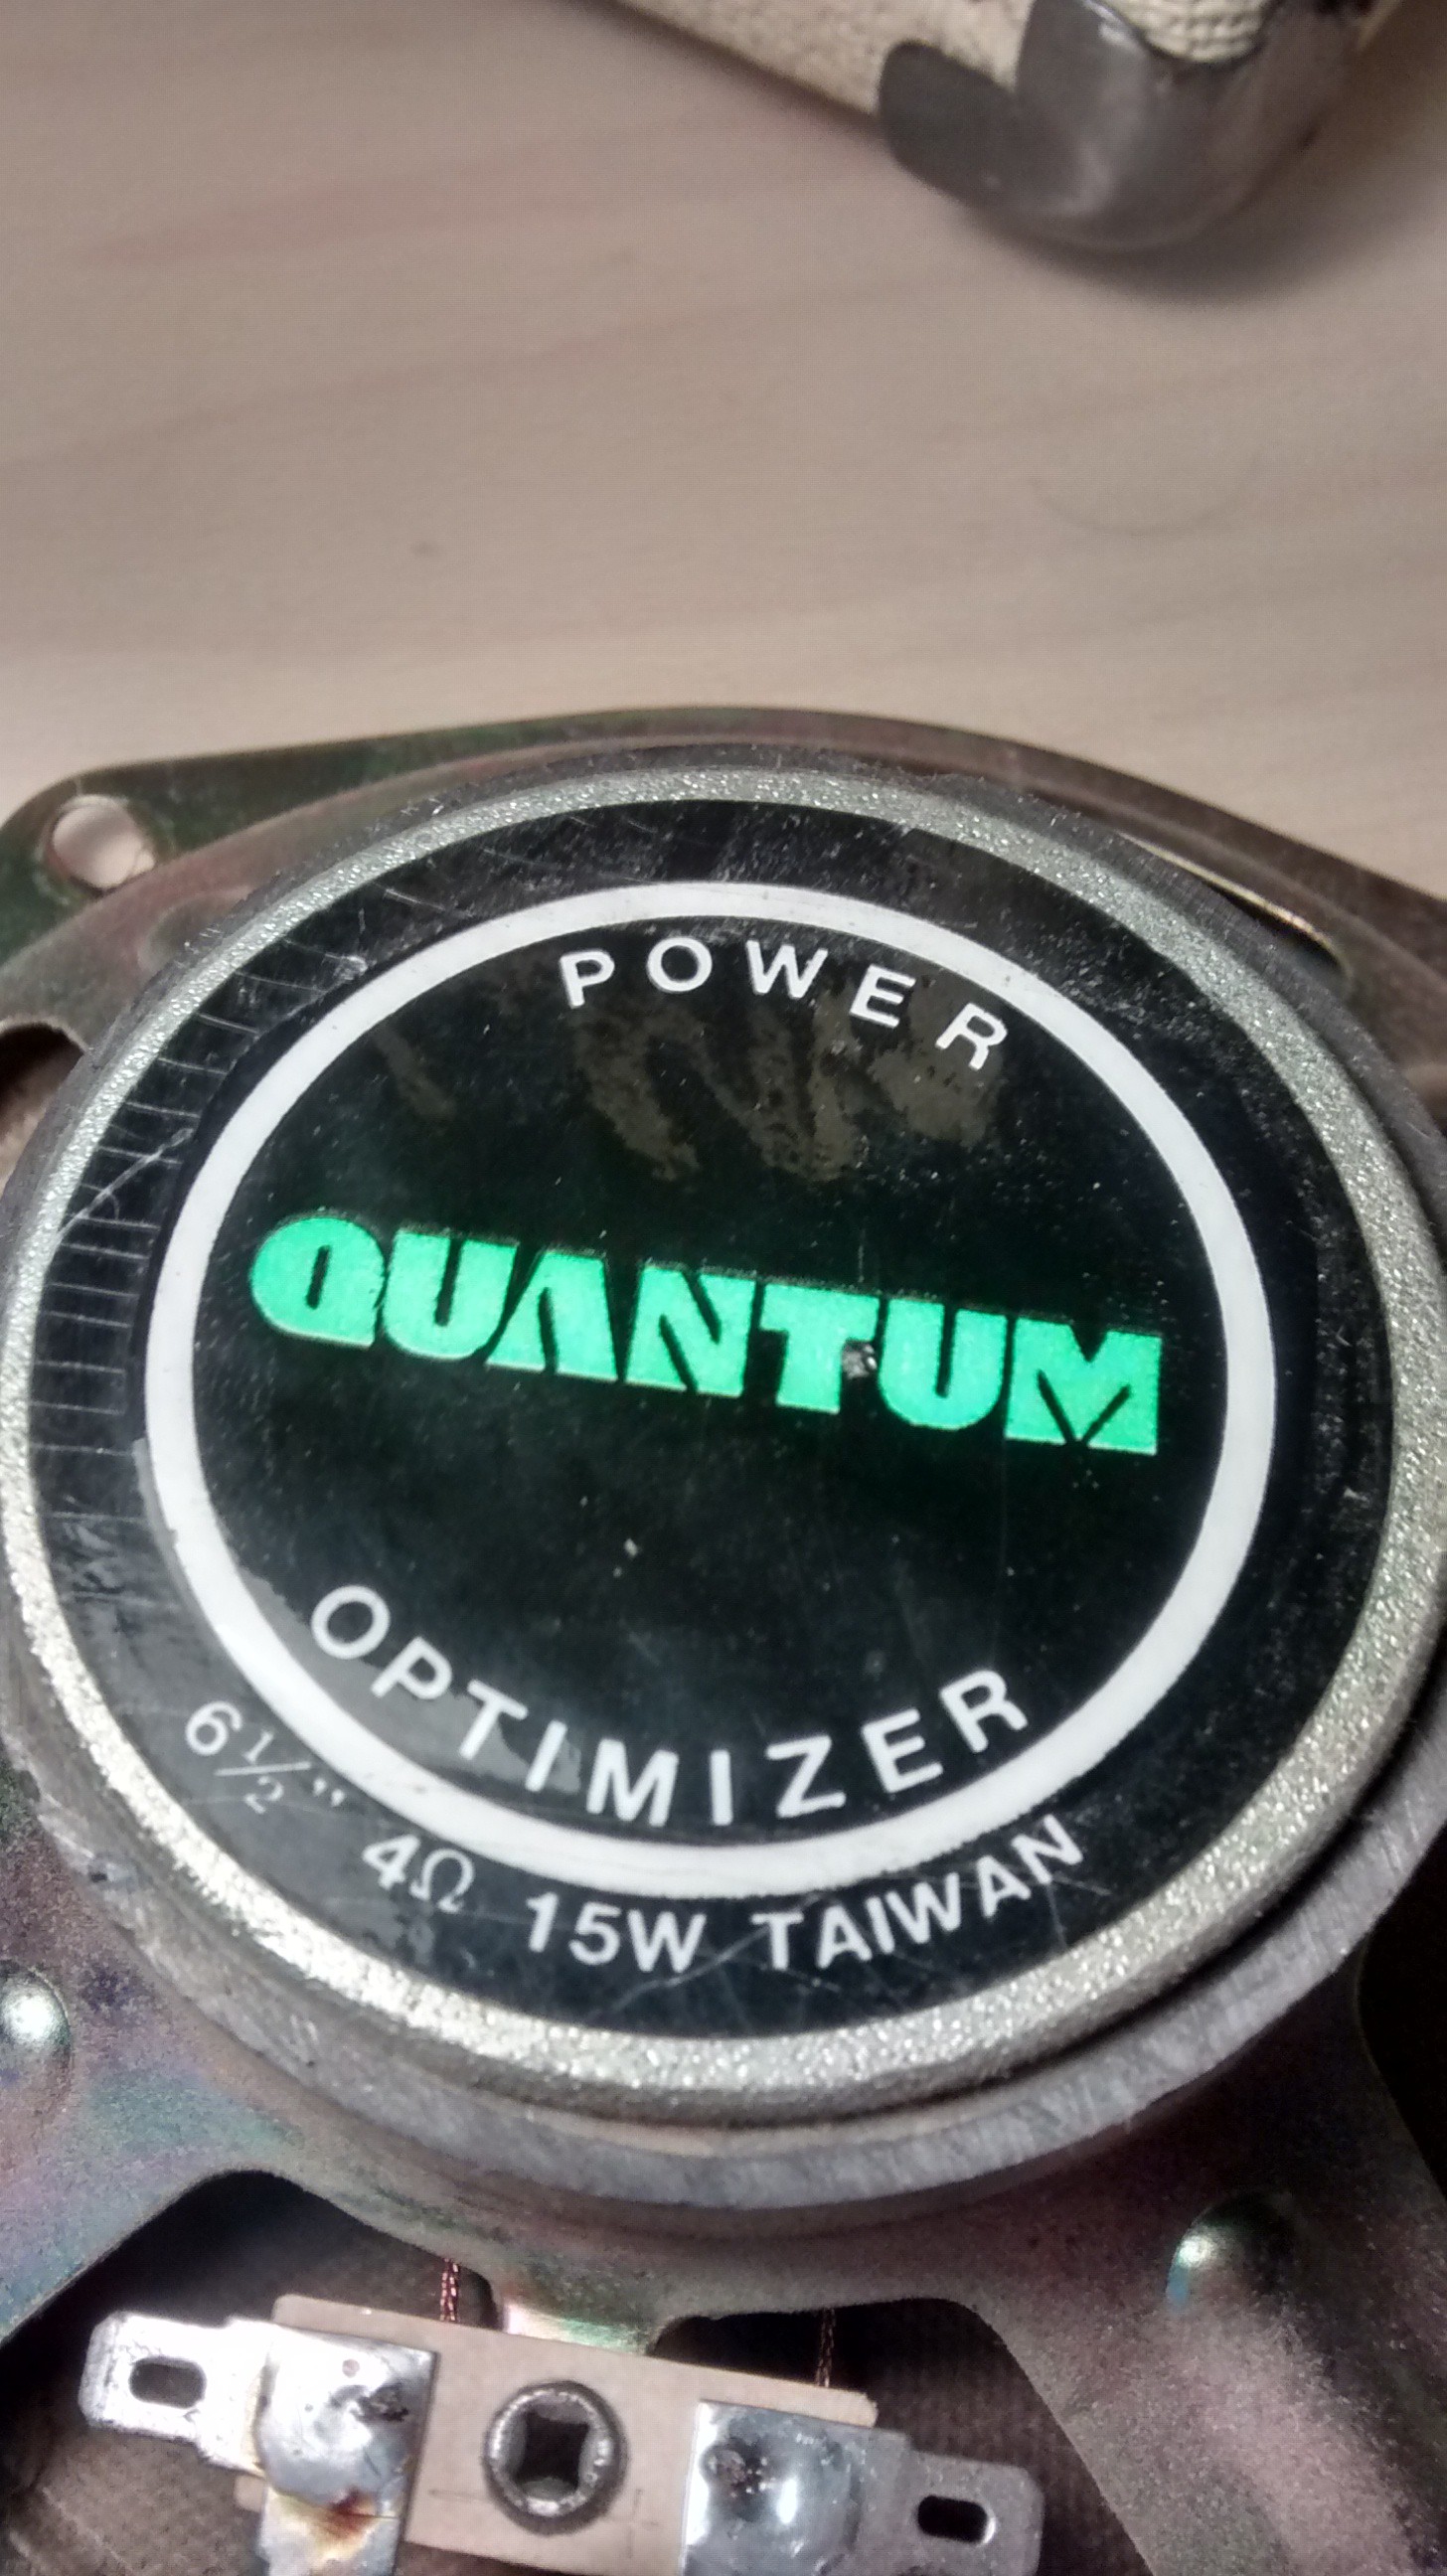
A generic brand speaker. Nothing that can help me find a schematic for the circuit should something be wrong.
Since the circuit looks okay and I can't find any schematic should it not be, I plan on testing the amp before I do any more teardown. If it works, I'll note where all the connections are between the bits of the circuit and disassemble the chassis for cleaning. If it doesn't, I'll create a schematic for the circuit and try to diagnose it.
Guitar Amp Refurbish
Cleaning up a practice amp found in the back of an antique store
 Nathaniel Graff