-
21Step 21
Now cut out the wooden star piece shape and glue it to the gaps between the pipes using guerrilla glue.
![]()
![]()
![]()
-
22Step 22
Add another layer of pipes and repeat the process of gluing star shaped pieces to the gaps between the pipes. Do this until all of the pipes are mounted inside the wooden frame.
![]()
Note the last layer of pipes may require the zip ties to be removed, also an adjustment may be needed to the wooden frame and it may need to be widened.
![]()
![]()
-
23Step 23
Now tie all of the central wires together.
![]()
-
24Step 24
There may exist some gaps and holes between the pipes, fill these gaps using guerrilla glue (since it expands to fill gaps). Also seal the edges of the wooden frame to the pipes using glue.
![]()
-
25Step 25
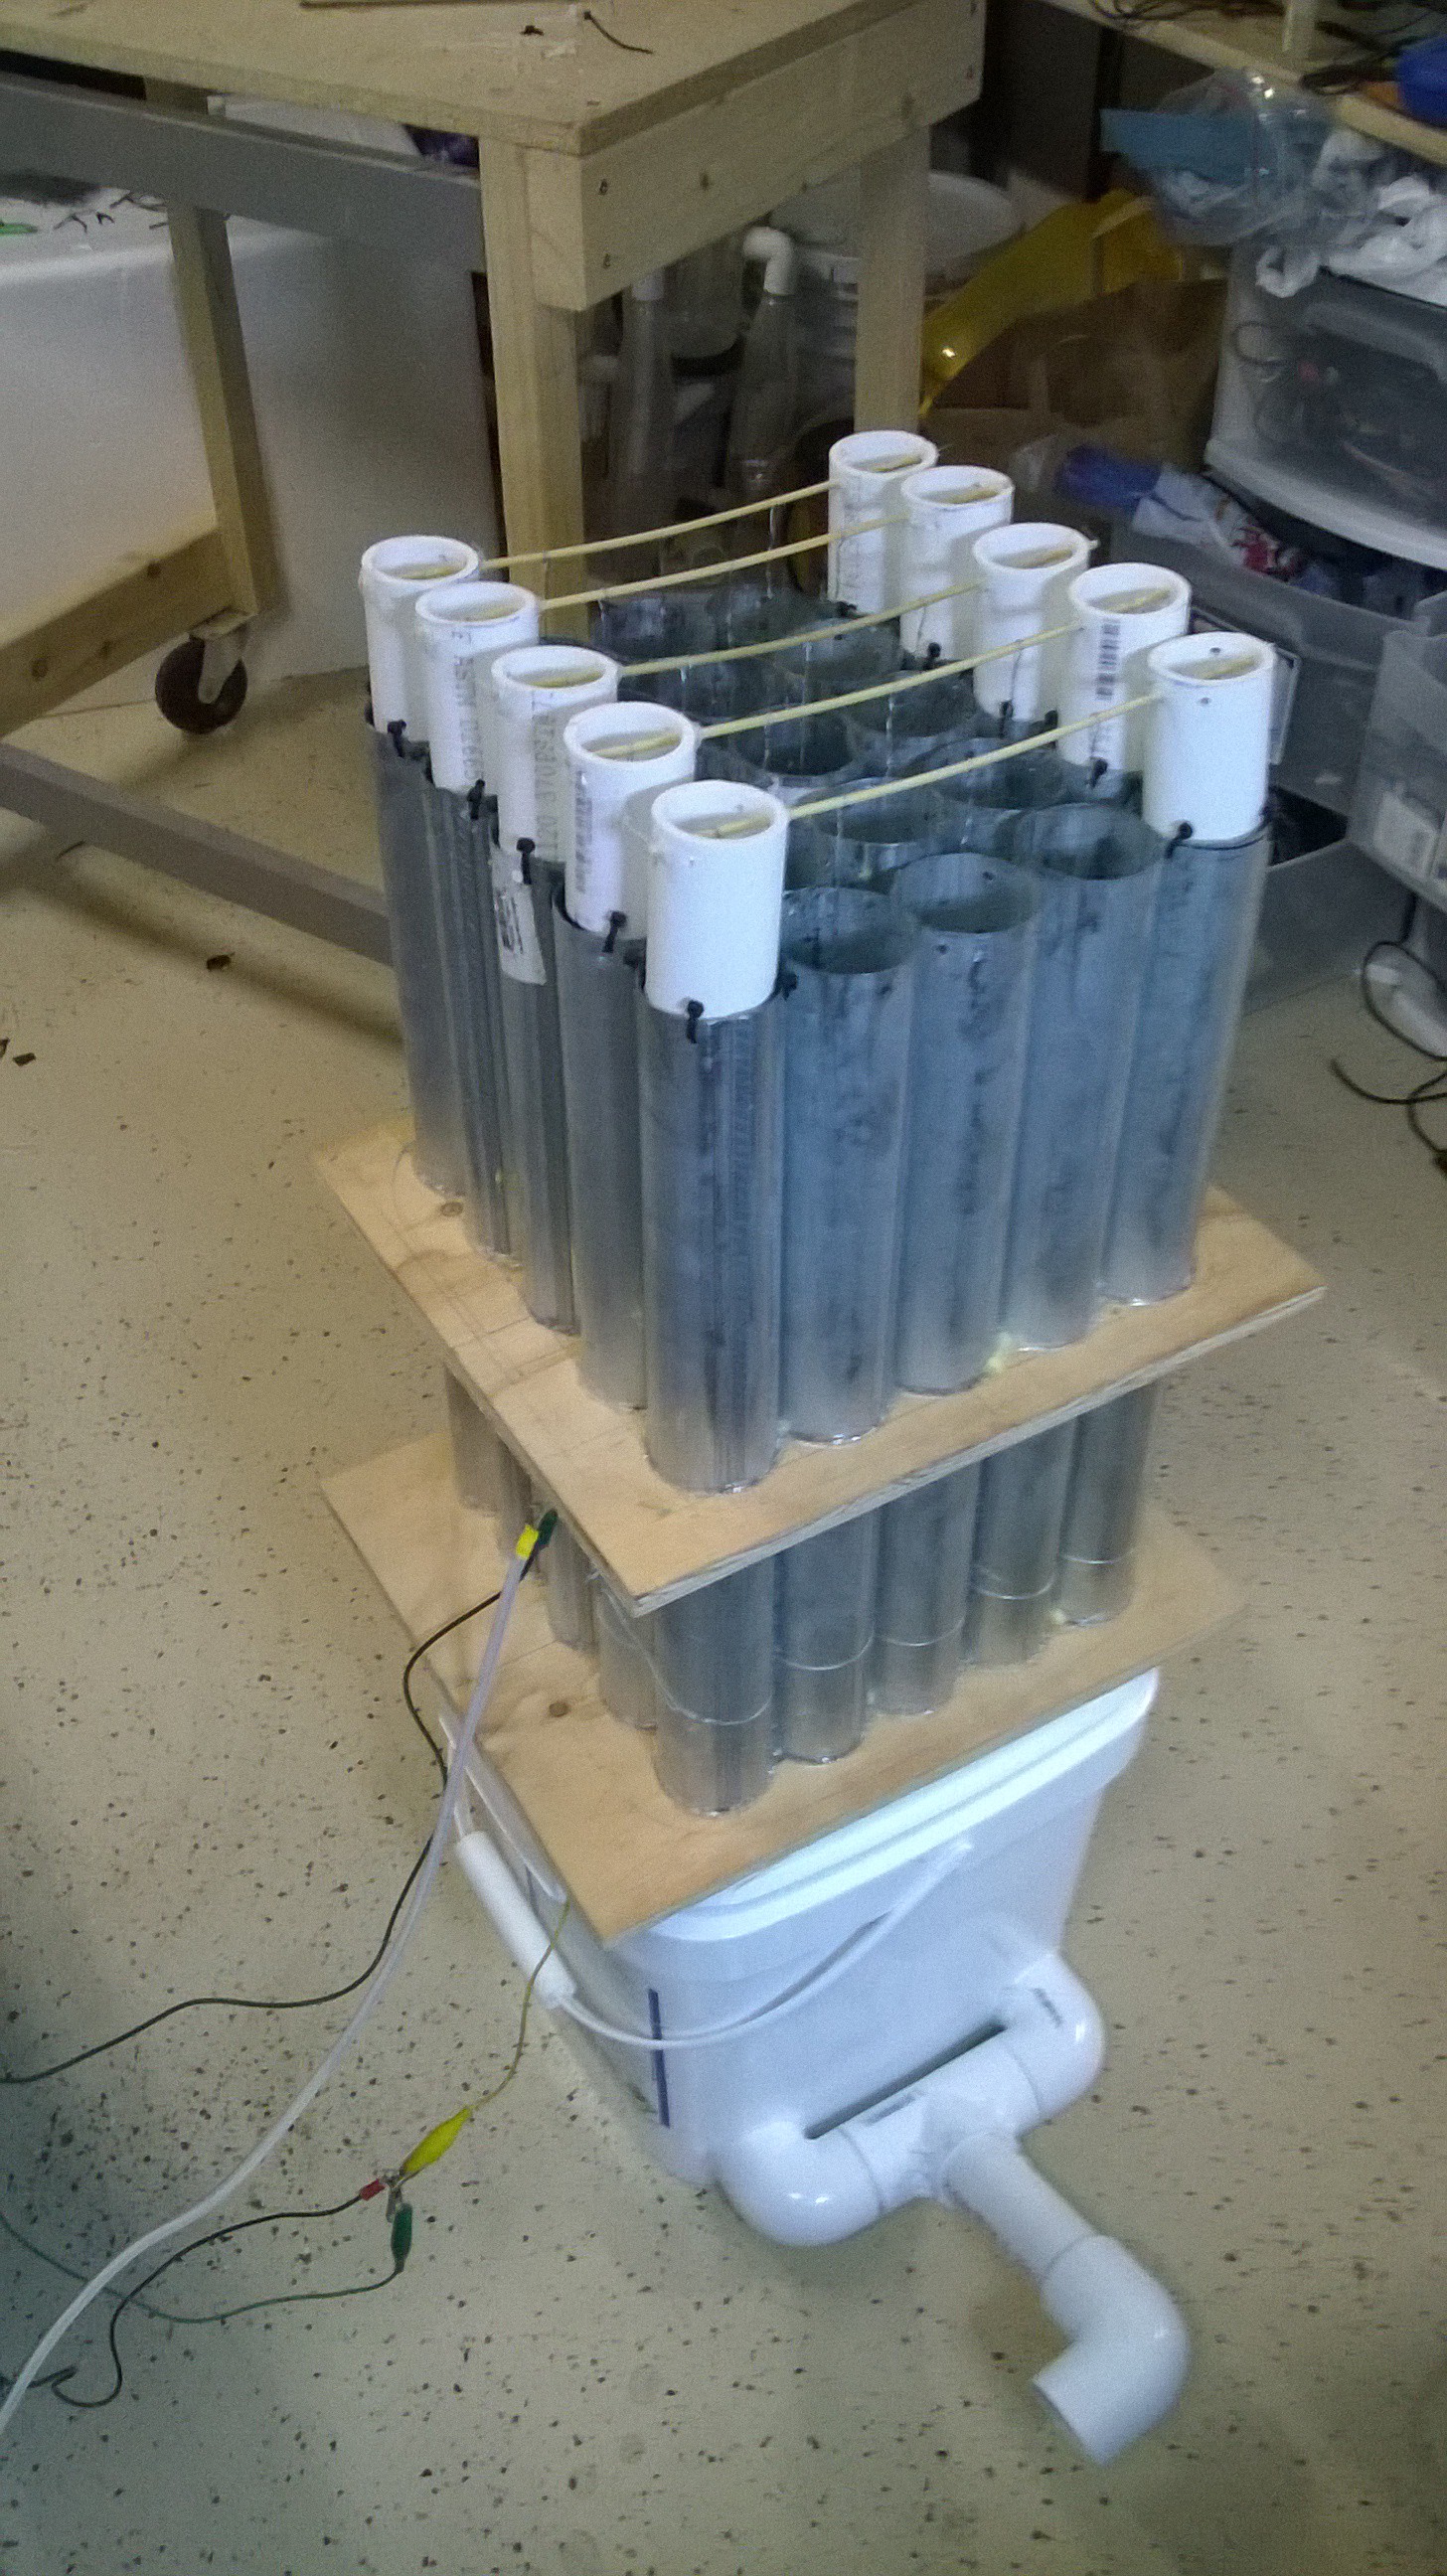
I found that the zip ties on the other end did not provide enough electrical insulation as when conductive particulates get stuck to the zip ties it can cause an electrical bridge from the central wire to the tube wall. To solve this problem I added PVC tubes in place of the zip ties with a skewer to support the central wires.
![]()
I zip tied PVC tube sections to only the outer pipes as it was difficult to get to the center pipes after they were glued together.
![]()
Then drill a horizontal hole through the PVC pipe and run a shish kabob skewer through the holes.
![]()
Now tie the wires to the shish kabob skewer
![]()
It should look like this.
![]()
-
26Step 26
The Housing & Baffles For The Tube Electrostatic Preciptator
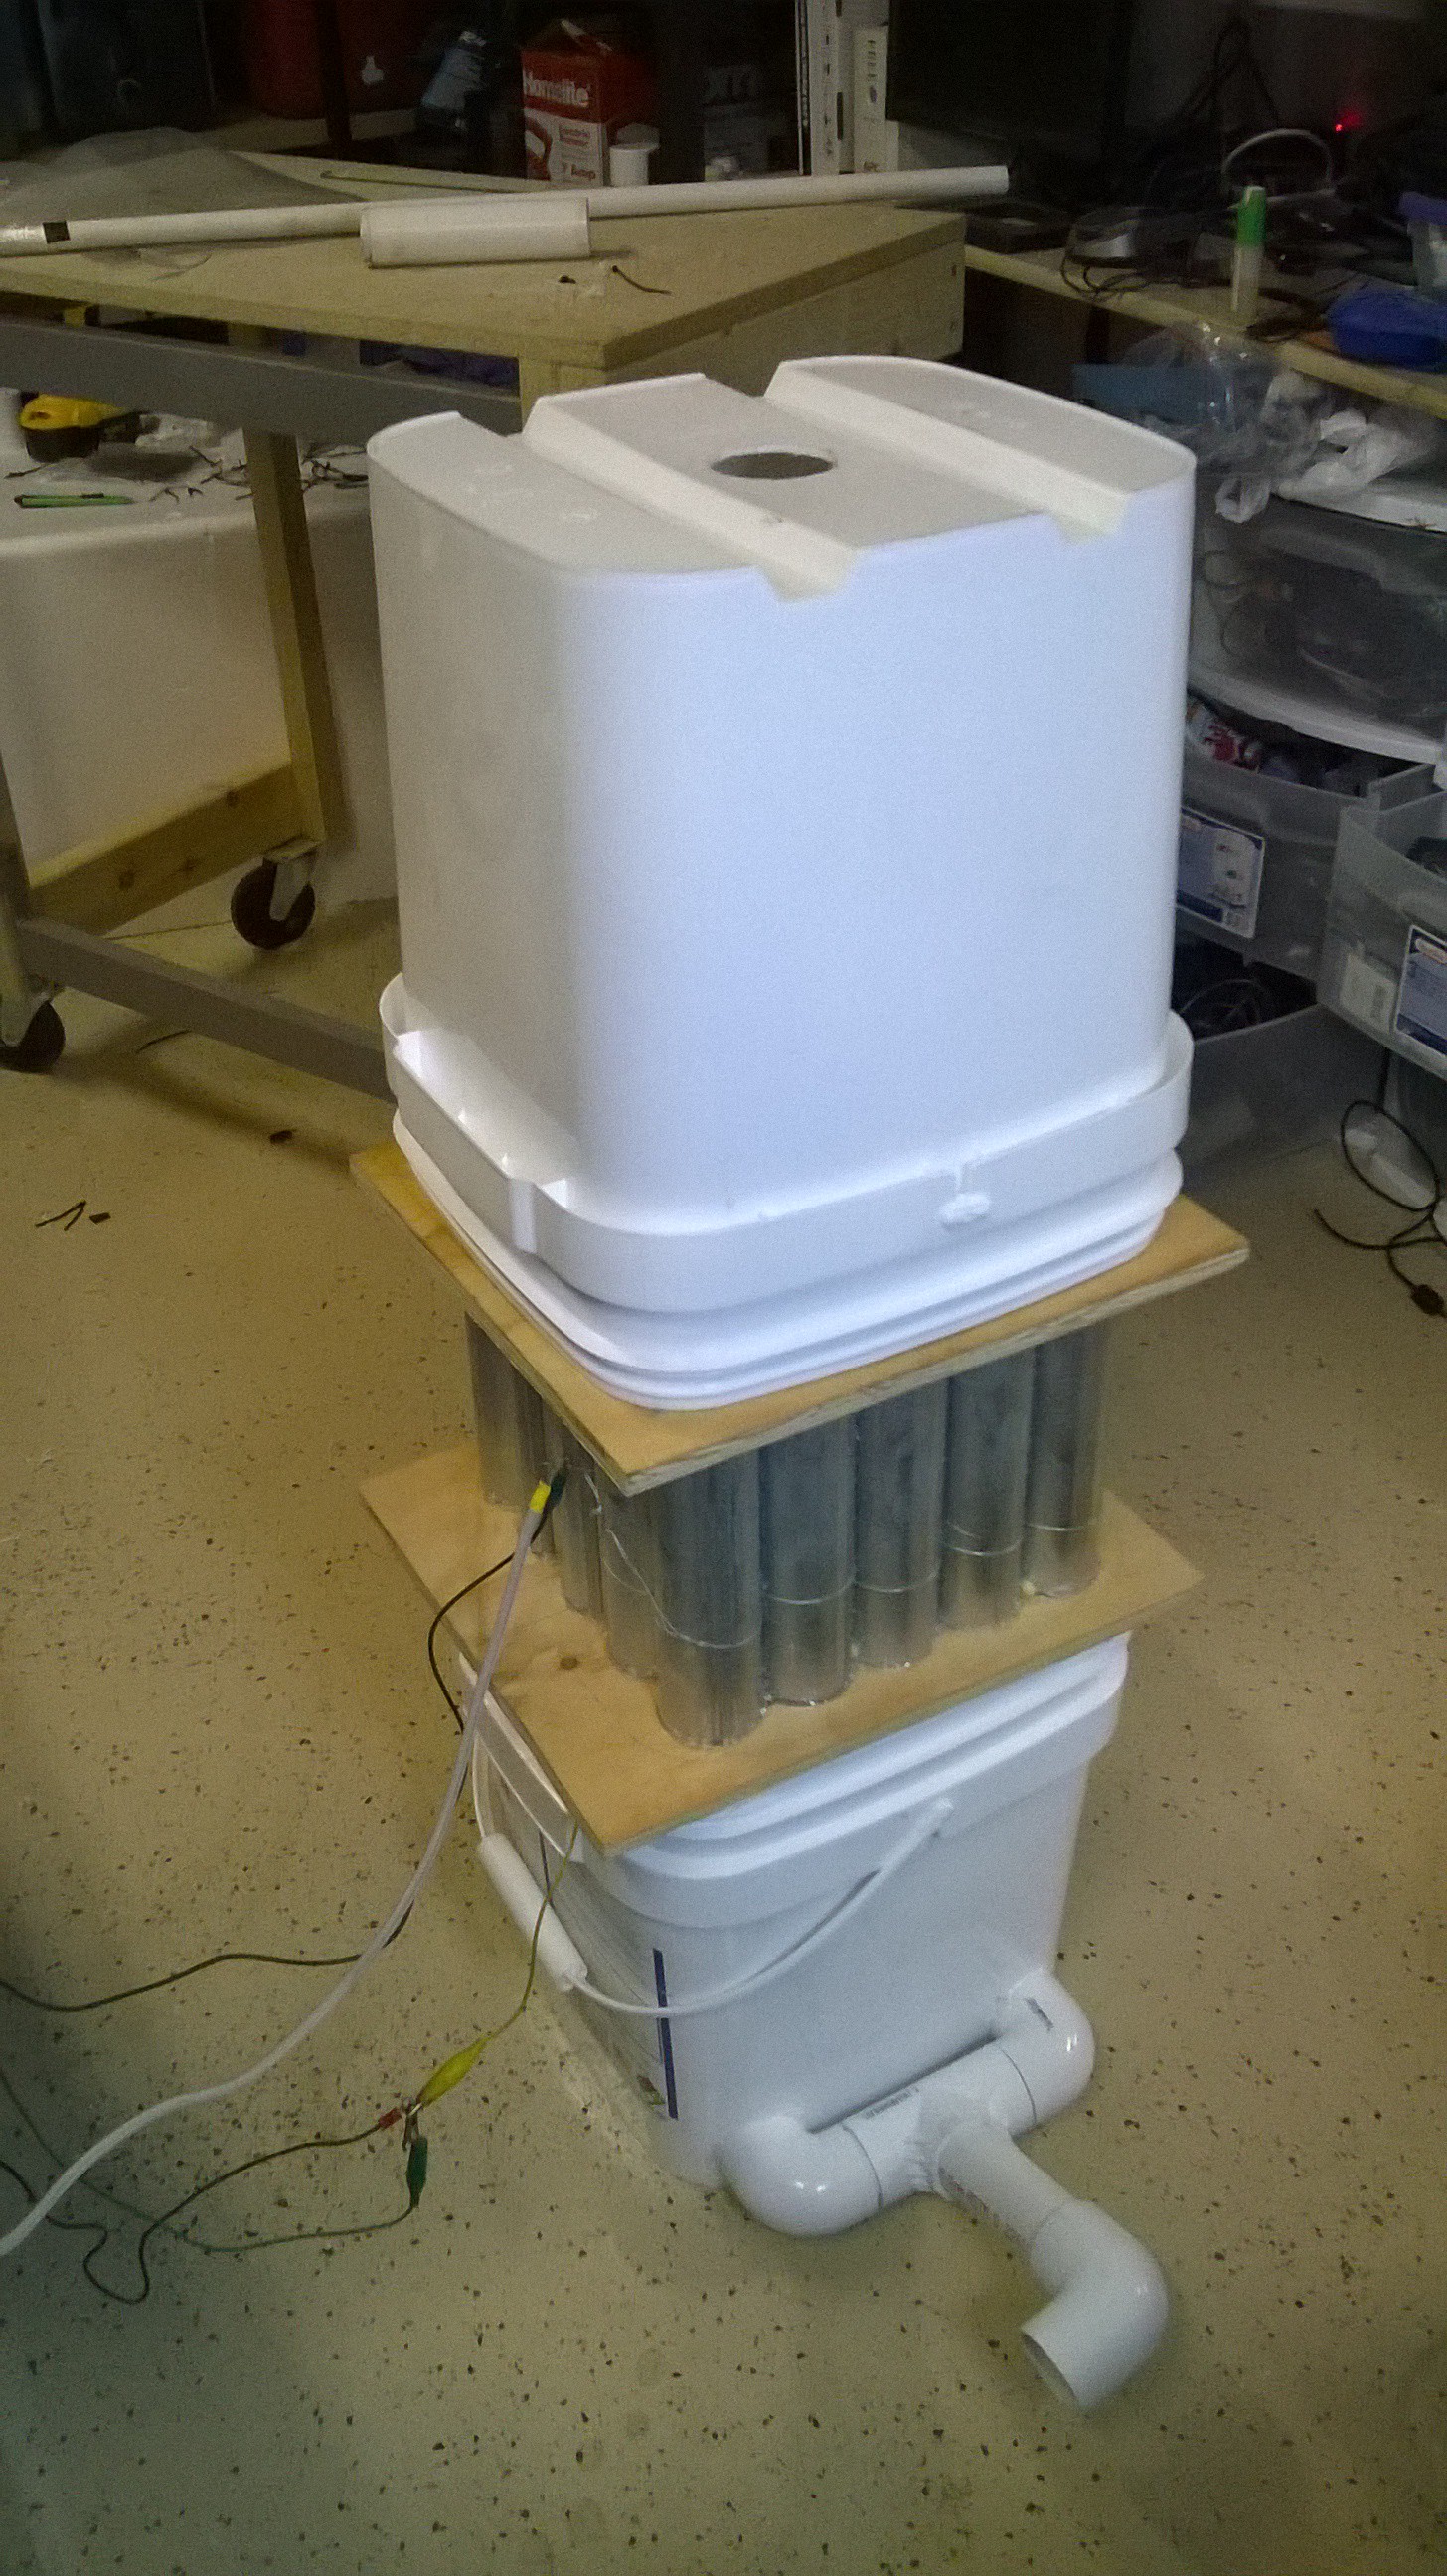
Now the entire electrostatic tube assembly should fit inside two square buckets interfacing with the wood frames (or the lid).
![]()
-
27Step 27
We now need inlet and outlet holes so the particulate laden air can flow through the tubes. In my design I chose the bottom bucket to be the inlet and the top bucket as the outlet.
A really important design aspect of tube electrostatic precipitators is to provide laminar flow through the tubes such that the particulate laden air is evenly distributed to all of the tubes. If the flow is uneven and turbulent, the particles may all flow through one tube and thereby overwhelm it. To provide a laminar flow, we first have to drill inlet holes into the square bucket.
Take the tubes out of the bucket and drill two 2" holes on sides of the bucket as close to the bottom and to the sides as possible. These holes are where two PVC tubes will feed in that are split from a PVC T-joint.
![]()
Measure a length of PVC pipe that is the width of the bottom of the bucket and drill many 1/8" holes along the length of the pipe on two sides. The holes will all be aligned to the horizontal plane.
![]()
Join the two pipes with a T-Joint and route them into the two holes.
![]()
-
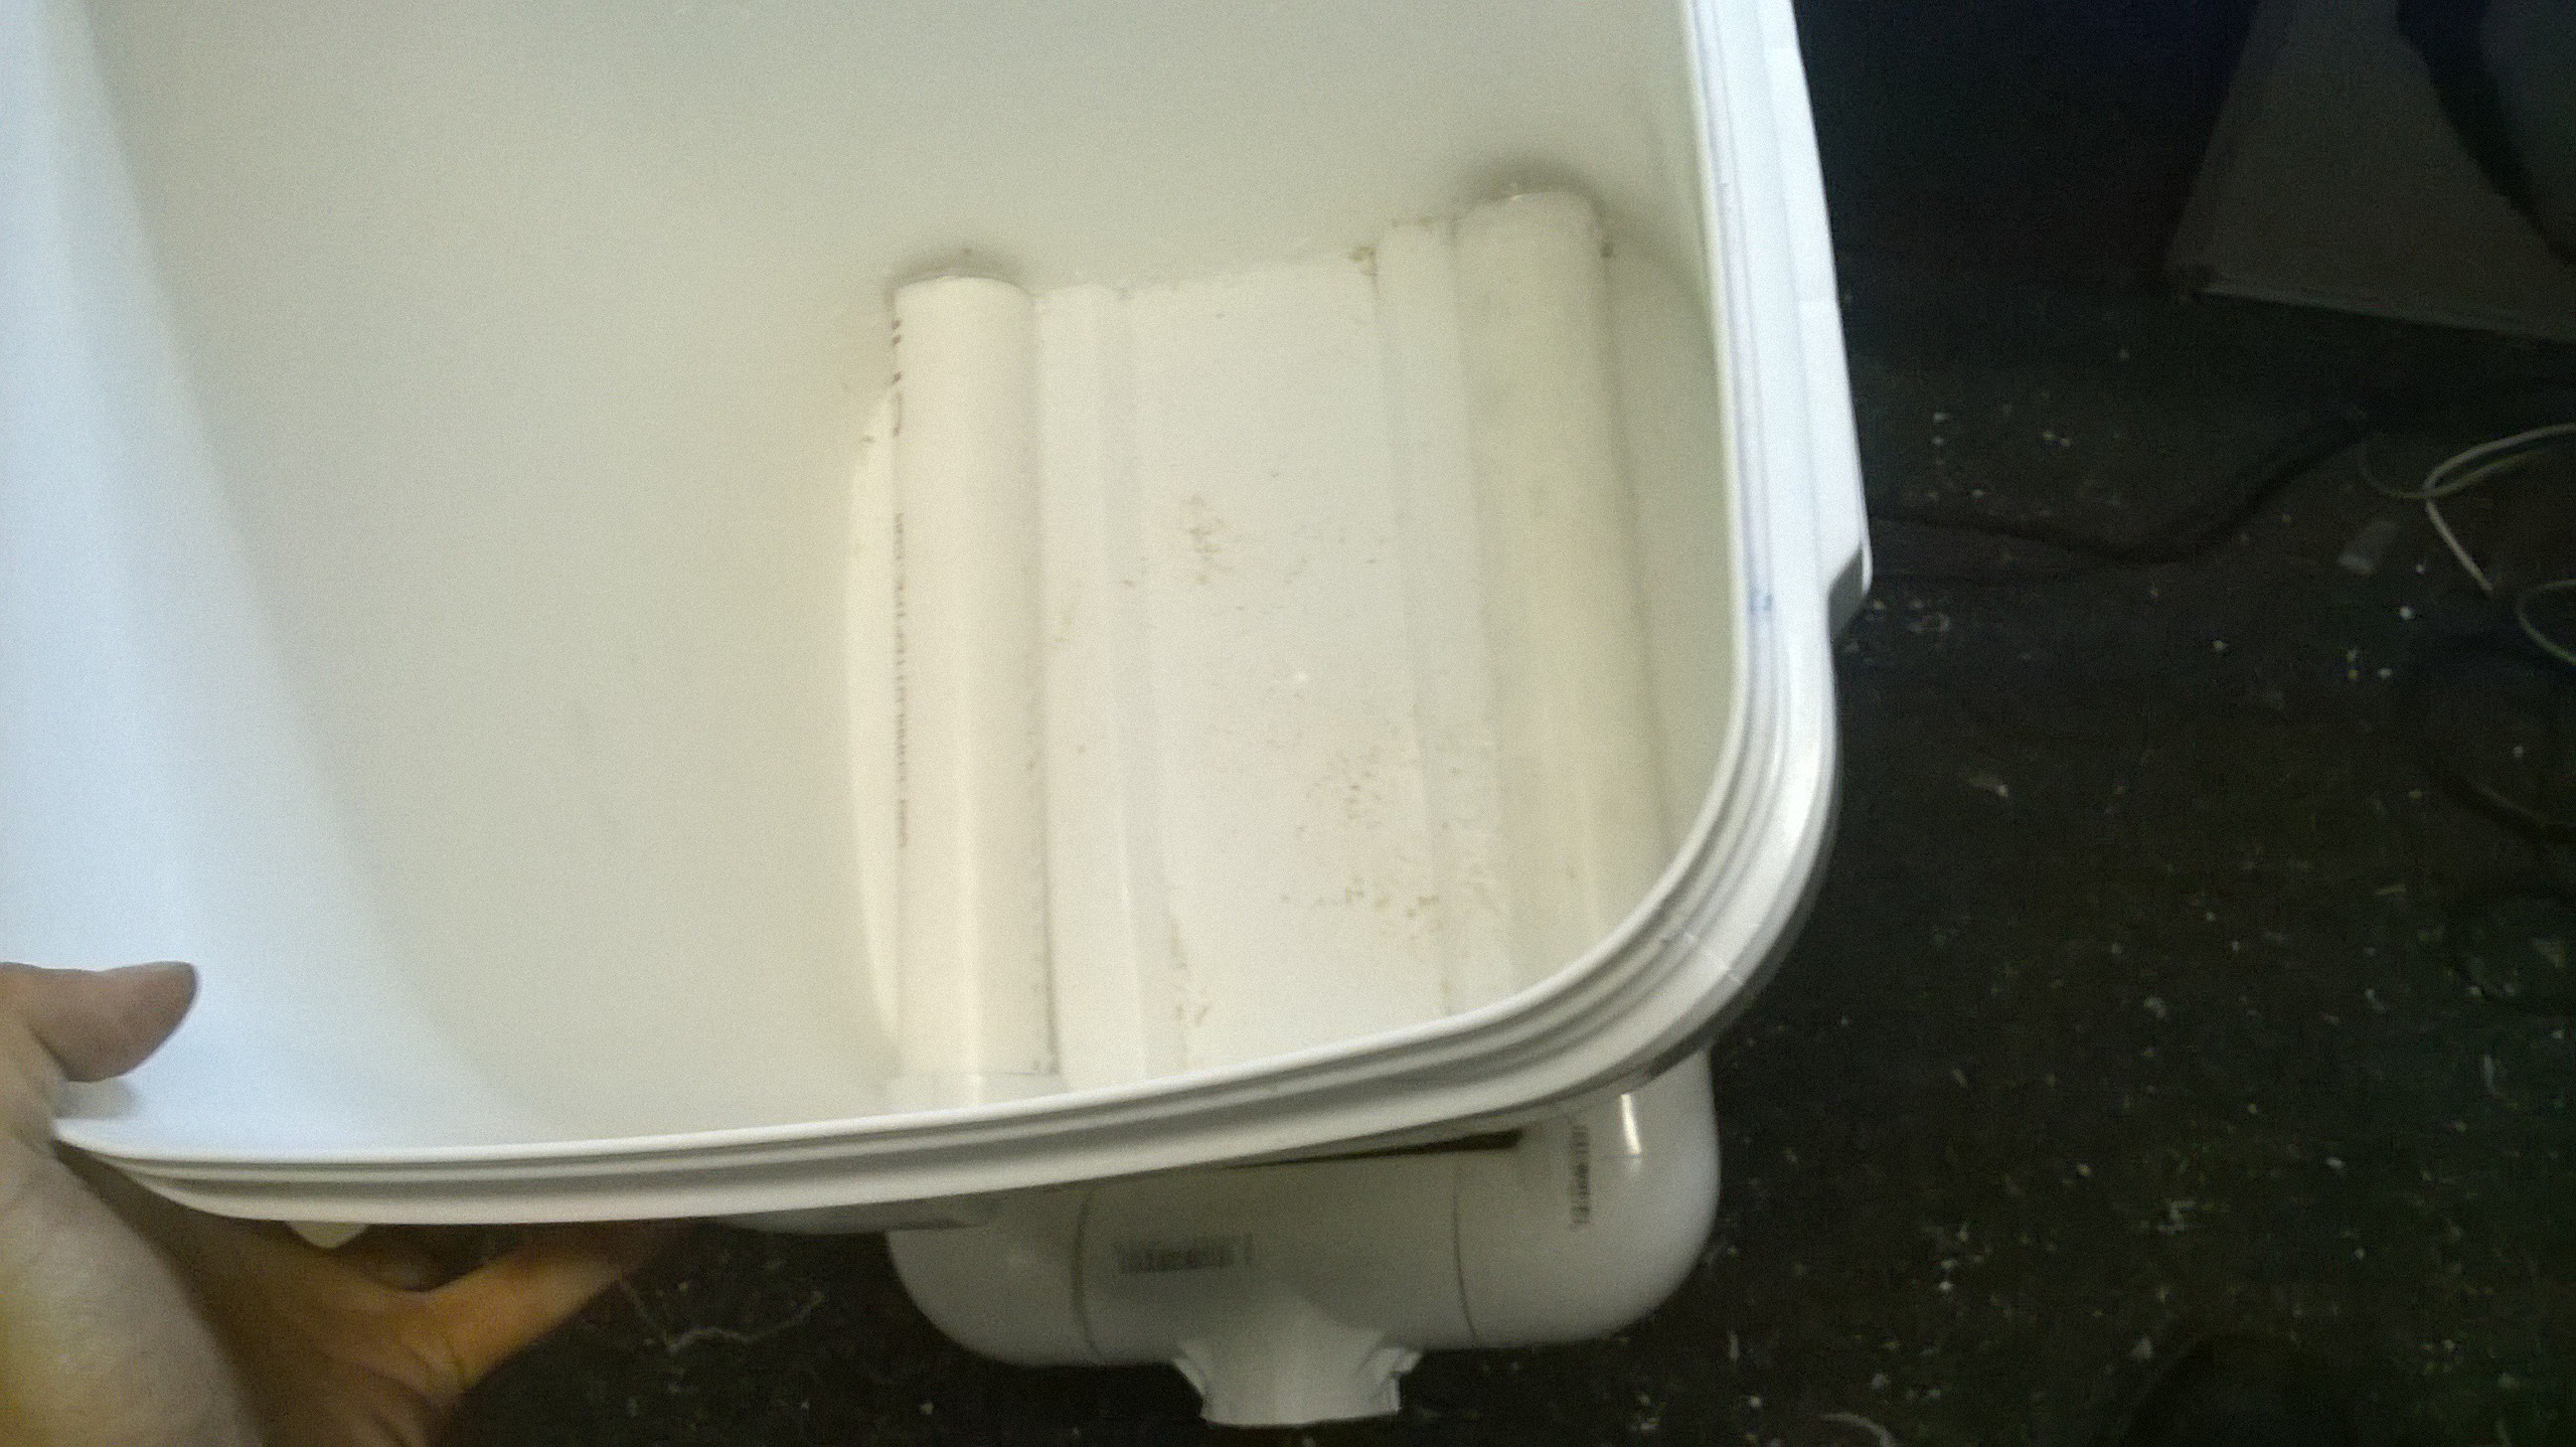
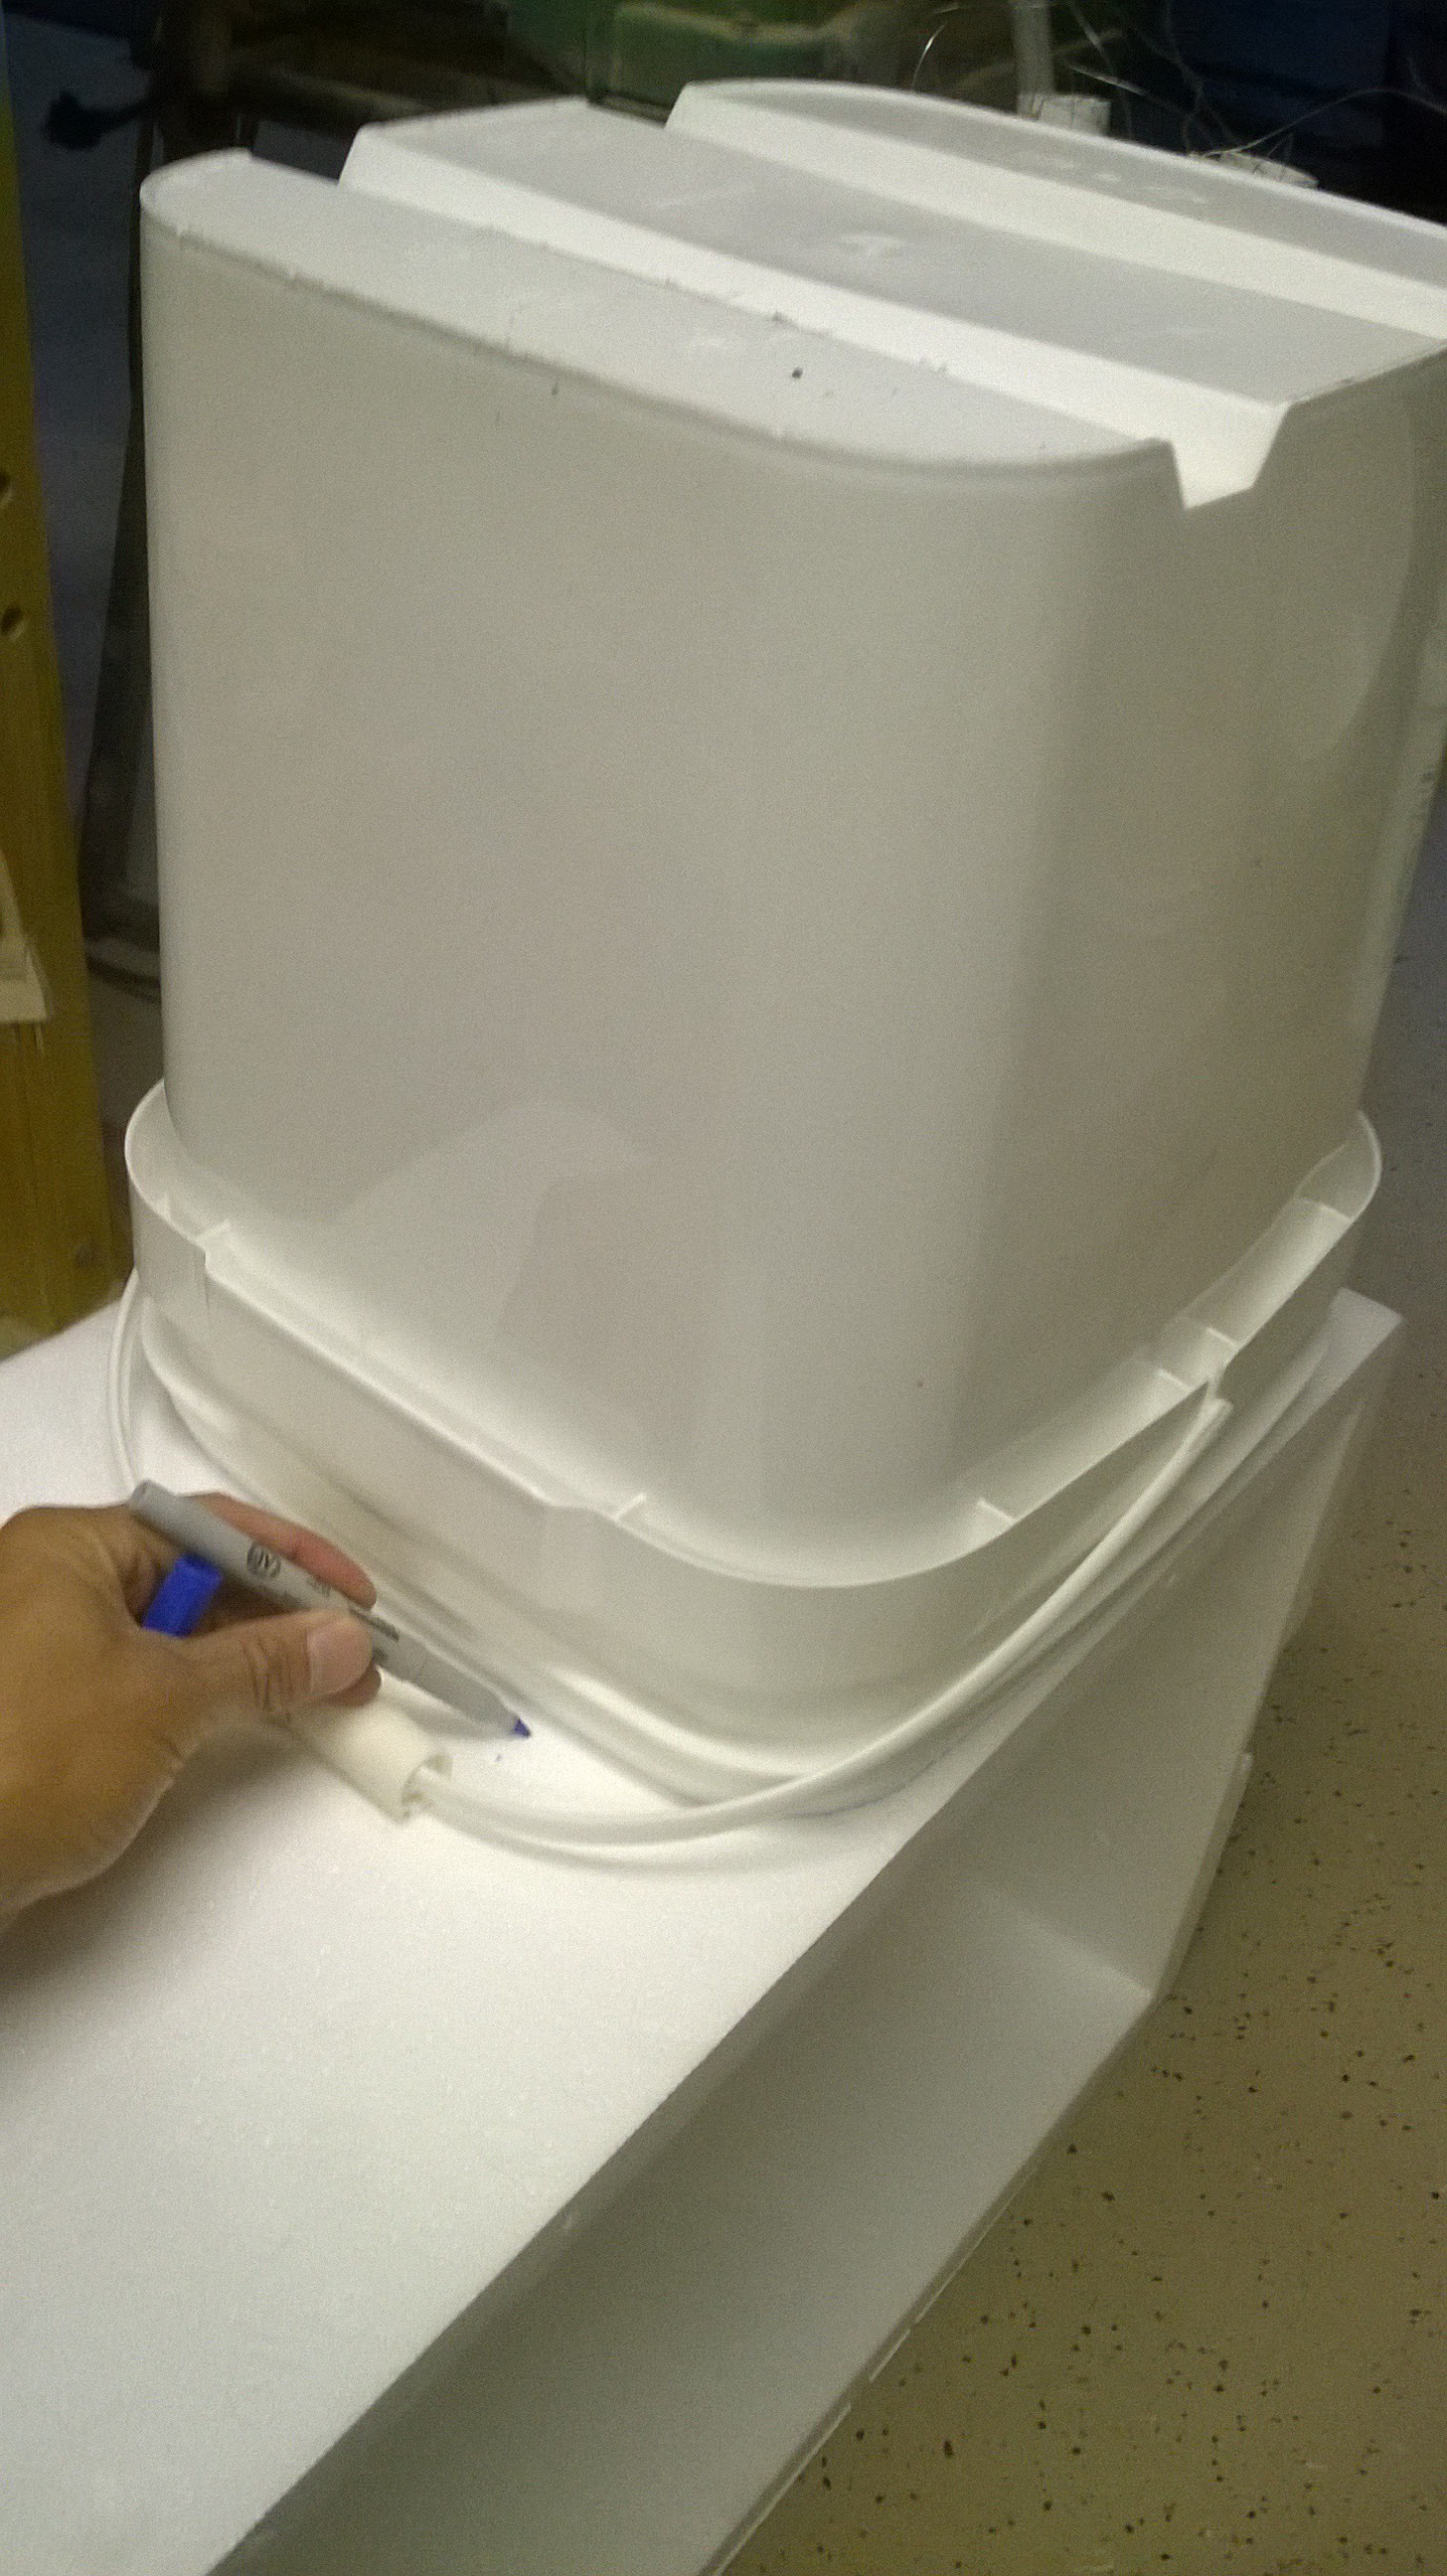
28Step 28
Now to help create a laminar flow a baffle will be created out of a Styrofoam frame. Trace out the bottom of the bucket on a styrofoam panel that is about 1" thick.
![]() Now cut out the piece.
Now cut out the piece.![]()
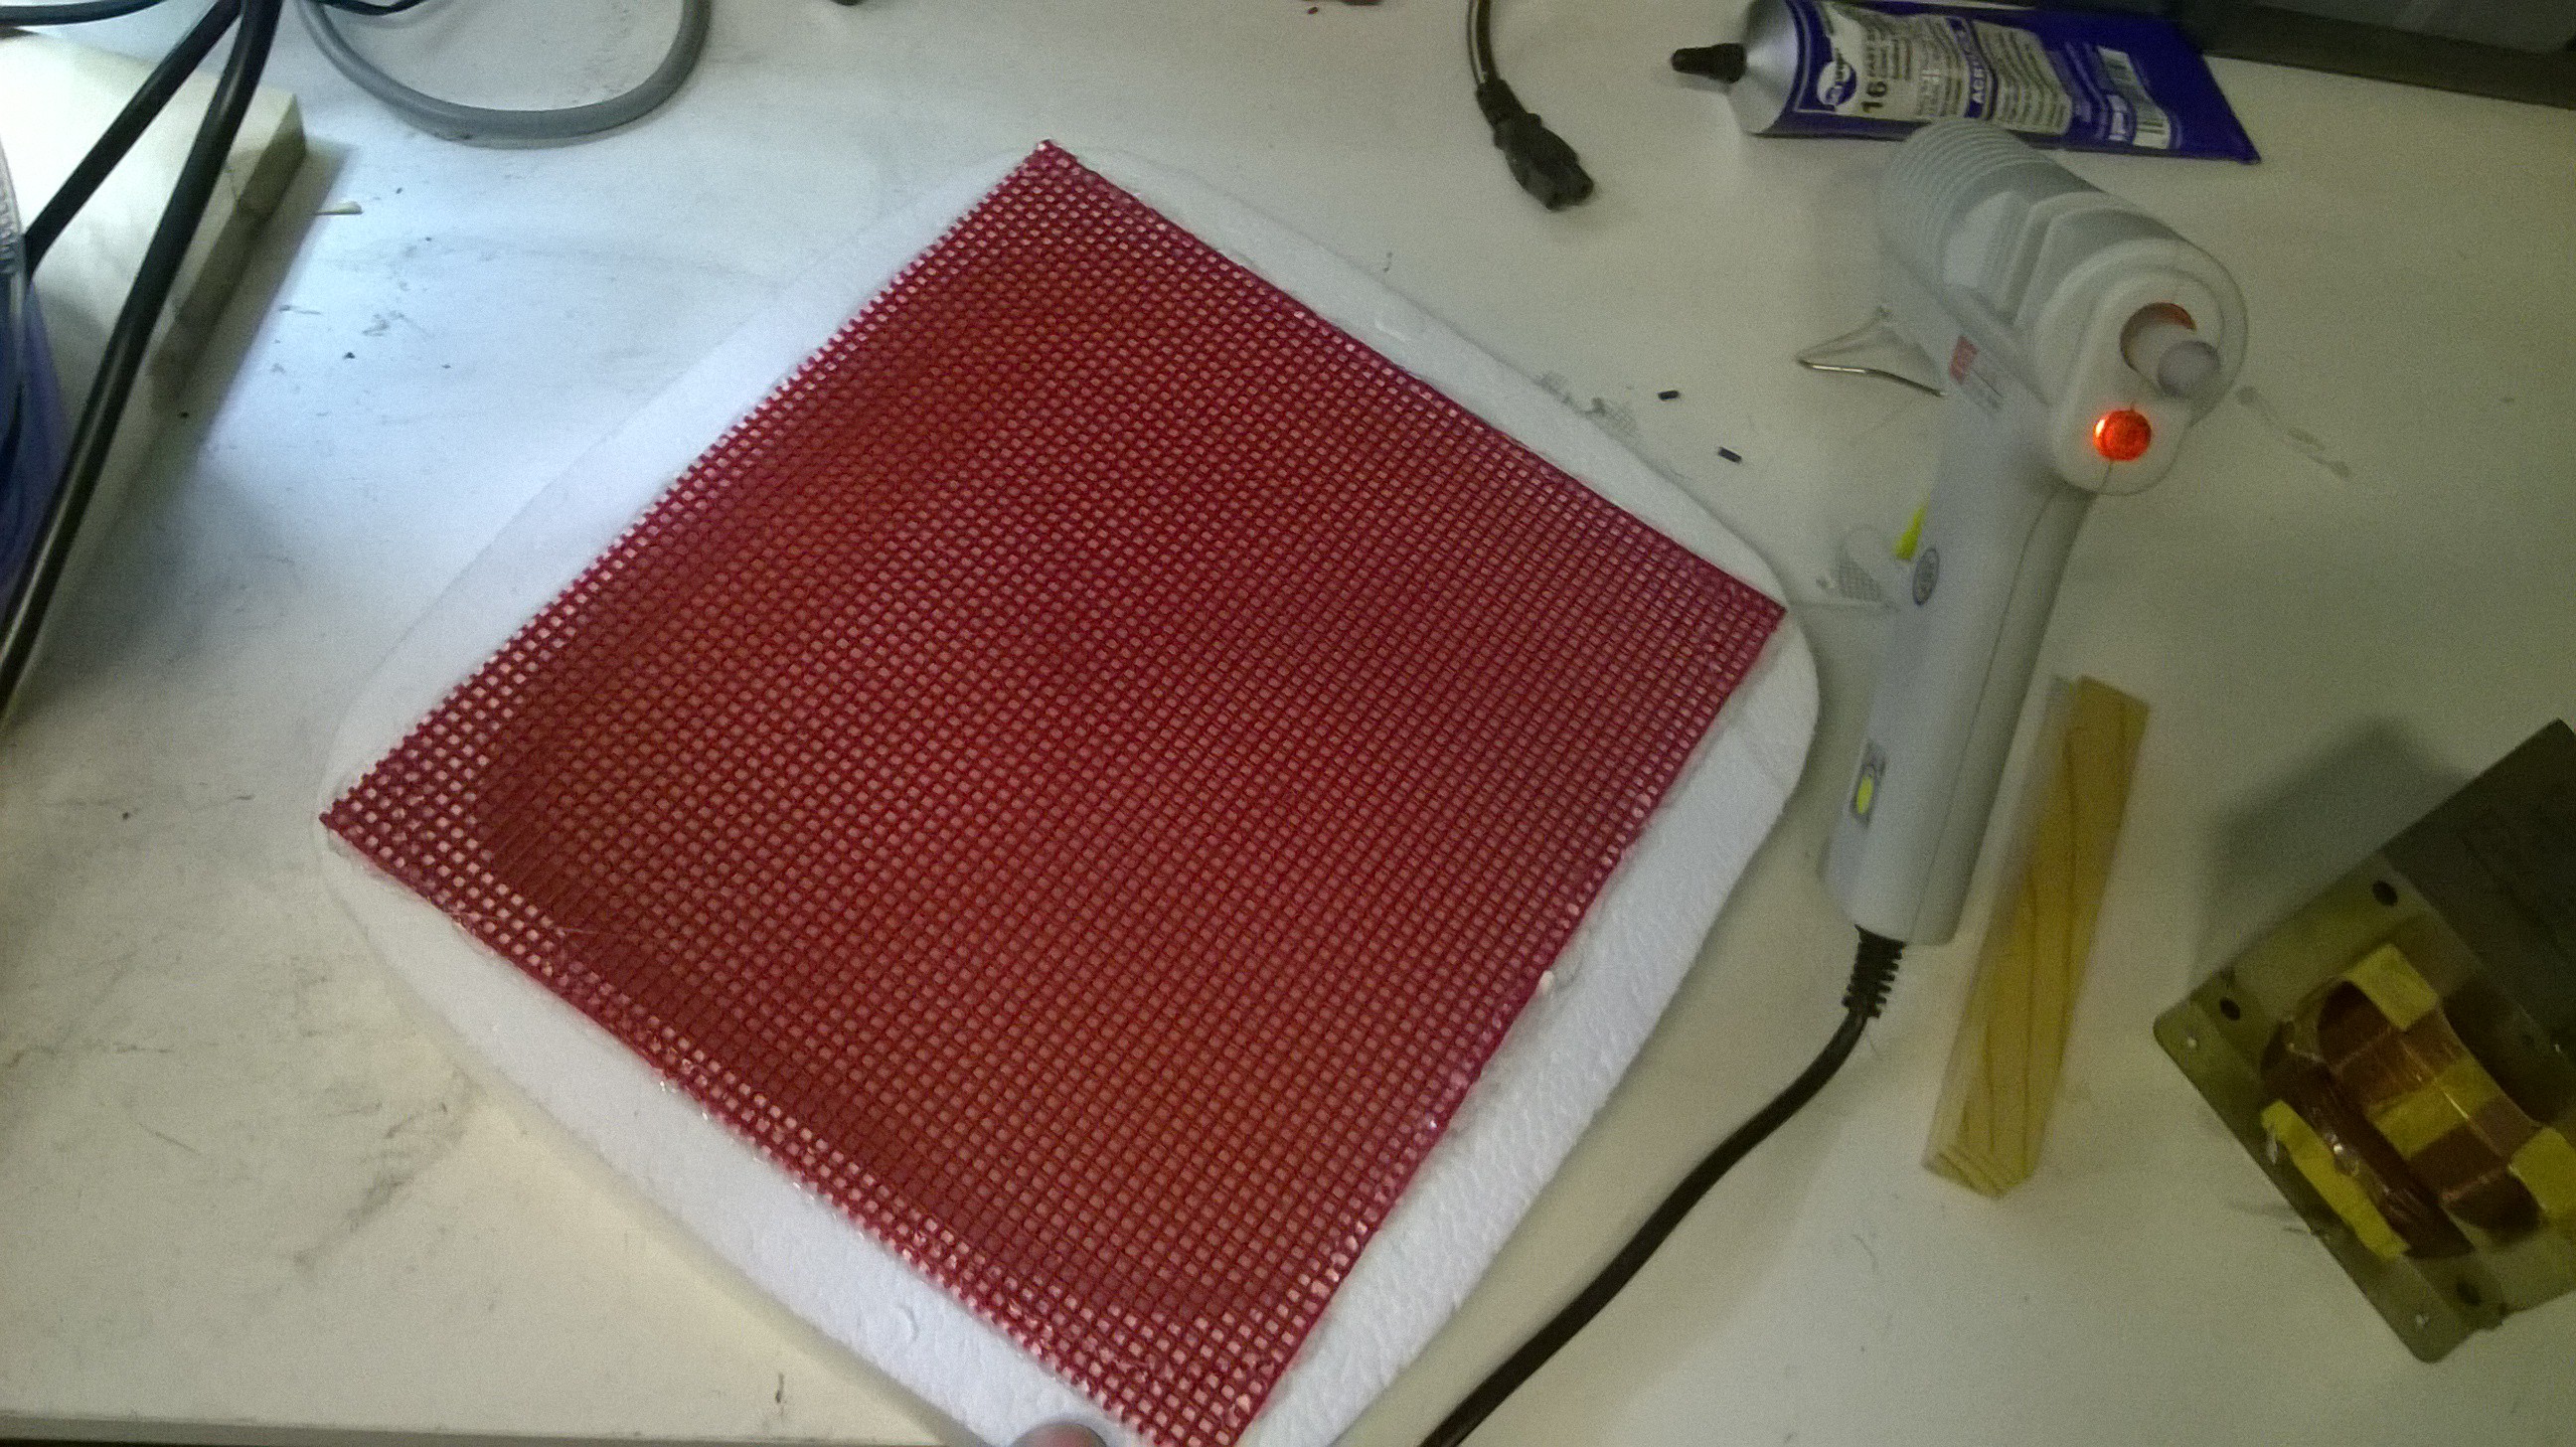
Cut out the center of the foam leaving about a 1" border.
![]() Now glue either aluminum screen mesh to the top or sheets of plastic canvas grid and bottom of the foam (plastic canvas is found in a craft store, used for sewing/stiching). These grids/screens helps even out the air flow to make it more laminar.
Now glue either aluminum screen mesh to the top or sheets of plastic canvas grid and bottom of the foam (plastic canvas is found in a craft store, used for sewing/stiching). These grids/screens helps even out the air flow to make it more laminar.![]()
![]() Now glue this to the bottom of the bucket. Ensure there is enough clearance that the tubes still fit in the bucket.
Now glue this to the bottom of the bucket. Ensure there is enough clearance that the tubes still fit in the bucket.![]()
-
29Step 29
Now reinstall the tube assembly into the bucket and have a single wire coming out that is connected to all of the tube's central wires. Also ensure that all of the tube walls are electrically connected to each other.
![]()
-
30Step 30
For the top bucket, simply drill a 2" hole in the middle of it on the bottom of the bucket.
![]()
Household Electrically Enhanced Wet Scrubber
A household air purification unit for kitchens, labs, & smokers used to scrub fine particulates and VOC's out of the air.


 Now cut out the piece.
 Now glue either aluminum screen mesh to the top or sheets of plastic canvas grid and bottom of the foam (plastic canvas is found in a craft store, used for sewing/stiching). These grids/screens helps even out the air flow to make it more laminar.
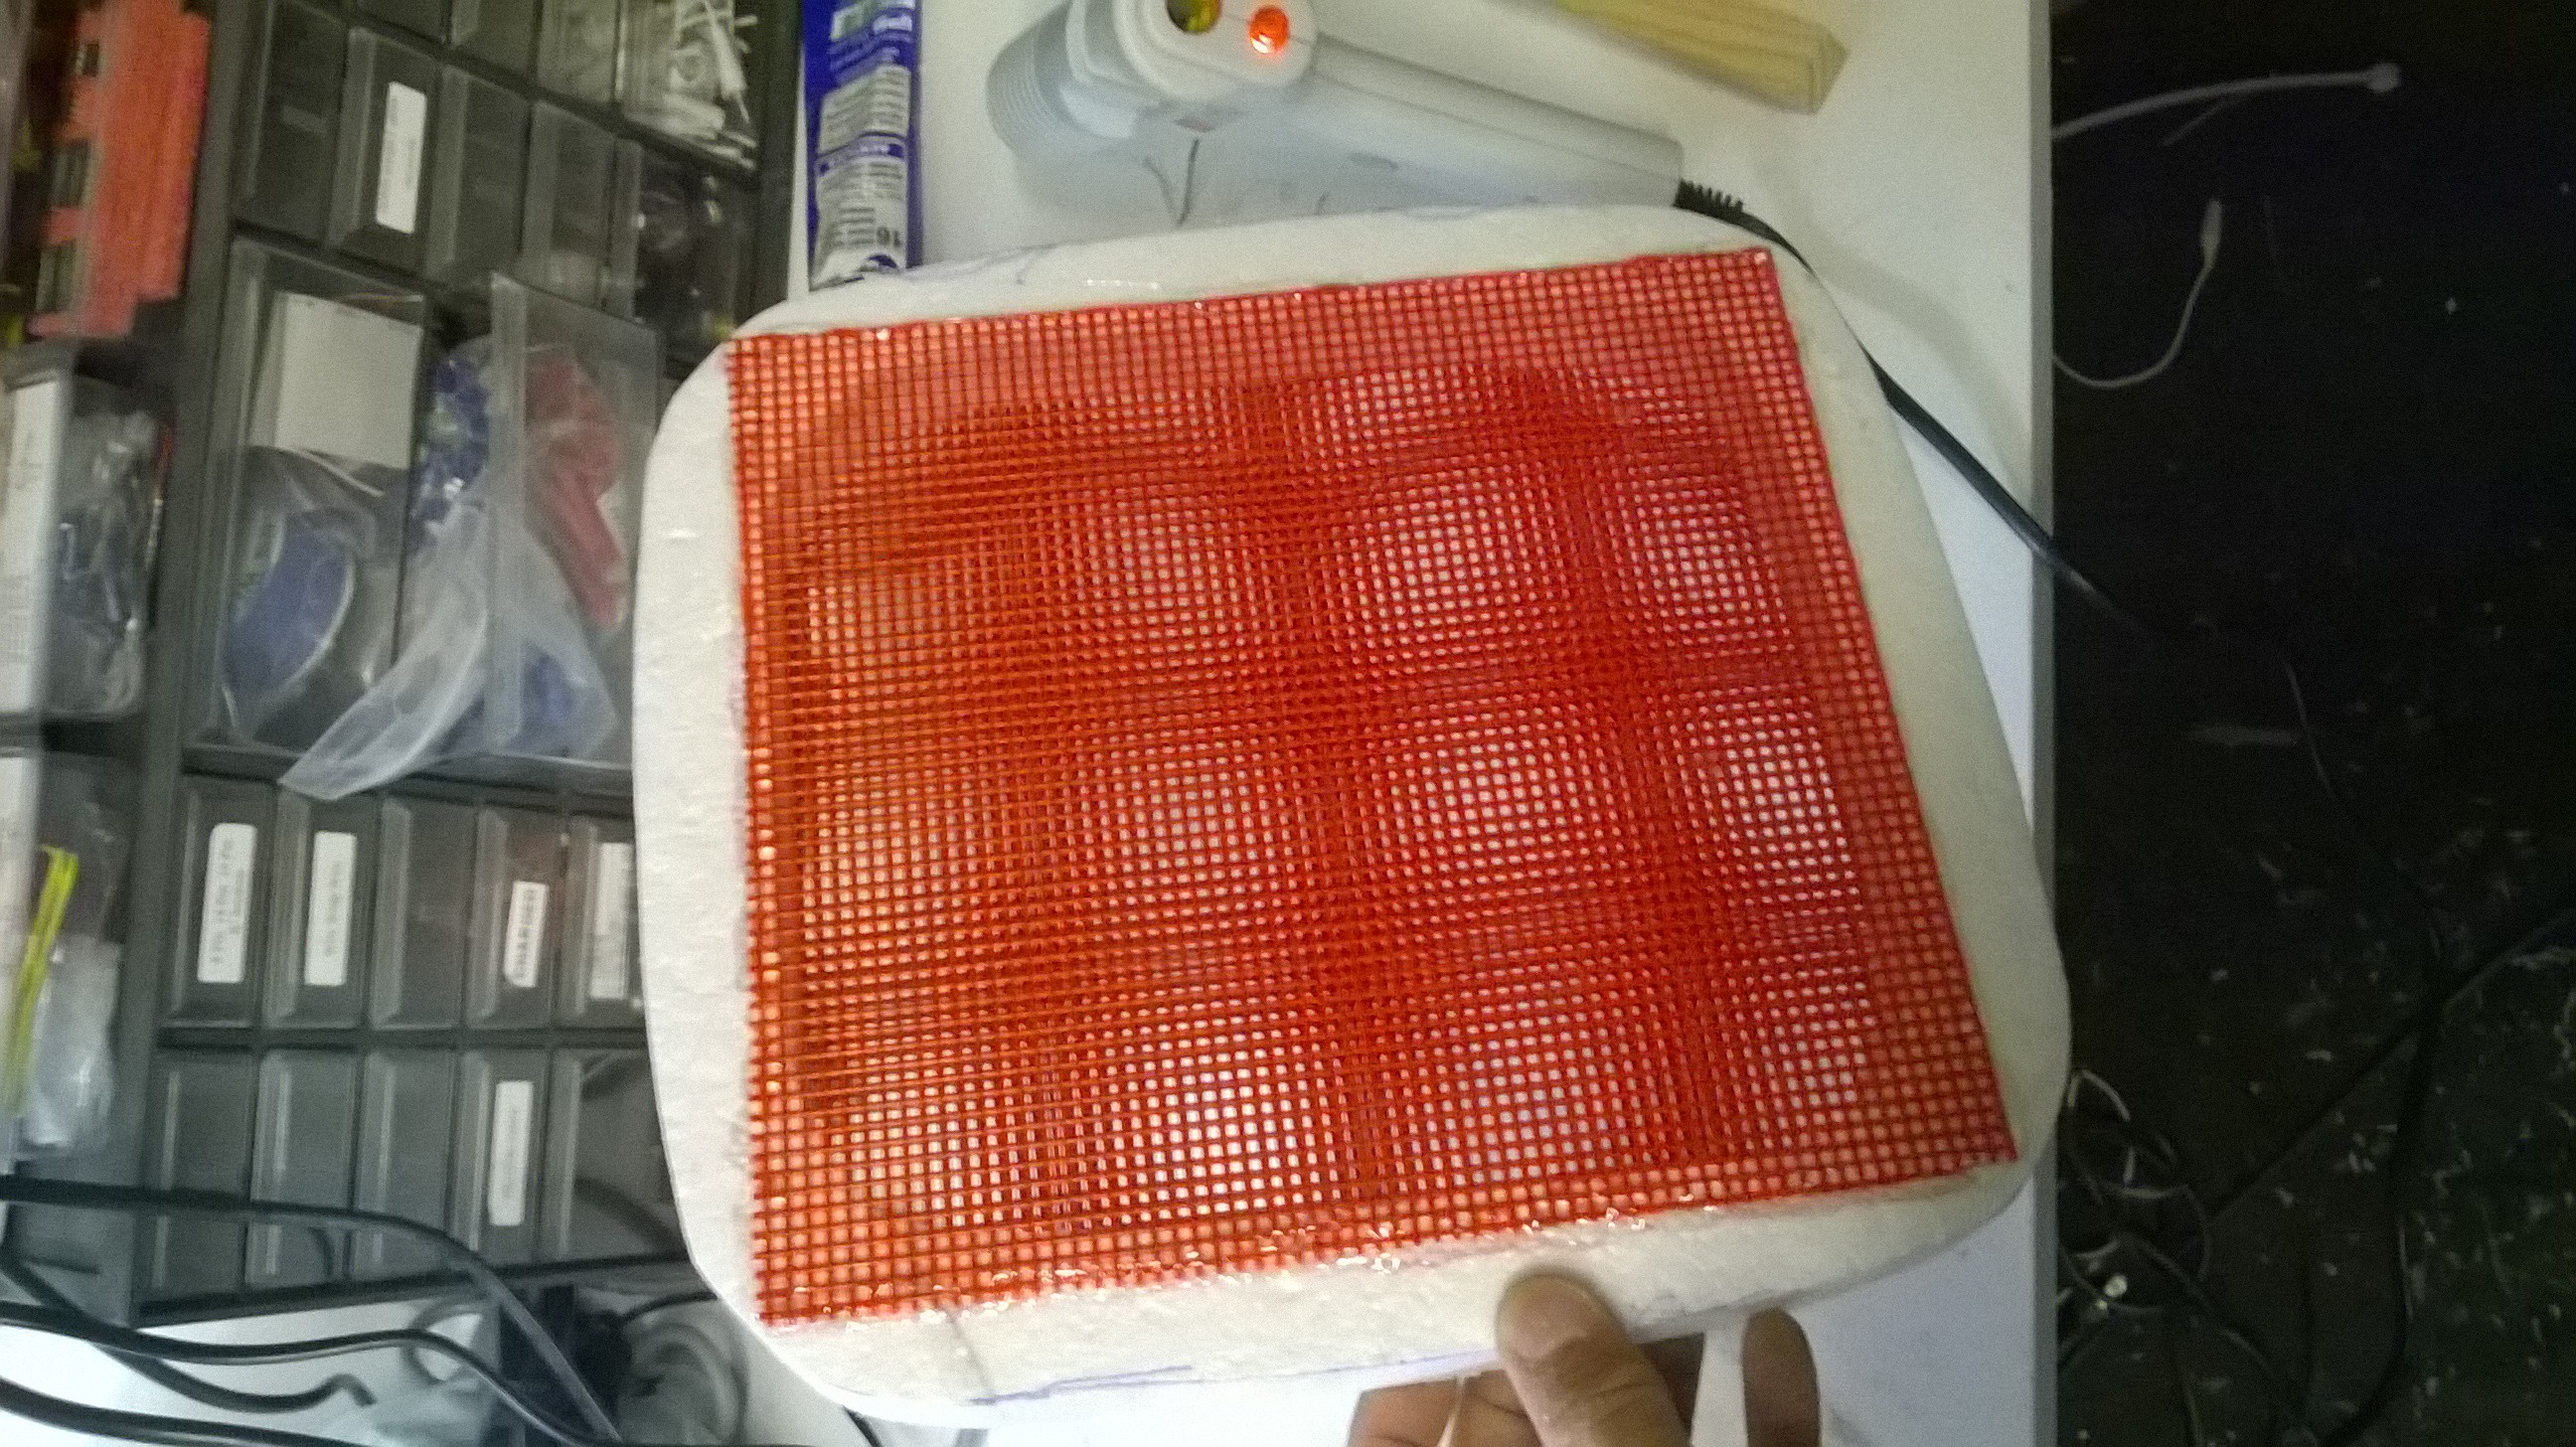
 Now glue this to the bottom of the bucket. Ensure there is enough clearance that the tubes still fit in the bucket.
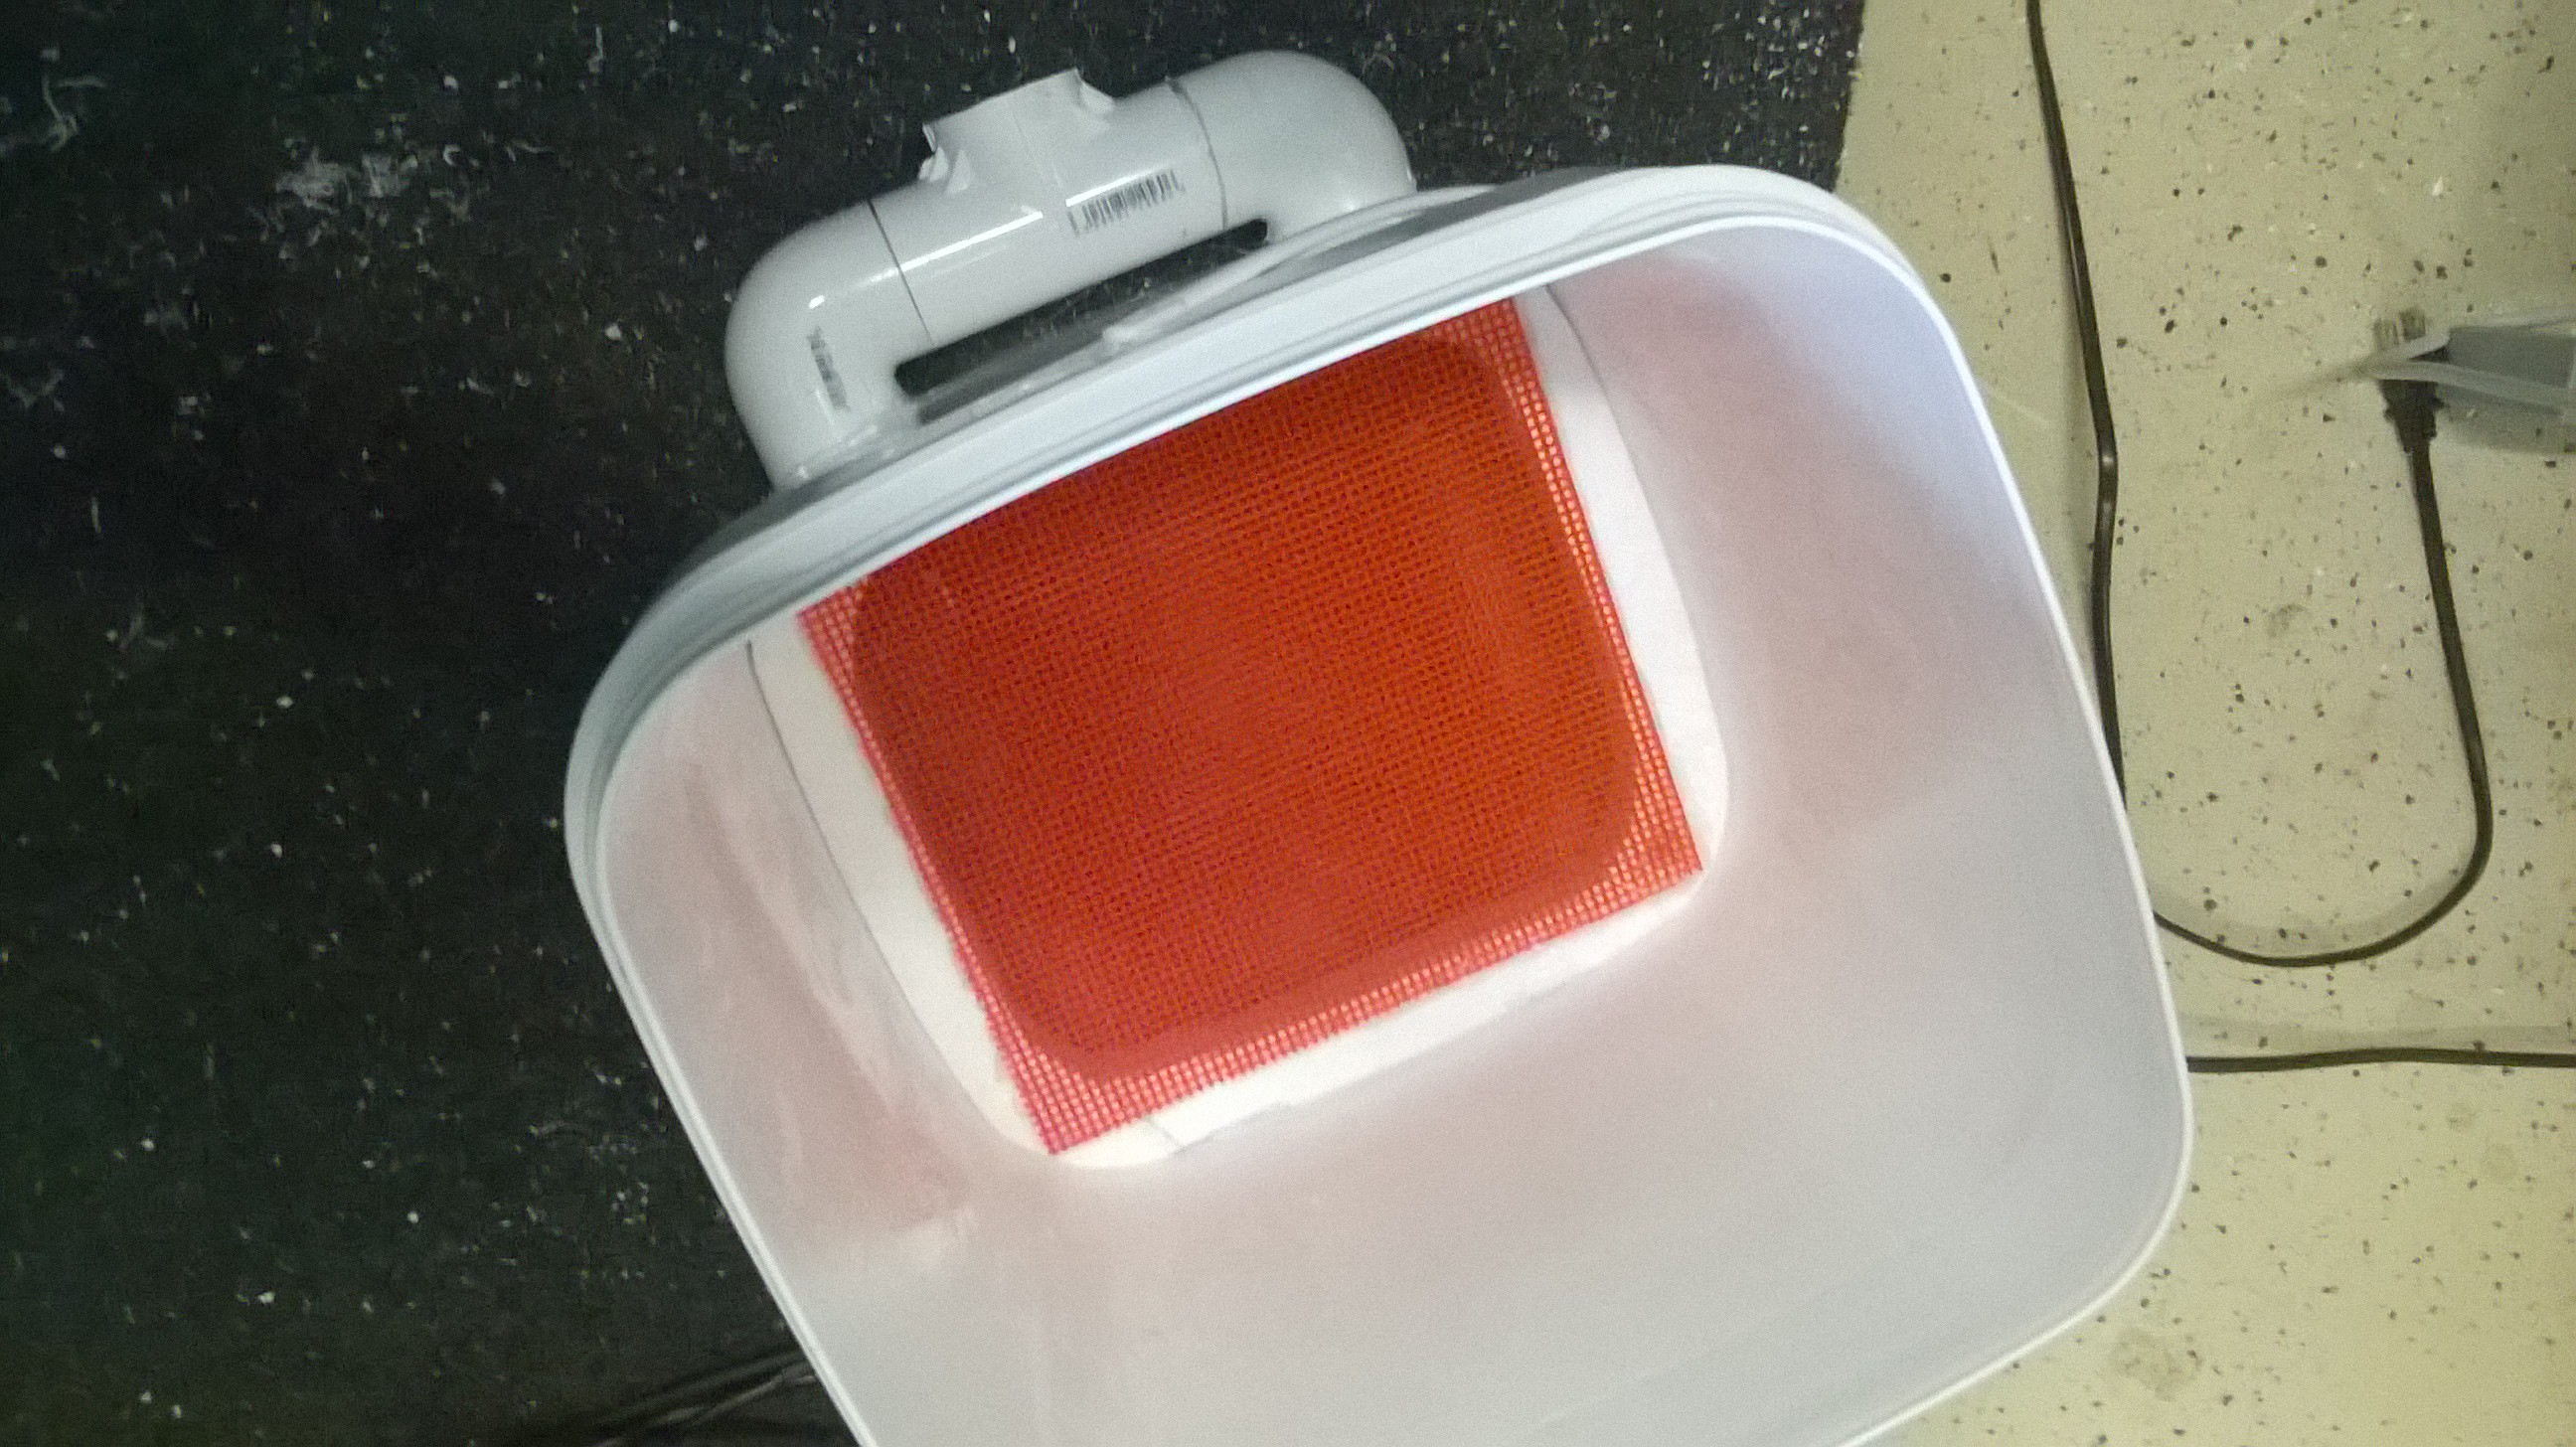
Discussions
Become a Hackaday.io Member
Create an account to leave a comment. Already have an account? Log In.