danjovic
-
3D Box for [S]NES version
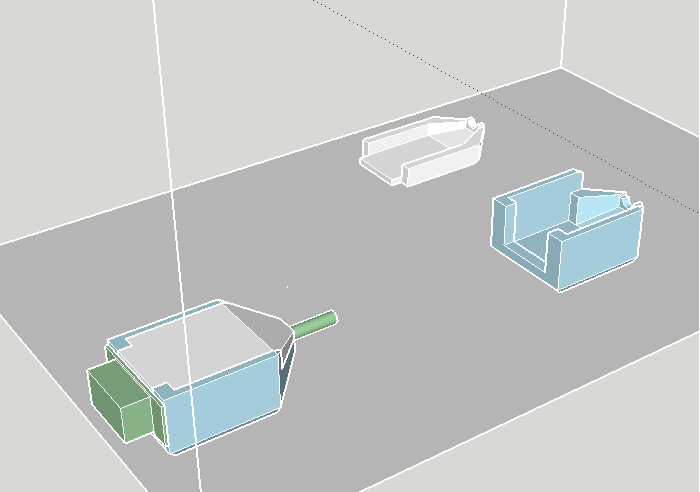
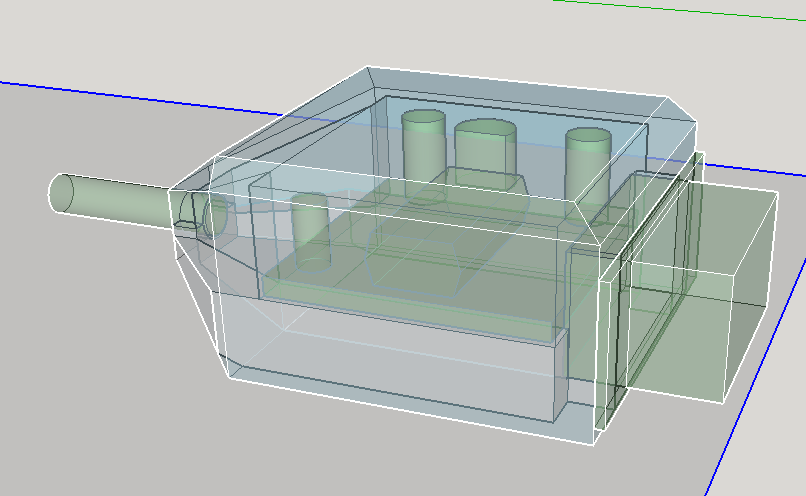
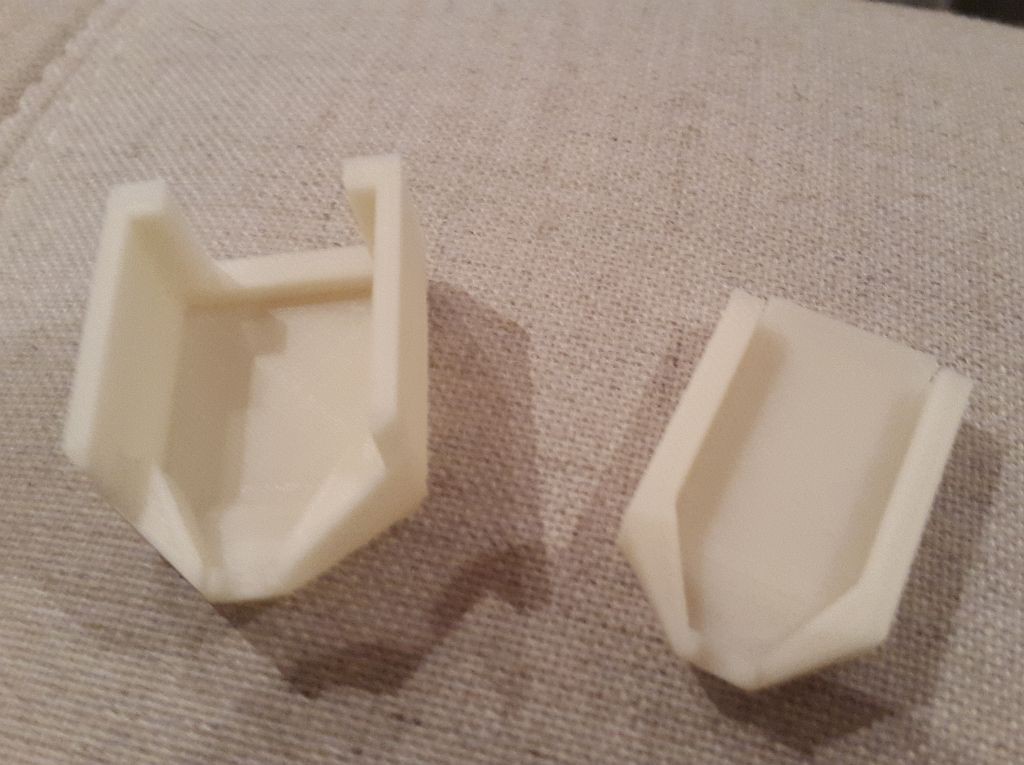
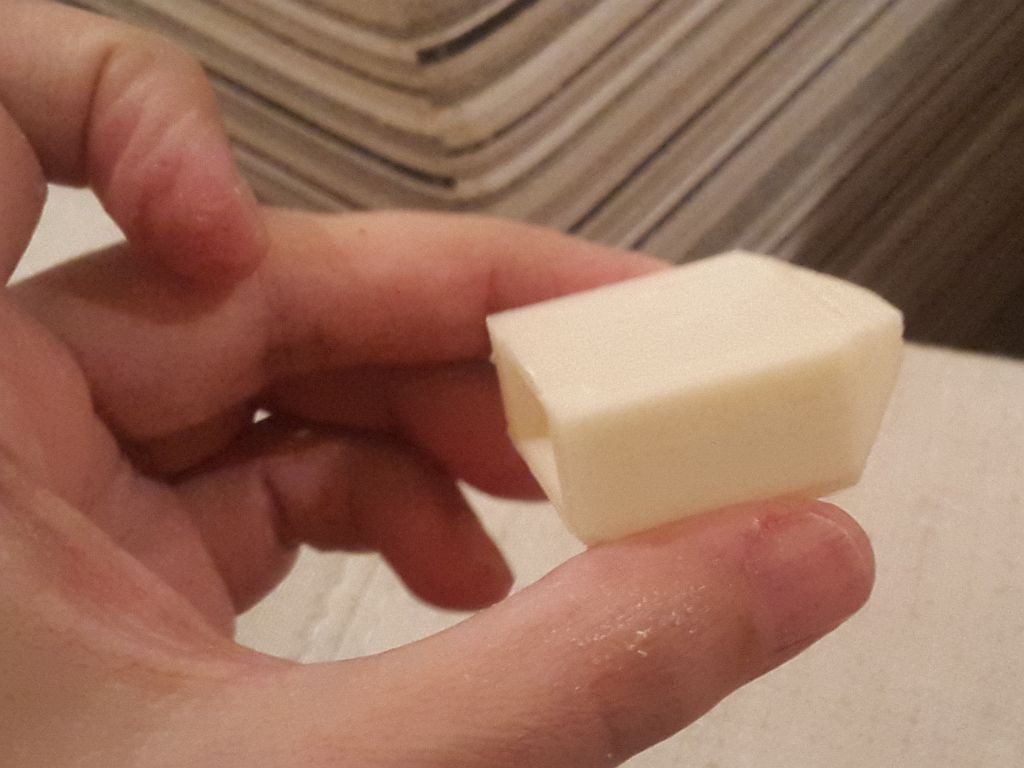
07/08/2016 at 20:22 • 0 commentsI've designed a 3D case to hold the circuit and provide better support for the relatively fragile wiring of the SNES connector.
![]()
![]()
The board was designed using Sketchup and it was printed by my friend #rflamino.
![]()
![]()
![]()
The design file is on the download area for this project.
-
Alternate [S]NES firmware in action
07/06/2016 at 04:32 • 0 commentsHere is a short video of the [S]NES firmware in action.
Since Atari controllers have only one button, all buttons of [S]NES controller are mapped to the same function. Any button held down when the board is powered on become an auto-fire button as shown for button A in the video.
-
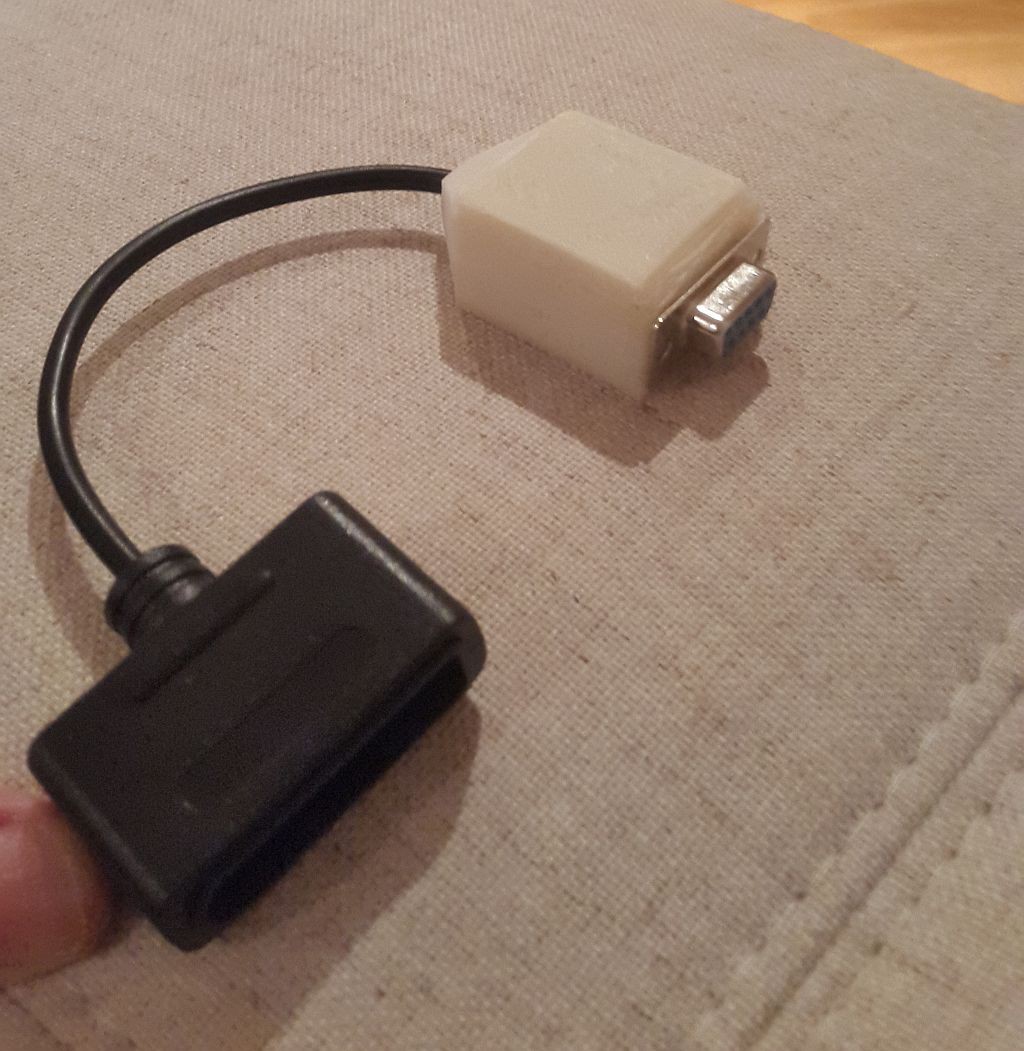
Pictures of the [S]NES alternate configuration assembly
07/06/2016 at 01:21 • 0 commentsThe female connector was taken from a cheap SNES extender. The wire colouring is not equal that from the original controller, so the wires must be identified prior to soldering
![]()
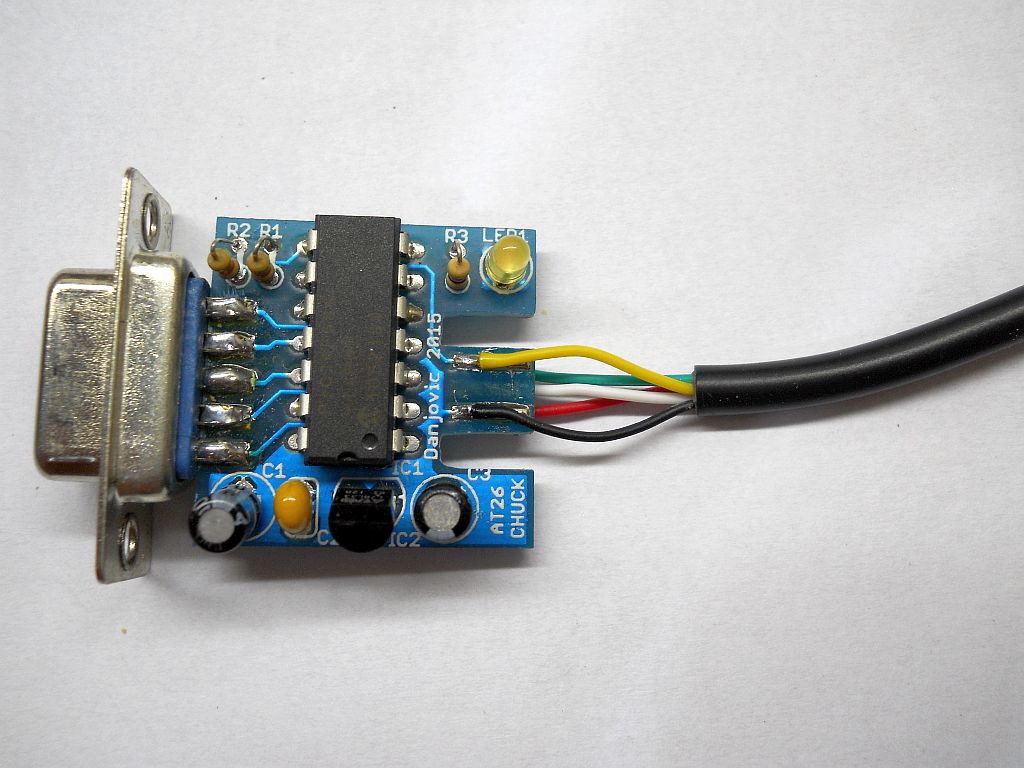
The overview of the assembly is show below. 3 of the wires are soldered on the bottom (lower) face, while the others are soldered on the top layer
![]()
Below is a close view of the wiring, showing the top face.
![]()
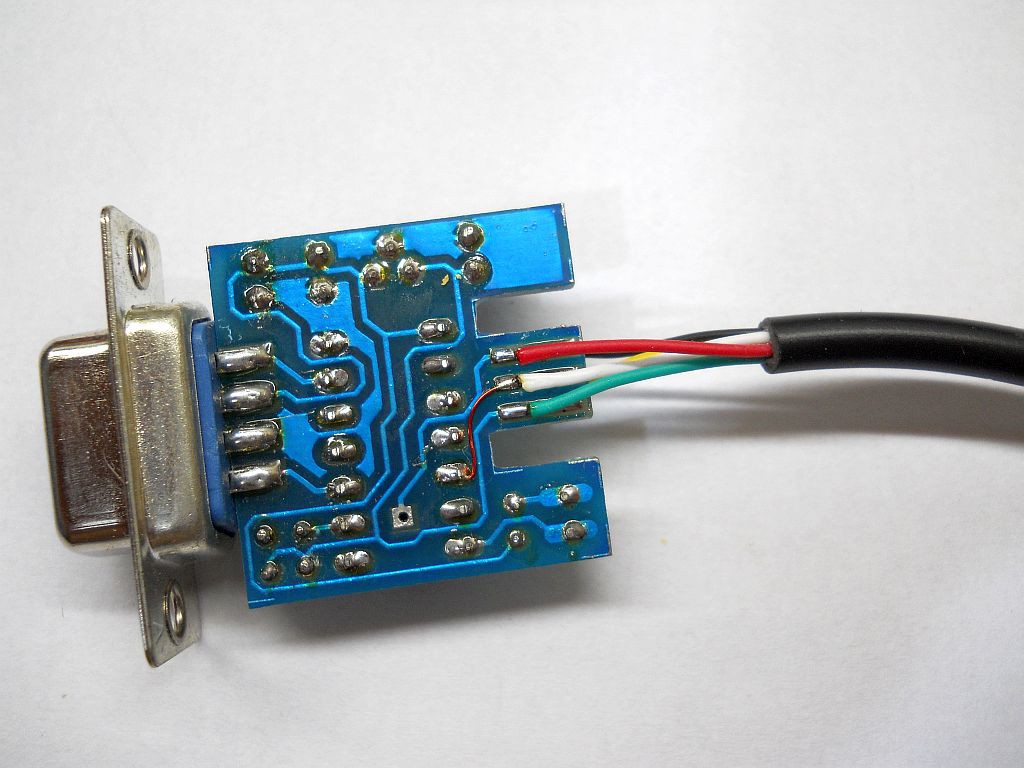
The bottom face is shown below. Notice the modification from pin 7 of the micro-controller to the central pad.
![]()
-
Alternate Firmware: [S]NES
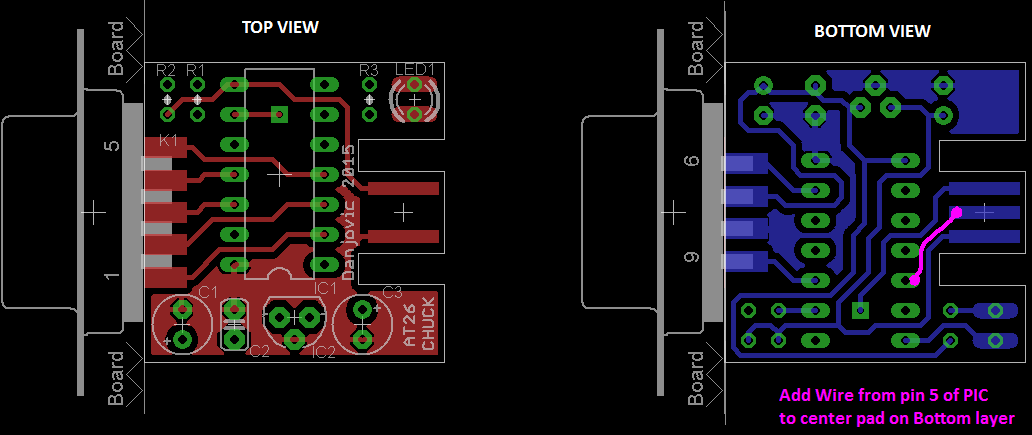
07/01/2016 at 02:24 • 0 commentsJust by adding a single jumper wire to the board and using an appropriate connector it makes possible to turn the AT is possible to turn the AT26-Chuck into a [S]NES to Atari converter with programmable auto fire support.
![]()
The code is mostly based on the #Digi:[S]NES project with some #defines to make the Arduino I/O functions compatible with CCS C:
#define uint16_t unsigned int16
#define uint8_t unsigned char
#define digitalWrite output_bit
#define digitalRead  input
#define HIGH 1
#define LOW 0
The auto fire is also borrowed from #Digi:[S]NES and it works on the contrary of the most common implementations either in software or in hardware: Instead of causing the actuation of the auto-fire button it causes the release of the button, thus simplifying the code to a single mask that causes the key to be released at a given rate. If the key is not pressed, then it makes no difference.
All of the buttons of the [S]NES controller are mapped to the single button in the Atari connector. To enable the auto fire for a given button just hold it down while the circuit is powered on. The auto-fire does not work for the directional buttons nor for Start and Select.
The connection to the SNES and NES controllers can be seen in the picture below. Notice that some wires are connected on the solder side of the board.
The code is available in github under the folder "firmware/SNES Adapter".![]()
-
AT26-Chuck in Action
11/19/2015 at 02:21 • 0 commentsAt least: I've managed to shoot a small video of the #AT26-Chuck in action. It took me some time to fix the color coding of the Atari Clone so it could show colors when working together with my flat screen TV/Monitor, but that is another story...
-
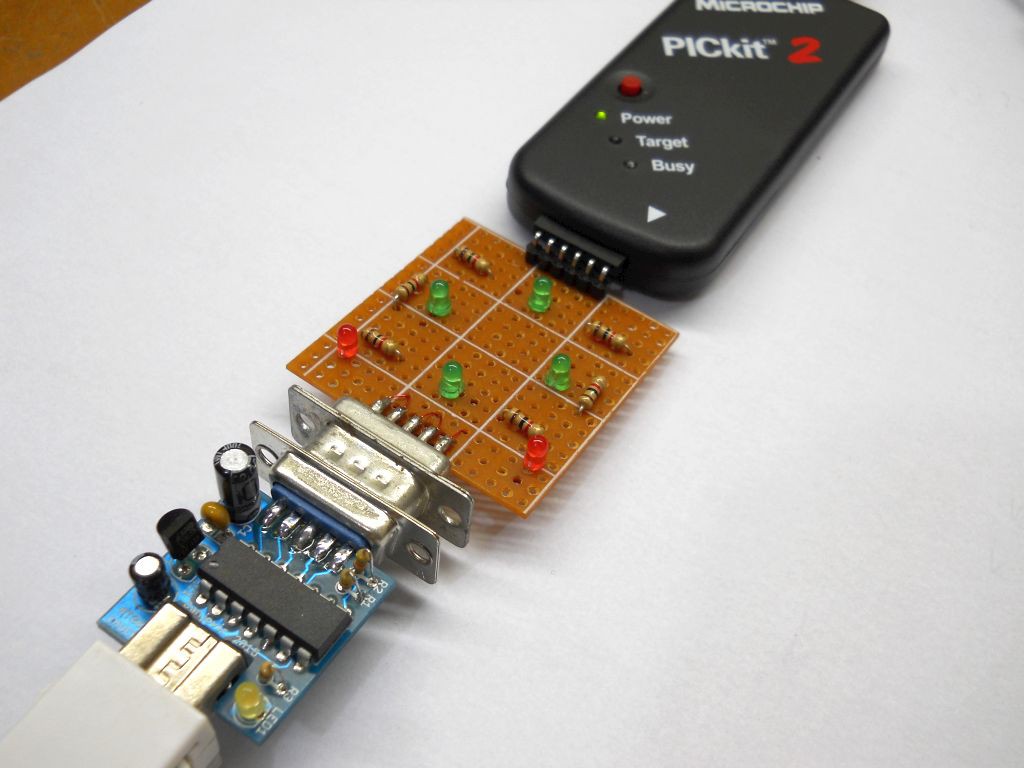
Board programmed and tested
11/11/2015 at 02:11 • 0 commentsI have finally built the programmer/tester adapter using veroboard. The board was programmed and it is now working.
![]()
I think it worth to mention that the pinout was carefully choosen so all the programming signals would be available at the interface connector and thus elimitating the need for an ICSP connector on the board.
-
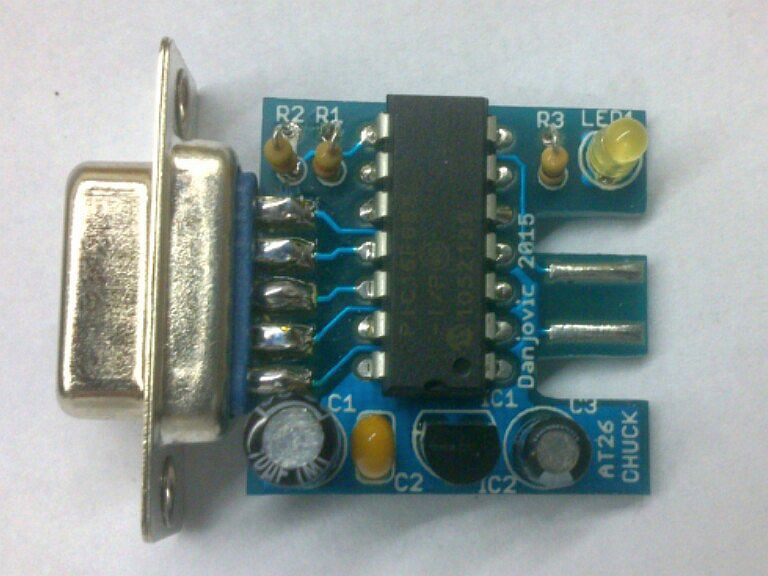
First board assembled
11/07/2015 at 20:02 • 0 commentsFirst board assembled! Now to the programming and tests. The photo has bad quality because it is taken from my mobile phone.
![]()
-
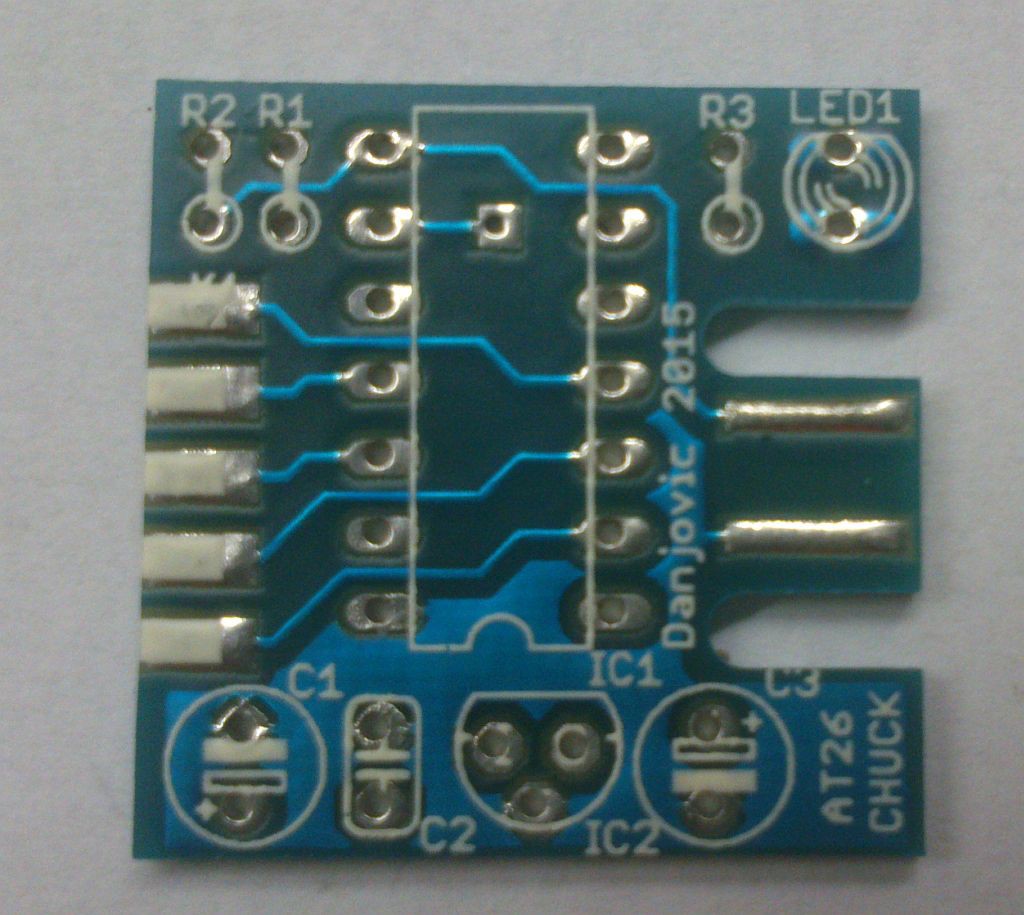
Boards arrived
11/07/2015 at 18:29 • 0 commentsThe boards have just arrived. I am going to start assembling them while I take notes on each step to write the instructions.![]()
-
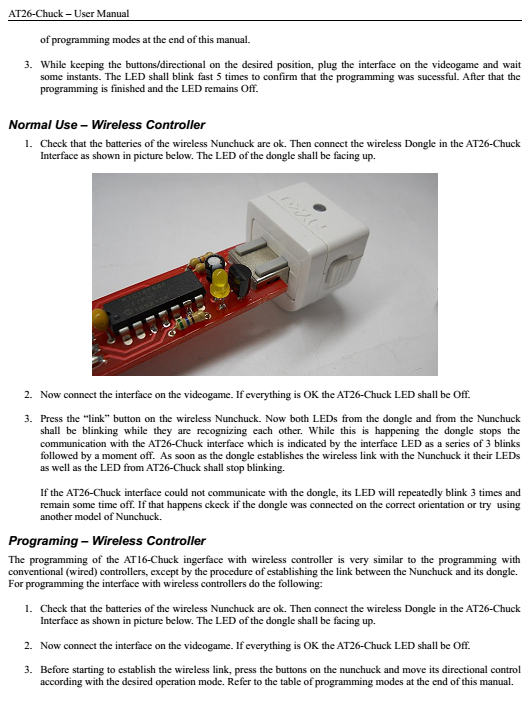
User Manual: Draft
11/03/2015 at 00:02 • 0 commentsIt's been a while since the last time I've updated this project. The reason is that I am waiting for the boards to be ready so I can assemble them. In the meanwhile I have translated the user manual for English language. Here is a link for the manual.
AT26-Chuck User Manual (draft)
The 'draft' status of the manual refers to the pictures, that are still from the previous format of the board (this was one a commercial product).
![]()
-
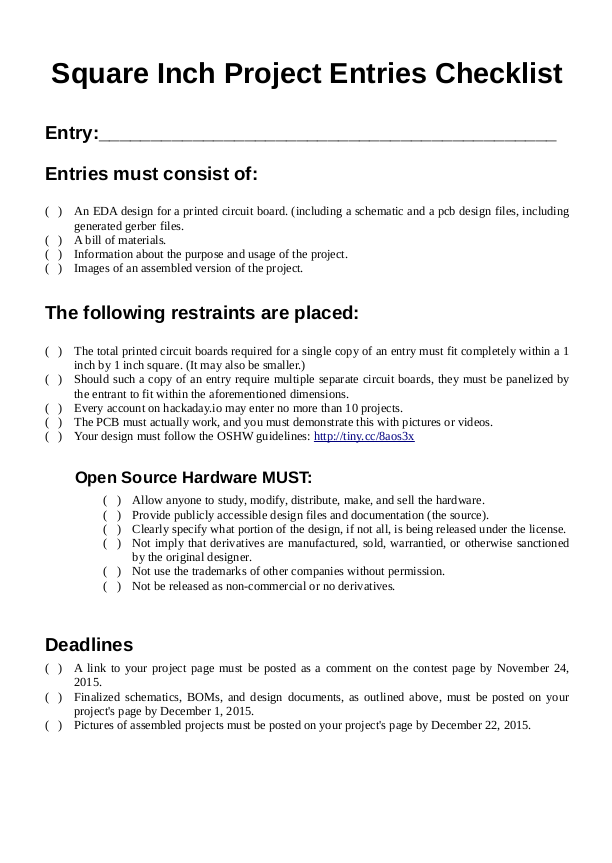
Contest Entry Checklist
10/31/2015 at 10:00 • 0 commentsBased on the contest rules I've created a checklist to be printed and left in plain sight in my benchtop, so I can easily see what's left to be done as well as the deadlines. This will help me to not get disqualified by forgetting small things like fulfilling the BOM.
Checklist is available inOpenOffice format and in PDF
![]()
AT26-Chuck
Adapter for playing Atari 2600 with Wii Nunchuck, with or without the accelerometers