-
Project on Hold
04/04/2018 at 11:05 • 0 commentsAll work on this is on hold at the moment. I recently moved home and I'll be separated from the project by about 200 miles for a while. Necessary but frustrating.
-
A Better Clothes-Peg
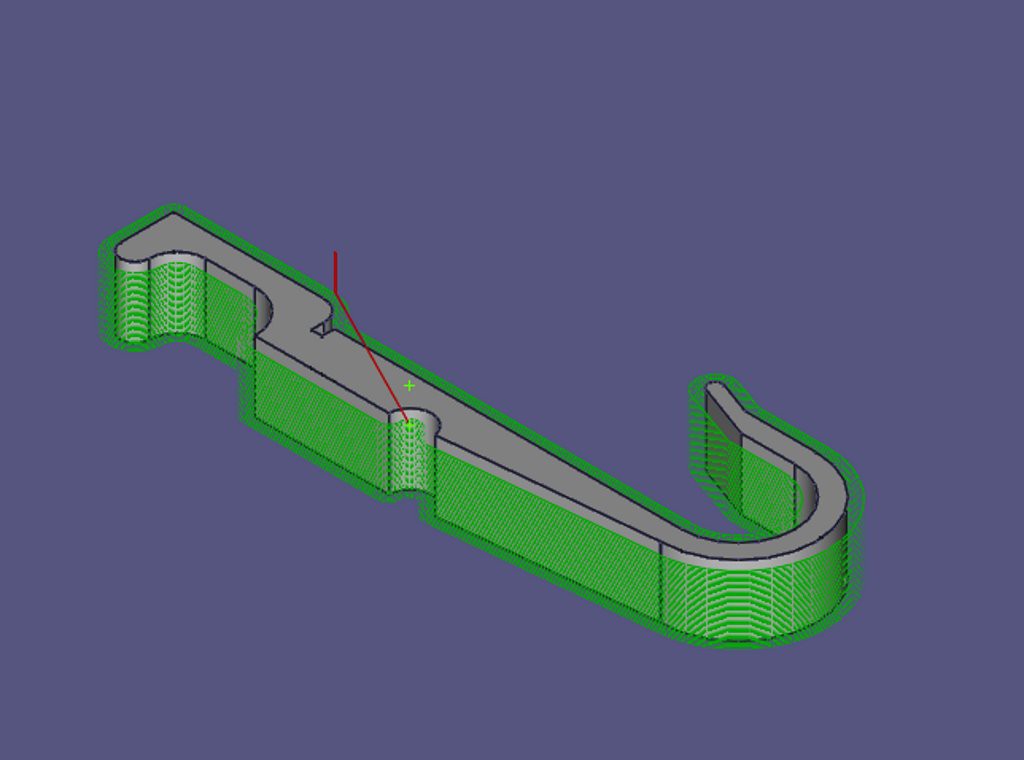
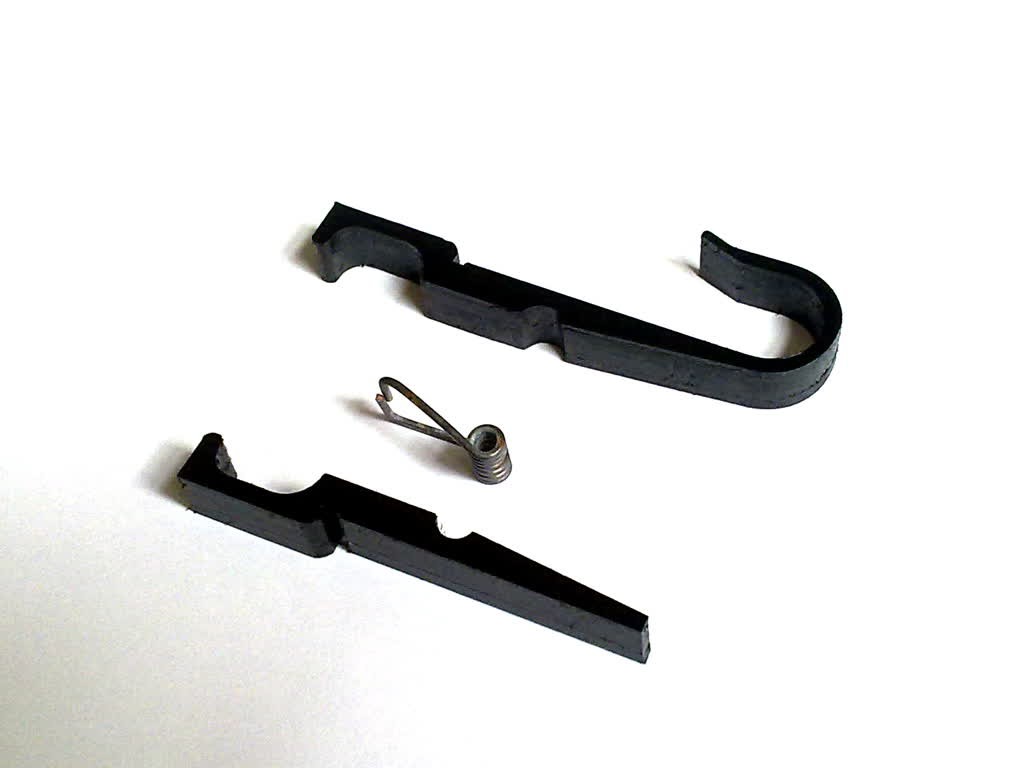
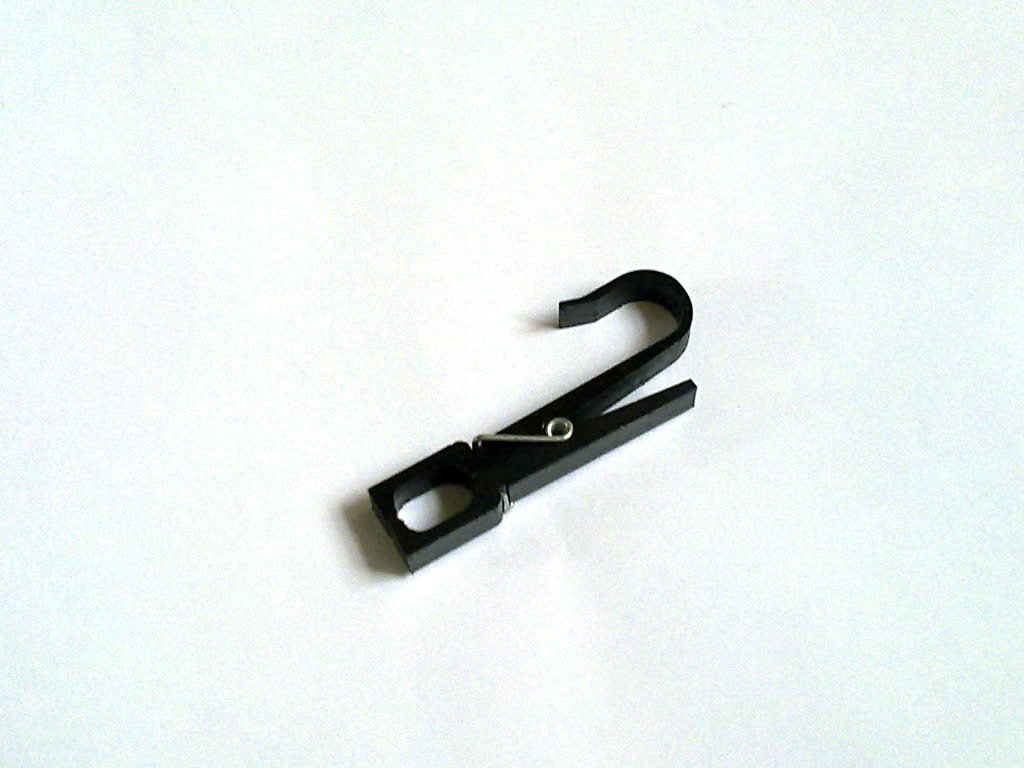
04/16/2017 at 13:22 • 0 commentsI use clothes-pegs for lots of things other than for drying clothes. I've been making a few of these enhanced versions from HDPE. The design and toolpath generation was done with FreeCAD v0.16.
![]()
![]()
![]()
I modified the jaws partly to increase the clamping pressure and partly because I could. The 20mm diameter hook was originally for hanging on a specific pipe but it has turned out to be a fairly useful generic size.
-
A Trackball Instead of a Mouse
12/04/2016 at 00:08 • 0 commentsI've replaced my mouse with a Logitech Trackman Marble. I can now keep my eye on the cutter when I'm nudging it close to the work piece. I don't have to worry any more about the pointer drifting across the computer screen when I'm clicking the mouse. The mouse-pointer used to drift away from on-screen buttons and I had to be careful that a completely wrong button didn't get pressed. The trackball works a treat.
-
Improved Bearing-Holder
09/29/2016 at 21:31 • 0 commentsNow that I have a milling machine I can improve my milling machine.
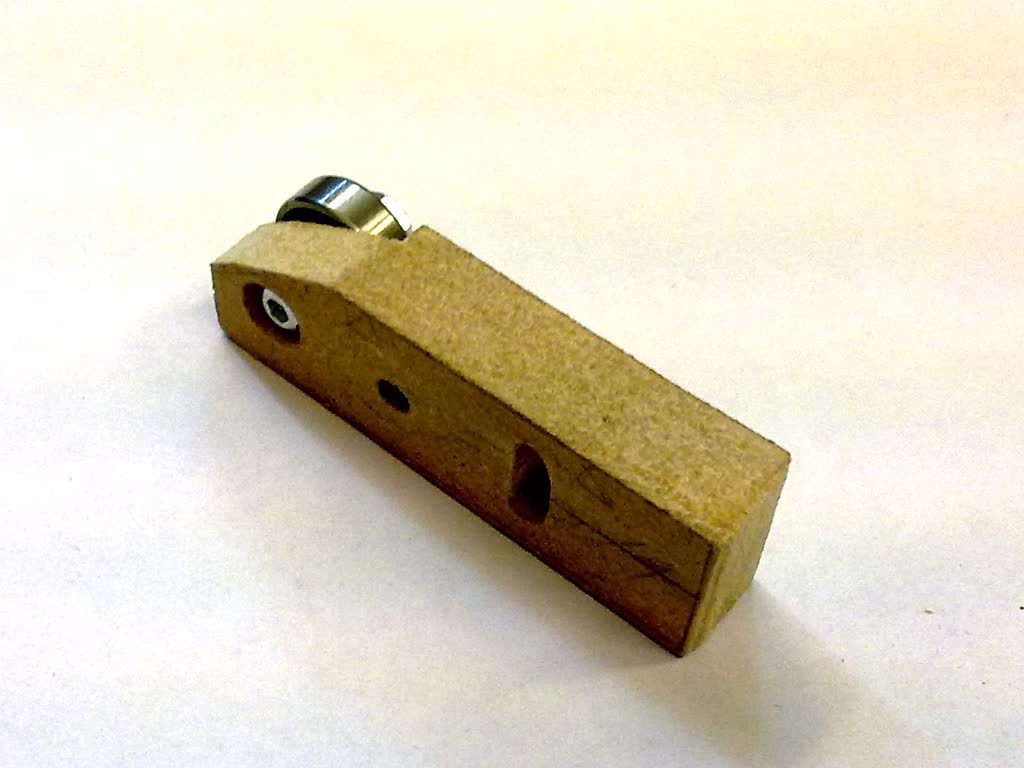
From the start I've called this component "the bearing-holder". I couldn't think of a better name. It's a sort of lever-arm with a roller on the end that keeps two sliding channel sections together. There is one on each axis.
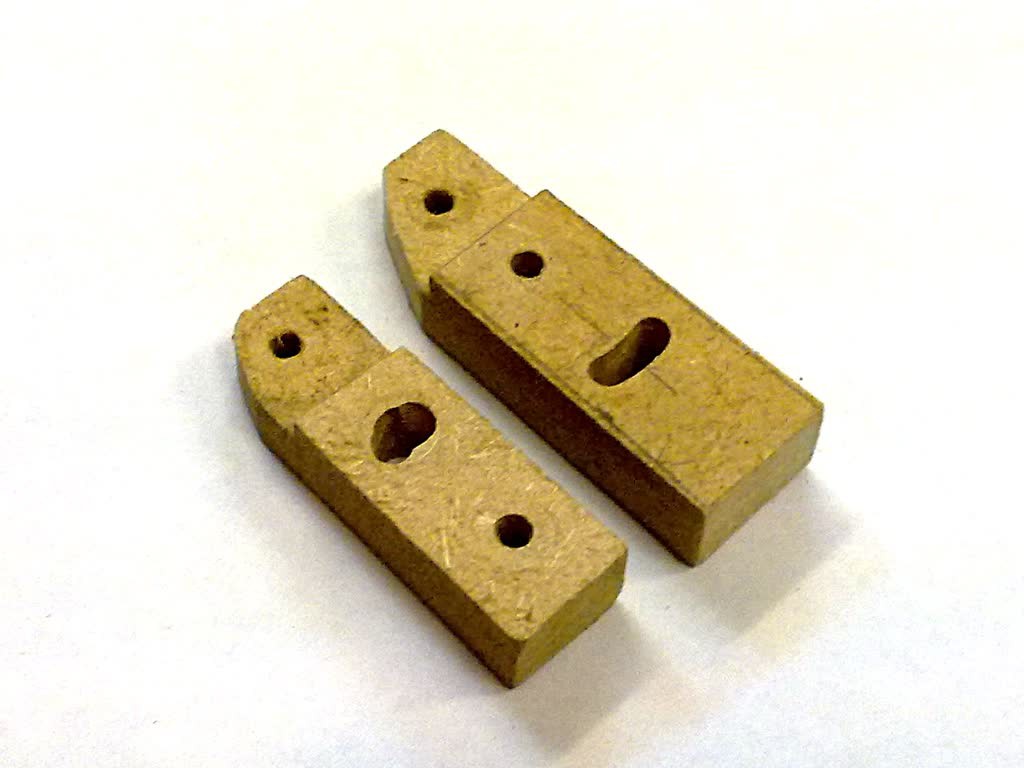
The first picture below compares the old and the new. The old one is pretty bad. (It was the first and worst, I think.) It "features" a crude, curved slot that has been hand-cut in the least effective of the two positions. The new one is slightly wider, slightly longer and the curved slot is pretty good.
![]()
Like much of this machine, this component is made from MDF (12mm thick in this case) but I don't think I'd use MDF for anything smaller. It just gets a little bit crumbly at that scale.
The following photo shows the other side where the head of the screw that goes through the bearing needs to be recessed.
![]()
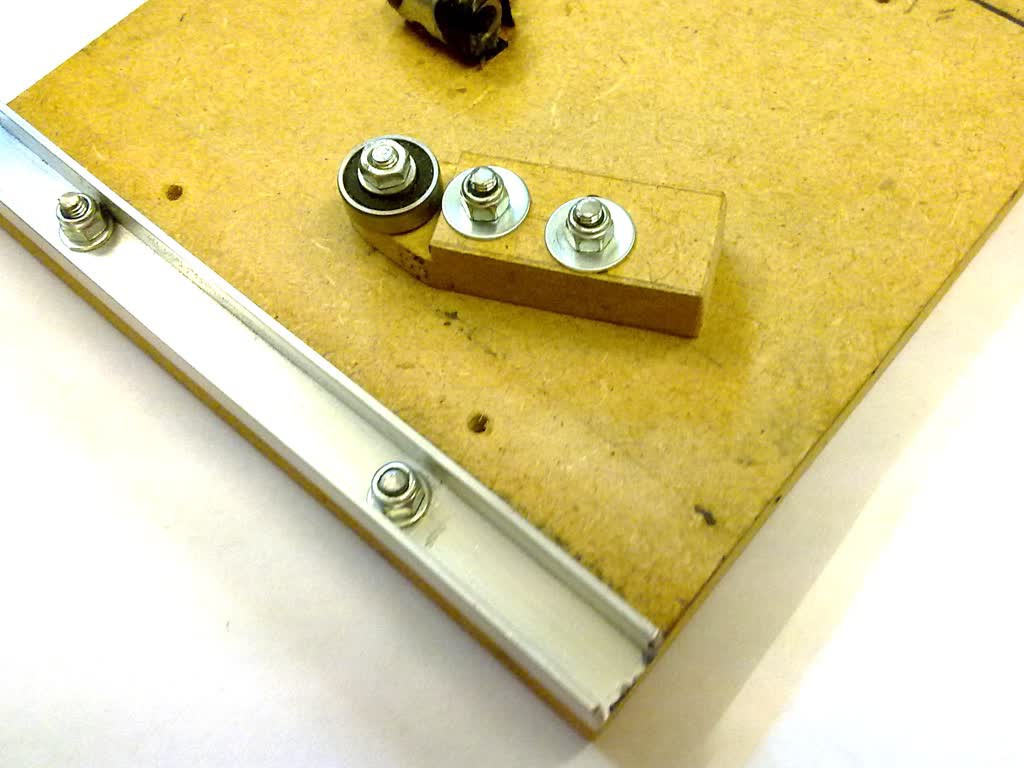
And finally, here one in place on the underside of the Y-Platform. The 20mm aluminium channel section that I'm using determines the gap that this component has to fit into. There is not much left after 12mm of MDF, a washer and a nyloc nut.
![]()
-
Reducing the Cutter Speed
09/25/2016 at 23:15 • 2 commentsI bought various thicknesses of HDPE recently and have been milling that. It looked to me that I was on the verge of melting the plastic instead of cutting it and I wanted to reduce the speed of the Dremel, but I was already on the slowest setting. I'm using a Dremel 300 which gives speeds from 10,000 to 33,000 rpm. To get some slower speeds I bought a Fan Speed Controller for less than £10. At very slow speeds the Dremel's speed gets a bit unsteady but away from that bottom end it all works just fine.
I'm now wondering what cutting speed I am actually getting from the Dremel and how could I measure it. Some optical sensor connected to an Arduino with a 7-segment display perhaps. A home-made stroboscope perhaps.
-
Improved Motor Brackets
09/09/2016 at 16:16 • 0 commentsNow that I have a milling machine I can improve my milling machine.
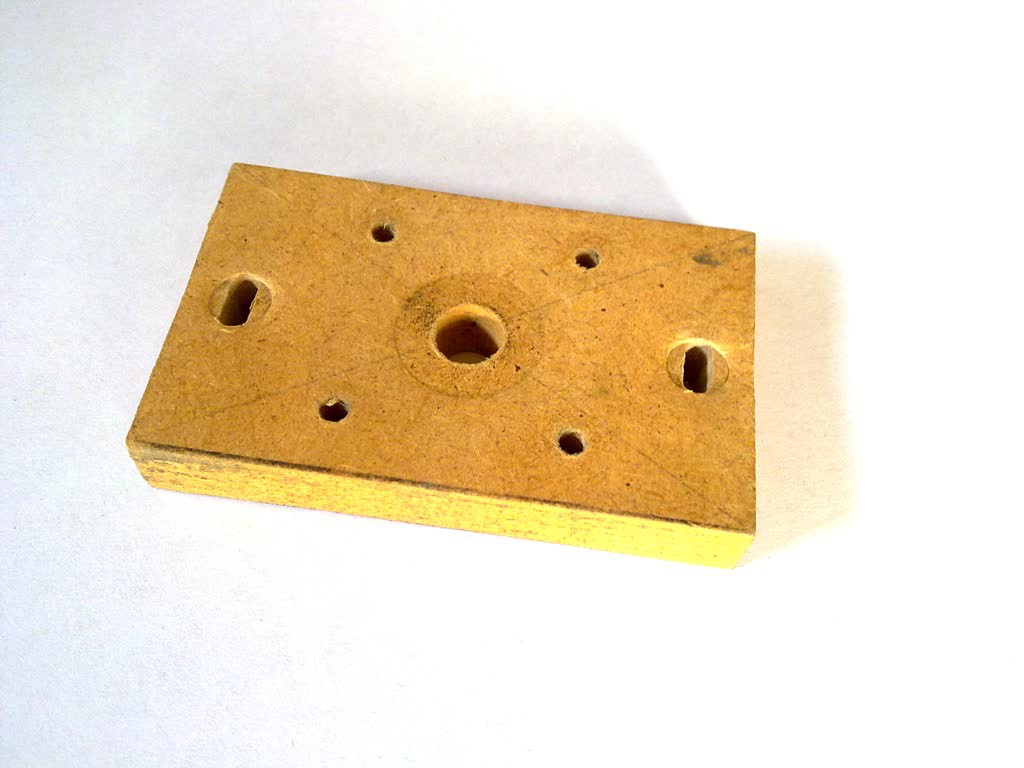
The original MDF motor brackets that I made were pretty crude. The slots that I cut with a Dremel by hand took ages to do and I couldn't think of a reasonable way to cut the 2mm deep circular pocket to take the step on the mounting face of the motor. The slots ended up shorter than planned and the pocket got omitted altogether. Here is a photo of one I just removed.
![]()
Note also the compression damage to the MDF, especially where the M4 bolts have gone through the slots. I'm in the process now of changing every washer that lies against MDF to a penny washer. That would have been a good idea from the start.
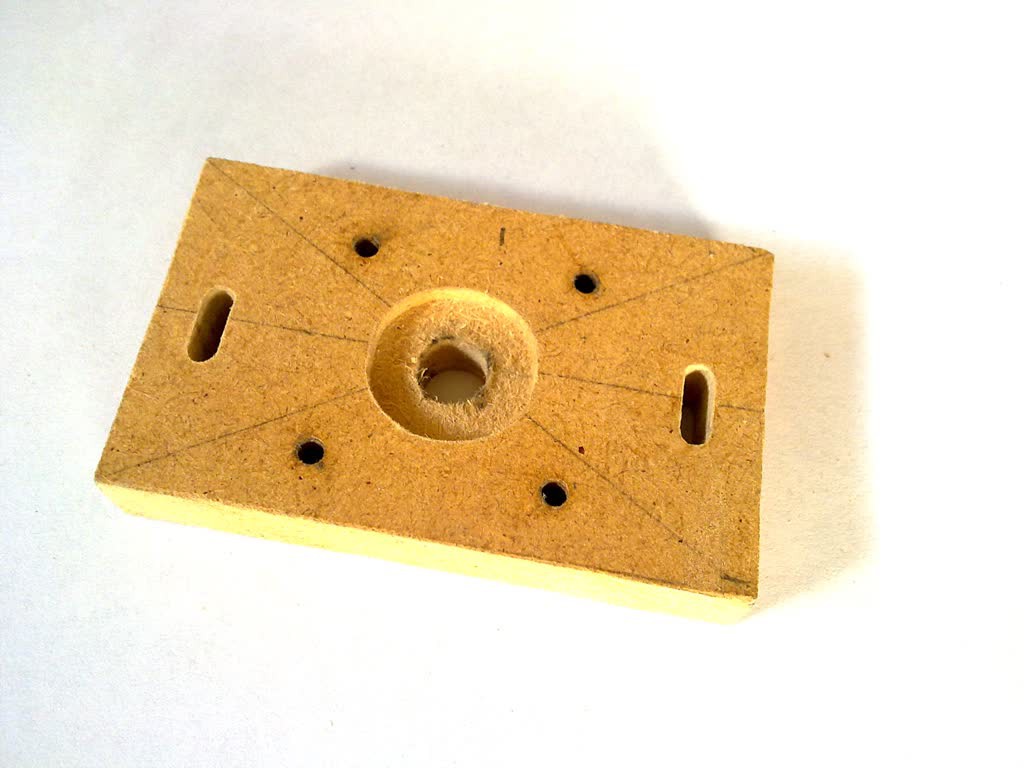
I have now made and fitted new brackets with longer slots and a recessed pocket to better fit the motor.
![]()
-
More Hold-Down Points
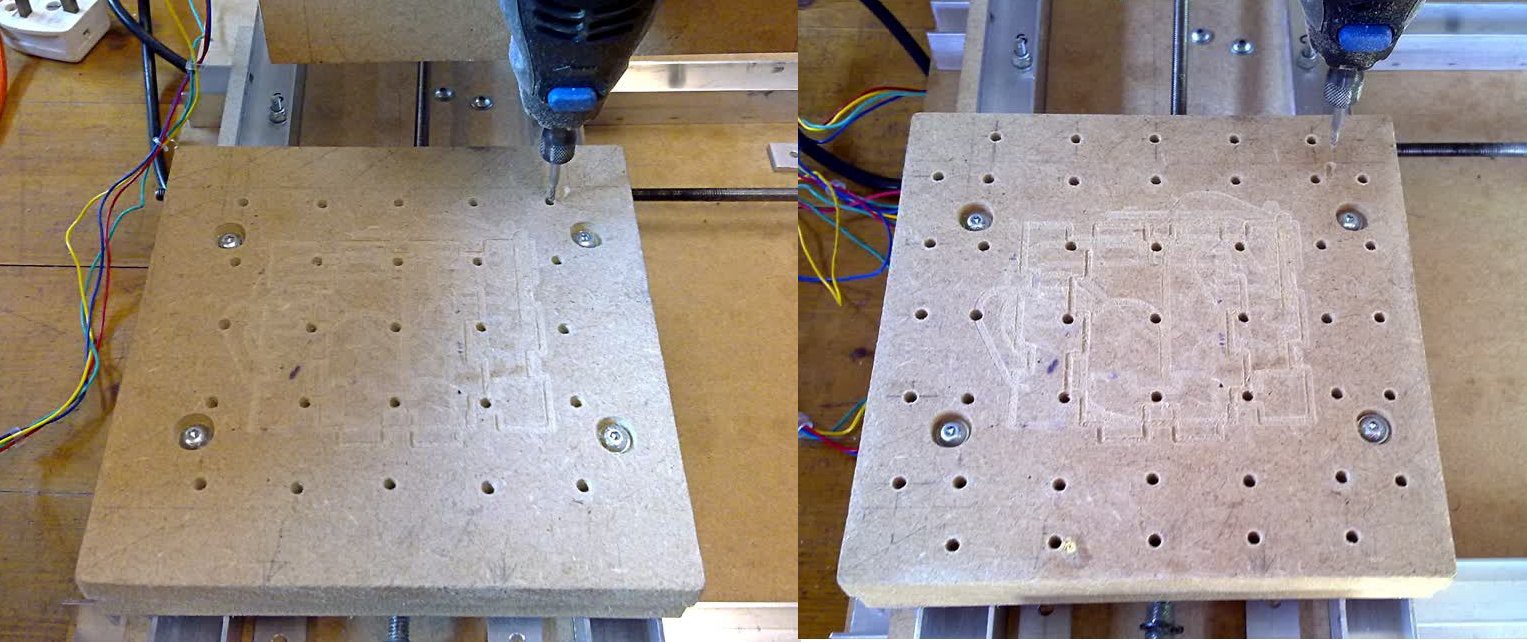
09/09/2016 at 11:38 • 0 commentsIt has been a while since I put anything here. Some time back I drilled and tapped some more hold-down points into the spoil-plate (M4). These have made it easier to clamp larger bits of material. The holes nearer the edge are much more useful than those in the middle.
![]()
-
Tabbed Enclosure
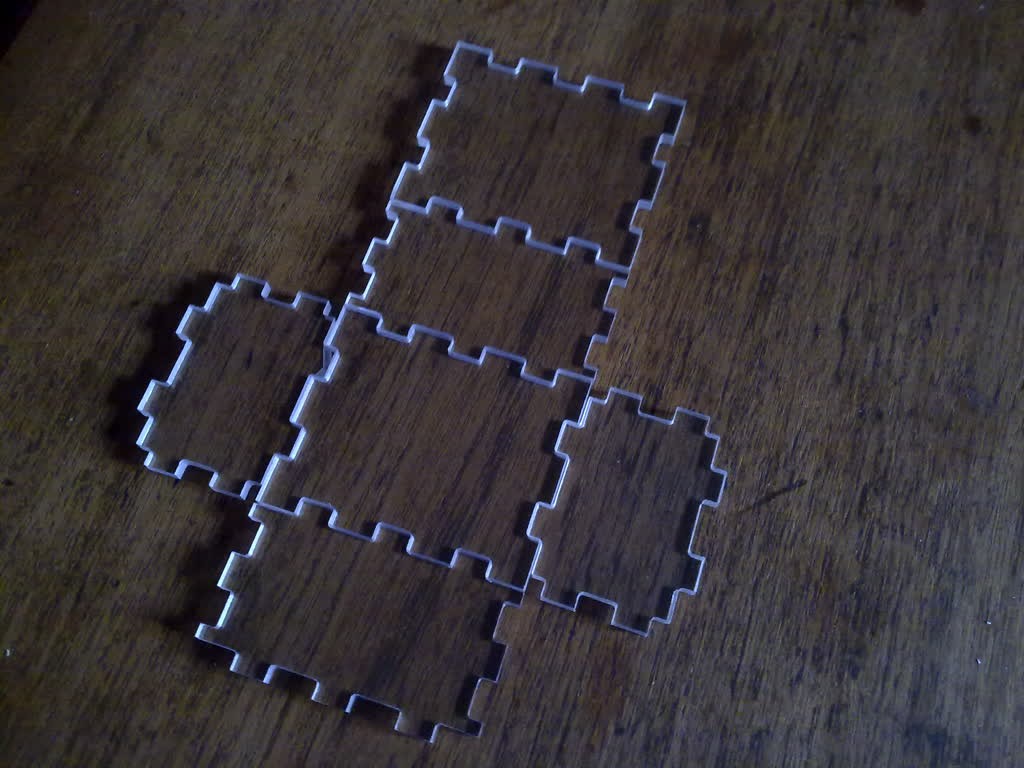
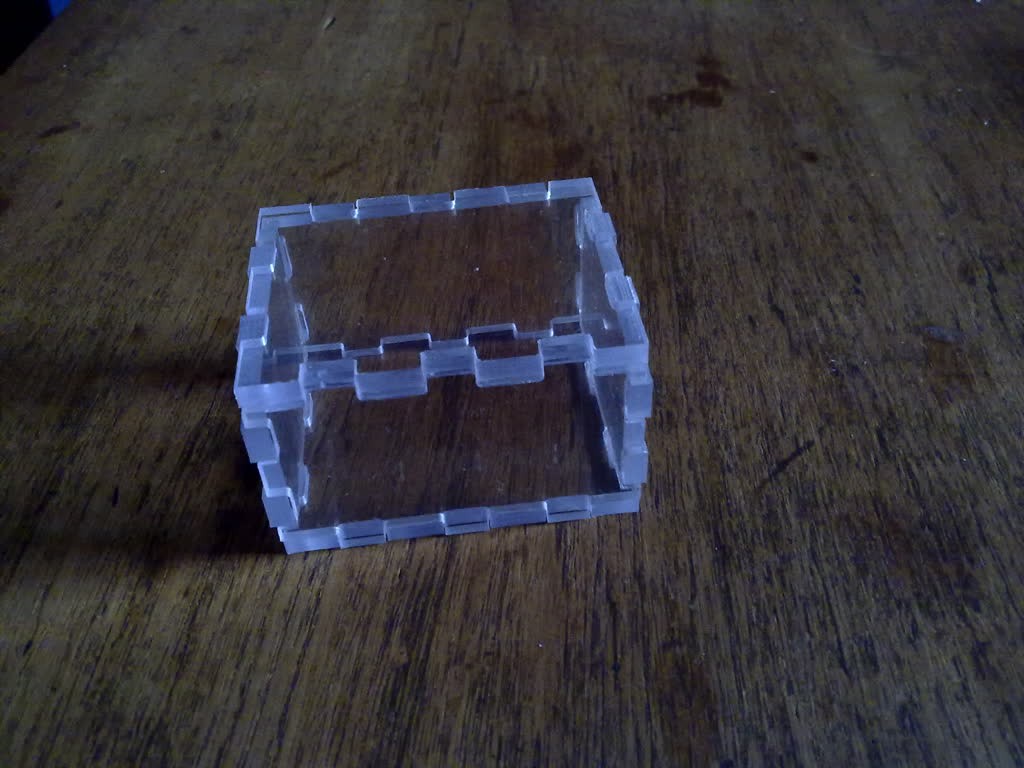
03/17/2016 at 23:04 • 0 commentsI'd like the ability to make bespoke enclosures for my circuits, etc. Using the Tabbed Box Maker extension for Inkscape, I've milled this box for an Arduino Uno and shield. I haven't glued it yet though. It is all just balancing there and looks slacker than it really is. I need to cut some holes for I/O, power, etc. while it is still a flat-pack.
![]()
![]()
Cutting these joints with the material flat on the bed produces inside corners that can be no sharper than the diameter of the cutter. I was interested to see how much of a problem that was in practice. I'm pleasantly surprised. I might sharpen the corners with a file or I might not bother. There might be a better way here: Perfect Box Joints - on a Small CNC
It took ages to mill the 6 sides so I'm not sure if this is a realistic way to make bespoke enclosures. I'm very pleased with the first prototype though.
Hackaday Article: http://hackaday.com/2012/07/26/box-maker-extension-for-inkscape/
-
Letter A
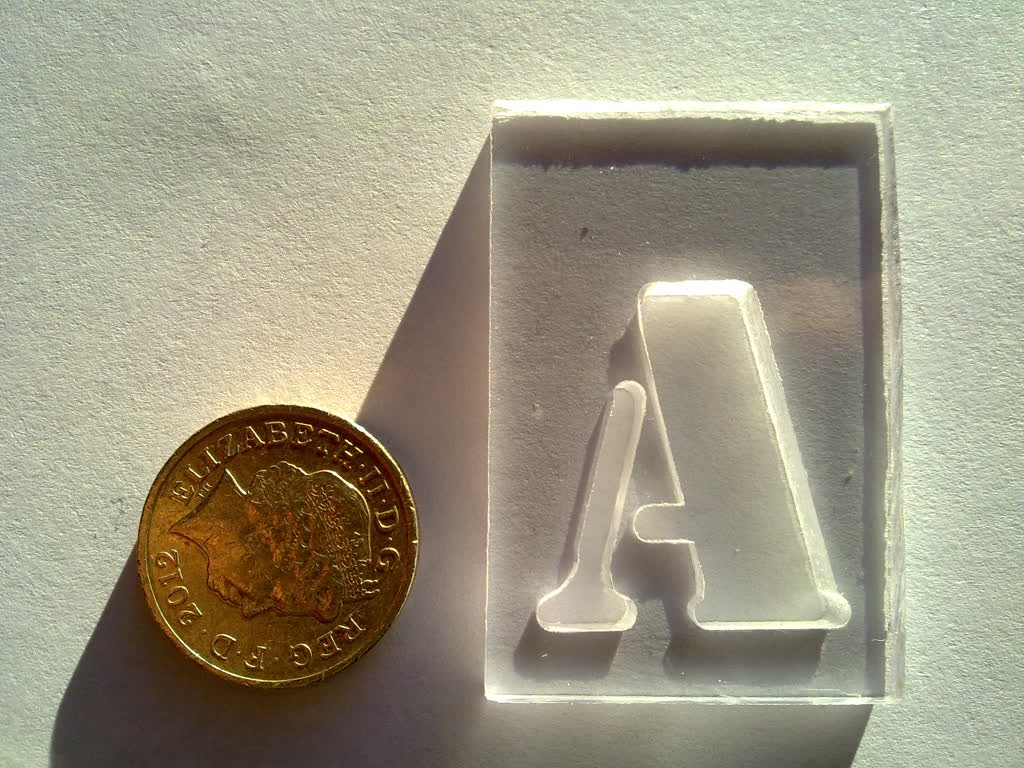
11/26/2015 at 10:16 • 0 commentsI thought I'd try letter-cutting on a bit of scrap polycarbonate. In case it isn't clear, this is a full-depth cut.
![]()
-
Made a Shower-Screen Hook
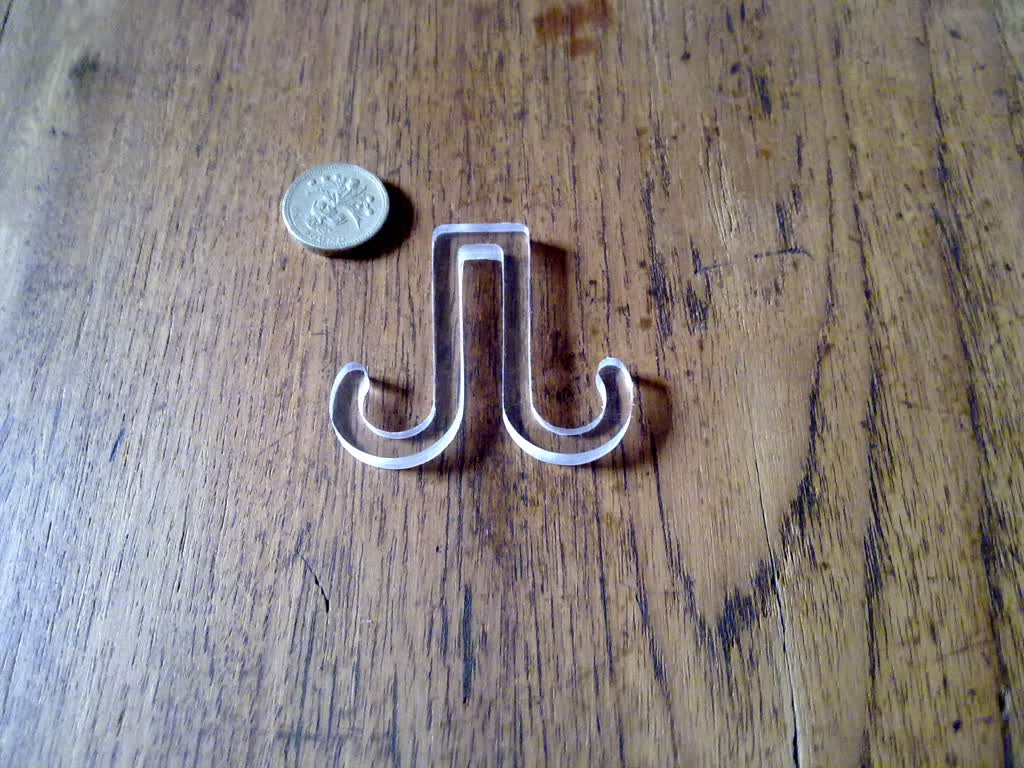
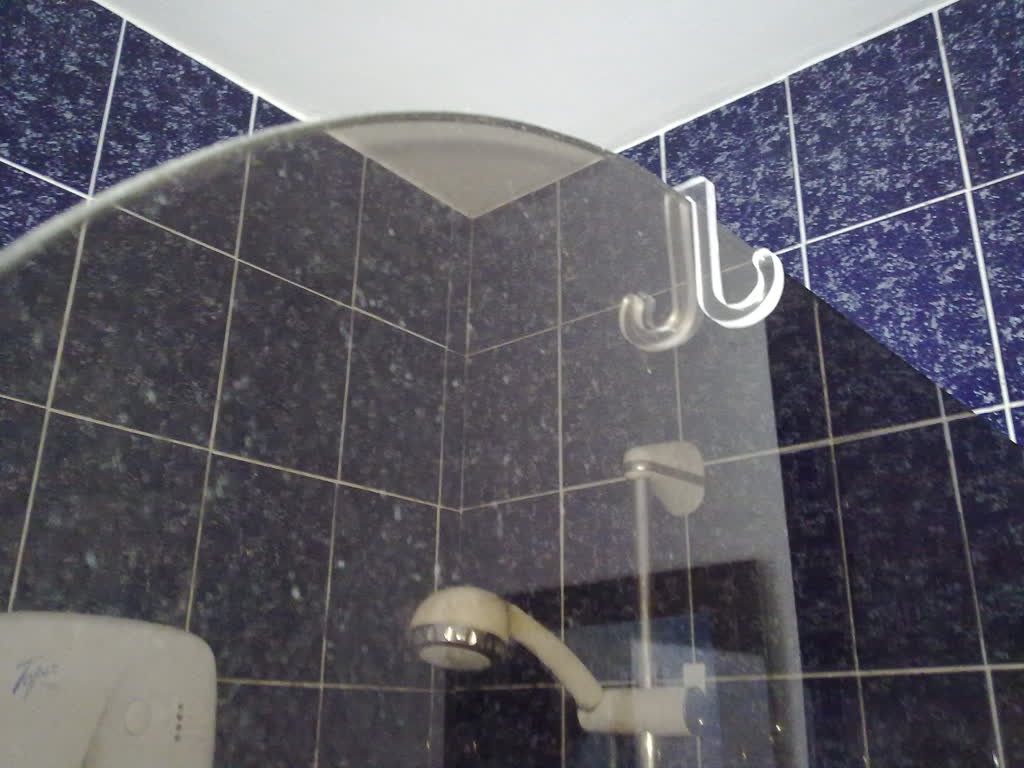
11/25/2015 at 23:02 • 0 commentsI made this hook a while back too. (There is a theme developing here.) This one is for hanging wet gear on the shower-screen to drip dry.
![]()
![]()
Desktop CNC Mill
A small CNC mill using a Dremel and as much stuff as possible from the local hardware store.
