Adam Curtis
-
The final adapter plate
03/08/2016 at 03:27 • 0 commentsI used the CNC mill to machine the adapter plate today. Everything went smoothly but I forgot to take a picture of the final piece. I did take a cool time lapse of the final frame milling operation.
We don't have the coolant system hooked up yet so it's manual for this one.
-
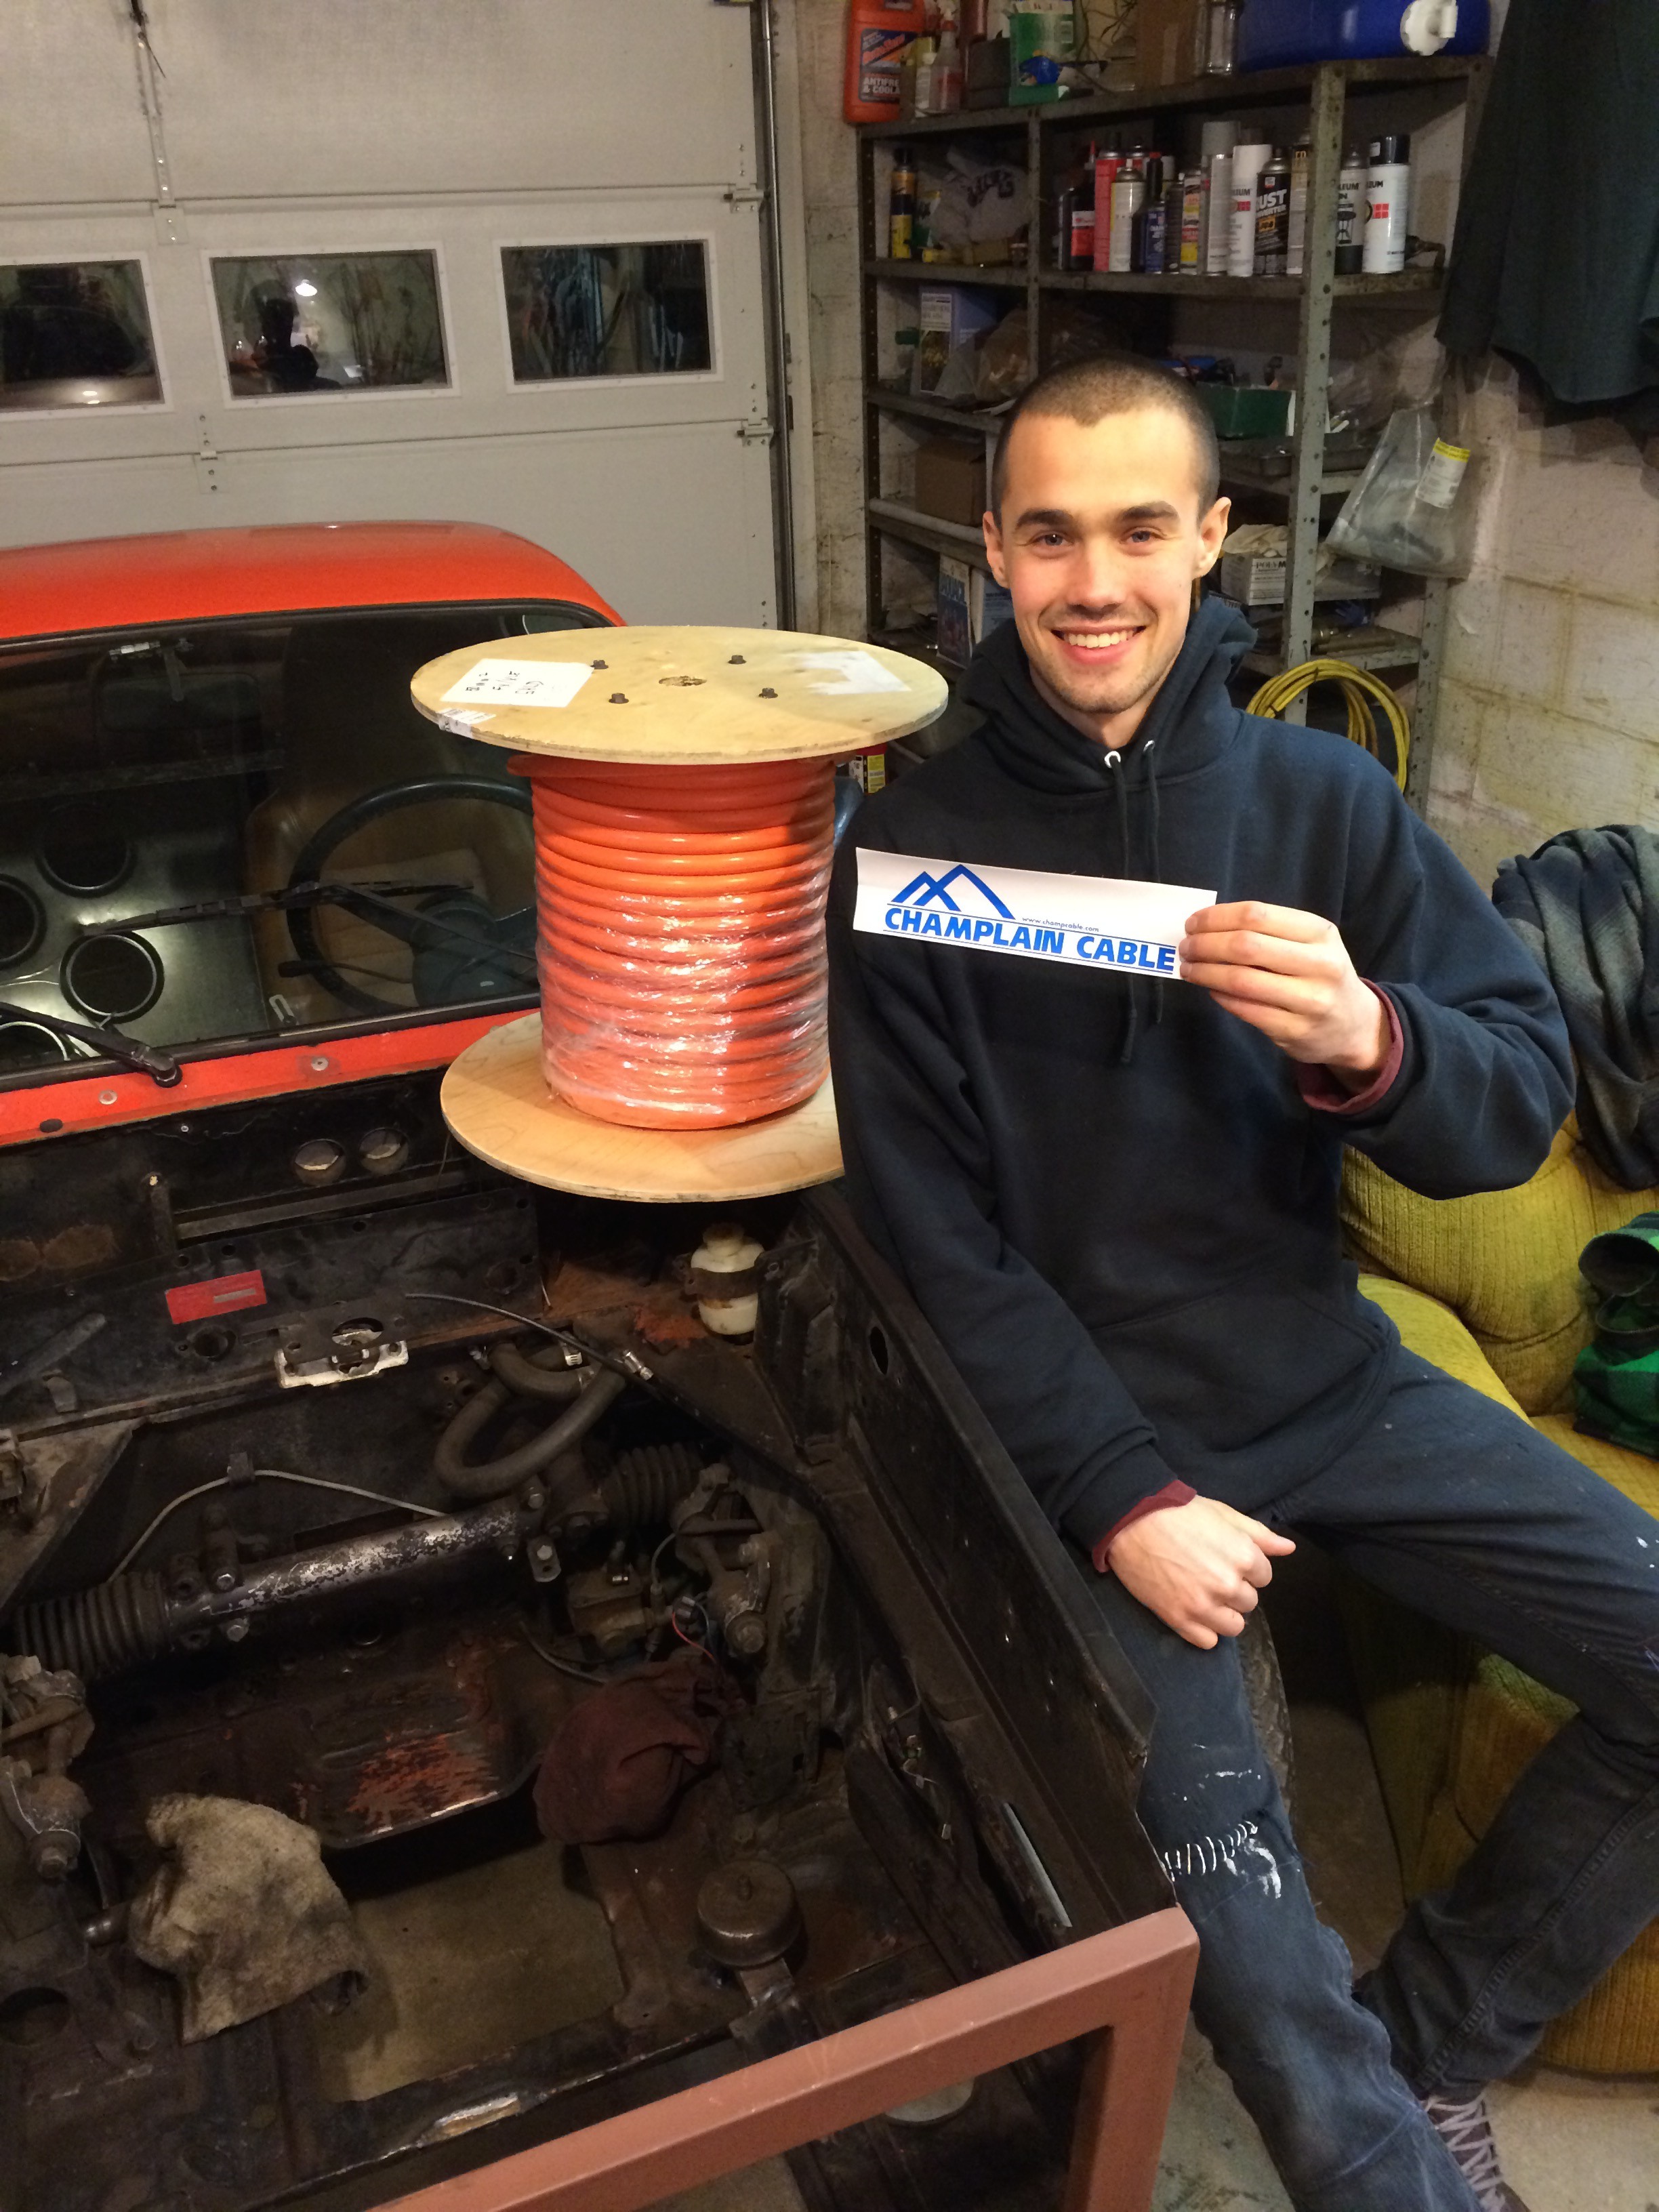
Thank you Champlain Cable
02/10/2016 at 03:10 • 0 comments![]()
In this post I would like to extend a very heartfelt thank you to Dave Dexter at Champlain Cable for generously supporting the Electric Sonett project.
After studying all of the high voltage power cables that are available for electric vehicles, I determined that Champlain Cable provides the highest quality product around. I called Dave Dexter and told him about my Electric Sonett project and what I thought about his company's product. After discussing possibilities, Mr. Dexter generously offered to sponsor the project.
Thank you so much, you have helped make this project a reality.
-
New Steel
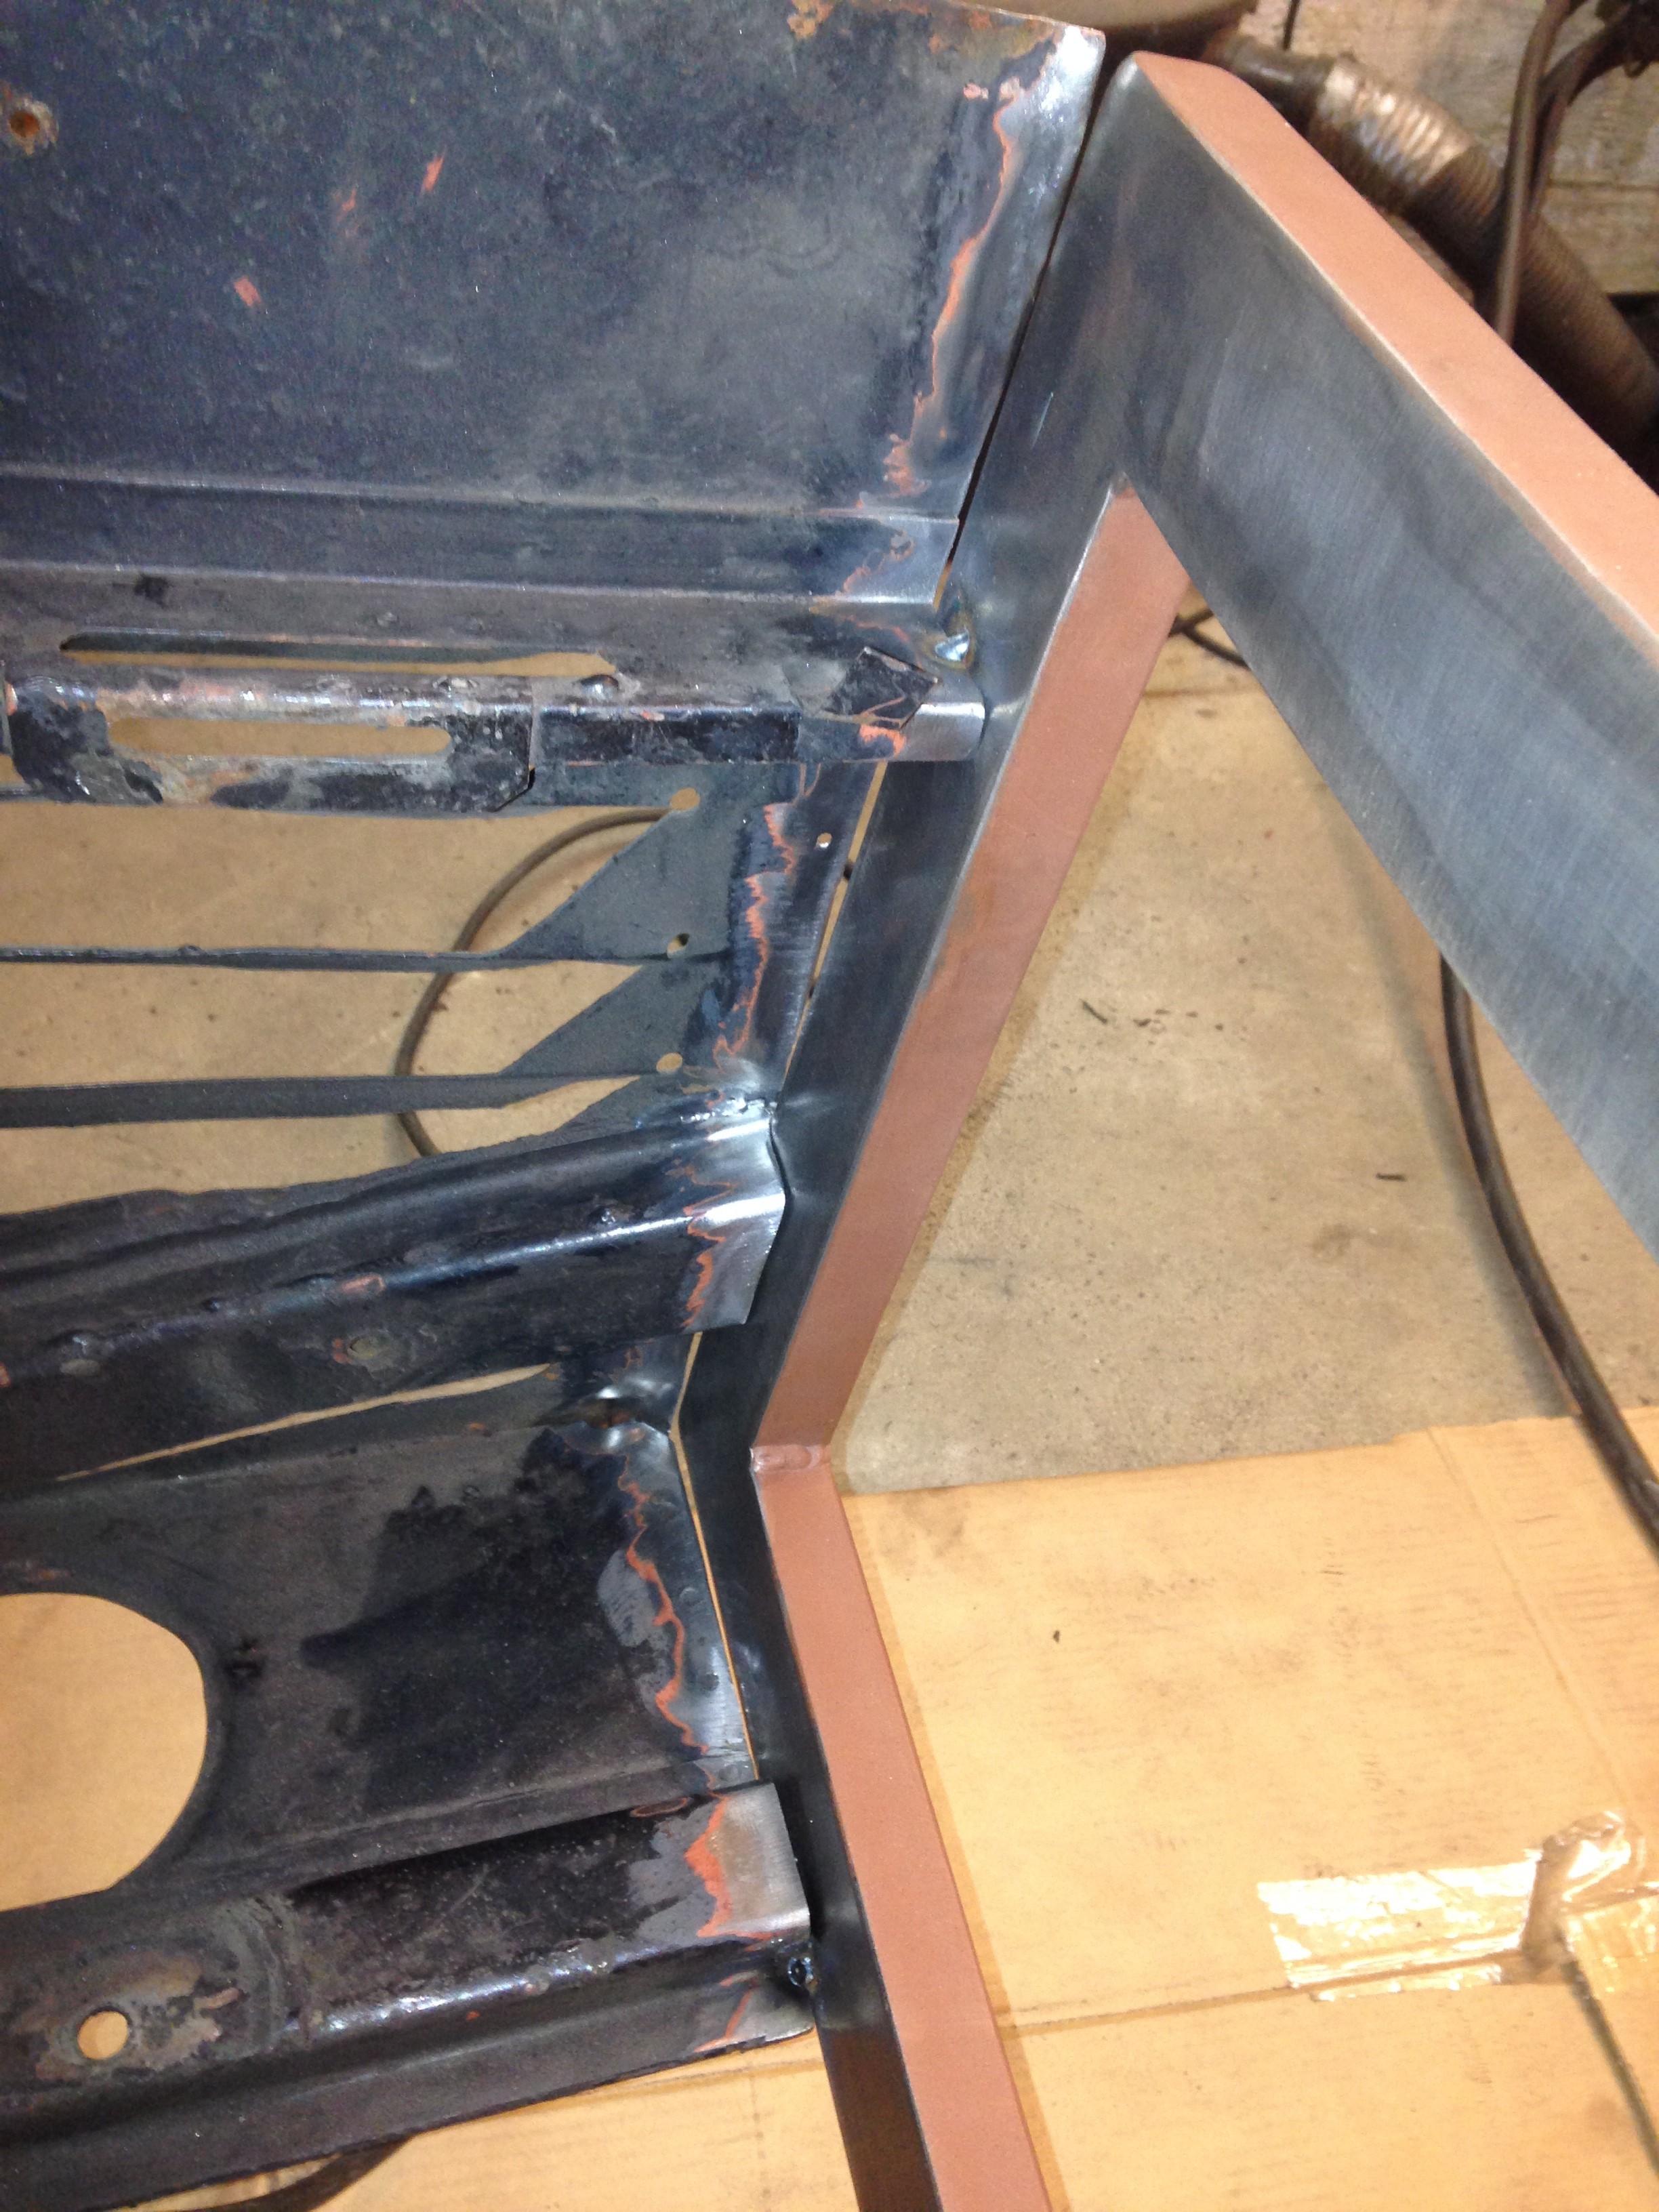
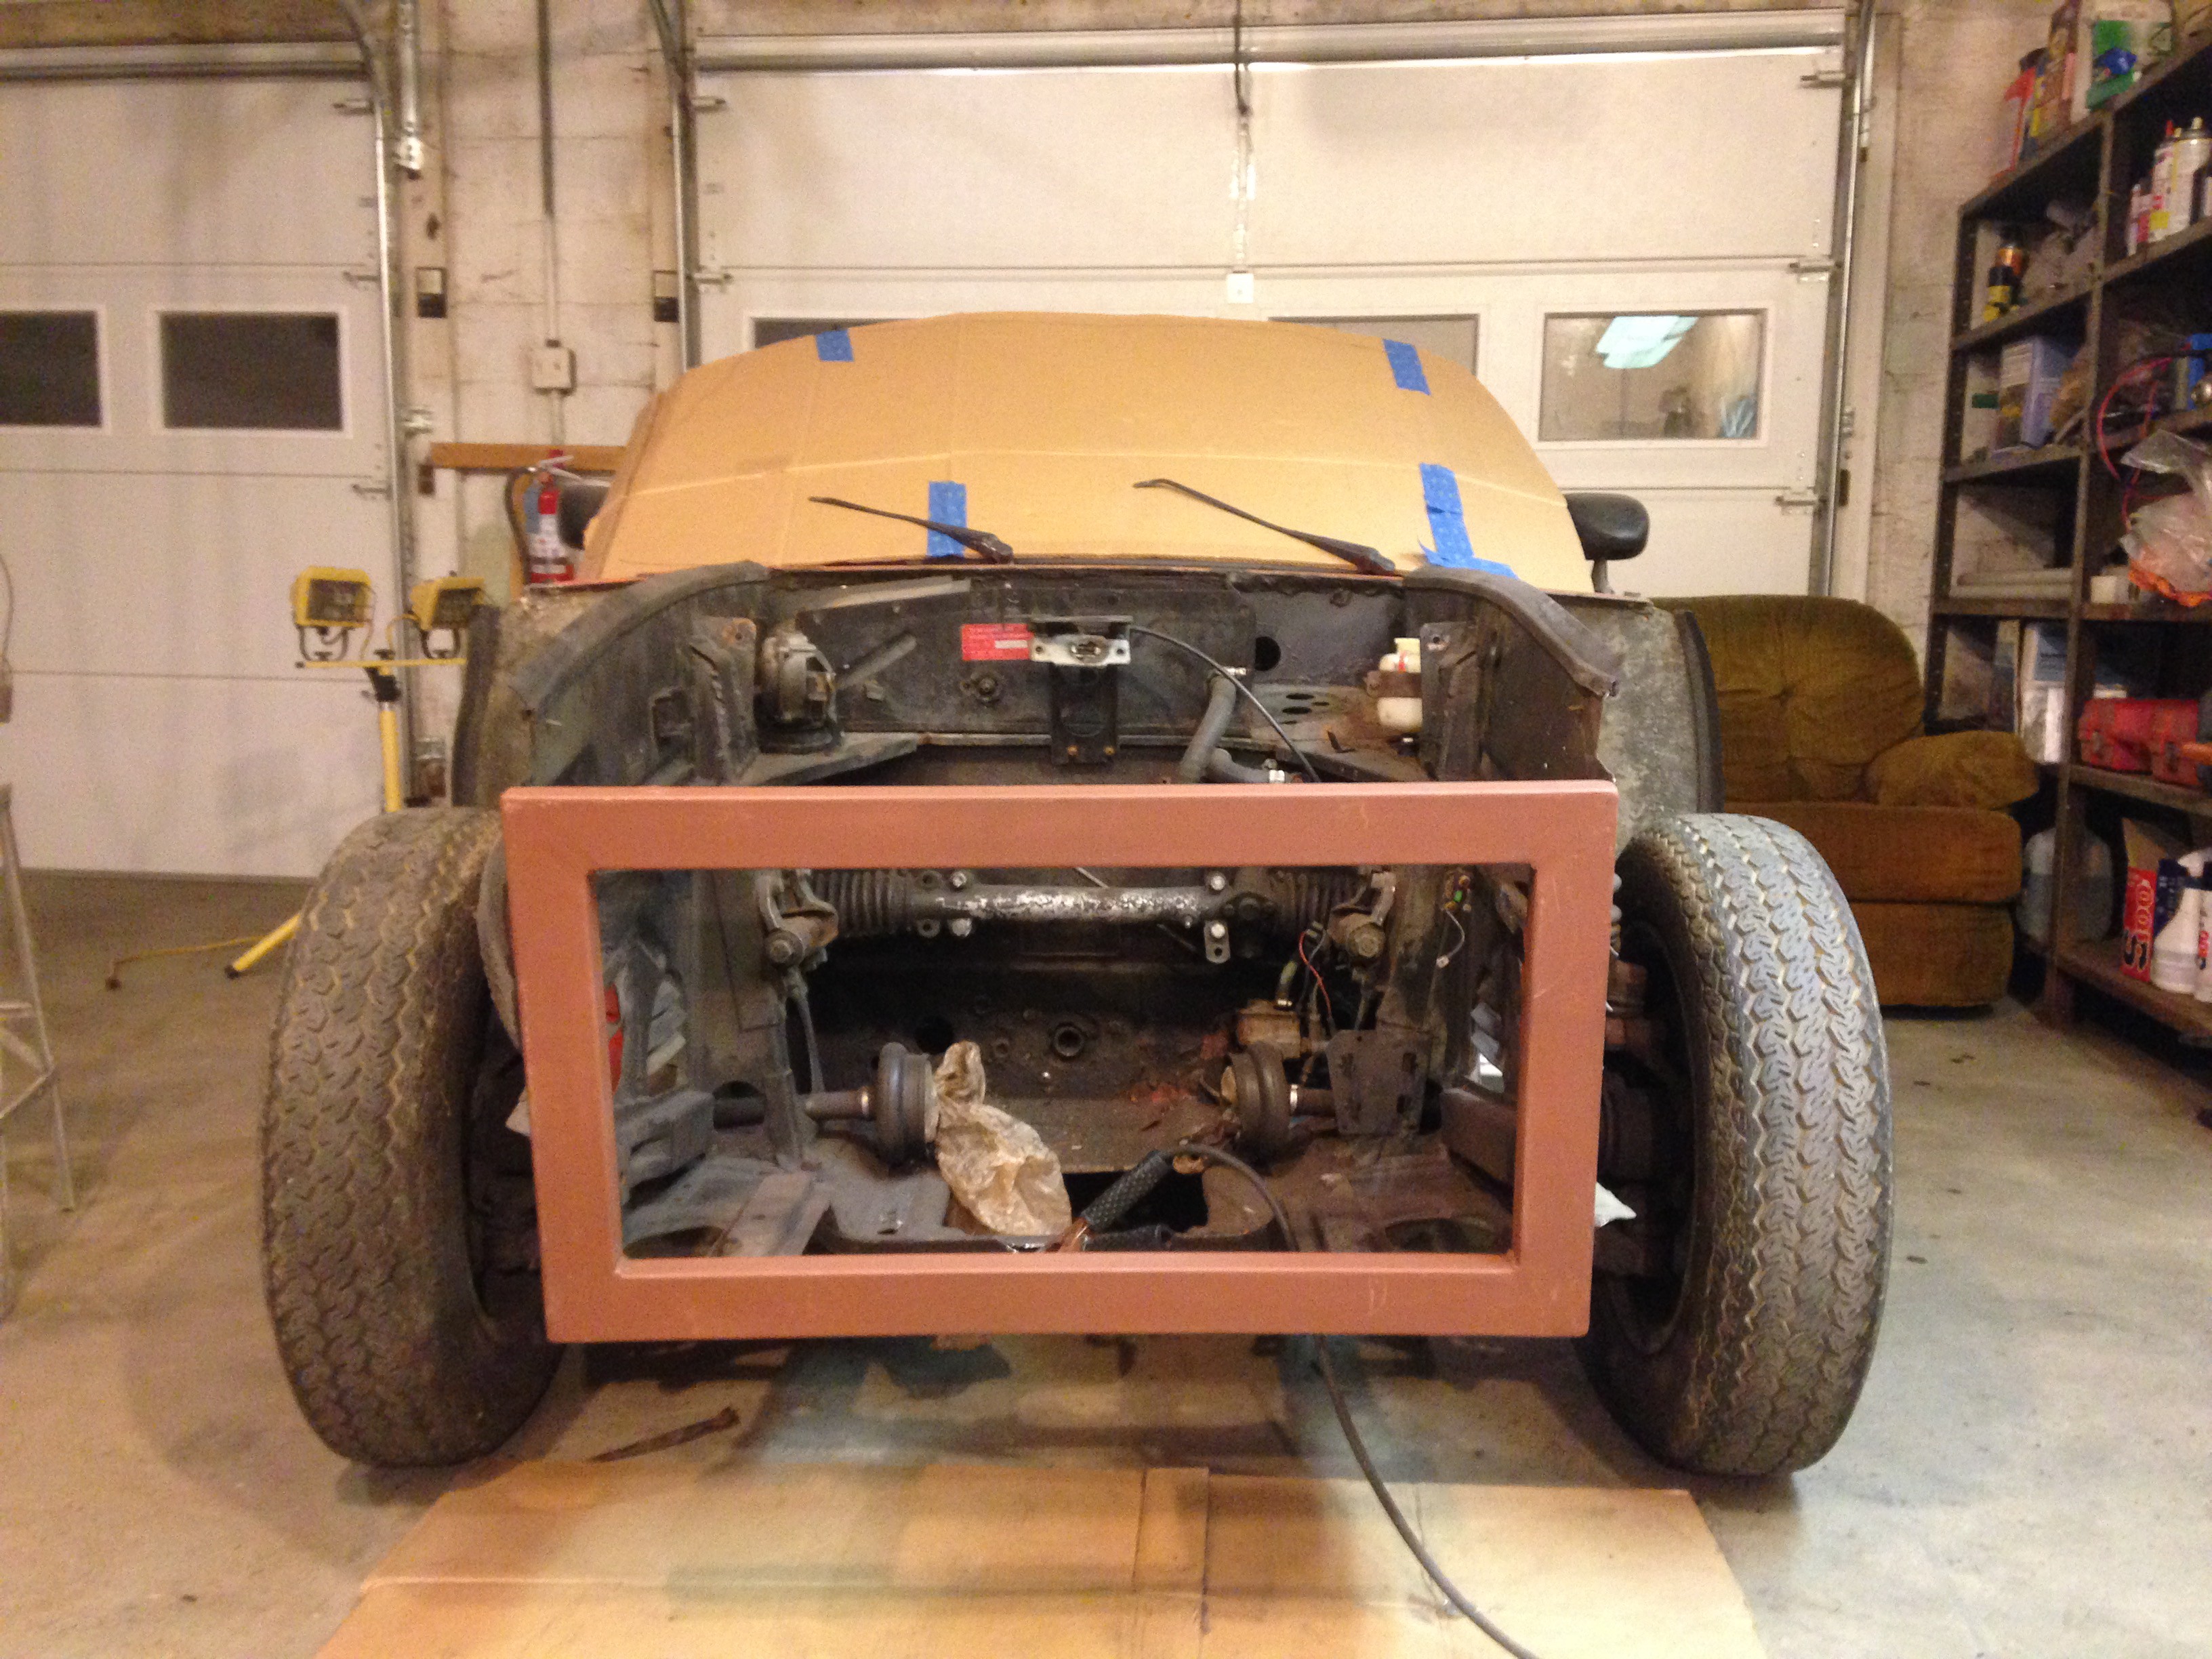
01/11/2016 at 02:14 • 0 commentsI was tired of looking at the bent up front end of the Sonett. It was in a crash and evidence keeps popping up though out the steel and fiberglass. I can't fix it all, but I can give it a new front rectangle. I welded up a new one out of rectangle stock, cut out all the bent metal, jacked, winched and jumped on the stuff that was not quite right and welded in my new front. It looks way better, plus it's super strong.
![]()
The bent up front.
![]()
Cut out...
![]()
And replaced
![]()
You might notice that the bumper mounts are gone. True. That bumper was super ugly.
-
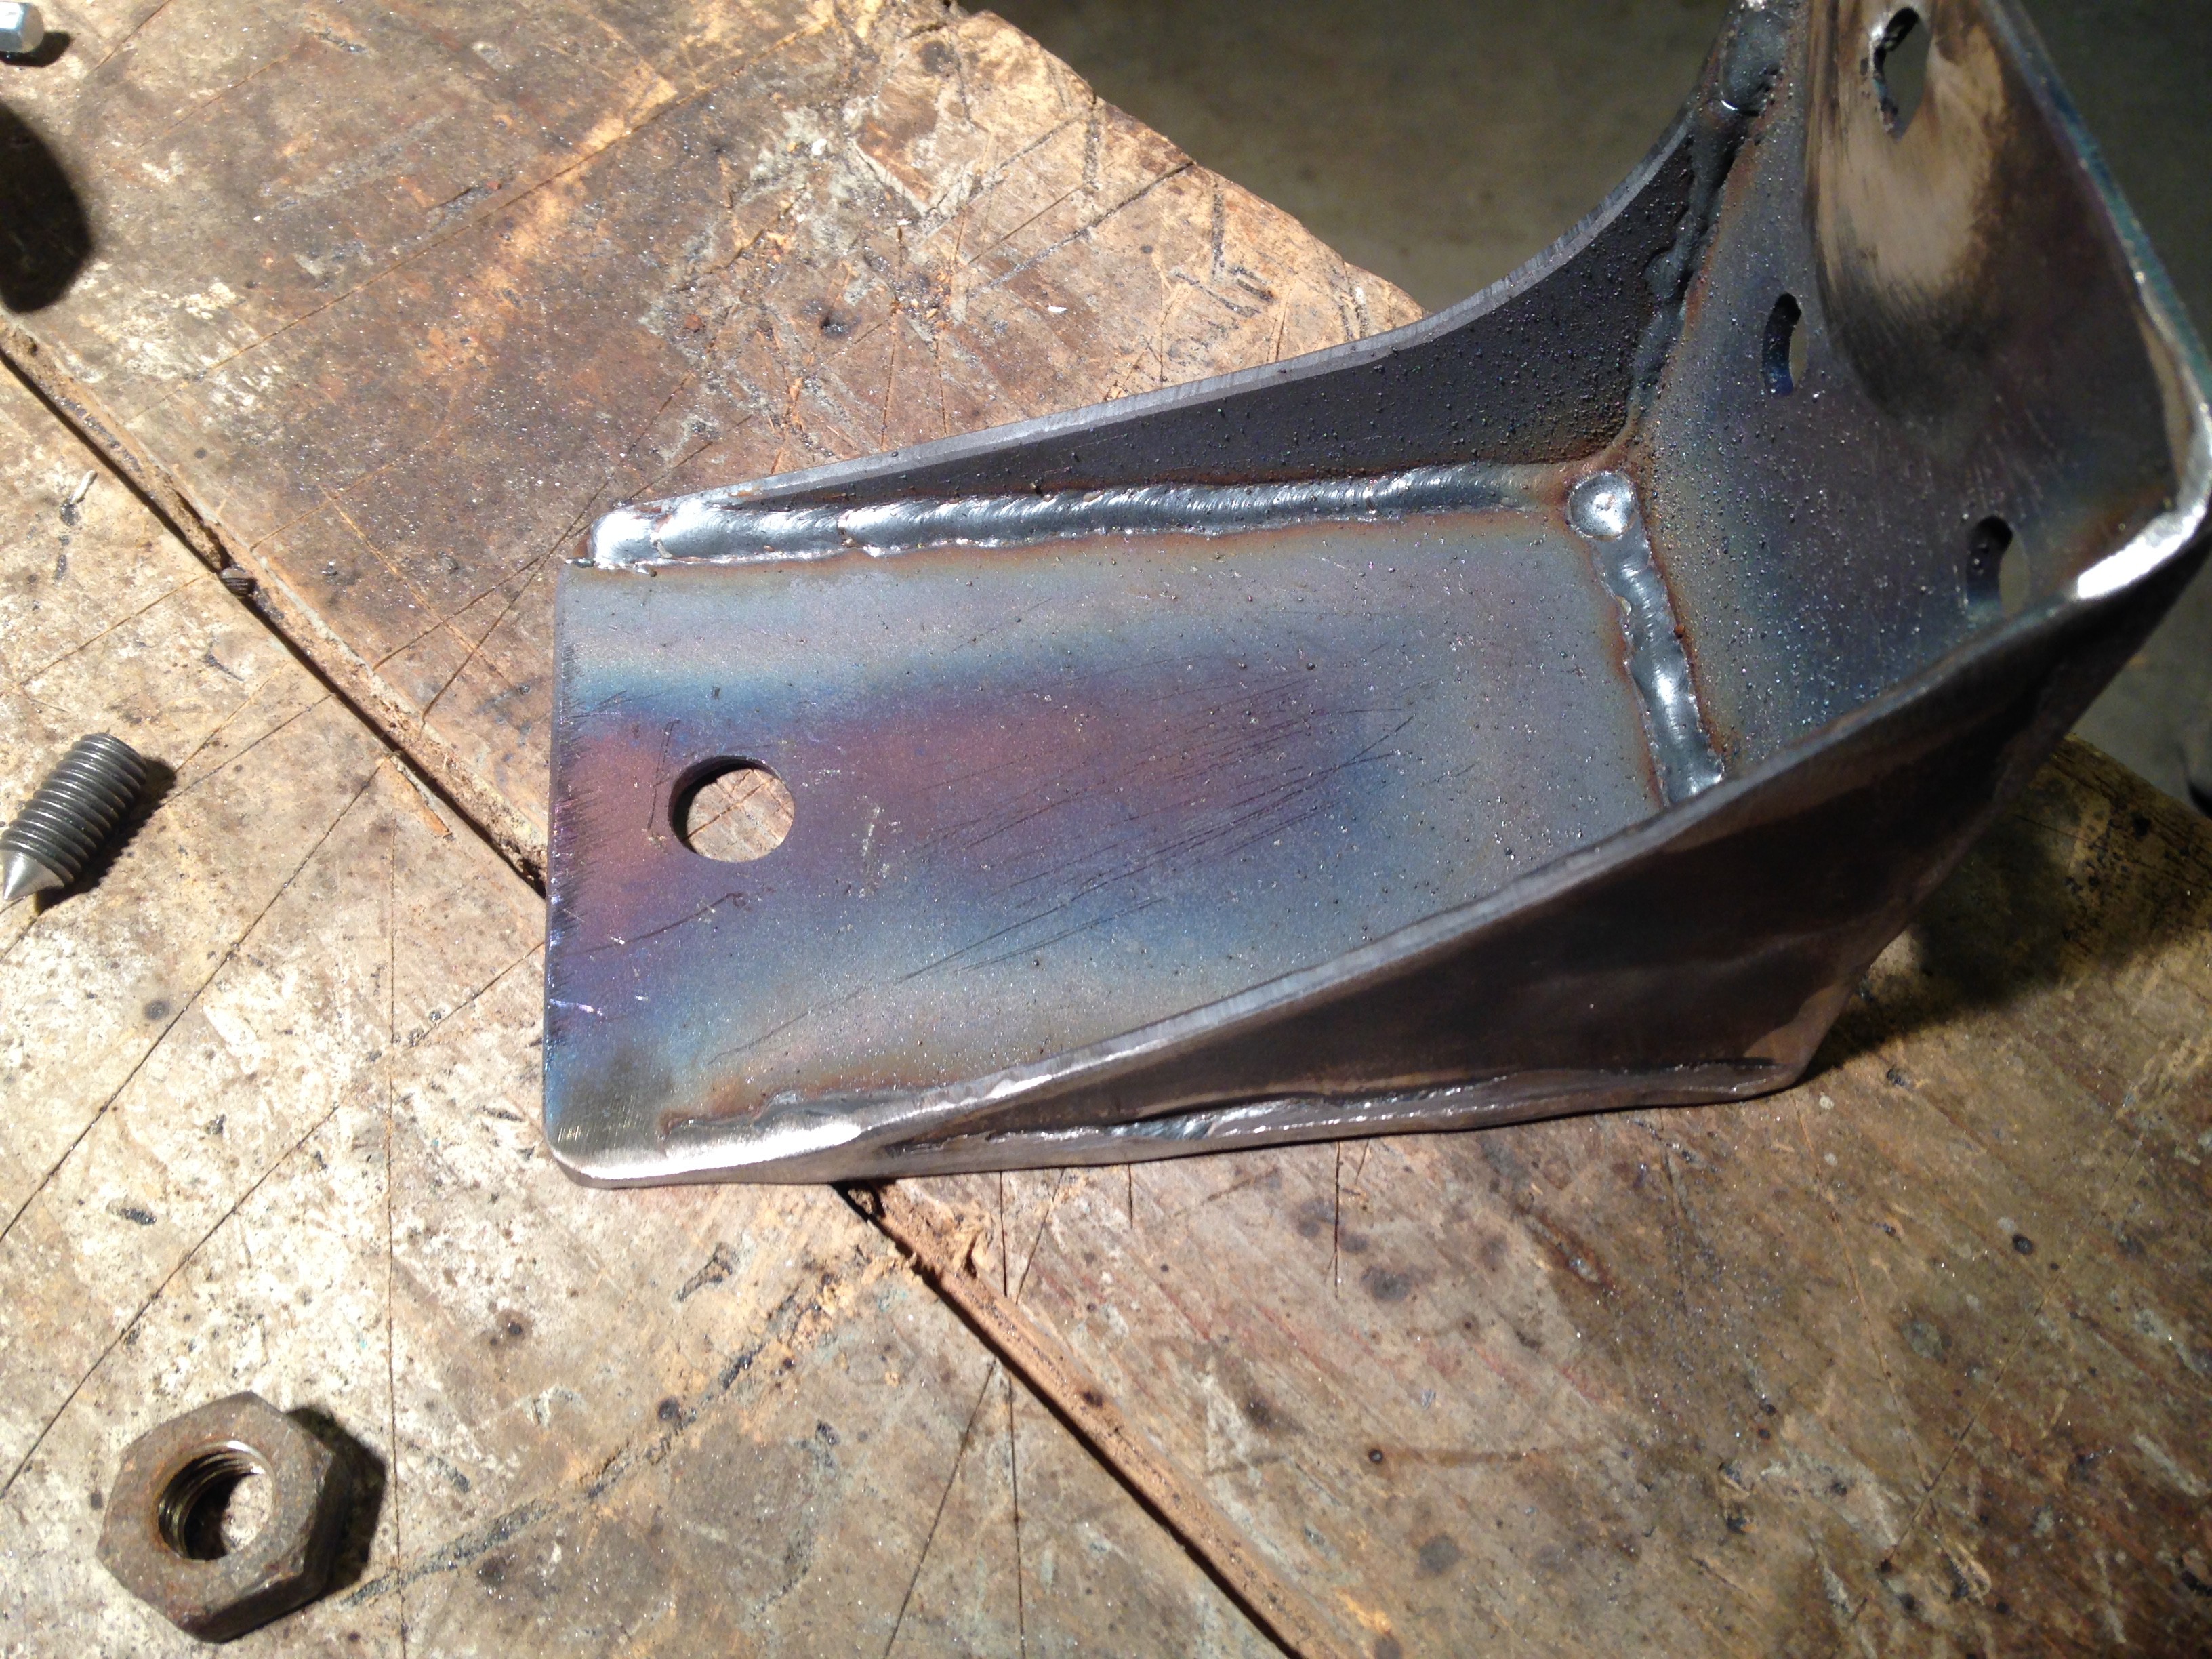
Motor Mounts
01/11/2016 at 01:36 • 0 commentsThe latest and greatest motor mount.
I have two motor mounts that each go through the original isolating rubber mounts. I was happy to have the opportunity to weld something that wasn't thin sheet.
These plates were cut with a CNC plasma cutter. It was nice to use the fancy equipment, but I think I could have gotten it cut out in less time with a bandsaw. I learned from this experience to bring more material than you really need. I had a lot of trouble with the plate shifting when the cutter touched off.
This mount bolts to the motor right next to the high voltage input, thus the curved side plates.
![]()
![]()
-
A Bunch of Pictures
12/31/2015 at 03:53 • 0 commentsI've been taking a bunch of photos throughout the process of this project. Here they are.
Also, here are a couple short videos from the past few days.
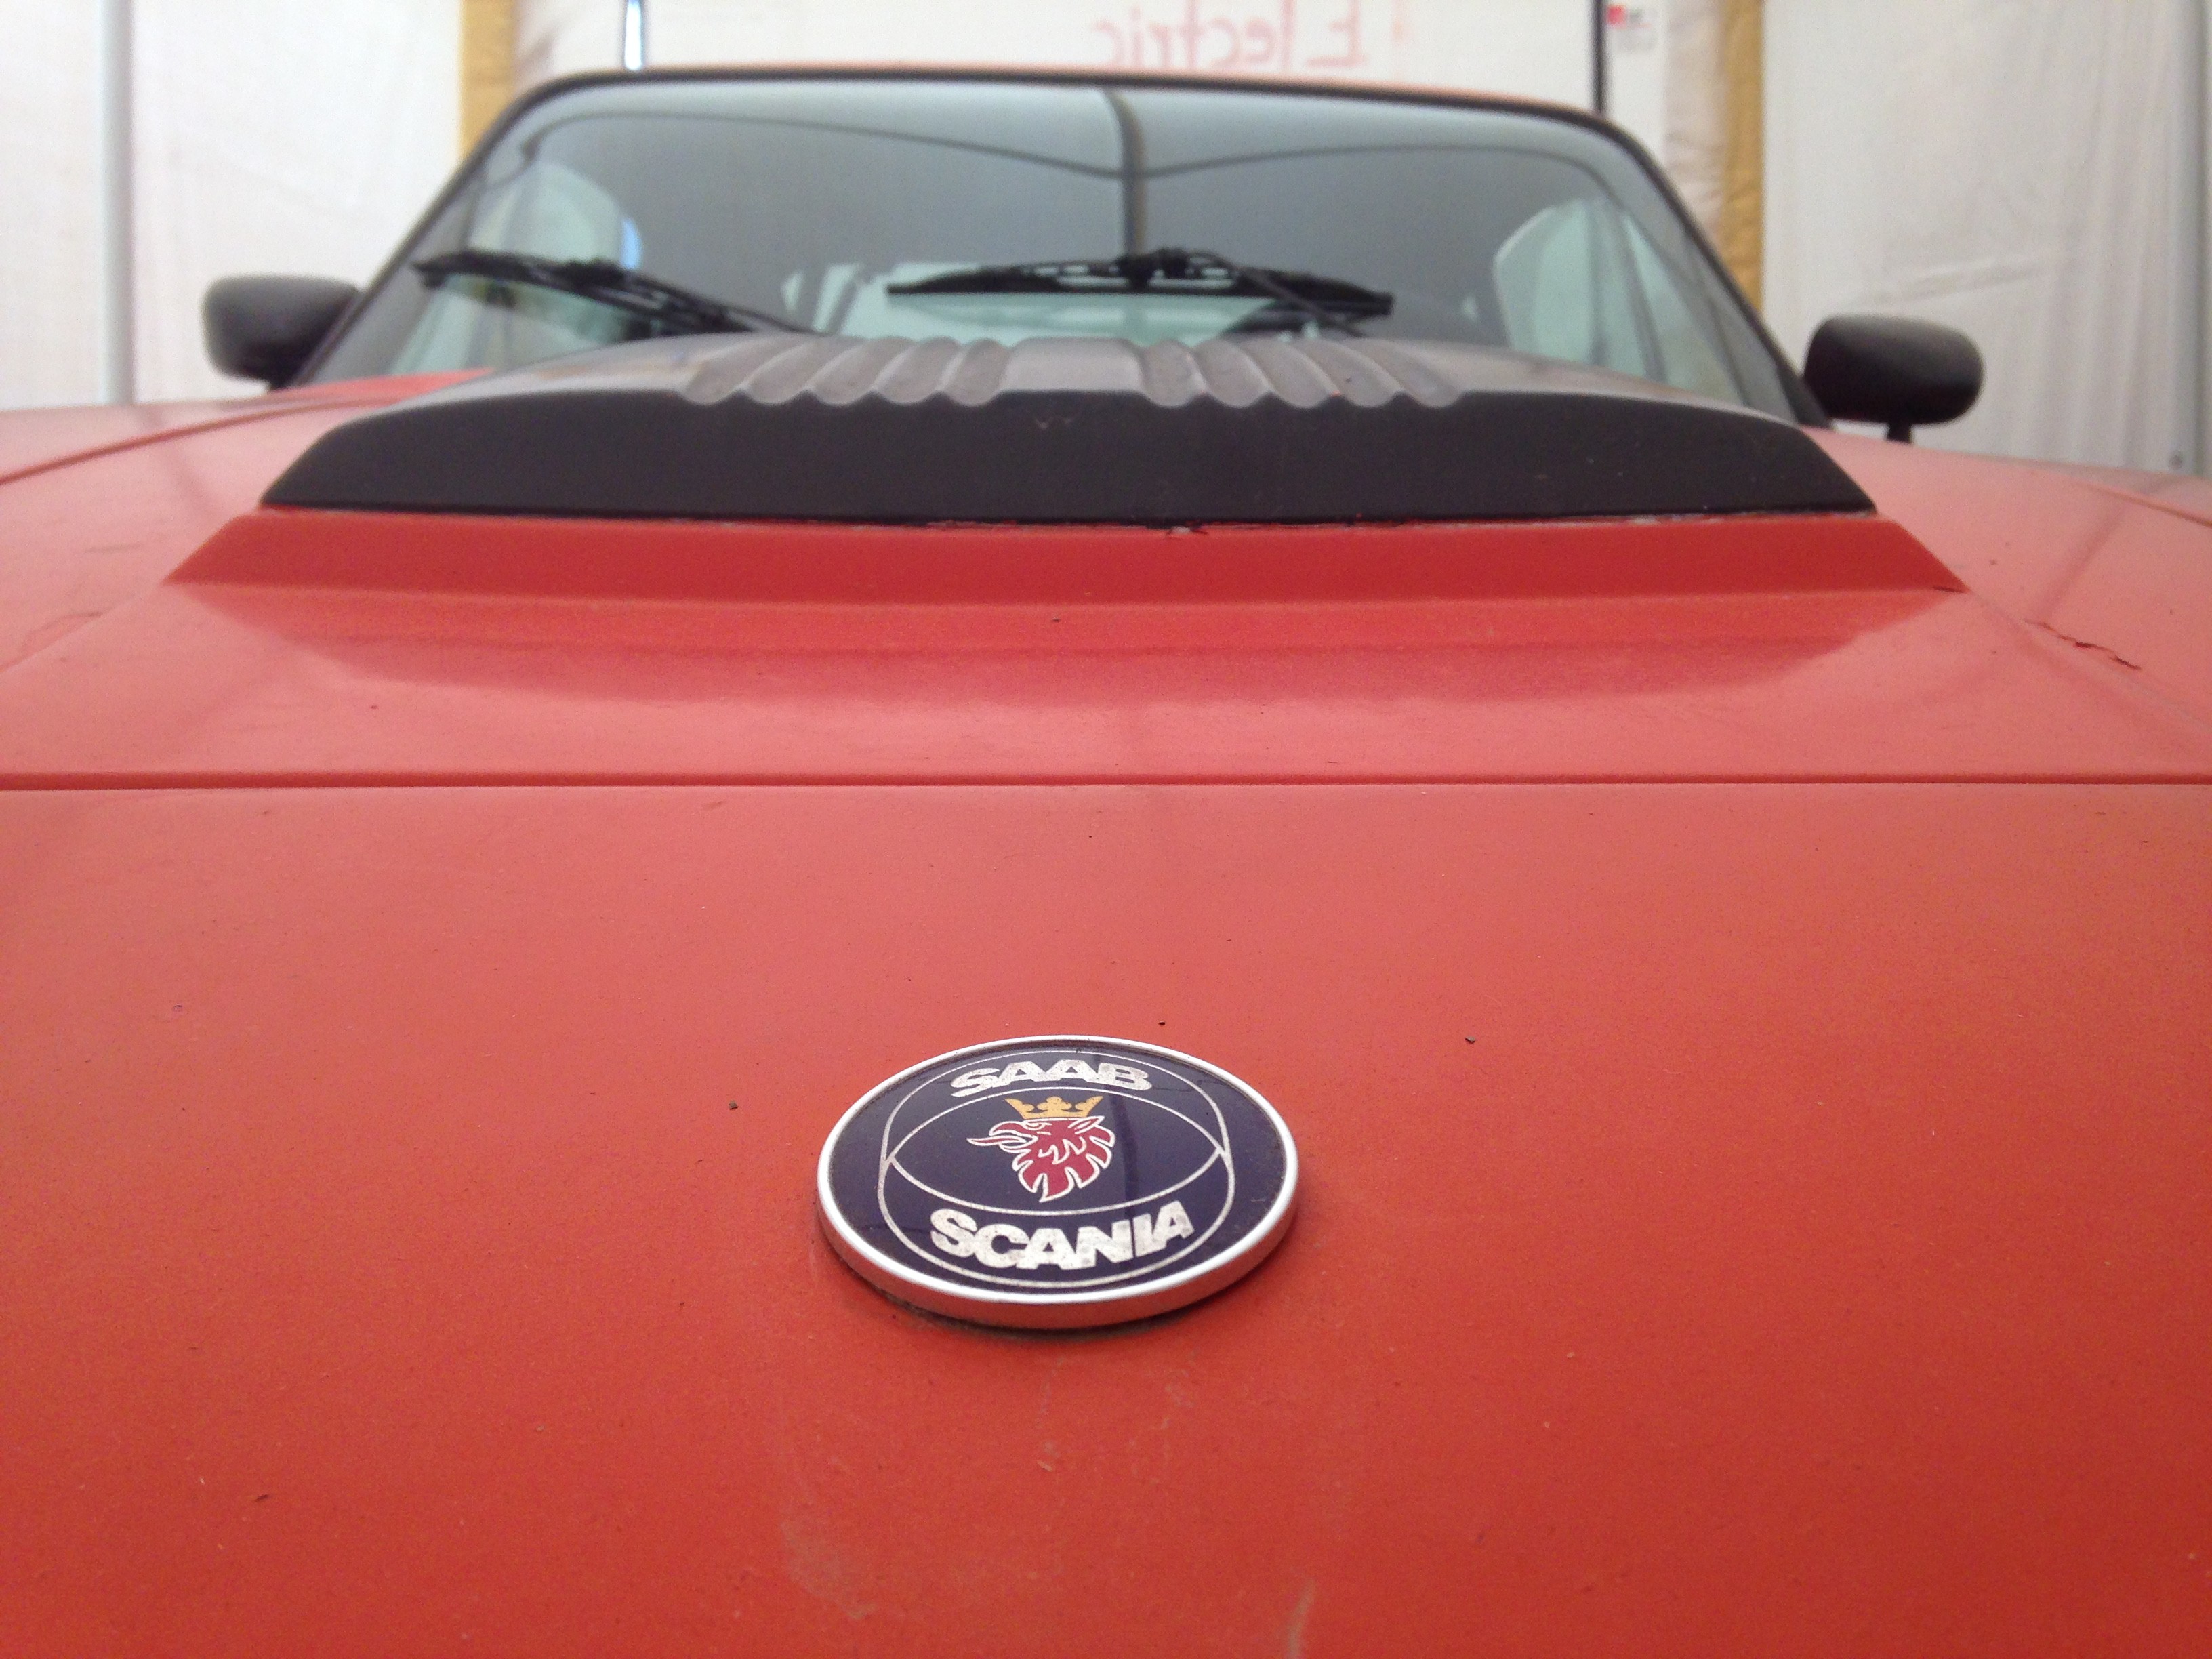
![]()
What a hot car...
![]()
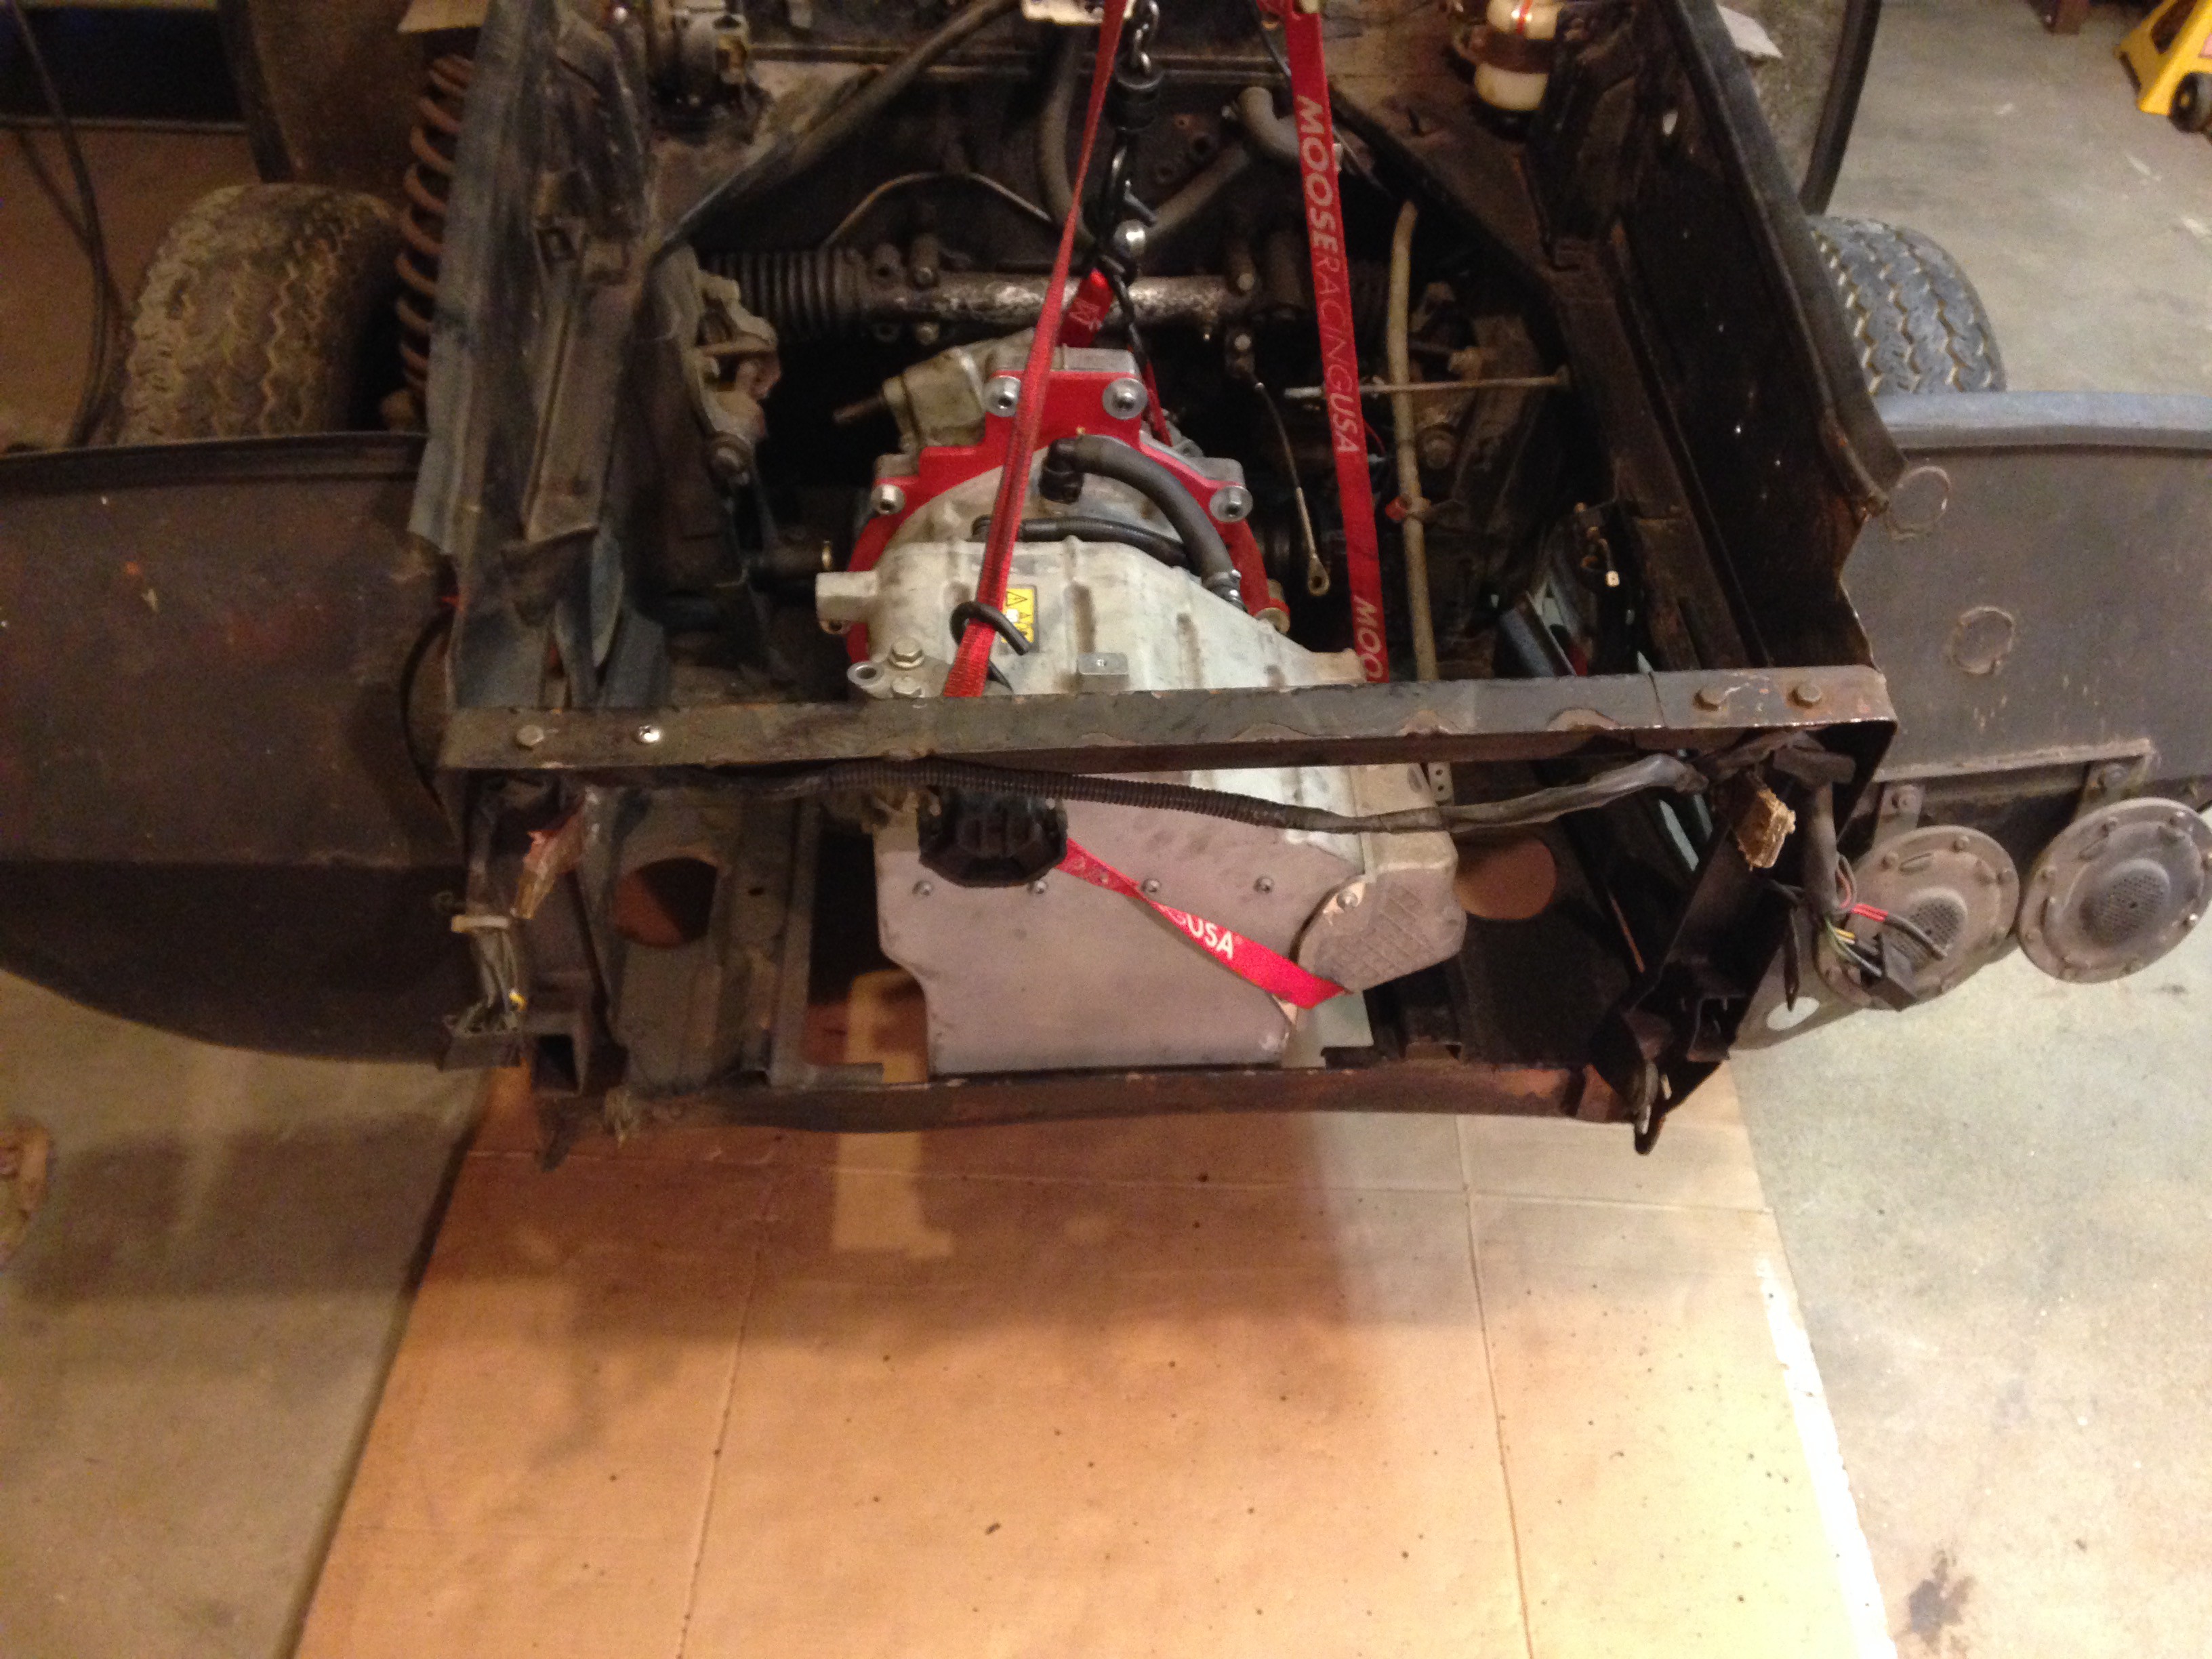
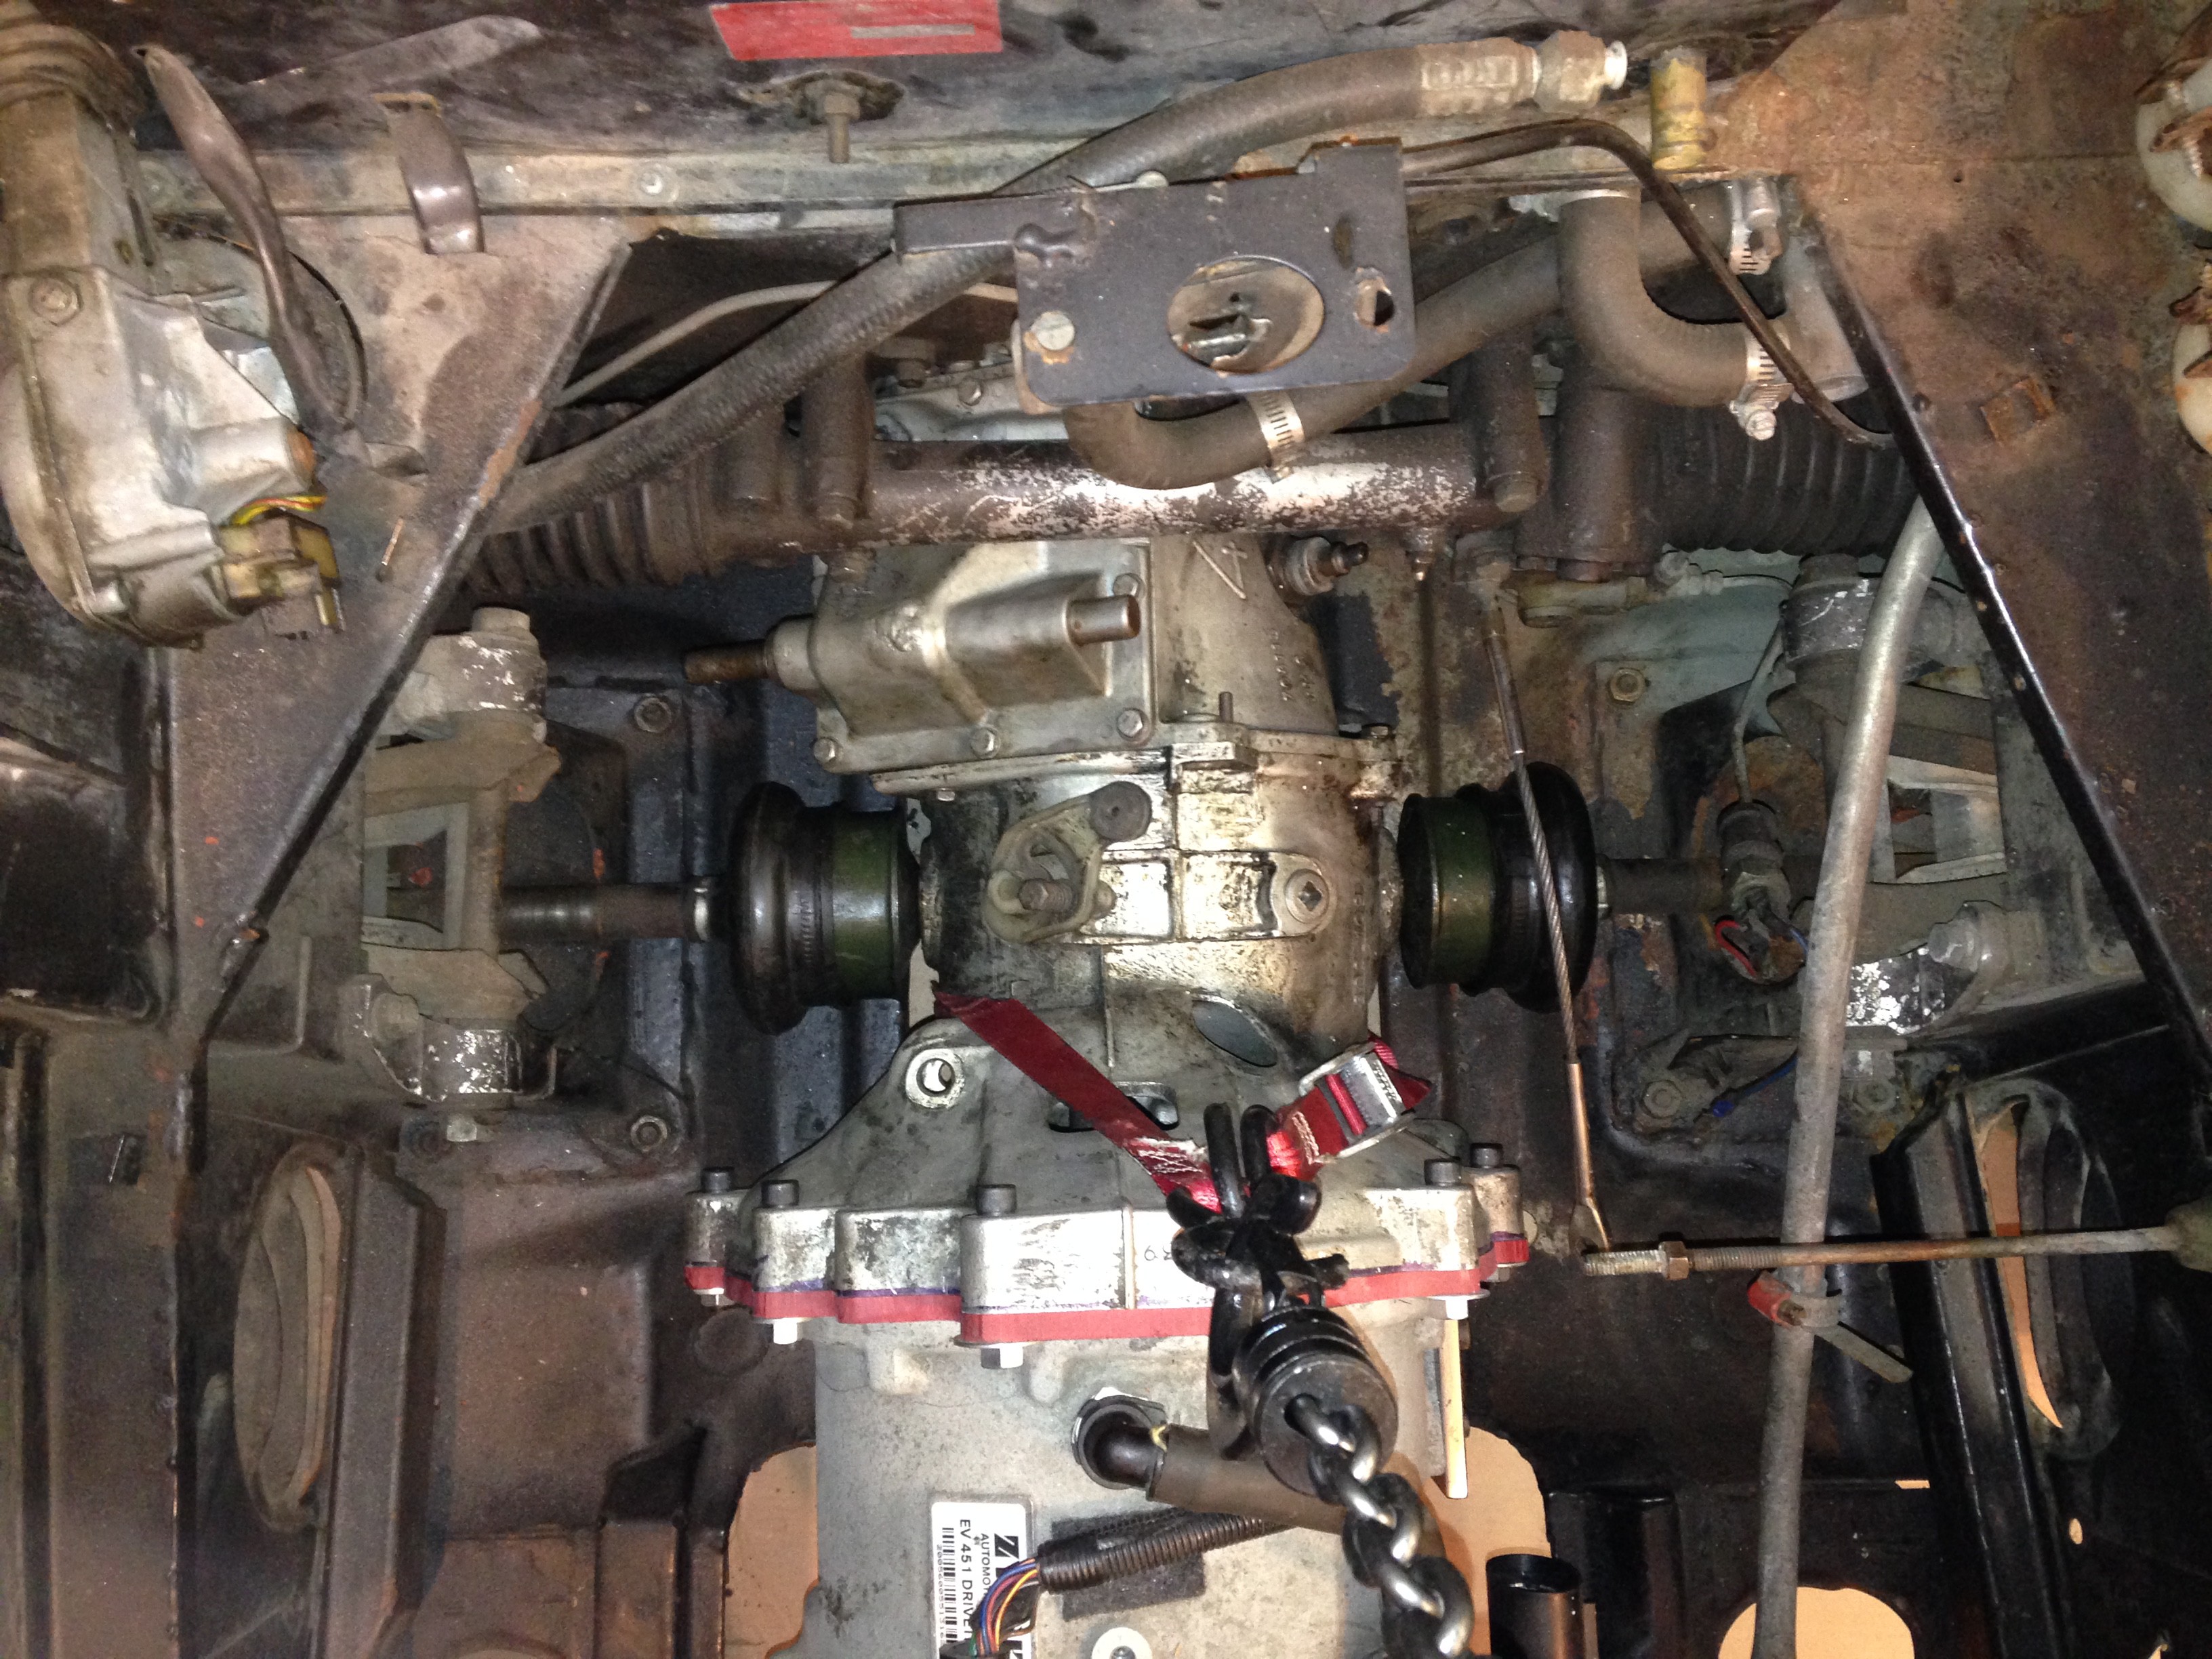
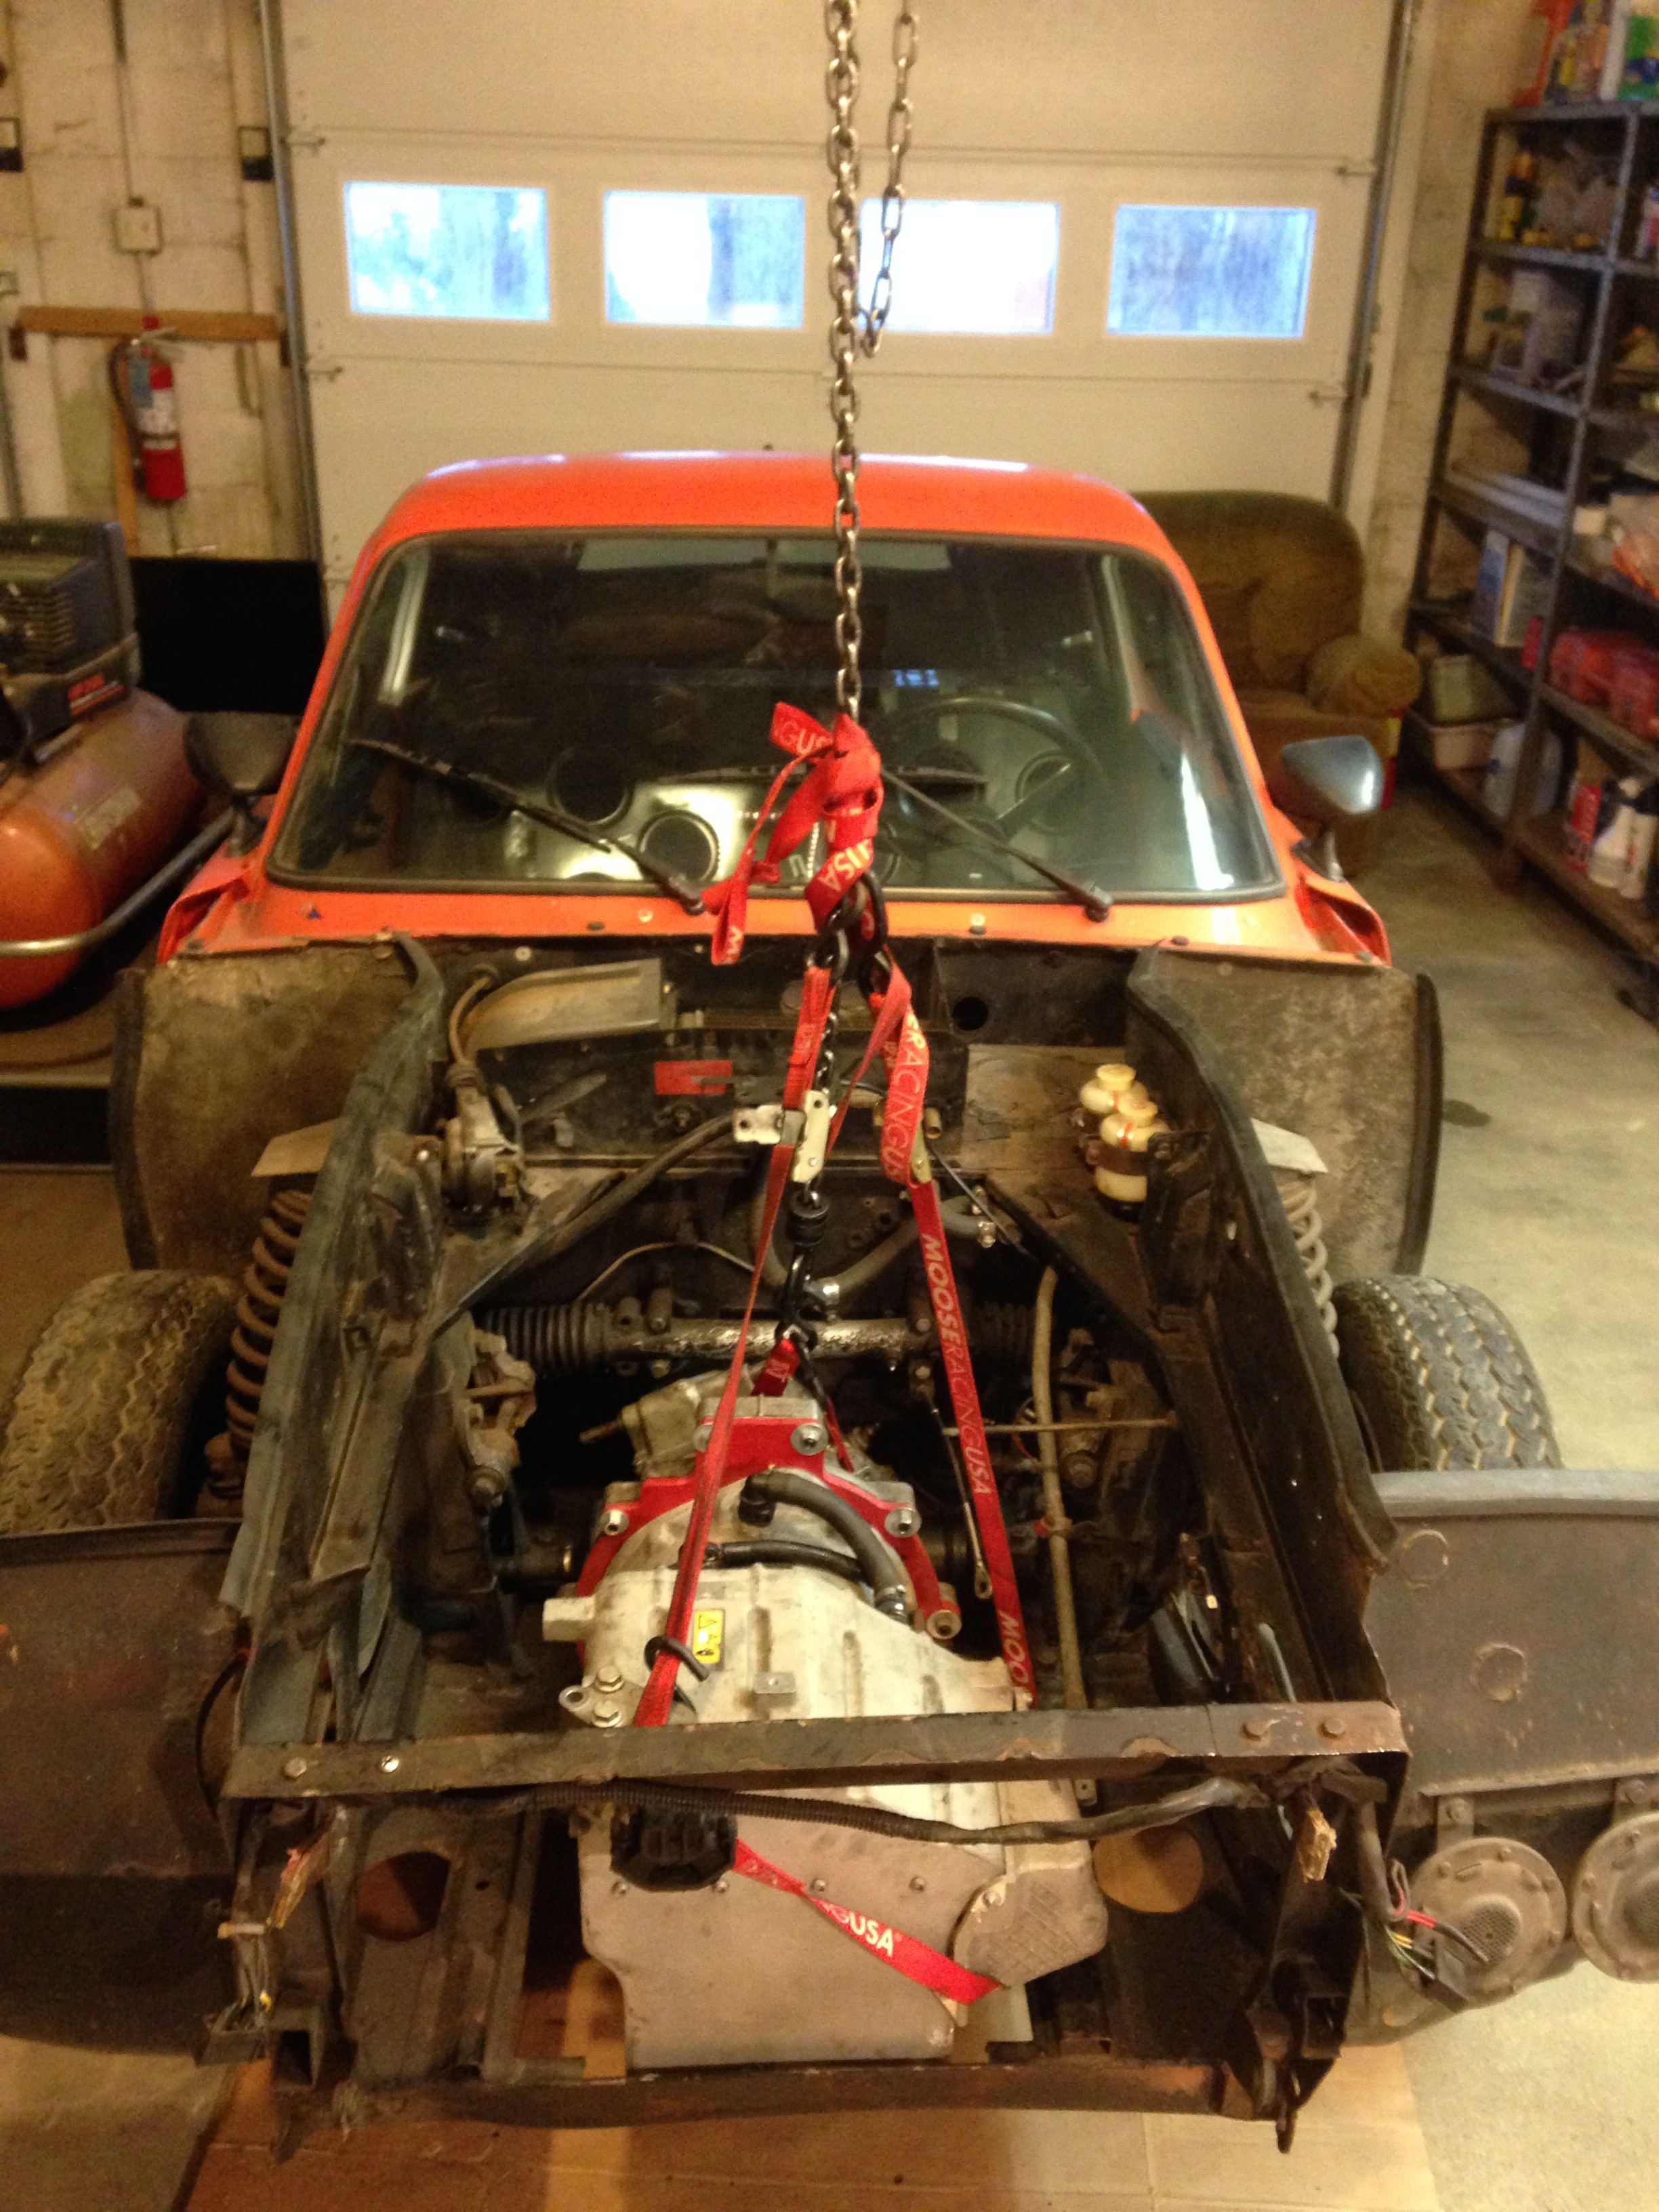
Here's the engine/transmission hanging in place. I need to find some dimensions from a stock Sonett before I can make the engine mounts. (#lackofforethough)
![]()
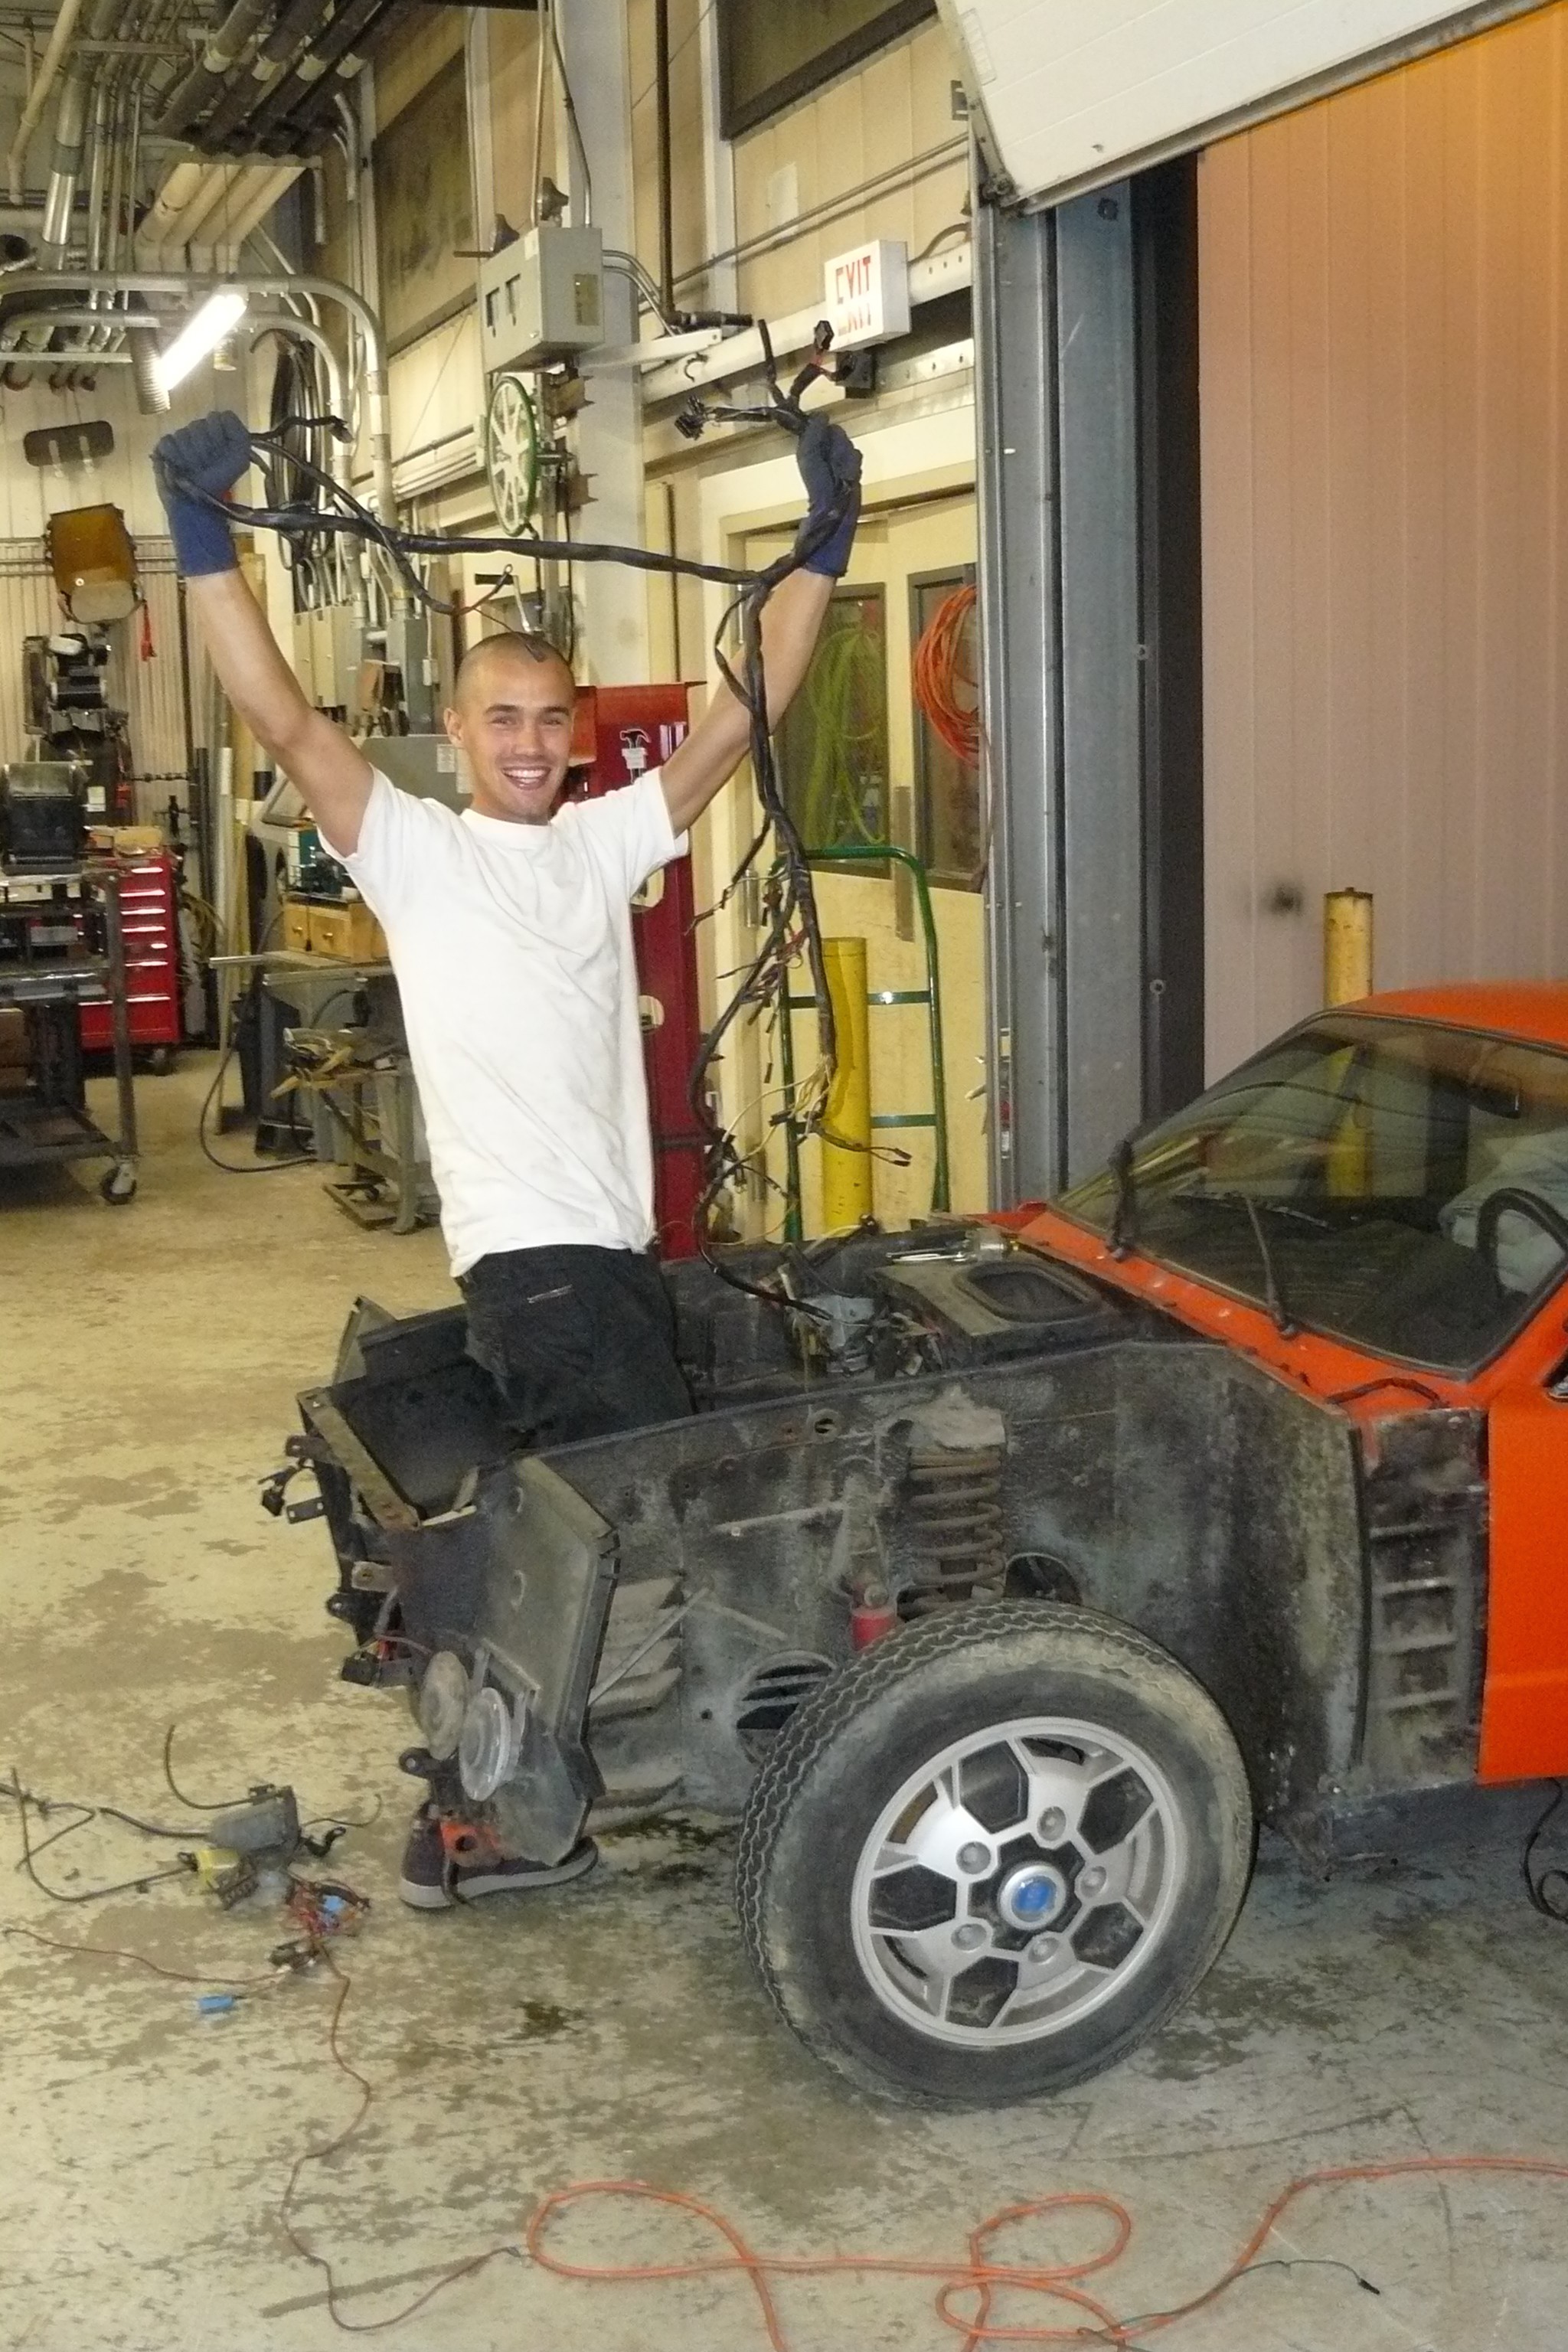
This was early in the project. I ripped out (carefully) the engine wiring harness thinking "I won't need that sh*t." I'll get the blinkers, lights, horn, wipers out and ditch the rest.
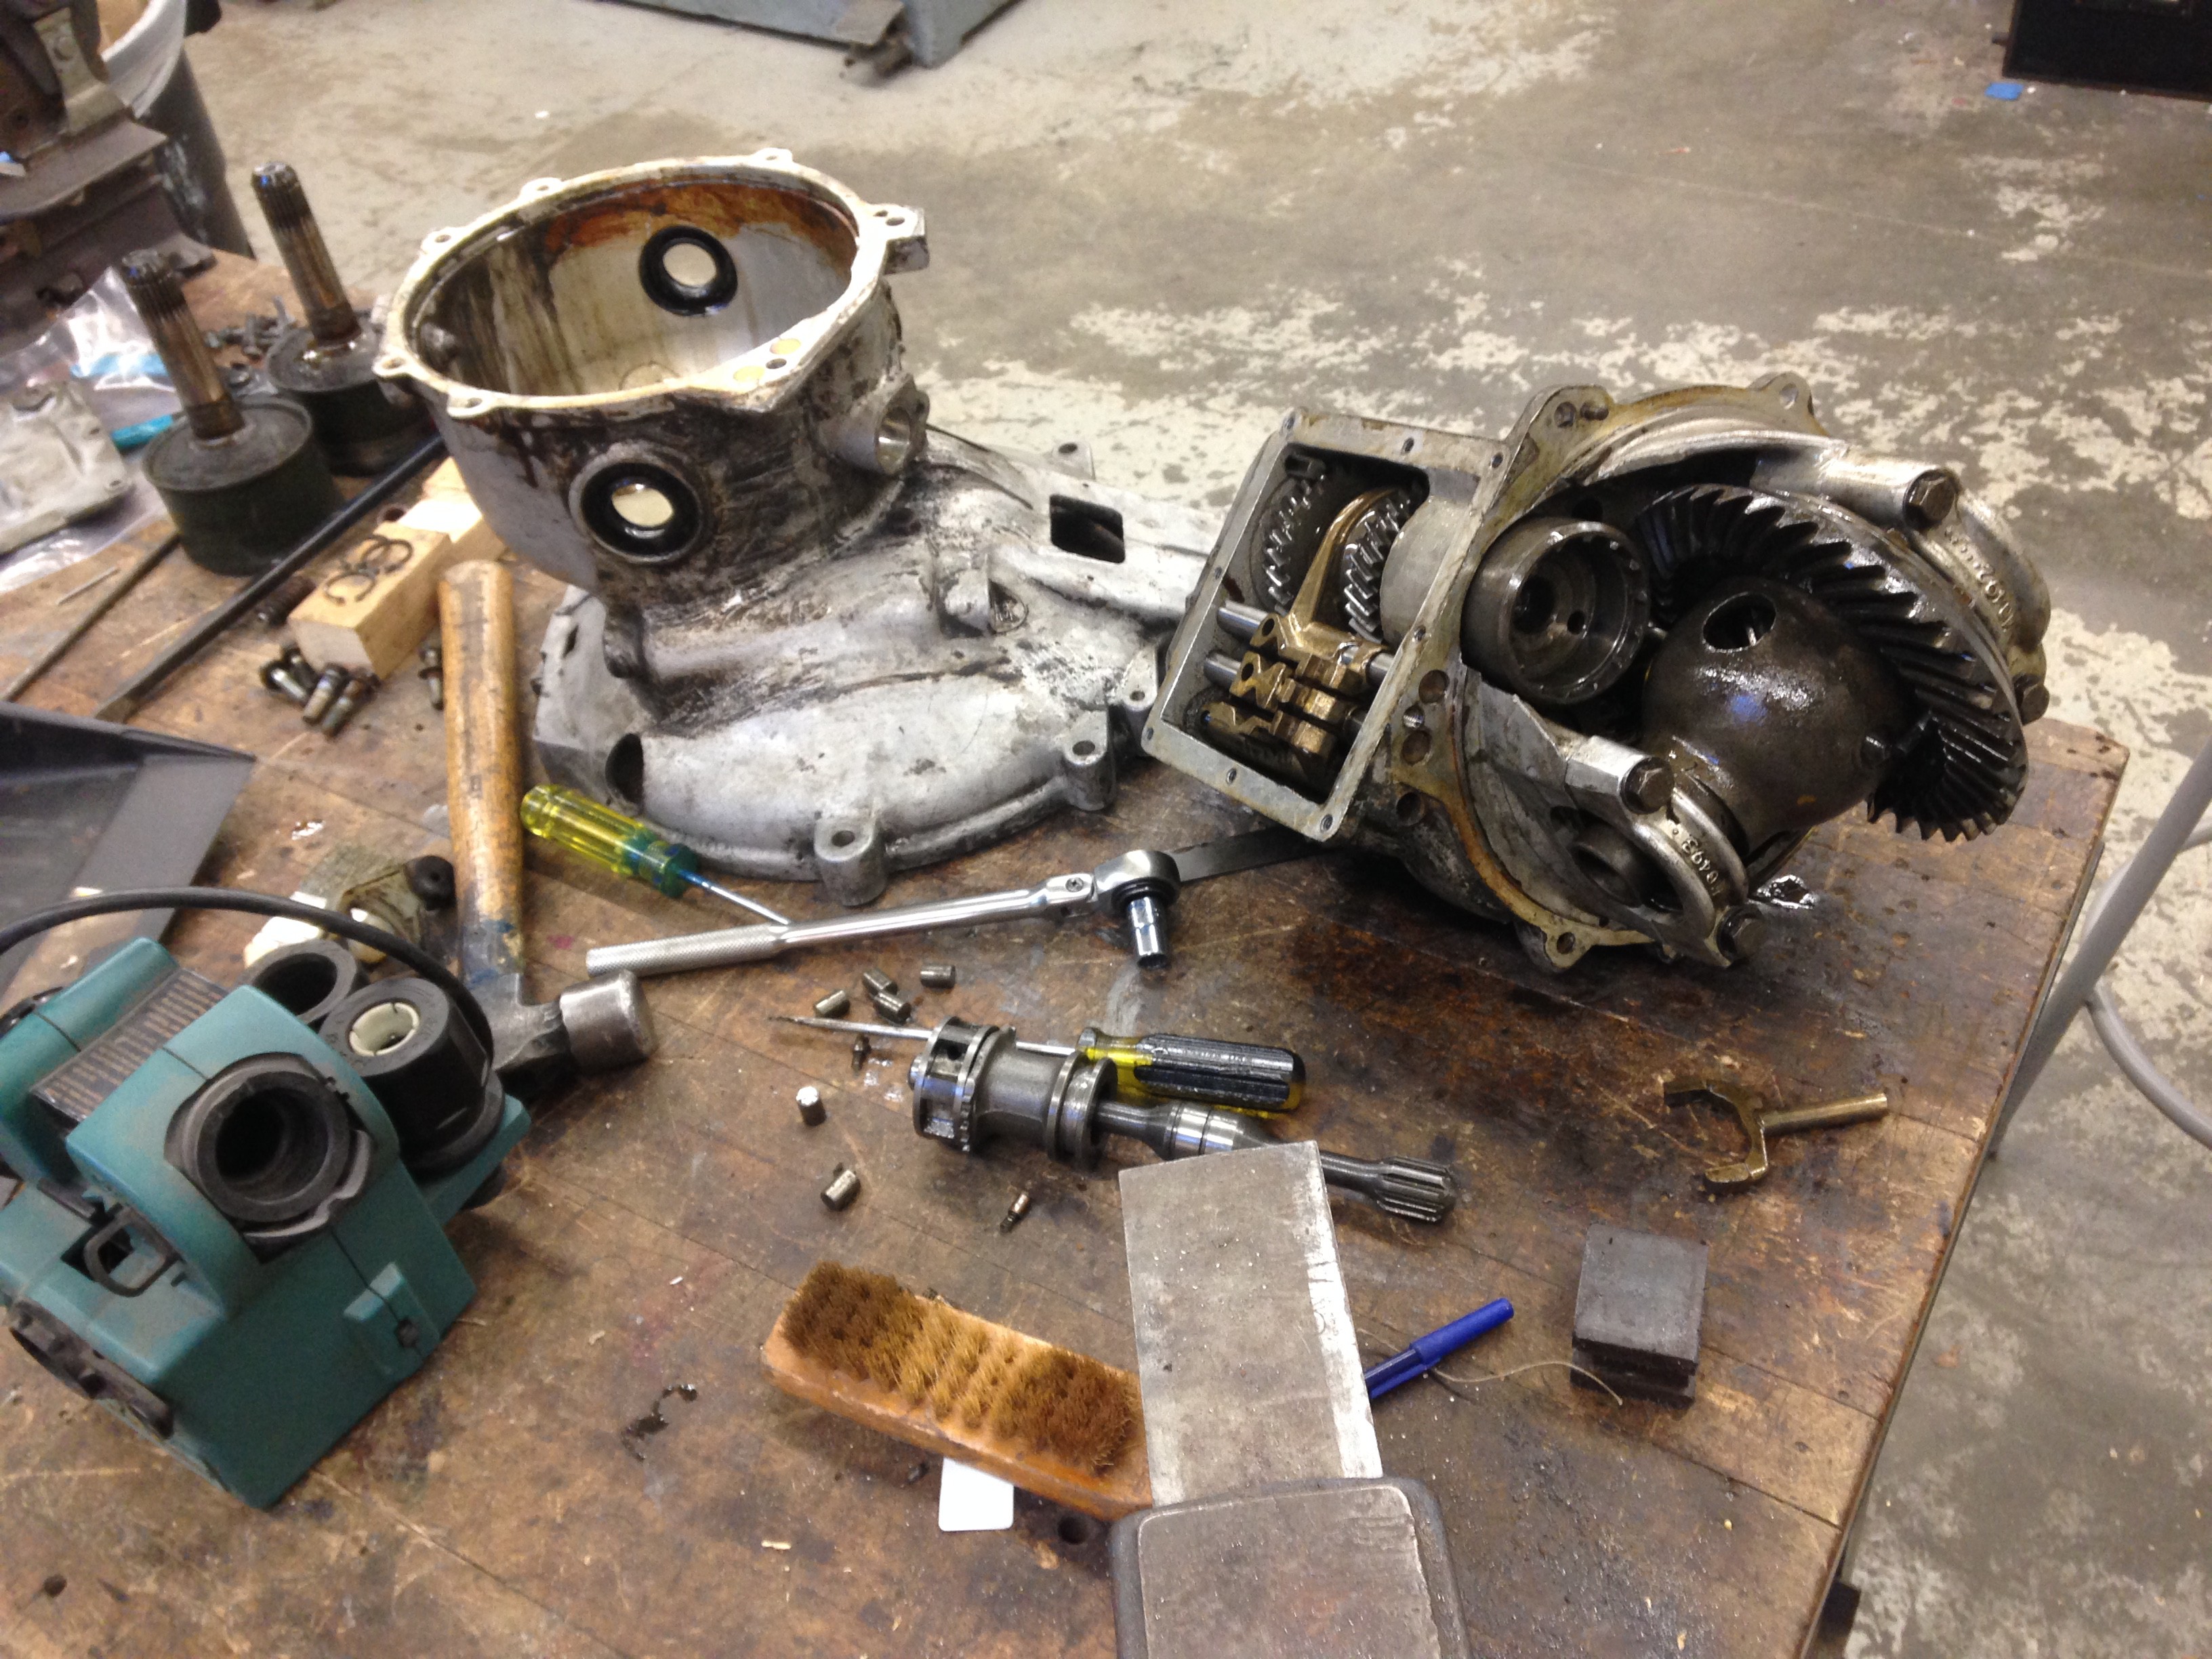
This transmission is junk on the inside. Only good for mockup purposes. I need a new one.![]()
![]()
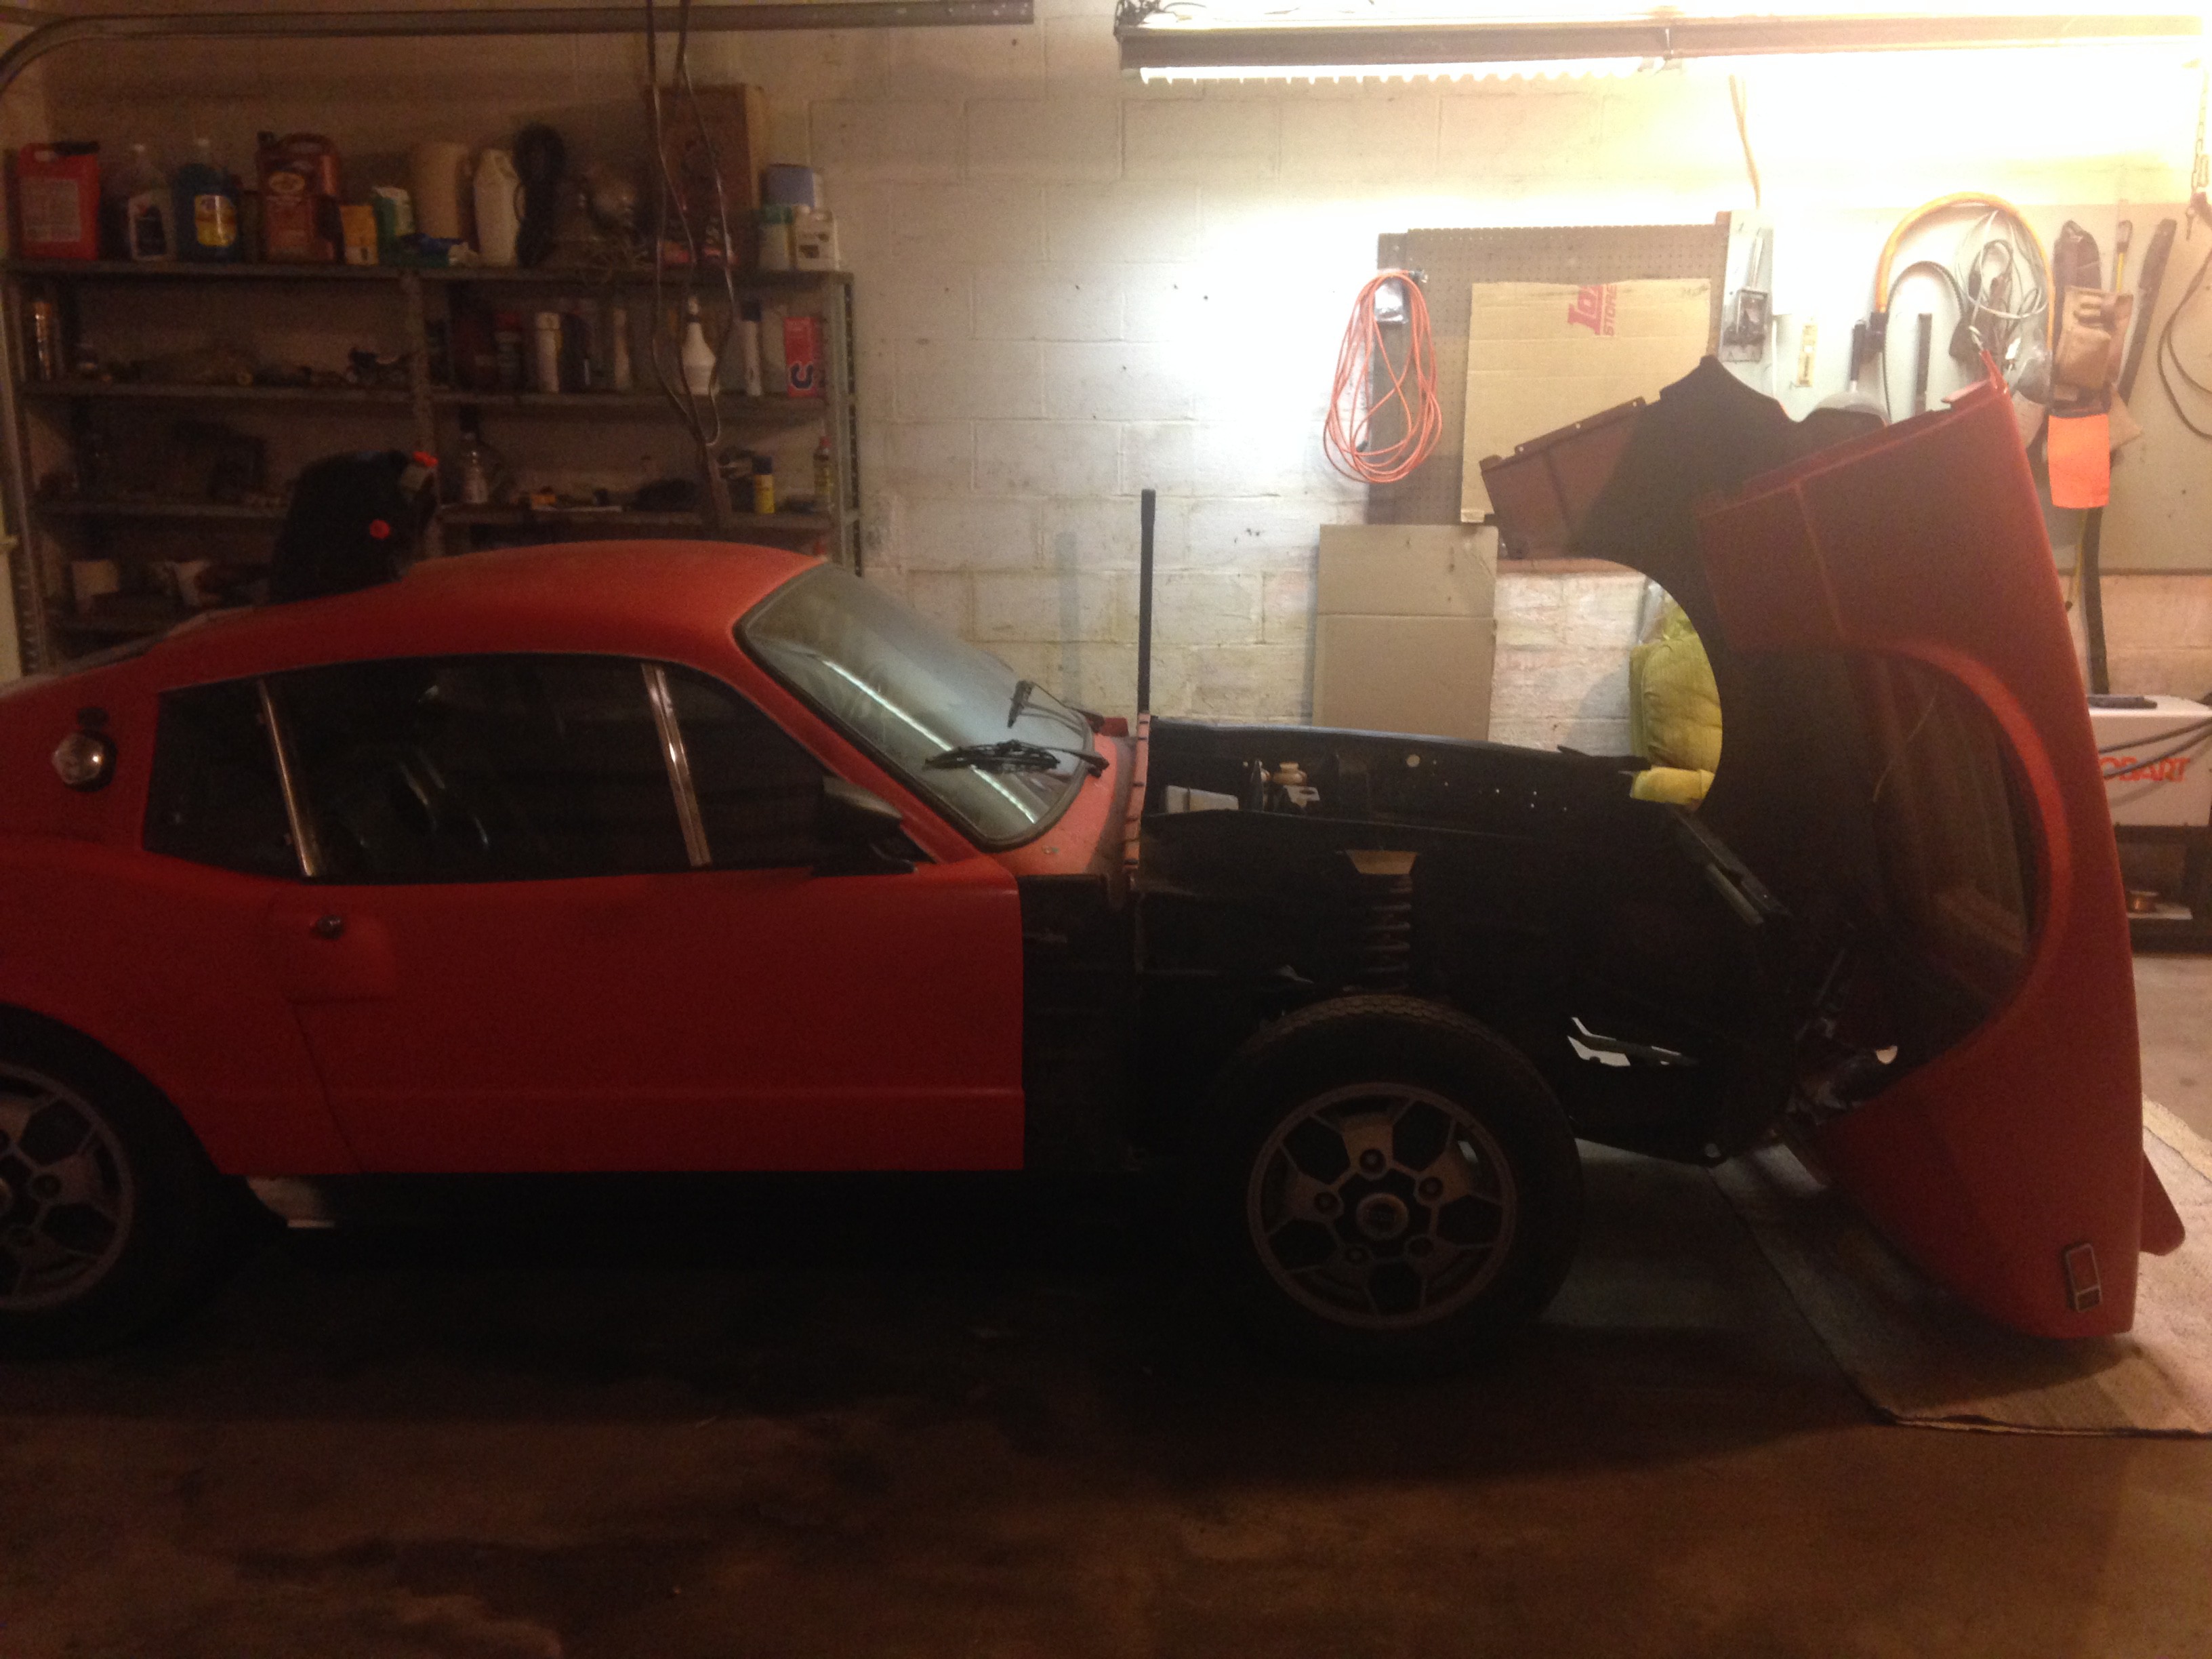
I really want to make a flip bonnet for my Sonett. This is just propped up, but doesn't it look goood.
Here are the videos:
A time lapse while I'm tacking in a 4" x 4' strip to the bottom of the rocker panel.
Putting the engine and transmission in for the first time. I got a chain hoist and bolted it to my ceiling (with proper reinforcements) here I go lifting the engine/transmission for the first time.
-
Engine Mounts
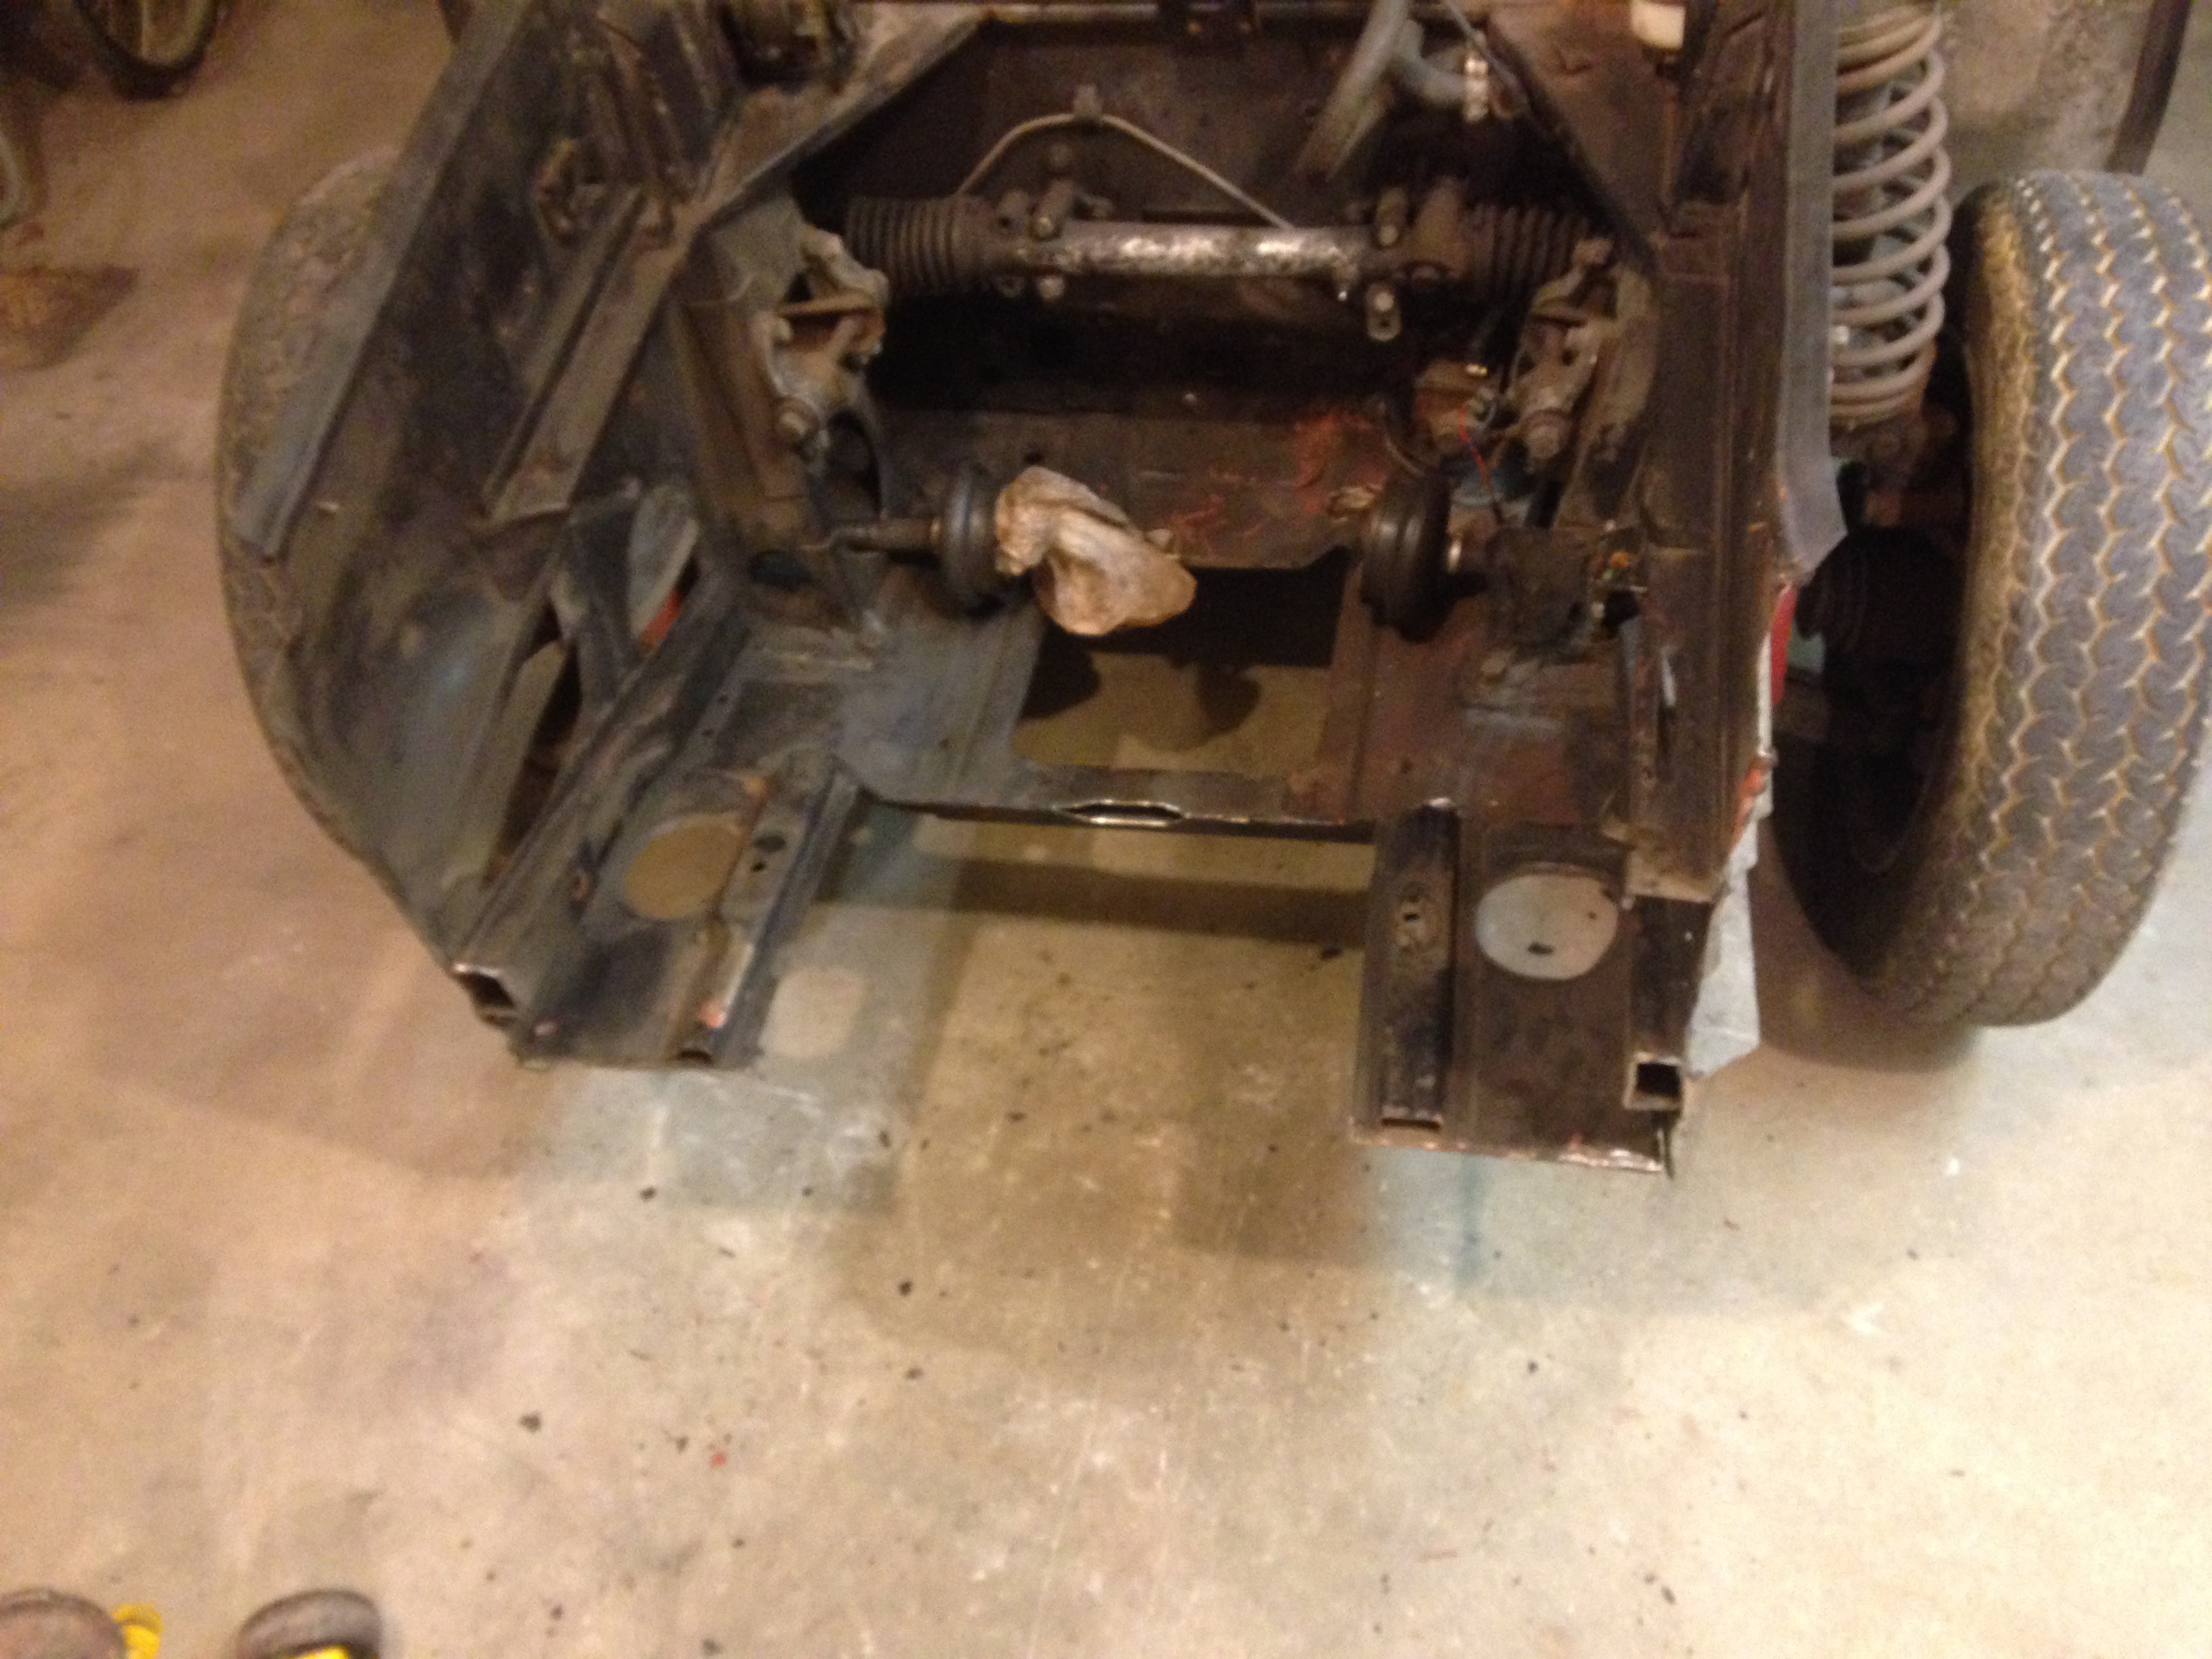
12/30/2015 at 01:22 • 0 commentsSo I have the motor and transmission bolted together and yesterday I dropped the two into my engine bay. I had to cut a couple cross members down half an inch but it fits!
The next few days will be spent figuring out where the unit wants to sit, then I'll dive into building the actual mounts.
I need to find the distance that the stock transmission sits above the floor of the engine bay so i make sure to build my engine-mount brackets the correct height.
If you have a stock Sonett or know about Sonetts, please contact me, I would love some dimensions.
![]()
-
Adapter Plate
12/08/2015 at 00:44 • 0 commentsI've created the plastic prototype of my motor to transmission adapter plate with rudimentary technology. I think I will CNC the next one on the mill. This time I worked slowly and accurately but there might need to be a little bit of revision before I make the final version in aluminum.
I'm working on designing a custom driveshaft to replace the input shaft of the transmission. This will cost a little bit more money than adapting the two with something like a LoveJoy torque coupler, but it will be more elegant and perform better at high RPMs. The shaft and adapter plate will need to be perfect so that I don't mess up the bearings in motor or transmission.
I'm double checking the dimensions of the transmissions's input shaft now. I'm editing the model in SolidWorks and will have the final driveshaft built for me by Mitchell Differential in Worcester, MA. Although the Center of Design at Hampshire College, where I work, is extremely well equipped, I will entrust this important job to a professional with nicer tools than I have.
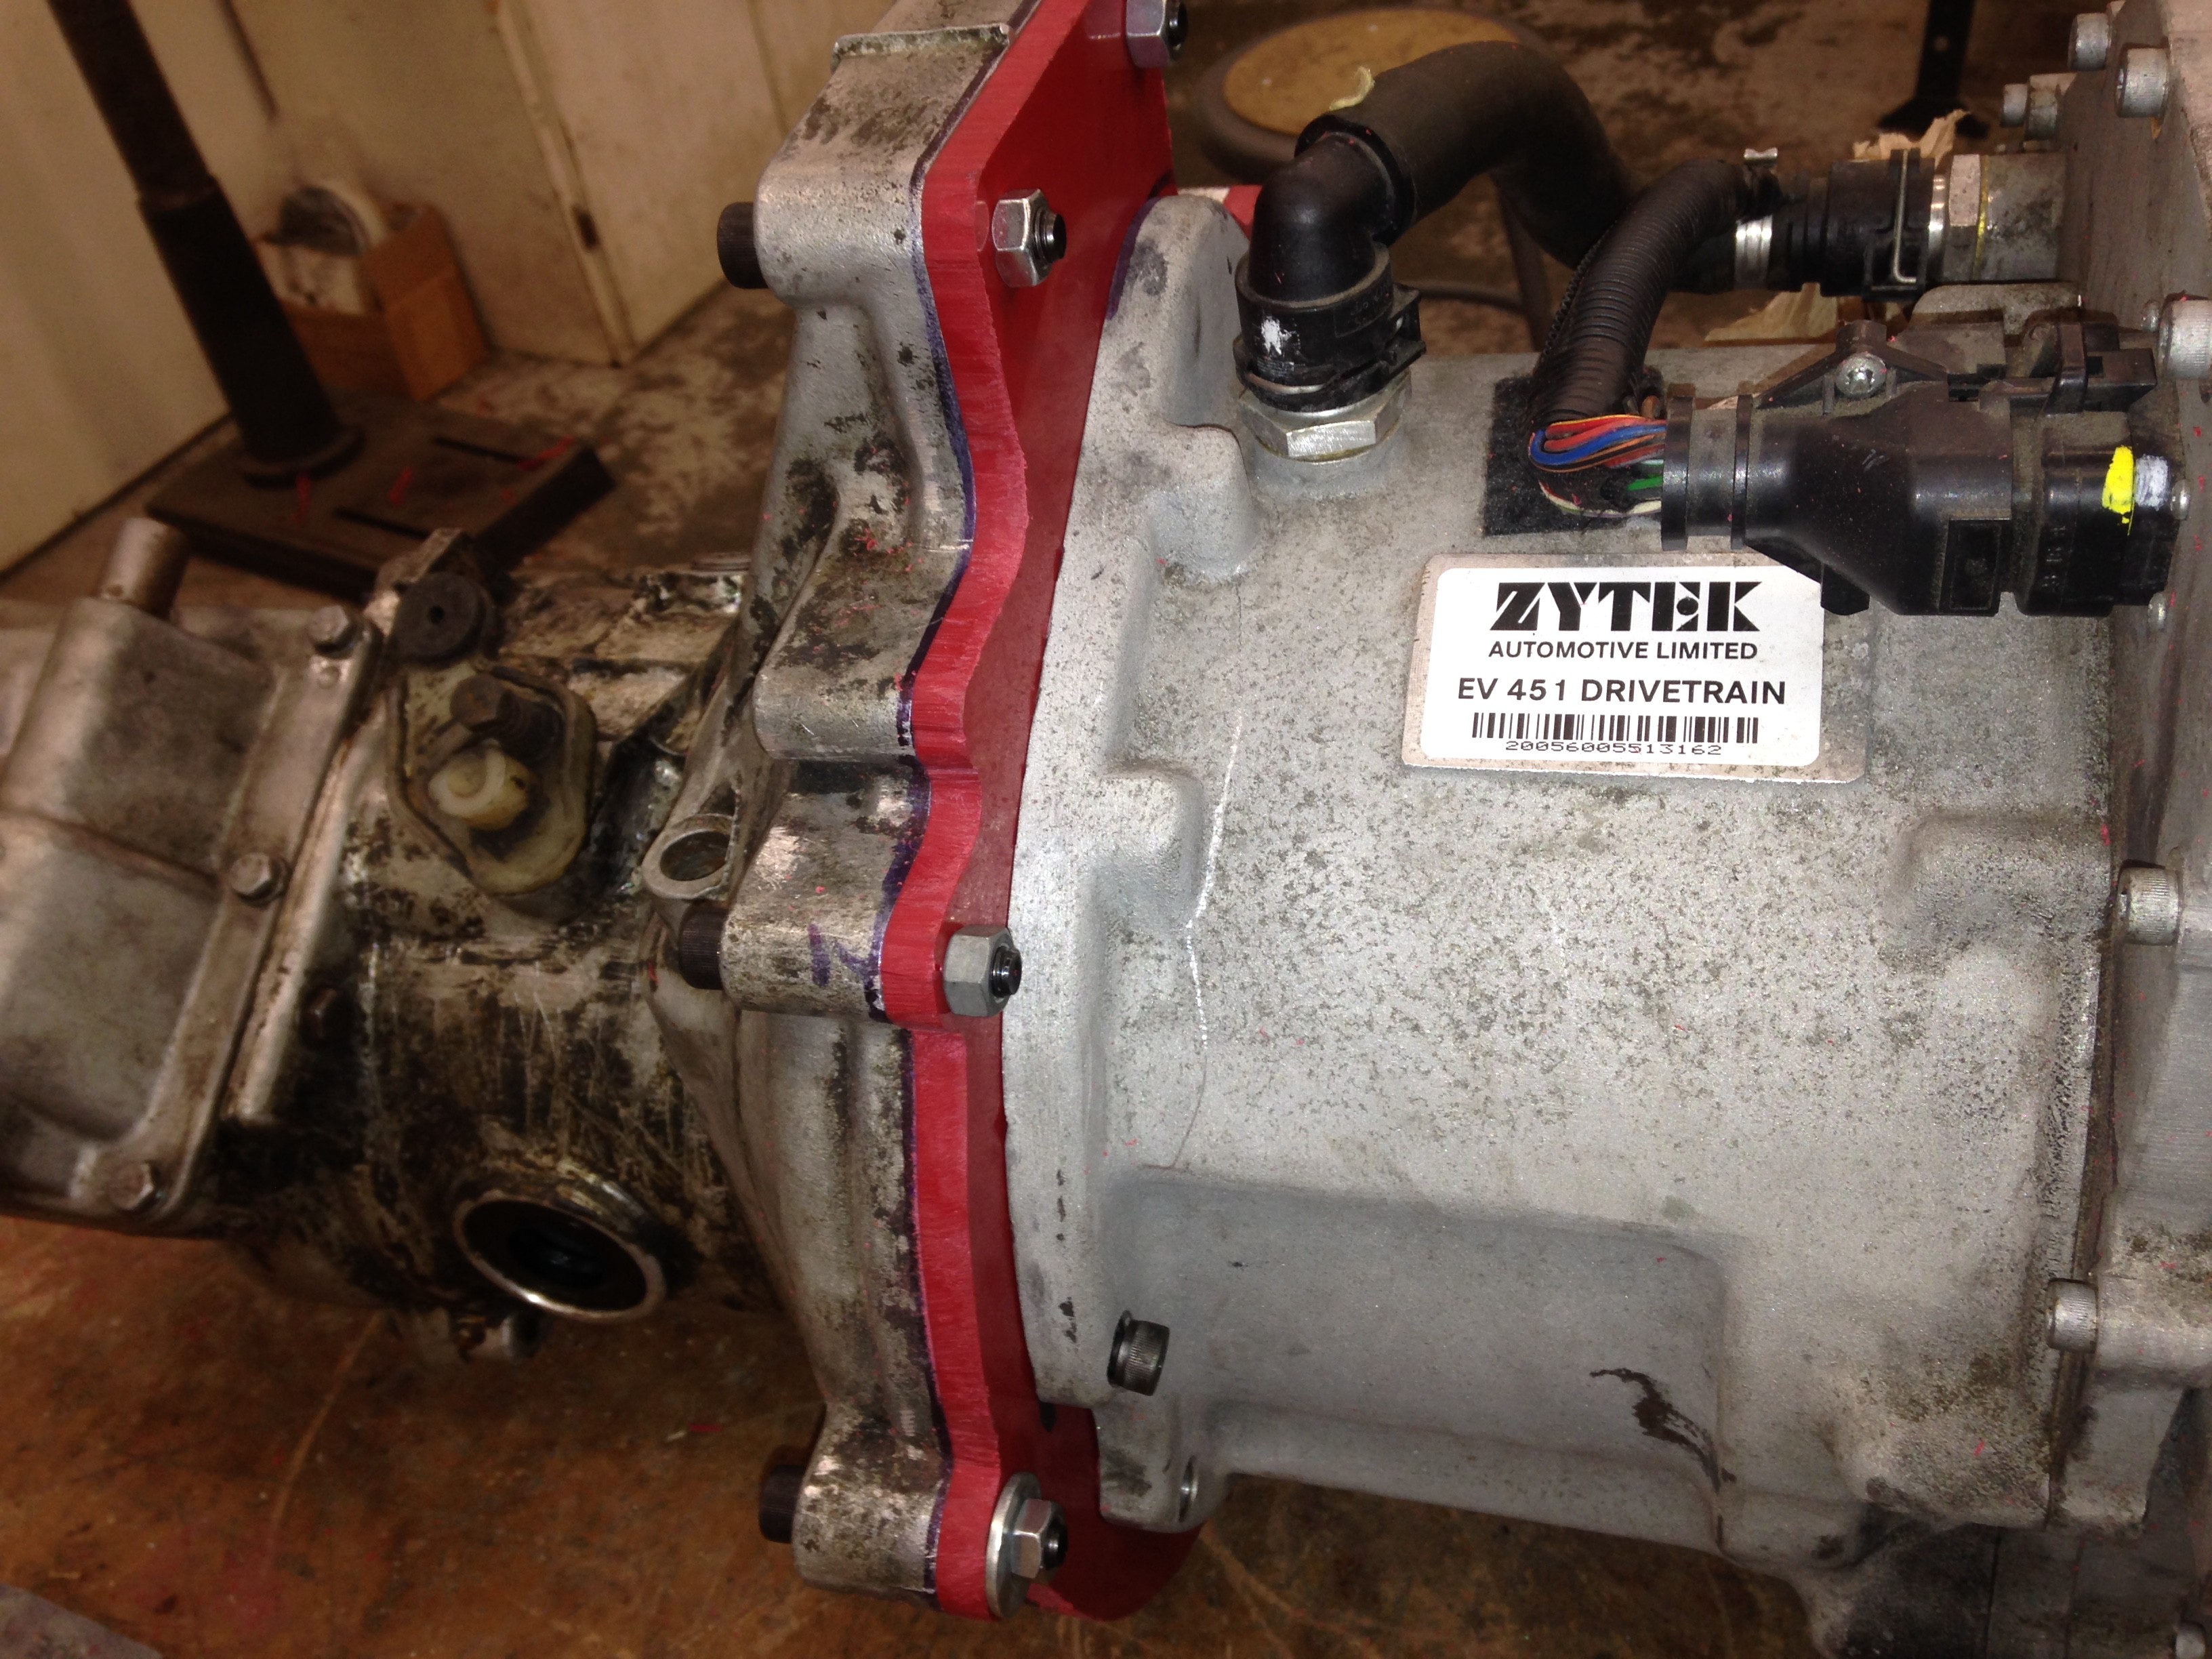
The picture below shows my Zytek motor out of an electric Smart Car, the adapter plate in red plastic, and my dirty old transmission.
![]()
-
Transmission Troubles/Floor Failures
12/01/2015 at 02:42 • 0 commentsTurns out the Sonett transmission that I have is worn out. The bearings are shot. I'm going to get another one and see if that's good. A rebuild is $2,400 and up.
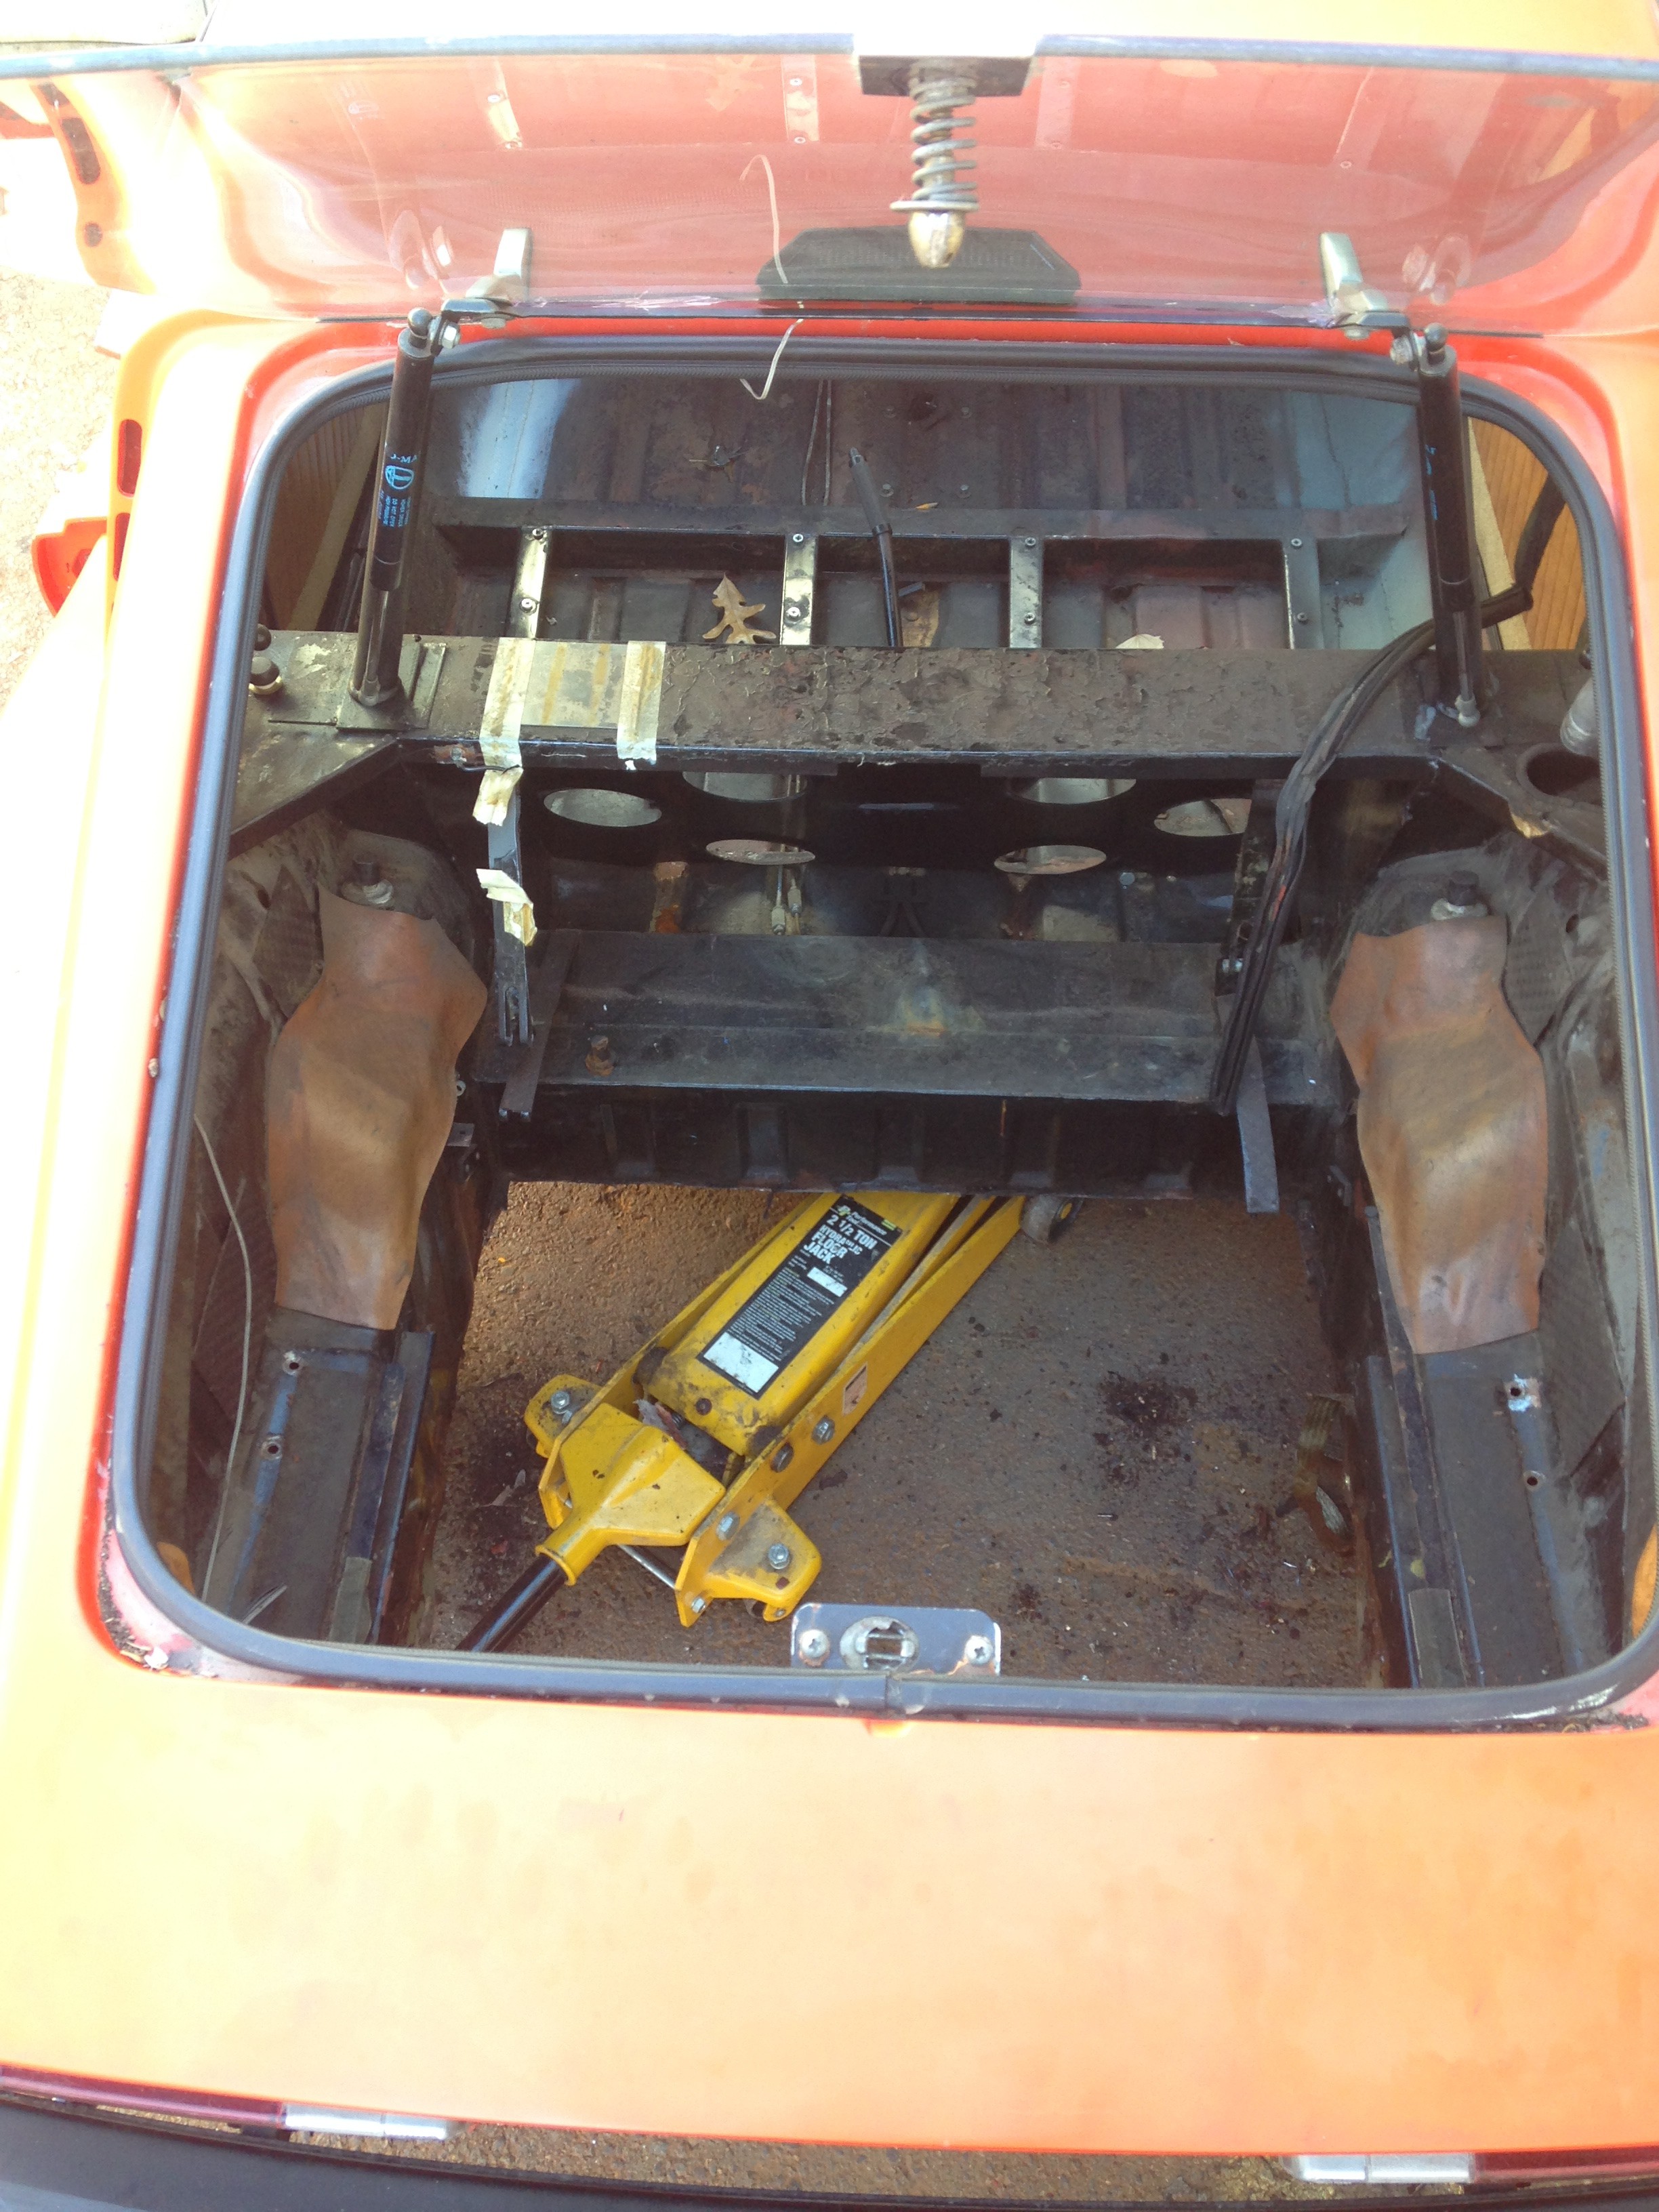
The floor in the trunk was swiss cheese. I cut the whole thing out. This should save me time in the end though because it means that I can make a custom battery box that will bolt in from the underside. That's awesome because I can just jack up all the batteries into place instead of lifting them into my trunk every time I need to trouble shoot something.
![]()
-
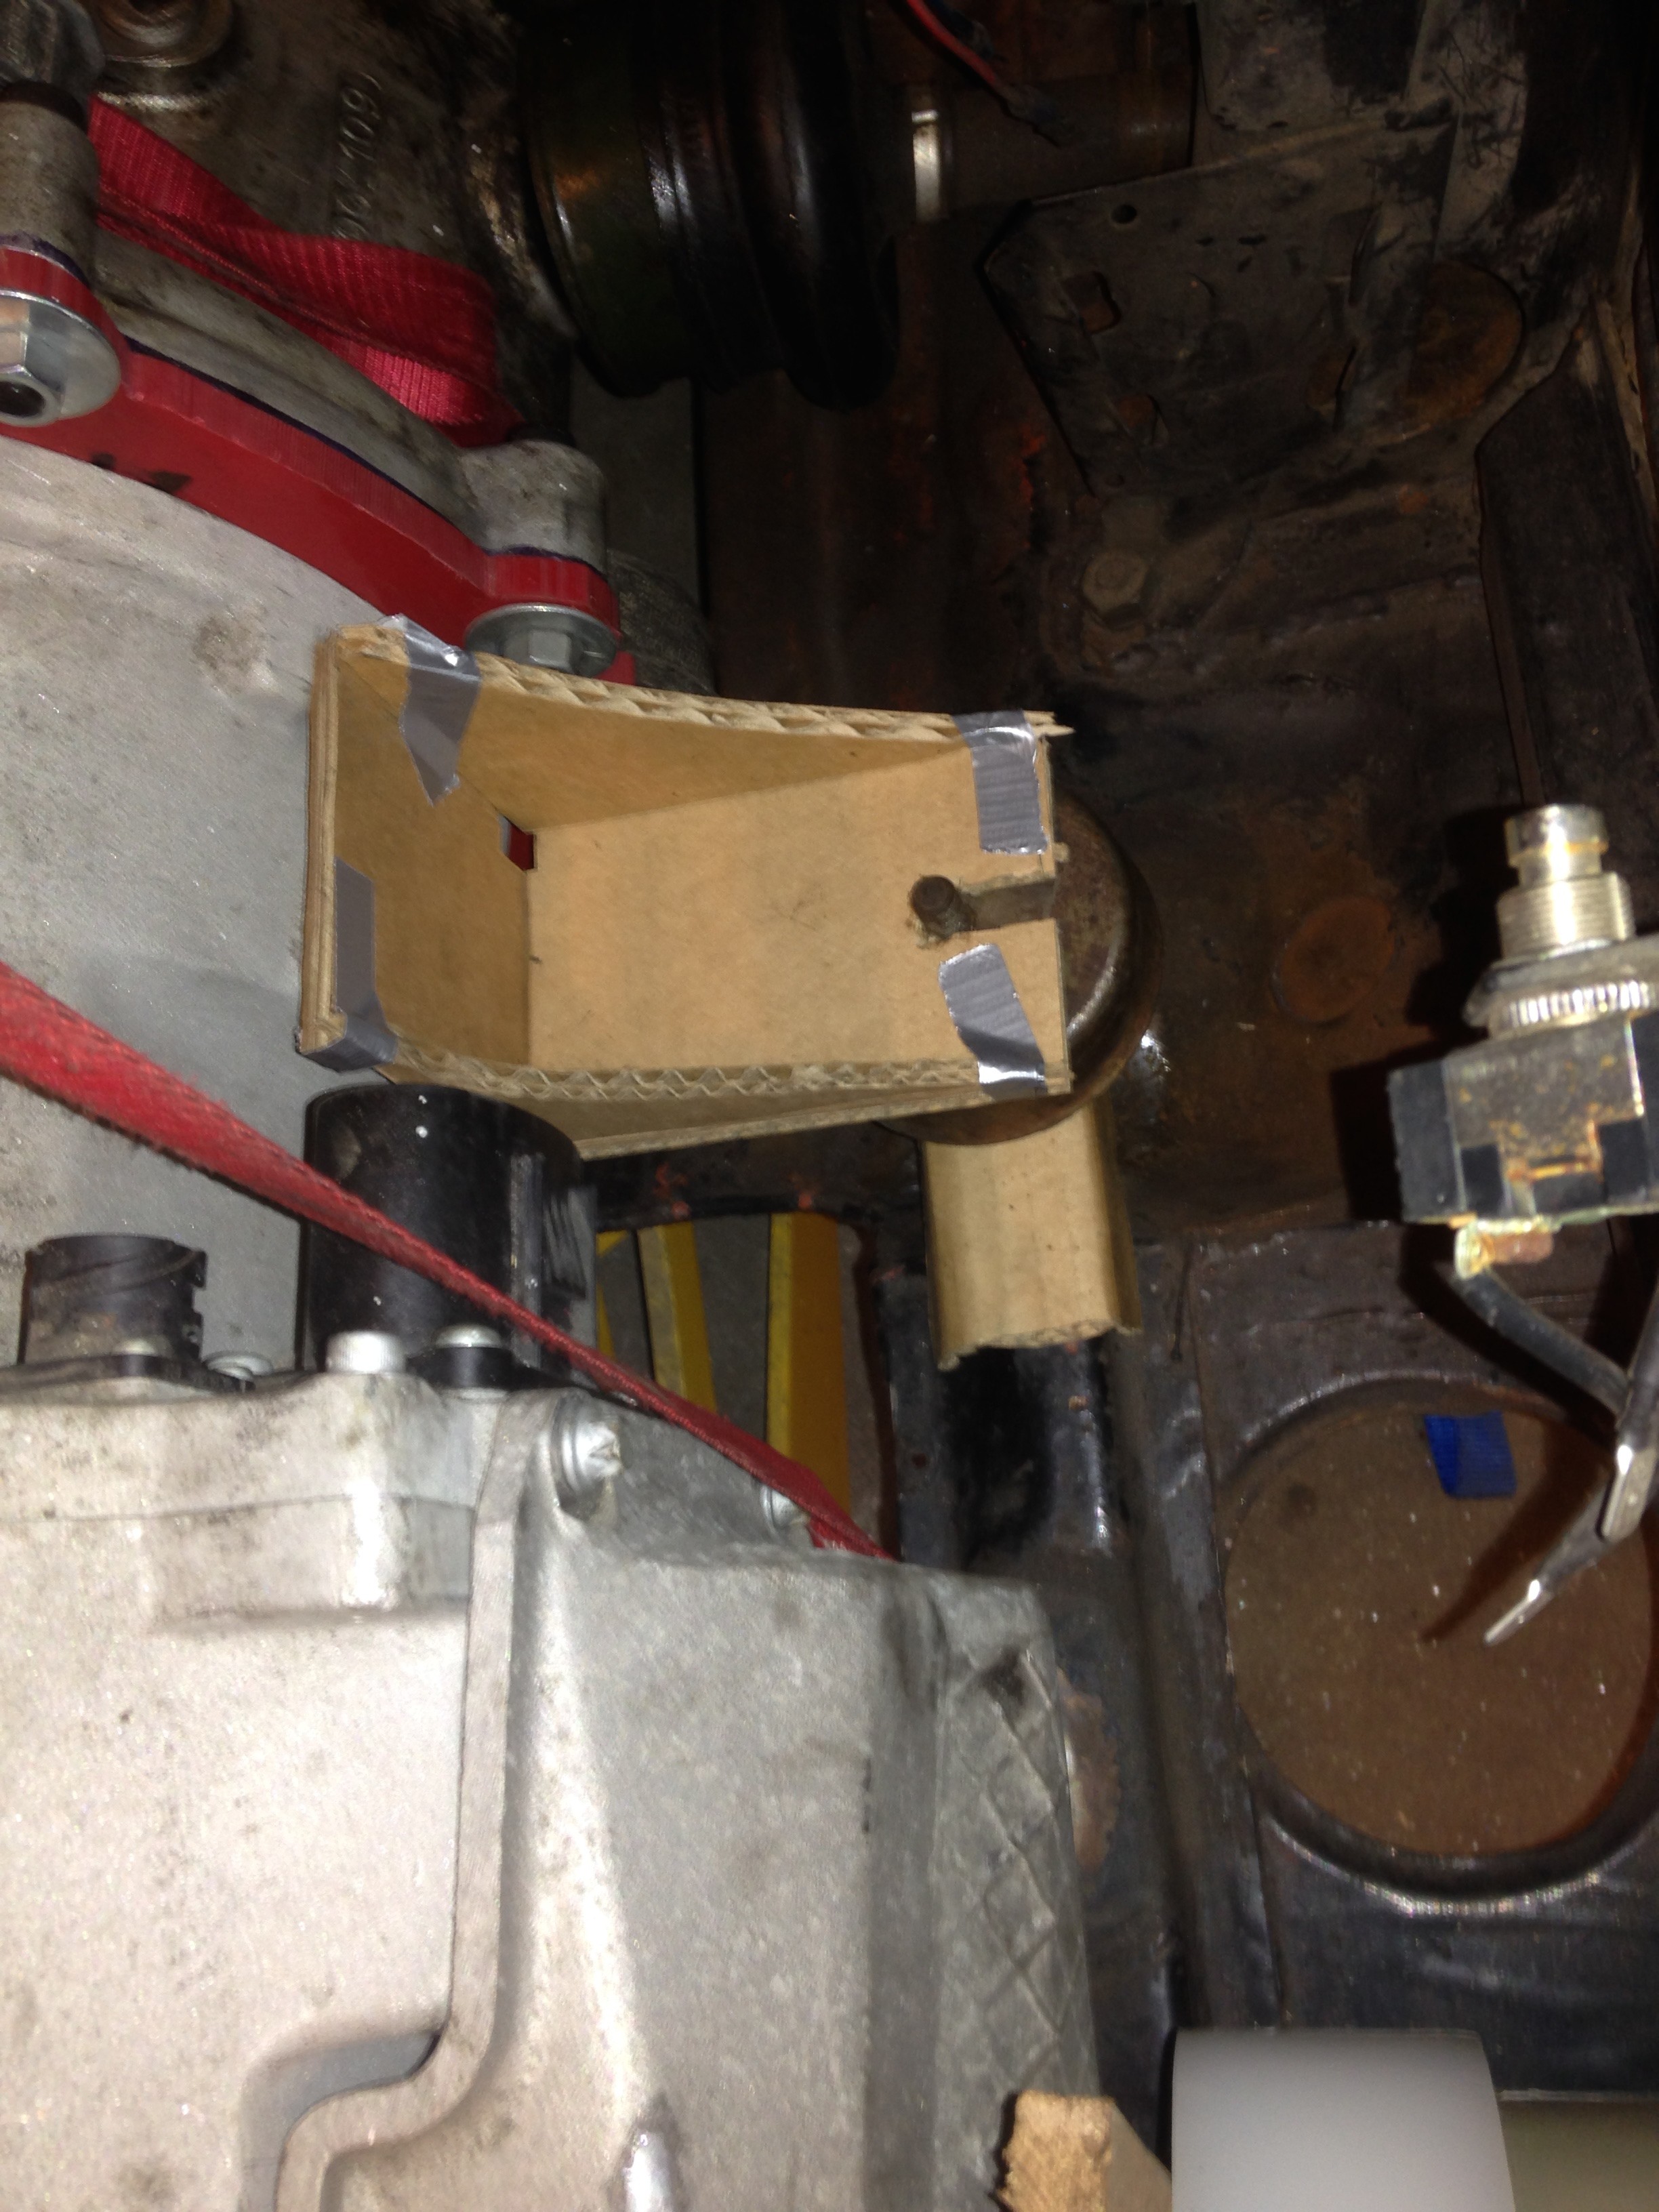
Adapting the Motor
11/19/2015 at 15:47 • 0 commentsFor the past couple of days I've been working to adapt the motor to the transmission. This is a fun process and it's going really smoothly. I'm designing the adapter plate with cardboard for now but hope to put all of the measurements in solidworks and CNC a plastic prototype to see if everything checks out before going to aluminum.
Adapting the motor shaft to the transmission is also going well, but I'm not %100 sure that I'm doing it the best way. Yesterday I cut the splined center piece out of the original clutch plate. This has the correct splines for the transmission of course. I turned it down to the same diameter as the motor shaft keeping it concentric around the splines. I'm not sure what the best course of action for attaching these two shafts is though. Any suggestions?
![]()
-
My Motor
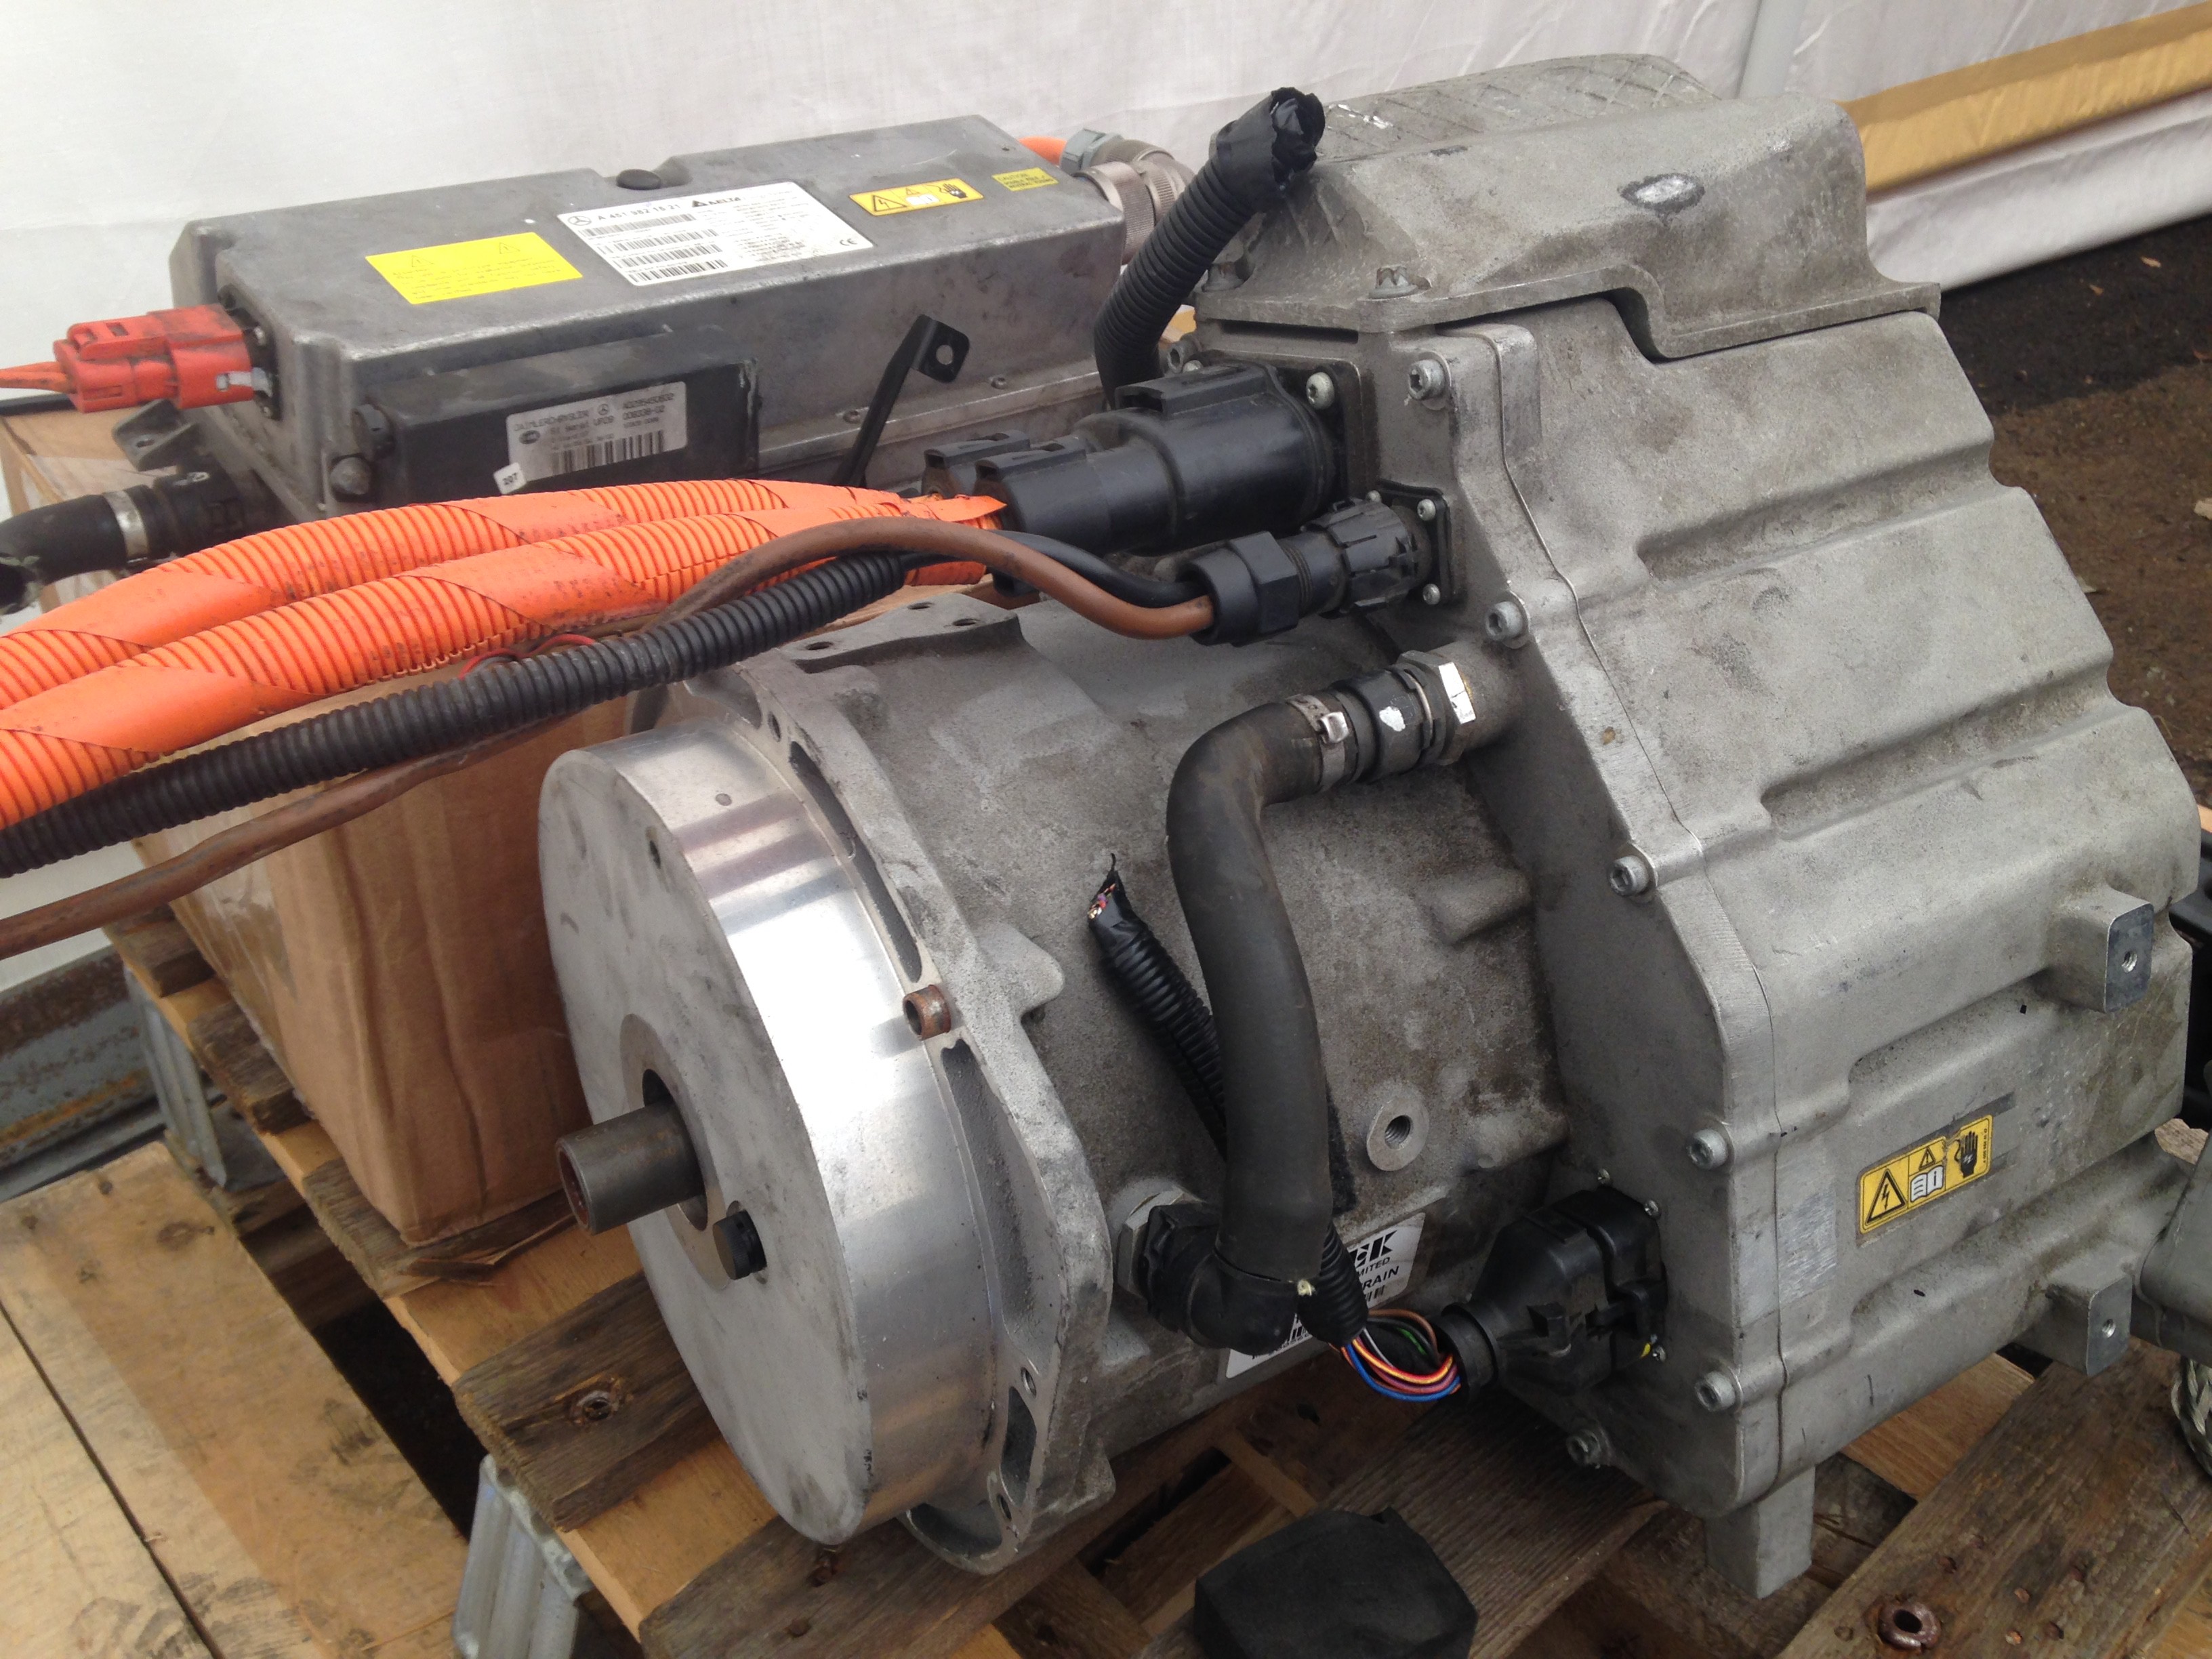
11/12/2015 at 18:37 • 0 commentsThe picture below shows the motor that I'm using. I am pretty sure that it is out of one of the earlier versions of the Electric SmartCar. The motor shaft is splined on the inside and smooth on the outside. The back half where all of the wires plug in houses the inverter, DC/DC converter and is also liquid cooled.
Right now I can't use these parts because I have no way of talking to the inverter, but I plan to solicit some help in attaching my own motor controller to make the whole thing usable again.
![]()
Electric Sonett: Old Car/New Tech
This project focuses on ecological sustainability and social responsibility through reuse. Increasing lifecycle efficiency, decreasing cost.