Close
0%
0%

Me building/using other people's ideas/projects

Project for different stuff I "rebuilt"

Similar projects worth following
Just to document some of my rebuilt from projects or ides I like which was original not by me.

Content

#1 LED Polyhedron

#2 ESP-display-shield

#3 Servo Controller - Hardware

#4 LED projector

#5 Word Clock

#6 Zynthia

Other which are to big (or got to to big) for this summary project:

#YAMiWoC wich is besed on @Daniel Rojas 's #Micro Word Clock

#SERVOcontrol processor of #3 Servo Controller based on @Radomir Dopieralski 's #Servo Controller.

...

...


If you like this "project" you should also take a look at:

#Me building projects from hackaday.io by @davedarko.

#Another installment in the series 'Me building...' by @Stefan Lochbrunner

#Me building projects from hackaday.io by @jaromir.sukuba

Same project idea from other people. We should ask some admin to create a list for this kind of projects

  • #5b PCB Word Clock - some Images

    Alex08/10/2019 at 09:12 0 comments


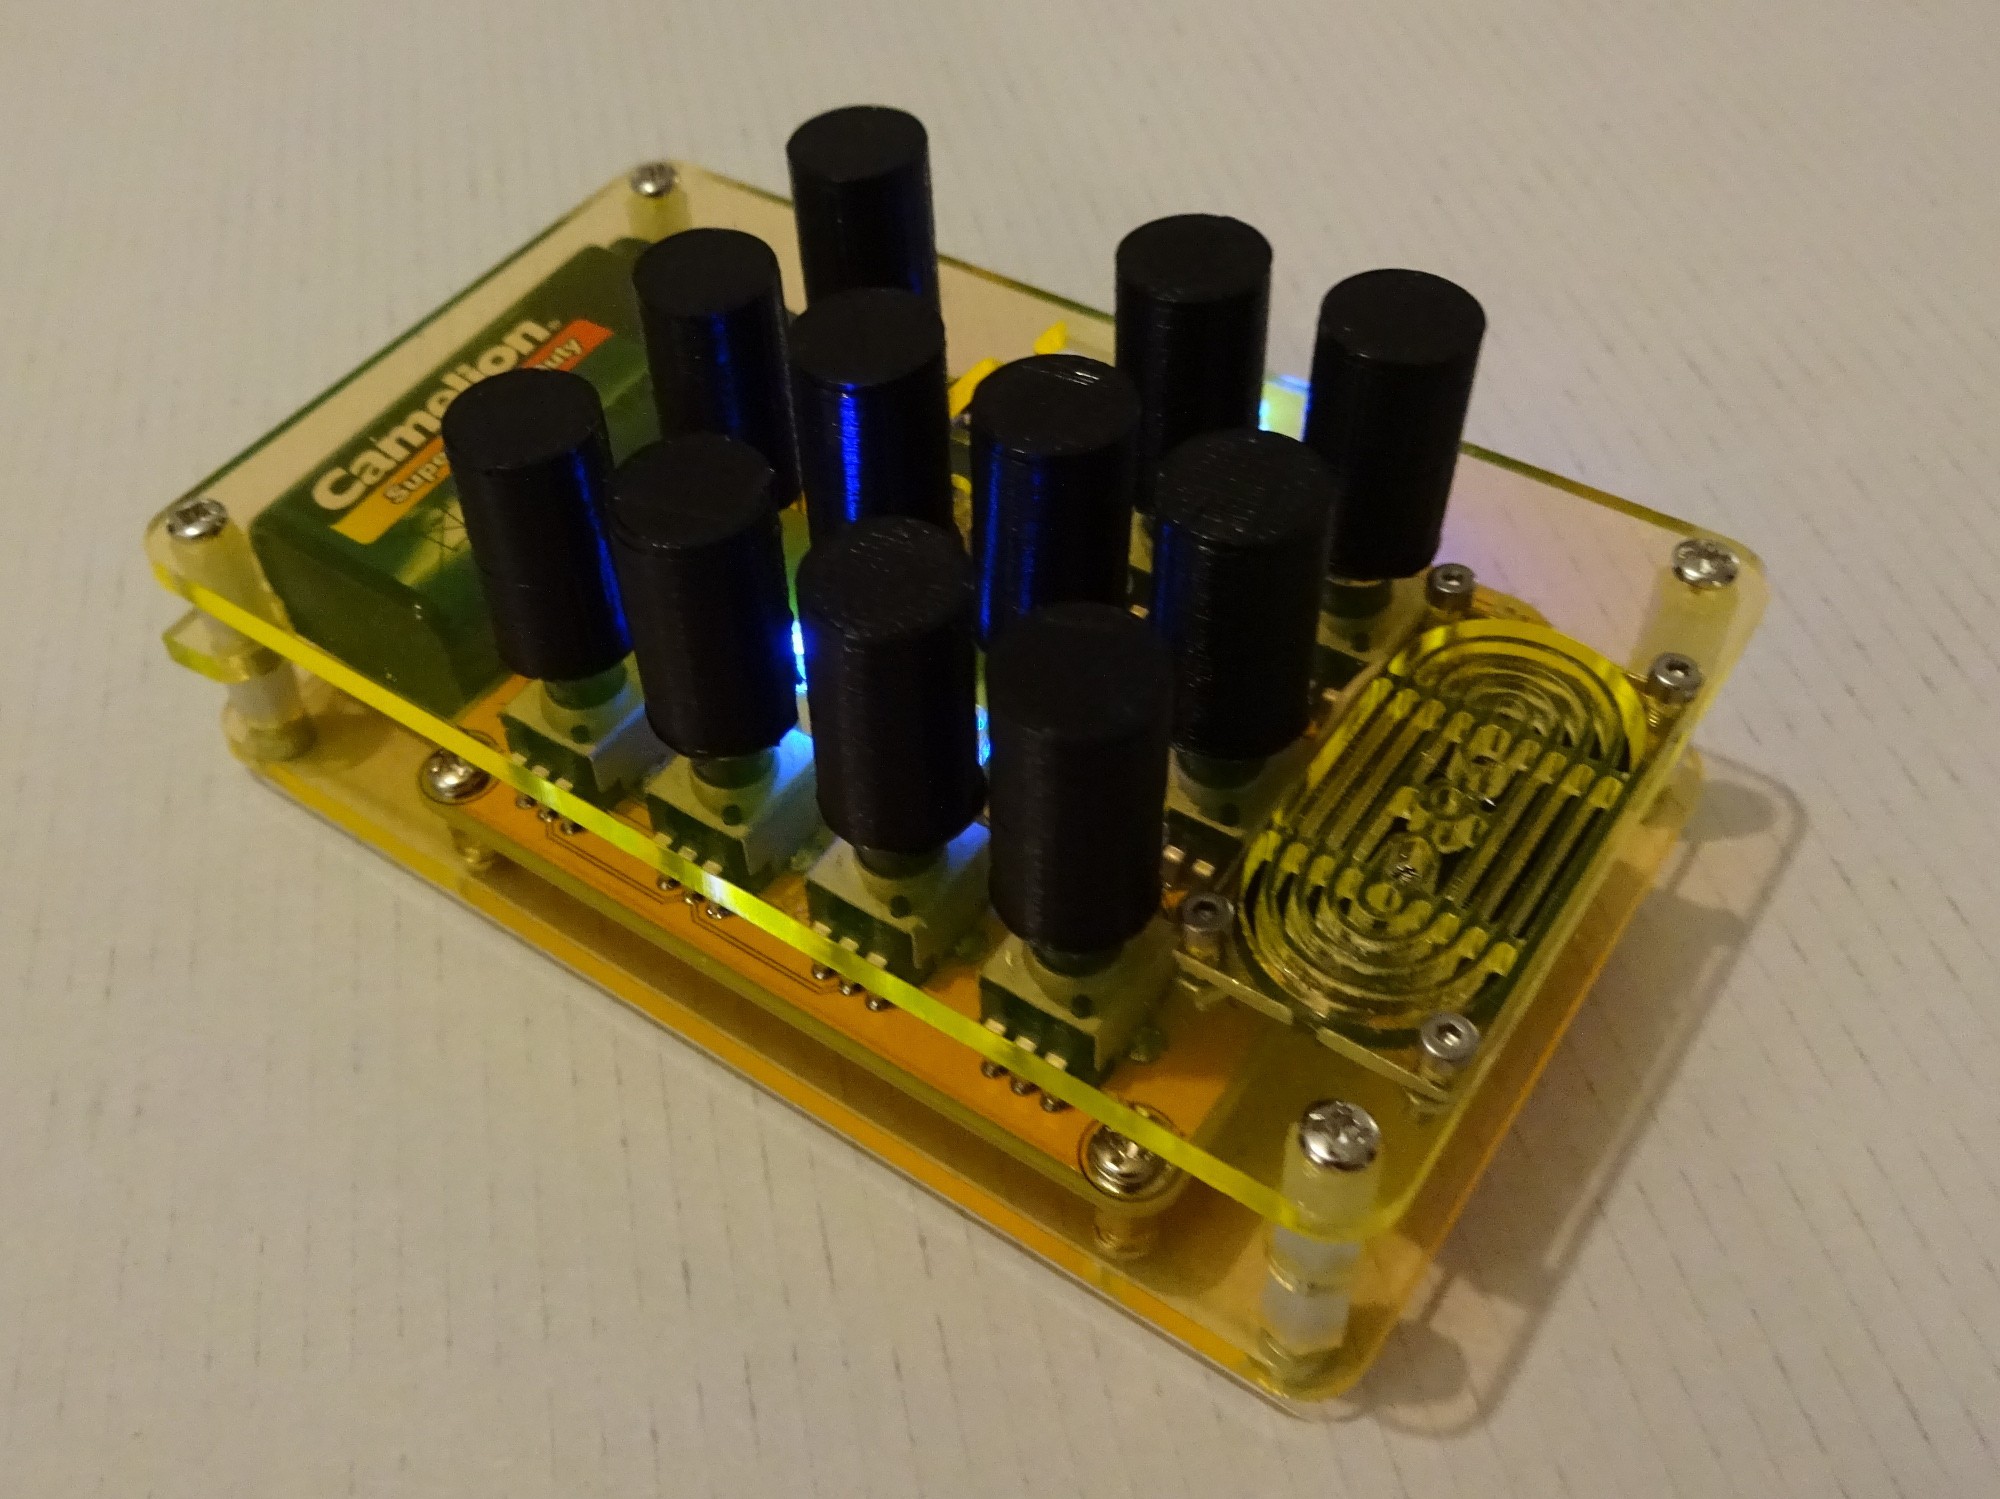
  • #6b Zynthia - now with case

    Alex01/14/2018 at 21:46 4 comments

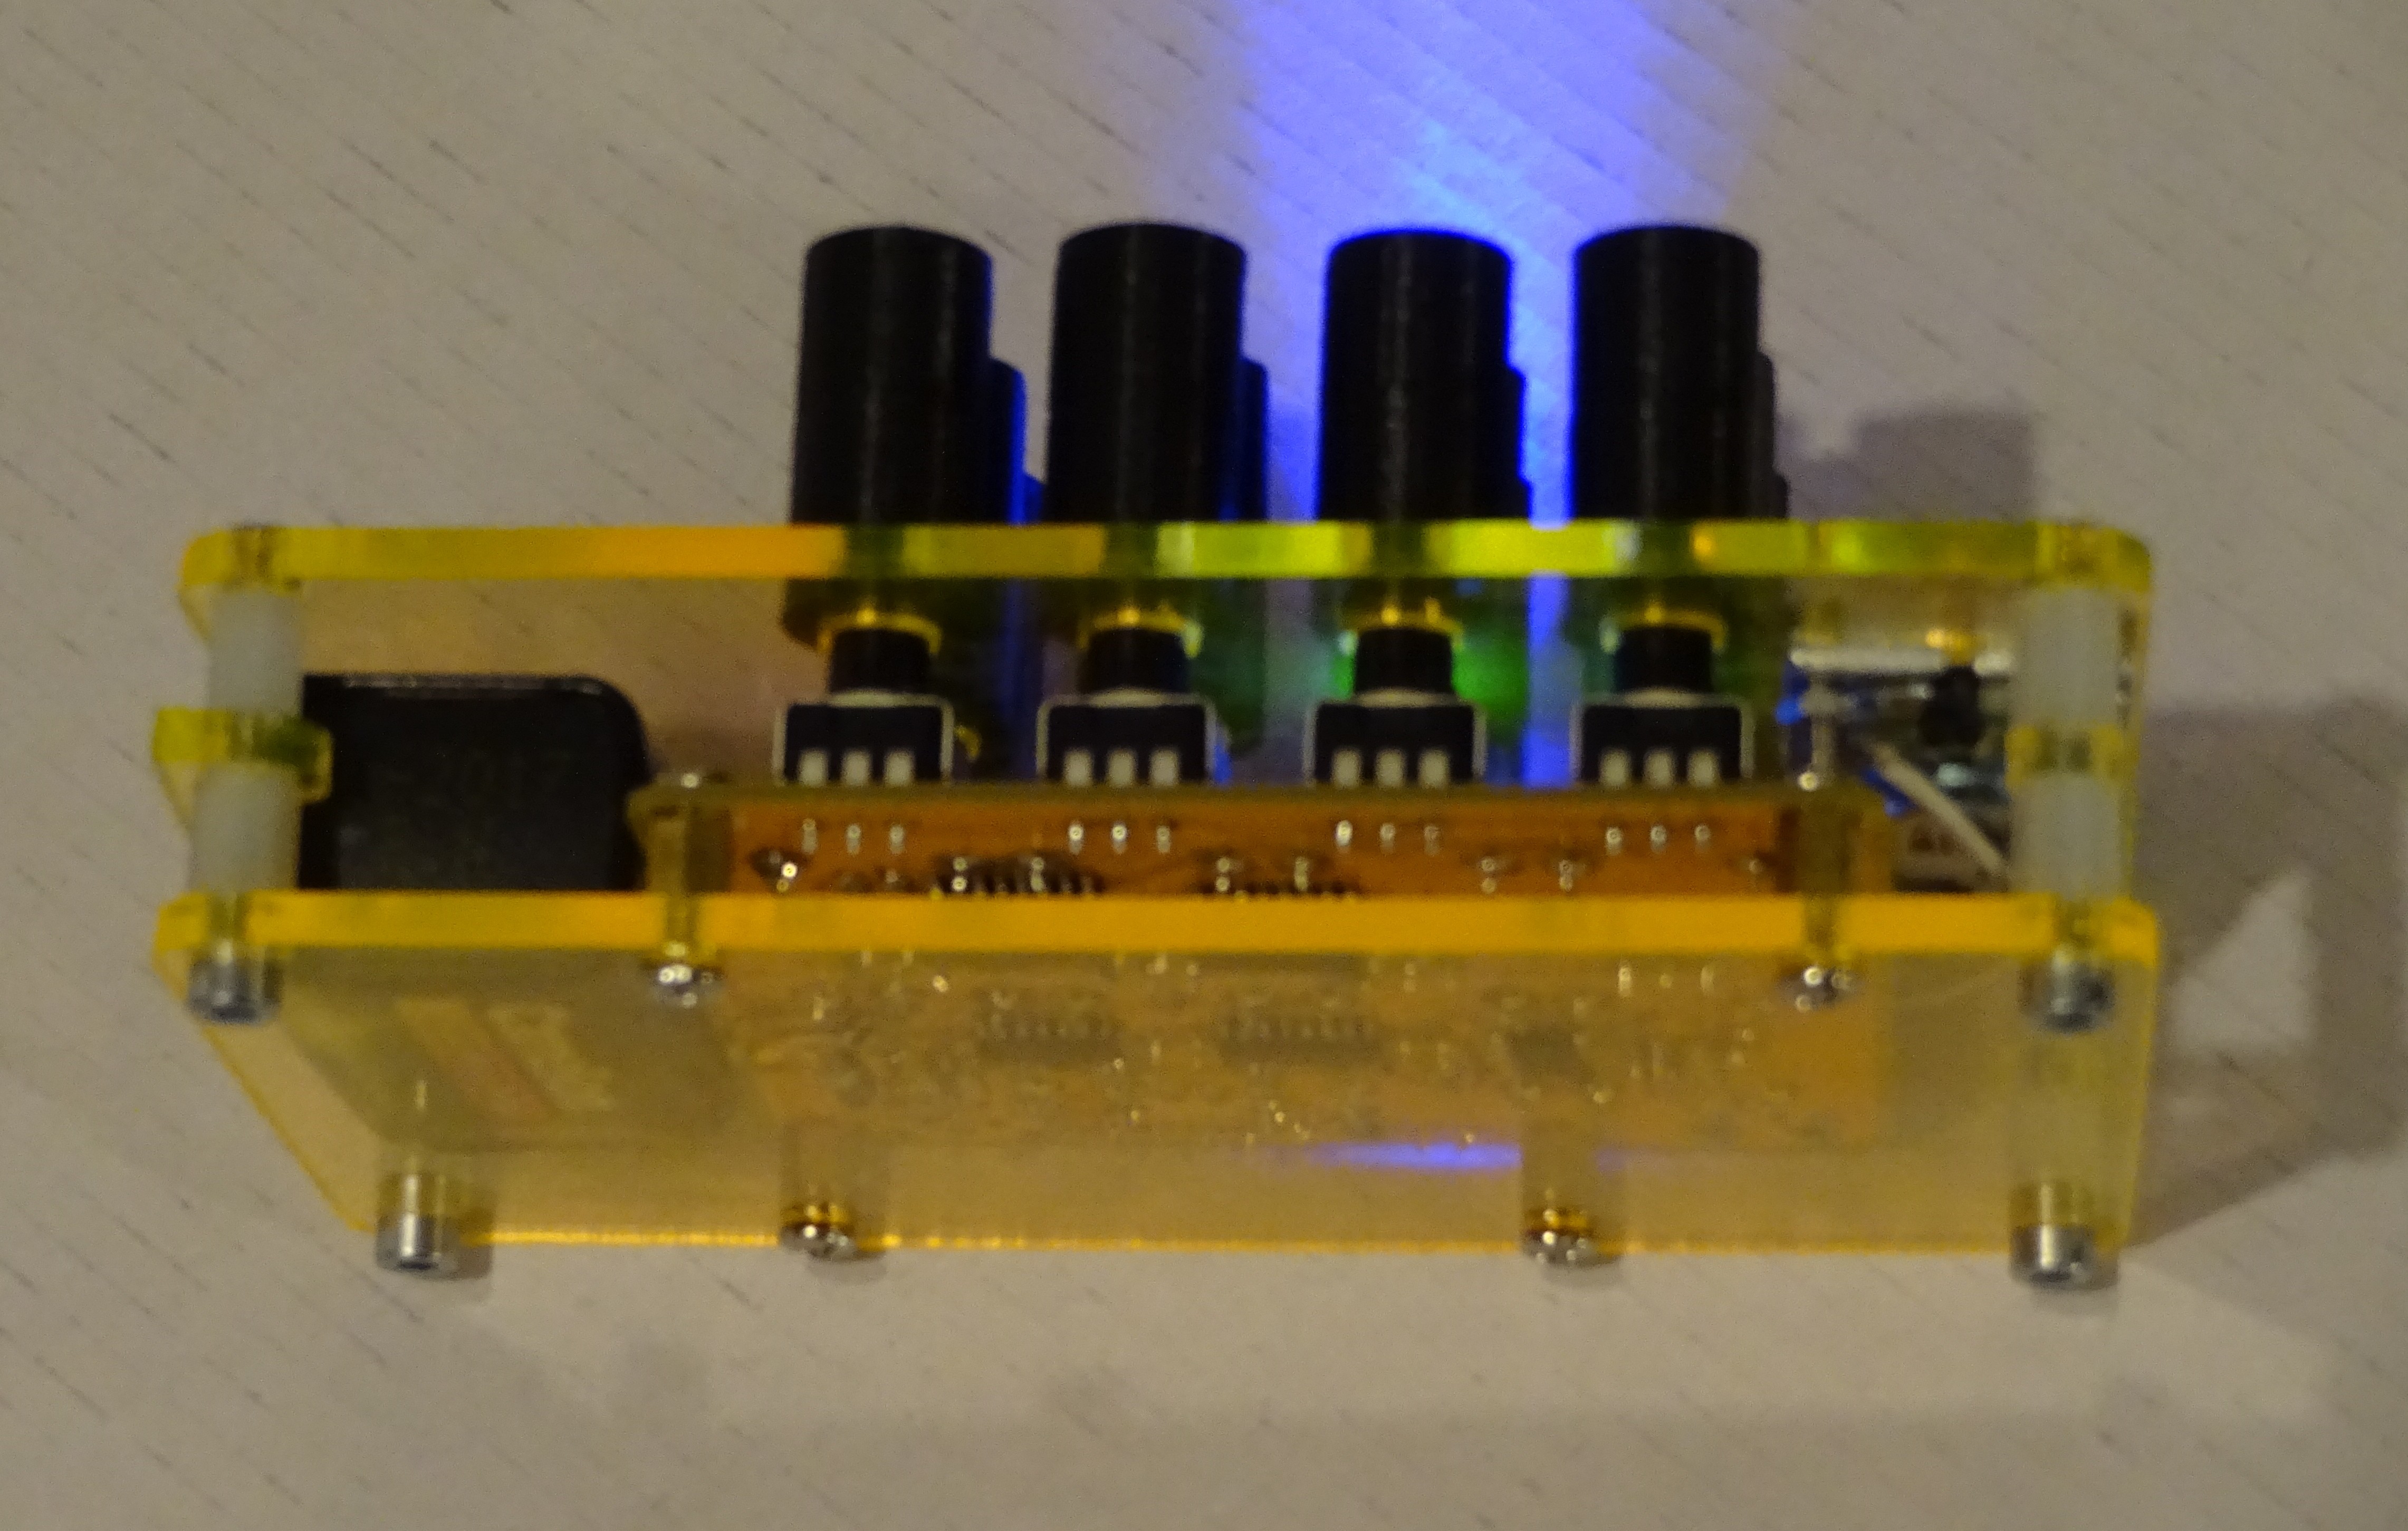
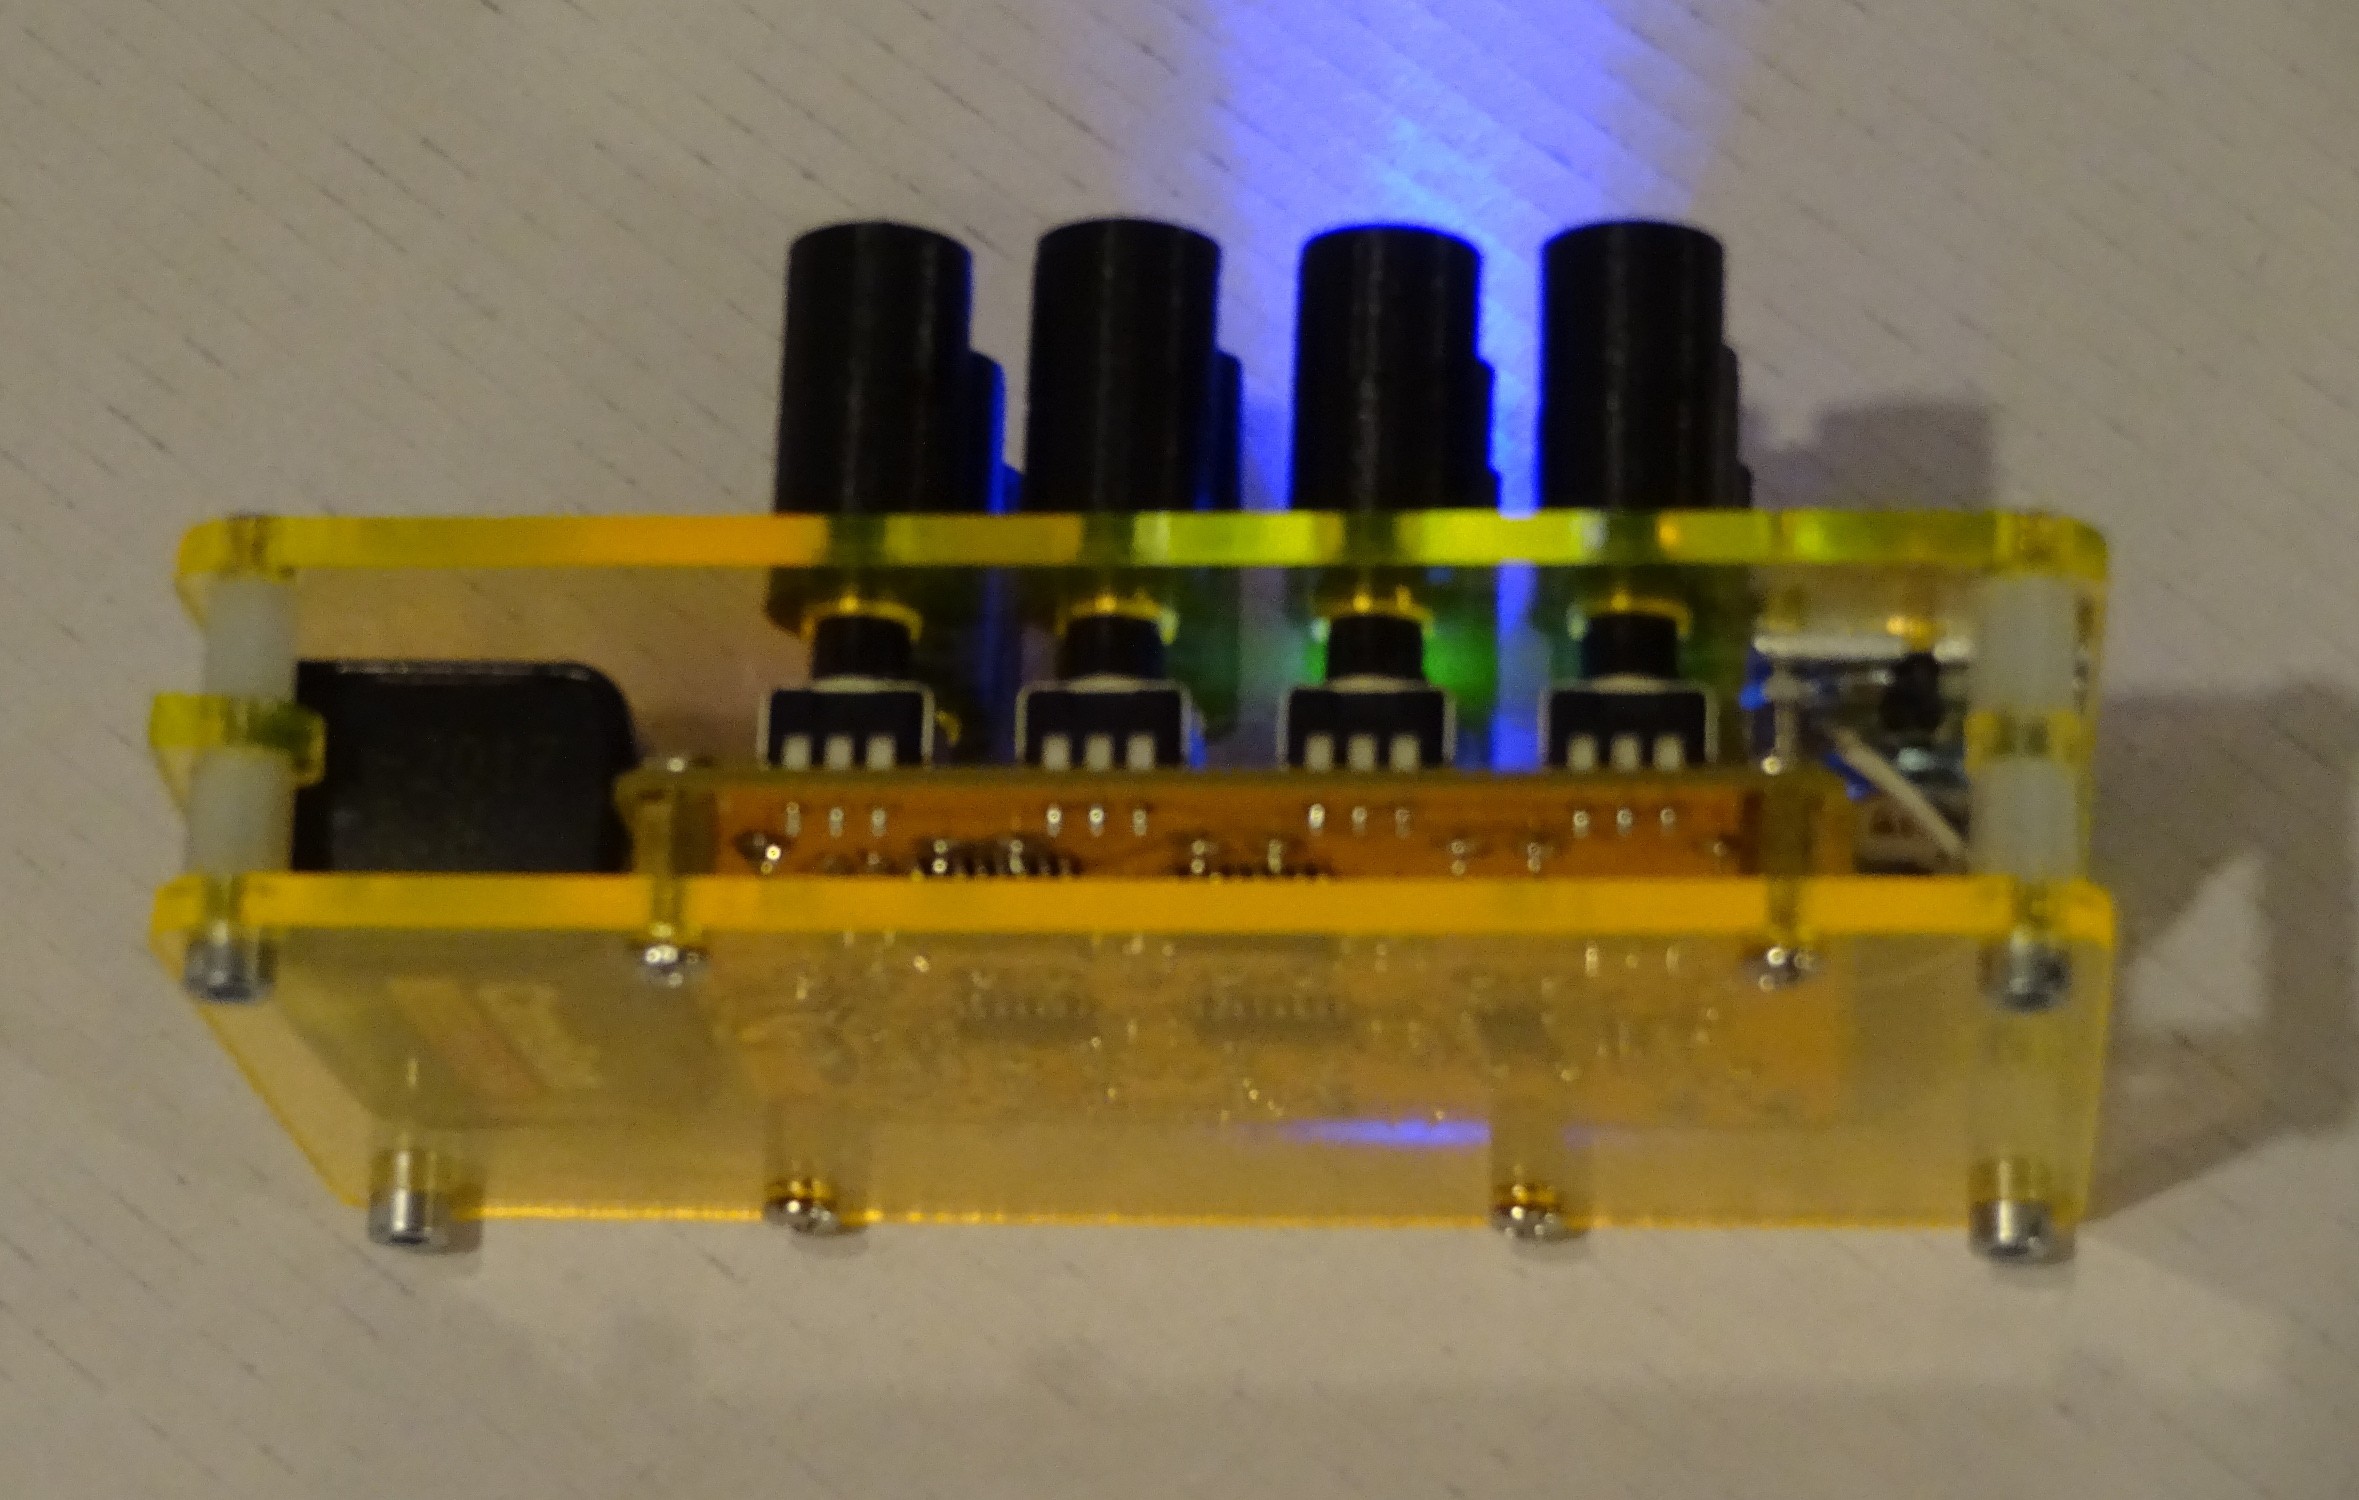
    My Zynthia is some kind of ready now! It got a an acrylic case now. The circuit is based on one of  @davedarko 's project. #zynthia - sequencer synthesizer 

  • #6 Zynthia

    Alex09/16/2017 at 15:20 2 comments

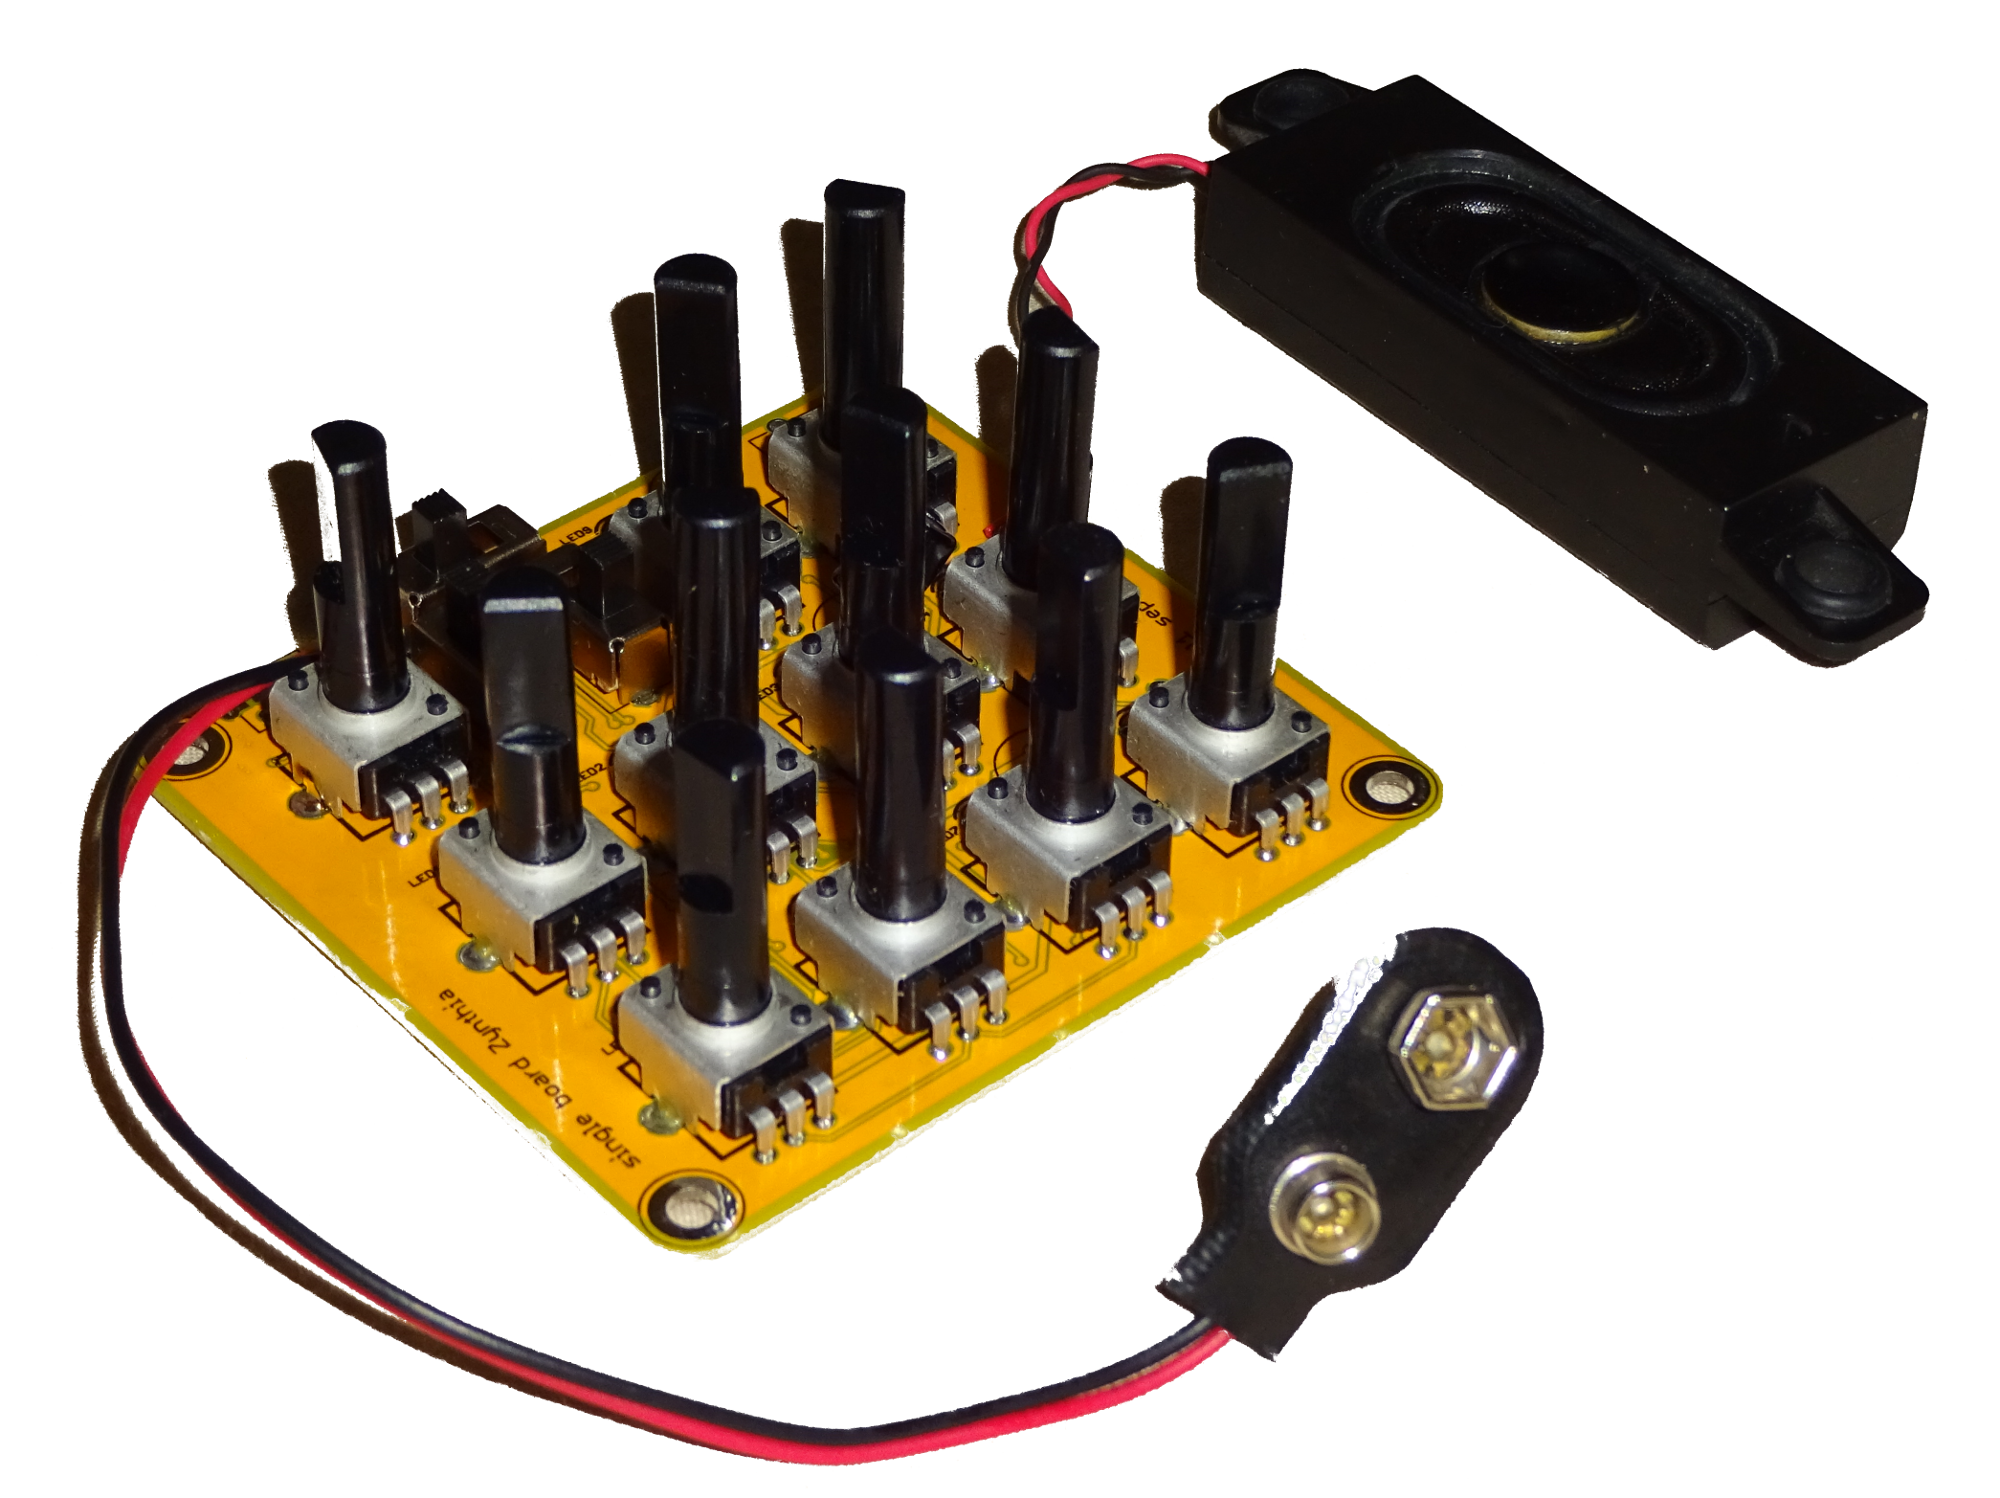
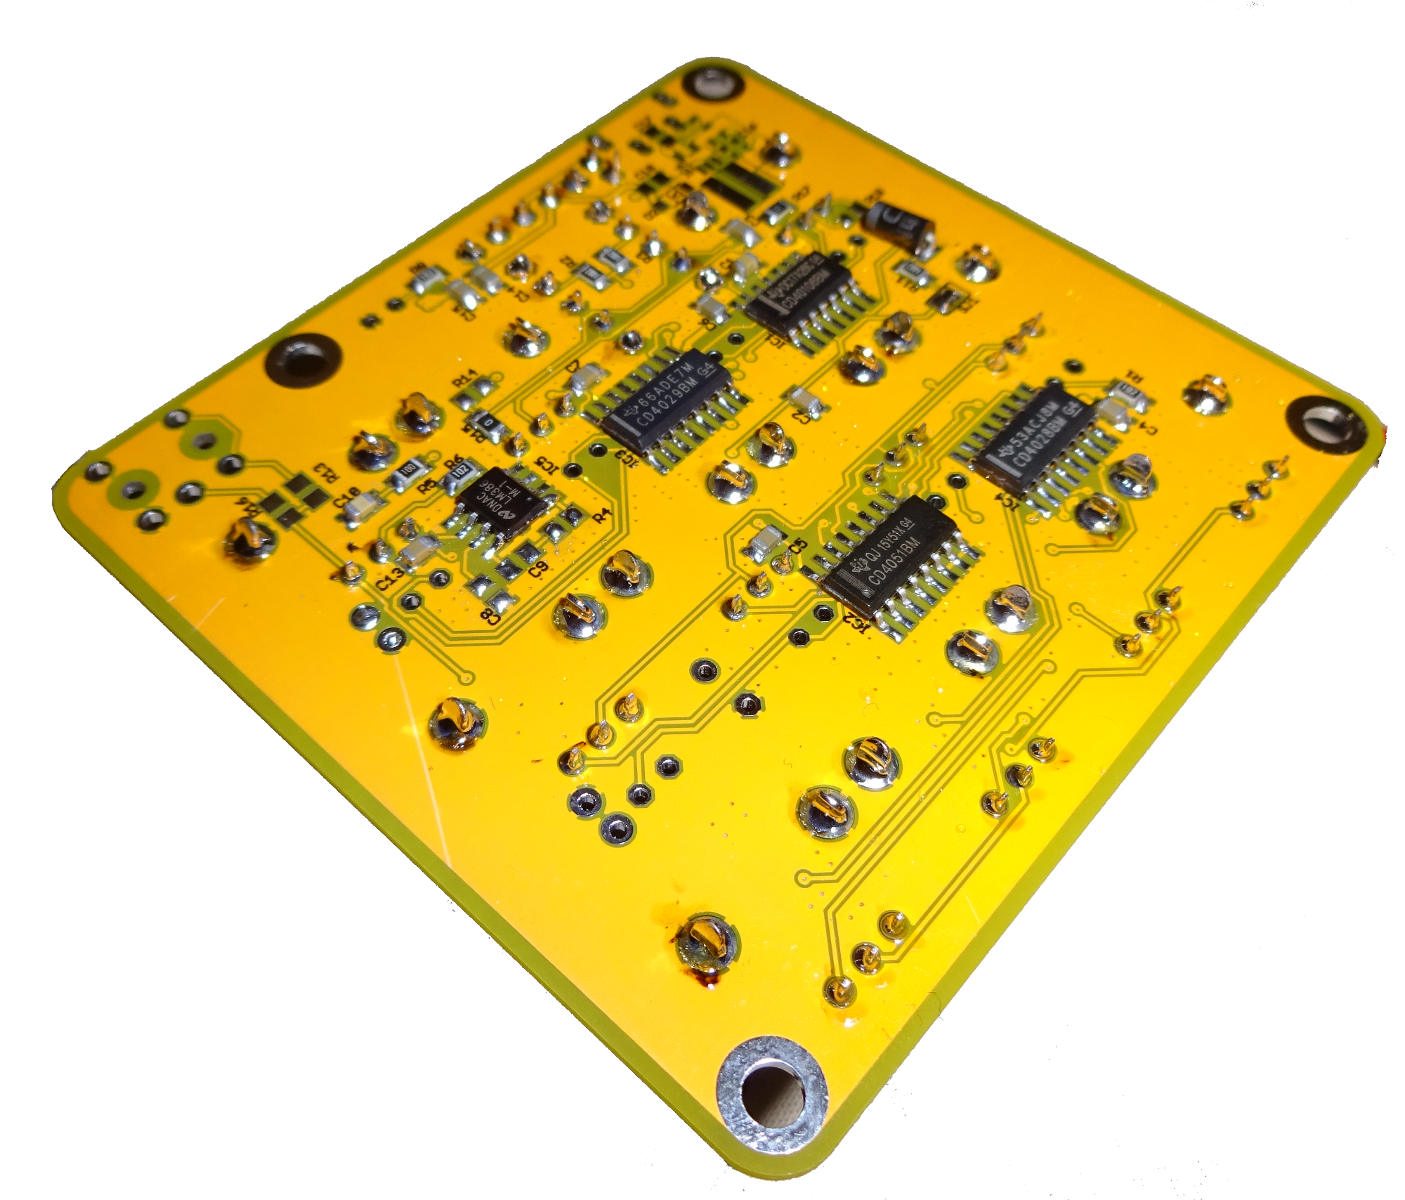
    Again based on one of  @davedarko 's project. A one board version of #zynthia - sequencer synthesizer 

    The PCB is 58x64 mm. I did not populate the LEDs so far and I will also make a Laser cut Front panel. There will be an update soon. 

  • #5 PCB Word Clock

    Alex02/19/2017 at 00:29 9 comments

    some kind of combination of :

    @davedarko's #PCB word clock and

    @Daniel Rojas's #Micro Word Clock

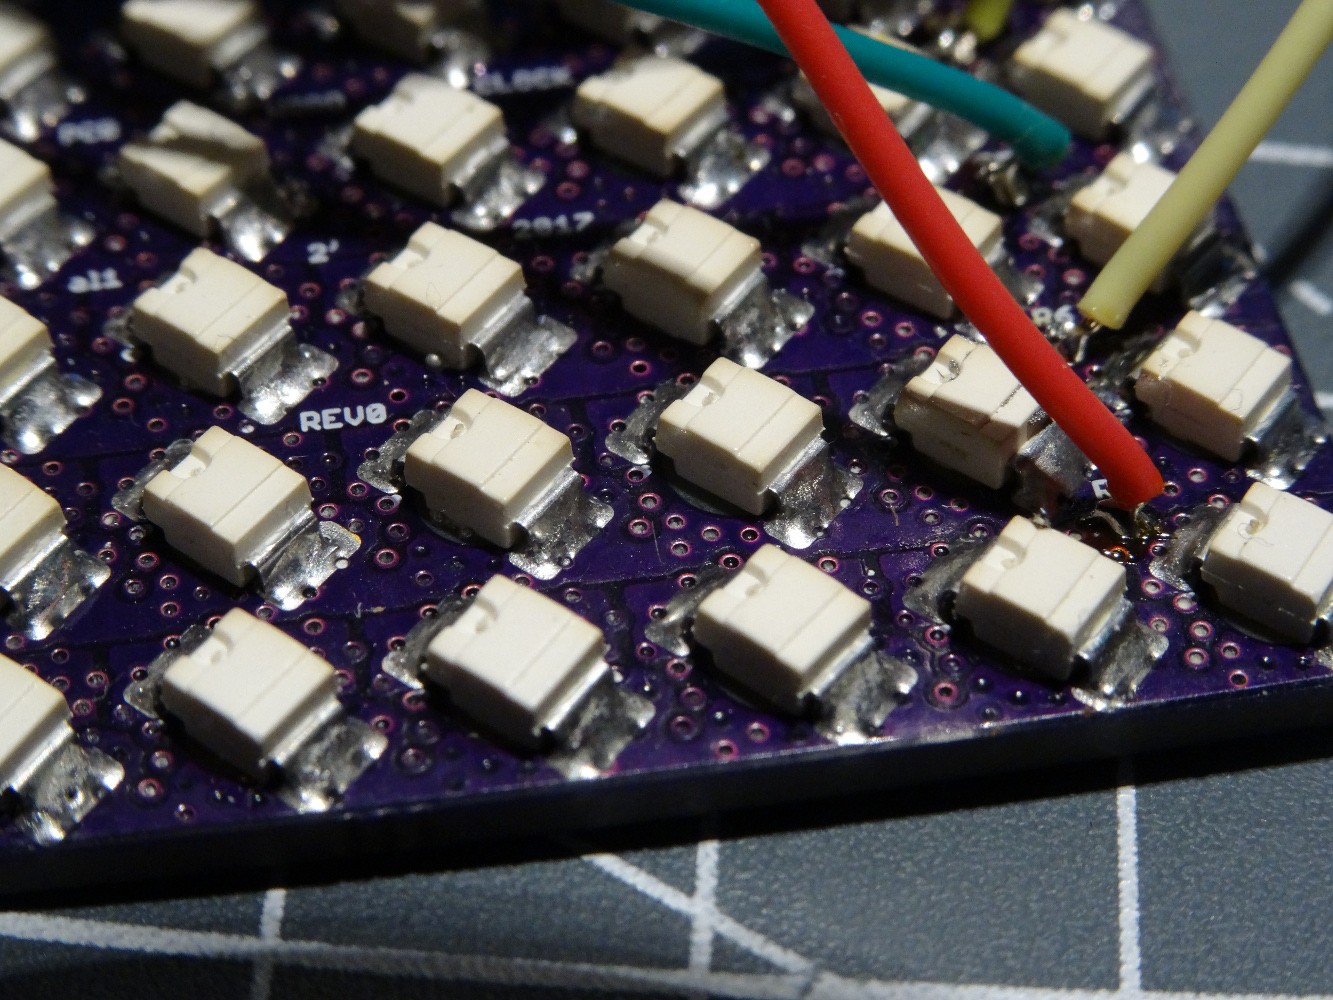
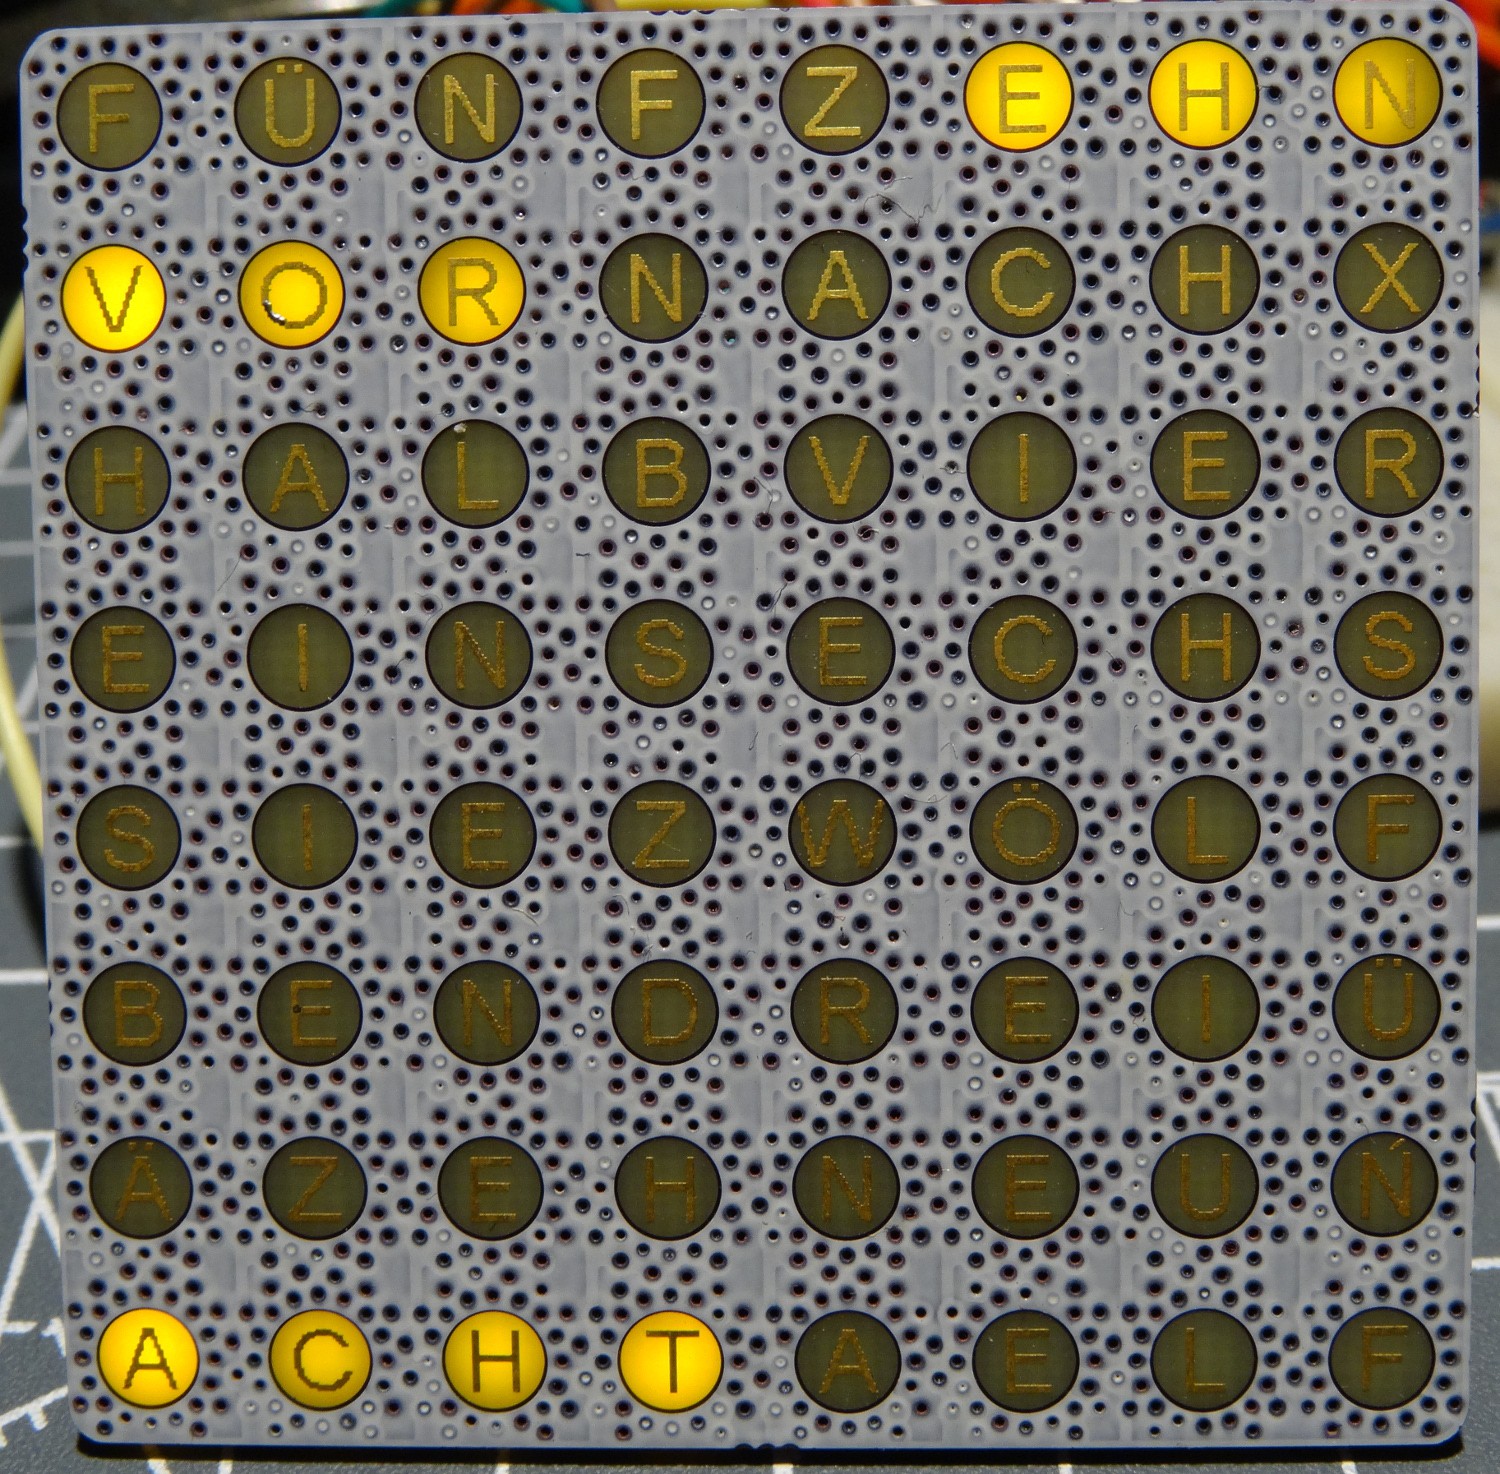
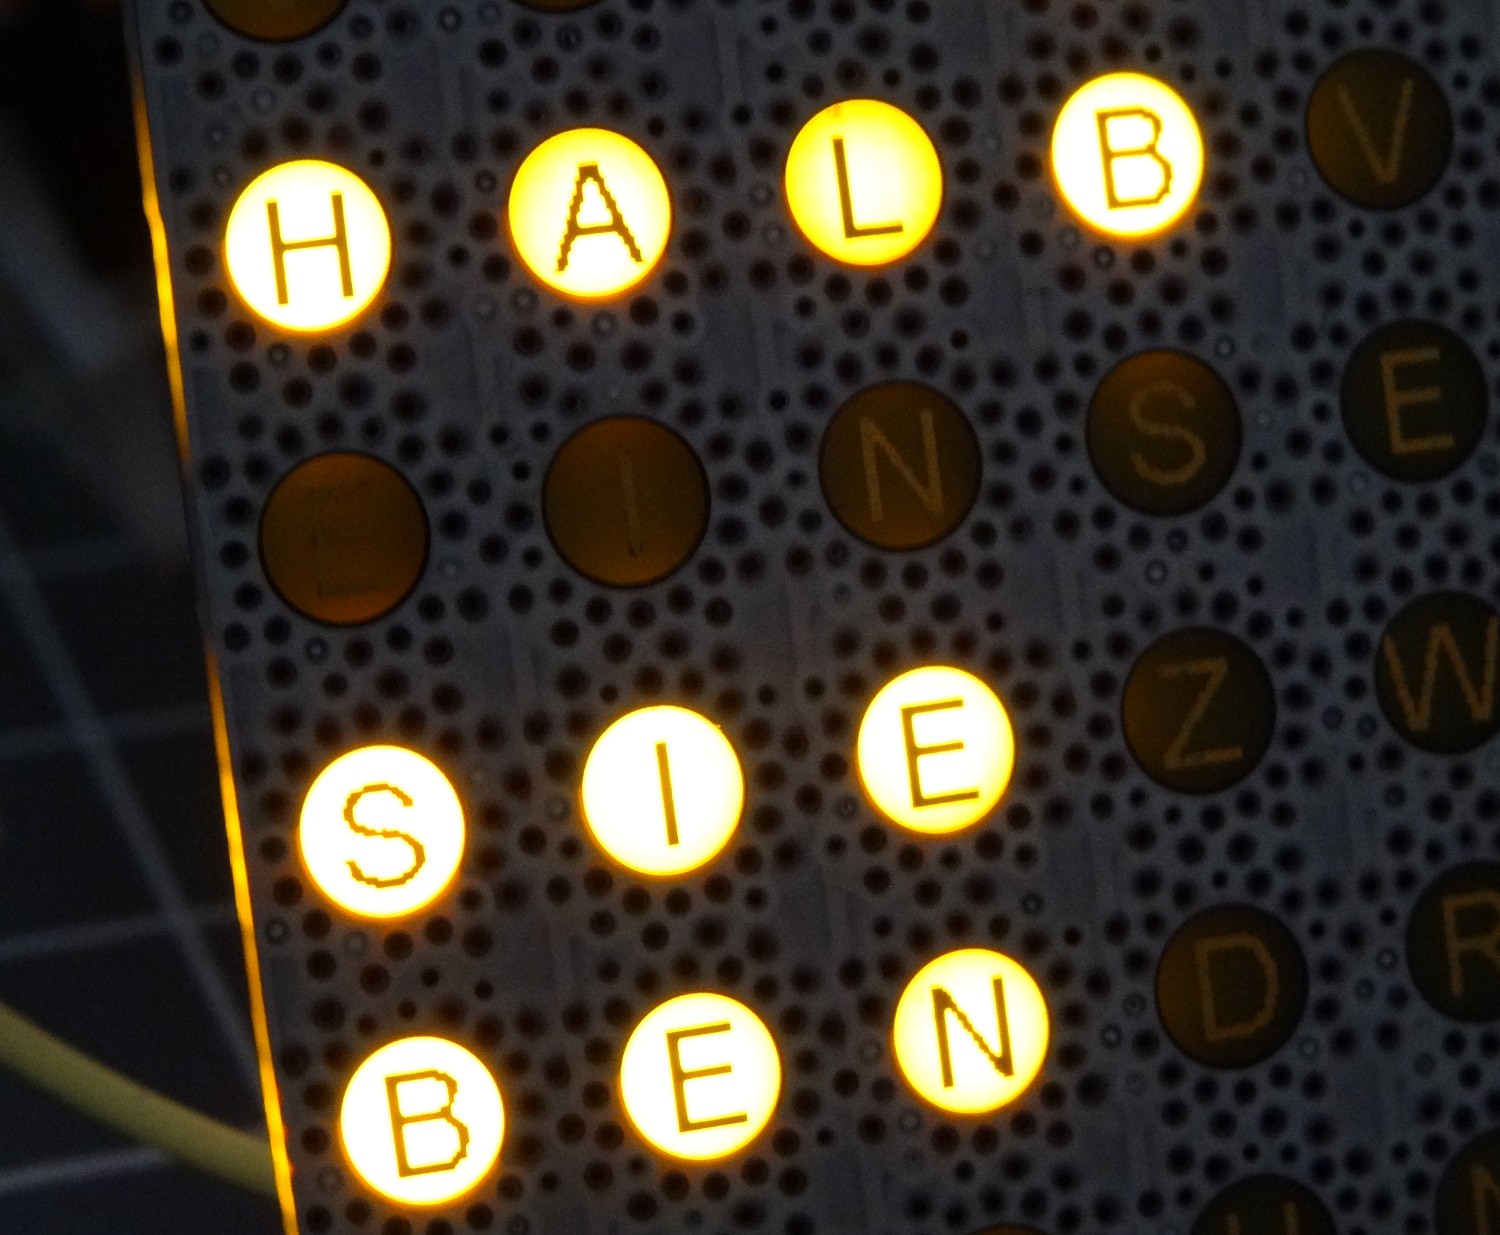
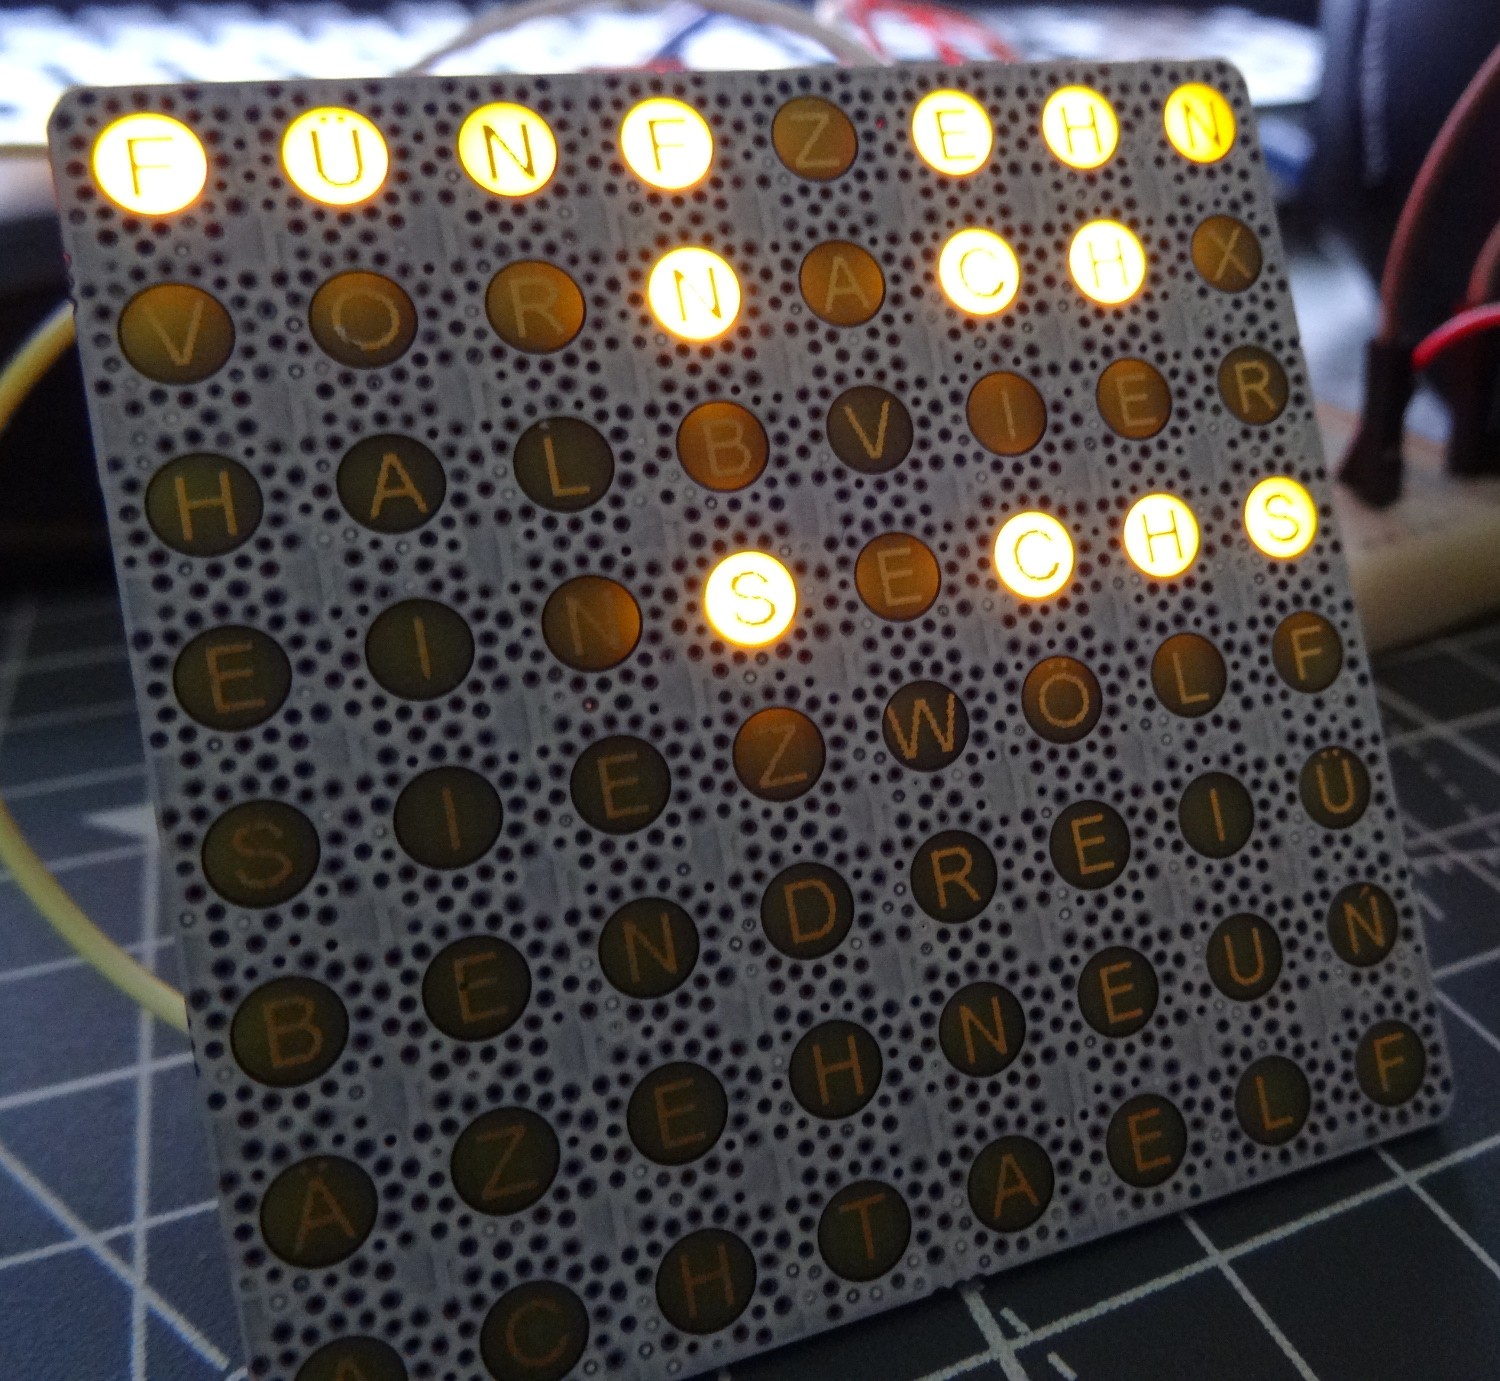
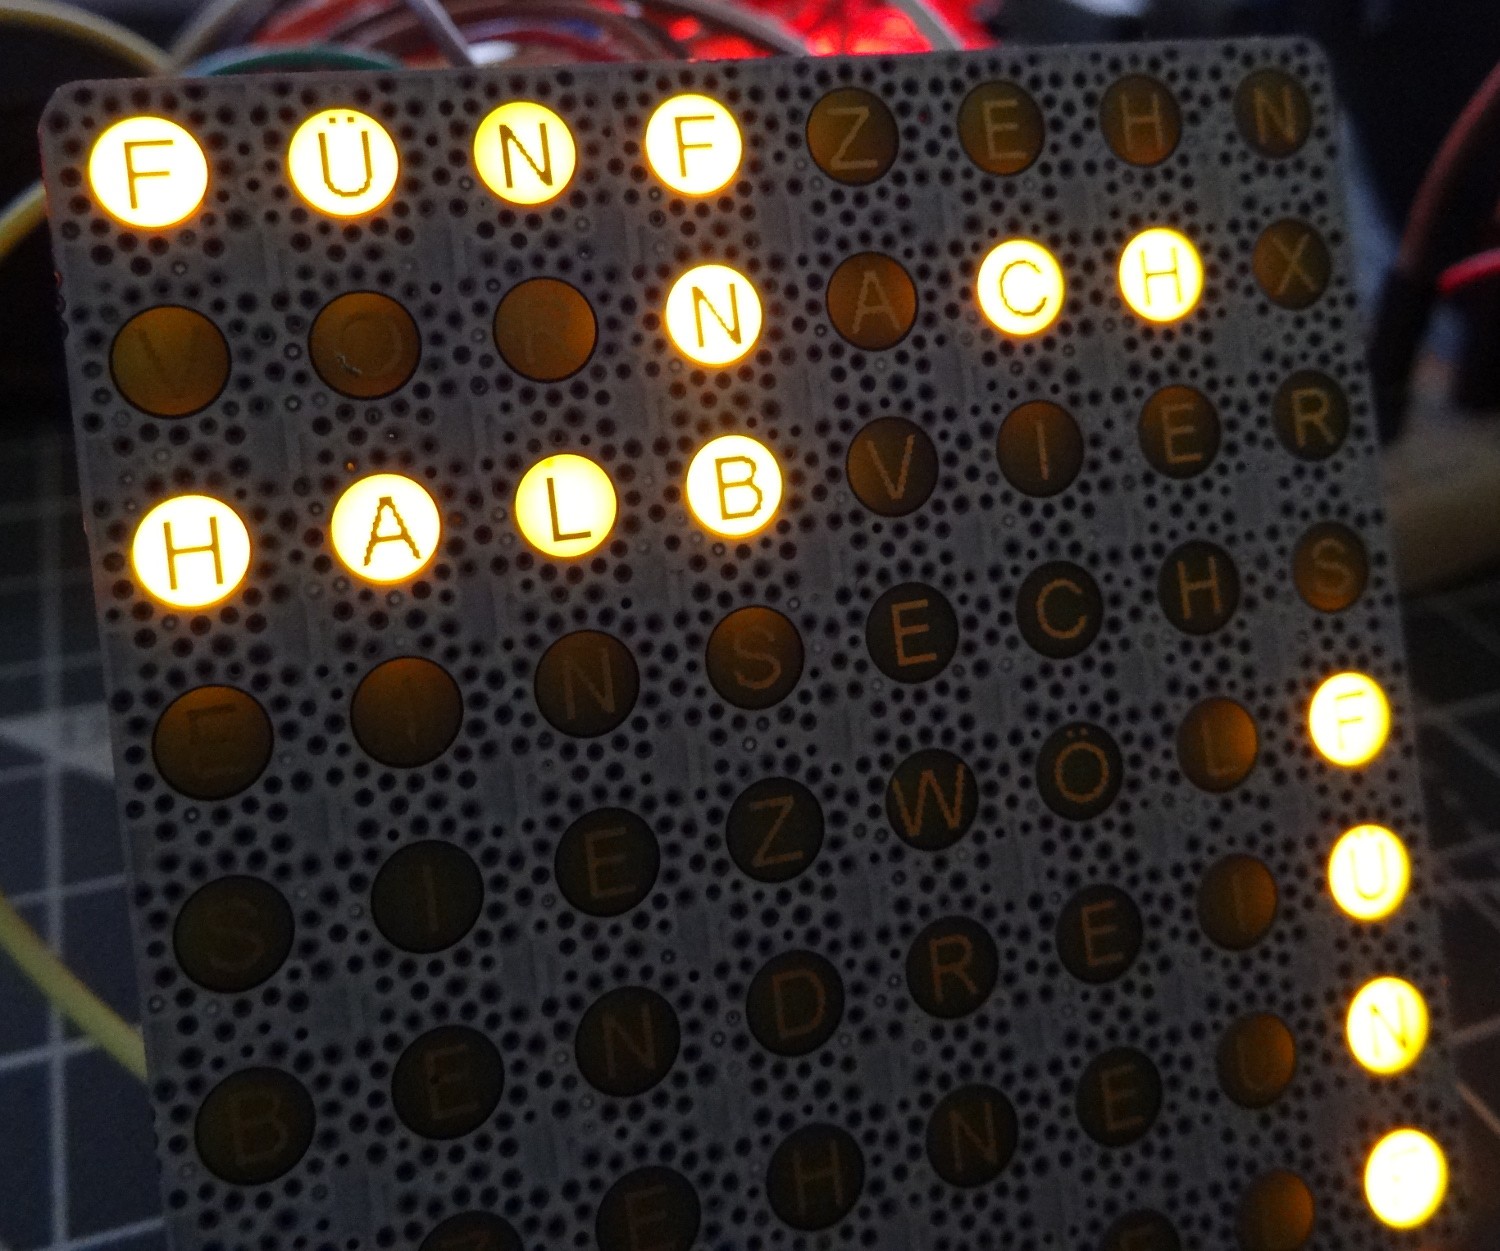
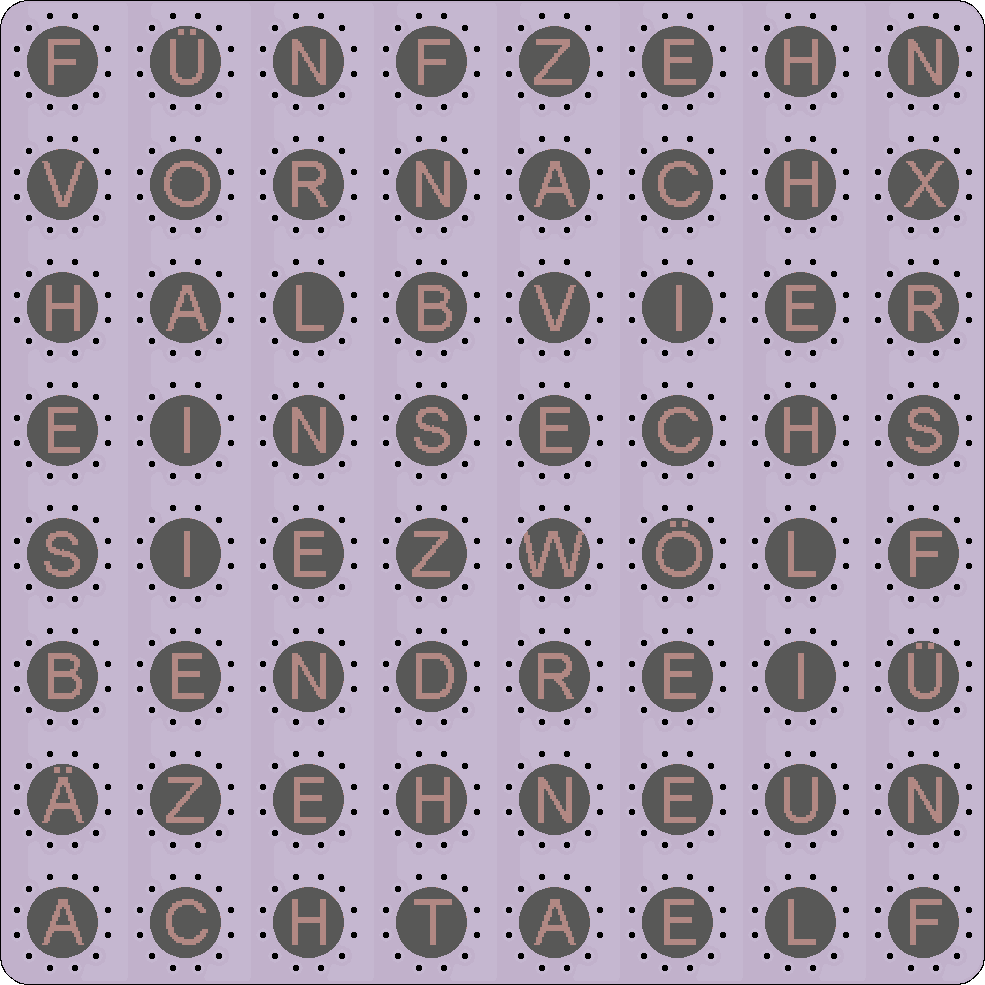
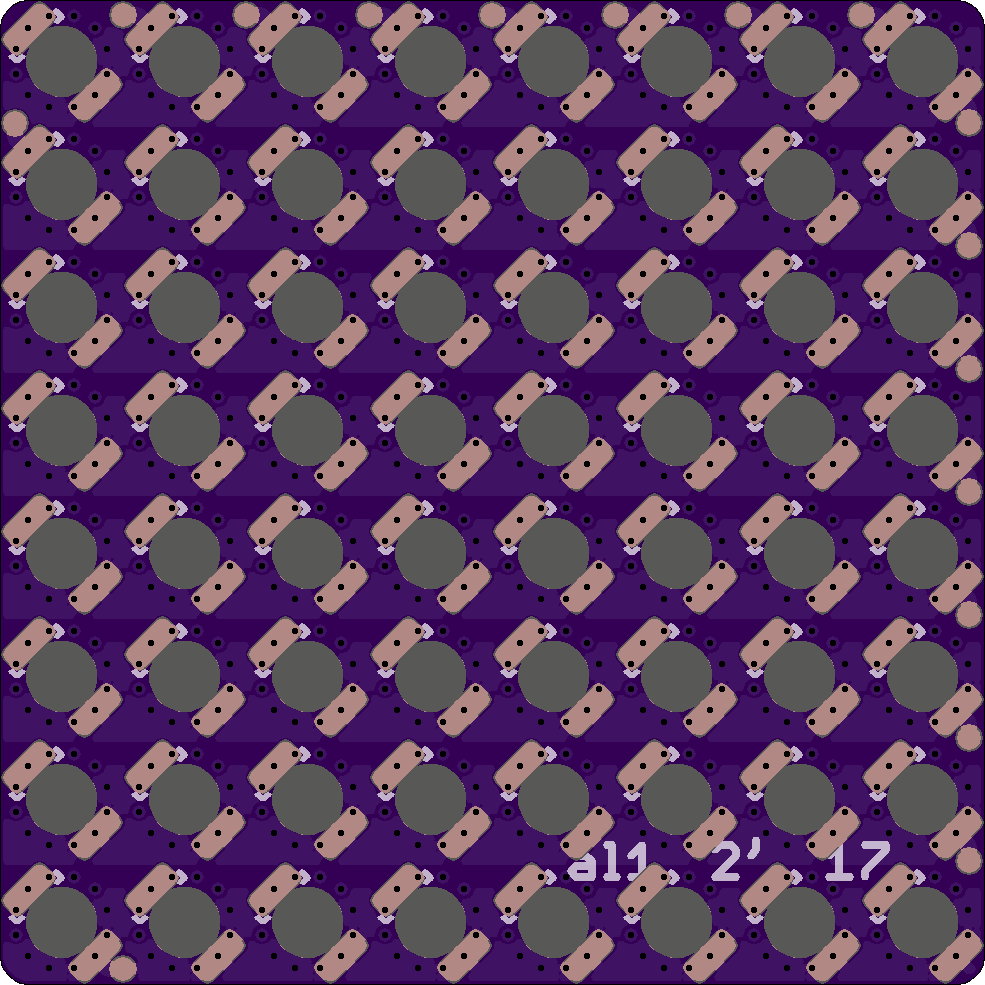
    A 8x8 PCB based German Word clock with LEDs shining through the PCB. As LEDs I will use LEDs with are made for reverse mount (link Osram Datasheet). I also added vias to avoid bleeding/overlapping of light. Not really sure if needed or not but there is is enough place for vias.

    https://644db4de3505c40a0444-327723bce298e3ff5813fb42baeefbaa.ssl.cf1.rackcdn.com/7baaf8116cda9842694644413e3617c4.png

    PCB preview rendered with OSH-PAak's web interface

    https://644db4de3505c40a0444-327723bce298e3ff5813fb42baeefbaa.ssl.cf1.rackcdn.com/bd9c4fd5a6986e1f082ec11bfb27d384.png

    PCB Back

    http://www.osram-os.com/Graphics/medium/XPic2/00141114_0.jpg

    Used LED type (image from Osram's website)

    Some facts:

    • LEDs wired as normal 8x8 Matrix
    • Connection by wires attached to the test pads at the side or directly at LED pads
    • The LEDs were first the board was designed to this type of LEDs
    • The dimension is 5x5 cm so cheap Chinese manufacturing would be possible.
    • Controlling Planned with Some kind of microcontroller board without pin headers (Arduino Nano or similar) Wired to the row/coll connectors on the back
    • PCB is not yet ordered (after midnight).

  • #4 LED projector

    Alex06/11/2016 at 17:48 3 comments

    Iinspired by #Pi Zero IOT Led Matrix Beamer but no ikea lamp. And no text display yet. Just an old projector an my #384:LED taped together. More coming....

  • #3b Servo Controller

    Alex01/24/2016 at 12:26 0 comments

    I did had some trouble with the long pin headers when trying to desolder the Arduino again to change the resonator. The resonator is between the two PCBs in this setup. I do not think I will get this repaired again. Mostly out of frustration about this this I was thinking about a single PCB solution. I ended up with this:

    Because this will be to much for this project (Which will be most about small 1-2 log long rebuilts), I did make a own project for this now: #SERVOcontrol.
    I did also begin to write some firmware. Eight Servos are running. More about the firmware soon in the new project.

  • #3 Servo Controller

    Alex01/13/2016 at 18:19 3 comments

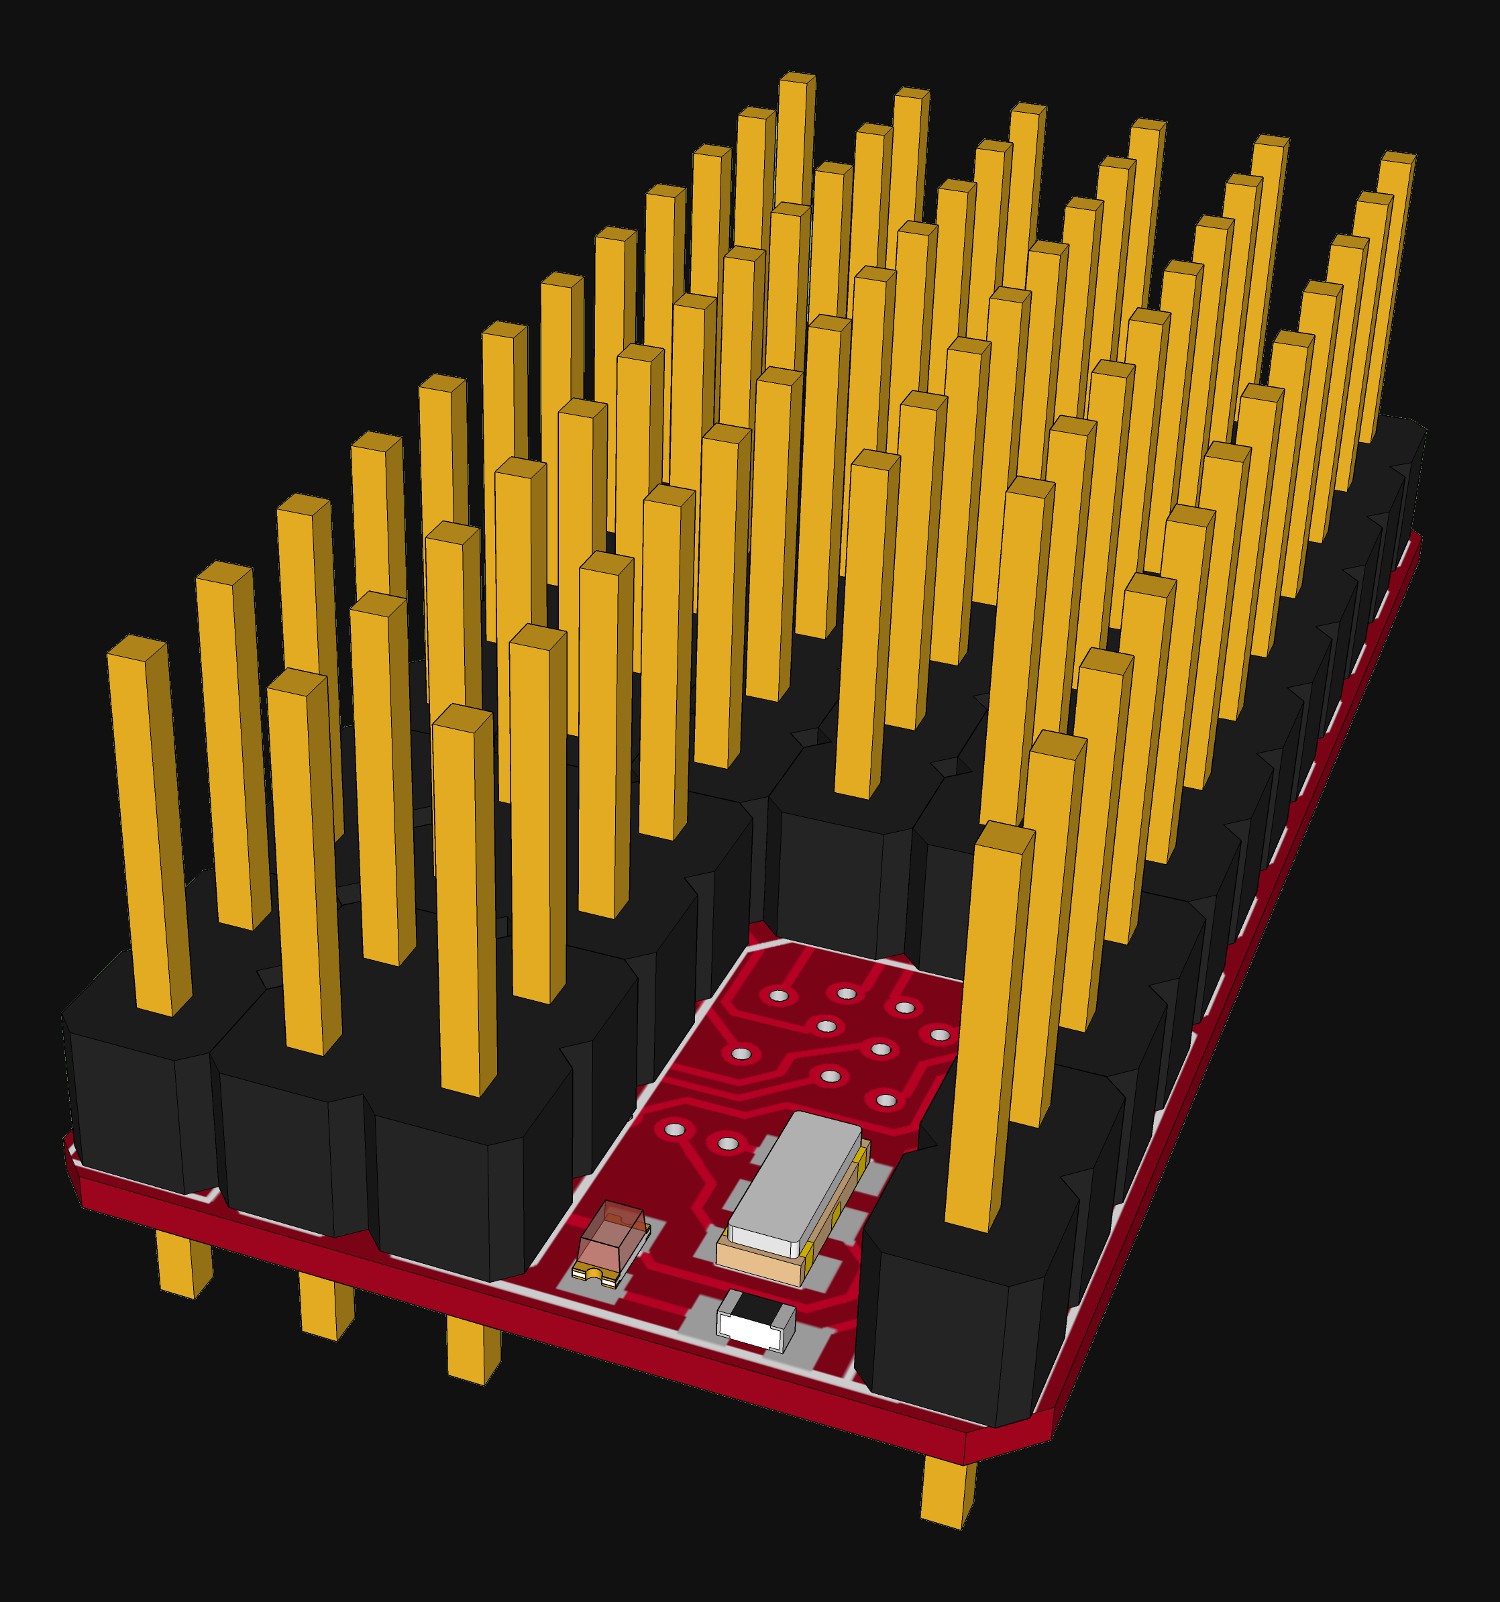
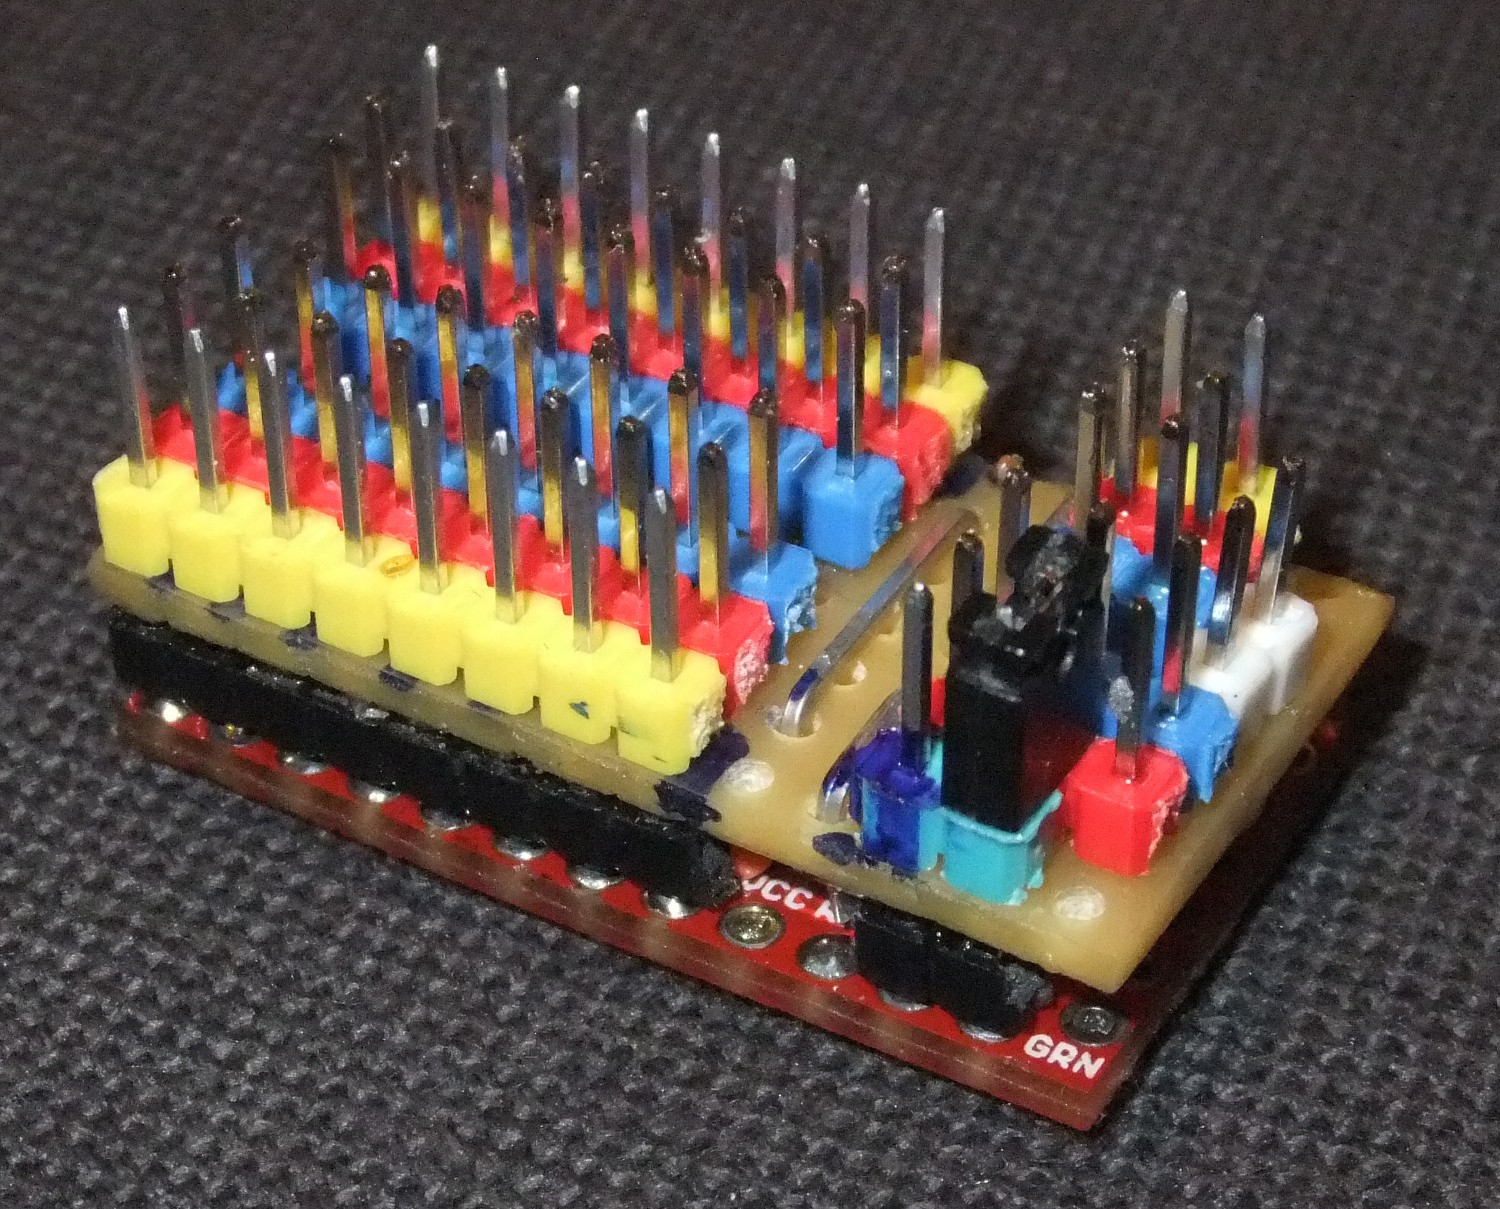
    This is a rebuilt of @Radomir Dopieralski 's #Servo Controller. It is a nice idea and a way to use my Arduino pro minis. I did not try software yet. Maybe I will write my own, but I do not know yet. At least the Hardware is ready:

    The outer pin header are longer so that they can be soldered to the Arduino and the prototype board. On the backside of the prototype PCB I did also solder some 100nF SMD capacitors. The i2c Bus, which is on some inner Pads on the Arduino, is connected via two wires with the two white pins. With the Jumper you can connect Vin of the Arduino with the Servo power rail.

  • #2 ESP-display-shield

    Alex01/03/2016 at 18:21 2 comments

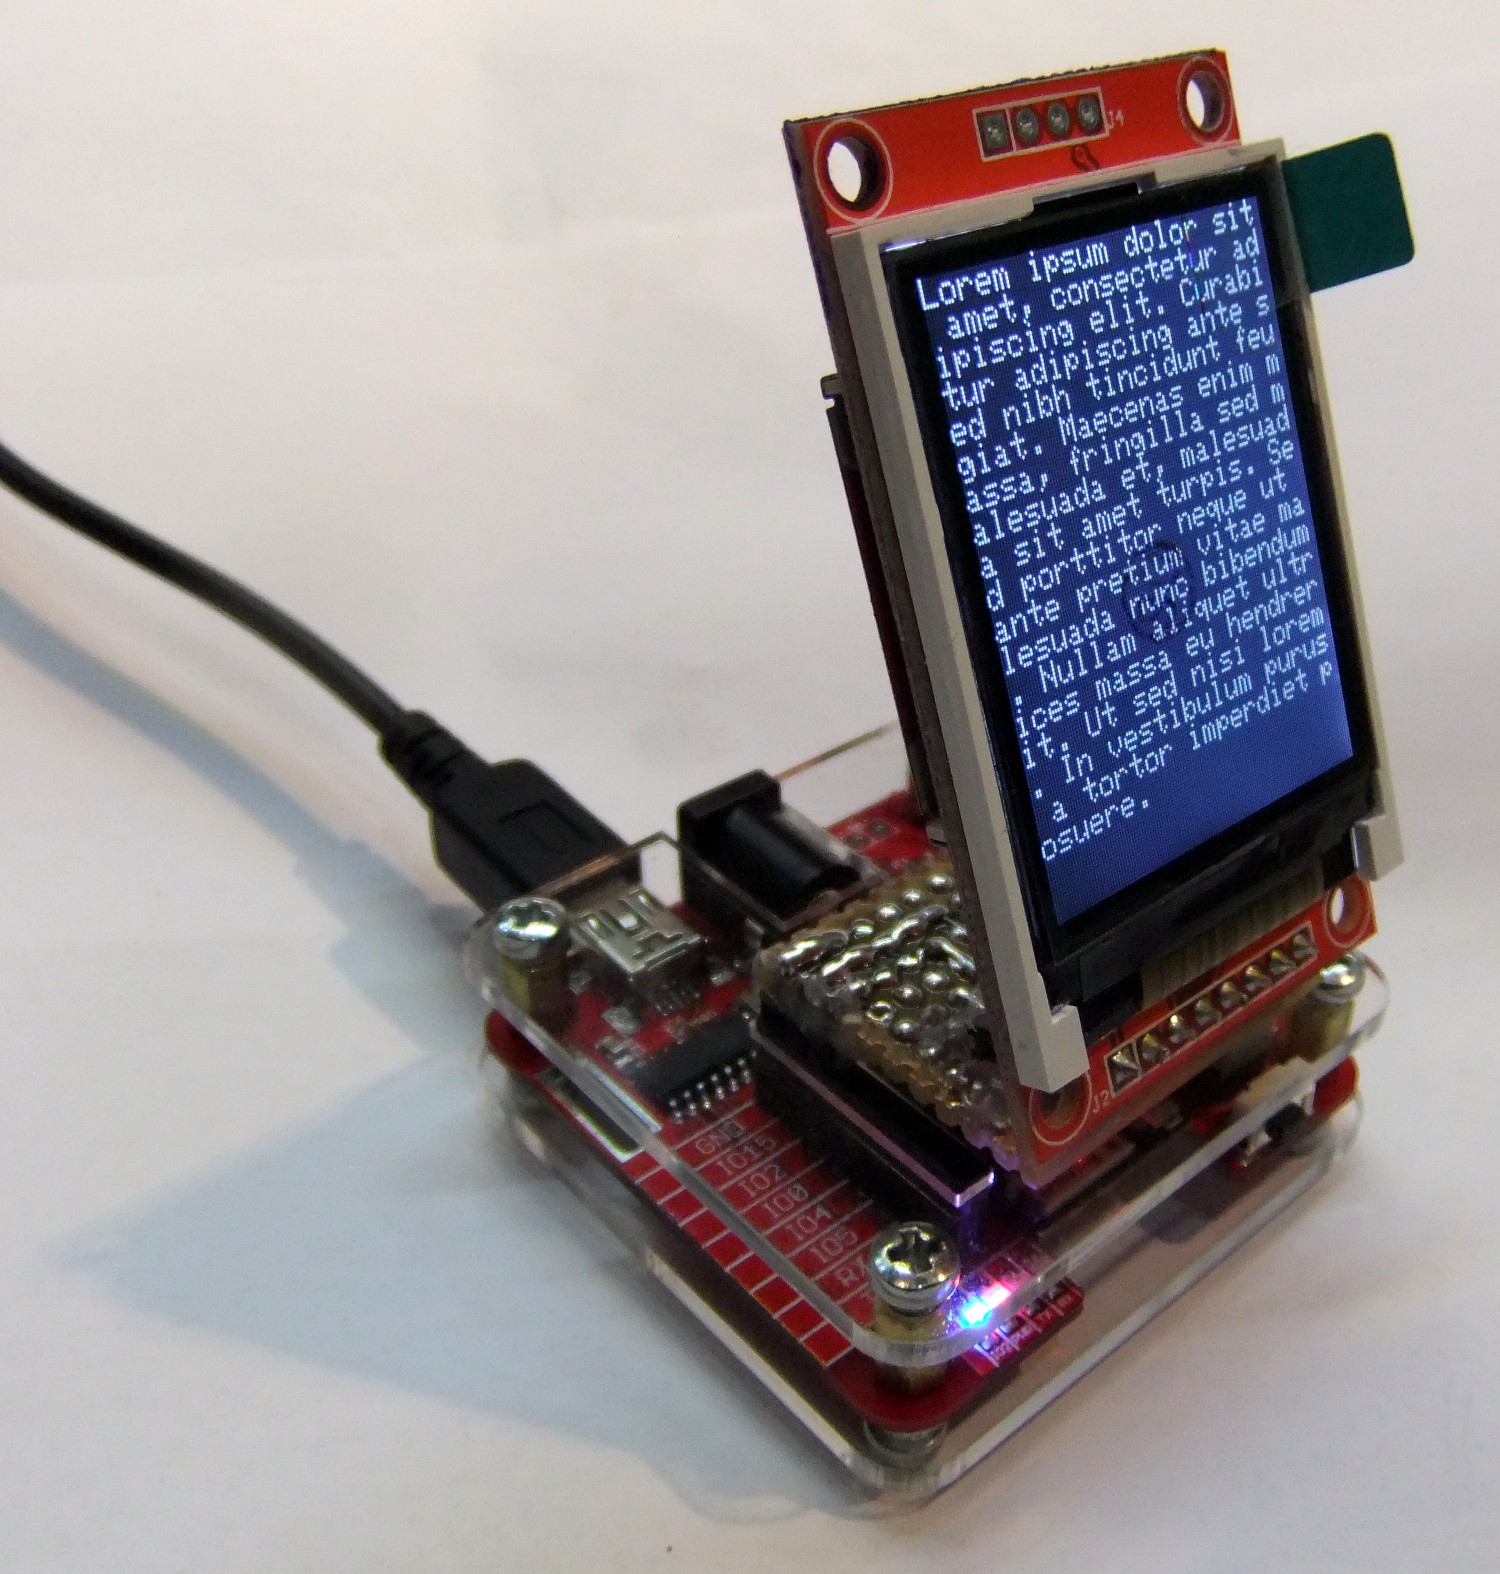
    As you could have noticed @davedarko and I did each built an ESP8266 development board. Because they are very similar I could copy his idea of a display shield. In his project #ESP8266 RFid reader you can see his way. I did rebuilt this idea to fit to my #ESP8266 (ESP-07/12) Dev Board (rev1-2). It should be the same display. I did use this library and the Arduino IDE to program the ESP.

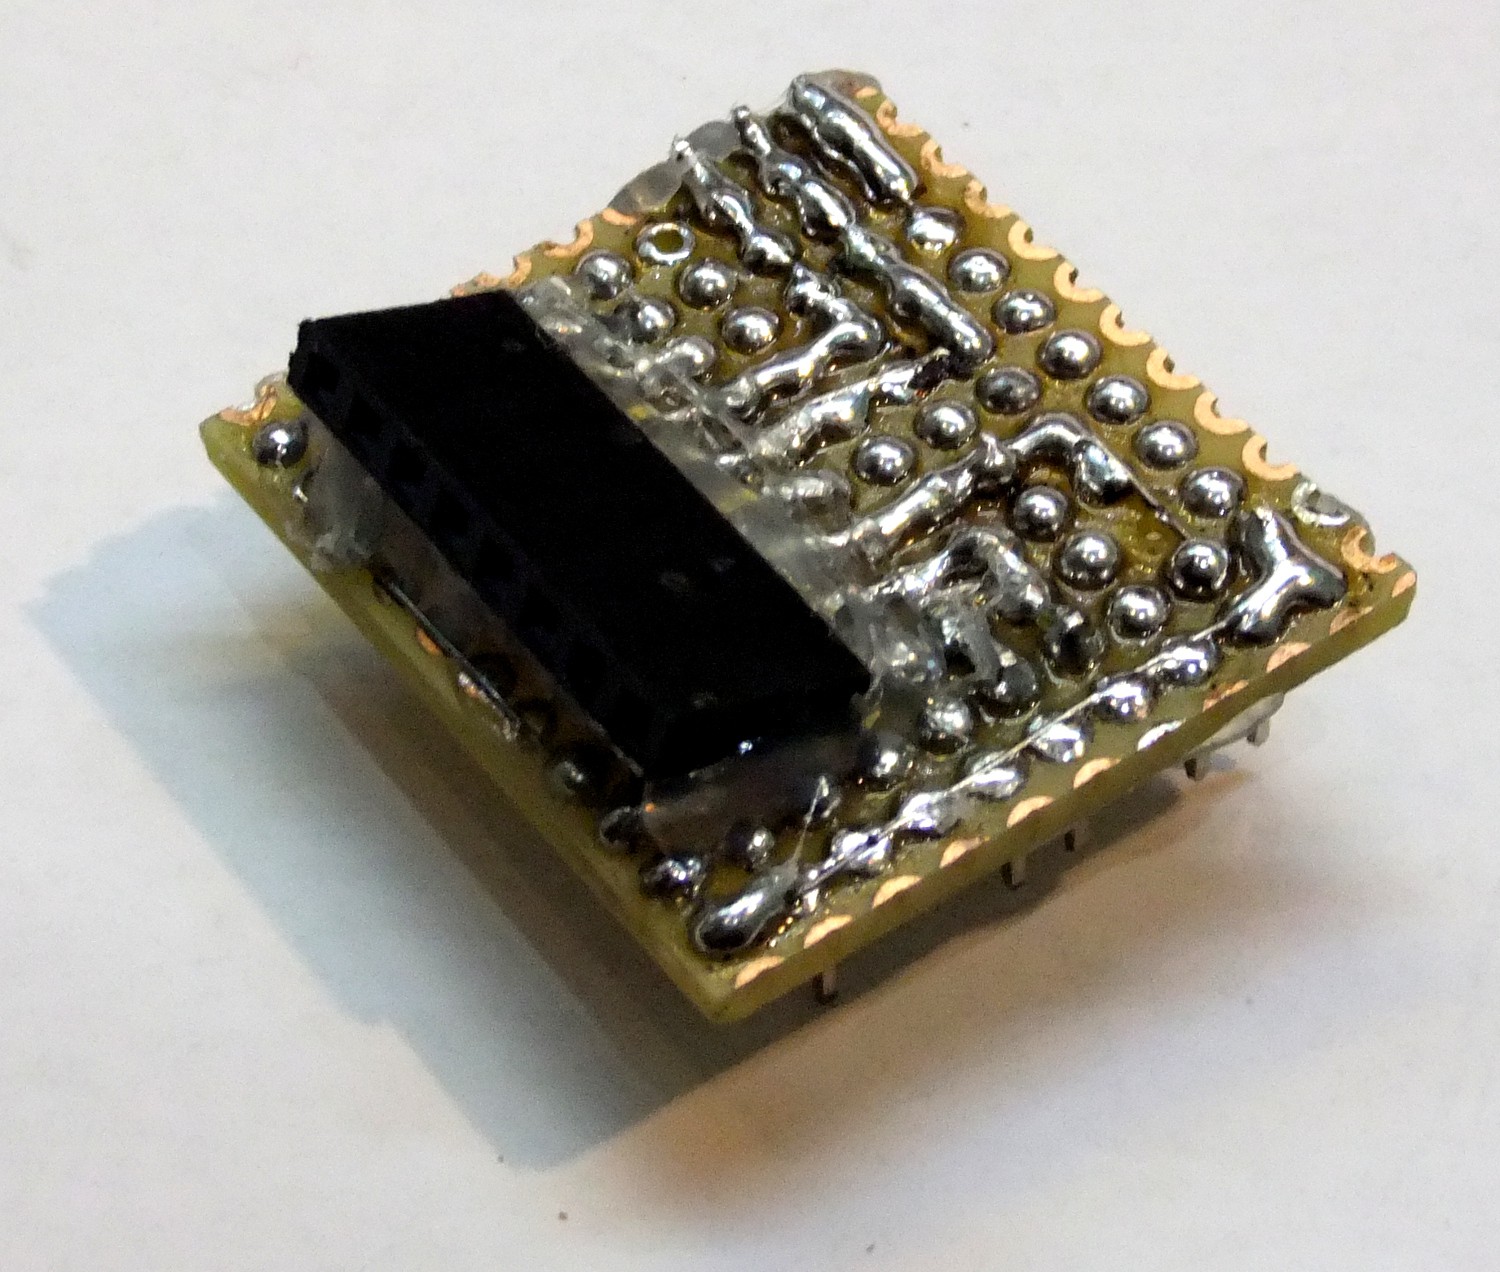
    The shield is made out of cheap prototype board, wires, solder tin and some pin headers:

    Together with display and ESP-board it look like this:

    I usually design these little prototype board also with eagle, so If you are interested in the "layout" of the prototype board (the blue layer is top in this case):


  • #1 LED Polyhedron

    Alex01/02/2016 at 23:19 0 comments

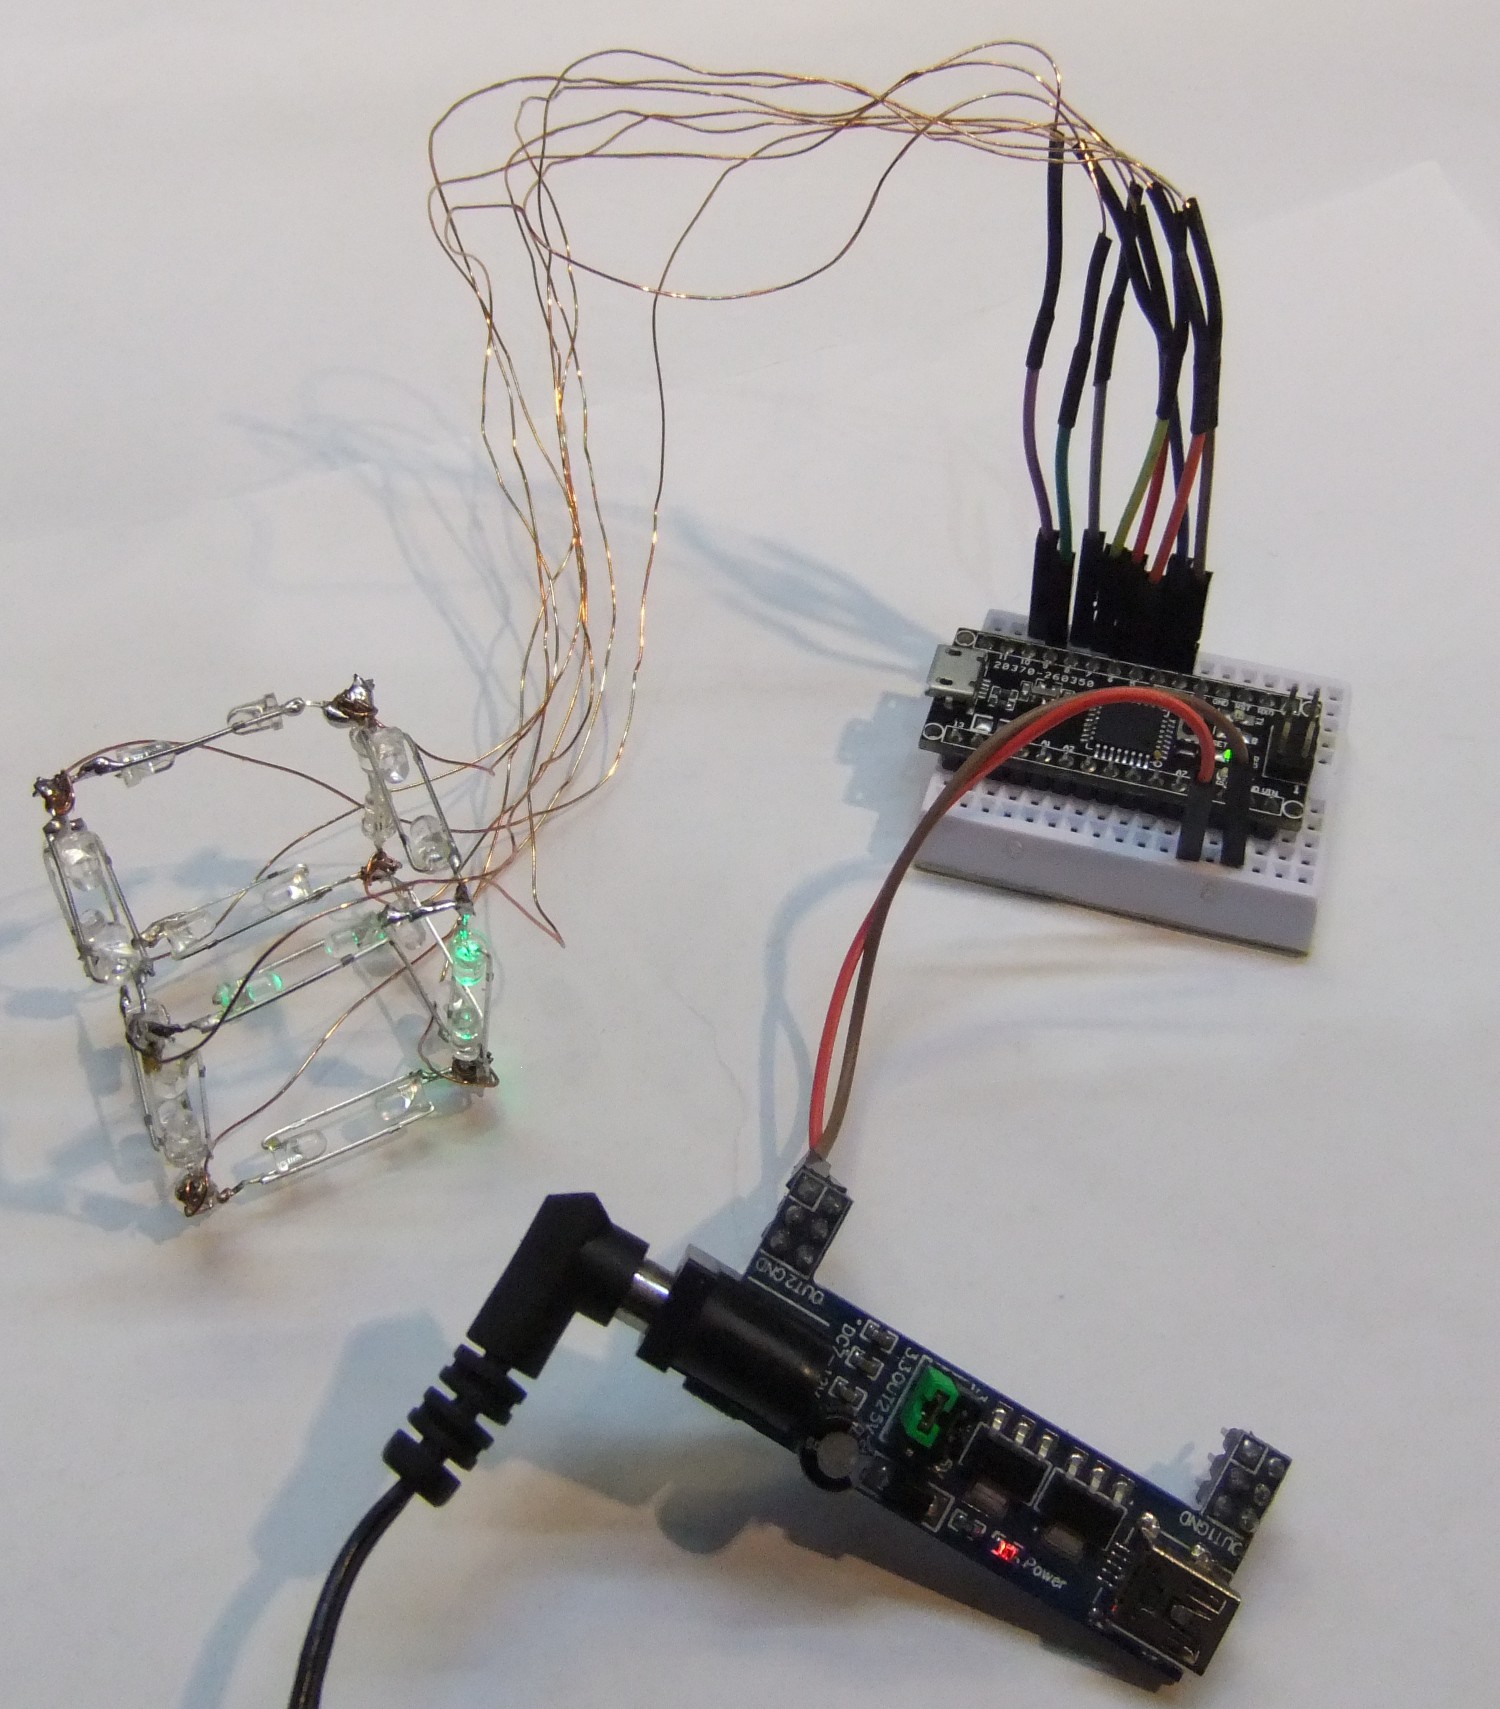
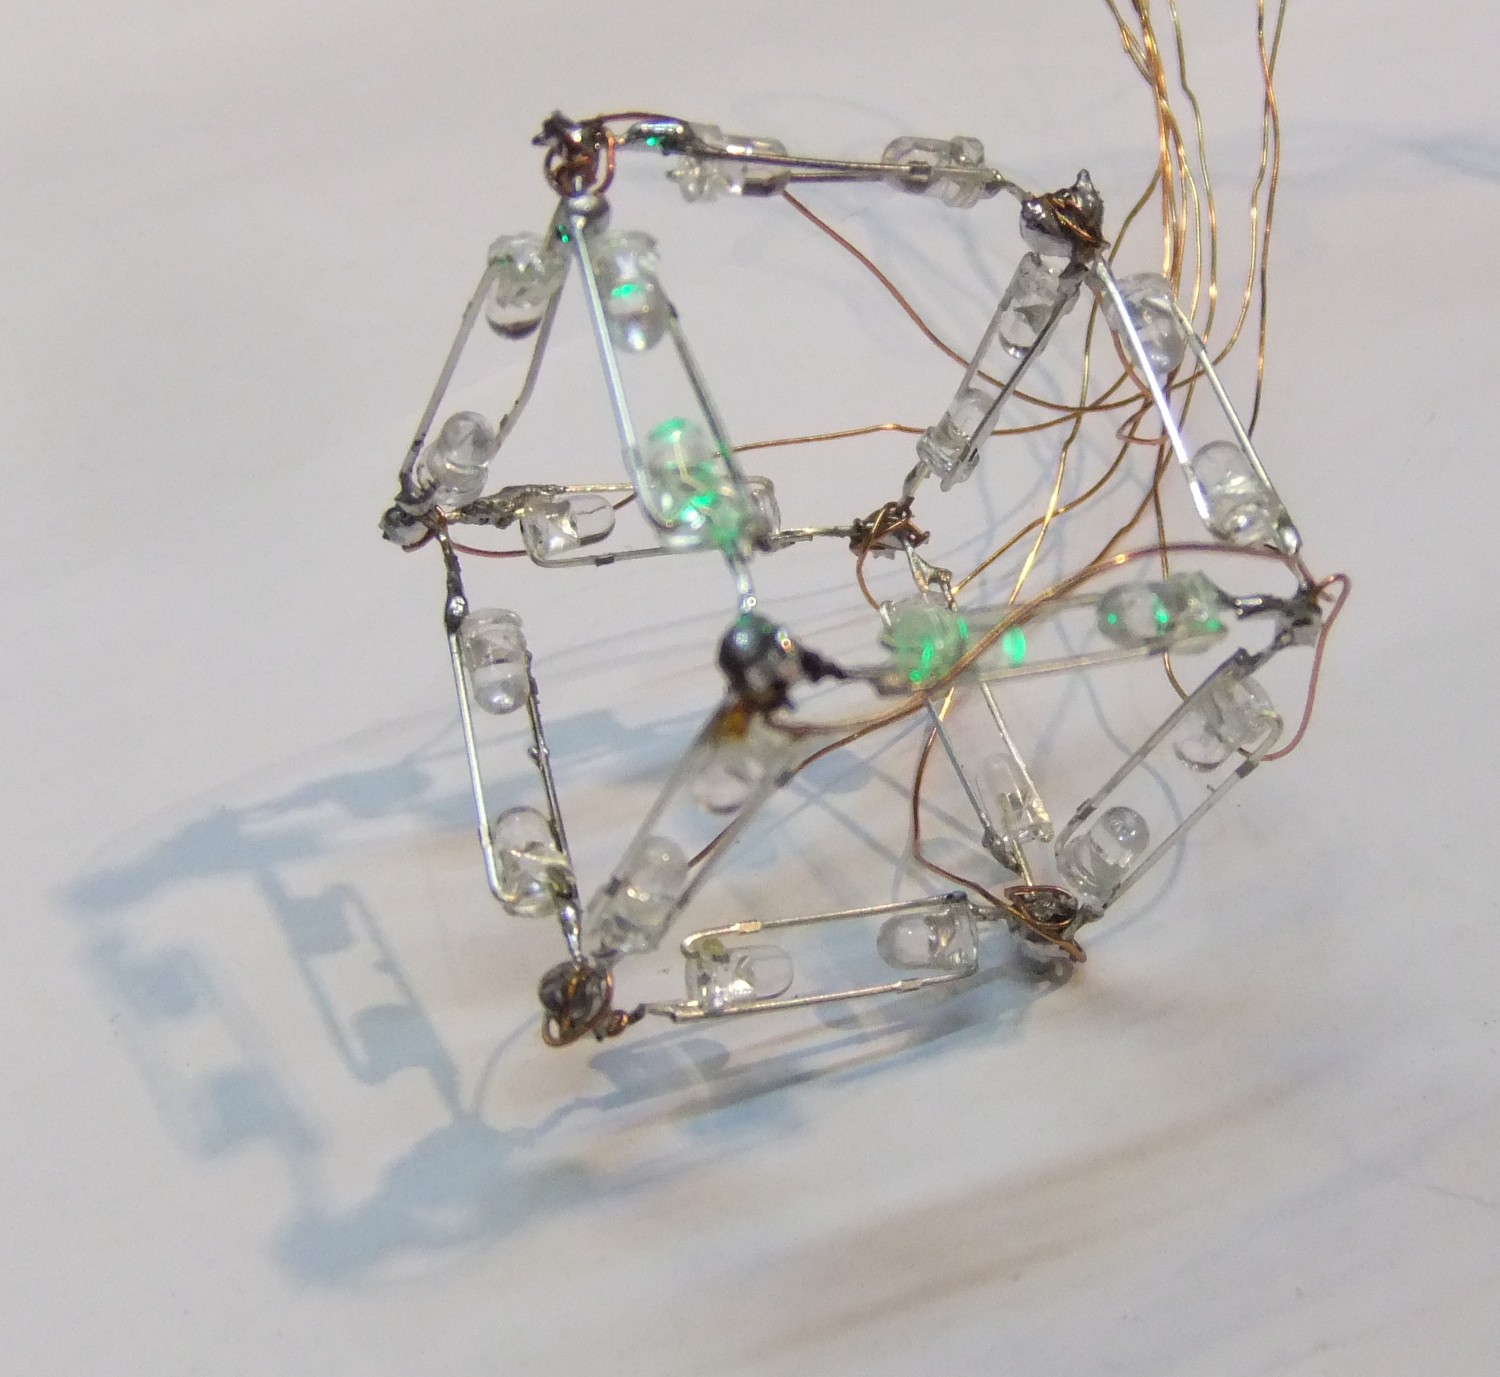
    Building LED cube based on #LED Polyhedron by @Daniel Rojas

    I did changed Daniel's example Arduino code a little bit to make it run with a cube. I used a Arduino Nano clone to test it. The idea to make forms based on squares is not so good. The structure of this cube is very weak and you should handle it with much care when transporting it. Here I little video in the dark:


View all 9 project logs

Enjoy this project?

Share

Discussions

Stefan Lochbrunner wrote 01/20/2016 at 22:19 point

Regarding a list for such projects: I tagged mine 'me building' which kind of is like a list. @davedarko, what do you think?

Btw: The image for this project is great! :)

  Are you sure? yes | no

Alex wrote 01/20/2016 at 22:25 point

The tag is a good idea. I did add that. 


To the image: Fist I did try to make a yellow Version of the "grüner Punkt" but this did not work out well. The skull in the middle makes it also better fitting to hackaday.io. Fell free to reuse it if you like.

  Are you sure? yes | no

davedarko wrote 01/20/2016 at 22:49 point

about to add that :) Project pic is indeed a good one!

  Are you sure? yes | no

Similar Projects

Does this project spark your interest?

Become a member to follow this project and never miss any updates