-
Quick update
05/31/2019 at 20:20 • 0 comments -
its all working
12/14/2017 at 17:18 • 0 comments -
Big Button PI 3 extra
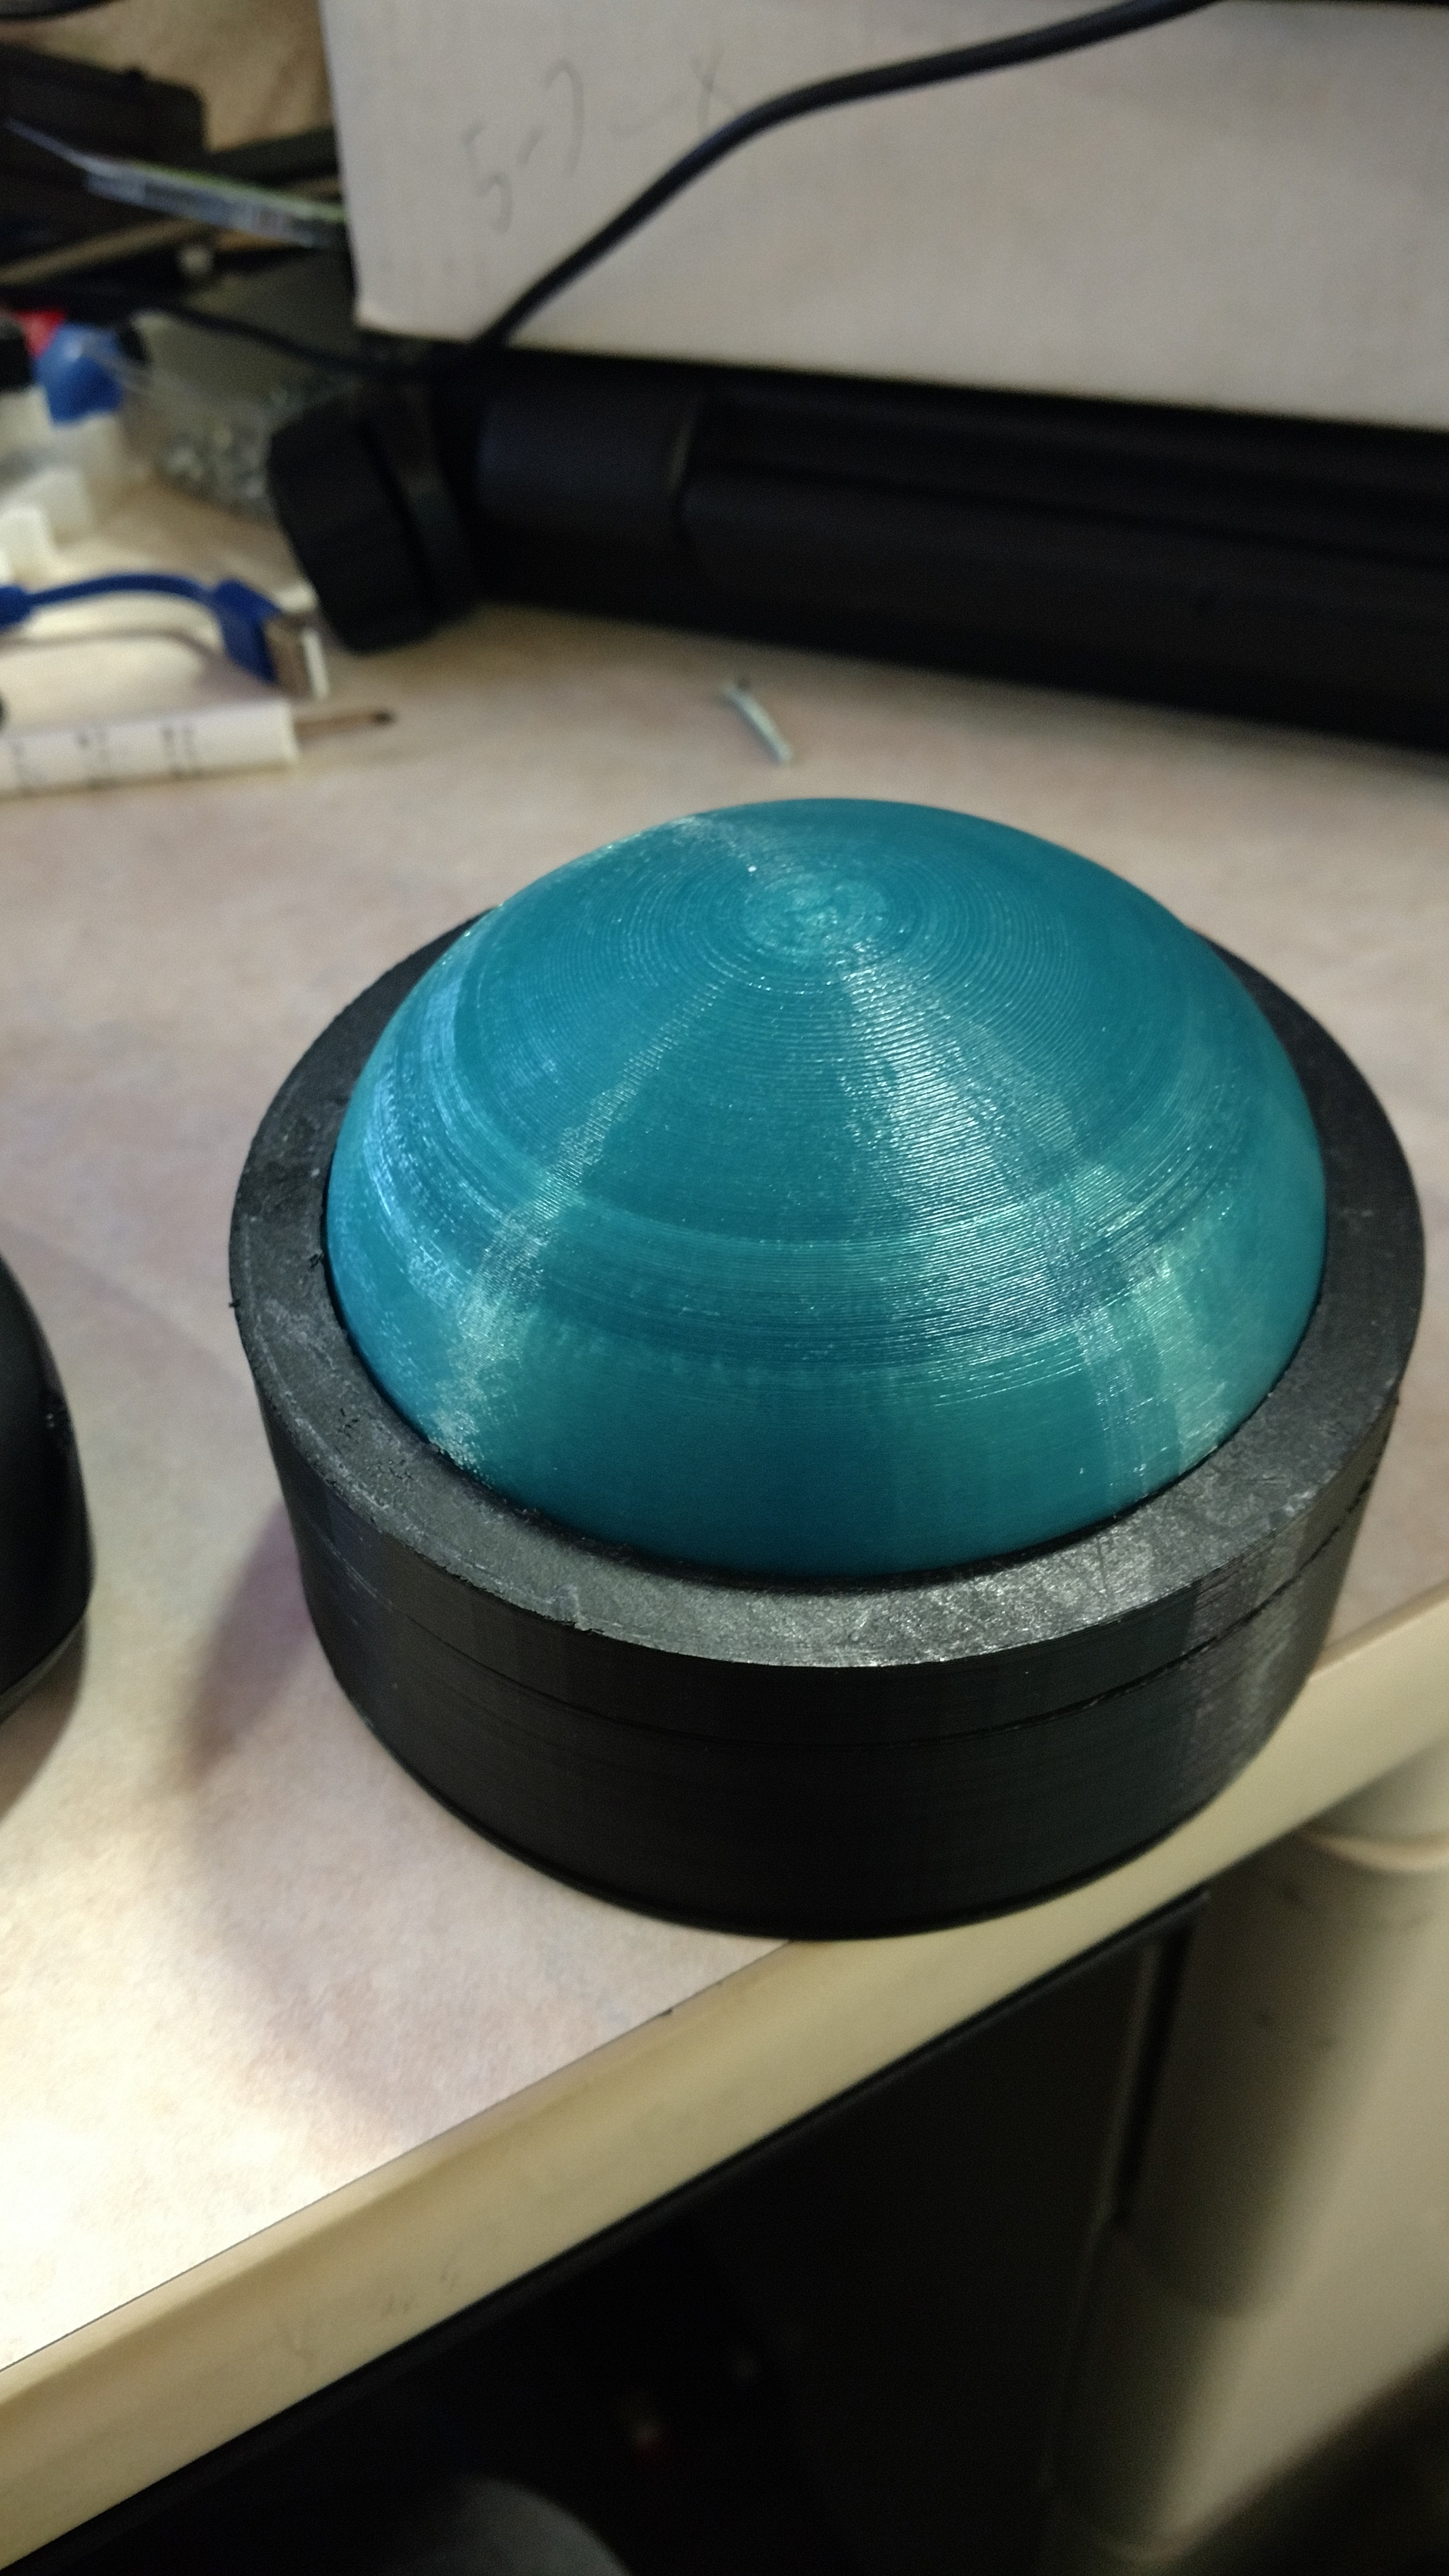
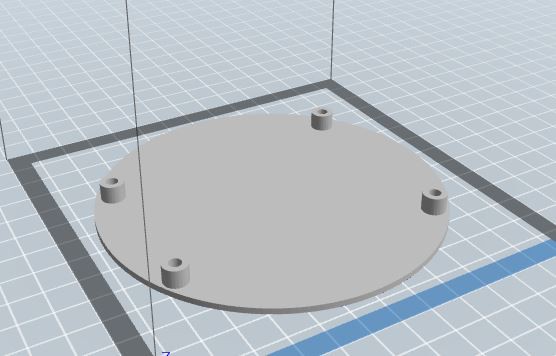
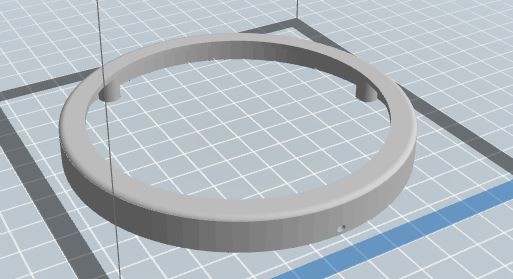
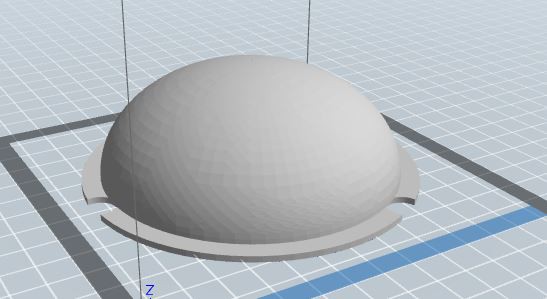
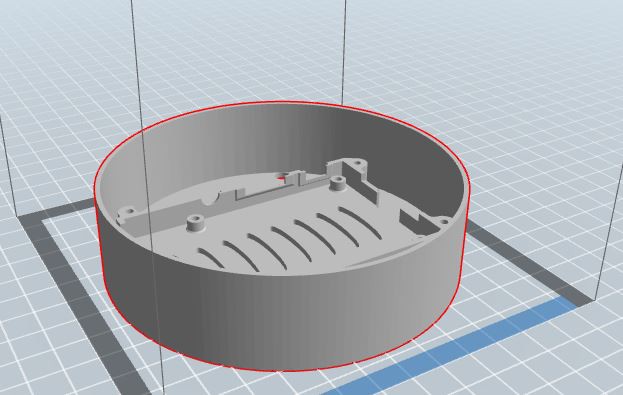
11/11/2016 at 21:22 • 3 commentsi had and extra pi 3 and i have a 3d prtinter i thought it would be really cool to be able to start the show with a large wireless button to i used freecad and set off to work
![]()
-
Test and update
09/30/2016 at 01:46 • 0 commentsits all coming together
-
10x arduino nano outdoor boxes
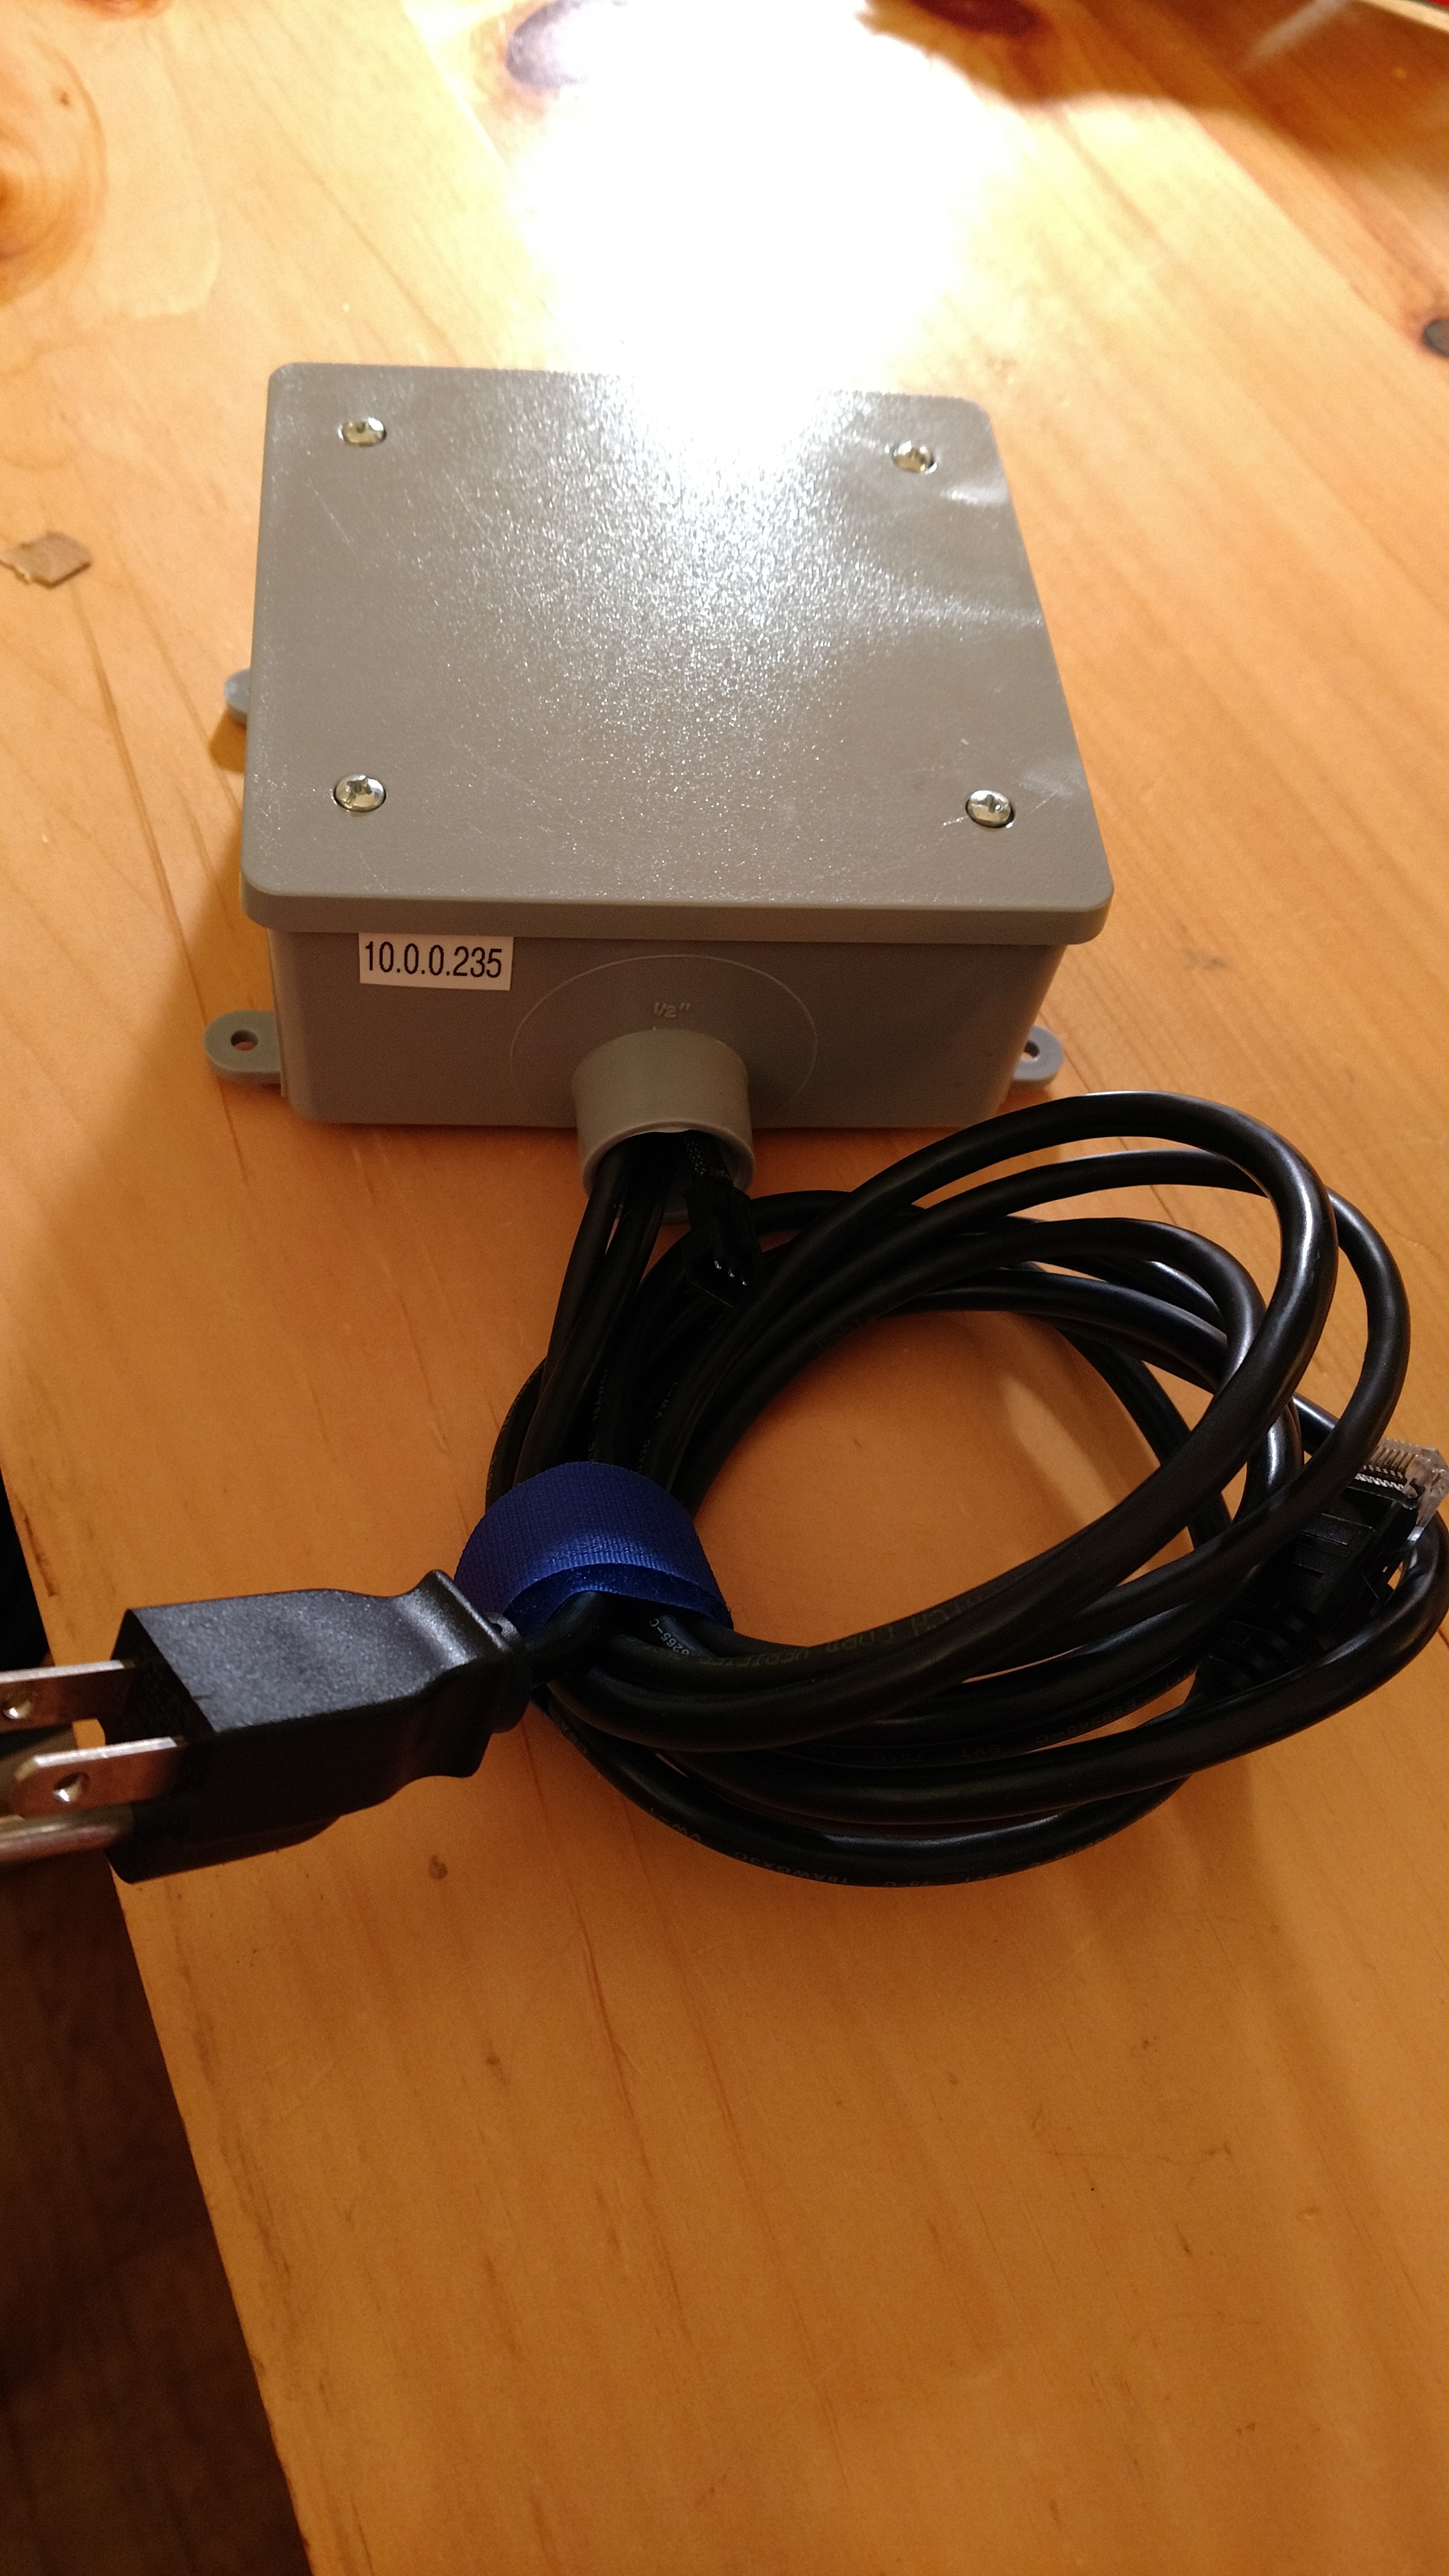
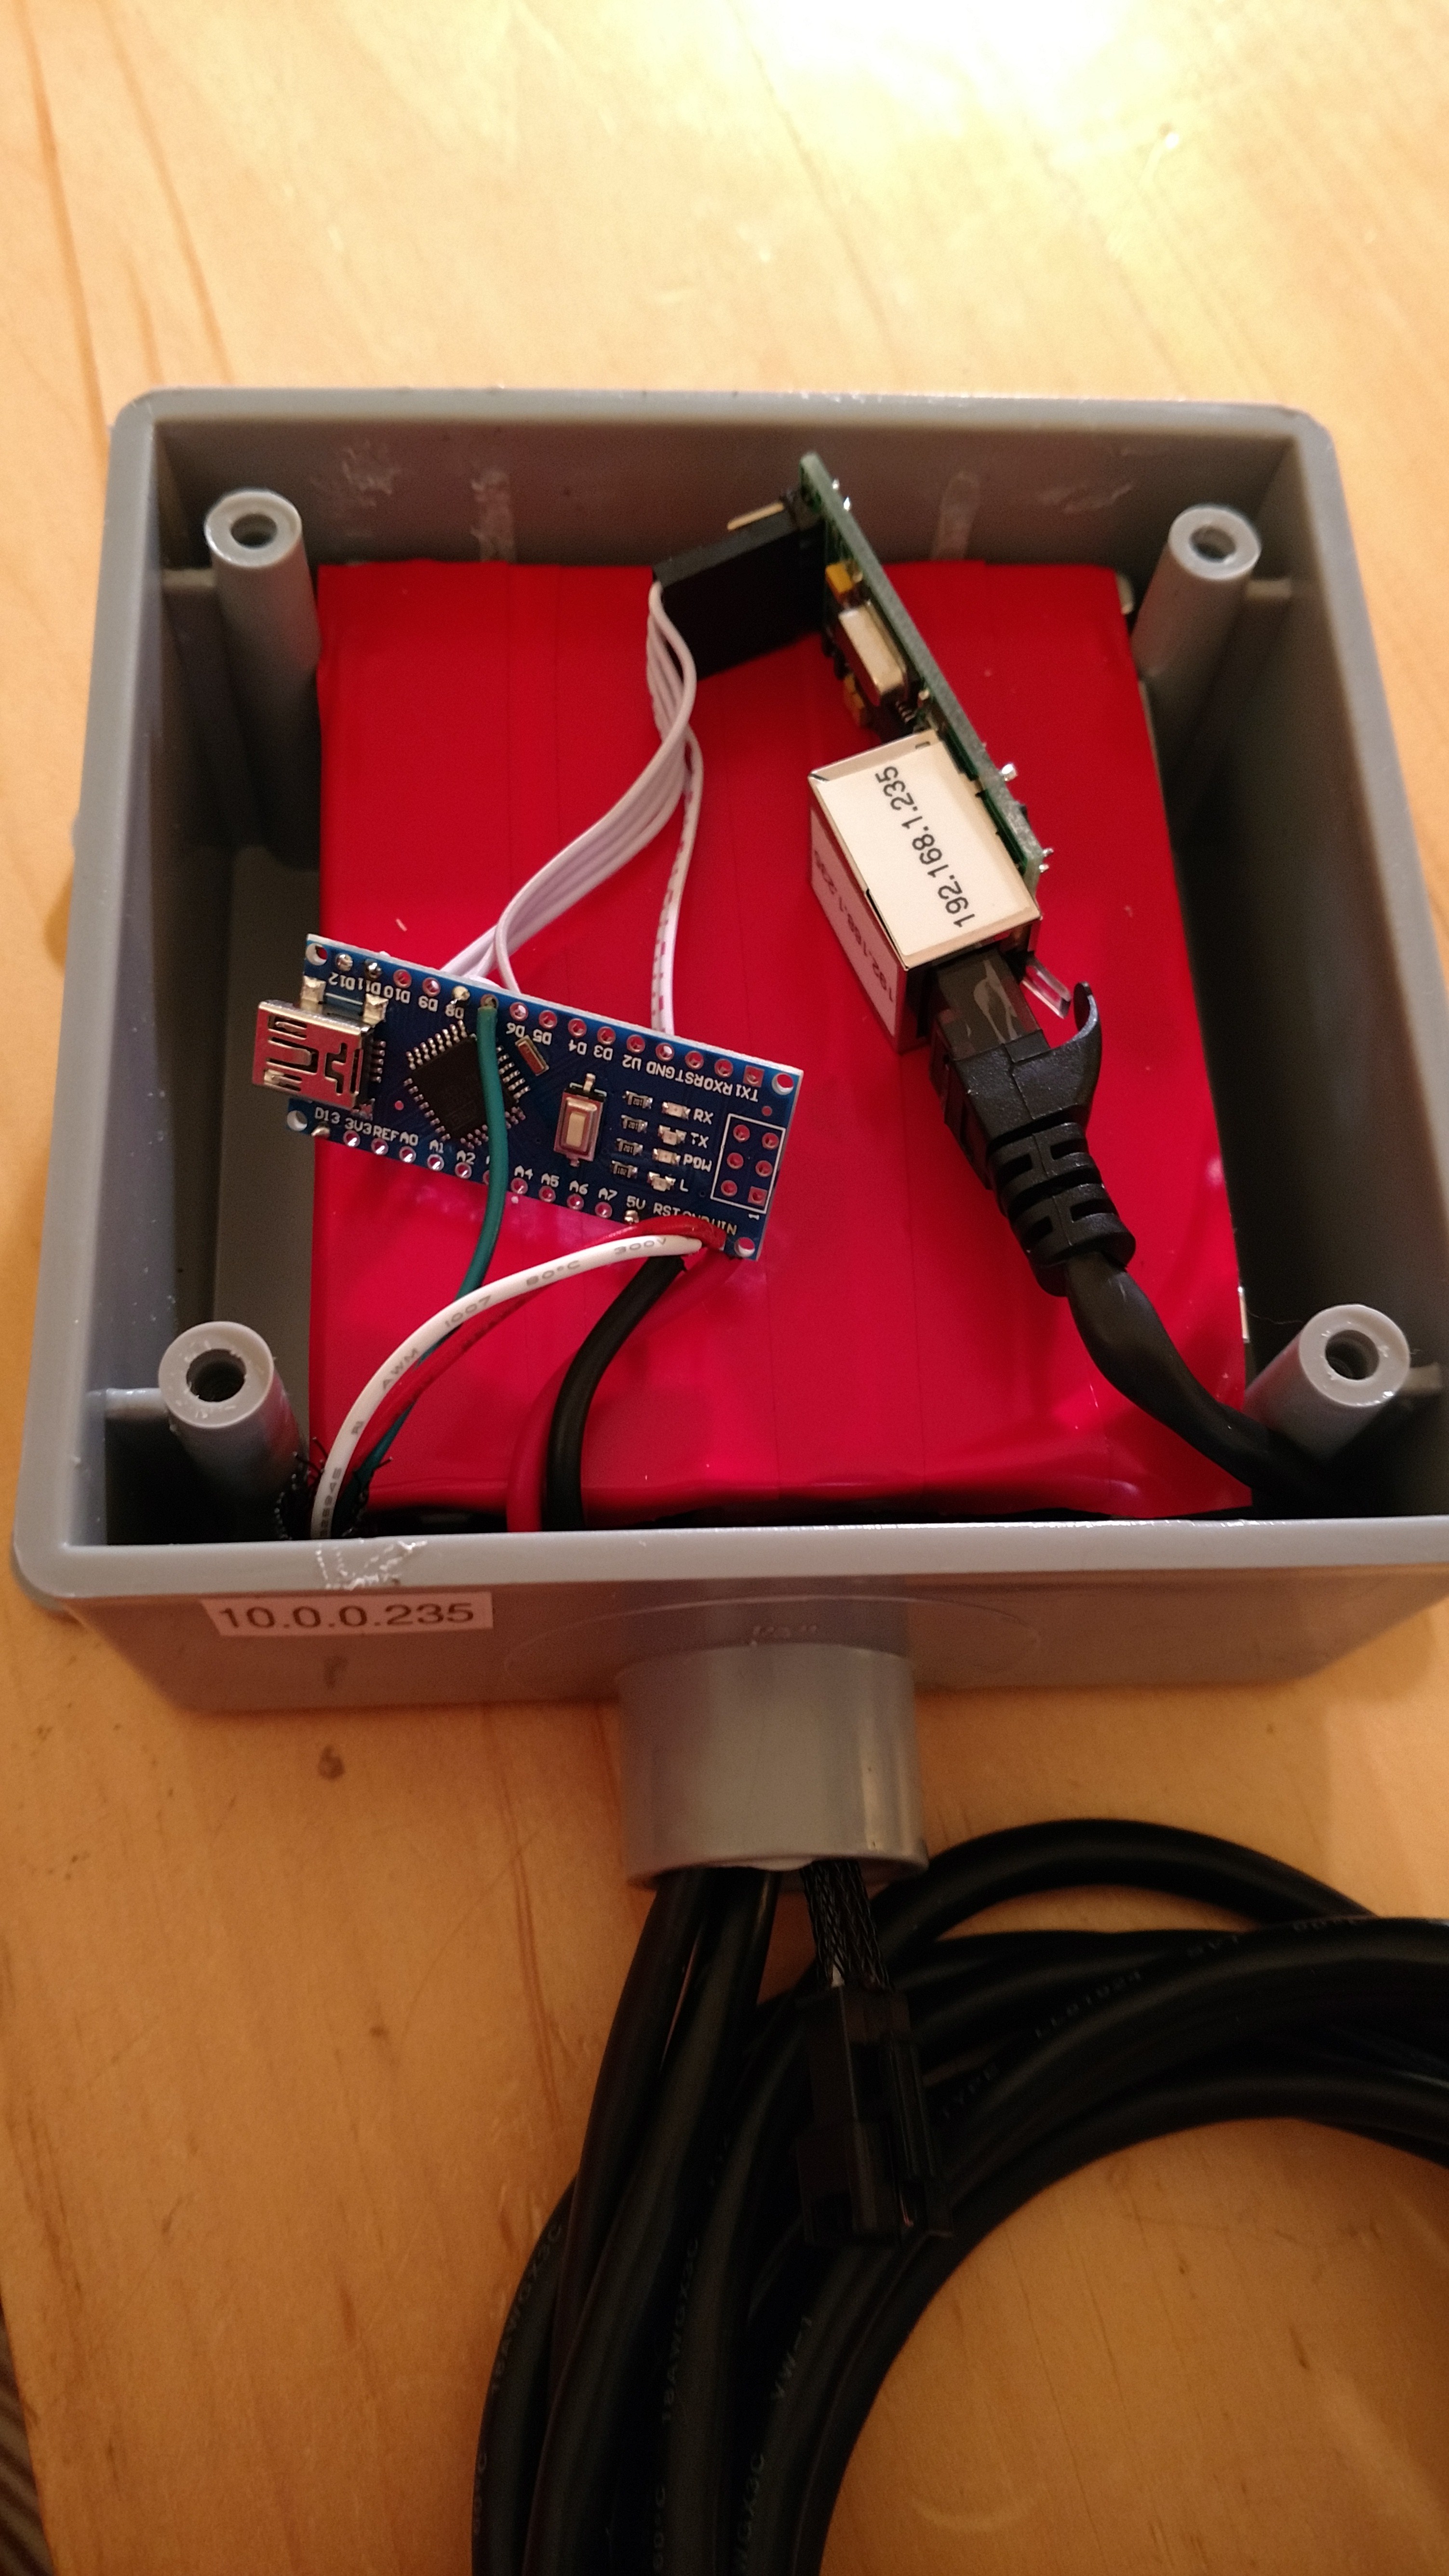
09/20/2016 at 00:51 • 0 commentsassembly time repeat ten times
i keep this nice and simple fit 1x Nano Arduino 1x ENC28J60 and 1x 5V Power Supply in side a 2 Gang 32 cu. in. Type-FSE Switch Box.
![]()
![]()
![]()
![]()
-
Portable Raspberry Pi with Adafruit LCD + keypad kit
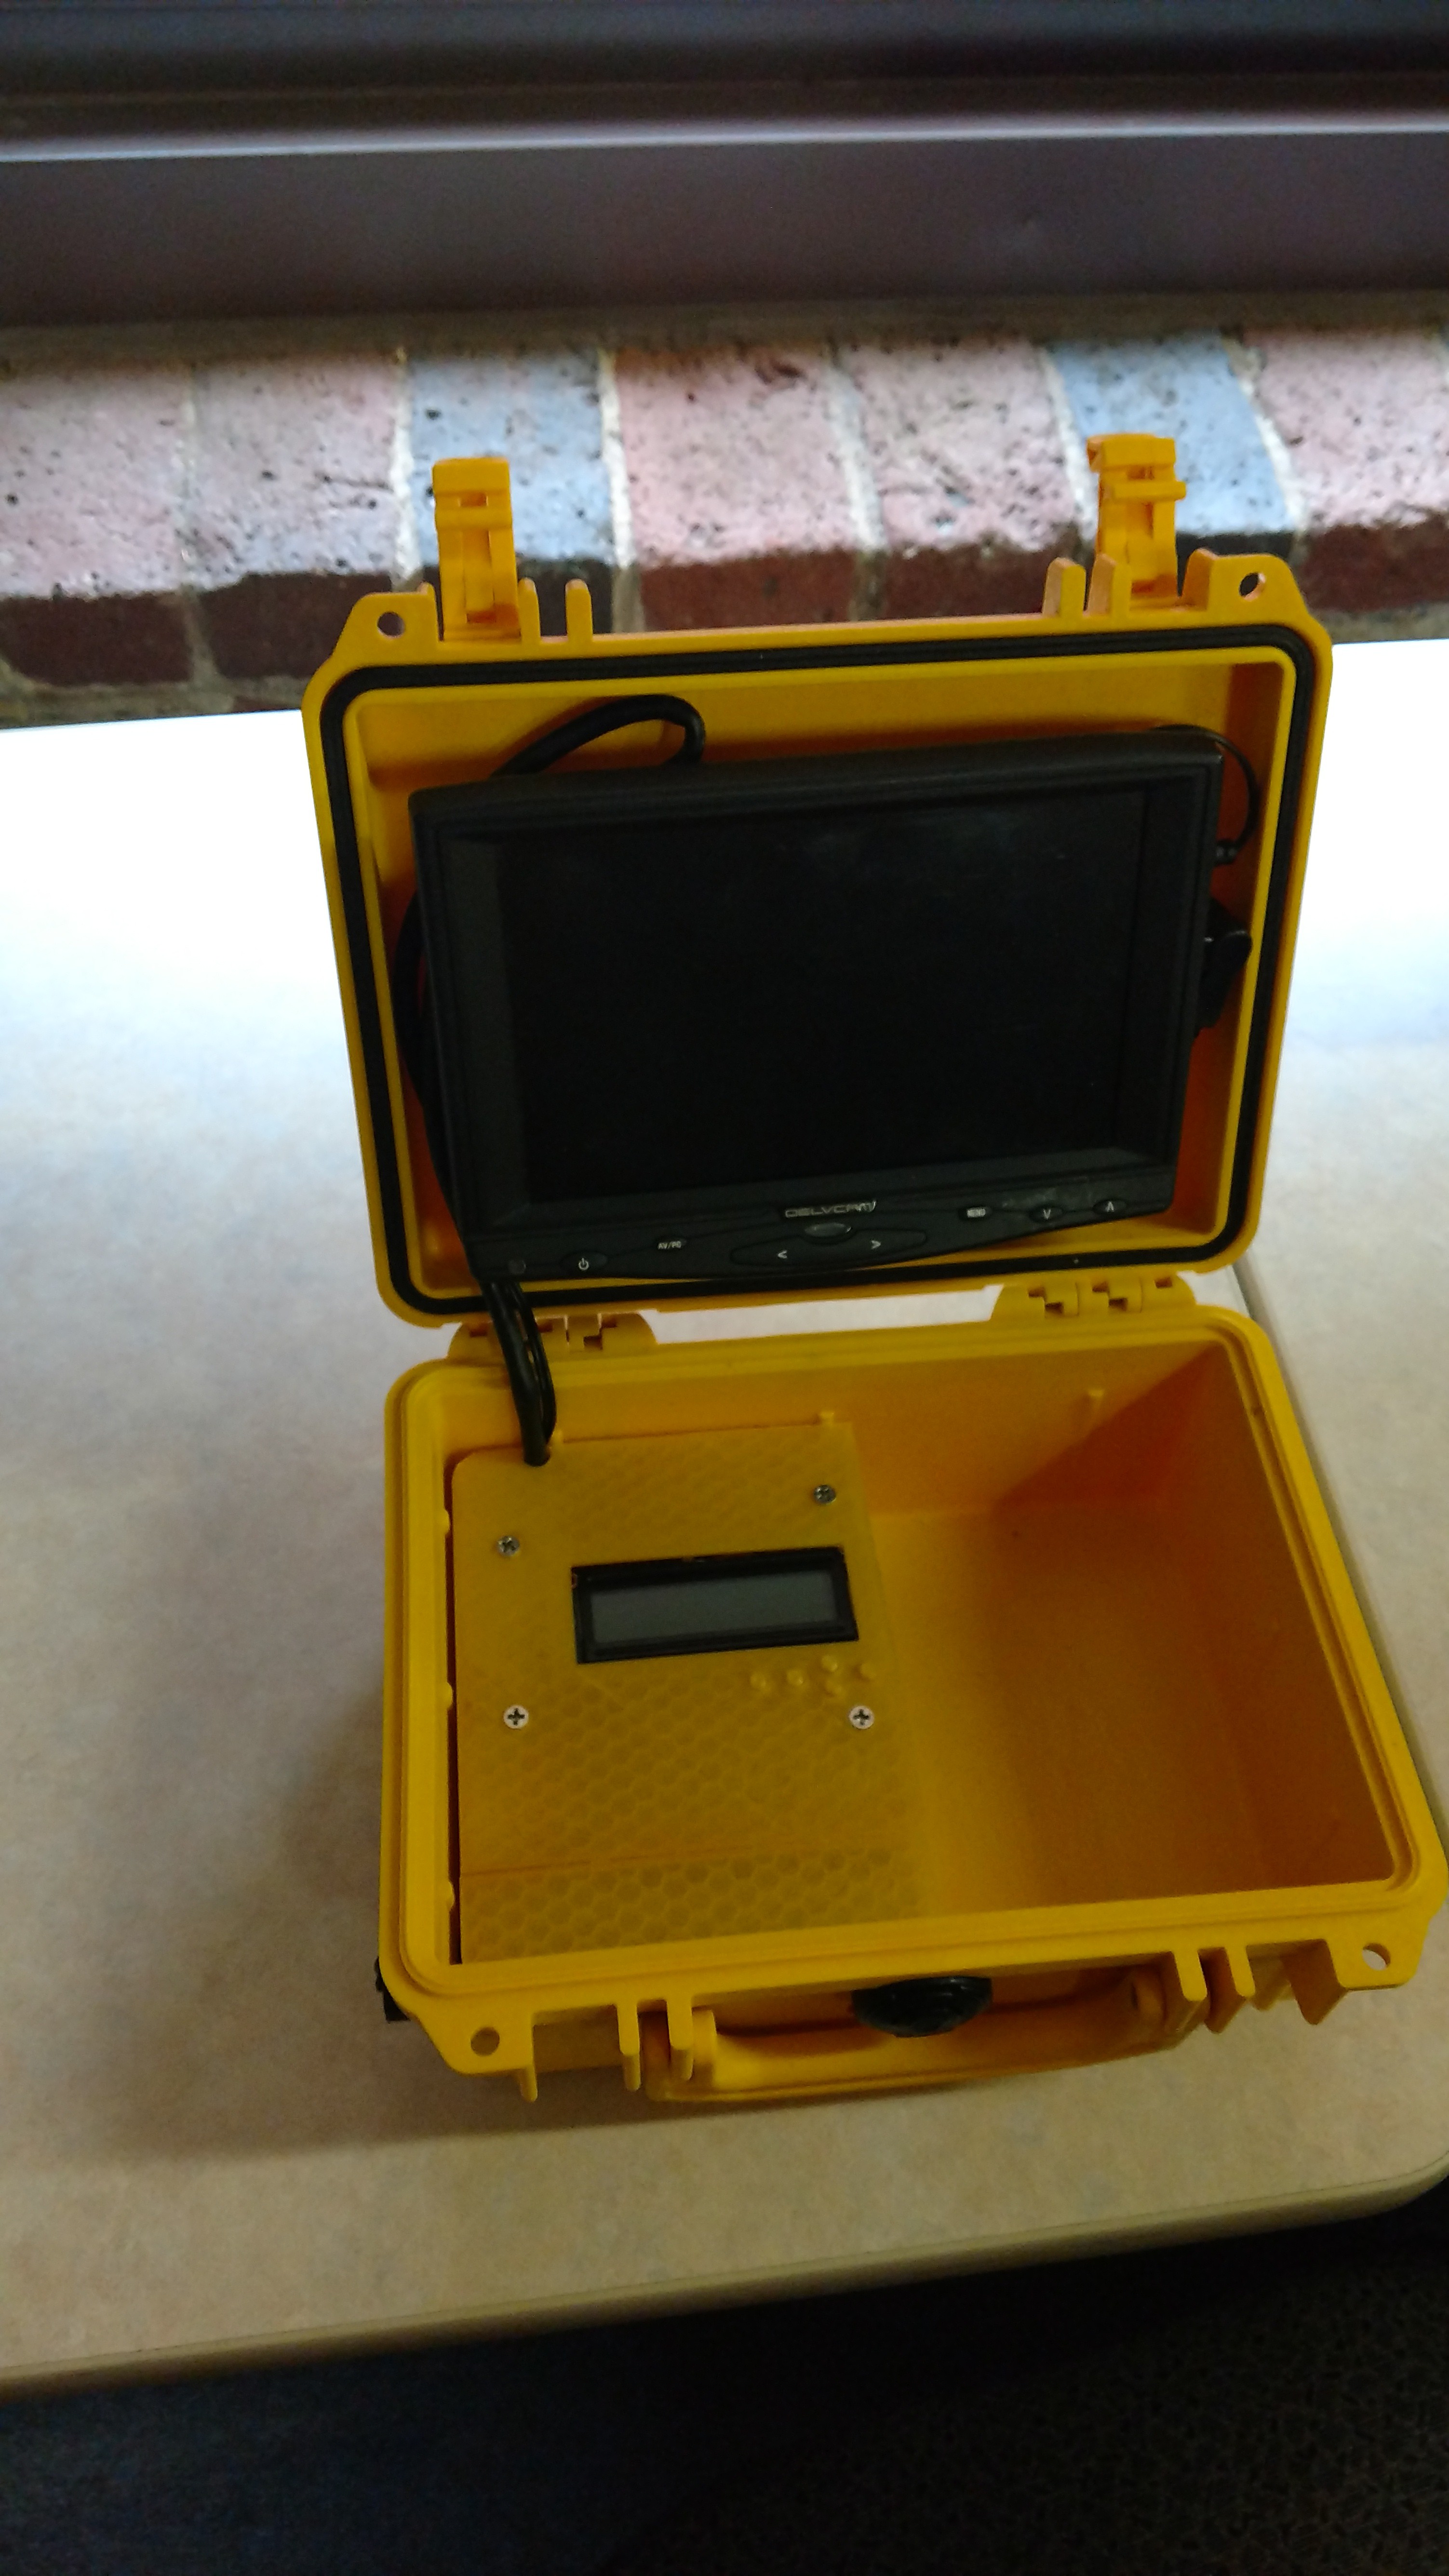
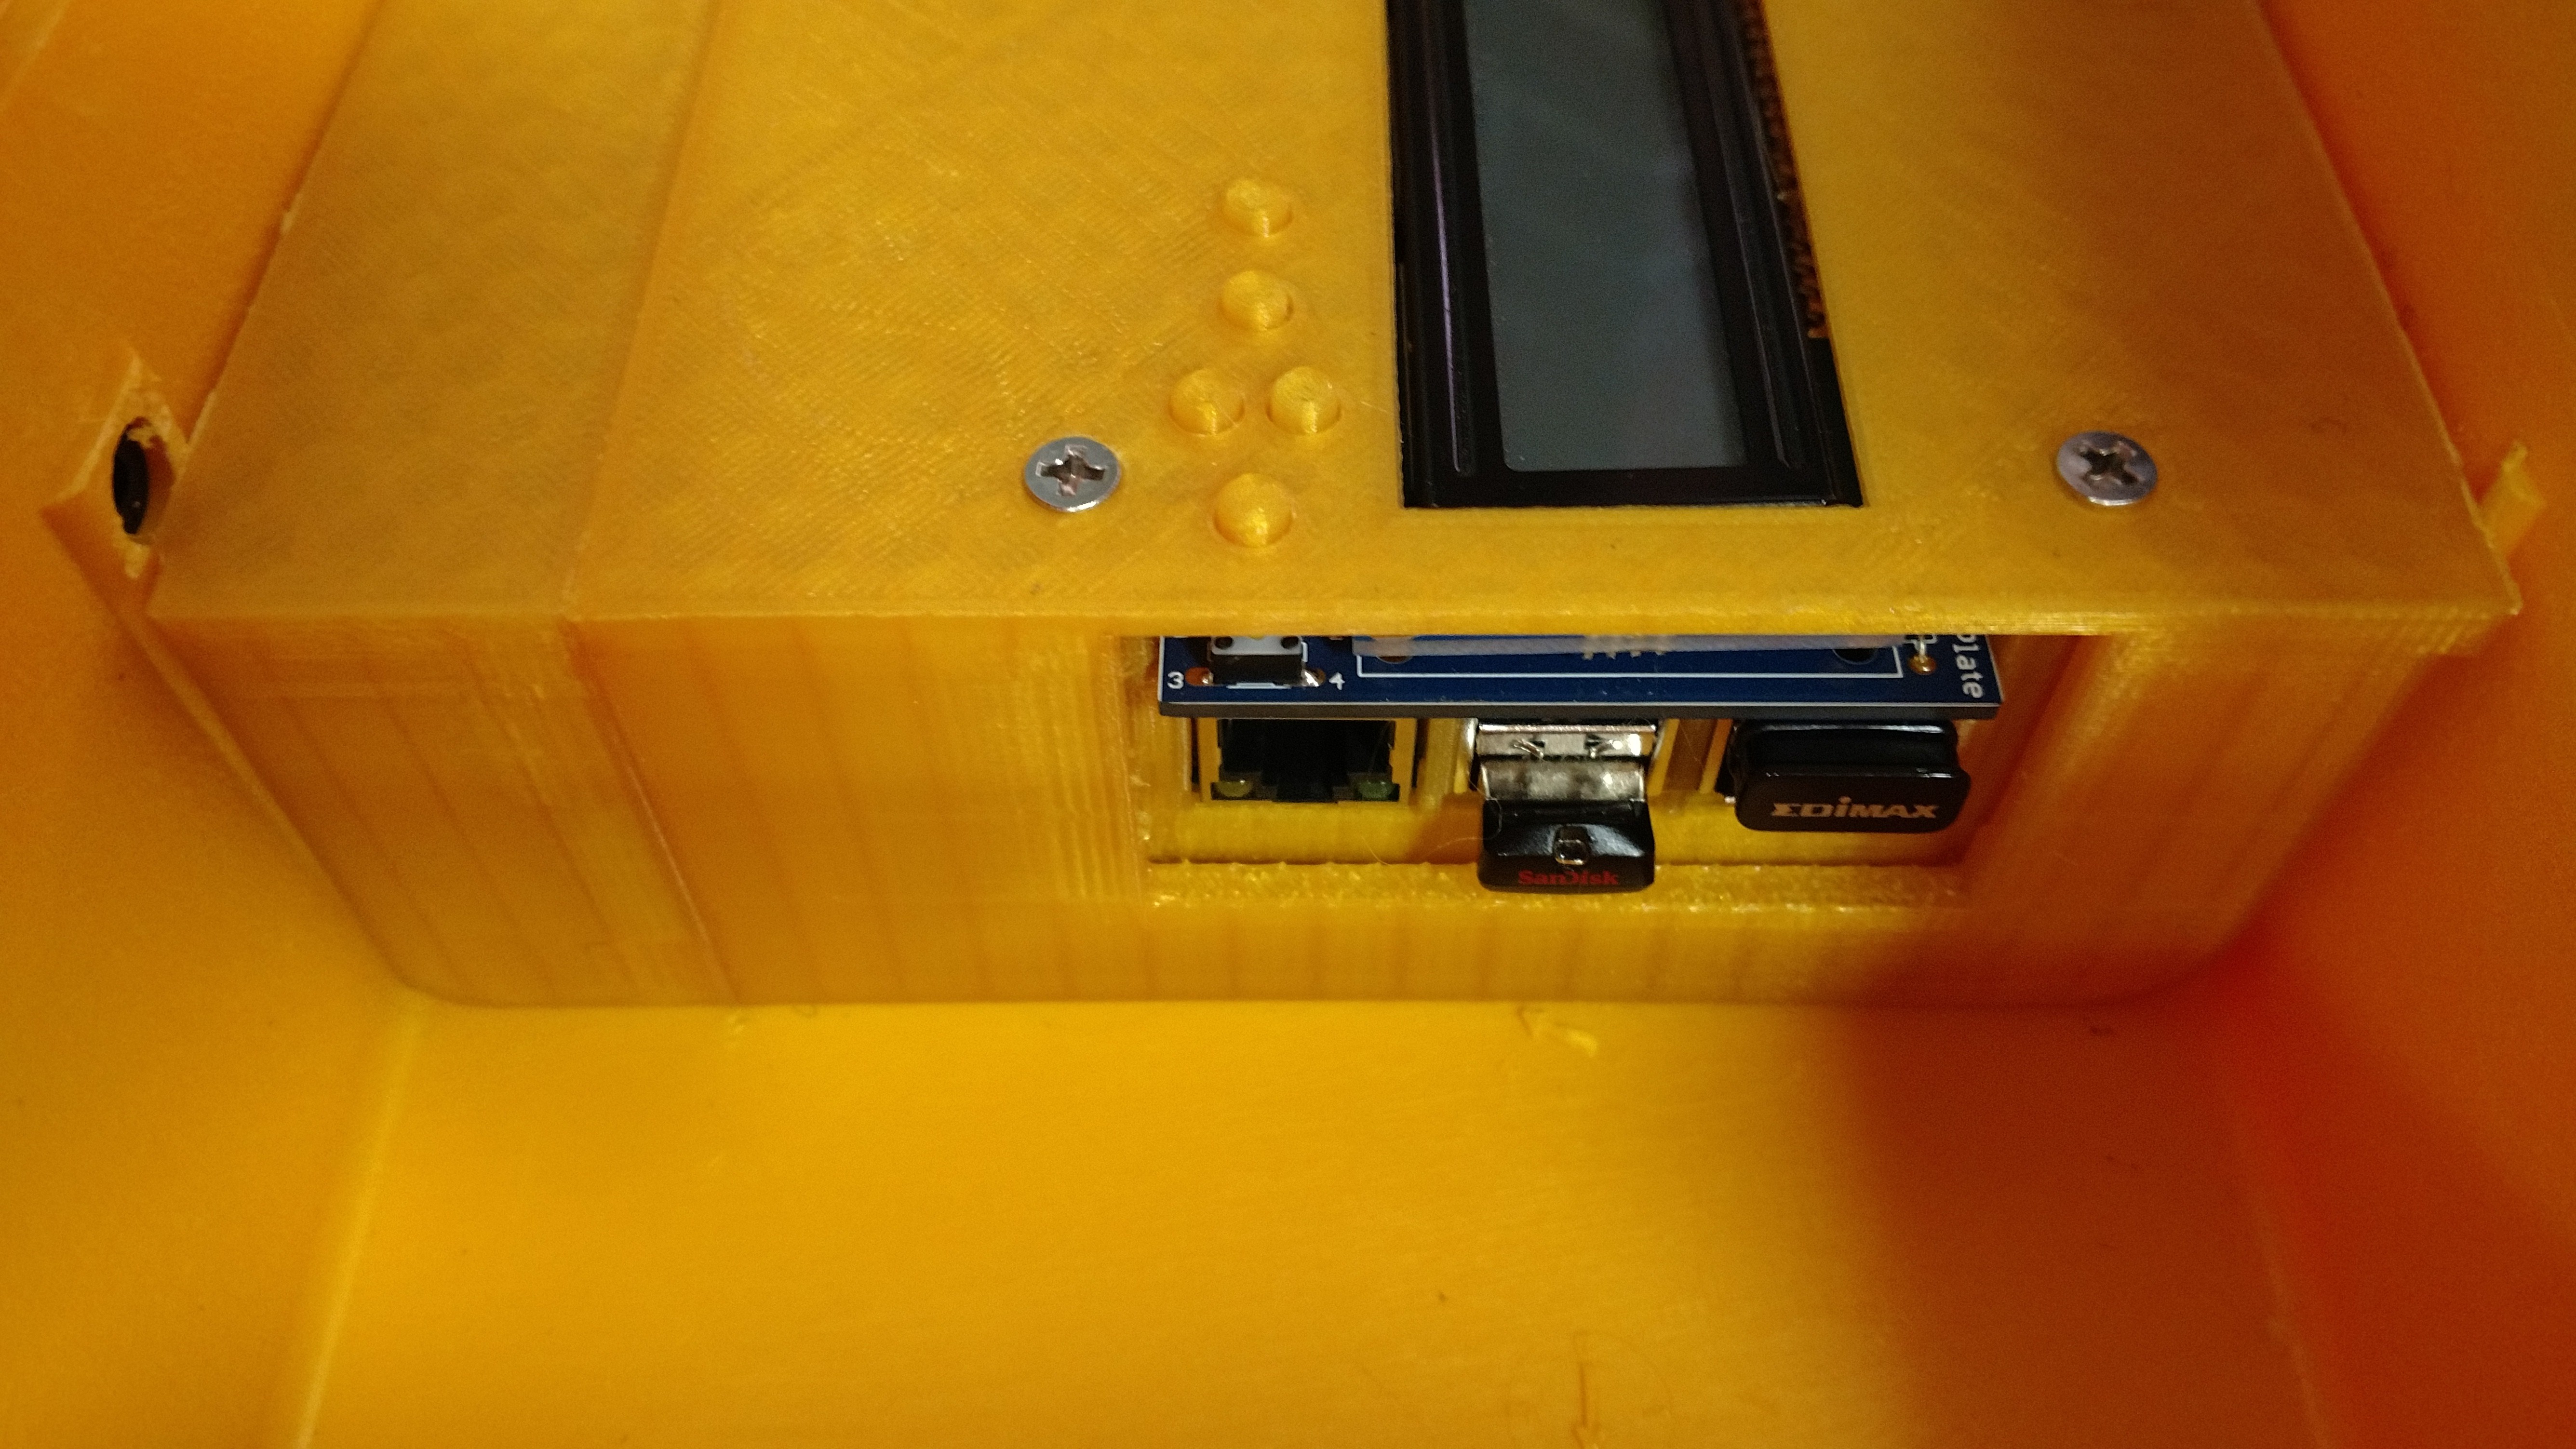
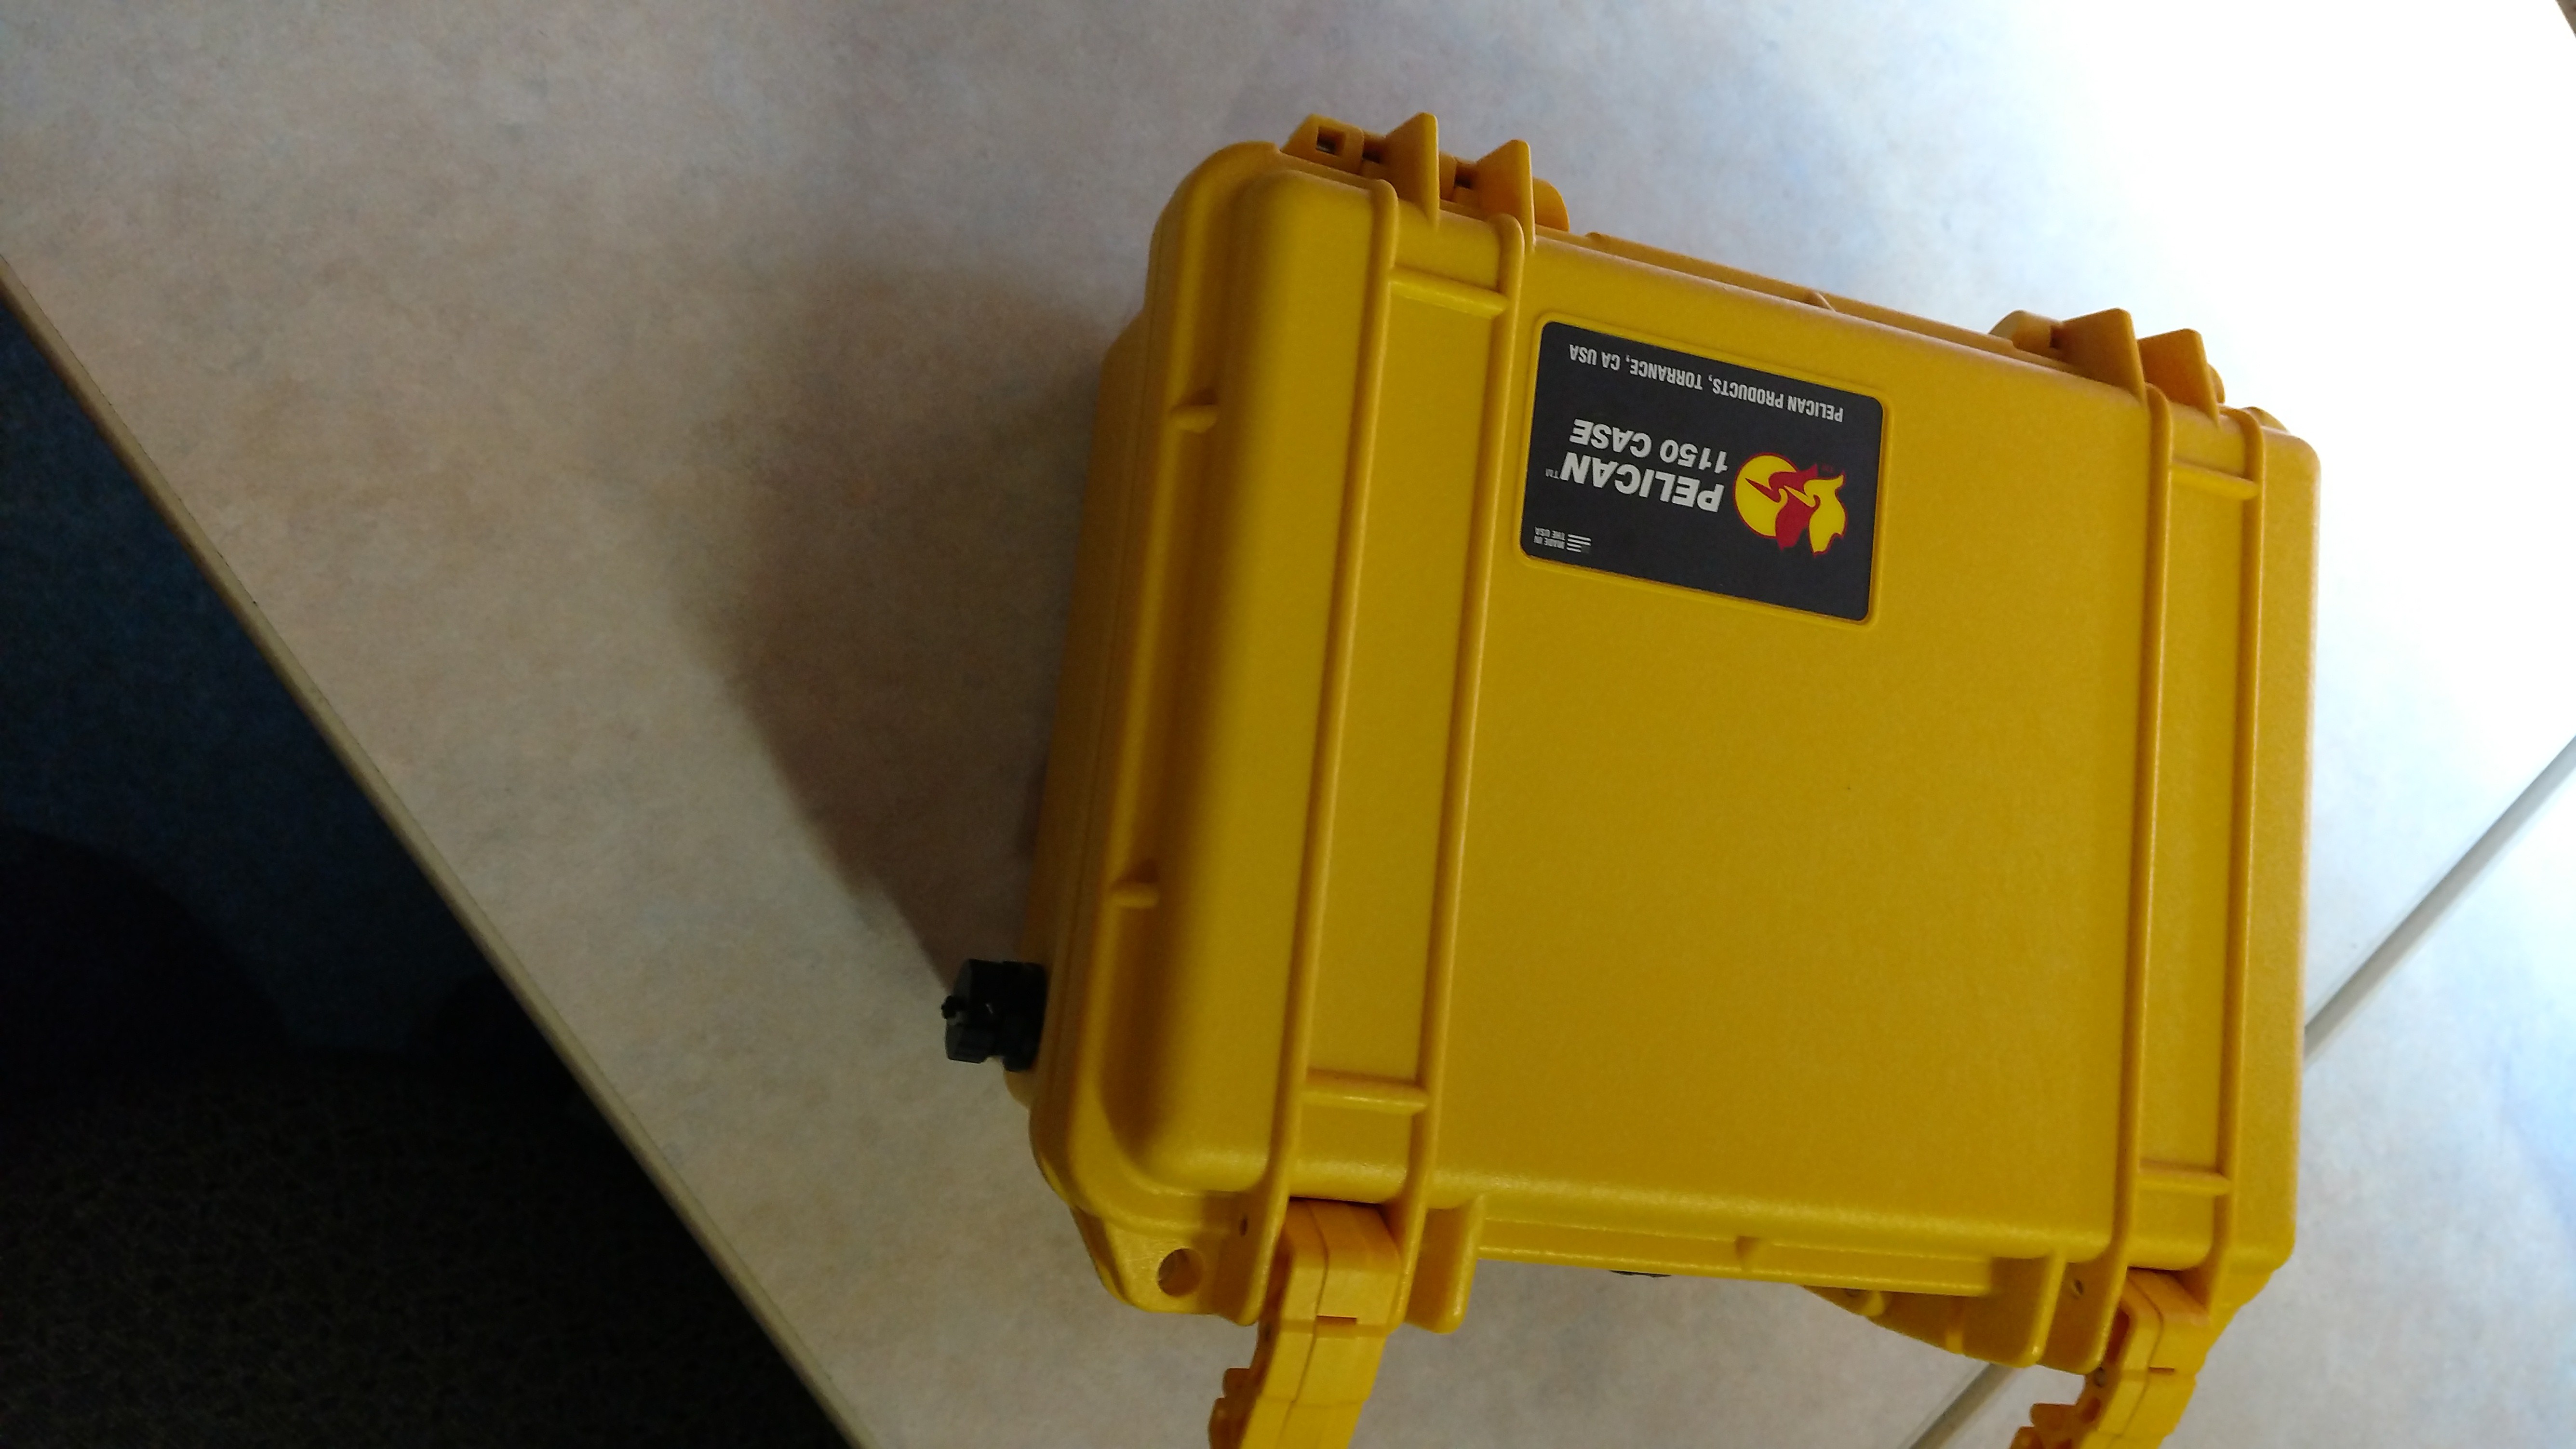
09/19/2016 at 16:05 • 0 commentsI didn't like my Raspberry Pi moving around all over the table and i want to keep it easily accessible so i put it in a pelican case 1150 with a nice 3D printed envelope. Its really another project in itself and I am planning on doing a write up but for now i loaded it to thingiverse http://www.thingiverse.com/thing:1778896
SIDE NOTE: This was a lot of work and way beyond what you need to make this work but i had fun and now i know with out a doubt that the brains of the system are well protected.![]()
![]()
![]()
-
As summer comes to a end
09/12/2016 at 13:26 • 0 commentsAs summer comes to a end here in Boston and i jump back in to this project. it looks like ill have 1150 pixels(maybe 1650 Im thinking about buying another 500) this year with 10 wired Arduinos running you code with FFP and two networks ( one 10.0.0.200 for lights and a wireless 198 for NPT/control)
I was able to house the each Arduino Nano, ENC28J60 and MEAN WELL LRS-50-5 Series 50W 5V in a 2 Gang ABS Switch Box. (I like the 5V because its cheap but i need to inject power every 50 leds i have made a boat load of 16/2 cables for this )
as this is my first year doing this im going to keep it simple with the light just clean all around window trim and general outline.
Im working on getting extra parts now. (that way there is no down time if any thing lets the magic smoke out)
i was planning on using vixen 3 but i still need to do research i'm not convinced its the quickest software.
one more fun thing i have on my list is i just got a Arduino Mega2560 MINI i was planning on putting it with 5v 30a power supply Im trying to think of a way to use it for multiple output streams to the WS2811. ( a diy E6804) then putting the unit in side of an Orbit 57095
-
Testing 150 LEDs in groups of 50
01/28/2016 at 21:55 • 0 commentstest test test
-
Pro Arduino Programing
01/20/2016 at 03:16 • 1 commentPrograming the Arduino to talk with the LEDs and the ENC28J60 Ethernet Module
load the sketch below and change the IP and MAC address so each Arduino has its own unique address
if you don't know any thing about Hexadecimal here is a good site to do the conversions for you (Decimal to Hexadecimal Converter) on the tail end of "const byte mymac[] = { 0x74, 0x69, 0x69, 0x2D, 0x30, 0x17 };" you just need to change the "0x17" you can keep counting up for some time with out using the converter. FYI 0x18, 0x19, 0x20, 0x21 (the decimal is not sequential in hex but it will not matter)
this is the code Im using with 12 separate arduinos.
// E1.31 Receiver and pixel controller by Andrew Huxtable (andrew@hux.net.au)
// This code may be freely distributed and used as you see fit for non-profit
// purposes and as long as the original author is credited and it remains open
// source
//
// The ethernet module is an ENC28J60 based item which are easily available
// for a few $
//
// Data connections to the module:
// Module -> Arduino
// SI     -> 11
// SO     -> 12
// SCK    -> 13
// CS     -> 8
//
// NB Most of the modules run on 3.3v, not 5v - Use caution!  5V logic/data is fine though.
//
// Please configure your Lighting product to use Unicast to the IP the device is given from your DHCP server
// Multicast is not currently supported due to bandwidth/processor limitations

// You will need the Ethercard and FastLed Libraries from:
// https://github.com/FastLED/FastLED/releases
// https://github.com/jcw/ethercard
//
// The Atmega328 only has 2k of SRAM.  This is a severe limitation to being able to control large
// numbers of smart pixels due to the pixel data needing to be stored in an array as well as
// a reserved buffer for receiving Ethernet packets.  This code will allow you to use a maximum of 240 pixels
// as that just about maxes out the SRAM on the Atmega328.

// There is deliberately no serial based reporting from the code to conserve SRAM.  There is a **little**
// bit available if you need to add some in for debugging but keep it to an absolute minimum for debugging
// only.


#include <EtherCard.h>
#include "FastLED.h"
//#include <avr/wdt.h>

//*********************************************************************************

// enter desired universe and subnet  (sACN first universe is 1)
#define DMX_SUBNET 0
#define DMX_UNIVERSE 1 //**Start** universe

// Set a different MAC address for each...
const byte mymac[] = { 0x74, 0x69, 0x69, 0x2D, 0x30, 0x27 };

// Uncomment if you want to use static IP
//*******************************************************
// ethernet interface ip address
static byte myip[] = { 10,0,0,10};
//*******************************************************

// By sacrificing some of the Ethernet receive buffer, we can allocate more to the LED array
// but this is **technically** slower because 2 packets must be processed for all 240 pixels.

/// DONT CHANGE unless you know the consequences...
#define ETHERNET_BUFFER 580
#define CHANNEL_COUNT 450
#define NUM_LEDS 150
#define UNIVERSE_COUNT 1
#define LEDS_PER_UNIVERSE 150

// The pin the data line is connected to for WS2812b
#define DATA_PIN 7

//********************************************************************************

unsigned long lastUpdate;

// Define the array of leds
CRGB leds[NUM_LEDS];

byte Ethernet::buffer[ETHERNET_BUFFER]; // tcp/ip send and receive buffer

int checkACNHeaders(const char* messagein, int messagelength) {
  lastUpdate = millis();
  //Do some VERY basic checks to see if it's an E1.31 packet.
  //Bytes 4 to 12 of an E1.31 Packet contain "ACN-E1.17"
  //Only checking for the A and the 7 in the right places as well as 0x10 as the header.
  //Technically this is outside of spec and could cause problems but its enough checks for us
  //to determine if the packet should be tossed or used.
  //This improves the speed of packet processing as well as reducing the memory overhead.
  //On an Isolated network this should never be a problem....
 //for (int i=0;i<125;i++){
  //  Serial.print(messagein[i]);
  //}
  if ( messagein[1] == 0x10 && messagein[4] == 0x41 && messagein[12] == 0x37) {
      int addresscount = (byte) messagein[123] * 256 + (byte) messagein[124]; // number of values plus start code
      if ( addresscount > 0){
        //Serial.println(addresscount - 1);
        return addresscount -1; //Return how many values are in the packet.
      }
    }
  return 0;
}

void sacnDMXReceived(const char* pbuff, int count) {
  //Serial.println("*");
  if (count > CHANNEL_COUNT) count = CHANNEL_COUNT;
  byte b = pbuff[113]; //DMX Subnet
  if ( b == DMX_SUBNET) {
    b = pbuff[114];  //DMX Universe
    if ( b >= DMX_UNIVERSE && b <= DMX_UNIVERSE + UNIVERSE_COUNT ) {
      if ( pbuff[125] == 0 ) {  //start code must be 0
      int ledNumber = (b - DMX_UNIVERSE) * LEDS_PER_UNIVERSE;
       // sACN packets come in seperate RGB but we have to set each led's RGB value together
       // this 'reads ahead' for all 3 colours before moving to the next led.

       for (int i = 126;i < 126+count;i = i + 3){
          byte charValueR = pbuff[i];
          byte charValueG = pbuff[i+1];
          byte charValueB = pbuff[i+2];
          leds[ledNumber].setRGB(charValueR,charValueG,charValueB);
          ledNumber++;
        }
      FastLED.show();  //Do it!
      }
    }
  }
}

static void sACNPacket(unsigned int port, byte ip[4], unsigned int i, const char *data, unsigned int len) {
  //Make sure the packet is an E1.31 packet
  //Serial.println("*");
  int count = checkACNHeaders(data, len);
  if (count){
    // It is so process the data to the LEDS
    //Serial.println(count);
    sacnDMXReceived(data, count);
  }
}

void initTest() //runs at board boot to make sure pixels are working
{
   LEDS.showColor(CRGB(255, 0, 0)); //turn all pixels on red
   delay(1000);
   LEDS.showColor(CRGB(0, 255, 0)); //turn all pixels on green
   delay(1000);
   LEDS.showColor(CRGB(0, 0, 255)); //turn all pixels on blue
   delay(1000);
   LEDS.showColor(CRGB(0, 0, 0)); //turn all pixels off
}


void setup() {
  // Using different LEDs or colour order? Change here...
  // ********************************************************
     FastLED.addLeds<WS2811, DATA_PIN, RGB>(leds, NUM_LEDS);
  // ********************************************************

  //Serial.begin(115200);
  //Serial.println("Init.");
   // No checks in here to ensure Ethernet initiated properly.
   // Make sure Ethernet cable is connected and there is DHCP on the network if you are using it ....
//   if (ether.begin(sizeof Ethernet::buffer, mymac, 8) == 0){
//    Serial.println( "Failed to access Ethernet controller");
//   } else {
//    Serial.println("Ethernet ok");
//   }
    ether.begin(sizeof(Ethernet::buffer), mymac, 8);
// ********************************************************
   // DHCP
   //ether.dhcpSetup();

  //Static IP
  ether.staticSetup(myip);
// ********************************************************

  // Register listener
  ether.udpServerListenOnPort(&sACNPacket,  5568);

  //Once the Ethernet is initialised, run a test on the LEDs
  // If you have problems with lockups/reboots, you might want to disable this
  //initTest();

  lastUpdate = millis();
}

void loop() {
    //Process packets
    if (millis() - lastUpdate > 2000){
       // If no packet recieved in 2 seconds, reboot.
       // I had problems with occational lockups of controllers
       // for some reason.  Slowing the data rate seemed to help.
       // ENC28J60 module probably isnt coping too well.
      asm volatile ("  jmp 0");
    }
   ether.packetLoop(ether.packetReceive());
}
// E1.31 Receiver and pixel controller by Andrew Huxtable (andrew@hux.net.au) // This code may be freely distributed and used as you see fit for non-profit // purposes and as long as the original author is credited and it remains open // source // // The ethernet module is an ENC28J60 based item which are easily available // for a few $ // // Data connections to the module: // Module -> Arduino // SI -> 11 // SO -> 12 // SCK -> 13 // CS -> 8 // // NB Most of the modules run on 3.3v, not 5v - Use caution! 5V logic/data is fine though. // // Please configure your Lighting product to use Unicast to the IP the device is given from your DHCP server // Multicast is not currently supported due to bandwidth/processor limitations // You will need the Ethercard and FastLed Libraries from: // https://github.com/FastLED/FastLED/releases // https://github.com/jcw/ethercard // // The Atmega328 only has 2k of SRAM. This is a severe limitation to being able to control large // numbers of smart pixels due to the pixel data needing to be stored in an array as well as // a reserved buffer for receiving Ethernet packets. This code will allow you to use a maximum of 240 pixels // as that just about maxes out the SRAM on the Atmega328. // There is deliberately no serial based reporting from the code to conserve SRAM. There is a **little** // bit available if you need to add some in for debugging but keep it to an absolute minimum for debugging // only. #include <EtherCard.h> #include "FastLED.h" //#include <avr/wdt.h> //********************************************************************************* // enter desired universe and subnet (sACN first universe is 1) #define DMX_SUBNET 0 #define DMX_UNIVERSE 9 //**Start** universe // Set a different MAC address for each... const byte mymac[] = { 0x74, 0x69, 0x69, 0x2D, 0x30, 0x17 }; // Uncomment if you want to use static IP //******************************************************* // ethernet interface ip address static byte myip[] = { 10,0,0,17}; //******************************************************* // By sacrificing some of the Ethernet receive buffer, we can allocate more to the LED array // but this is **technically** slower because 2 packets must be processed for all 240 pixels. /// DONT CHANGE unless you know the consequences... #define ETHERNET_BUFFER 520 #define CHANNEL_COUNT 360 //because it divides by 3 nicely #define NUM_LEDS 240 // can not really go higher than this - Runs out of SRAM #define UNIVERSE_COUNT 2 #define LEDS_PER_UNIVERSE 120 // The pin the data line is connected to for WS2812b #define DATA_PIN 7 //******************************************************************************** unsigned long lastUpdate; // Define the array of leds CRGB leds[NUM_LEDS]; byte Ethernet::buffer[ETHERNET_BUFFER]; // tcp/ip send and receive buffer int checkACNHeaders(const char* messagein, int messagelength) { lastUpdate = millis(); //Do some VERY basic checks to see if it's an E1.31 packet. //Bytes 4 to 12 of an E1.31 Packet contain "ACN-E1.17" //Only checking for the A and the 7 in the right places as well as 0x10 as the header. //Technically this is outside of spec and could cause problems but its enough checks for us //to determine if the packet should be tossed or used. //This improves the speed of packet processing as well as reducing the memory overhead. //On an Isolated network this should never be a problem.... //for (int i=0;i<125;i++){ // Serial.print(messagein[i]); //} if ( messagein[1] == 0x10 && messagein[4] == 0x41 && messagein[12] == 0x37) { int addresscount = (byte) messagein[123] * 256 + (byte) messagein[124]; // number of values plus start code if ( addresscount > 0){ //Serial.println(addresscount - 1); return addresscount -1; //Return how many values are in the packet. } } return 0; } void sacnDMXReceived(const char* pbuff, int count) { //Serial.println("*"); if (count > CHANNEL_COUNT) count = CHANNEL_COUNT; byte b = pbuff[113]; //DMX Subnet if ( b == DMX_SUBNET) { b = pbuff[114]; //DMX Universe if ( b >= DMX_UNIVERSE && b <= DMX_UNIVERSE + UNIVERSE_COUNT ) { if ( pbuff[125] == 0 ) { //start code must be 0 int ledNumber = (b - DMX_UNIVERSE) * LEDS_PER_UNIVERSE; // sACN packets come in seperate RGB but we have to set each led's RGB value together // this 'reads ahead' for all 3 colours before moving to the next led. for (int i = 126;i < 126+count;i = i + 3){ byte charValueR = pbuff[i]; byte charValueG = pbuff[i+1]; byte charValueB = pbuff[i+2]; leds[ledNumber].setRGB(charValueR,charValueG,charValueB); ledNumber++; } FastLED.show(); //Do it! } } } } static void sACNPacket(unsigned int port, byte ip[4], unsigned int i, const char *data, unsigned int len) { //Make sure the packet is an E1.31 packet //Serial.println("*"); int count = checkACNHeaders(data, len); if (count){ // It is so process the data to the LEDS //Serial.println(count); sacnDMXReceived(data, count); } } void initTest() //runs at board boot to make sure pixels are working { LEDS.showColor(CRGB(255, 0, 0)); //turn all pixels on red delay(1000); LEDS.showColor(CRGB(0, 255, 0)); //turn all pixels on green delay(1000); LEDS.showColor(CRGB(0, 0, 255)); //turn all pixels on blue delay(1000); LEDS.showColor(CRGB(0, 0, 0)); //turn all pixels off } void setup() { // Using different LEDs or colour order? Change here... // ******************************************************** FastLED.addLeds<WS2811, DATA_PIN, RGB>(leds, NUM_LEDS); // ******************************************************** //Serial.begin(115200); //Serial.println("Init."); // No checks in here to ensure Ethernet initiated properly. // Make sure Ethernet cable is connected and there is DHCP on the network if you are using it .... // if (ether.begin(sizeof Ethernet::buffer, mymac, 8) == 0){ // Serial.println( "Failed to access Ethernet controller"); // } else { // Serial.println("Ethernet ok"); // } ether.begin(sizeof(Ethernet::buffer), mymac, 8); // ******************************************************** // DHCP //ether.dhcpSetup(); //Static IP ether.staticSetup(myip); // ******************************************************** // Register listener ether.udpServerListenOnPort(&sACNPacket, 5568); //Once the Ethernet is initialised, run a test on the LEDs // If you have problems with lockups/reboots, you might want to disable this //initTest(); lastUpdate = millis(); } void loop() { //Process packets if (millis() - lastUpdate > 2000){ // If no packet recieved in 2 seconds, reboot. // I had problems with occational lockups of controllers // for some reason. Slowing the data rate seemed to help. // ENC28J60 module probably isnt coping too well. asm volatile (" jmp 0"); } ether.packetLoop(ether.packetReceive()); } -
Raspberry Pi Setup
01/20/2016 at 03:04 • 0 commentsyou need a
1. 8g mini sd card
2.usb stick (I use a mini 16g stick)
3. I also have a Adafruit RGB Positive 16x2 Lcd+keypad Kit for Raspberry Pi
4. I got a Raspberry Pi A+/B+/2 Adafruit LCD Case from built to spec
I fallowed these instructions
Installing the Falcon Player (FPP) on your Raspberry Pi
The latest FPP release for the Raspberry Pi is FPP v1.5 and is available for download at the following location:
FPP v1.5 Release Pi SD image: https://github.com/FalconChristmas/fpp/releases/download/1.5/FPP-v1.5-Pi.zip
The Falcon Player is designed to be treated like a software appliance. To make FPP installation easier on the Raspberry Pi, the player is distributed in a ZIP file which contains the Pi NOOBs installer. This installer will install the Raspbian Linux Operating System and the FPP software onto the SD card. You will need to copy the contents of the FPP .zip file onto a SD card and boot the Pi using the SD card. Upon boot, the NOOBs installer will take over and install Raspbian and the Falcon Player.
These instructions will guide you through installing the NOOBs image on your SD card that will allow you to easily install the OS and FPP as well as recover your card if the OS becomes corrupted.- Insert an SD card that is 8GB or greater in size into your computer.
- Format the SD card so that the Pi can read it
- Windows
- Download the SD Association's Formatting Tool1 from https://www.sdcard.org/downloads/formatter_4/eula_windows/
- Install and run the Formatting Tool on your machine. We recommend using the SD Card Association utility because the built-in Windows format utility will only format the first partition that Windows recognizes which will not properly re-format some USB drives or drives that have previously been used with the NOOBs installer.
- Set "FORMAT SIZE ADJUSTMENT" option to "ON" in the "Options" menu
- Check that the SD card you inserted matches the one selected by the Tool
- Click the "Format" button
- Do the same for the USB stick its recommended that the stick be called "media"
- Windows
- Download the latest release of the Falcon Player image for the Pi from the link at the top of this post.
- Extract the contents of the downloaded FPP .zip file onto the formatted SD card. The 'OS' and 'default' subdirectories should be visible in the top level directory on the SD card.
- Insert a USB flash drive into the Pi. This will be used for sequences, media, FPP configuration, and logs once FPP is running.
- Insert the SD card into your Pi and connect the power supply to boot the Pi and install FPP. Your Pi will now boot into NOOBS and will automatically start installing the FPP image onto your SD card.
- Once the install is complete, the Pi will automatically reboot into Linux, and start FPP. All further interaction with FPP will be via the web UI accessible via http://fpp/
LED Christmas Pixels
using a raspberry pi to control lights over static network with Arduino Nano nodes
 shane bourgeois