Close
0%
0%

IotPOS a Point of Sale for Raspberry Pi

Build your own DIY Point of Sale using a Raspberry Pi ZERO/a+/b/b+/2 with a mini thermal receipt printer and IoT funtions.

Similar projects worth following
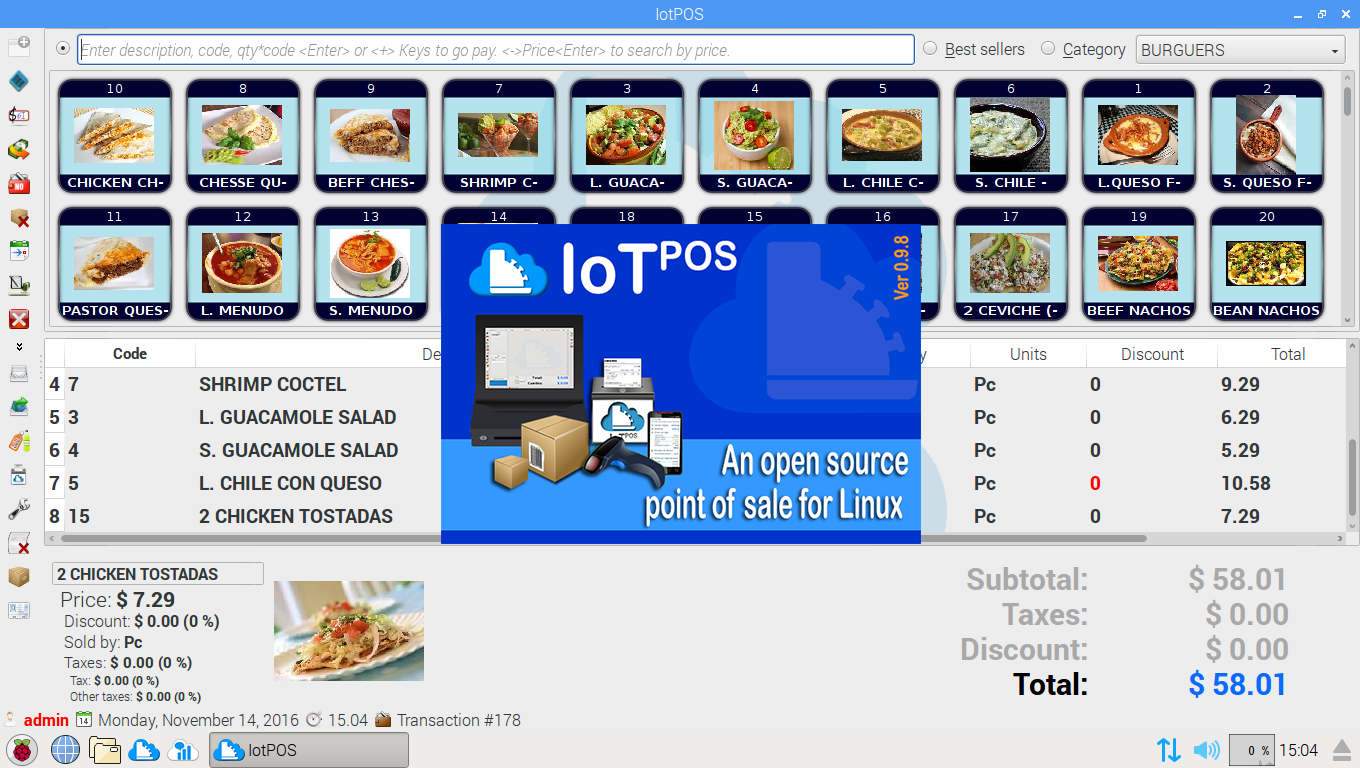
Hello everyone, in this tutorial I am going to show you how to make a complete Point of Sale, with Internet of Things services too! This project reduces costs because includes many of the more expensive parts and functions of a proprietary Point of Sale. And now with the new Pi ZERO as low as a $5.00 CPU.

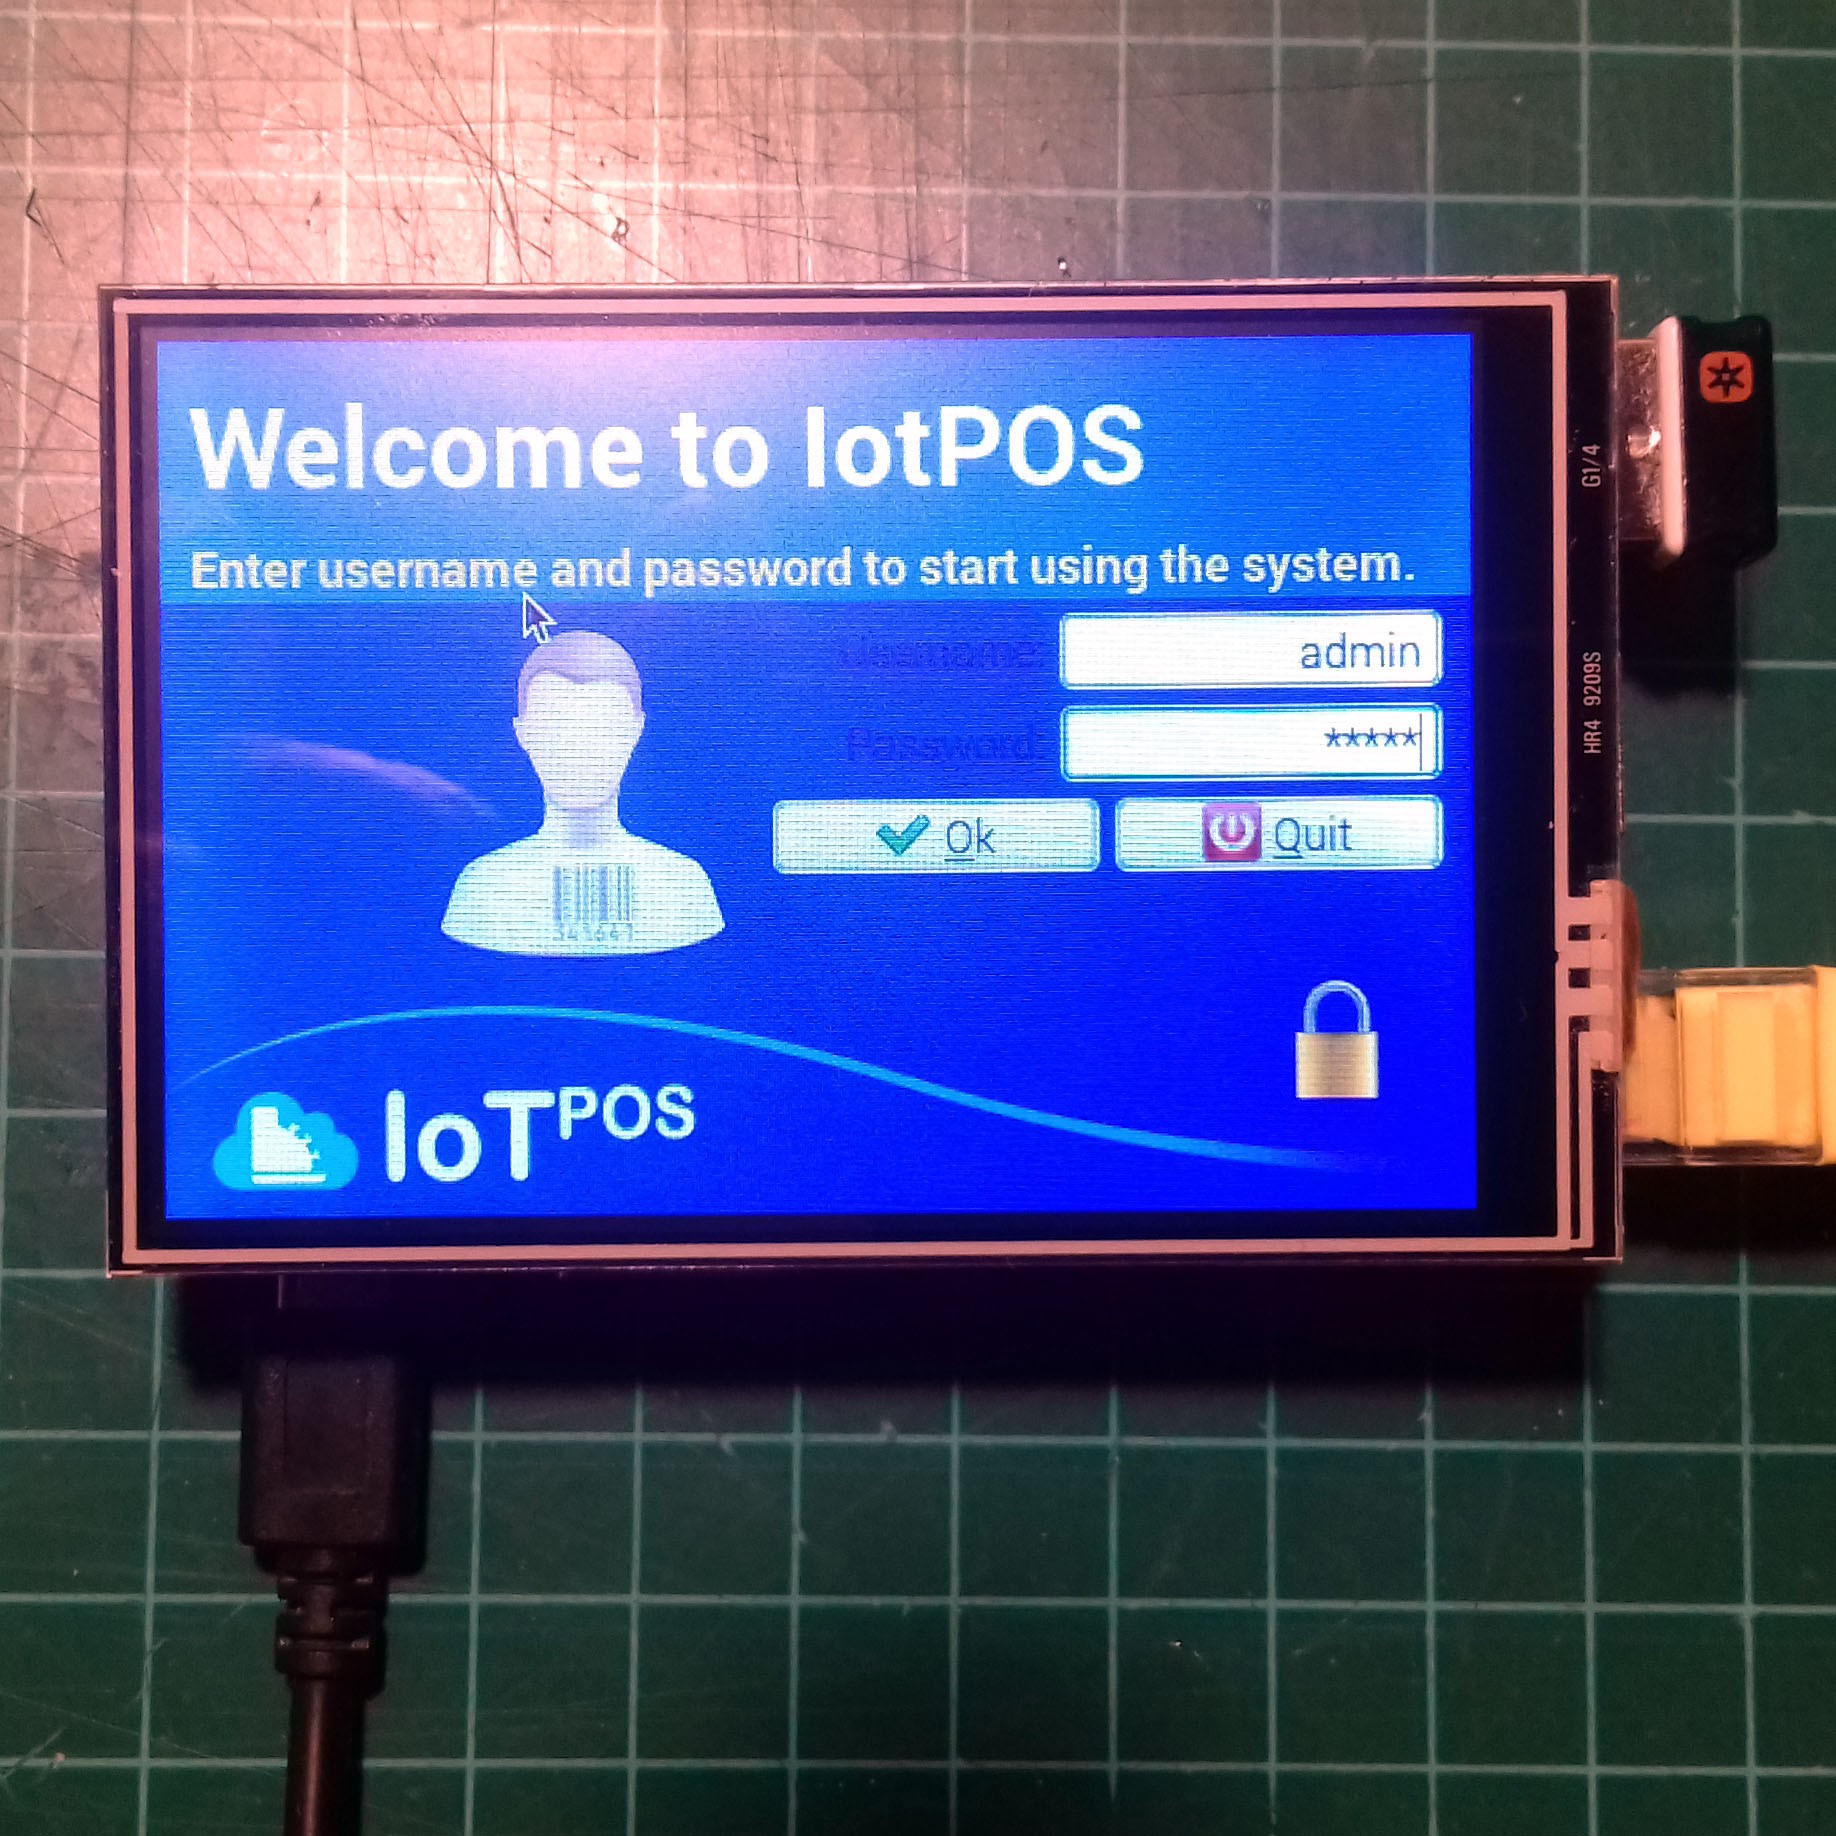
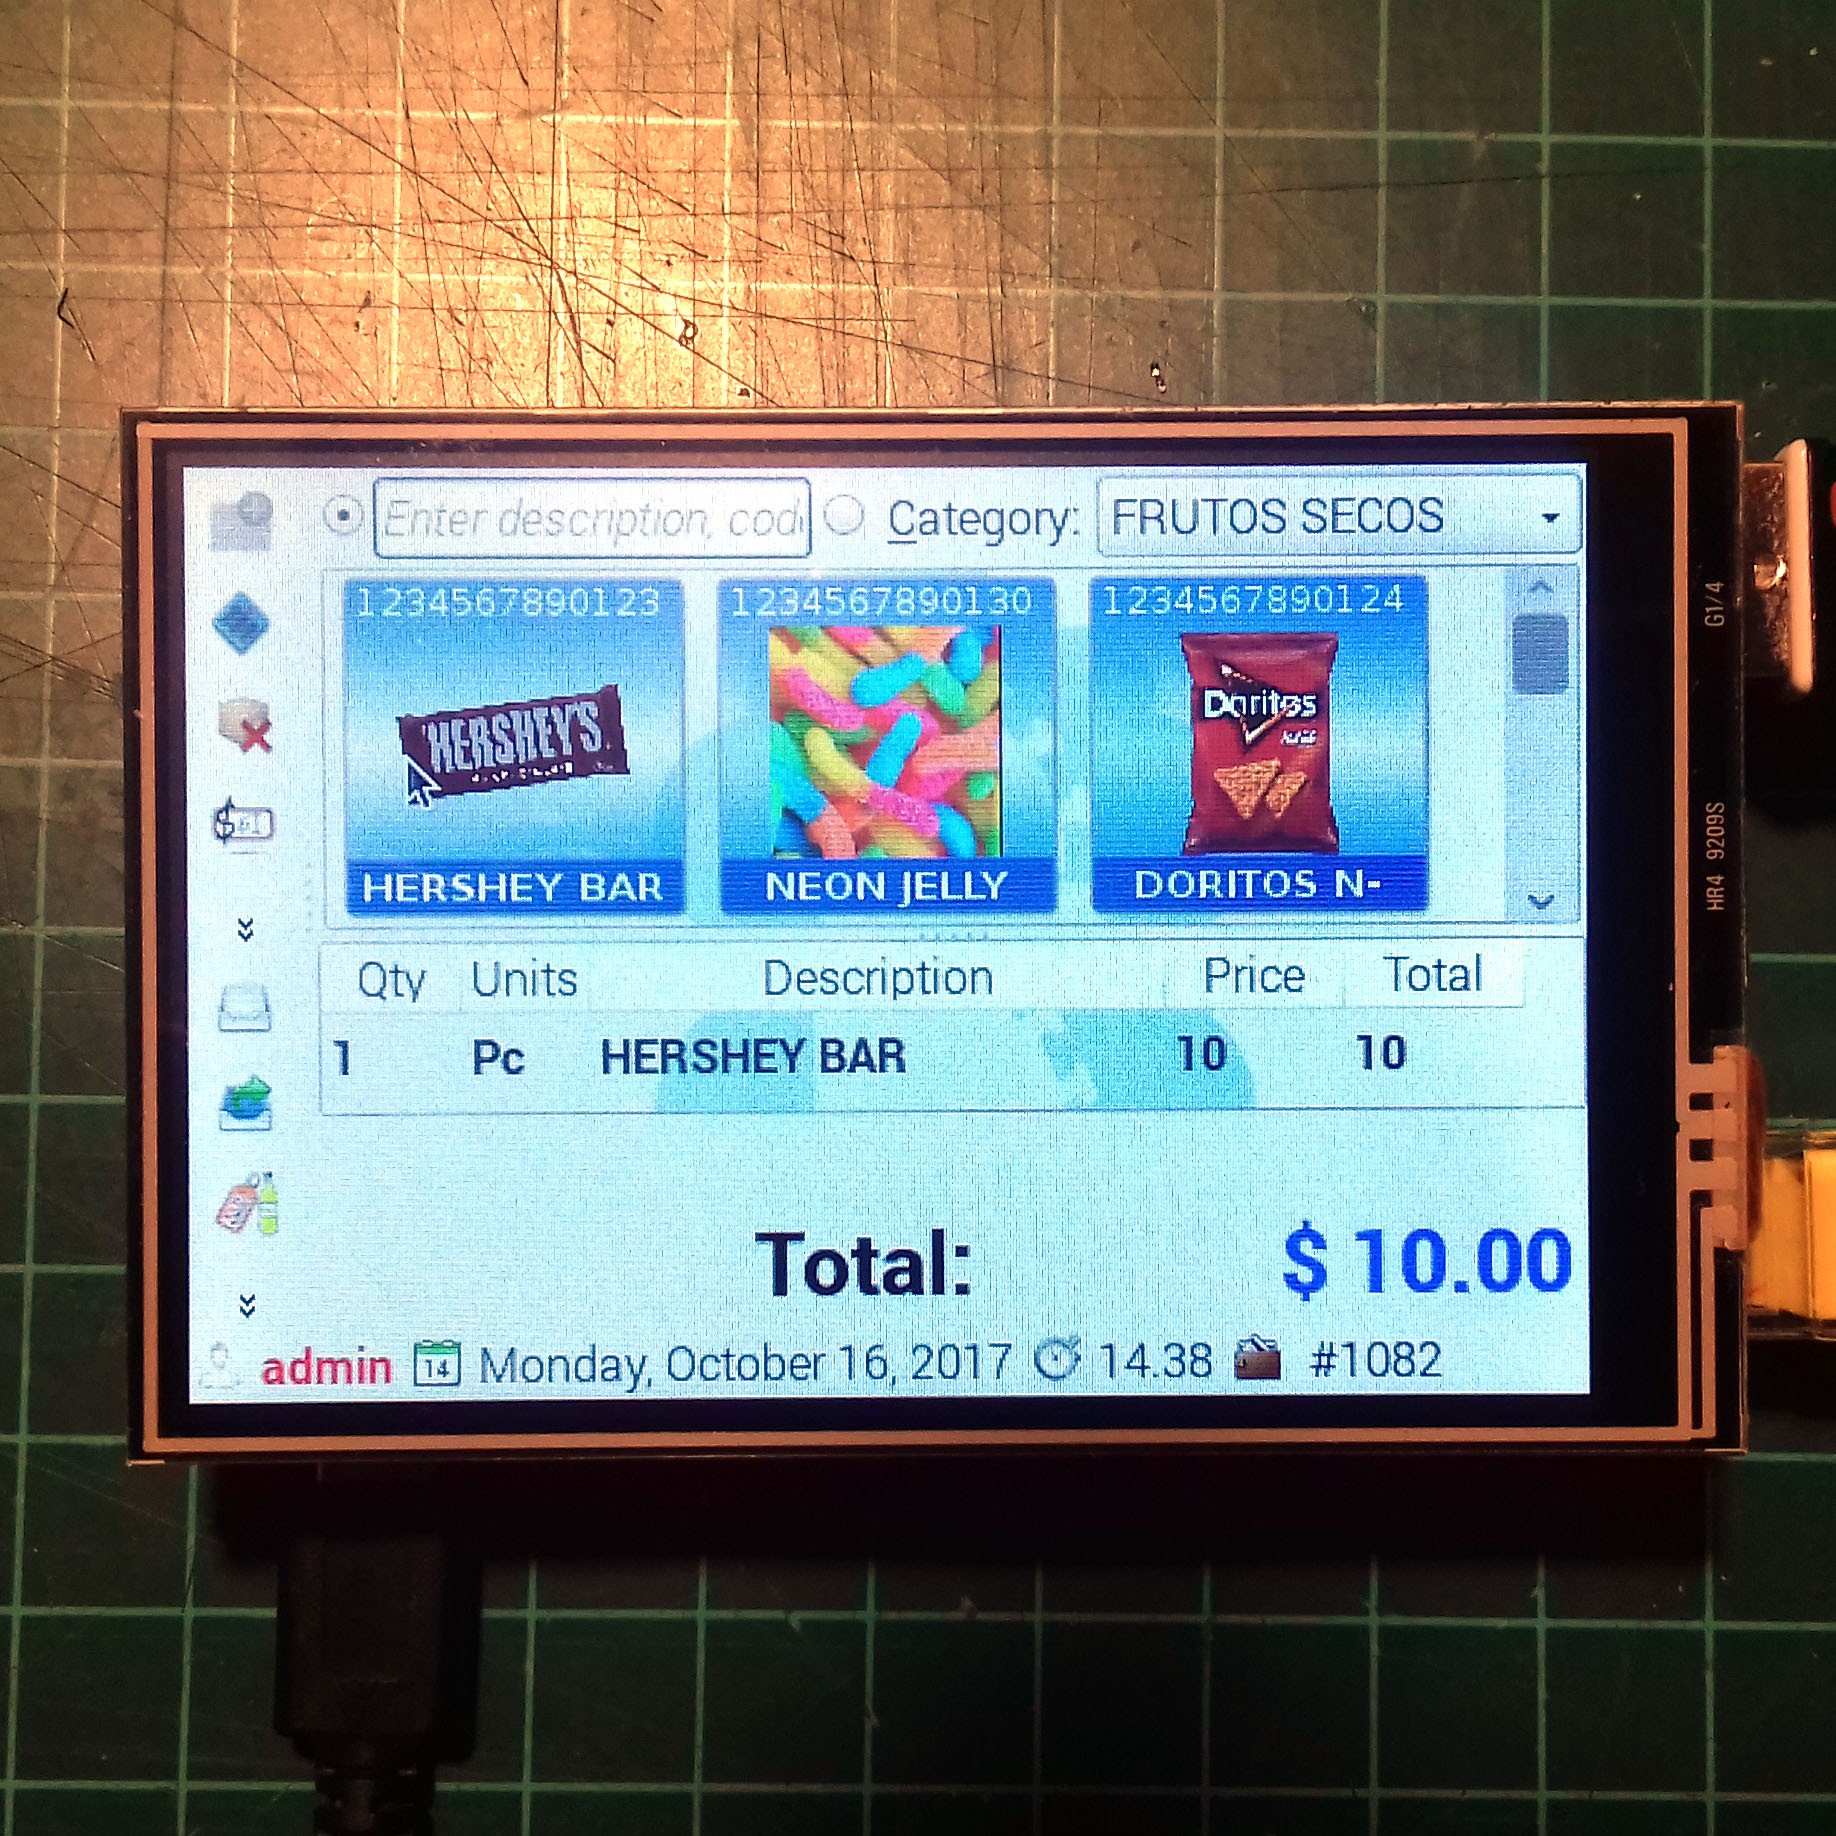
Includes a serial receipt thermal printer with a function to print your own barcode products labels too, no need to buy a dedicated printer. We redesign the interface to work with low resolution screens as 800x480px, now compatible with the official 7″ touchscreen monitor for the Pi.

The IoT functions includes e-mails with: receipt copies, status reports, user logins, offers, CSVs or others important notifications for you and your clients, use the remaining GPIOs as: alarms, environment sensors, counters and many more functions, giving modern Internet of Thing functions to your business.

Download an SD image at the blog here.

"For those that don't have the budget to afford a proprietary system, for those who need a simpler inventory/POS system, and want a system to run on the Linux operating system, over lower energy consumption, fully open source support and lightweight enough to run into a ARM based SBC as the Raspberry pi ZERO. Your choice is IotPOS".

Assembly and connections are almost the same as the “Internet of Things Printer for Raspberry Pi” tutorial from adafruit, but with an extra opening to reach reach the USB & HDMI ports and you can use all the Raspberry pi models instead only the classic B.

A serial thermal printer it used connected to the serial GPIO output. (not support for the Raspberry pi 3 model at this moment.) The software supports touch screens and most barcode readers. The cash drawer opens using a pulse through the GPIO (relay needed).

Supports many POS terminals with a single database on a network. And with VNC Remote Desktop you won’t need to connect to the box to make changes, update stock, make purchases, transfer files, and so on.

Includes iotStock, the administration tool for managing your store, printed reports, and more. Includes a useful function to print your own barcode labels with name and price, a great money saver!

Automatic SQL backups to external USB storage, just name any USB drive as "iotpos" to execute daily database backups in case of SD corruption or other failures.

I hope you enjoy this project, if you want to try IotPOS go ahead and follow the instructions.

View all 12 components

View all 6 project logs

  • 1
    Step 1

    Prepare raspbian OS

    We recommend to uninstall useless apps for a dedicated point of sale:

    sudo apt-get update

    sudo apt-get remove scratch wolfram-engine dillo netsurf-gtk sonic-pi minecraft-pi

    sudo apt-get autoremove

    sudo apt-get clean

    sudo reboot

    That will give you an extra .6 Gb space, great for smallers SDs.

  • 2
    Step 2

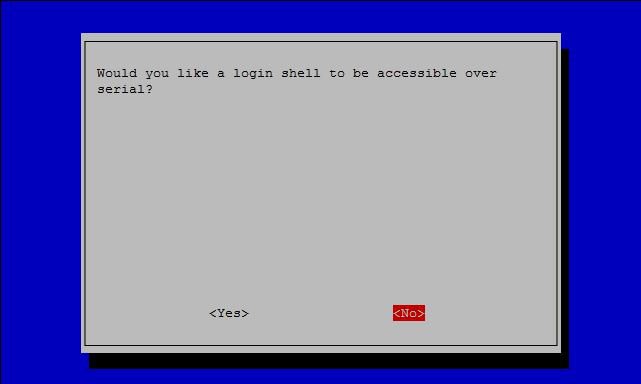
    Disable shell and kernel messages on the serial connection

    The serial port on the Raspberry Pi’s GPIO header is normally configured for console cable use,

    will output a Console from your Pi that, with a suitable Serial cable, you can use to control your Pi via the command-line.

    But now we want to use this port for the thermal printer instead, so we’ll need to disable this default behavior.

    sudo raspi-config

    Advanced options

    Serial / Enable/Disable shell and kernel messages on the serial connection

    Would you like a login shell to be accessible over │

    │ serial? NO

  • 3
    Step 3

    ENCLOSURE, CONECCTIONS & HARDWARE

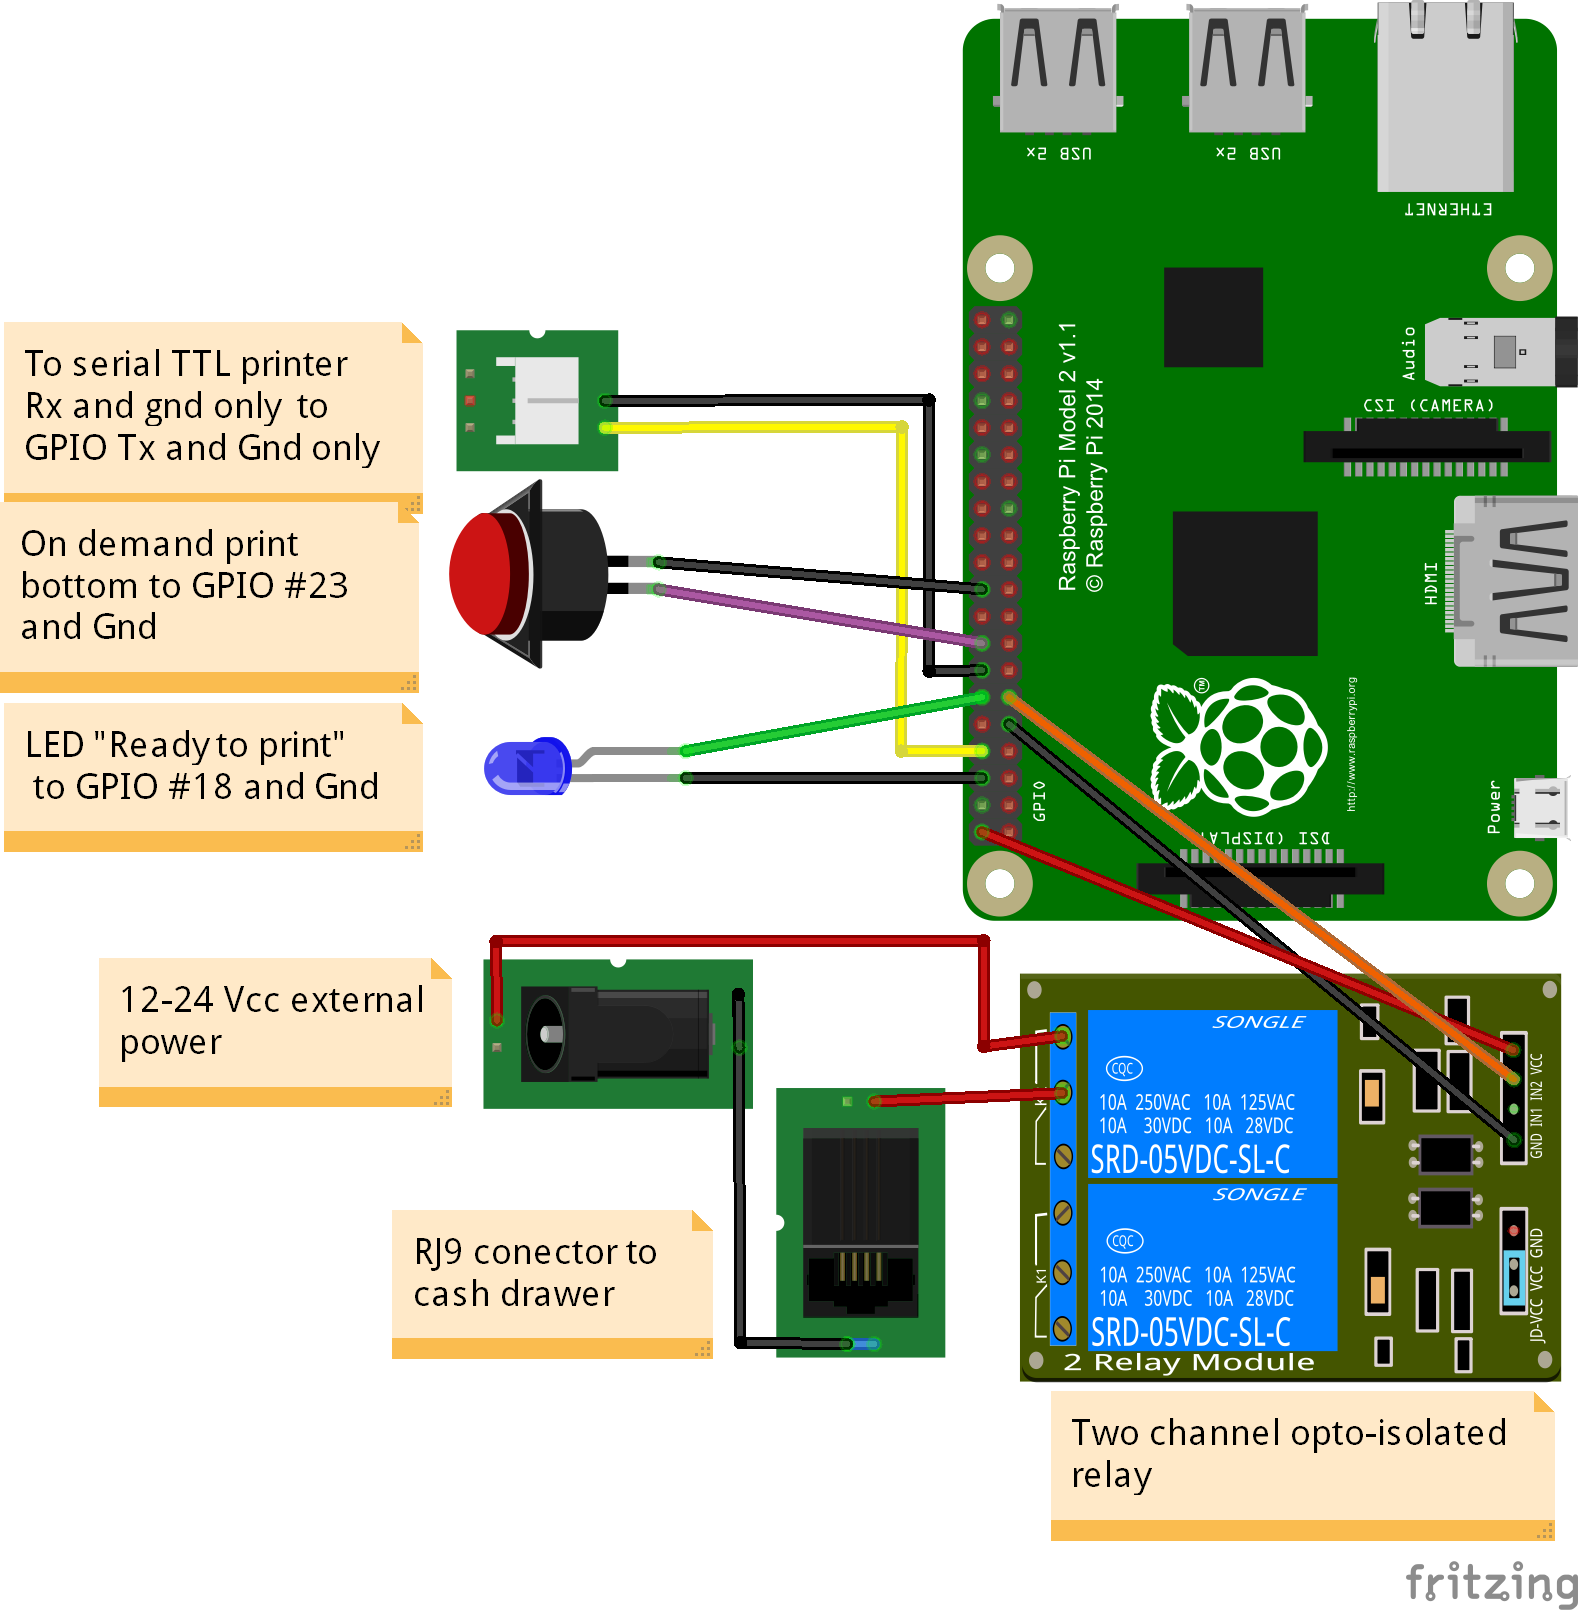
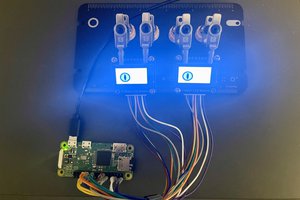
    This diagram shows the Raspberry pi 2, GPIO wirings are exactly the same on all Pi's, please prototype this connections before try the enclosure, it will help you to understand the basic functions and try the app first.

    Jump to Step 4 for software install instructions.


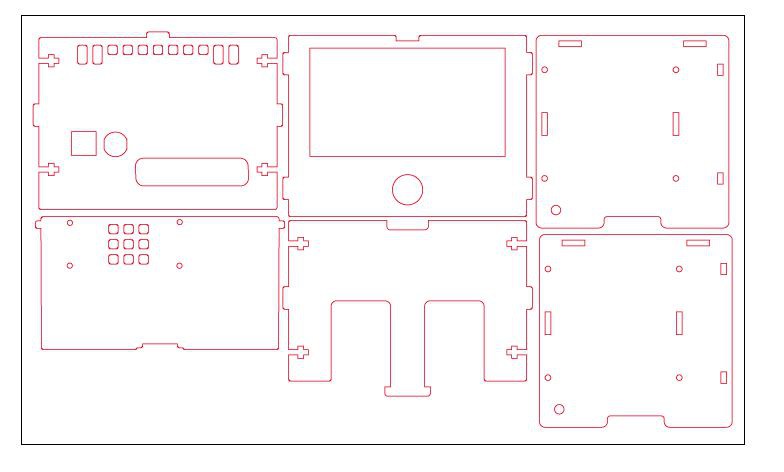
    You can download the enclosure at thingiverse: http://www.thingiverse.com/thing:1359766

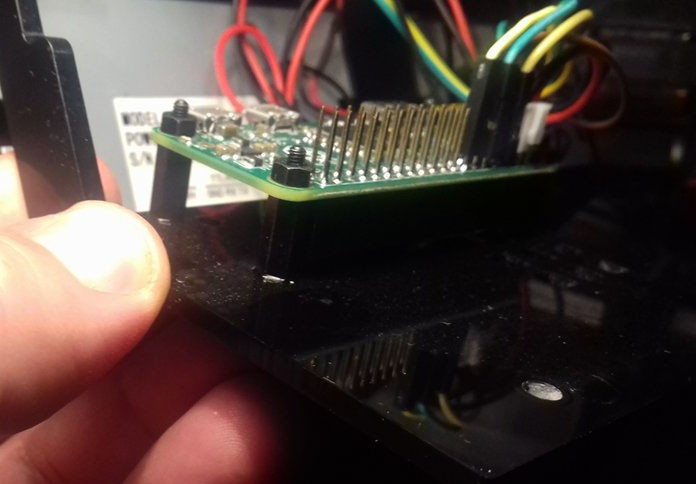
    Assembly and connections are almost the same as the “Internet of Things Printer for Raspberry Pi” tutorial from adafruit, but with an opening to reach USB/HDMI ports and use the Raspberry pi zero instead classic model mounted on 2 sets of Brass M2.5 Standoffs for Pi HATs available from adafruit. No need for the T-Cobbler Breakout neither. You can follow the adafruit tutorial for more details.
    ABOUT cash drawer and the external relay.

    The raspberry pi gpio output cannot open a cash drawer directly, it is needed 12-24 DCV, you must use a opto-isolated relay conected to the Physical pin 11.

    This image shows connection using jumper wires, soldering is better.

    WARNING!!!: Never conect the side printer Tx pin to Rx GPIO on the pi, the Tx wire is only used for rare cases where the printer returns data to the computer. It’s left unconnected because the printer works at 5 Volts and the Raspberry Pi at 3.3 Volts connecting directly to the Rx pin could permanently damage the Raspberry Pi! (The other direction is safe as-is.).

    Serial Data Cable Rx TO Physical pin 8 It's also commonly known as "Serial TX" ttyAMA0. Serial Data Cable Tx Serial GND from serial printer to any gpio GND could use Physical pin 6,9, 14.

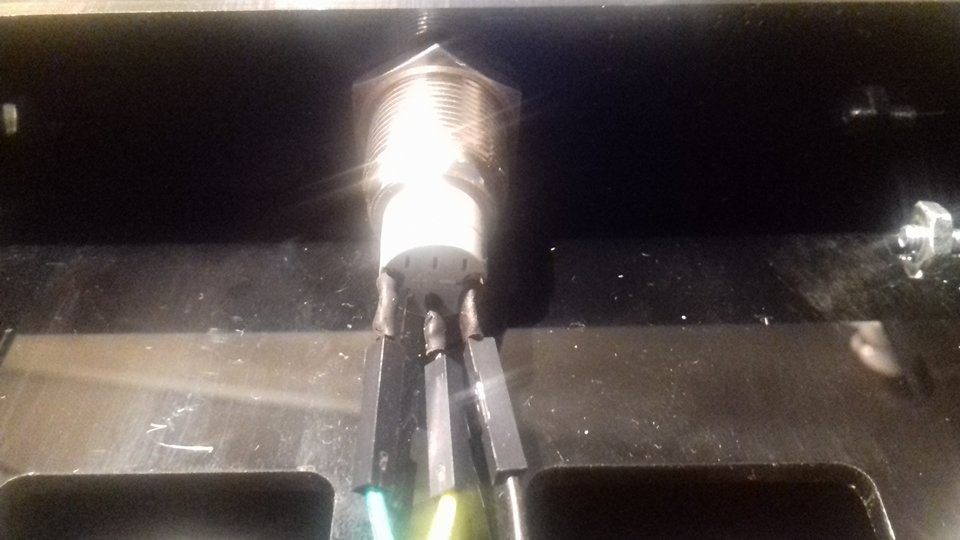
    -----Push buttom and LED.

    Push bottom N.O. to Physical pin 16 switch to GND.

    LED+ Physical pin 12 LED- TO any GND available.

View all 6 instructions

Enjoy this project?

Share

Discussions

ishtiaque.sarwar wrote 12/27/2016 at 18:24 point

if i don't want to use your given pos but want to use our php pos is that possible to do? using xampp or wamp tools? 

  Are you sure? yes | no

jruffer wrote 12/04/2016 at 04:53 point

Is there a slack channel for this project

  Are you sure? yes | no

Hiram Villarreal wrote 11/15/2016 at 12:42 point

First IotPOS SD image avalible.

Download:  http://bit.ly/2fck2nc

  Are you sure? yes | no

leoshi wrote 10/30/2016 at 04:12 point

Hi Hiram. Nice job!

I have a question.  How to config the program to adapt to 800*480?

  Are you sure? yes | no

Hiram Villarreal wrote 10/30/2016 at 16:12 point

Hi, you only have to set the tool buttoms at left side and "Show only icons" .

  Are you sure? yes | no

zackary quirk wrote 10/04/2016 at 12:36 point

The idea of Raspberry pi-based pos system looks interesting, but what about its stability? Is it possible to use as fully-operational pos system? By the way there are companies that provide very simular solutions http://pos-ok.com/ 

  Are you sure? yes | no

Hiram Villarreal wrote 10/24/2016 at 14:09 point

Hi, I am really sorry I did not see your post. 

I been using it for two years at a grocery store,  one year at  a fast food restaurant and 8 month at a boutique, since then the only problem was a relay at the grcery store to open the cash drawer.


Other minor code problems were find and fix them on the road.

The main problem coul be the sd corrruption, but the app include a function to backup every time the End of day is  executed, So if sd corruption happend I just will restores an SD image and restore the DB.

This is a cheap option POS for those with a thight budget. 

Cheers.

  Are you sure? yes | no

Dia Abdoul wrote 08/22/2019 at 03:39 point

Could have been a way to send the backup of the data using a webapi?

  Are you sure? yes | no

Nosceam wrote 09/17/2016 at 22:36 point

Sorry for this question, but where is the pos app, i cant find it? 

  Are you sure? yes | no

Ste Hitchen wrote 09/01/2016 at 21:12 point

Hi Hiram. Thank you for publishing this project, I have been searching for a solution for my small grocery shop and this sounds perfect. I have installed the software to my pi 2 to experiment with (installing a cups pdf printer prevented the hanging) and I'm currently making a shopping list for the remaining components. I apologise for all my questions, I have very little experience assembling electronics...

"-----Push buttom and LED.
Push bottom N.O. to Physical pin 16 switch to GND.
LED+ Physical pin 12 LED- TO any GND available."

By 'switch' are you referring to 'NC' or 'COMMON' pin? Is one pin unused?

From your connections diagram I don't understand how the printer is receiving power. Does the printer require its own mains plug or can it share the DC jack connected to the relay?

Also, I am confused how the DC adapted and RJ11 socket connect with each other and the relay. Should I be purchasing a RJ11 socket with 4 pins (e.g. http://uk.rs-online.com/web/p/rj11-connectors/3316409/)

Again, thank you

Stephen

  Are you sure? yes | no

Hiram Villarreal wrote 10/24/2016 at 14:58 point

Hi Ste.

By 'switch' are you referring to 'NC' or 'COMMON' pin? Is one pin unused?

----A Normally open switch is used conecter ti common GND and GPIO#18, when pushed, the GND pass to pin 18 and the script detect a push.

From your connections diagram I don't understand how the printer is receiving power. Does the printer require its own mains plug or can it share the DC jack connected to the relay?

--- the printer should be conected directly to the main 5V power source, in y case I share the power sorces and powered the pi via its 5V pins.  The relay it is used to open the cash drawer but that need anothe power source of 12-18V, that is just for open the xash drawer solenoid and its powerr never shluld pass to anny other part of the pi.

I am confused how the DC adapted and RJ11 socket connect with each other and the relay. Should I be purchasing a RJ11 socket with 4 pins

--- Most cash drawer has the RJ11 conector to supply power to open it. you can cut that onector and directly conect it drawer to the relay.


  Are you sure? yes | no

stephane.bennevault wrote 05/17/2016 at 13:49 point

Hello, this thermal printer is very useful. Let's discover a Chuck Norris Fact Machine (with Python on Raspberry) here : http://raspberryland.noip.me

  Are you sure? yes | no

Hiram Villarreal wrote 04/15/2016 at 13:12 point

Thanks Craig, please share any ideas, the interface it is very intuitive, of course you are wellcome to make a branch and commit changes to my Git. Every day we are adding changes.
Please let me know what do you think. 

  Are you sure? yes | no

Craig Hissett wrote 04/15/2016 at 10:47 point

Great update regarding the lower res interface; compatibility with the Official screen will make for a very easy set up.

I'm hoping to use the 7" touch screen I already own (http://www.teamfdi.com/product-details/eli70-cr) with a Zero to make the foundations of a Box Office system.

Your project is giving me so many ideas!

  Are you sure? yes | no

Similar Projects

Does this project spark your interest?

Become a member to follow this project and never miss any updates