 Entunassa
 Jan
Jan-
10.) Summary
04/08/2021 at 17:04 • 2 commentsAfter four weeks I have finished the project now.
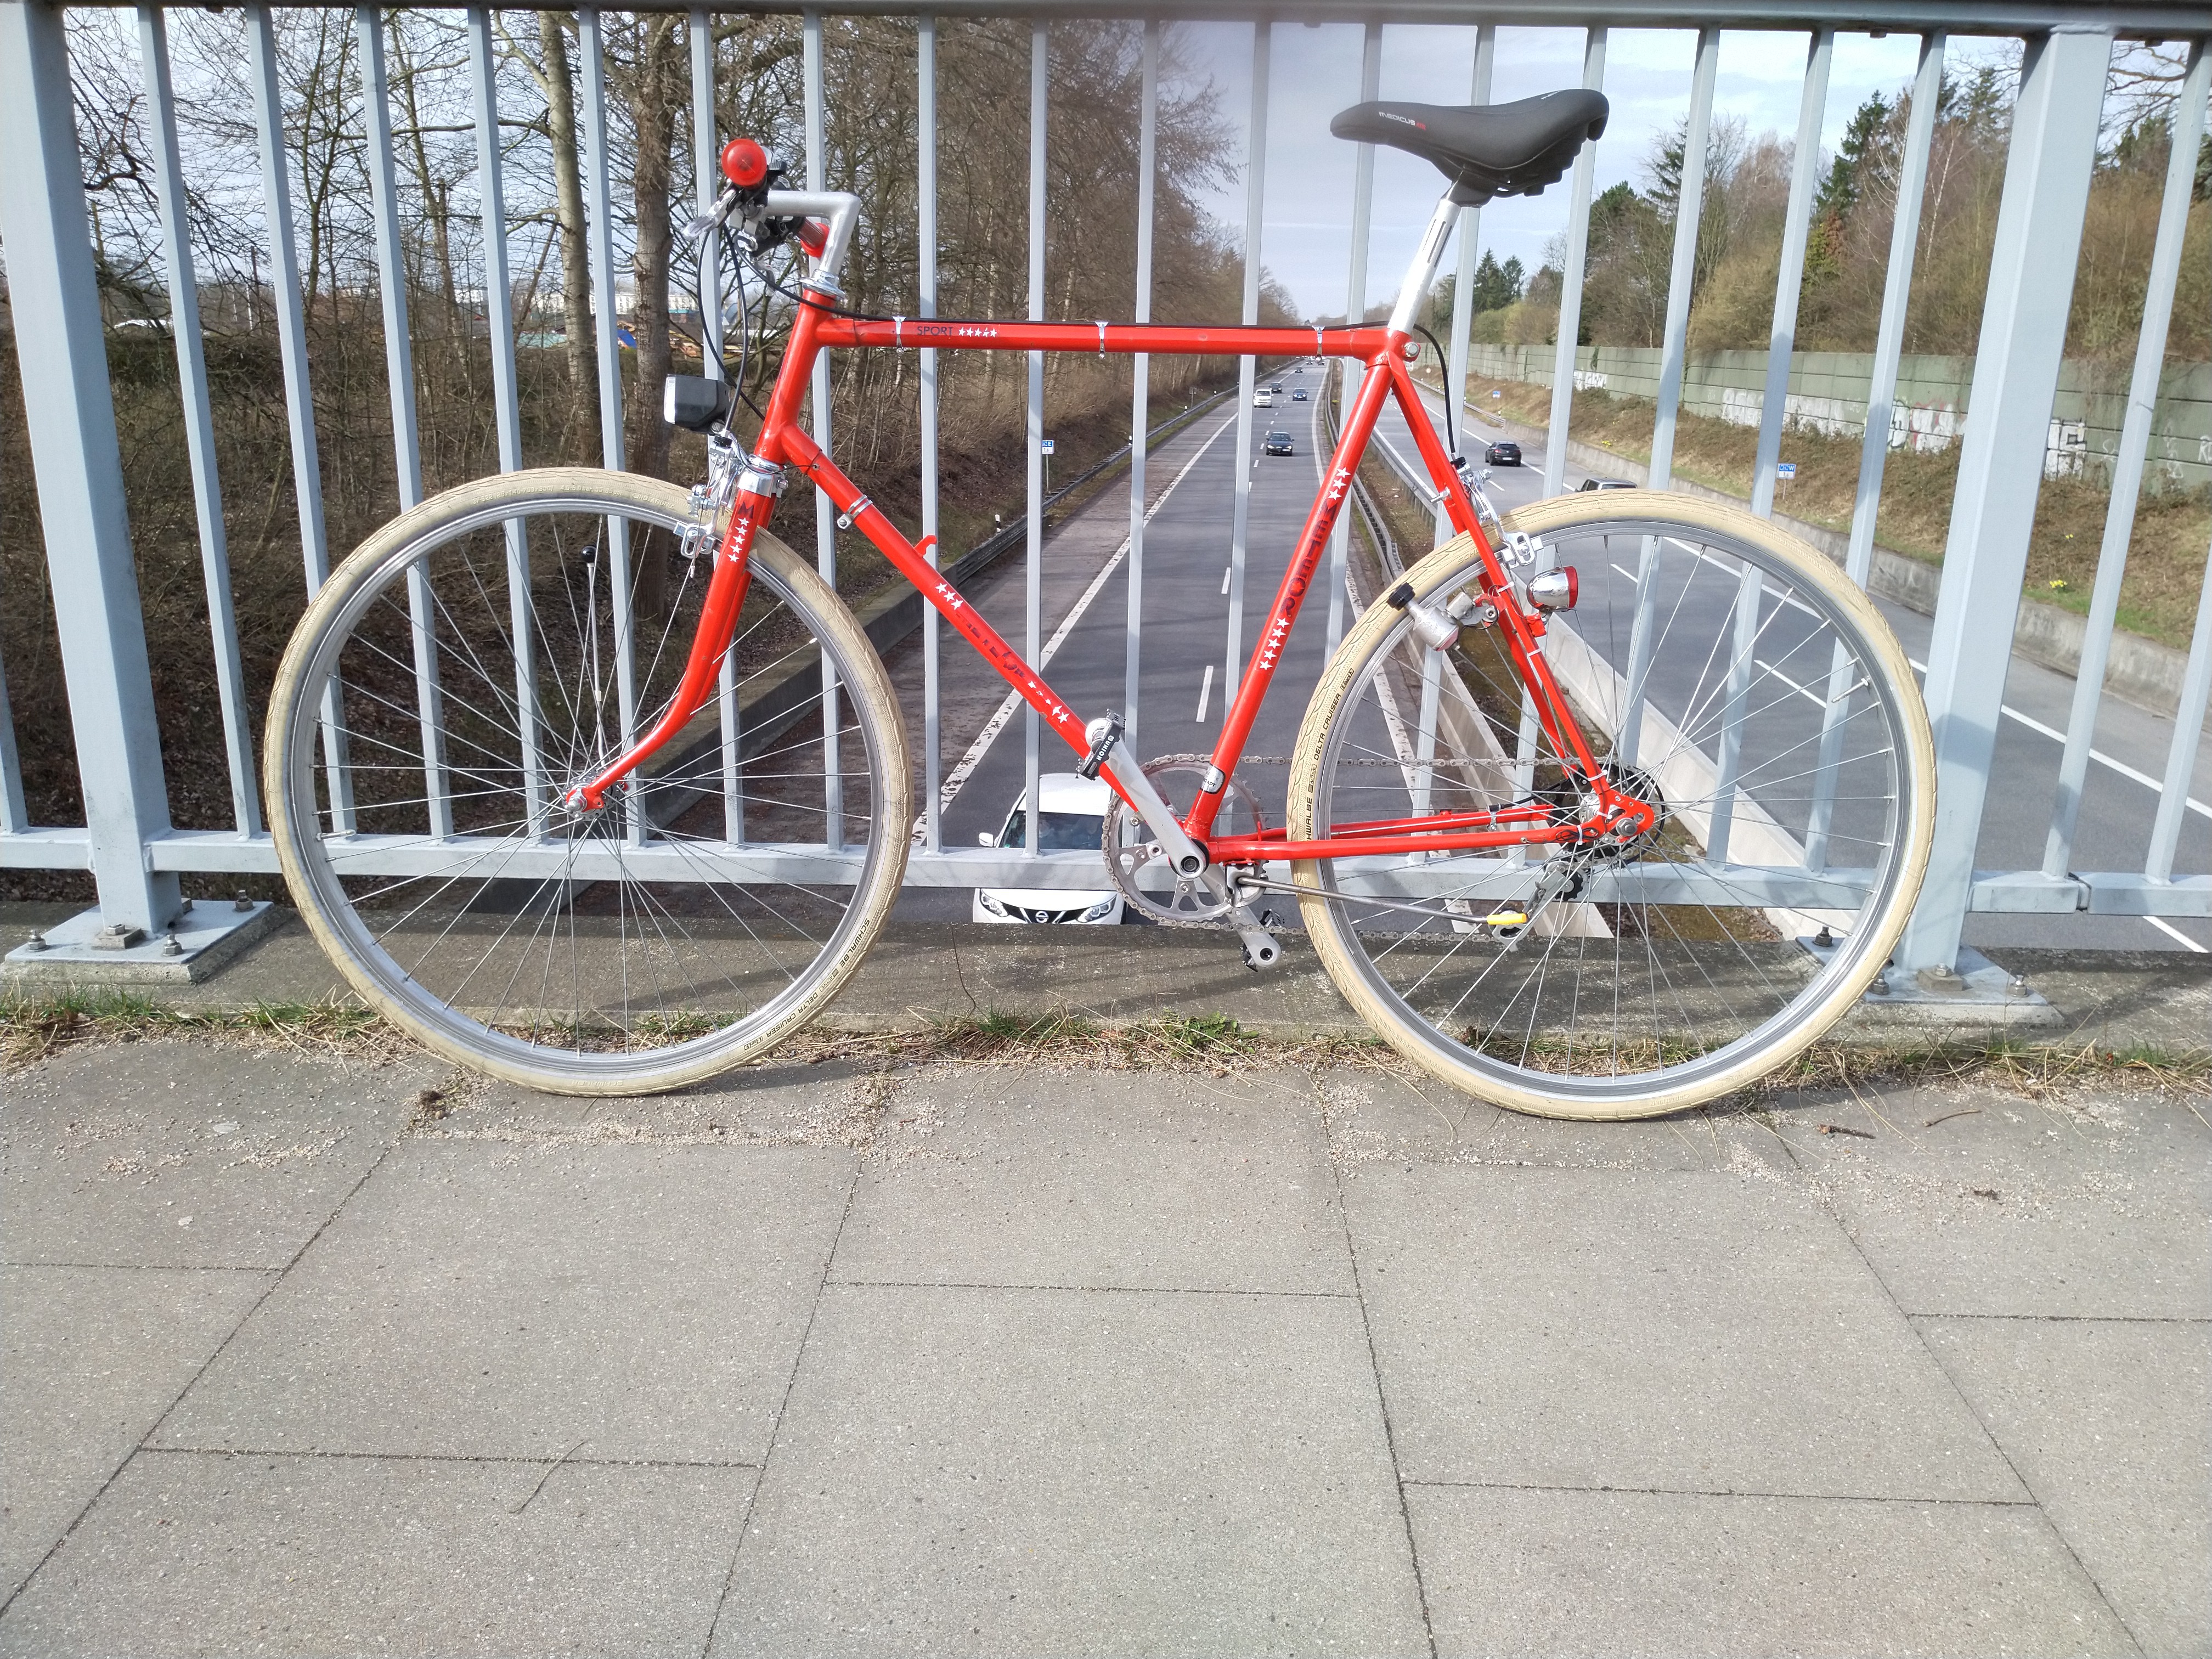
METEOR runs well, it´s lightweight (13,8kg / 30.4 lbs) and looks sporty.
I made a picture at its first tour.
![]()
METEOR - click for high resolution
There are no issues with the bottom bracket or the chainwheel. Everything is working as intended.
All the best - ride carefully - stay safe!
Entunassa
-
9.) Doing small things
04/08/2021 at 16:53 • 0 commentsThe Handle Bar
The original handle bar was terminally rusty. Fortunately, it could be easily removed from the steering head.
I have maintained the head ball bearings with new grease and assembled it carefully. And the rusty handlebar stem is replaced by a refurbished aluminum part.
![]()
The aluminum handlebar stem from the DONATOR fits well to the METEOR
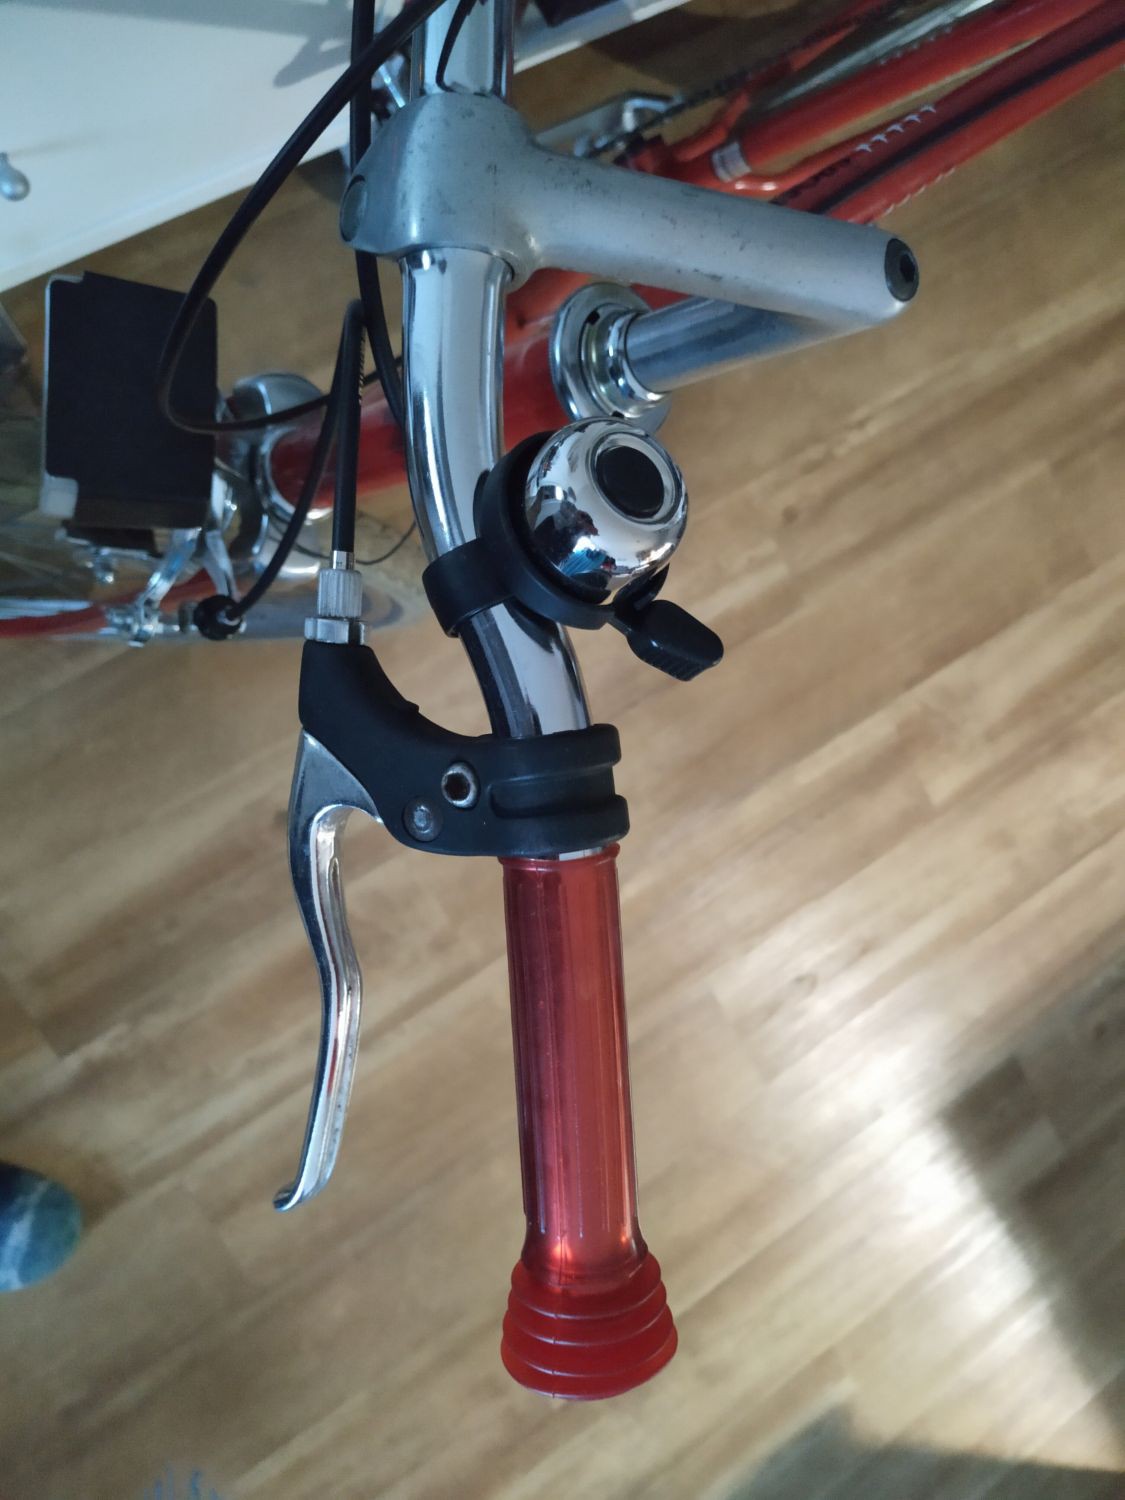
A steel handlebar "Sport Modell" (NOS from the 1960s) looks better compared to a modern straight aluminum bar. A pair of good brake levers also came from the DONATOR.
![]()
The new handlebar completed
Result: All handlebar parts together look really neat, especially with the red vintage grips on it.
Gear Cable
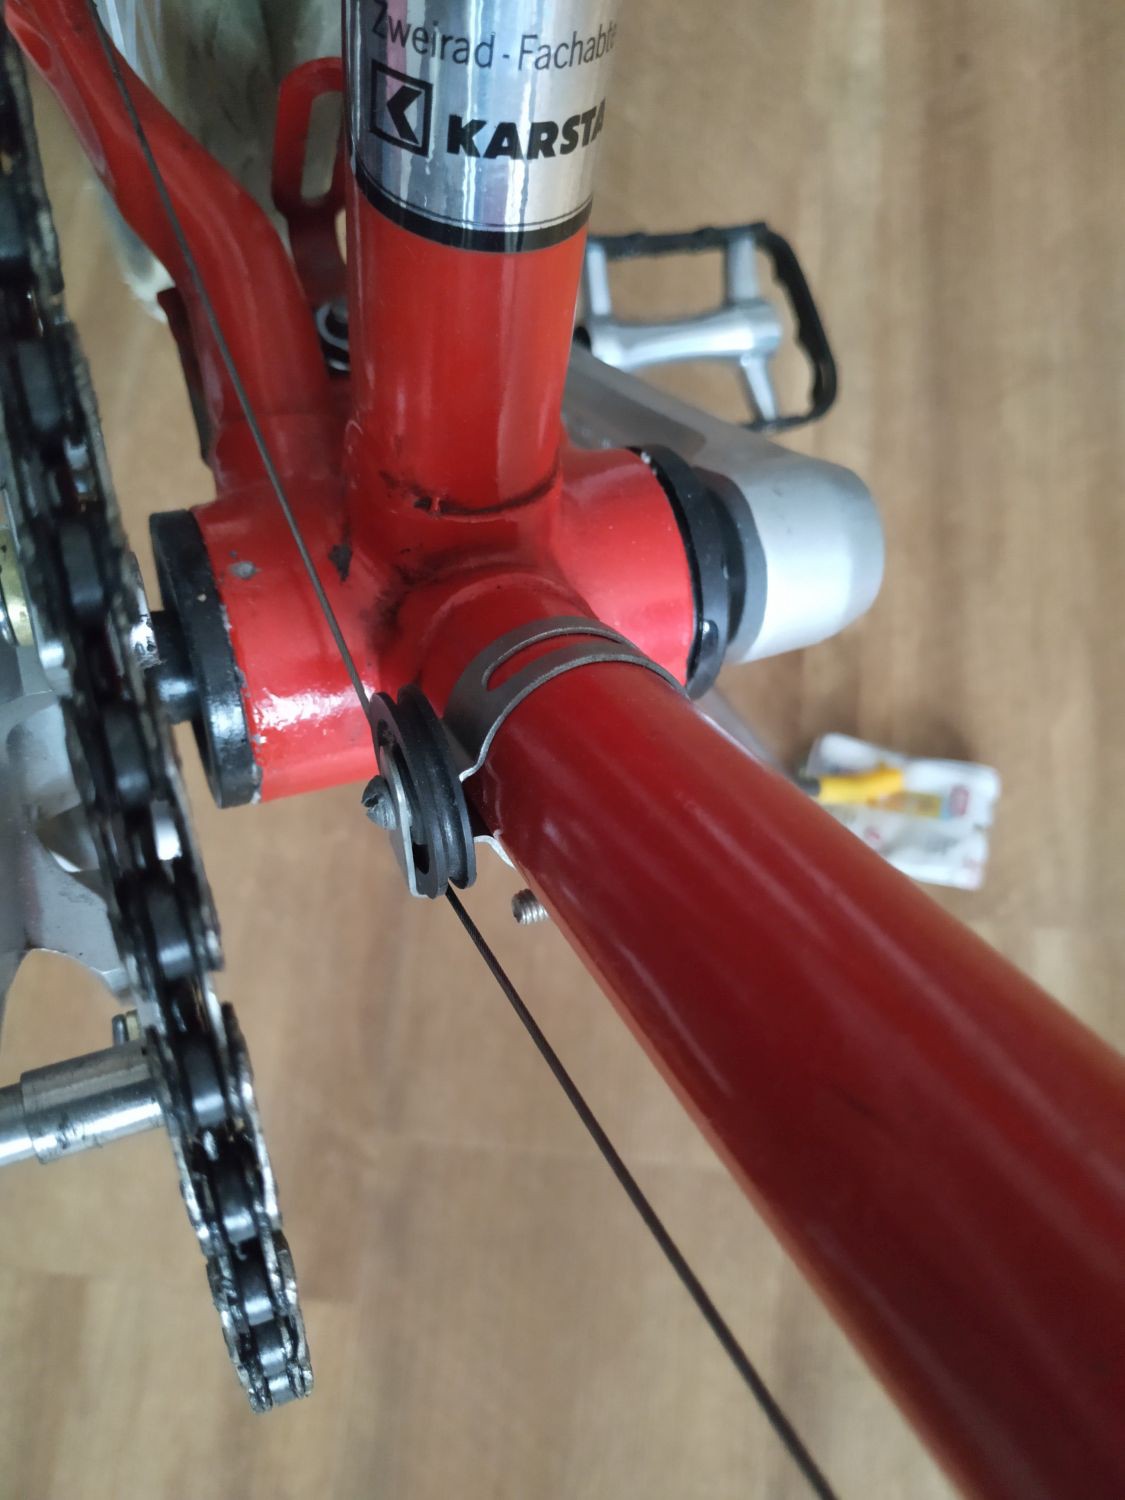
![]()
Gear cable cog and original 'KARSTADT' decal
The frame offers no cable guidings neither cable stops, as mentioned before. The gear cable is lead by a cog instead via a shift cable routing commonly located under the bottom bracket.
Lights
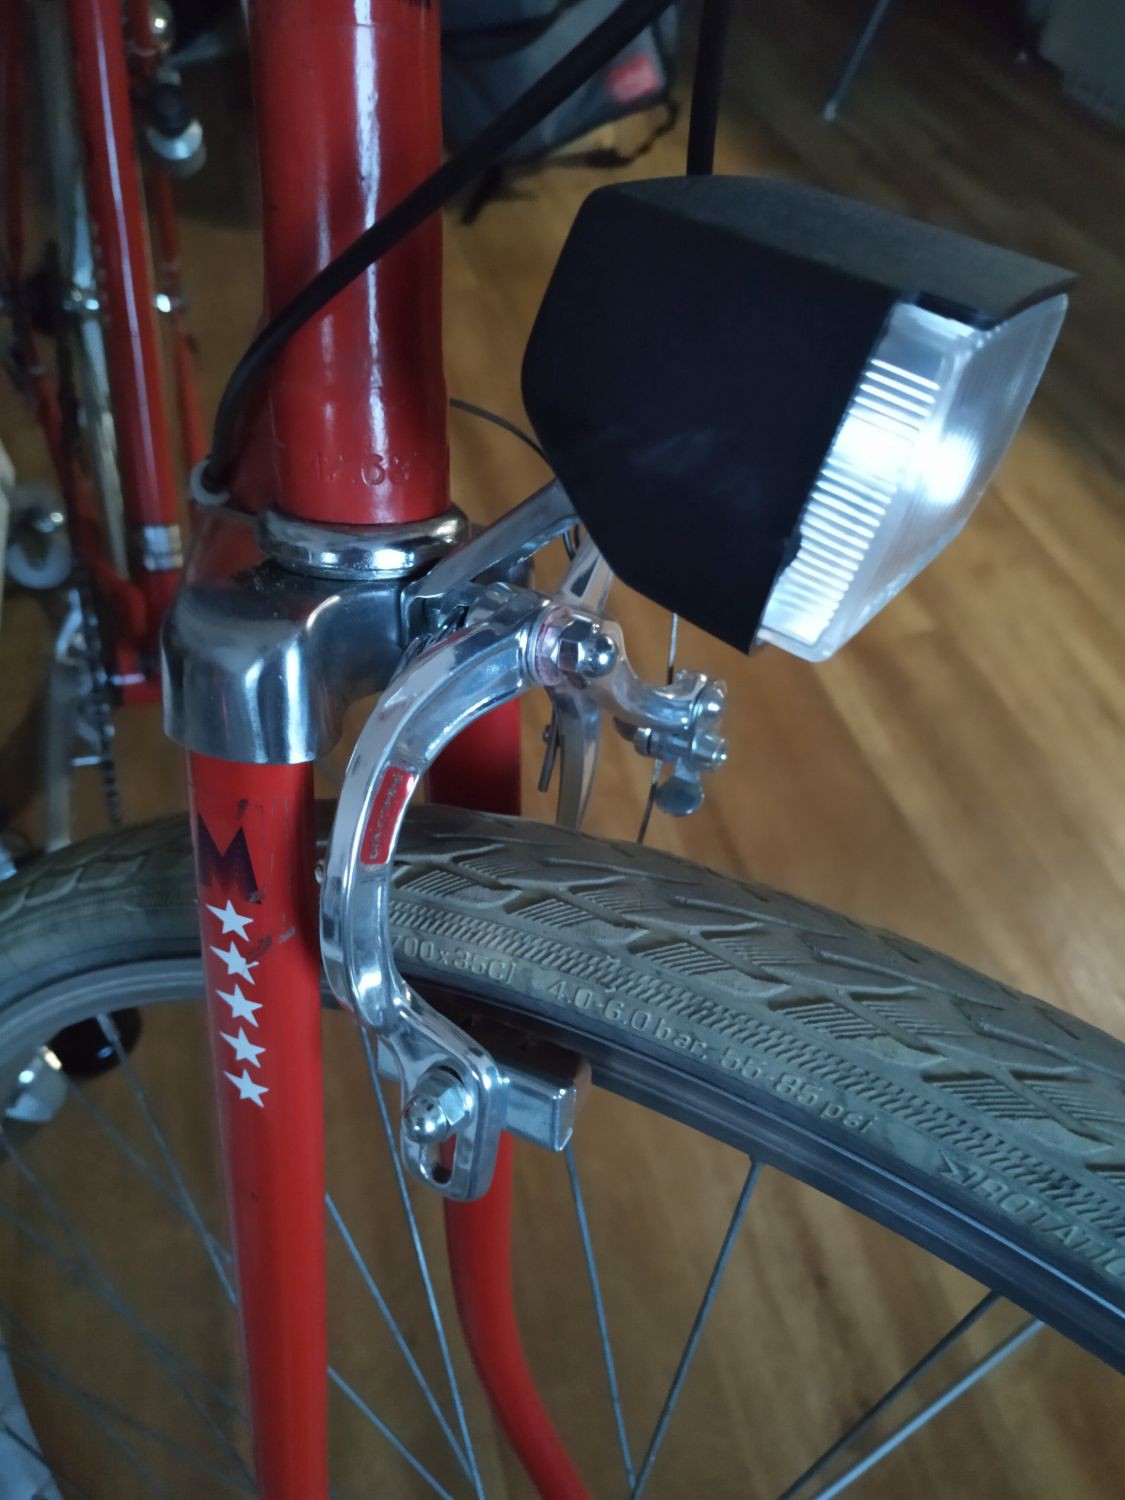
The original Predom Romet headlight remains - precisely because its cute ugliness. It´s powered by a classic bottle dynamo (6 Volts). The tail light is a classic type DIY LED lighting instead of a small 6V lamp.
![]()
Huge plastic headlight
*
![]()
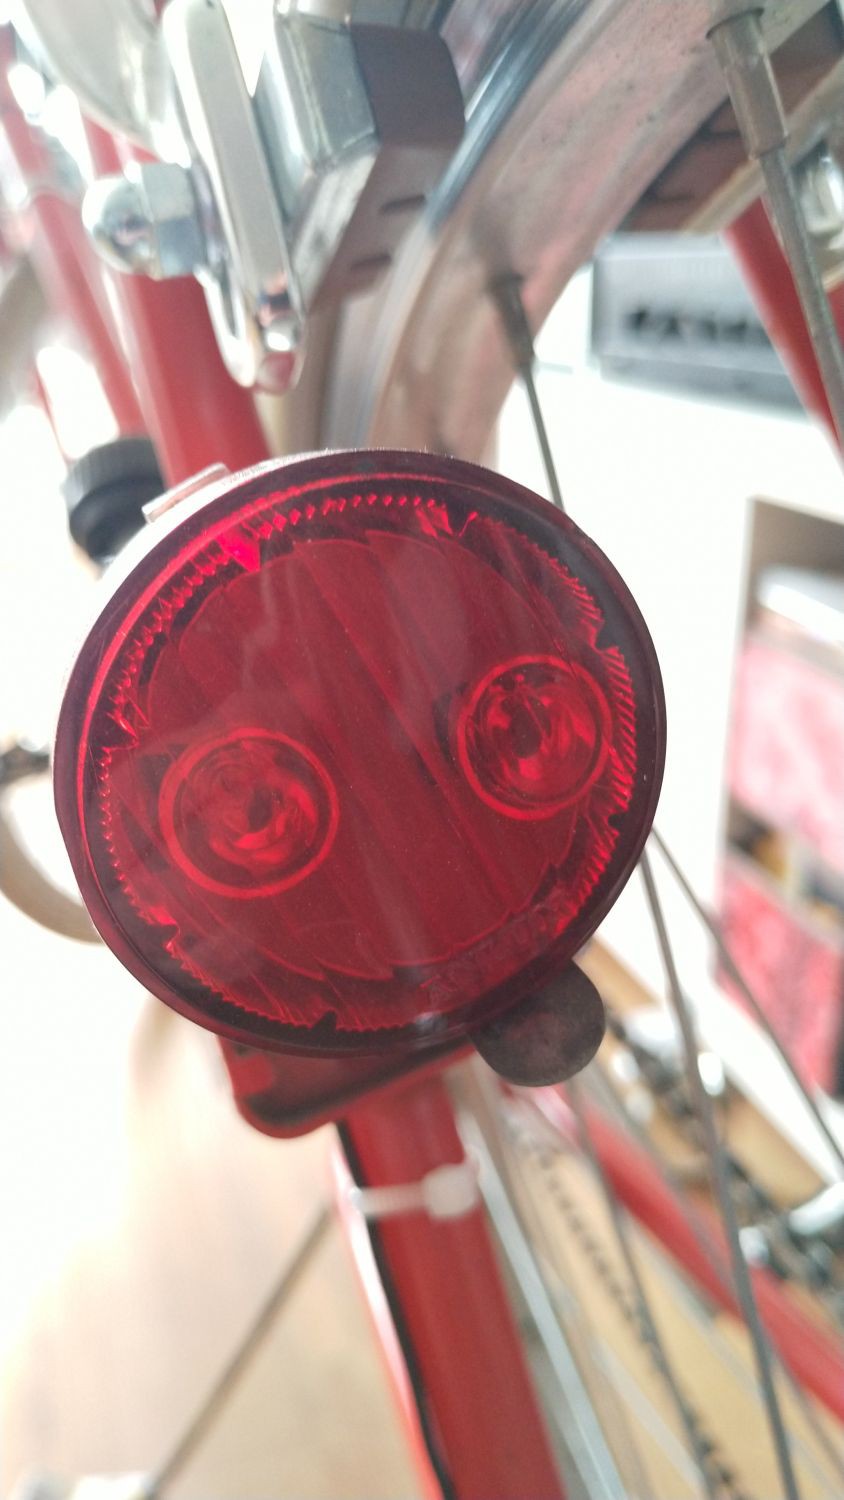
Dynamo and tail light
*
![]()
DIY LED equipment :-D
To be honest, the head light is not brighter than a tea candle... but who cares. The main thing is: There's any light to please a police officer.
Check before doing a shakedown
- All electric cabling is fitted with cable ties;
- gear shifting is doing well;
- nuts and bolts are tightened;
- handlebar is tightended well;
- brakes are adjusted;
- tires are inflated to 5 bar / 72 psi
- kick stand is working
- saddle is adjusted to comfort height
Let's ride.
-
8.) The chainring, Pt. 2
04/08/2021 at 15:43 • 0 commentsThe mentioned Biopace chainring and crank arm set (refer to https://hackaday.io/page/10435-5-the-chainwheel-pt-1 ) were the next issue.
As mentioned also, the bottom bracket is a square taper model. The Shimano crank arms do have square taper also, but there are nice distinctions (refer 'ISO' vs. 'J.I.S'). To cut a long story short, the chainwheel took position on a wrong chainline, right of center, after mounting.
To bring it back to the middle there are four options:
- To file out the square taper hole in the crank arm;
- To choose another bottom bracket with JIS Sq. taper;
- To choose another bottom bracket with narrower axle;
- To shift the chainring.
For sure, #1 is a genuine hillbilly 'solution' that may ruin the crank arm. To be serious, it is a dead duck.
Also #2 or #3 bring up more work than wanted, remember my Waterloo with the BB mounting...At last #4 will remain.
![]()
Chainring (with distance washers) at final position
With turning over (its inner side faces out) the chainwheel *and* bringíng it to the inner position at the crank arm the chainline is shifted to a reasonable position, finally. Also the chain itself is running well with this chainring.
Missing part: Covering plug for the crank arm bolts.
Result: An odd solution that should last. I have to validate it while riding.
This user joined on 05/22/2020.


 Lutetium
 Will Stone
 Ken Yap
Thanks for liking #Restoring a Beckman neon display clock !