 Ben Gruver
-
Reusable 3d printing supports
10/16/2025 at 01:09 • 0 commentsThis is just a quick trick I haven't seen anyone use, although I highly doubt I'm the first to come up with the idea.
The idea is to make a separate object that you can place during the print, that registers to the existing partial print, and that you can, e.g. print an otherwise unsupported horizontal overhang onto. And then re-use that same support piece for multiple prints, without having to print supports each time.
I'll talk about the project and my experimentation a bit, and the issues that came up and tricks I learned along the way
Background
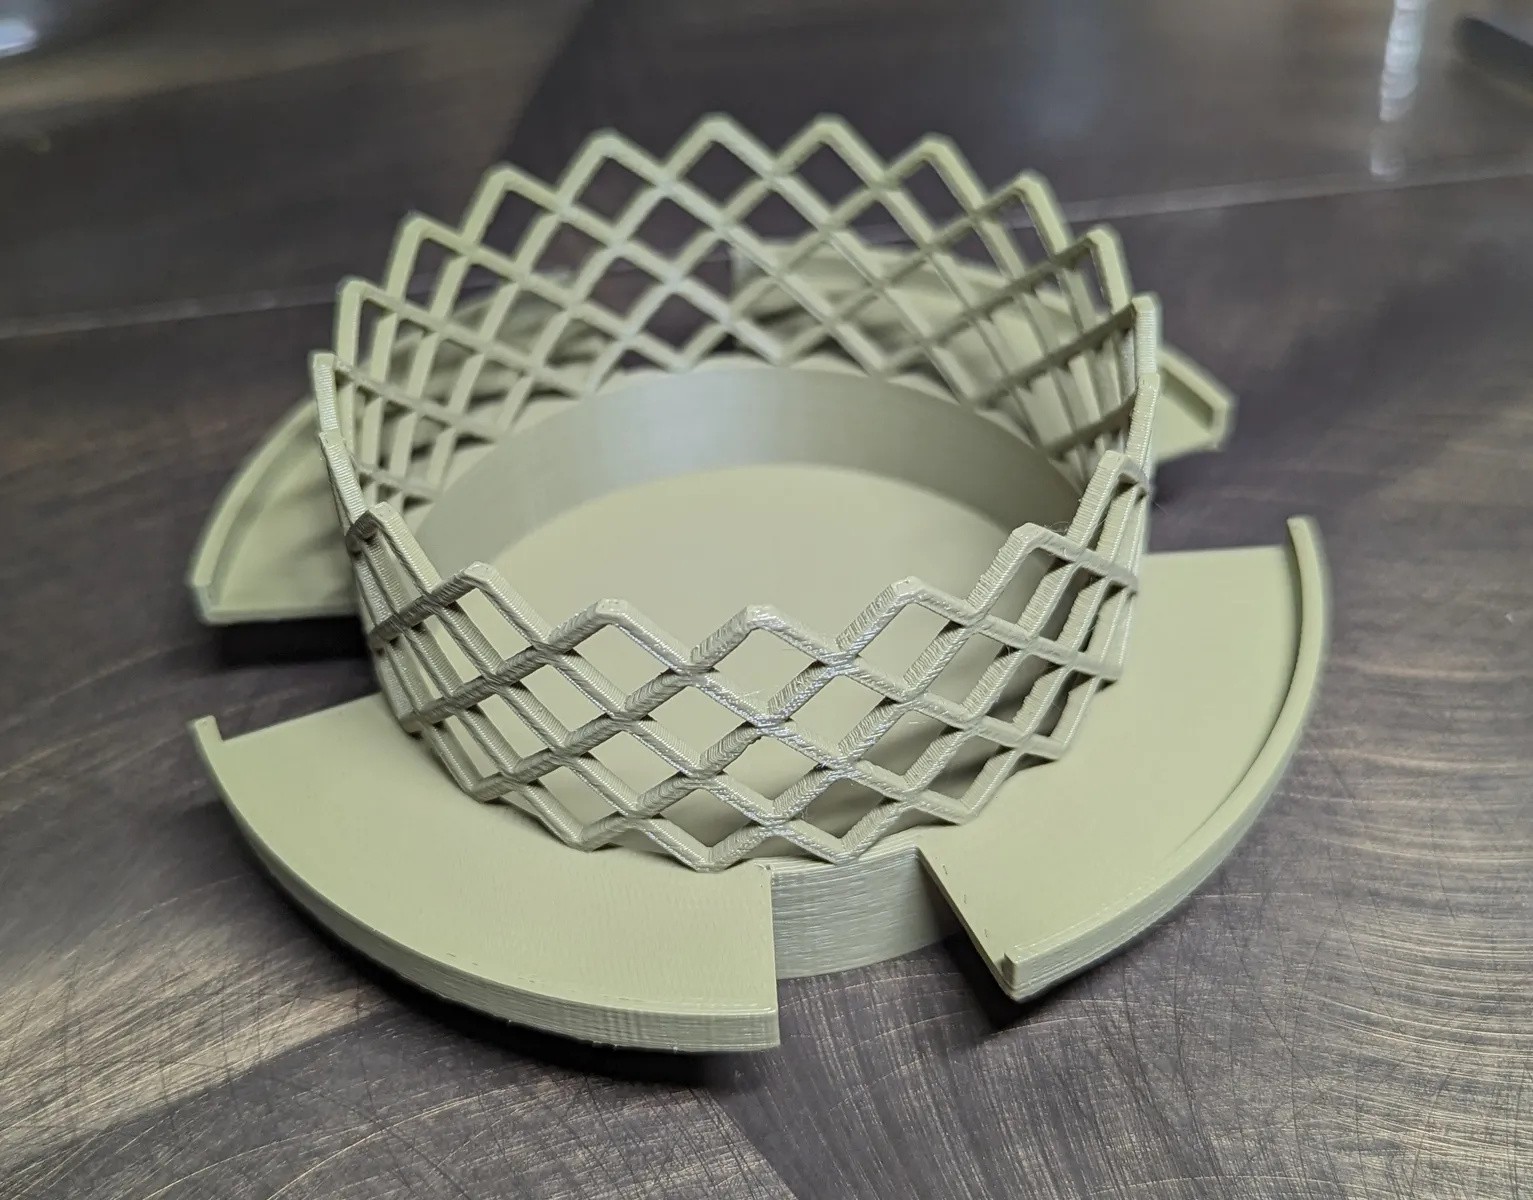
So, I had designed a 3d printed object that had a large, unsupported horizontal brim, and I needed to make a bunch of them.
![]()
I was happy with the overall design, but wanted to brainstorm ways to split it up or otherwise avoid having to support the overhangs. At first, I was trying to think of some way to split it and make the 2 parts screw together, or something like that.
But then, The Idea hit. What if I designed a separate object that I could slip over the bottom, and print the horizontal brim onto?
Experimentation
I decided to print the main object out of PETG, so I thought PLA might be a good option for the reusable support, since PETG shouldn't bond with PLA. I happened to have some of that new polymaker HT-PLA, and thought it might be a good choice, since it's supposed to resist heat fairly well, so it should be able to stand up to the heated bed and PETG extrusions.
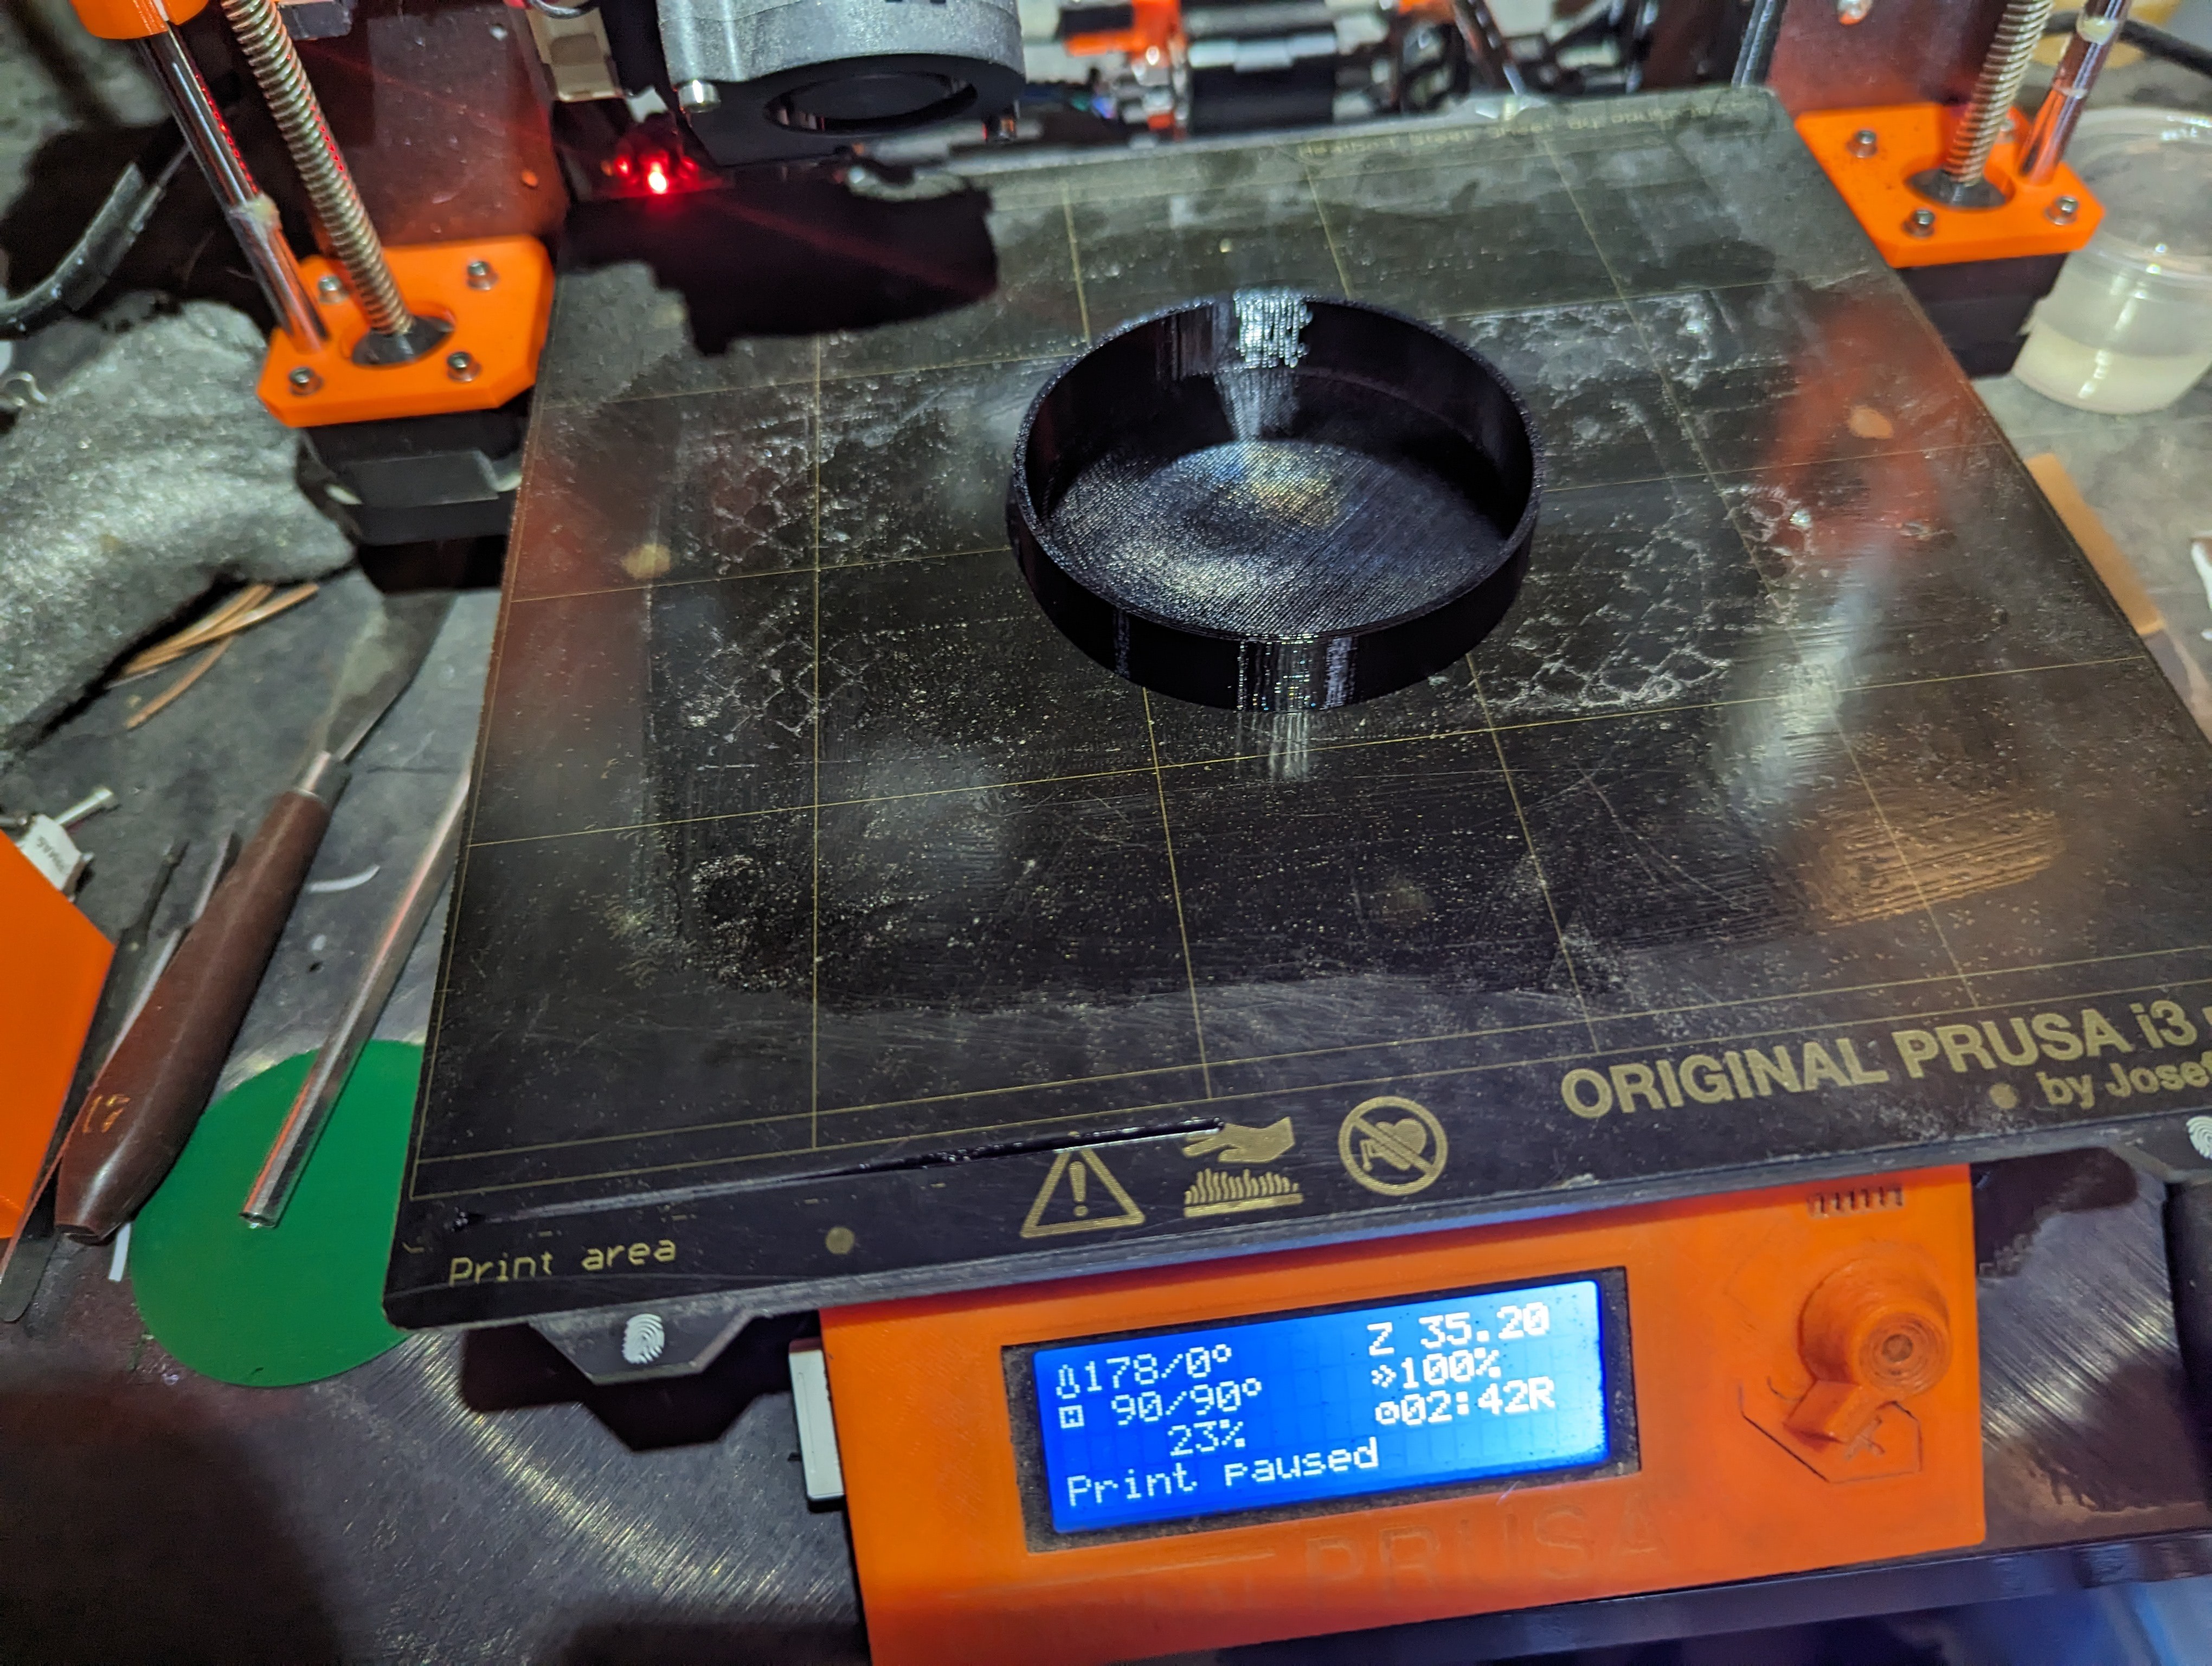
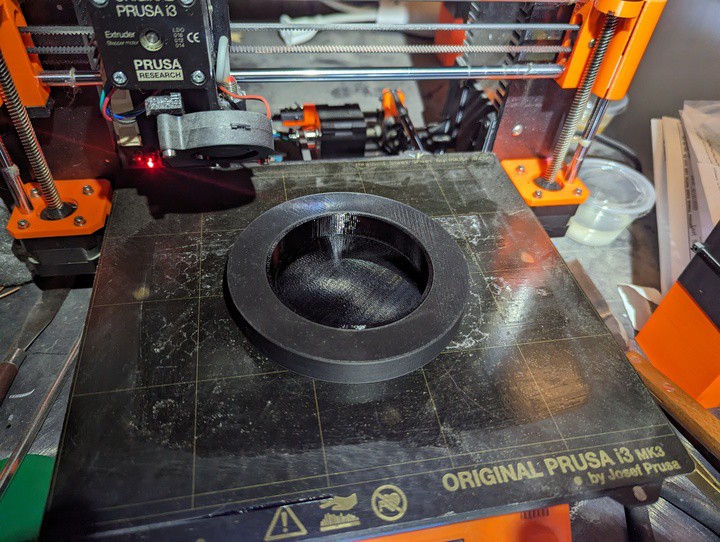
And of course, this is where the first issue popped up -- PETG doesn't adhere to PLA, so the first layer of the overhang wouldn't stick down onto the PLA part. But not to worry, glue stick to the rescue! I slathered a nice layer of PVA glue stick onto the support, and bingo! The PETG was successfully adhering to the surface, and was able to be separated afterwards. It was a bit of a struggle to get the support off of the printed piece, but with some prying, wiggling and cursing, I finally got it off.
![]()
![]()
![]()
![]()
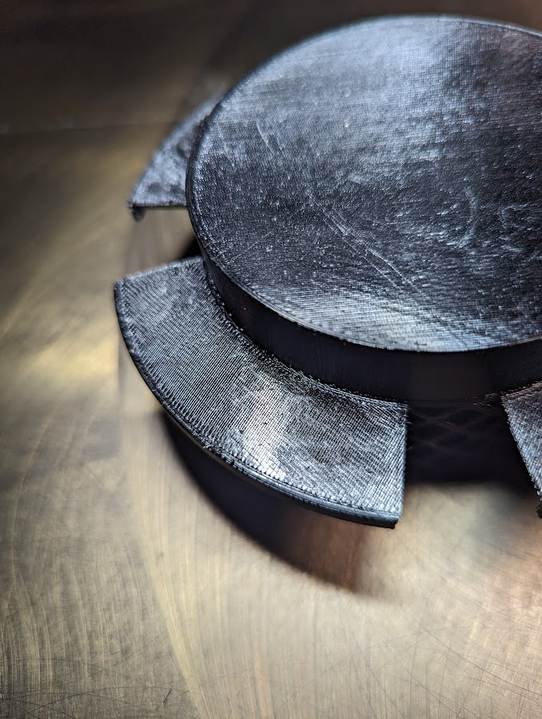
The overhang has a pretty decent surface finish. Not perfect, but better than you get with normal supports So I had successfully printed one piece, and was feeling confident and fired up another print. Once it got to the point where it pauses to let me add the support, I grabbed the support and tried to slip it over... only to find the support piece no longer fits over the base.
That brings us to problem #2 - the heated bed had partially annealed the ht-pla support part, causing it to shrink slightly in the x/y axes (and grow a bit in the z axis). I had designed it to be a pretty tight fit, so that slight bit of shrinkage made it difficult-to-impossible to slide it over the partially printed part.
So I scrapped that print, took some careful measurements of the annealed ht-pla support piece, and printed a new support part, with slightly adjusted dimensions, to try and account for the x/y shrinkage and z growth, and then pre-annealed the part. The annealed part was pretty close to the final dimensions I was targeting, so I fired up another print and gave it a shot.
The fit wasn't *quite* right, although it was good enough to at least finish that print successfully. So at that point, I tweaked the dimensions of the actual target part just a smidge, to better fit with the existing support piece. And it was off to the races. I've been able to print 15-20 pieces since, using that same support piece.
Lessons learned
- Use gluestick to print PETG onto PLA
- Use pre-annealed HT-PLA for the support, and tweak the dimensions of final part slightly to fit with the actual dimensions of the annealed support piece
- The support piece might warp a bit and not be 100% flat after annealing. This doesn't seem to be too much of a problem.
- Tweak the fist layer height of the final piece, to slightly vary the height at which the first overhang layer is printed. E.g. if it's squished too much, try raising the first layer height by .05-.1mm, or if it's not squished enough and not...

 Lutetium
 Cedric Honnet
 robert
 Kristjan Berce
 Kevin
Kevin Fabricate.IO
 Edgaras Art
 Koen van Vliet
 icarus998
 Ethan Durrant
 alessandro verdiesen
 natalie
 finallyfunctional
 Pablo Antonio Camacho Jr.