Norbert Heinz
-
Development continues in the 2018 Hackaday Prize
03/12/2018 at 21:58 • 0 commentsMy CNC v3.2.1 that came to life during the Hackaday Prize 2016 works fine for me, however there are still improvements in my mind. To give the development of this machine a new push I have added a new project for this year's Hackaday Prize:
https://hackaday.io/project/85486-basic-diy-cam-2018
Please follow that project to stay up to day about changes of this machine series.
I will declare this project being finished even if it isn't, but I must create a new project to participate in the 2018 Hackaday Prize with the ideas I have in mind for my CNC series.
-
Another test run formed WinchBot 1.5
12/04/2017 at 15:45 • 0 commentsI did some minor modifications on the coolant flow and wrote a couple of code lines to speed up the machine. As a test run I have cut the parts for an new WinchBot v1.5:
-
My little Helper
05/22/2017 at 07:11 • 0 commentsMany square tubes have to be cut and drilled for the mechanics of CNC v3.2. To make things easier for me I have build a digital ruler:
I will create a second frame with improved design, soon. With this little helper, I can hopefully save some time.
The second frame is not only needed to make the machine better, but also to write a detailed build instruction. The existing documentation is just a very rough one...
-
My first commercial CNC "router"
03/28/2017 at 19:00 • 1 commentFrom a sponsor I got a very cheap CNC machine. It's sold as CNC engraver (I guess because the mechanics is too weak to really route through a material...).
My part of the deal was to record a review video and I agreed to do so because:
-I was curious what this machine can do.
-It is a compact device with an Arduino clone running grbl, thus I can use the machine to test the software of my CNC 3.2 in my office instead of doing coding in my uncomfortable workshop.
-Cheap machines are meant to do experiments and to improve the design - tinkering at it's best!
-Compact, cheap machines are great to get young people in touch with computer controlled devices without being afraid they could break expensive parts.
Here's the video (more a general introduction in CAM than a classic review):
The output of my CNC v3.2 or 2.x is clearly better, but let's see what simple modifications can lift this engraver to a higher level of machining...
-
Machine evolution formed WinchBot
03/02/2017 at 10:21 • 0 commentsAs a long test run I used CNC v3.2.1 to carve parts from 5mm polycarbonate needed to build my WinchBot:
I was grinding a lot of solid plastics to dust with a 1.5mm two flutes miller:
![]()
The machine performed very well, but the filter system definitely needs a redesign. I will use a reservoir outsides the bowl, so I can remove chips even while the machine is running.
-
Stay cool
12/23/2016 at 15:13 • 0 commentsI have overhauled the coolant flow of CNC v3.2:
The next big thing is to upgrade the software so that G-code can be processed. With constant machine parameters I will be able to see what type of coolant works best.
-
Quality check of my spindle motors
12/07/2016 at 10:53 • 0 commentsI had a closer look at my spindle motors:
Seems like buying the 400W motor from the HackadayPrize money was a bad investment. Well, let me do the mistakes, so that you finally get a build instruction that will save your money...
Test on my CNC v3.2 will follow.
-
How the compact rotary encoder works
11/30/2016 at 20:30 • 0 commentsI have recorded a video about the working principle of my newly installed sensor wheel:
-
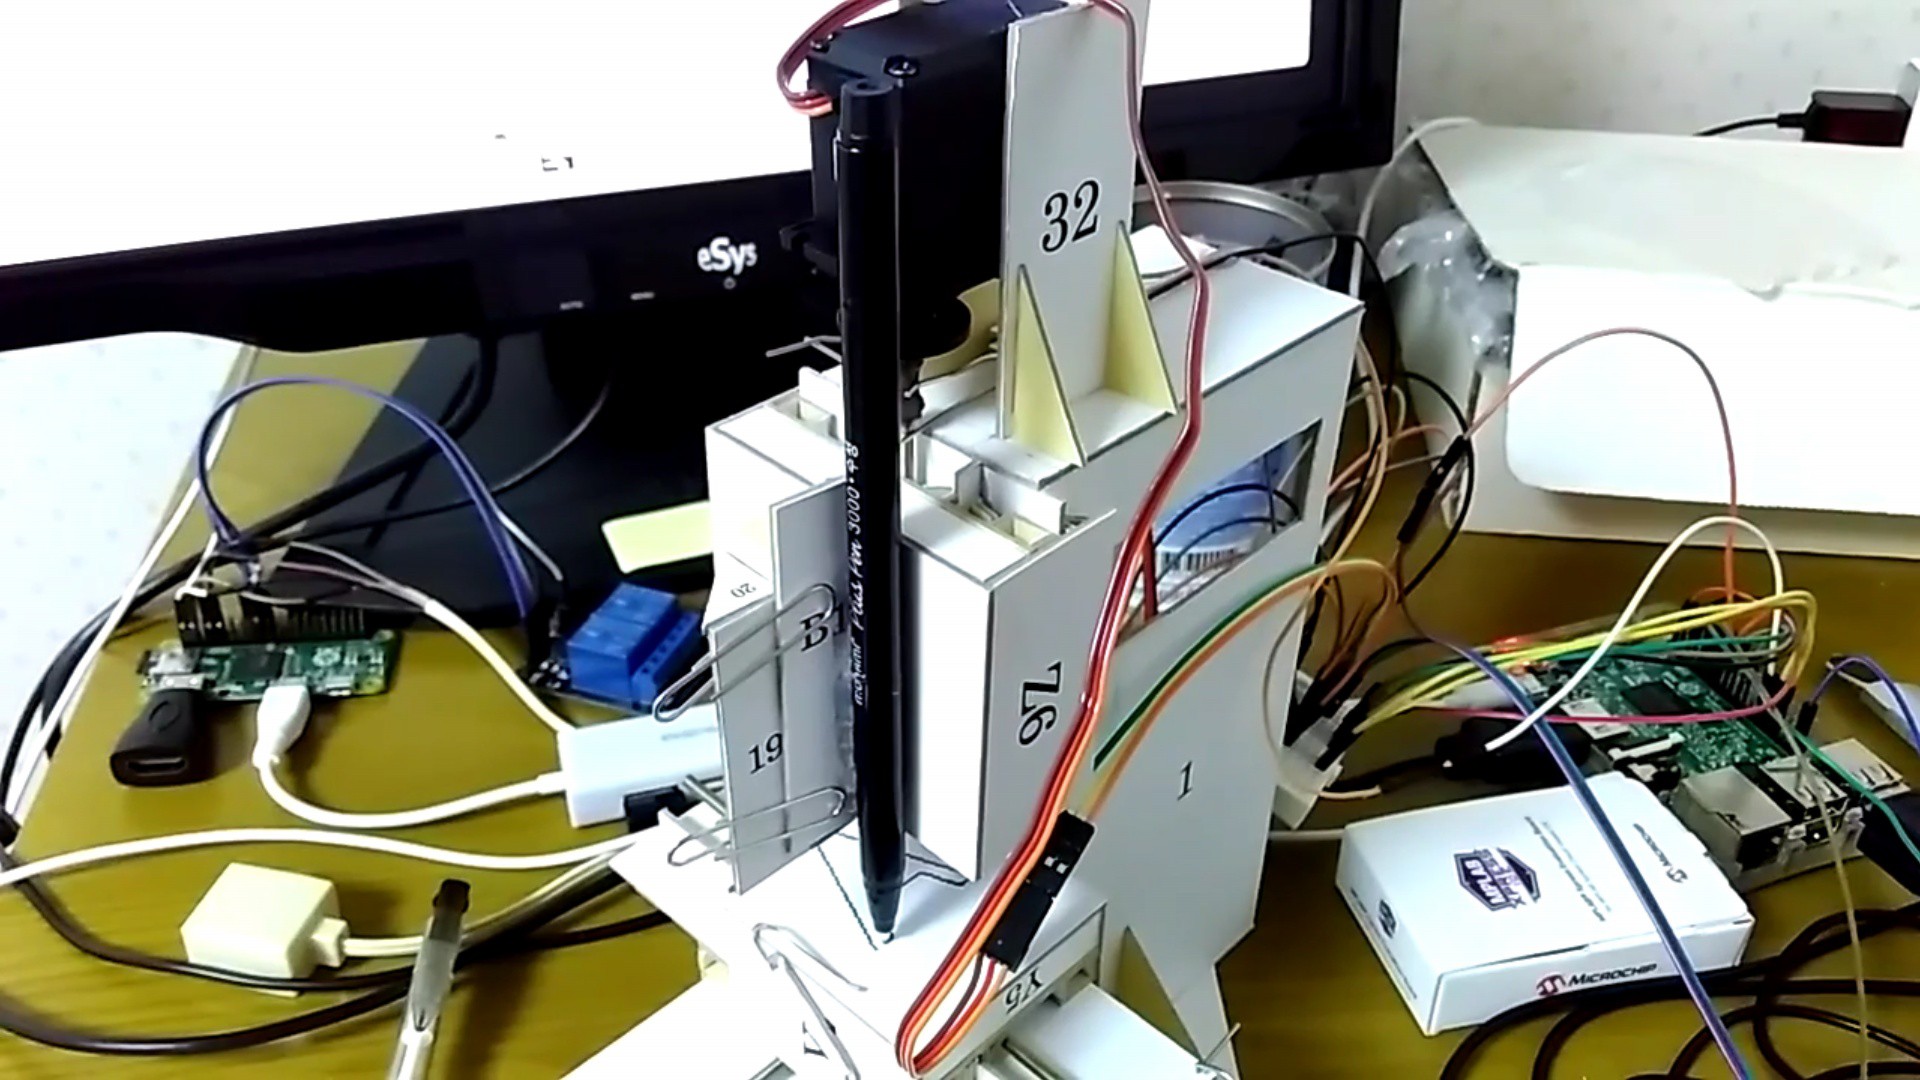
Electronics of CNC v3.2.1 - DC motors
11/29/2016 at 09:38 • 0 commentsIn a video I am explaining in detail how to wire and check the electronics of my CNC v3.2 using DC motors and sensor discs:
Machine evolution started!
In the video I am cutting gears cut from acrylic plastics and an aluminium sensor wheel to improve the design of this CNC.
-
CNC v3.0 running on a Python Interpreter
10/24/2016 at 12:06 • 0 commentsAndew is teaching computing with a Raspberry Pi in South Korea and will make several copies of my CNC v3.0 with his students in November. He has finished a first prototype and converted the Arduino sketch I am using into Python to make it run on the Pi. You can get his version on Github. The advantage of using a Raspberry Pi is that you can add more comfort to the software and CNC v3.0 will become a new playground for his students.
![]()
He gave me lots of feedback of his build process which enabled me to improve the documentation (e.g. the part numbers were not readable on black & white prints).
The documentation of my CNC v3.2 build goes on. I am currently recording the video sequences about the electronics. In course of that part of the documentation I did improvements in machine speed. I still recommend to wait with starting your copy of that machine until I had enough time to make errors that you should not repeat during your build process. For example I have modified the sensors to avoid them from collecting all the dust on the sensor disc. The current state of the build instruction is just enough to give you an idea of how things work and it is not easy to handle for beginners. Be patient and stay tuned!
Self replicating CNC for 194 (or more) countries
Creating a design for a CNC that is easy to replicate and suitable for diverse drives.