Step 1) Sign up to Thinger.io to create an account. https://hackaday.io/project/6329-open-source-iot-platform-thingerio
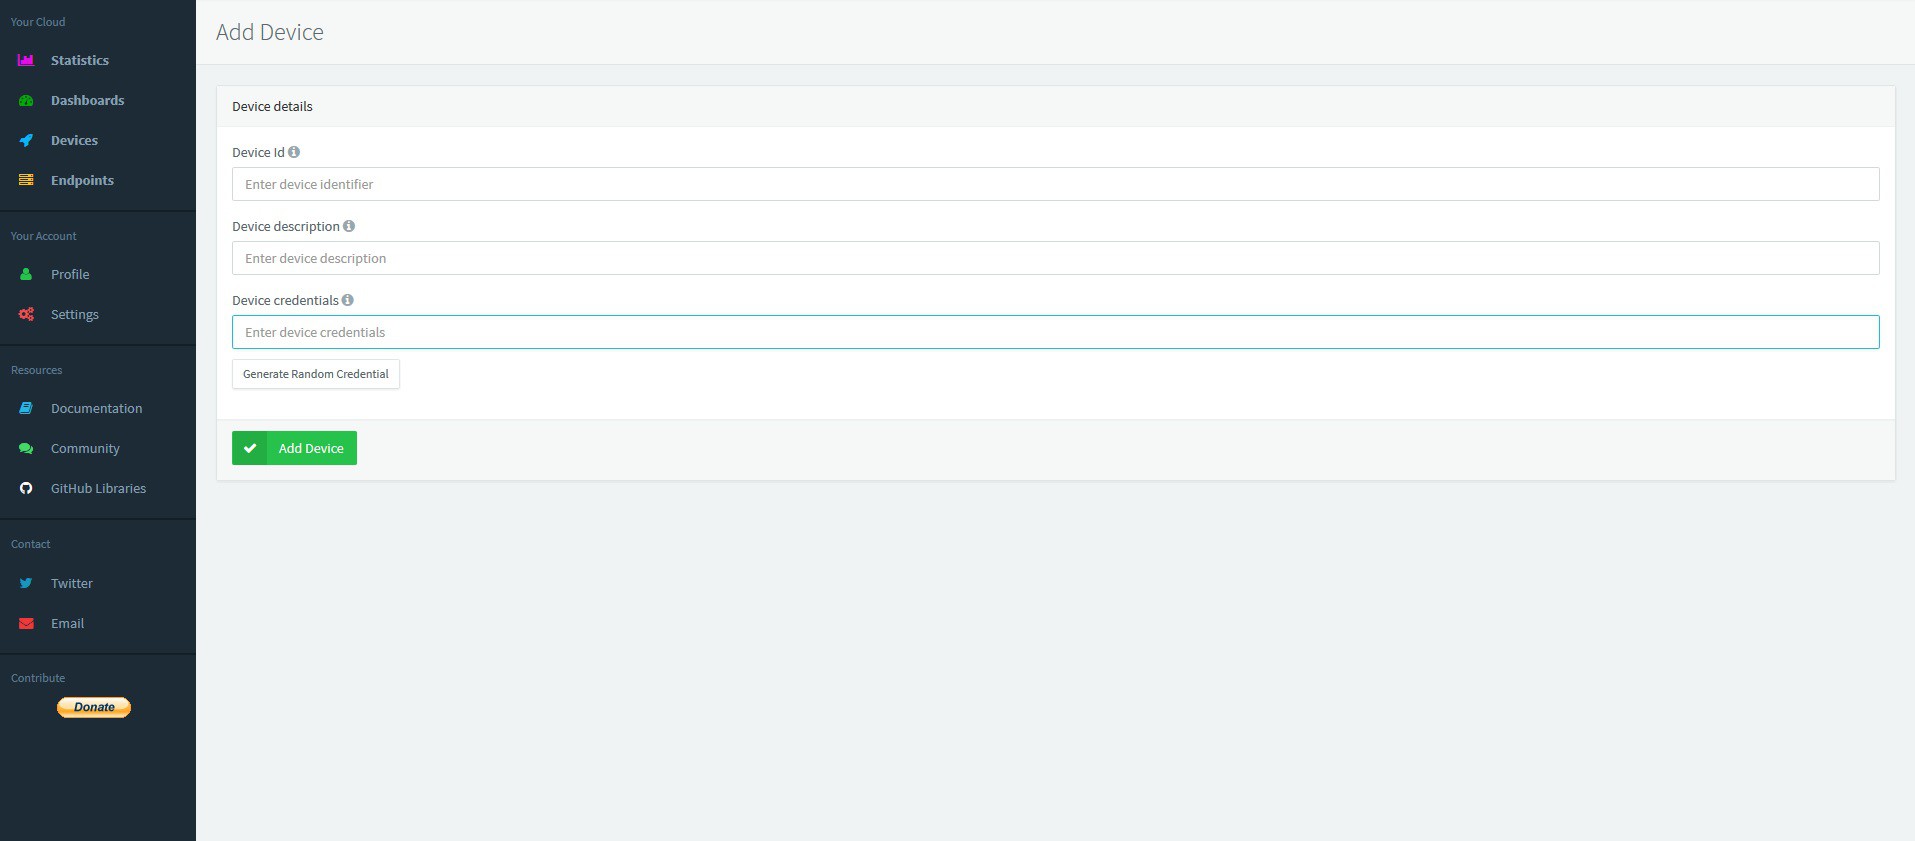
Step 2) Once you've activated your thinger.io account, login and proceed to the Devices section in your console and click add a device.
Enter a name for your device in the Device Id section. Enter a description for the device in the description section. Enter the desired credentials in the credentials section. I used the random generator for my project.
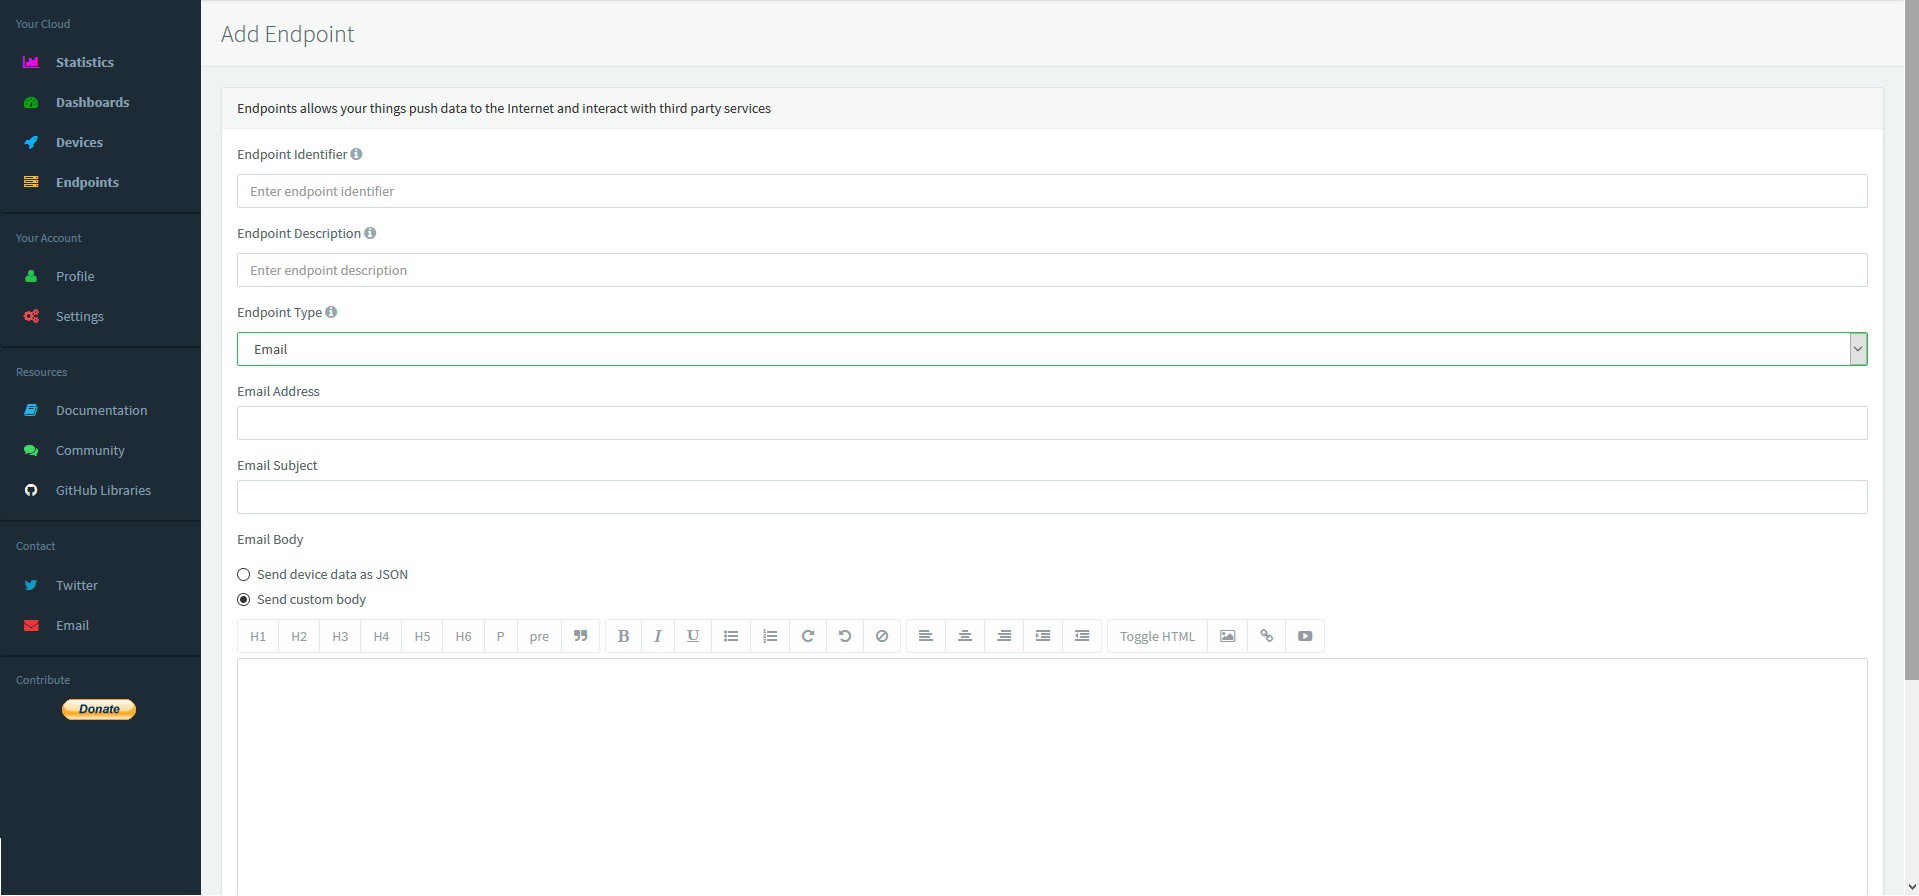
Step 3) Click Endpoints to proceed to the endpoint section. Add endpoint. Add an endpoint to your thinger.io account
Enter a name for your endpoint in the Endpoint Identifier section. Enter a description for the endpoint in the description section. Choose Email for endpoint type to send an email when this endpoint is called out in your program. Enter the desired email address, subject and body for the email you wish to send.
Step 4) Build your ESP8266 Prototype Sensor.
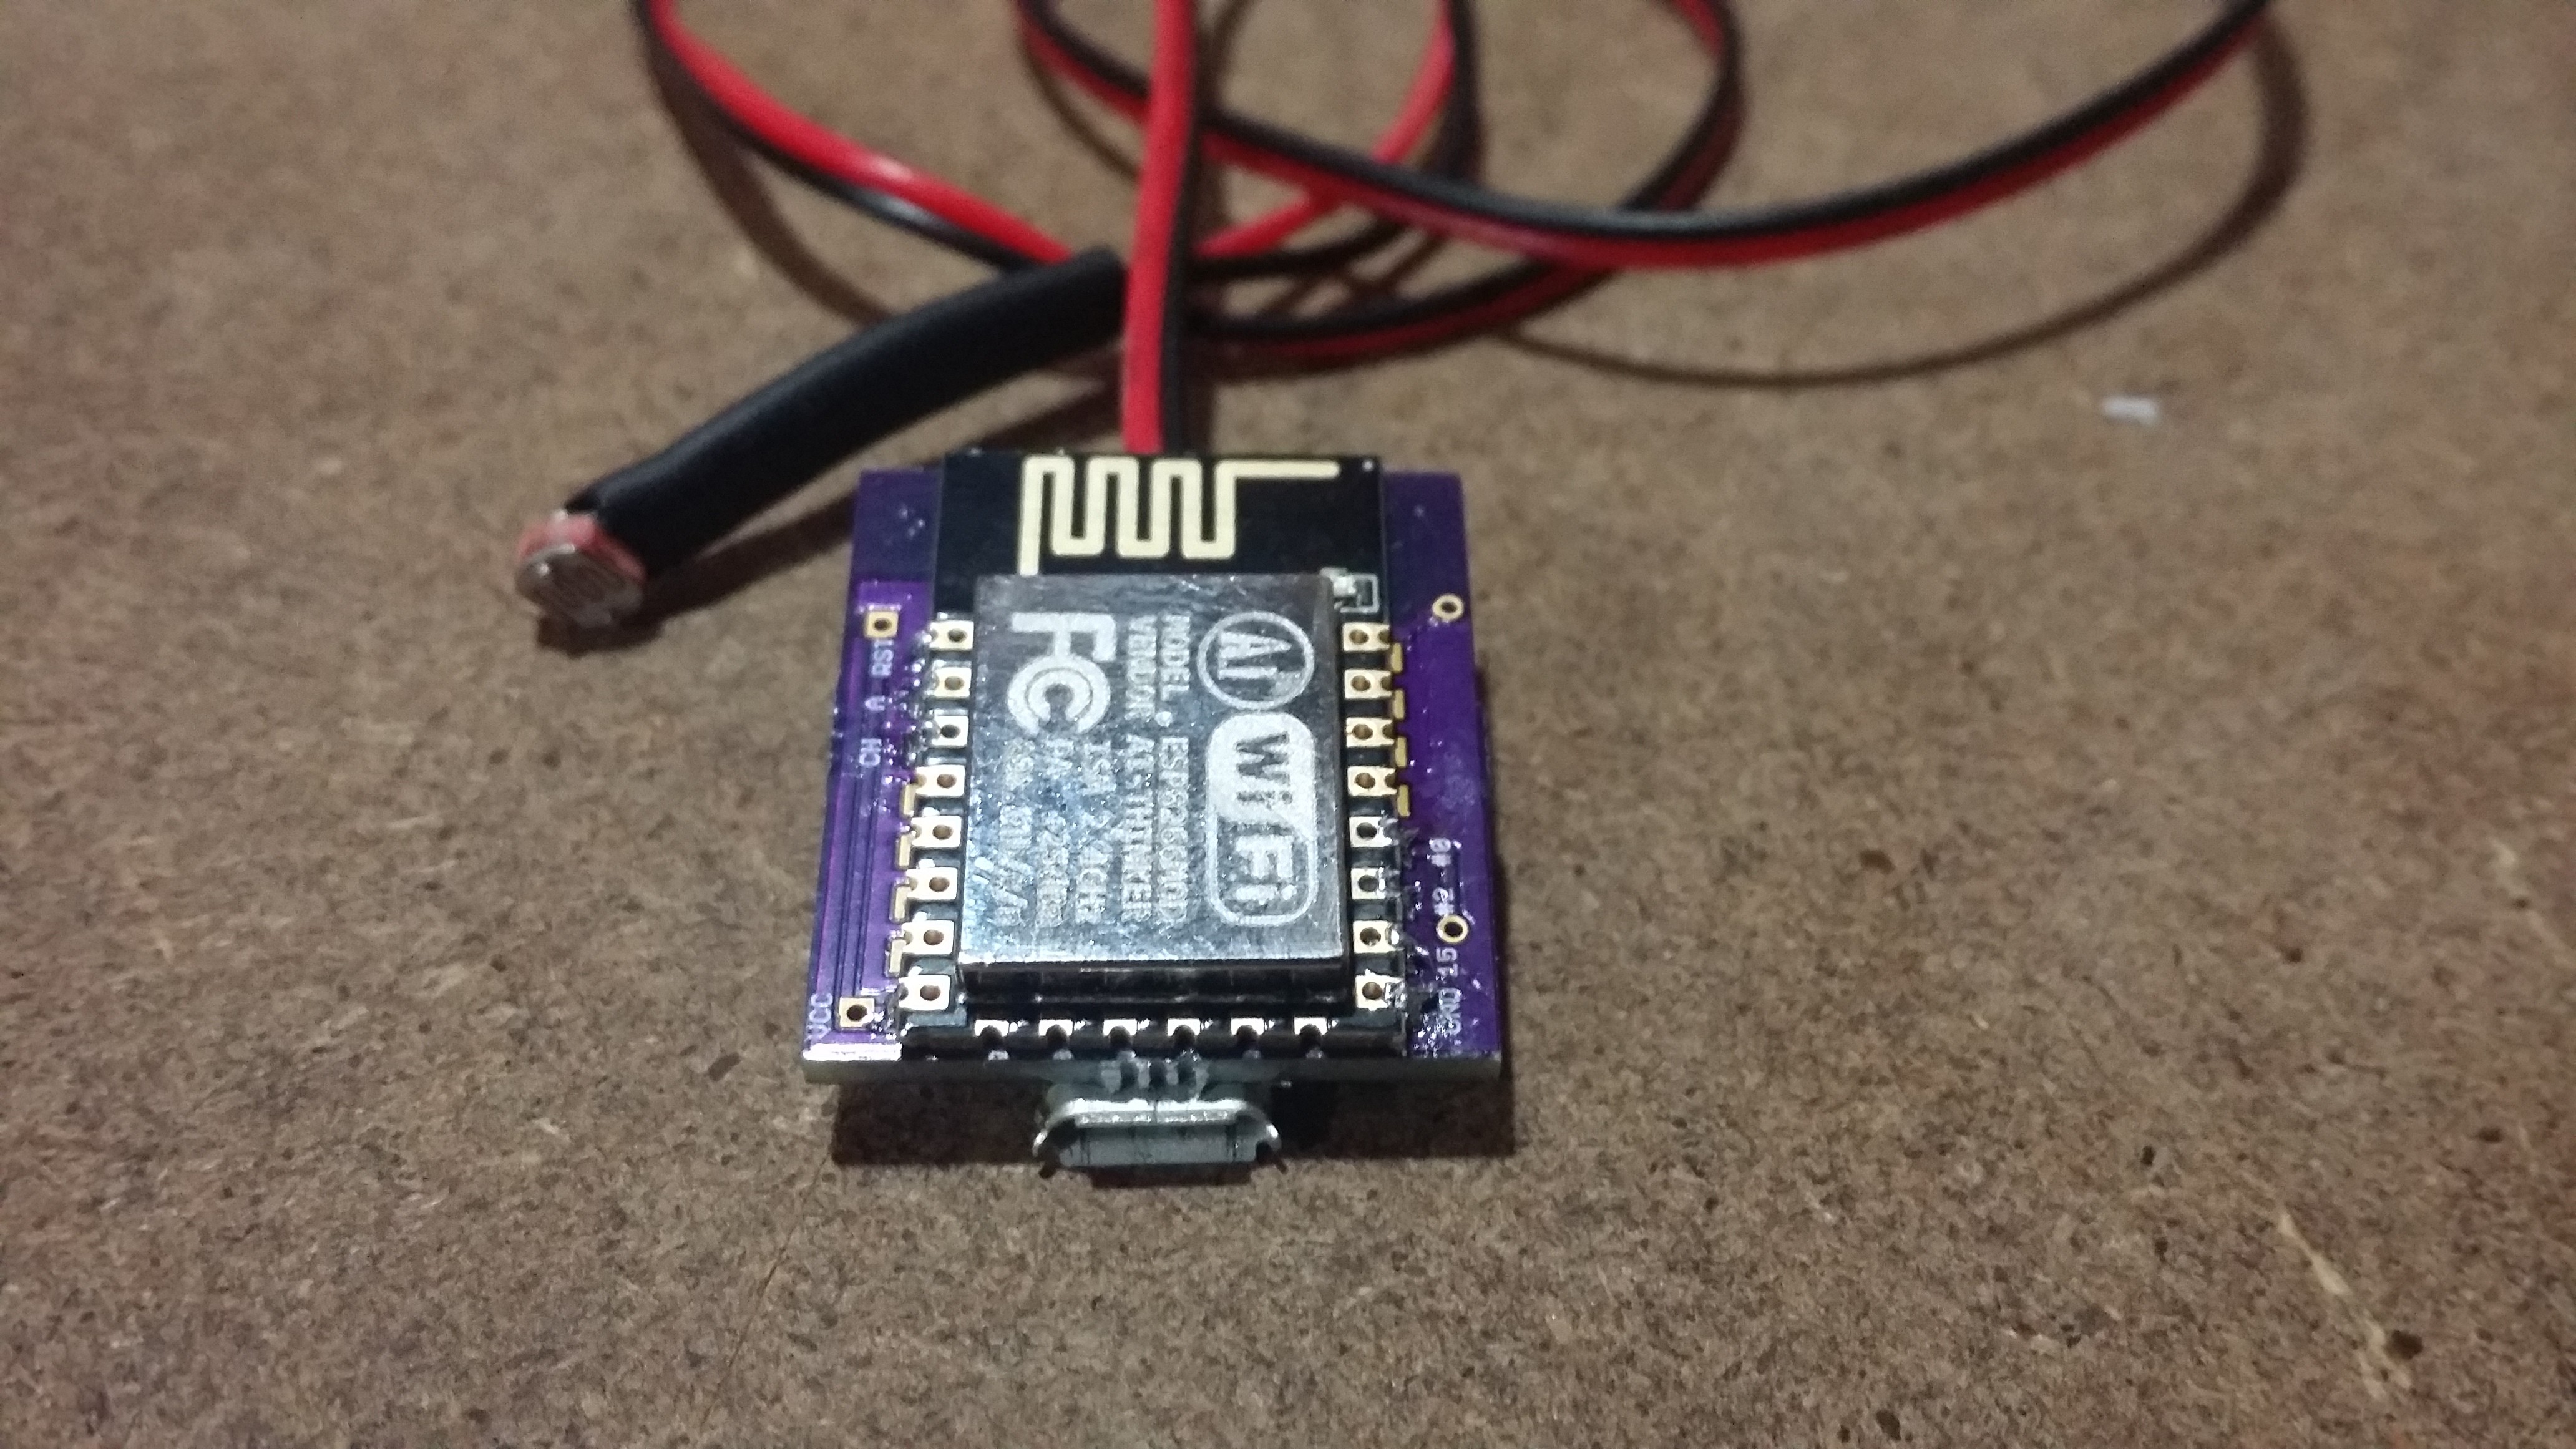
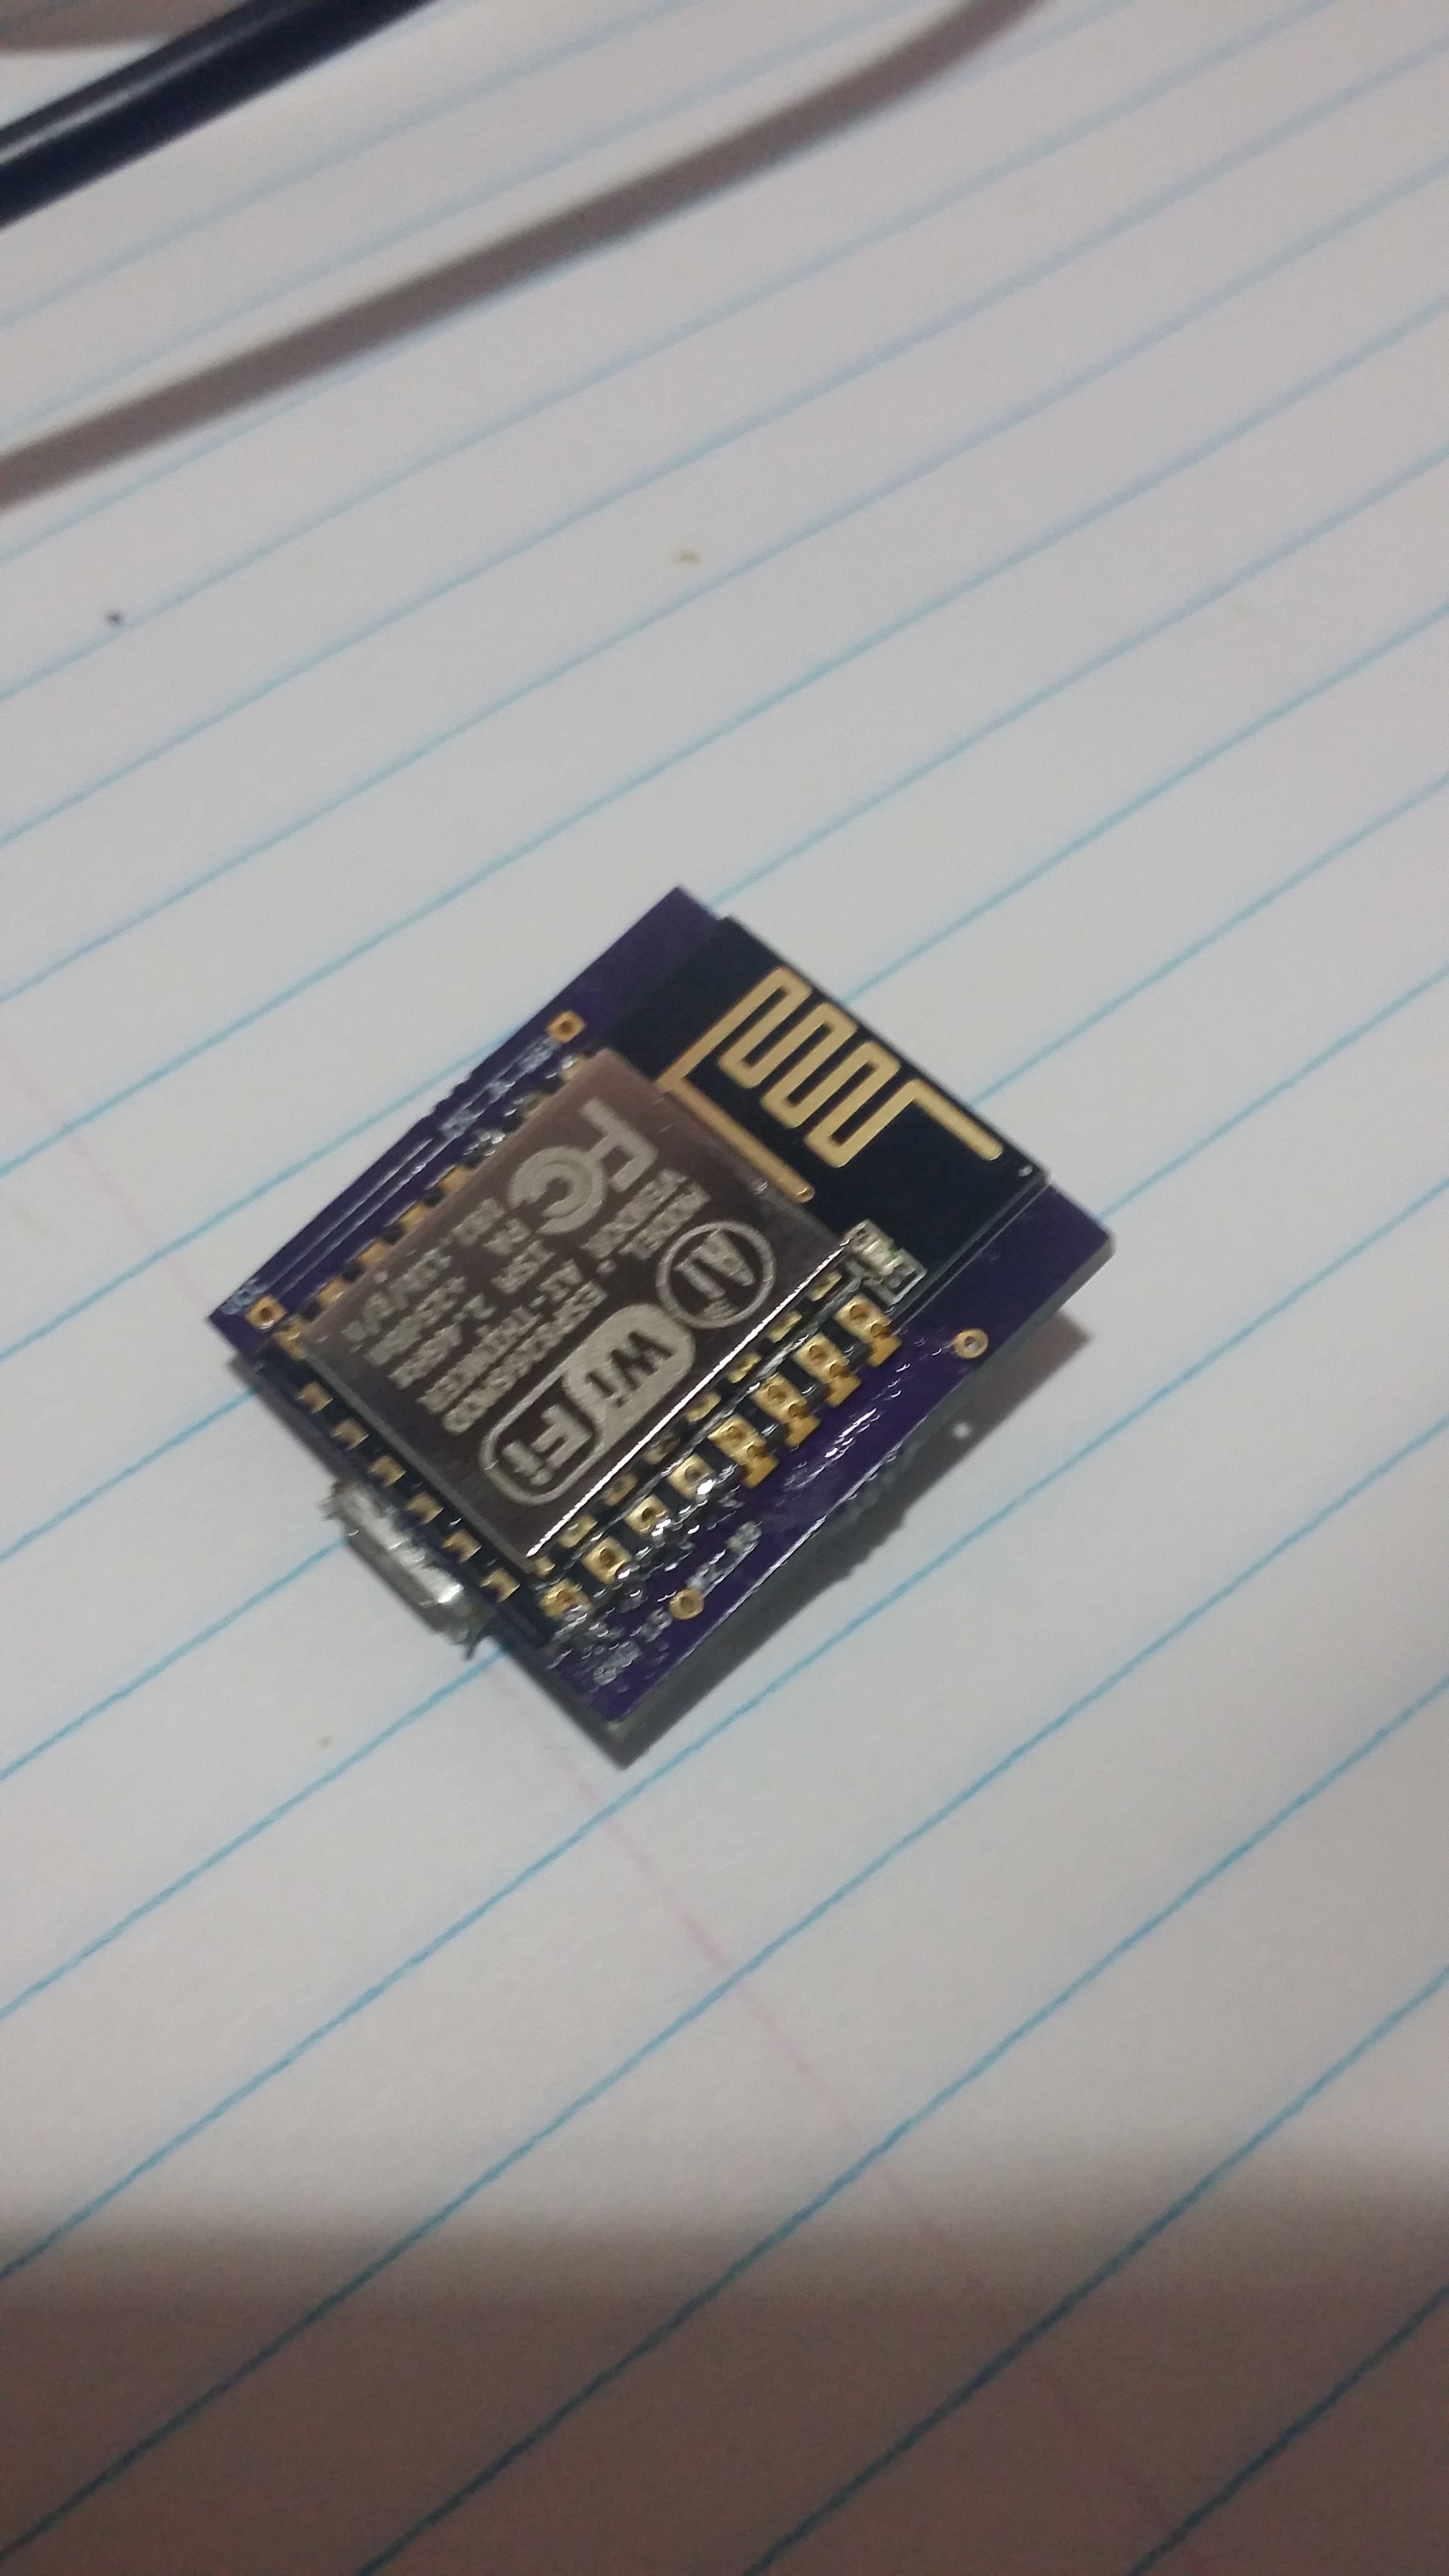
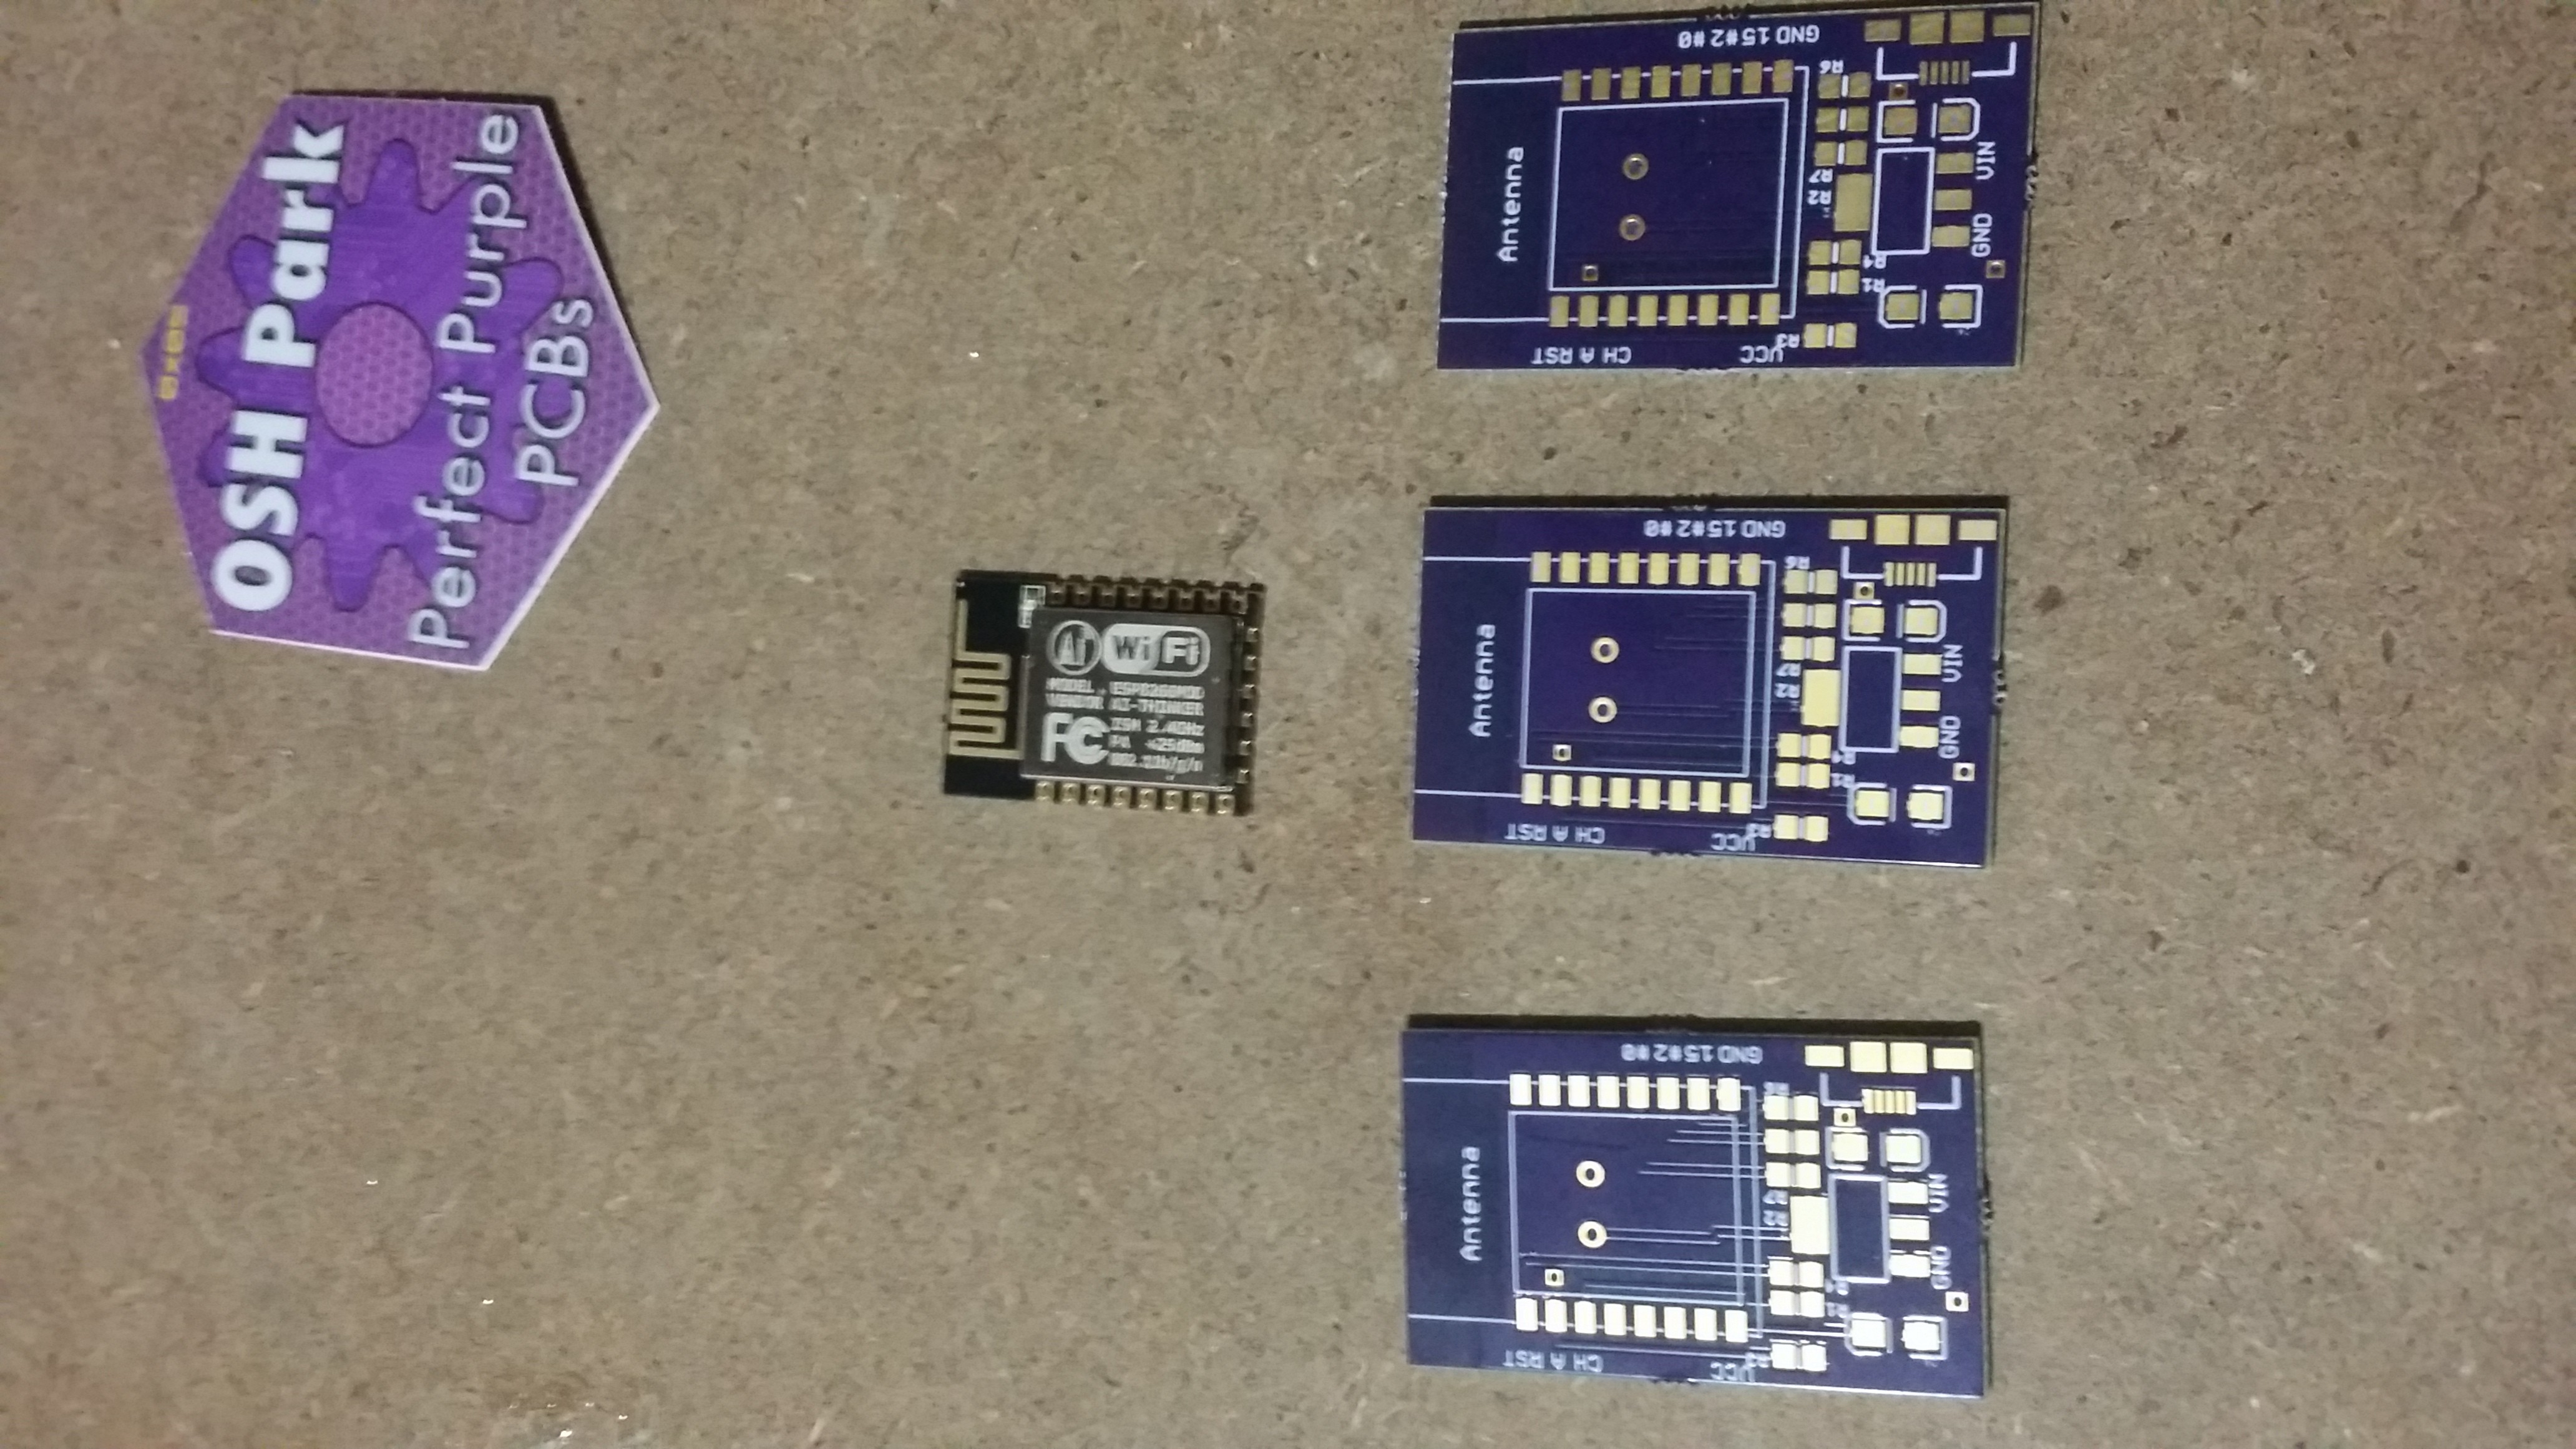
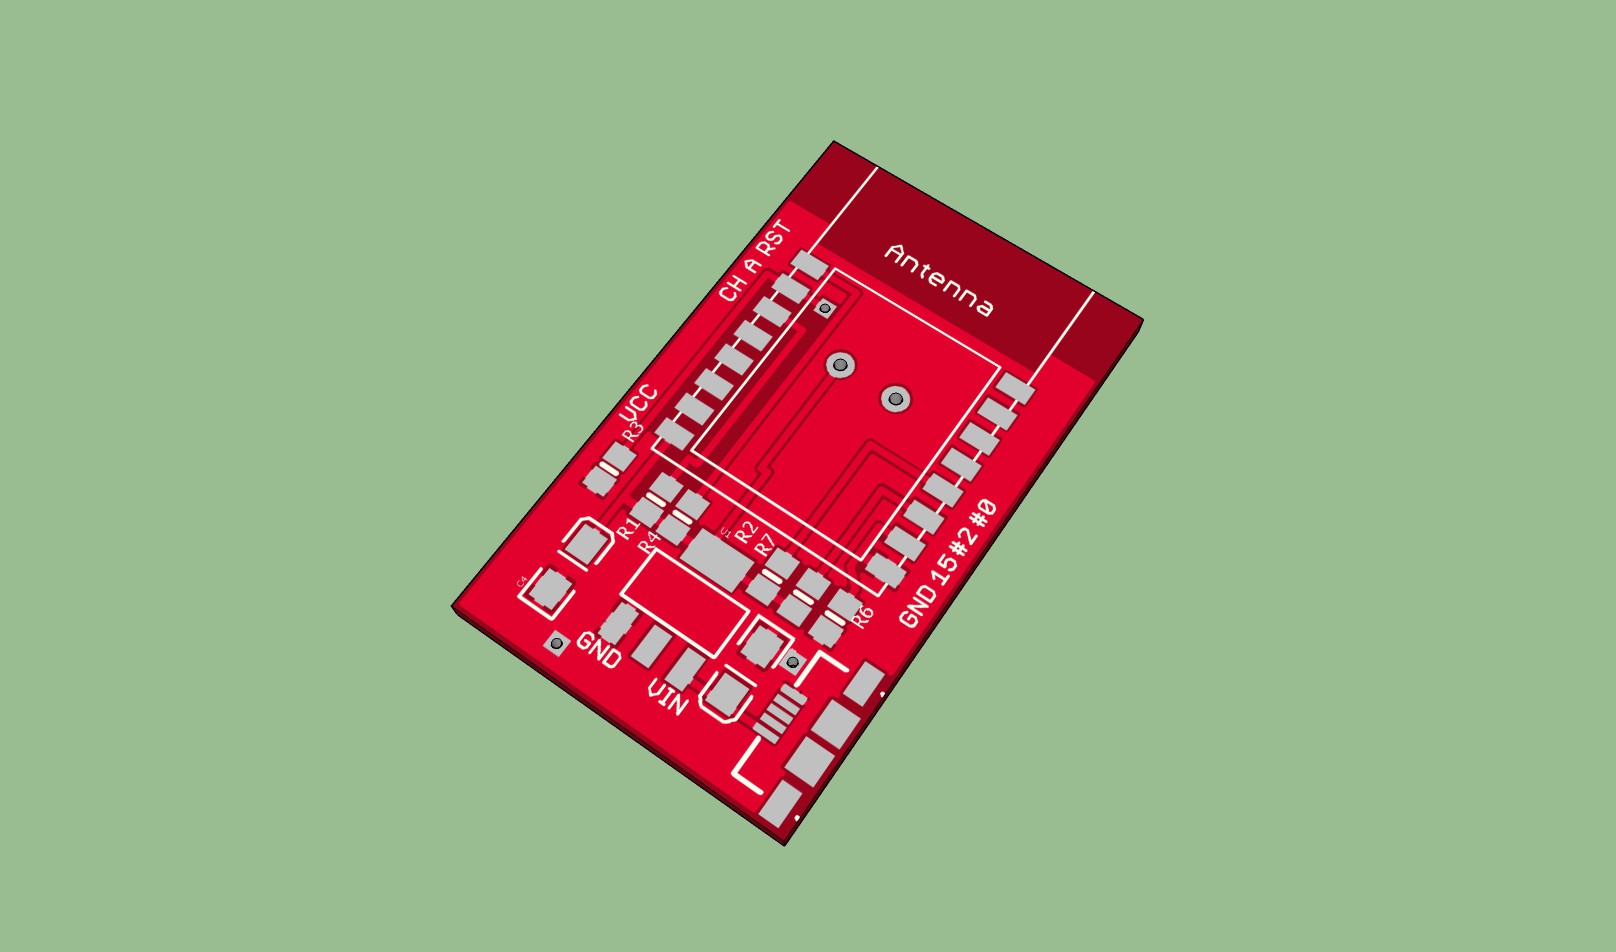
You can use whichever dev board you desire that can be flashed using the Arduino IDE. I had some breadboard adapter boards from Baoshi as shown here: https://hackaday.io/project/4202-esp8266-esp-0712-breakout-board
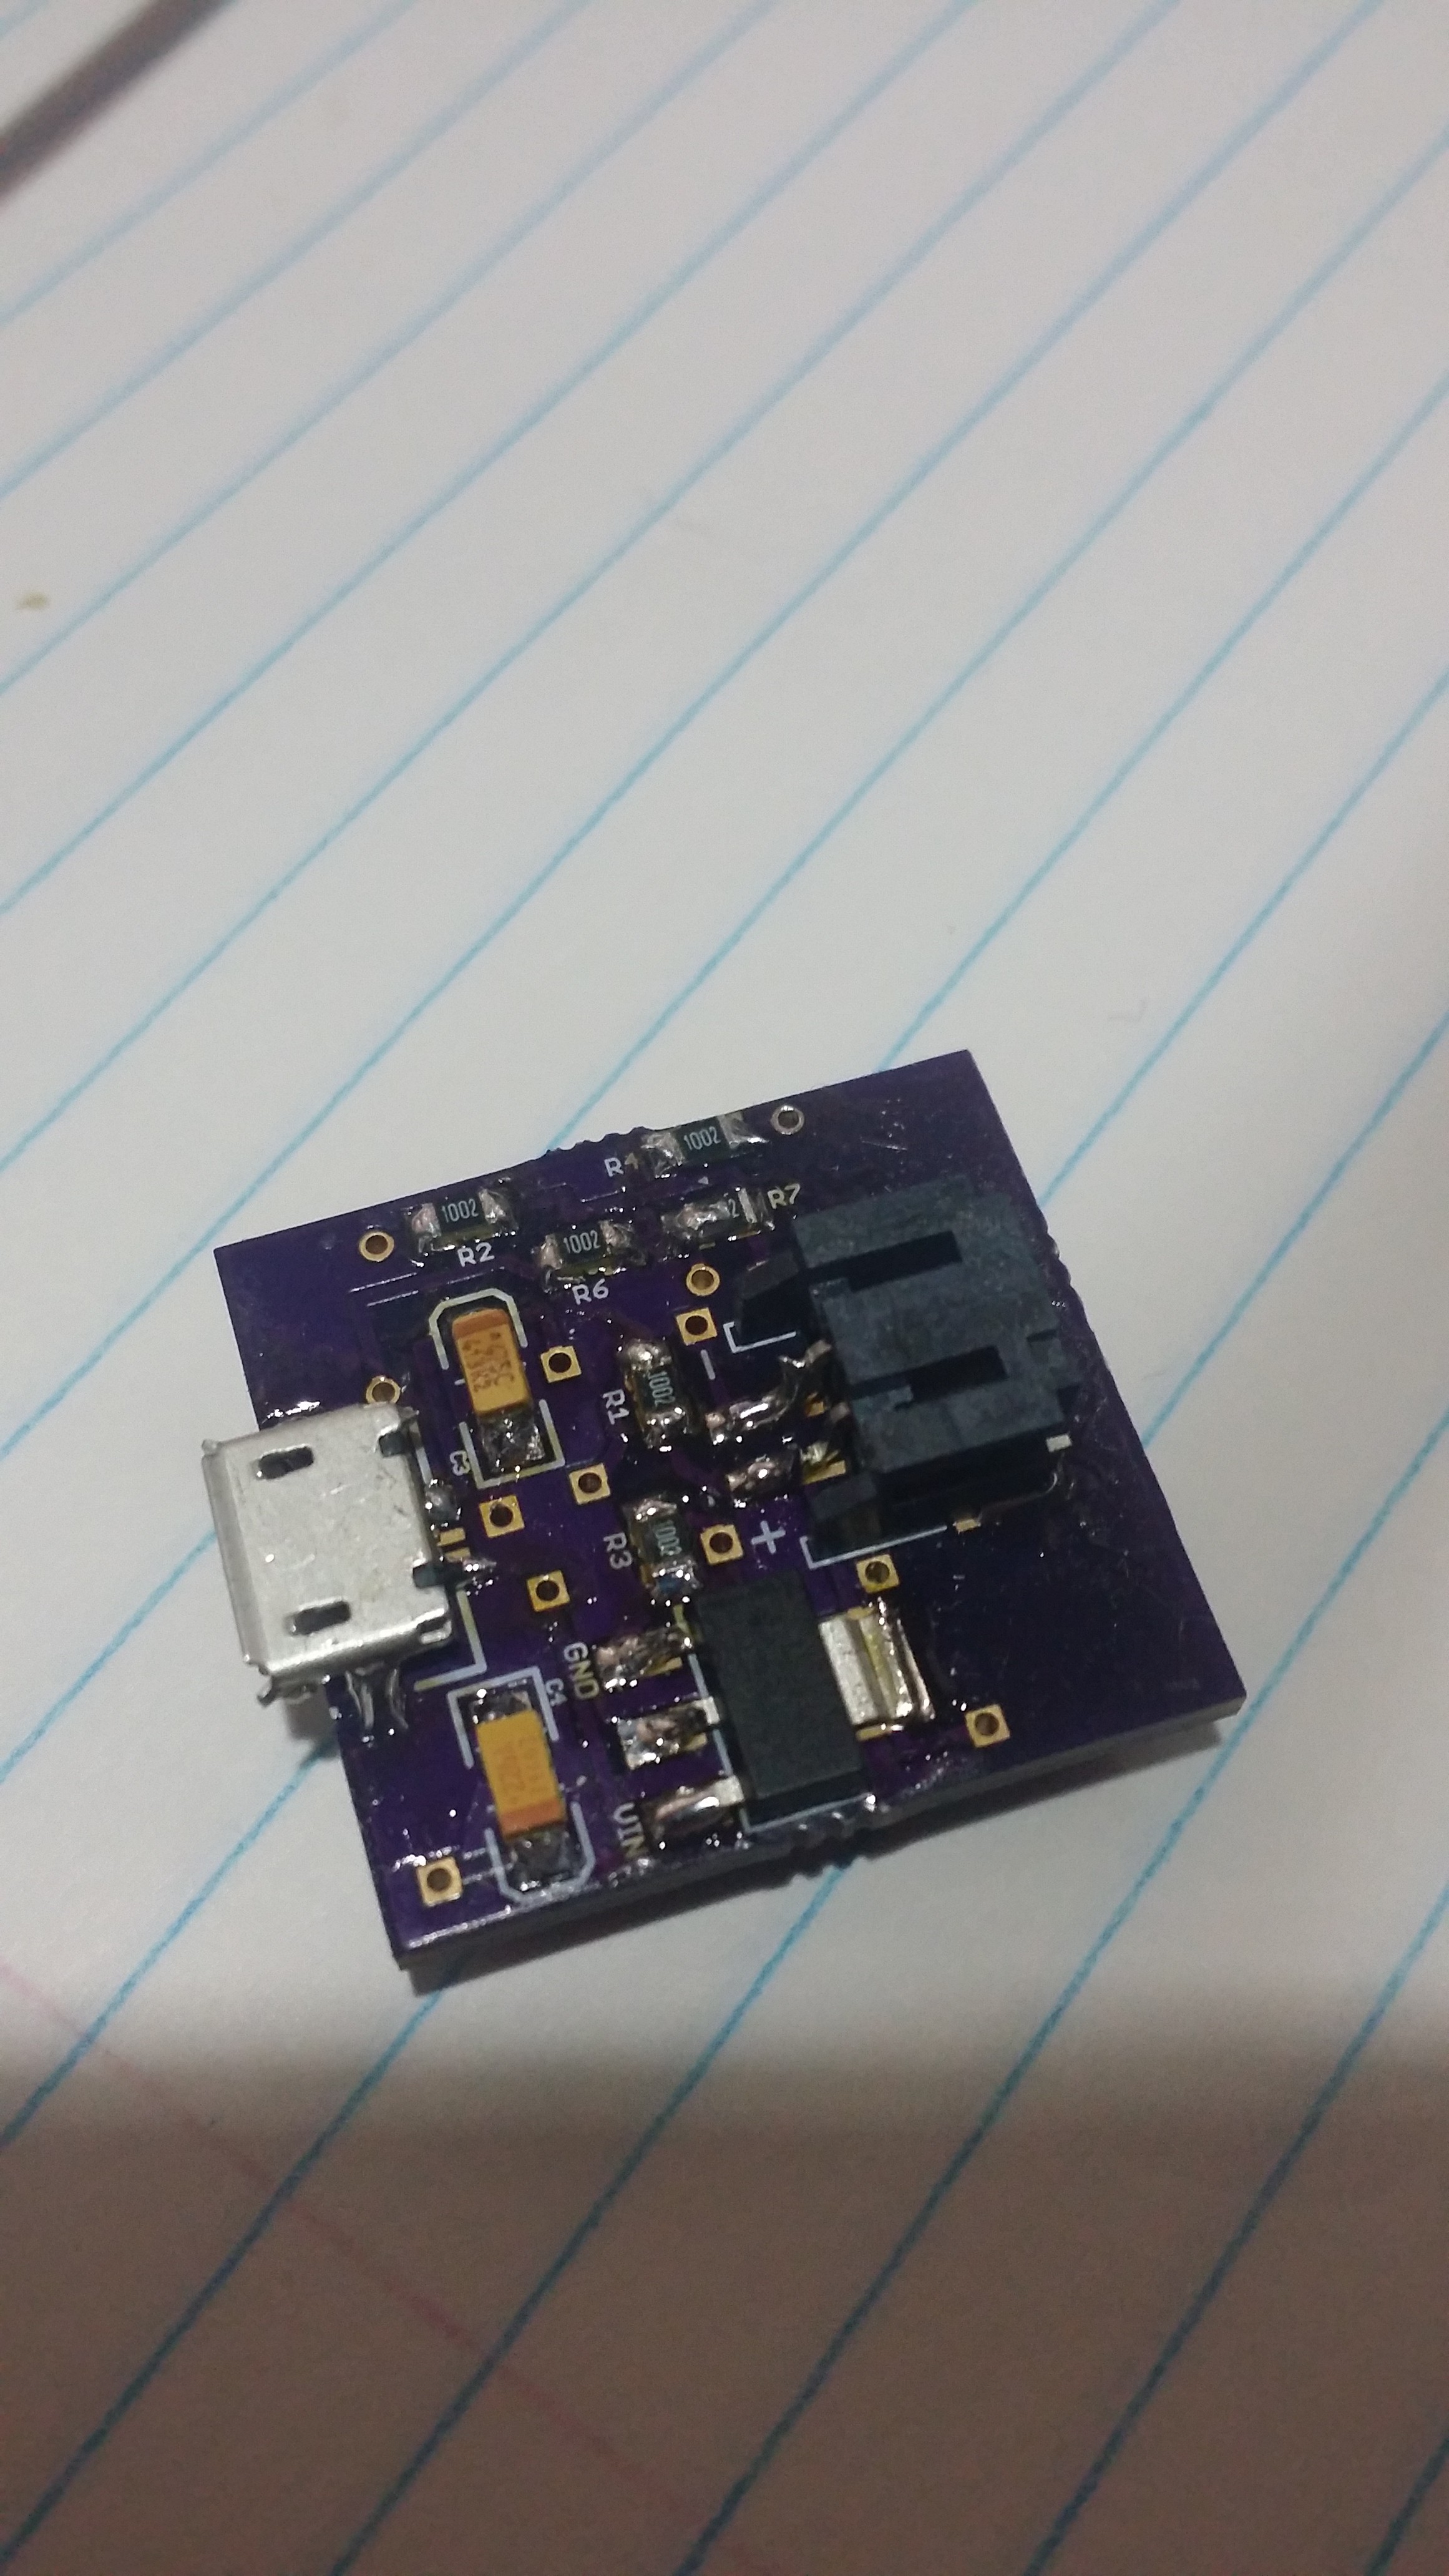
I built the board (this was my first time ever soldering SMD components) and used a mini breadboard as the prototype for this project.
I used this tutorial as a starting point for setting up the sensor: https://community.thinger.io/t/esp8266-analog-read/37
The LDR is connected to the VCC and A0 pins on my ESP-12E. There is a 10k resistor between the LDR and A0 Pin connected to ground. I
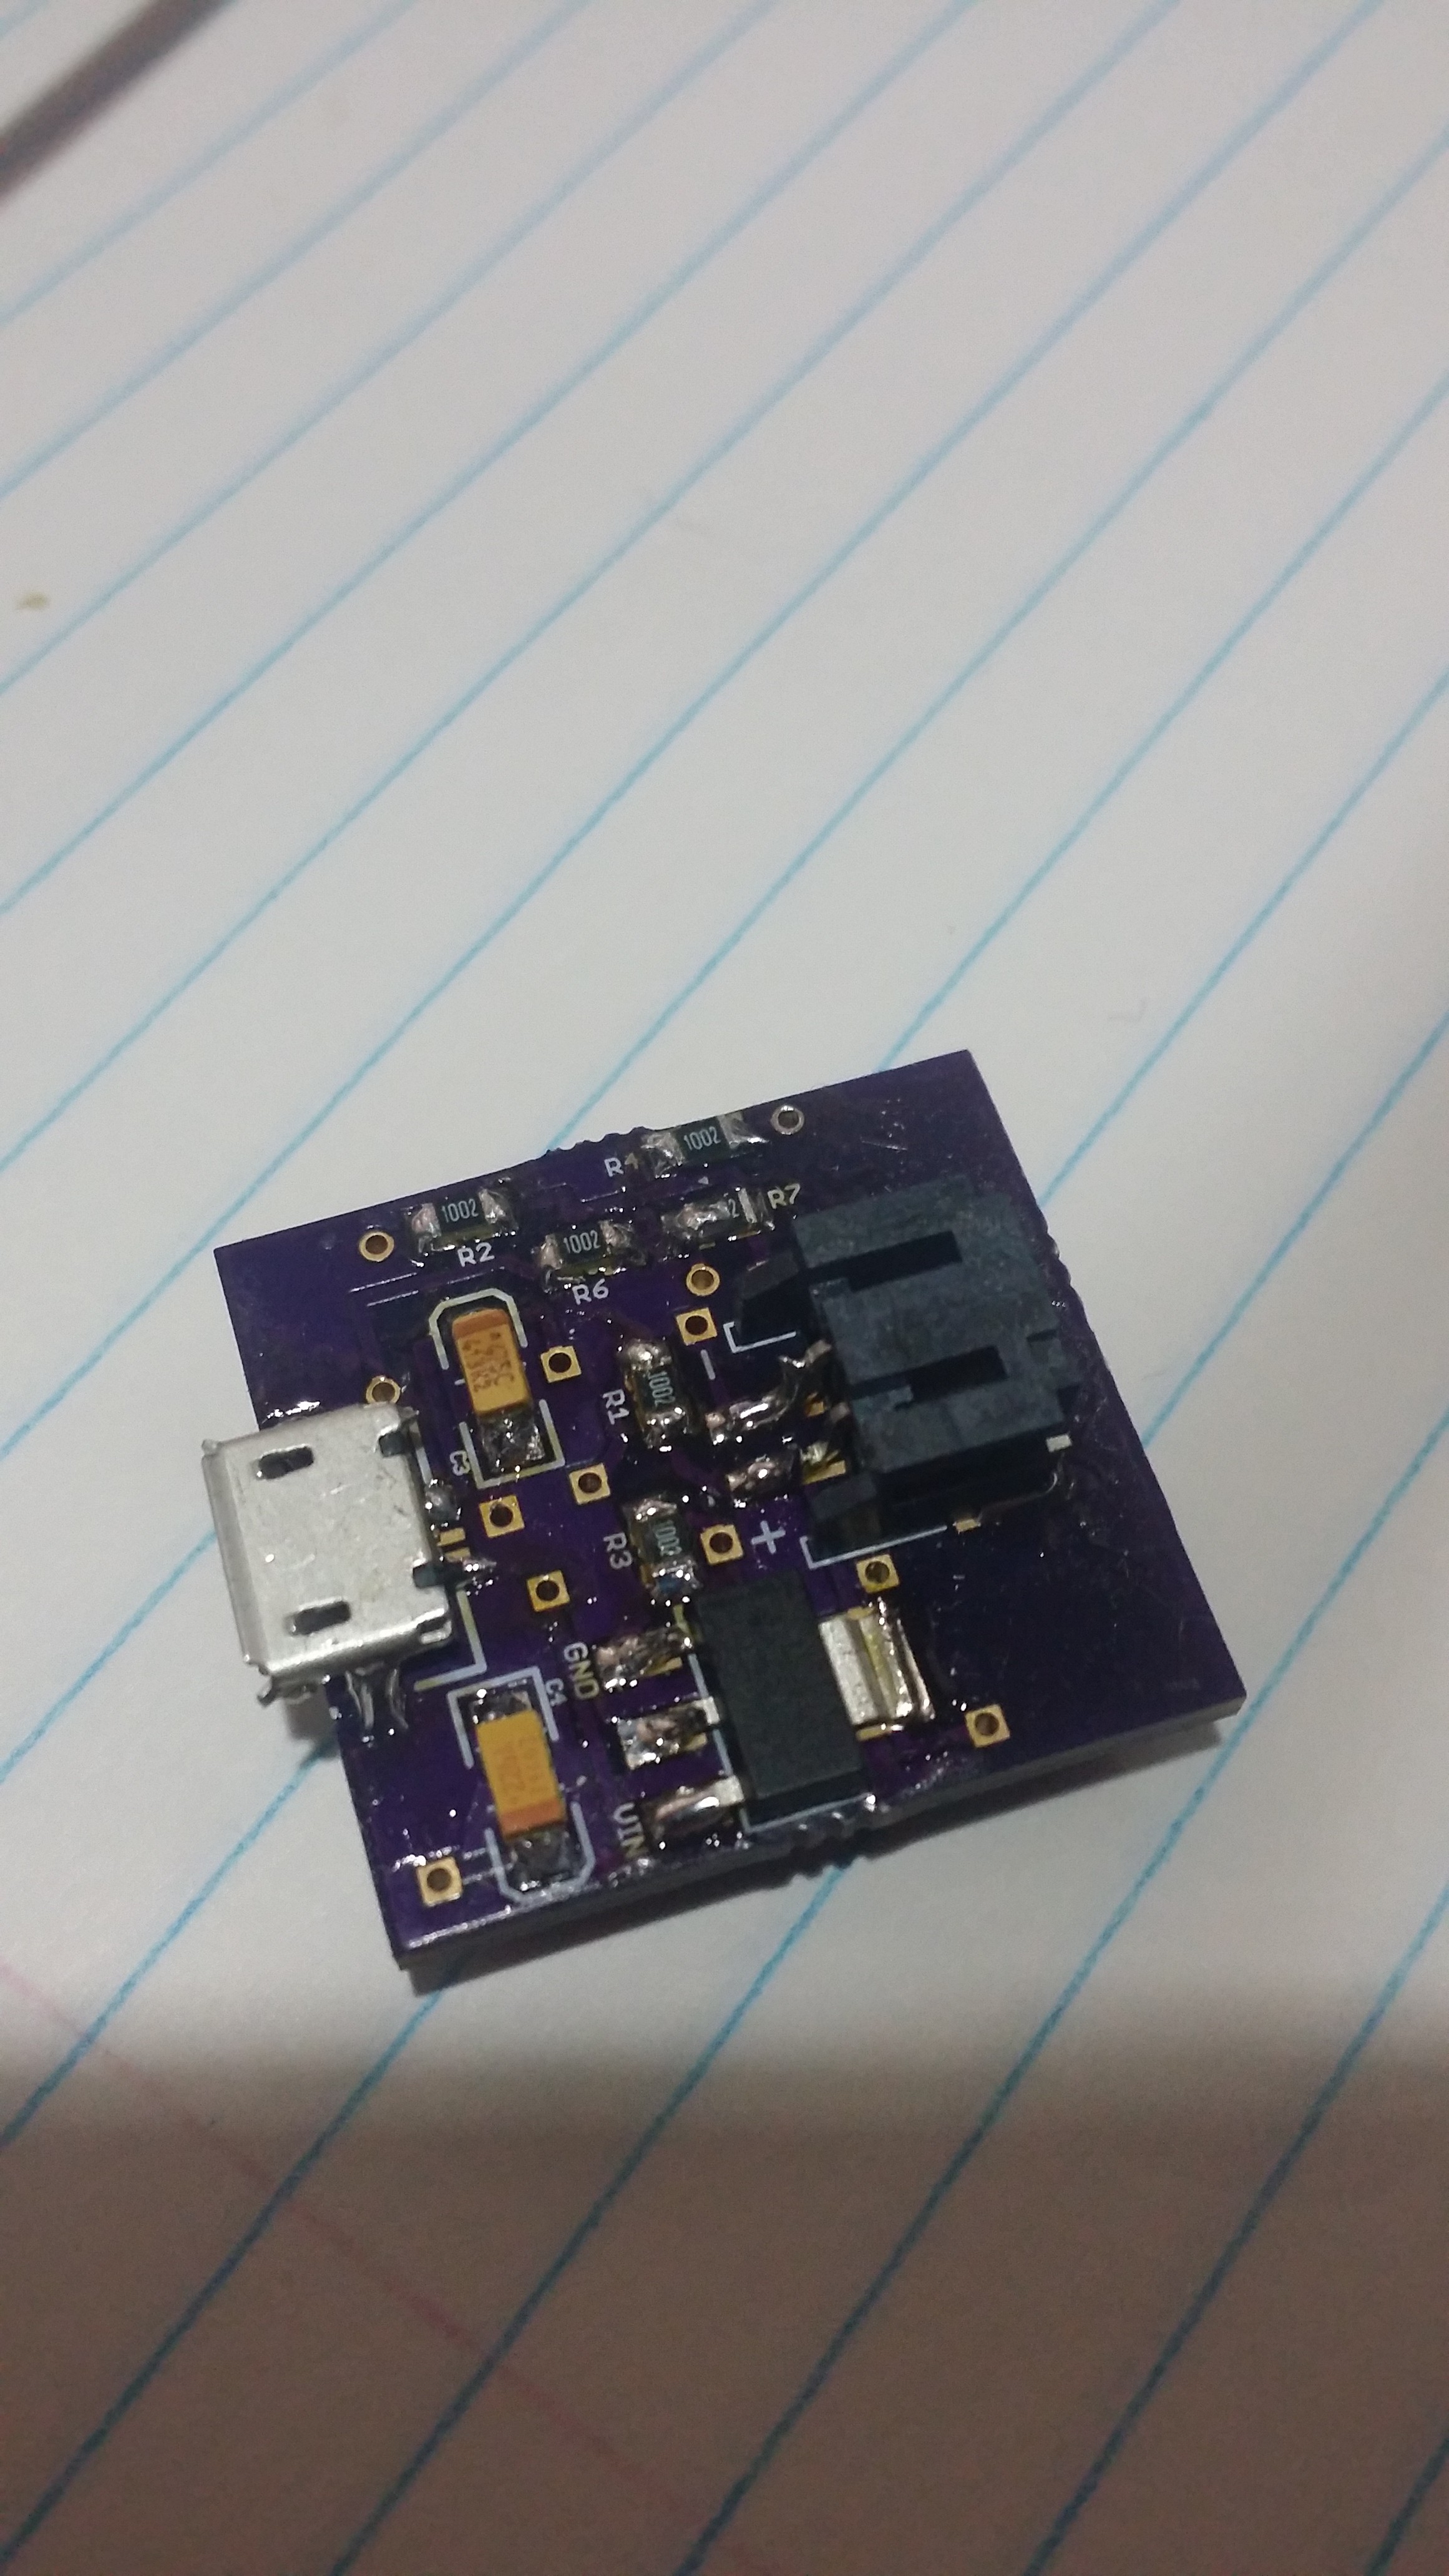
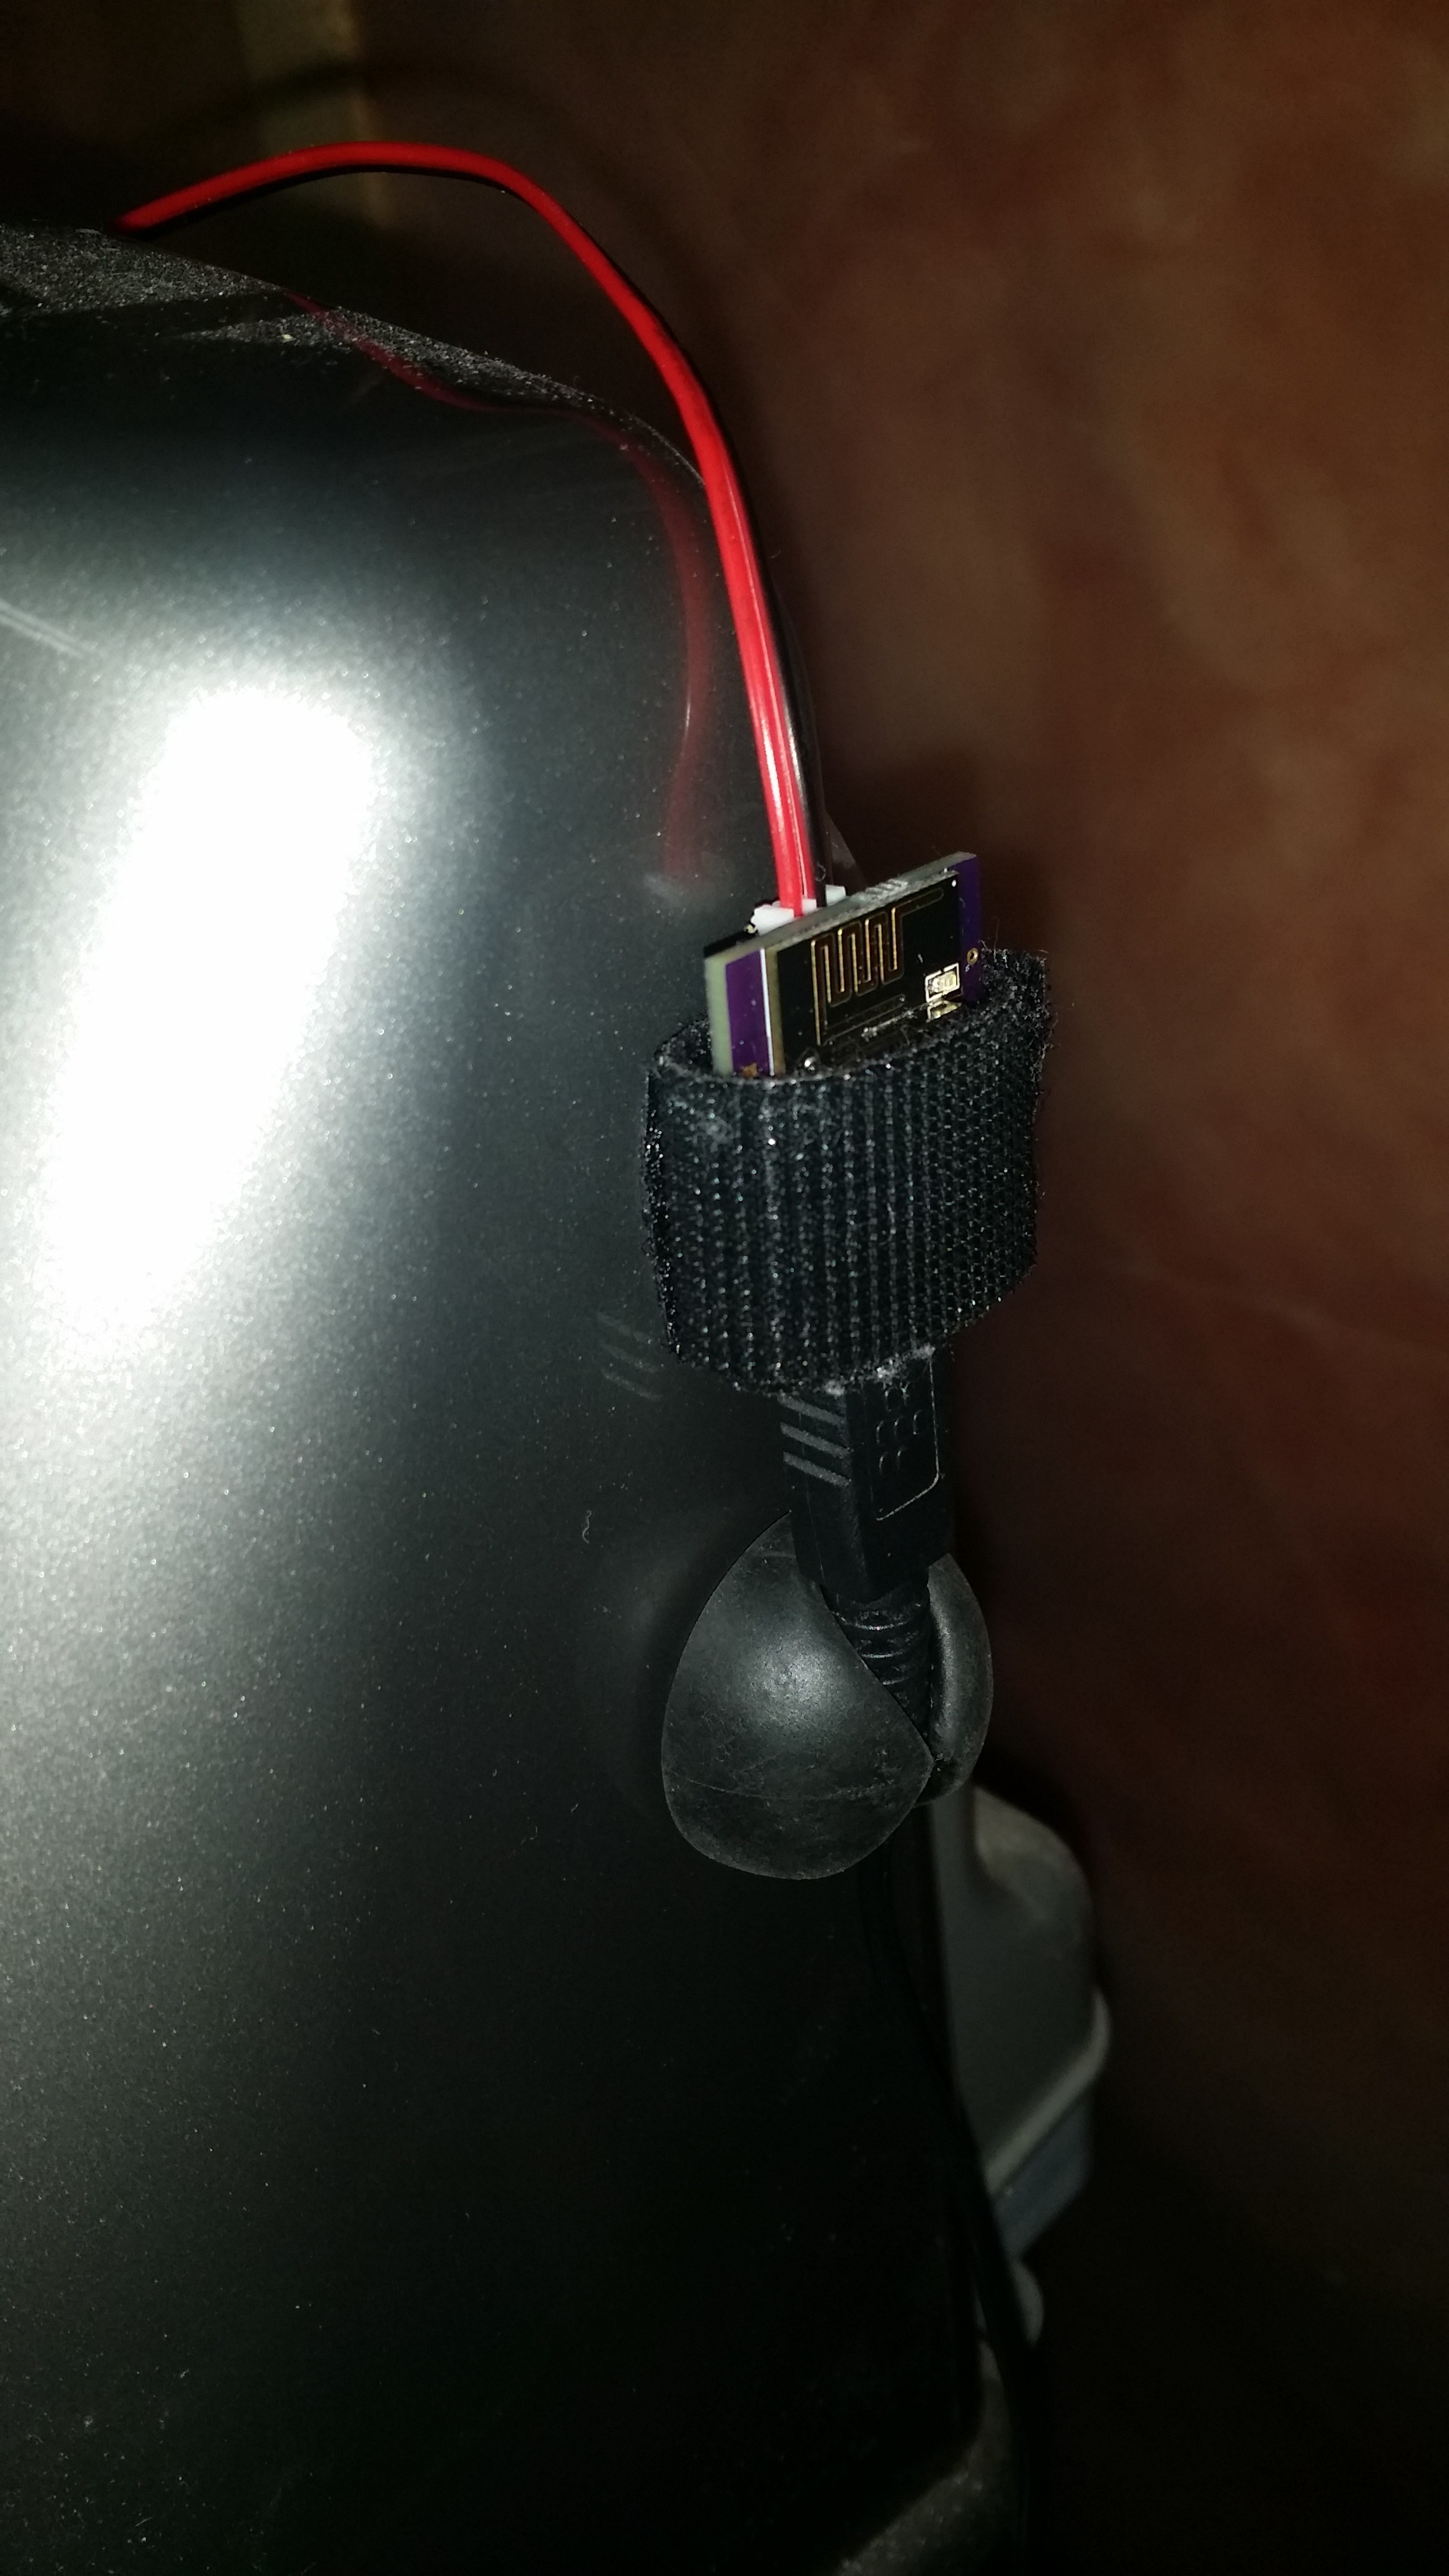
I used a micro usb breakout board to power the sensor module. The Baoshi board accepts 5v which make it great for connecting to a standard usb plug adapter.
Step 5) Using the Laundresp.ino file provide below, and your wifi and thinger credentials, flash the esp module.
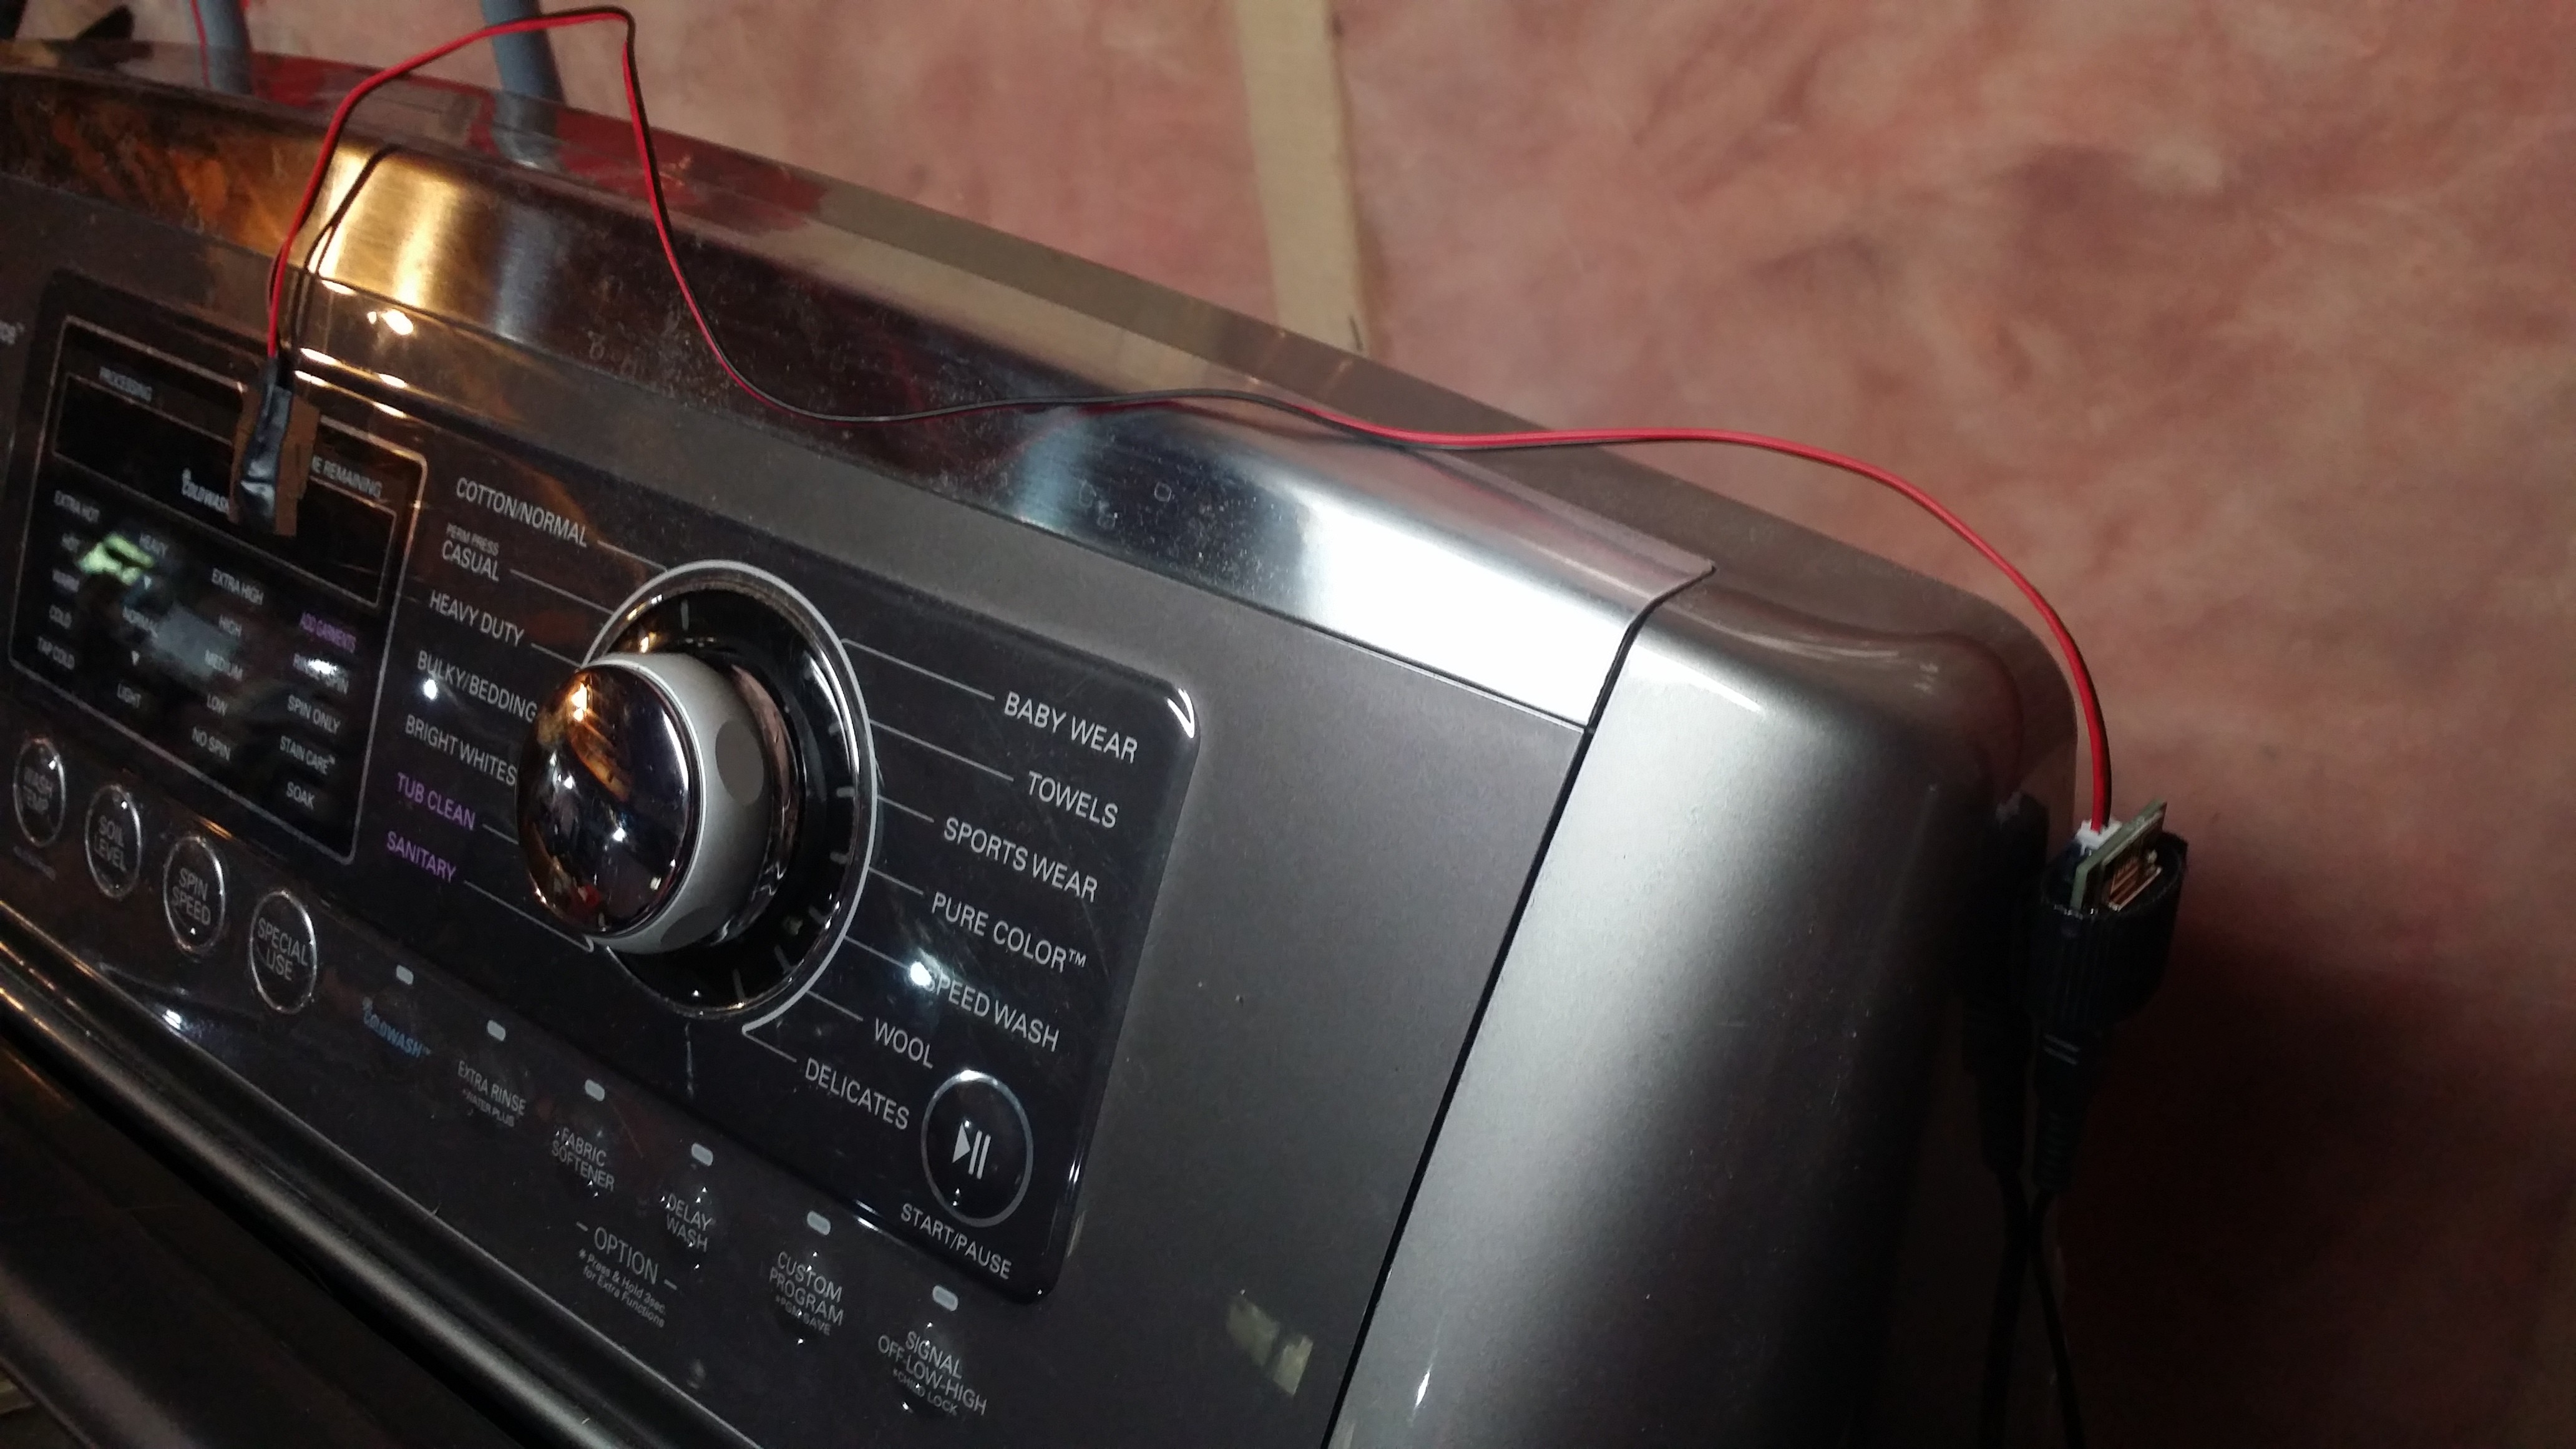
Step 6) Mount the LDR to a location that has an LED which turns on when a load is started, and turns off when the machine stops. For my machine, there's a single red light that indicates the laundry machine cover/door is locked. It turns on when a cycle starts and turns off when it stops.
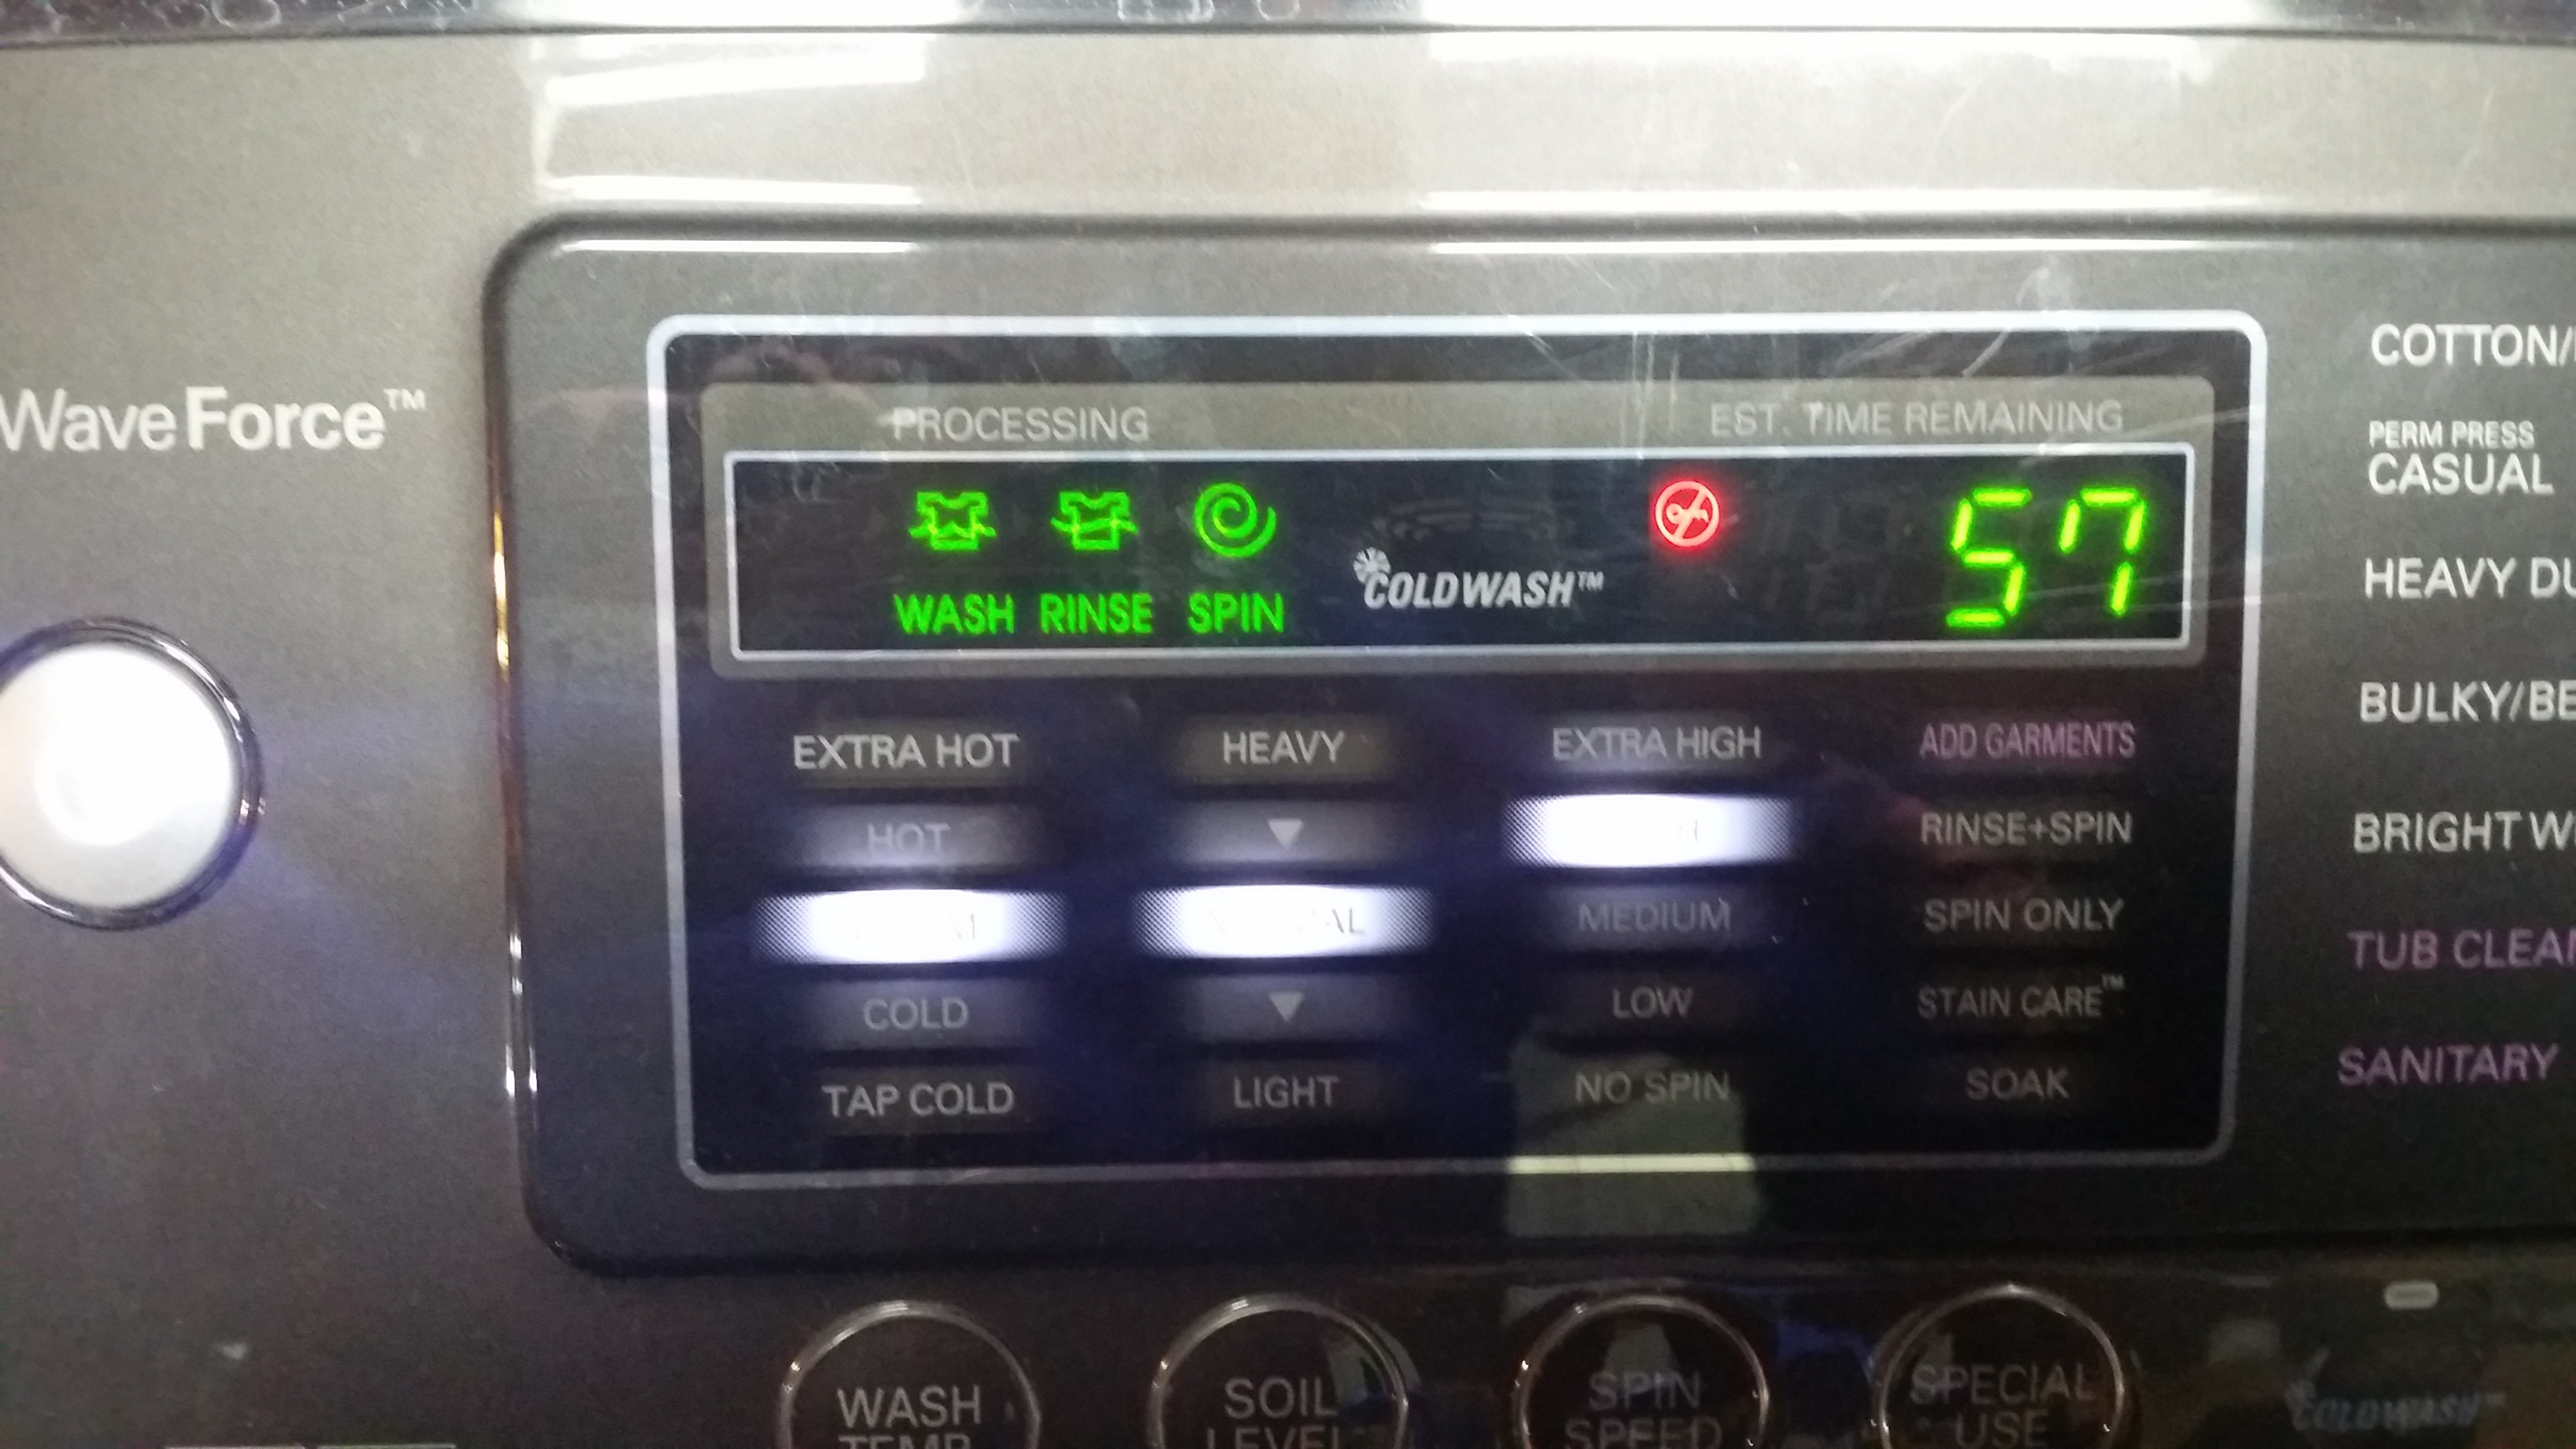
Tape around the LDR to prevent additional light from setting it off. Power the board and test the washing machine to see if you are successful.
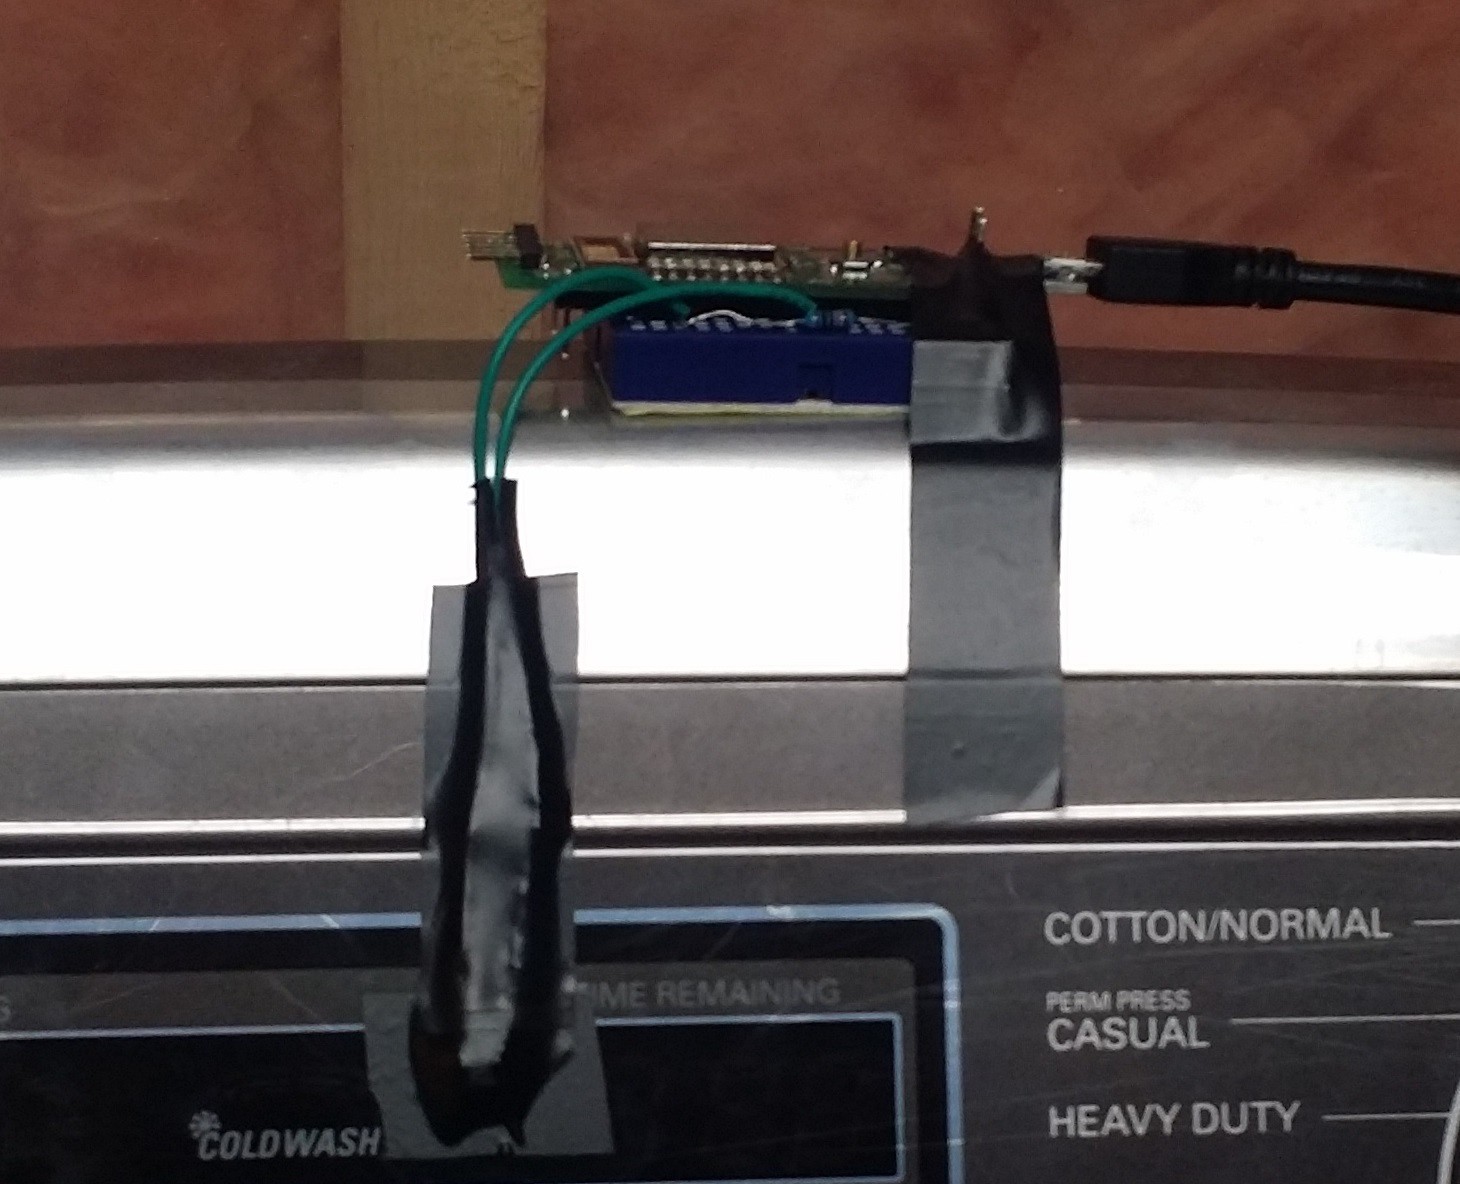
Depending on the LDR and the light levels emitted from the LED you may need to adjust the analog input thresholds in the Arduino code. You can view the analog output in the device api in your thinger console.
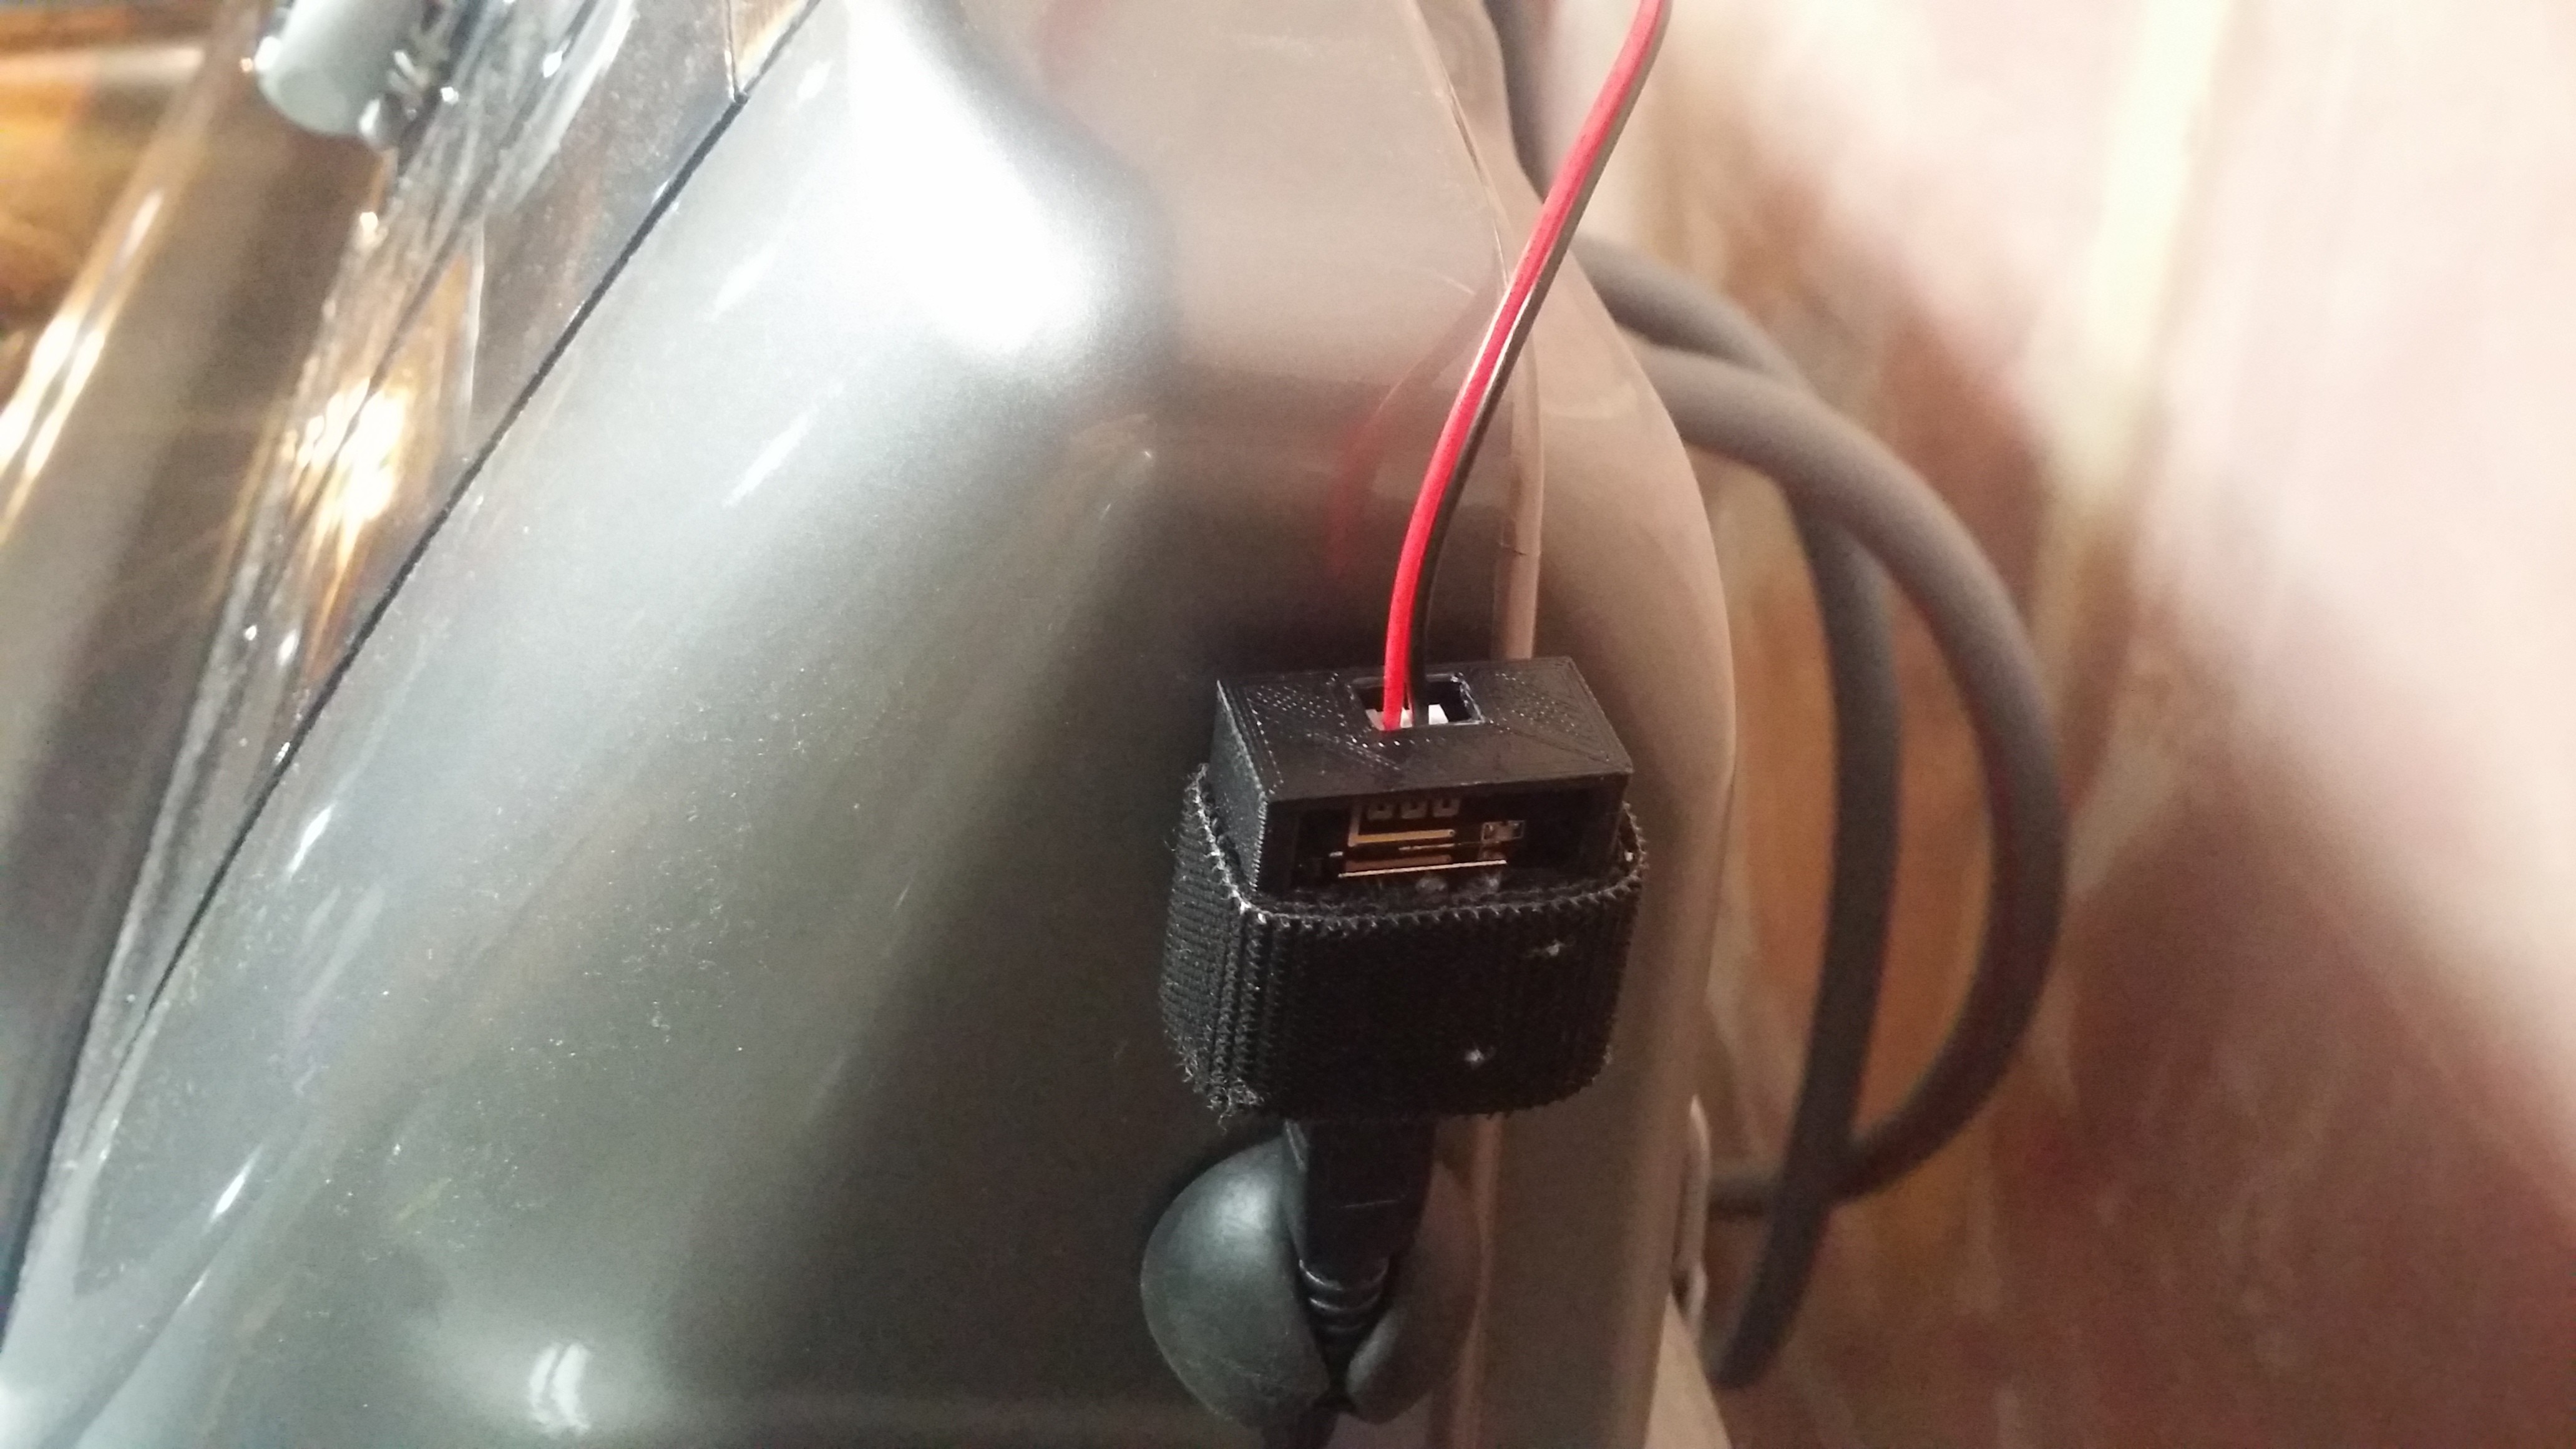
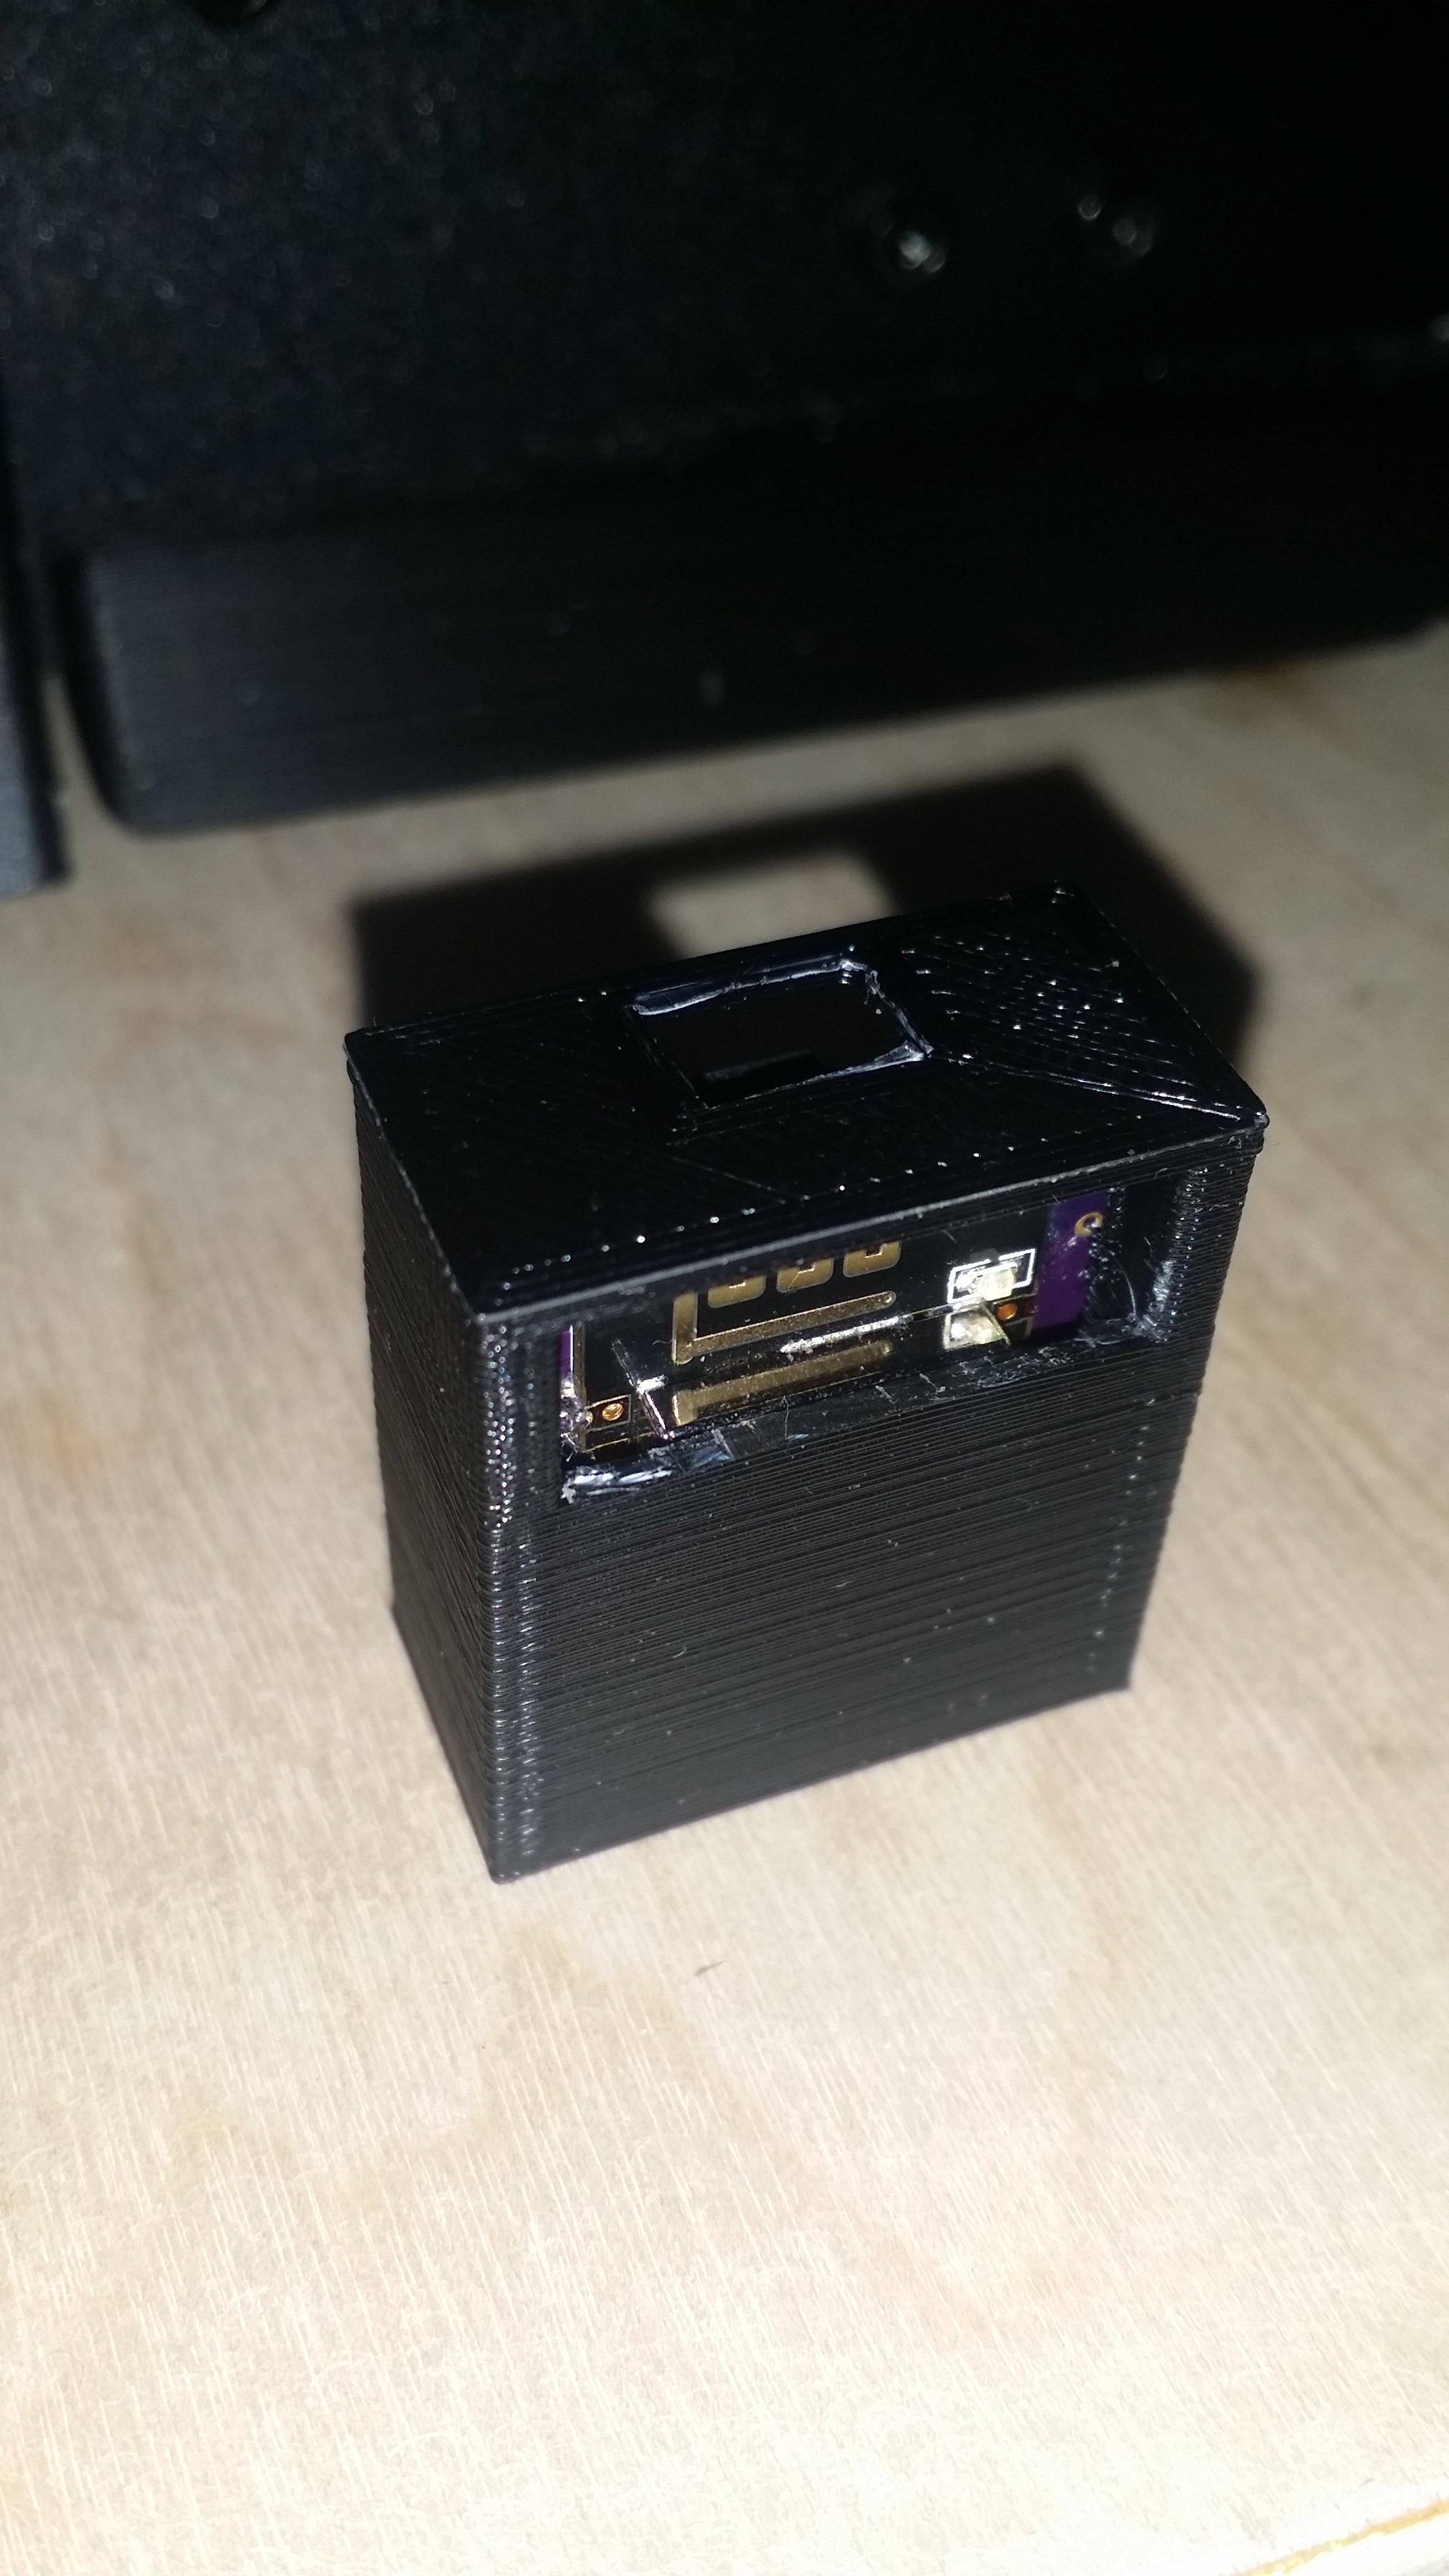
Step 7) If you are happy with how everything is working, you can order the PCB's (.brd files are provided in this project), build the board, and print an enclosure as I have done. This has been running very well for months now.
 Mark Kuhlmann
 charliex
 blinkingthing
 Matt
Matt