Johann Elias Stoetzer
-
Proper HID use of Modular Keyboard
08/26/2018 at 10:45 • 0 commentsEarly Sunday morning, we just decided to check if we could just add proper HID functionality with a few lines of new code. The main part was already working. Lucca suggested to send the characters selected directly (and not wait for entire words, seperated by a space) - so we did just that. It's even better, because you can go back further and delete mistakes, not limited to the current word.
Here is a little impression of it:
![]()
What's next?
- check dictionary letter by letter to map the frequency of letter combinations. We are working on the Python code for it (it millions of words to be checked character by character) ;-) Will be an interesting speed test for the computer :-))
- build an eyetracker that just distinguishes between up/down/left/right
- check back with professionals on improving and extending the device. Elias' grandnice has her own
Physiotherapy Institute and is interested in the project. She offered us help as soon as we got some proper working prototypes... [Thanks, Renata :-) !]
-
Speed-Testing the Keyboard-Modules
08/26/2018 at 10:24 • 0 commentsWith the modules ready and both having an LCD, we started a little competition...
![]()
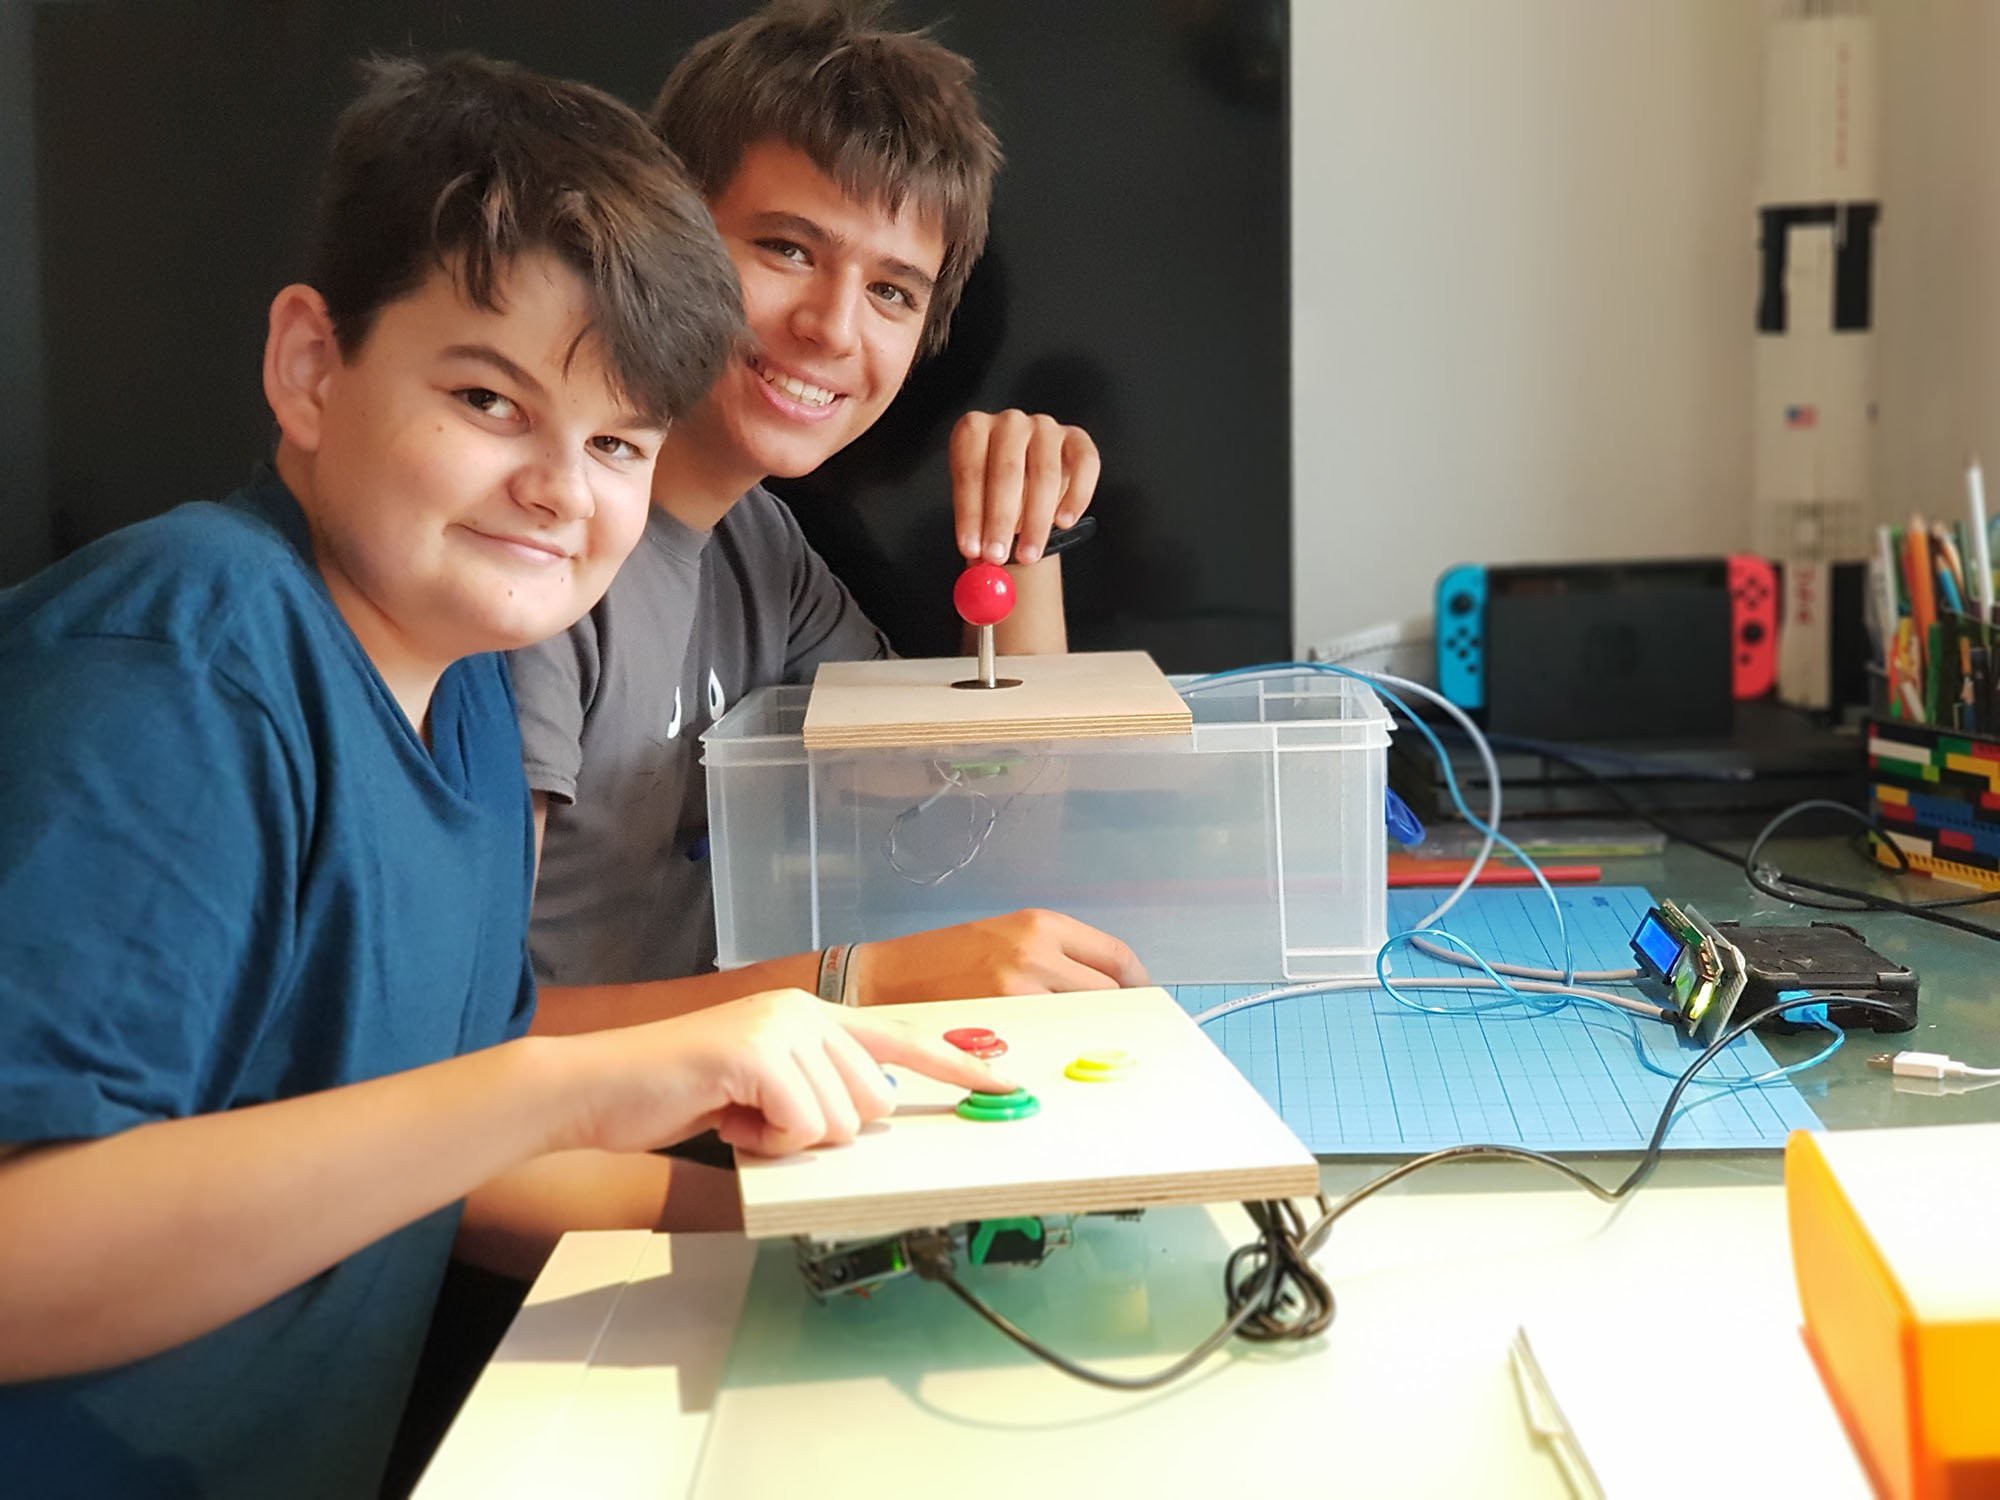
For the HaD Prize we printed a little welcome-message in the upper row of the LCD and made a speed-test for faster typing. We decided to type the name of our STEM club, SFB.Berlin.... ready, set, GO:
![]()
And Lucca did clearly win our competition ;-)
There is still room for improvement - e.g. we had the Joystick-Module sitting on top of the box, because the joysticks needs space below the board. Next improvement will include some woodwork again...
We then designed some casing for the LCD driver board and some attachments and 3d-printed them. Here is a screenshot of how the entire construction should look line (files are along with code in the github repo):
![]()
After everything was printed, we put it together and tested it. We are very proud to have reached this stage so quickly coming from breadboard, wires and sticky tape just a few days ago:
![]()
Finally reached a presentable stage at our project...
-
Building Prototypes, Part II
08/26/2018 at 10:20 • 0 commentsThe next day, Saturday, we met at Elias' home to continue our work for this competition...
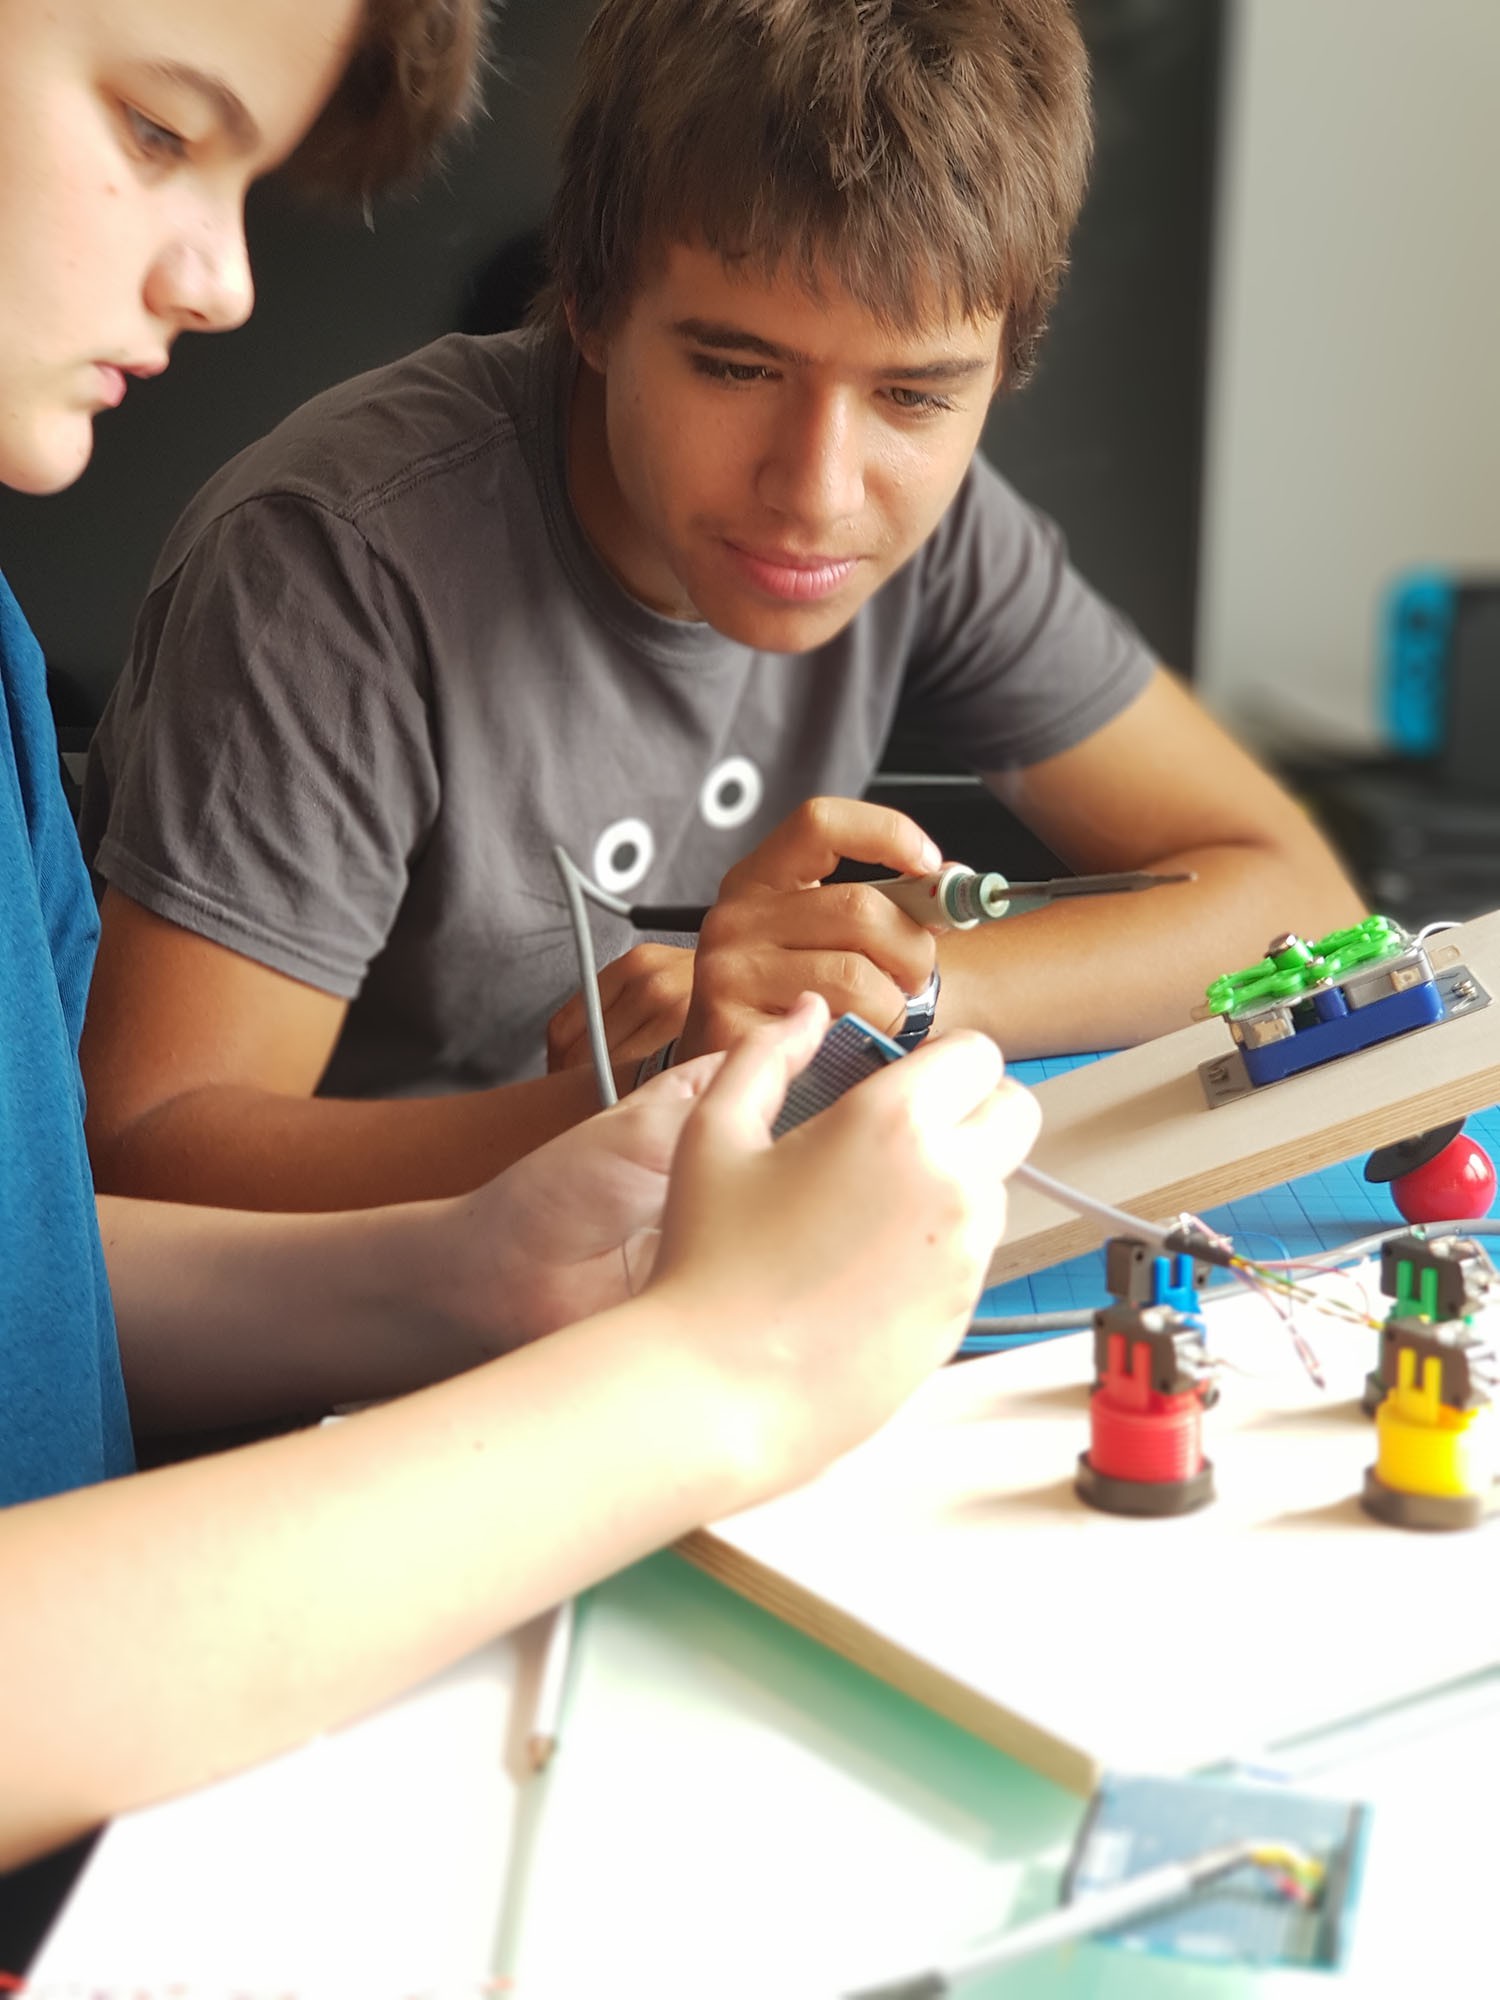
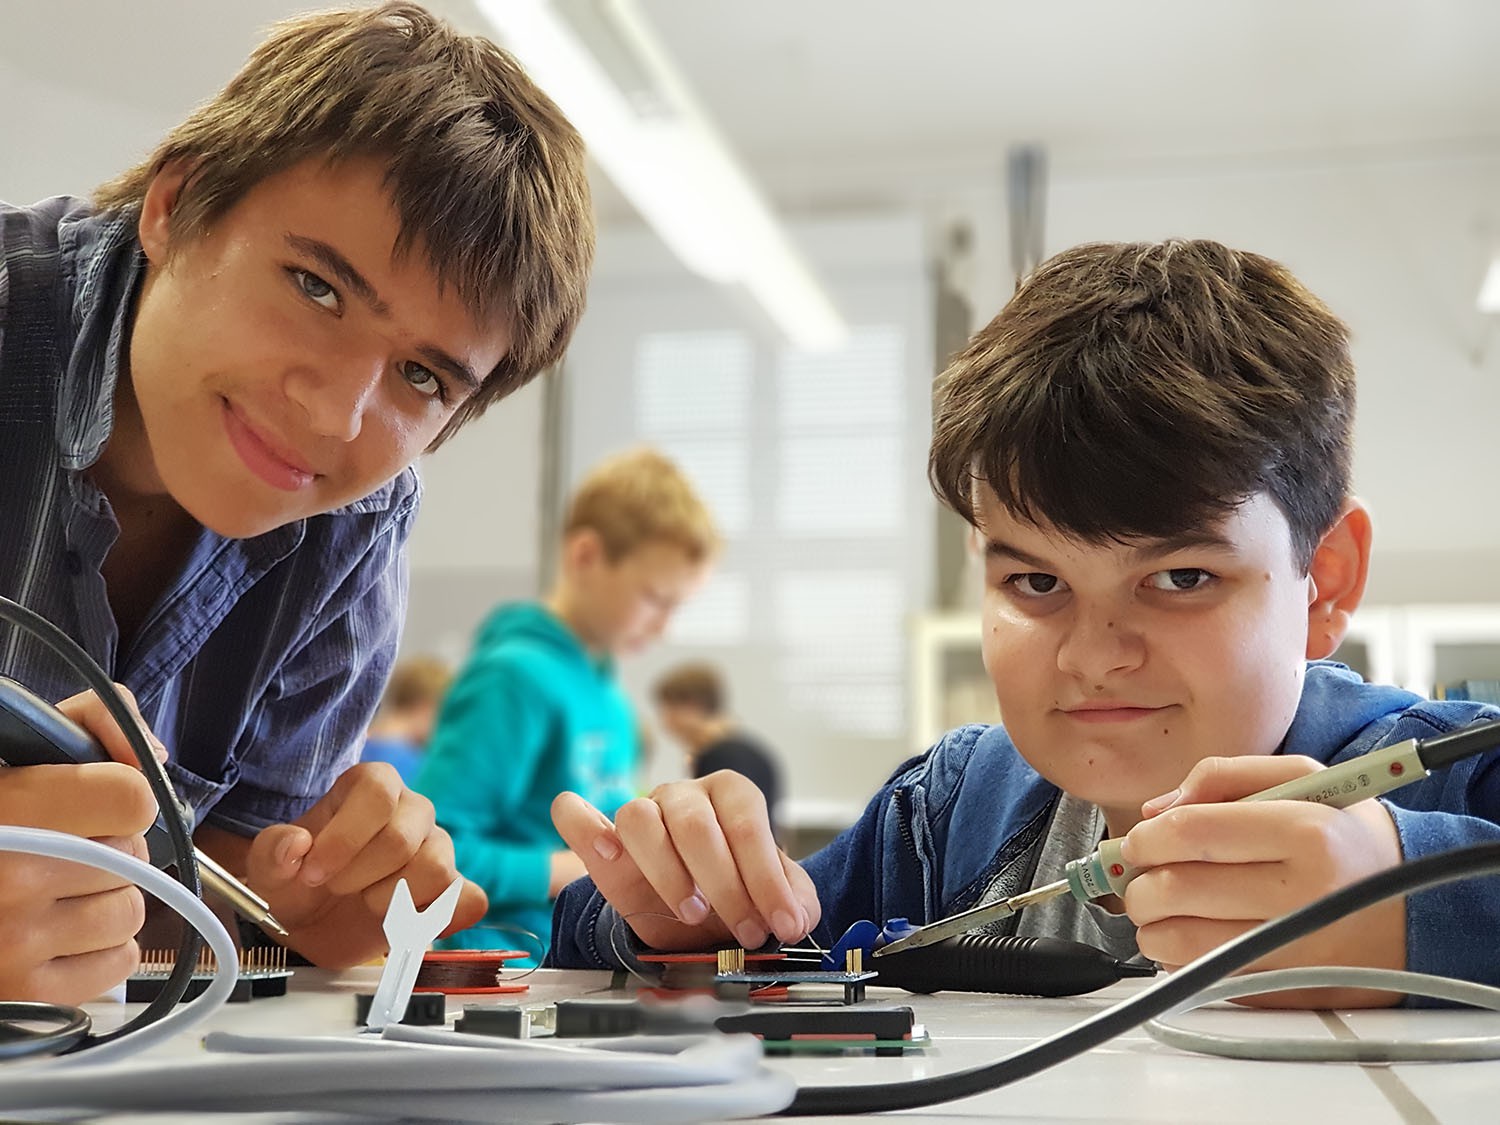
We still had a lot of fine work to do [very time consuming and a bit annoying, since progress seems to be slow than] - so this is us soldering again:
![]()
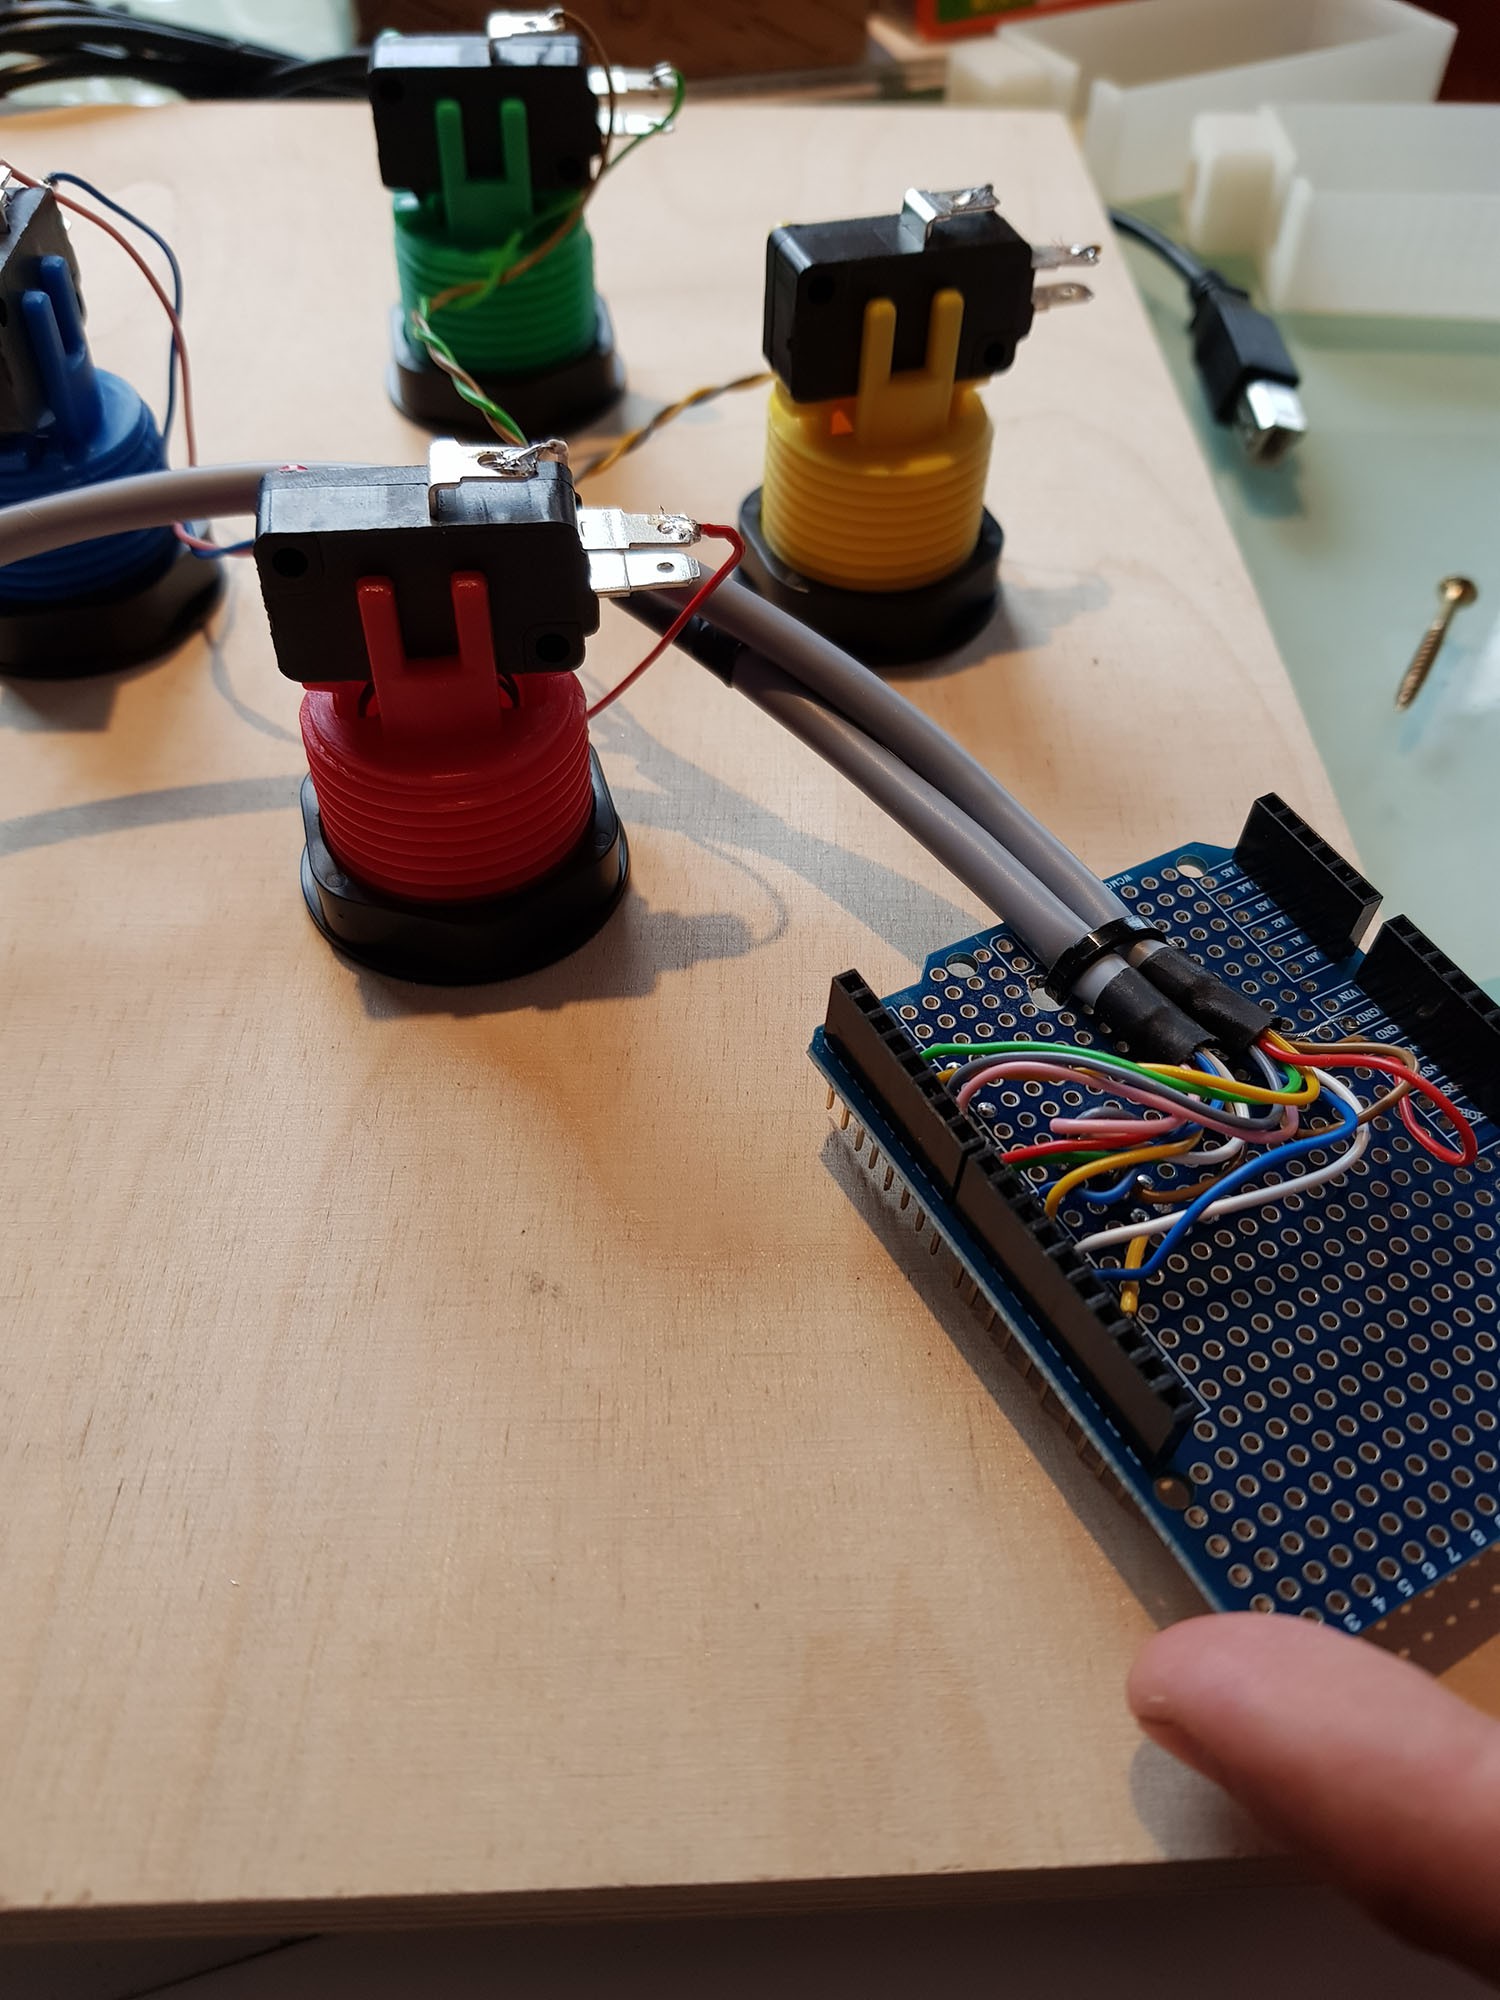
We managed to get the input modules connected time by time and wanted to make them look as "professional" as we could. It's nice to have some fast results on a breadboard, but taking it up the next level to eliminate bad contacts, wires popping out of connections etc, is important if you actually want to build something reliable...
Here is a close-up of one shield connected to the "Arcade-Button"-Module with proper cable mounting:
![]() Next step is to do the same with the "Joystick-Module"...
Next step is to do the same with the "Joystick-Module"...![]()
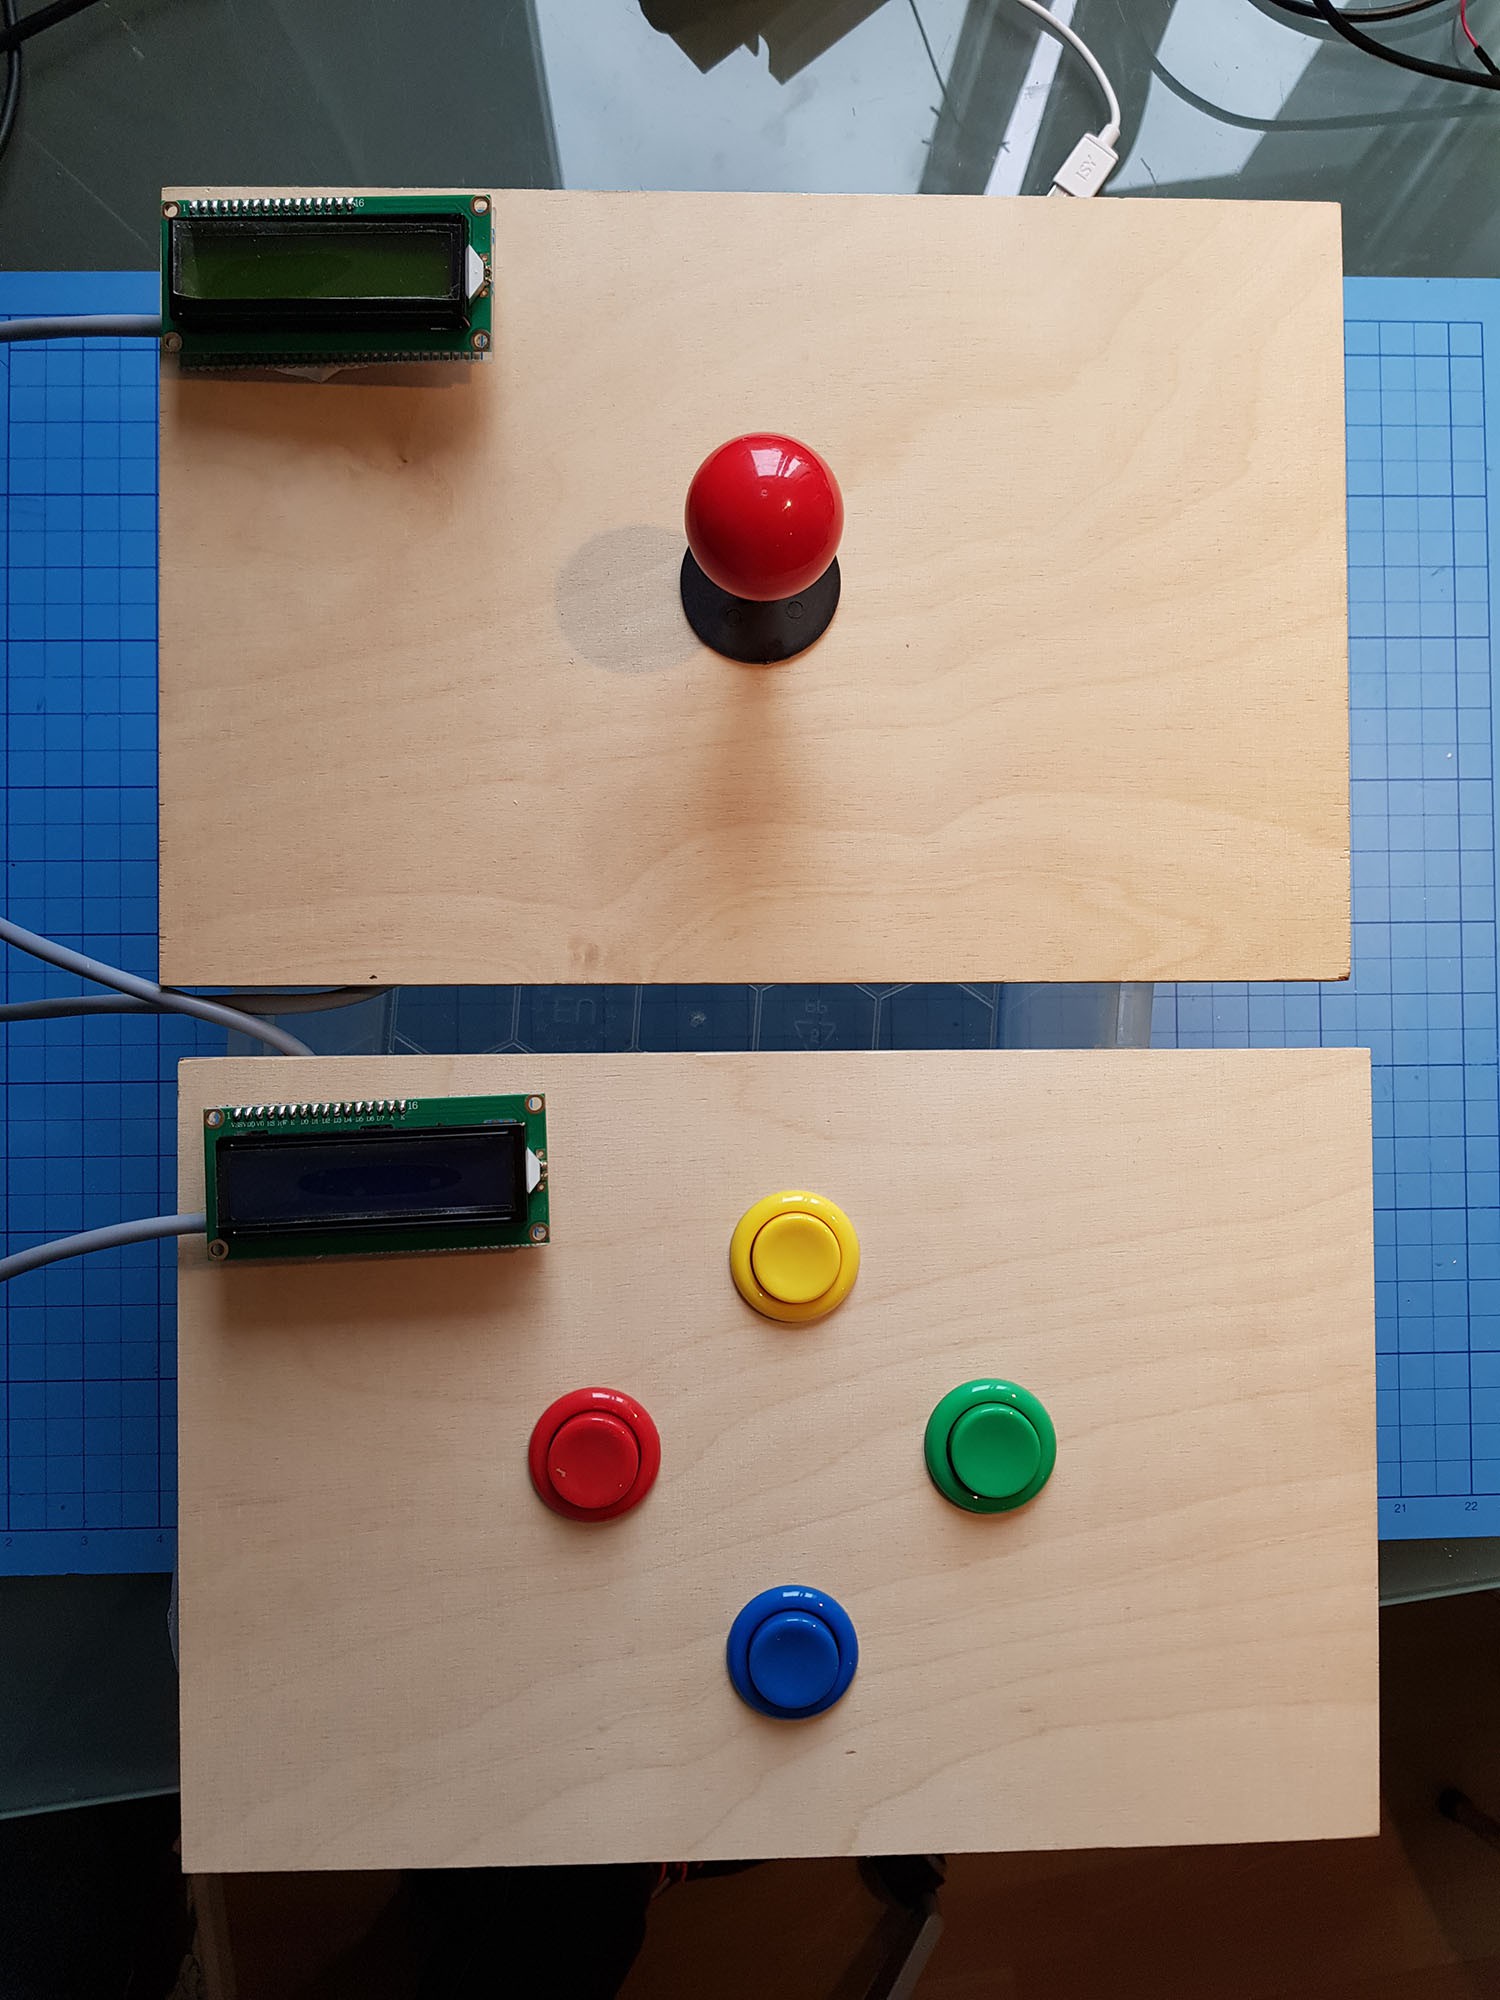
Yes, nearly done... It took longer than we expected ;-)
But we have two proper build prototypes, that can handle some rough input :-)
![]()
Each has got it's own Arduino and an LCD. Next: testing them :-))
-
Building prototypes, Part I
08/26/2018 at 09:55 • 0 commentsFriday afternoon, school's out - time for the weekly meeting at our STEM club
The very improvised "proof of concept" was the starting line for trying out code, working first time with a LCD and generally getting a better grip of the project.
After school's out on Friday, we went to our afternoon STEM club to do some project word: check out SFN.berlin for more information about the background...
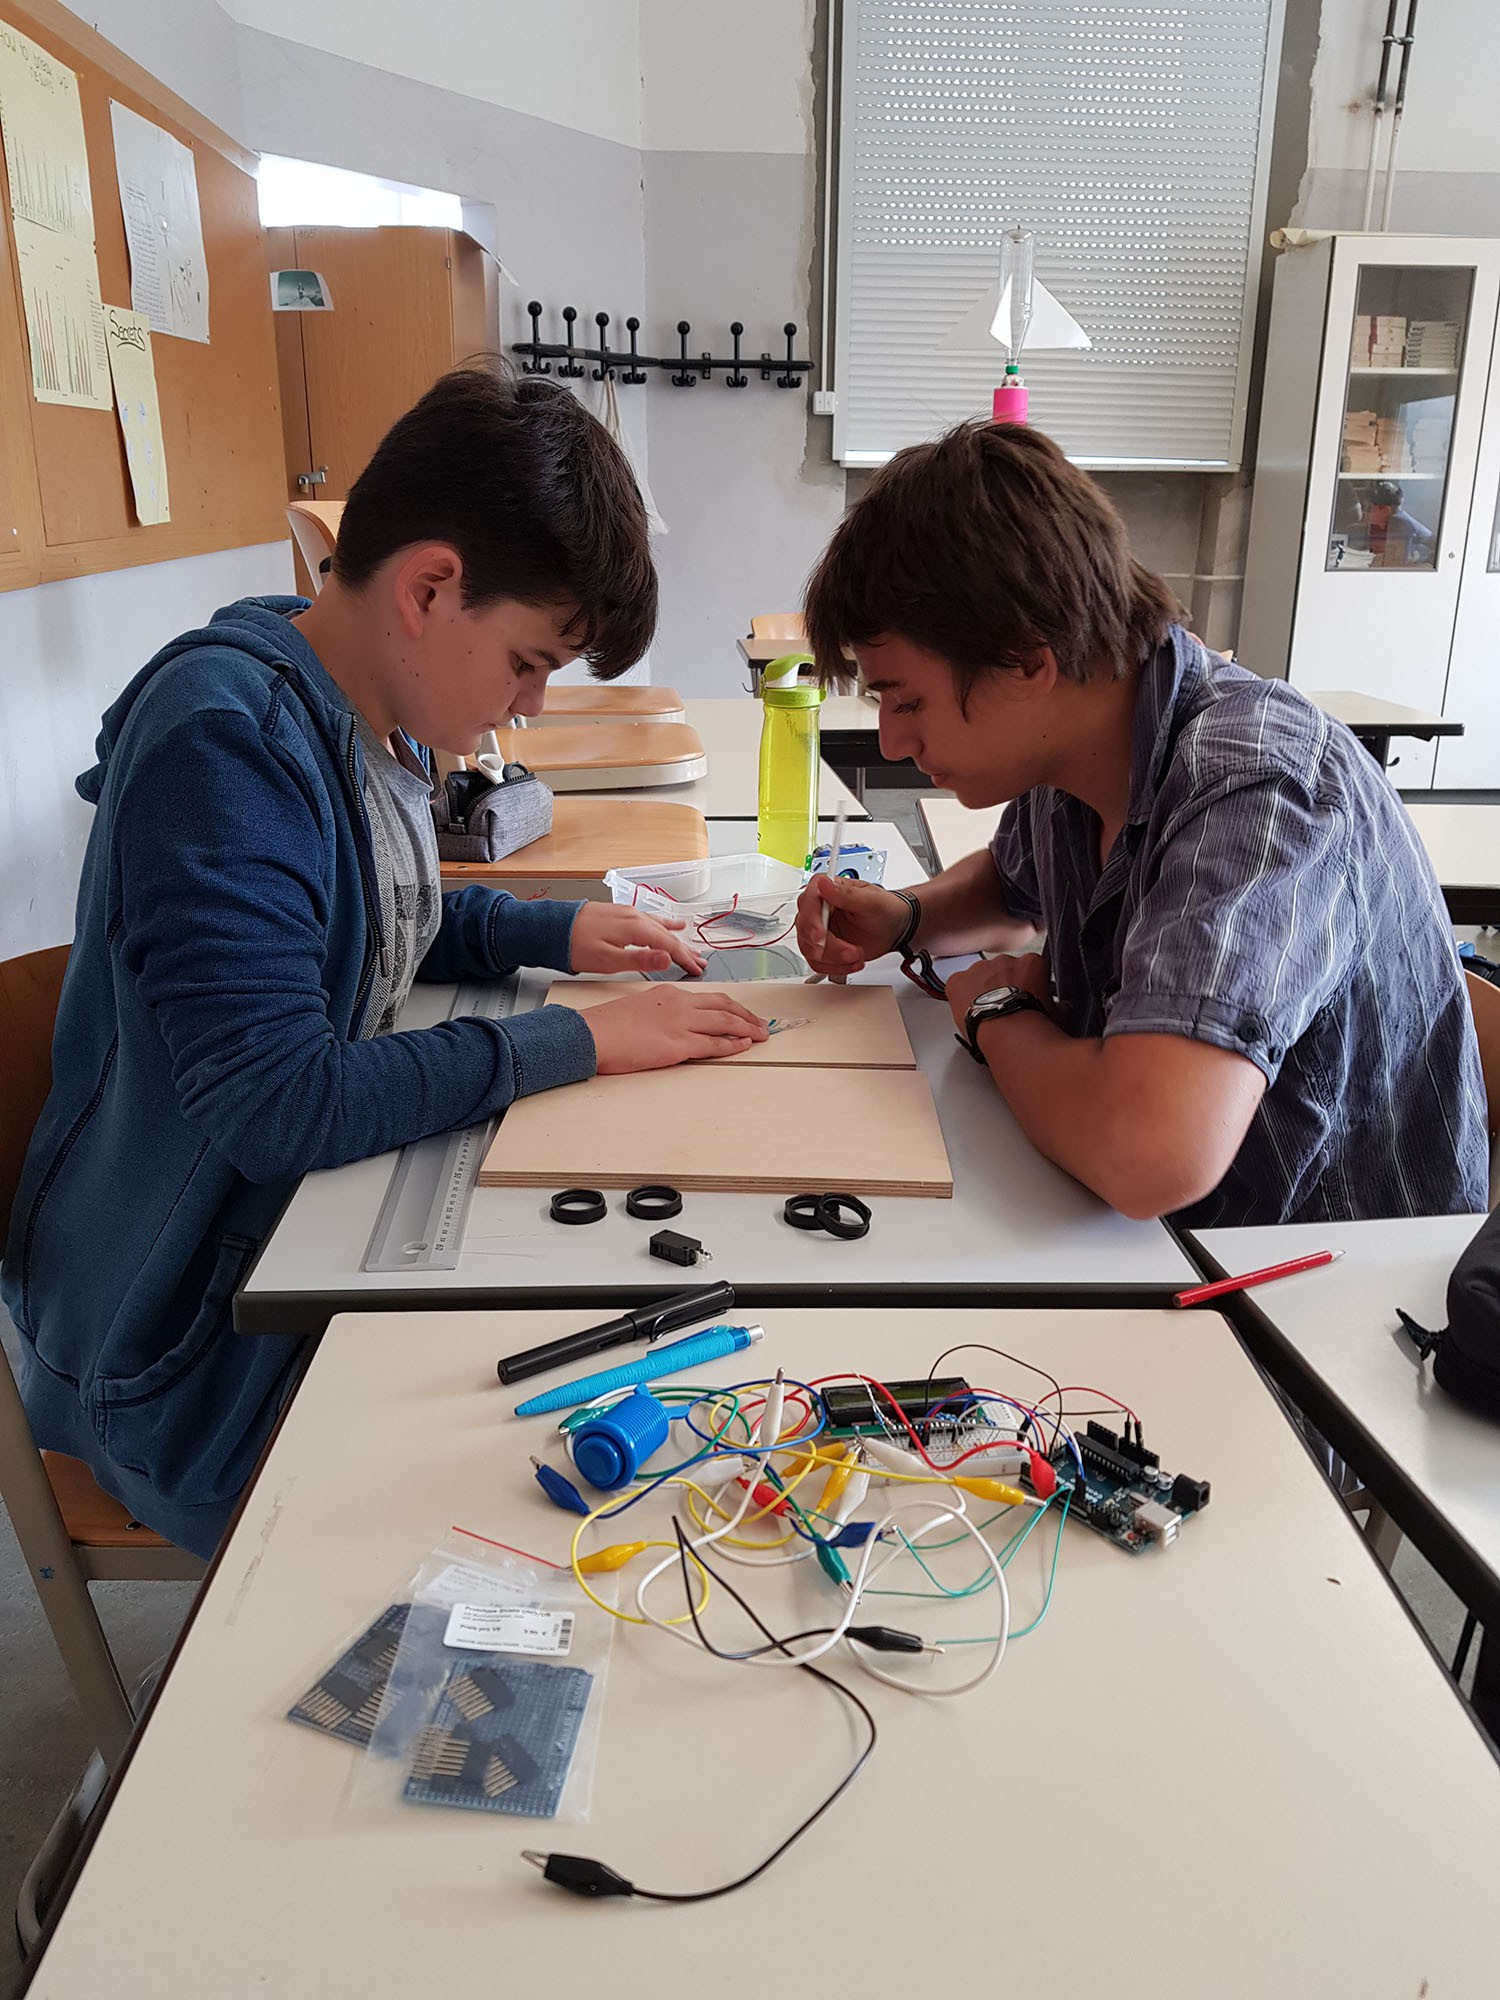
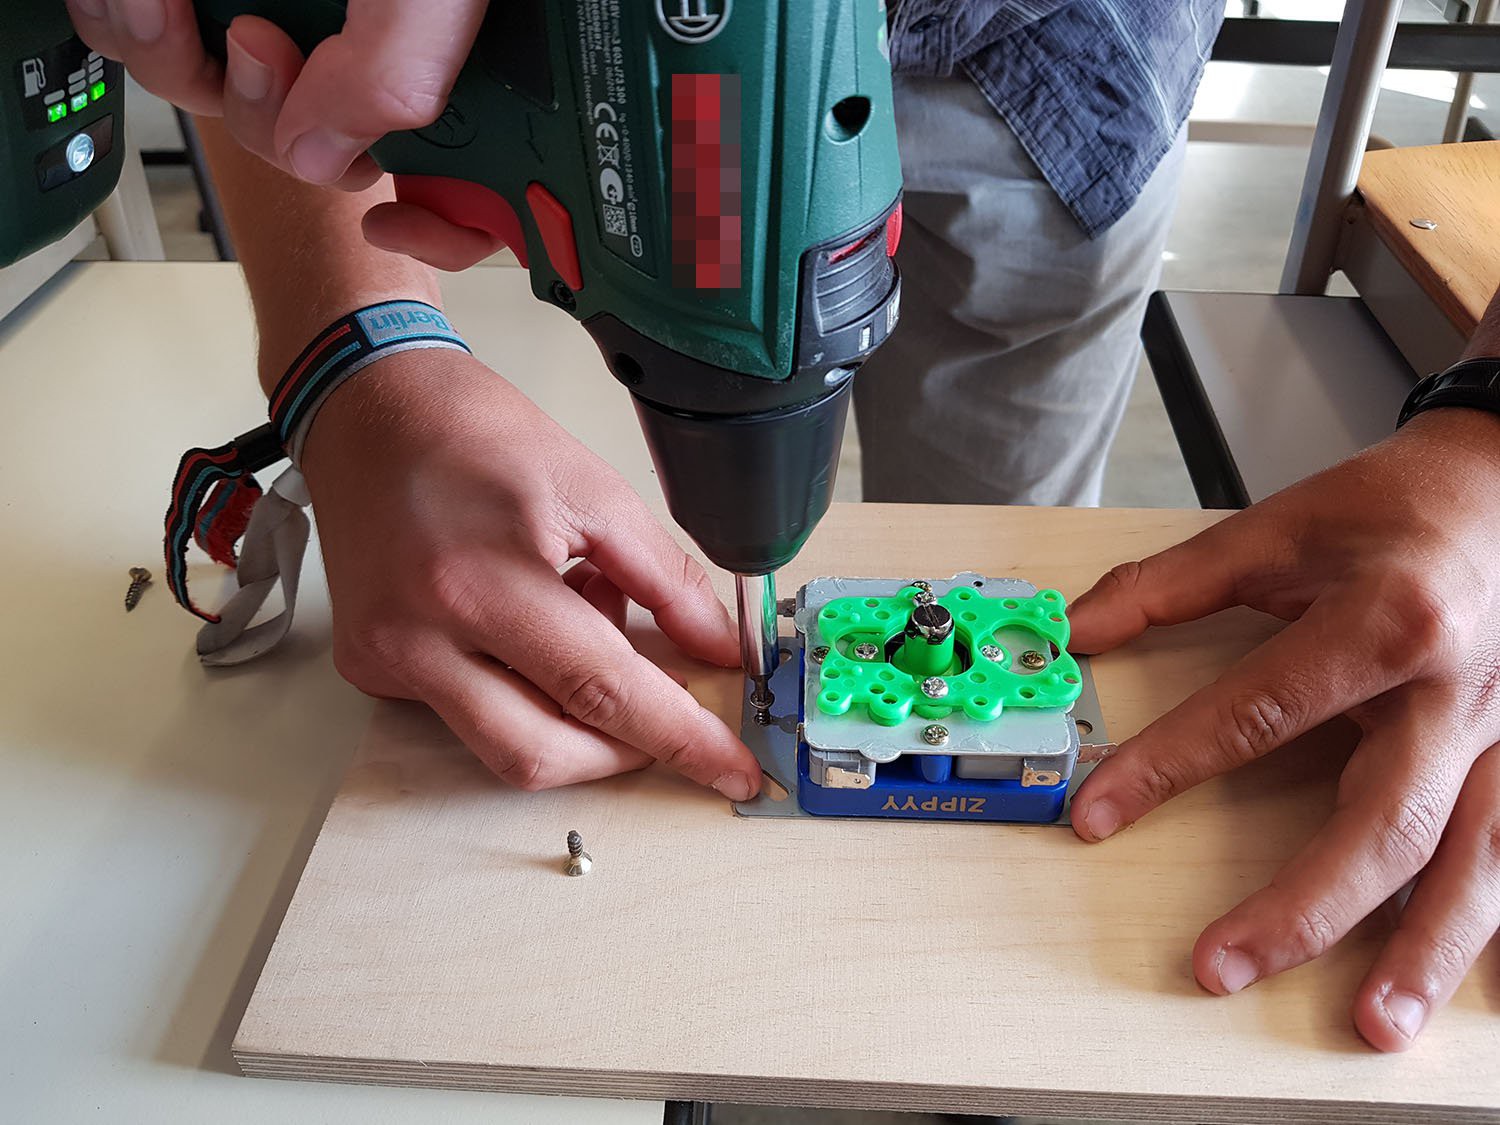
Our plan was to mount the Arcade Buttons and Joystick on multiplex wood plates for easier operation:
![]()
And it was great fun, woodworking in a normal classroom...
![]()
[But we did clean up afterwards ;-) ]
We mounted the buttons and joystick in place and then started preparing all the connections and finally got to solder the first cables...
![]()
And we had to solder the shields for easy attachment of the input devices to an Arduino, too:
![]()
And finally, we fastened the joystick - so we now have two input methods for the flexible keyboard that we can further work with...
![]()
After that - we had to stop for the day; it was Friday late afternoon and we had to leave - school would be locked down and the nice cleaning lady asked us kindly to leave, so she can do her job :-)
But we got our two "keyboards" to continue work :-)
-
Proof-of-Concept: Typing own name...
08/23/2018 at 15:15 • 0 commentsWe decided to build the fist proof-of-concept with an Arduino Uno we had at hand, a LCD to show the characters and words as well as 4 keys – the most simple setup possible. The next step would be to use the joystick instead. If everything works as intended, we move to an Arduino Leonardo (had the Uno lying around, not the Leonardo) to simulate keystrokes to a Computer.
The colors correspond to movents for choosing a character, confirming or changing the text:
- yellow: up (like the sun in the sky
- blue: down (like waterlevel)
- green: confirm, move to next character
- red: error, correct, move back
This is done, so little kids can easy orient themselves with the colors if needed...
In the pictures you can see the proof of concept - we can detect the keystrokes without any contact bounces and display the characters...
![]()
Here Elias is typing his name...
Modular Keyboard for Limited Fine Motor Skills
Arcade Bottons, Joystick or Eyetracker?


 Next step is to do the same with the "Joystick-Module"...