Close
0%
0%

Very large LED Display

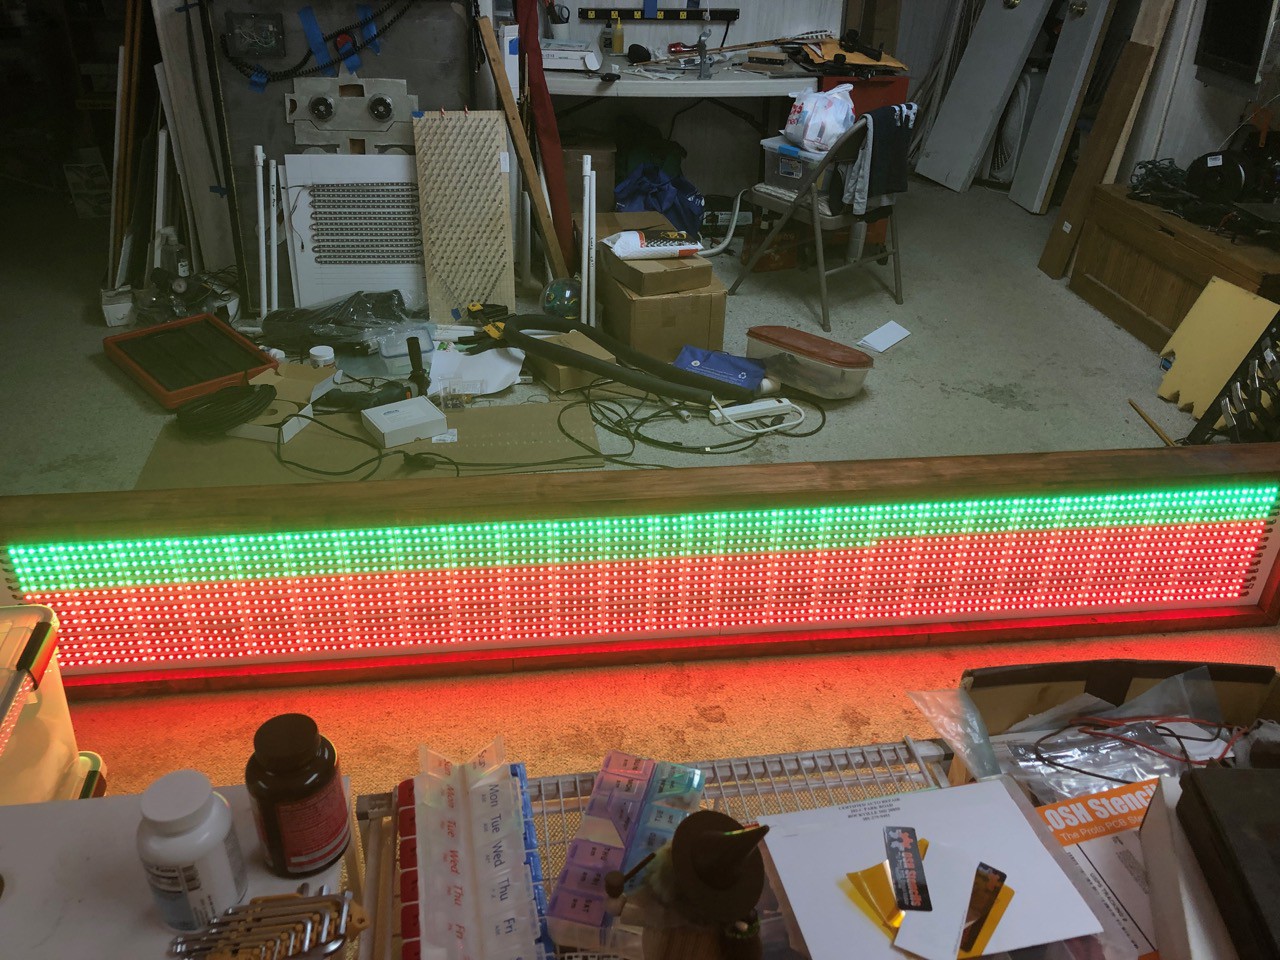
Build 8.2 ft Serial Addressable LED Display. Will be used to display message and basic animation. Leading 4H club project
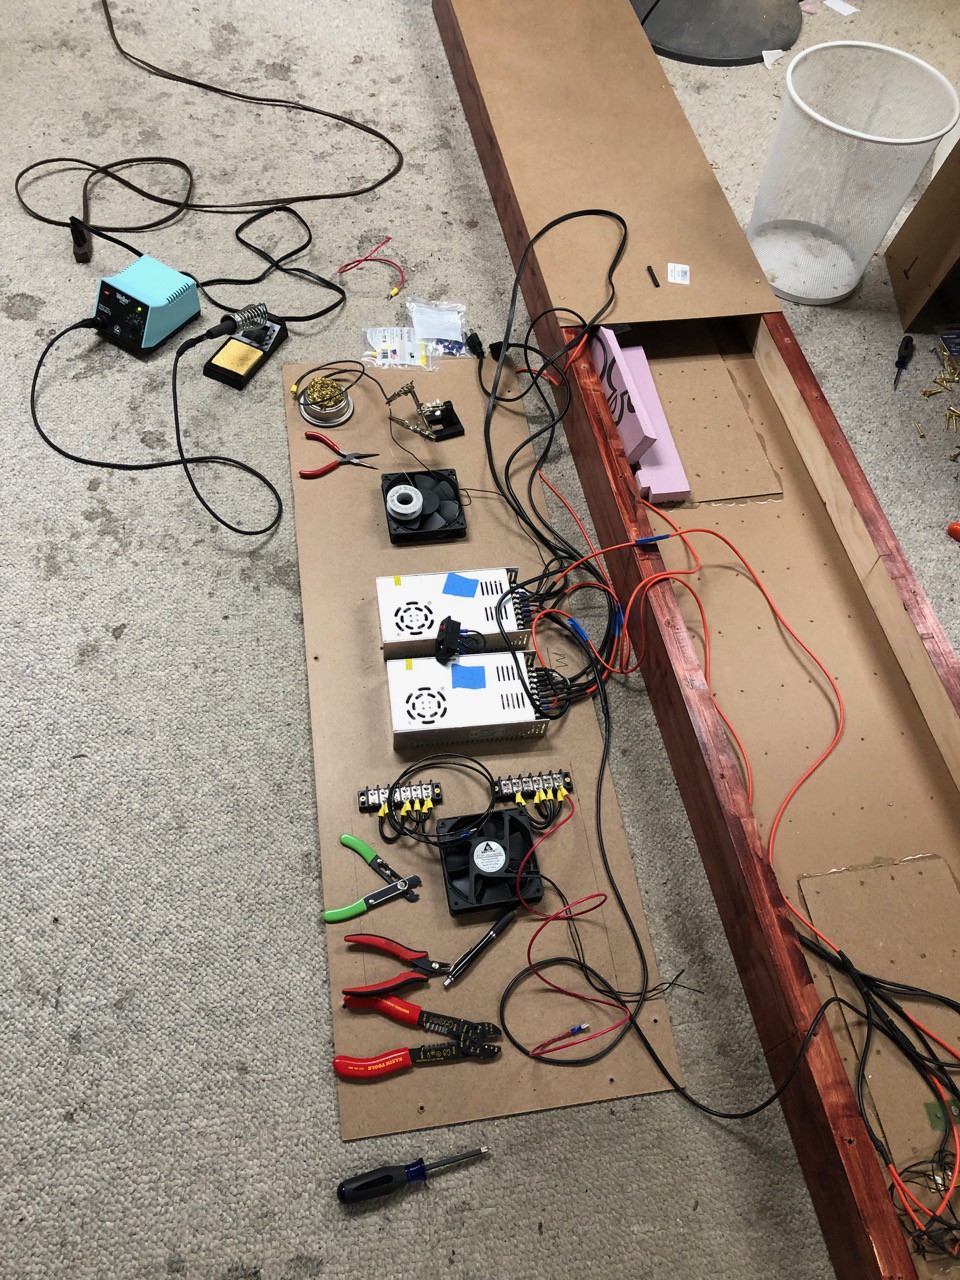
Similar projects worth following
I lead a 4H Club. We are doing a project this year with Serial Addressable LEDs, 20x15 matrix. Teaching the kids how these work, and how to work with Arduino's. The idea is to build a simple project and then massively step it up, 14 rows, 8.2 ft long. We are going to give the display to a 4H livestock club so they can display messages during the fair. With the 20x15 matrix, the kids are connecting the LEDs and getting familiar with coding. They can design 20x15 gifs and use that to build animation. I have a python program that makes it easy to load the gifs and outputs, 24bit 20x15 color maps. The kids just then need to copy that into the Array in the program. I wanted to start with something simple and build up to the desired end state. I wasn't sure about power requirements for large matrix and wanted to measure the smaller matrix. I looked at the NeoMatrix library, it only supports 7 rows of LEDs. We extended this to 14 rows and now are building the large matri
I lead a 4H club focused on Maker themed projects.  We build Rube Goldberg machines and build other crazy things.  I have always found Serial Addressable LED very interesting.  At the same time I wanted to do a project with the club around arduino's for this year.  I have also been thinking about building a display for the 4H barn for a couple of years.  The main issue was the cost was on the the high side.  The cost has come way done recently.   I also realized that there was a lot I didn't know about trying to build a project this large.  I needed to build a smaller project and discover what I didn't know and if I could solve the problems.  I built a small 20x15 matrix LED board and realized it was more fun then I expected.  I knew right then I had the 4H project I was looking for.  I also learned a lot.  I experimented with different Arduino libraries, NeoPixel, NeoMatrix and FastLED.  I also found that soldering the connections was tedious, tested the quick connectors, but found that with the quick connectors I saw lots of voltage drops.  I didn't see this with the soldered connections.  I was very very interested in getting a handle on how to handle power.  If I was going to build a very large display I wanted to make sure I had a solid idea how I was going to power the entire matrix.  I also broke down the project into phases, Phase One had to be done by July 21 2019.  I need to mount the LED Display in July, if not done by this time I will have to wait a year.  Things like a diffuser would have to wait until the next year.   I need the ability to enter new "phrases" form a keyboard.  I would like to use a USB keyboard and not a Din connector keyboard.  I need a strong box to mount the LEDs and the Arduino's and power supplies.  I am very concerned with Power, the environment of the barn is very hot no AC.  I want to make sure the power supply will be able to work for 10 straight days working 14+ hours a day.  The interface to update the displayed "Phrases" needs to be easy to use, I may not be there all the time.  I also want to have the 4H kids build as much of the display as possible, and be involved in the programing.  This requires a lot of prep work, I need to have worked out the details before have a club build session, so we can make the best use of our limited time.
  • Going Live !!

    hamblin.joe08/09/2019 at 02:53 0 comments

    The big day is finally here.  After months of building and testing.  I have the LED mounted in the barn.  I have combined two code bases, one that does the text scrolling using neopixel and the other one that does some animation using FastLED.  Had some problems getting the scroll speed up where it needed to be.  Most of this was due to the way the Arduino Due was polling the USB Host for keyboard input.  It was polling each time through the loop.  I do not have the USB keyboard working at this time.  It worked fine on the Uno and Mega but due to memory limitations I had to move the Due.  I have not been able to get I2C working on the Due so far.  I had to prioritize, had limited time, the most critical item was increasing the scroll speed.

       As I've said before this is a 4H project.  I will upload a picture of the kids standing under the LED matrix early this week.

    8ft 2in of LEDs, 14 rows, 150 LED each.   total 2100

    https://www.dropbox.com/s/7tejpgvtc9ky7xu/Pre-Fair-LED-2019v1.m4v?dl=0

  • Upgraded to Arduino Due

    hamblin.joe07/18/2019 at 01:45 0 comments

    We made the jump to an Arduino Due.  The reason was kept running our of resources with the Arduino Mega.  We have 2100 LEDs, even using progmem for our arrays, fonts etc we where very tight on memory.  Then we started looking at having some animation images, this put us over the limit.  The switch was pretty easy.  Luckly the proto shield I had not the Mega fit perfectly on the Duo.   I wanted everything to be soldered, nothing was going bread board, concerned about wires coming loose.  There was some house keeping had to do, the code would compile for the Arduino Uno/Mega but there where warnings, of course I ignored these.  The program would not compile for the Due.  There where three problems

       1.  Array out of bounds.  it was defined at 14, and there was a 14 character string being stored.  Simple to resolve I increase size to 18

       2.  Global defined variable conflict.  This was coming from one of the libraries we where using.  I simply added a number to the end of the variable in our code

       3.  Variable Type conflict.  We where defining our Arrays as Const Boolean but had a function that did not use the "const" definition.  Took me a bit to find it, google search was very helpful

    I had to also use a level shifter, get deal for $2.95 for 9 !!

    https://www.mouser.com/ProductDetail/SparkFun/BOB-12009?qs=WyAARYrbSnb%252BGYLWggQnjQ%3D%3D&gclid=EAIaIQobChMIkOCg_qi94wIVBxgMCh1GvA1HEAQYASABEgKTQ_D_BwE

    I tested this our with the LED on a small 15x20 matrix and it worked fine.  I soldered into the shield and re-routed the data line.  Very easy.  Lastly I encased the level shifter in epoxy, I didn't want to worry with it touching something inside the cabinet and shoring out.

  • Successful test of end Hardware configuration

    hamblin.joe07/09/2019 at 00:20 0 comments

    Today we ran the LED matrix off the 3D printed panel on the side of the LED matrix.  Also tested that the USB keyboard port works.  All the AC fans work.  Now we can close up everything.

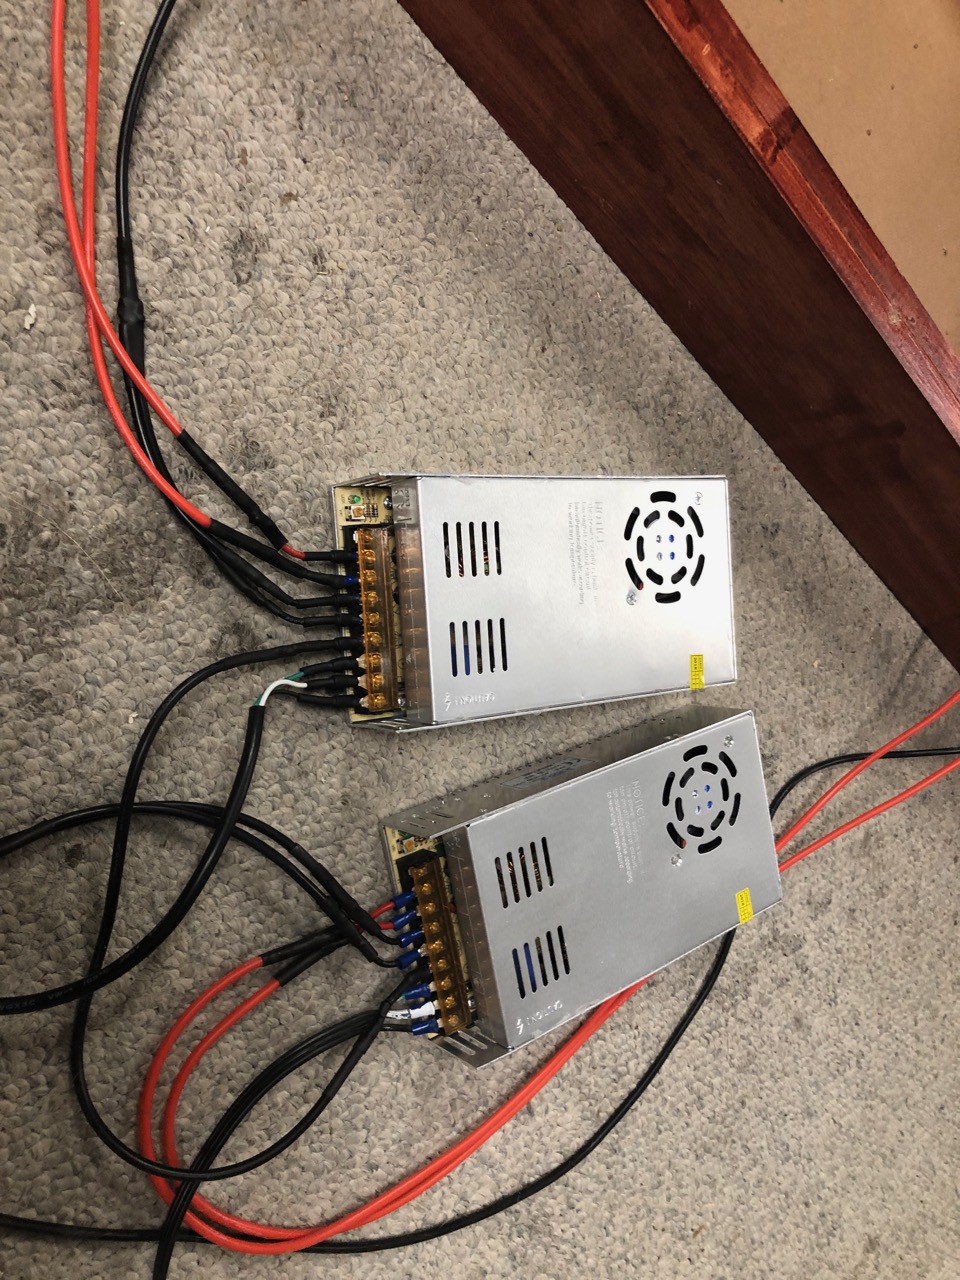
    I the picture you can see the two AC power rails.  Later the two AC fans and the power supplies where connected to these.  I had to move the power supplies from the location in the picture the wires where too close to the side mount of the matrix.  Move the up about 30mm that solved that problem.   Our 4H Fair is coming up in Aug, the plan is to mount this in the rabbit barn late in July.  I hope to post some pictures of the kids working on the project but first need to get parent permission.

          The programing is being done by one of our club members.  He has done a great job.  One items I'm working on is he is storing the fonts in ram, I'm going to move them to flash.  We are having problems storing new phrases, due to running out of memory.  The plan is to get all the physical parts done first.  Other kids have helped with the work working, planning, soldering.

         The environment this will be located in does not have AC, and the panel needs to be running from 10 a.m. - 10 p.m (11 p.m. on weekends) for 10 straight days.  This is main reason some parts of the machine have been over engineered.

     Left to do

        1.  apply diffuser

       2.  attach mounting brackets

    we are on schedule.

  • First Power test

    hamblin.joe07/02/2019 at 03:44 0 comments

    It's been a while since last update.  There was a hugh amount of soldering that needed to be done.    When I did the first power test nothing happened.  I could measure voltage but nothing was on.  I reviewed the wiring, that was correct.  So I went back to my test LED matrix, 15x20, tested with the Arduino that worked ( I'm using the StandTest in the NeoPixel library to test with).  I took that exact code to the Giant LED and it worked, only lighting up 300 LEDs.  I realized that the Arduino could not handle 2100 LEDs.  I switched to Mega and I was able light up all the LEDs. 

    Picture of it working.  At this point I was testing to make sure everything was working and look for dimming.  Happily everything was working correctly. 

    For this test I was running off two power supplies.

    I was very very careful with this setup.  I've had some bad experiences doing similar setups in the past.  They share a common ground, if you look closely at the picture you can see it.  Also, all the grounds for the LEDs are connected.  I was careful to make sure each positive circuit is isolated from each other.  I did some measurements on Wattage, and was happy to see that is was quite a bit lower than I expected.  I could probably run everything on one power supply but it would be close to it's max load, 300W.  I am very concerned with over heating, since the display will be running outside, mostly in a 4H Rabbit Barn.  I'm going to keep the two power supply configuration, I kept the display on for about 45min and at the end checked the power supplies to see how hot they where, they where not hot at all.

    Now some detail on the Hugh amount of soldering.   I made a mistake that resulted in have to redo a large amount of the soldering.  There is also a nice soldering patch that I'm very happy with.   

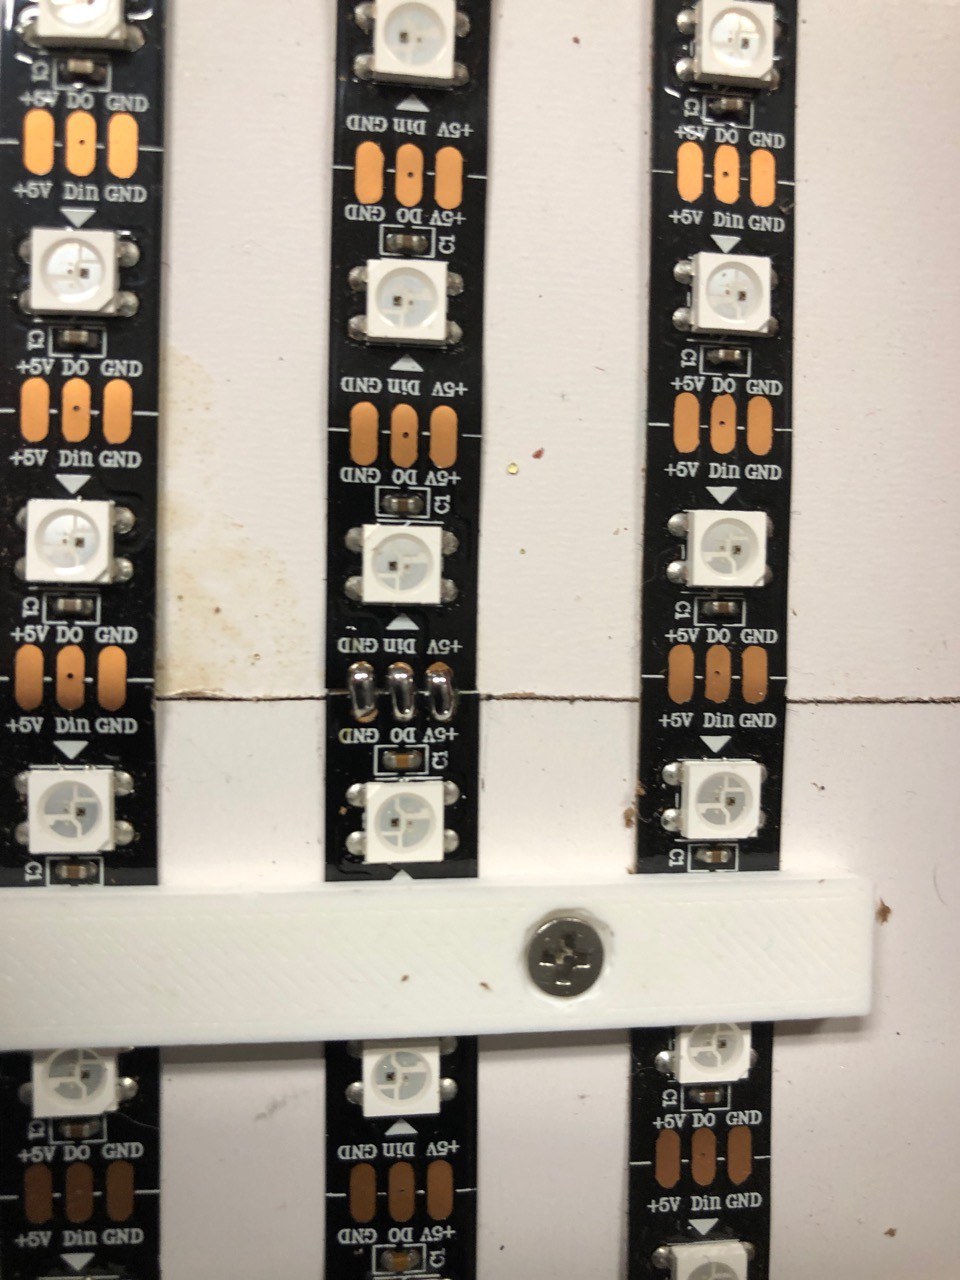
    Solder Patch     "Challenge see if you can see it in this picture, I will explain it below"

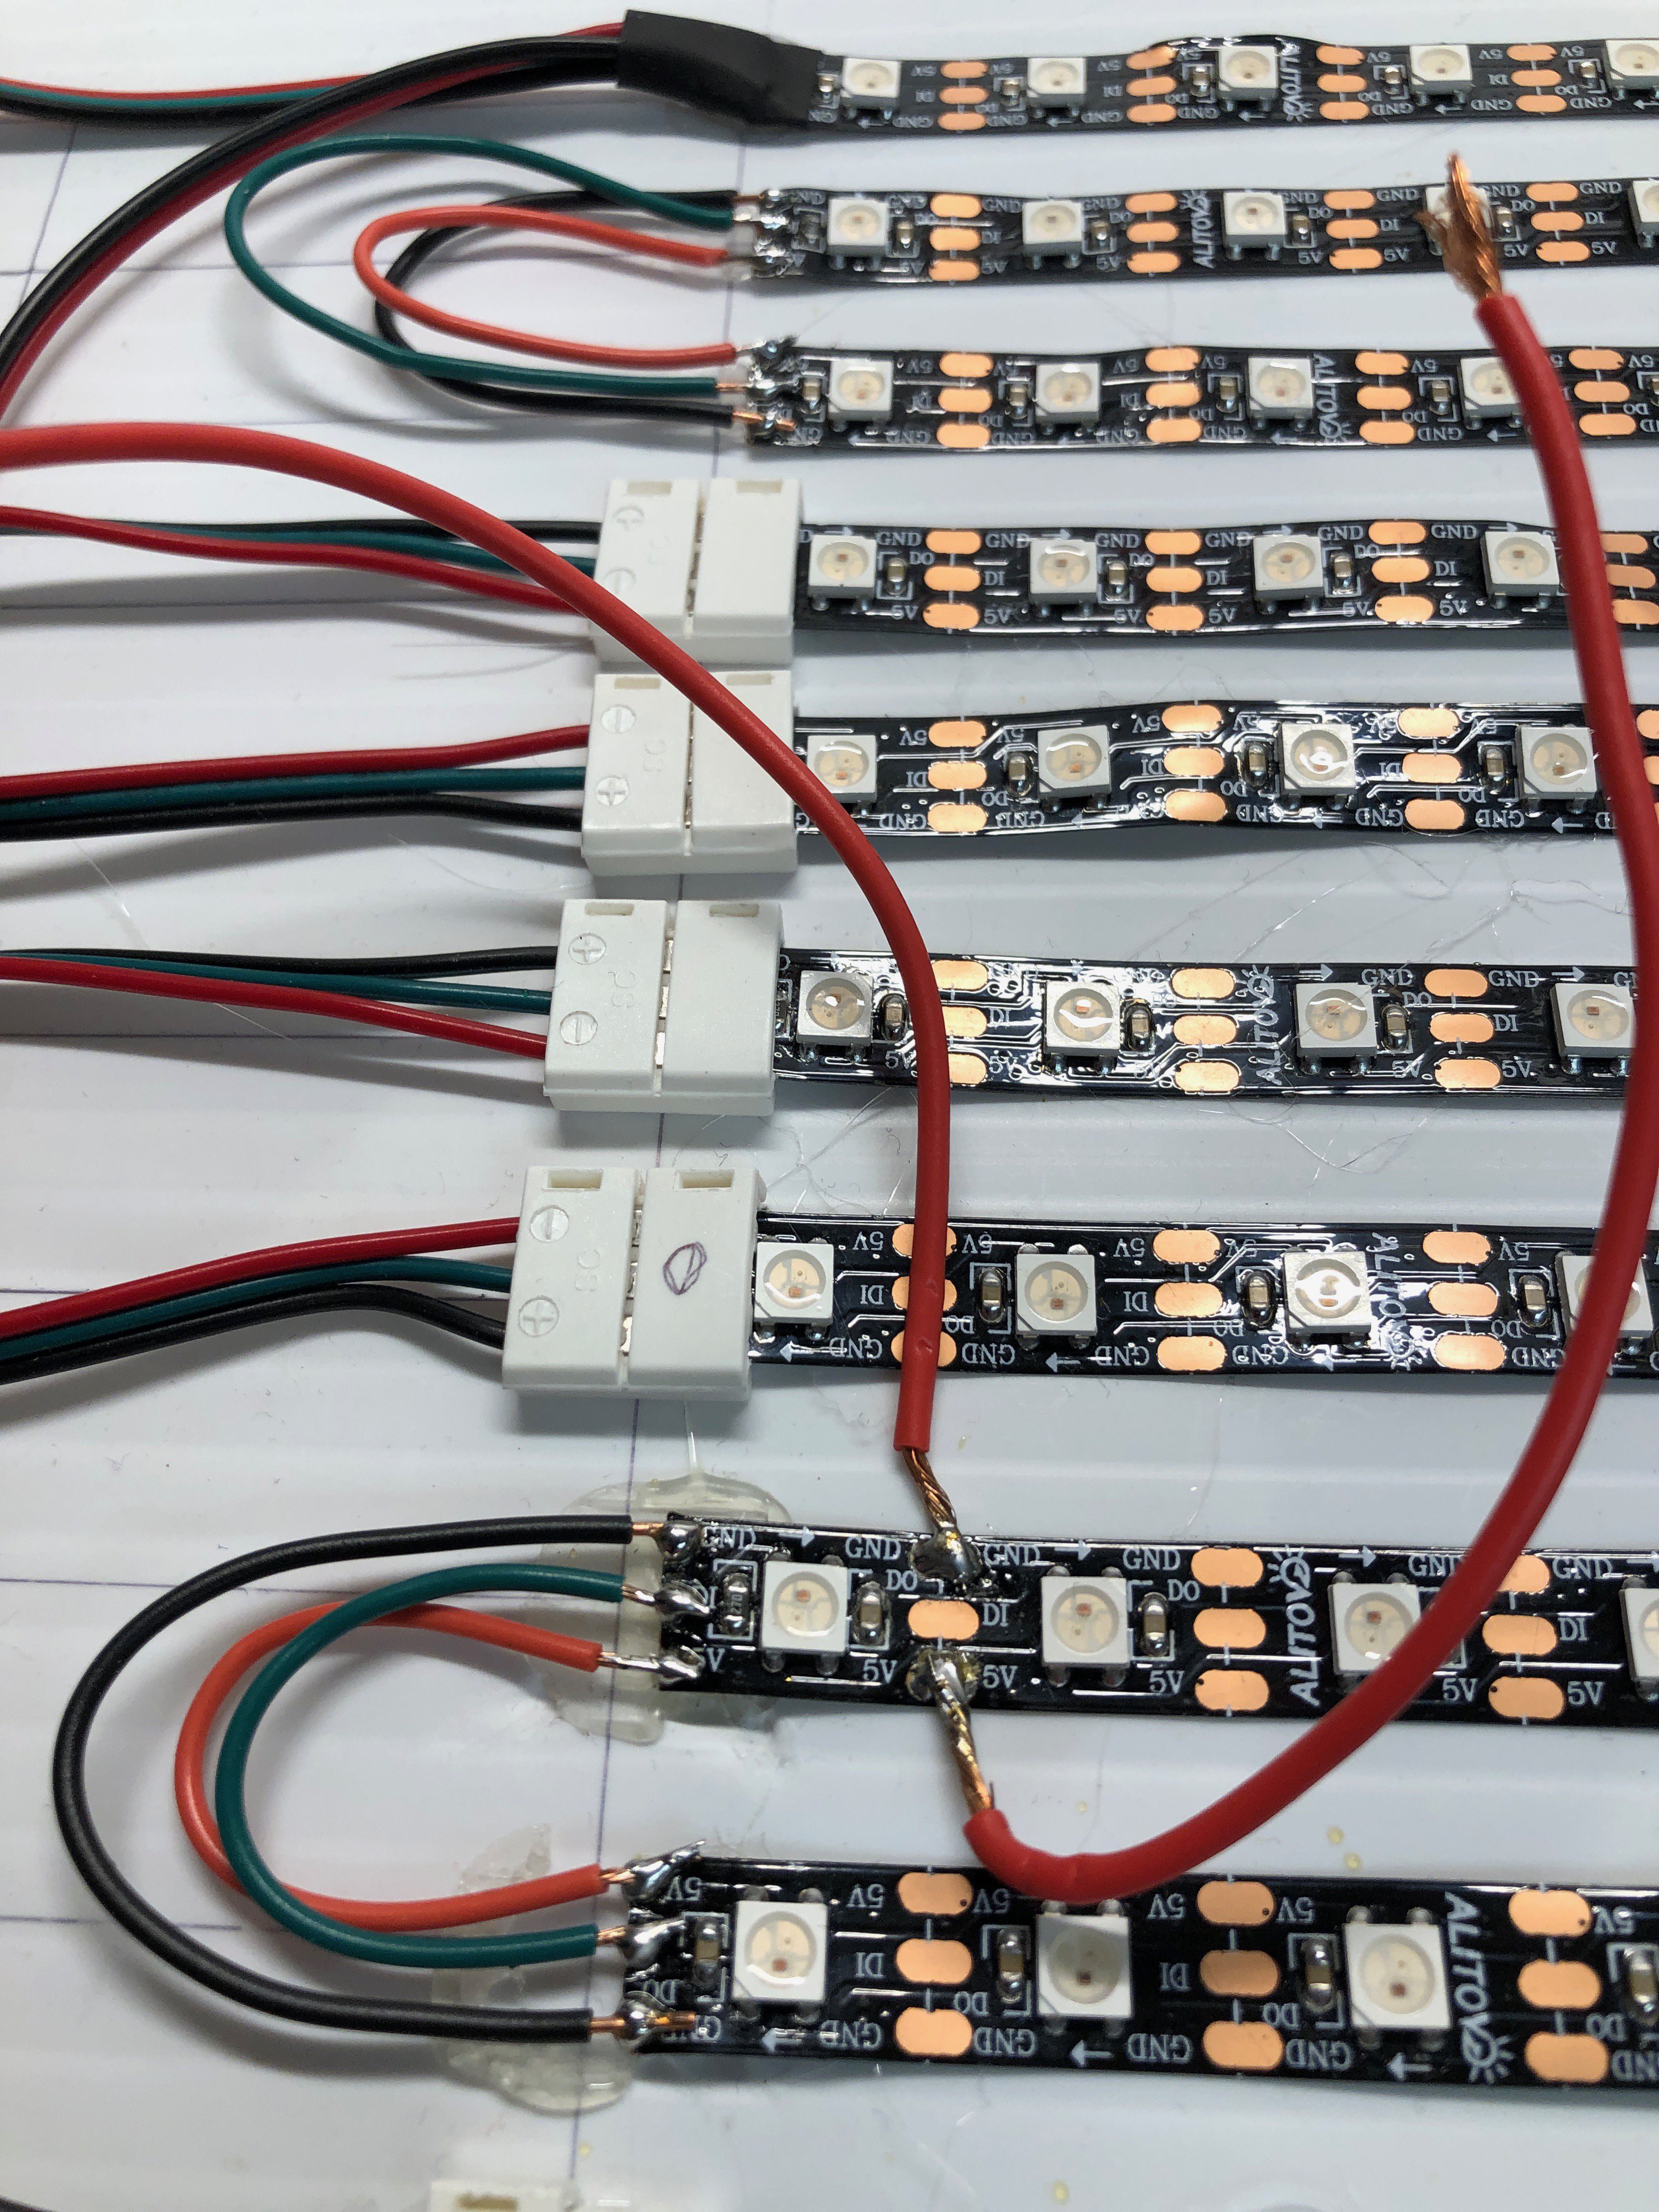
    When the 4H kids where cutting the LED strips in half, they needed to cut on the line going through the solder pads.  In one case this was not done very well, it resulted in a very very small pad to solder wires onto.   Each strip of LEDs is 8ft 2in long, about $20 worth of LEDs so I do not want to just through a strip away.  I decided to cut out the pad strip back to one of the 3D mounting brackets and then solder a short LED strip (6 LEDs long).  This worked out very very well.  Now I have a technique to replace part of an existing LED strip.

    LED wiring 

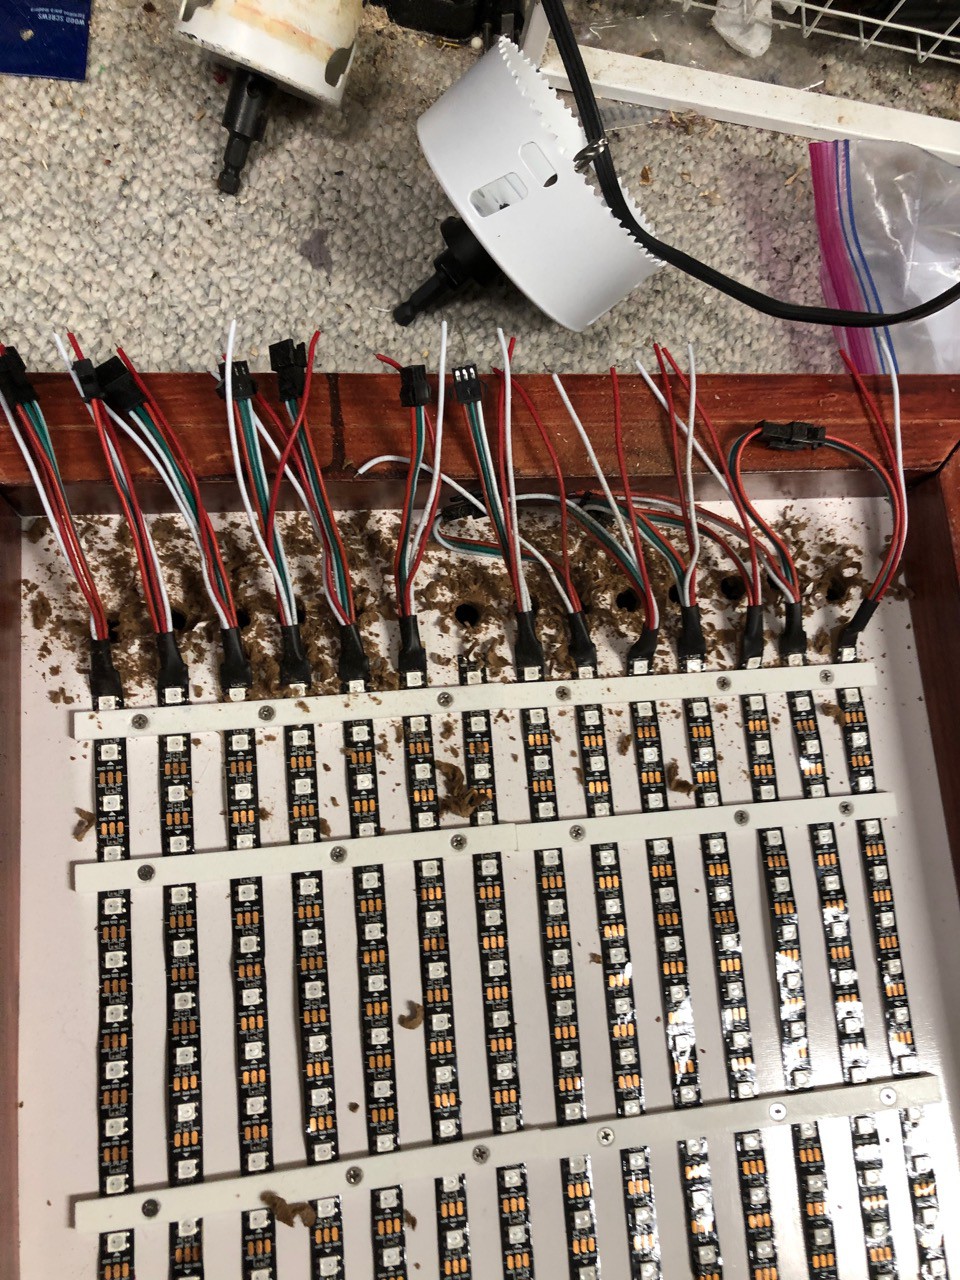
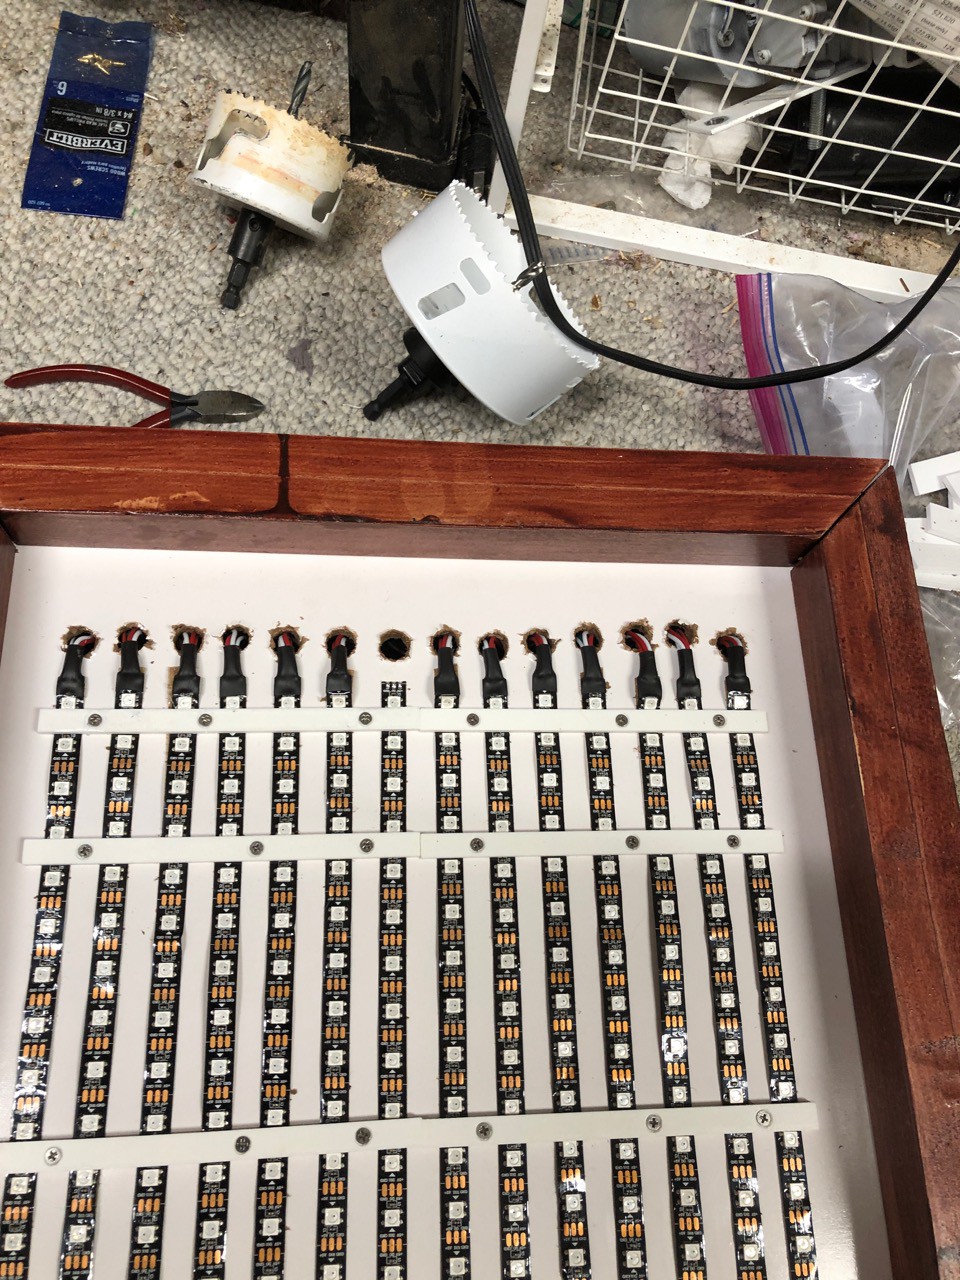
    I wanted to route the wires to the back.  This would make the front much cleaner.  Also, I need the diffuser needs to sit directly on top of the 3D LED mounting strips.

    A bit of a mess at this point.

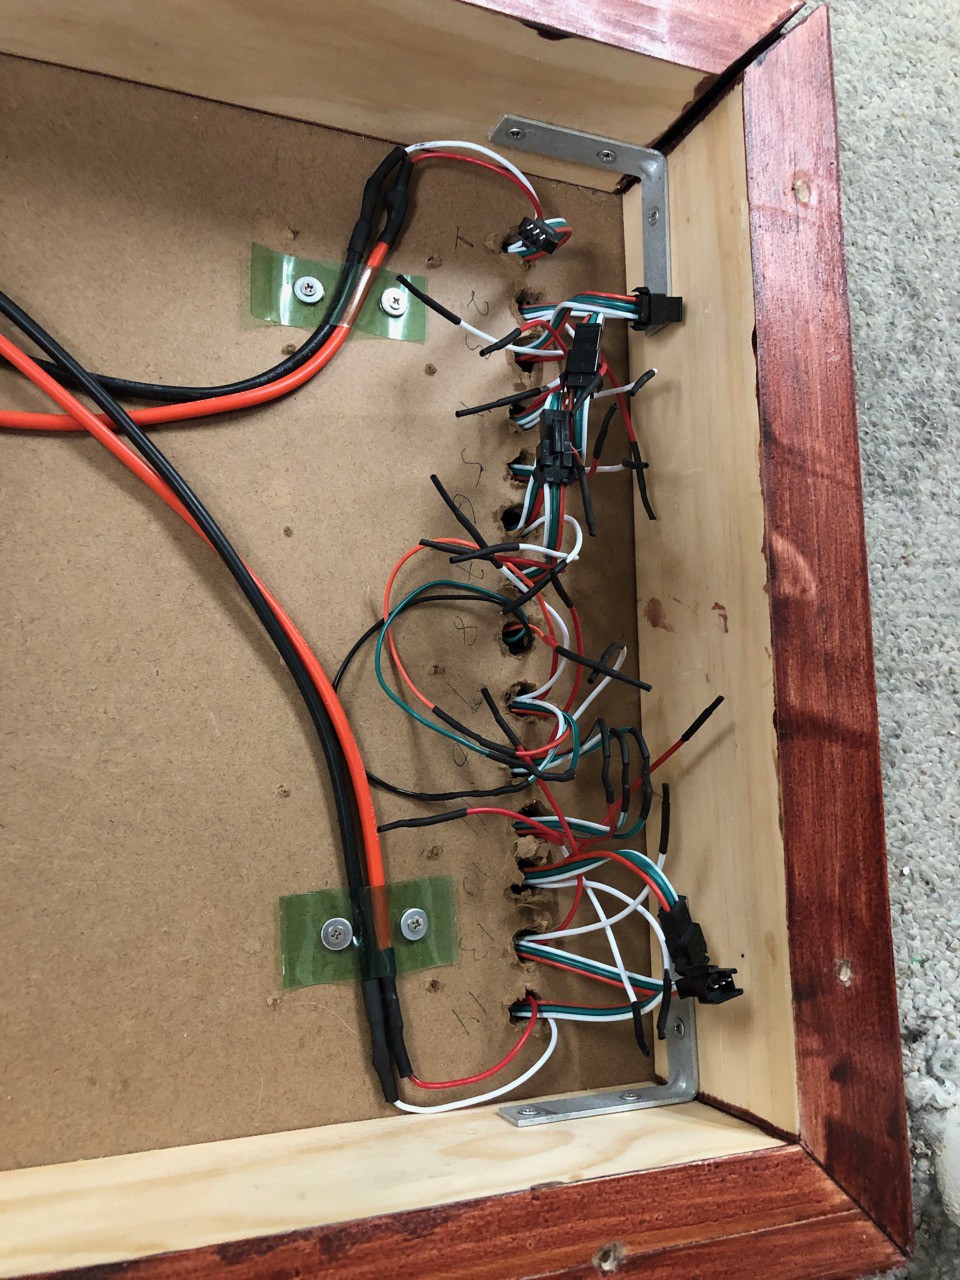
    Nice a clean on the front.  One draw back of doing this is that everything is backwards when you are soldering.  I had finished all the soldering, but had this feeling that something was not right.  So before I put power to anything.  I went through and went through everything, that's when I realized I had worked up everything wrong.

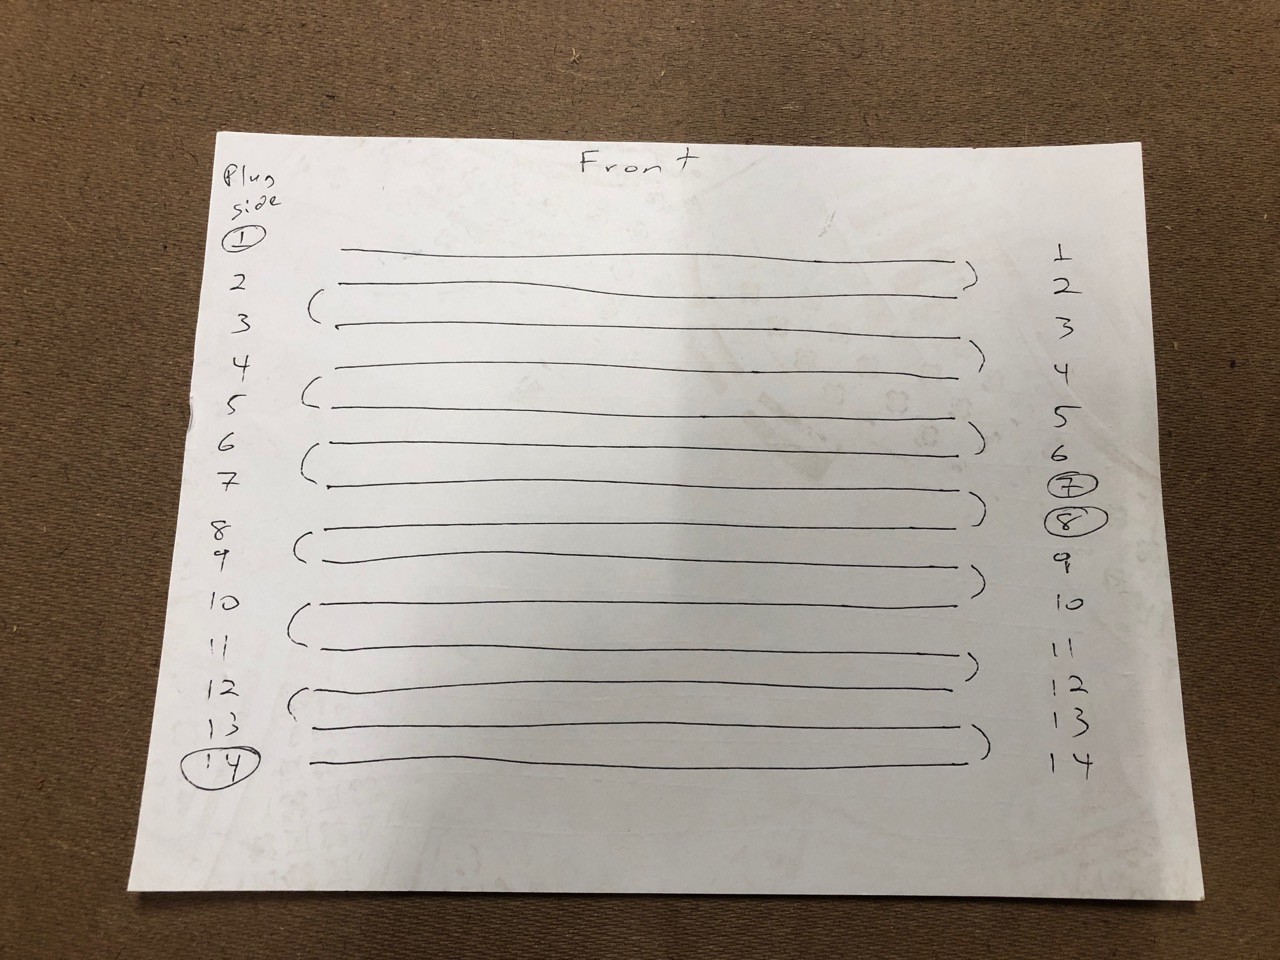
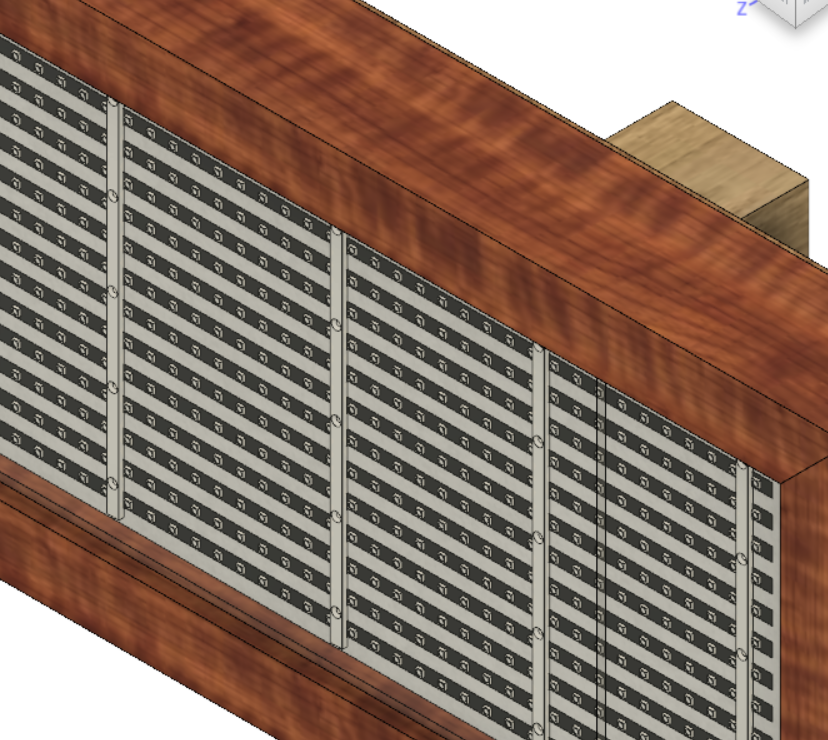
    This is a very basic wiring diagram.  We are connecting the LEDs in a Z pattern.  The line between 1 - 2 and 2 - 3 are showing how the data line connects.  You will notice that 1, 7, 8 and 14 are circled this is where 5V power is coming in.  1 - 7 and 8 - 14 are each on a dedicated power supply.   This was the mistake I made not taking into account that since I was working on the back side that I need to reverse my diagram.  

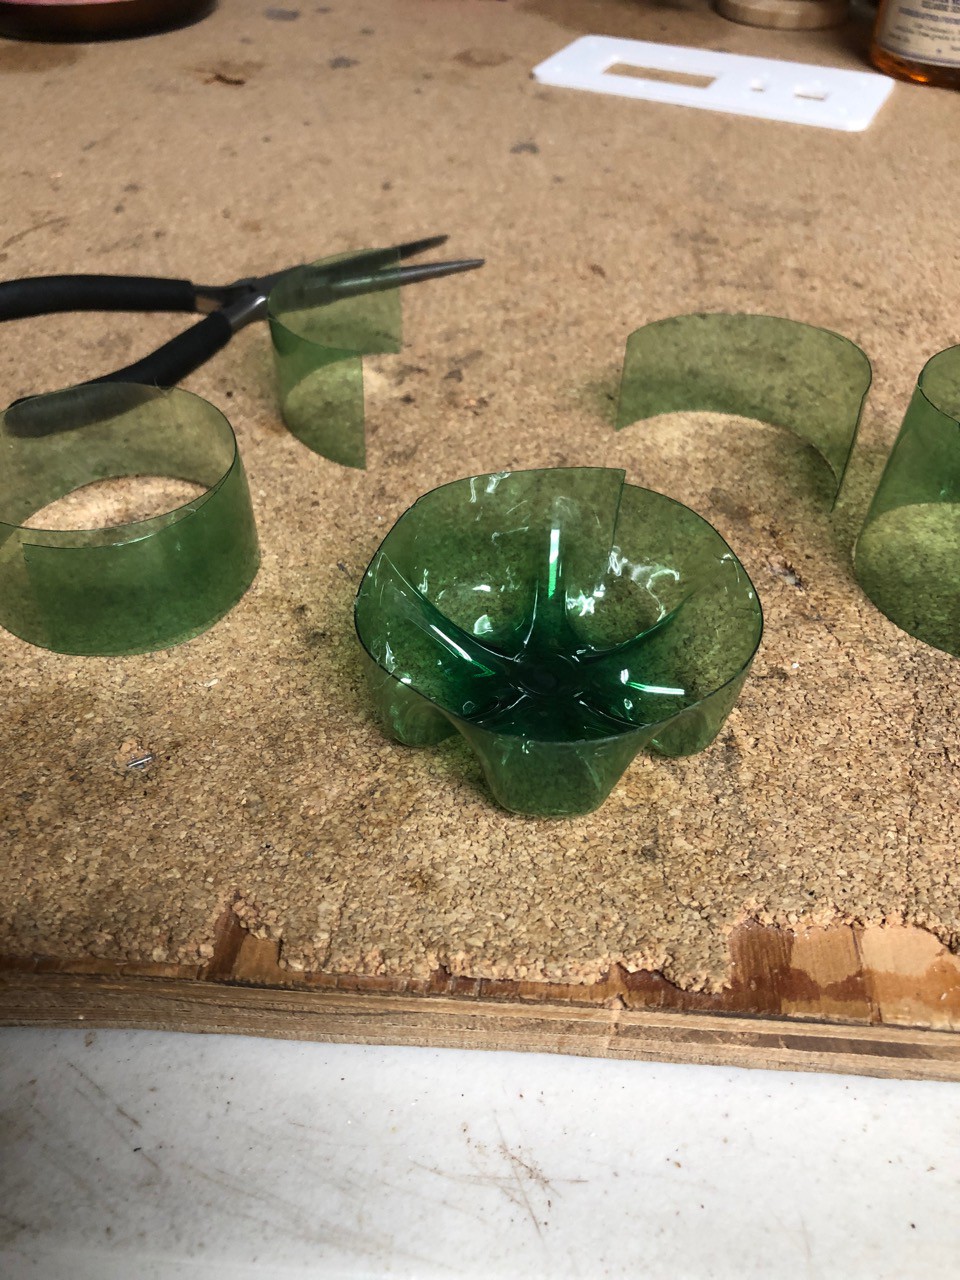
    Looking nice and clean.  Note on the other side I have a strip of brass that I use as a ground bus.  Also, see the green wire tie downs.  I used a plastic bottle for these.

    Cutting up plastic bottle for tie downs.  This worked extremely well.

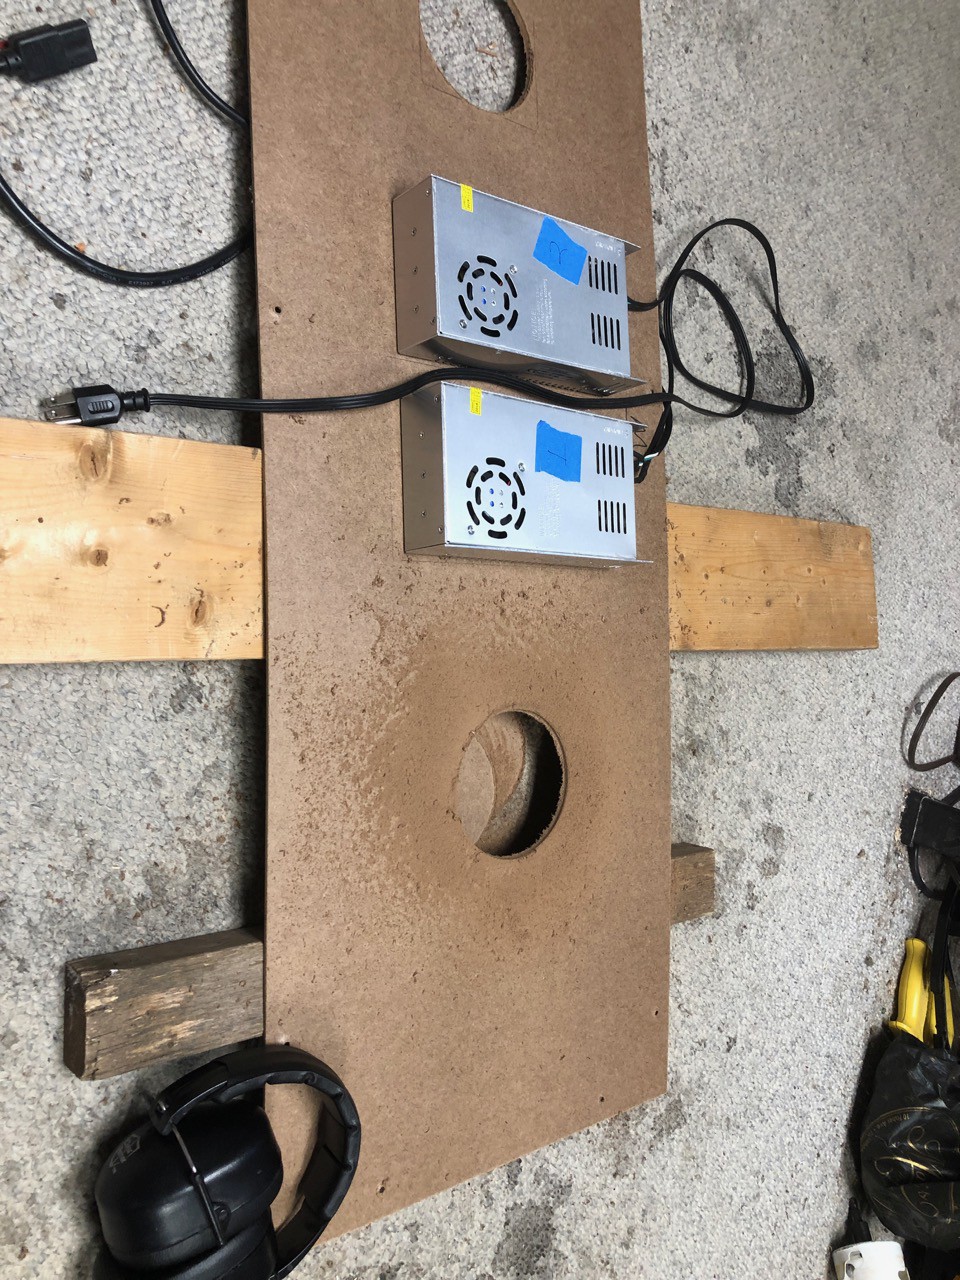
    Power supplies and Fan mounting

    I have the power supplies mounted.  The blue painters tape...

    Read more »

  • Staining, Finishing and mounting LEDs

    hamblin.joe05/18/2019 at 20:46 0 comments

    Going to use "Red Oak" stain, don't want anything too dark.  Water base Urethane ( don't want the fumes).

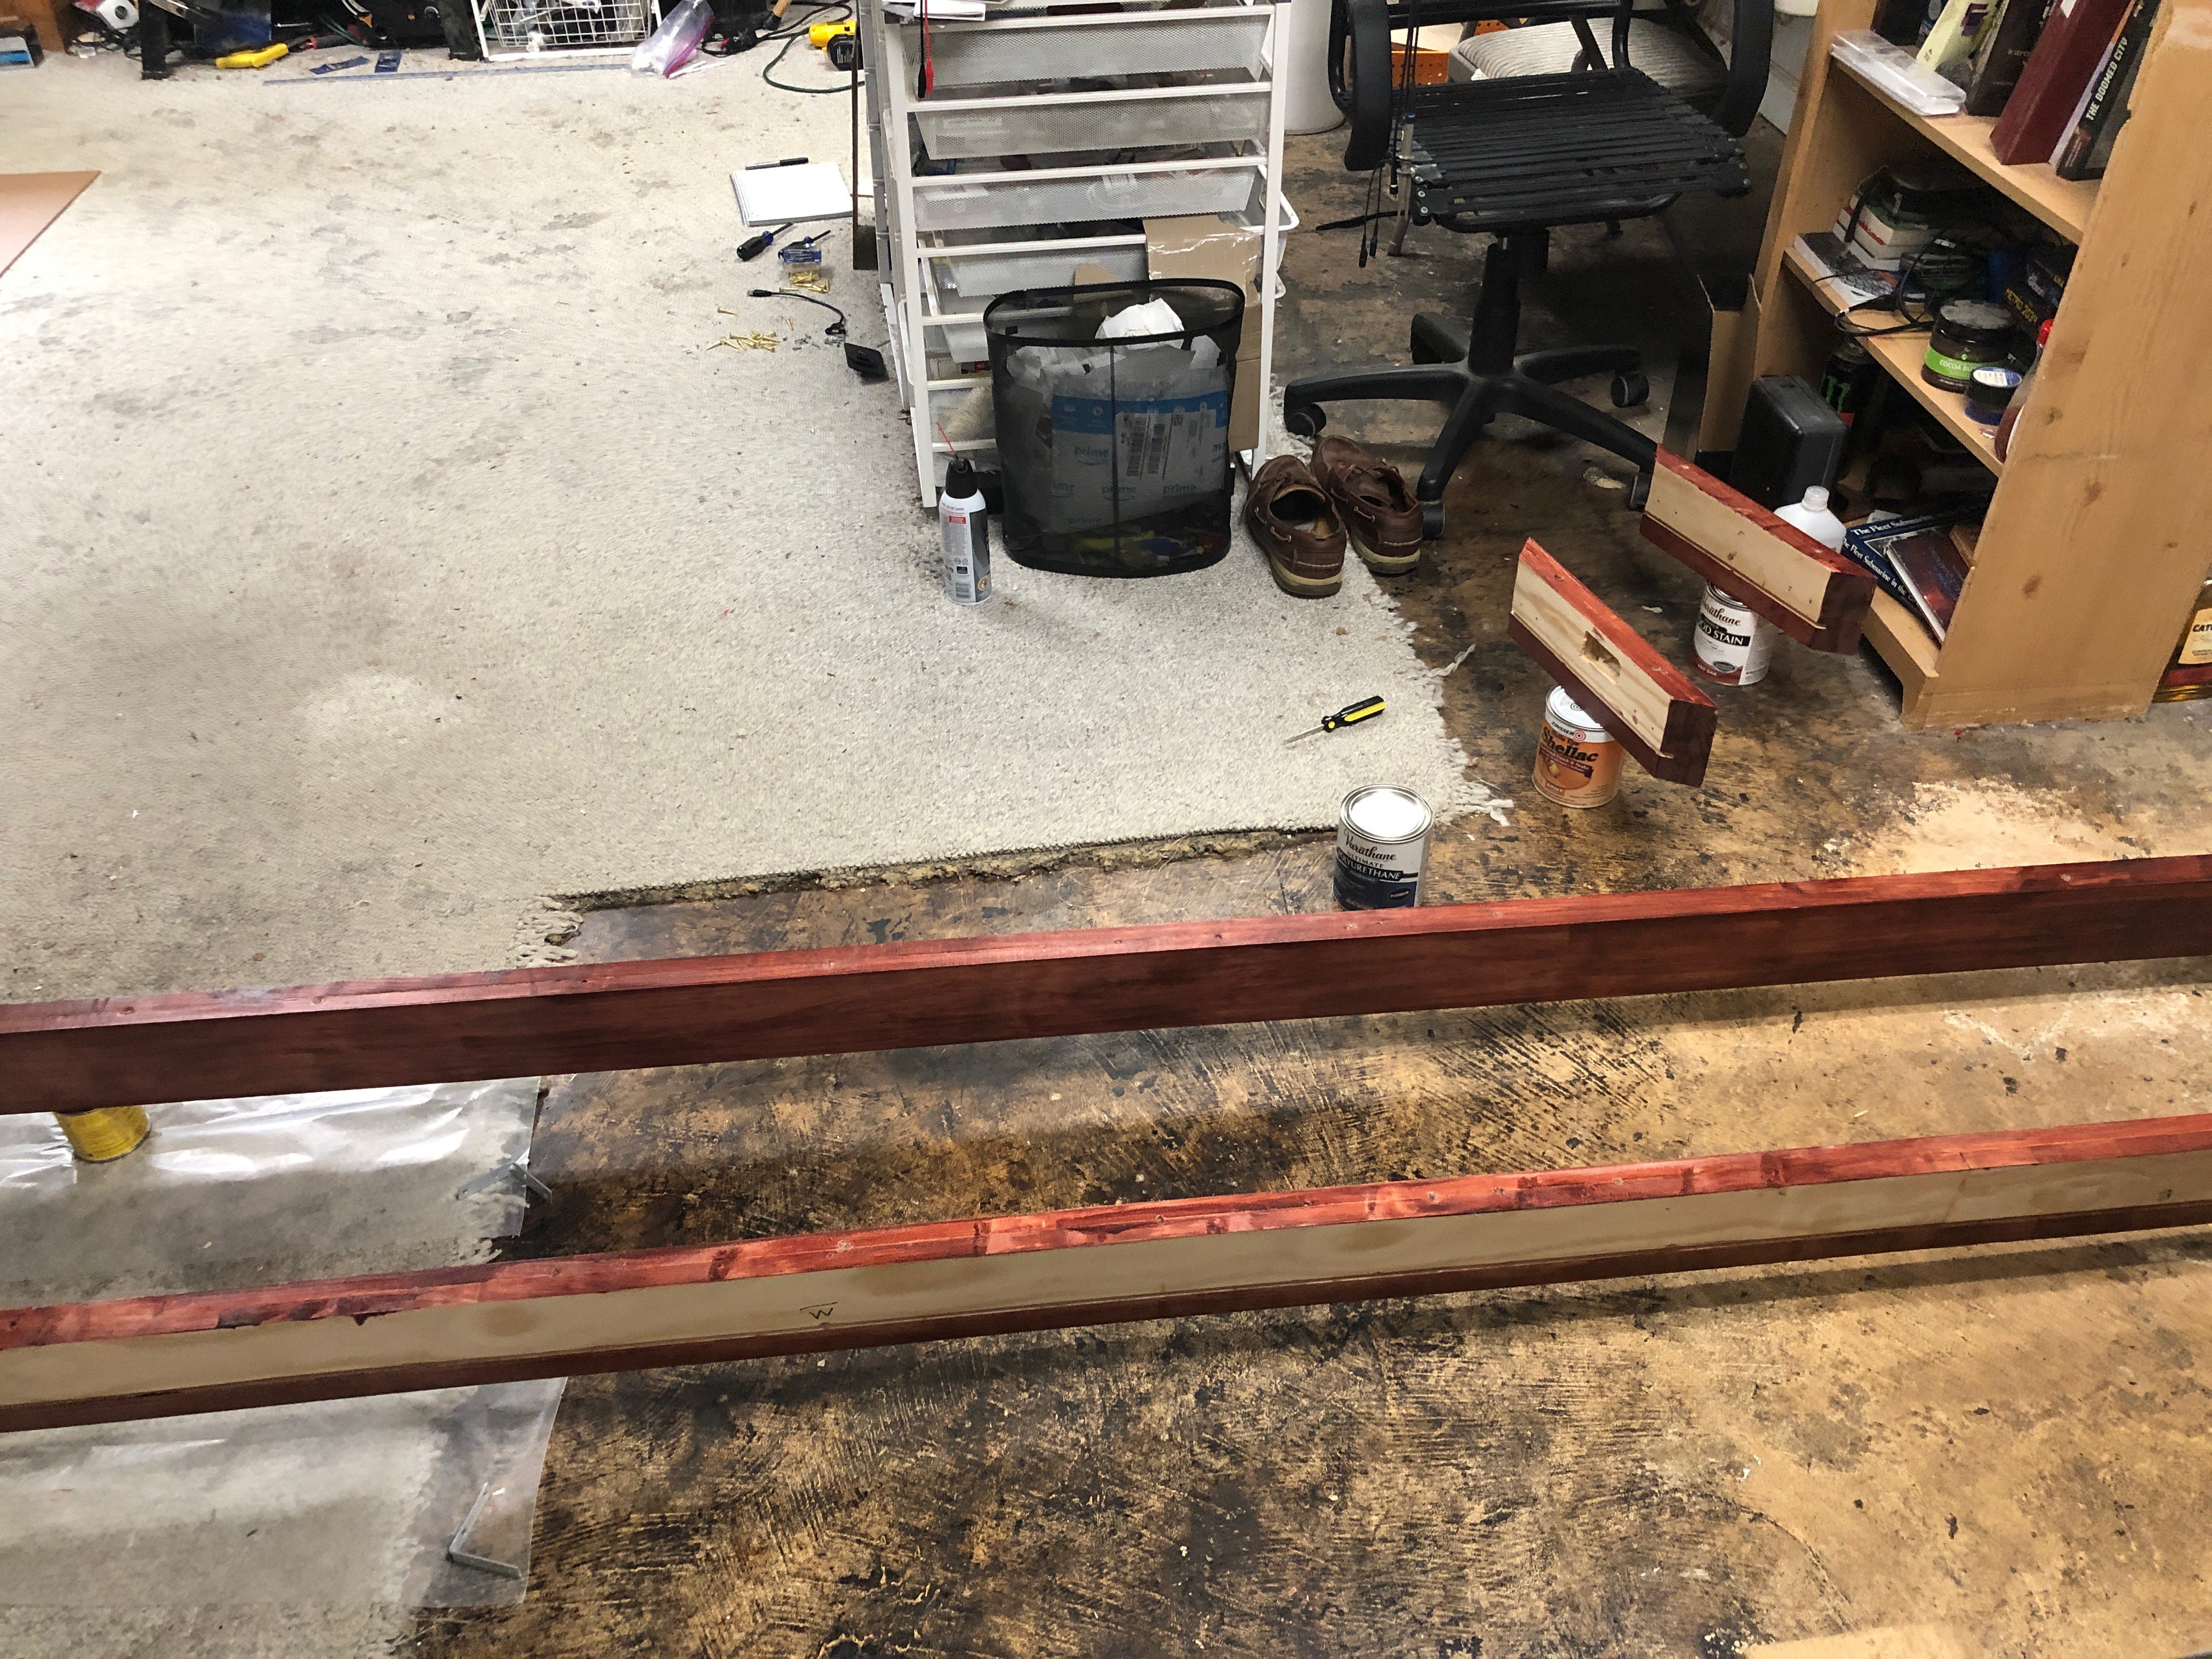
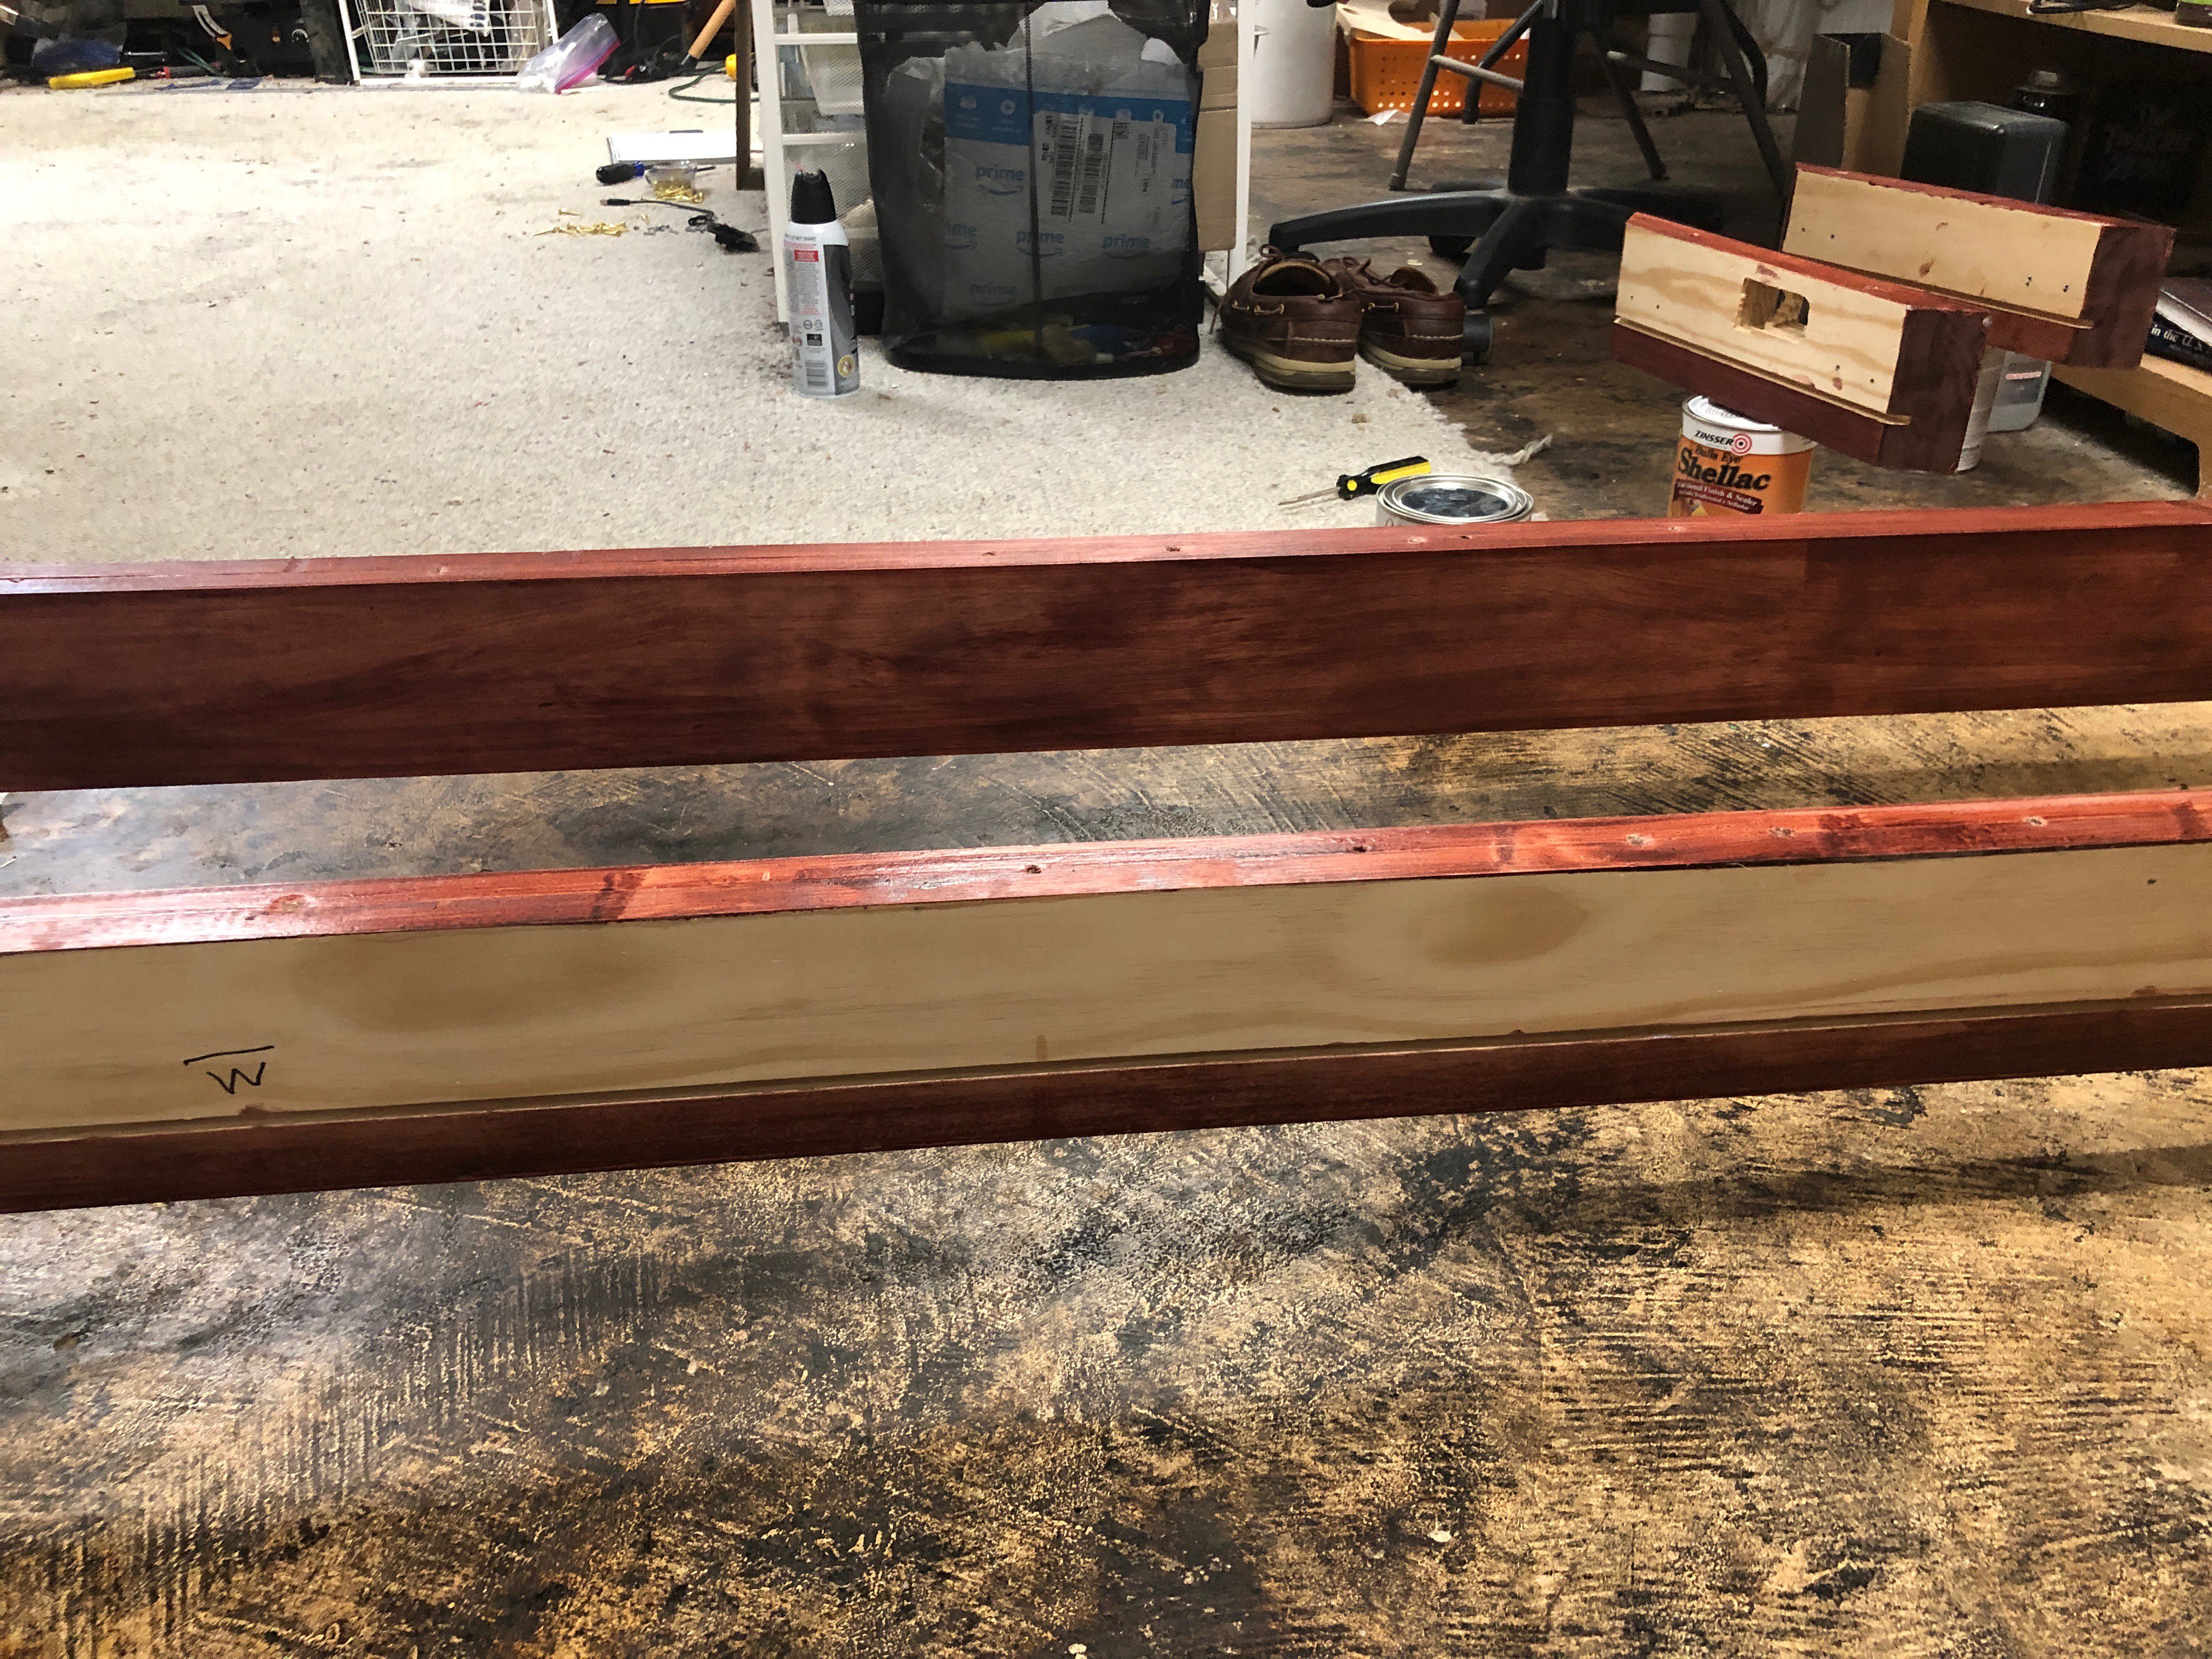
    Here are both sides stained and with 3 coats of urethane 

    The water based urethane worked very well.  No smell and it dried quickly.  The stain took a long time to dry, it was a bit humid out side.

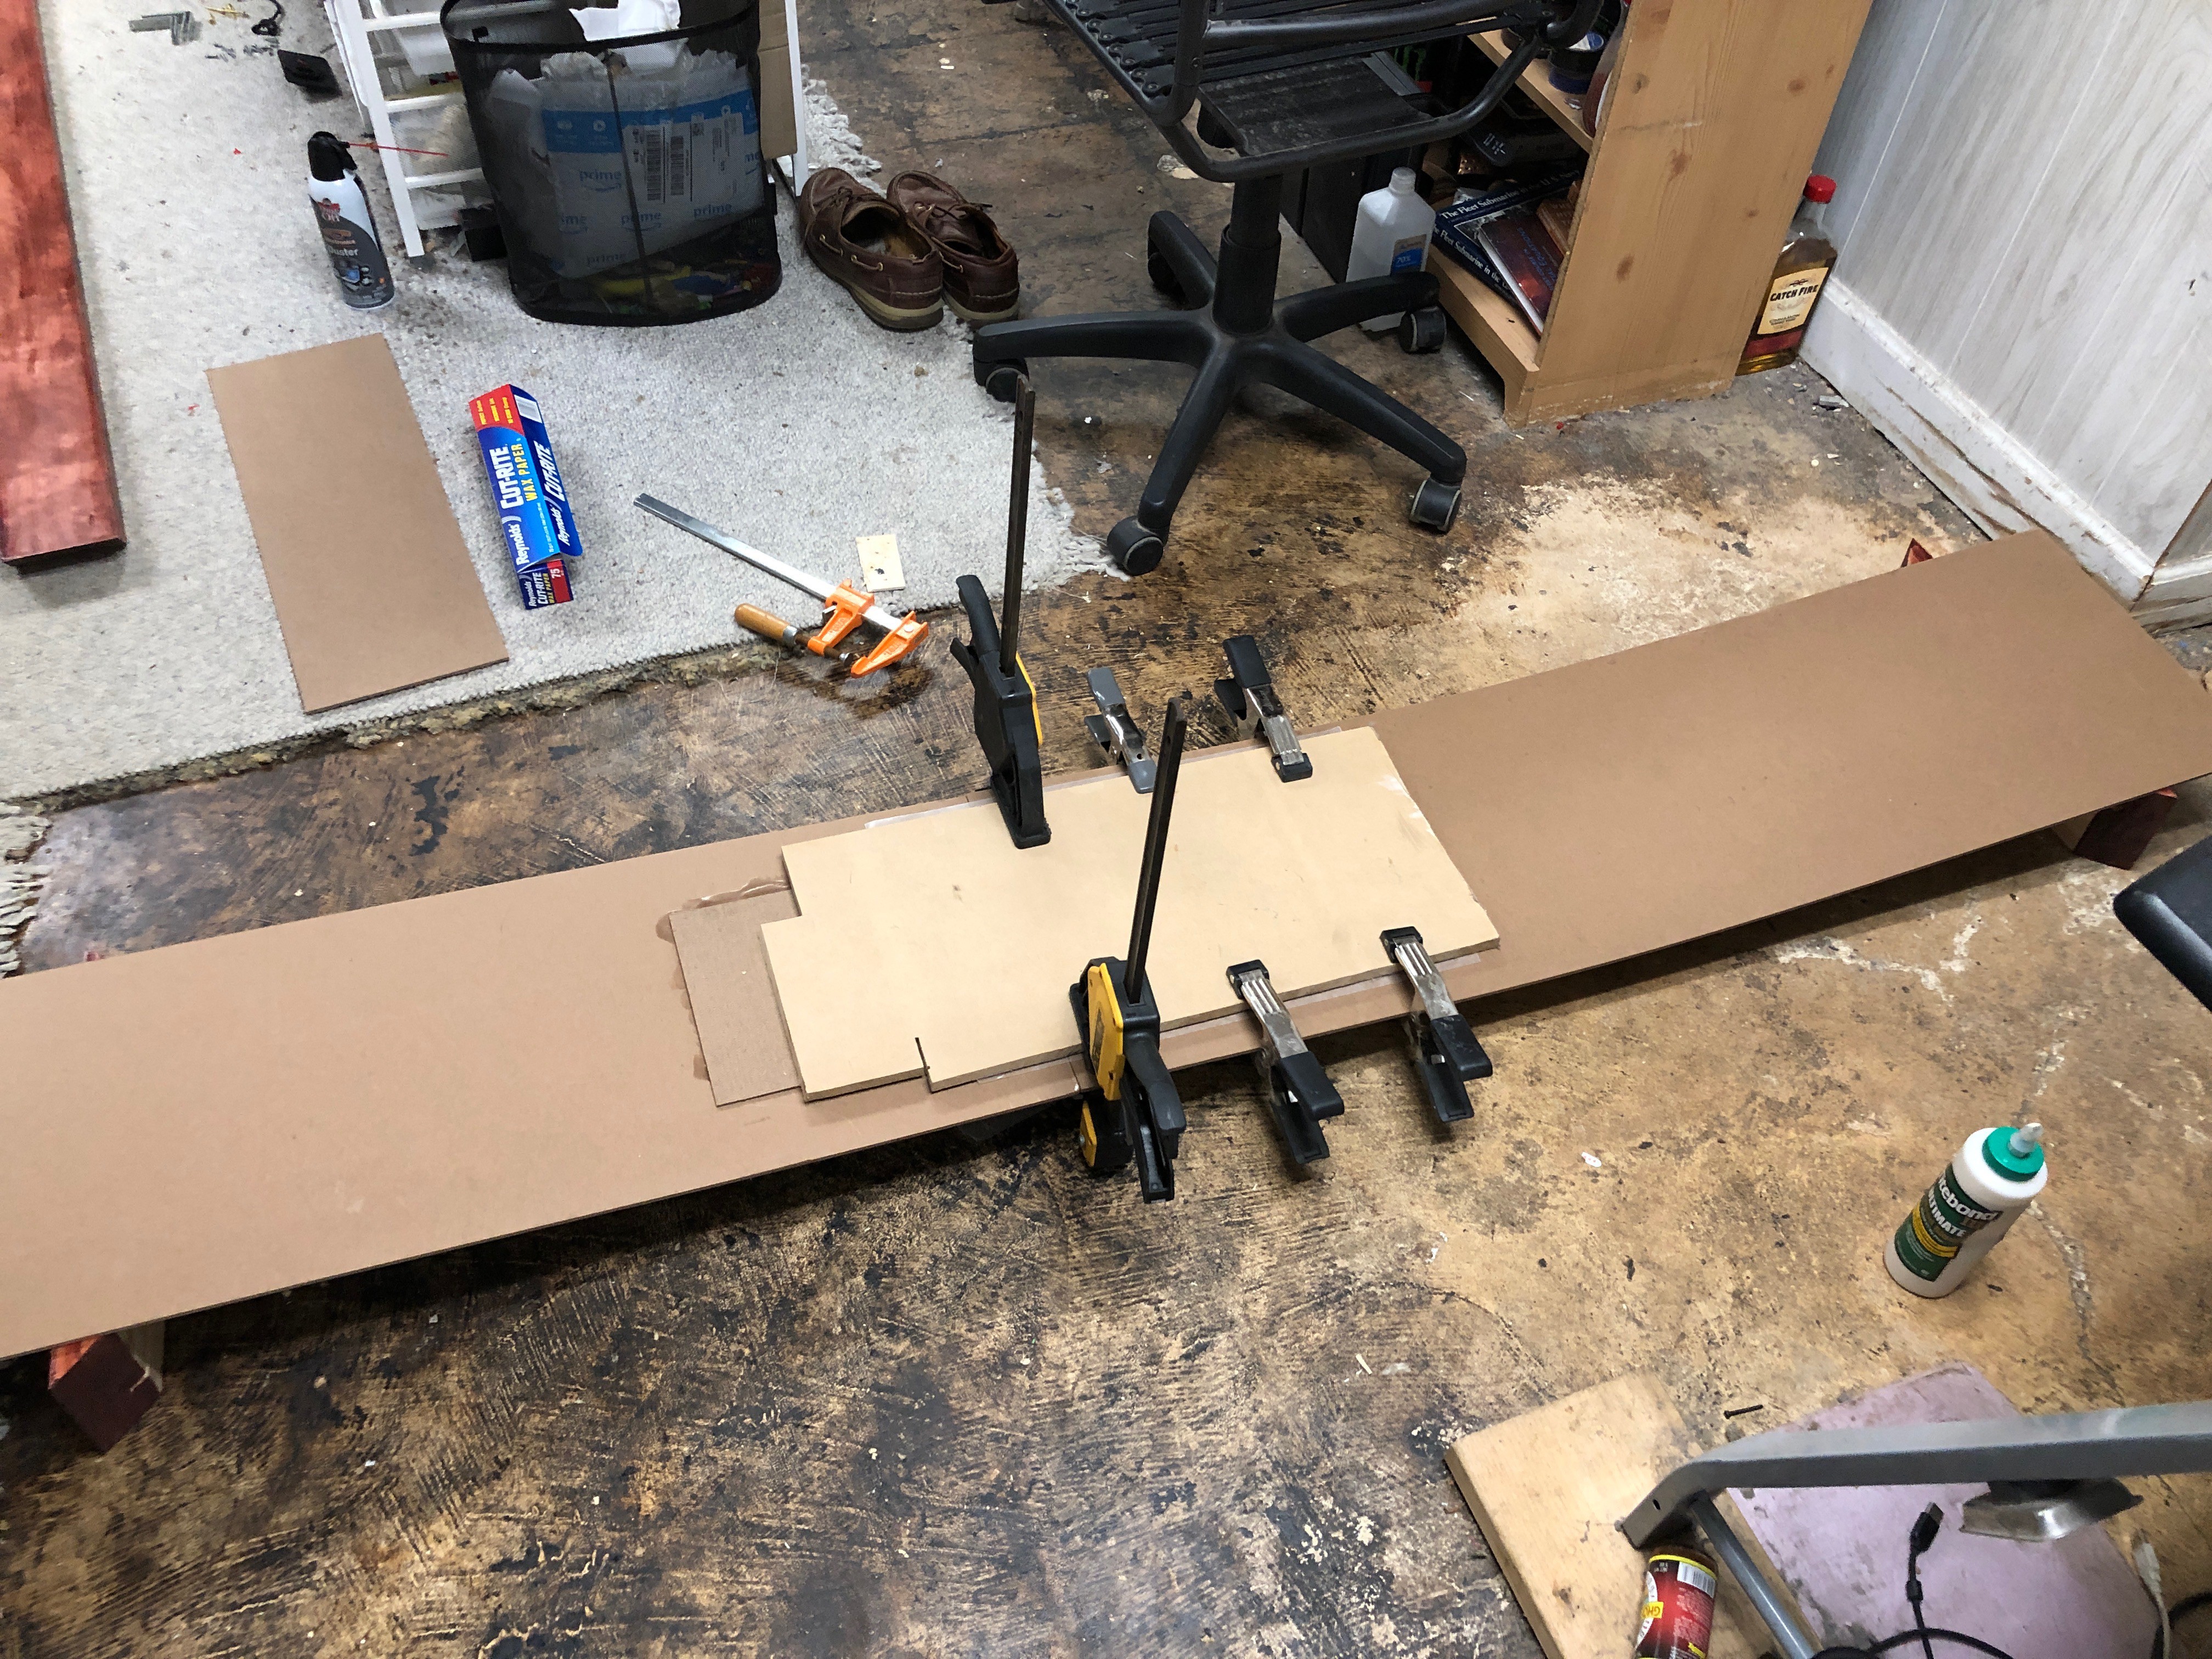
    Next we needed to glue the White board that we are going to mount the LEDs on too, it needs to be all one piece, 8ft 7in.  I could only find the board in 4ft lengths.

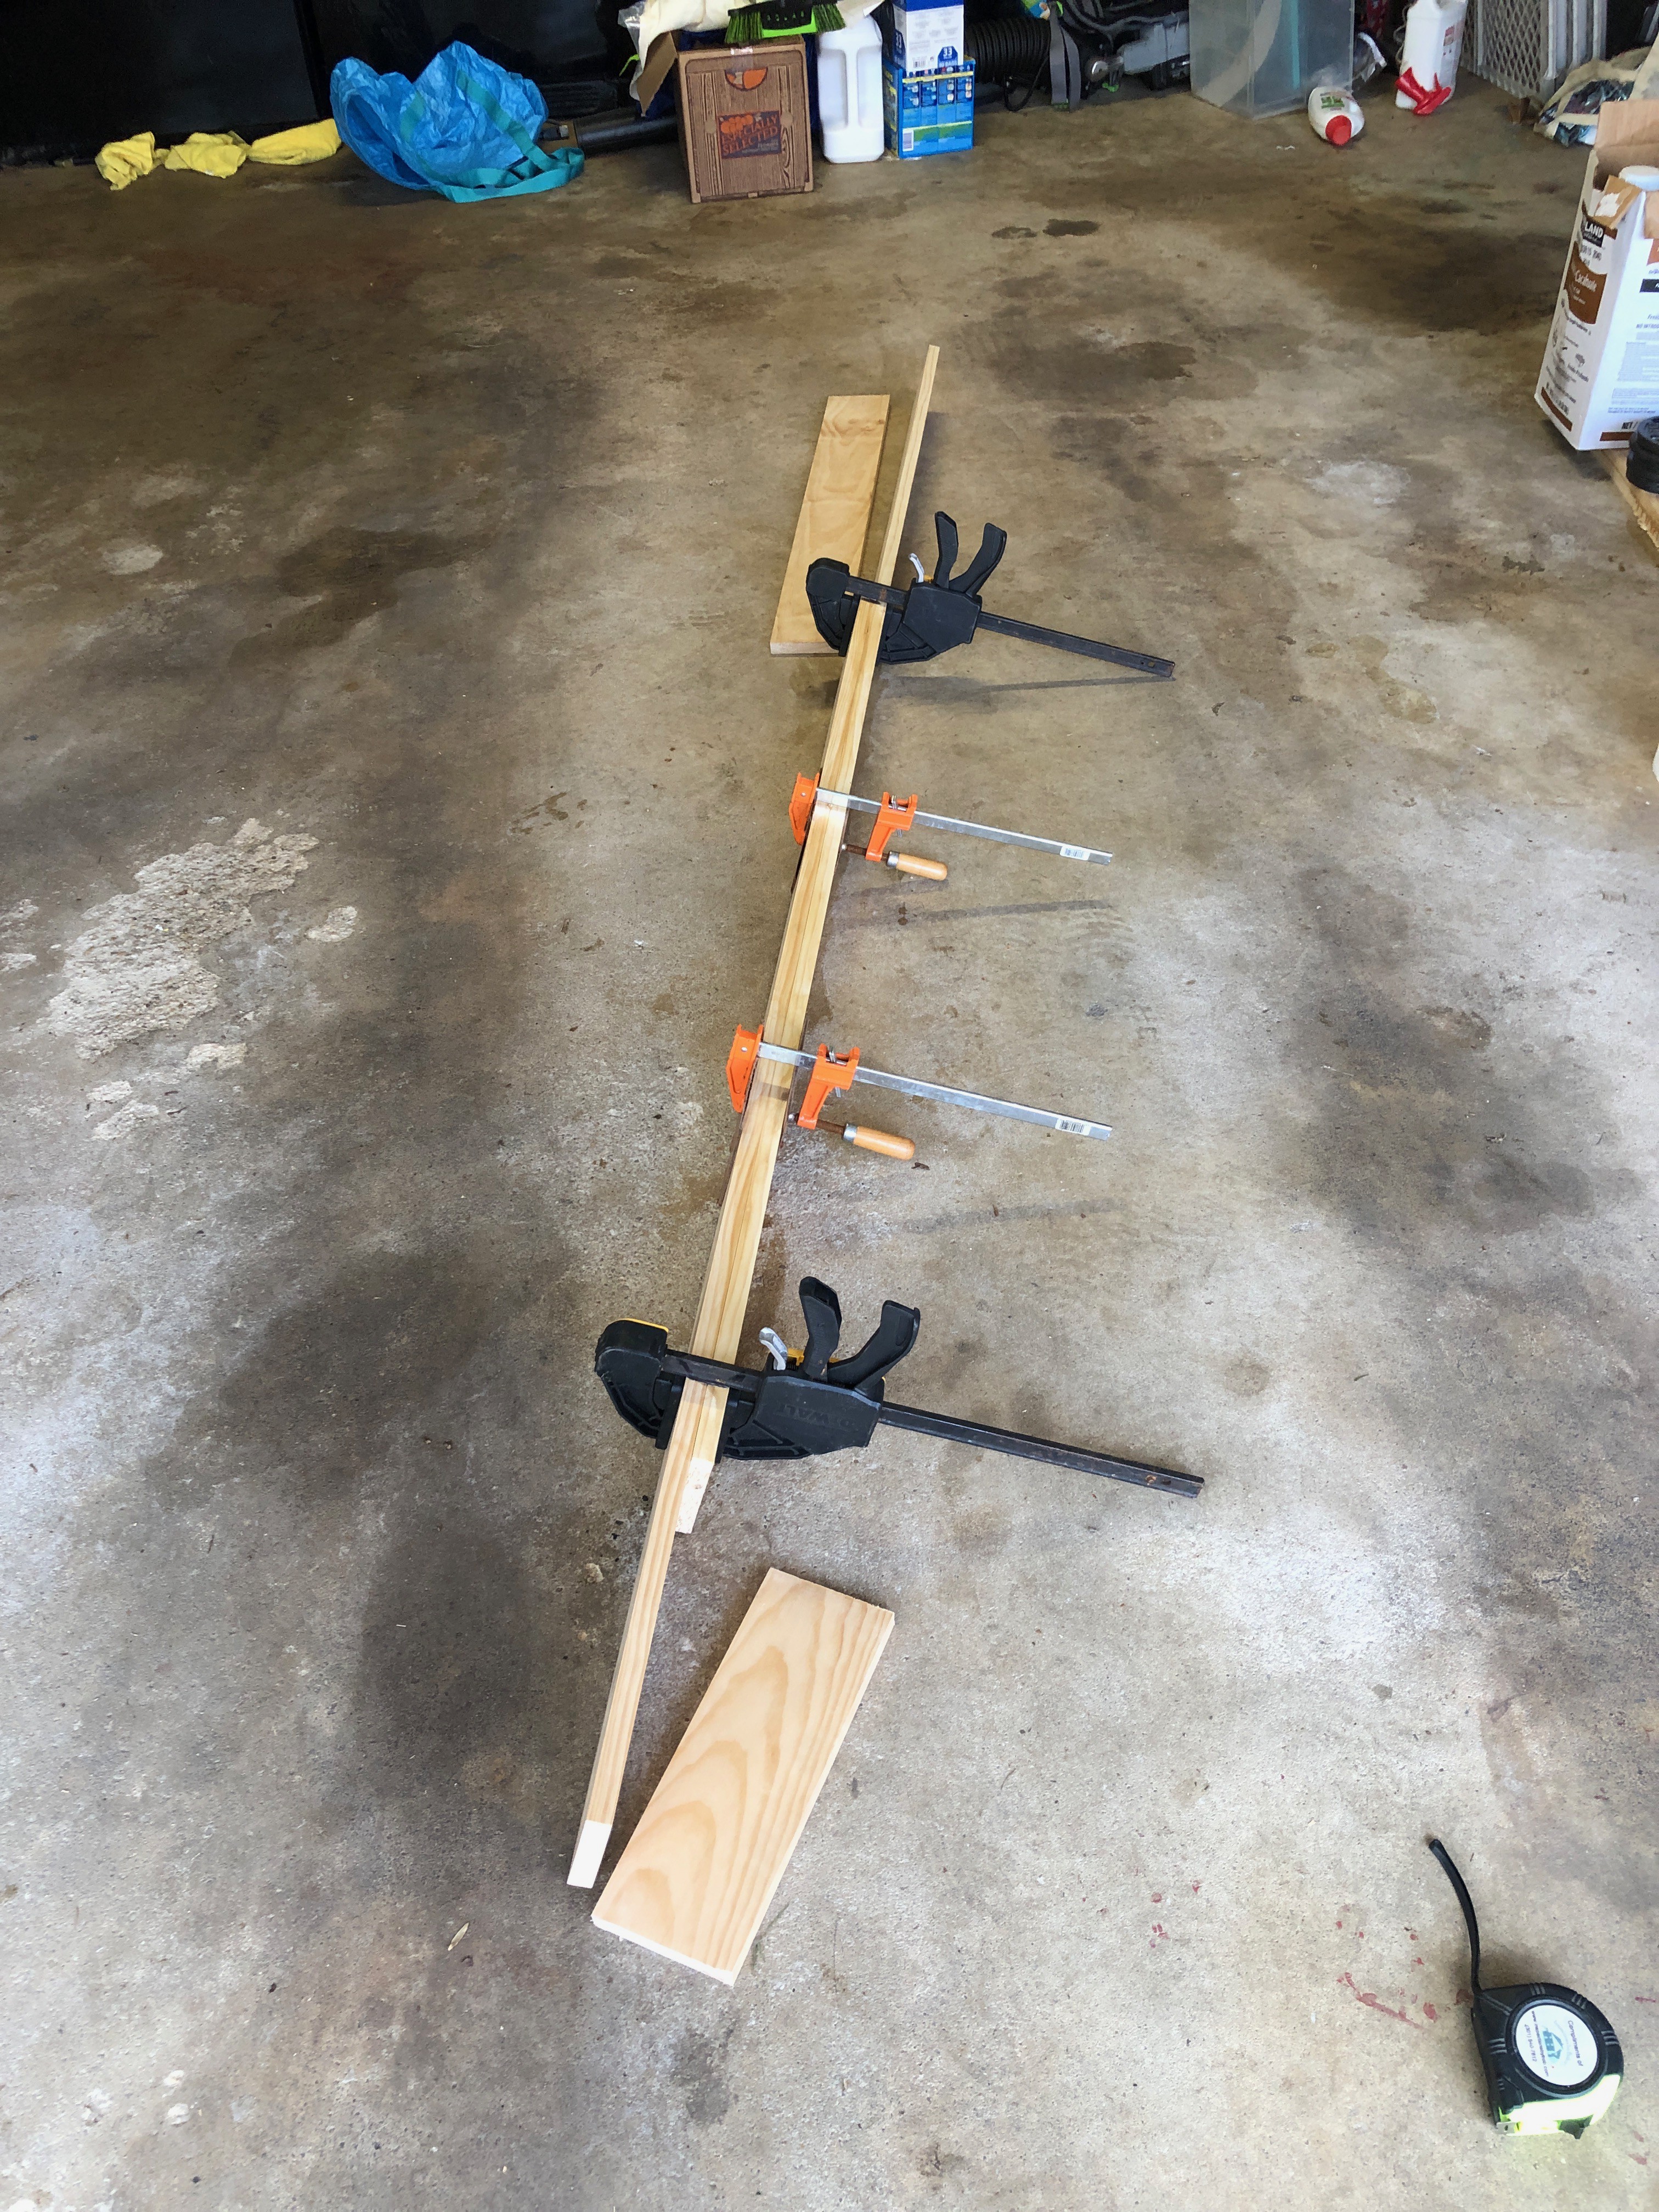
    Here we are gluing the two 4ft pieces together then needed to glue on the 7in piece.

    Now going to re-assemble everything and check that everything still fits.  We where careful with the paint and the slide track.

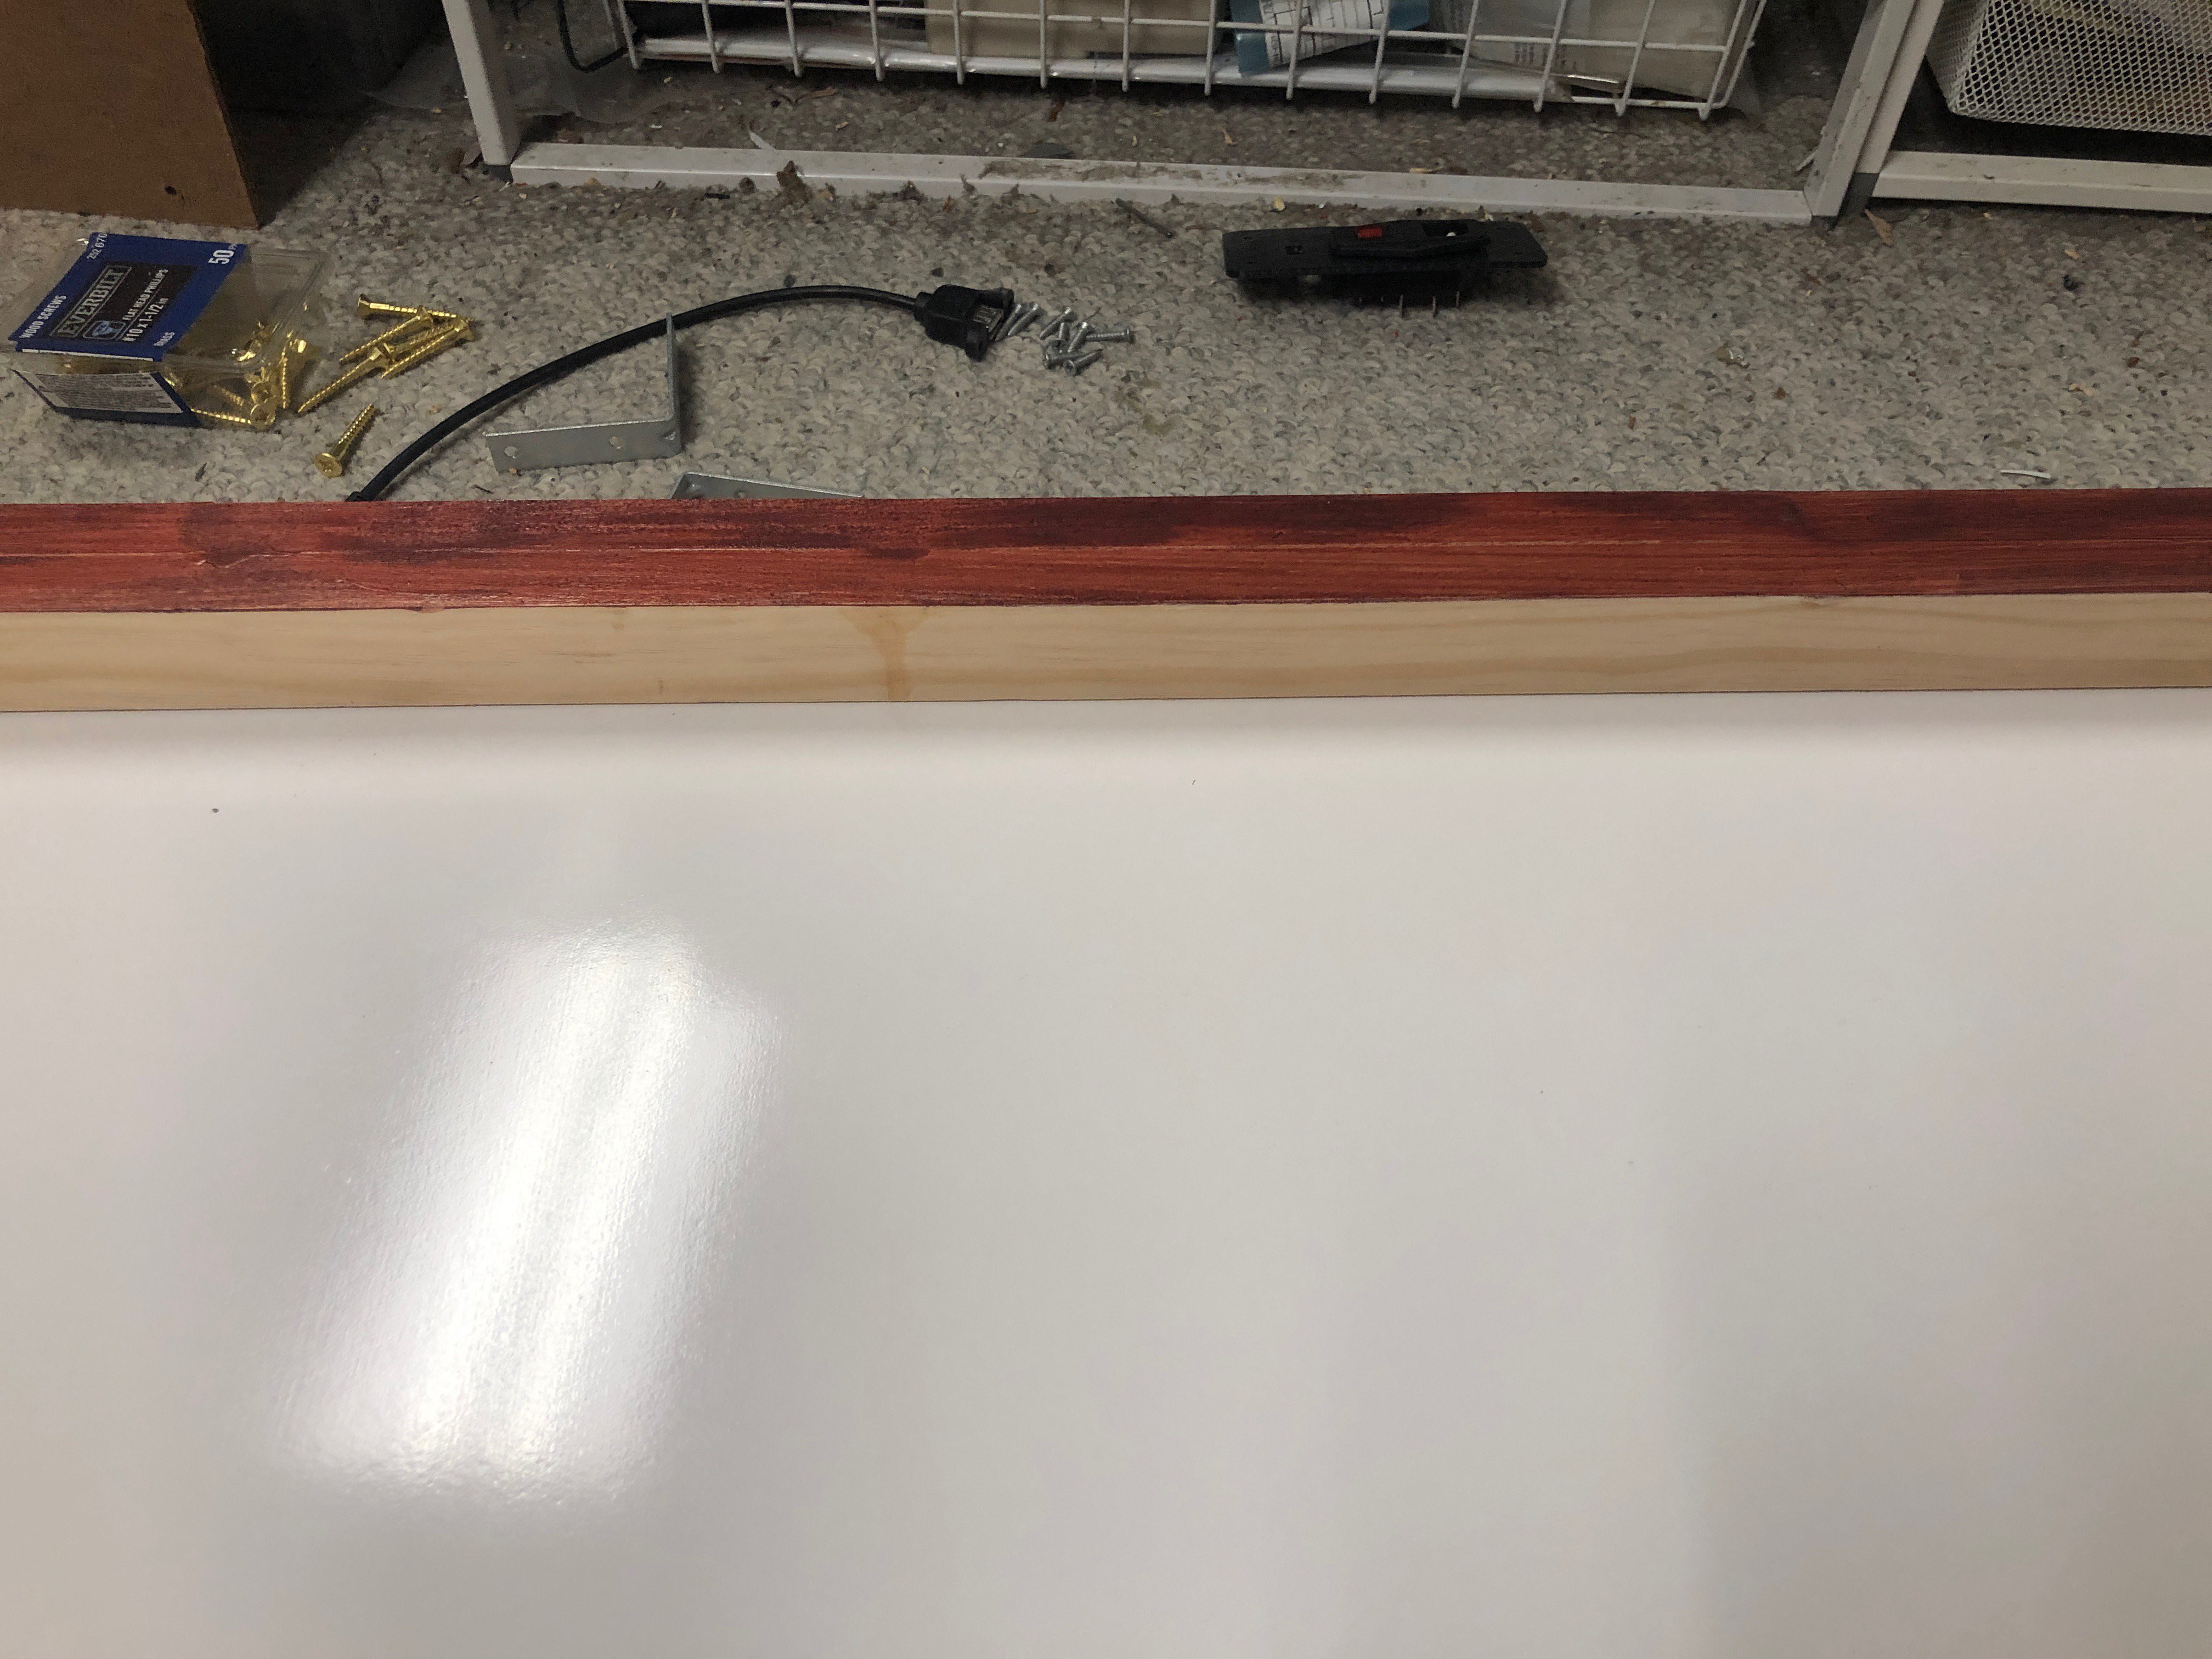
    you can see the mistake here......

    and close up.  For got the stain the inside edge.   

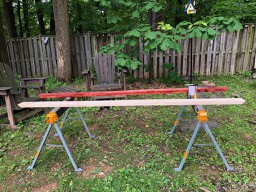
    doing it inside, raining all week.  have it up on blocks.

    took a lot of care to keep paint out of the slot and put it this way so paint would not run into the track.

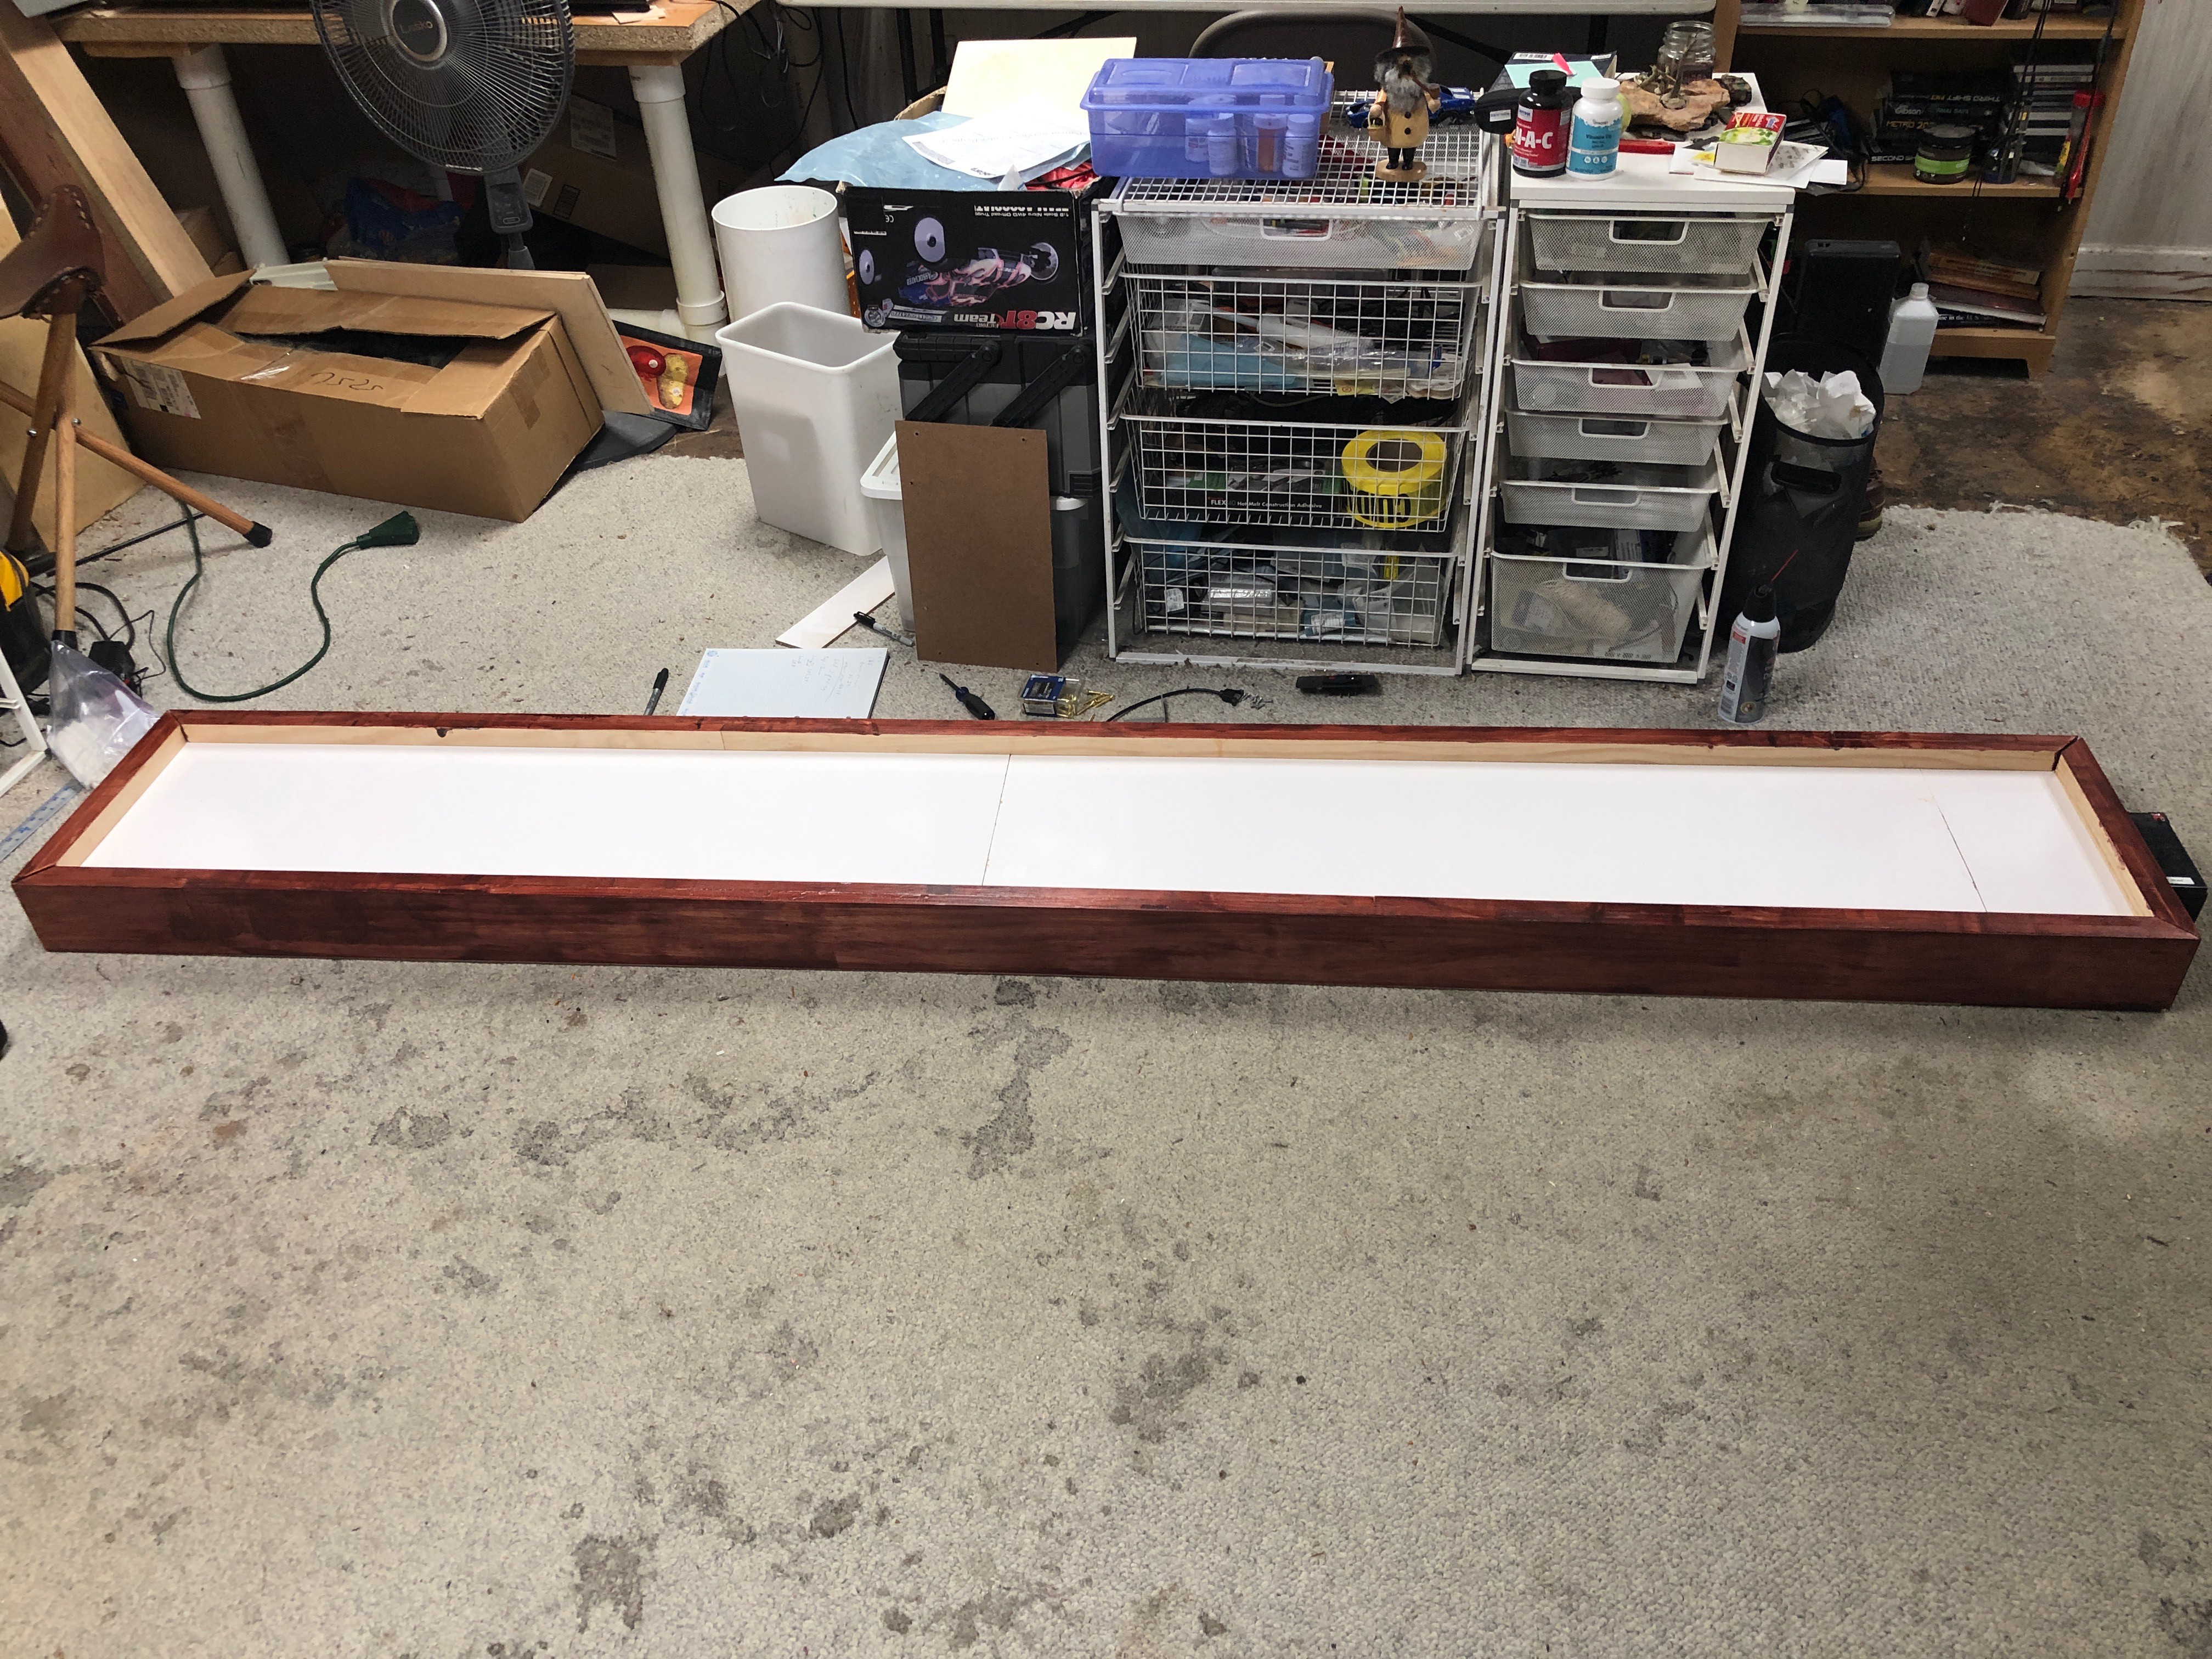
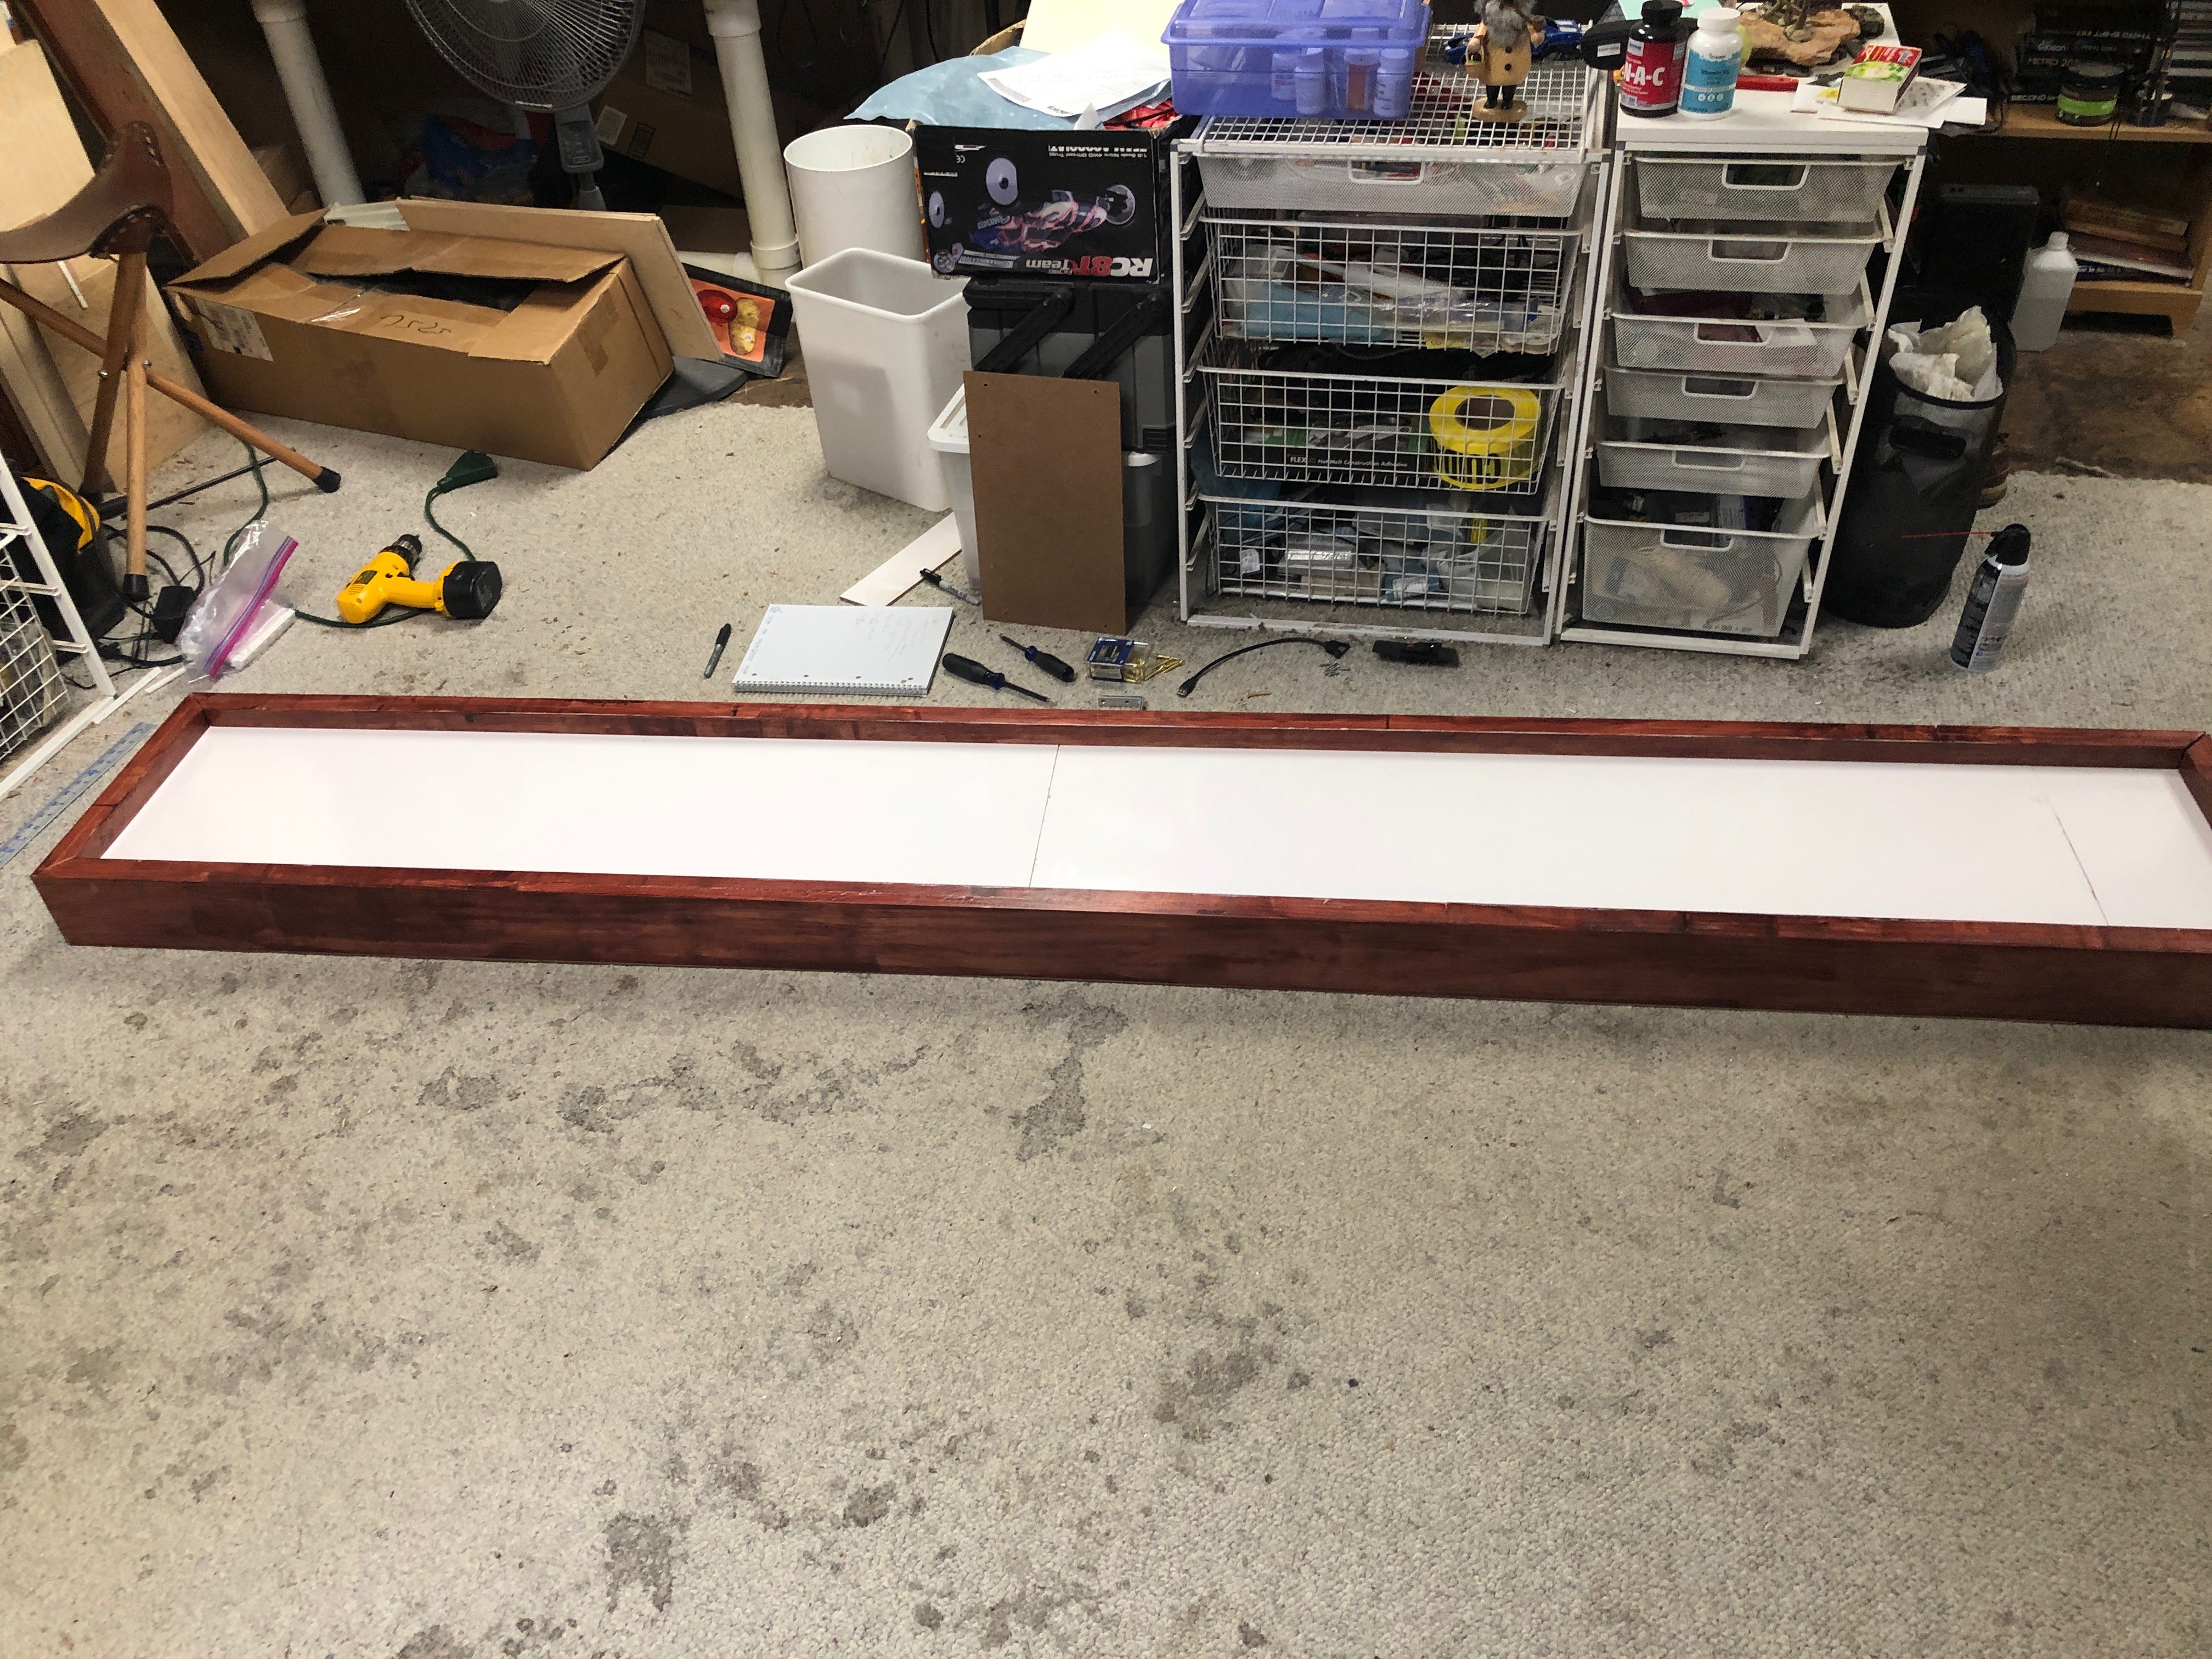
    all assembled looking good.  stained and 3 coats of urethane.  Very happy with the finish.  There will be a diffuser on top of the LEDs.

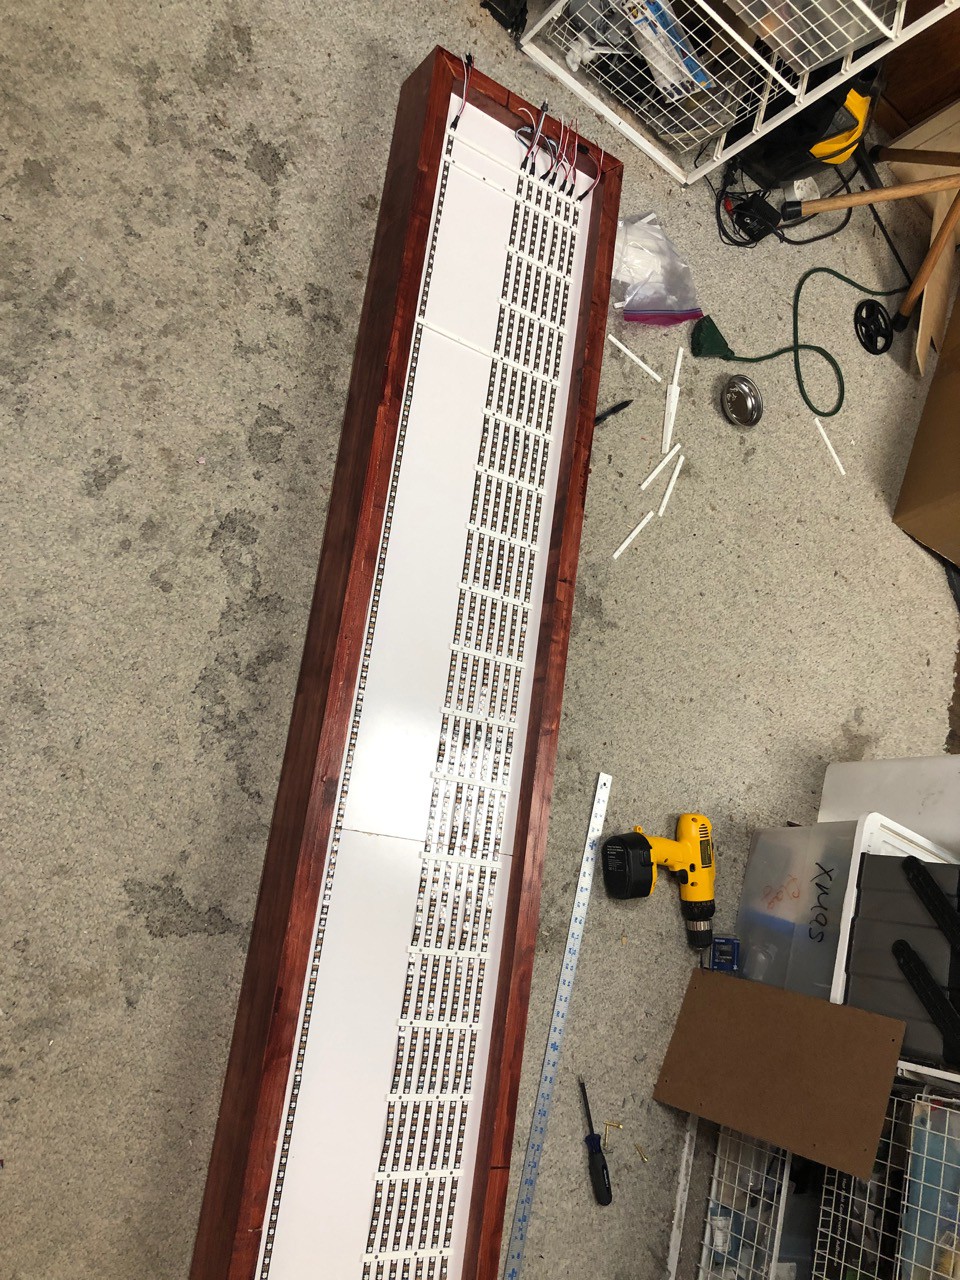
    And we finally have LEDs !!!  The holders I designed and 3D printed are working fantastic.  It took some time to get the location for the first row measured out.  Everything is lined up fine.  The process is we measured out on the ends and in the middle.  The kids held down the 3D bracket and drilled the holes, once we got these in it was simple to put the other brackets on and drill the holes.  We have the end row on the bottom on, the brackets just line up with the existing bracket.  We will drill holes and put the wires through to the other side, the front side needs to be flat so the diffuser will set correctly.  

  • Building the cabinet and odds and ends

    hamblin.joe05/07/2019 at 13:33 0 comments

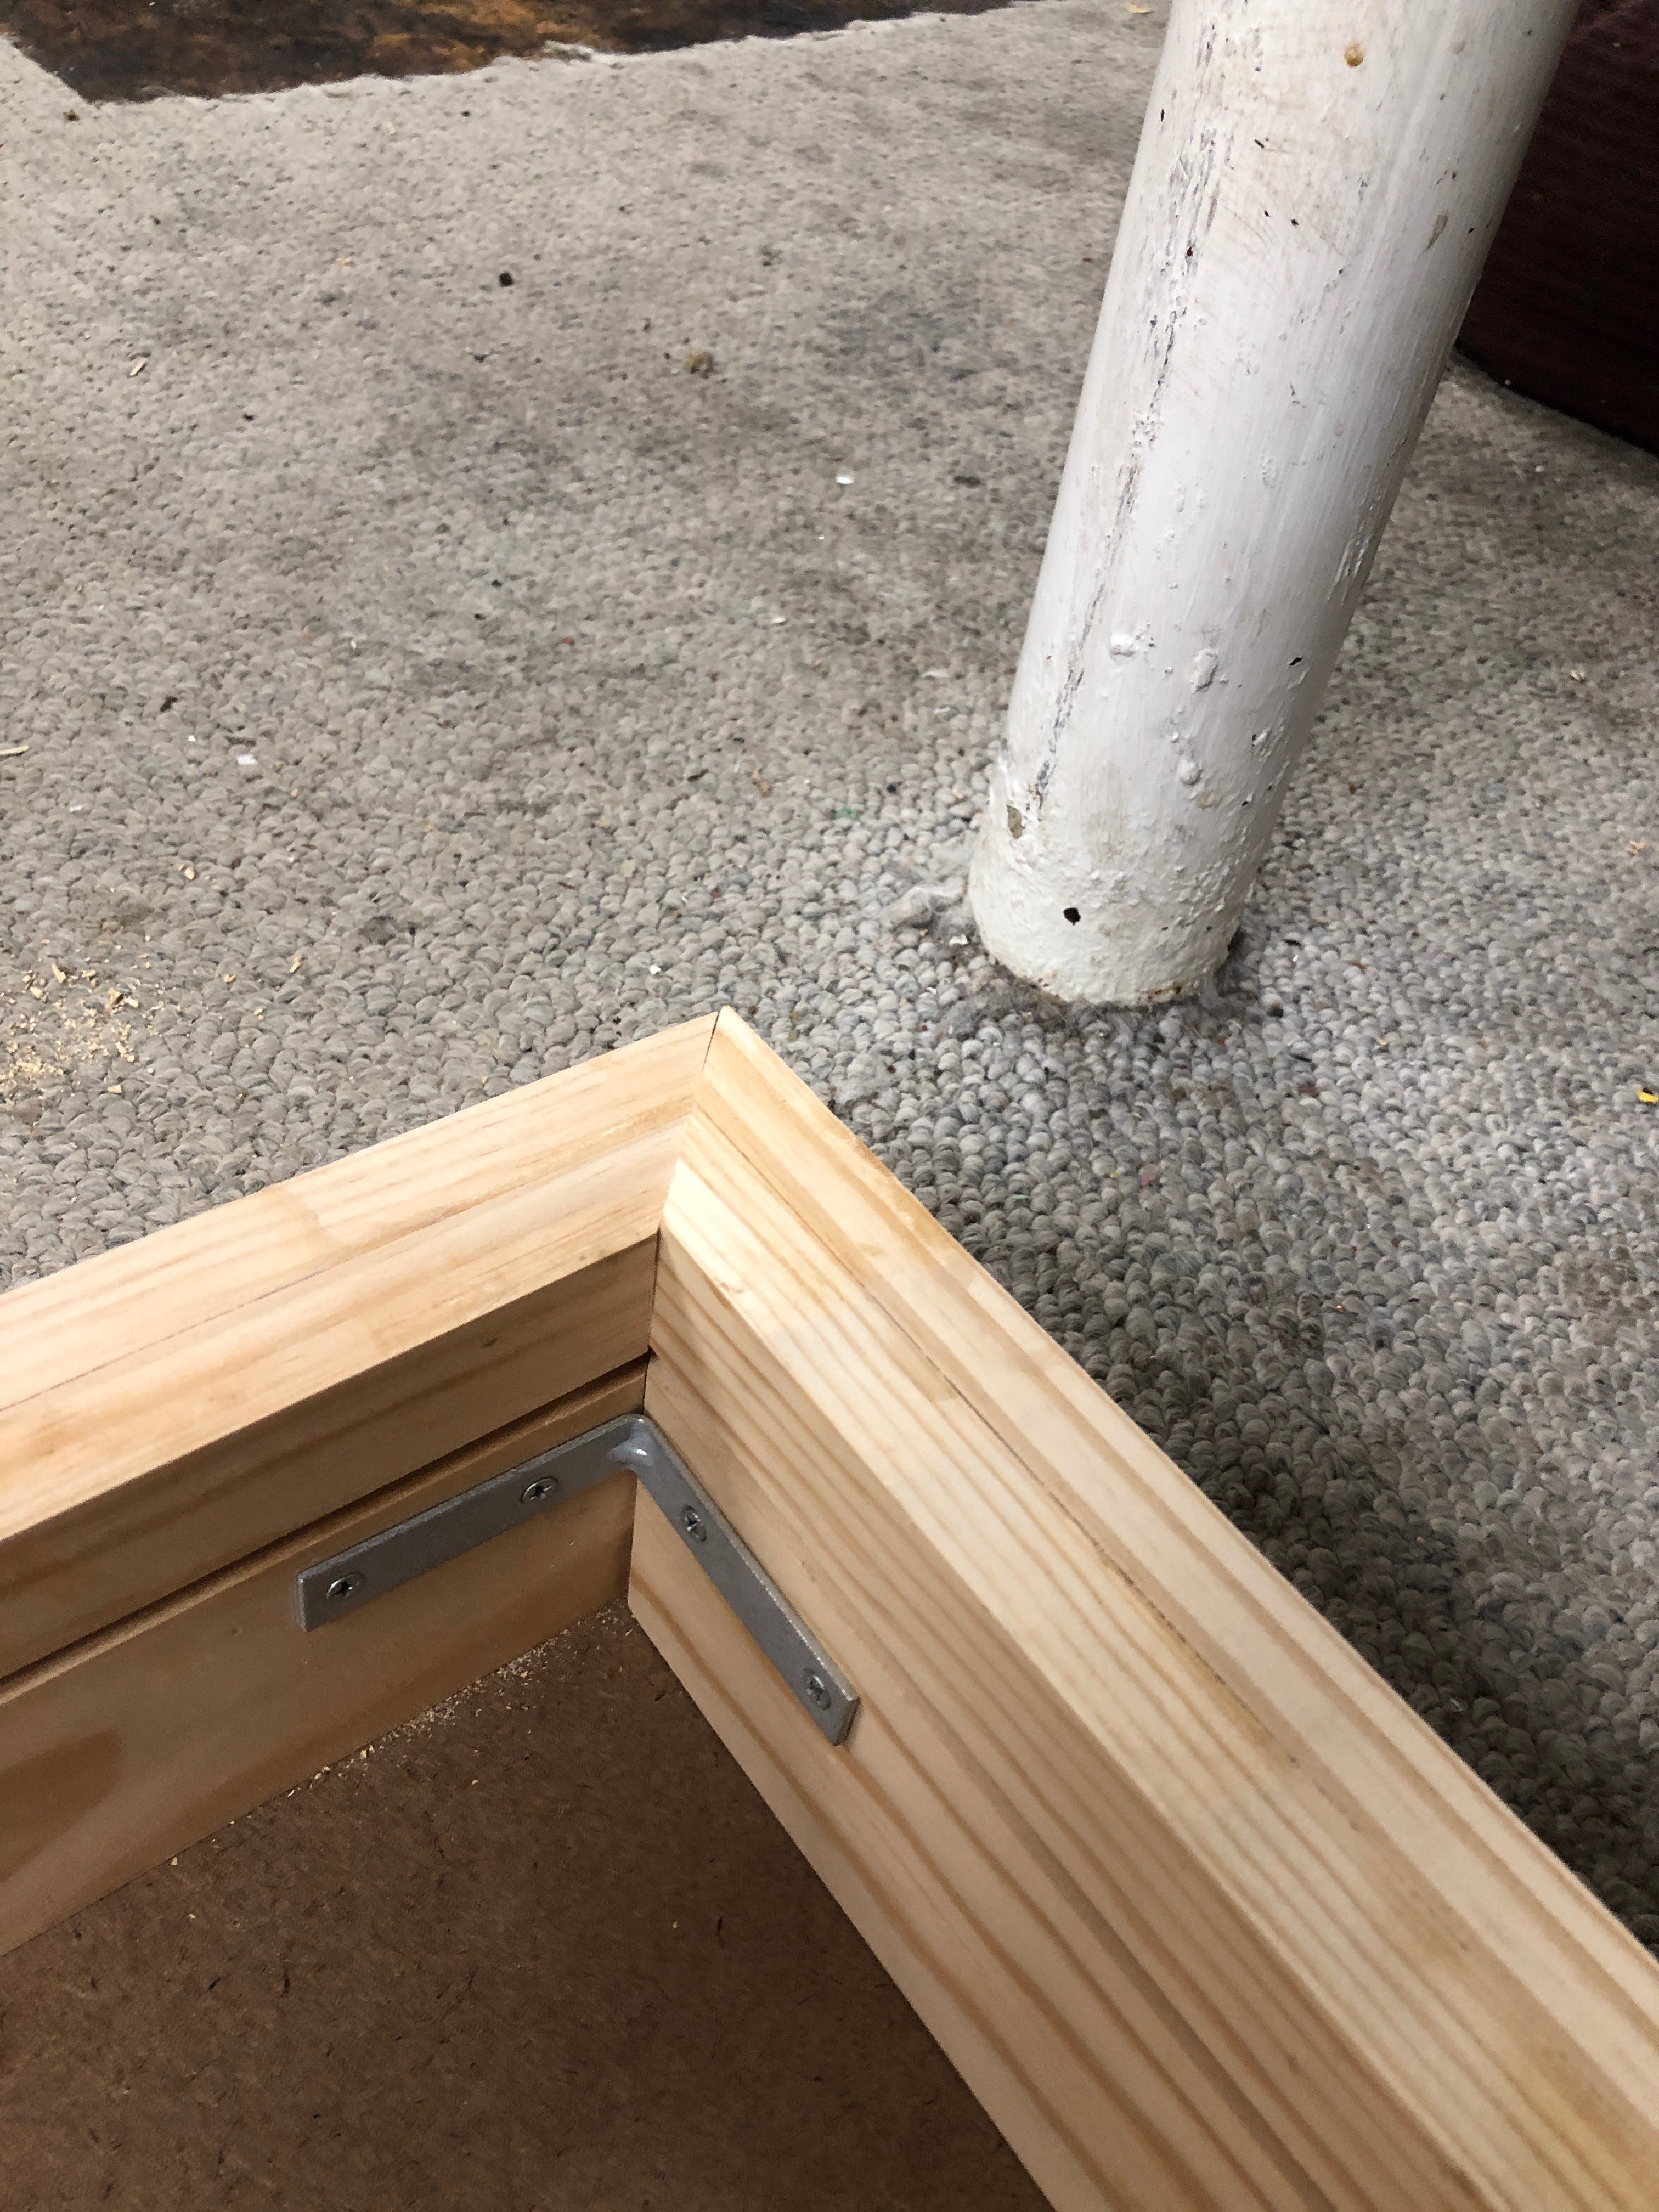
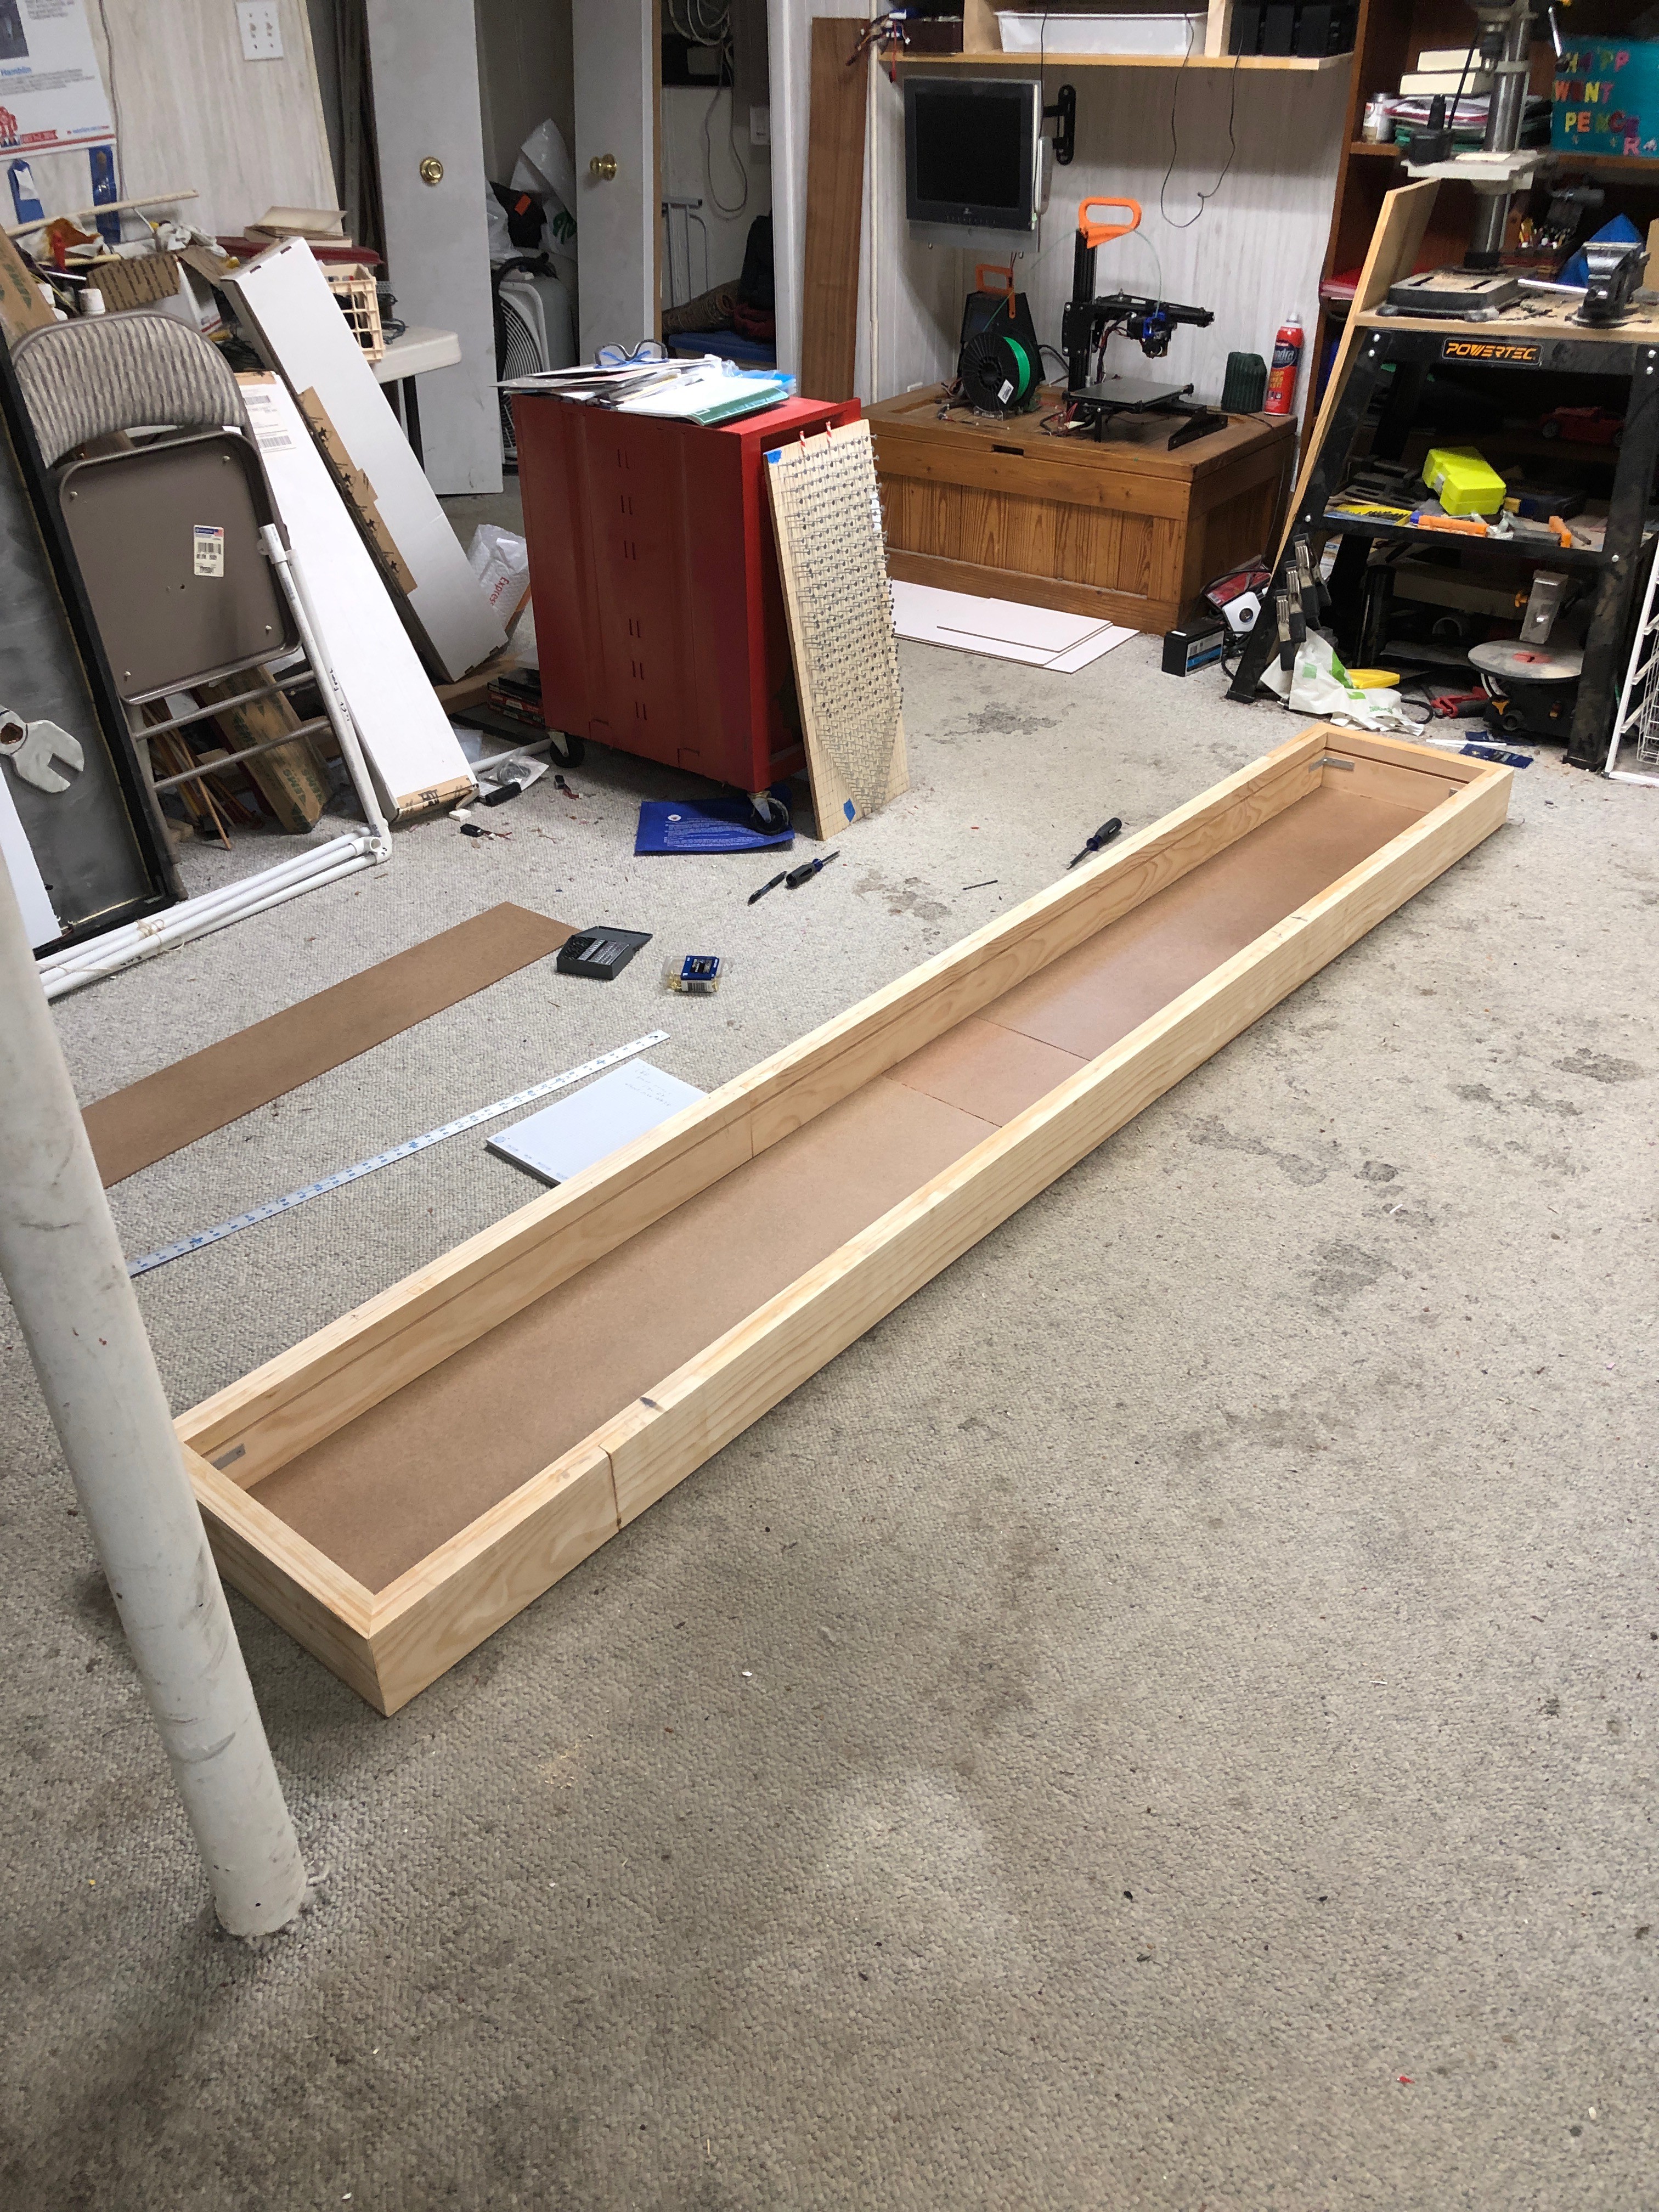
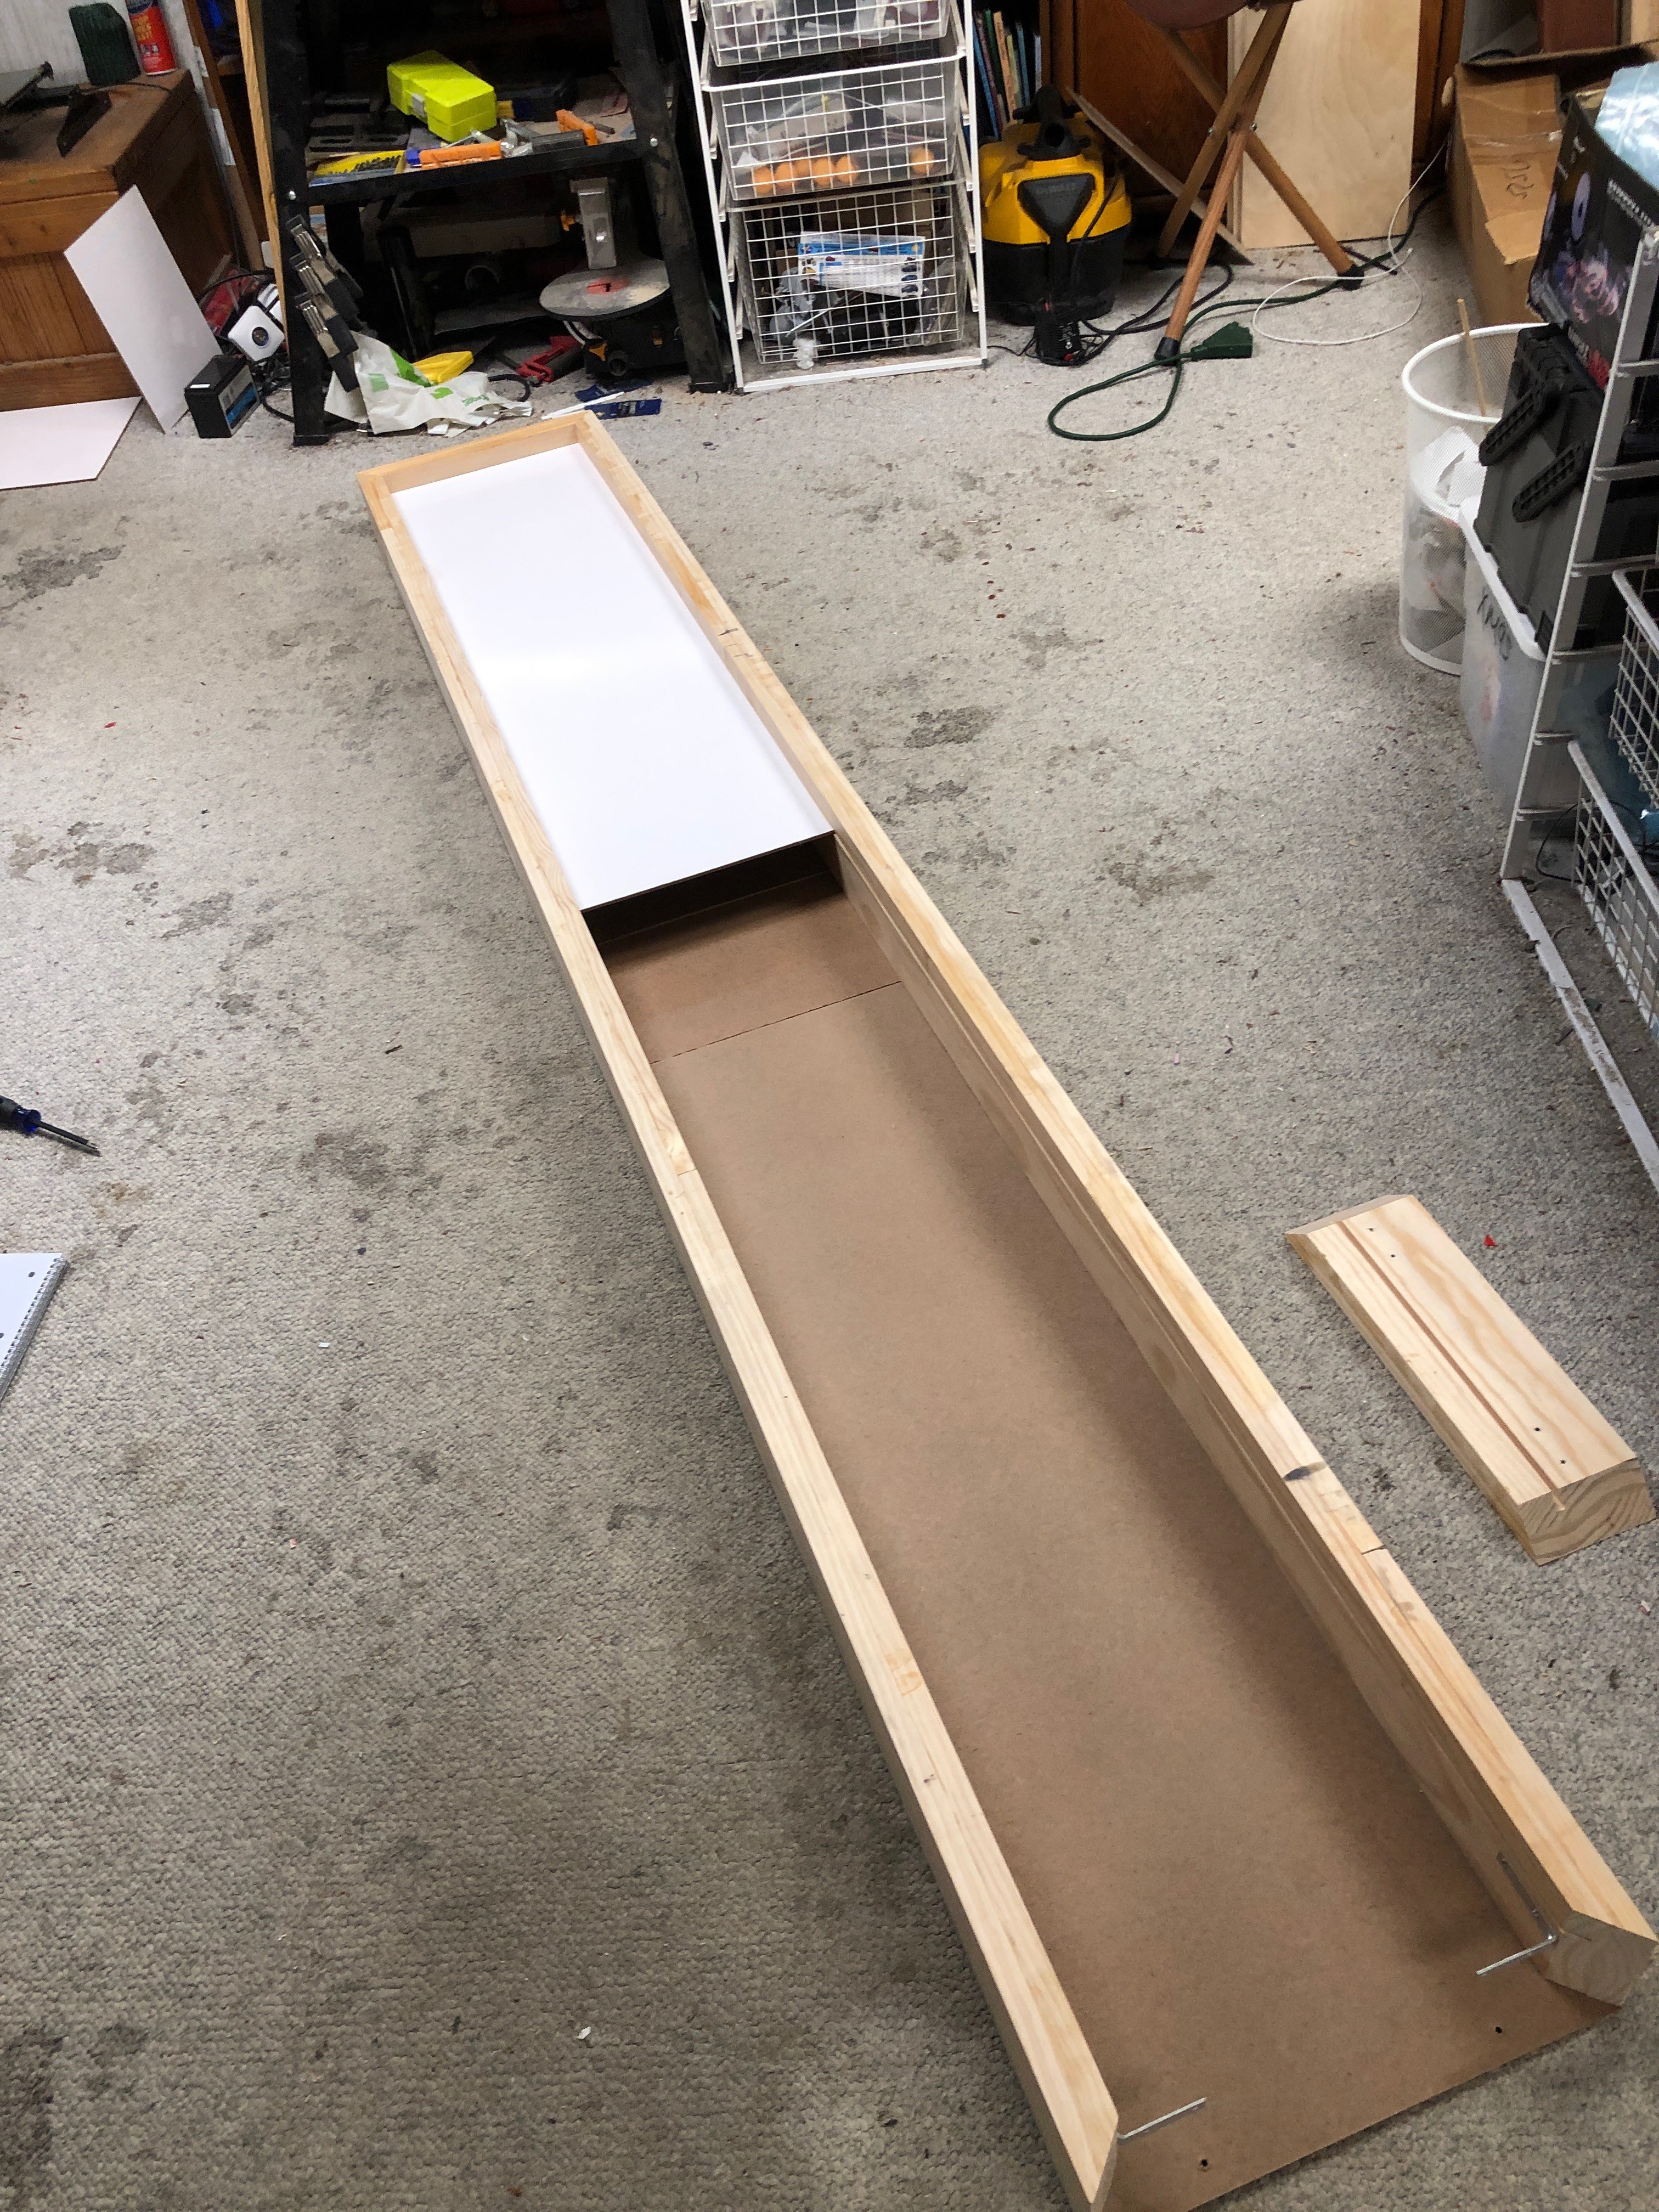
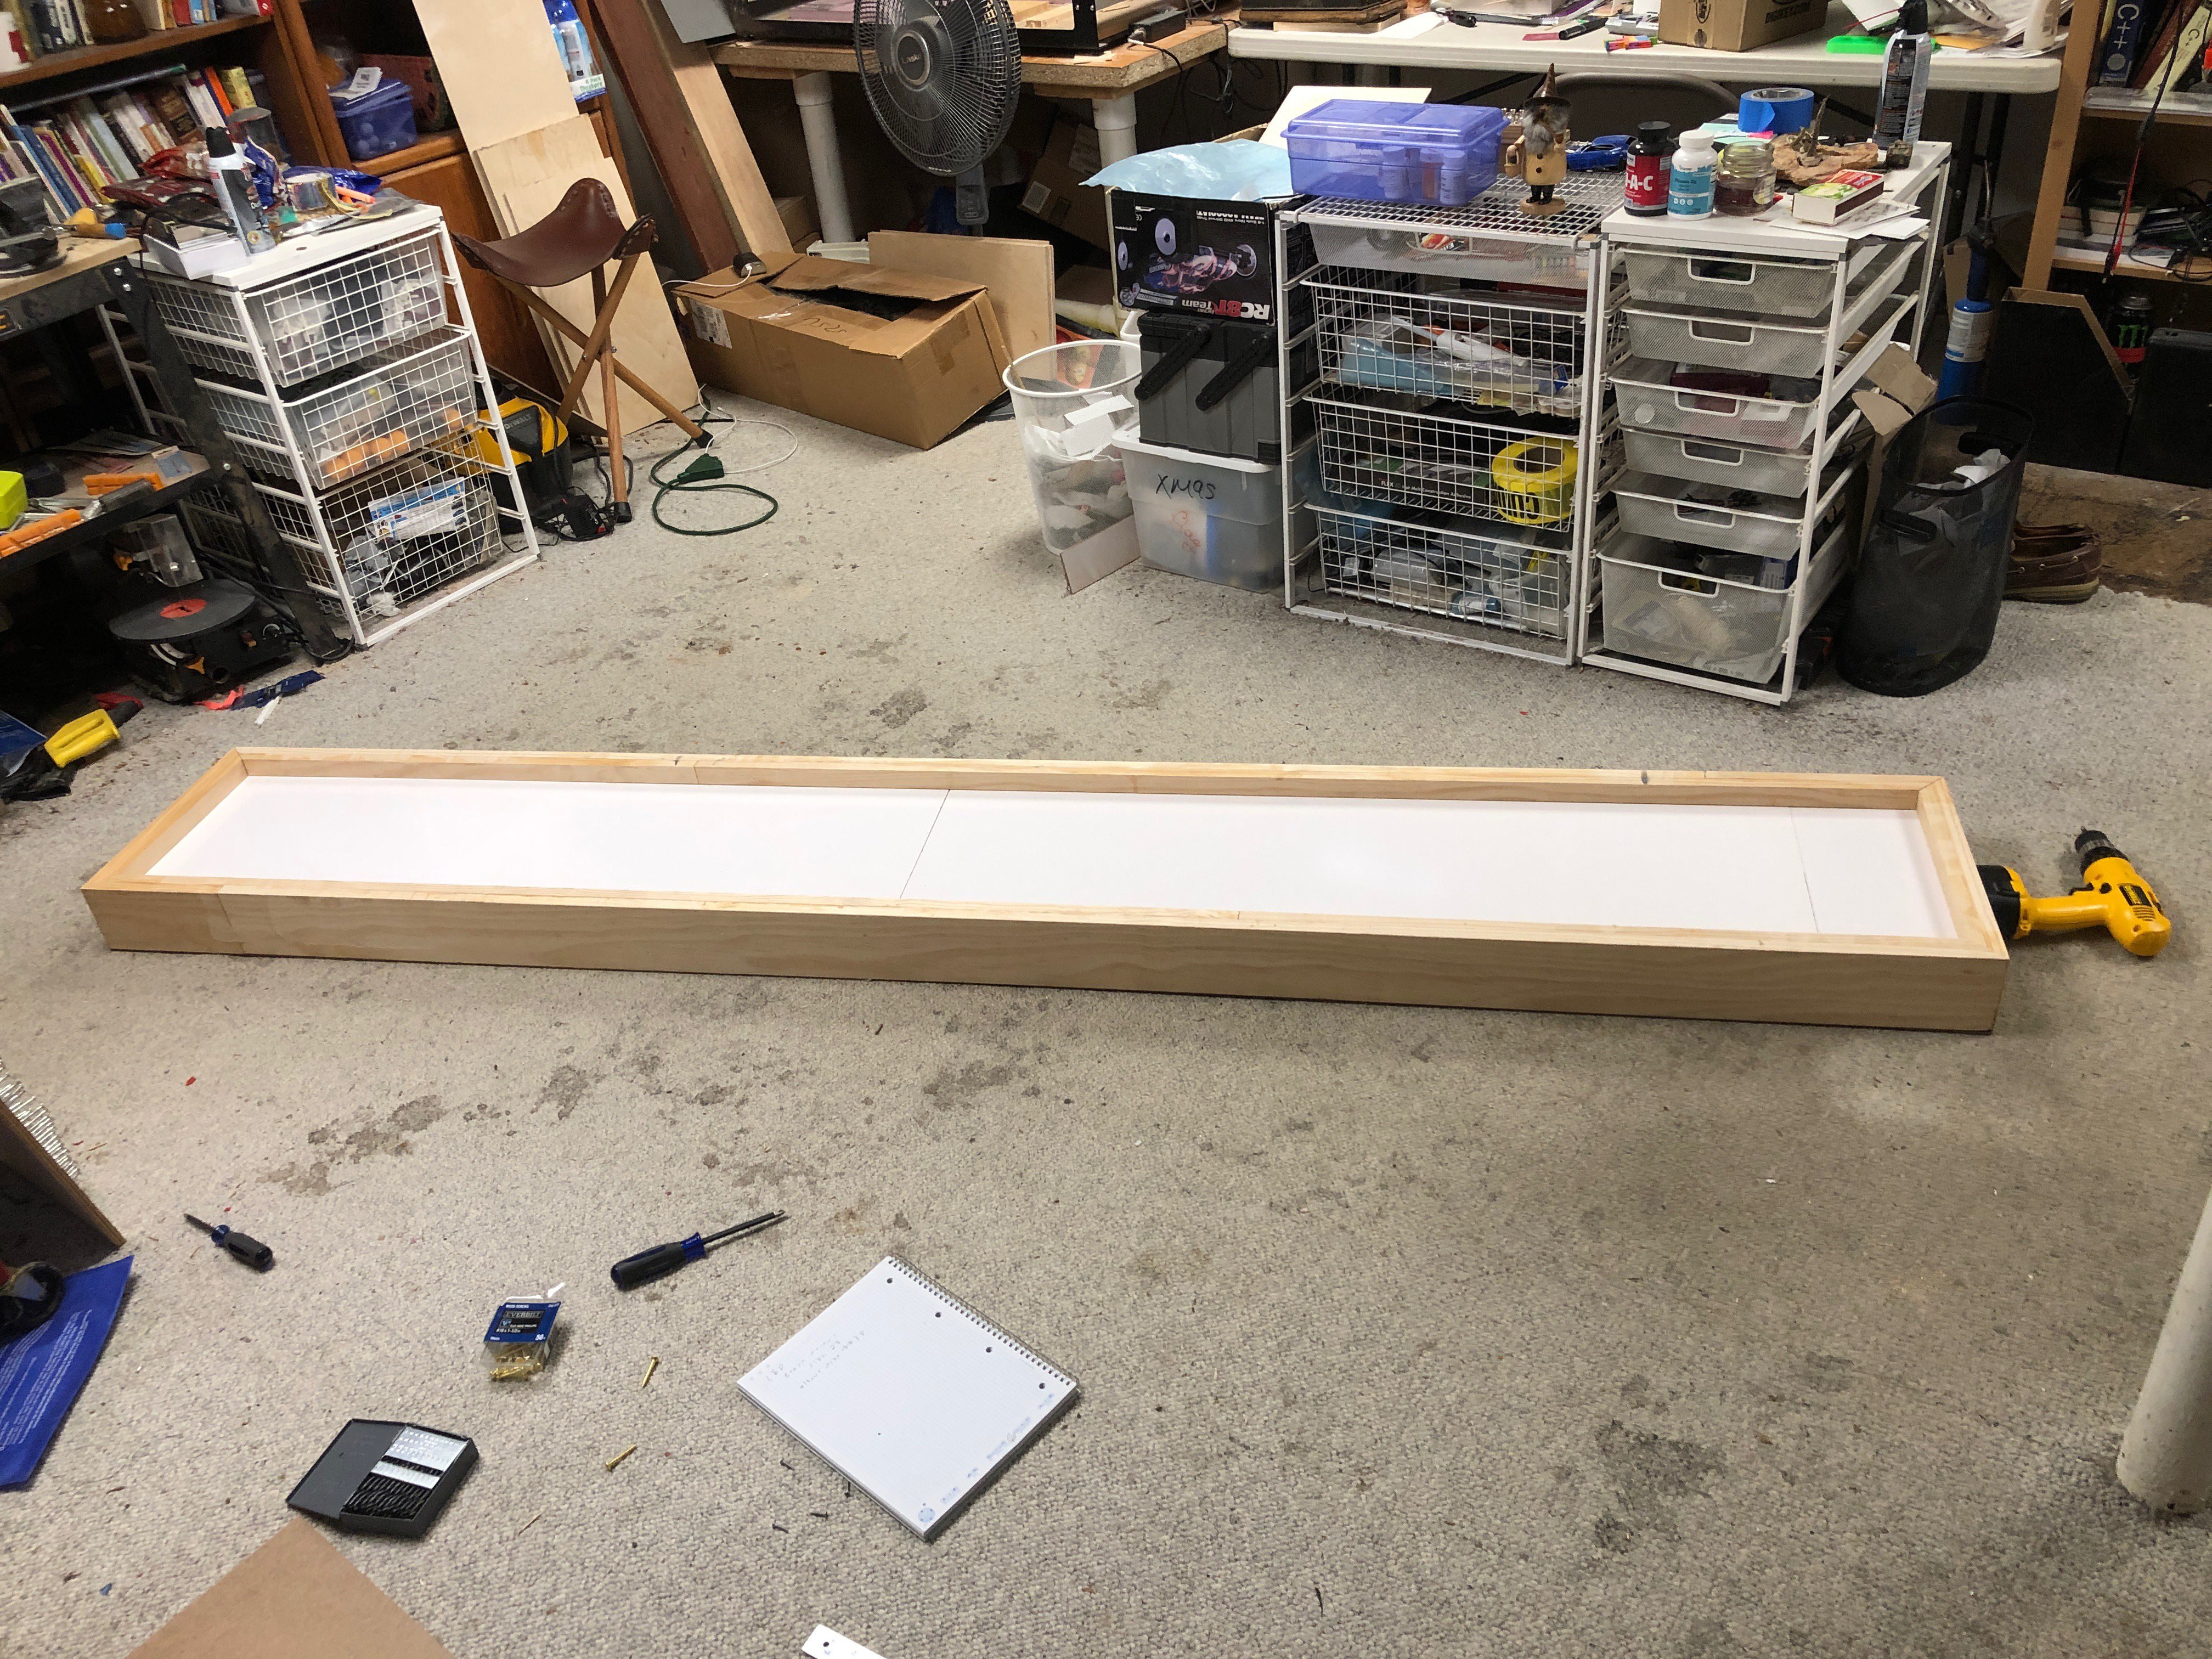
    Test fit all the parts together.  I'm using metal elbows in the corners to pull them together and add strength.   We need to test the assembly and make sure the LED panel would slide into the box and not bind.  Also wanted to make sure everything worked the way I expected.  I did run into one minor issue.  I have metal elbow braces for each of the corners.  When the LED panel is in place I can not access the the elbows for the last end piece because they are under the LED panel.  This was easily worked around by putting the 9in filler backing piece on that end instead of  in the middle.  This allows access to the elbows from the back with the LED panel fully in place.

    The back provides all the strength.  Note I had to move the 9in piece in the middle to the end to be able to access and secure the elbows.

    Nice tight corners, pretty happy with that :D

    Complete box.  The LED panel is not installed.  I assembled this first then tested inserting the LED panels

    First LED panel installed, you can see the open end.  For the final the LED panels will be one piece (gluing them together), and will have the LEDs installed.

    All assembled.  The box is pretty heavy.  I am going to have to adjust how I plan on hanging the box to account for the extra weight.

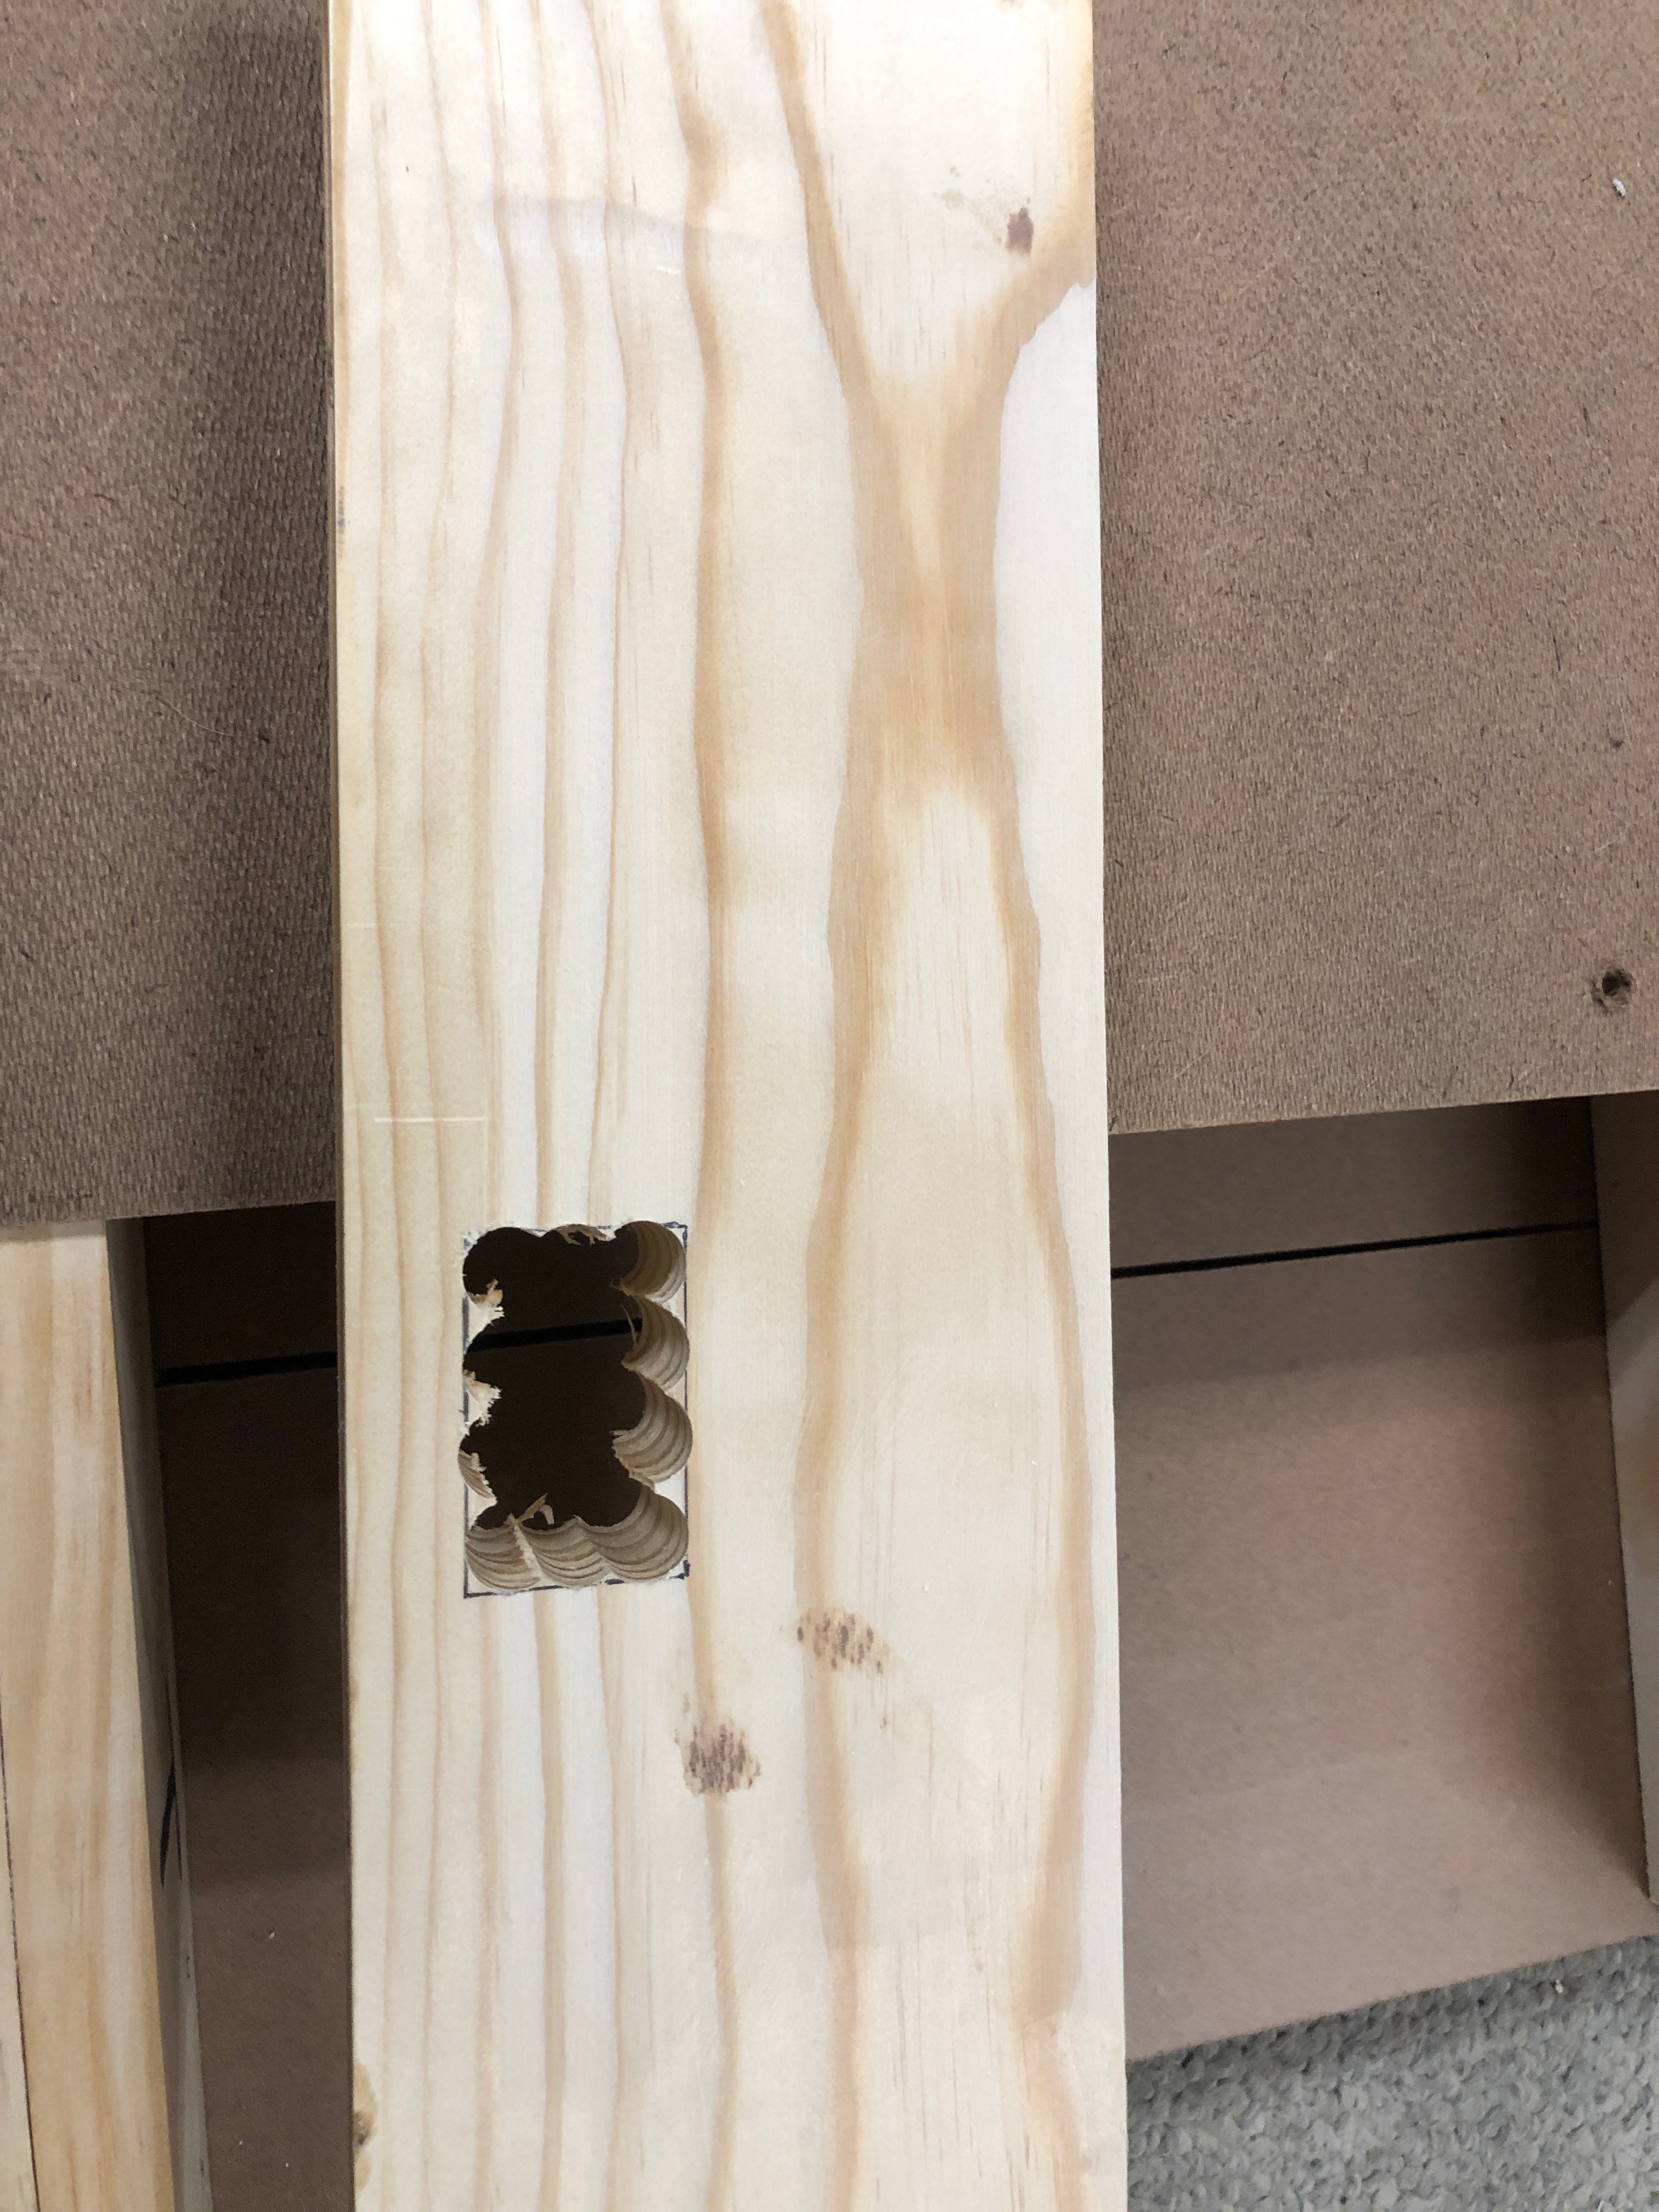
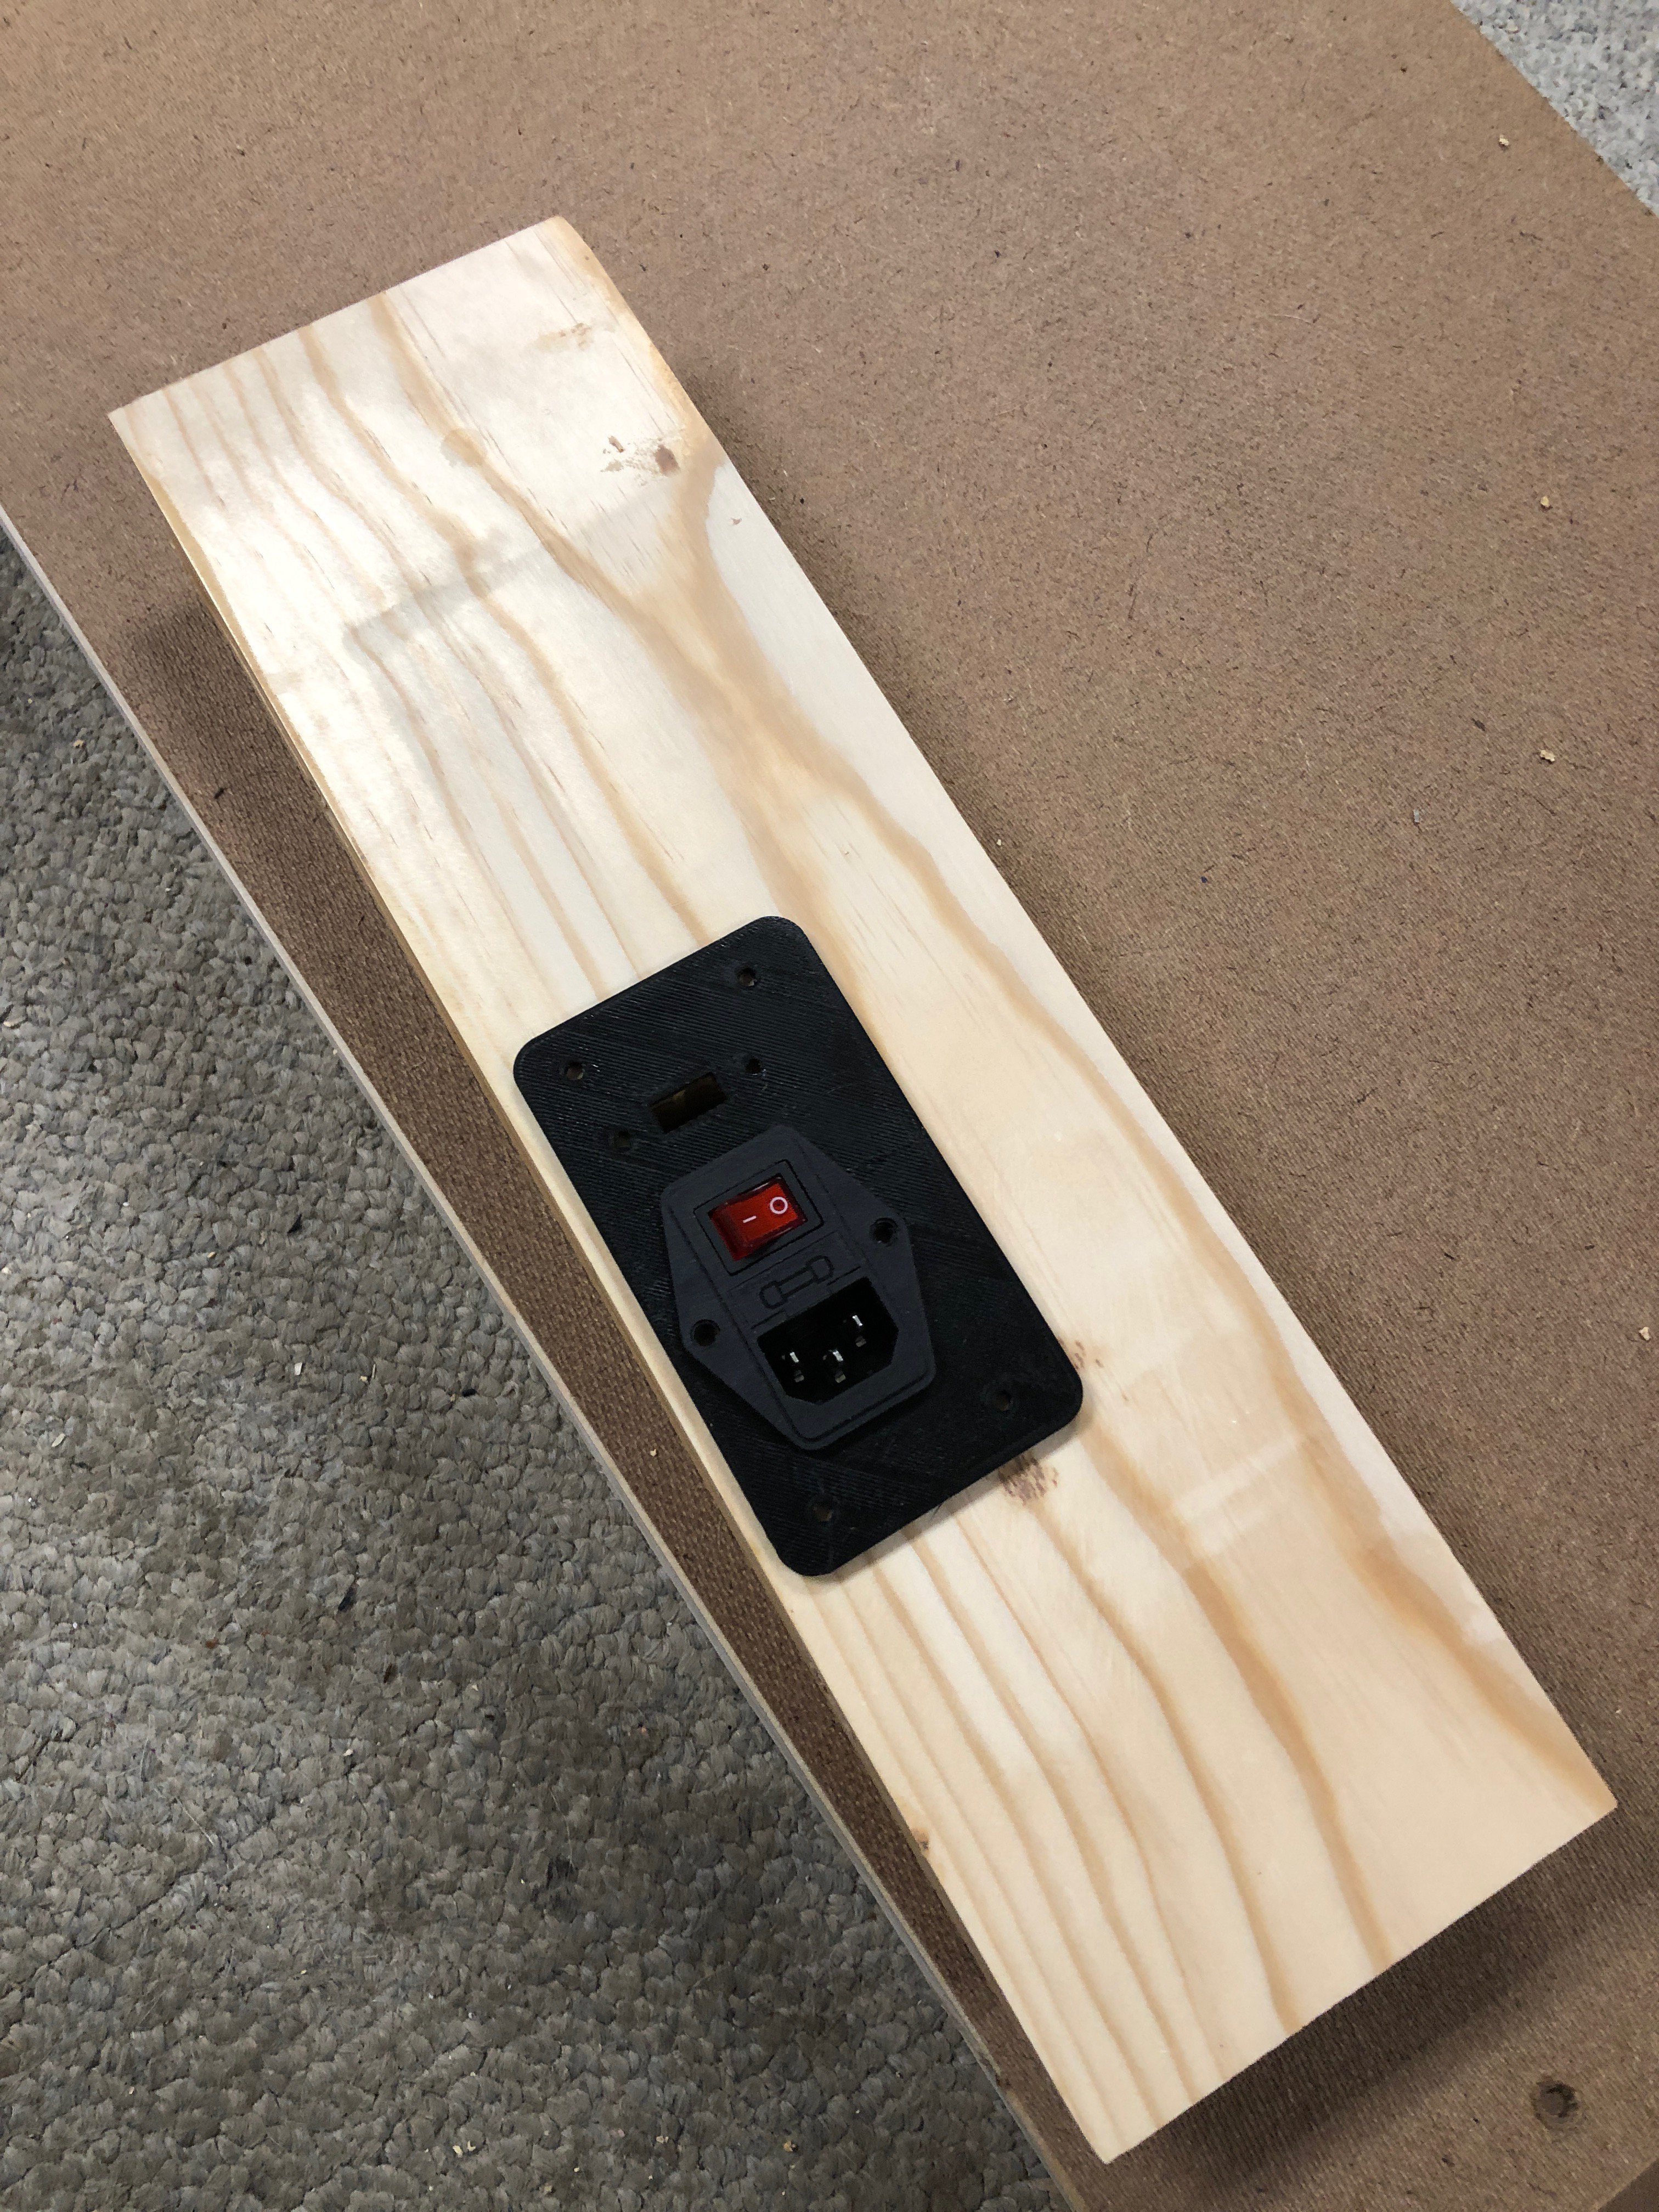
    Cutting out the slot for the power and USB plug

    Looking very nice !

    Odd and Ends    

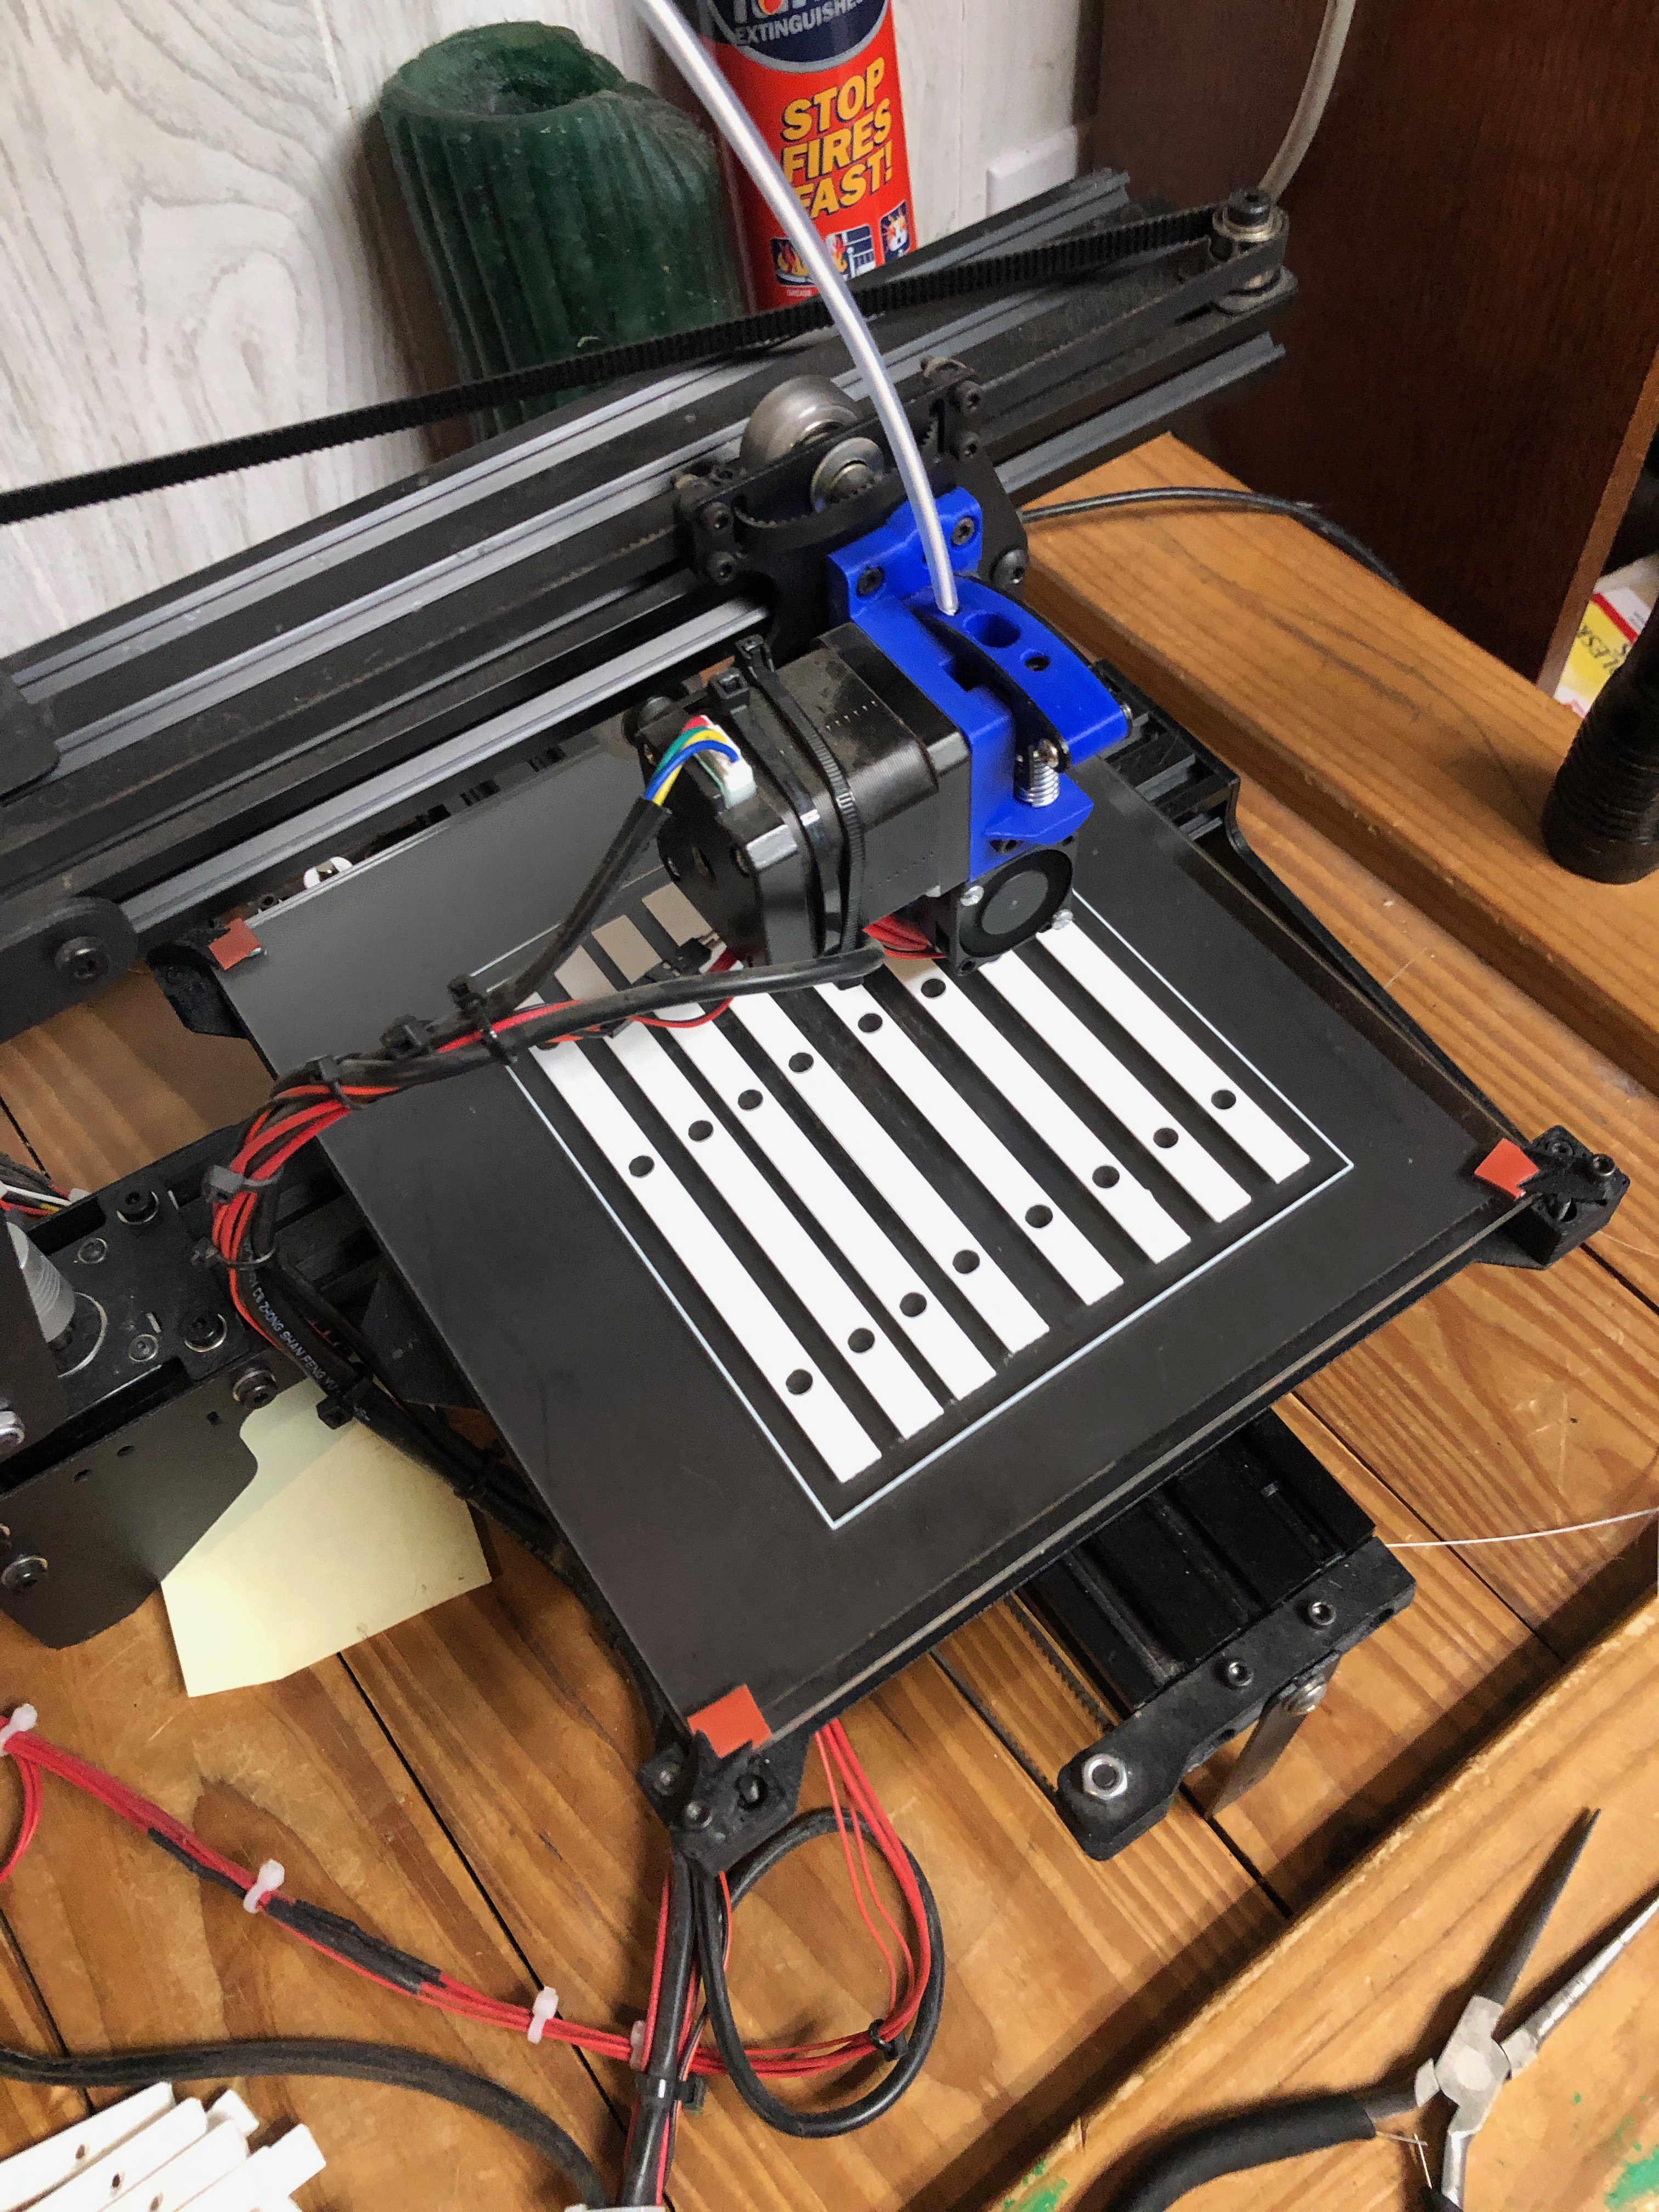
    Printing out the LED brackets/holders.  Each will hold down 7 LED strips.  I printed out 66 of these.

    On the small proto type, I tried out the quick connectors.  These where major fail.  Half the time they did not make good connections and when they did I had significant power loss, I am going to solder all the connections.  I am planning on providing power at both ends of the LED panel.  My concern is that this might not be enough, I might have to also provide power in the middle.  Note in the picture above the only wire I had available at the time was Red cover, please understand that the one on the Ground side did go to Ground (I picked up some black wire).

  • Building and small prototype demo

    hamblin.joe04/07/2019 at 14:55 0 comments

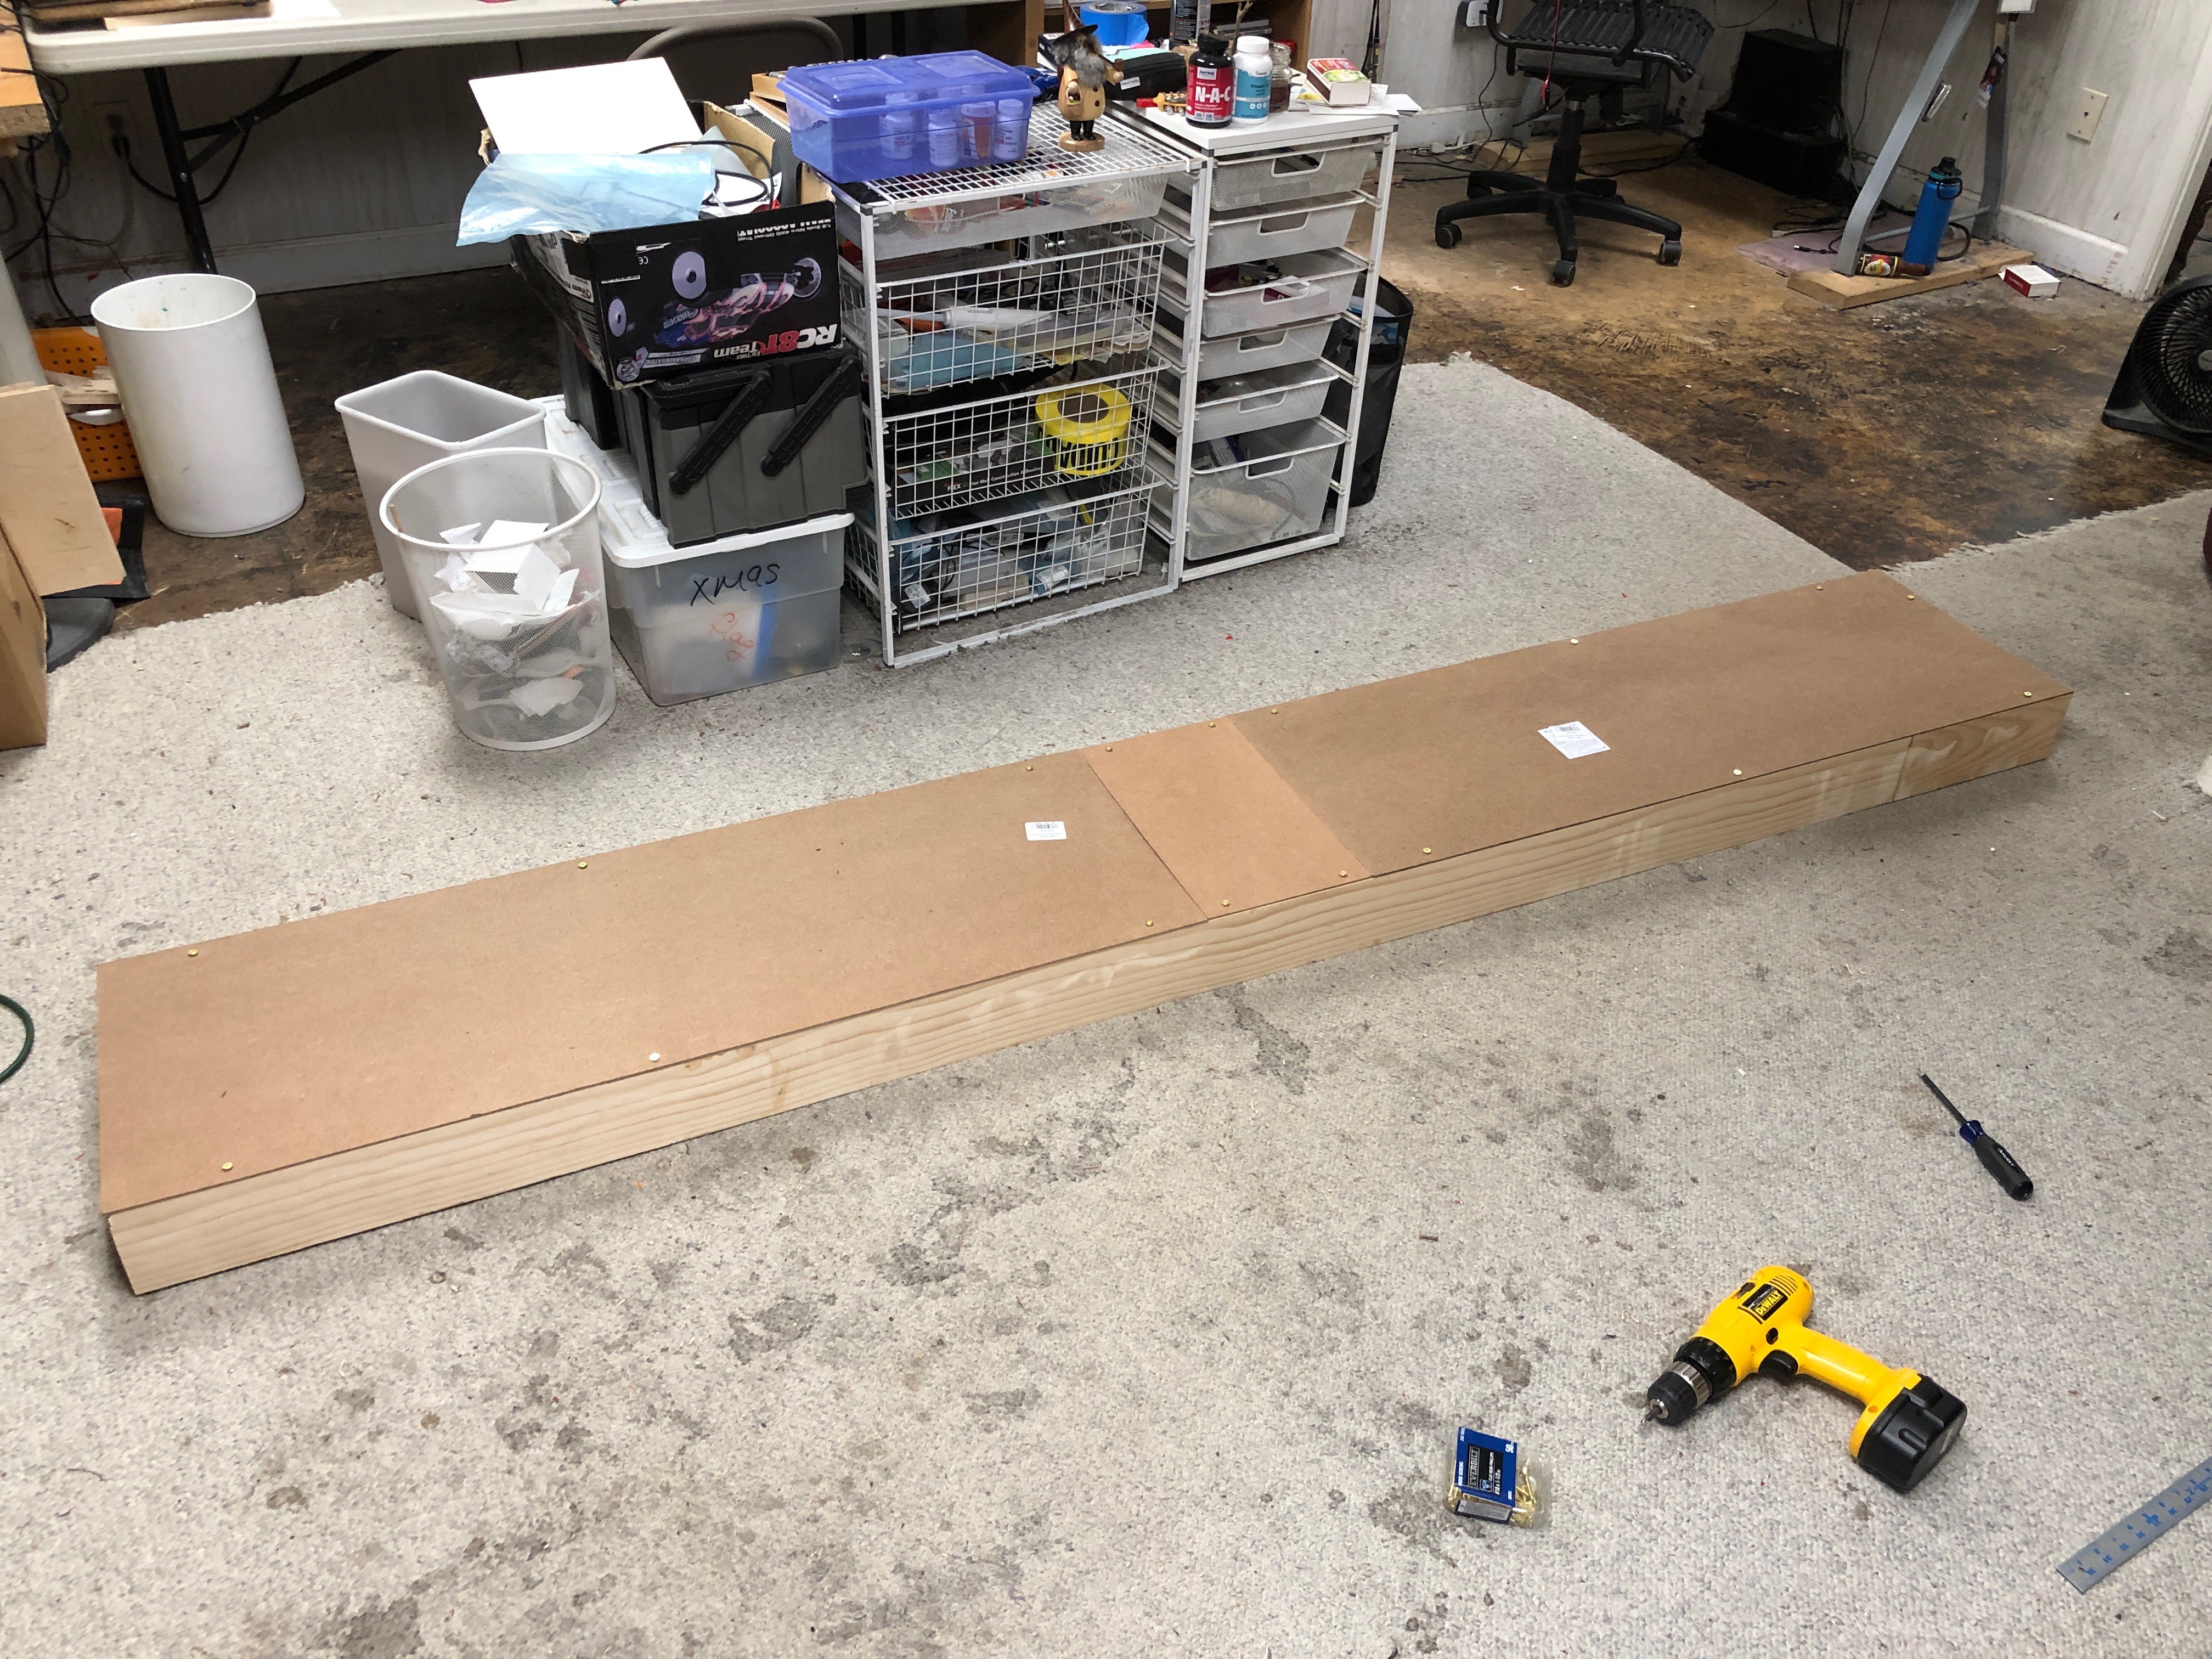
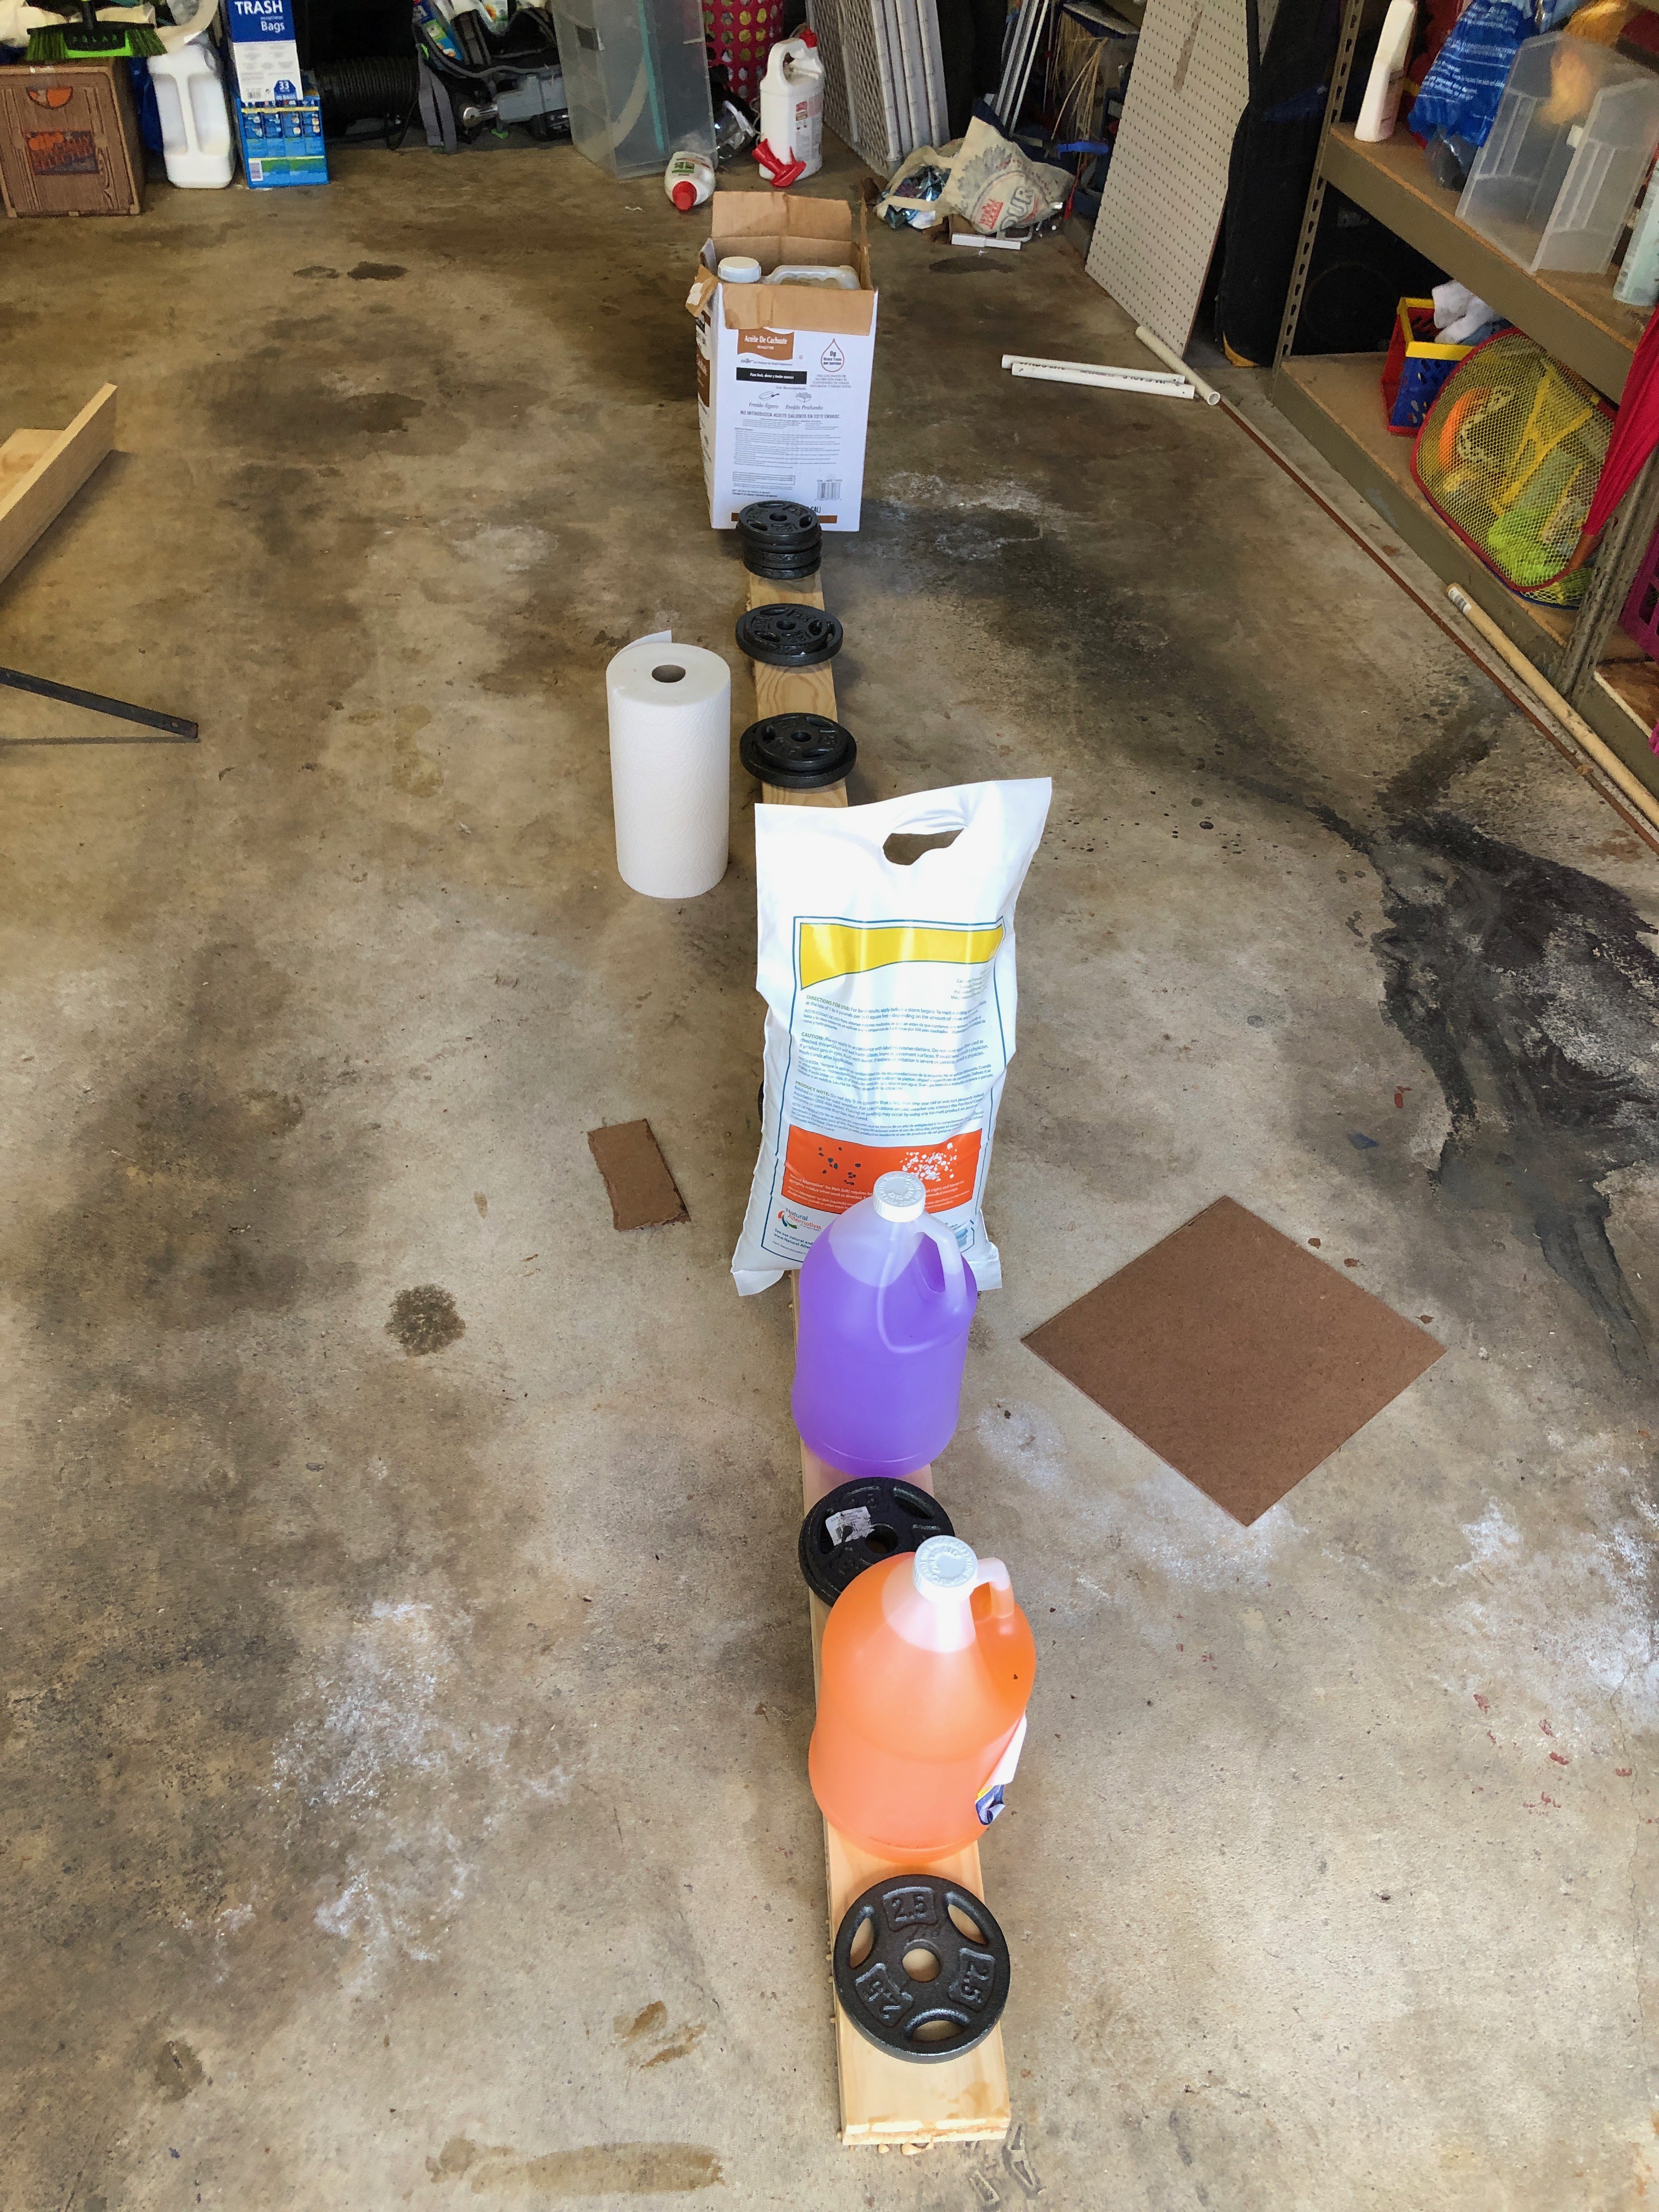
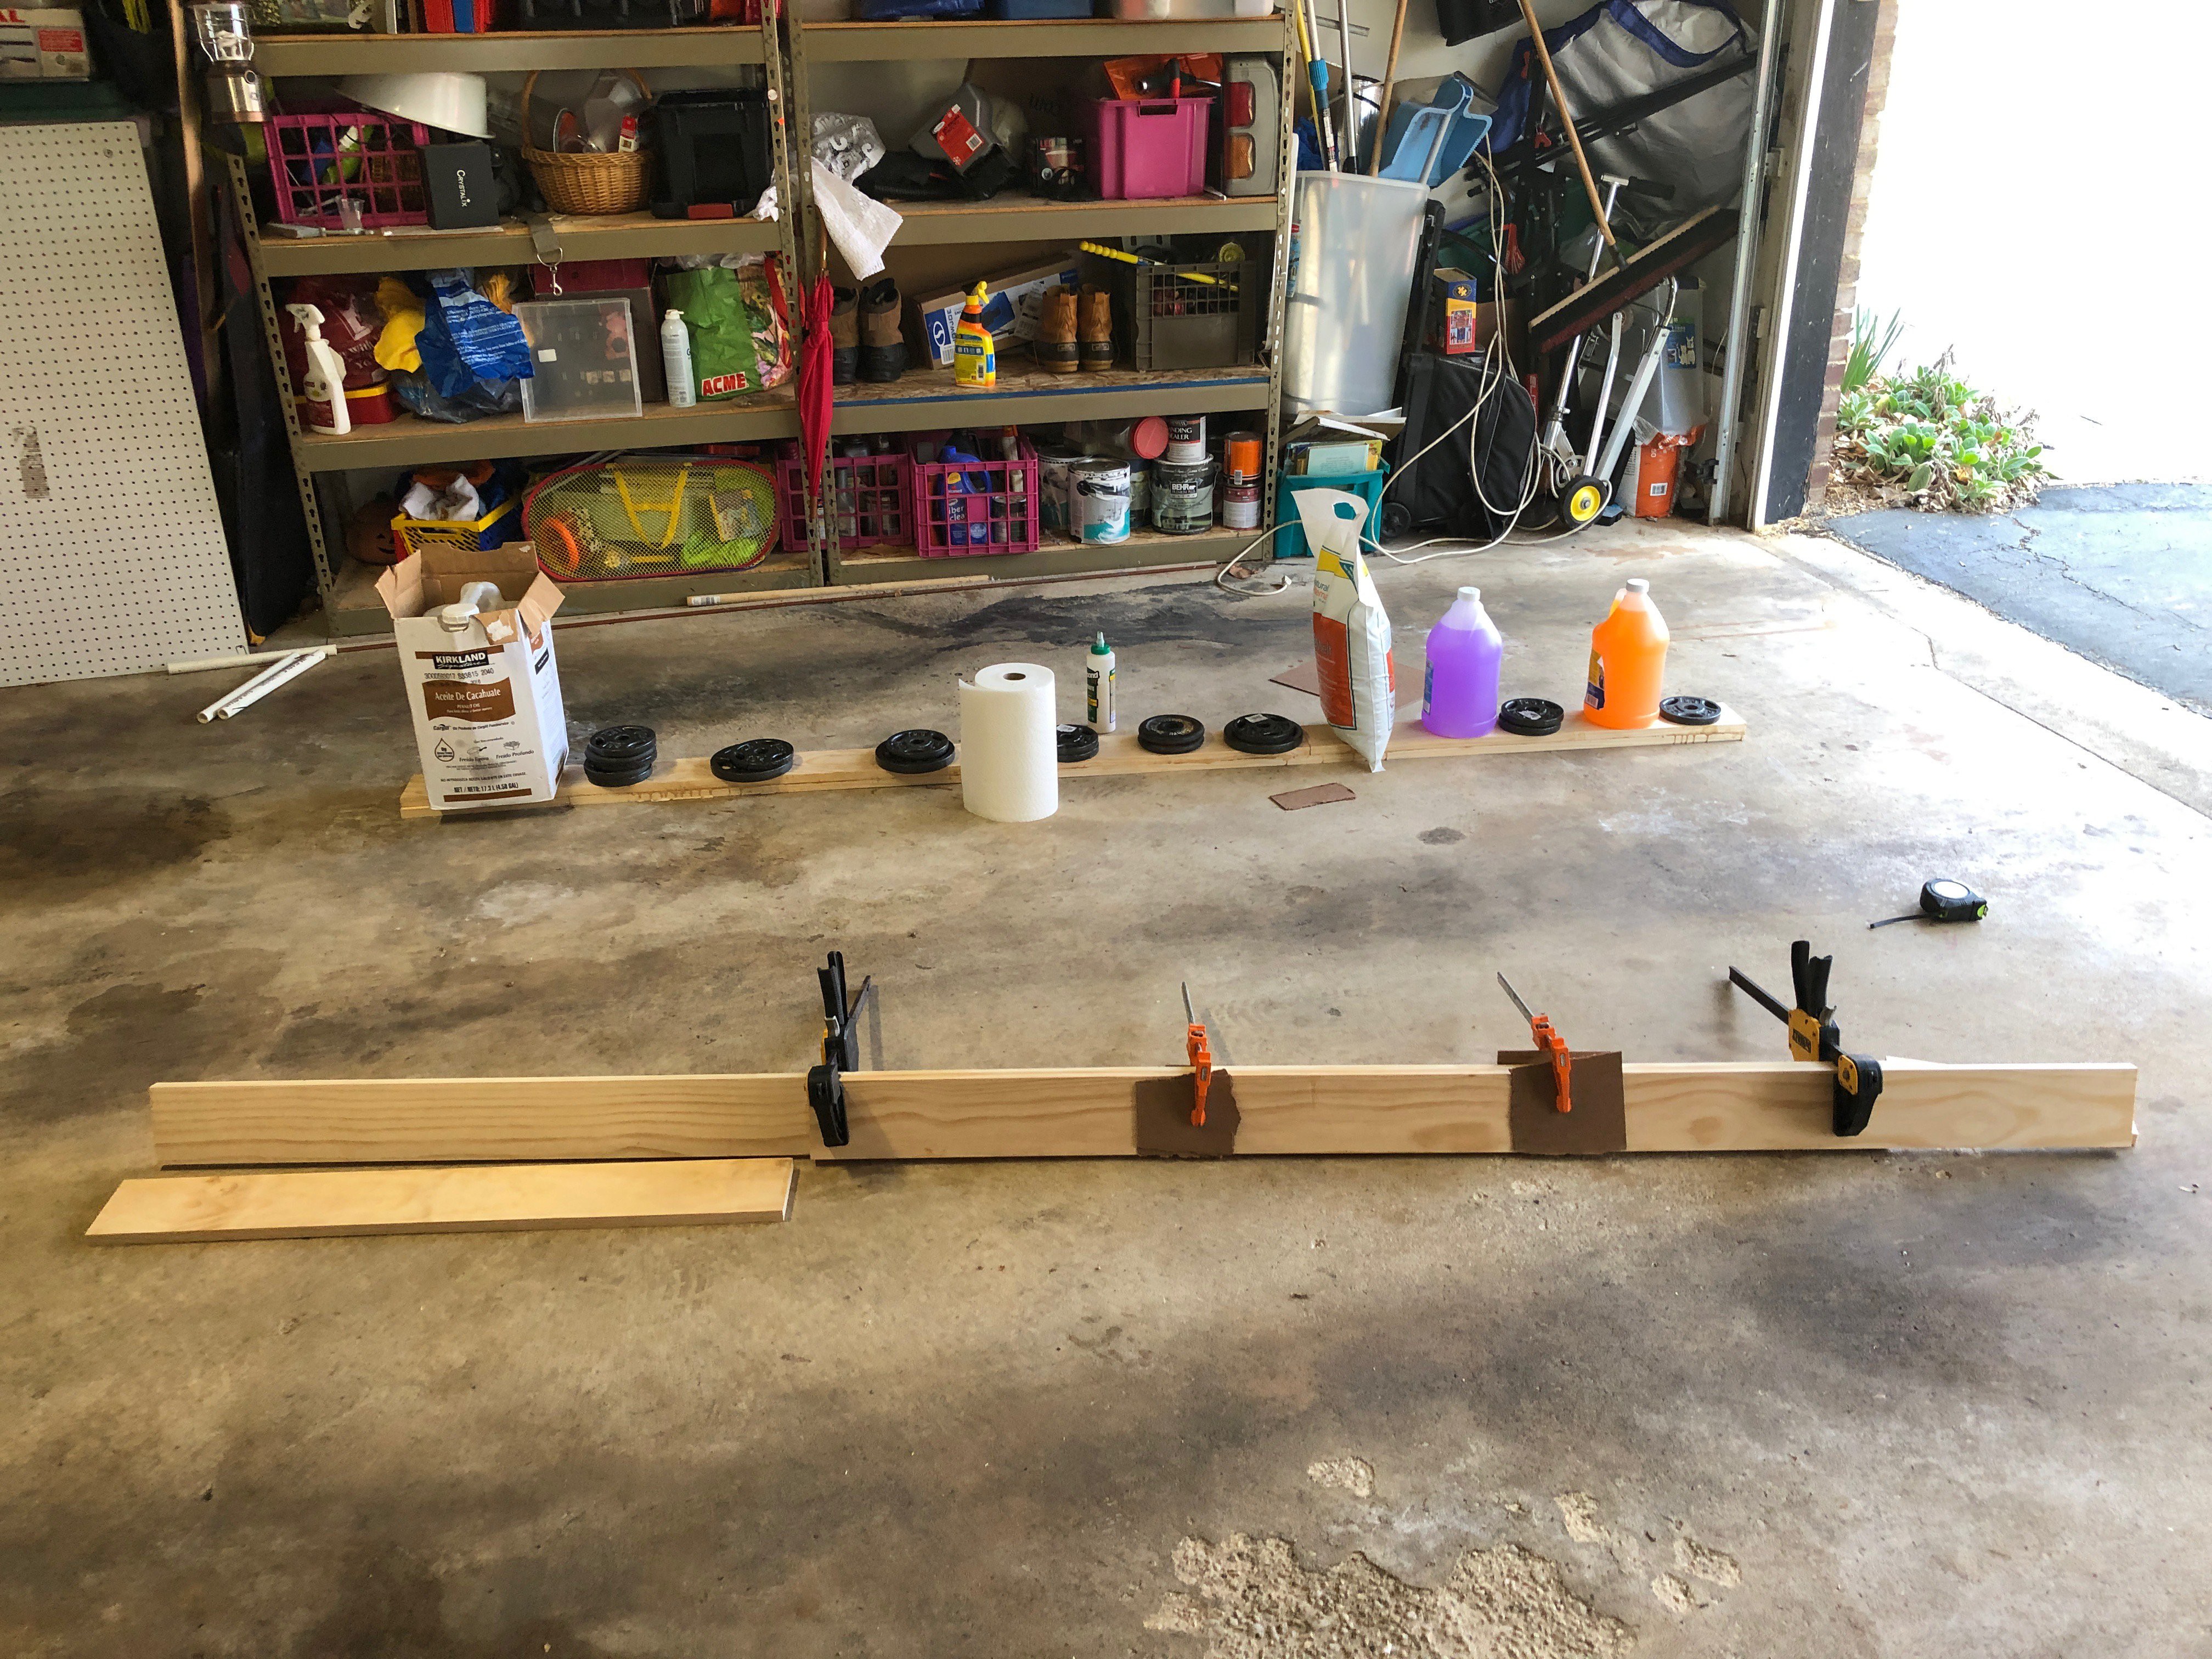
    The 4H Inventors have started building.  We tackled gluing the wood together.  We need two inch on each side, I purchased 4 1/2x8 ft 1in thick dimensional wood.  We are gluing it to another piece of the same wood to get the length we need of 8ft 10in.  See pictures below, very messy :D

    Now we need to wait for the glue to dry, I only have so many clamps.  So we started working with the LED prototype that each of the kids have build.  The prototype is 15rows or 20 LEDs, exactly 300 LEDs (one 16.4ft LED strip).  One of the kids in the group has modified the neomatrics library and built his own fonts, using 14 rows instead of the library default of 7 rows.  We are also experimenting with diffusers.   I purchased a 1/8 frosted white one piece of acrylic.   The distance from the LEDs is very important.  I wanted to make sure the kids understood why the diffuser was so important.  As a side benefit the location this LED panel is going to live, Rabbit Barn, has lots of hair in dust in the air.  The diffuser will protect the LEDs and will be much easier to clean.

    No diffuser

    https://www.dropbox.com/s/d0gj8vrenmy61q7/LED-no-defuzer-apr-2019.m4v?dl=0

    With diffuser   (we are just using white coreplast in the video.  Makes a hugh positive benefit)

    https://www.dropbox.com/s/dtjb2pr02pan3o9/LED-Defuser-Apr-2019.m4v?dl=0

    Can't wait to see this 8ft 4in long !!  We did some tweaks to the program.  The code was not originally written to show multiple phrases, we added spaces for the time being.  The finished version would like the first phase to be one color and the second different etc.  (total of four phrases).

    The prototype really helped the kids understand what we are building.  They have lots of ideas, first we have to get the basics working.

  • Modeling and planning

    hamblin.joe03/31/2019 at 17:46 0 comments

    My goal for this project is to have 4H kids be a major part of the building.  I need to plan carefully for several reasons.  The major one is we usually can only meet every two weeks, so not having some part or needing to run out to the hardware store is not an option.  Also, I need to have projects to keep everyone busy and also major focus on safety.  Lastly several of the parts are expensive don't want to have to replace anything.  I now have all the parts I need, fans (120v), fan grills, power supplies, USB extender and wall mount plug, 120v with 10A fuse and lighted on/off switch.  I 3D printed 60 strips to hold down LEDs, I have 200 #4 3/8 screws ( I will need at least 150).  I also 3D printed a bracket to hold the 120v plug and USB plug.  I have the very large one piece of white acrylic.  

      The first build session will be April 5th.  I'm going to focus on the plan and show the kids the Fusion plans, let them ask any questions.  This will let them see the finished products.  I'm going to ask them to think about any possible problems and walk through these.  One of my biggest concerns is to make sure the LEDs are lined up correctly and spaced right.

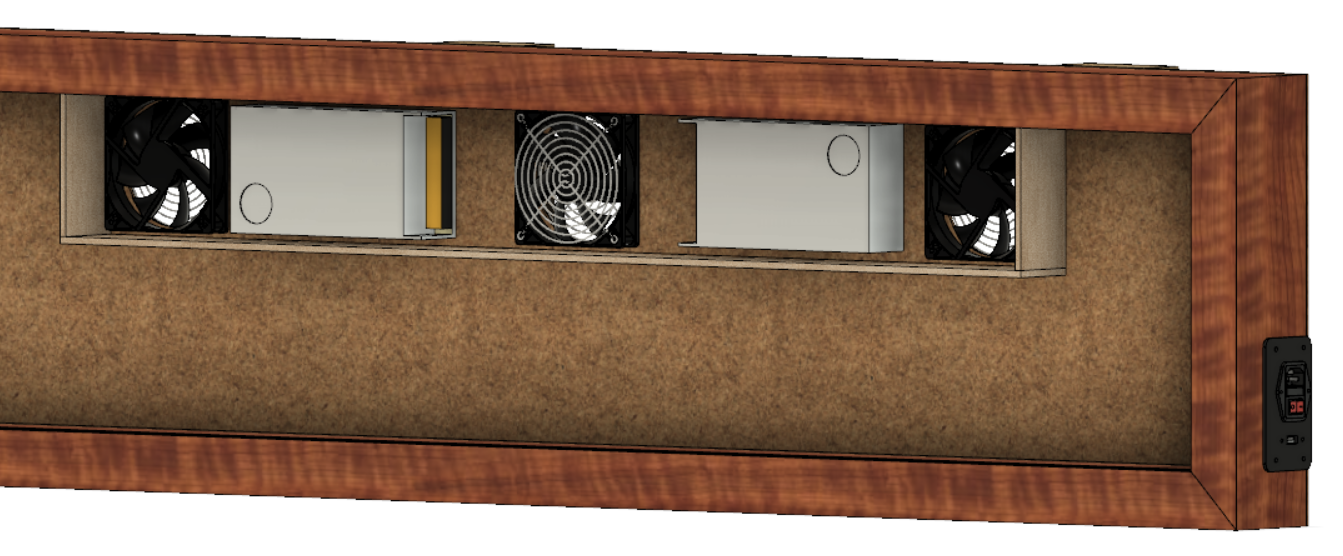
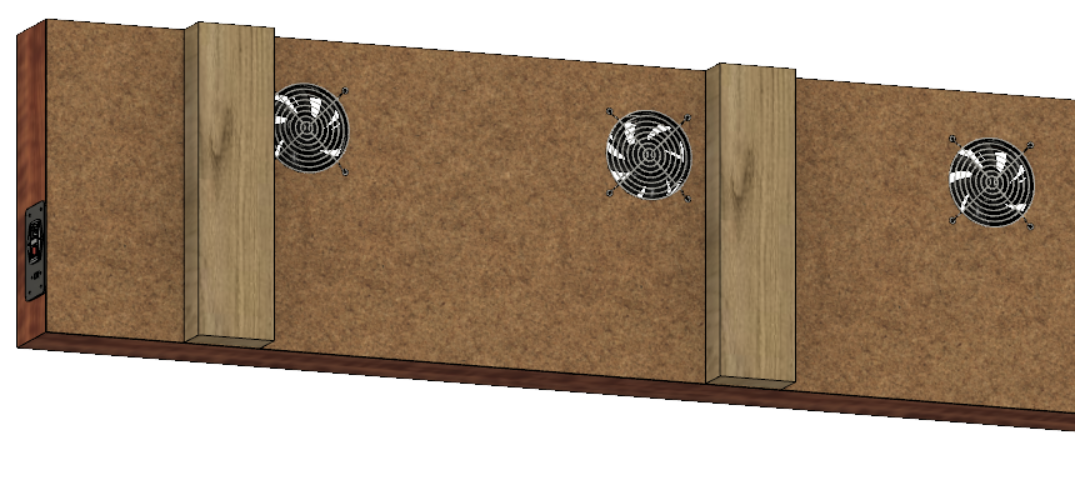
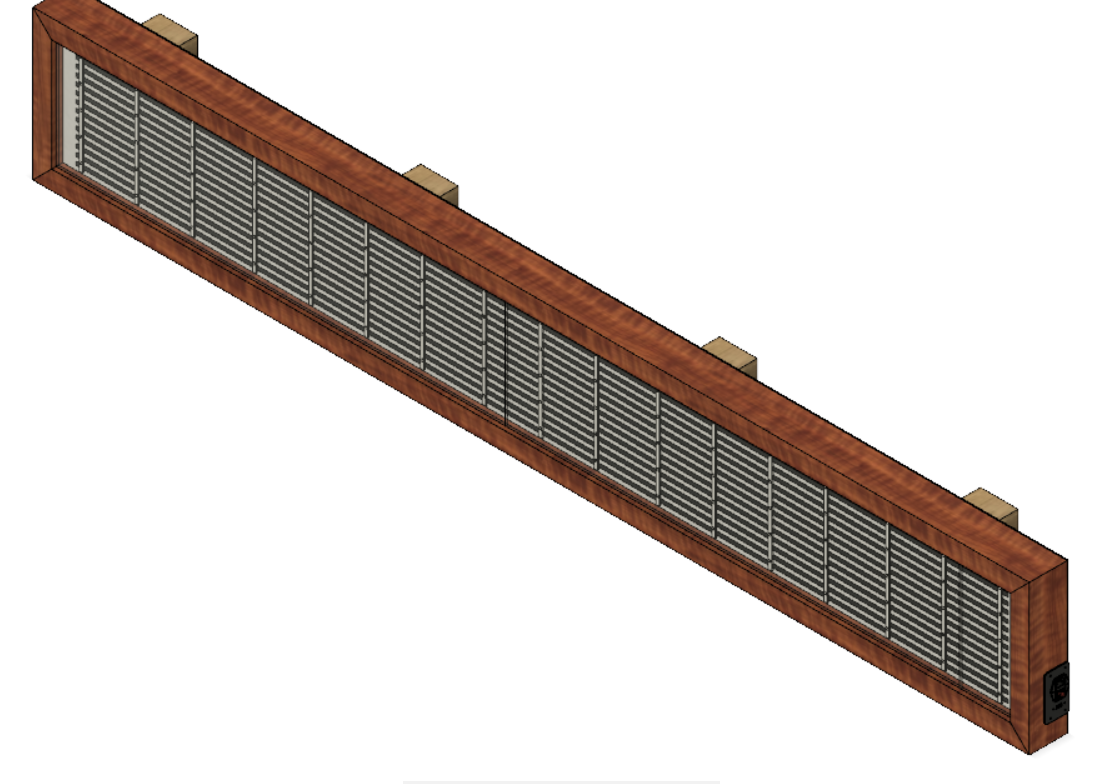
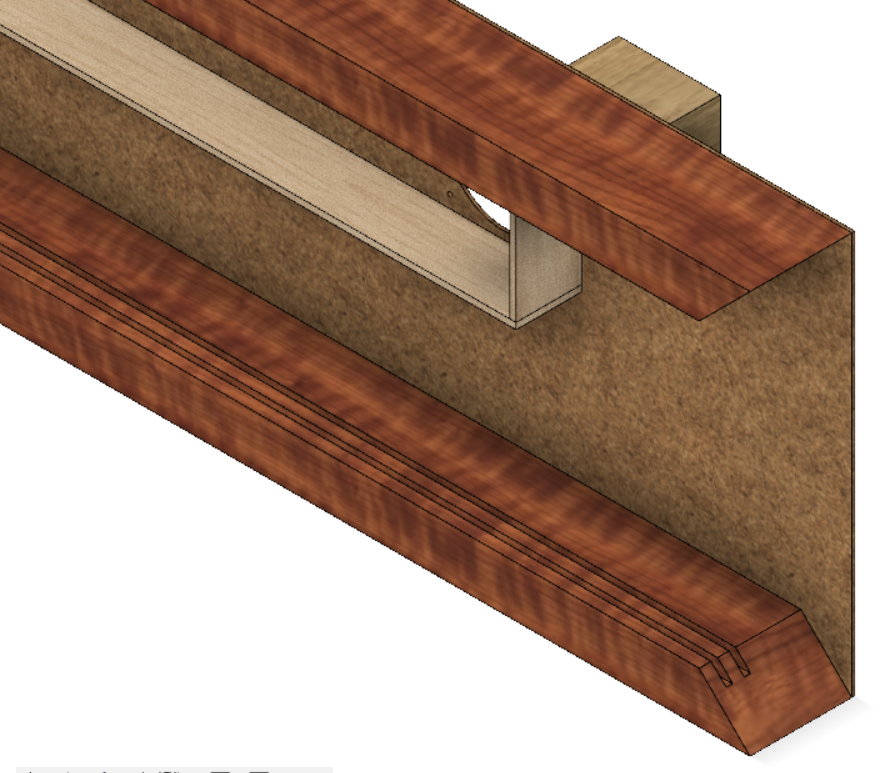
    I'm including several screen shots form fusion so you can see what it will look like.

    We will mainly be working on the wooden box in the first build session.  We need to cut the hard board to the correct size and cut the notches in the wood for the acrylic and LED panel.

    I'm going to cut some test cuts this week and use some small 1/8 pieces of acrylic to test with. I might need to get a different circular saw blade.

  • Odds and Ends..Modeling

    hamblin.joe03/19/2019 at 01:42 0 comments

    Built this out in Fusion360.  Now I'm going to put the power supplies in the main LED cabinet.

    This will be hidden inside, will have three 120v fans, to move air over the power supplies.  Will have panels to route the air across the power supplies.  This will make it easier to move it around, will be all one unit.  

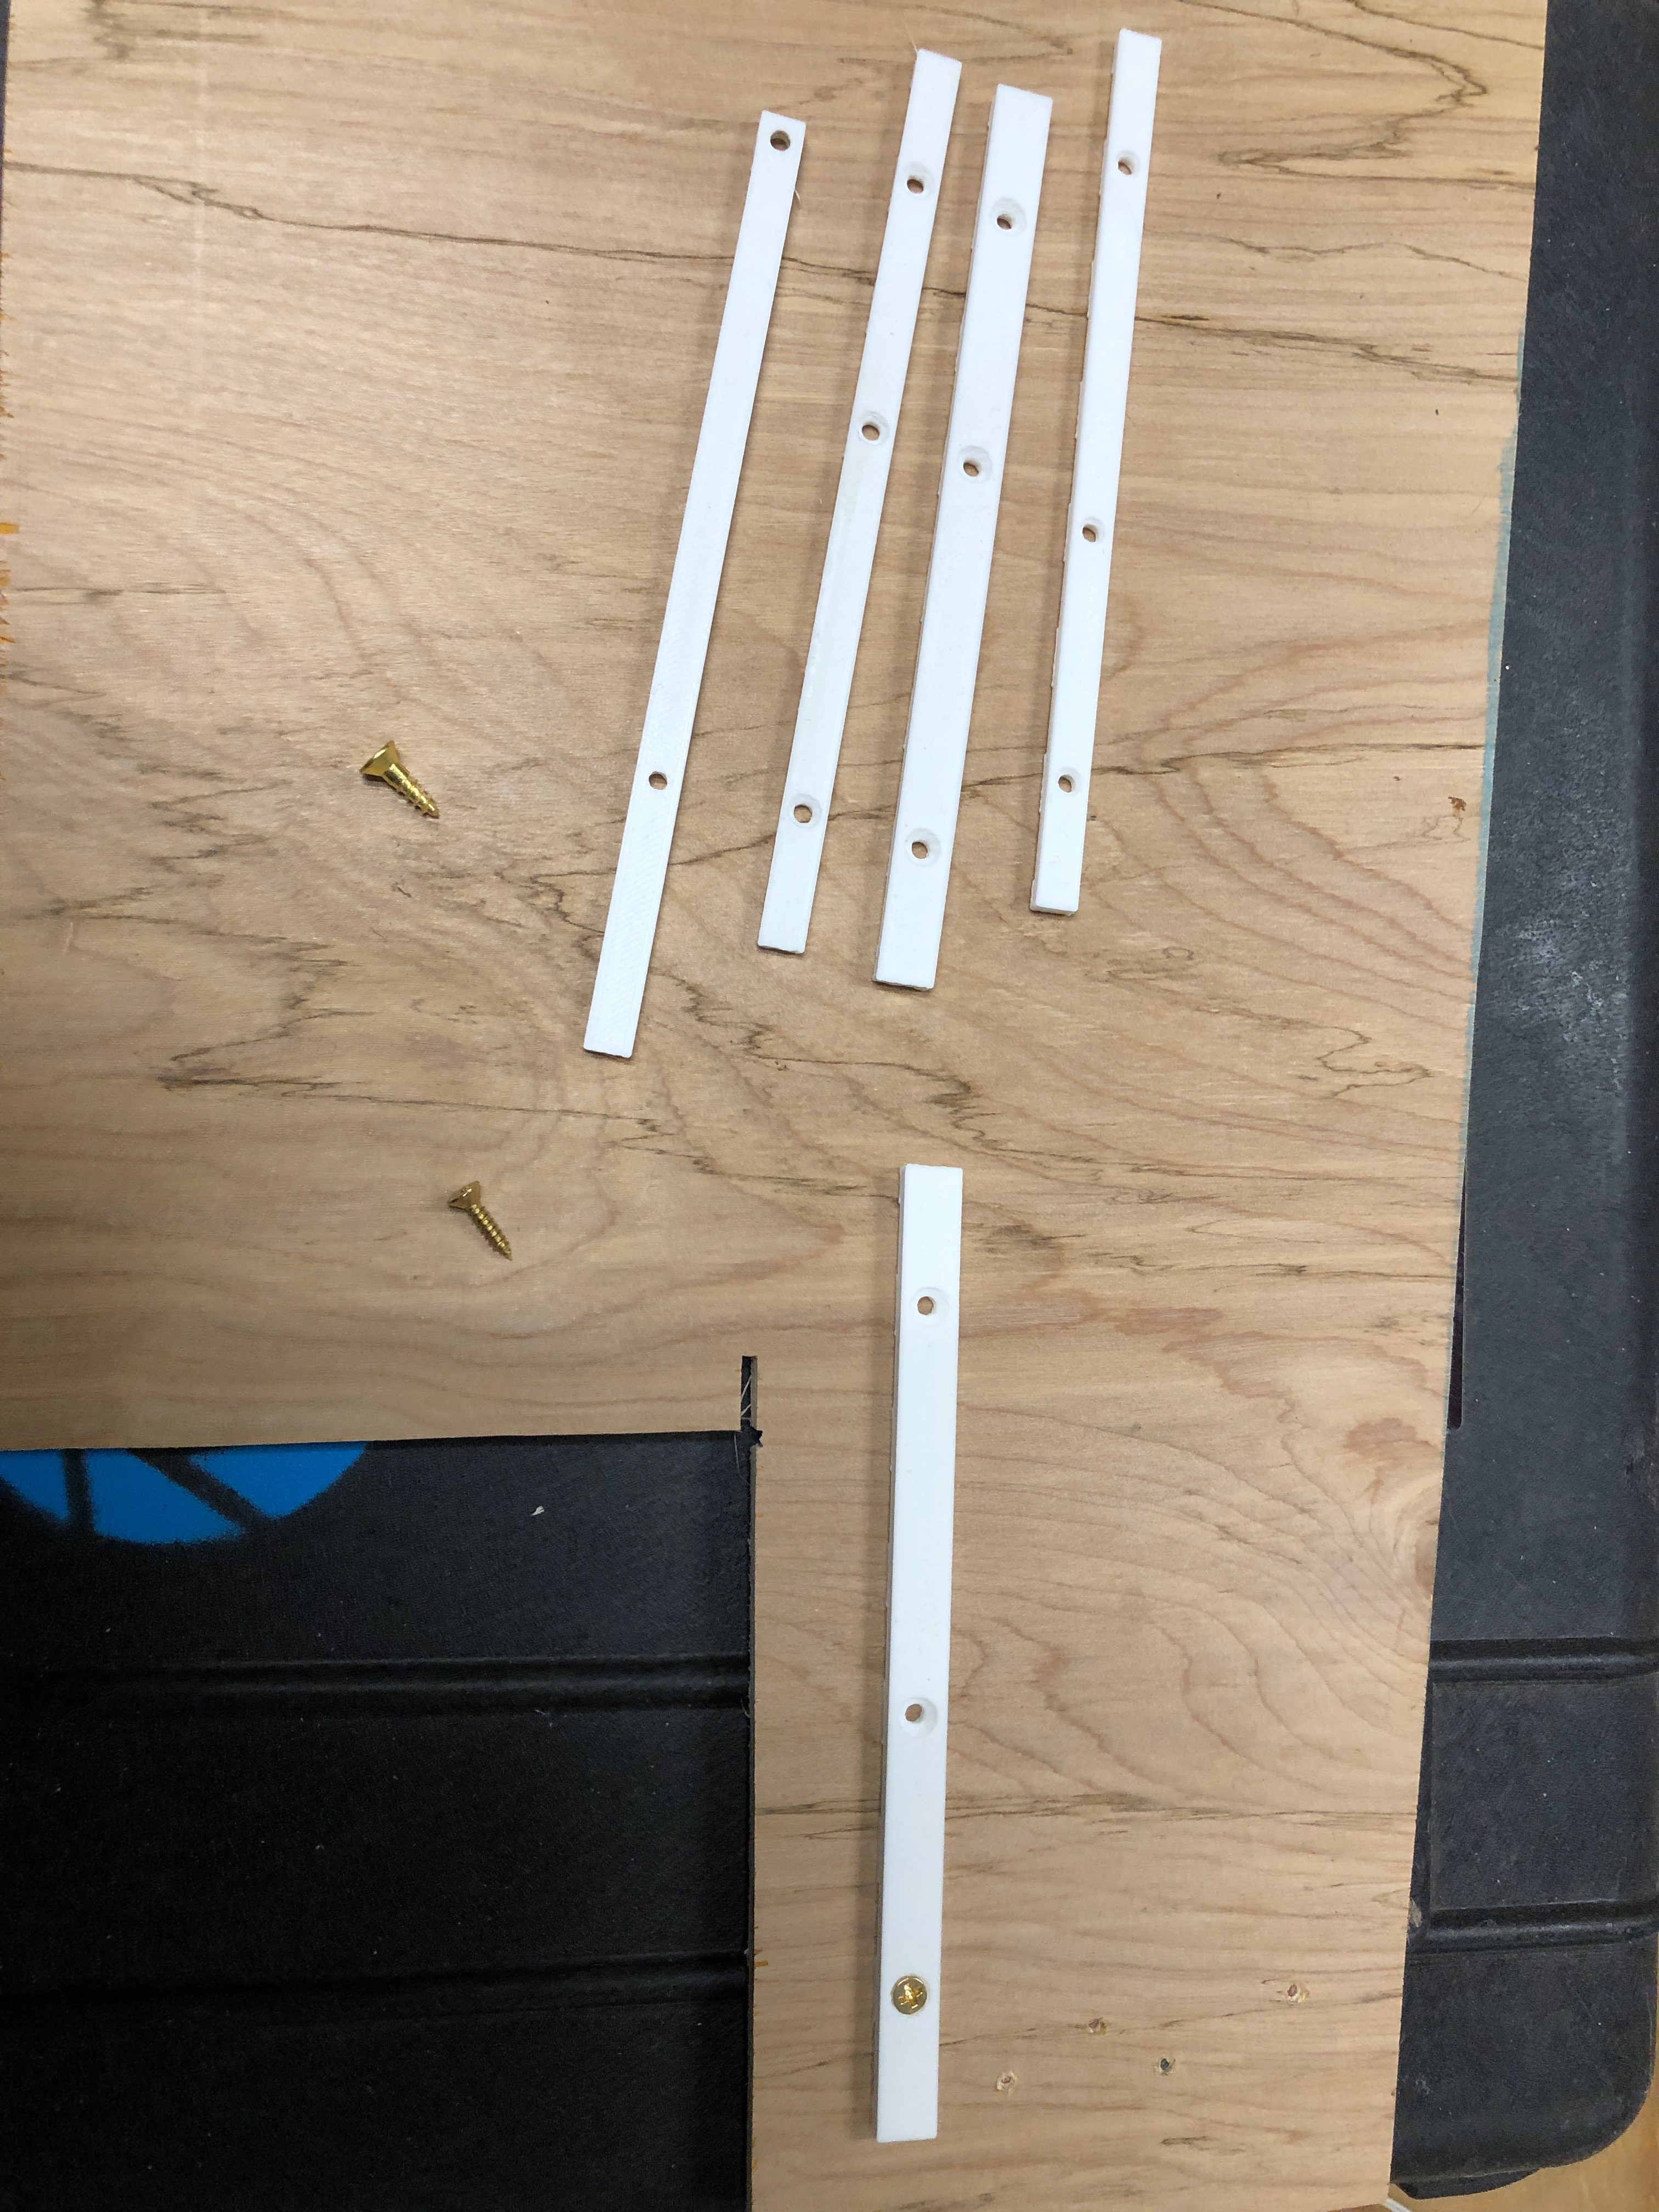
    ( picture showing several test prints of the strap, we tweaked the hole size and inset.  It's hard to see in this picture but there 1/2mm slots that the LED strip will be held in place with.   Also experimented with different screw sizes, this is scrap 1/4 plywood.  I will be using 1/4 plywood to mount the LEDs on)

         My son designed straps to hold the LED strips down.  I will have everything marked and I can have the kids screw the strips down.   It is critical that the LEDs be positioned in the correct location, I'm going to drill small pilot holes for the straps.  I will also draws lines showing where everything is to be located.  Also, I will make sure the LEDs are positioned in the correct direction, I will be using a Z pattern.  We made several prints, and tested the screws.  I tried #6 x 1/2 then #4 x1/2 and lastly #4 x 3/8s.  It took 7 minor tweaks and prints but we have a nice strap design that works well with #4 x 3/8 screws.  I will pick up 2 boxes of 100 of these.  Did first print, need to tweak the design and reprint.  These will be screwed into the hard board that the LEDs are mounted too.  I do not think hot glue will work in the environment, it tends to not hold if in a hot area.  I've had problems with hot glue before, so going to avoid it and go with solid screw down holders.  I'm trying to keep the cost down, originally I expected it to be ~150-200, now looking more like $350.  I'm going to look around Home Depot tomorrow, I need wood for the box, get an idea of what's available.

       Some test pieces of acrylic arrives today, one was 1/8 white, the other 1/4 semi transparent.  I tested these with my small test LED board, 20x15 at 150 brightness.  The 1/8 looks the best, it did a good job defusing/blending the LEDs.  Also it had the nice feature of when the LEDs are off you can not see the LEDs.  The bad part is its sort of expensive.  I'm going to call around to some local places.  Another concern I have is cutting the acrylic cleanly.  I've had very bad luck with this in the past.  I have some ideas how to do it better this time, and can use the small test pieces to test cutting with.  I'm hoping if I find a local place they can cut it for me.  I was going to hold off on the defuser until phase 2 (next year), but I'm changing my mind.  The location where this will be mounted, Fair Animal Barn, will have a lot of debris in the air.  It will be very very hard to get this out of the LEDs, this clings to most things.

    Next I need to 3D print 14 of the straps, I can print 4 at one time.

  • Design of LED cabinet

    hamblin.joe03/17/2019 at 22:43 0 comments

    I really want to use a 300 LED strip, these are 5m or 16.4 ft.  Then I cut this in half and end up with ~8ft 2".  The challenge with this that plywood comes in 4x8ft sheets.  So I will have an extra 2" plus 4" (need 2" space on each end) that means I need an extra 6 " more than 8ft.

    I also need the cabinet to be pretty strong resist warping and sagging.  It will need to be reinforced, at the same time I don't want the box to be overly heavy.  Again the classic trade off.  It would be much easier to just do a 146 LED and fit into the 4x8ft mold.

    I want to be able to slide out the LED panel from the cabinet, and also have a slot for acrylic defuser  (not sure if I will have one in phase one).  To give the cabinet strength I will use 1/4 hard board for the back, the LED and Defuser will fit into slots and slid in.  I will have a end piece that will close the open end.  I will have a small gab between the hard board and the plywood that the LEDs are mounted on, this will allow me to hide the wires.  I am going to paint the plywood that the LEDs are mounted on white.

    Then I need to deal with where to put the Arduino and USB Host module and power supplies.

    At this point I would like to have the Arduino and USB Host in the LED cabinet and have a separate box for the power supplies.  There is the issue of how this will look to people, it will be much cleaner if they see one 8ft 6" x 14" cabinet.  I'm very concerned about heat with the power supplies.  I will keep them in a separate box that will be mounted close by but not in the same visual path.   I am designing the layout for both of these, and selecting easy to use connectors for all the power cords.  I will run one 120v power line and split this between the two power supplies inside the power box.

    I don't want the cabinet to sag in the middle, so I will have at least four mount points, maybe five.  

    I am going to pay very very close attention to the LED layout, I want to make sure the LEDs line up accurately.   From my experience with the 20x15 matrix, this is not easy to do.  I am going to 3D print some mounting brackets for the LED strips.  

View all 12 project logs

Enjoy this project?

Share

Discussions

hamblin.joe wrote 03/28/2019 at 18:01 point

Interesting the power requirements start to add up.  Each LED can draw up to 60mA peak brightness, and I will have 2100 LEDs.  You have to build for max limit.  I'm not planning on having all the LEDS on for any length of time, and plan on running at 150 brightness level.  I will have to adjust this depending on how it looks in the location in the barn.  The environment concerns me, it is in a rabbit barn, not in direct sun light, no AC and will be running non-stop for about 10 days, I want to over engineer :D  I've added three fans and the power supplies have built in fans.

  Are you sure? yes | no

matthewkleinmann wrote 03/28/2019 at 16:58 point

Interesting if you just laid the LED's out and used the library to make the digits etc.  On the flip side, 5V 60A power supplies.  Egads.  I built a neat 7 segment display for our food pantry out of PVC pipe and you manually rotate the segments.  Each one is fluorescent pink on one side and black on the other, and the PVC rods rotate in PVC joints.  No power or electrics at all.  Big digits you can see from across the parking lot.  One of my design goals was simple, no plugs (trip hazards), no batteries or expendable supplies, it needed to be visible across the parking lot in both nice and bad weather, oh, be bad weather tolerant,, and be seen in both bright light and dark mornings.  This satisfied everything.  And once people got the hang of turning the digits they liked it.  What was really runny were how many comments they got on their new "electric" sign.  Only it was totally non electric.  Check out my project page for the project and pix.  You might like the idea for a scorebaord etc.  As long as the numbers only change slowly.

  Are you sure? yes | no

Similar Projects

Does this project spark your interest?

Become a member to follow this project and never miss any updates