 Mime Industries
-
11Step 11
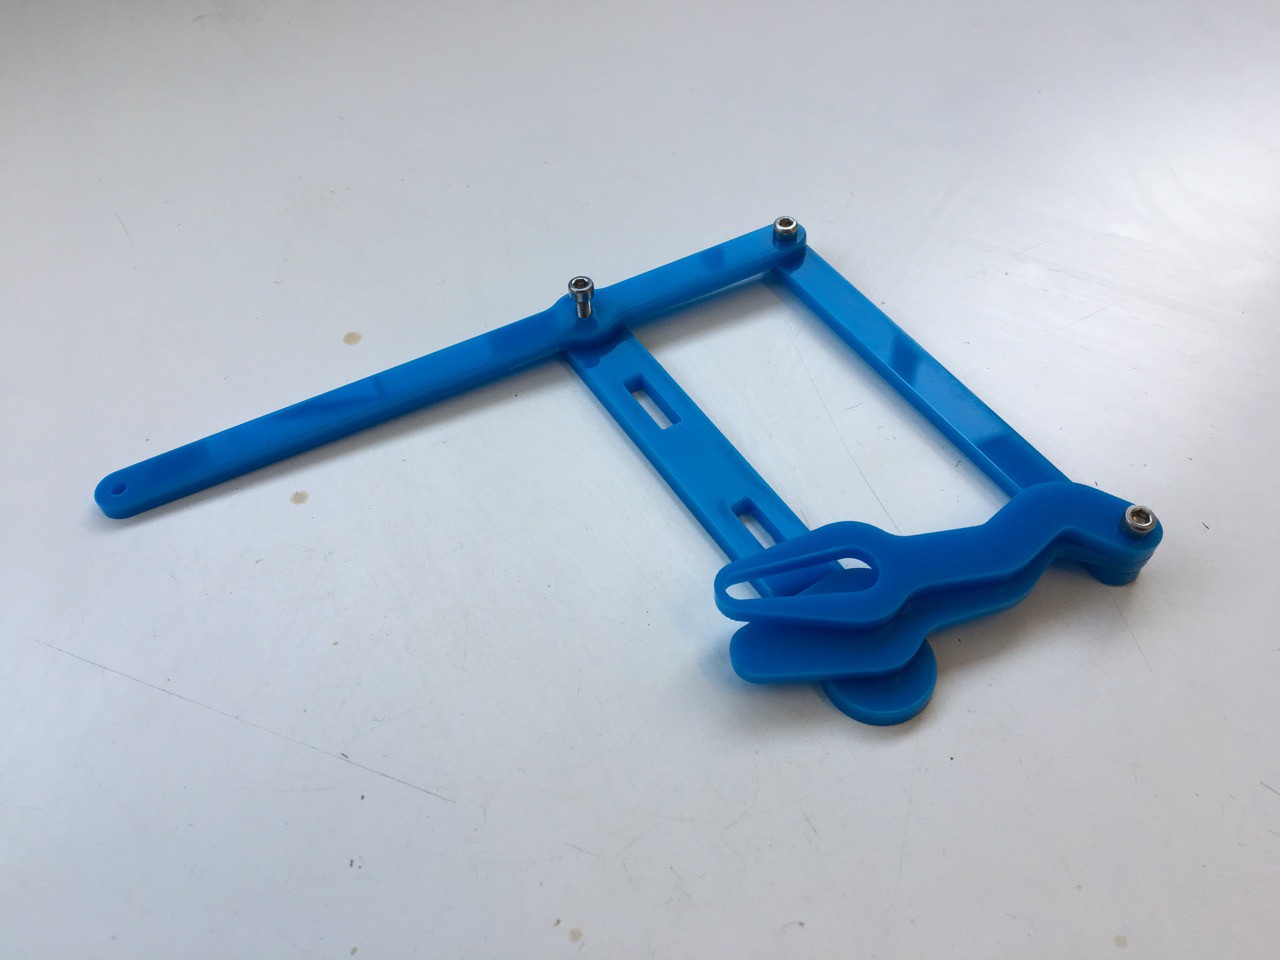
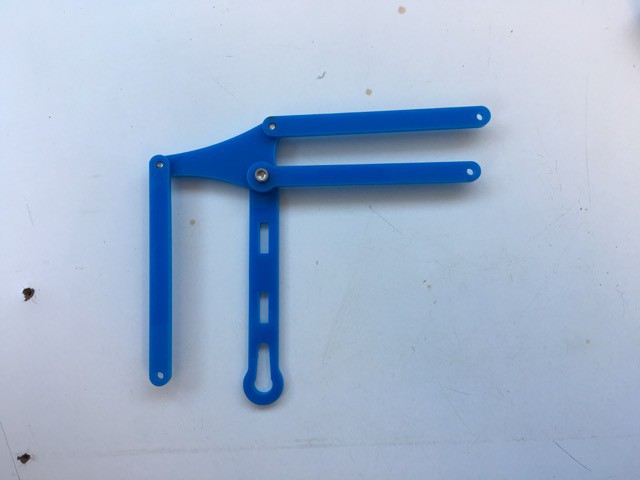
Assemble the left side of the arm as in this photo. The top left screw in this photo should be 10mm and only screwed through until the screw end is flush with the edge of the perspex. The top right screw should also be 10mm and the bottom right 8mm:
![]()
-
12Step 12
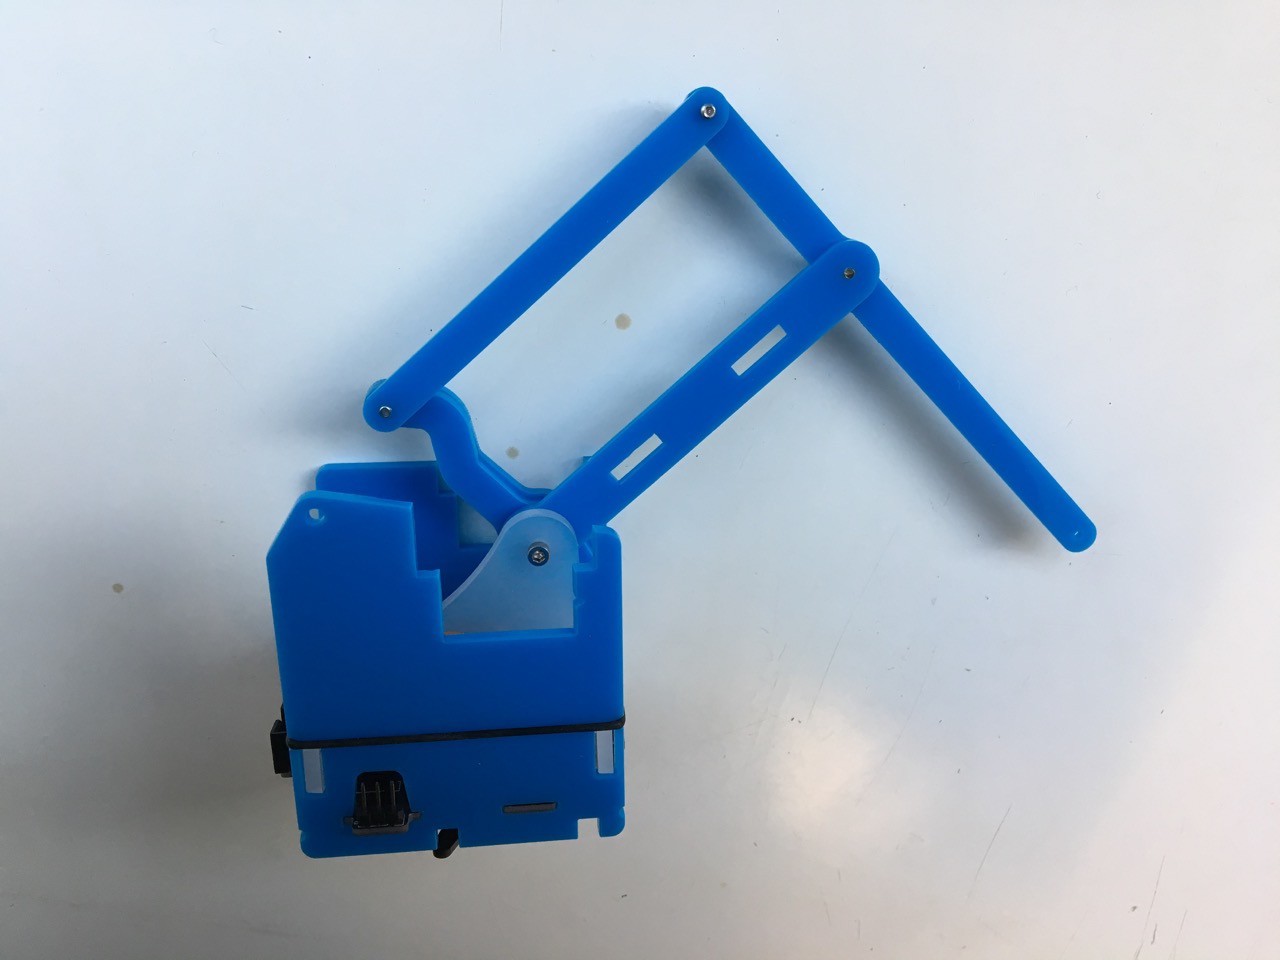
Attach it to the central piece with a 10mm screw:
![]()
-
13Step 13
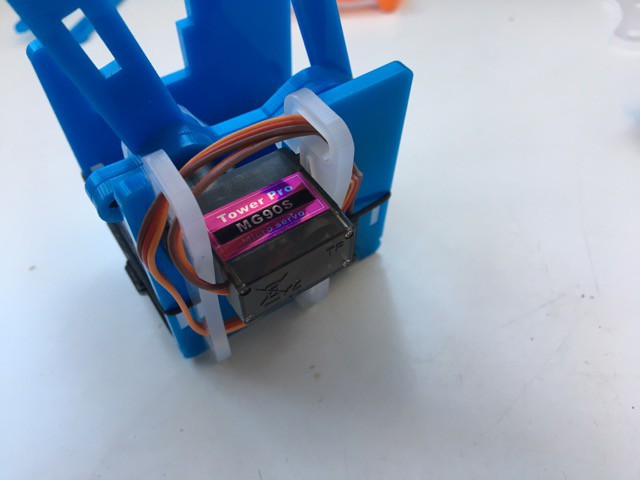
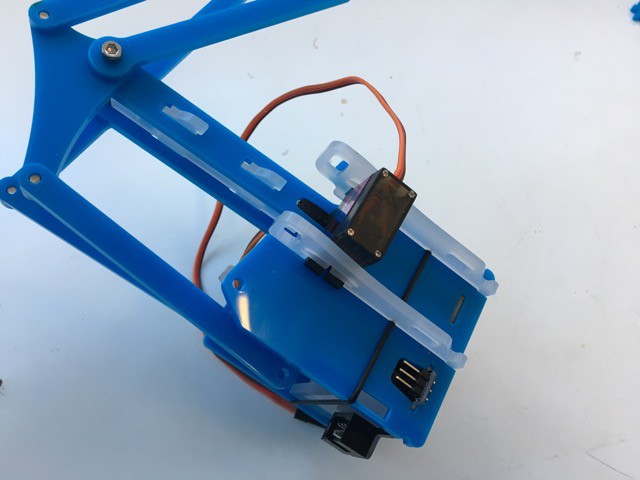
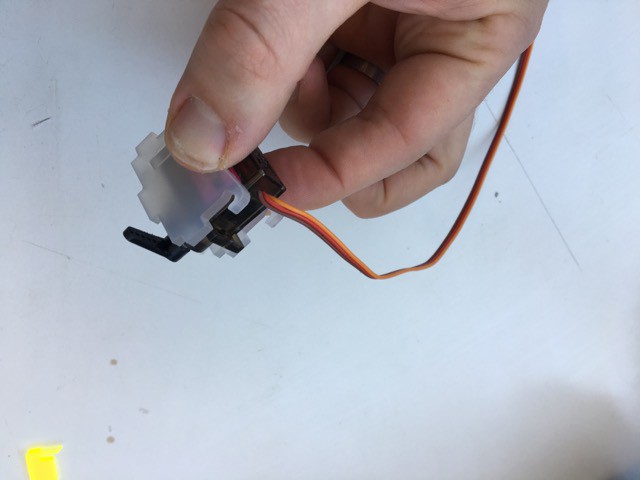
Slot a servo with a single horn into the square slot and hook it in place with two of the servo clamps.
![]()
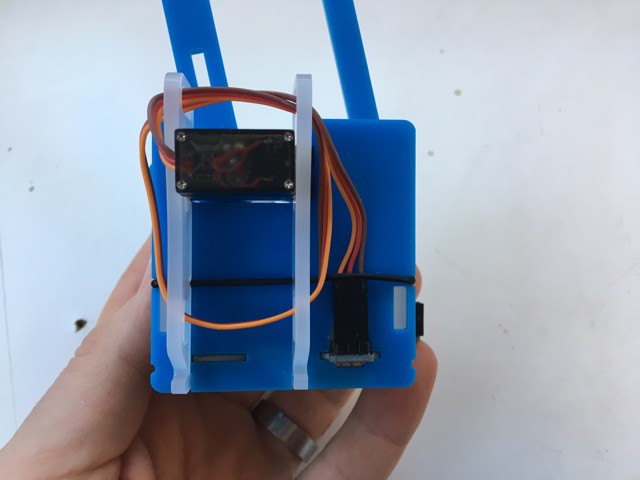
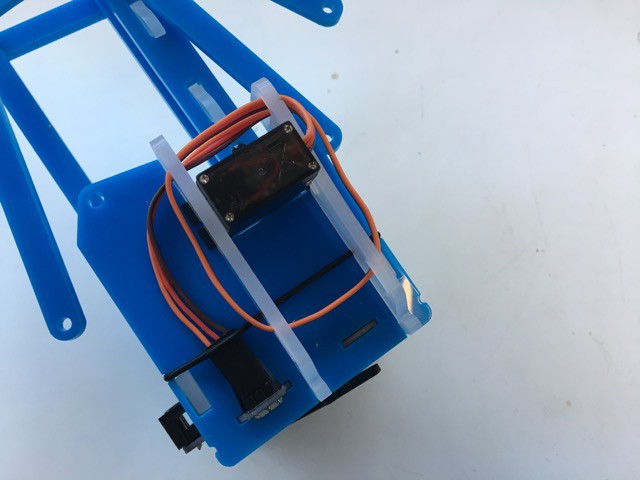
Once it is in place you can wind the cable around the clamps and clip it on to the header pins
![]()
-
14Step 14
Slot the central brace into the main strut as shown in the photo and tighten up the screw to hold it in place
![]()
-
15Step 15
Assemble the right hand side of the arm like so:
![]()
-
16Step 16
Slot the piece you just assembled on to the other side of the central brace you just attached:
![]()
-
17Step 17
Put the servo in place and clamp it on like you did on the other side:
![]()
Then wind the cable round and clip it on:
![]()
And finally put an elastic band around the base to hold the clamps in place:
![]()
You can now put this part to one side until you have built the grip.
-
18Step 18
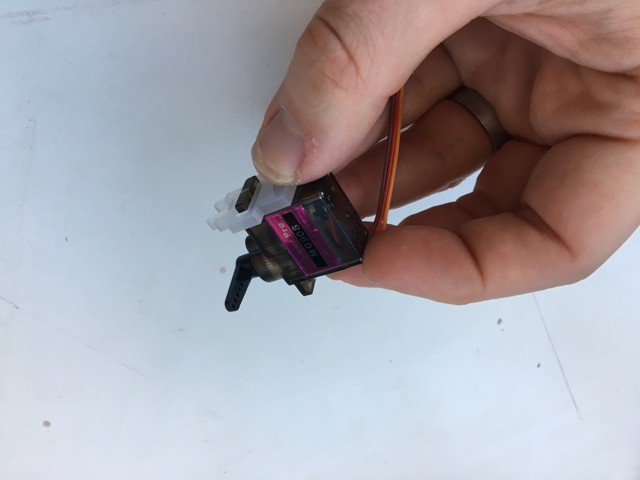
Take the last servo (with a single horn) and slot the small piece shown on to the end of the servo furthest away from the horns
![]()
-
19Step 19
Then slot the two supports on to the two pegs sticking out of the small piece you just added:
![]()
-
20Step 20
Then add the base; first slot it in place like in this photo:
![]()
Then rotate it down so it sits flat against the other pieces:
![]()
MeArm Raspberry Pi Edition
A robot arm kit that works with the Raspberry Pi


Discussions
Become a Hackaday.io Member
Create an account to leave a comment. Already have an account? Log In.